Community Brag Posts
Small Cedar Woodshed
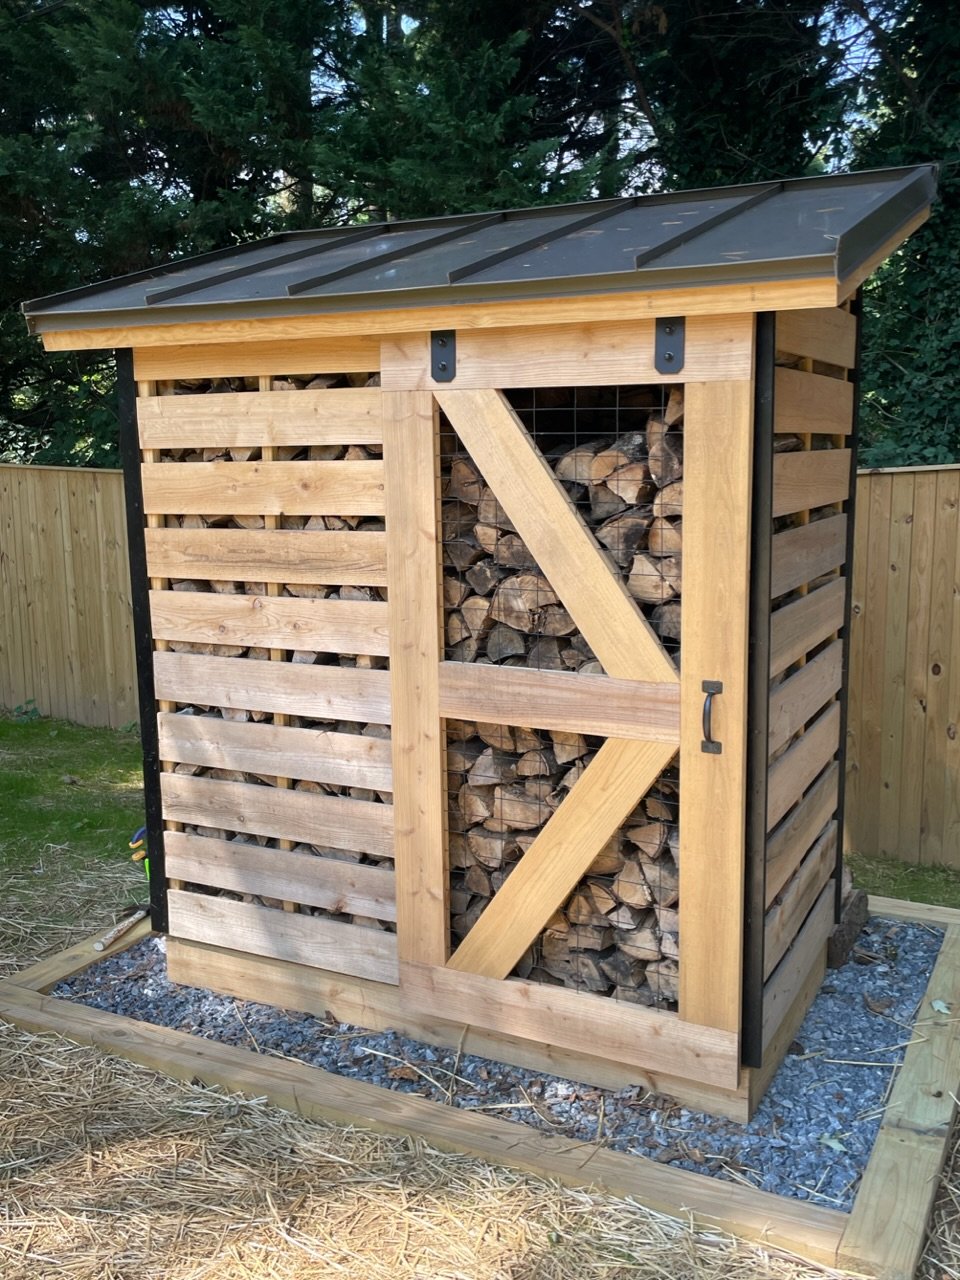
Spaced out the boards to allow airflow; did a sliding barn door and metal roof. Thanks for the plans!
Built from Plan(s)
Comments
Wed, 10/19/2022 - 08:23
Outstanding!
This is totally awesome, way to think outside the box! Thanks for sharing.
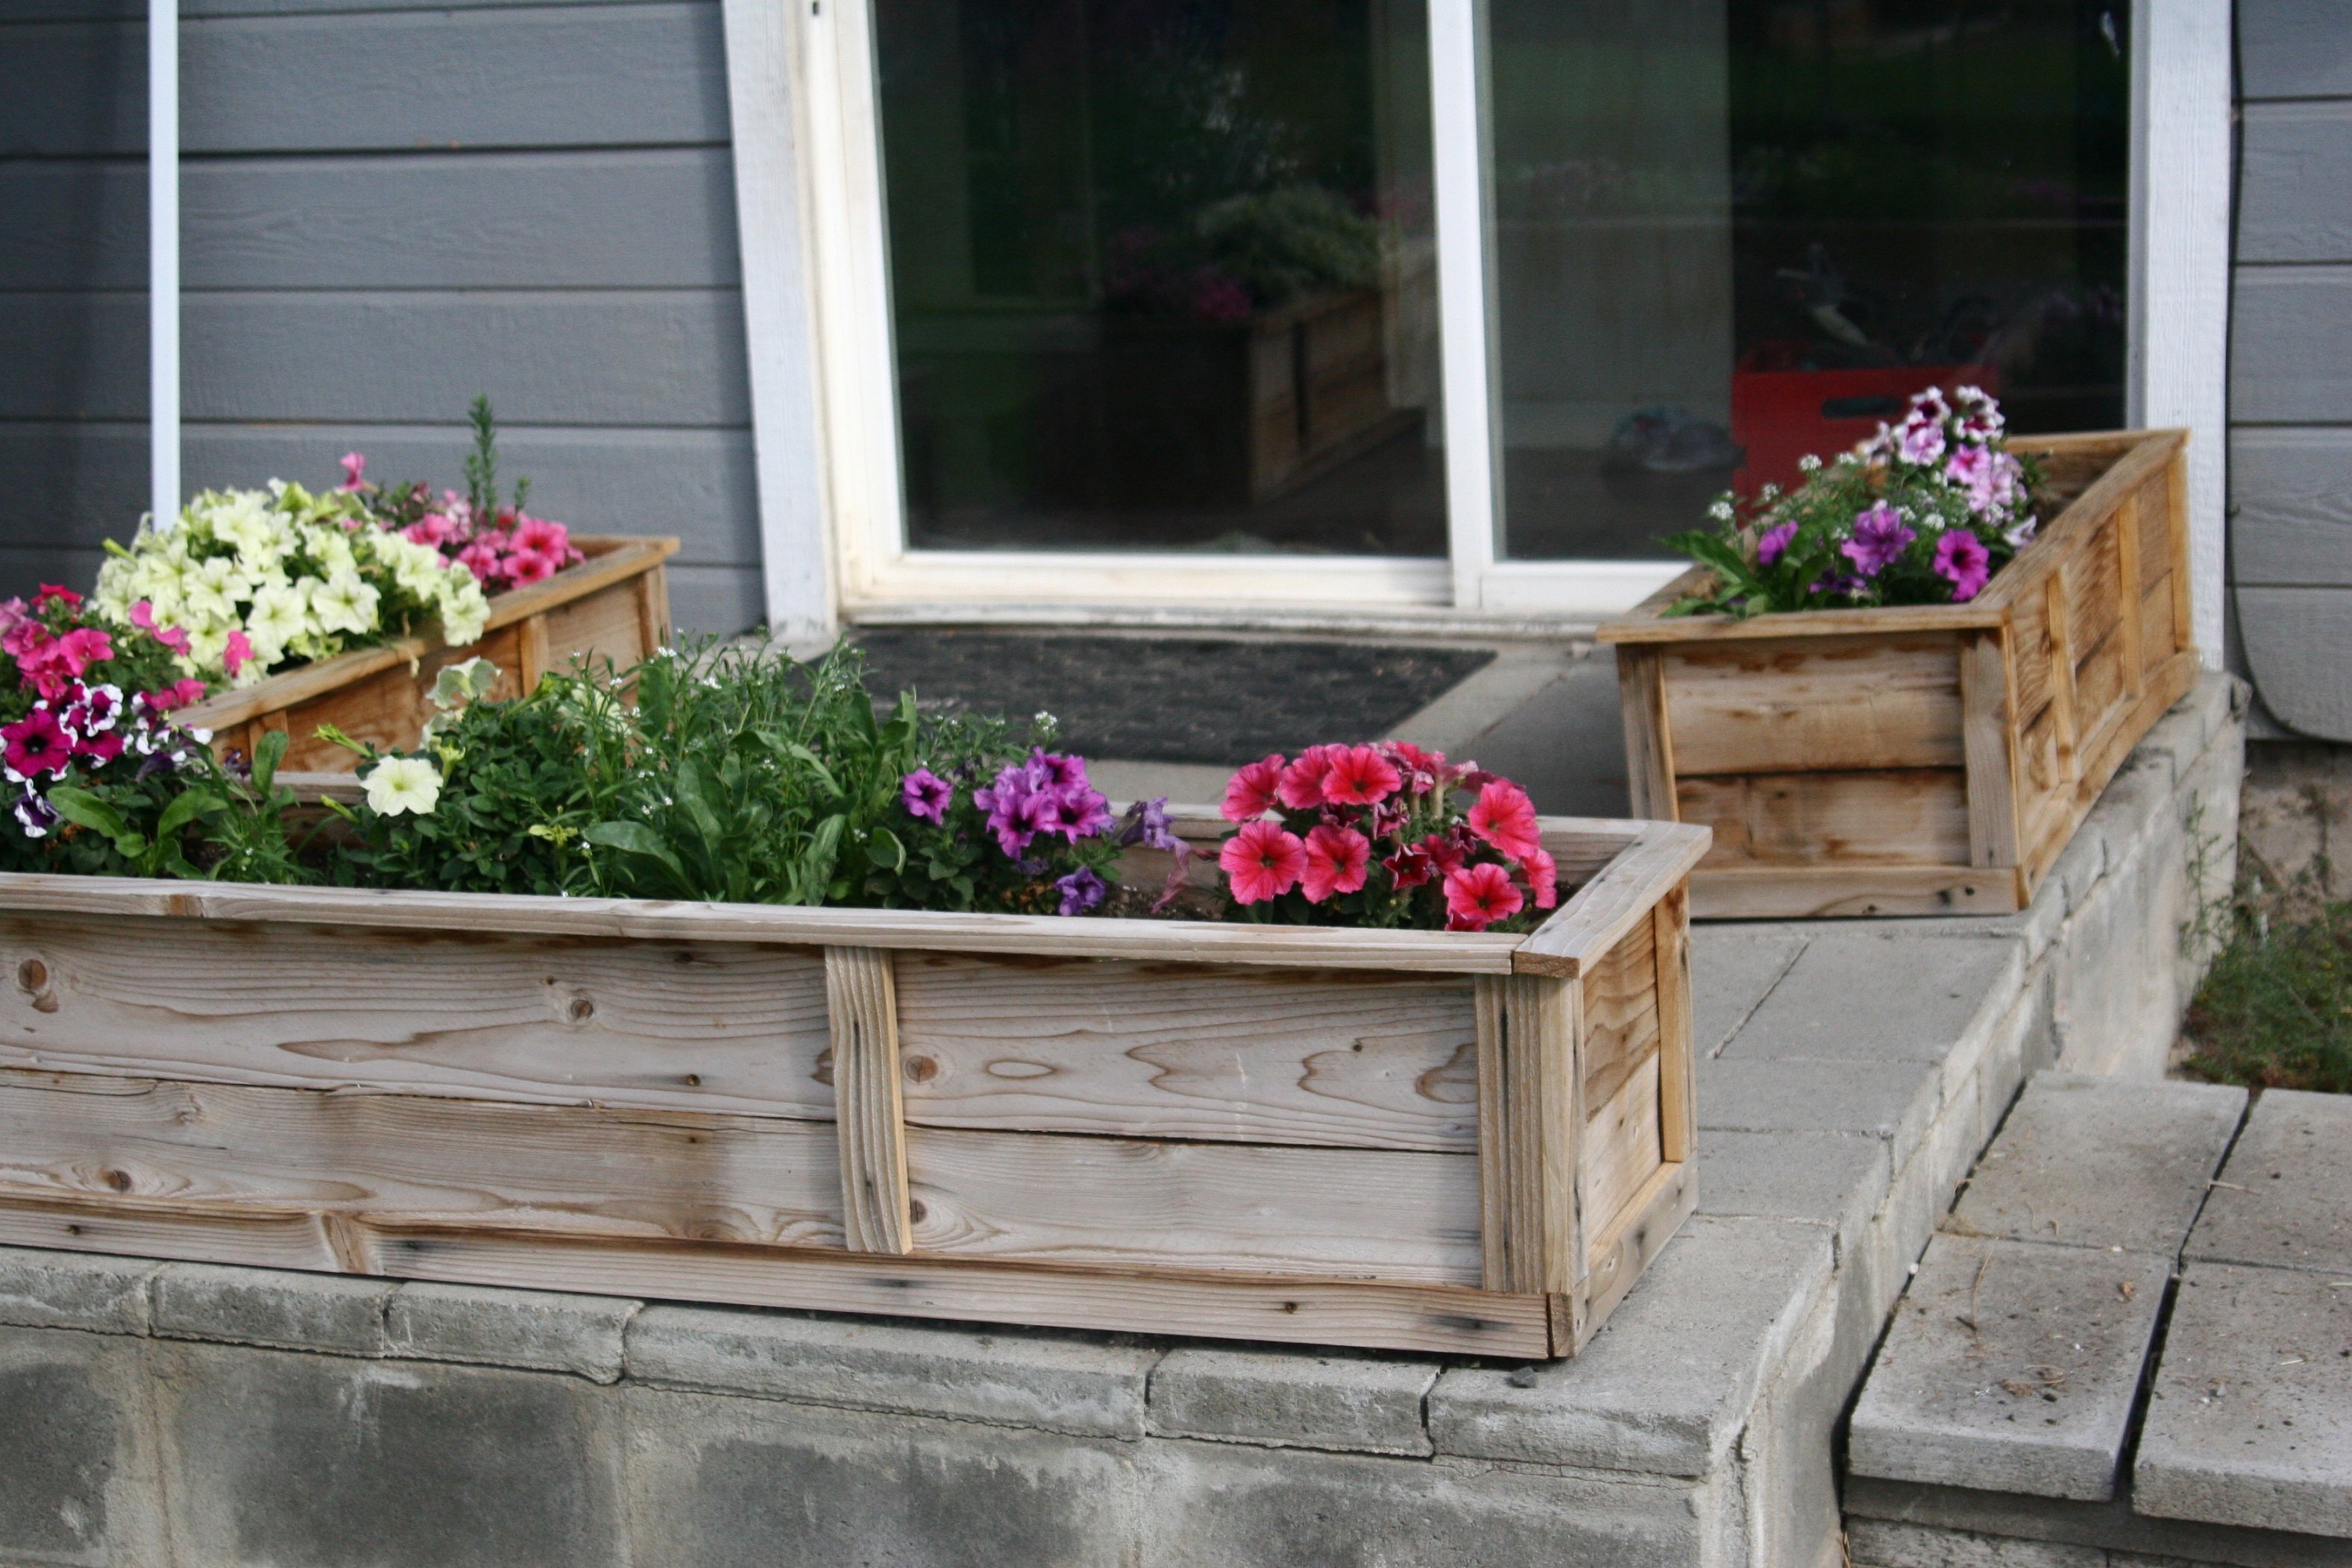
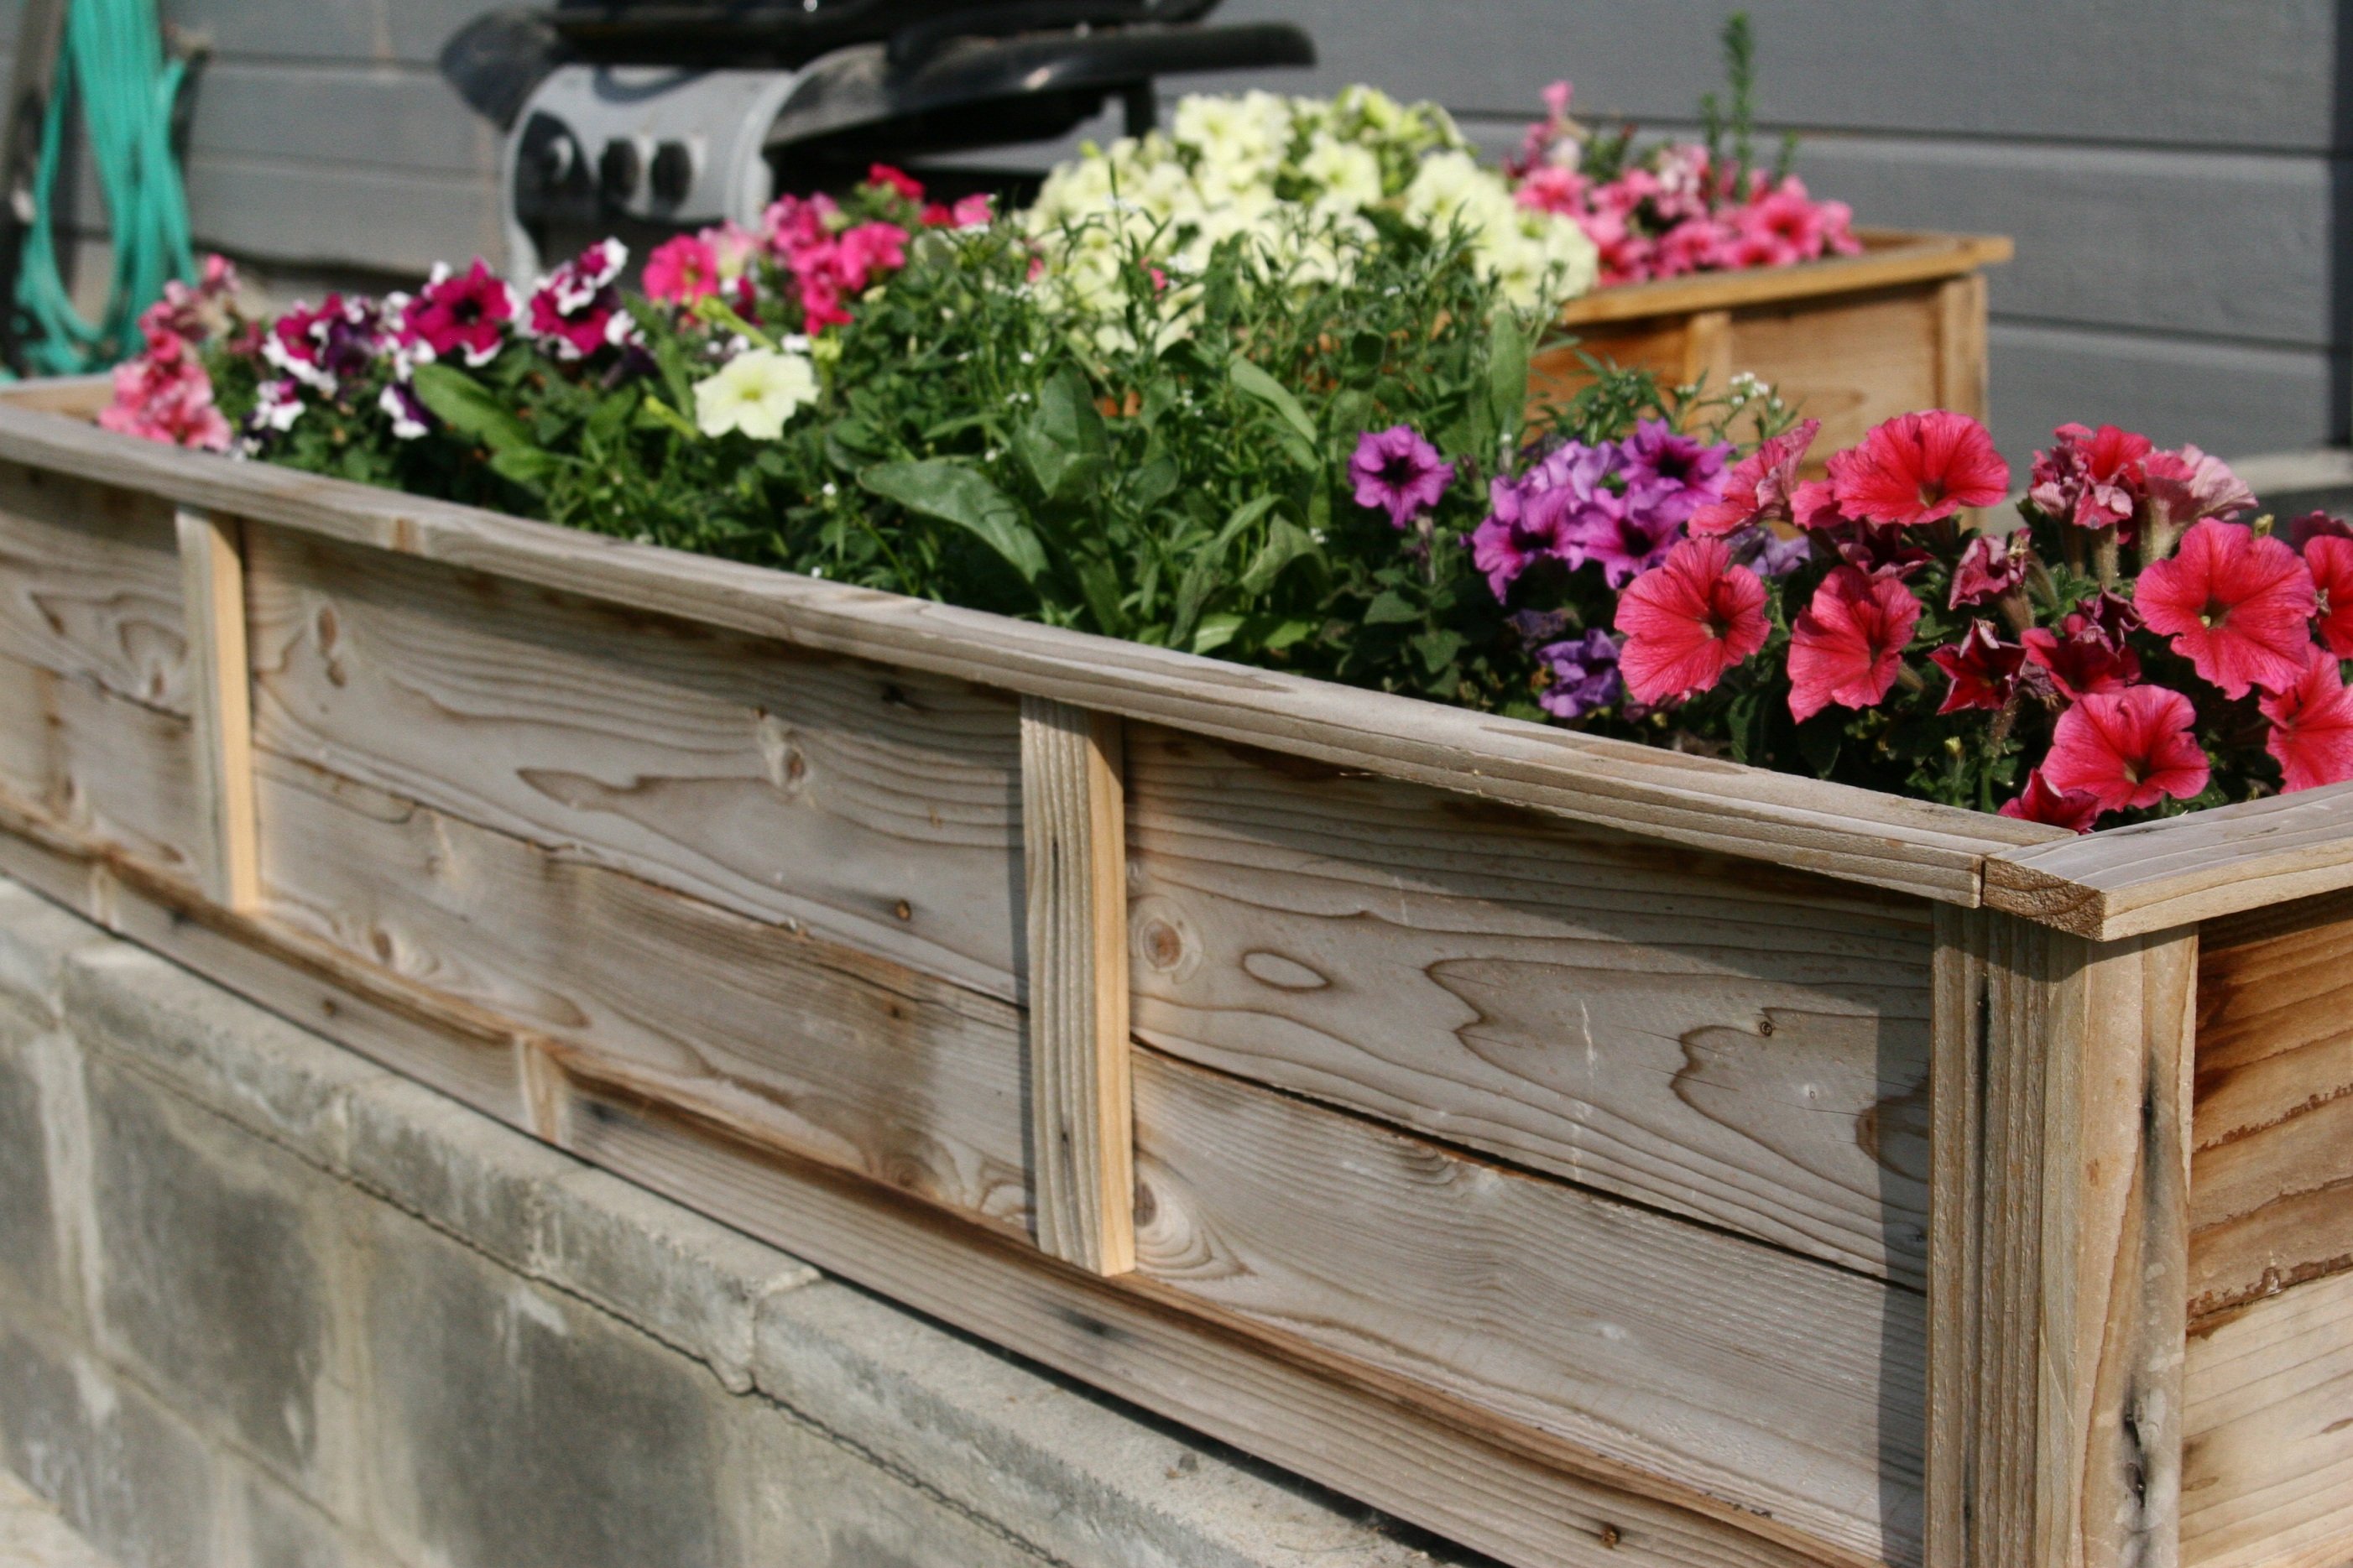
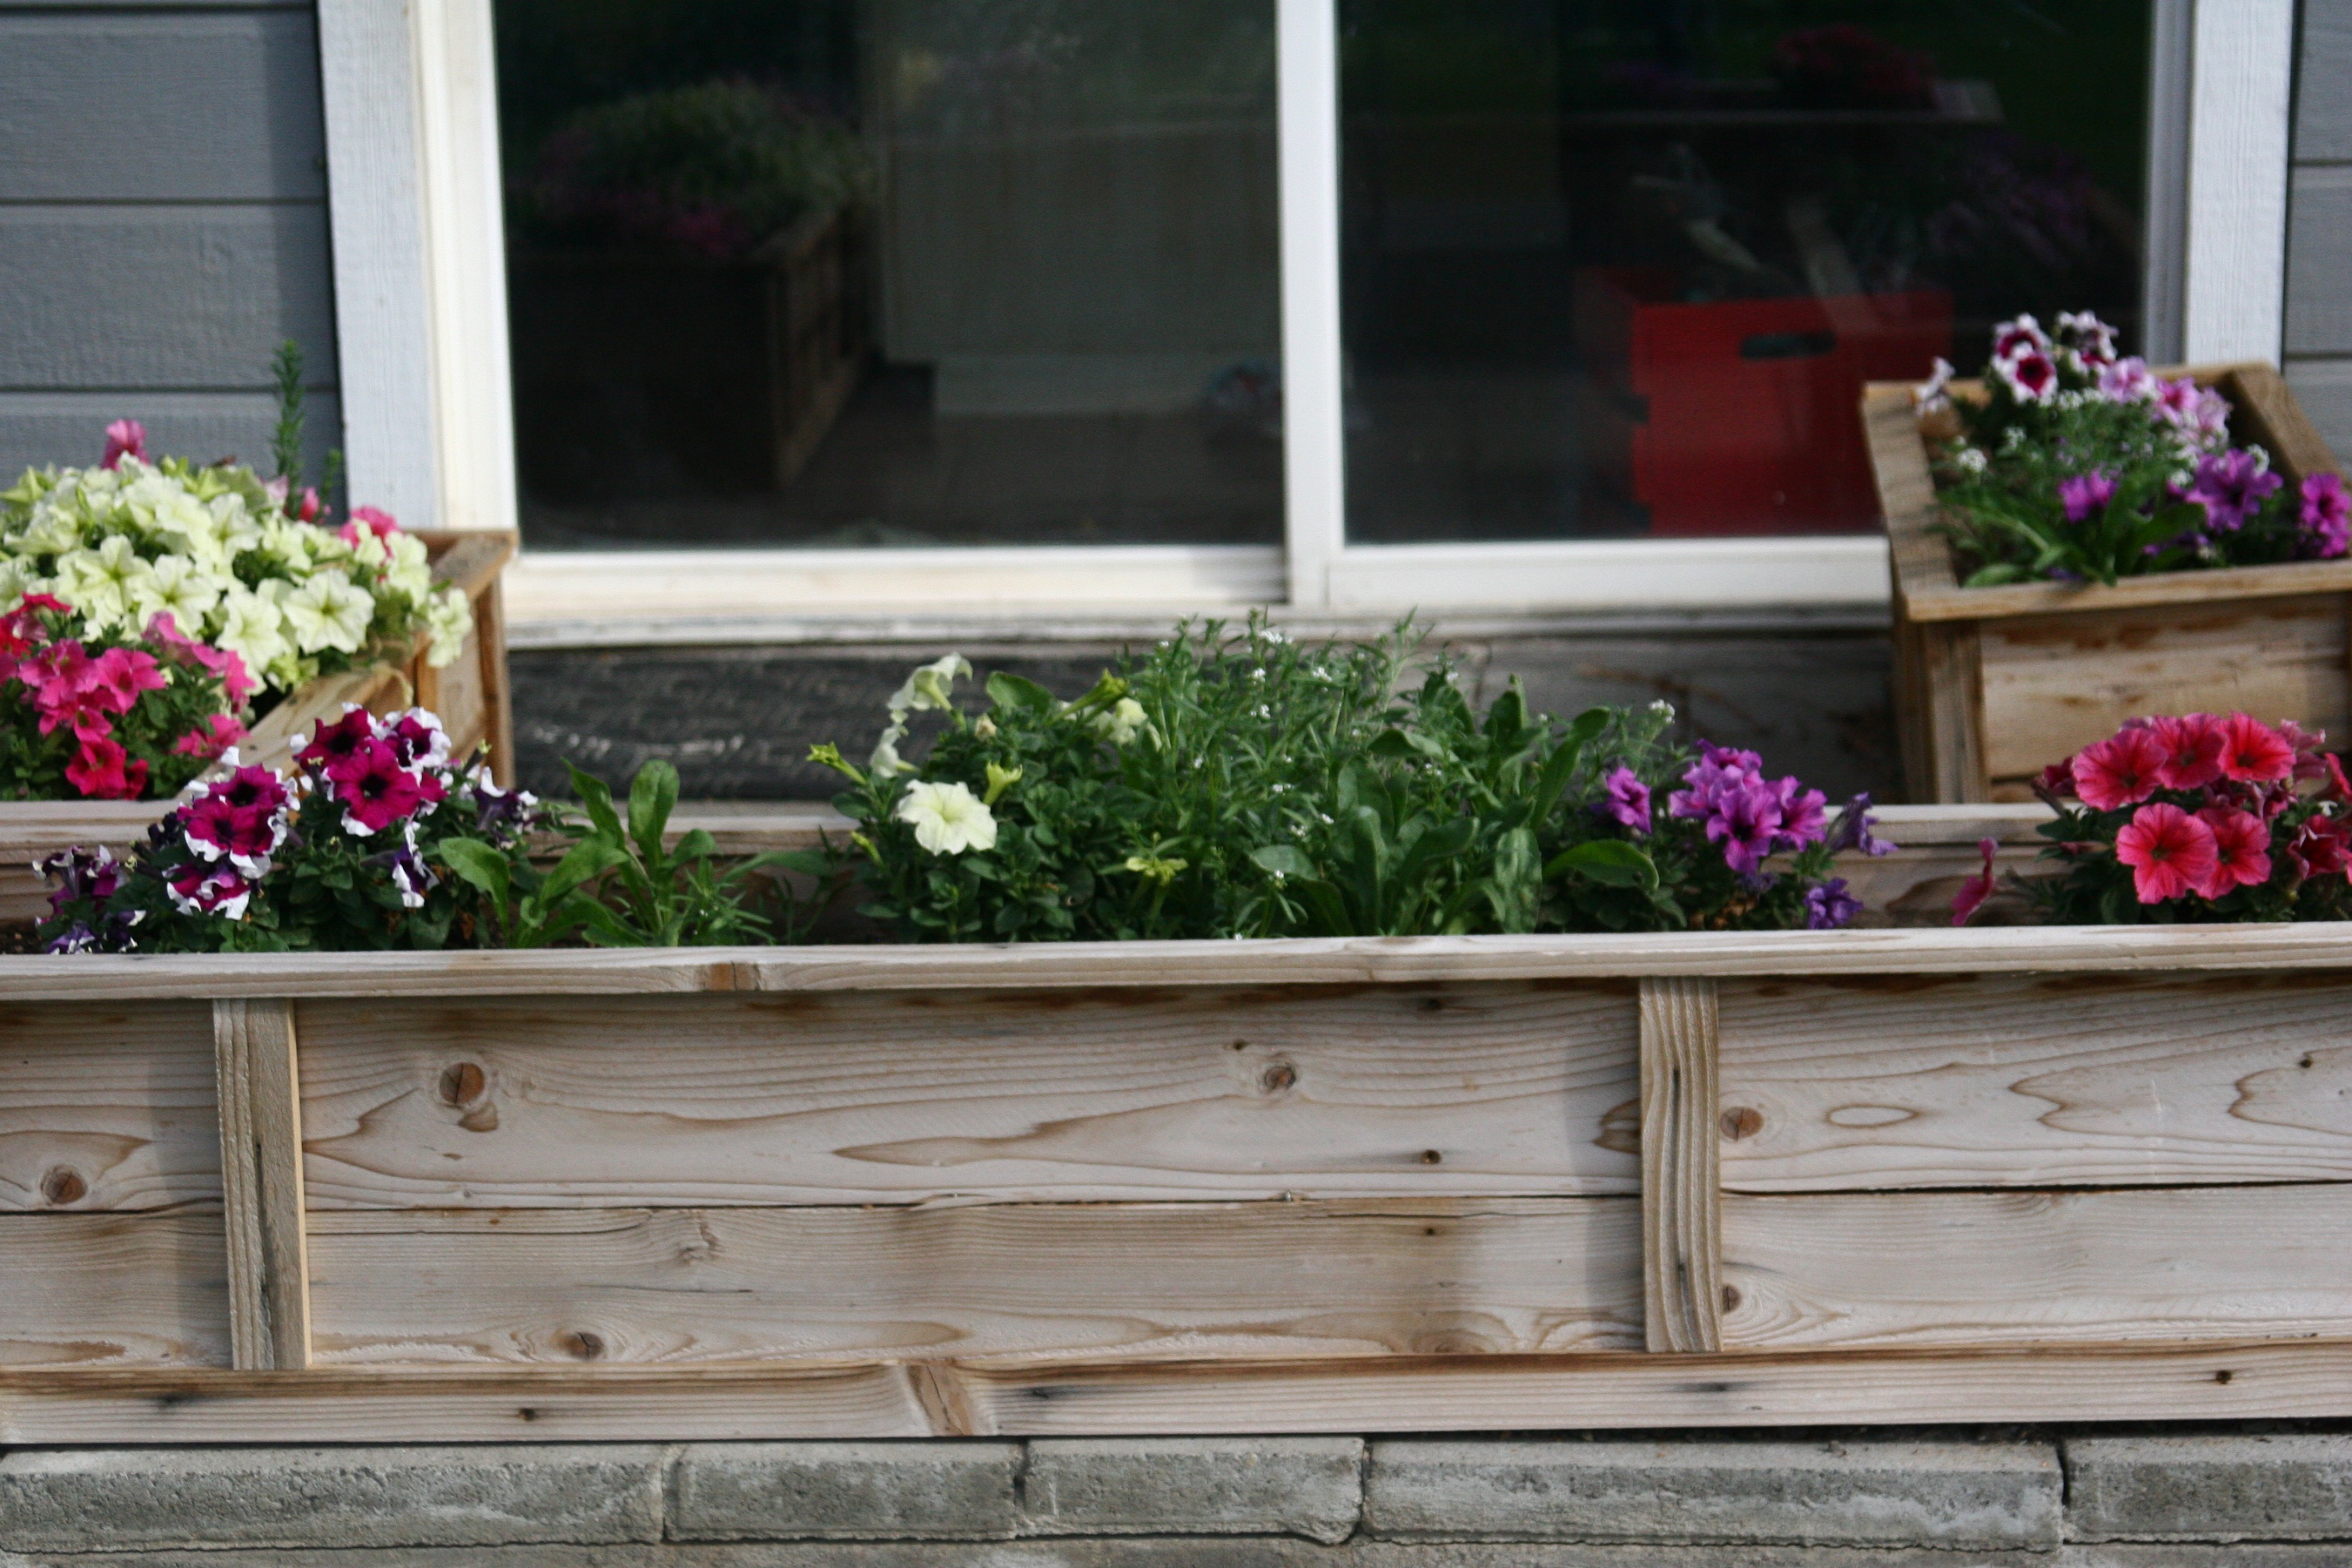
Raised flower planter beds
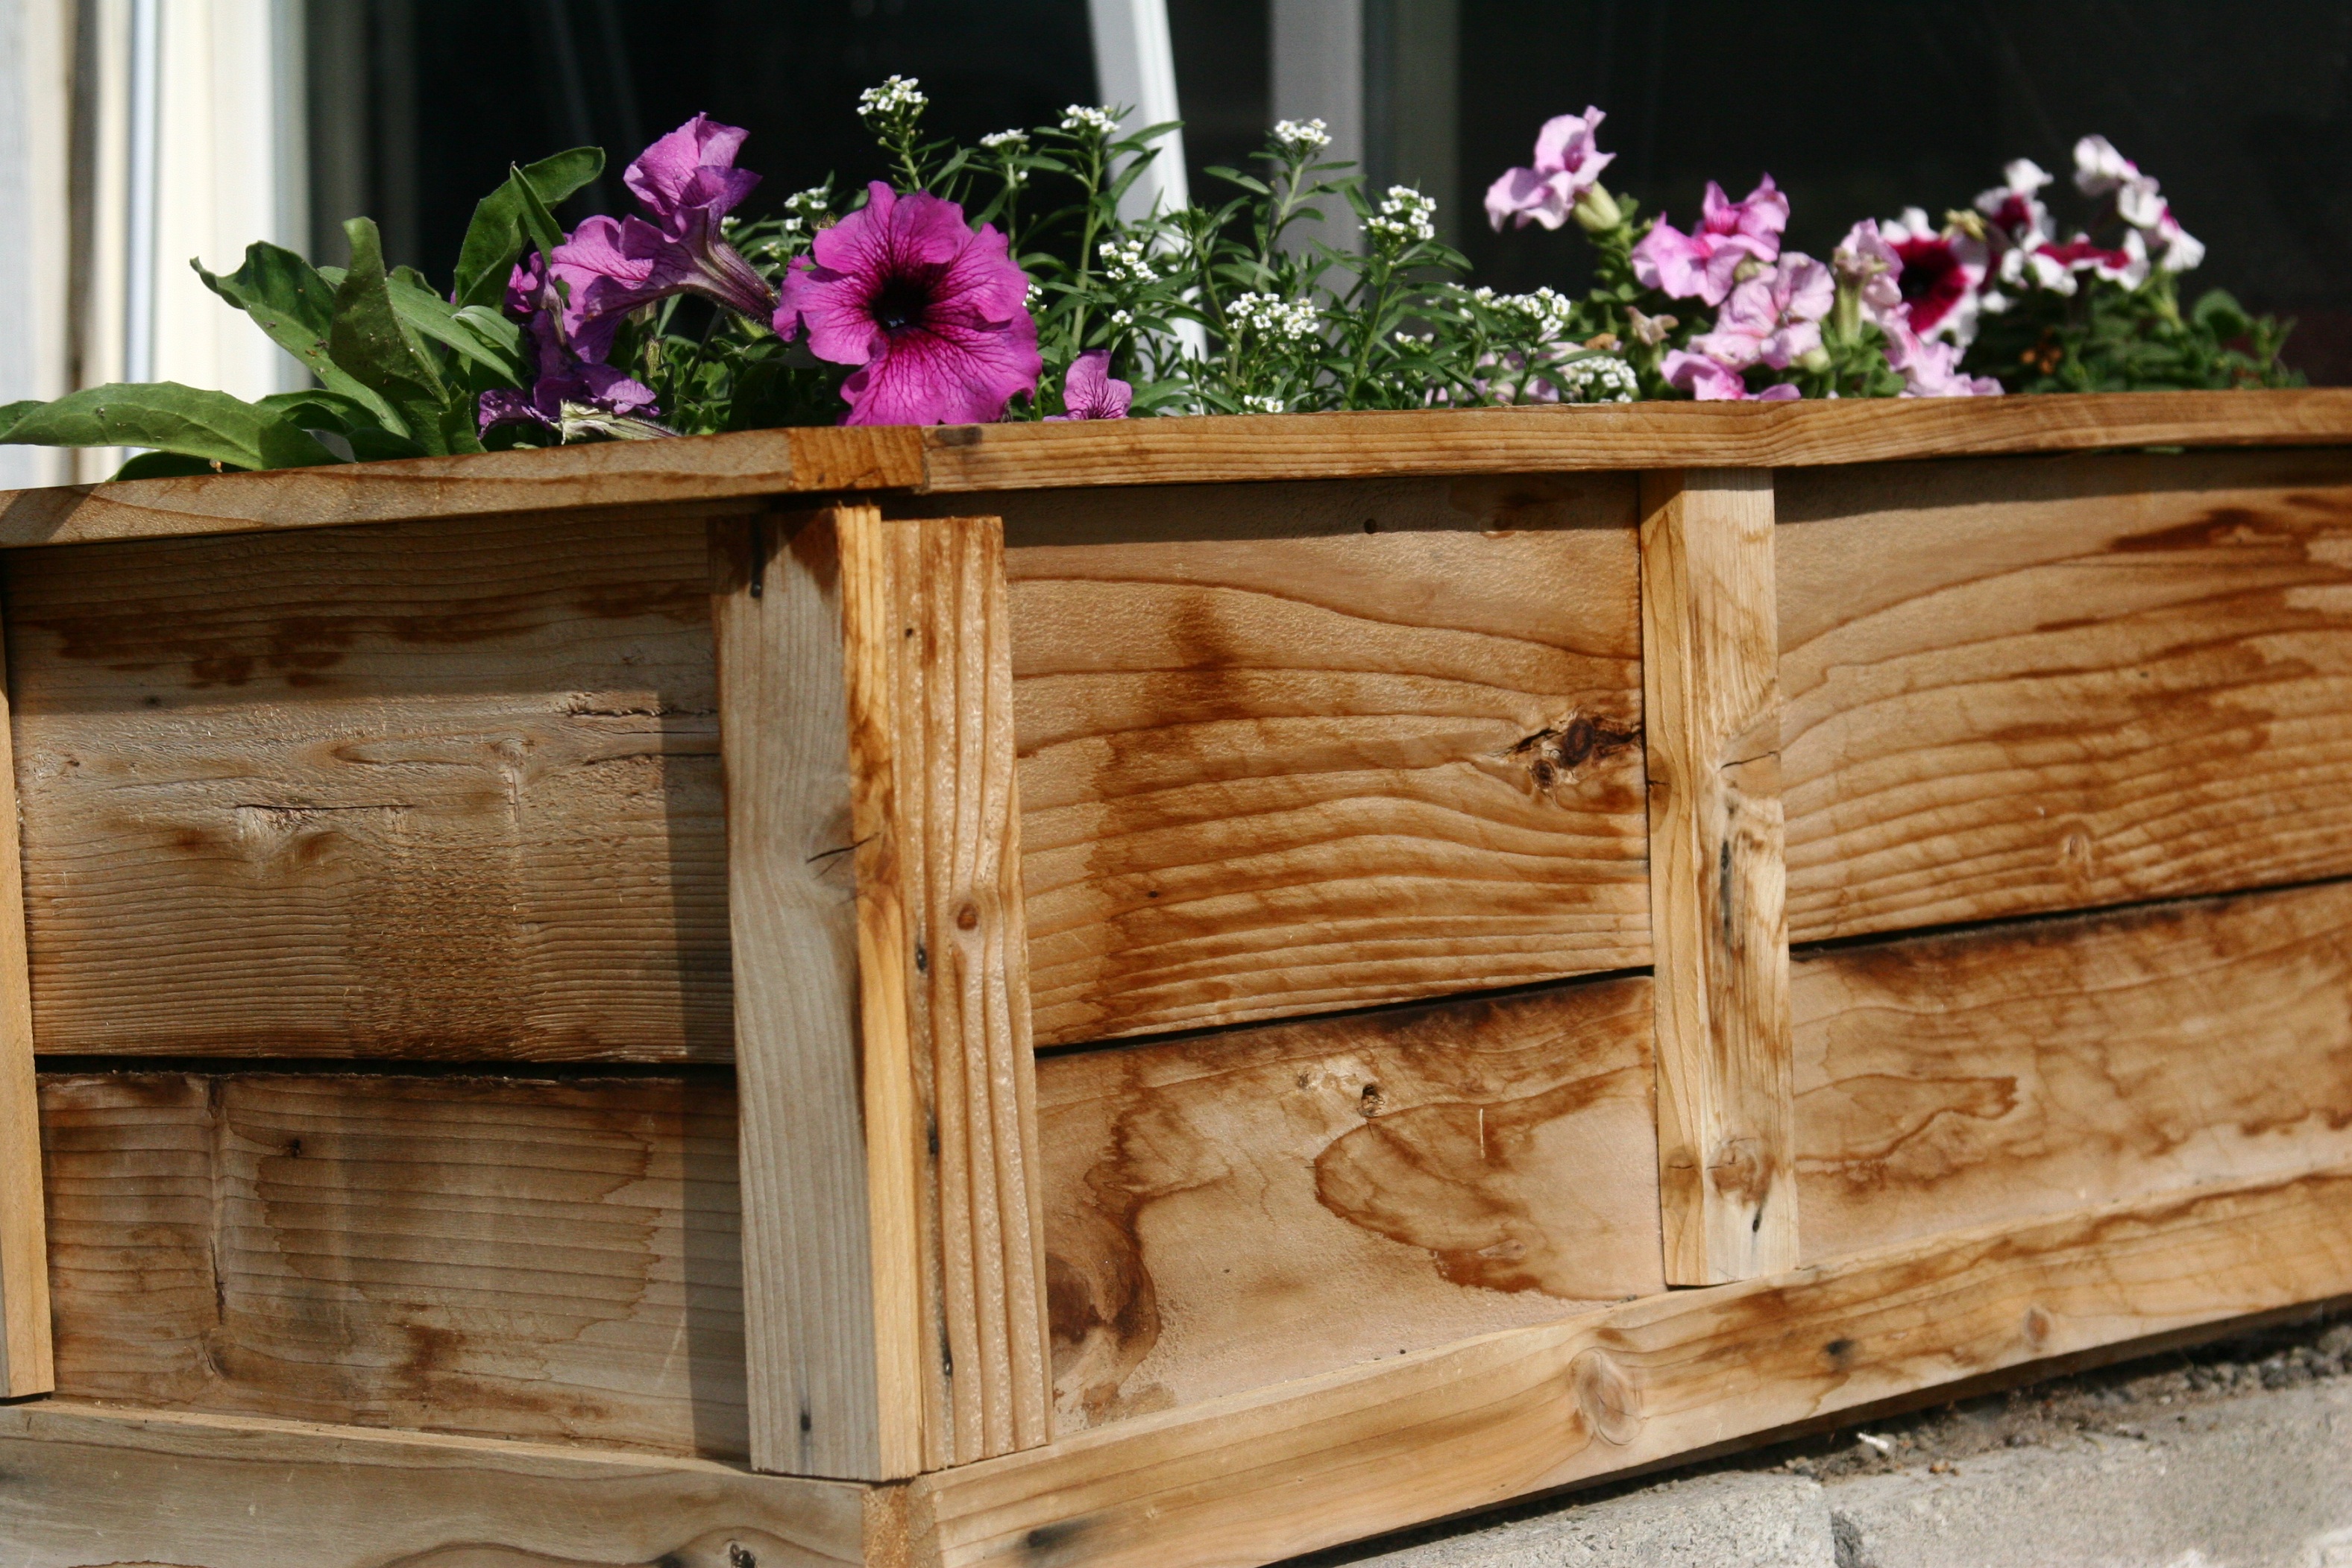
We bought a house with a death trap for a back step. Until we get to re-doing the entire back patio area I needed a temporary solution to keeping the kids from toddling off the back 'ledge'. I modified Ana's plans to make a nice border around the step so kids can't fall off when they are coming and going from the backyard. We had left over cedar fence slats from when we did our fence last spring...PERFECT and FREE!!!!!
Built from Plan(s)
Estimated Cost
Free!!!!
Estimated Time Investment
An Hour or Two (0-2 Hours)
Recommended Skill Level
Beginner
Comments
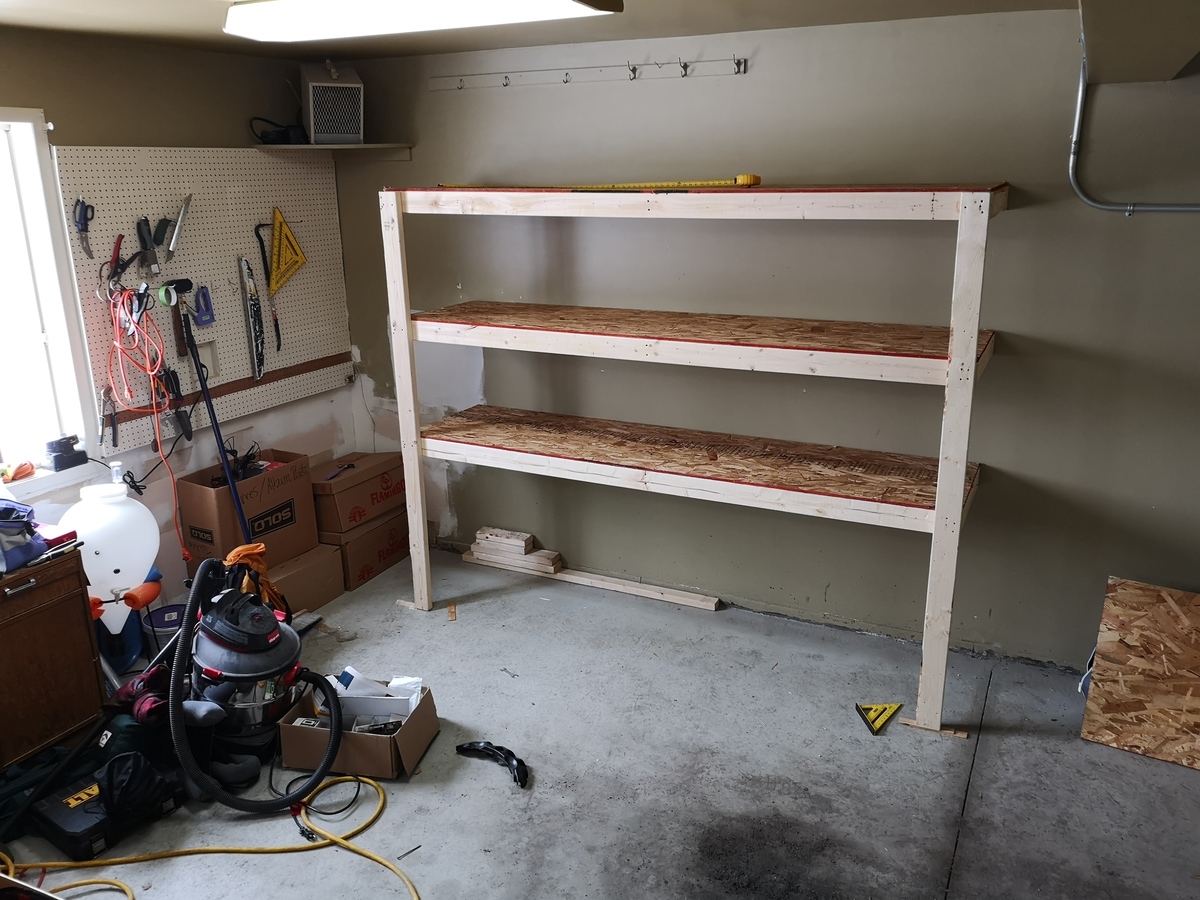
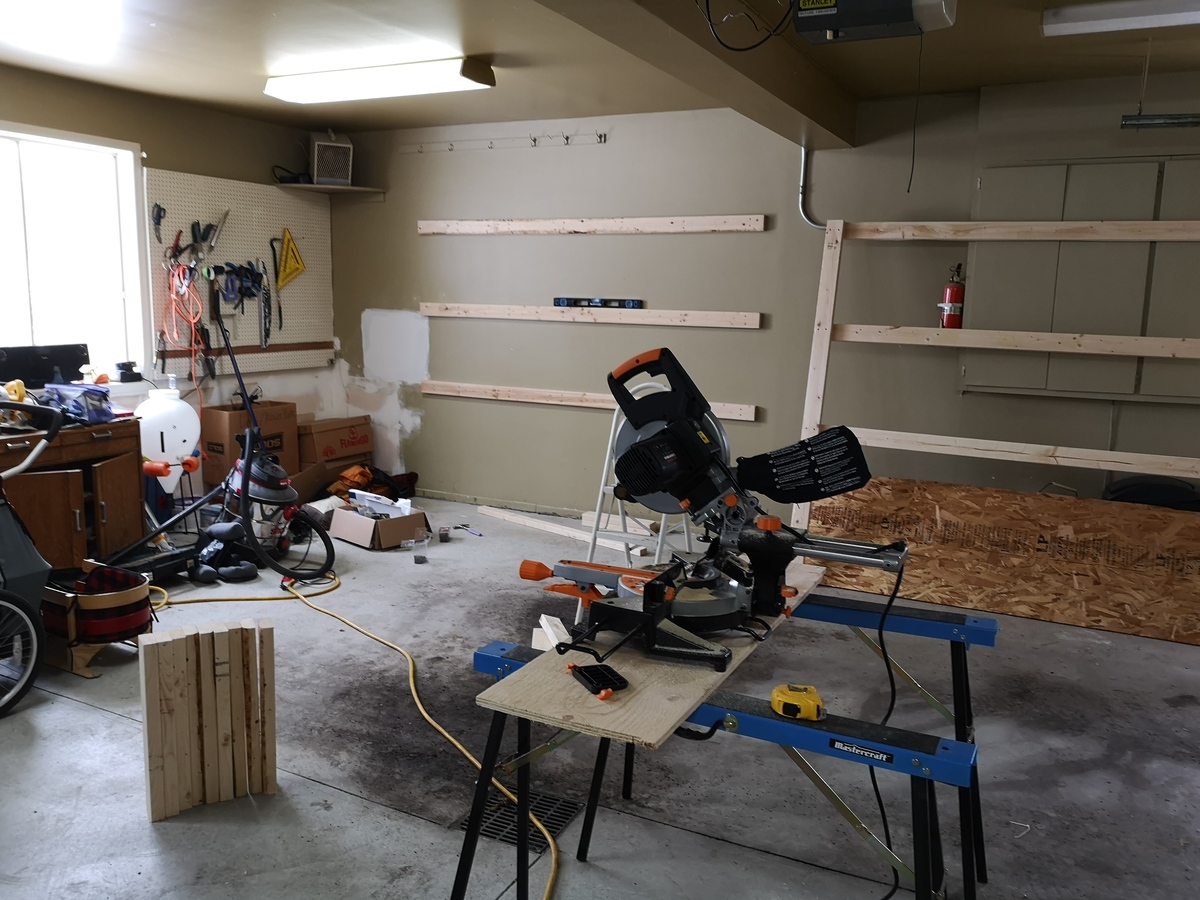
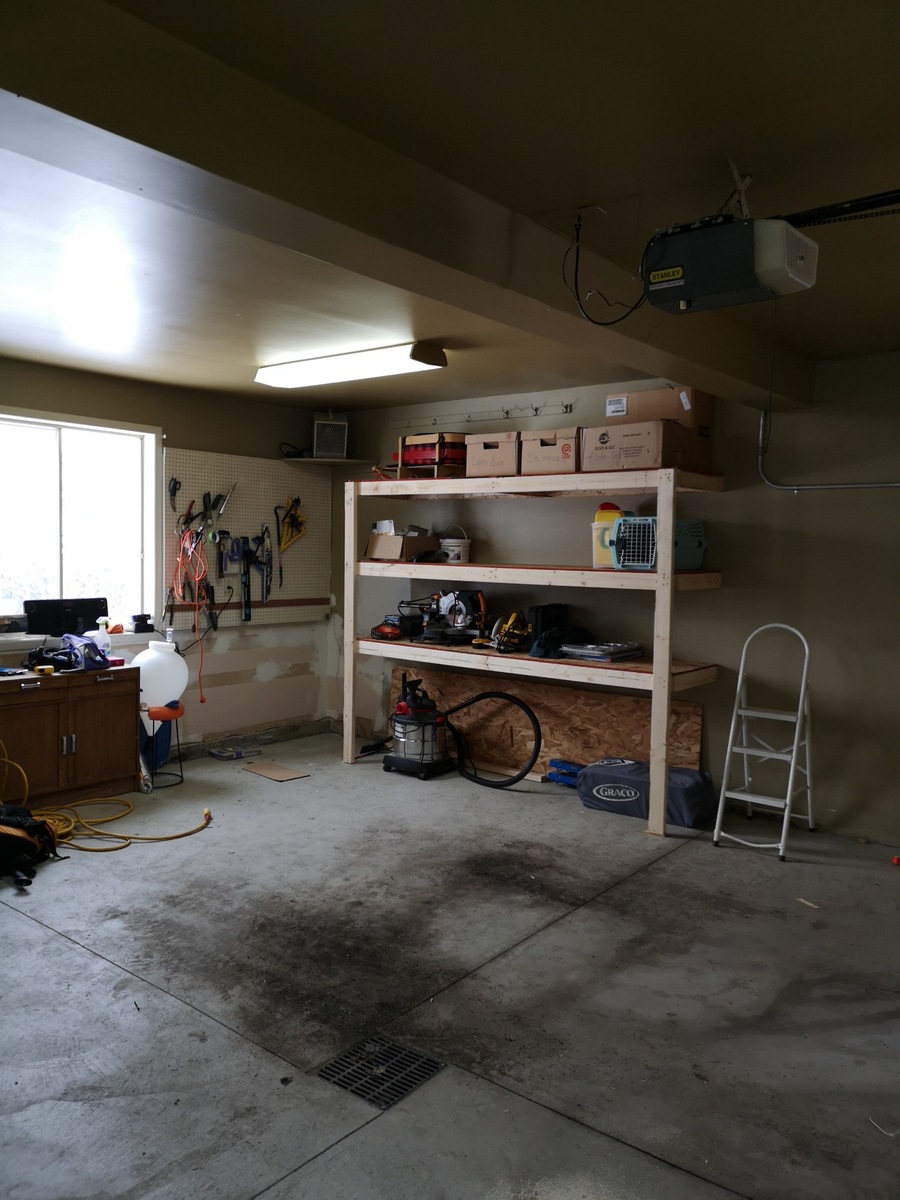
Simple Pot Rack and Spice Shelf
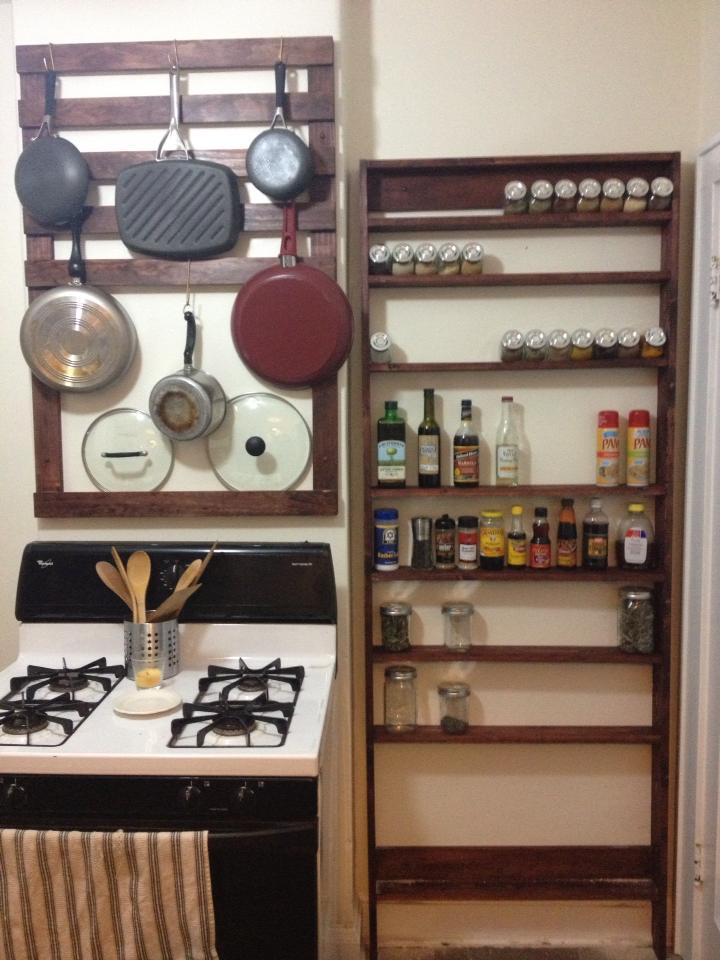
This was a very simple pot rack and spice shelf using 1x3 for the pot rack and 1x4 for the spice shelf.
Spice Shelf is 7ft and the most complicate part was cutting the uprights for the large baseboards in our house. I used a profile gauge but this wasn't quite enough. Eventually I did some sanding on the spot to get the best fit. Having gained my addiction from Ana for Kreg Jigs the shelves and mounting pieces were added with pocket hole screws. By placing the screws on top or on the bottom I was able to avoid the necessity of plugging holes. Shelf spacing is completely custom for our needs and the large bottom portion will receive a cross brace in the front to hold in our shopping bags. Butterfly bolts were used to mount the shelving through the lathe and plaster walls.
The pot rack is simply a 1x3 ladder where I used a 1x3 for the spacing between the rungs. Large bottom to hold pot lids. Hooks were hand bent using a jig to ensure they were all the same. Mounted to the old brick chimney in the kitchen using TapCons.
Both items were finished in MinWax Mahogany and had one coat of of poly to keep the rustic feel.
Length of project depends on drying times.
Any questions please let me know!
Estimated Time Investment
Weekend Project (10-20 Hours)
Finish Used
Minwax stain and Poly
Recommended Skill Level
Beginner
Comments

Platform Bed with Headboard
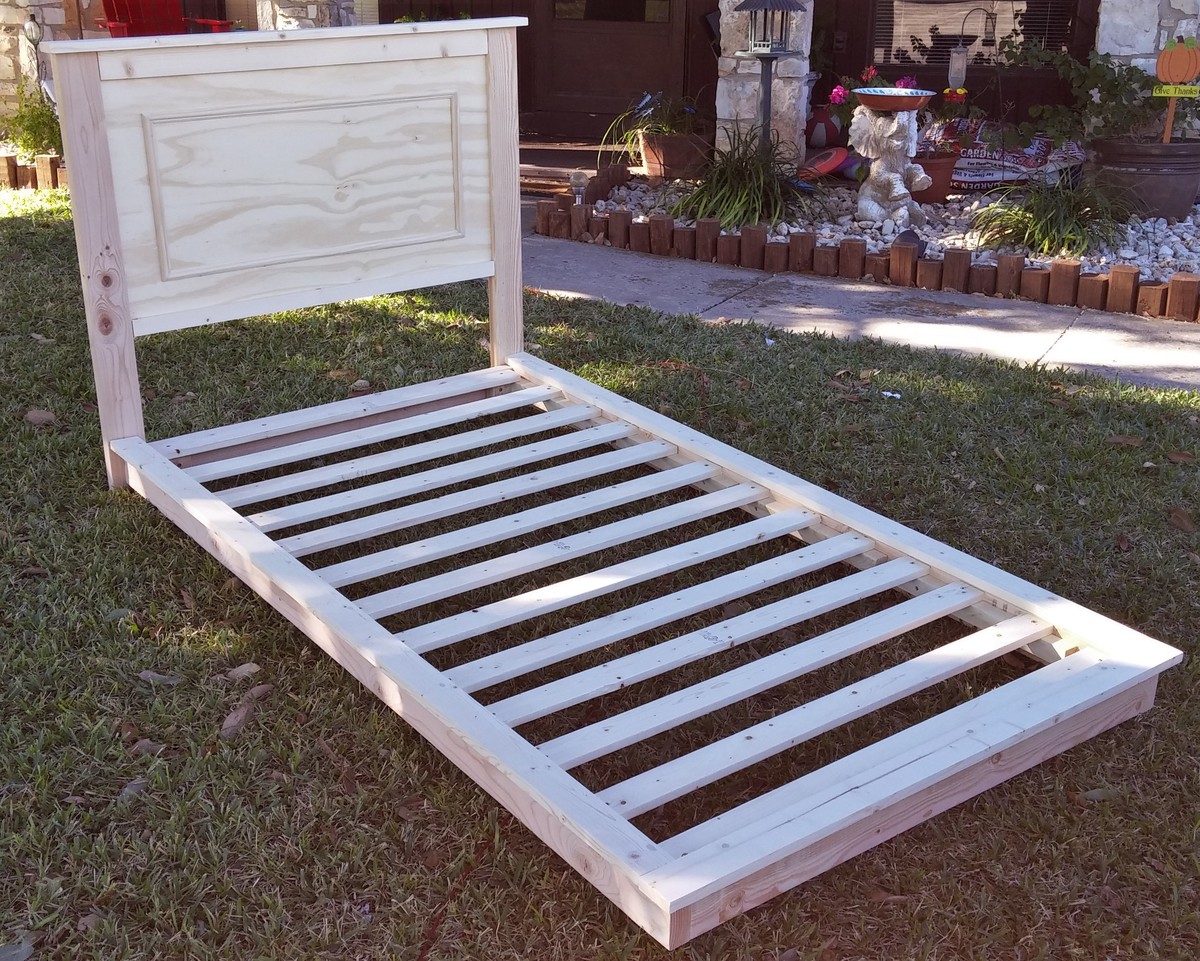
So appreciative for the plans. This was one of the bigger projects I've taken on but I had so much fun with it. A client of mine actually sent these plans to me because she wanted this exact bed with headboard. I was a little apprehensive at first because I haven't normally done a lot of custom work but it was a lot of fun.
Built from Plan(s)
Estimated Cost
$70 for everything
Estimated Time Investment
Day Project (6-9 Hours)
Finish Used
Unfinished. This project was to be completed by the client.
Recommended Skill Level
Intermediate
Bookcase
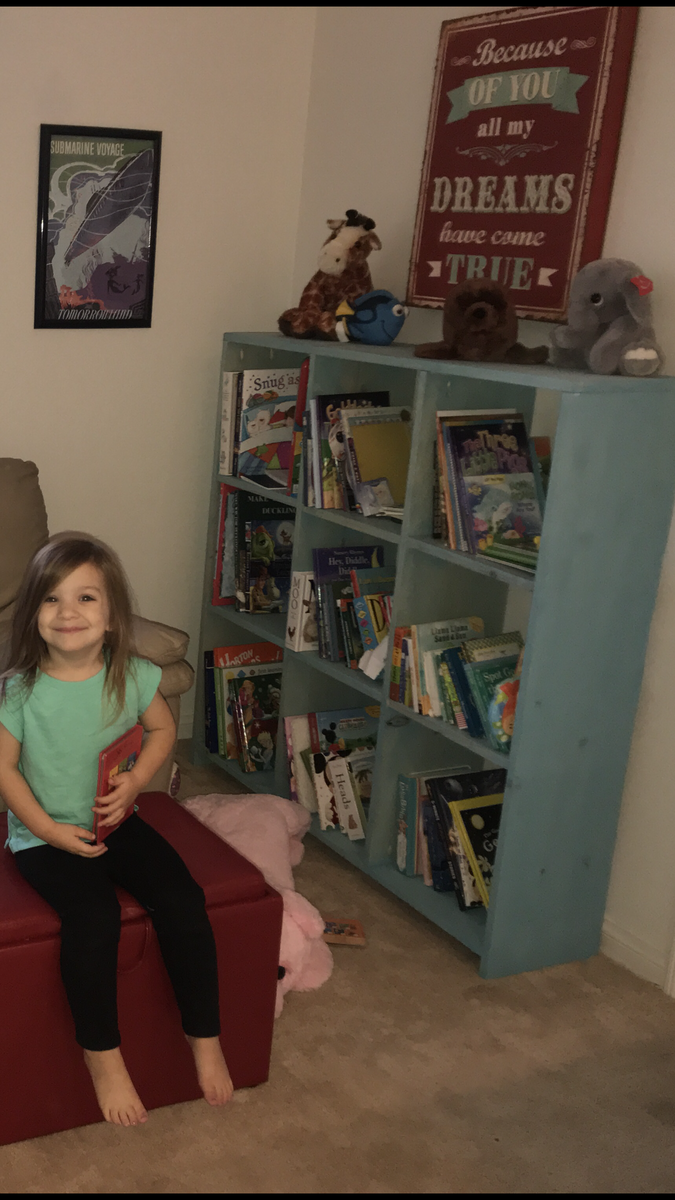
To be honest, not my favorite build but my daughter loves it. Just one of those projects plagued with problems
Built from Plan(s)
Estimated Cost
60
Estimated Time Investment
Day Project (6-9 Hours)
Finish Used
Vintage aqua stain
Recommended Skill Level
Beginner
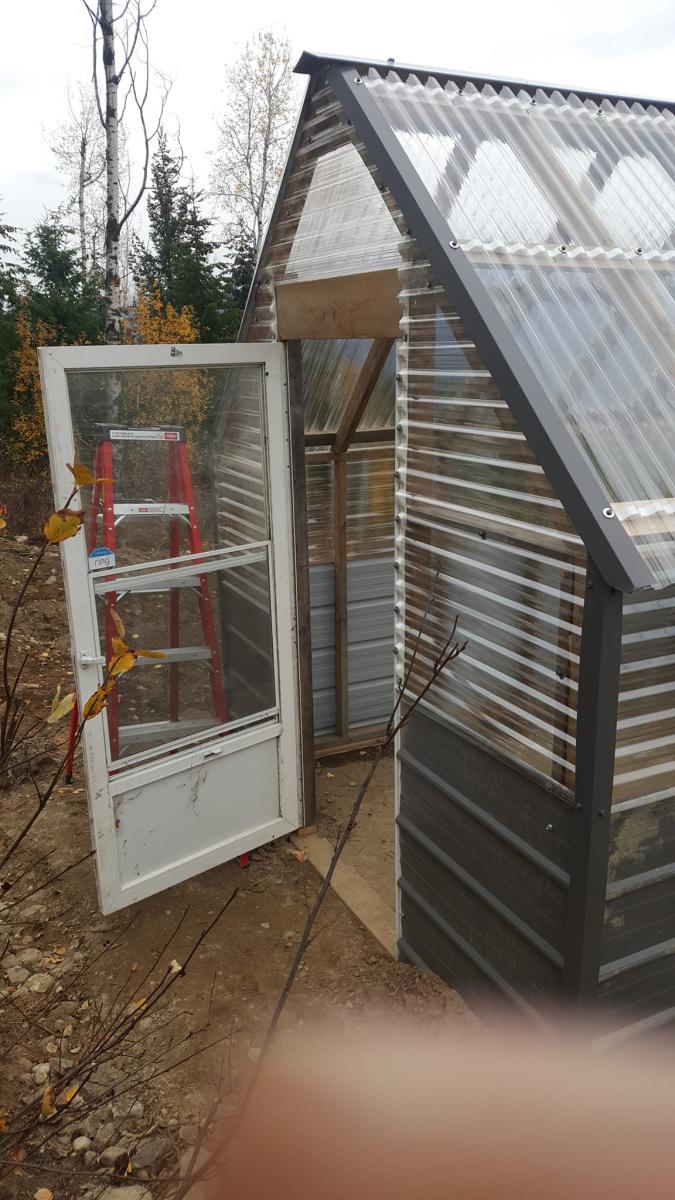
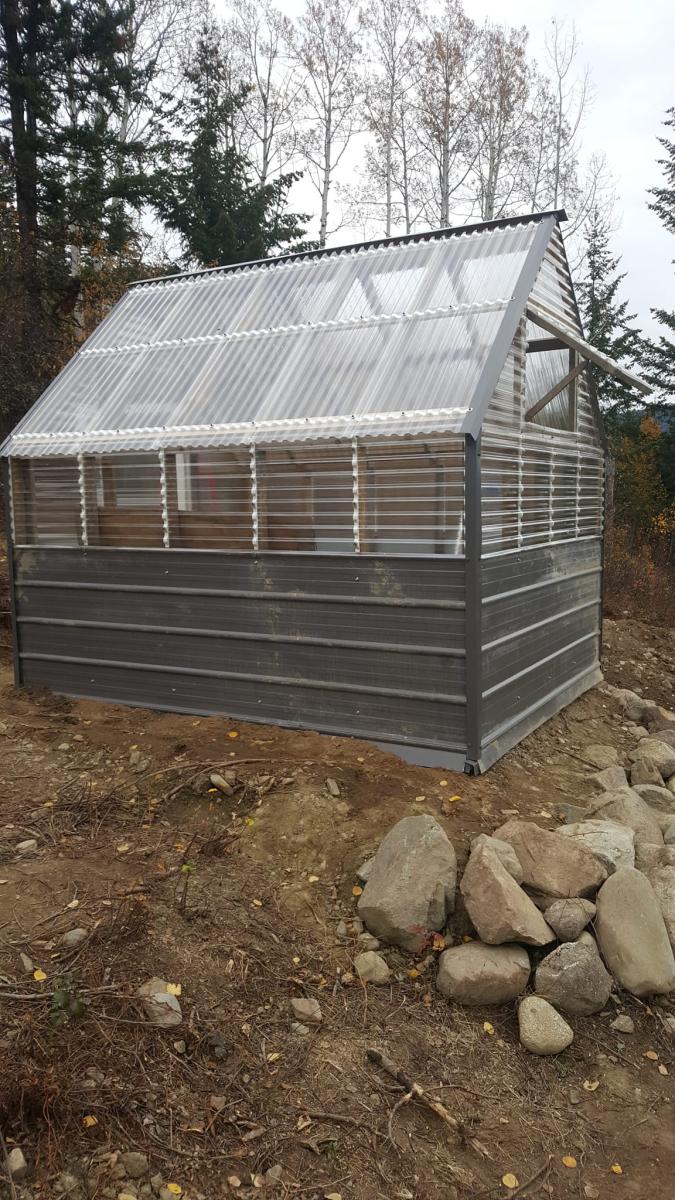
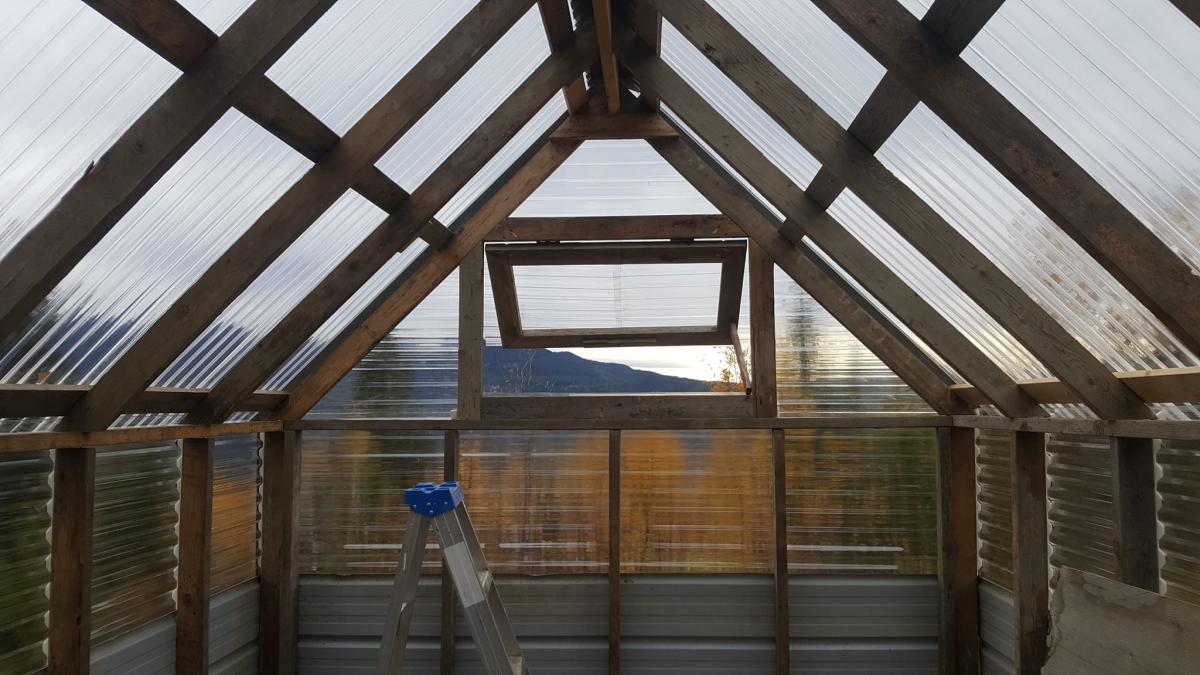
Small Gable Roof Greenhouse
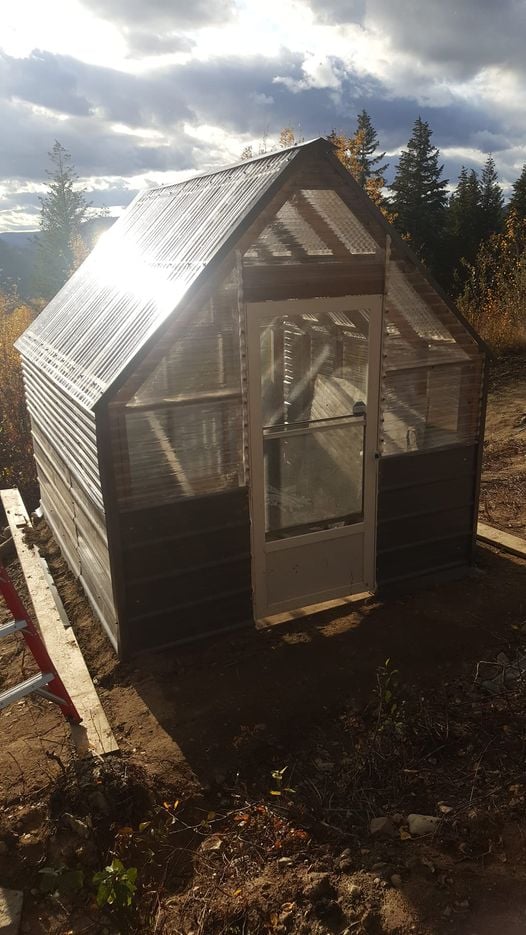
Ana's plans are so easy to work with. This greenhouse was build with all recycled materials from our home build, except for the corrugated plastic (total cost approx. CAN $1,000). I did have to make it a little bit smaller as the area that was leveled was a bit smaller than planned. I'm planning to add raised beds inside, add a solar panel so that I can have light in the evening and a fan during the day. I'm planning to attach some gutters and a rain barrel.
This is my second project, based on Ana's plans (first one: https://www.ana-white.com/community-projects/indoor-firwood-console). Next, I'm planning to make the fancy X farmhouse table and bench with storage. Stay tuned.
Built from Plan(s)
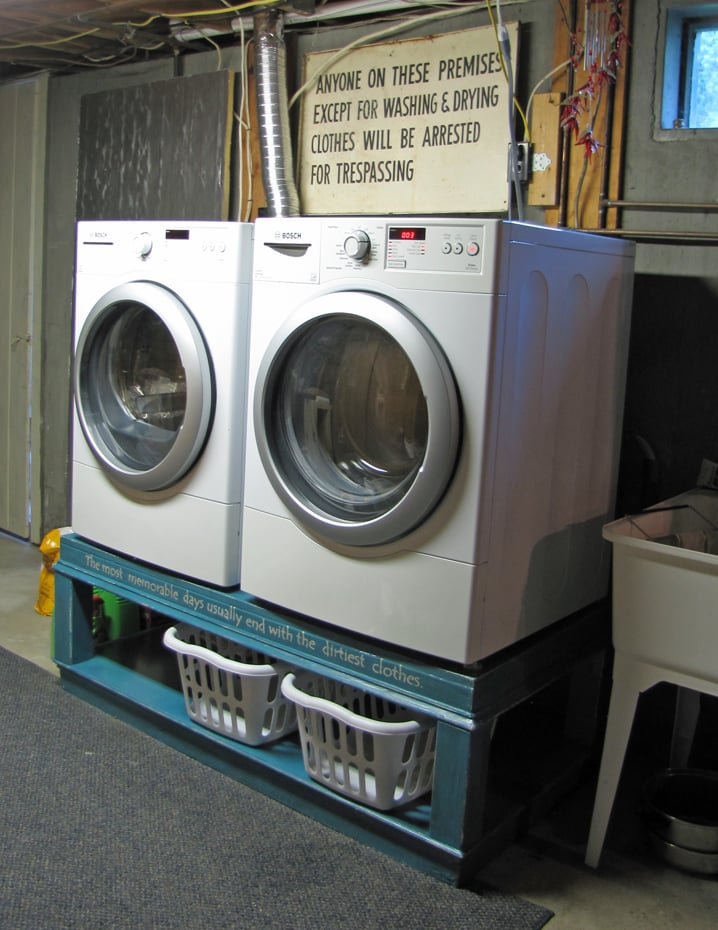
Our "Stop Breaking Our Back" washer and dryer pedestals
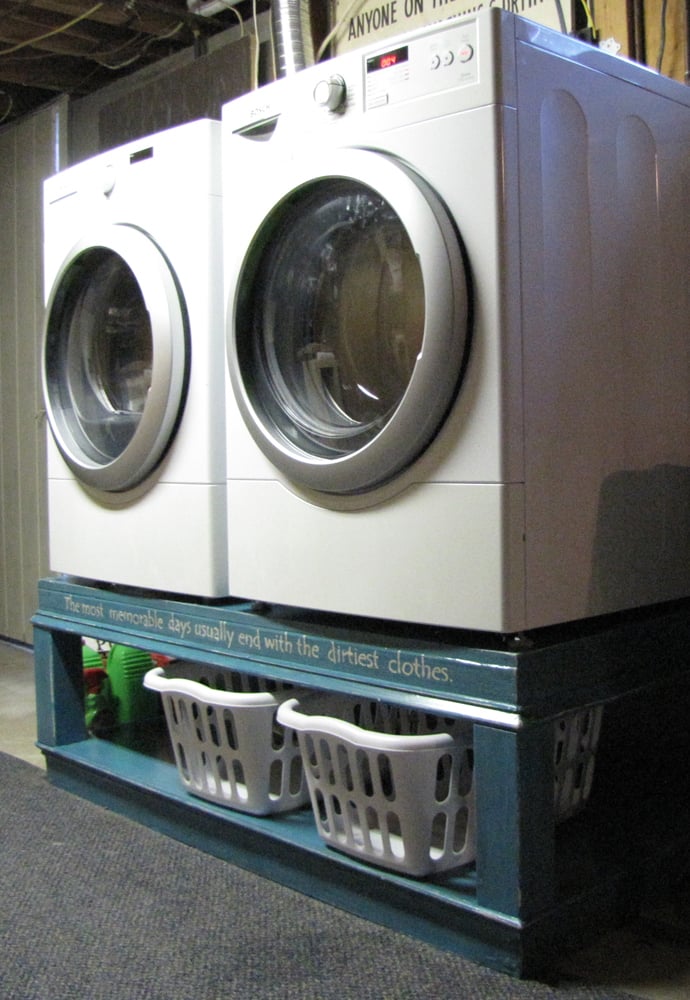
The husband kept complaining that the washer and dryer were too low without pedestals. Well, no problem! I've got plans from Ana's site.
I measured to fit our machines and followed the plans. But somewhere along the way I screwed up. I think it might have been how I attached the legs with the "L" brackets. My legs were sitting away from the base, not flush with it. Anyhow, the way to correct my mistake was to attach the moulding along the sides, front and back of the base, not around the legs. But I don't mind the way it looks. Just an FYI: there was a lot of waste with the sheets of MDF, but that's not a problem because I'm using it in another project as I write. :)
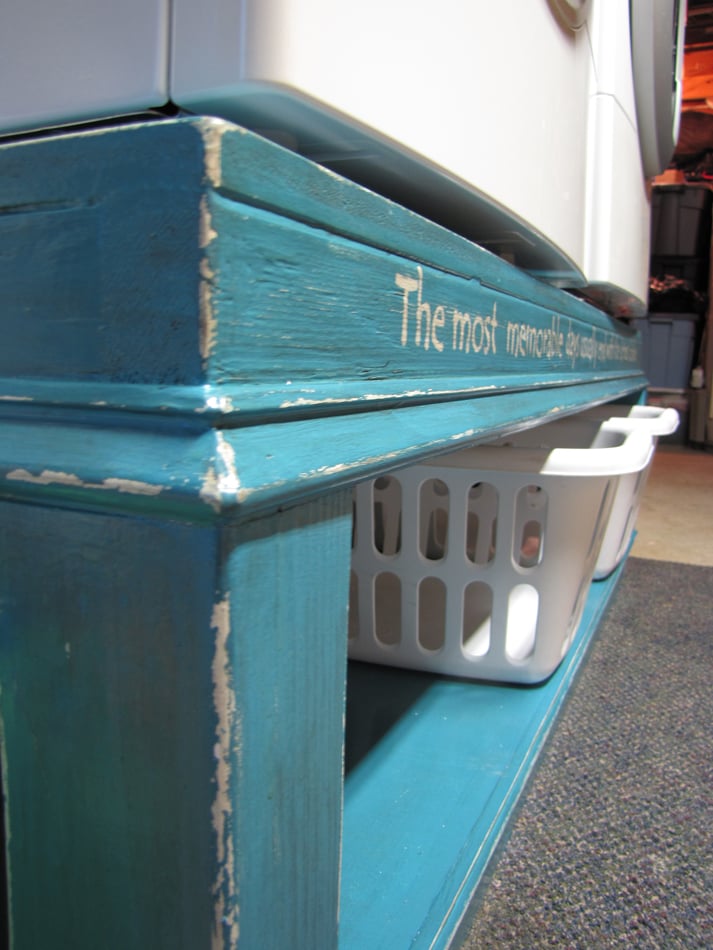
First, I put on two coats of primer. Then I decided I wanted a splash of turquoise in the basement, so I mixed a blue and yellow paint until I got the color I desired. After a few coats of paint, I distressed and then decided to tone down the color a bit with a Valspar glaze. I put on two coats of poly, hoping that would be enough to withstand the inevitable water on the pedestal. I thought the piece was screaming for a quote, so I painted "The most memorable days usually end with the dirtiest clothes."
And you think with the new height he'd help me with laundry a bit more? Yeah, I think not.

Estimated Cost
$70
Estimated Time Investment
Afternoon Project (3-6 Hours)
Finish Used
Mixed a blue and yellow paint to get the turquoise. Put two coats of paint on over the primer. For the first time I thought I would try distressing with candle wax. I rubbed the candle down the edges of the wood and gently brushed away any wax crumbs. Then I painted over it. When it was time for distressing, I gently rubbed the sandpaper over the edges and the paint easily came off. Definitely looks different than distressing with just sanding. Finished up with a little glaze then 2 coats of polyurethane.
Recommended Skill Level
Beginner
Comments
Tue, 08/30/2011 - 18:58
Looks great!
I love the color! I'm usually not a fan of quotes on furniture but this is really cute and it fits perfectly! Great job!
Sat, 09/10/2011 - 17:44
Very snappy!
What a great idea, and I love the color choice! We have front loaders and bought the drawers for the bottom. While they are decent storage, they tend to travel open at times. This has so much more personality and adds a real built in look to the laundry area. I'm sure you saved quite a bit doing it this way over drawers. How is it holding up to the moisture and vibration of a the washers? Keep those great ideas coming.

In reply to Very snappy! by BethG (not verified)
Tue, 09/20/2011 - 18:38
No issues
I've been waiting for my machines to "walk off", but the pedestal is holding up well. I made sure to add poly to help protect it from the moisture. So far, so good.
Mon, 10/10/2011 - 18:43
I love the way the moulding
I love the way the moulding goes all the way around. Love the color and the quotes!
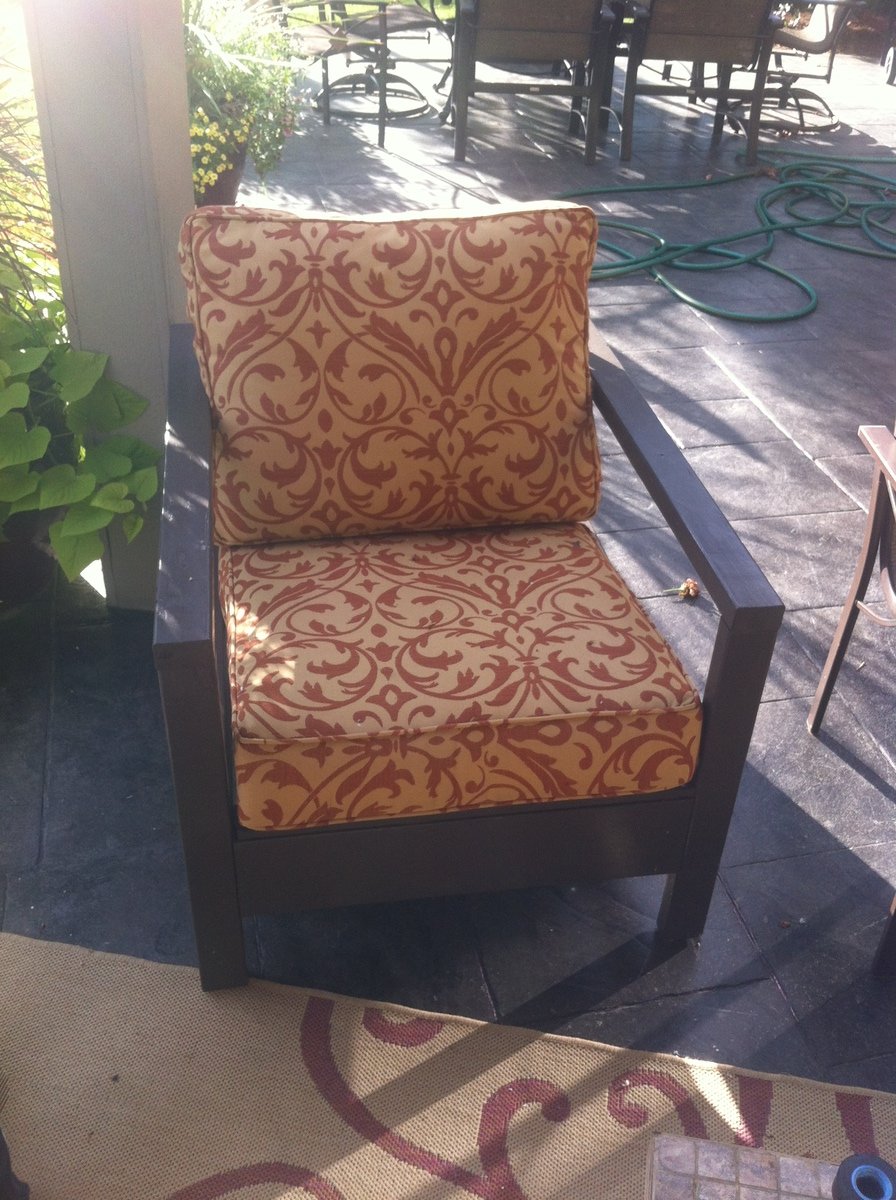
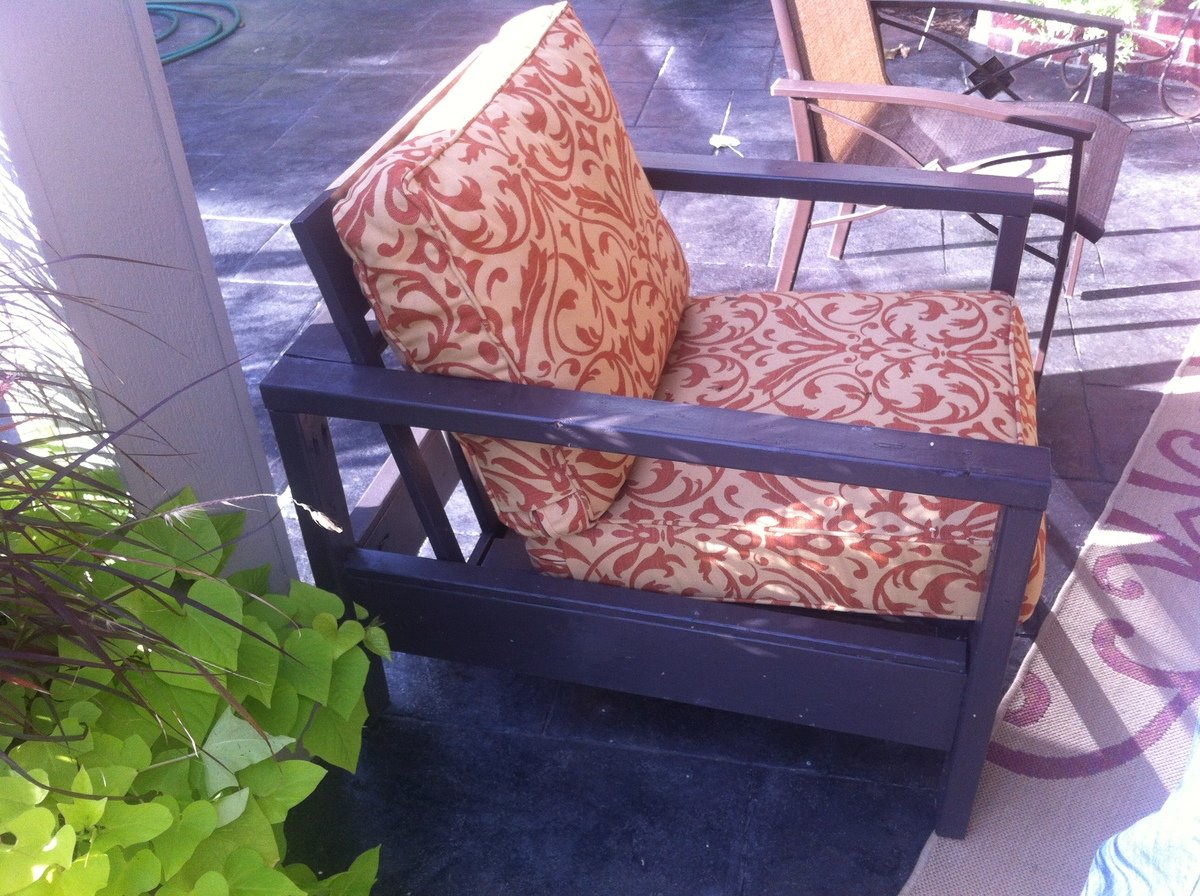
Outdoor Sofa and Single Chair

Our original sofa and loveseat turned out so well that my parents asked that we build them a set. It was our first time converting the plan to a single seat so I was nervous on how it would turn out, but it looks great!

Built from Plan(s)
Estimated Cost
150
Estimated Time Investment
Weekend Project (10-20 Hours)
Finish Used
outdoor paint
Recommended Skill Level
Beginner
Comments
Fri, 09/20/2013 - 15:10
Beautifully done!
Beautifully done! I love the colors and how they play off of each other. I just finished building the loveseat and two chairs. Couldn't be happier. I'm getting requests too, but I'm still worn out from building mine.
Our scrap wood storage bed
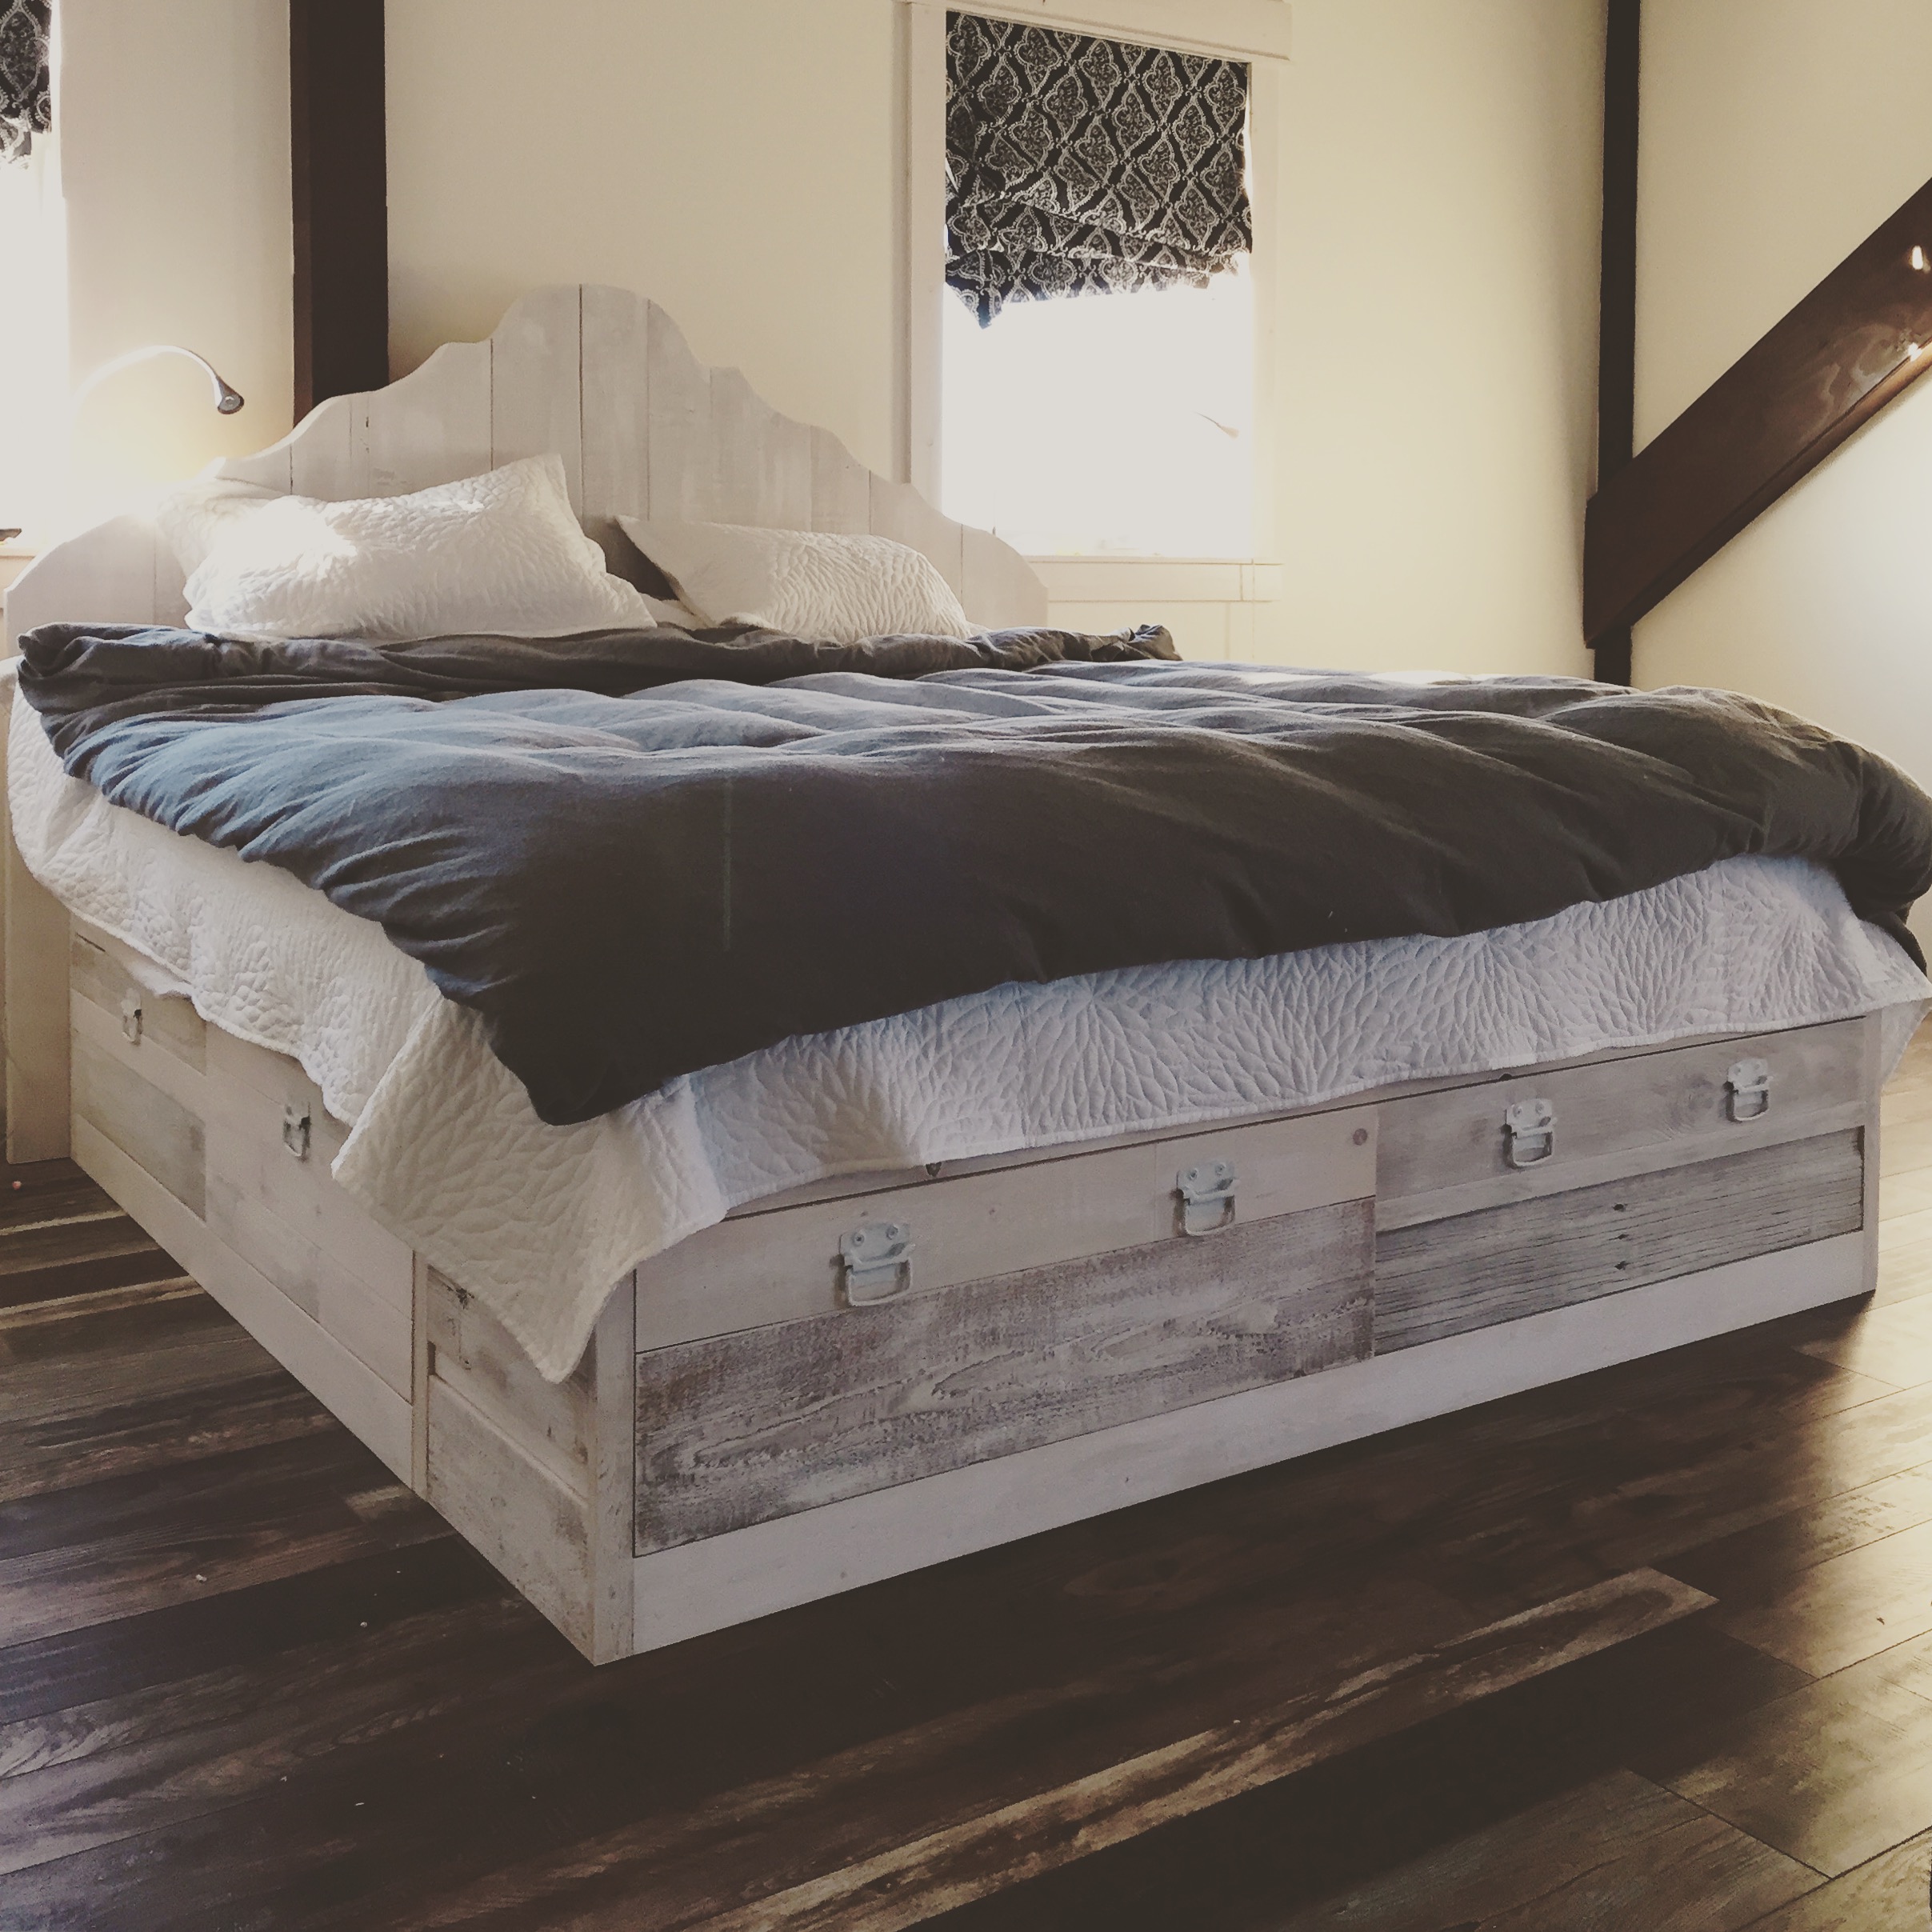
Our version of the Brandy Storage Bed in king size. Added a headboard made from from weathered wood leftover from building our house. The "scrap wood" pieces used to cover the bottom are a mixture of rough cedar, old wood from a grain bin and general 1X scraps.
Thanks so much for the plans Ana, we love our new bed!!
Built from Plan(s)
Recommended Skill Level
Intermediate
Comments
Thu, 11/26/2015 - 09:26
Lovely indeed!
Gorgeous, absolutely gorgeous! Love the hardware and finish choice, great build!
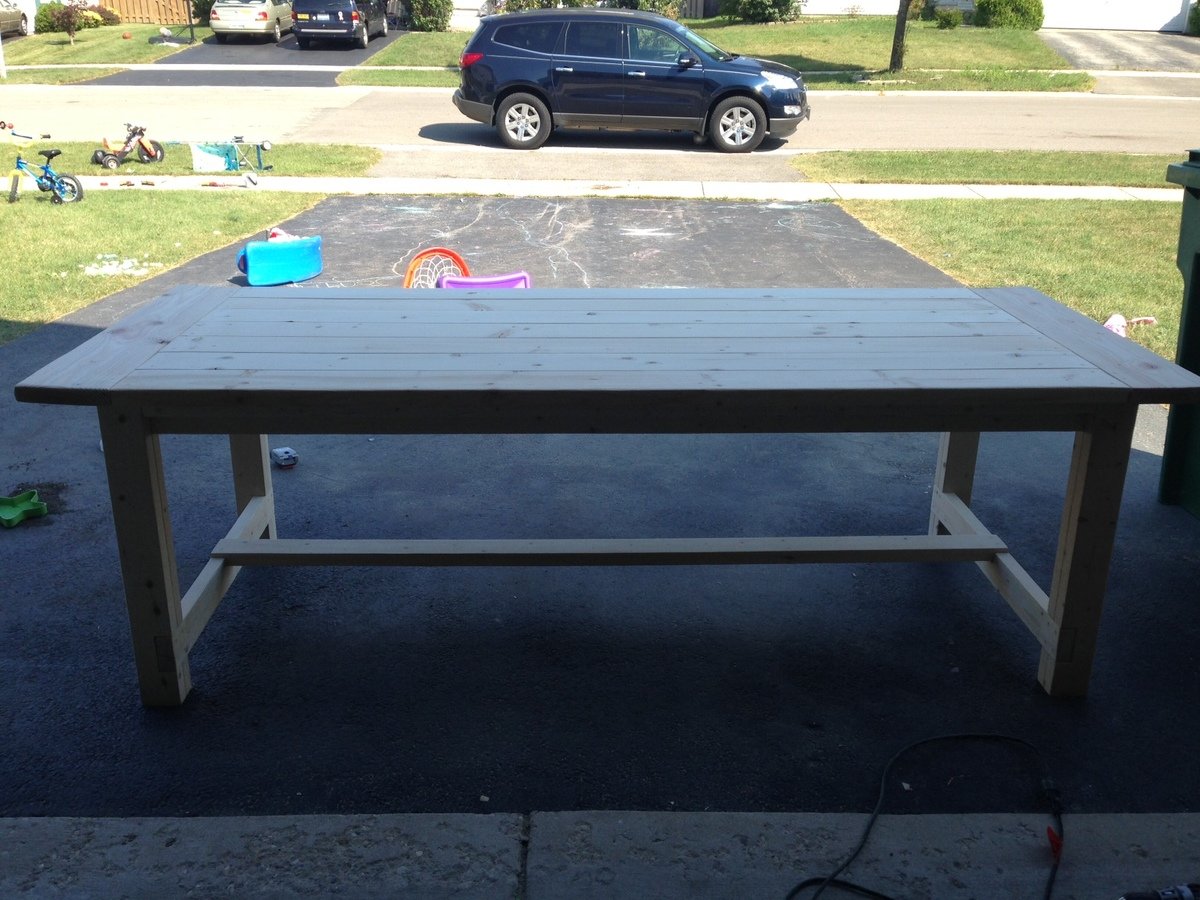
Farmhouse Table

Had a great time making this table! Can’t wait to make some benches to go with it!
Estimated Time Investment
Afternoon Project (3-6 Hours)
Recommended Skill Level
Beginner
Comments
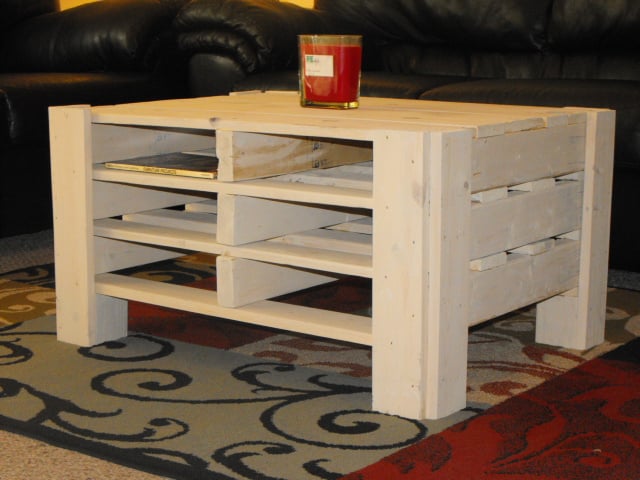
Pallet Coffee Table
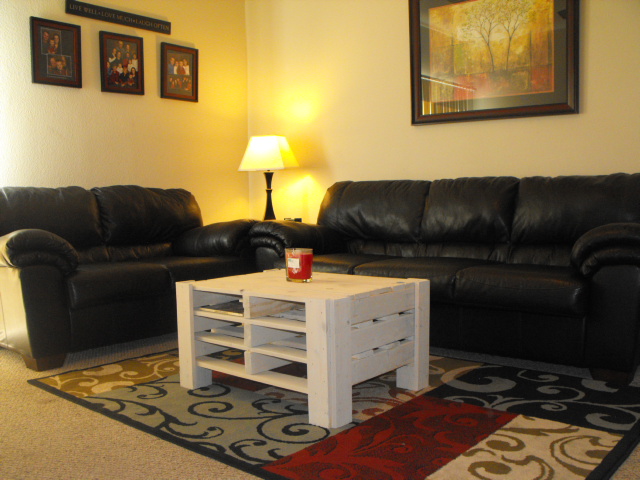
I seen the plans for a coffee table made out of pallets submitted by Aud builder and just had to try it. The company where I work has tons of pallets so it really didn't cost me anything. I added an additional pallet and left the casters off. In place of the casters I put 4, 4" 4x4's at the corners and then used 1x4 at each of the corners to connect the whole thing. Then I did the white wash on it. I loved the color and had a lot of fun putting it together.
Built from Plan(s)
Estimated Cost
$8.00
Estimated Time Investment
Afternoon Project (3-6 Hours)
Finish Used
watered down white paint
Recommended Skill Level
Beginner
Comments

Sun, 09/04/2011 - 16:25
Very Cool!
I love how this turned out! Super clever storage using the pallets, perfect for books.
Fri, 09/09/2011 - 12:53
Thank you!
Thank you birdsandsoap! It looks great in my living room. Too bad I built it for my neice who just married. She loved it too :-)
Sat, 01/14/2012 - 18:37
adapt for shoe storage
This is so cool. Love it. Dont need a coffee table but this made me think it could work for shoe storage with different dimensions.

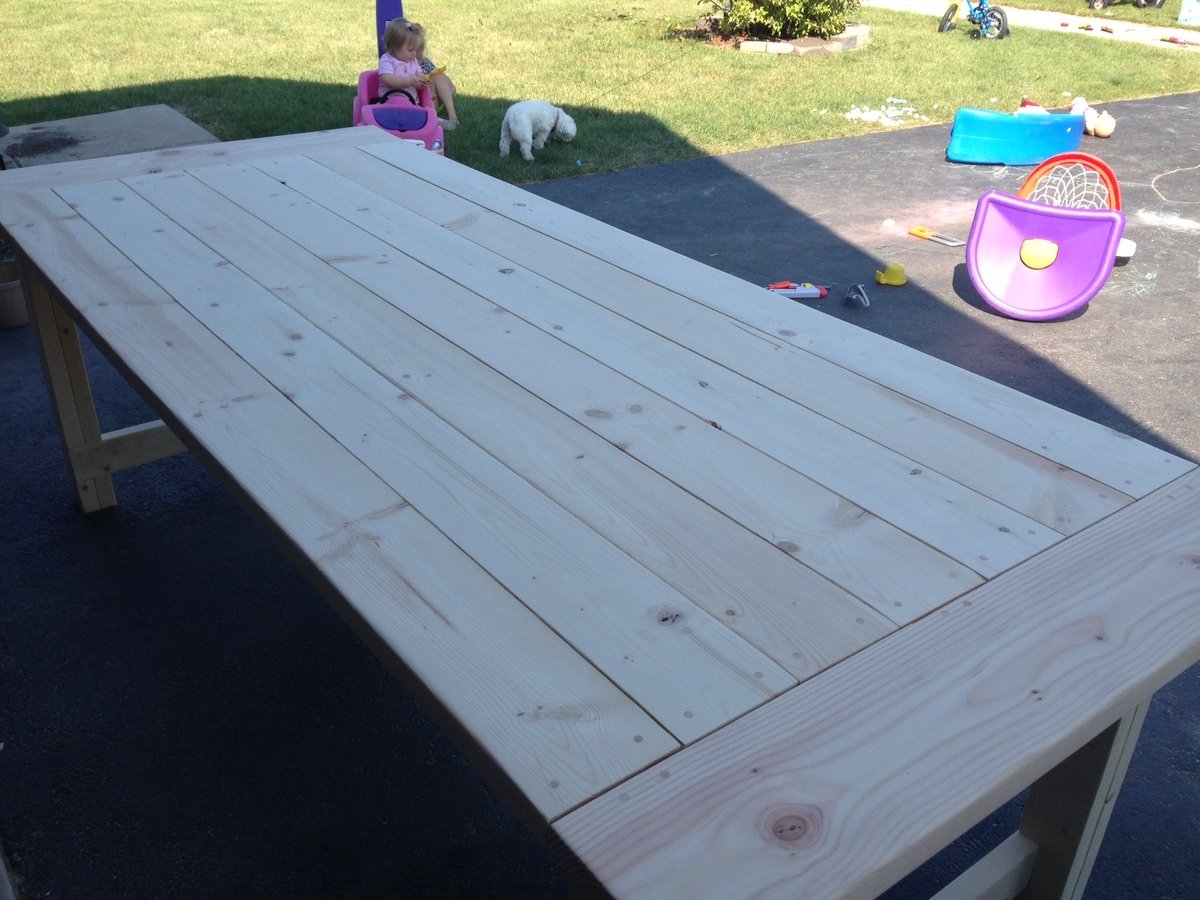
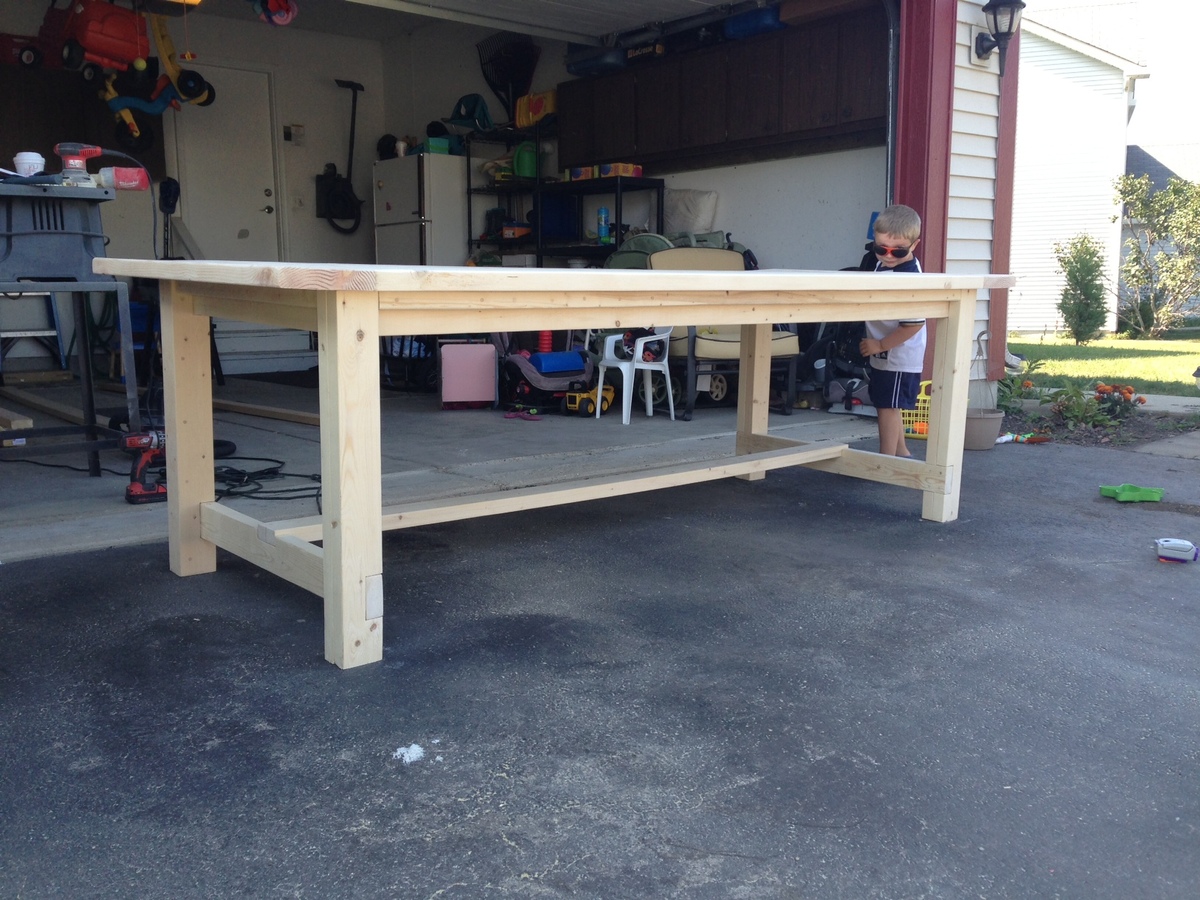
Farmhouse Table
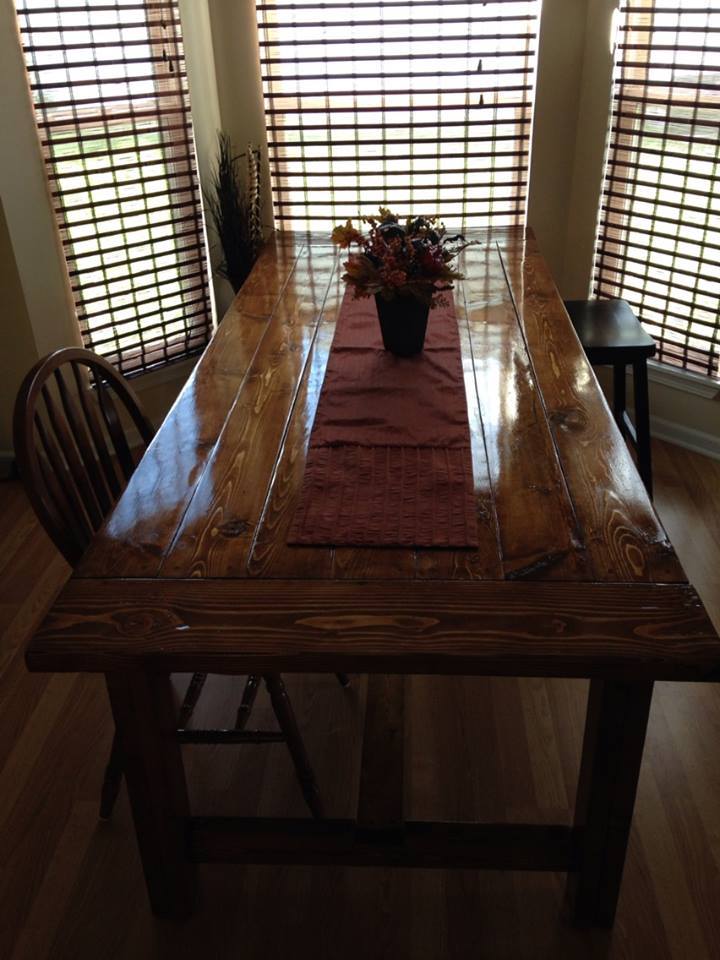
I worked on this over the past couple of months (would have been quicker, but you know..life gets crazy sometimes!!)
I used the farmhouse table plans to a tee and then stained and poly'd it. It turned out great!!! My Wife loves it and now all I have to do is build the benches. The wood is cut for them, just need to find the time to do it. This is my 4th Anna-White project. I have also built a bench for the end of our bed, some laundry cubbues, and a day bed.
I love this site and plan on using much more...I have friends and family wanting me to build them stuff...the only thing now...is how much do I charge..... :)
Built from Plan(s)
Estimated Time Investment
Week Long Project (20 Hours or More)
Finish Used
Miniwax Old American and semi-gloss poly
Recommended Skill Level
Intermediate
Comments

Mon, 09/23/2013 - 17:45
Looks beautiful!
Great work!! I love the stain you chose too....wish I had space for a farm table.
Christmas Tree Shelf with Lights

I made this Christmas tree shelf using the plans here.
I modified it by adding on two shelves so that it could accommodate the 6 hooks I needed for my family's stockings. I also hot glued a string of lights to the perimeter. This is serving as our Christmas tree due to space constraints, so I wanted it to be "fancier" and more like an actual tree.
I think I did ok for my first real build and my family seems to really like it.
Estimated Time Investment
Weekend Project (10-20 Hours)
Finish Used
Rustoleum Sage Green spray paint in Satin
Recommended Skill Level
Beginner
Comments

Sun, 12/06/2015 - 18:37
You did awesome!!! It looks
You did awesome!!! It looks great and I love how you just made the tree larger to accommodate your needs. Great job! Love the lights!
Distressed finish fireplace
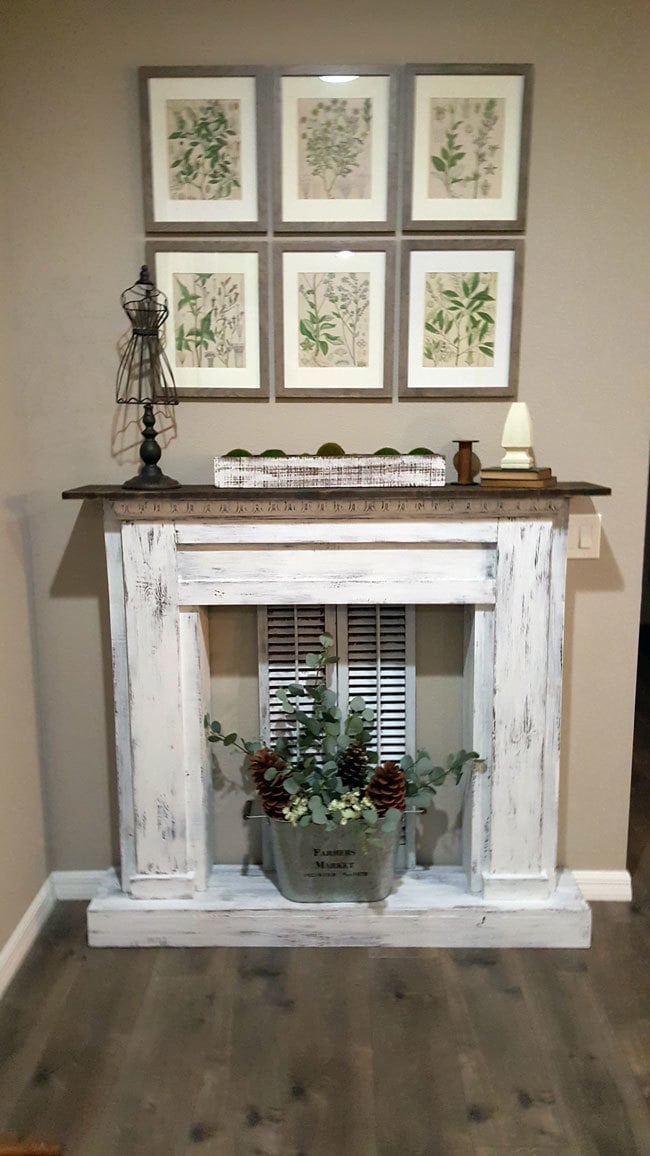
This was a great plan to use! We changed some of the measurements to fit our space and added a simple base to the bottom. My inspiration was a picture of an old chippy mantle from a flea market.
Built from Plan(s)
Estimated Cost
$100
Estimated Time Investment
Weekend Project (10-20 Hours)
Finish Used
I stained everything first then lightly rubbed vasoline over some areas. Used a white paint (rustoleum white linen chalk paint)and dry brushed on until distressed look was achieved.
Recommended Skill Level
Beginner
Shoe Dresser
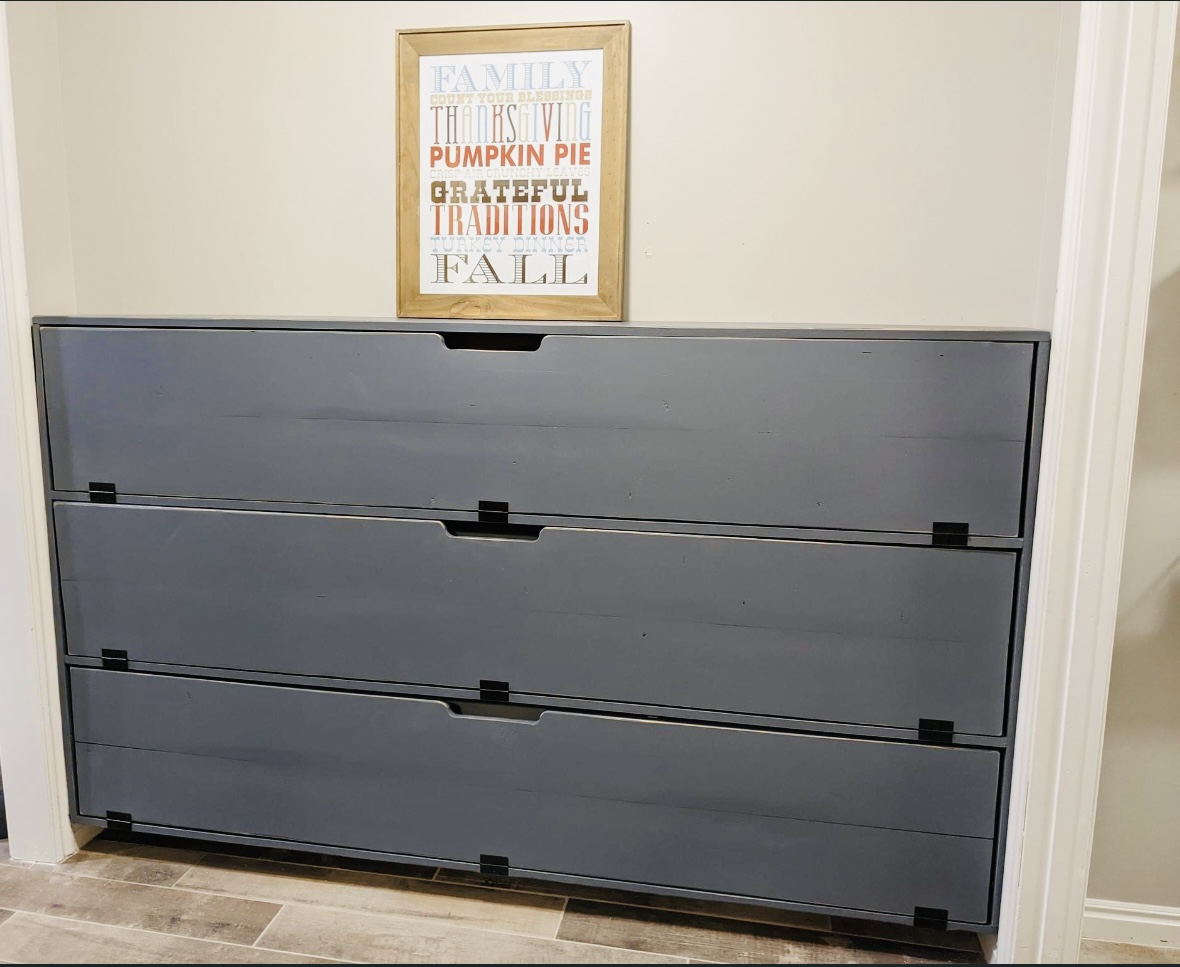
Modified the shoe dresser dimensions to fit the space.
Built by Janae
Built from Plan(s)
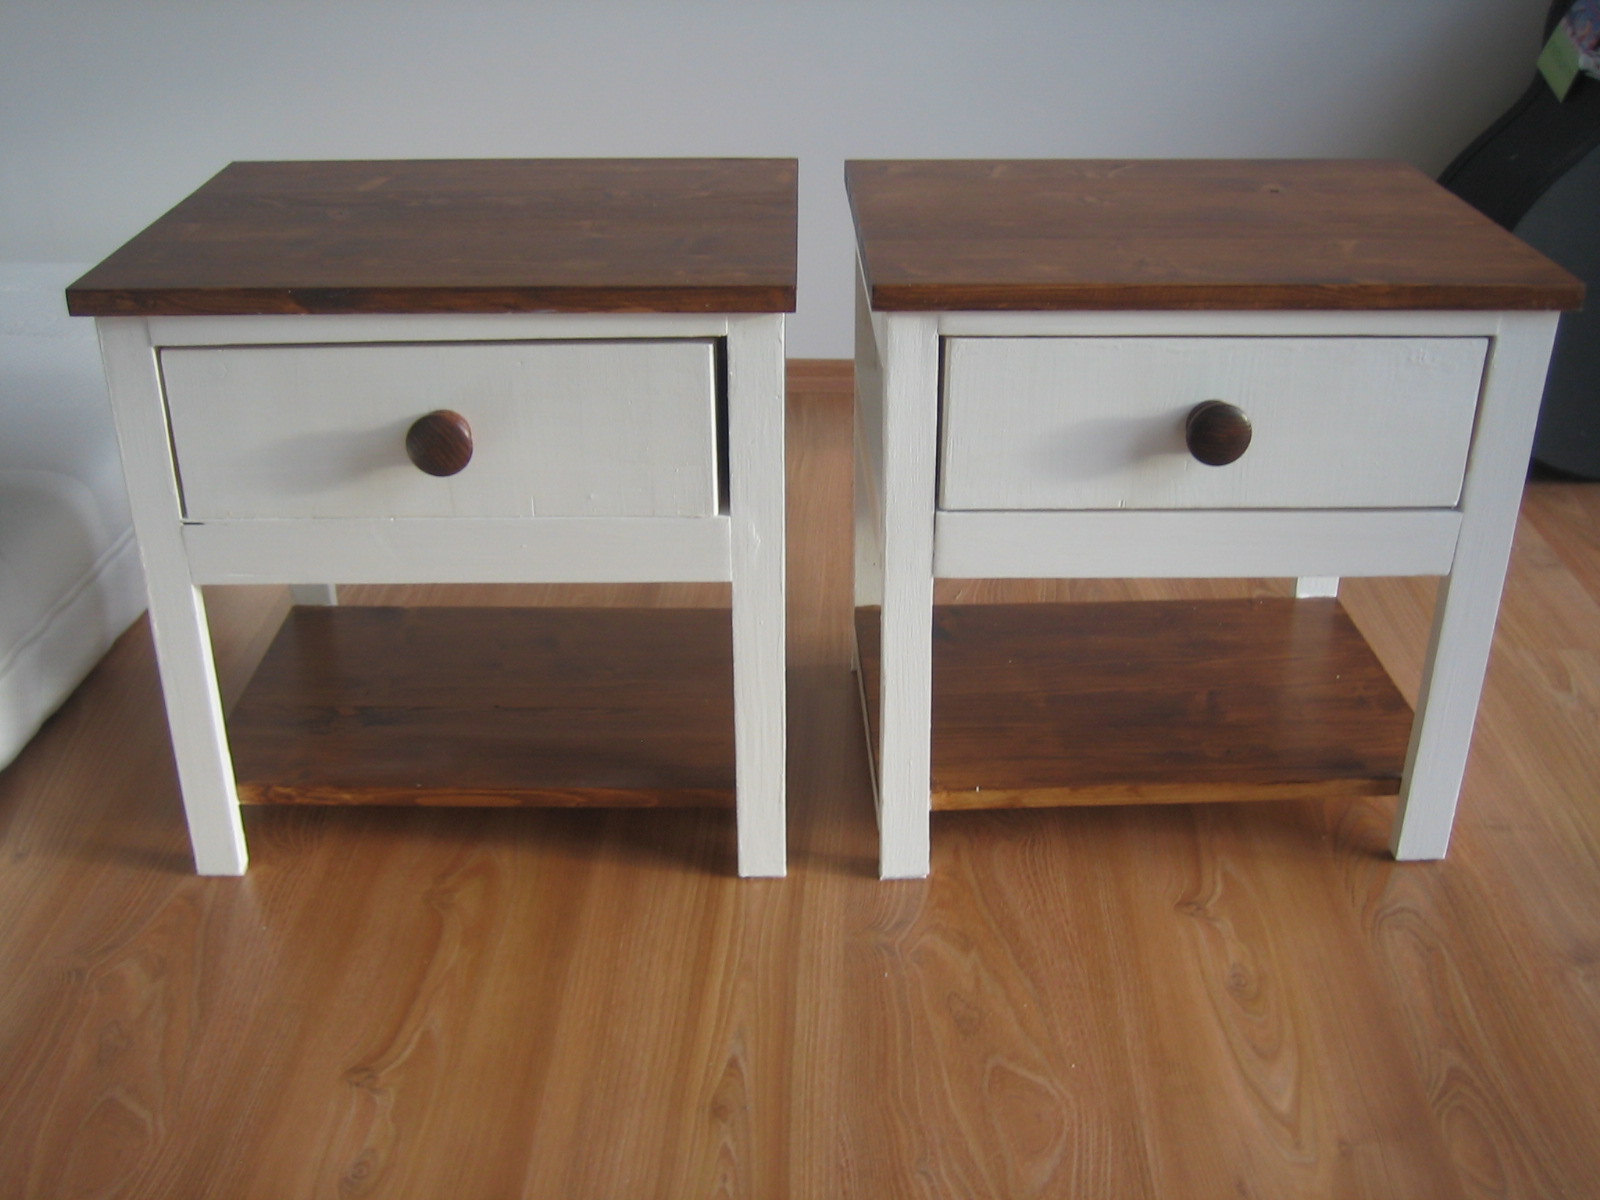
Bedside Tables
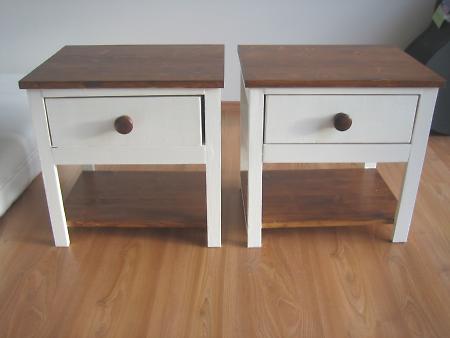
I built two of these bad boys!
I used the cheapest spruce wood as I knew I was going to paint them.
Not sure how much everything cost in the end - maybe €50. Am making 2 beds to go with them too but they'll be a little longer in the pipeline!
I cut the wood myself using my circular saw and joined the wood with pockethole screws.
I painted the tables white and then used a chestnut brown woodstain on the table tops, shelf and knob.
Hard to say how long it took me as I just did a bit every now and again when I had a bit of time.

Built from Plan(s)
Finish Used
White paint and chestnut brown woodstain
Recommended Skill Level
Starter Project
rustic x coffee table
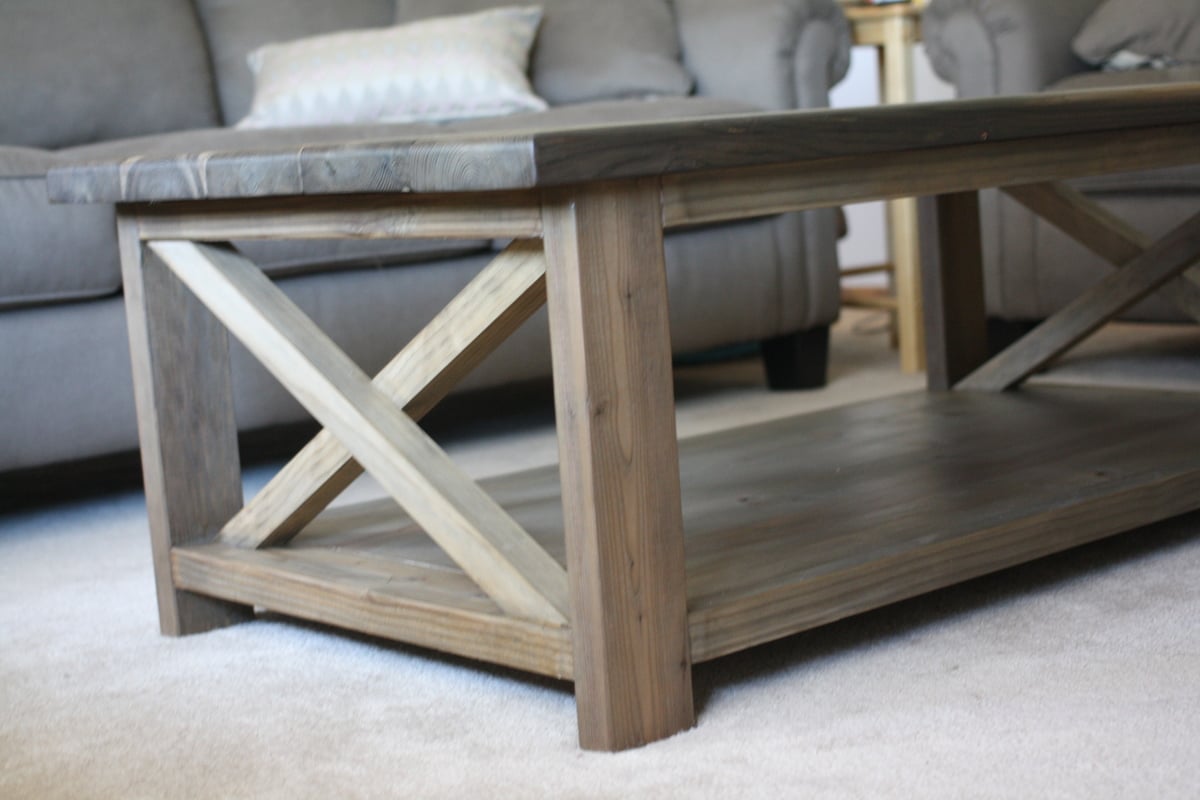
coffee table
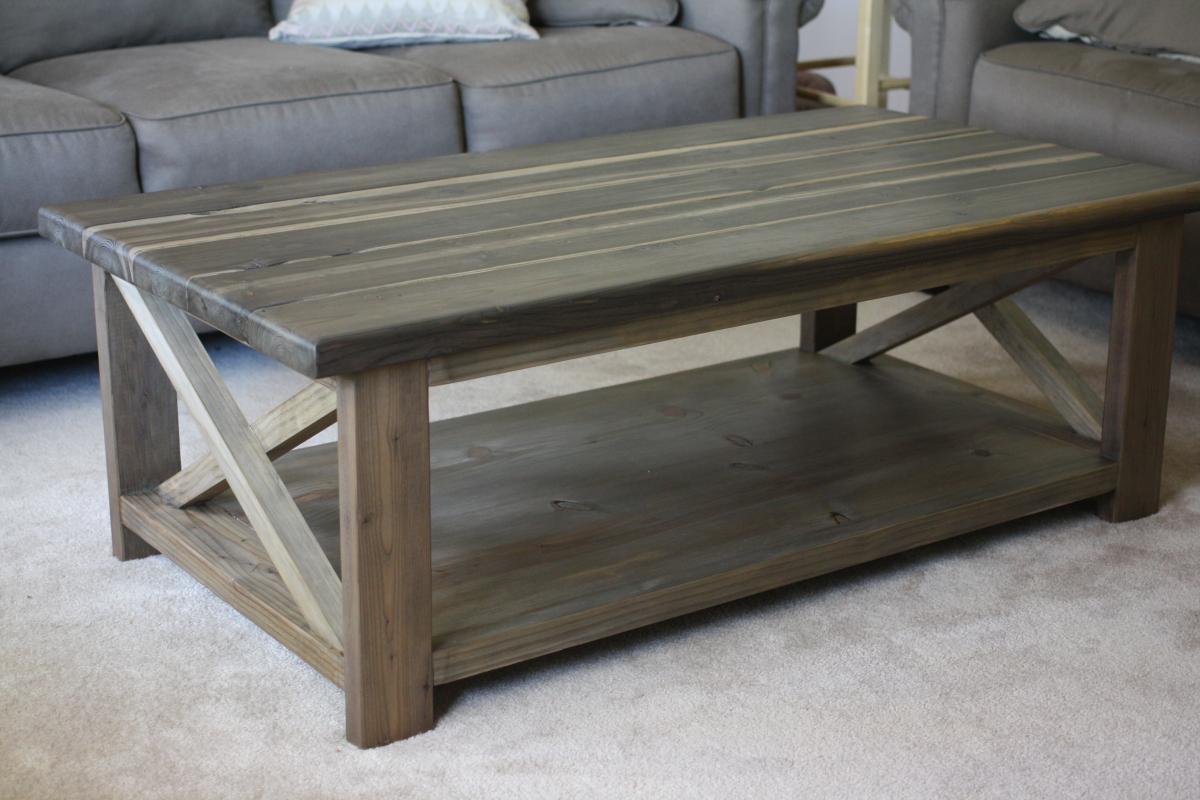
Built from Plan(s)
Estimated Time Investment
Afternoon Project (3-6 Hours)
Finish Used
weathered finish with rusted vinegar
Recommended Skill Level
Beginner
Channing Bookcase
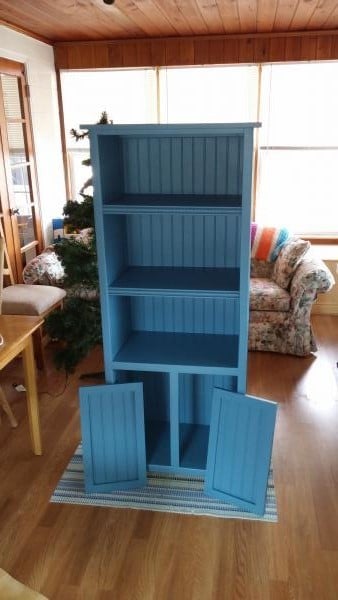
I'm a better plumber than a carpenter.
Built from Plan(s)
Estimated Time Investment
Weekend Project (10-20 Hours)
Finish Used
Paint & Poly
Recommended Skill Level
Beginner
Adirondack Stool using Metric Units
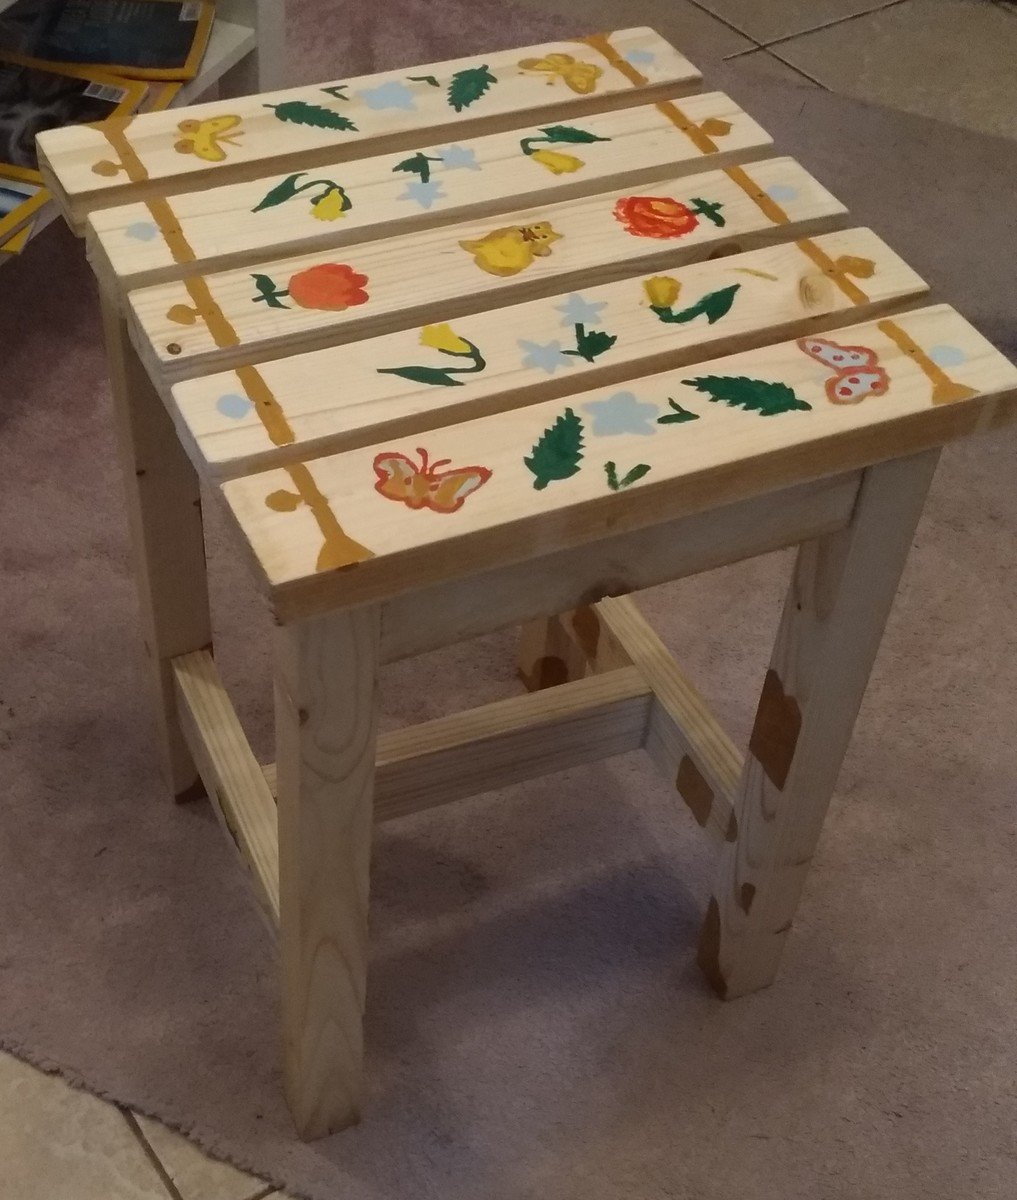
My very first woodworking project. Had to convert all plans to metric units and adapt to available wood stocks in Bucharest. If you want details, don't hesitate to contact me.
Built from Plan(s)
Estimated Cost
15 EUR (excl. tools)
Estimated Time Investment
Week Long Project (20 Hours or More)
Finish Used
insulation primer + varnish
Recommended Skill Level
Starter Project
Shoe Dresser
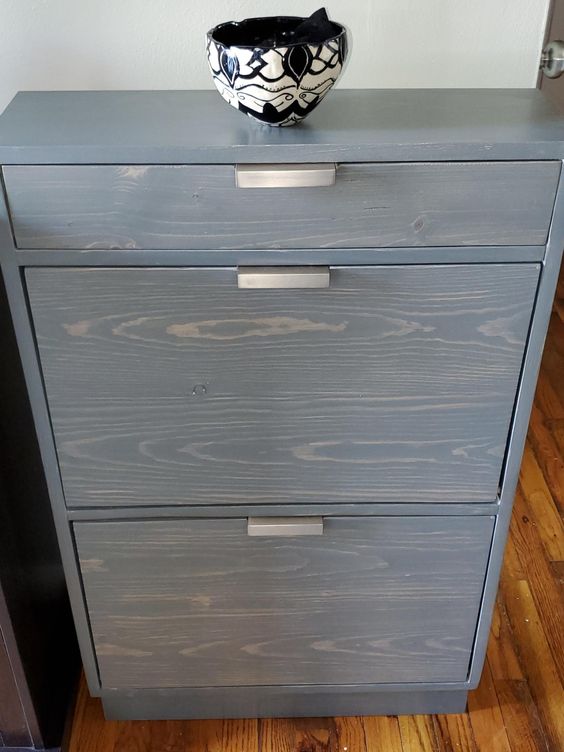
Added drawer and base to Ana's plan
Built from Plan(s)
Comments
Tue, 12/13/2022 - 12:13
Fantastic shoe storage!
Super cool, love the mods, finish and hardware! Thanks for sharing.