Community Brag Posts

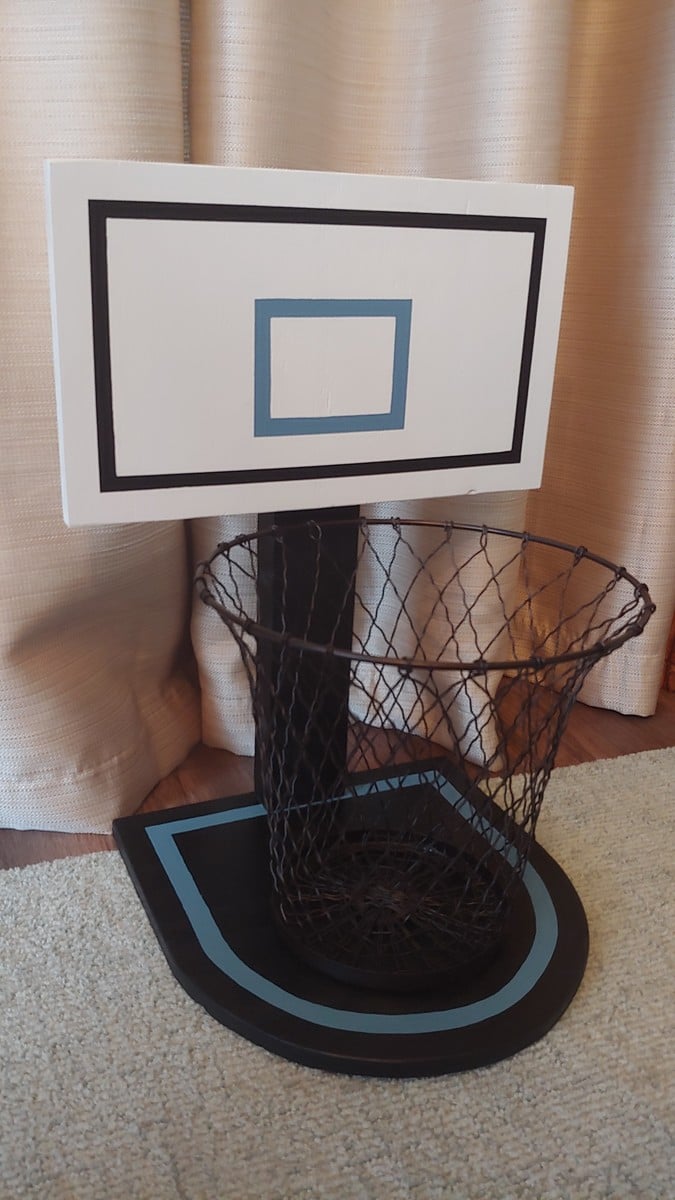
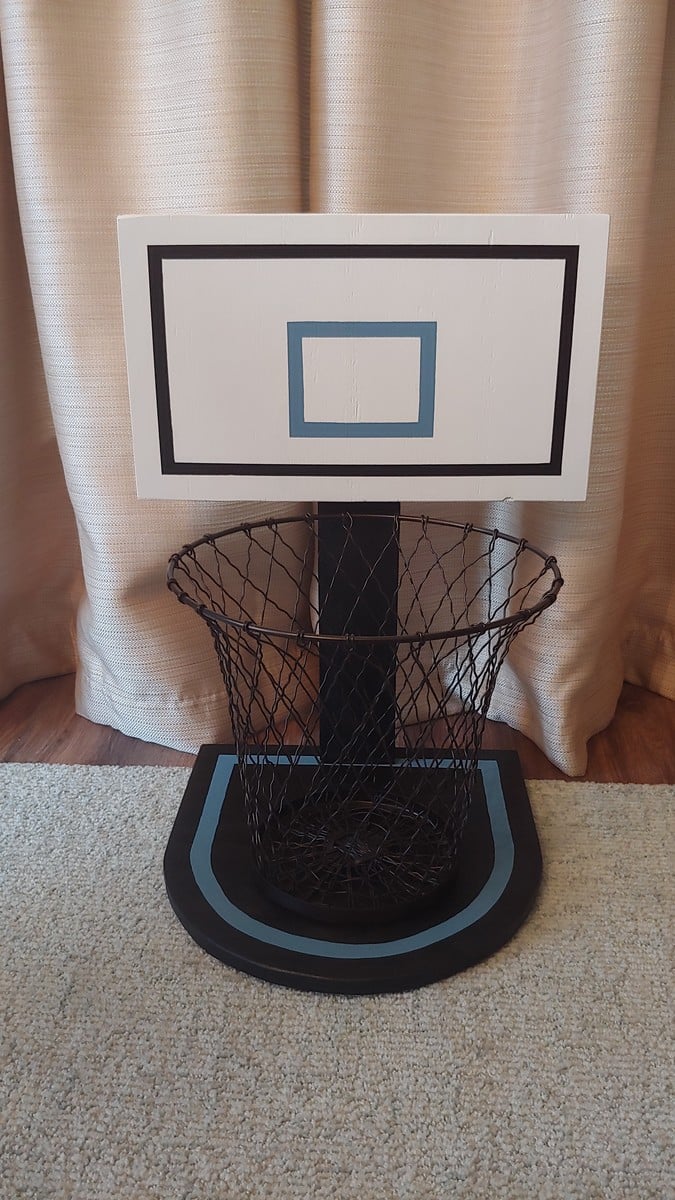
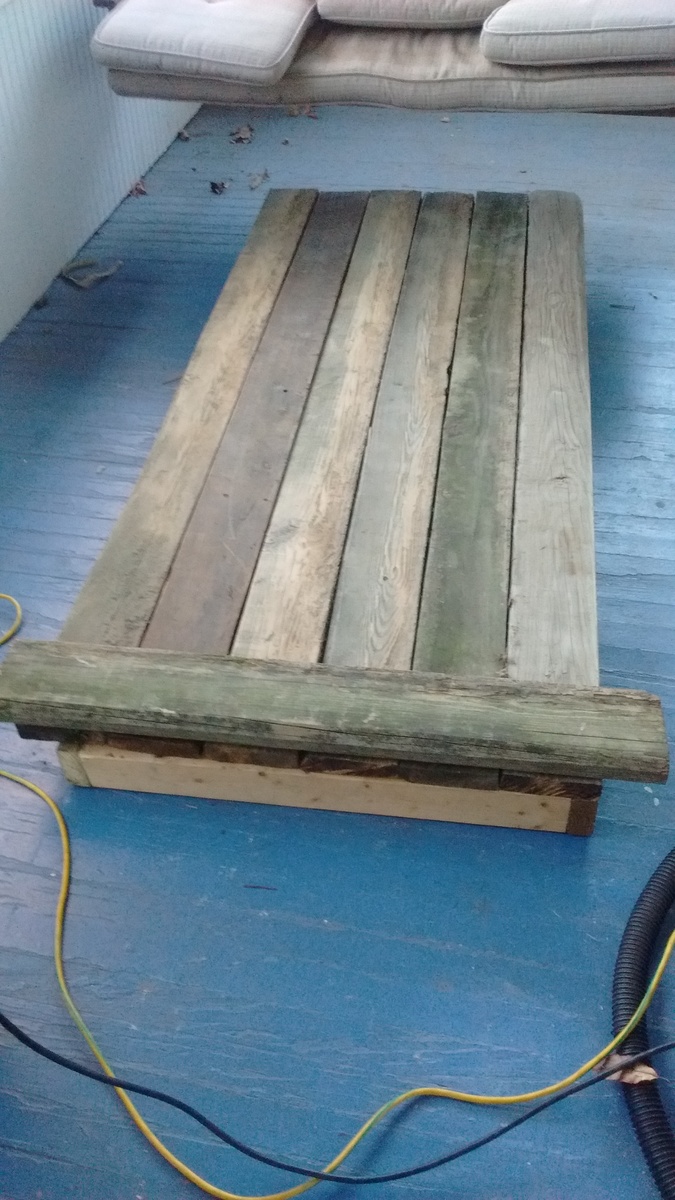
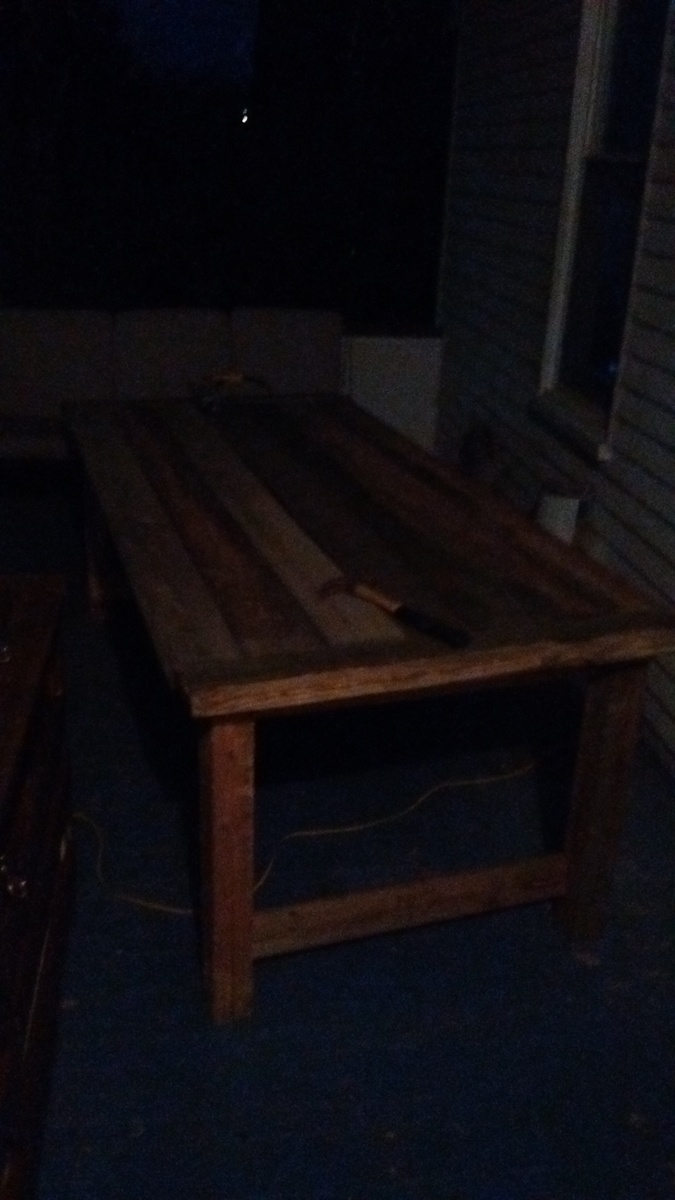
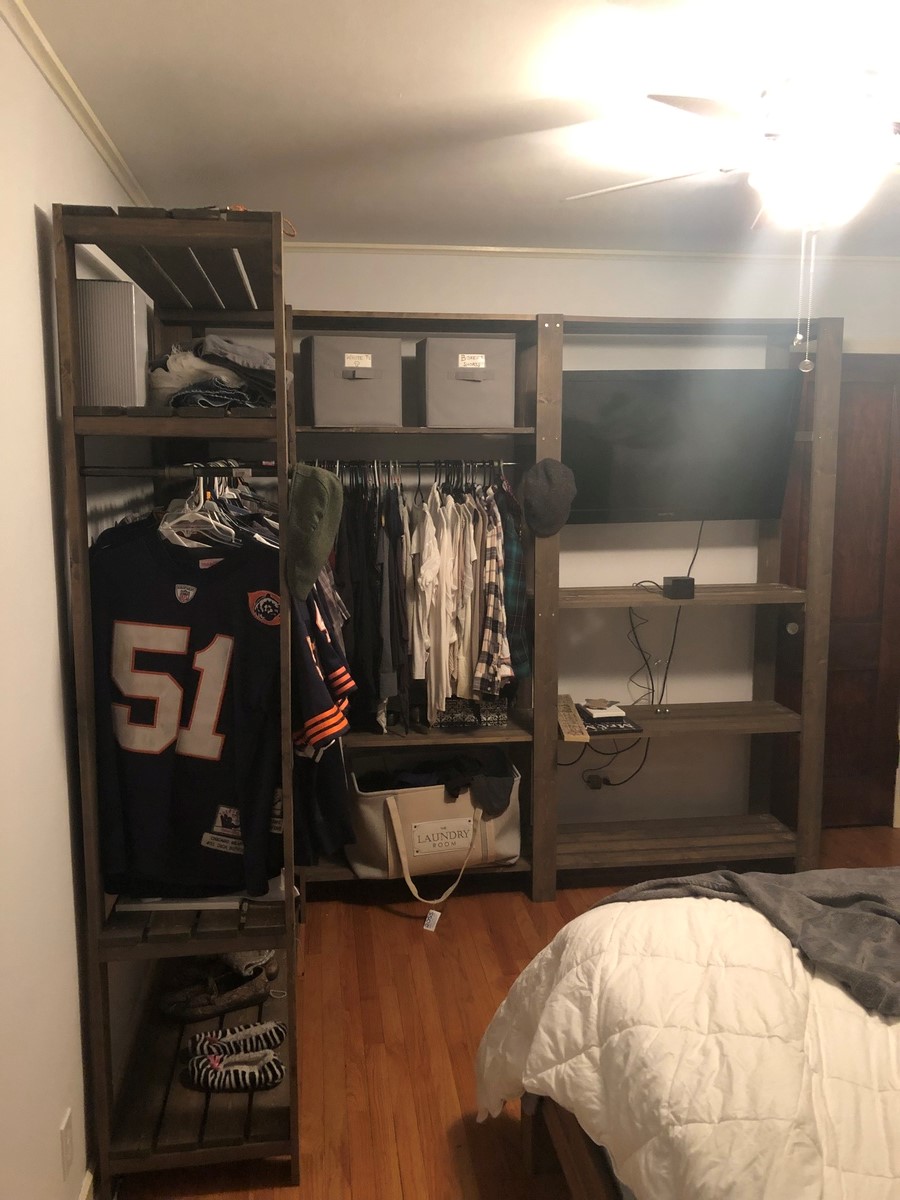
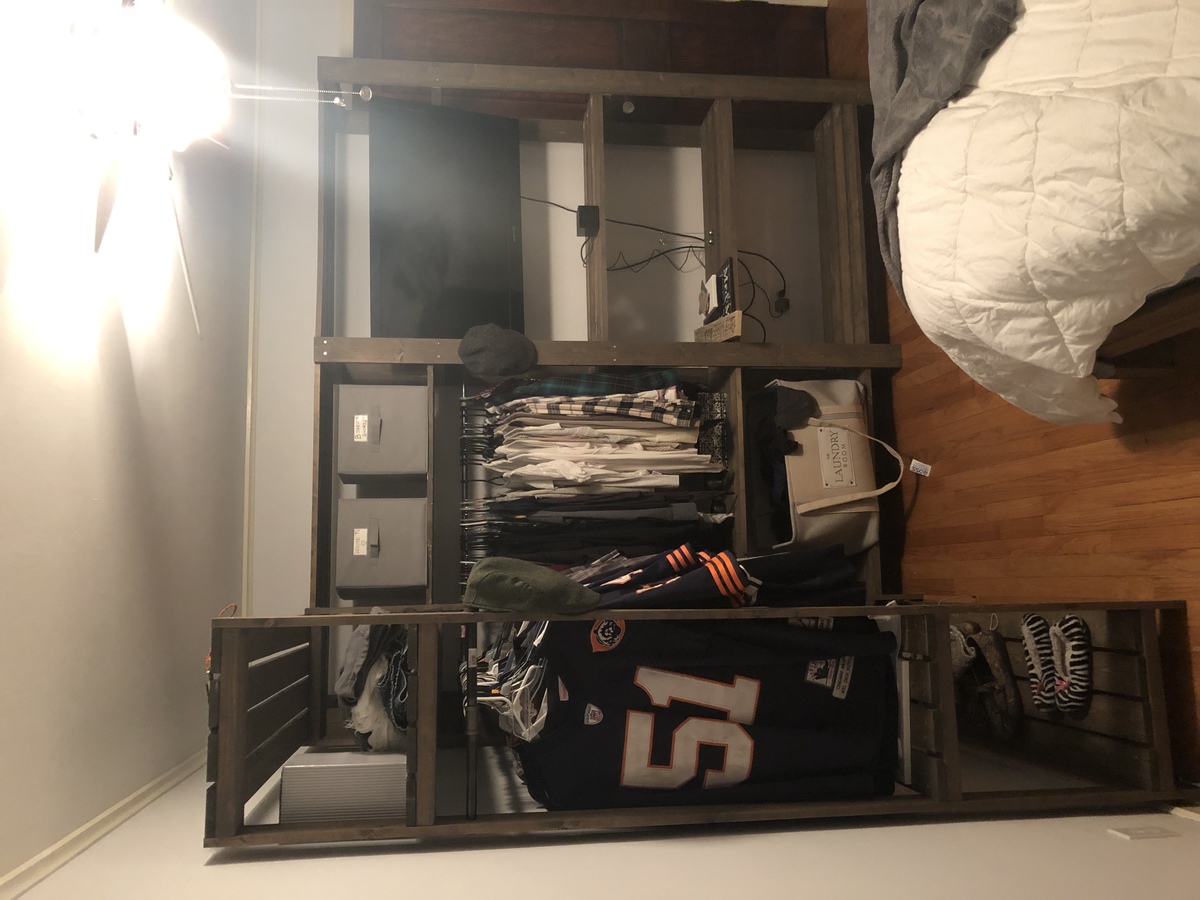
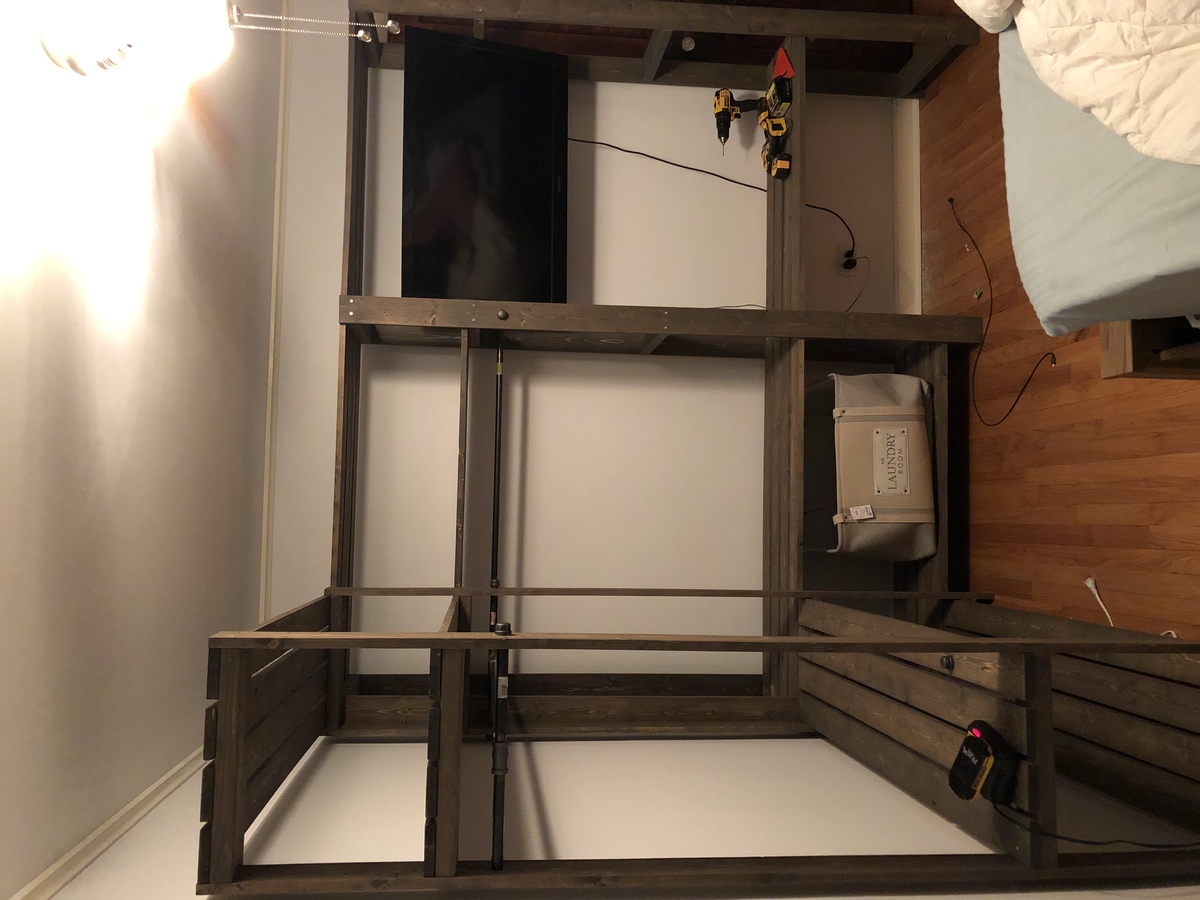
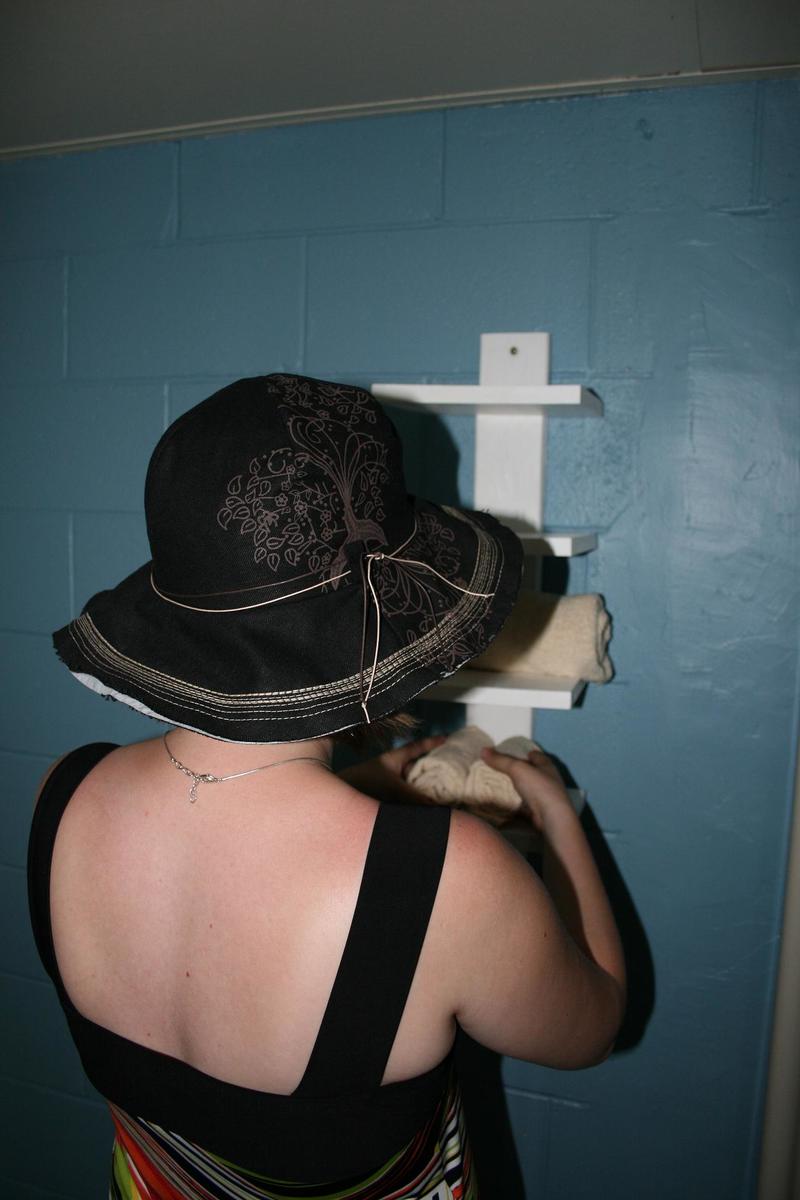
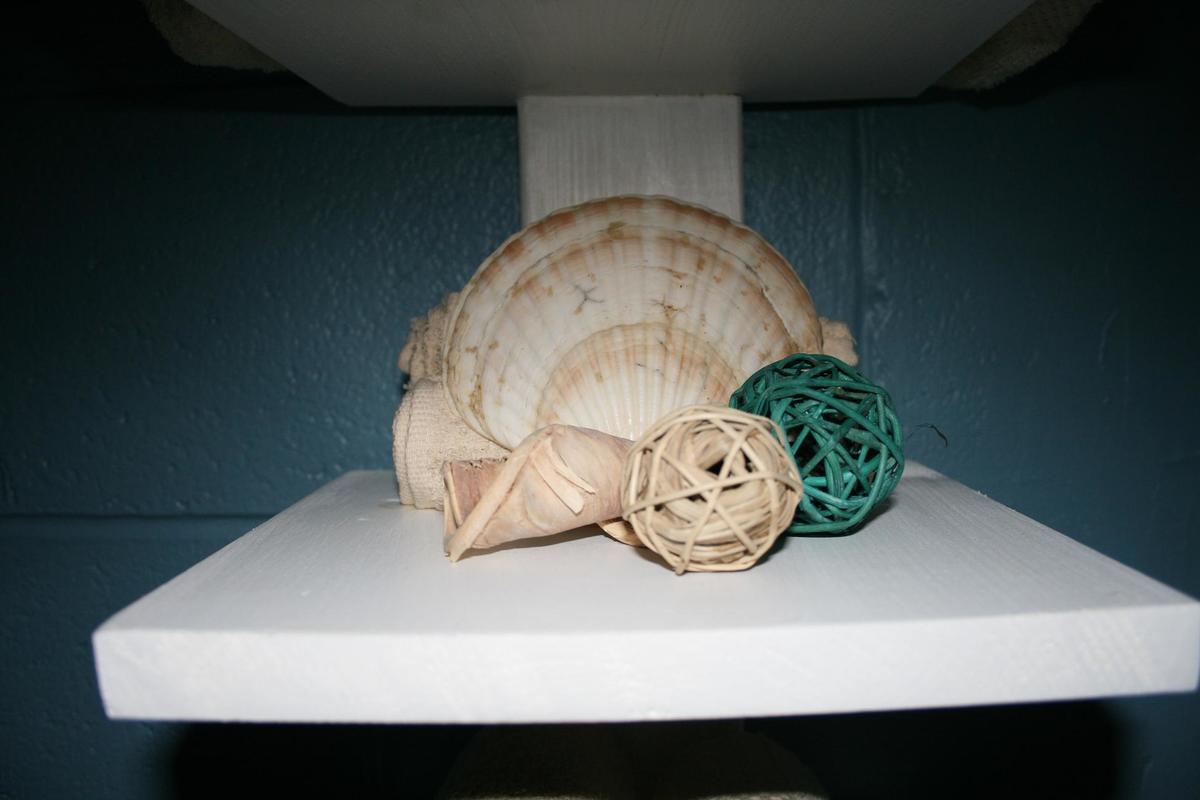
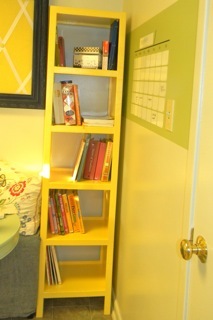
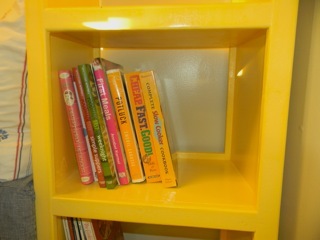
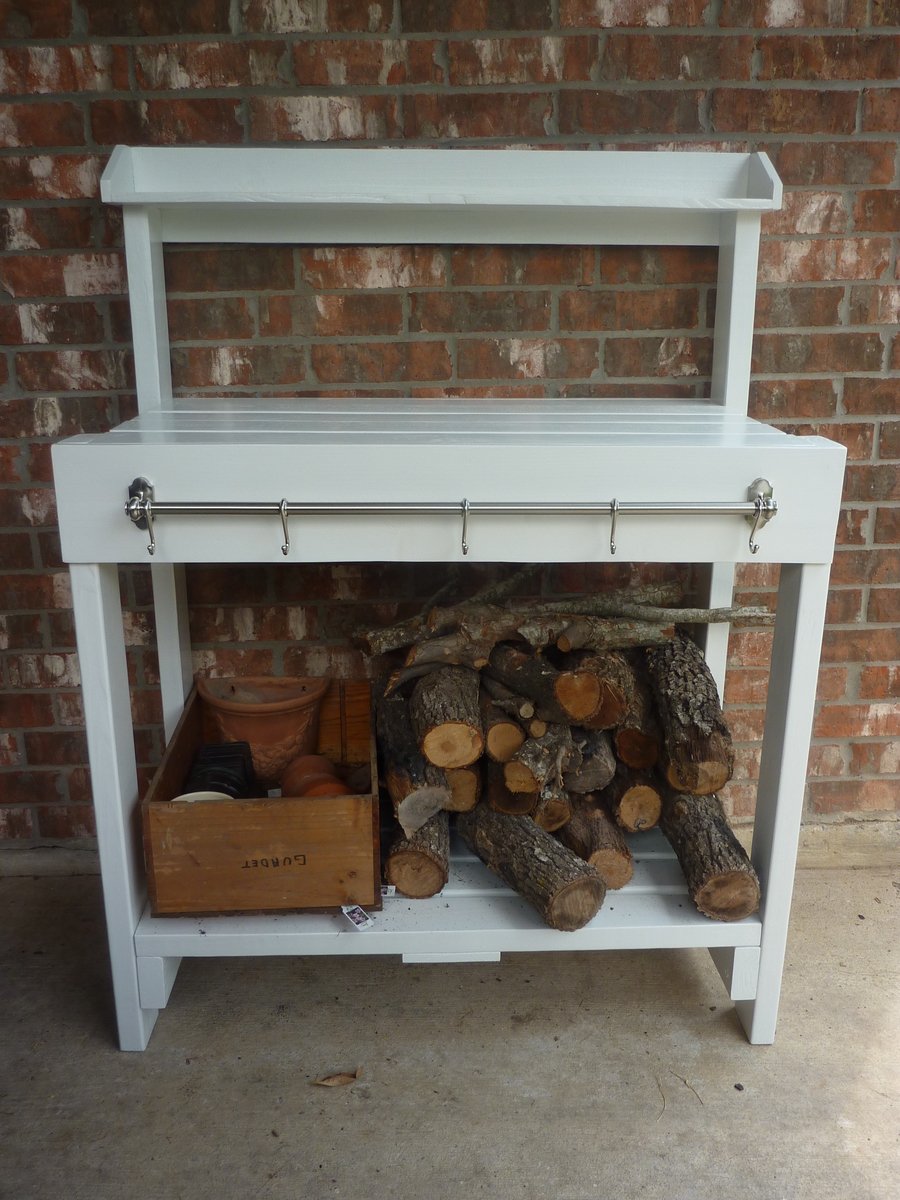
The 5 Shelf using 1x8 &1x12 scraps

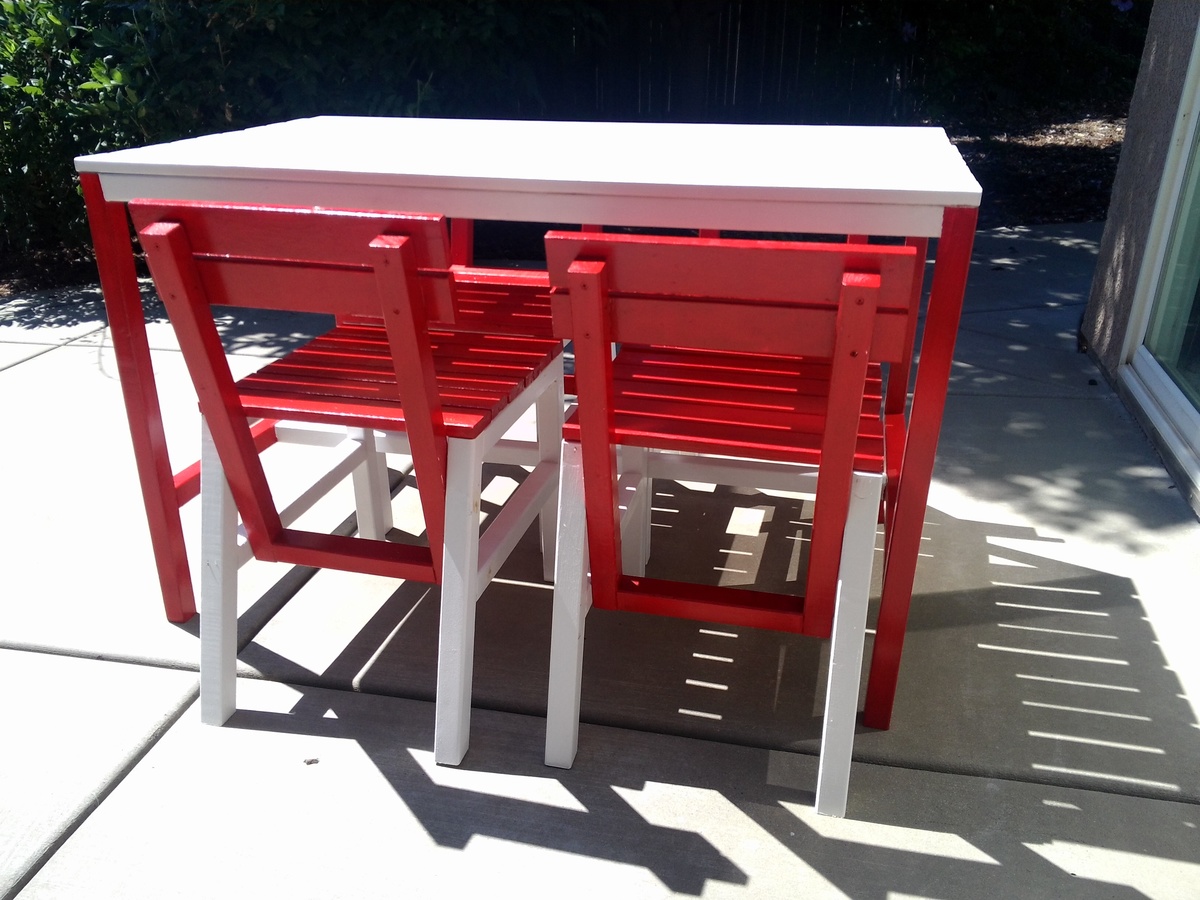
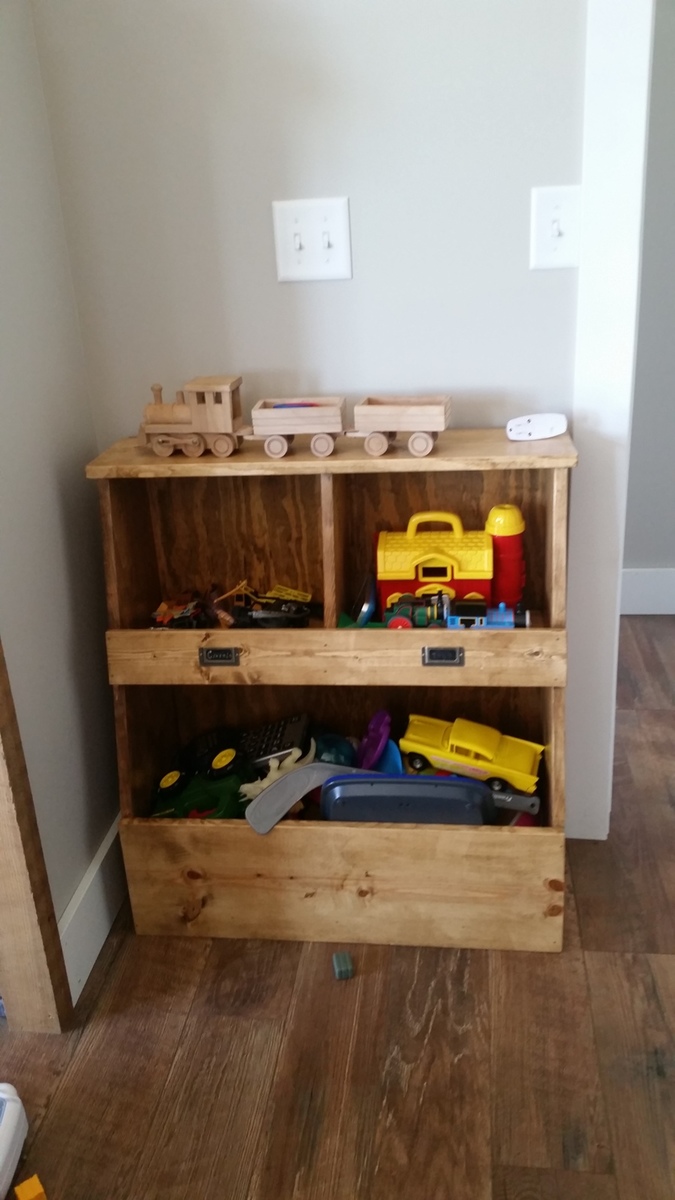
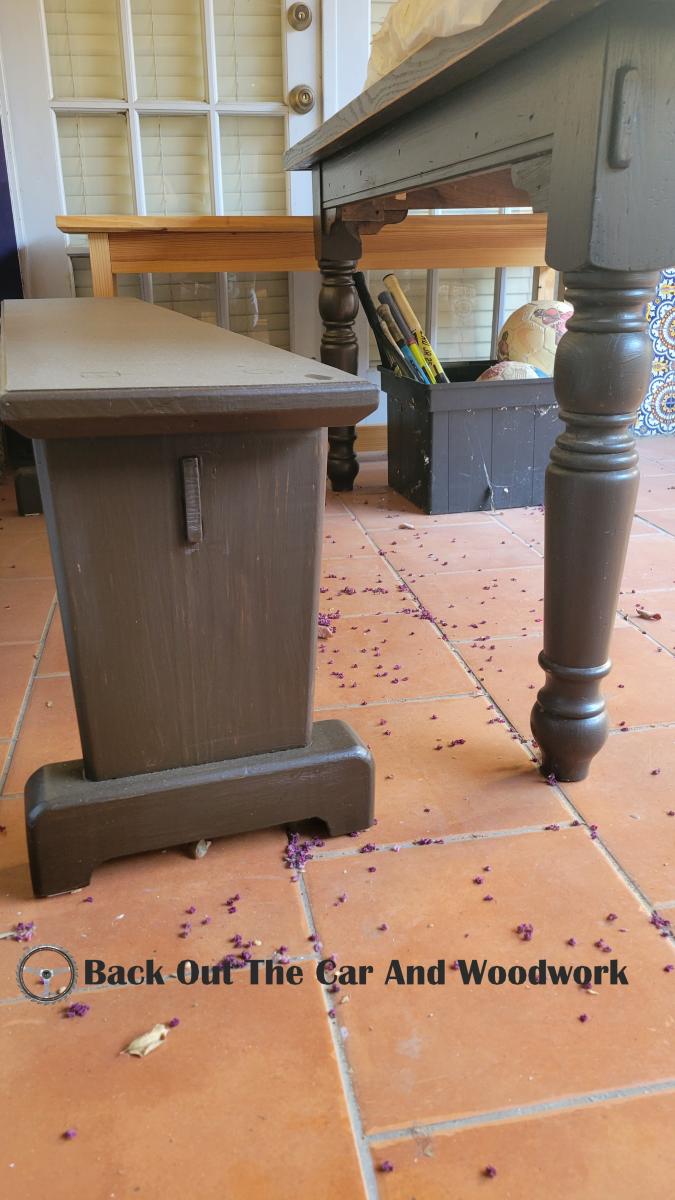
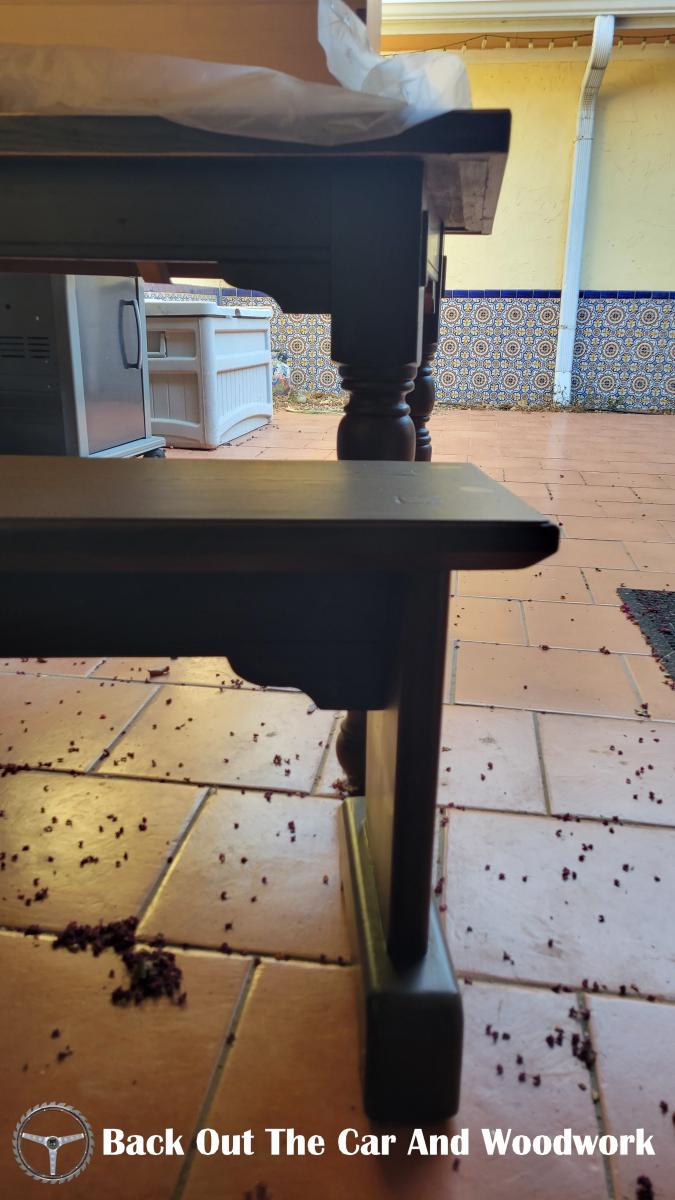
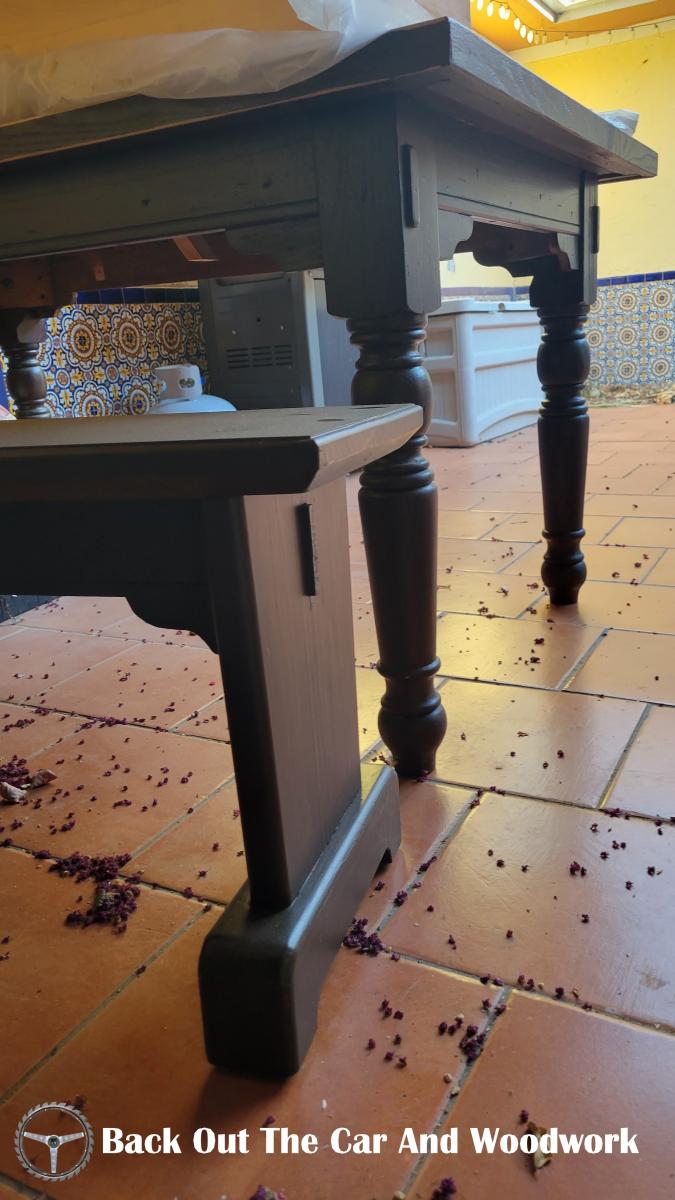
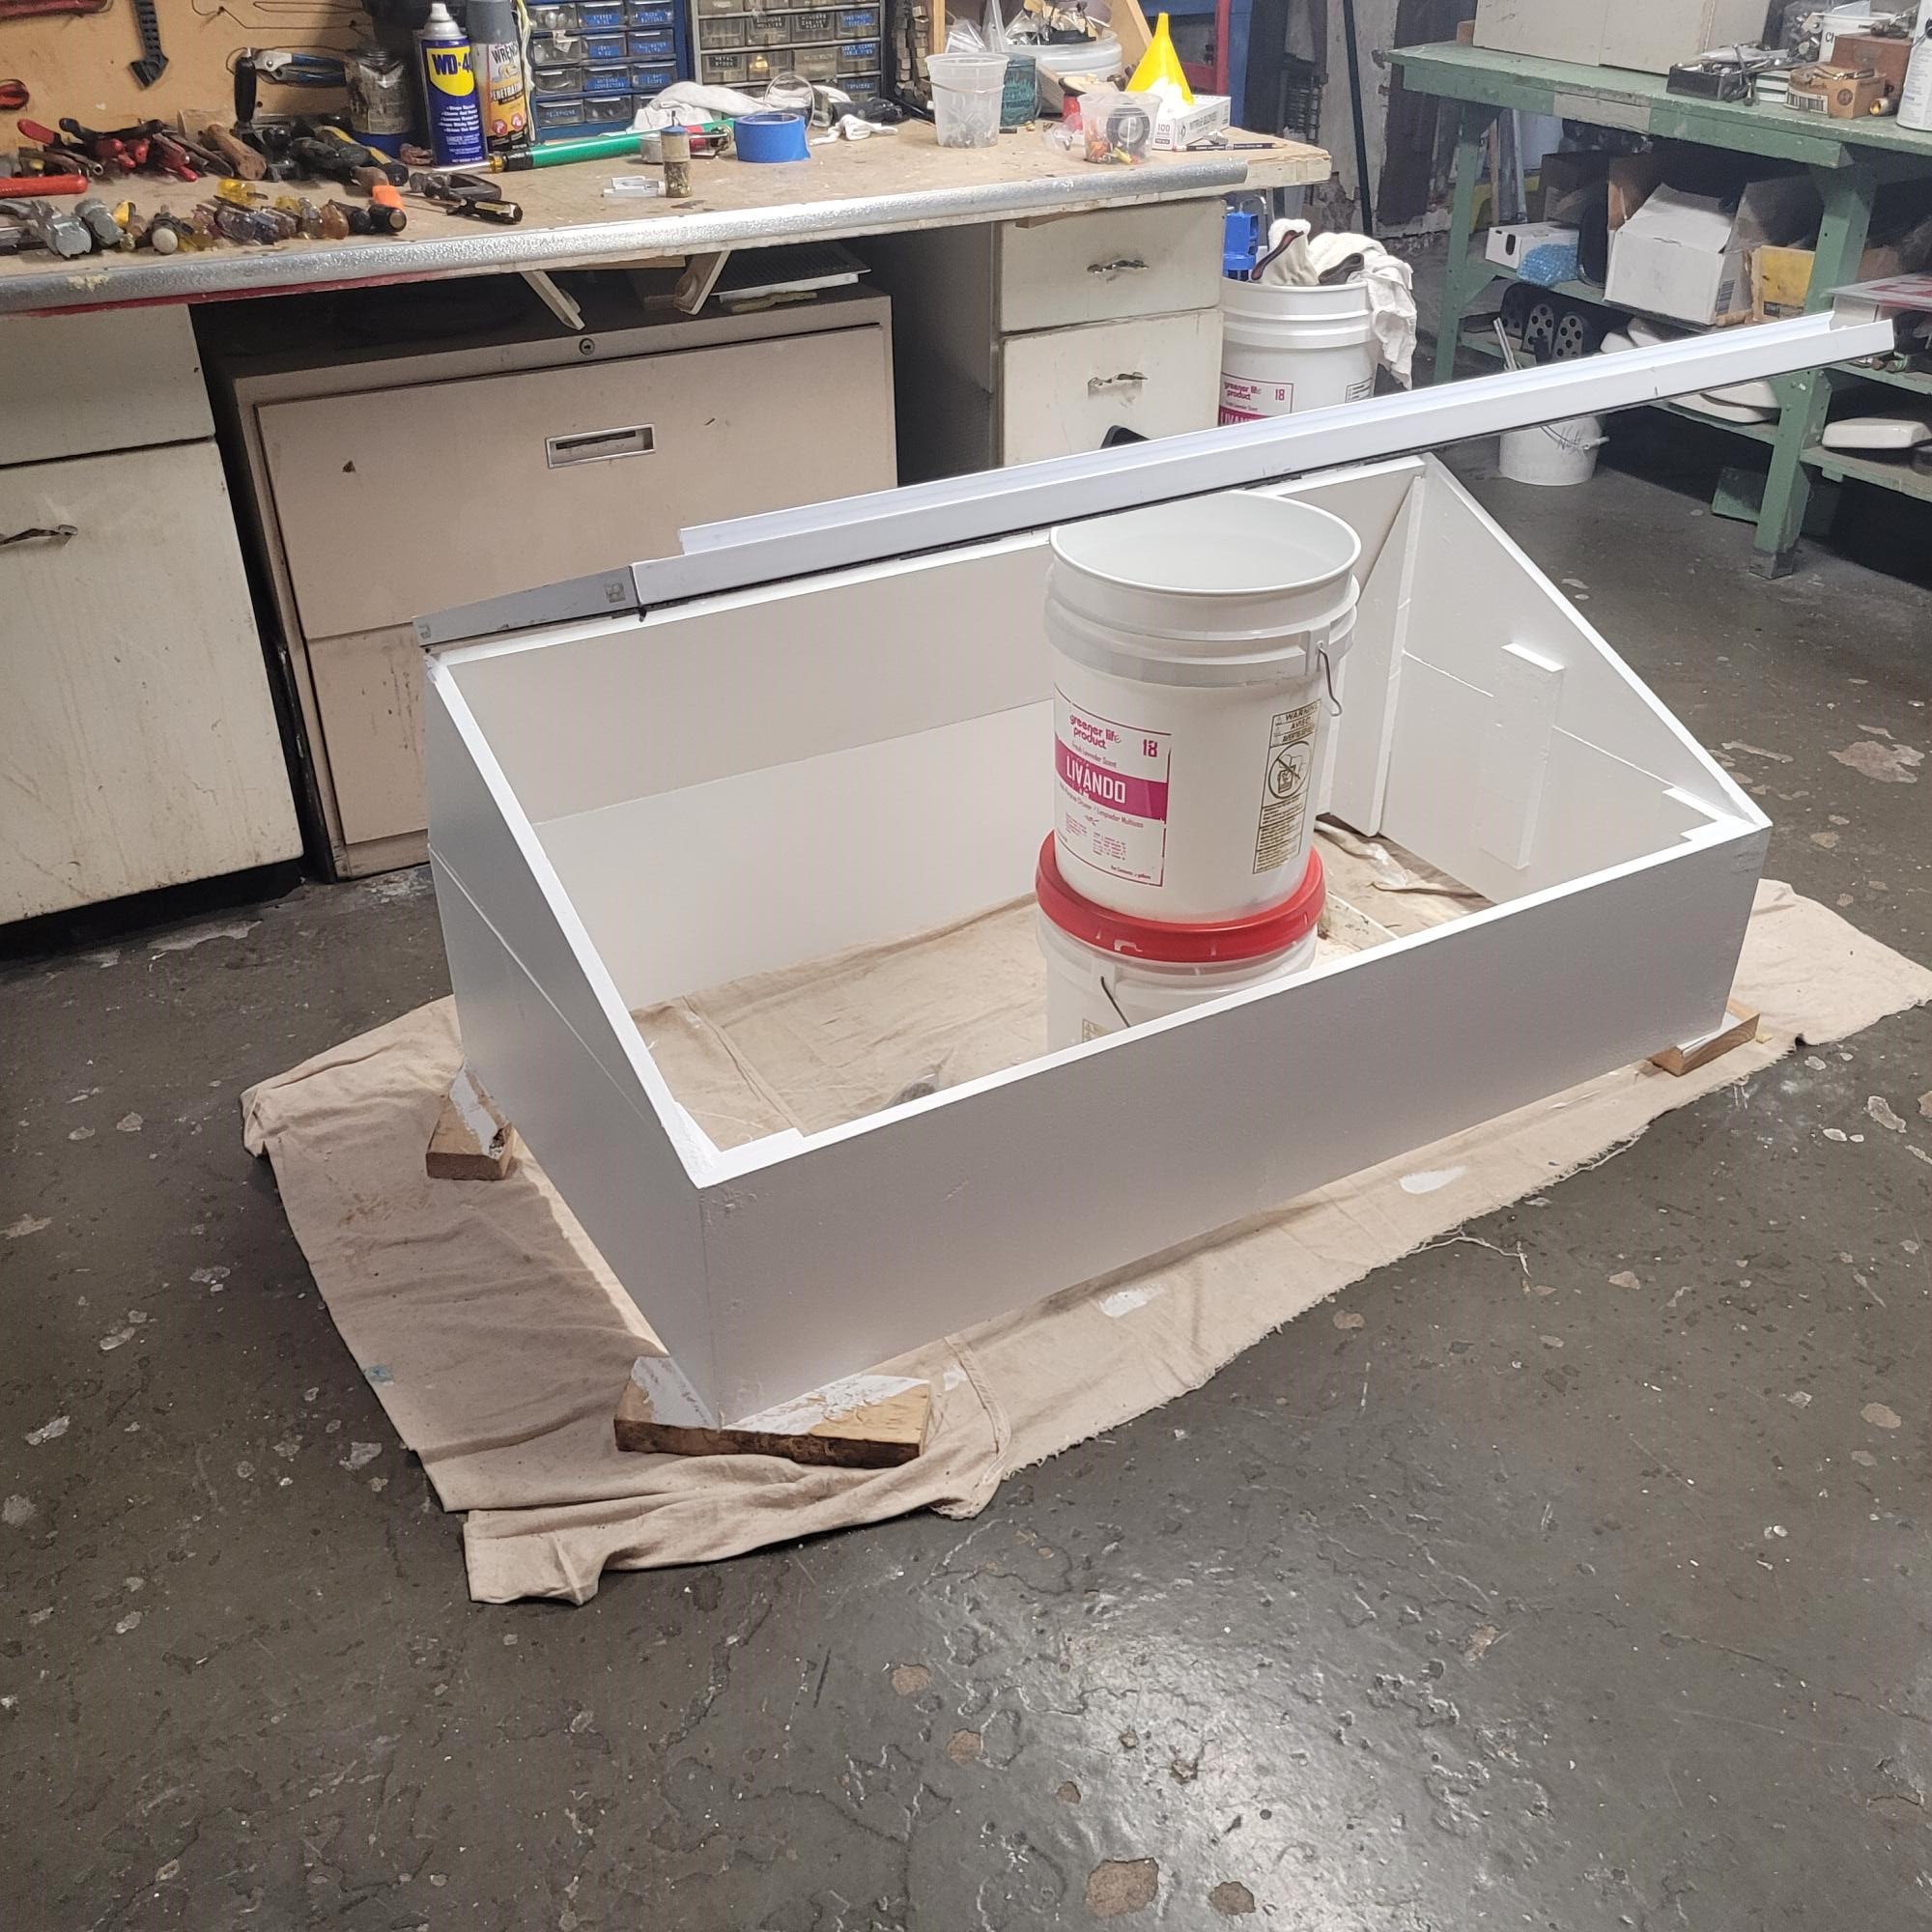
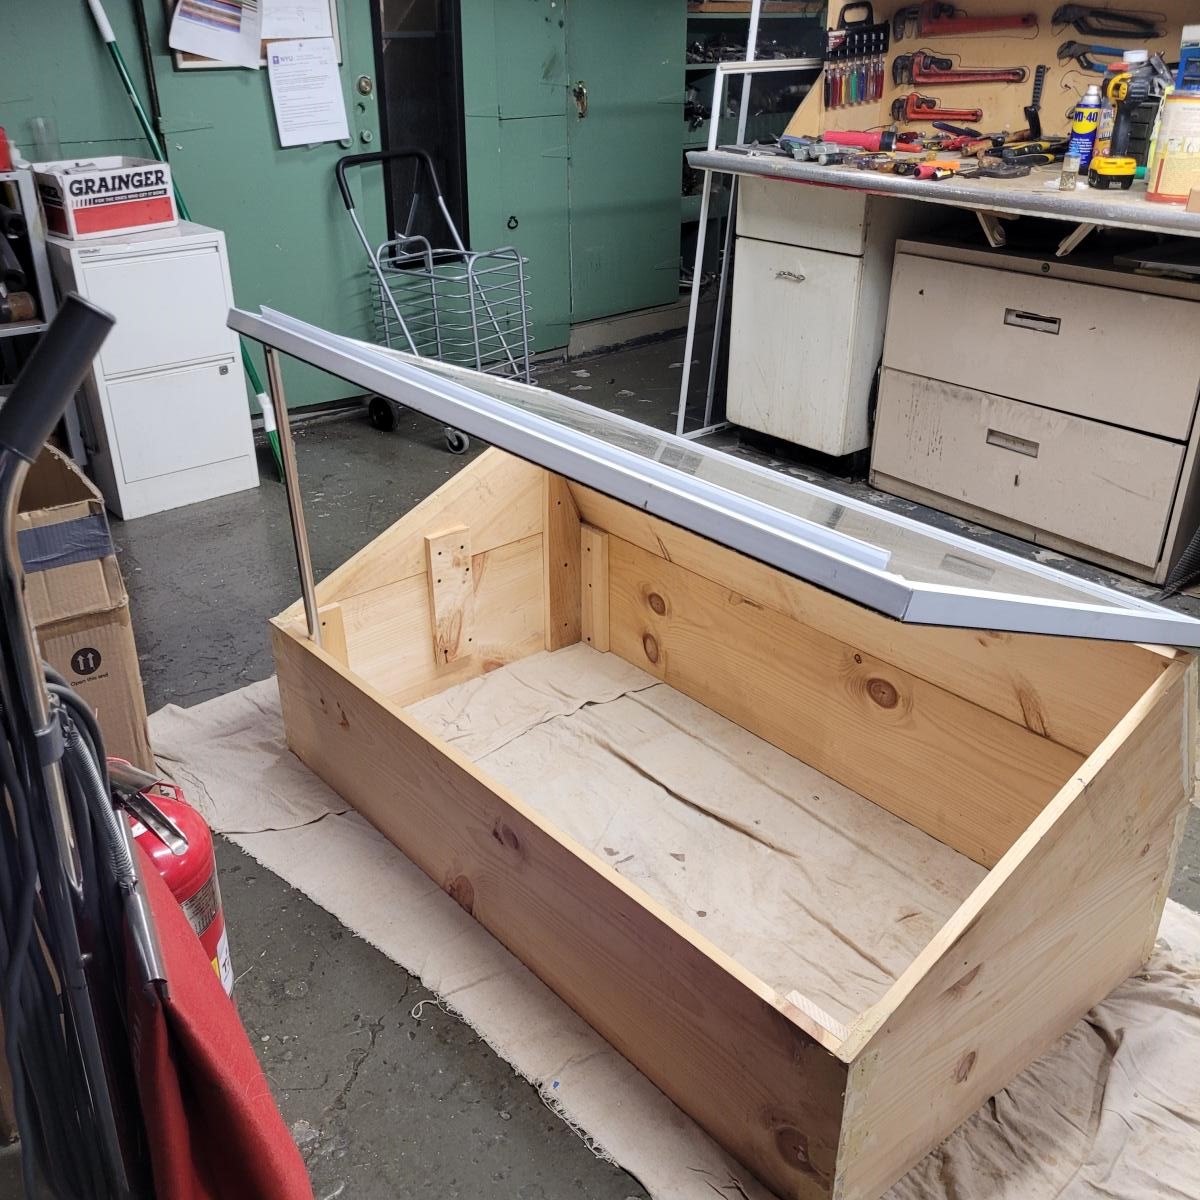
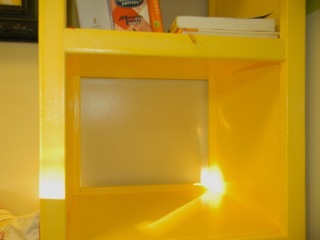
I wanted to make something using the plethora of scraps in my garage. I ended up making this shelf that calls for 1x6 pieces with 1x8's and I didn't even have enough for that so I cut down some 1x12 pieces and used those too. The long part of the shelf is actually two pieces screwed together using pocket holes. Check out my blog for more on this project!

Built from Plan(s)
Estimated Time Investment
Day Project (6-9 Hours)
Finish Used
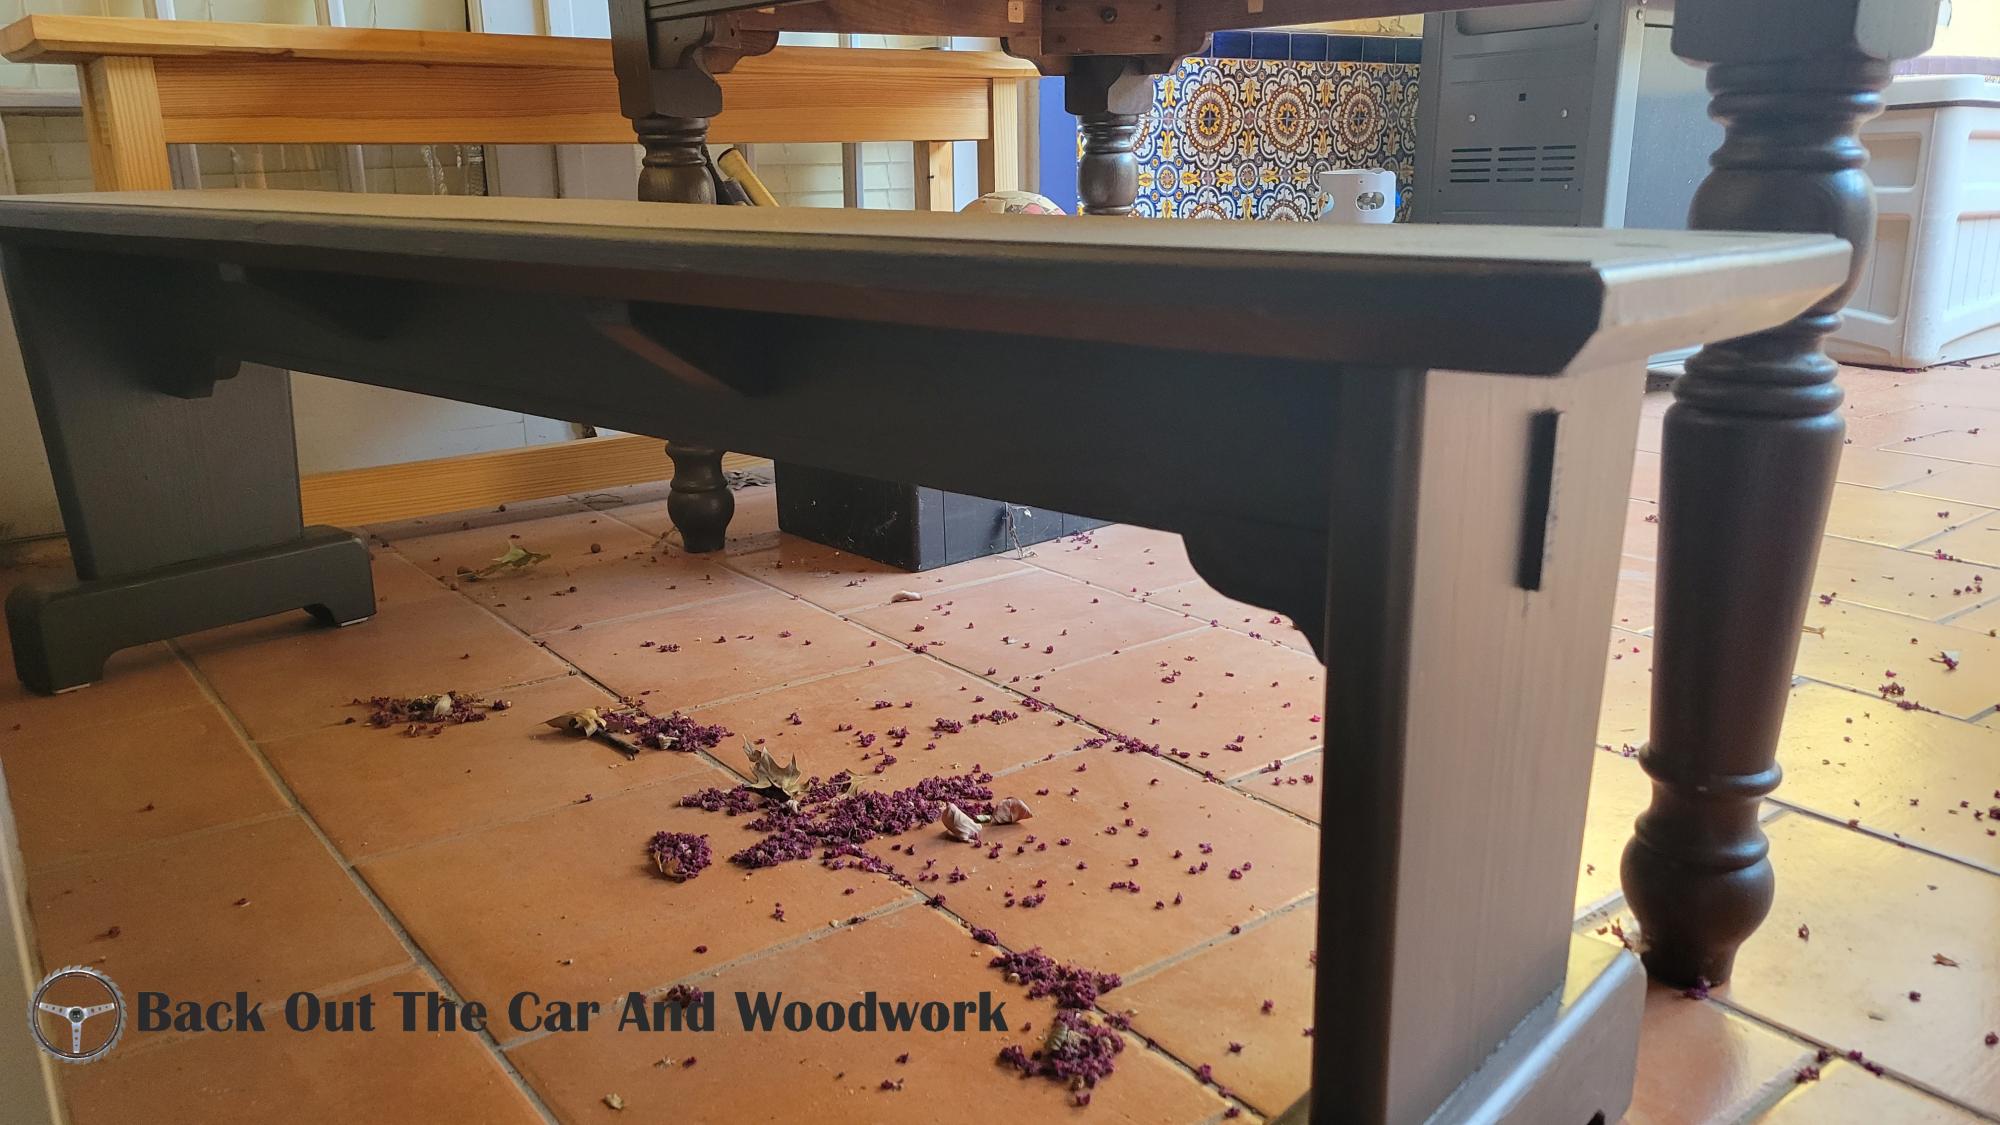
Krylon Satin Black Spray Paint.
Recommended Skill Level
Beginner

Comments

Harriet goes outdoors, dressed to impress!

Submitted by E.A.Y. on Tue, 08/27/2013 - 14:26

It took me a long time to finish the chairs, although the table was a snap. The time consuming thing was my desire for two paint colors. Painting is not my strong suit. But I got it done, just in time for our annual Labor Day house party.
I cut the lumber using our radial arm saw. I sanded with an random orbital sander, and used really great cordless drill and driver. My husband likes to buy good tools, but hardly ever uses them.
I had never used pocket screws before: I love them and found it very necessary to use the face clamp and right angle clamp Kreg sells to prevent splitting. My assortment of speedclamps were not getting the job done.
For the table, I tried masking off the white when I painted the red on the legs, which did not go so well as there was annoying paint-creep under the tape. I also decided that the red paint needed two coats to look good (it actually seemed to do better on bare wood then on primed wood.) So that took more time.
I finally bought a really good paint brush and that made a huge and positive difference.
I had intended to paint the chairs' slats red, but the back frame white, and the side supports red. To do this I intended to paint individual pieces and assemble the painted pieces, but the splitting (before I invested in the specialized clamps) was heartbreaking after all the sanding and painting. So I took a month off from the project, ordered clamps, recut a few pieces, and simplified my paint scheme. Much better!
I'm looking forward to starting my next project (NO paint!)

Estimated Cost
$70 (USD) for lumber, $37 paint, $25 for screws (leftovers)
Estimated Time Investment
Week Long Project (20 Hours or More)
Finish Used
Benjamin Moore exterior soft gloss in red and white
Recommended Skill Level
Beginner

Comments

Toy Storage

Submitted by milleall on Mon, 10/12/2015 - 07:45

I needed some quick and easy toy storage for the living room to catch the toys that inevitably end up there.  I had a basket in the corner, but then the toys made marks on the wall.  This cubby storage keeps them away from the wall and adds some more veritical space.  I made this project quick and easy with just my nailer (I didn't use pocket holes) and a simple stain finish.  I shortened the width to fit the space between my fireplace and the door, and as a result I did 2 cubbies instead of 3.

Built from Plan(s)
Estimated Cost
$60
Estimated Time Investment
Afternoon Project (3-6 Hours)
Finish Used
Varathane stain in Golden Oak and 2 coats of Triple Thick Poly in Satin
Recommended Skill Level
Beginner

Reclaimed Wood Headboard, Queen Size

Submitted by bcarter_1 on Tue, 10/30/2018 - 04:49

Made for a friend's son

Estimated Time Investment
Weekend Project (10-20 Hours)
Recommended Skill Level
Beginner

Comments

Bench to match a table

Submitted by Anonymous (not verified) on Wed, 07/27/2022 - 06:42

A while back I salvaged a table from an apartment dumpster and refurbished it.
We really like it on our patio but with no included seating, I had to create my own.
I made a bench that matched several design features of the table:
Through tenons, trim attachments, leg angles, decorative kerfs.
Take a look! Thanks to all.

Comments

"nourish" crate

I made a version of this crate for the top of my family's refrigerator. I didn't have enough scrap 1x3s, so I used 1x2s as well. Instead of using chalkboard paint, I stained the 1/4" front and painted "nourish" with white paint. I also used old drawer pulls I saved instead of cutting out handles.

Built from Plan(s)
Estimated Cost
$0
Estimated Time Investment
An Hour or Two (0-2 Hours)
Finish Used
Natural wood + Dark Walnut front and back panel.
Recommended Skill Level
Starter Project

Kitchen Sideboard

Submitted by stavros85 on Fri, 10/16/2015 - 20:20

First time using your plans and I`m very happy with the result. I modified slightly to make a smaller unit and used a combination of jointing methods such as biscuits and mortise and tenon. I also used Scots Pine and a pine furniture board to make this and the worktop is oak. Hopefully hold me in good stead as I continue to fit out my entire kitchen. Next project is to loosely use these plans (no better alternative found anywhere) to make a unit for my belfast sink with a washing machine cupboard.

Built from Plan(s)
Estimated Cost
£200 for carcass, £100 for worktop
Estimated Time Investment
Week Long Project (20 Hours or More)
Finish Used
Danish oil for the worktop. Carcass still to be painted.
Recommended Skill Level
Intermediate

Hoop Trash Can

Submitted by spiceylg on Sat, 11/10/2018 - 03:23

My family is doing a home made Christmas this year.  I fell in love with this plan the first time I saw it.  While out shopping, I happened upon this trash can on sale which reminded me of a basketball net and knew I had to build this project.  We used leftover plywood which necessitated using paint to hide blemishes.  The size was modified a bit to fit this trash can.  I think it is really cute!

Built from Plan(s)
Estimated Cost
$6 as the paint, 2x4 and plywood used were left over from other projects. The longest amount of time was taken up by painting, not the actual build.
Estimated Time Investment
Day Project (6-9 Hours)
Finish Used
Blue - Behr sample
White - Rustoleum
Black - actually a stain - unsure of brand and not close by as I type this - Ebony
Recommended Skill Level
Beginner

Deer Proof Garden Enclosure

Submitted by verarj on Fri, 08/05/2022 - 17:18

We used the plans from the Garden Enclosure, but built the sides twice as high to make for less bending. The only problem was this made our wire come up higher so we had to adjust the door height. We haven't produced too much yet, but hoping next year brings a quicker yield. The plans were so helpful and easy to use for us novices. *Sorry I couldn't get the pictures to rotate.

Built from Plan(s)

Photo Ledges

This was an extremely quick and easy project to complete. I really love how the ledges tie my dining room together and display all the great pictures of our family. Now I just need to get some more pictures and frames...

Built from Plan(s)
Estimated Cost
$25
Estimated Time Investment
An Hour or Two (0-2 Hours)
Finish Used
1 coat of white primer and 2 coats of Behr Glossy White Paint
Recommended Skill Level
Starter Project

Reclaimed beauty

Submitted by mkrgolf on Fri, 10/23/2015 - 07:13

I started the project on a Monday and moved the table into the house on Thursday afternoon. All wood used was reclaimed. I shortened the length of the table by 9 inches due to the length of the reclaimed boards. The dimensions are 87 x 38.5 x 30. I used a colonial maple stain brushed on then rubbed in with a cloth. Then I applied several coats of Polycrylic clear satin. The stain was $1.50 from the Habitat store and the poly was found in the house we recently moved into. I spent about $15 on wood screws.


Estimated Cost
$20
Estimated Time Investment
Weekend Project (10-20 Hours)
Finish Used
Colonial maple and Polycrylic clear satin.
Recommended Skill Level
Beginner

Wooden Slat Closet

Submitted by Twrenn on Mon, 11/26/2018 - 21:54

This was my take on Ana’s great idea and plans. My wife and I were in need of closet space in our small master bedroom and this worked out perfectly, plus it looks great! To gain some additional storage (and because I thought it would look cool) I decided to build the unit around our wall mounted tv and added 3 additional shelves. Sanding and staining all the board was by far the most time consuming. Assembly was a breeze. For anyone looking to build a large unit like this I recommend having a decent sized working area in order to stain all the boards and set them out properly to dry. Thanks Ana for the awesome design!

Estimated Cost
$200-$250
Estimated Time Investment
Day Project (6-9 Hours)
Finish Used
Varathane BriarSmoke
Recommended Skill Level
Beginner

Modern Headboard w/ Sconces

Submitted by Anonymous (not verified) on Tue, 08/16/2022 - 08:22

Love the modern look of the headboard so I adjusted the dimensions a bit to add more height. I built this for my daughters first college apartment and wanted to capitalize on space know that her room would be small - so I added the sconces for extra lighting in her room. I turned out great and was so happy to find the inspiration on Ana's site!

Built from Plan(s)

Comments

Bathroom Shelf

Submitted by lizseburn on Wed, 08/10/2011 - 11:13

Another perfect shelf to decorate my little basement bathroom. Plans were so easy to follow! A little help from my hubby with this one... We had to drill into concrete to hang it. I love the end result!

Built from Plan(s)
Estimated Cost
$15
Estimated Time Investment
An Hour or Two (0-2 Hours)
Recommended Skill Level
Beginner

Folding Chalkboard

I bought two pre-cut 1/4 inch panels and adjusted the dimensions of the trim to fit the panels, using 1x2's and 1x3's. I painted before I assembled, which was where the most time was spent. Thanks Ana for another great project!

Estimated Cost
I'm guessing $15 including the hardware and chalkboard paint.
Estimated Time Investment
Afternoon Project (3-6 Hours)
Finish Used
left-over interior green paint and chalkboard spray paint (Rustoleum)
Recommended Skill Level
Starter Project

Granite Top Kitchen Island

Dued to my small kitchen, I used 3x4's instead of 4x4's for the legs. I did away with the drawers, and went with two shelves instead. I lower the first shelf to fit my microwave. This freed up my counter space, which was nice. I stopped by a local stone yard, and picked up a thickest piece of granite they had, and had them cut it 36" x 24". I used Minwax Polyshade White Oak for the stain, and picked up some cast iron hooks from Amazon. All together it came out fairly nice. The only regrets is the wood filler I used wasn't so great, and it didn't stain well.

Built from Plan(s)
Estimated Cost
$130 granite slab, $30 for lumber, $8 wood stain and $14 cast iron hooks = $182
Estimated Time Investment
Weekend Project (10-20 Hours)
Finish Used
Minwax Polyshade White Oak
Recommended Skill Level
Beginner

Corner storage beds

Submitted by Kguillotte on Tue, 12/18/2018 - 21:15

Our boys share a room and needed new beds. We wanted to keep as much floor open as possible, so these 2 plans came together perfectly!! They have large drawers that store all of their clothes so theres no need for dressers. We put a surge protector inside the hutch so they can easily plug up and charge their electronics. Best beds ever!!!

Estimated Cost
$700
Estimated Time Investment
Weekend Project (10-20 Hours)
Finish Used
Red mahogany
Recommended Skill Level
Beginner

My rendition of a "Cold Frame"

Submitted by Anonymous (not verified) on Mon, 08/29/2022 - 11:17

Hi, Ana.
I am loving your spot! I have not even delved into your recipes yet! I plan on making more than a few projects from your plans!

Comments

5 Cube Tower Bookshelf

Submitted by rhilborn on Thu, 08/11/2011 - 12:25

This narrow cube bookshelf is a very handy addition to my kitchen! I use this shelf to store cookbooks, our iPod speakers, and some other utilitarian odds and ends. I'm particularly a fan of how to facing on the front and back acts as a stopper to keep your items in the bookshelf. It did not specify in the plans but we chose to align the back facing piece flush with the bottom of the shelf and the front facing piece flush with the top of the shelf. You can see what I'm describing in the pictures.

This piece was fast and easy. I think there is a time when finish work is faster to be done once a piece is finished but this not one of those projects. This shelf would benefit from finish before assembly.

Built from Plan(s)
Estimated Cost
$30
Estimated Time Investment
Afternoon Project (3-6 Hours)
Finish Used
existing can of Behr Premium paint plus primer; Minwax Wipe on Polyurethane
Recommended Skill Level
Beginner

Simple white potting bench

Submitted by JW on Thu, 09/05/2013 - 05:59

Finally, a place to corral all of the stuff on the patio!

What we really needed was a wood rack and buffet/usable surface for the patio, but this potting bench fit the bill perfectly because:
1. It's sturdy enough to hold all that firewood
2. I had all of the supplies already (2x4 scraps, leftover paint, screws, etc)

Free and easy? Yes, please!

Only real change is that I added an apron to the front of the top shelf, and used well-sanded fence slats for the top shelf instead of a regular 1x6 (it's what was in the garage already).

The towel bar is from Ikea. That was also an extra that was already on hand.

Built from Plan(s)
Estimated Cost
$0 (made from all leftovers from other projects)
Estimated Time Investment
Afternoon Project (3-6 Hours)
Finish Used
Some exterior white paint that was already in the garage. Pretty sure it was Behr brand paint.
Recommended Skill Level
Starter Project