Community Brag Posts

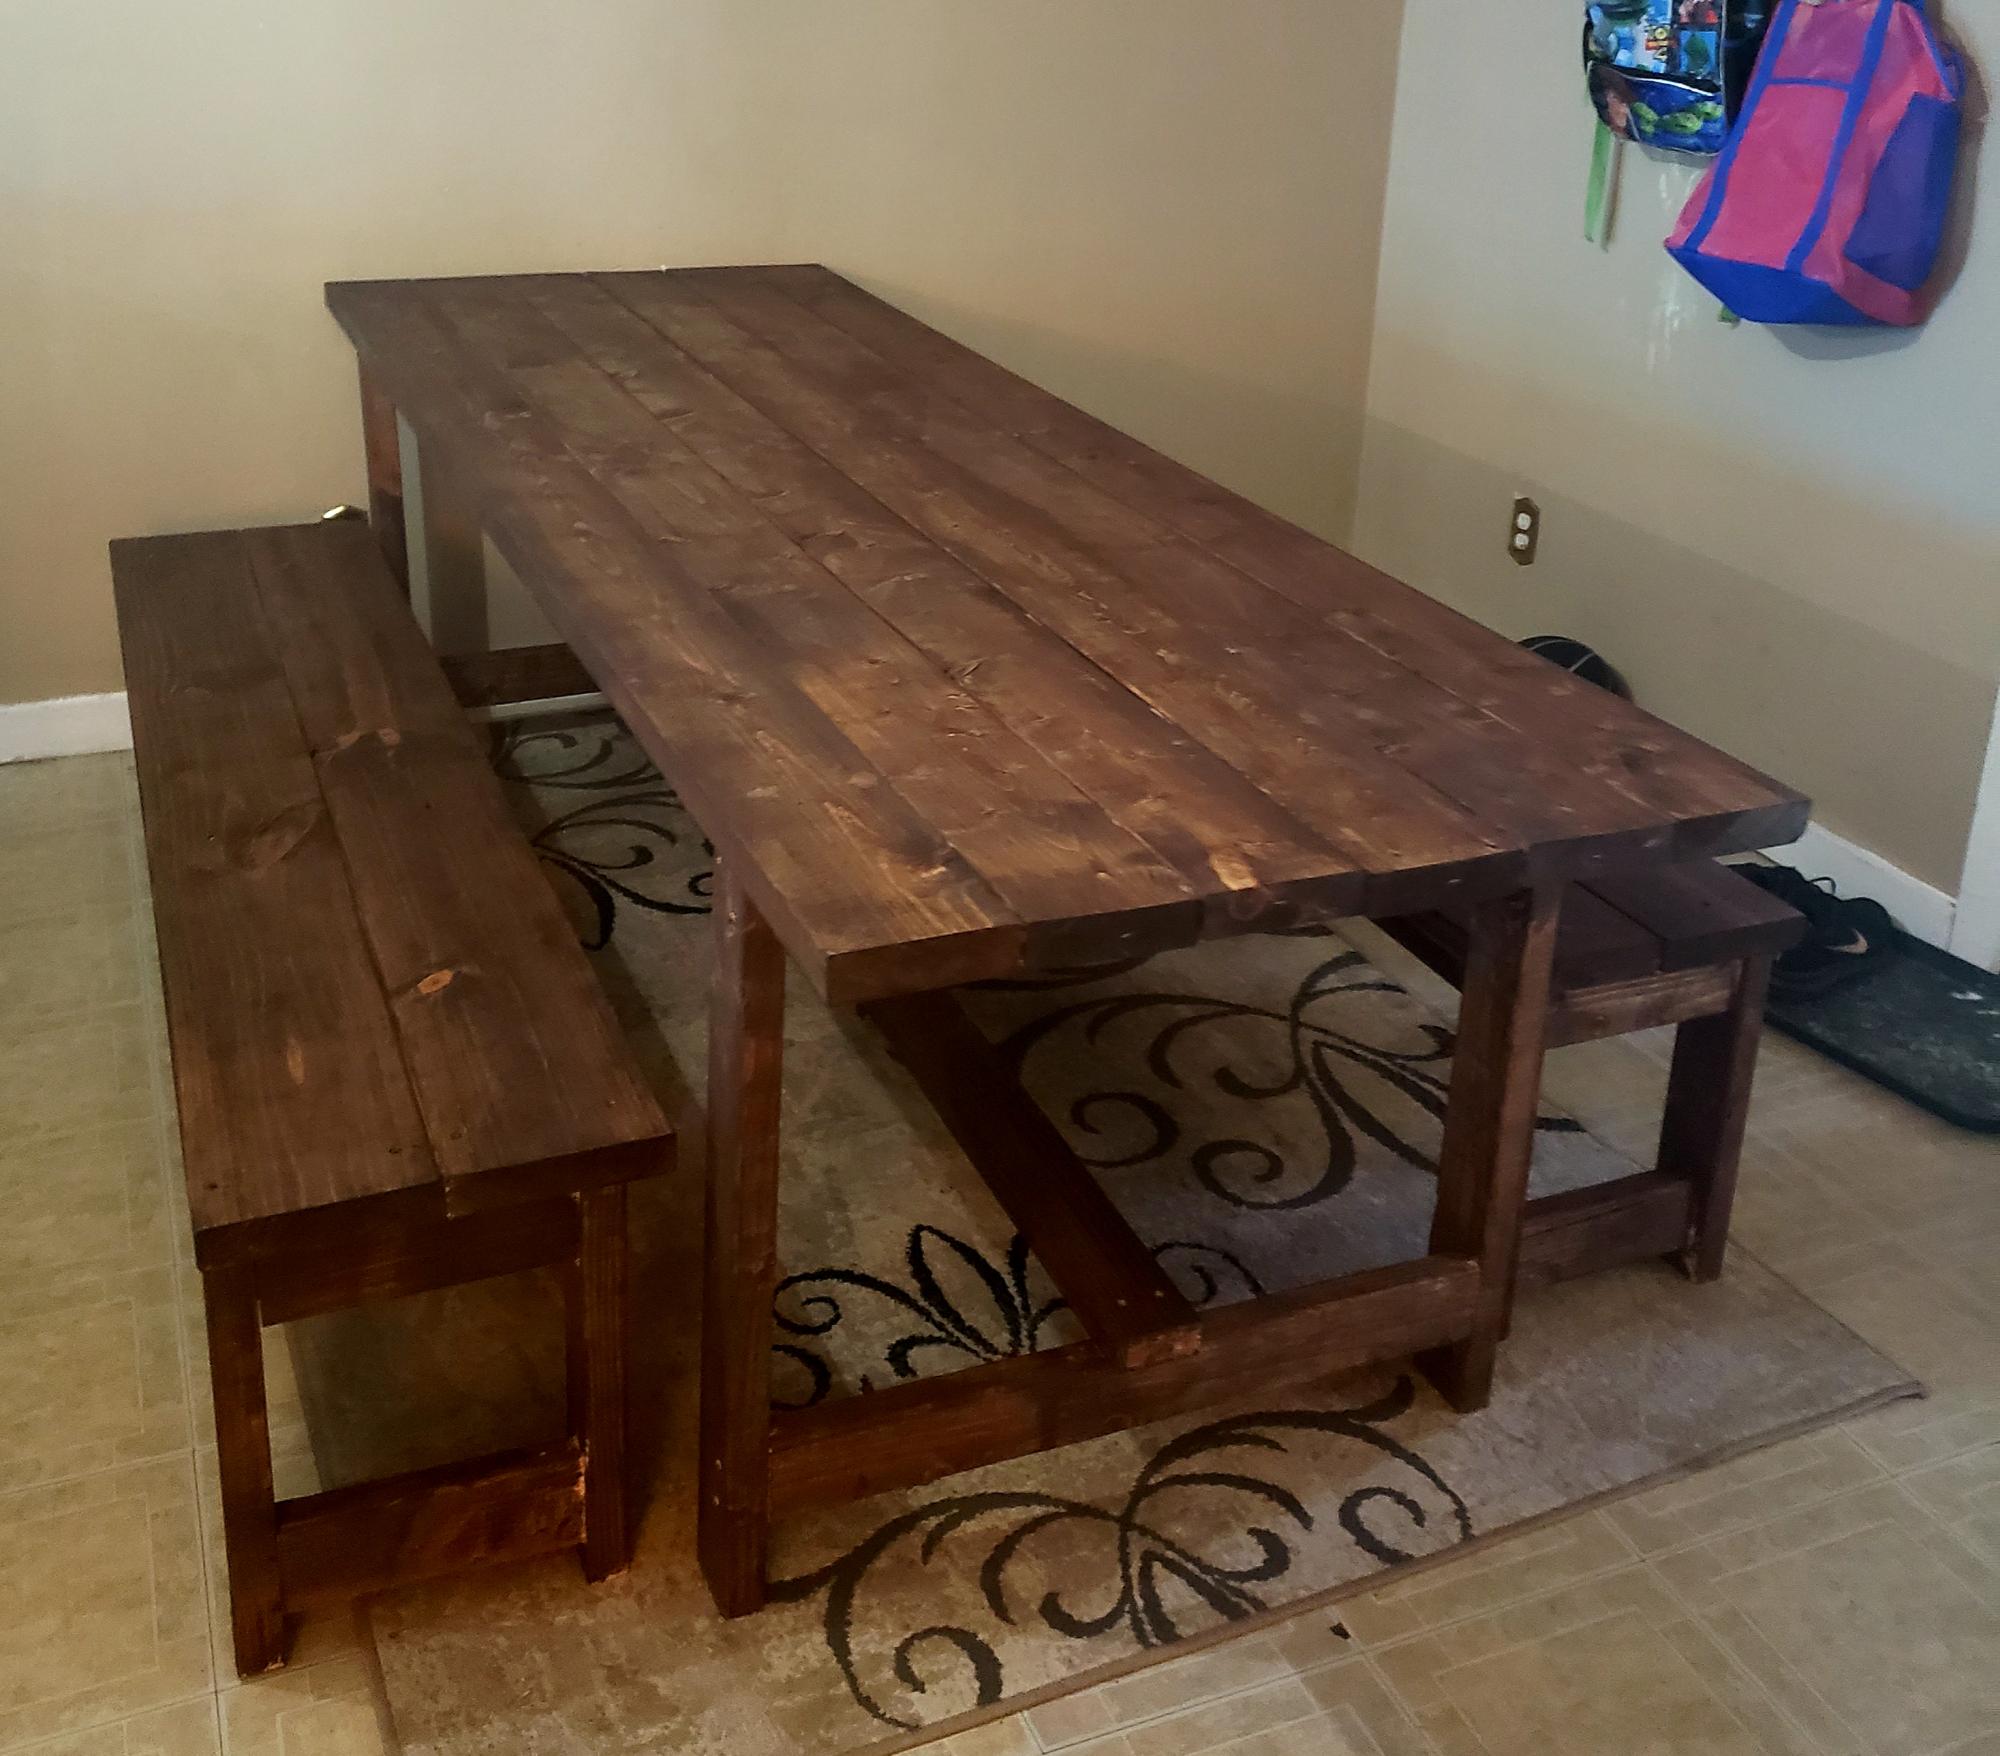
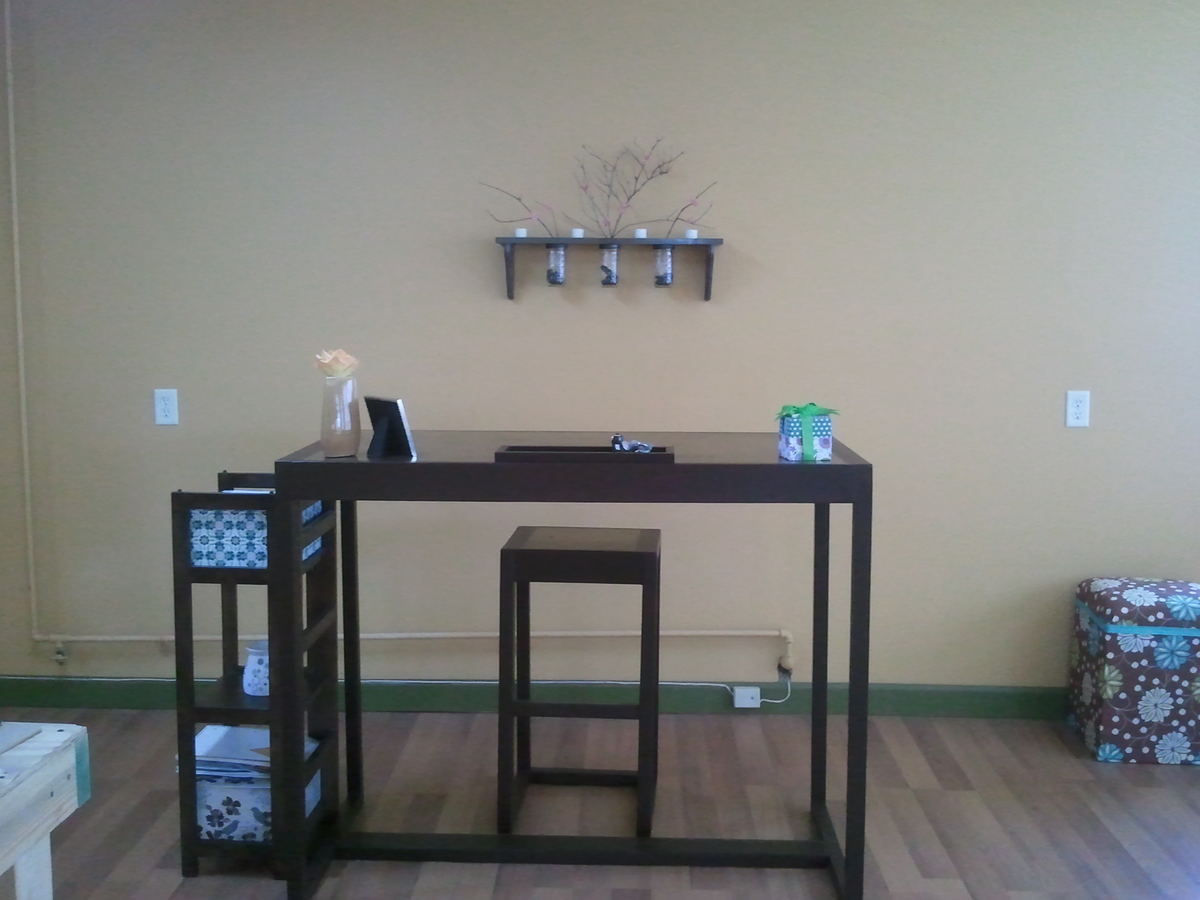
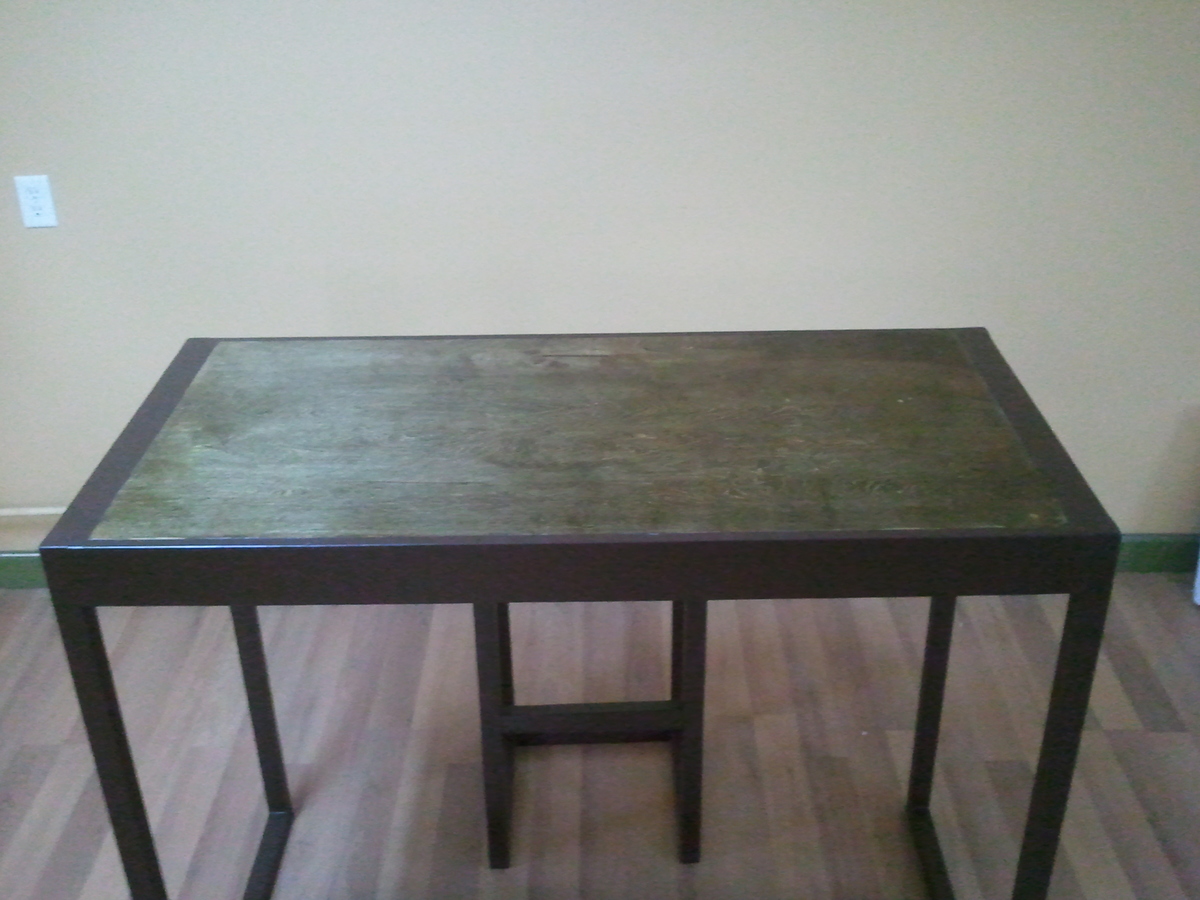
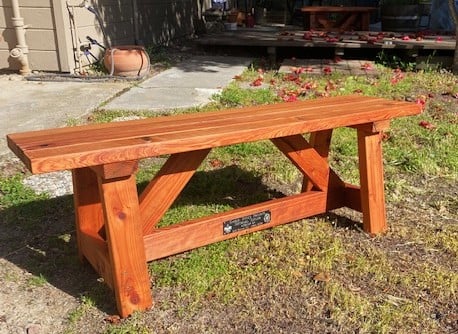
Tryed side table with reclaimed bowling alley wood.

Submitted by Alex1981 on Wed, 08/15/2012 - 19:40

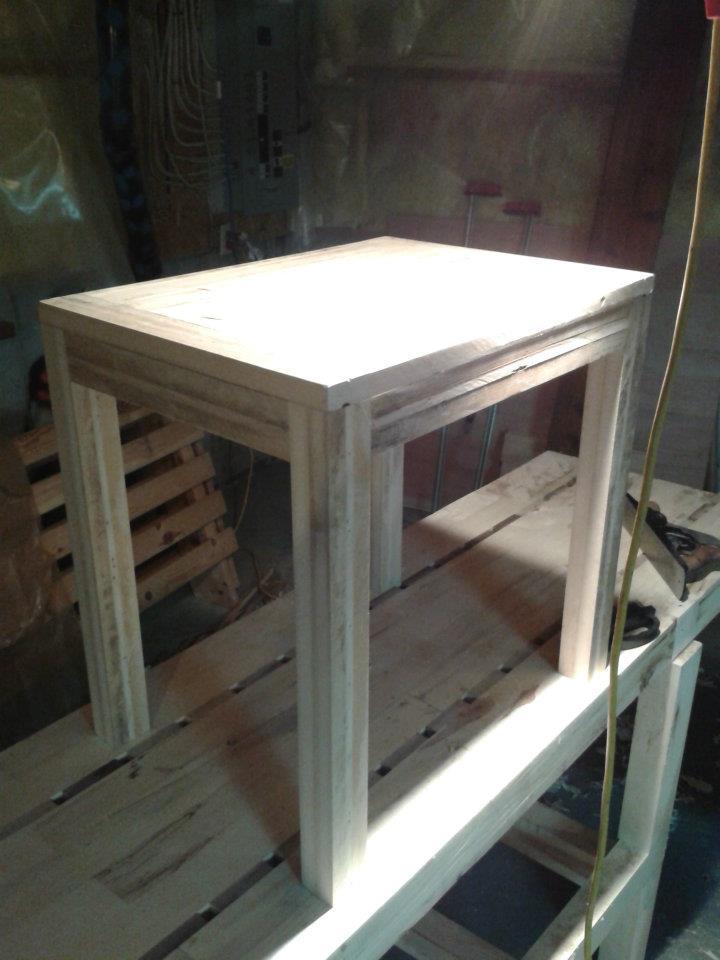
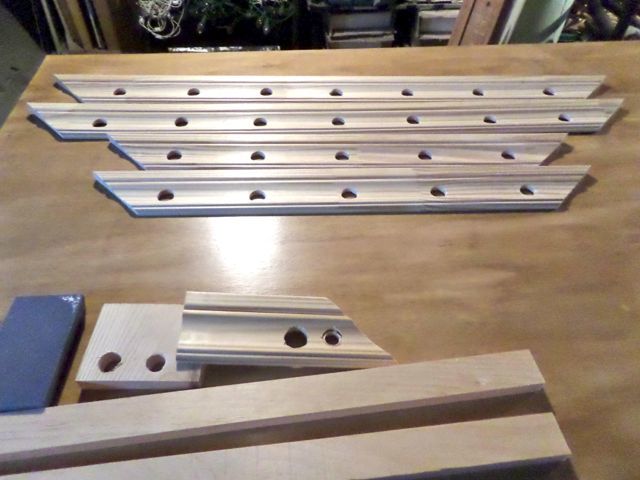
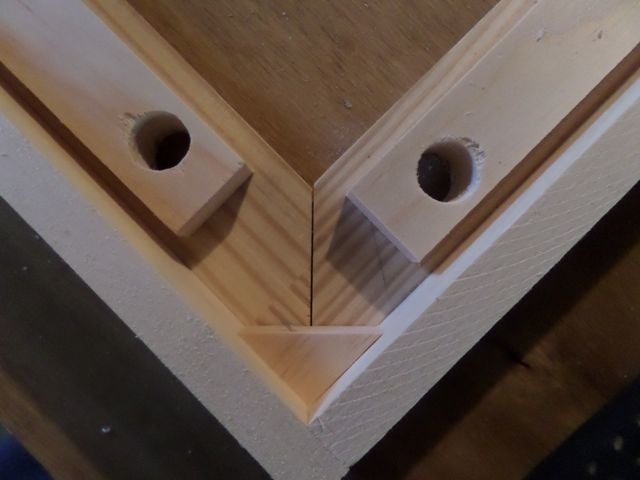
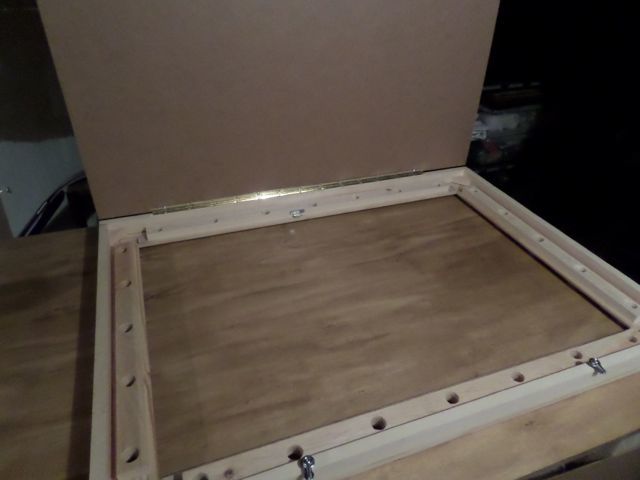
Made my version of the Tryed table out of bowling alley maple which came with a purchase of nicer wood a while ago. The maple has random nails in it so instead of making it nice I just ripped it on the table saw leaving all the saw blade marks and holes etc. I thought I was gonna end up burning it but it turns out I have use for all this stuff! The construction is easier than the plans given. I omitted the inside supports. Just a top, 4 legs, 4 side skirts. Use pocket screws for skirts and legs, and 90 degree brackets for table top. Getting crooked distressed wood to glue up / line up nice nice is not as easy as using straight wood. The table top is tricky to glue up without squeezing out glue, so let it happen. Don't be tempted to wipe it off right away. I waited till it hardened then used a properly sharpened floor/paint scraper to scrape away excess, leaving a bit of distressing behind. You can't sand it much because you will erase the distressing. Crooked distressed wood doesn't glue and assemble as well so you must accept that it's not perfect. Believe it or not it took me 16 hours to complete this using: cheap table saw a very good quality DeWalt mitre saw Kreg Jig, drill bits and screws drill biscuit jointer to join the table's bread board ends (can use Kreg jig instead) lots of clamps glue floor/paint scraper (NOT A PUTTY KNIFE) measuring tape pencil COST $0

Built from Plan(s)
Estimated Cost
$0 (Canadian)
Estimated Time Investment
Weekend Project (10-20 Hours)
Finish Used
I made stain using diluted paint that had some brown and black in it (2 parts water 1 part stain, just brush it on and let dry 60-120 minutes). I used drying vegetable oil (NOT olive or canola, it MUST be either linseed (flax seed) oil, tung oil, poppy seed oil, perilla oil, walnut oil - see wikipedia on drying oils).

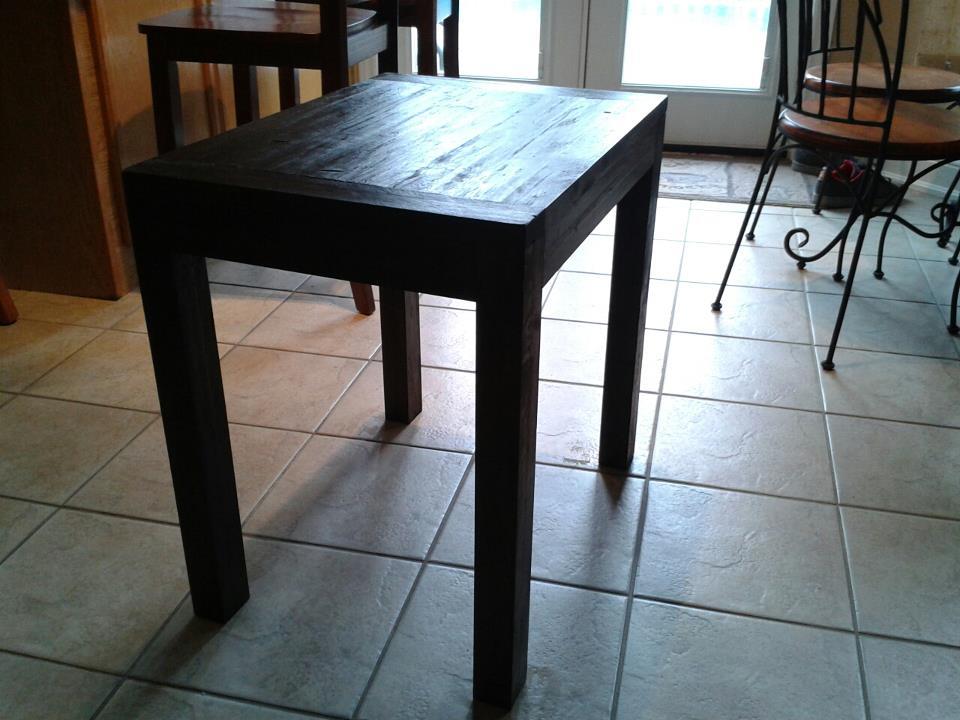
I had poppyseed oil in the pantry which does not go rancid like olive or canola, it actually polymerizes. Wipe on let dry 45 minutes and wipe off. This finish leave an ultra matt finish which is what I like.
Recommended Skill Level
Intermediate

Marquee Frame!

I have a friend who is a wedding coordinator, and she was doing a Gatsby themed wedding, which needed a marquee frame for a chalkboard picture she wanted to make. She couldn't find a nice (suitable) old frame to drill into, so she asked me to put something together for her.

Taaa daaaa!

The chalkboard comes out so she can put a 24" x 36" poster in there for an entirely different look. The whole thing is self-enclosed so that the wires aren't all sticking out the back.

I think it turned out pretty great - what about you?

There are more details about it on my blog.

Estimated Cost
$100
Estimated Time Investment
Afternoon Project (3-6 Hours)
Finish Used
gold paint - a few different types as I had a hard time finding one I liked. Acrylic worked the best in the end.
Recommended Skill Level
Beginner

Amazing!

Submitted by Anonymous (not verified) on Sun, 06/21/2020 - 18:07

We LOVED this project. It was pretty simple, yet the outcome was beautiful. We used 2x8 boards for the tops of the benches, just to make sure we had enough space. We also have a toddler, so the bigger seating area is perfect for his booster chair. If you wish to use 2x8s like us, you will want to cut your middle support board 7" and the end aprons/stretcher at 10". So for example;

Cut list for one bench (adjusted for 2x8 boards on top):
2 - 2x4 @ 66" - long aprons
4 - 2x4 @ 16-1/2" - legs
4 - 2x4 @ 10" - end aprons and stretcher
1 - 2x4 @ 7" - middle

We used the normal plans for the table. The total came out to be $110 for both the table and 2 benches. That includes all the wood and screws. We were lucky in that we still had stain and wood filler from previous projects. Overall, I would 100% recommend these plans. Thank you ANA White!!!!

Simple Modern Bar Table Desk

Submitted by maw0130 on Sun, 08/19/2012 - 17:46

Check out the bar stool also. I thought the inset being stained added a little touch. I use this as my desk. I get compliments all the time!

Built from Plan(s)
Estimated Time Investment
Afternoon Project (3-6 Hours)
Finish Used
Walnut and clear poly and Kylon Espresso (in can-not spray)
Recommended Skill Level
Starter Project

Octagon Table Finished!

Submitted by kkwong5 on Mon, 06/09/2014 - 08:47

Finished building this table with the plan provided by Ana White! Worked out great. I stained it in a with a transparent deck stain in natural sequoia. Happy to help if anyone has any questions!

Tips: Definitely cut as you go. If you get the angles are off in the center when all the long pieces connect is it makes each top piece larger or smaller.

Built from Plan(s)
Estimated Cost
200
Estimated Time Investment
Week Long Project (20 Hours or More)
Recommended Skill Level
Intermediate

Comments

DIY Dog Crate + End Table

Submitted by Anonymous (not verified) on Fri, 09/09/2016 - 16:33

One thing led to another, and we got a rescue dog – Arthur. The good little guy finds the apartment too big to stay alone when we are not around, and it is a recommended practice to have a dog crate so that the dog has a confined space of its own.  The options to buy were hopeless, and the cheapest ones were just made of metal wire. They look horrible inside the house and it looks like a prison cell. There are nicer wooden ones, but they cost few hundreds of dollars. So, I put my DIY hat on, and thought of building one for our new buddy!


Material Used:

  • 1 sheet of 4ft x 8ft, ½ inch thick Plywood
  • 3 lengths of 1.5 inch x 1.5 inch x 8ft lumber
  • Small pack of ¾ inch wood screws
  • Small pack of 1.5 inch wood screws
  • 8 90 degree metal framing angles
  • ½ qt latex based wood primer
  • 1 qt wood paint
  • 2 Brass hinges – 270 degree
  • 1 lock
  • 1.5” brush and 6” roller

Refer my blog post for all step by step instructions and optimal material usage.


Estimated Cost
$70
Estimated Time Investment
Weekend Project (10-20 Hours)
Finish Used
The finish can really improve from what you see in the pictures. ideally the edges should be sanded more and then white wood primer and wood paint work for the 'walls' and door. For the top surface we used a satin stain.
Recommended Skill Level
Intermediate

Large Porch Bench

I made this gorgeous bench about two months ago as a gift for my mom on Mother's Day. She loves it and It's currently sitting out by her pool. We love how solid and deep this feels. This was my first project where I was using miter cuts, and it took a bit to get used to. I wish I had a brad nailer to help secure the X pieces on the back board. I used pocket screws and plugs, but it was a bit of a struggle trying to maneuver the drill. I ended up having to use a screw driver to make it fit.

Estimated Time Investment
Day Project (6-9 Hours)
Finish Used
Shousugi ban with Maker Brand Simple Finish. Total Boat Halcyon Clear.
Recommended Skill Level
Intermediate

High Loft Bed

Submitted by Anonymous (not verified) on Sun, 04/07/2024 - 18:10

I built this bed a little higher so it will last my daughter a lot longer.
Such a great way to get back all that floor space! The 2x4 frame makes it super strong as well.

Diane

Potting Bench

This potting bench is my first project, and I am so happy with the way it turned out. I was a little nervous to paint it purple, but I think it looks pretty good. I originally planned to deviate from Ana's plans, but decided not to go overboard for my first project. The plans were straight forward and easy to follow, it only took me a couple of hours to build. Looking back though, I would have gone with a different wood (I used cedar), because I used conditioners and sealers and primers etc... and the cedar grain doesn't come through over the paint, and isn't really worth the extra cost for what I did with it. Overall a great beginner project. I am looking forward to many more.

Built from Plan(s)
Estimated Cost
$100
Estimated Time Investment
Afternoon Project (3-6 Hours)
Finish Used
Exterior paint, and a polypropylene sealant
Recommended Skill Level
Beginner

Work bench

I was inspired by this workbench post to create a workbench, especially since I needed one! I painted it with exterior paint and added wheels. I also added extra wood around the bottom to make it sturdier.

Estimated Time Investment
Afternoon Project (3-6 Hours)
Recommended Skill Level
Starter Project

First Leaning Bookshelf Project

Submitted by Anonymous (not verified) on Sun, 09/11/2016 - 17:15

This was my first attempt at the leaning bookshelf project.  I decided upon a modern-contemporary look by using white laminated 1x4s and opted for dark wood staining to give the shelves contrast.  It was my first time using a compound miter saw, as well as intensive wood sanding and staining.  I struggled with cutting the white support beams into the directed 5 degrees, and just made my best guess with a hand saw (however, I will try to improve upon this for our next set, since the additional cost of a second bookshelf is only about $50.)


I also learned about the trick of a 5-point shelf leveling (one for each corner, and the center point) in order to get a truly level shelf.  Creating the jig in order to space out the distance between each shelf is a really good idea to help implement all of the setup.  

Overall, I really enjoyed this project and wanted to thank Ana for her inspiration and plan details.  

I look forward to reporting yet another success on our second bookshelf (and following writing desk) soon!

Built from Plan(s)
Estimated Cost
Initial equipment cost: Approximately $600 (to be used in other projects.) Actual hardware costs: Approximately $150.
Estimated Time Investment
Weekend Project (10-20 Hours)
Finish Used
Minwax walnut stain, with semi-gloss clear sealant. Instead of doing the small cross-cuts as described in Ana's plans, I opted for a slightly rounded / beveled edge on all of the shelves, in order to give me a very soft and touchable feel. It was definitely extra sanding, but I believe it was worth it!
Recommended Skill Level
Beginner

Treehouse

Submitted by Anonymous (not verified) on Thu, 06/25/2020 - 14:31

We improvised as we built the tree house but did start with your basic idea and it did turnout pretty well. Followed the modern tree house video. A suggestion would be the clear roofs that makes it even cooler.

Roll Away Workbench with Miter Saw Insert

Submitted by Anonymous (not verified) on Thu, 04/11/2024 - 10:43

Modified these plans slightly for my needs. I kept the table saw open for easier dust collection and only had one side of shelving on the other bench to allow for storing larger items. I can’t get over how much storage in a small space you get with these and how multi functional they are.

My first table

Submitted by gdecris on Thu, 08/23/2012 - 19:06

This was my first project building furniture. It was a fun time!

Estimated Time Investment
Day Project (6-9 Hours)
Finish Used
Not Finished
Recommended Skill Level
Starter Project

Turquoise Bar Stool

I wanted a bar stool for my kitchen counter and this plan was perfect for what I wanted. I painted it turquoise to match a bookcase I had in the connecting living room. Since I already had the paint and wax all I had to pay for was the wood.

Built from Plan(s)
Estimated Cost
$20.00
Estimated Time Investment
Weekend Project (10-20 Hours)
Finish Used
Valspar "Swim" satin sample paint + 1/3 cup water + 1/3 cup plaster of Paris to make homemade chalk paint.

Sealed with wax.
Recommended Skill Level
Beginner

Utility Room Shelves

Submitted by Anonymous (not verified) on Tue, 09/13/2016 - 20:58

I'm so grateful for these plans! Since we were building in a basement against a concrete wall, we just made each side with the vertical 2x4 supports, then anchored the shelves to the exposed studs on the side walls for safety. This project was so fast and easy -- I put them together one night after the kids went to bed. They're 8' long and 2' deep, very sturdy, and they were highly economical to build. I love that the shelf is smooth and flat, too, as this makes it easy to store small things as well as large totes.

Estimated Cost
$70
Estimated Time Investment
An Hour or Two (0-2 Hours)
Finish Used
None
Recommended Skill Level
Starter Project

Work Bench

I just started wood working this past few months, and this is I think my 6th project already. Super easy to make and so sturdy!! This will definitely help make building easier!!

Estimated Cost
$100
Estimated Time Investment
Afternoon Project (3-6 Hours)
Recommended Skill Level
Beginner

Comments

Eagle Scout Project - 6 Outdoor Garden Benches

Submitted by Anonymous (not verified) on Wed, 04/17/2024 - 07:53

We found your great plans and site online.  My son, Michael made 6 Garden Benches for his Eagle Scout Service Project and donated them to the local Master Gardener’s Association.

They turned out beautiful!

Thank you for sharing your plans. We’re looking forward to building more of your projects!

The Taylors

Built from Plan(s)

Chevron Shoe Bench

Submitted by brookslu on Sat, 08/25/2012 - 19:51

I based this project on the Outdoor Shoe Bench. We used some leftover wood from a large building project, so we had to make some changes depending on wood dimensions available, but it worked. We also did a few things a little differently, such as the overall dimensions and how we did the lot. I very much appreciated the help and inspiration I got from this website!

Estimated Cost
20
Estimated Time Investment
Weekend Project (10-20 Hours)
Finish Used
I just used Kilz spray primer and white Rustoleum spray paint. I also got the fabric from the Premier Prints collection on fabric.com
Recommended Skill Level
Beginner