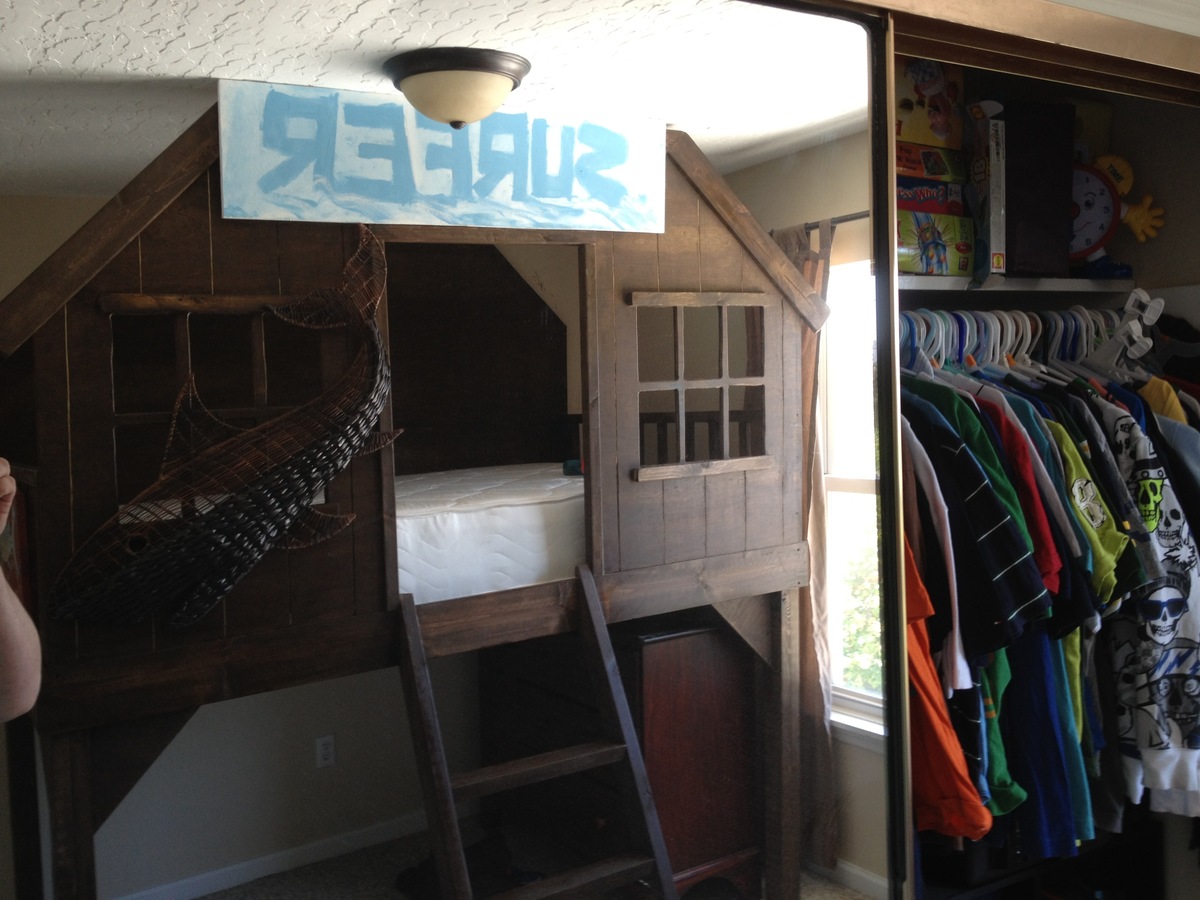
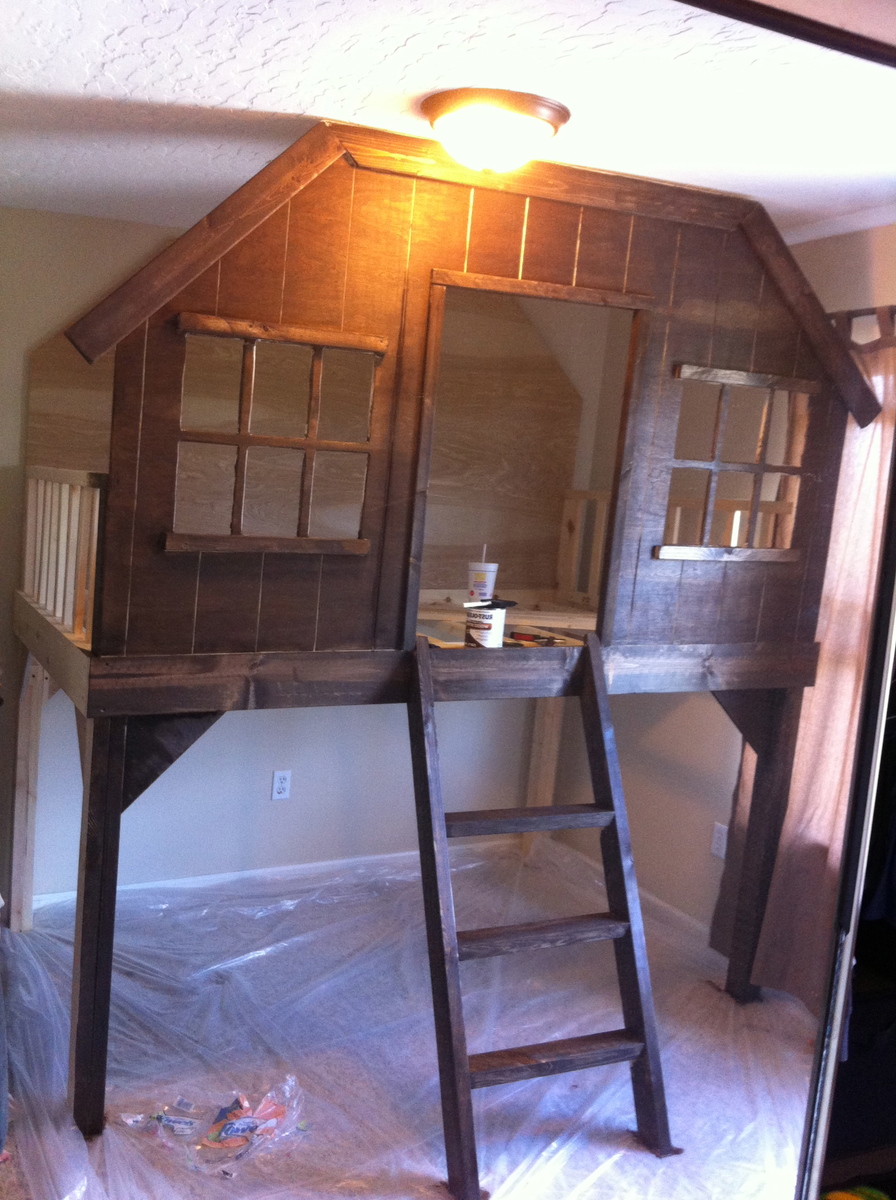
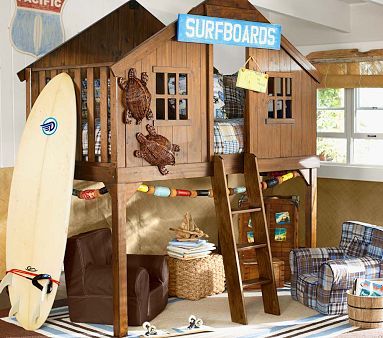
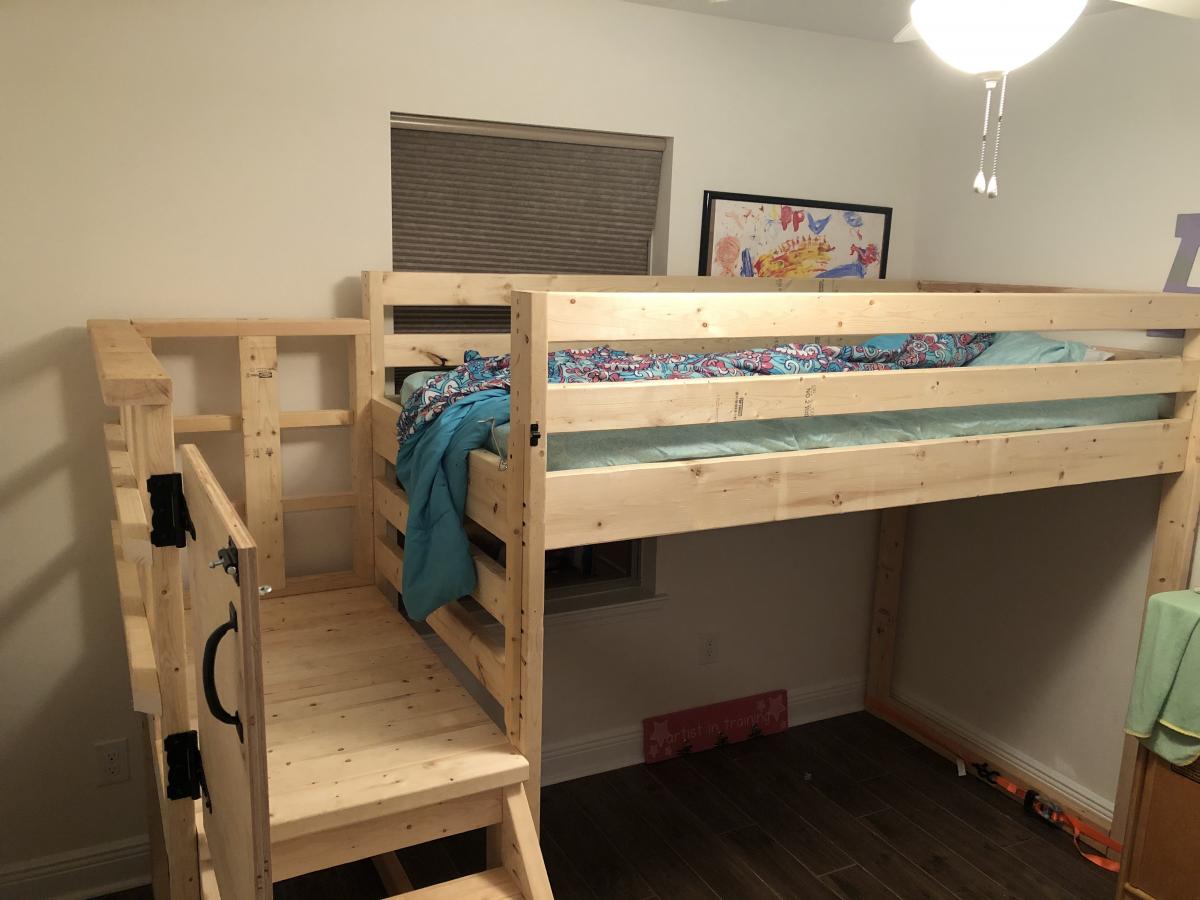
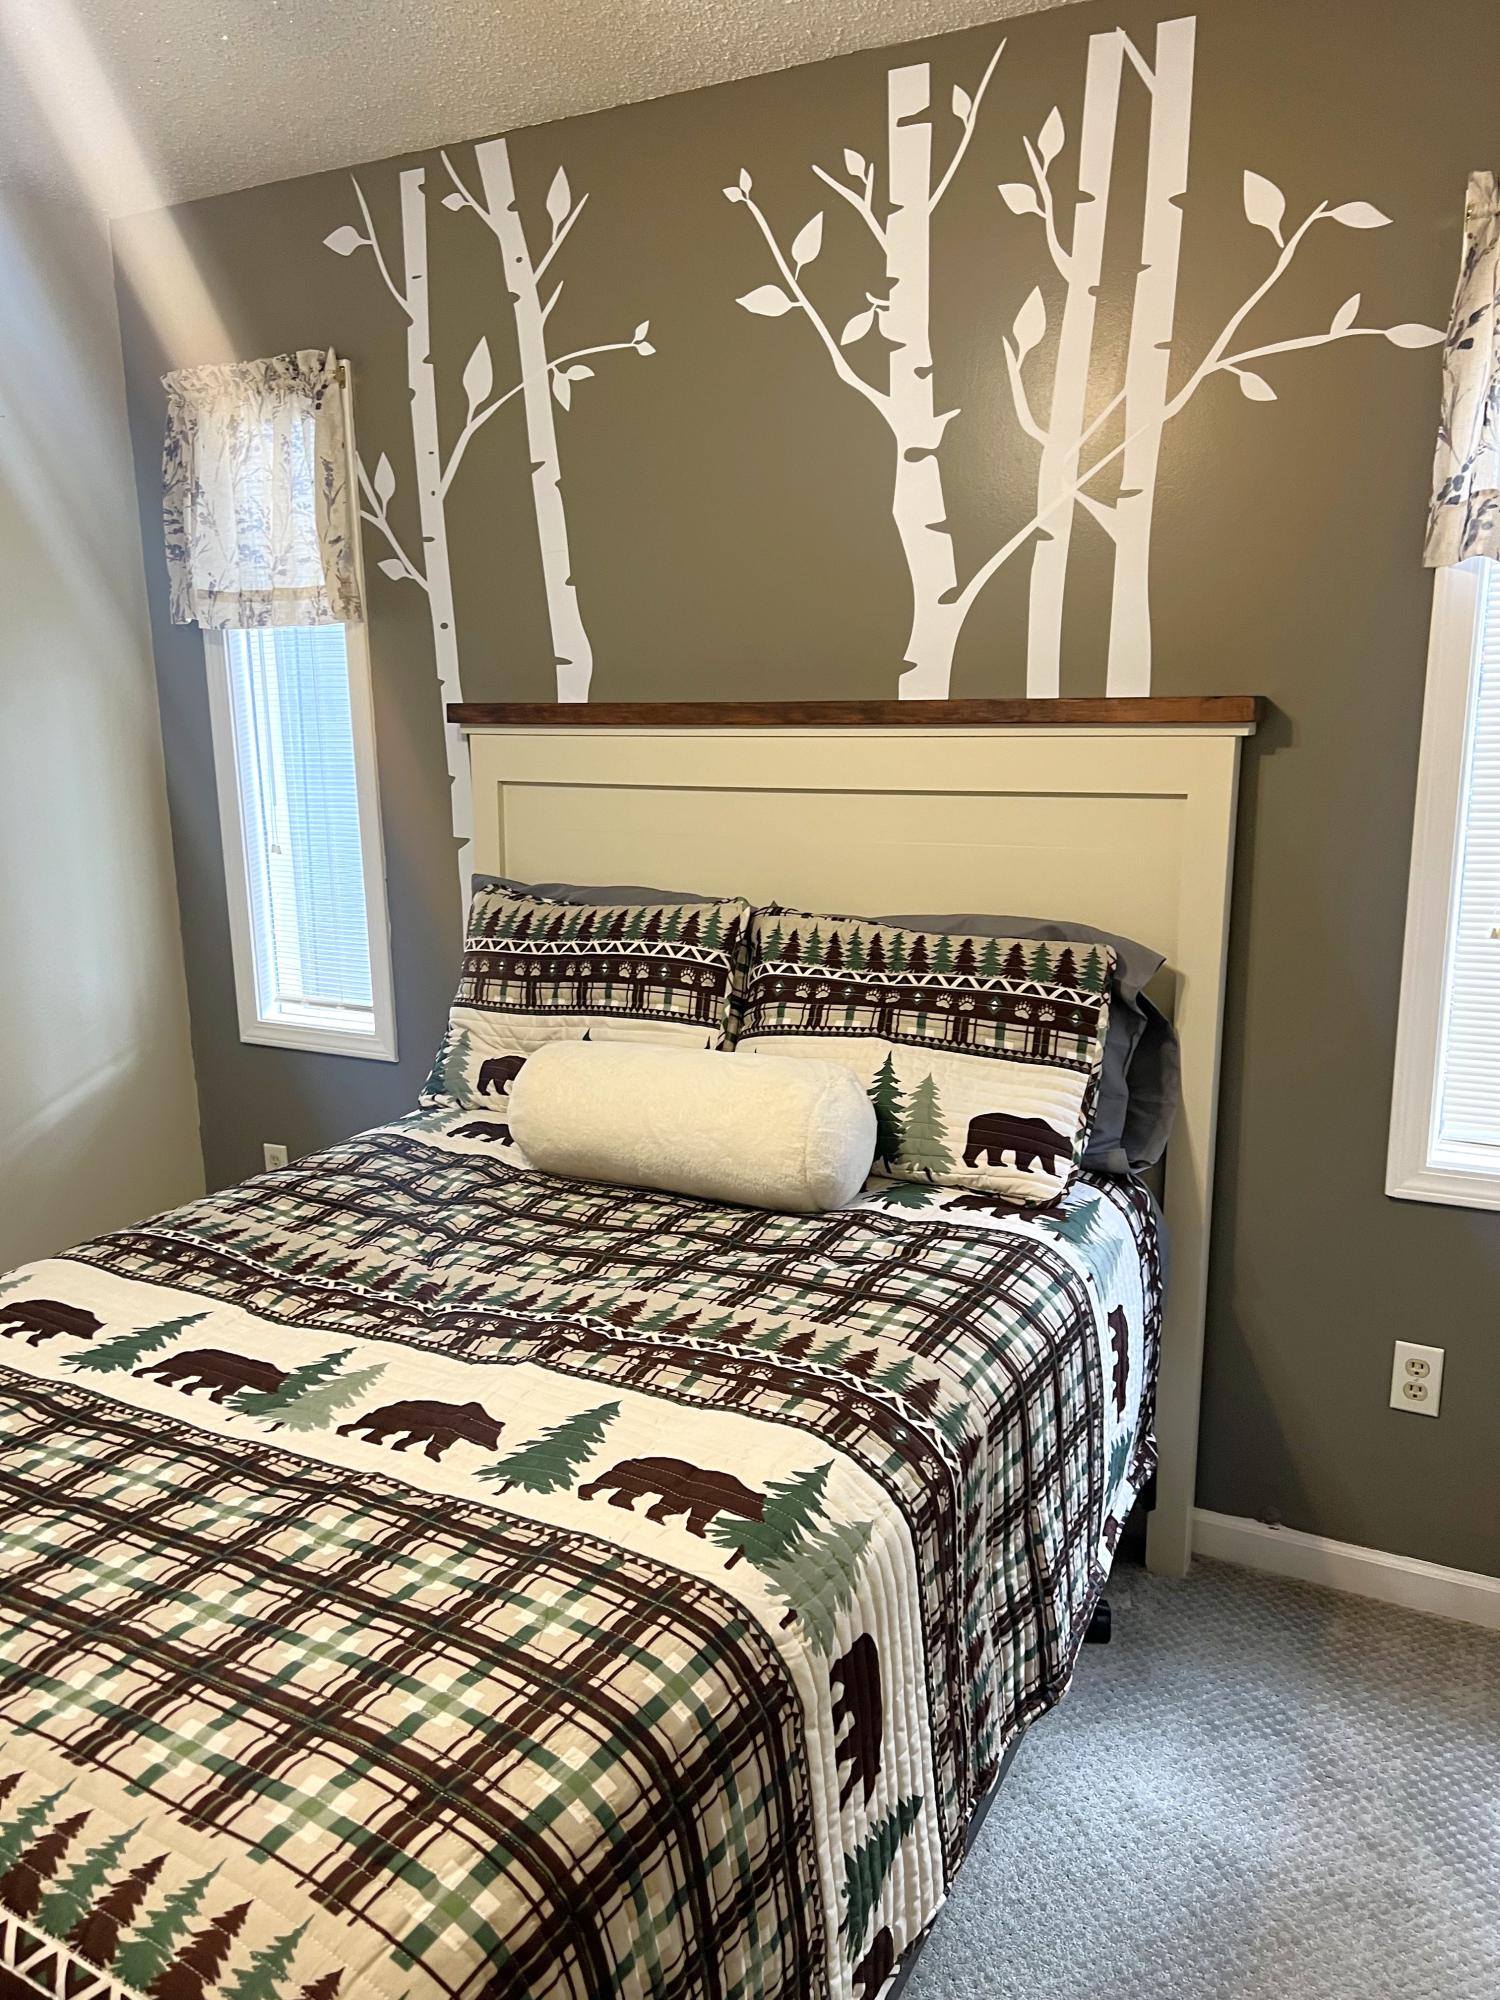
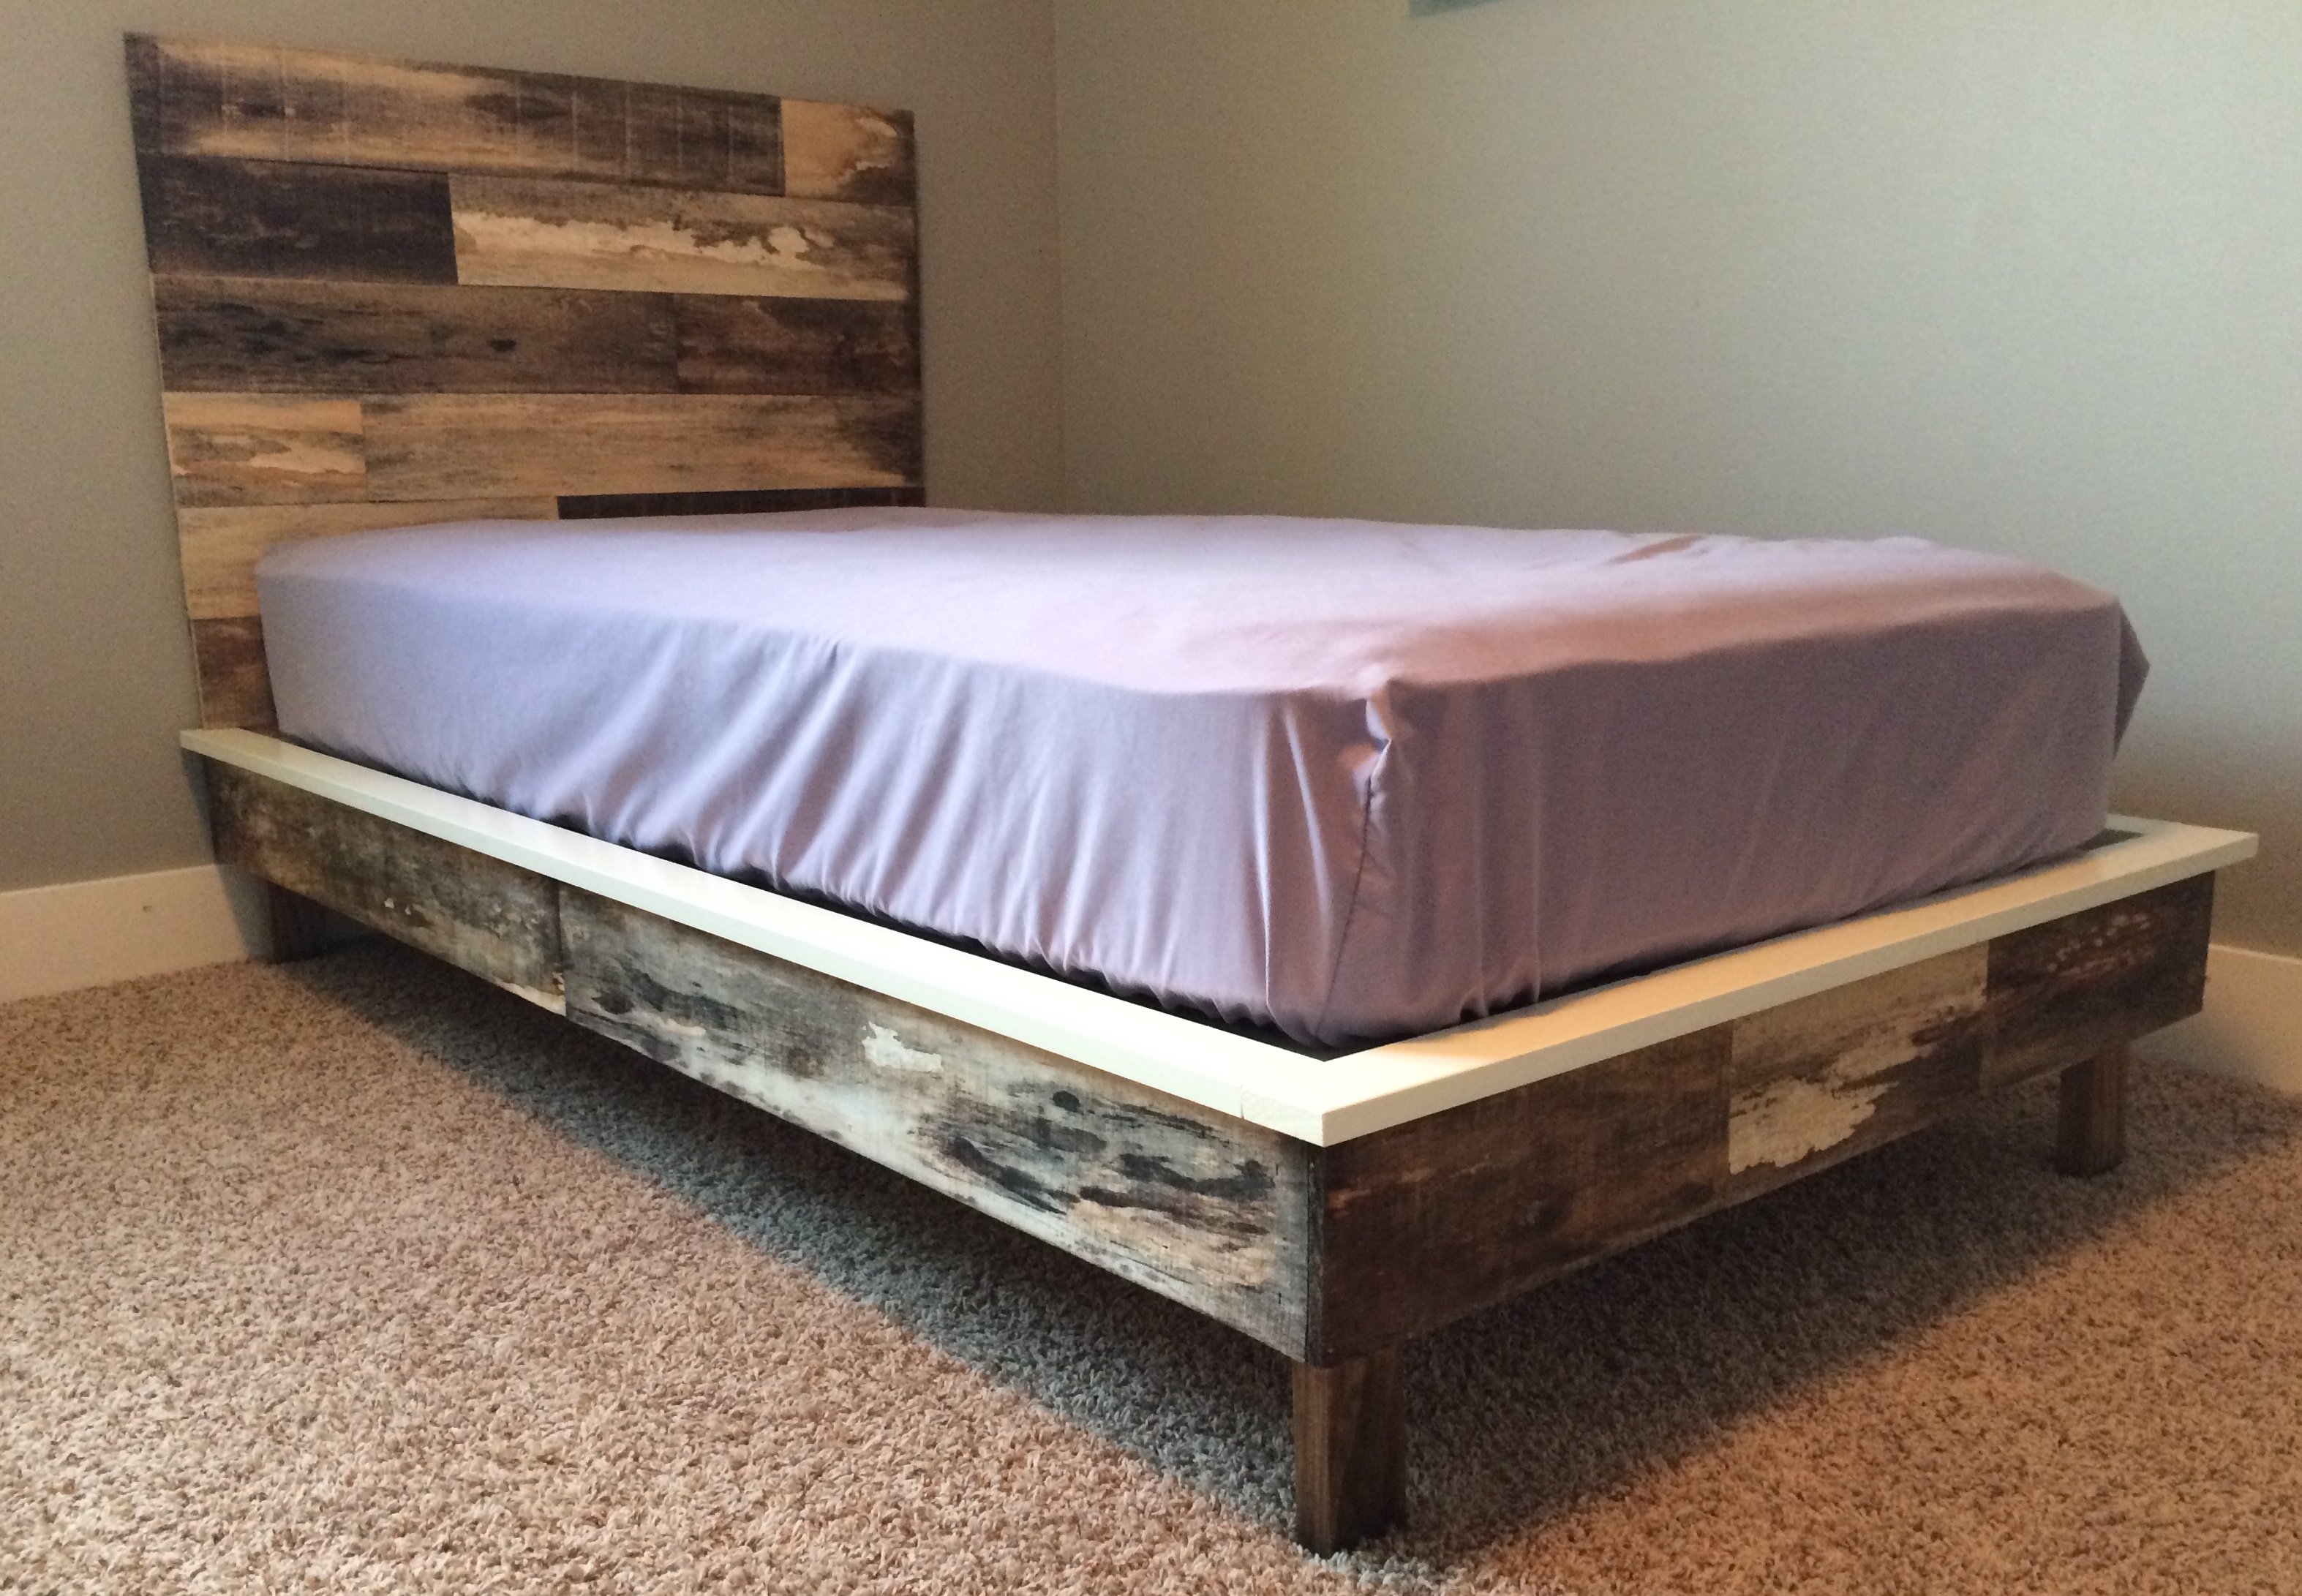
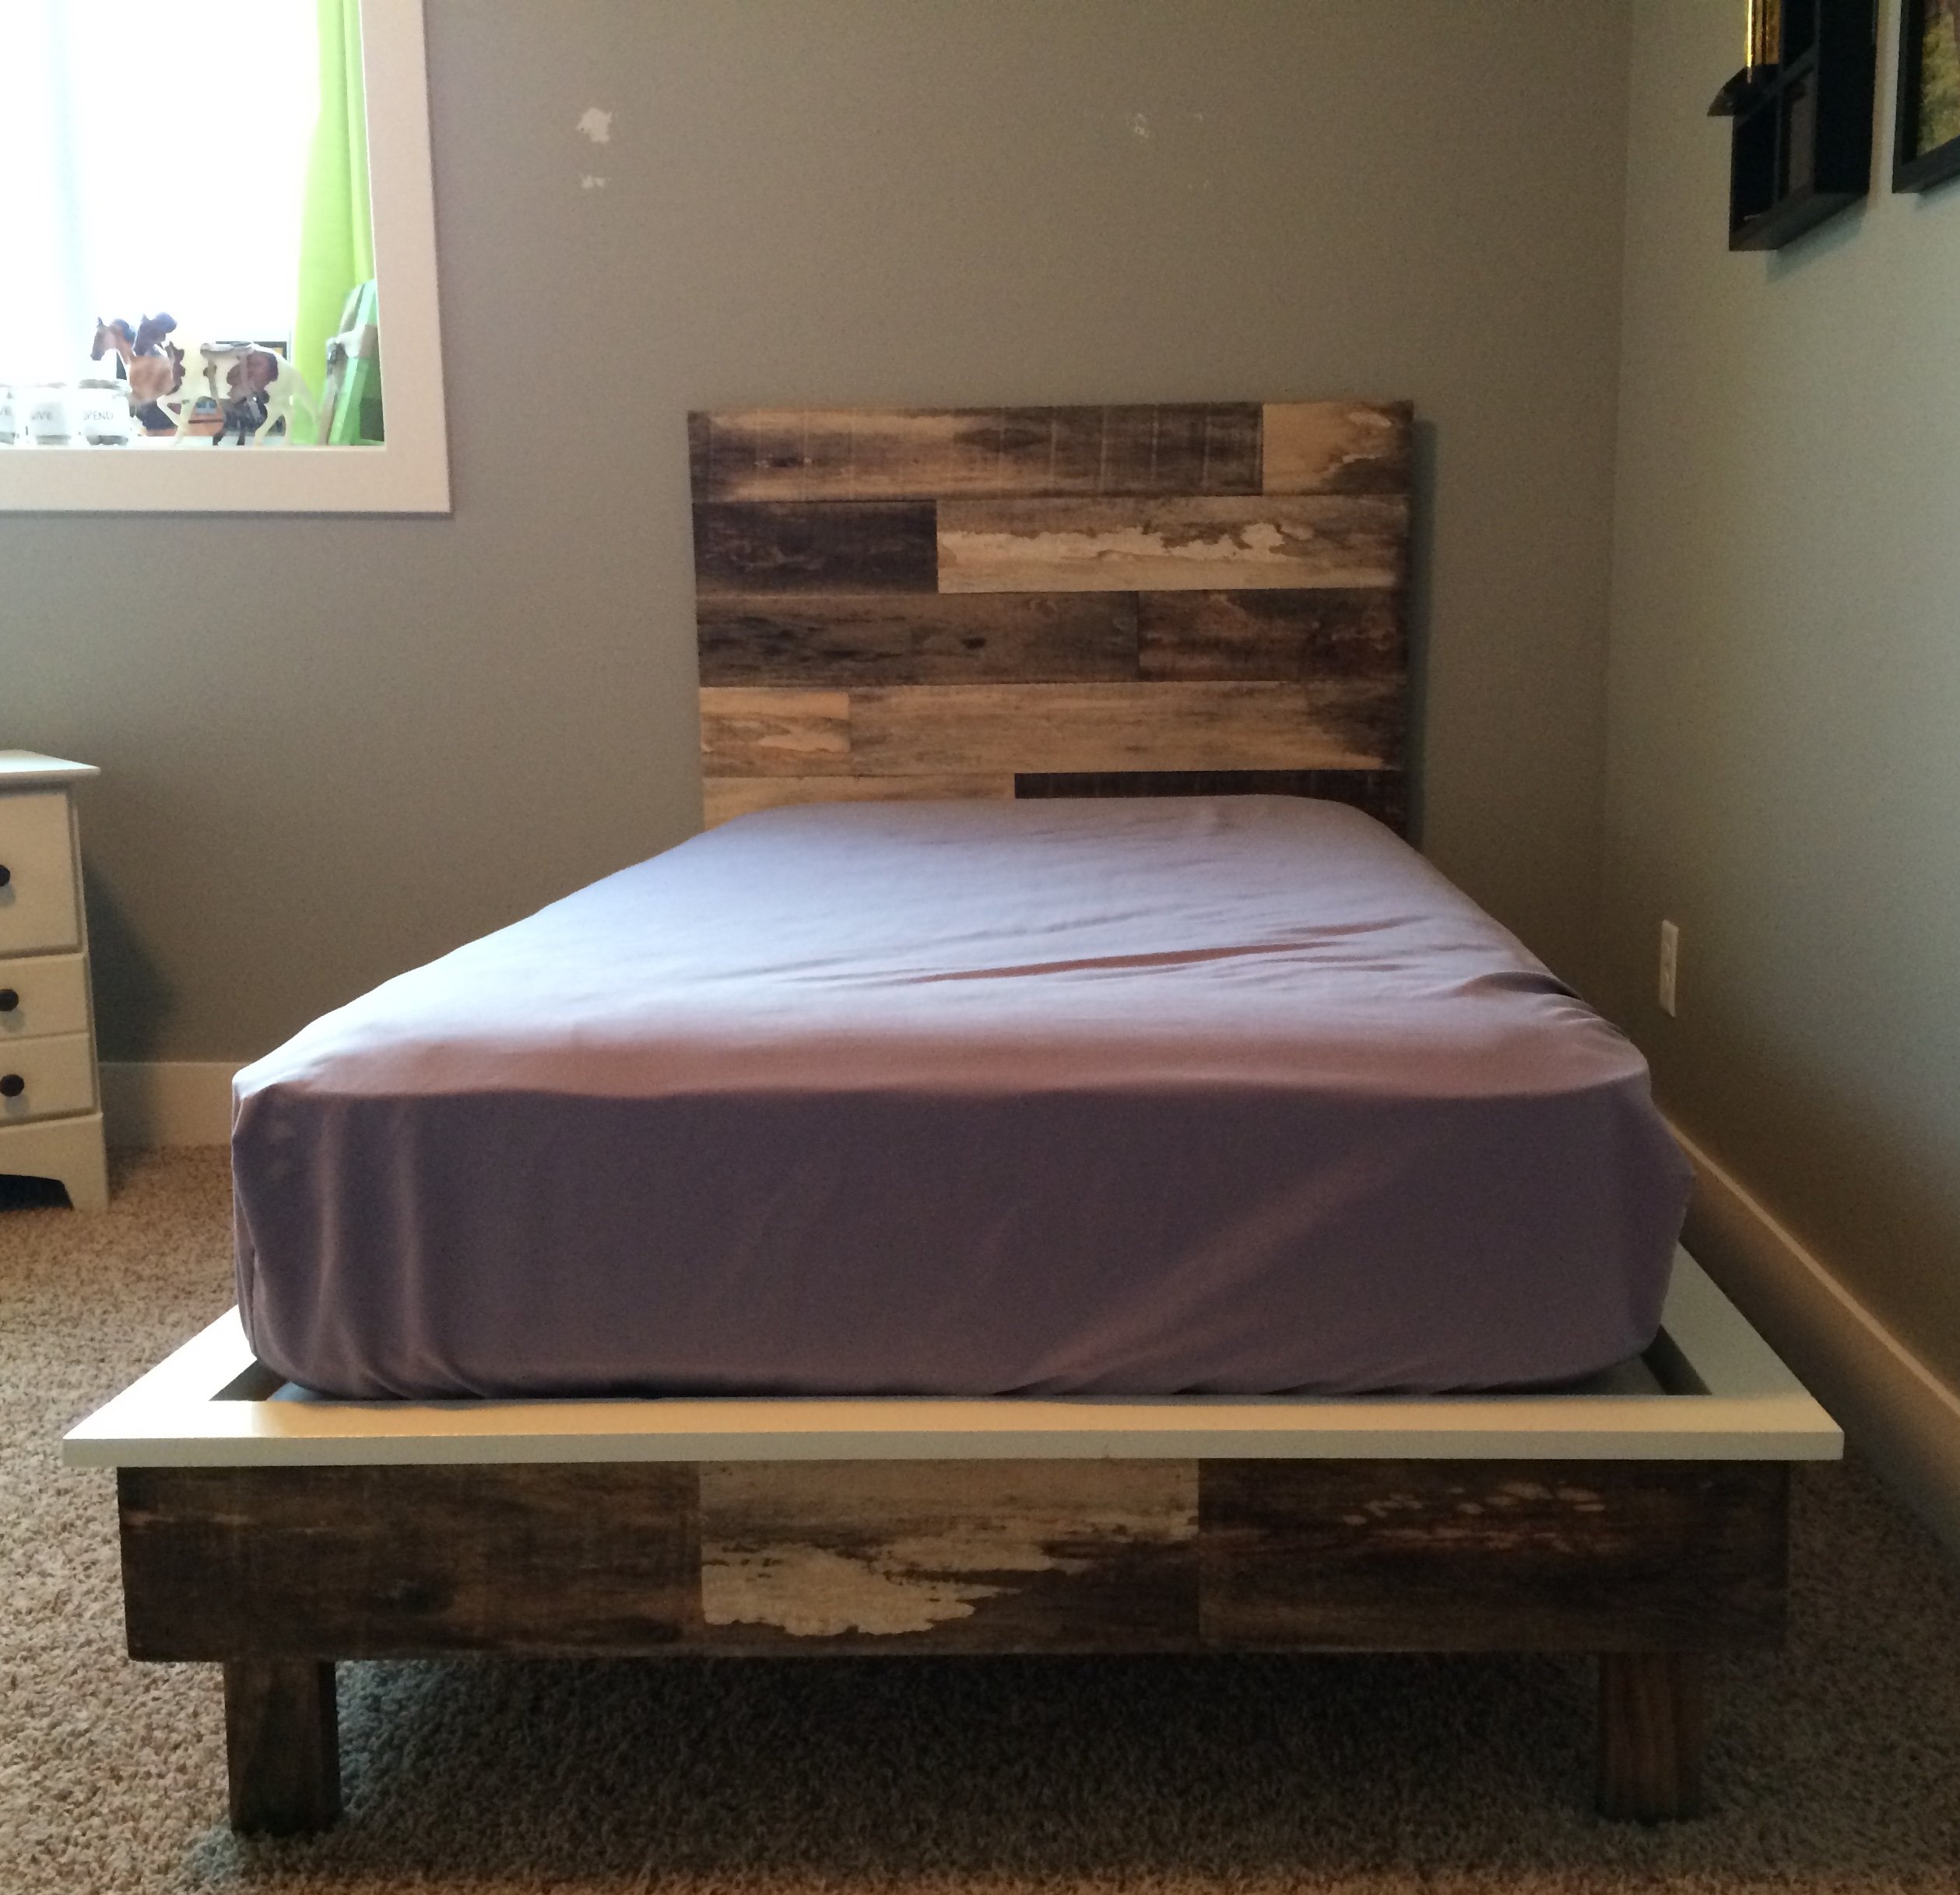
Surfer Shack

My buddy wanted this bed from Pottery Barn Kids but didn't want to spend $1300. It cost him $250 in materials and i built it for $300. So you DIY'ers could do it for $250. We also adjusted the size to fit a full size mattress.
Built from Plan(s)
Estimated Cost
$250
Estimated Time Investment
Weekend Project (10-20 Hours)
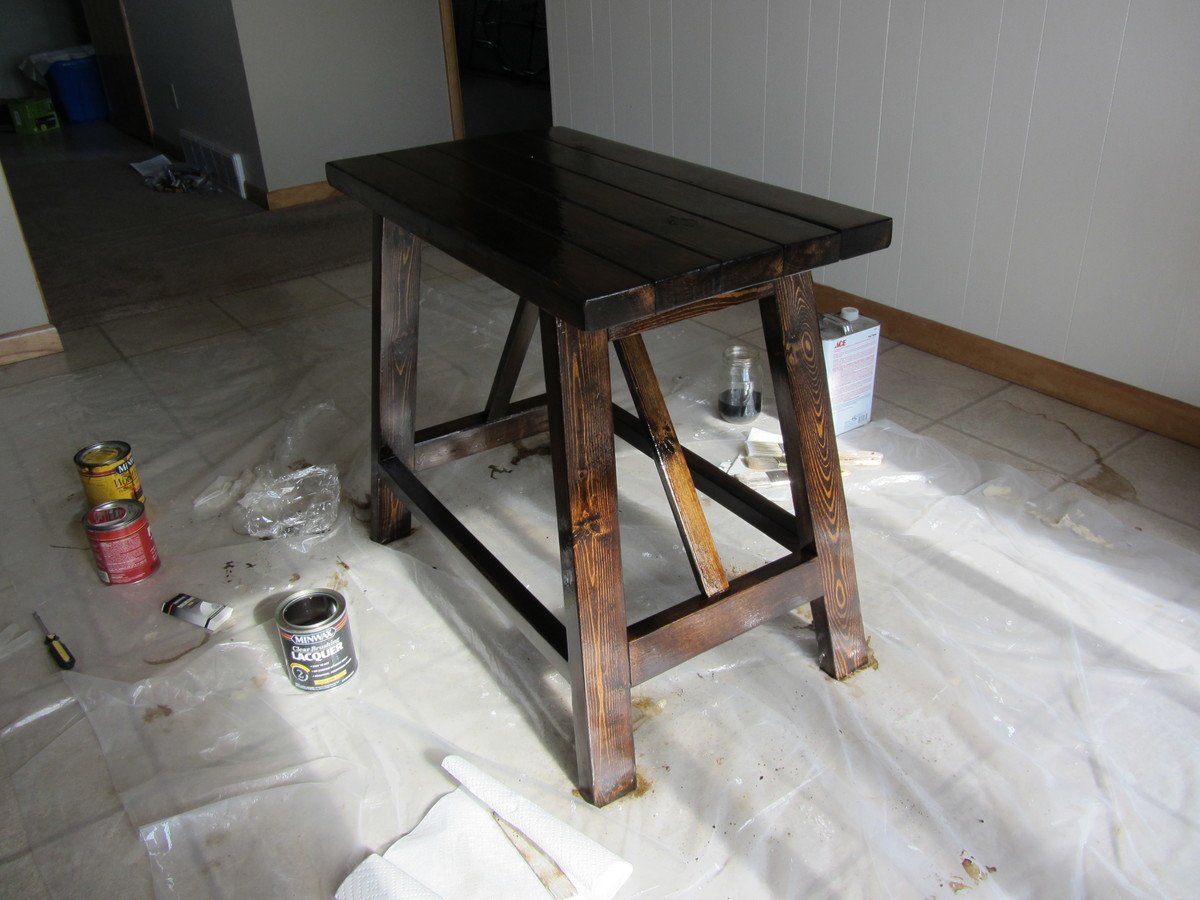
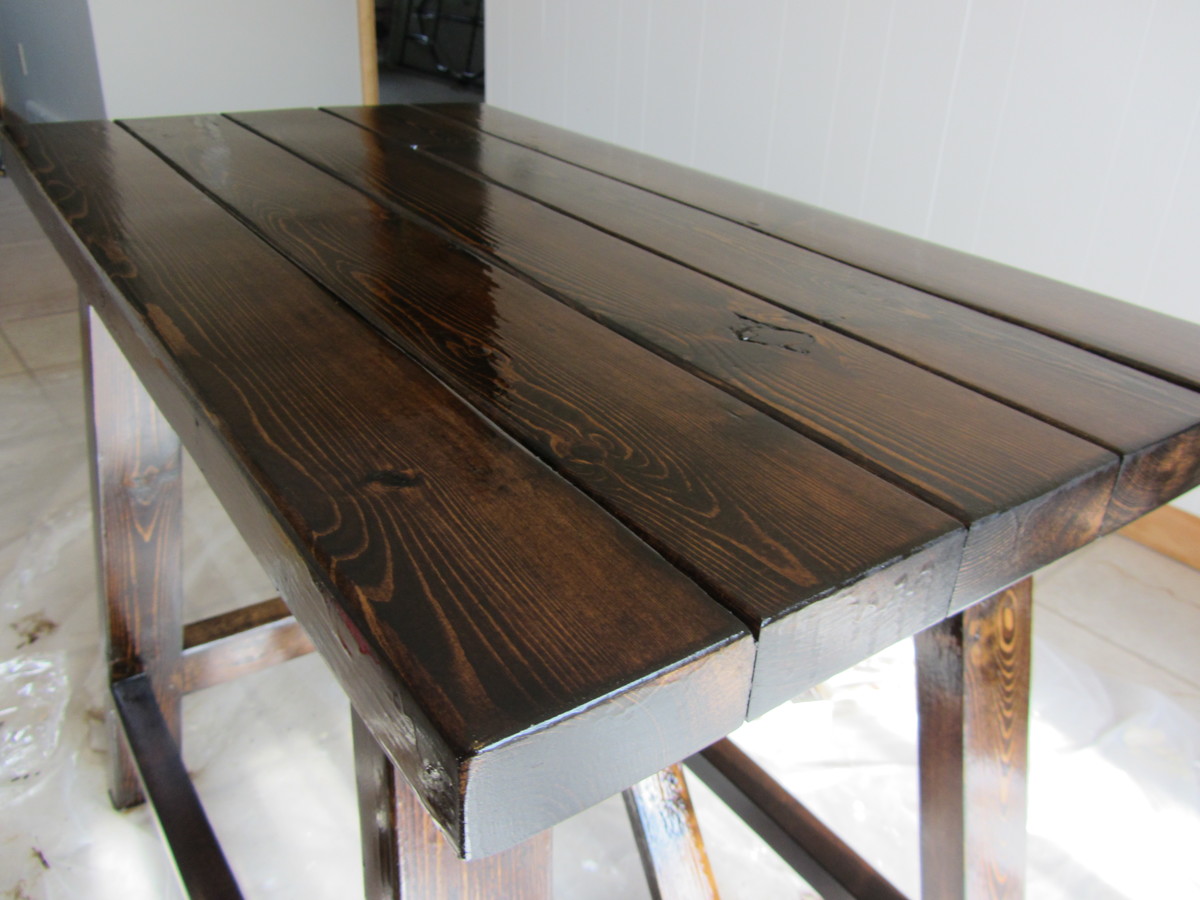
Finish Used
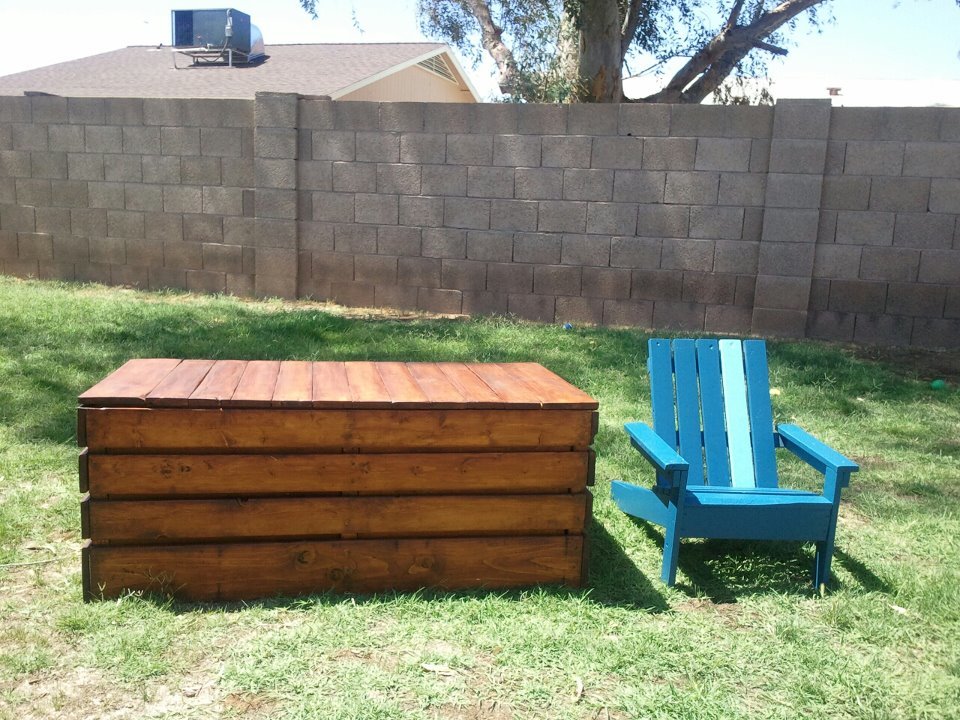
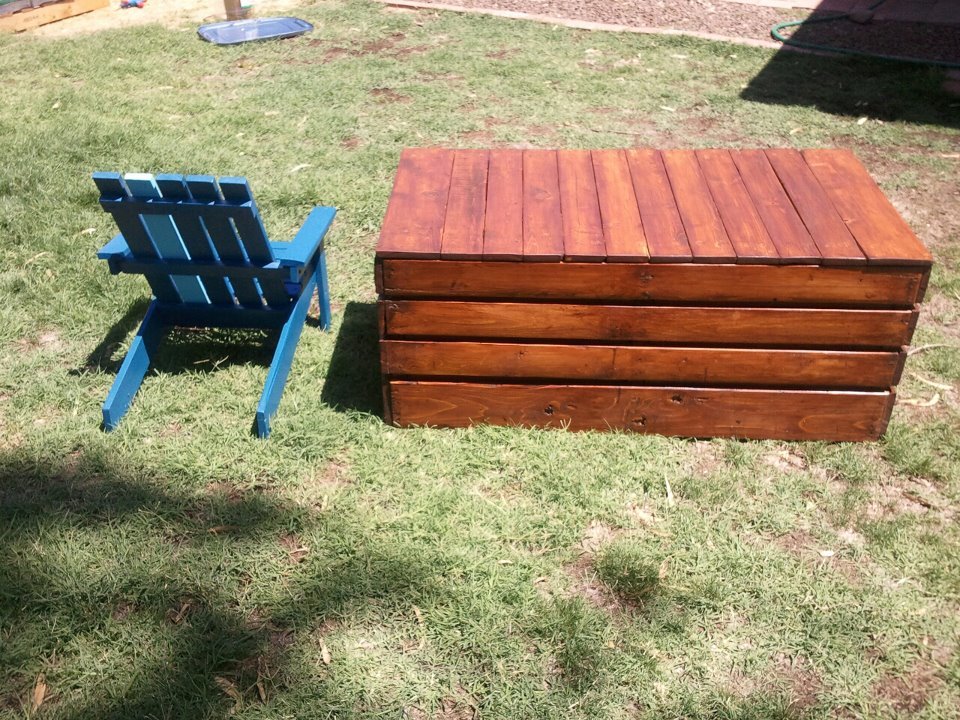
Kona wood stain
Recommended Skill Level
Intermediate


Comments
dmcarwin
Thu, 05/24/2012 - 15:35
Beautiful!
I LOVE it! Very nice job!
Rachael Cabos (not verified)
Wed, 06/06/2012 - 16:35
Dimensions
What were the dimensions?
Alexis buchanan (not verified)
Sun, 09/23/2012 - 14:42
Double top l shaped loft bed
Both my boys want to sleep up top I have a nice corner window seal that I'd like to put the l shaped loft at mid height double twin any suggestions also would like the entry on both ends so my 9 yr old can descend without waking my middle son would like a detachable slide in the middle