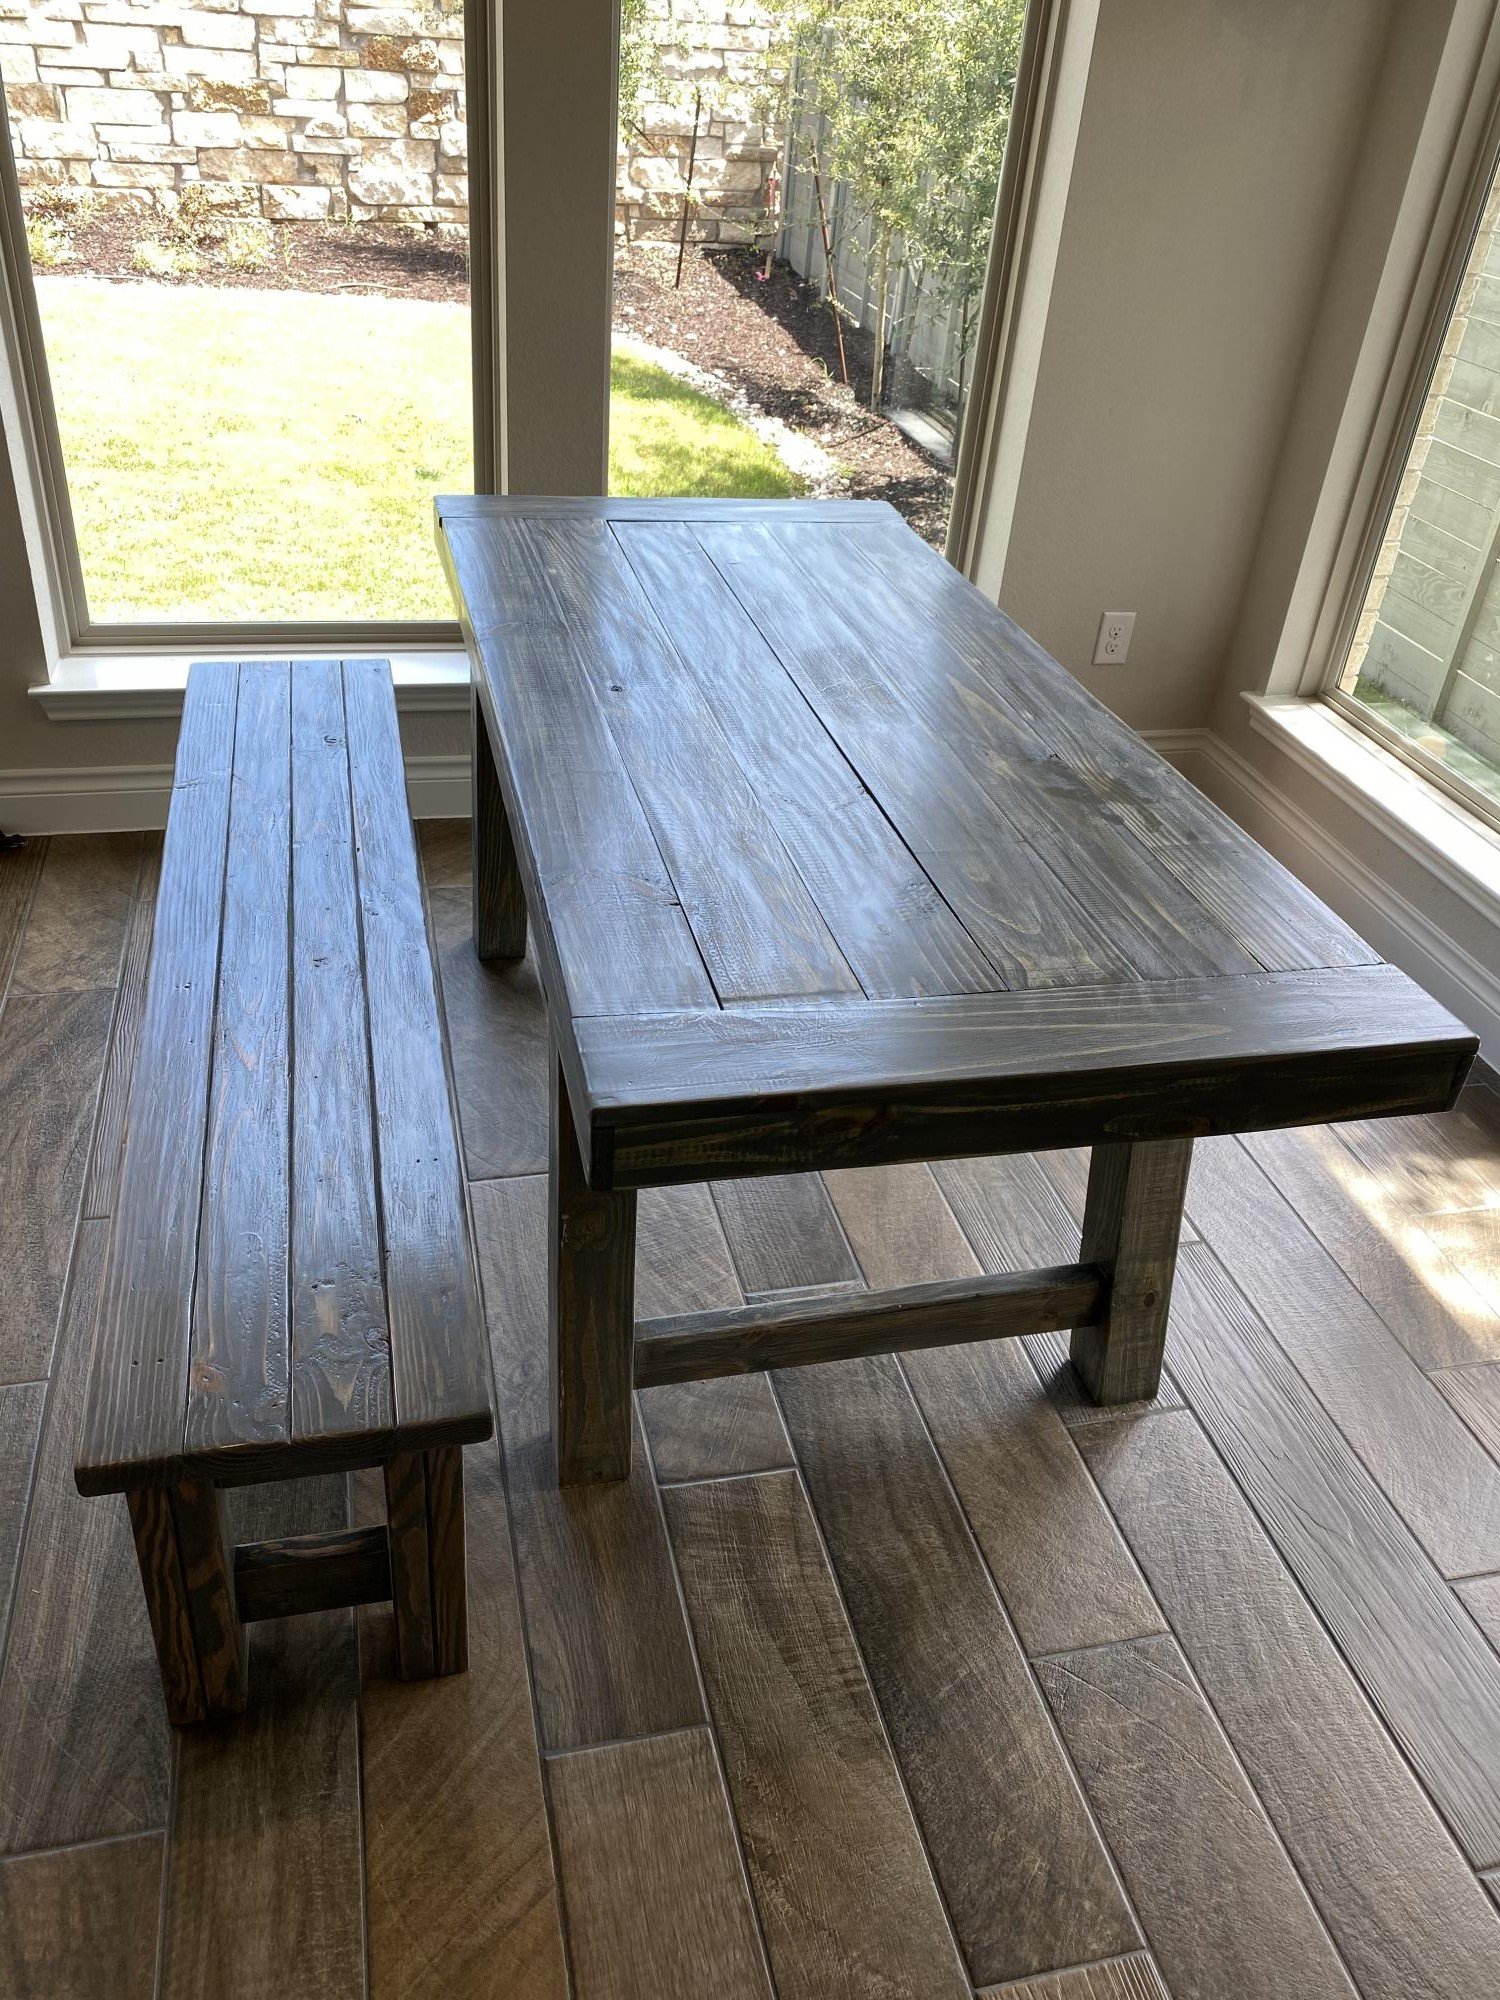
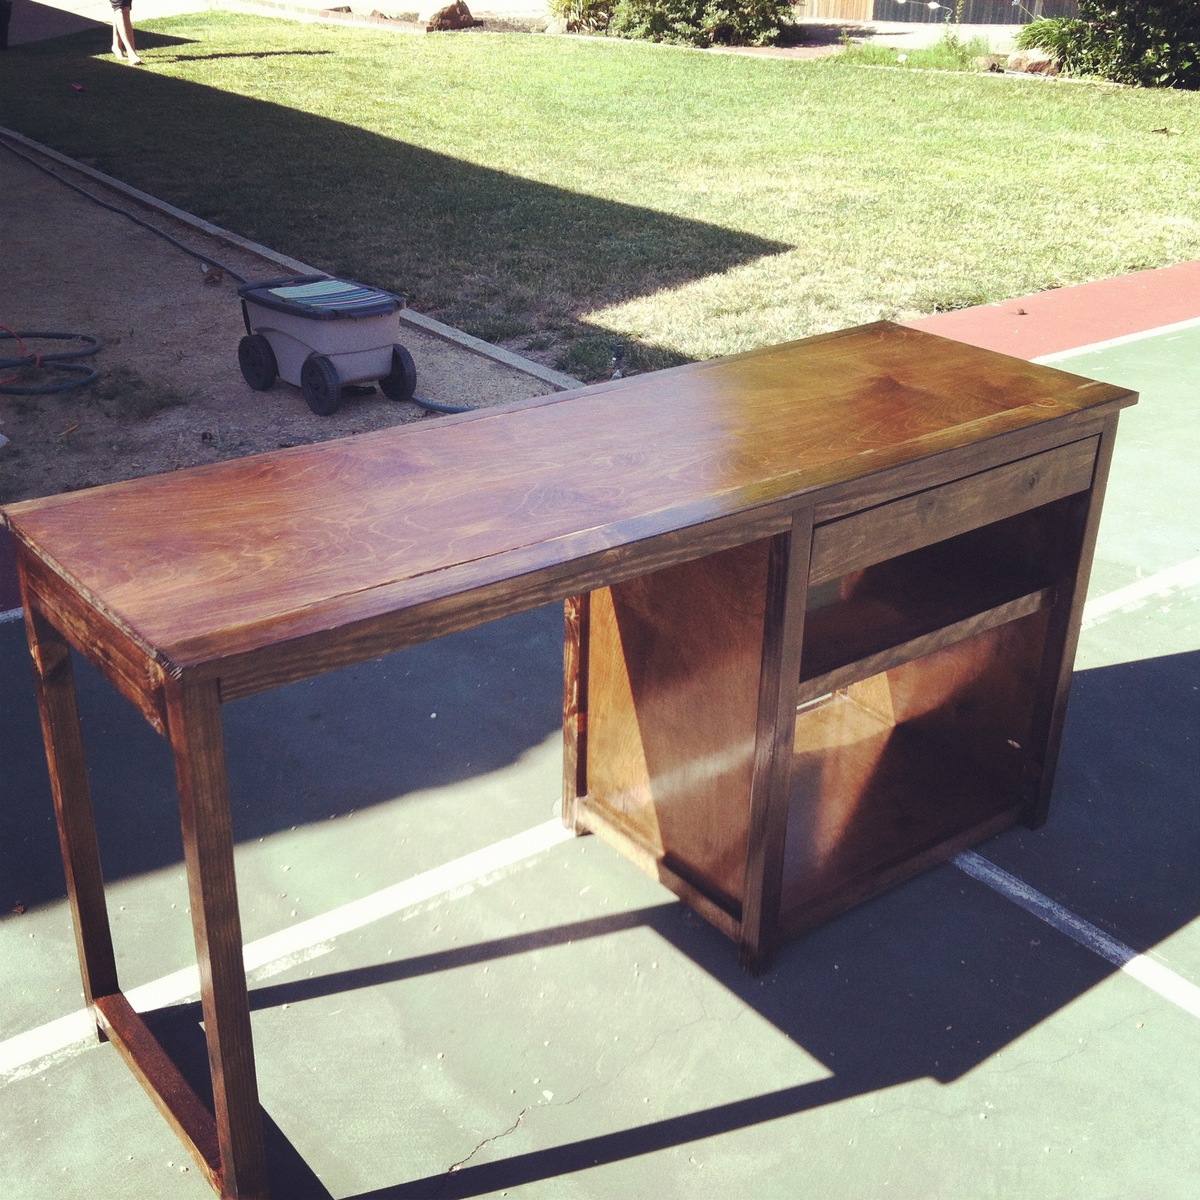
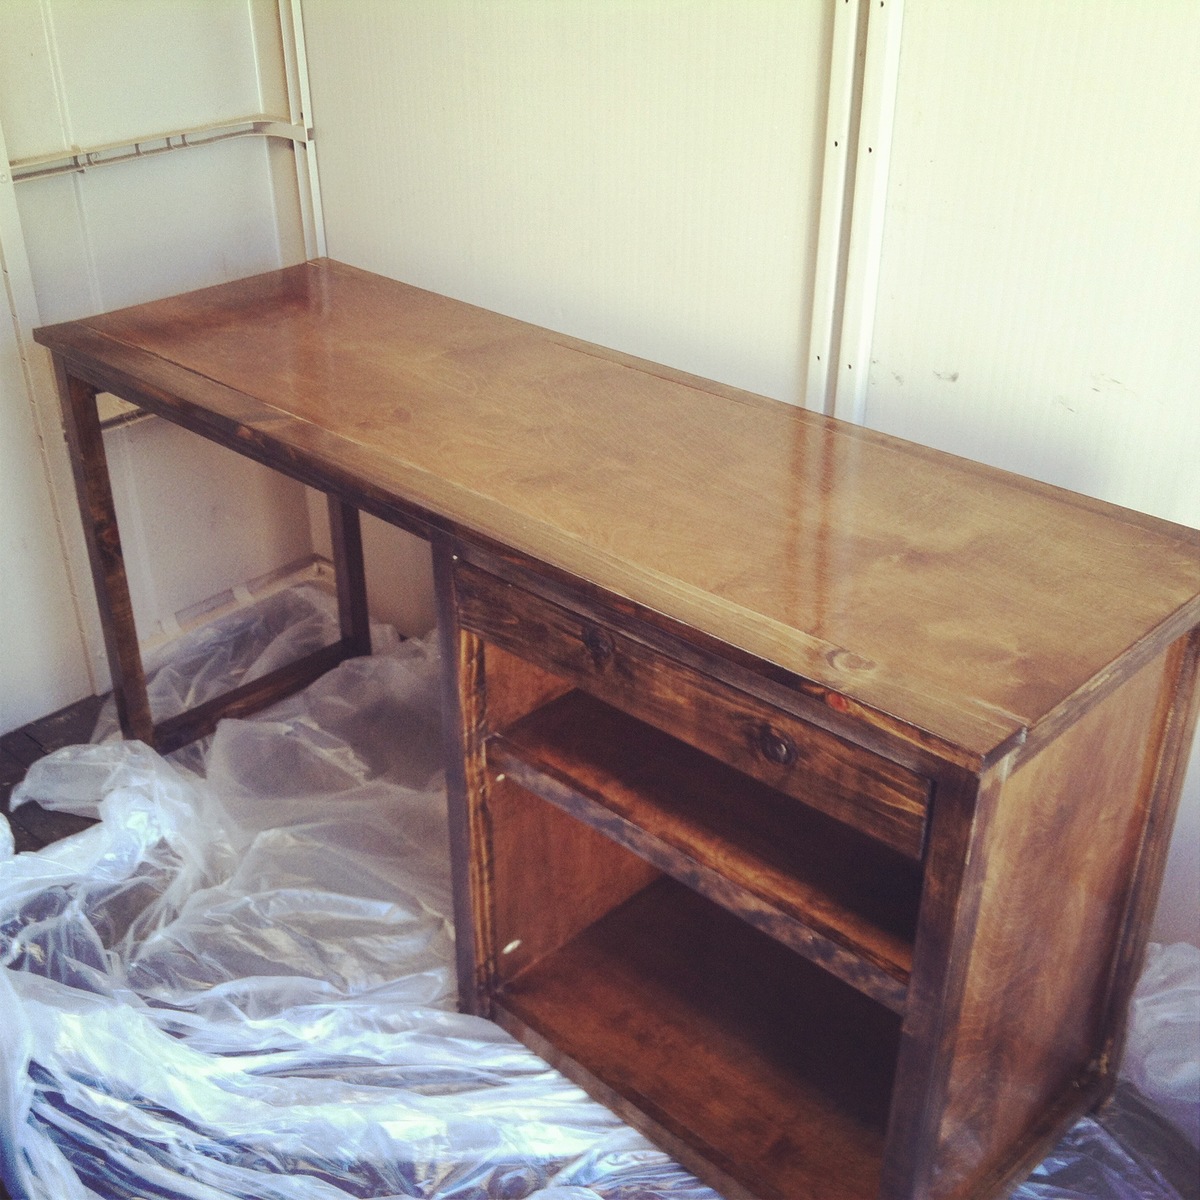
Channing Desk
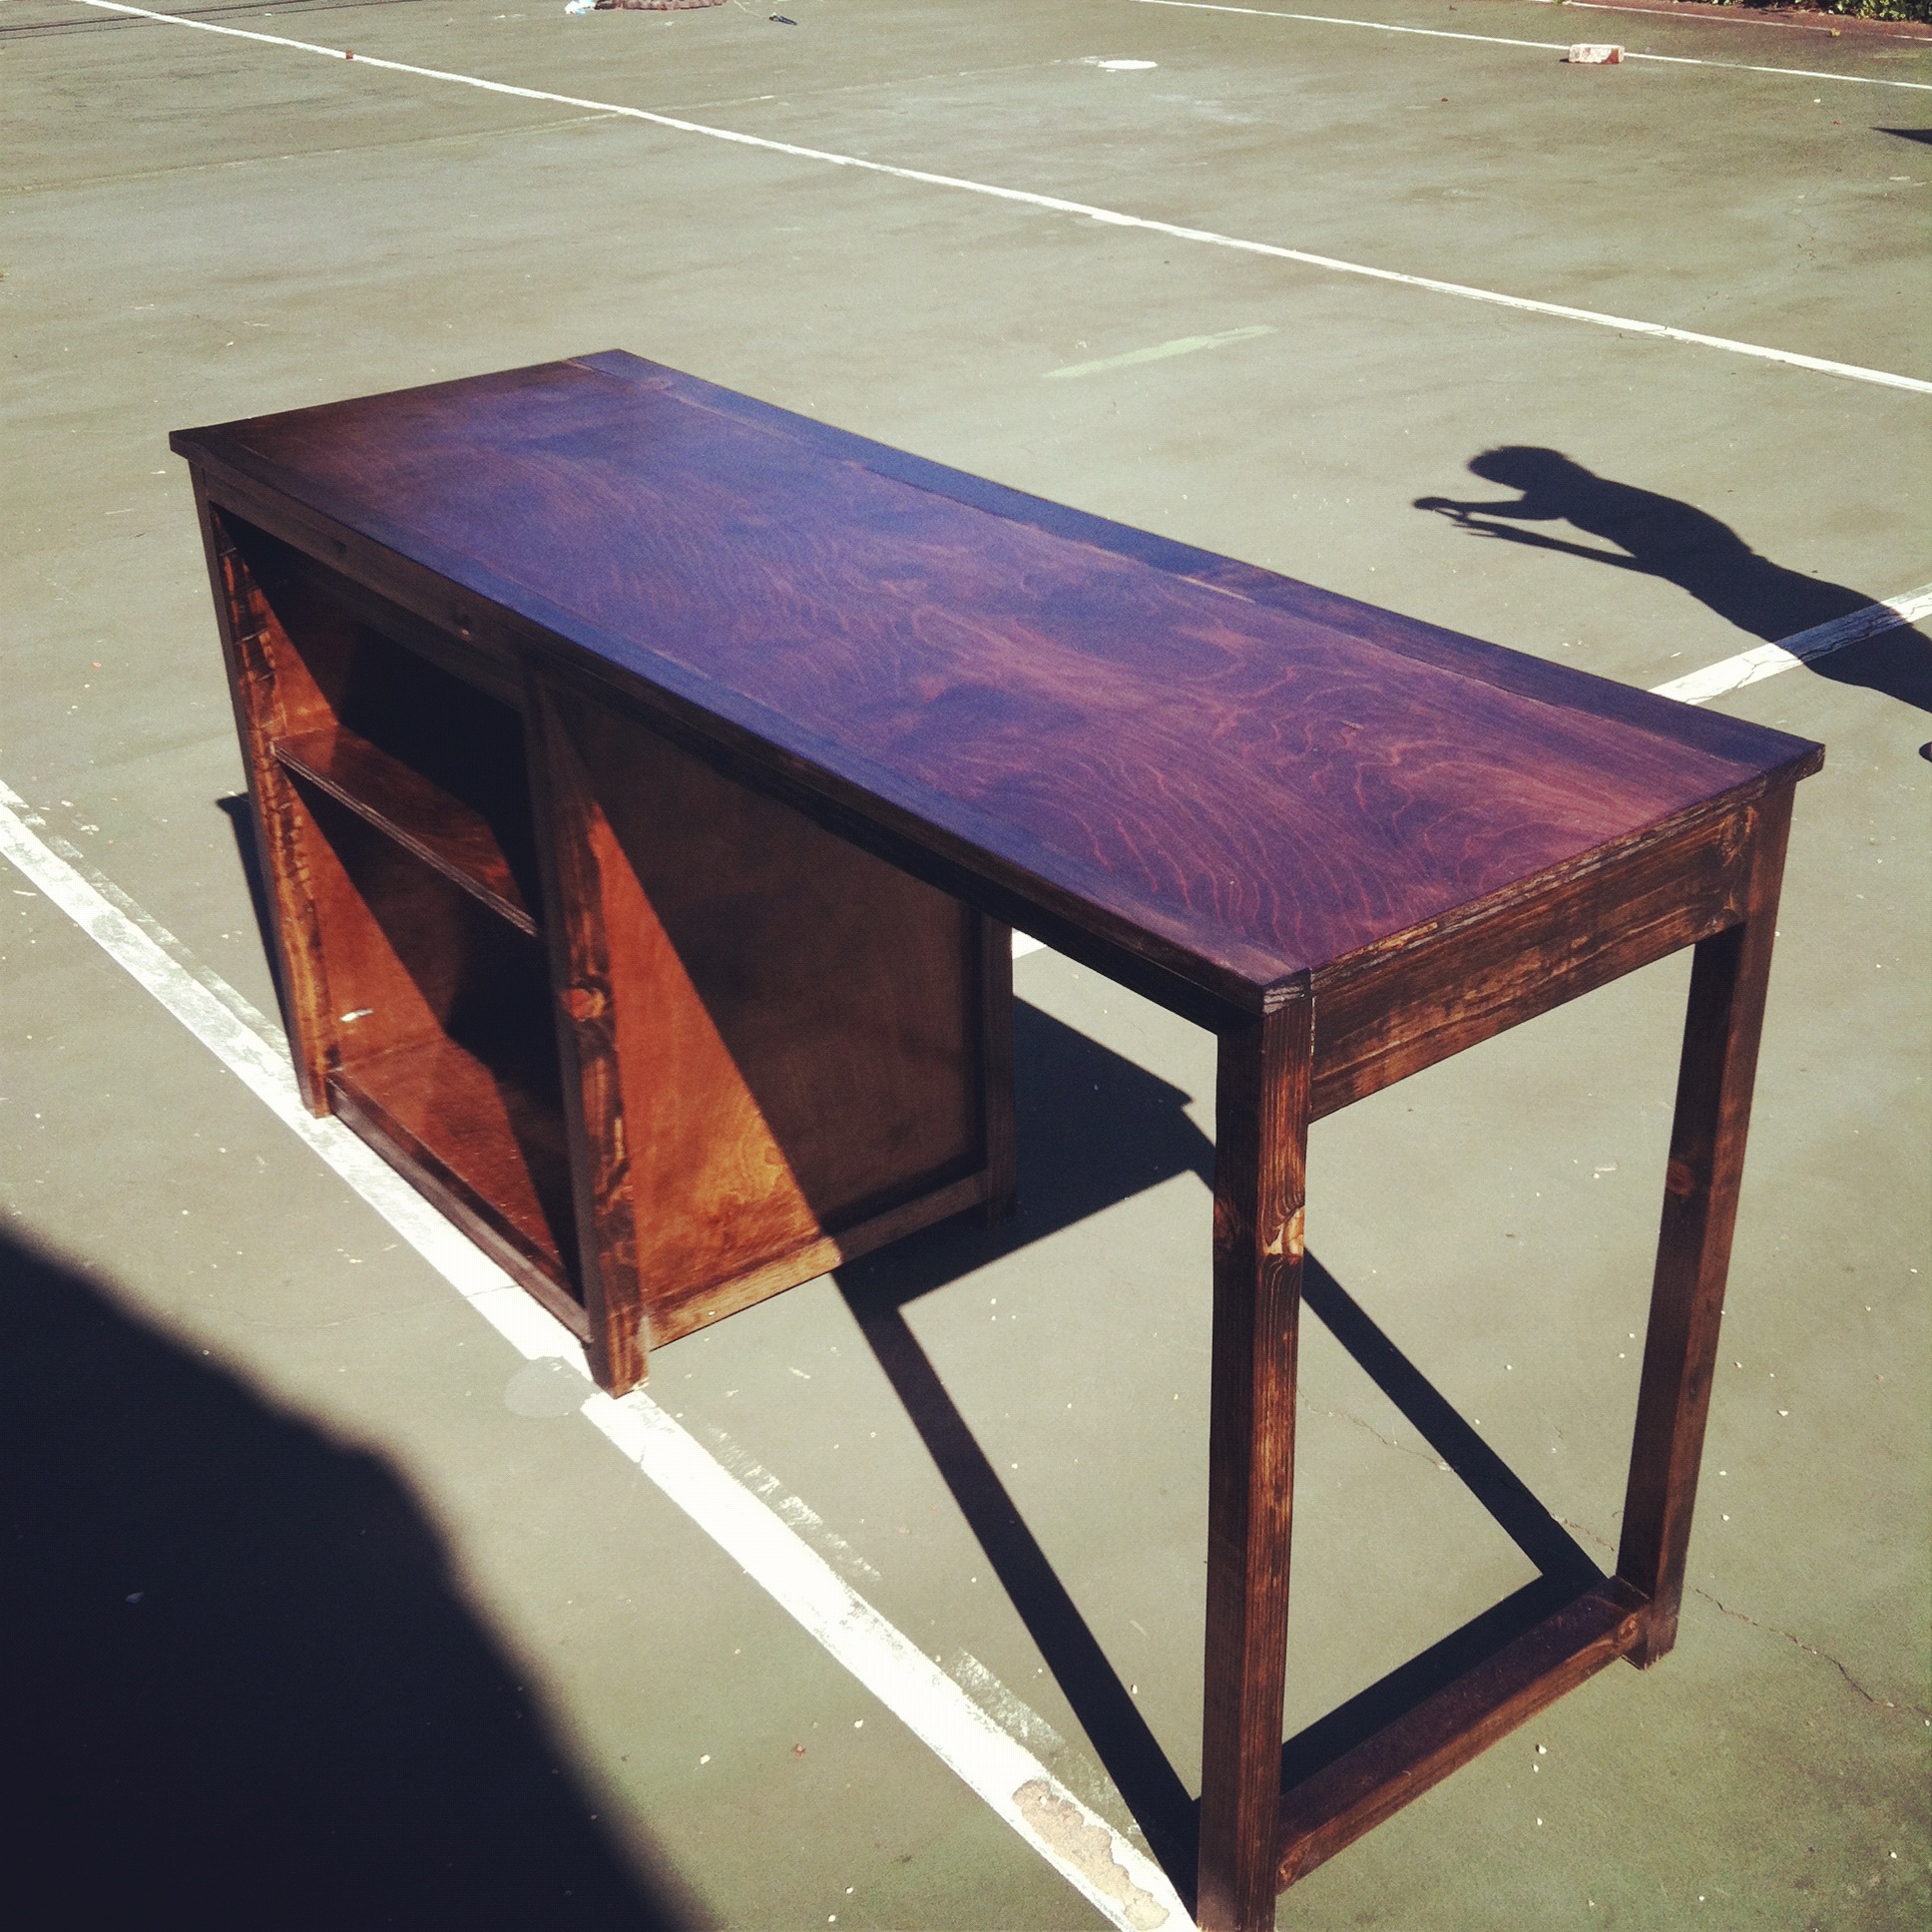
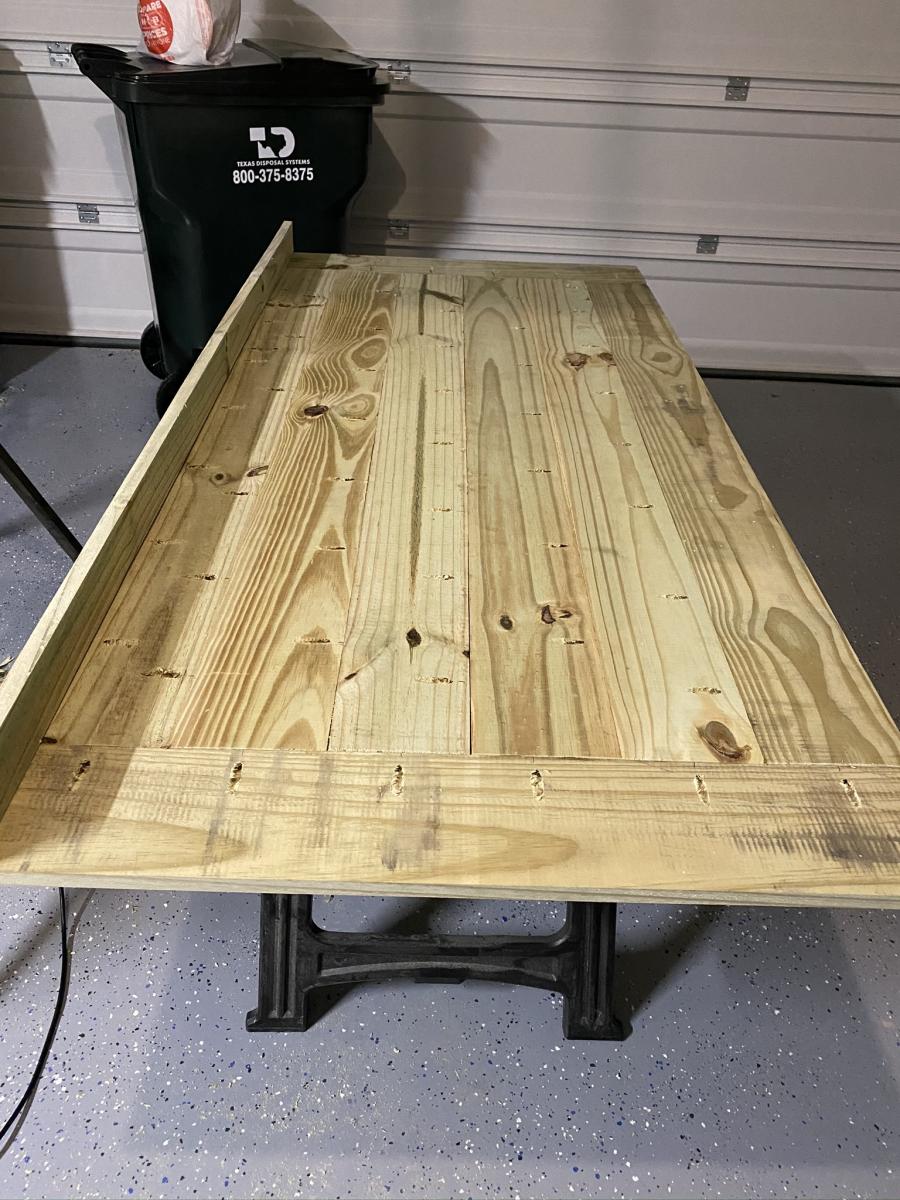
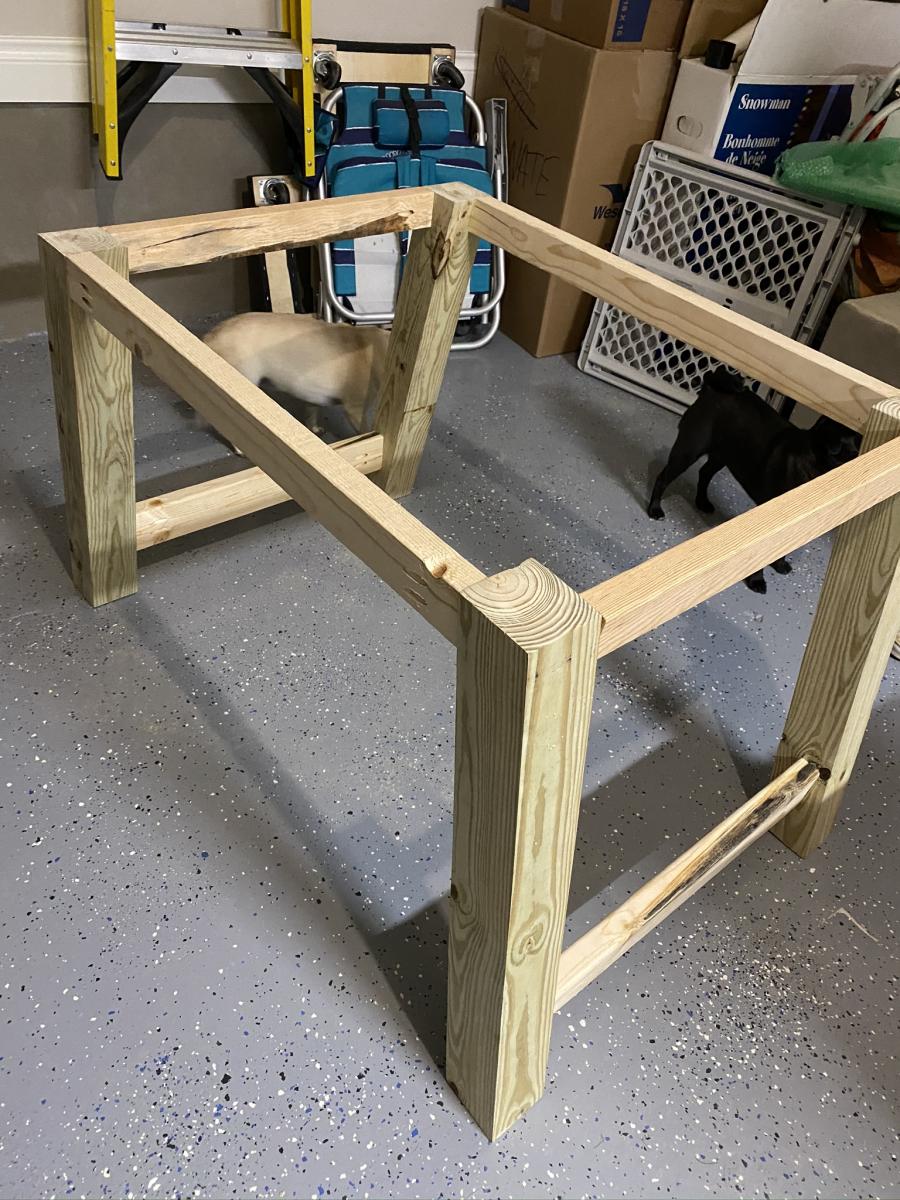
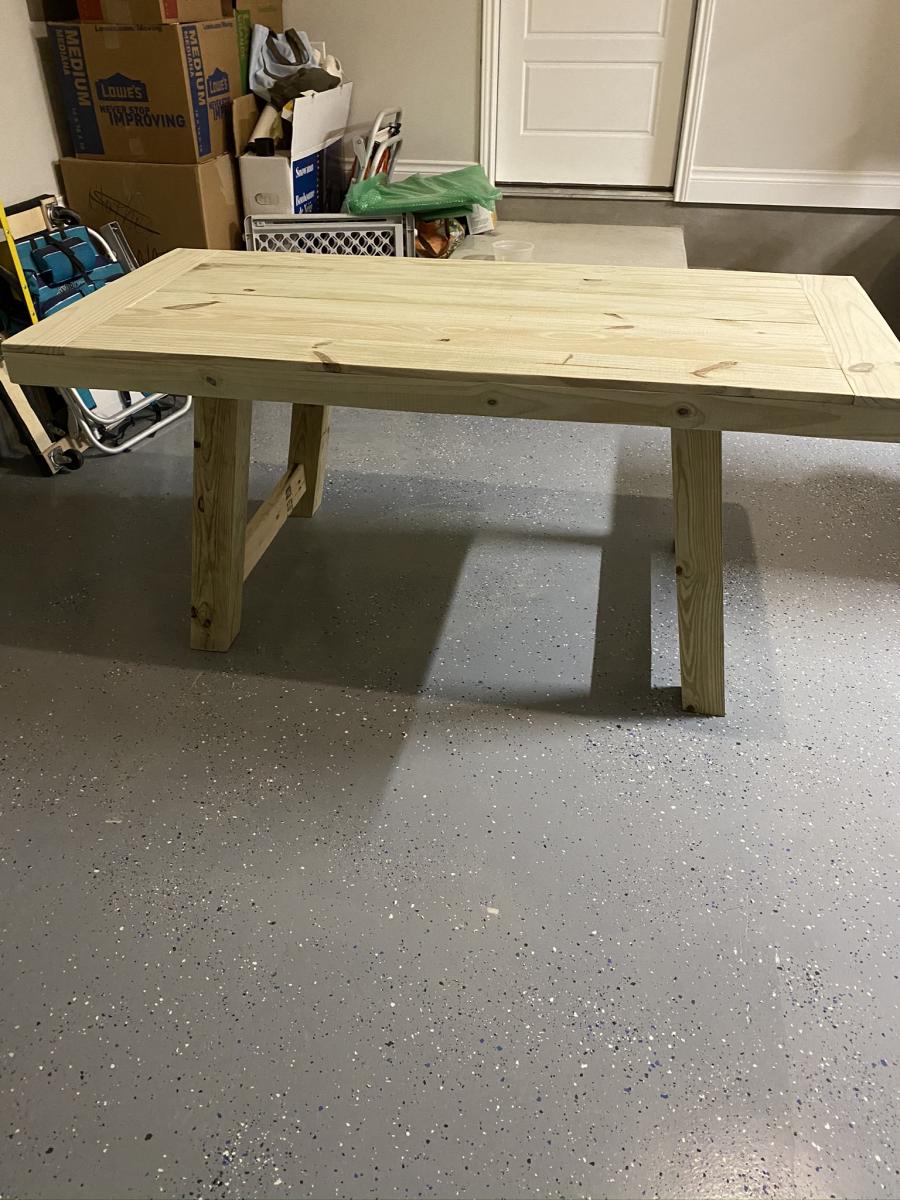
Awesome desk made from the Channing Desk plans on Ana-White.com! I had such a great time building this desk with my girlfriend. It was our first of many builds together.
thanks again ana-white.com
Estimated Cost
$110-$125
Estimated Time Investment
Weekend Project (10-20 Hours)
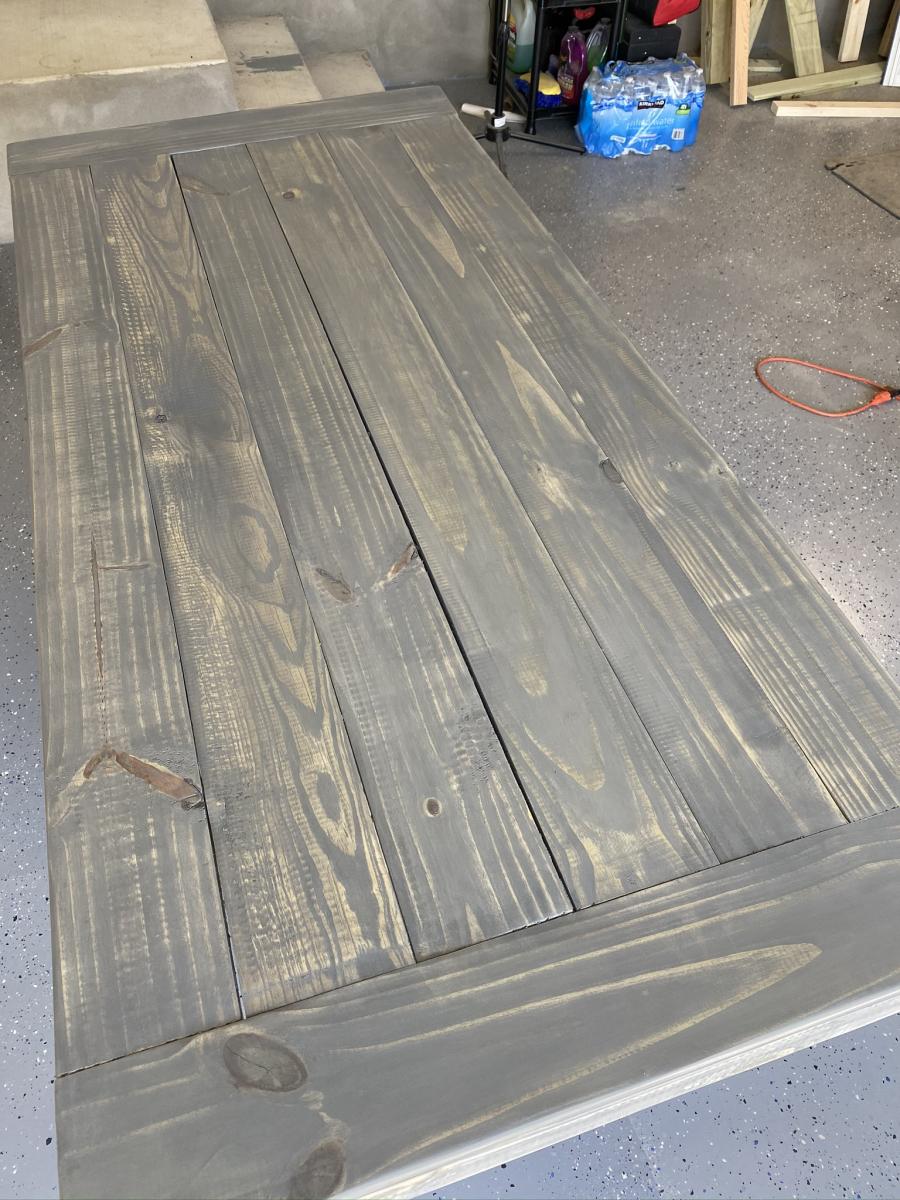
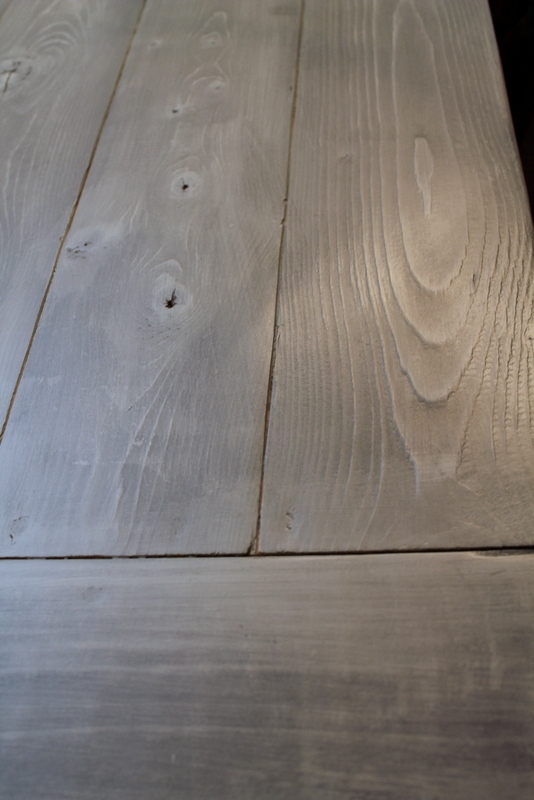
Finish Used
Minwax Jacobean (2 Coats) with Minwax High Gloss Super Polyurethane (2 coats). I sanded the polyurethane with a 180 grit block between coats and let dry overnight.
Recommended Skill Level
Beginner