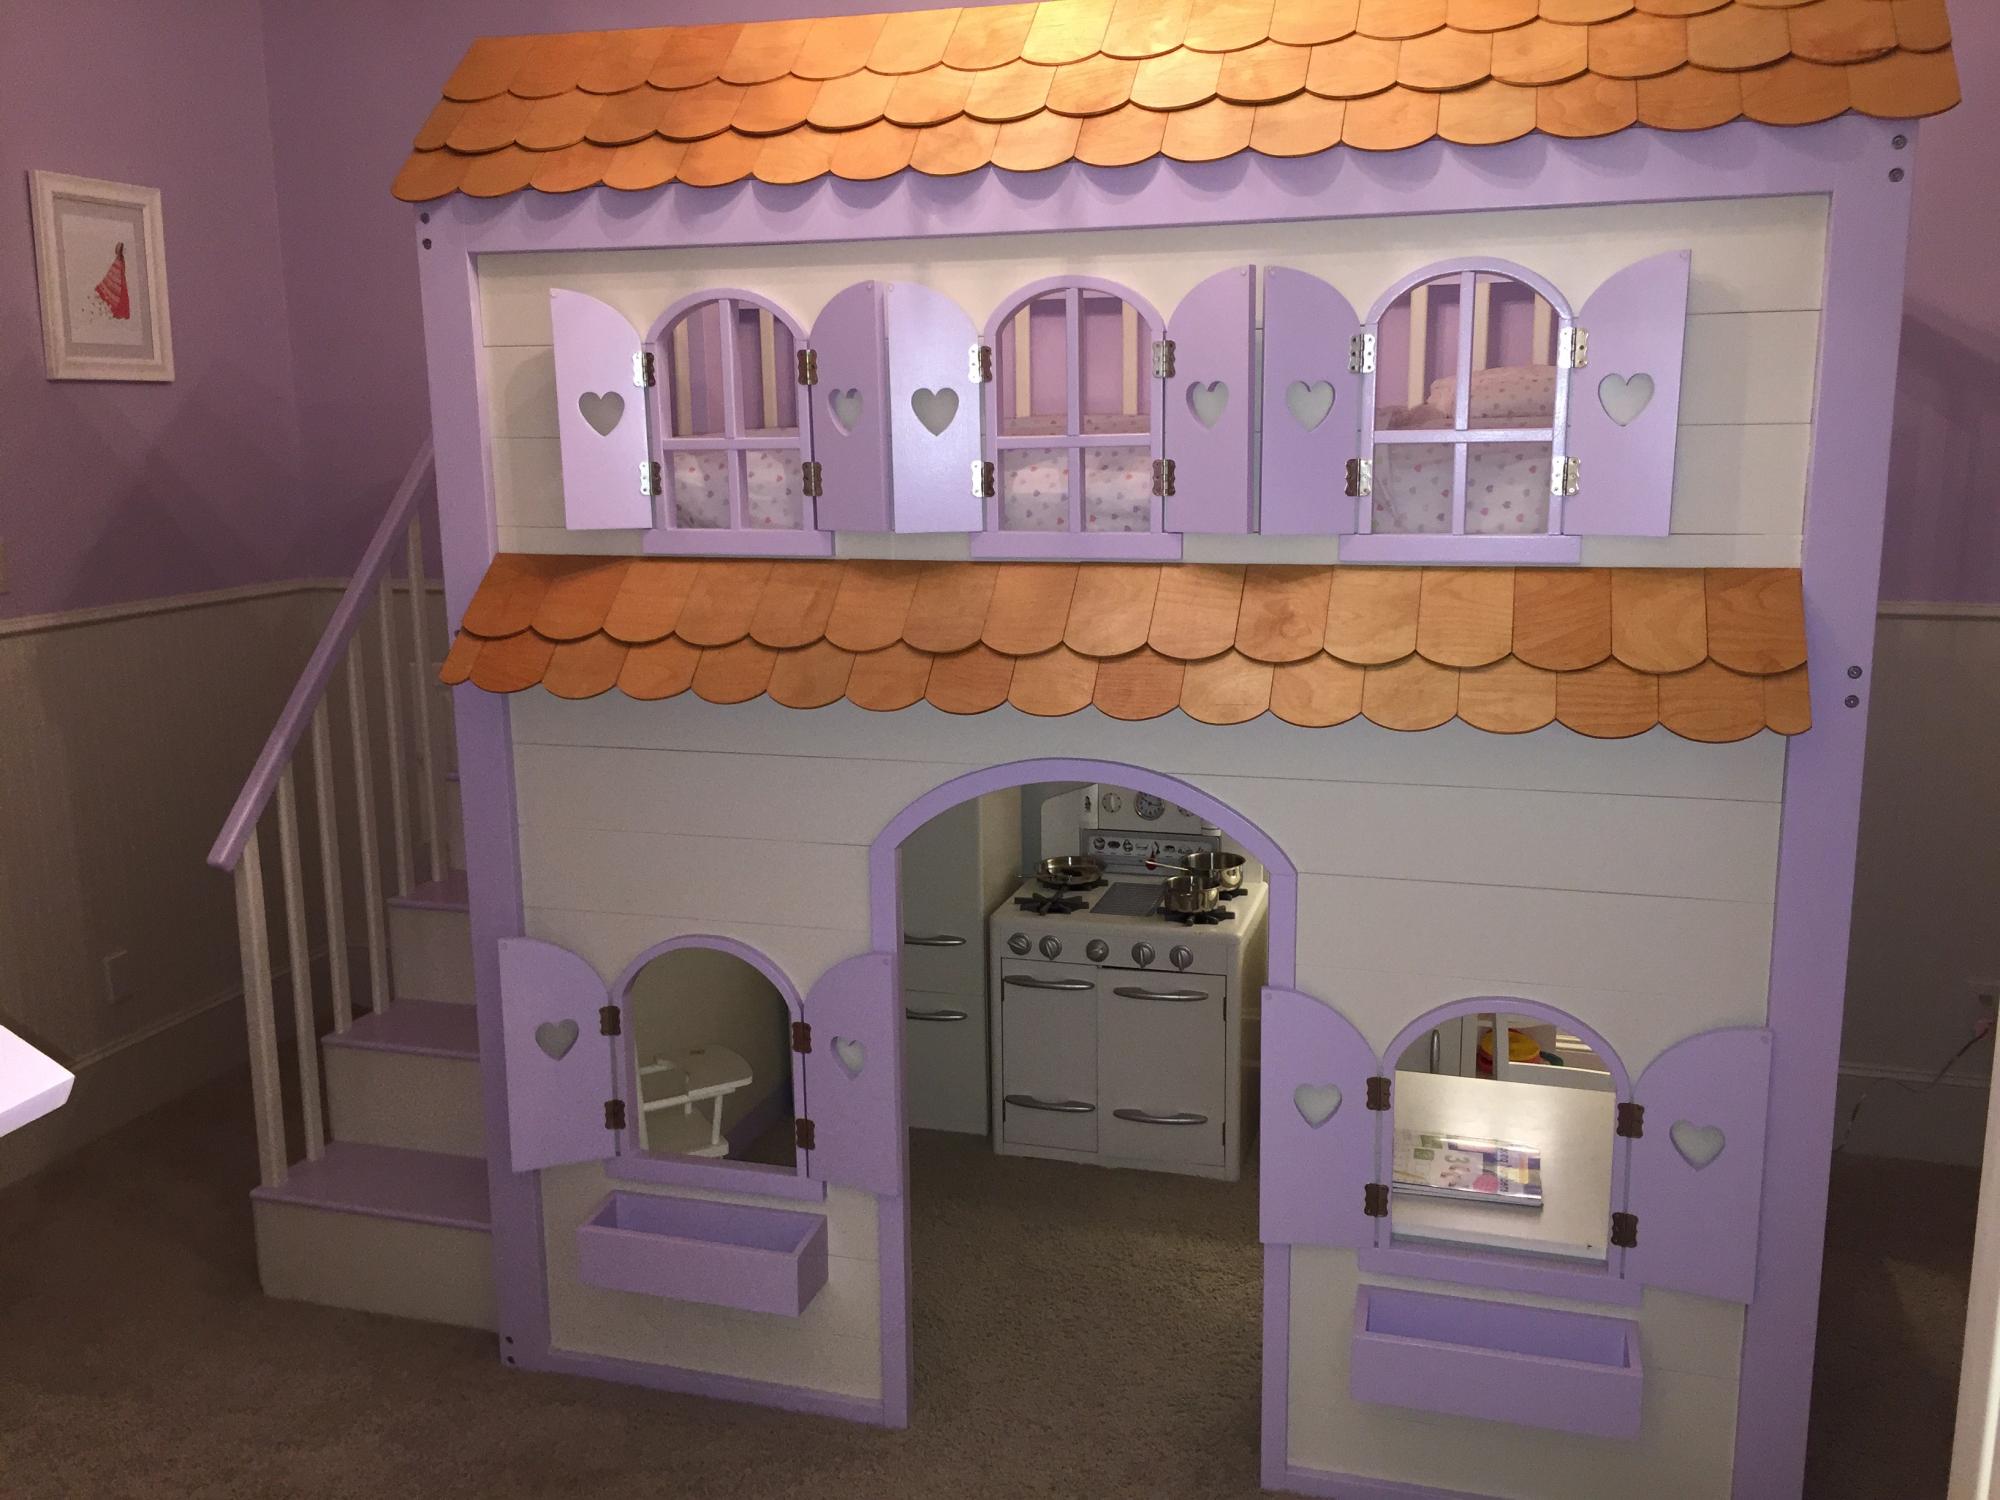
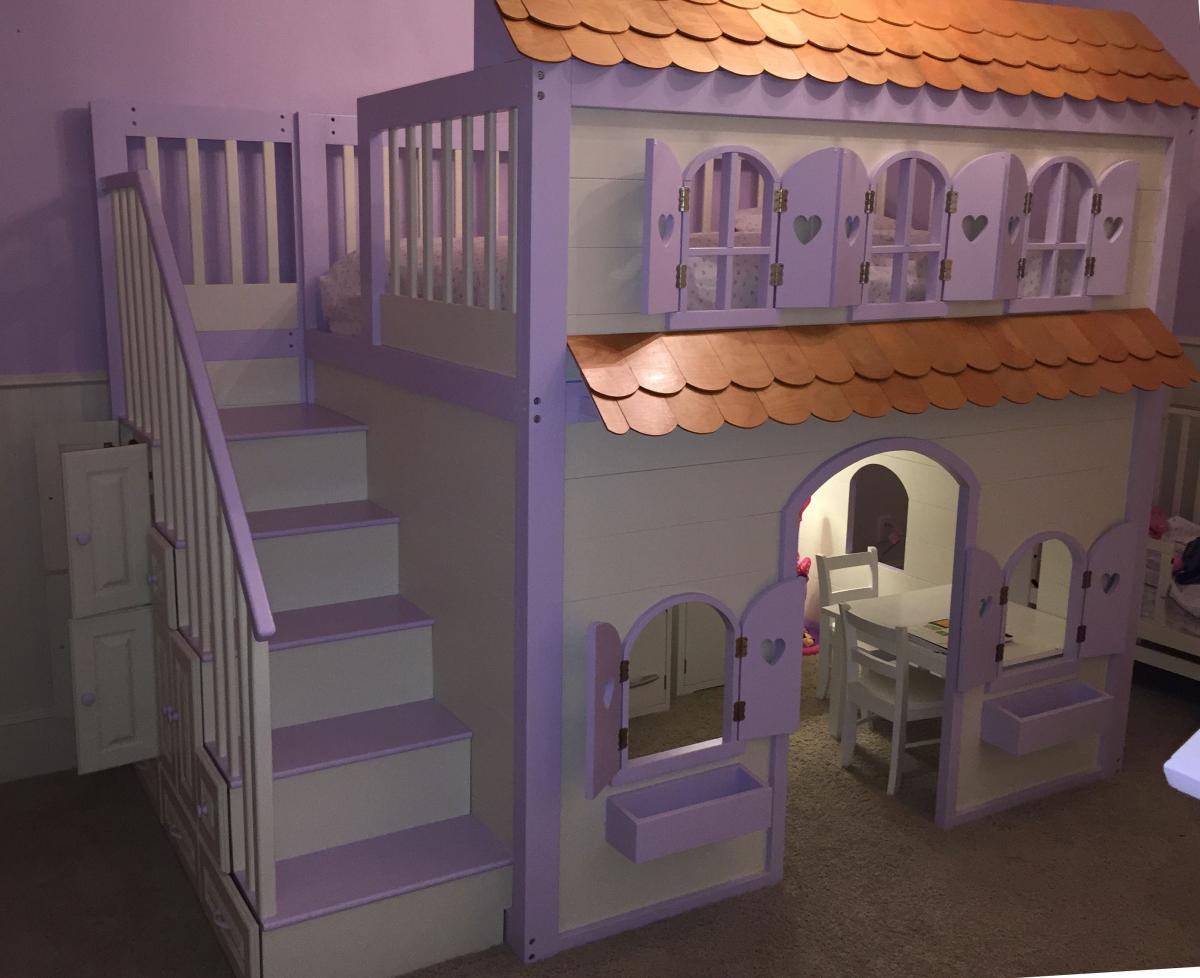
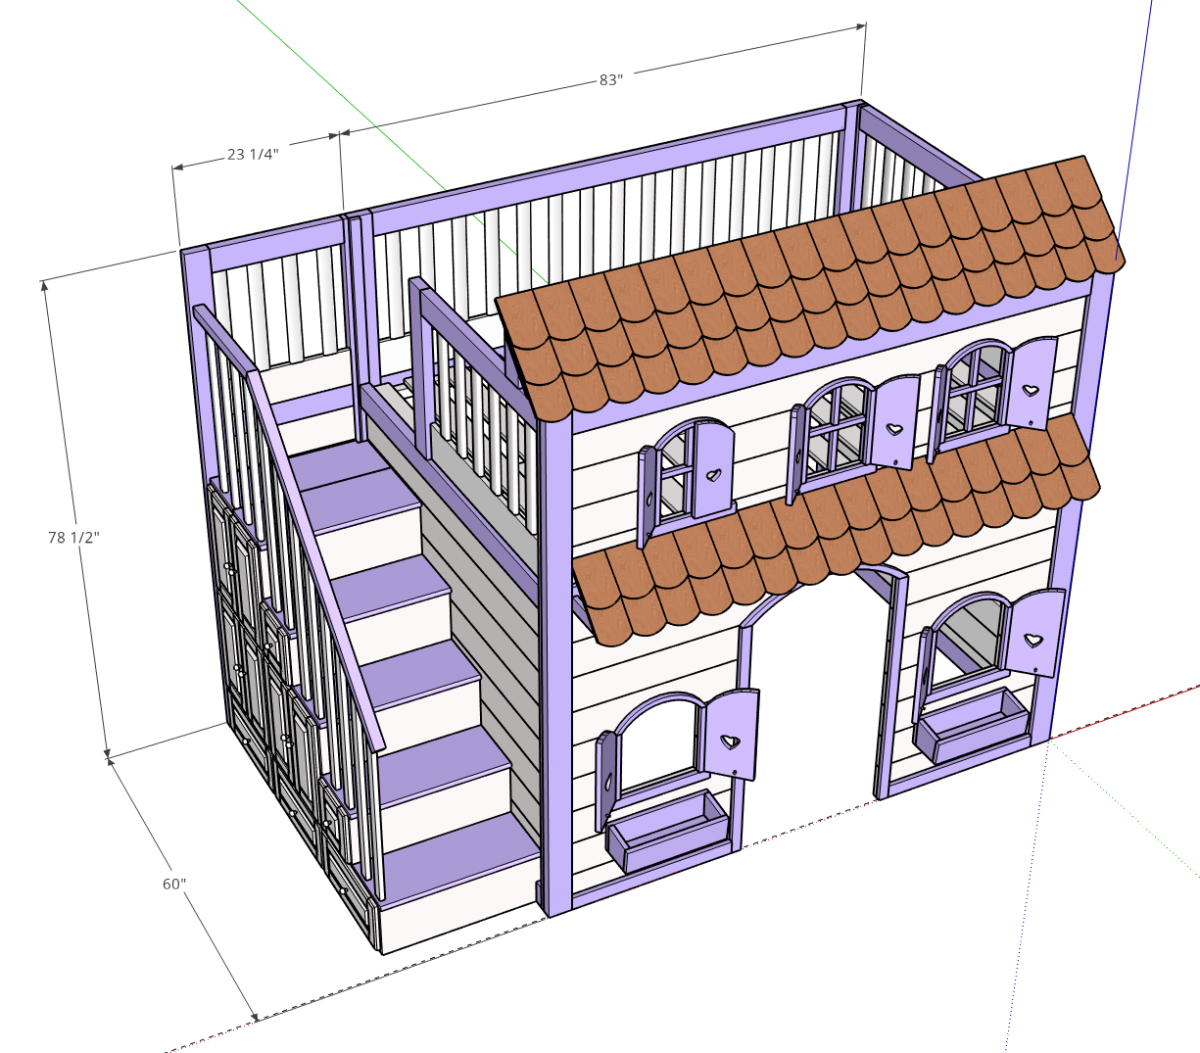
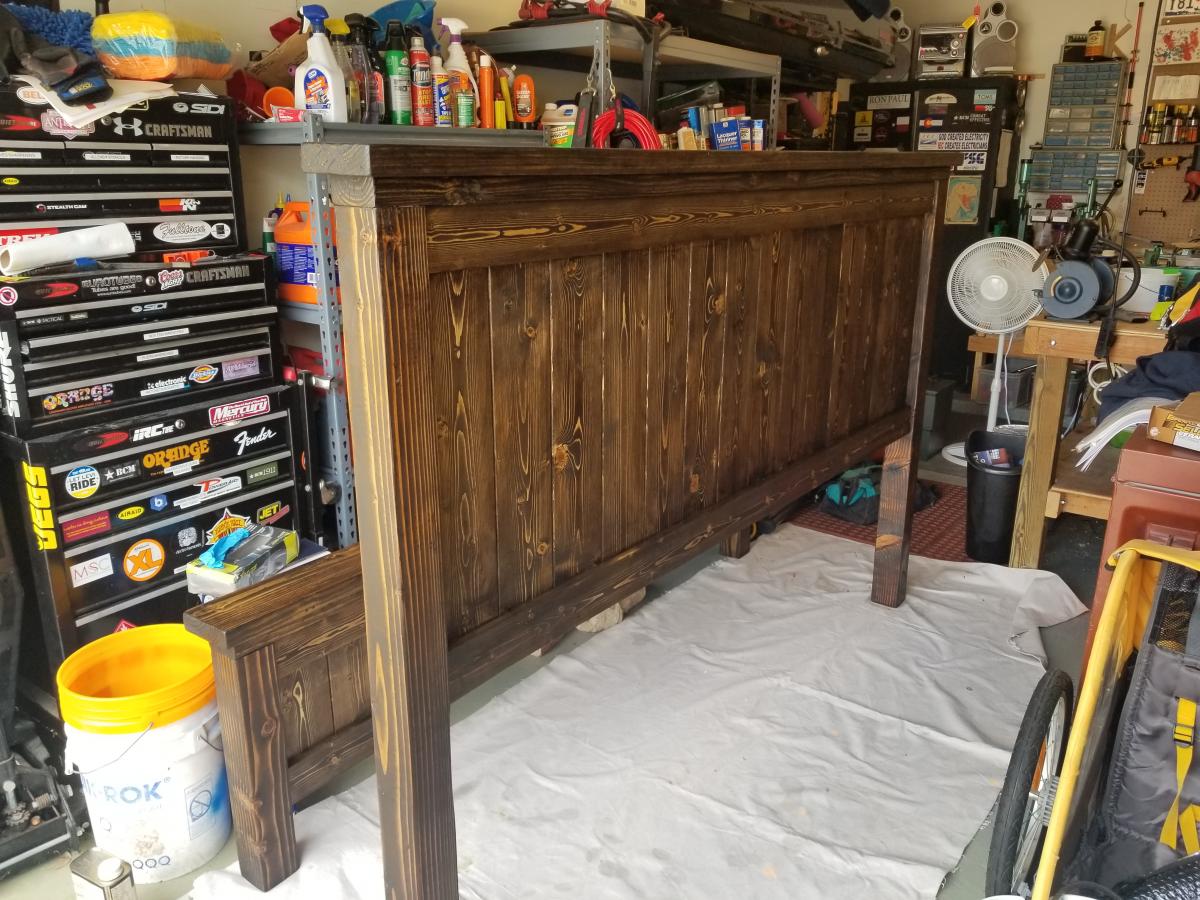
My wife started off looking for a commercially available bed for my daughter (age 4 when I started), but after not finding a style and size that she wanted (e.g., at Pottery Barn Kids), she convinced me to design and build one. This was the biggest projected I've ever undertaken, so I looked for inspiration on a number of websites including ana-white.com.
The Sweet Pea Bunk Bed served as major inspiration for this bed, but I also took ideas from many other designs. However, I made a few changes:
- I designed it as a single full-size bed with play-area underneath
- Designed to be cottage-like
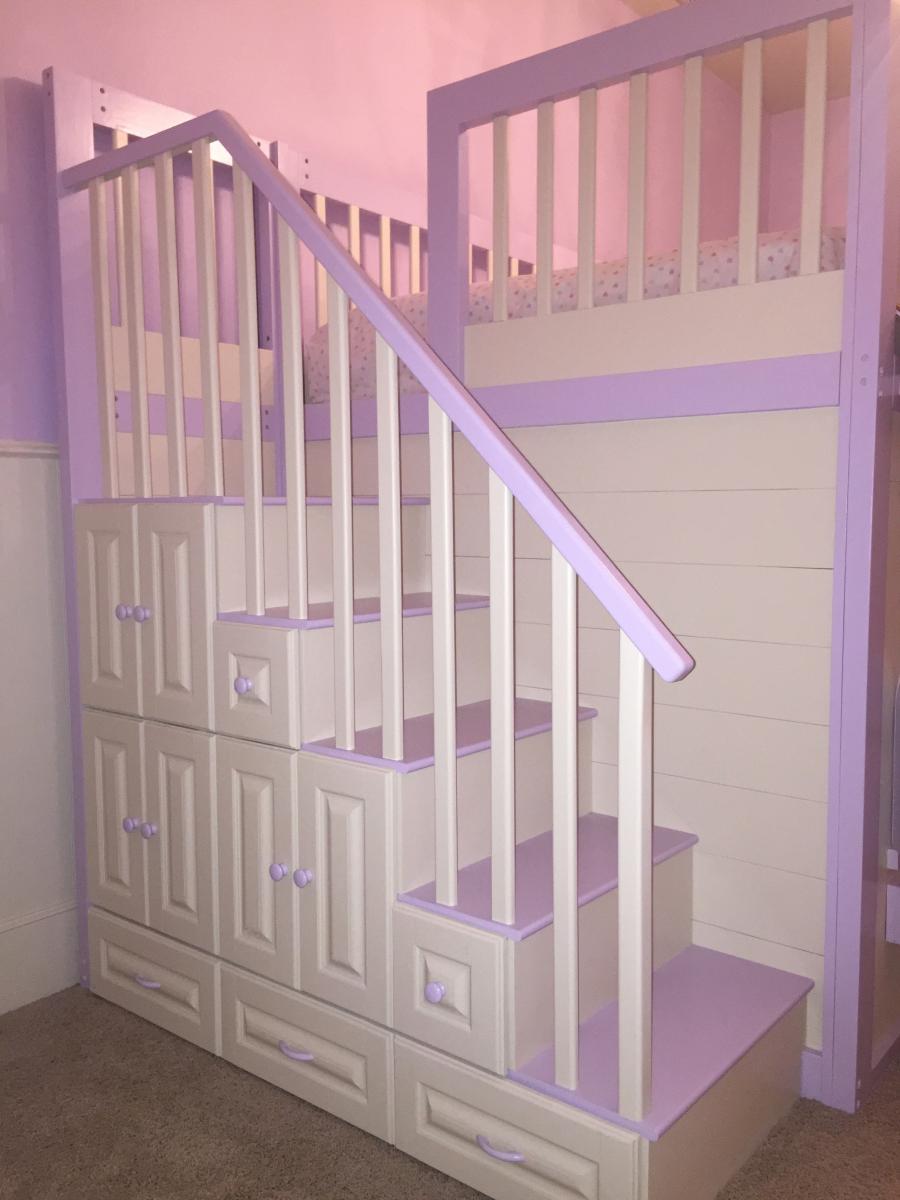
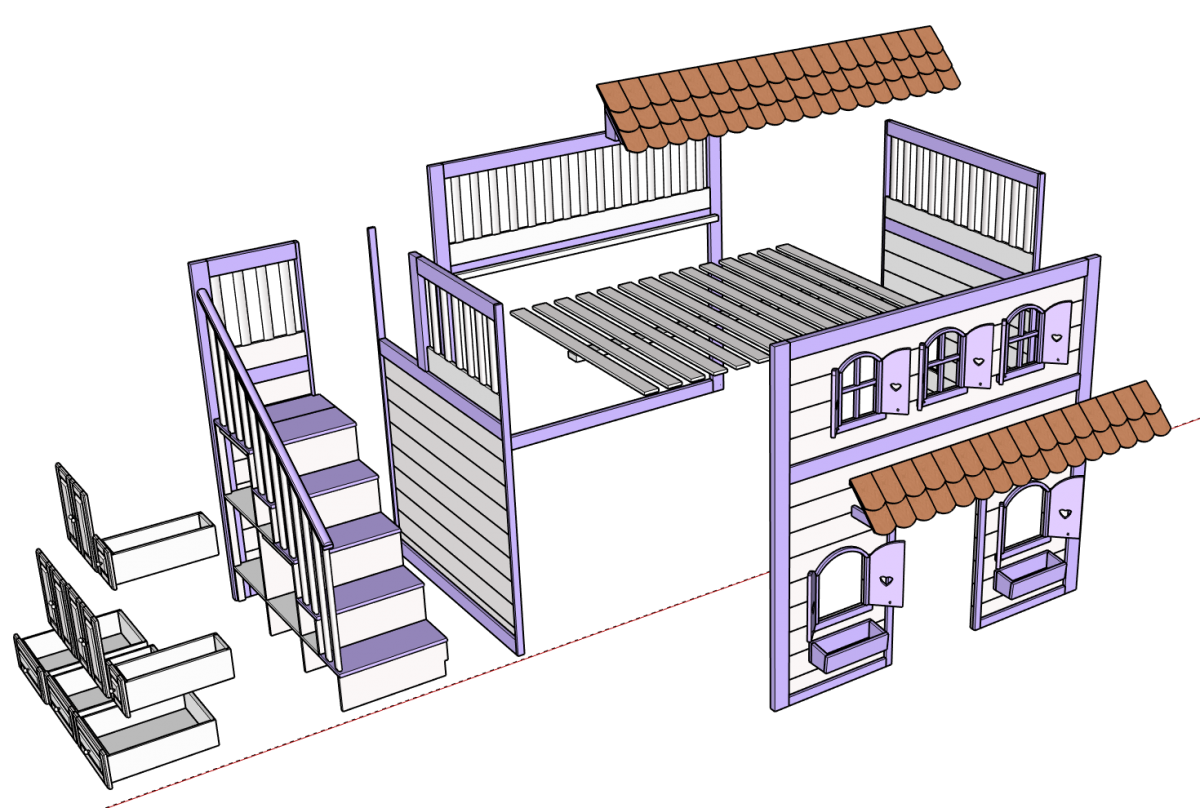
- To get it into the room when complete and if it ever needed to be moved, I designed as 6 separate pieces: the 4 walls, the roof, and the stairs
- All of the main pieces are held together by 6 bed bolts at each corner
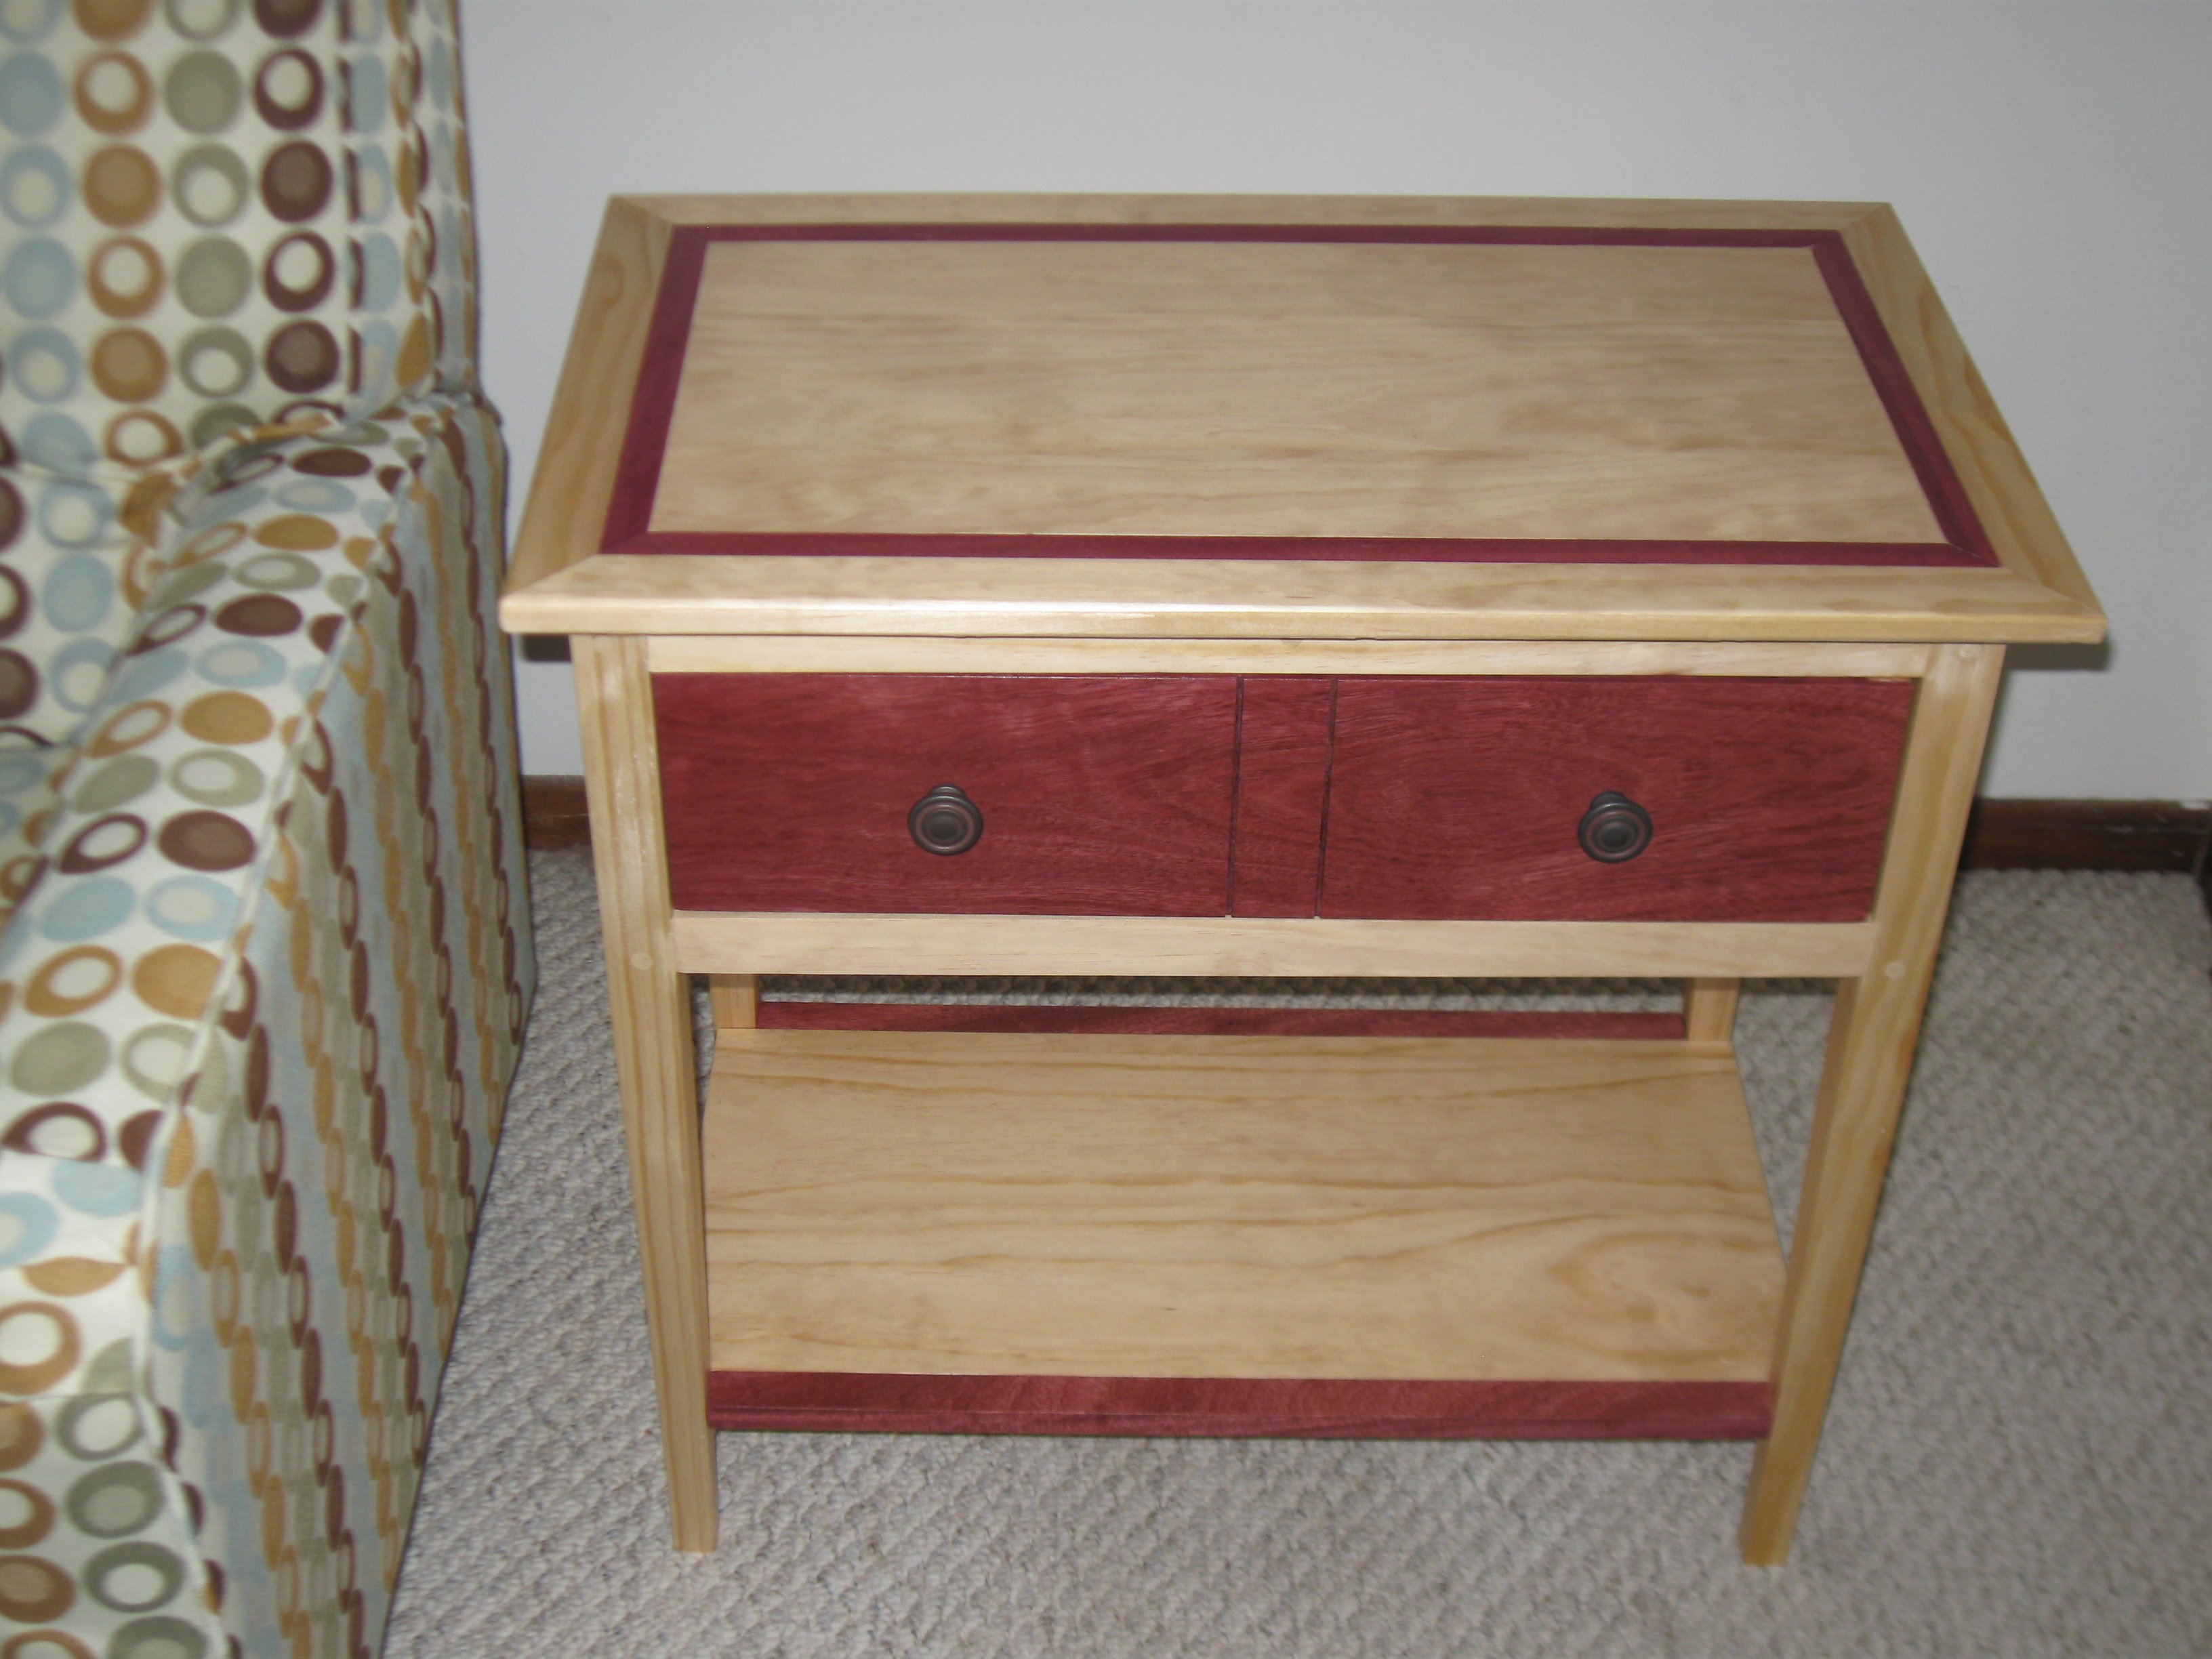
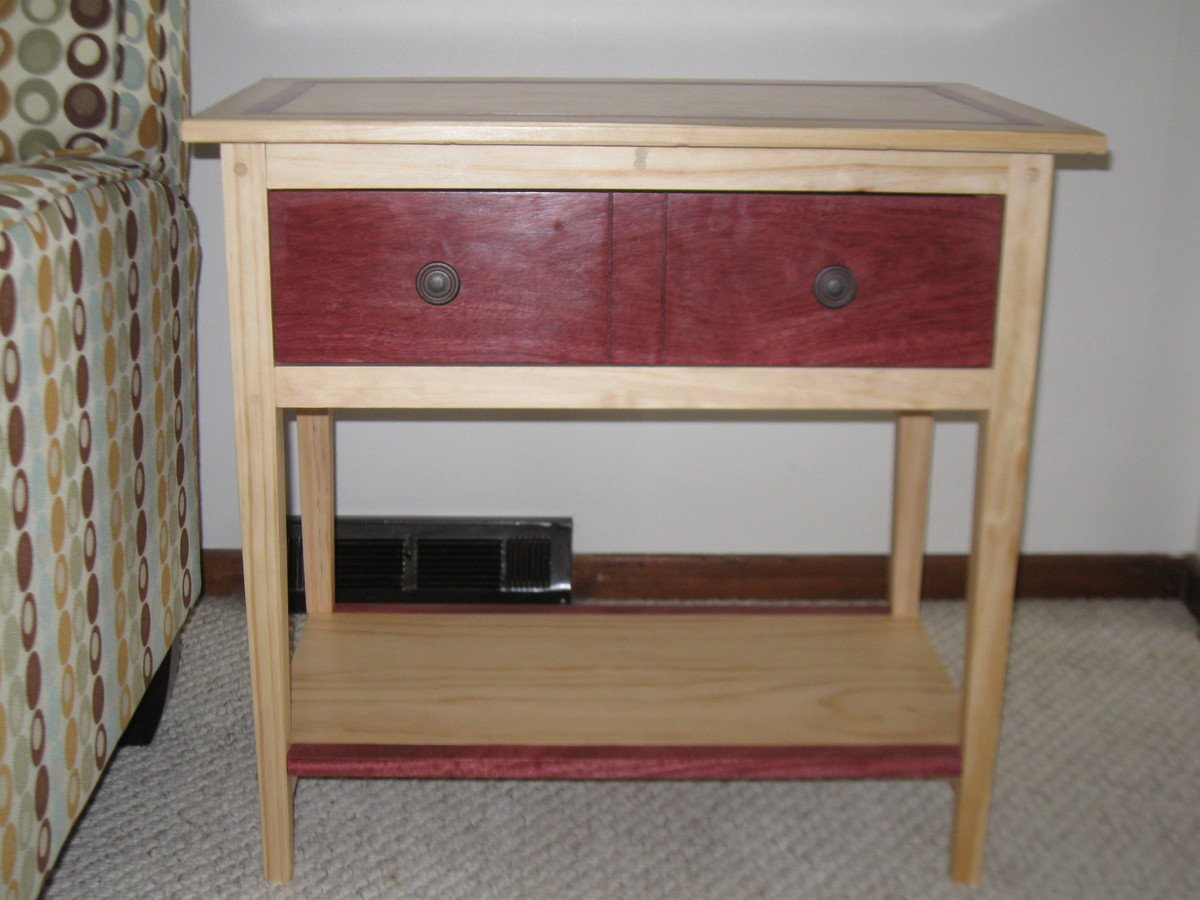
- I added some cabinets and drawers with raised-panels. these came out nice, but added a lot of time!
In all, it took me 9 months to design build. However, much of this is because this is new territory for me, I'm a bit OCD, and I could only dedicate about 4-8 hours per week on it. Plus, we were hit by Hurricane Harvey during this, so things slowed down for a few weeks. I decided to go with hardwood for most of it for durability and paintability, but this could likely easily be done with less expensive pine.
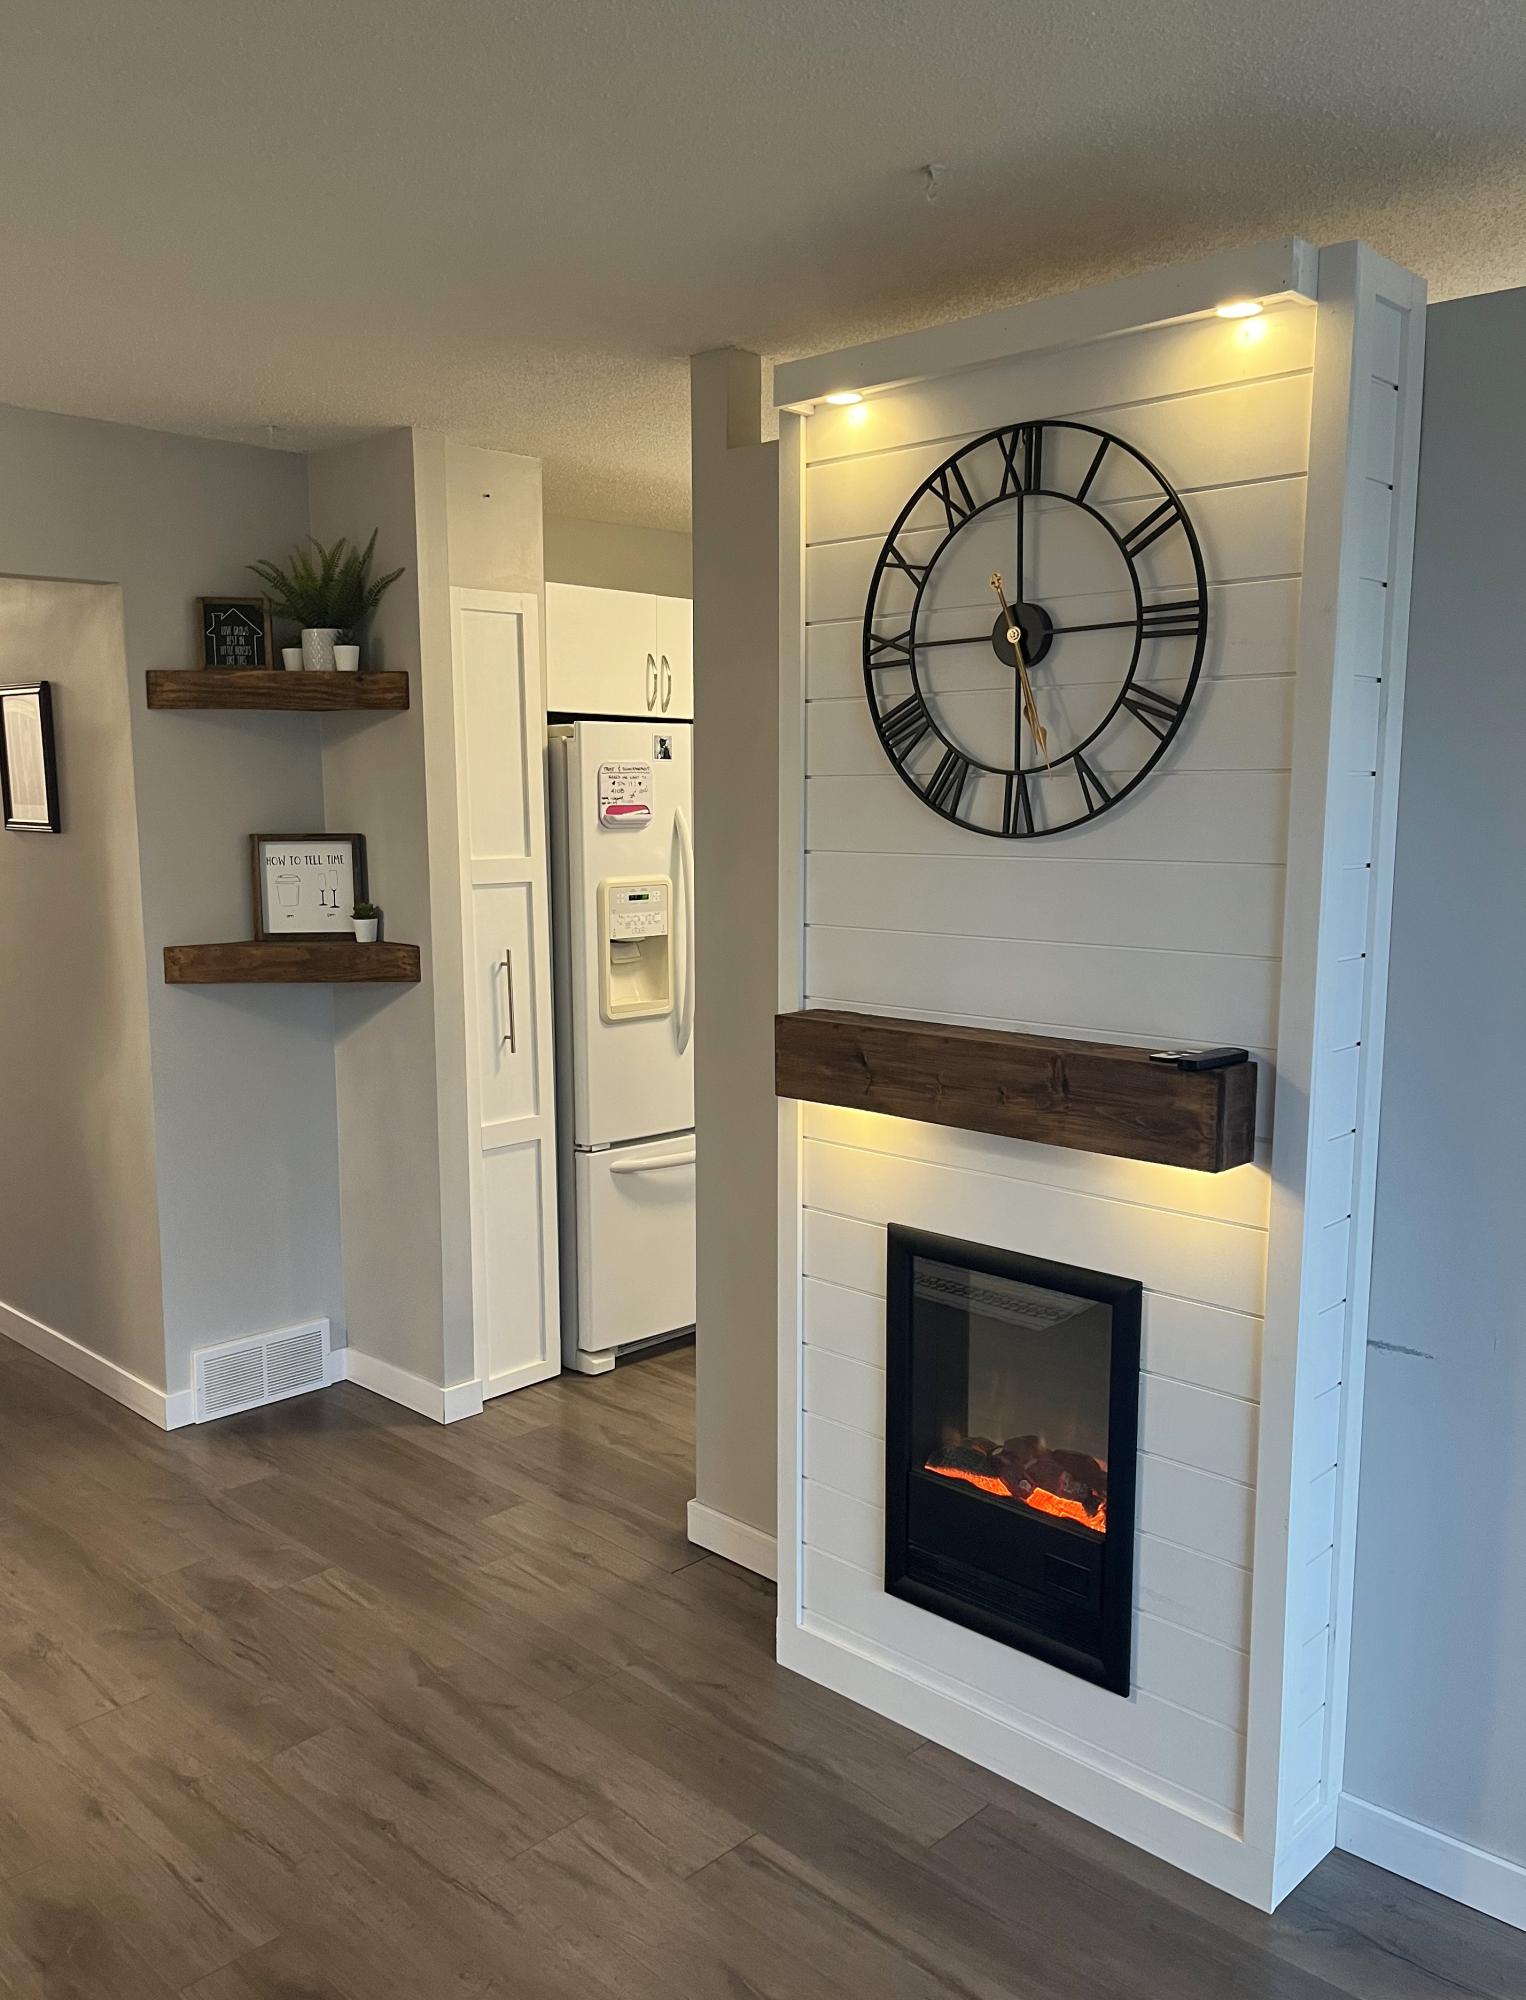
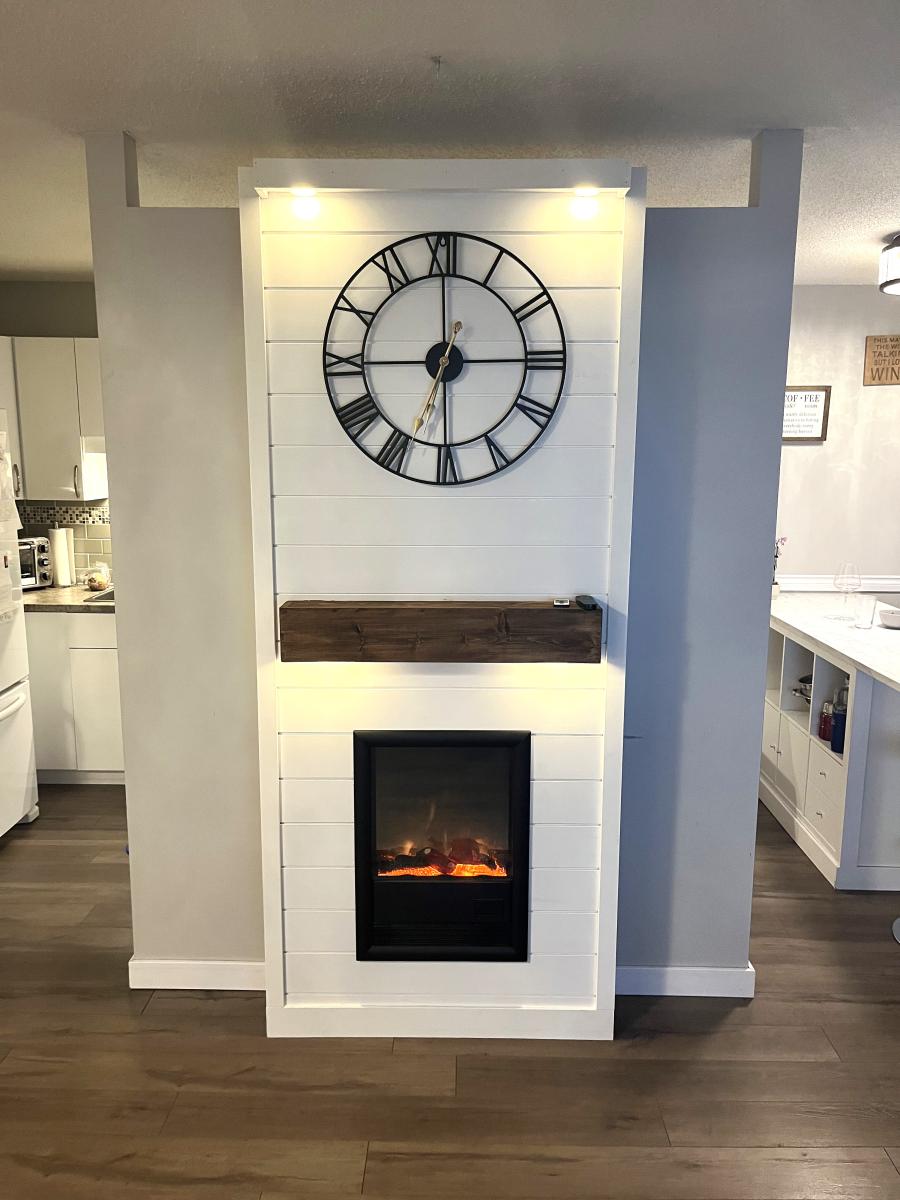
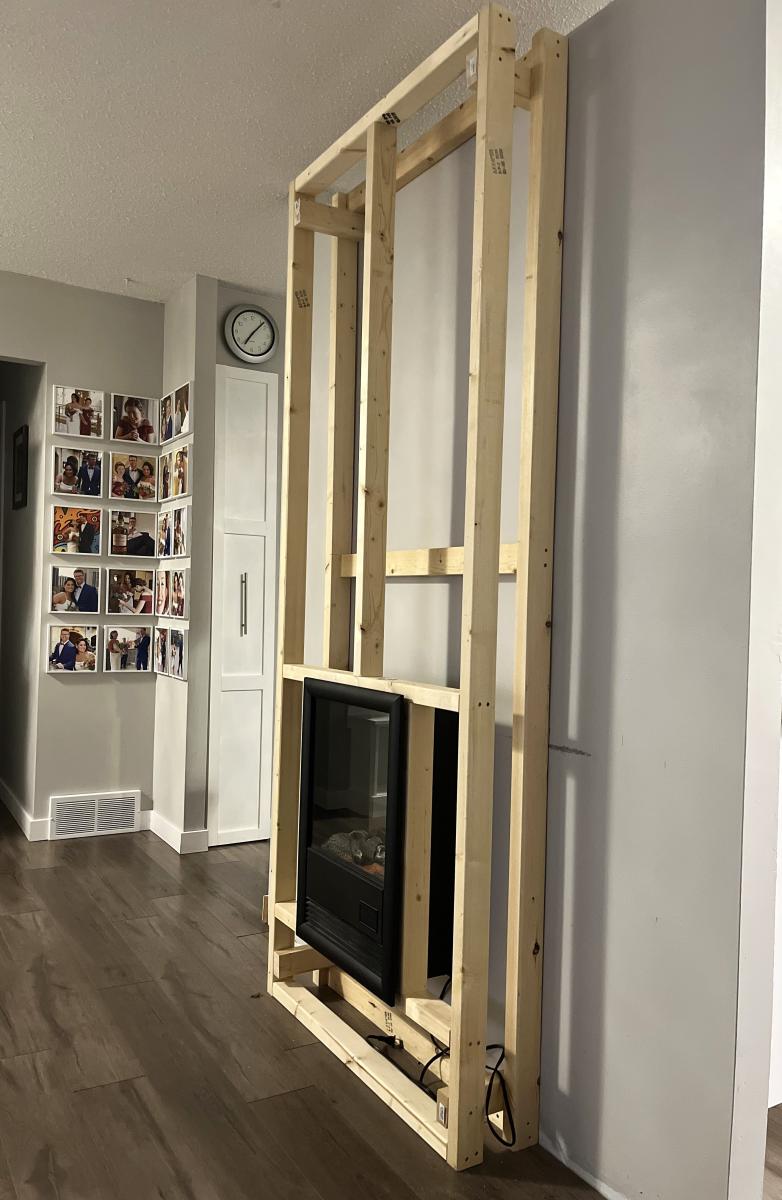
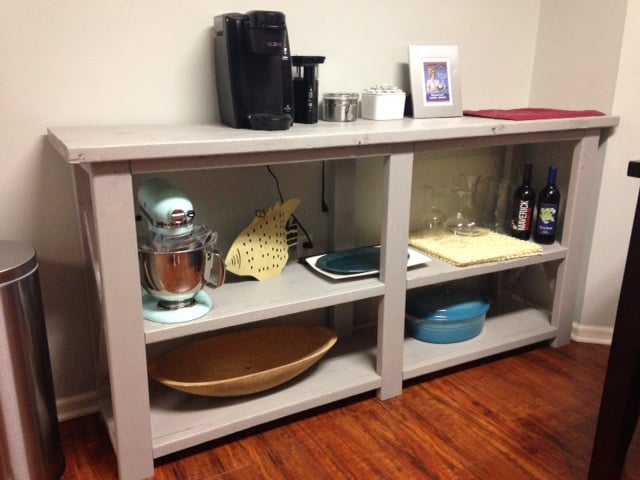
Note: I did not build the appliances seen in the images. Those were purchased.


Comments
Ana White
Fri, 04/17/2020 - 11:17
You are amazing, what a…
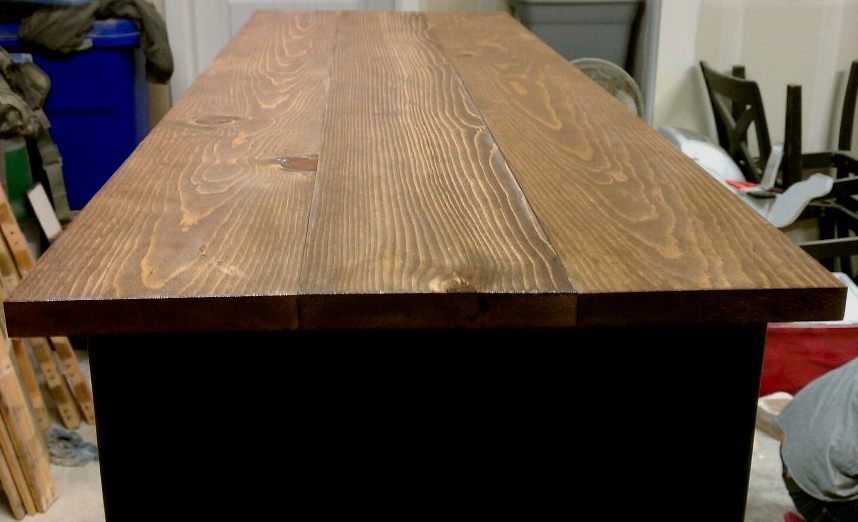
You are amazing, what a beautiful job! I love the different colored top!
Thanks so much for using our plans and posting a brag photo!