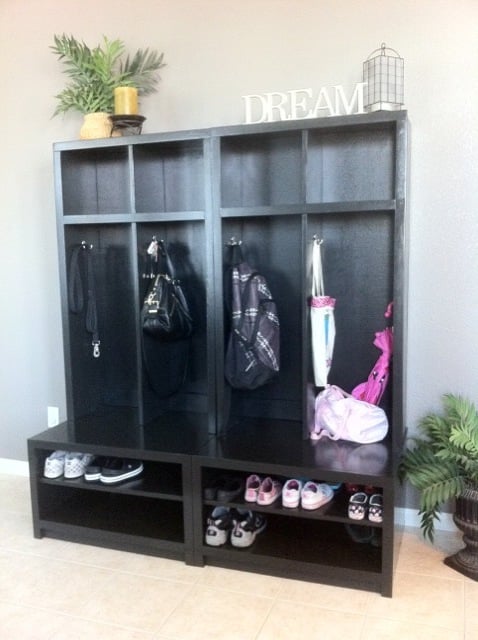
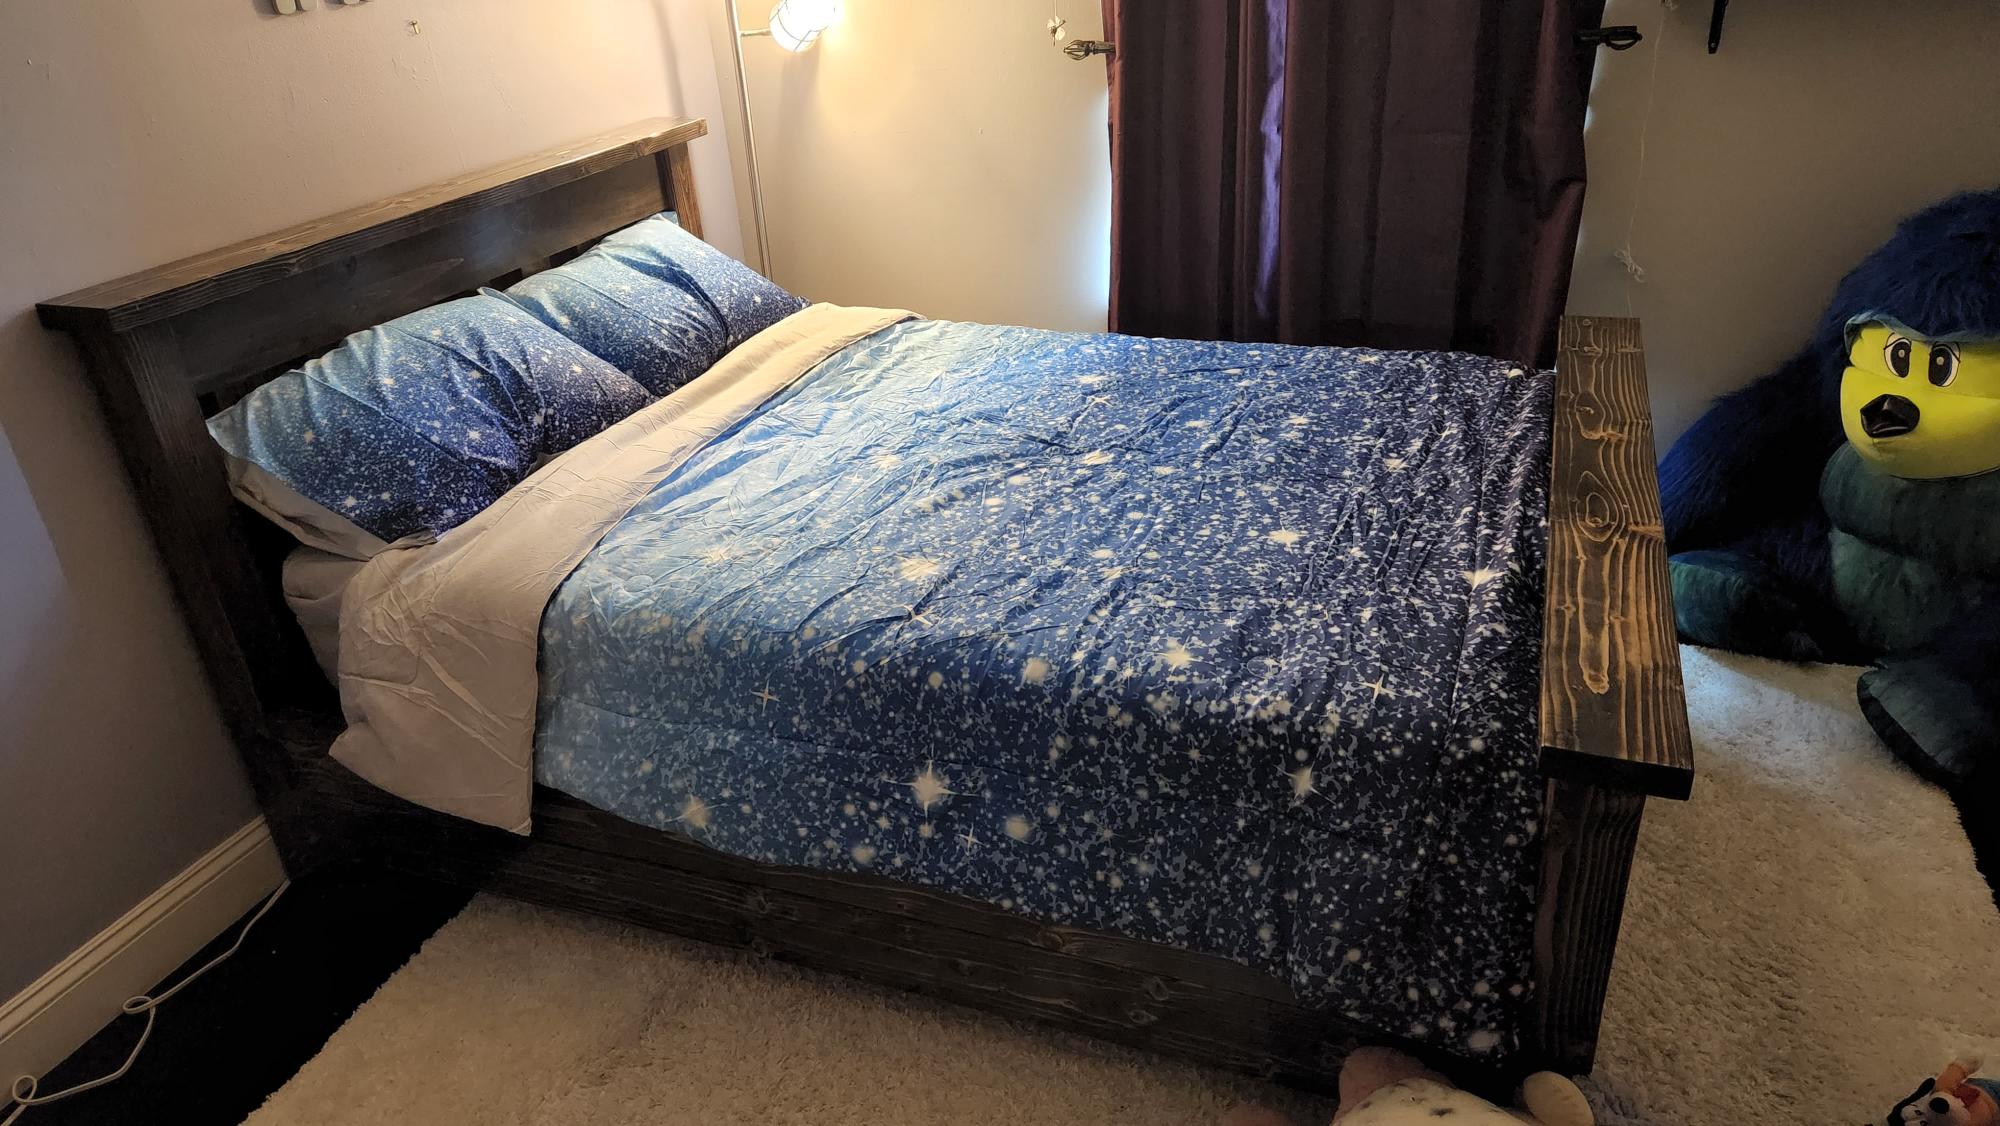
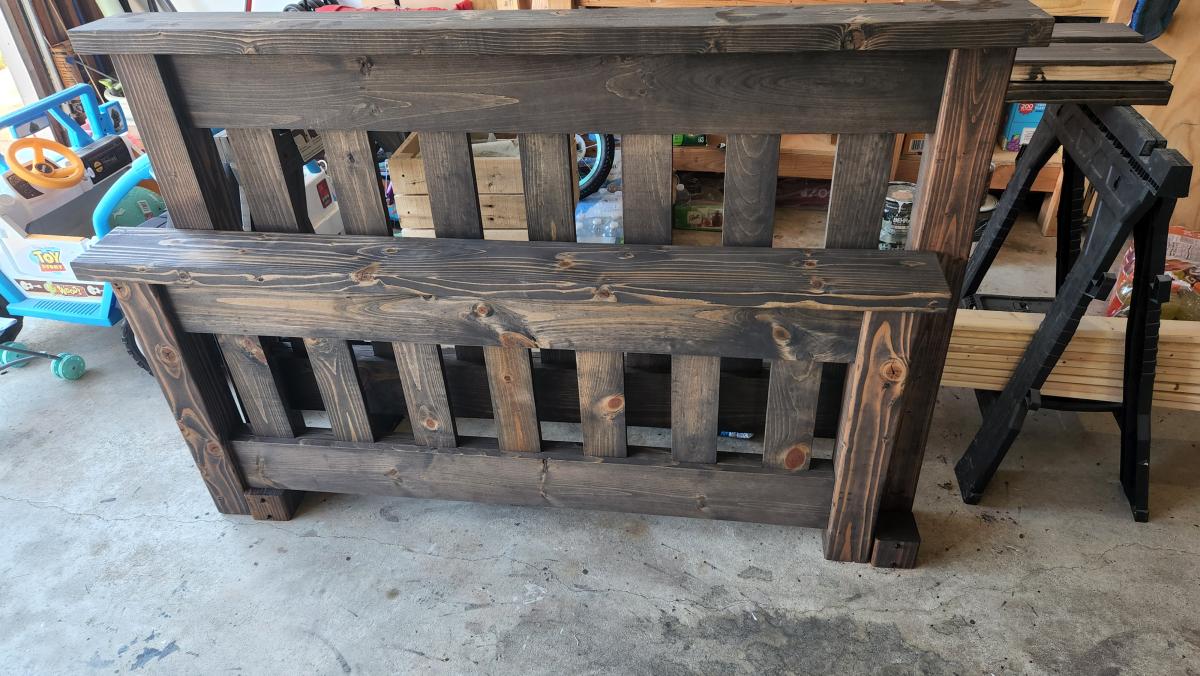
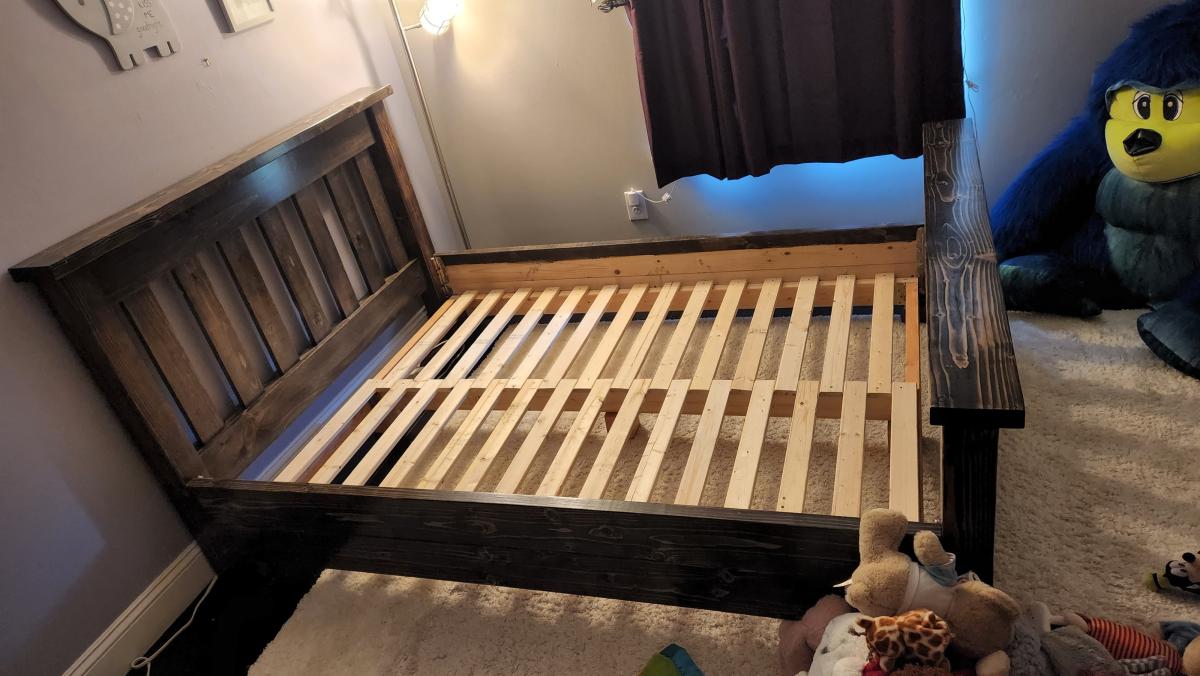
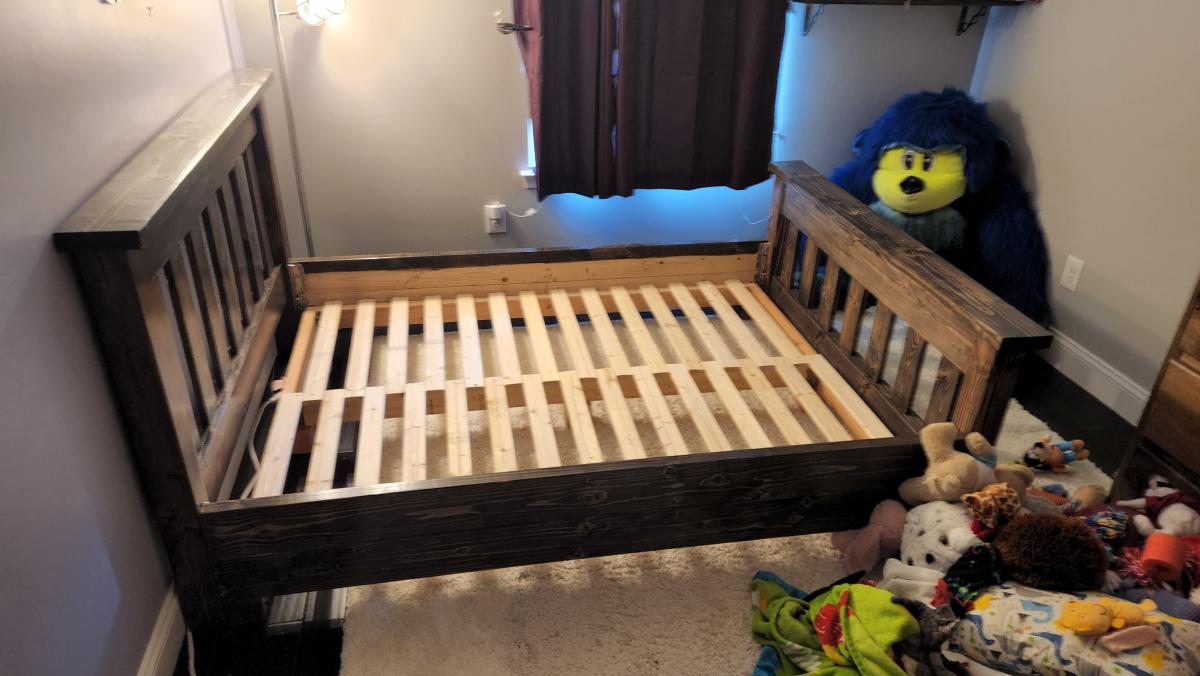
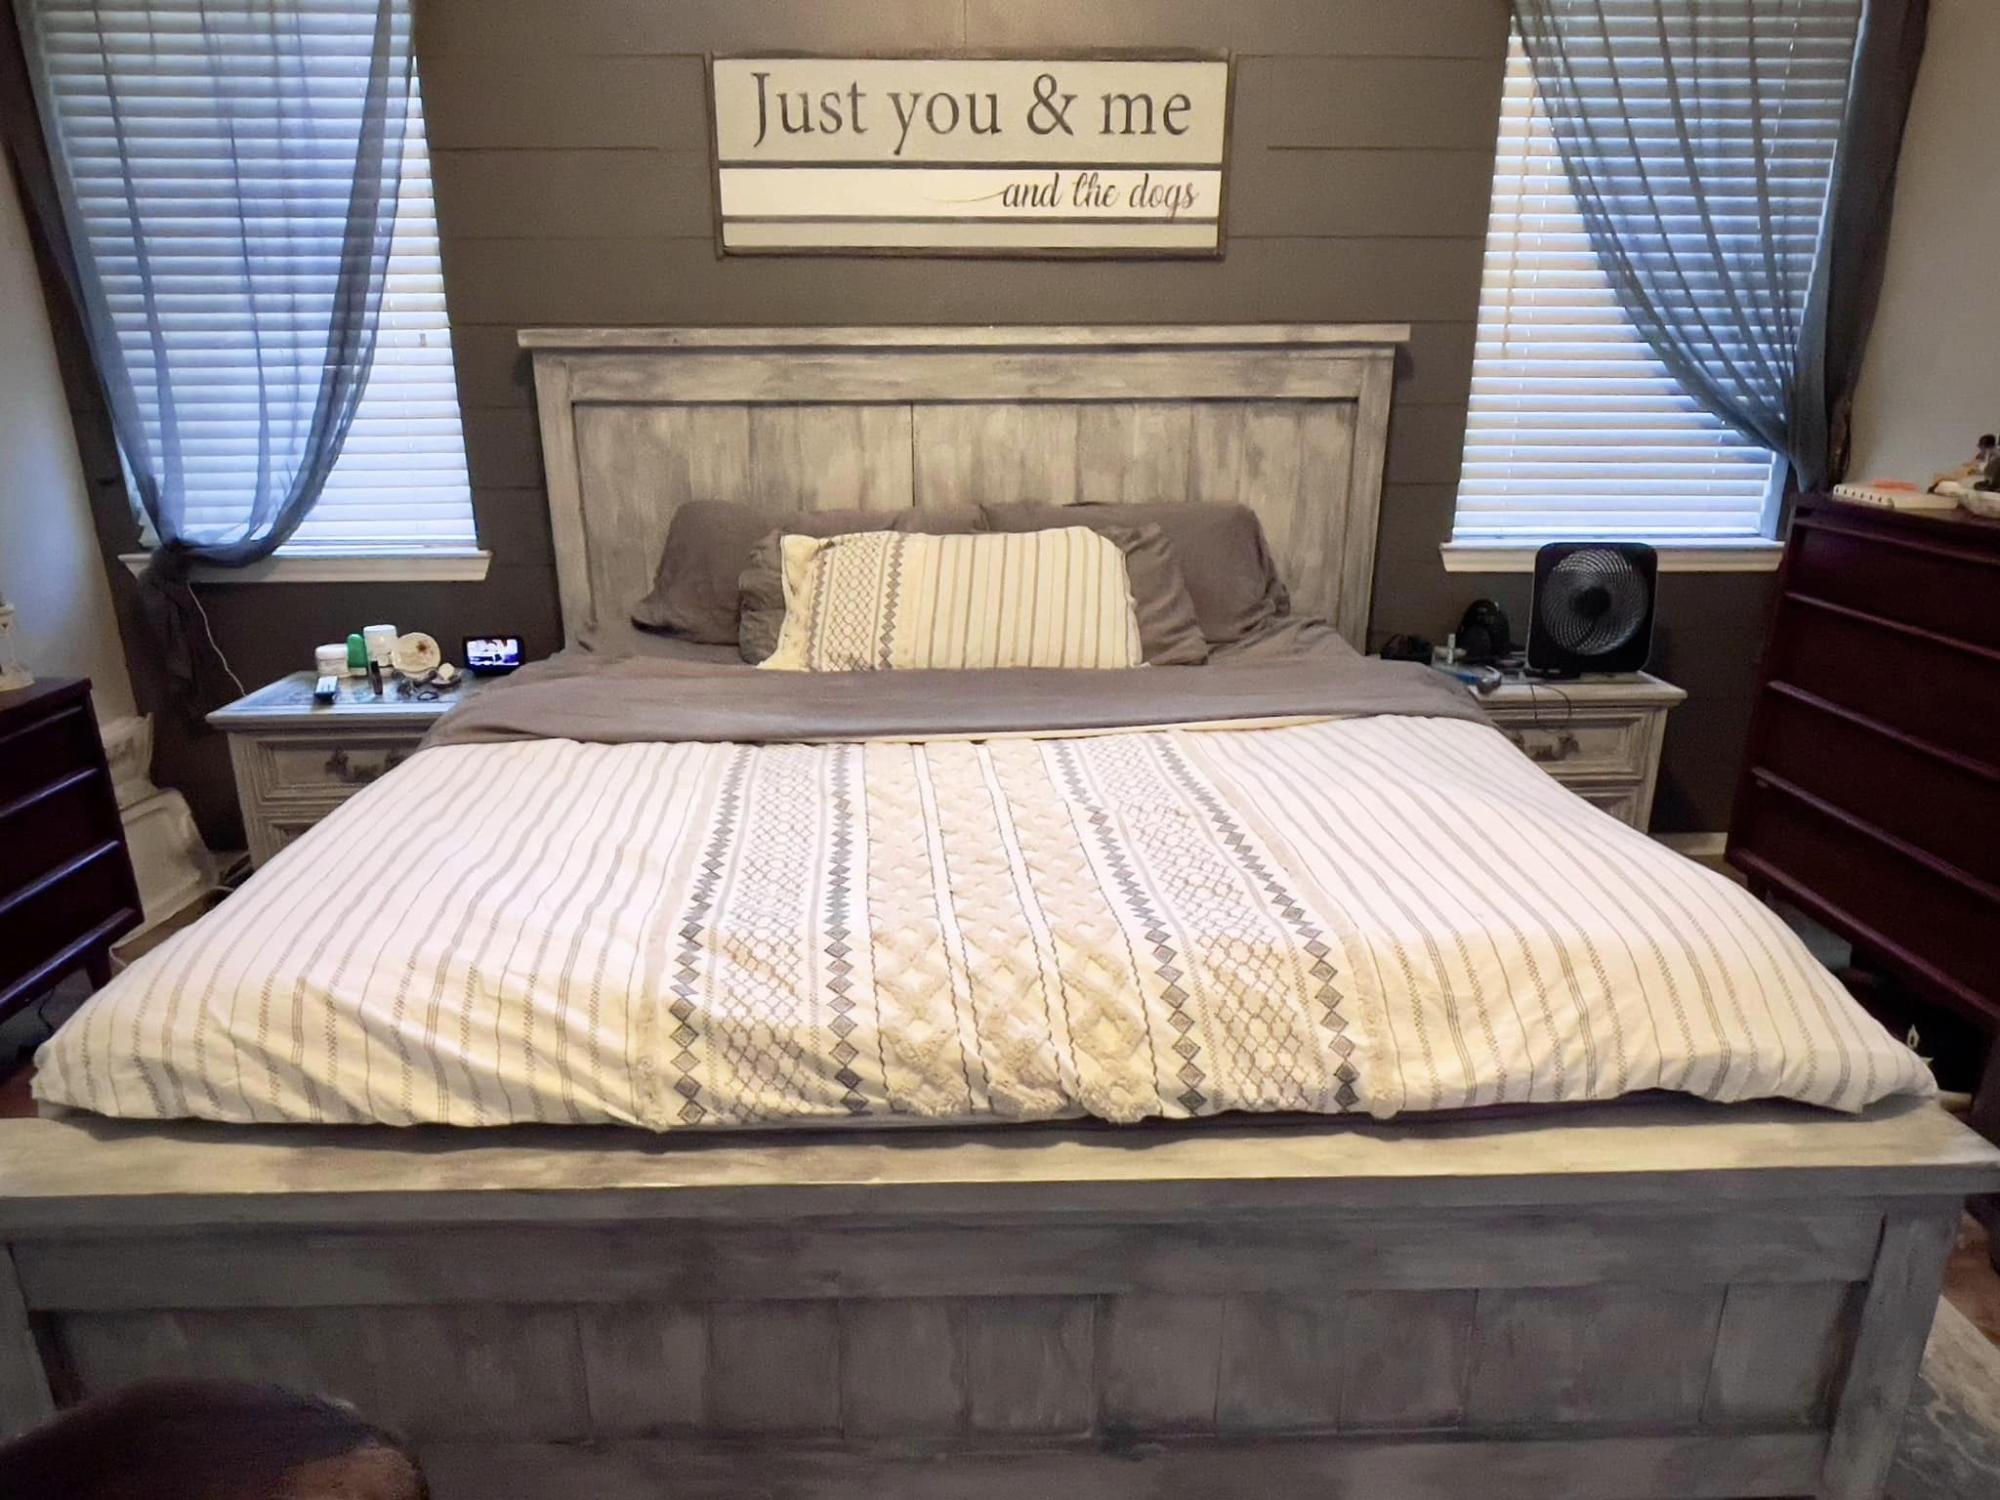
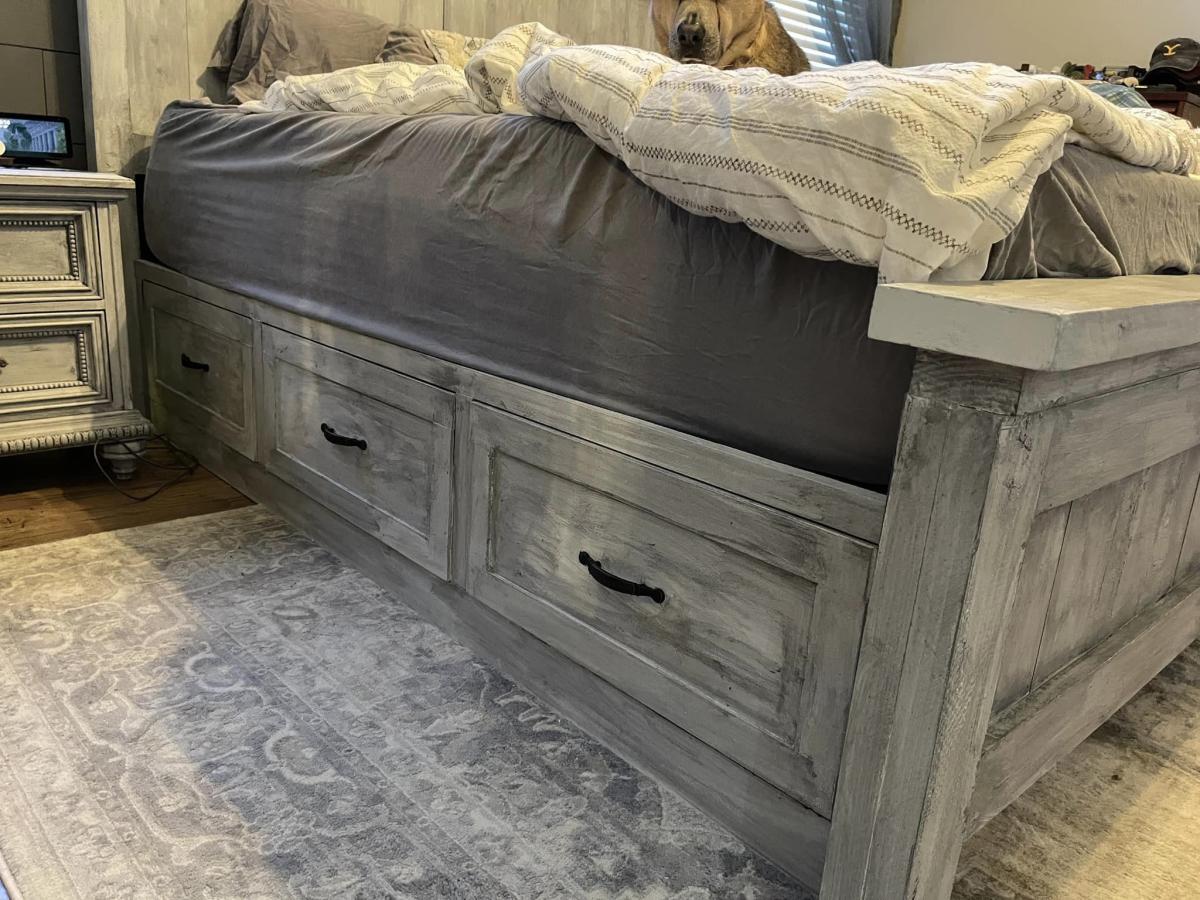
Full Size Storage Bed
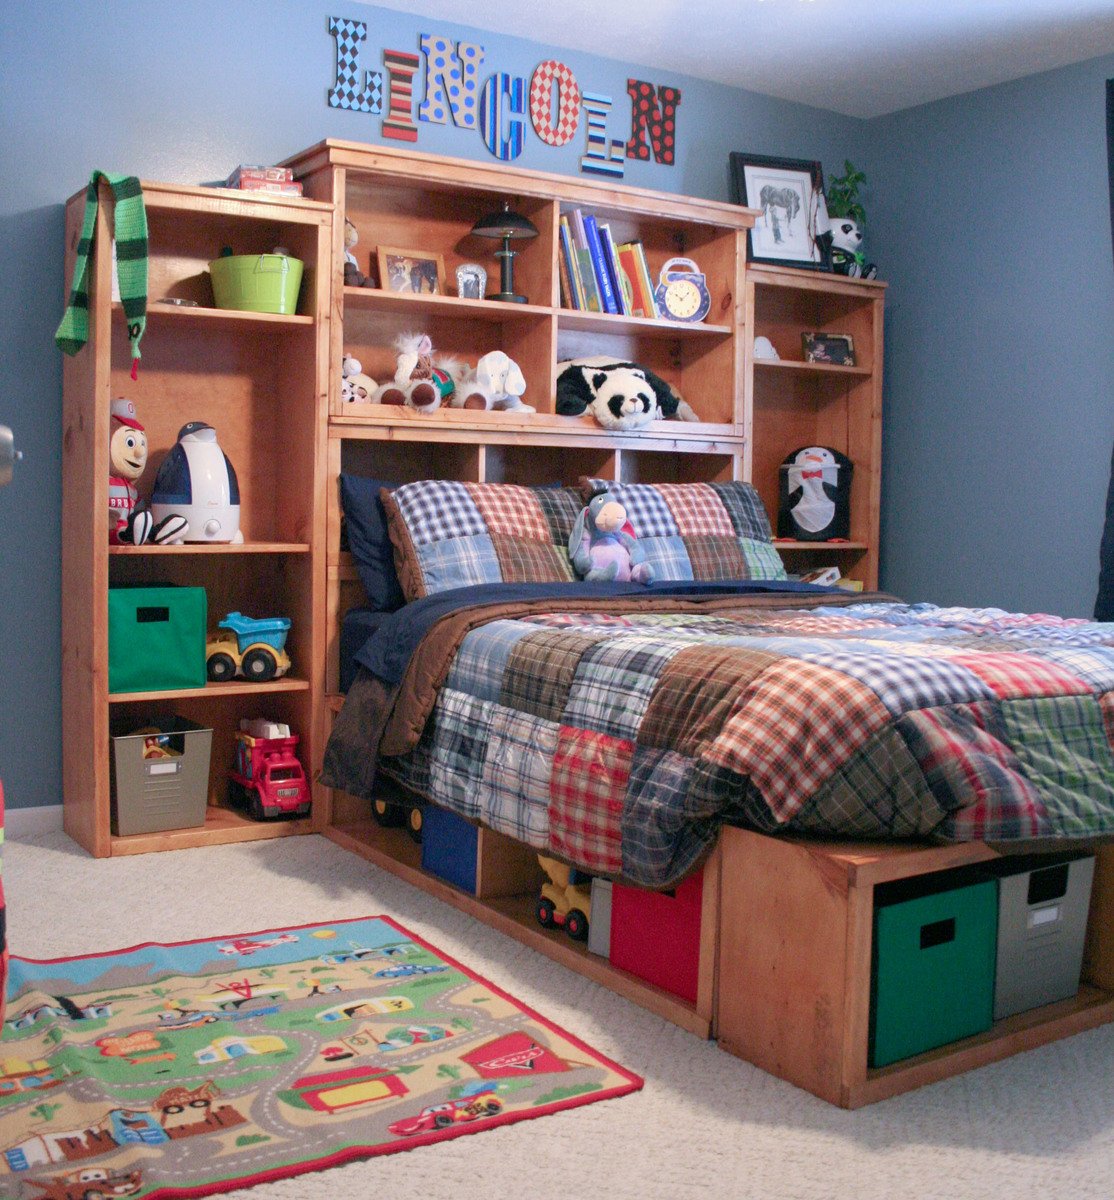
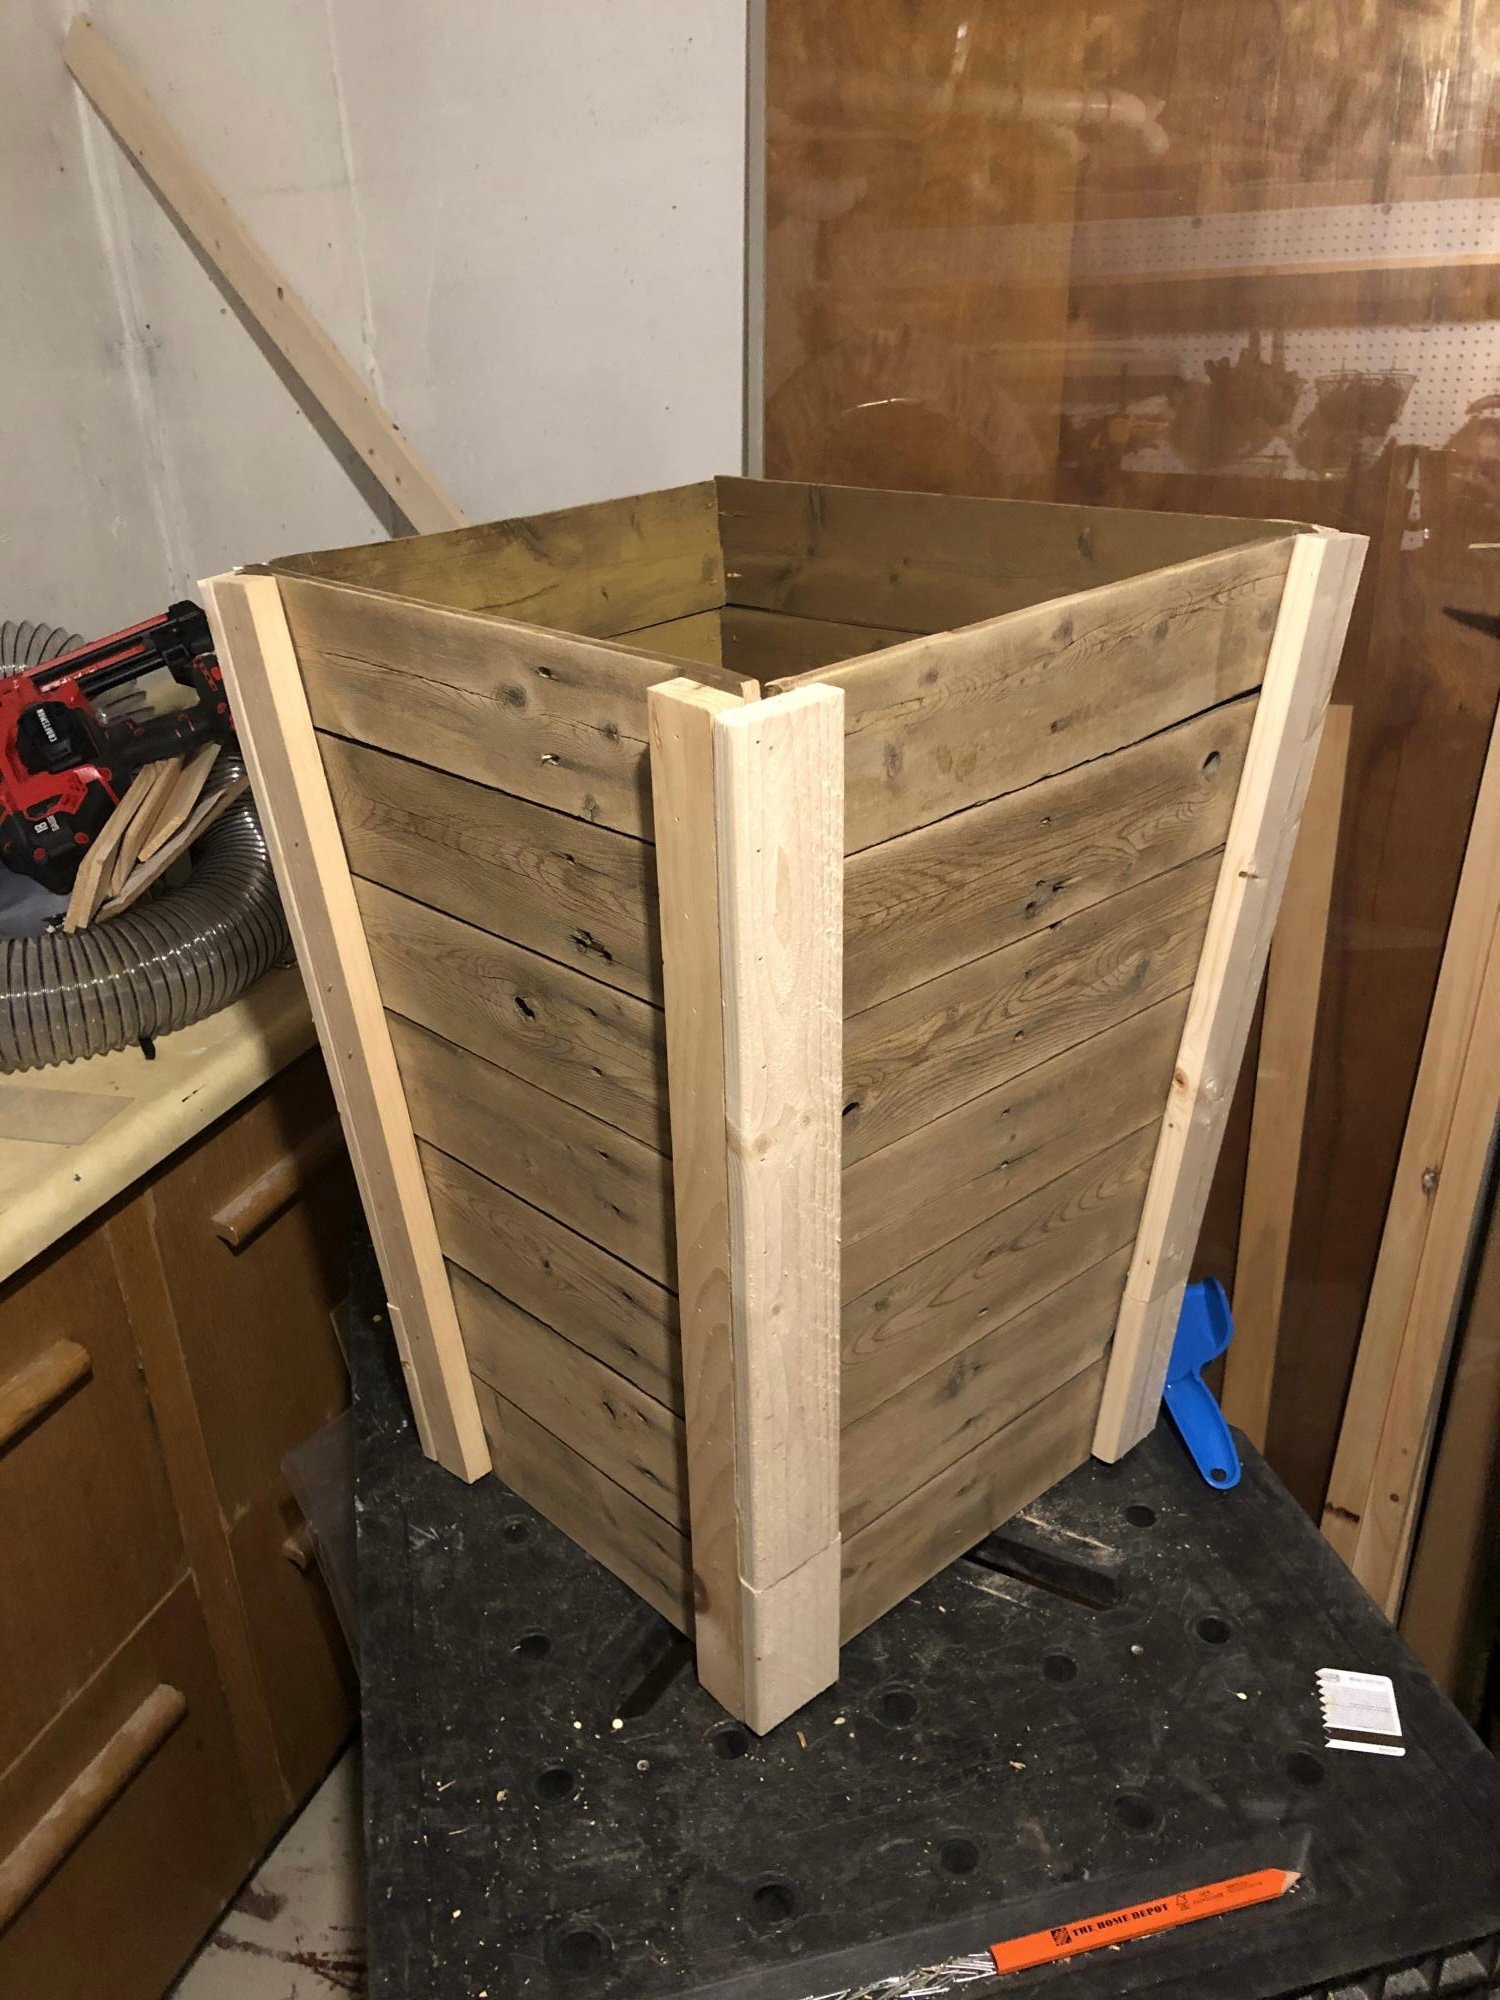
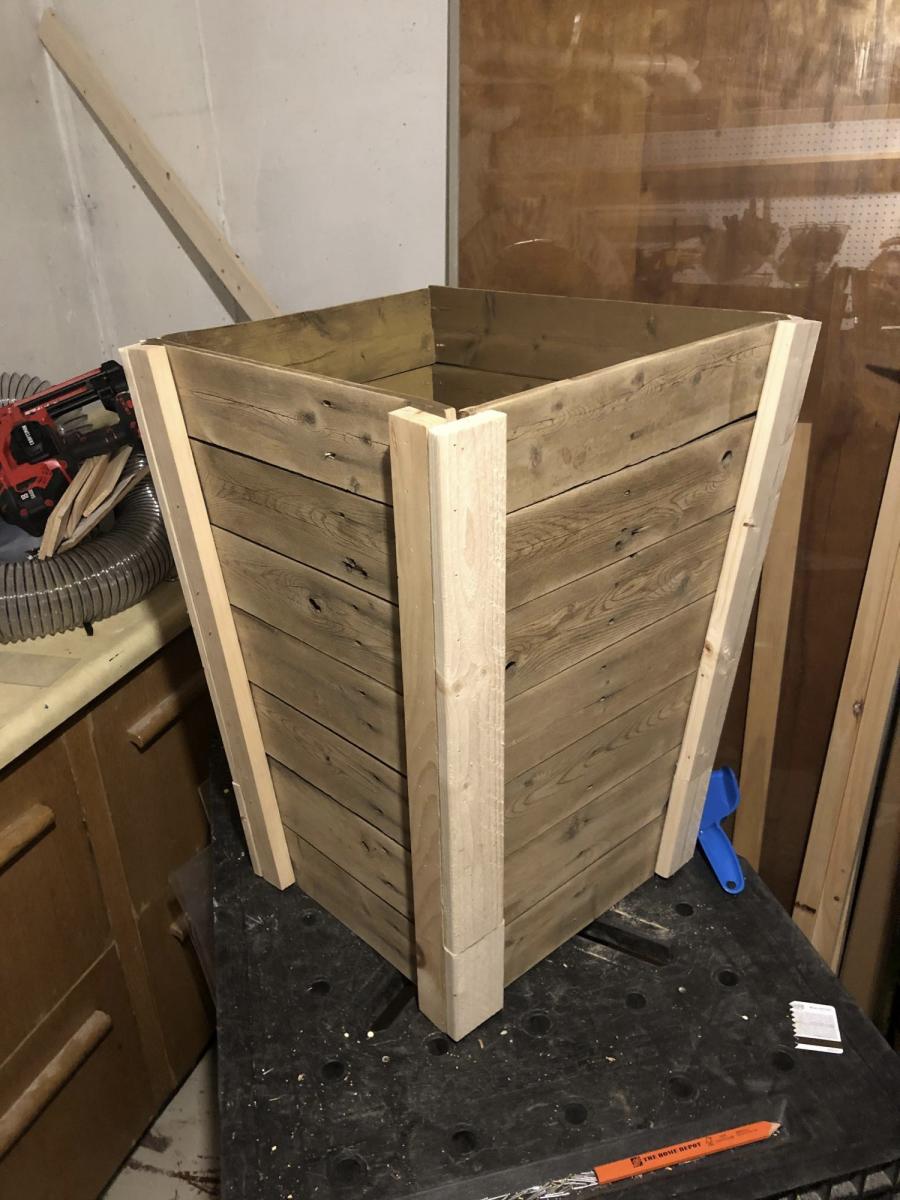
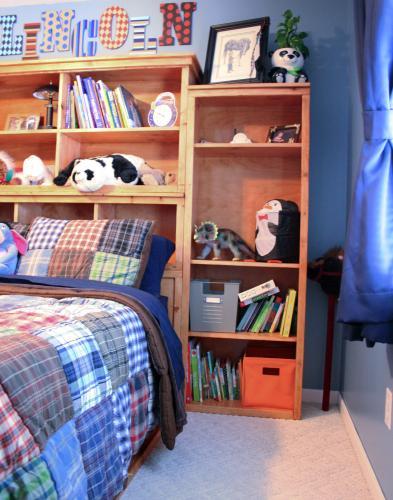
With a new baby on the way, my husband, Steve and I had to move our 2yr old son out of the nursery and into his big boy bedroom. After casually looking at storage beds and falling over in shock at the prices, I came across Ana’s plans for the storage bed. Knowing that Steve is extremely handy but had not attempted to build furniture before, I started talking him into building this bed. He was sold the moment I told him that we would save close to $2400 by building it ourselves. This was a longer than anticipated project mainly due to Steve’s full time work schedule, my inablility to handle stain fumes, allowing a toddler to “help” build his bed and working around said toddler’s nap schedule. We modified Ana’s plans by adding some trim to the cubby hutch, omitting the doors on the small hutch and sizing everything to a full size bed. We also omitted the shelves on the storage headboard since we weren’t going to use them with the side towers. I am absolutely in LOVE with the final result and have a long list of other projects that we will be building in the near future.
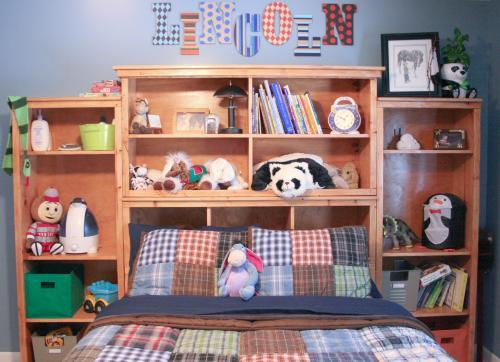
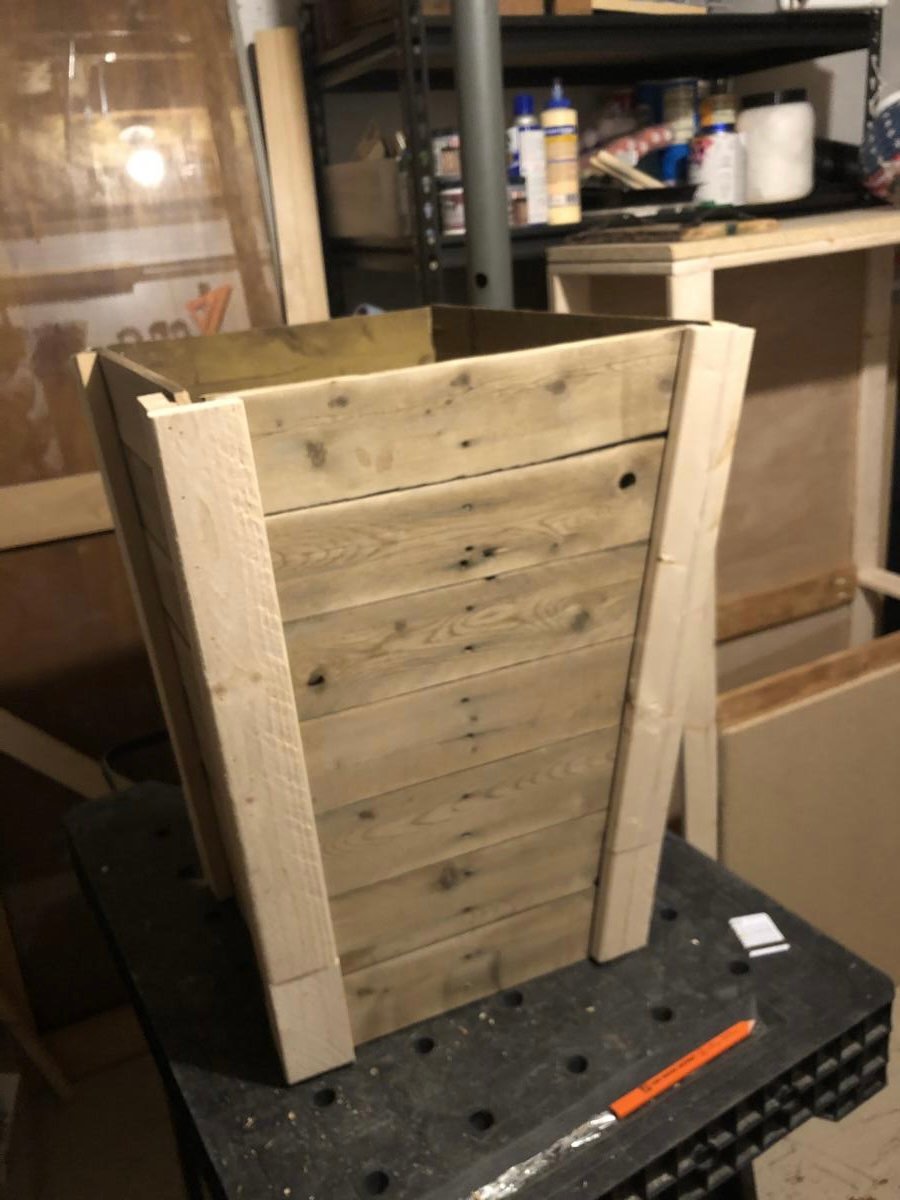
Finishing Technique: Steve primed the wood first with Minwax Pre-Stain Wood Conditioner then, added two coats of Minwax Polyshades in Pecan Gloss.