Community Brag Posts
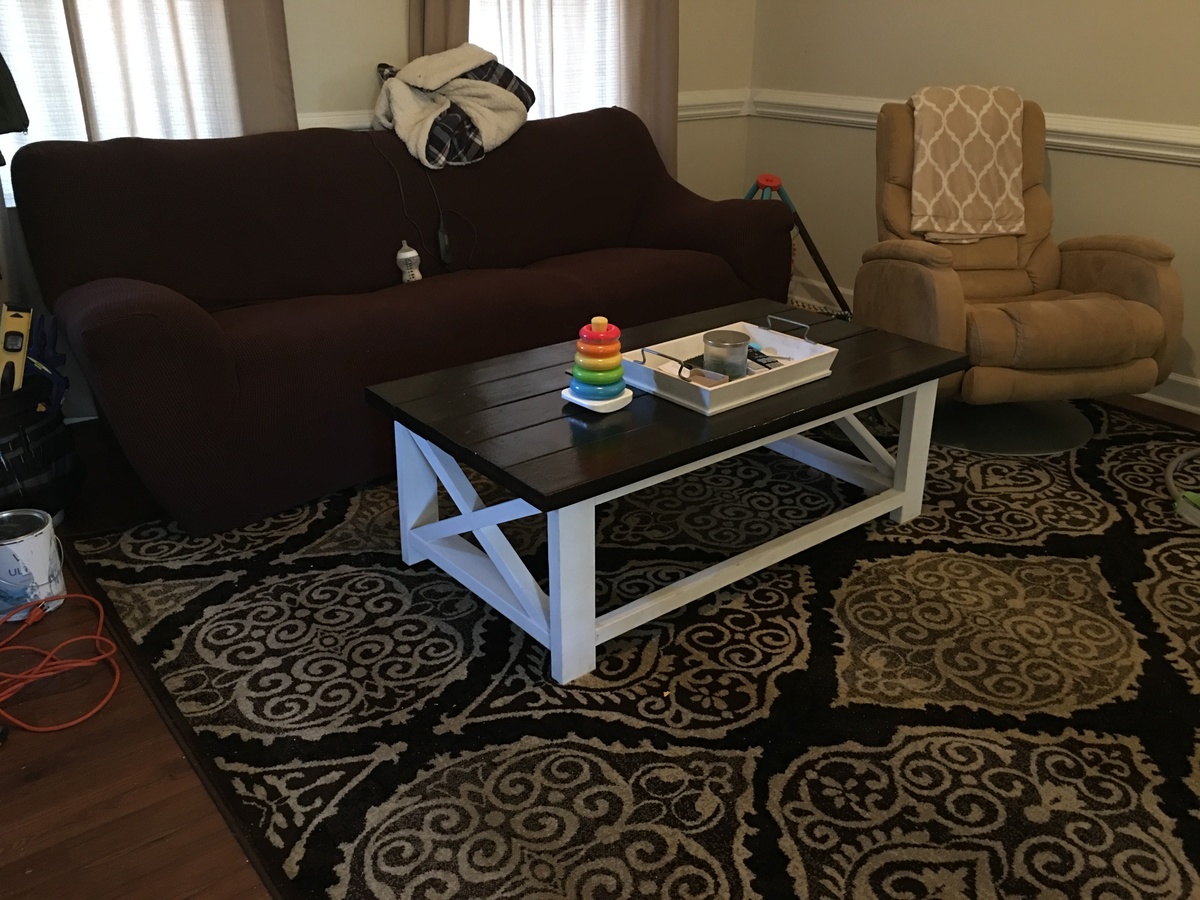
Rainbow Connection
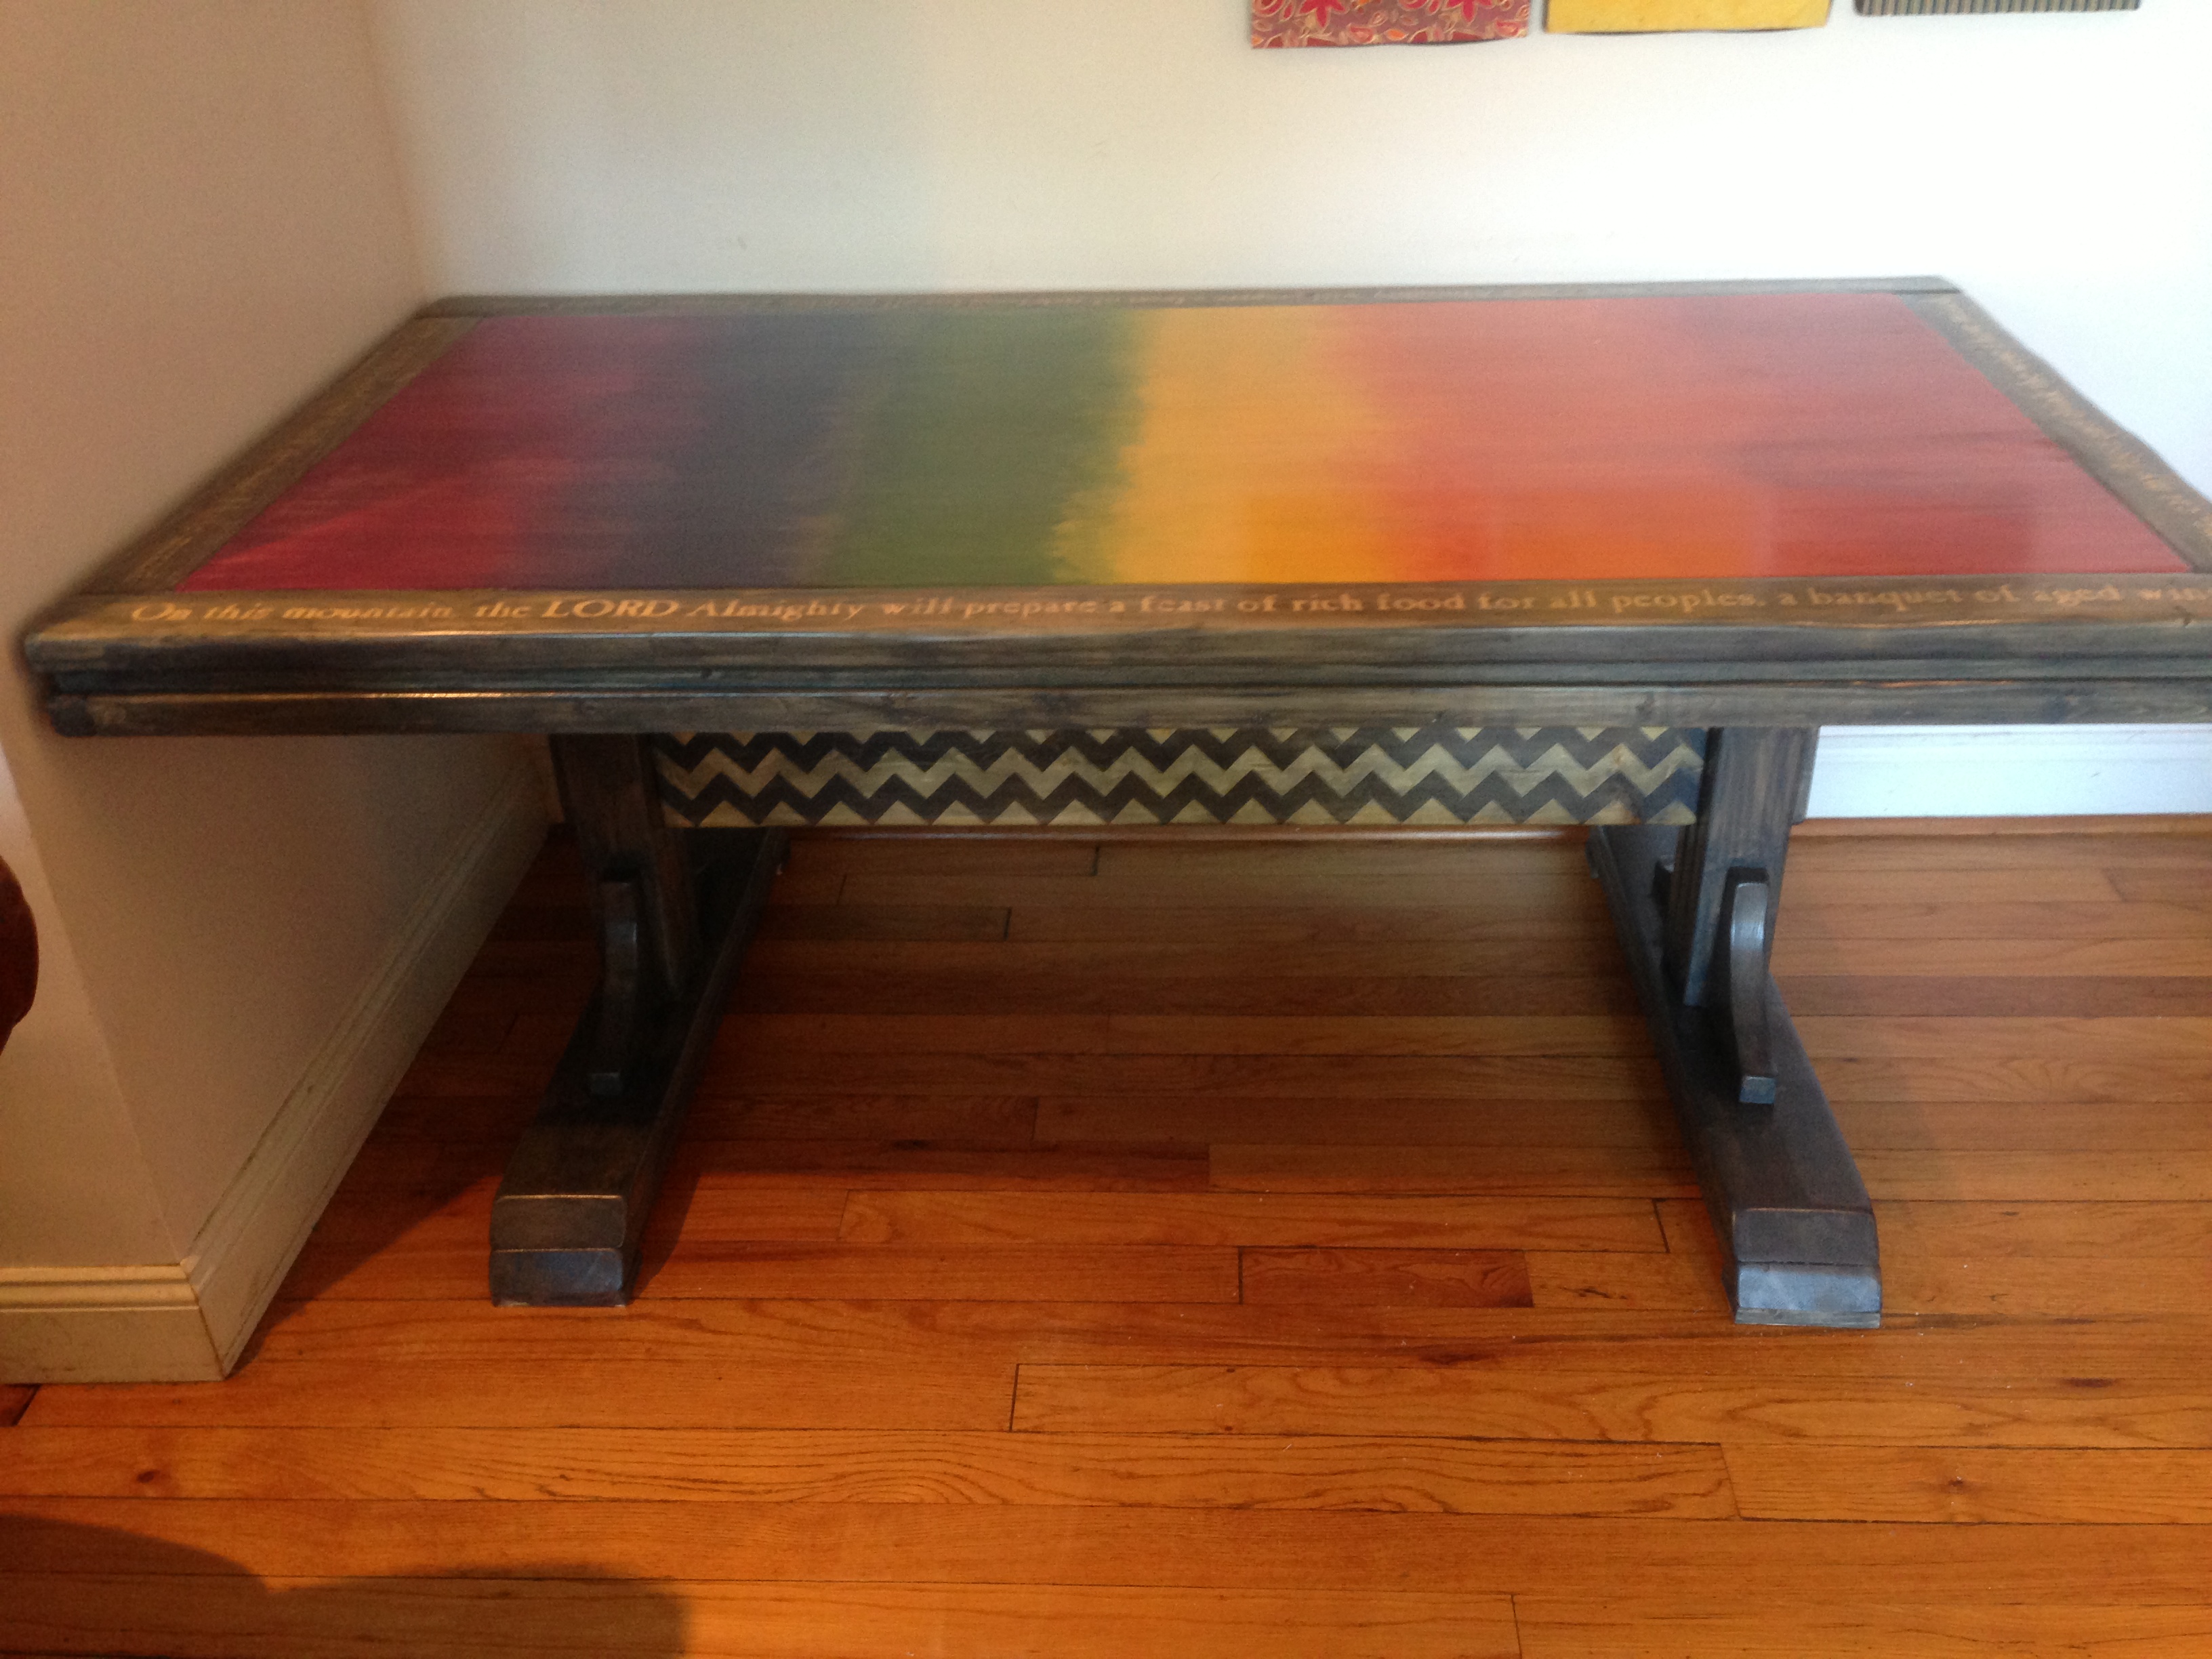
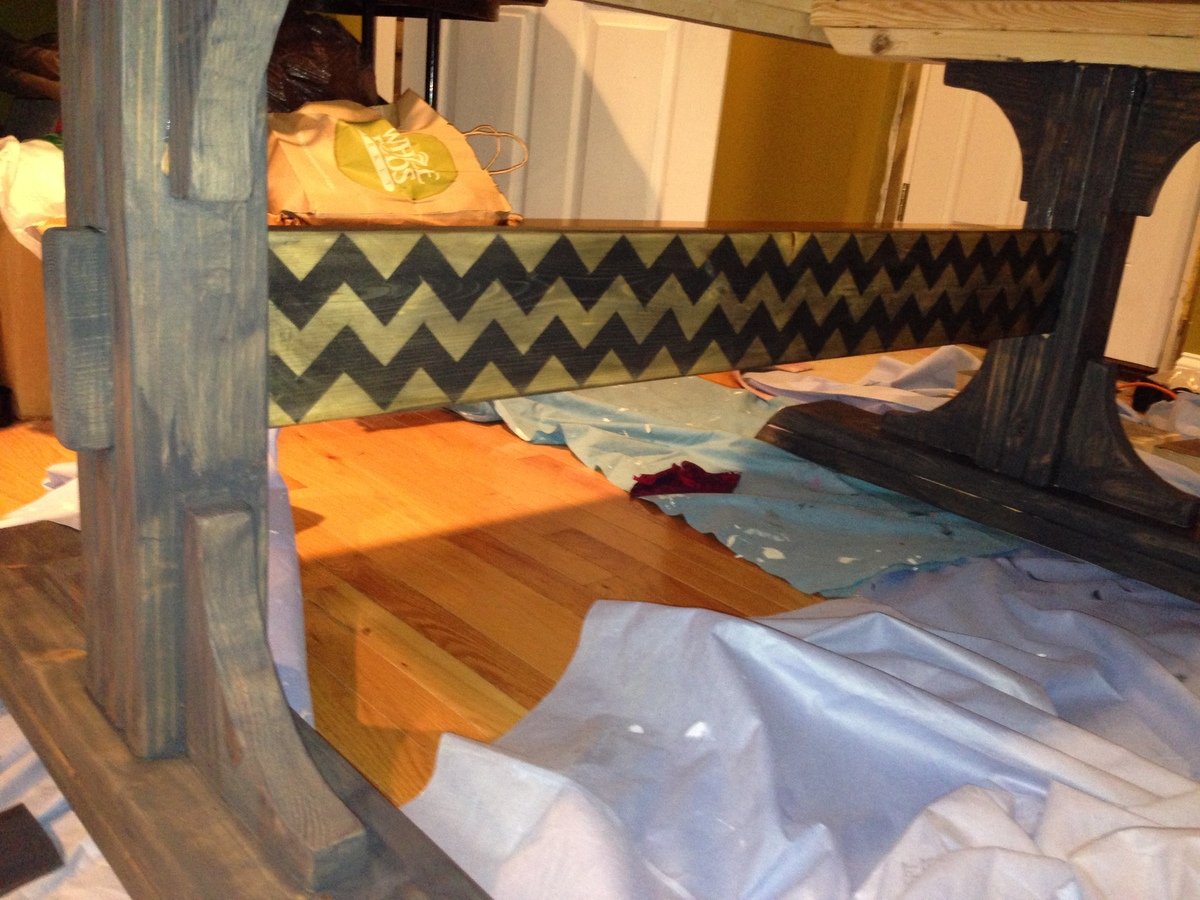
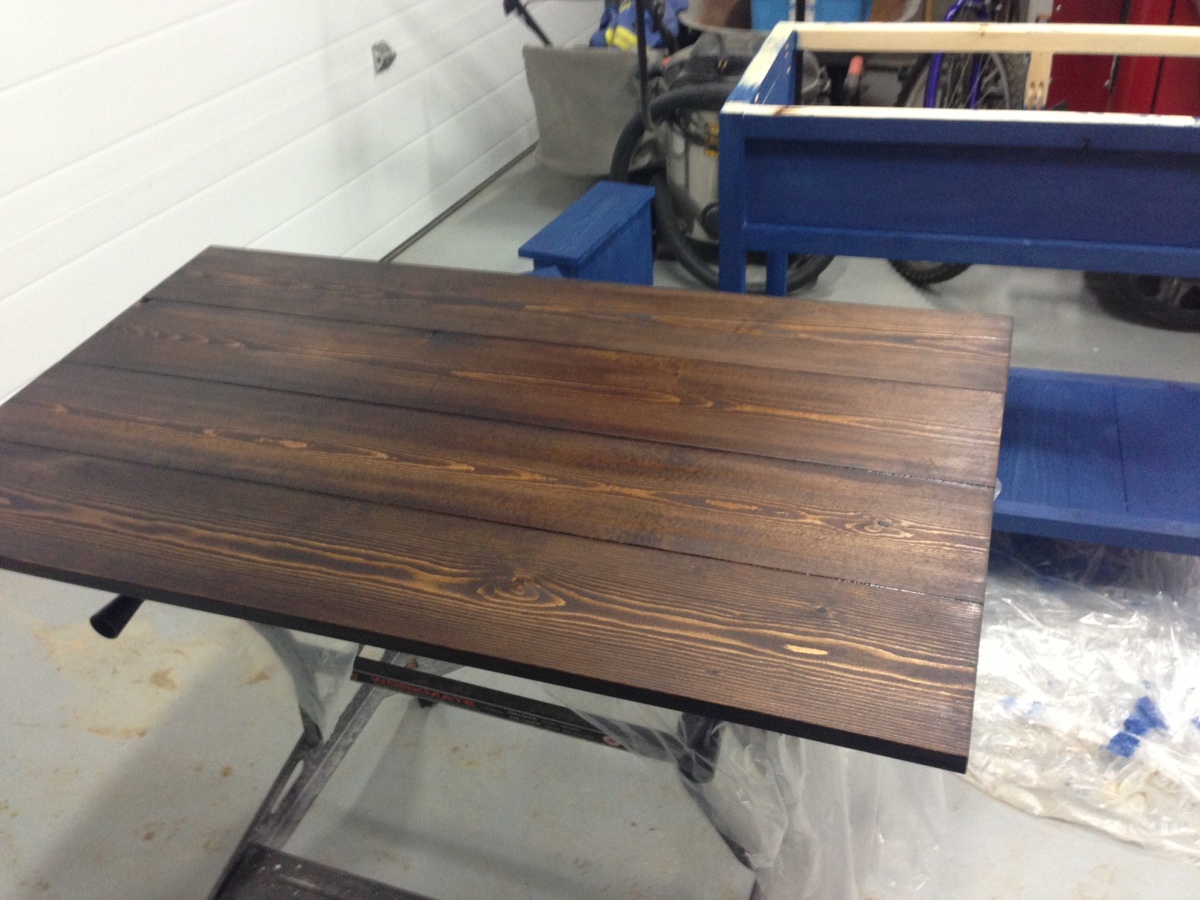
I adjusted the plans to shorten the table to 70 inches, taking out one of the pedestals in the process.
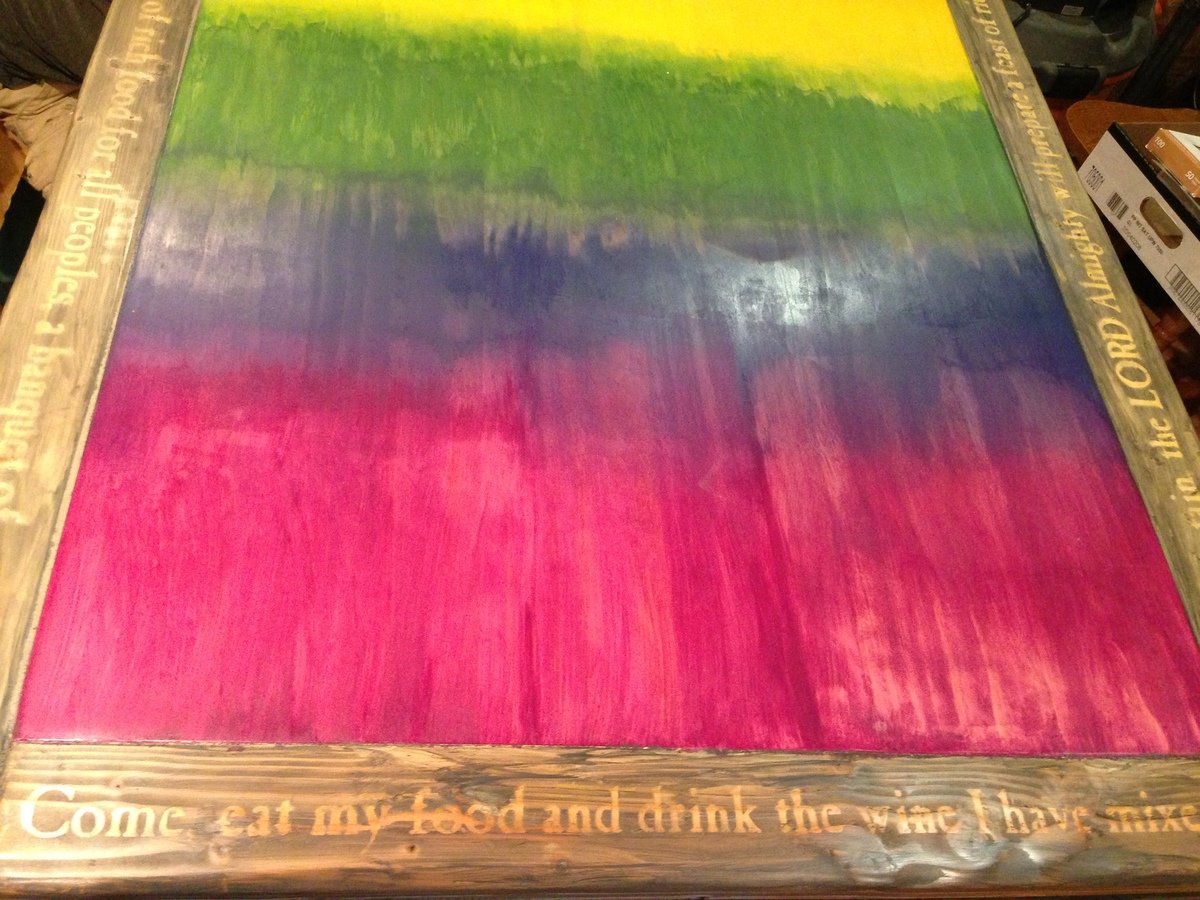
For the finish, I used 6 different colors of the Miniwax Water-based Wood Stain. Working with 2-3 at a time, I blended them into each other (work WITH the grain!!!). I purchased custom stencils online for the border and used a Polycrylic spray (3-4 coats), then stained over top and wiped off the excess.
Similarly, on the stretcher, I taped off a chevron pattern with painters tape. Then I sprayed with the Polycrylic, and stained over top of it.
We love this table!

Built from Plan(s)
Estimated Time Investment
Week Long Project (20 Hours or More)
Finish Used
Miniwax Water-Based Wood Stains
Polycrylic protective Finish
Polycrylic protective Finish
Recommended Skill Level
Beginner
Comments
Fri, 08/02/2013 - 04:17
Stencils
I purchased the stencils from http://www.stencilsonline.com/. You can enter whatever text you like and adjust the size and font. Each phrase I ordered came in one long stencil. Total cost was about $60 for the two of them.
I taped paper over the tabletop so just the edges were exposed, and then I laid the stencil over the wood. I then sprayed 3-4 coats of Miniwax Polycryclic Spray http://www.amazon.com/Minwax-34444-Water-Based-Polycrylic-Semi-Gloss/dp…. After it dried, I applied the stain (Miniwax Water-based). Then I wiped it off with a cloth. It takes a little rubbing to get the stain to come off the poly. I would suggest testing the process on some scrap so you can get an idea of the process.
Scrap wood rustic boat

Rustic simple looking boats I have made for my Great Nephews
Chalkboard roof to write their names on and hand drawn windows by my step daughter.
I really like the rustic simple look.
Used A grey stain on the main part first. Then three coats of satin white each time sanding back with 400 grit until smooth.
Used a Forstner bit to drill a hole for the mast. I didnt want any screws or nails since it is being handled by a child.

Estimated Cost
$5 scrap wood and sample paints.
Estimated Time Investment
Afternoon Project (3-6 Hours)
Recommended Skill Level
Starter Project
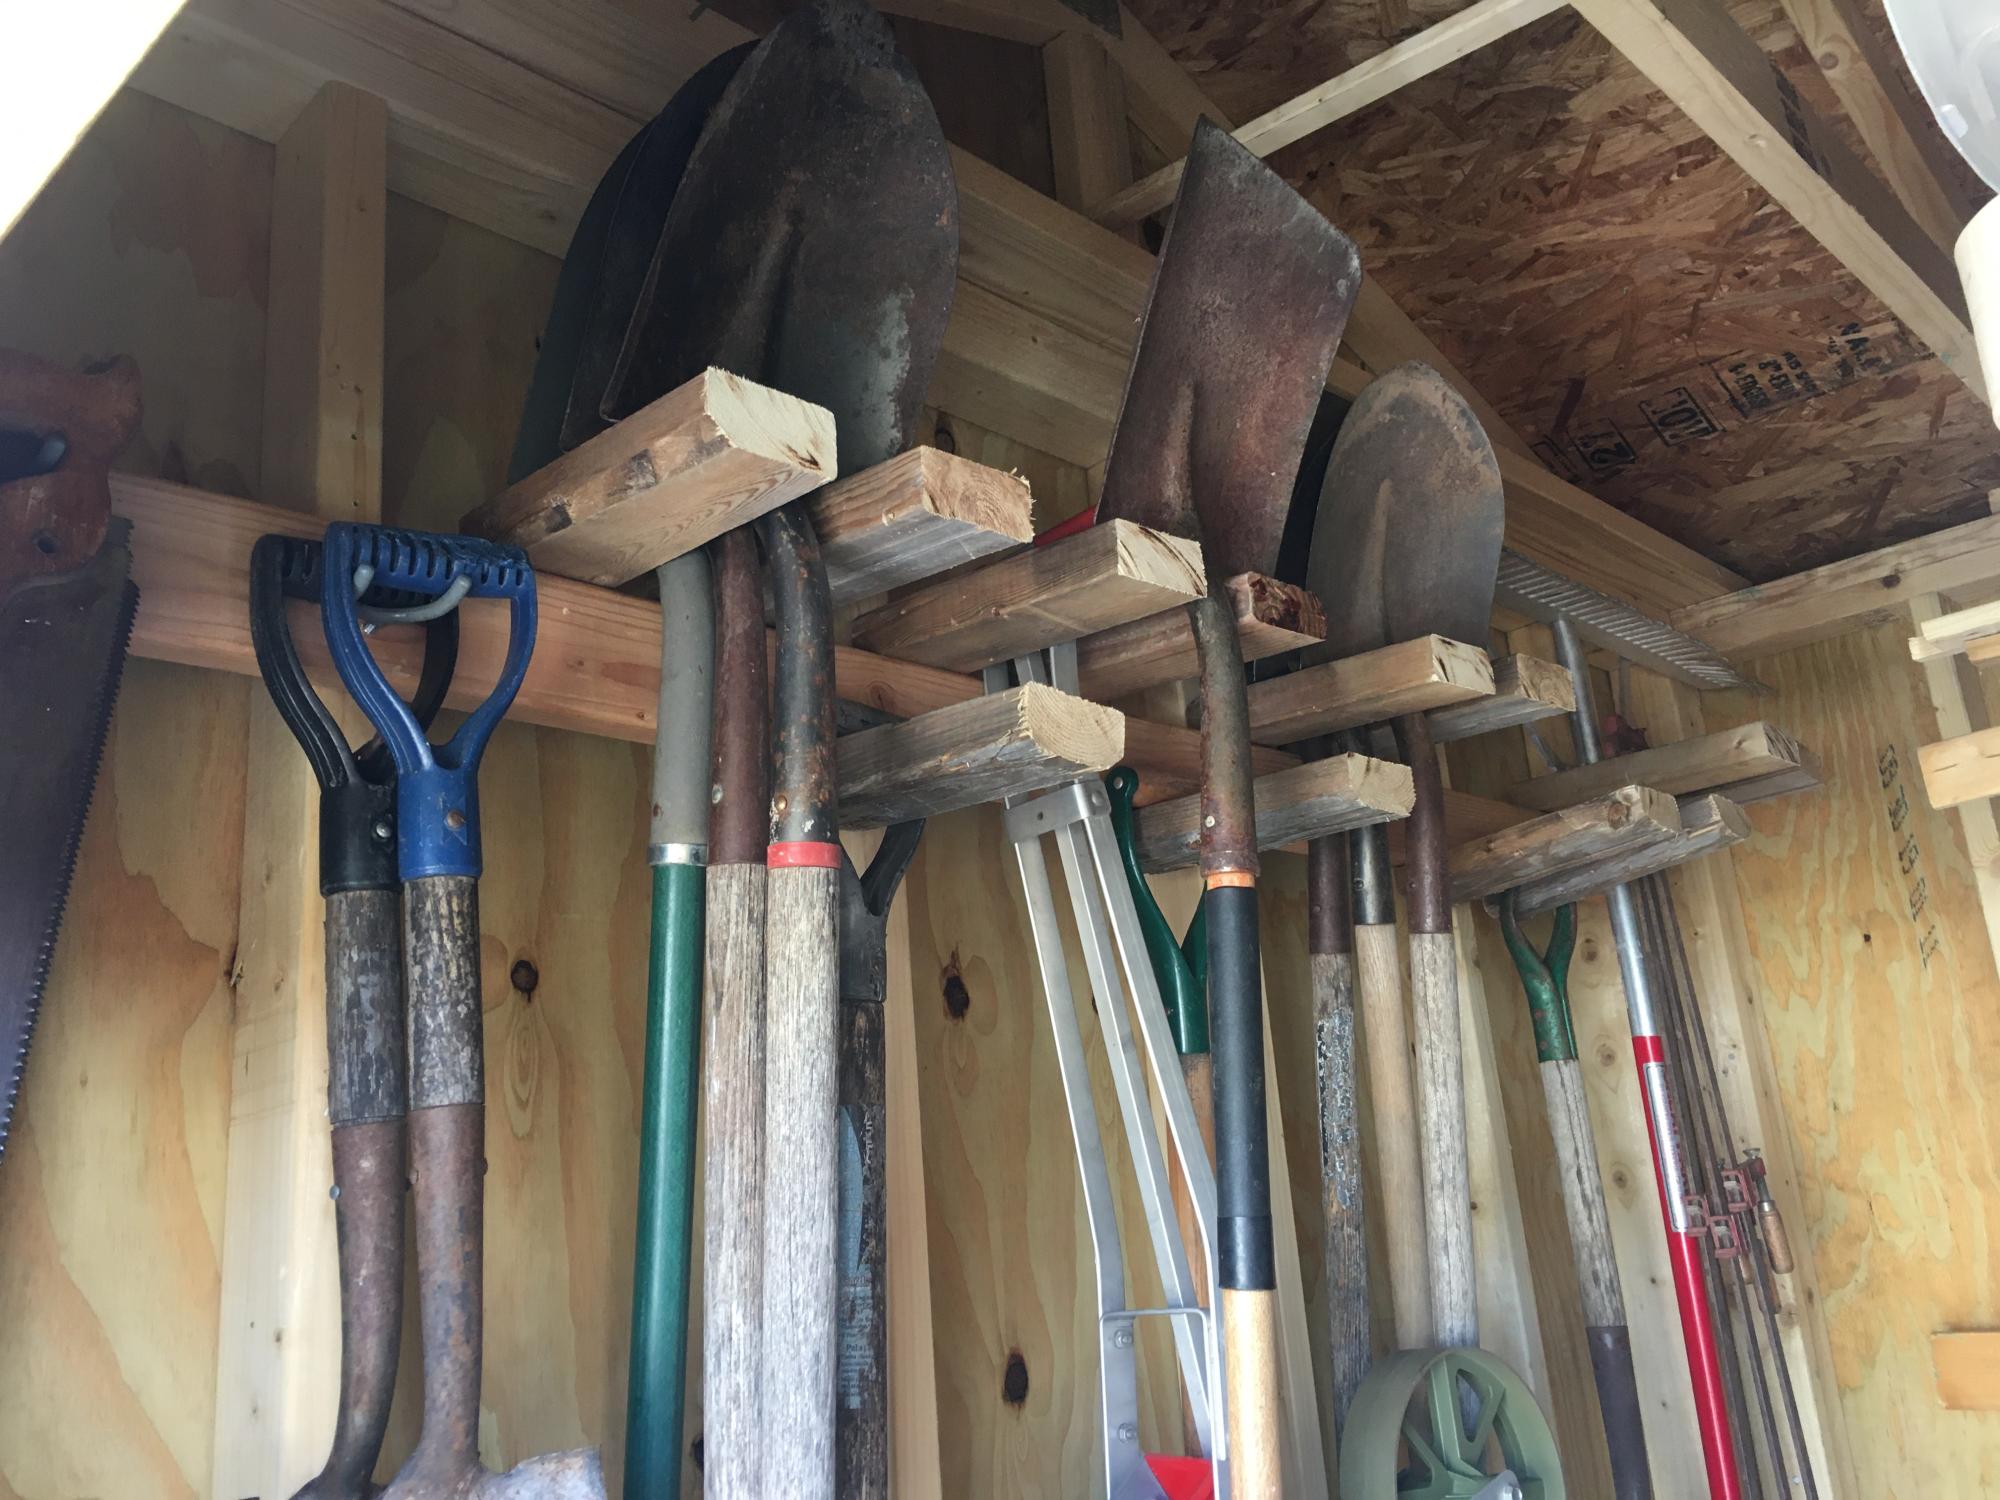
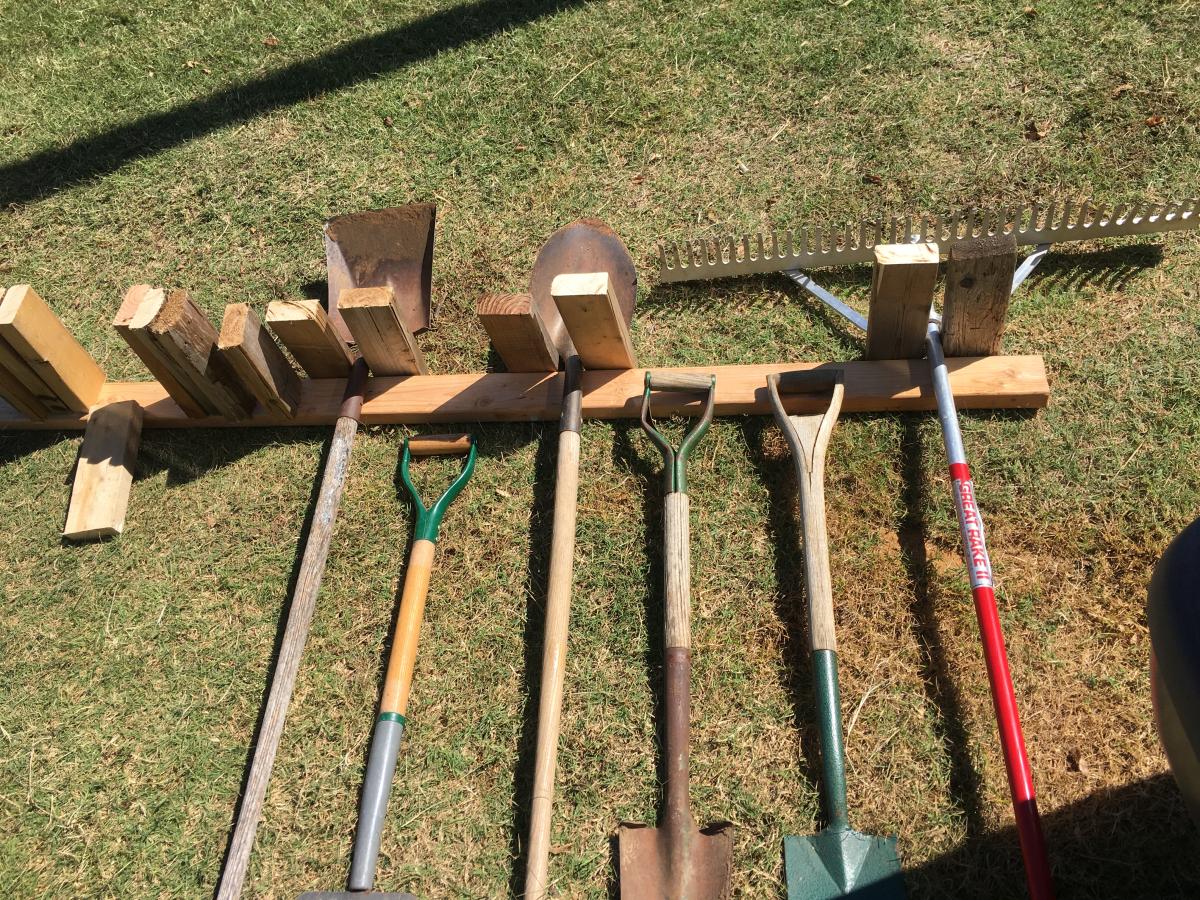
Garage Shelves
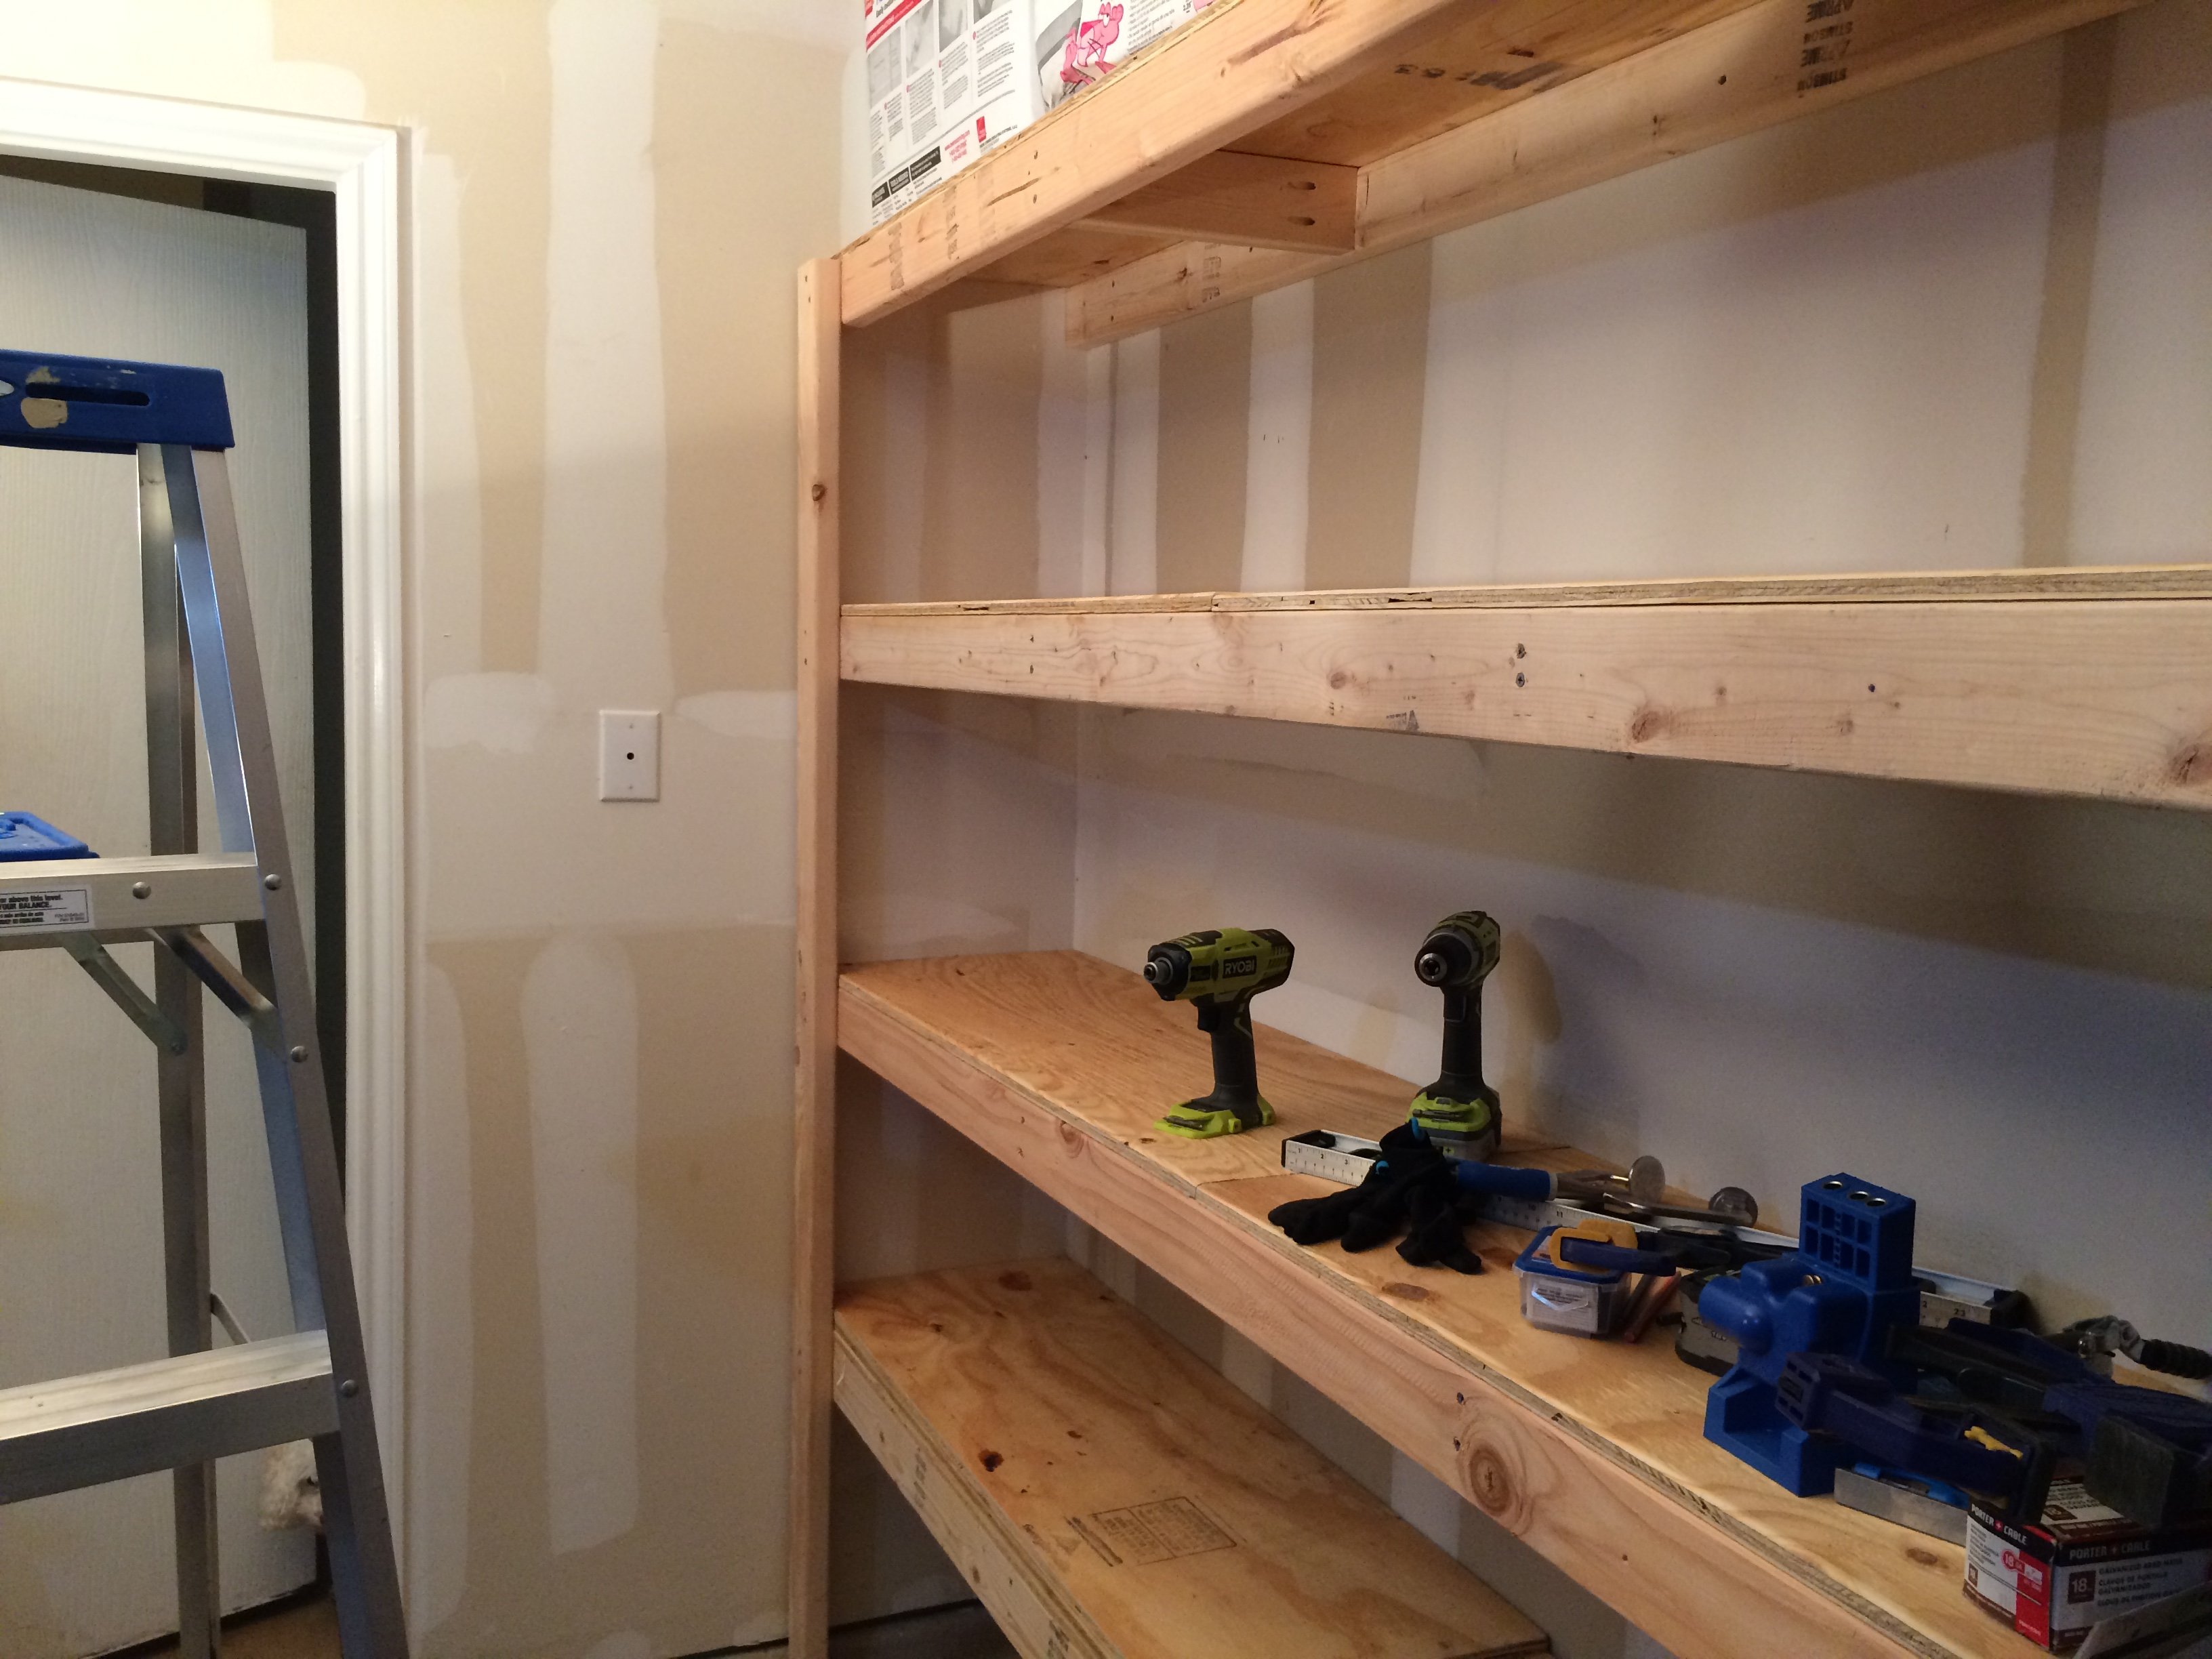
My new garage shelves. Not my first project, but I really liked the way they turned out. Used 1/2" plywood at 16" width. I attached the plywood with wood glue and 2" brad nails every 12 inches. I used an impact driver to screw the 2x4 into the wall and to attach the vertical legs. Saved a lot of time and wrist fatigue.
Built from Plan(s)
Estimated Cost
$72
Estimated Time Investment
Afternoon Project (3-6 Hours)
Recommended Skill Level
Beginner
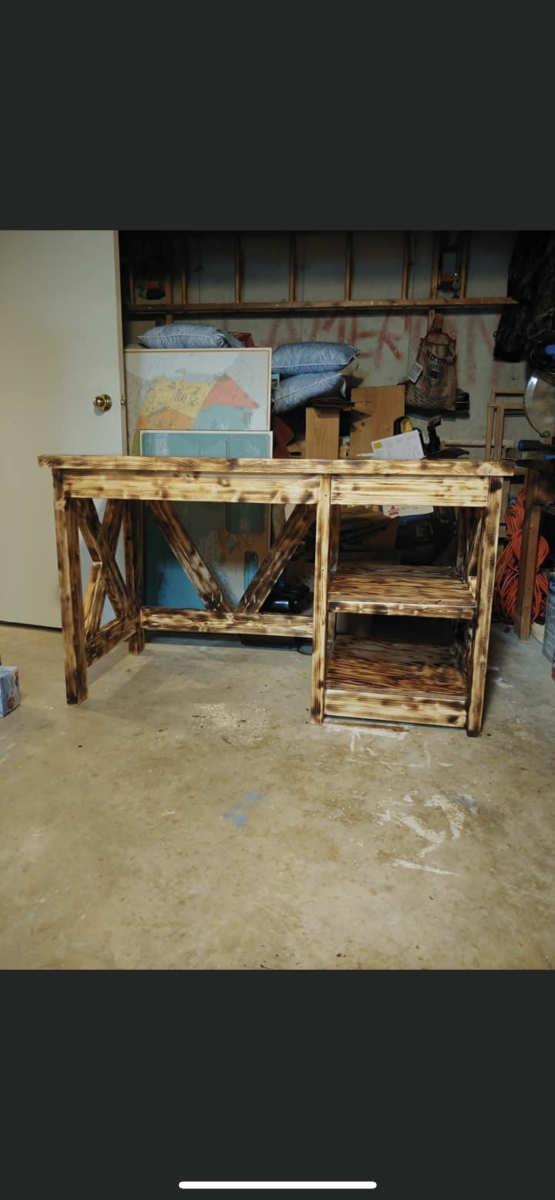
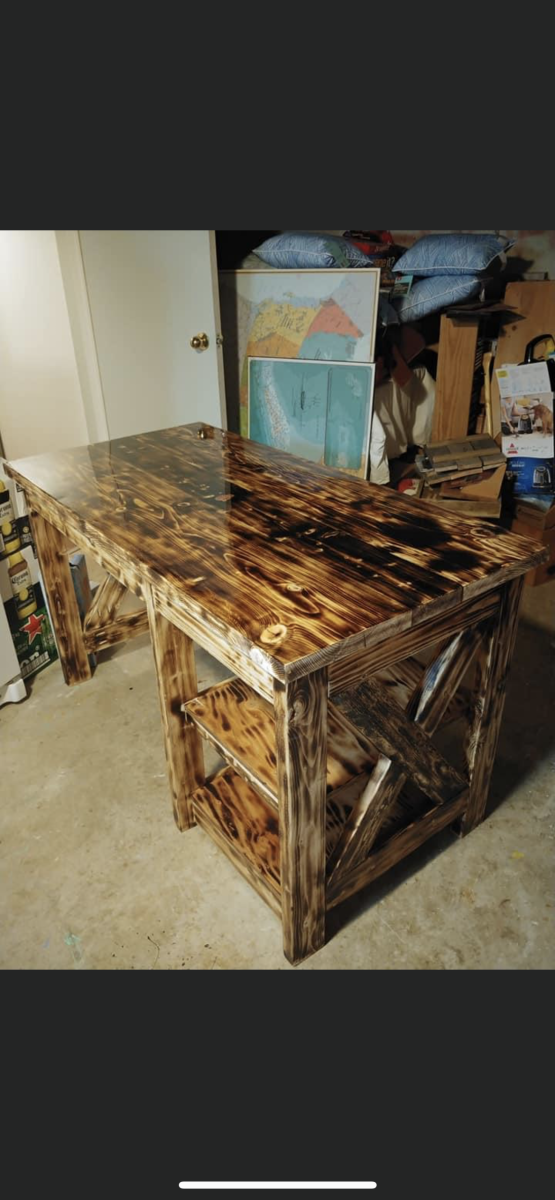
Rustic X desk
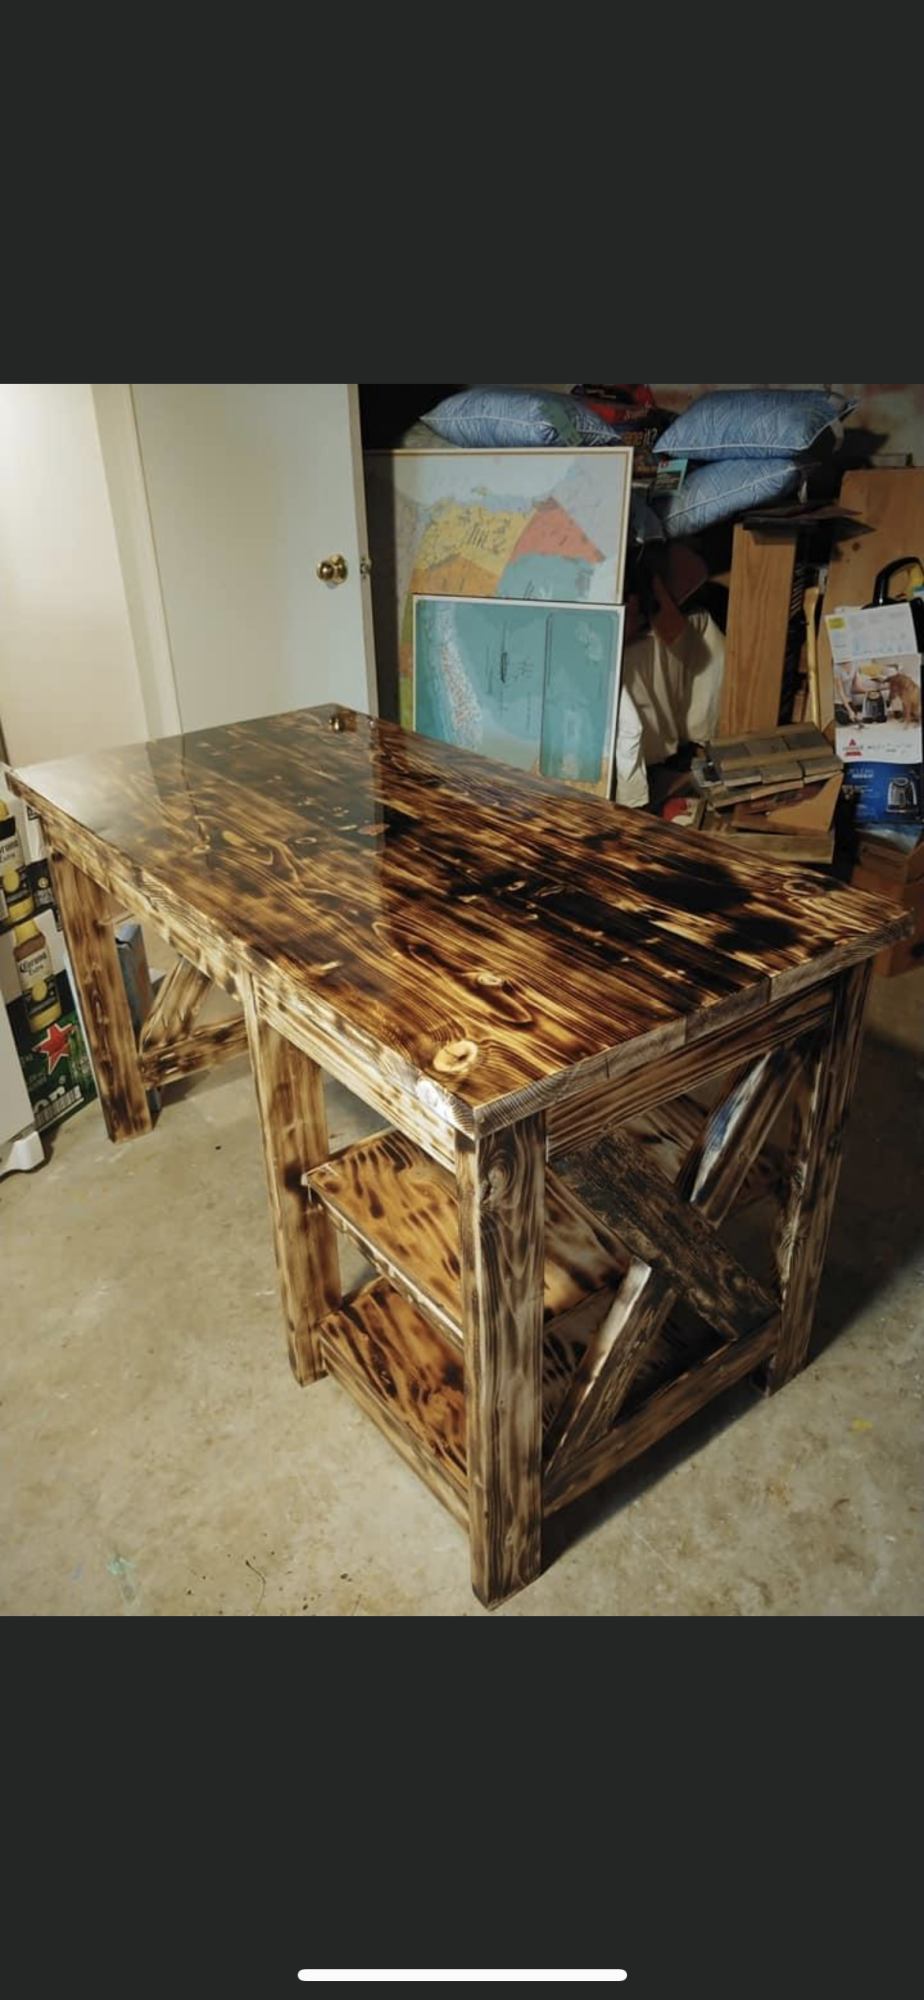
When my son graduated from the paramedic course in college I asked him what I could make for him. He said that he needed a desk. So I made one using your plan out of 2X4’s. I used my propane torch to lightly burn the wood, then I made a void and inserted, my Cap badge from when I was in the service and coated the top in epoxy . The rest of the desk has several coats of polyurethane

Built from Plan(s)
Comments
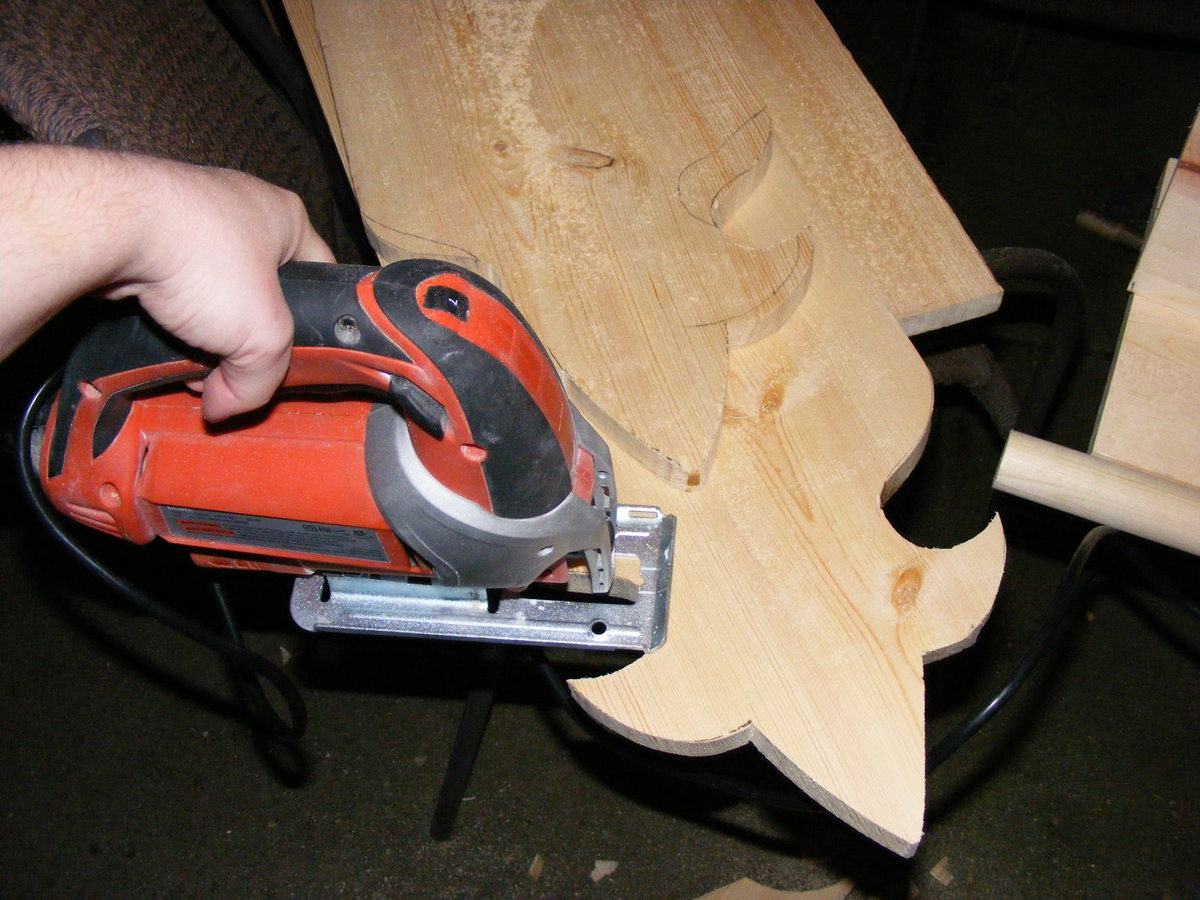
Fancy Fleur de Lis Dress-Up Rack
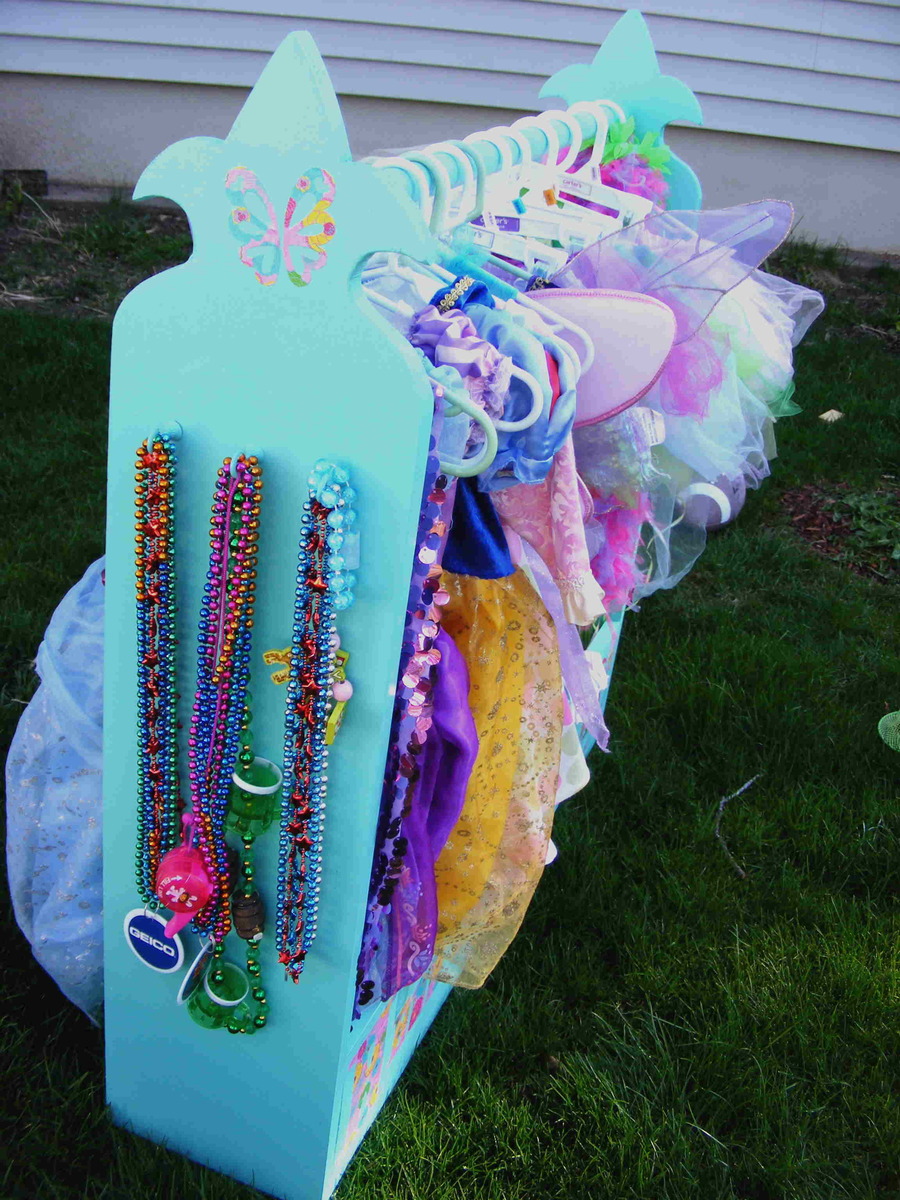
I saw the plans for the dress-up rack and immediately knew I had to make one for my girls. My three-year-old is in her prime dress-up stage and we had been shoving all of her princess crap in plastic drawers. She really couldn't get to them and stuff was constantly strewn all over the floor.
Enter the dress-up rack plan:
Thank You Ana! I looked over the plan and decided against the shelf feature on top, considering it would become a haven for junk. I figured the cubby space underneath would be a great catch-all for all of her shoes, purses, wands, and the like.
I purchased only two boards for the whole thing, as it was cheaper to buy an entire 12 foot length of 1x10 than several pieces with leftover scrap. So I had the 12 foot board cut into three equal lengths (4') at Lowes before I took it home, I also had the 1x8 cut in half. Every thing fit nice in my car (carseats included) for the ride home.
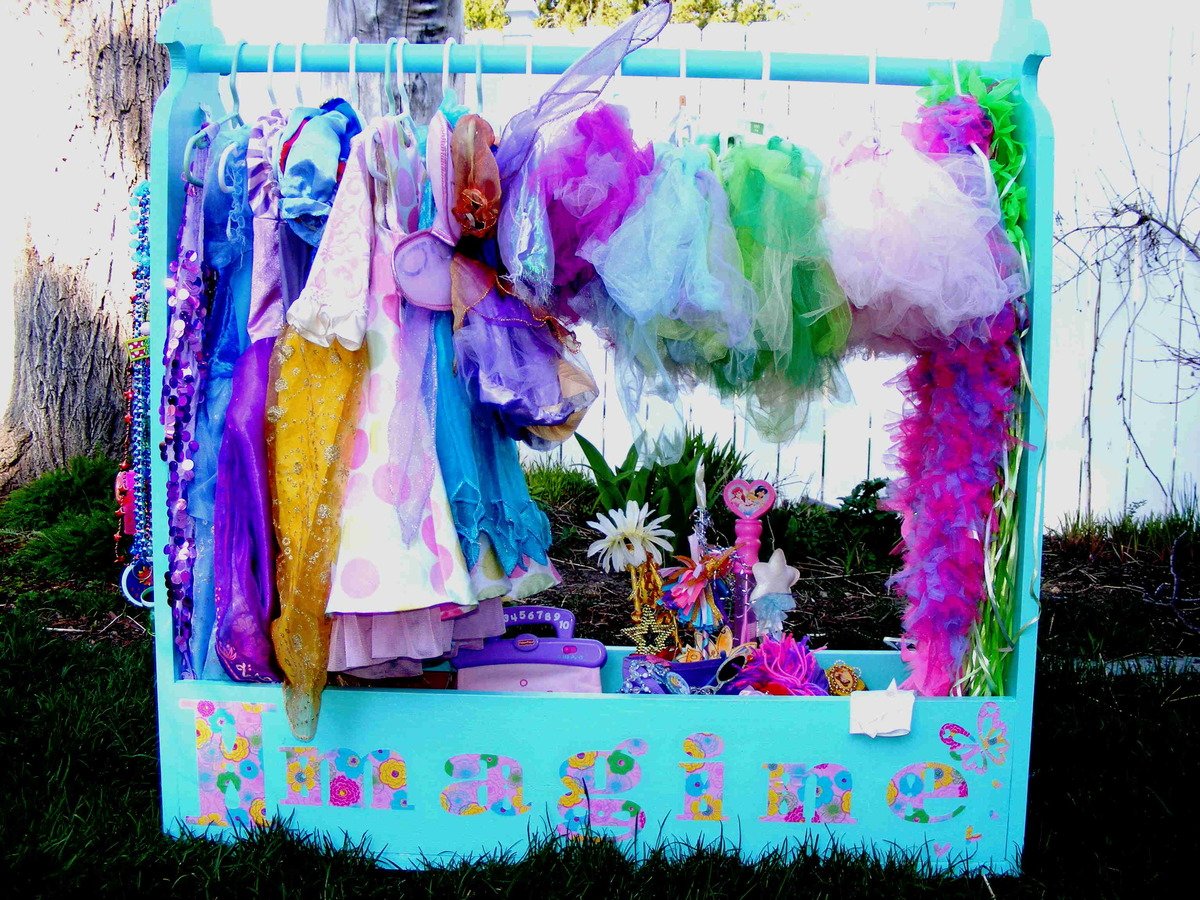
I decided on 44" for the height and width, so that it would be roomy enough to fit everything, and short enough for my three-year-old to hang up the dresses by herself.
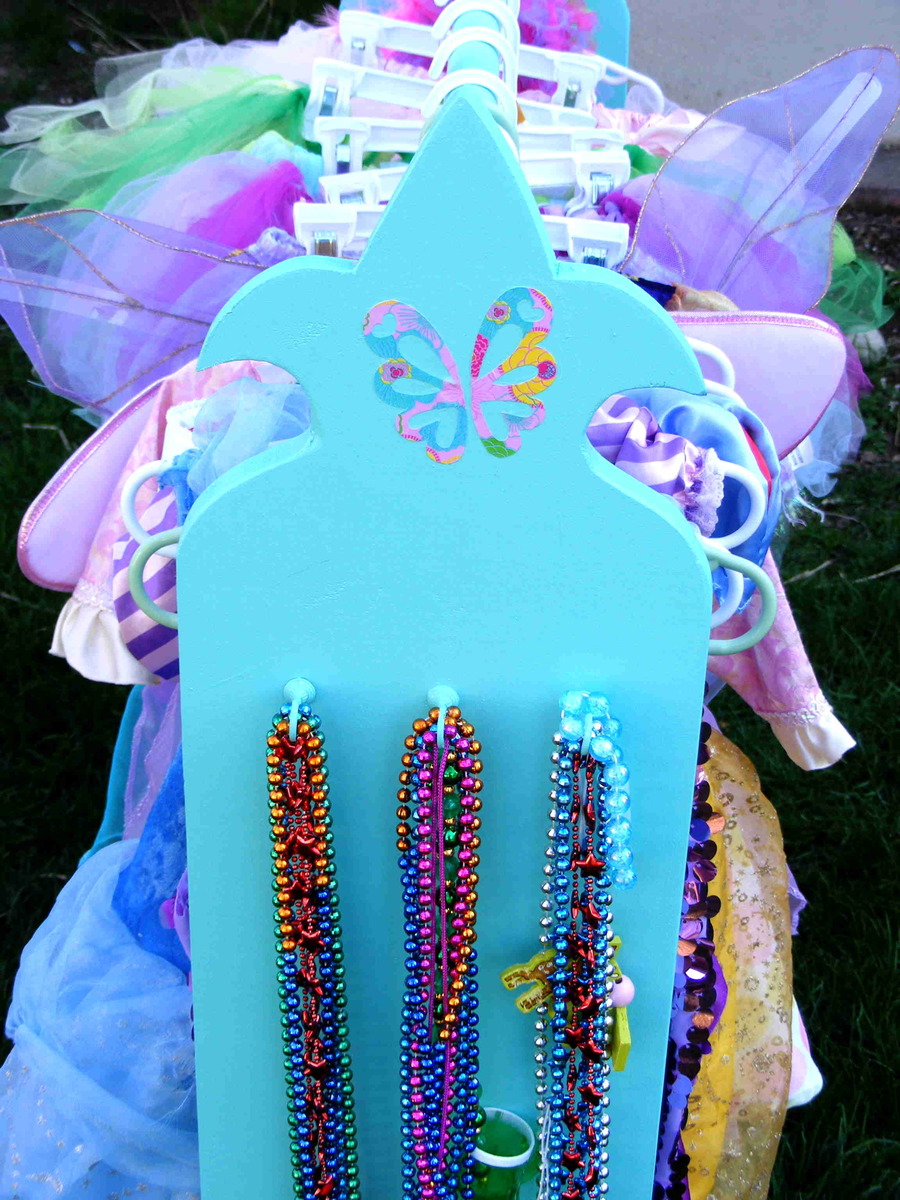
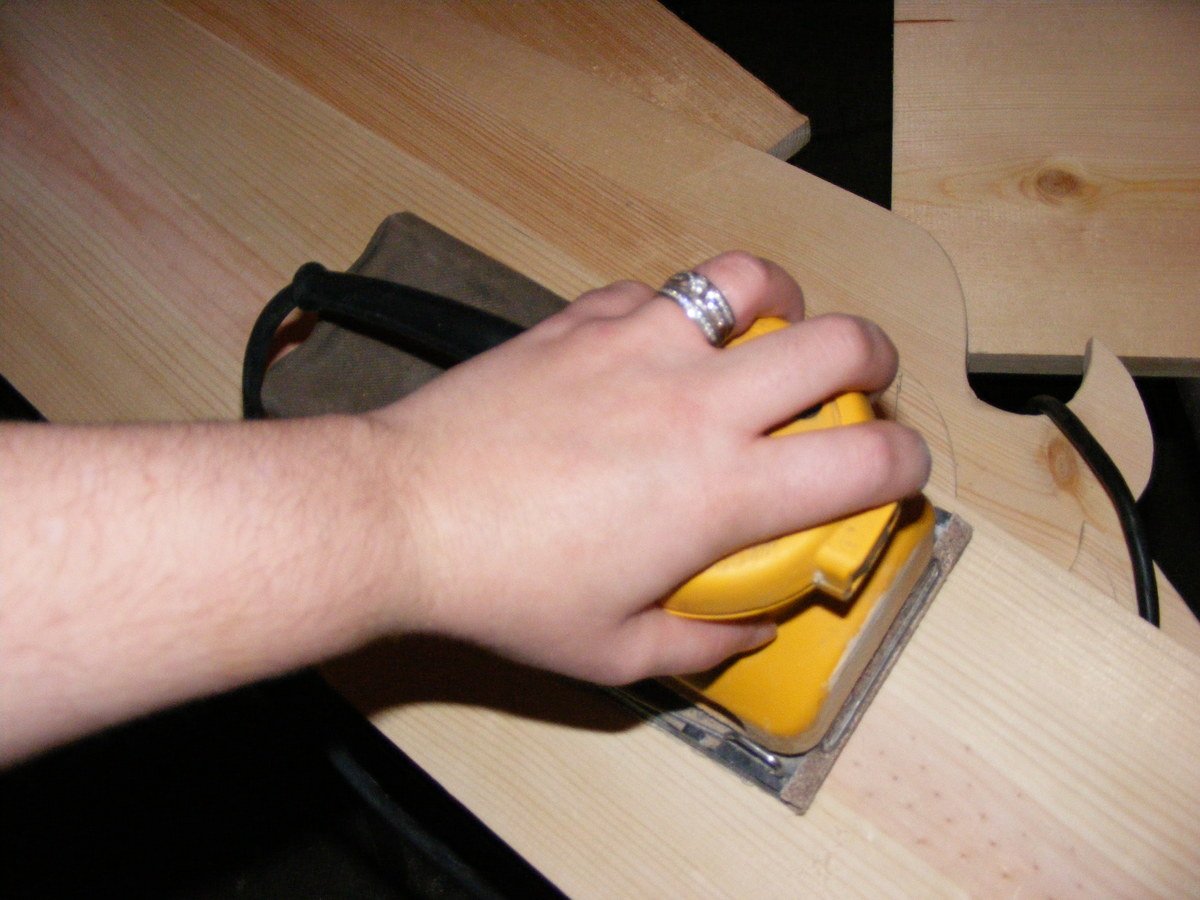
Then came the artsy part. I wanted a little whimsy in the design so I chose a Fleur de Lis pattern for the top ends of the rack. a little fancy, a little princessy, and fun at the same time. I rough sketched the pattern on one board (fold a piece of paper in half, draw one side, cut out, and voila, perfect mirror image. trace on the wood), cut it with a jigsaw, and traced from that one onto my next board. It was a little tricky with the jigsaw getting in the nooks and crannies, but I just took my time. The sanding hides all the rough stuff anyway.
I assembled the piece as the plan instructions followed.
For the closet rod, I measured down the same distance and pre-drilled into the rack ends, then glued and screwed one side of the rod into place. I put a little glue on the other end to give it a little stick while I did the first screw so it would hold still for me. For the other end, I put my screw through the 1x10 and left a little poking out to catch the rod and hold it still while I used the level to make sure it wasn't crooked. Then I did the final screwing.
I used a little wood filler, then primed and painted. I also added three hooks on one end to hold all of the necklaces my daughters like to tangle into one big ball.
Then I used my Cricut and some patterned paper to make the word "Imagine" (I saw this on someone else's and loved it), I also cut out a few butterflies too. Seriously, what can't the Cricut do? (font cartridge was Cindy Loo) The last step was decoupaging them on there with a little Mod Podge. *I placed the butterflies right over the screw holes that showed on the ends.
It turned out lovely! And best of all, my kid can hang her stuff up all by herself, she has plenty of room underneath for her accessories, and the whole thing is so darn cute...Thanks!

Estimated Cost
$25-$35
Estimated Time Investment
Afternoon Project (3-6 Hours)
Finish Used
Mistint in Valspar Satin, Olympic Primer (Lowes)
Patterned Paper for decorations, Mod Podge (JoAnn's or Michaels)
Patterned Paper for decorations, Mod Podge (JoAnn's or Michaels)
Recommended Skill Level
Beginner
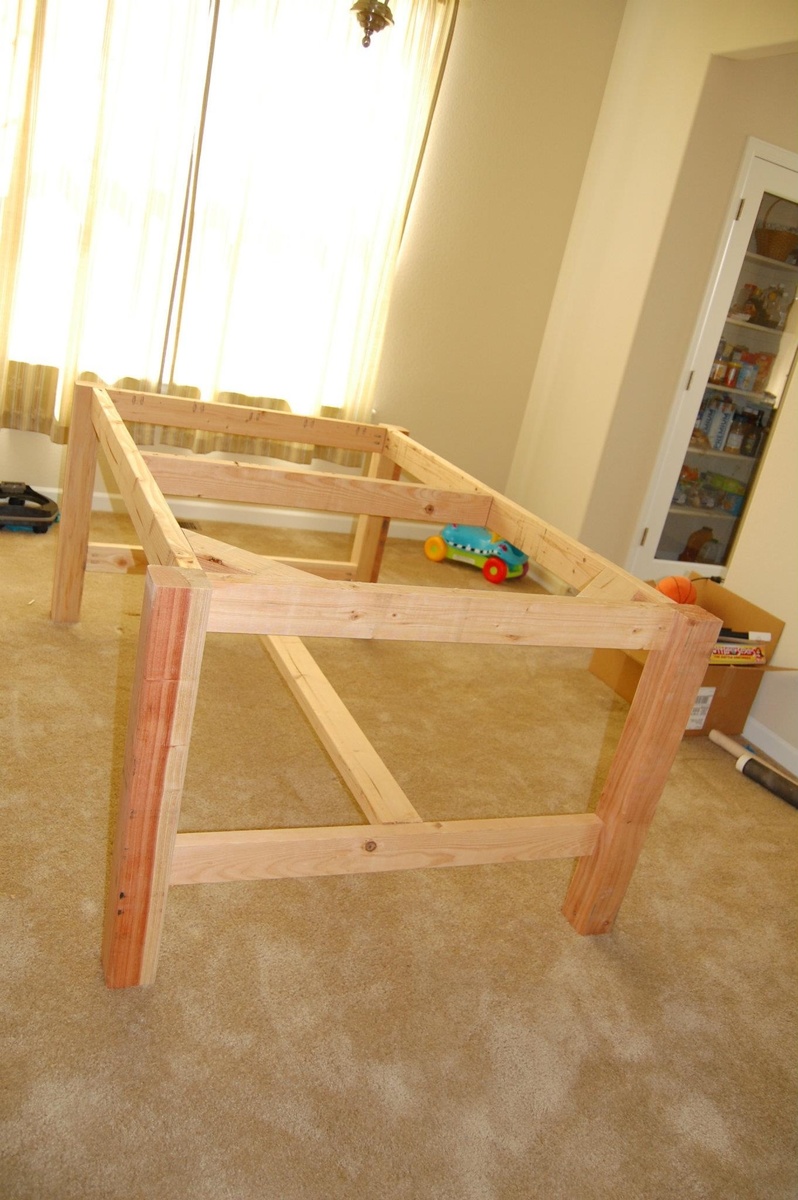
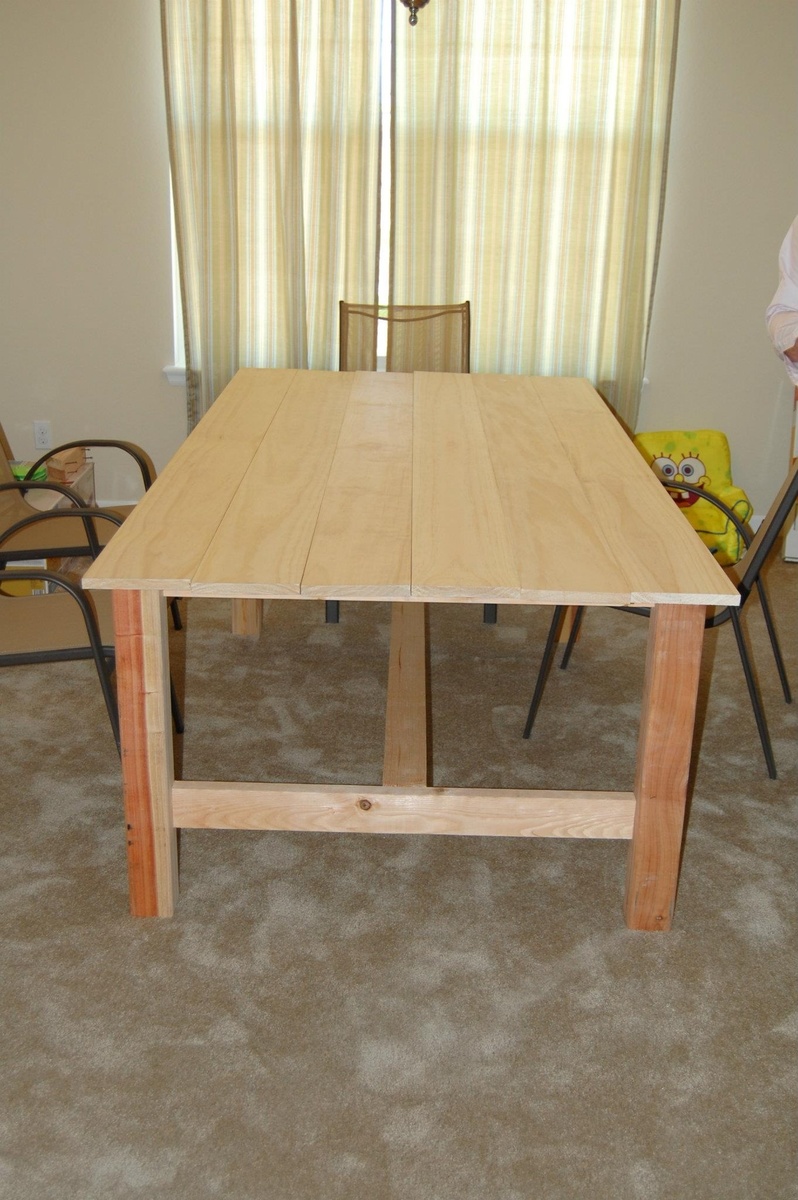
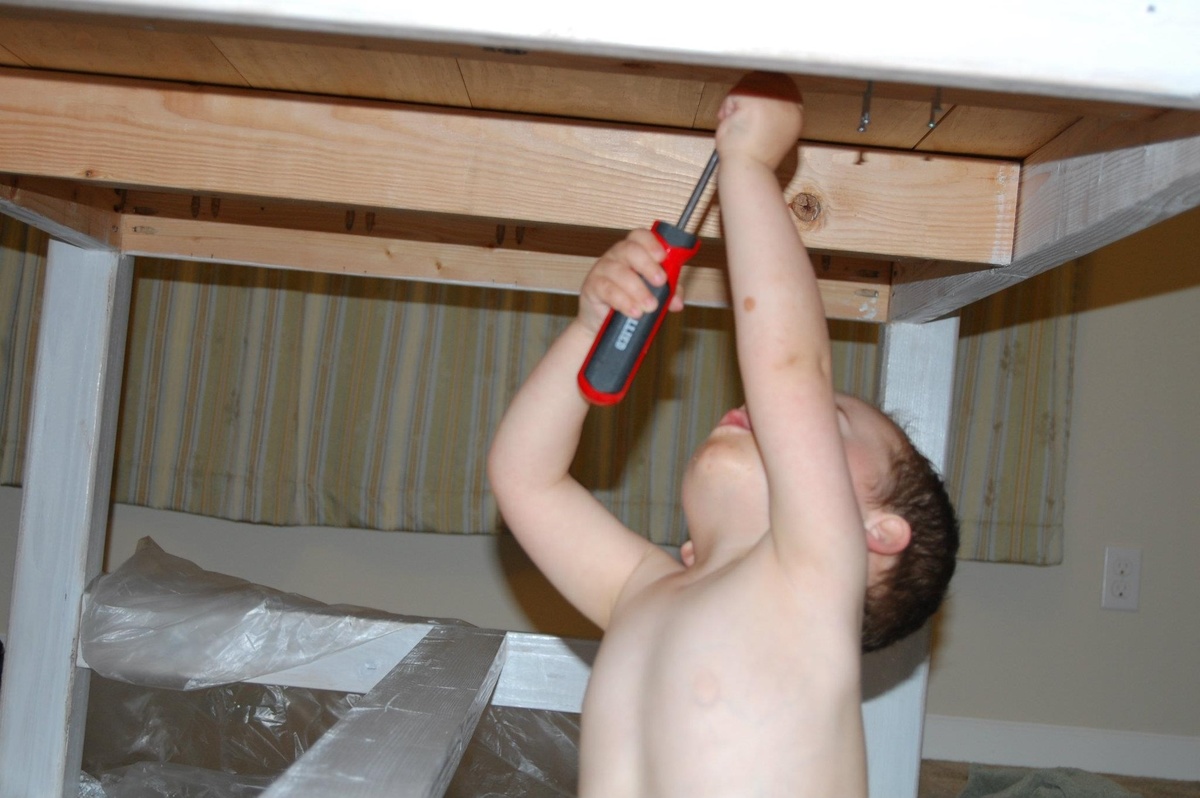
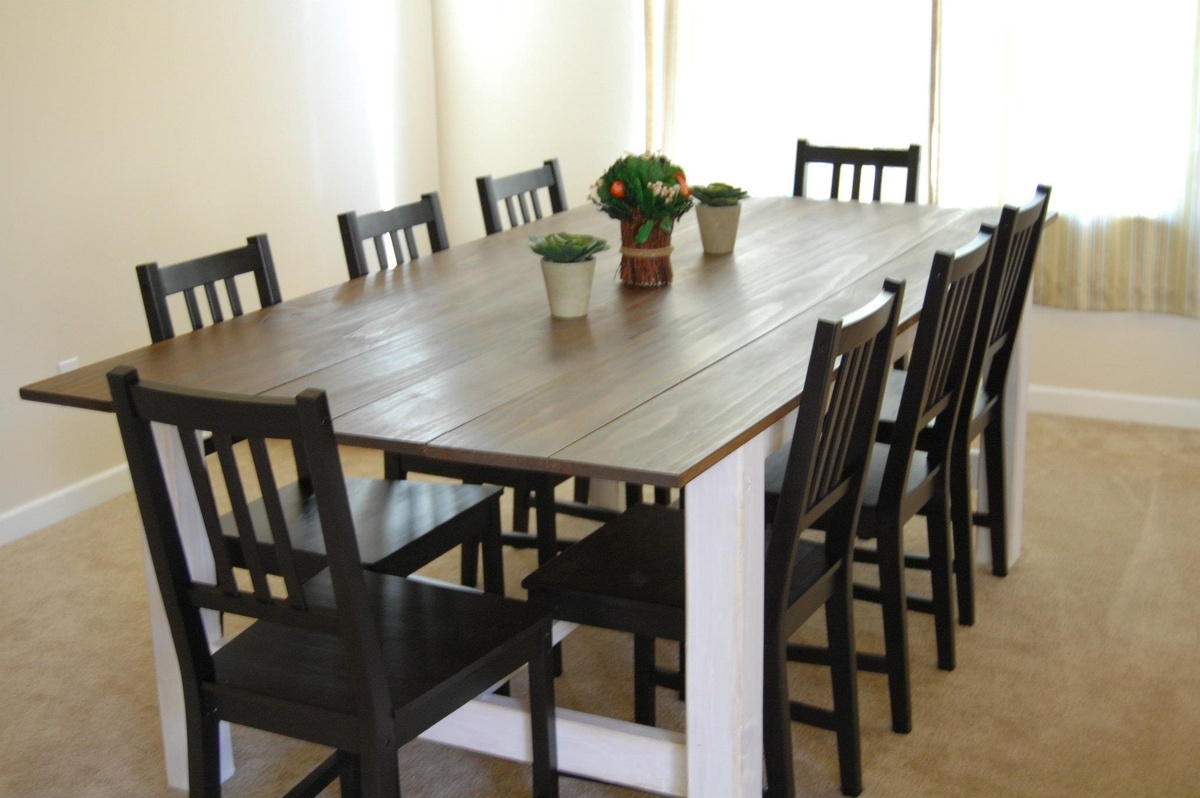
Farmhouse Table
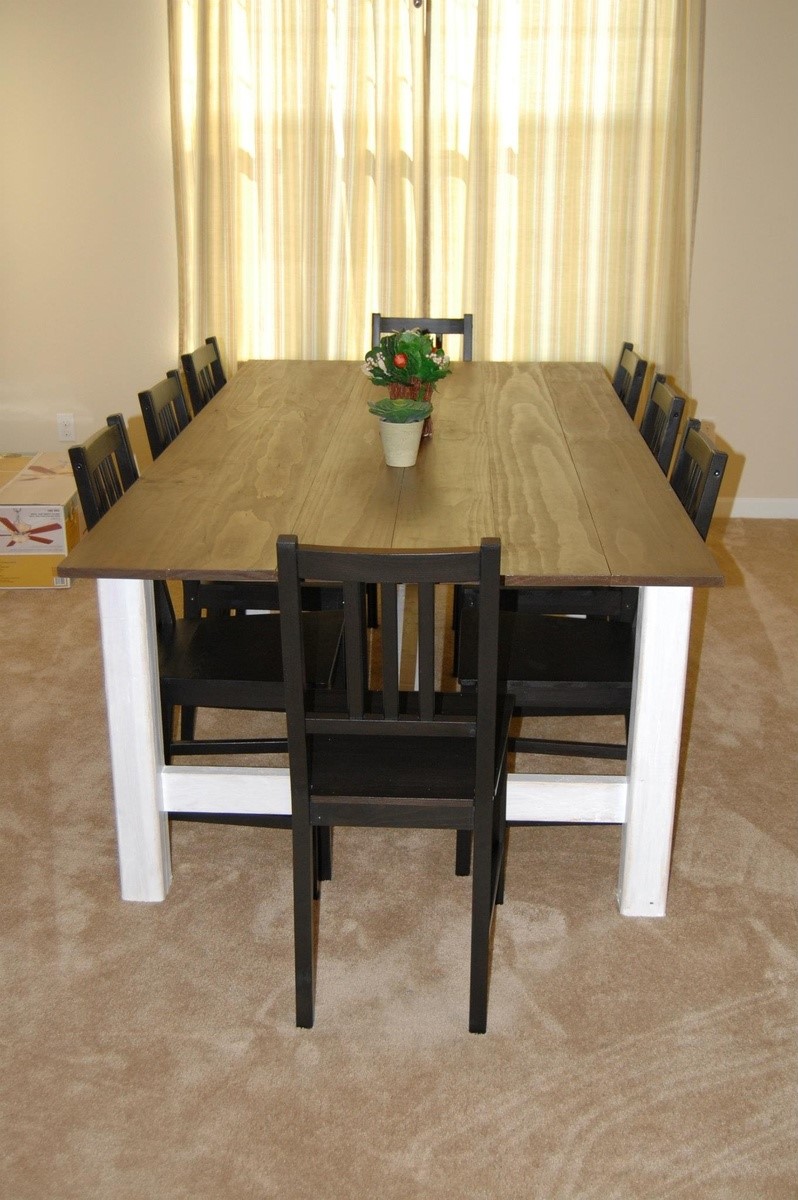
We used Anna's plans for the farmhouse table. We did a skinnier top but it turned out great!
Built from Plan(s)
Estimated Time Investment
Afternoon Project (3-6 Hours)
Finish Used
We used a white wash paint for the legs and walnut stain for the top!
Recommended Skill Level
Starter Project
Comments

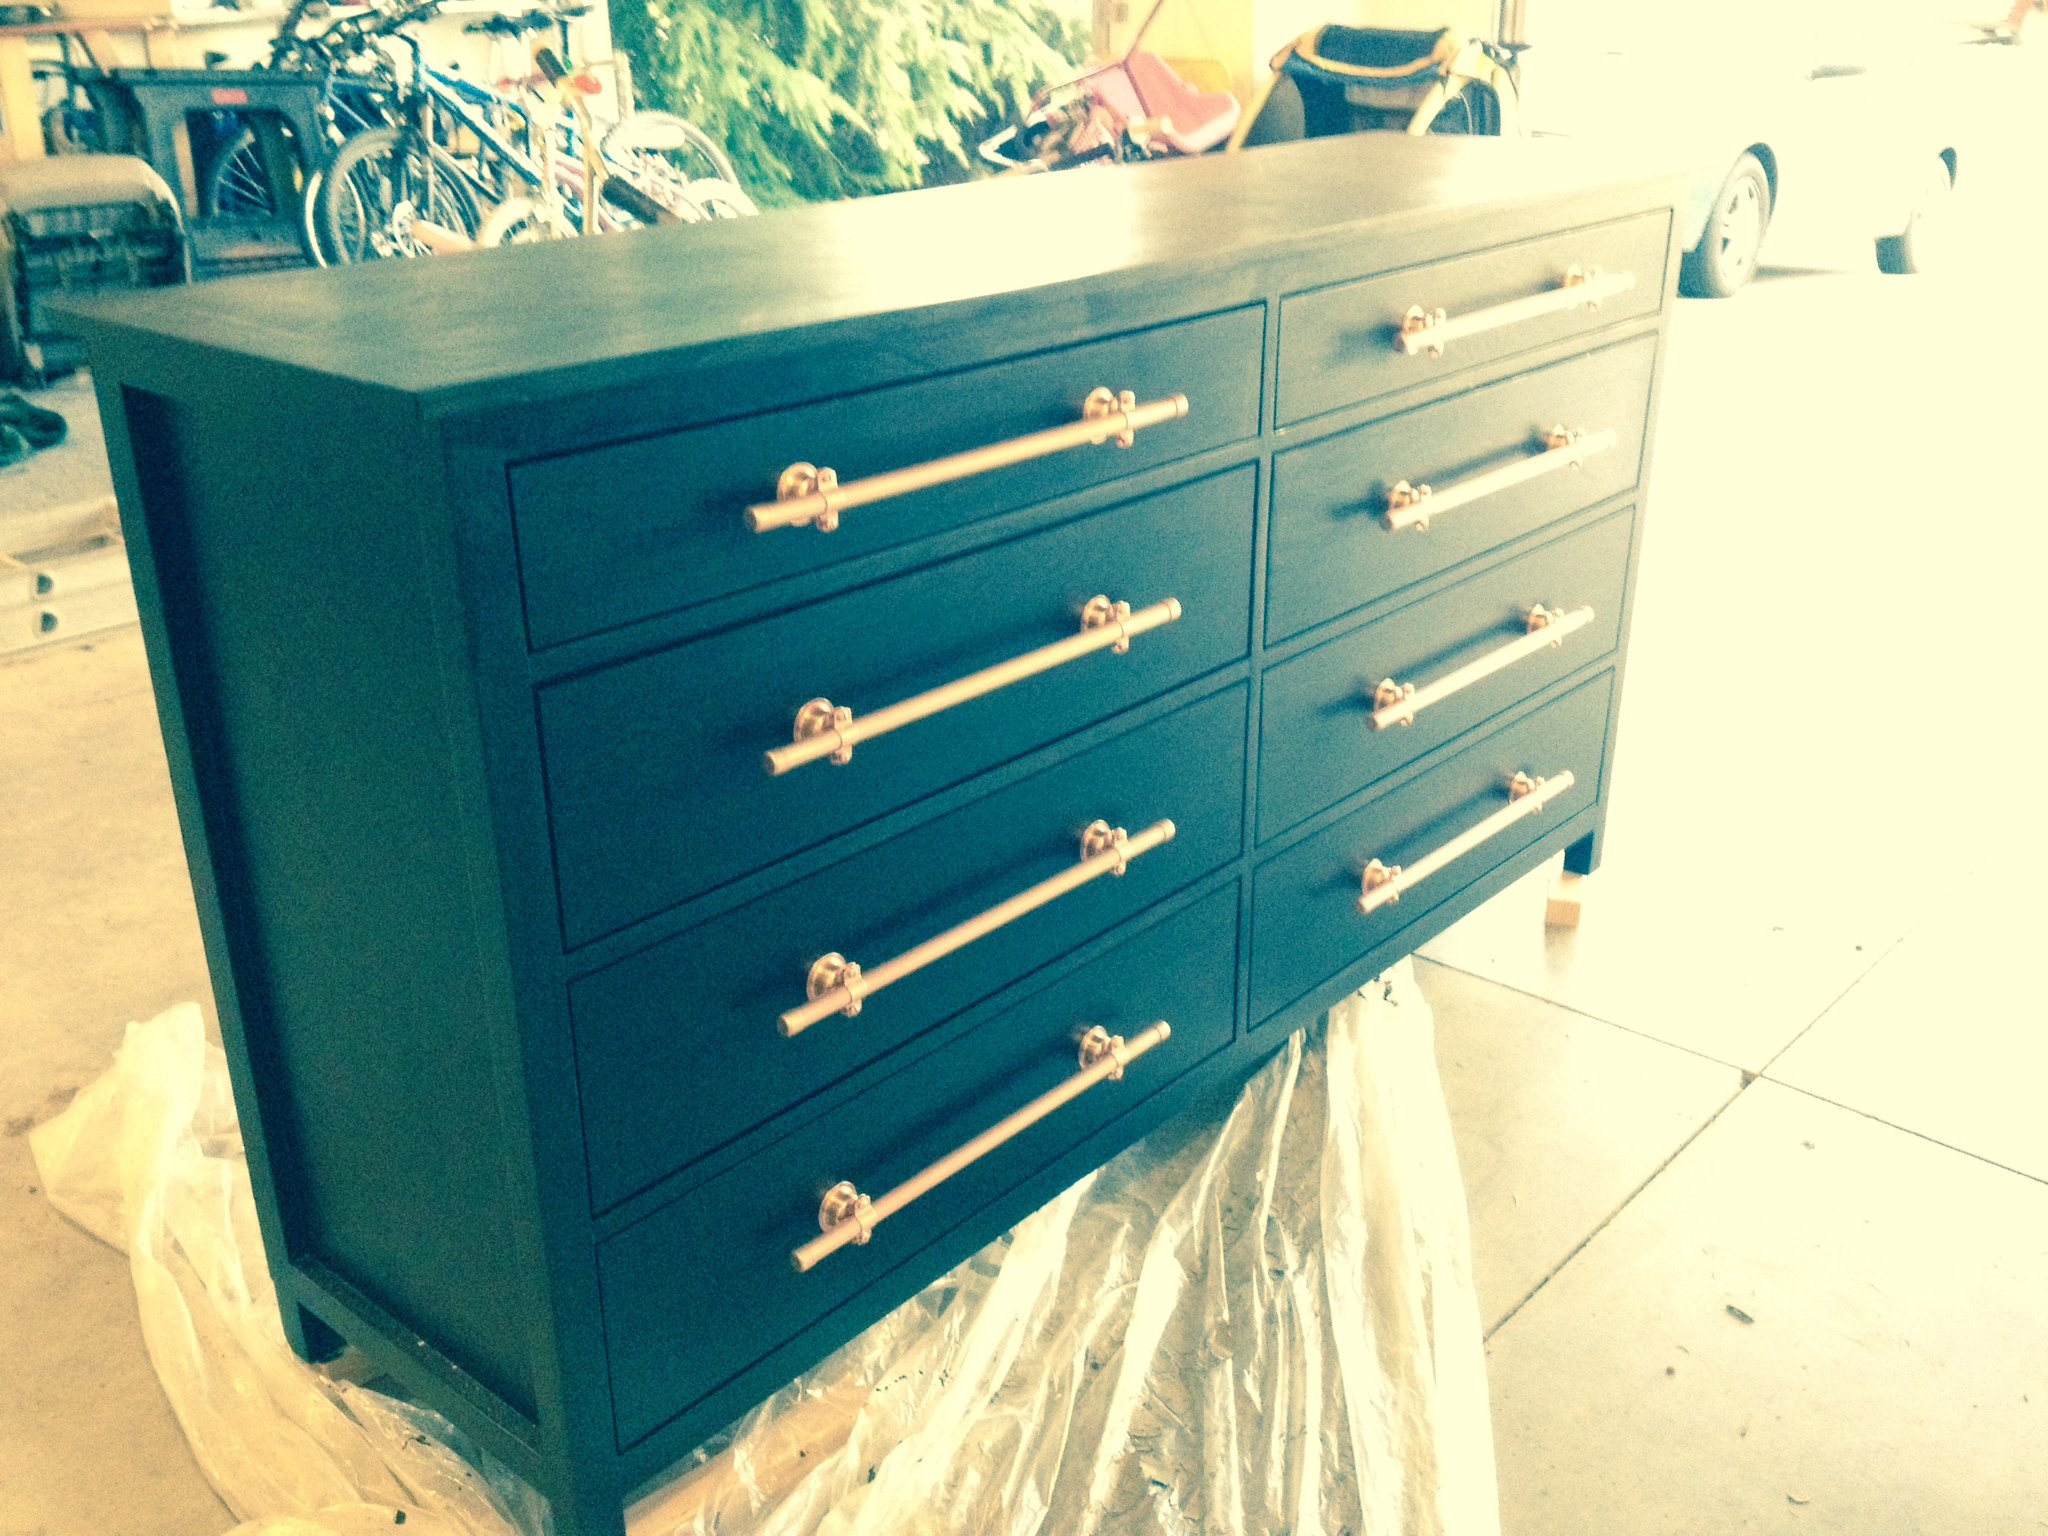
Shaker Style Dresser with Copper Hardware
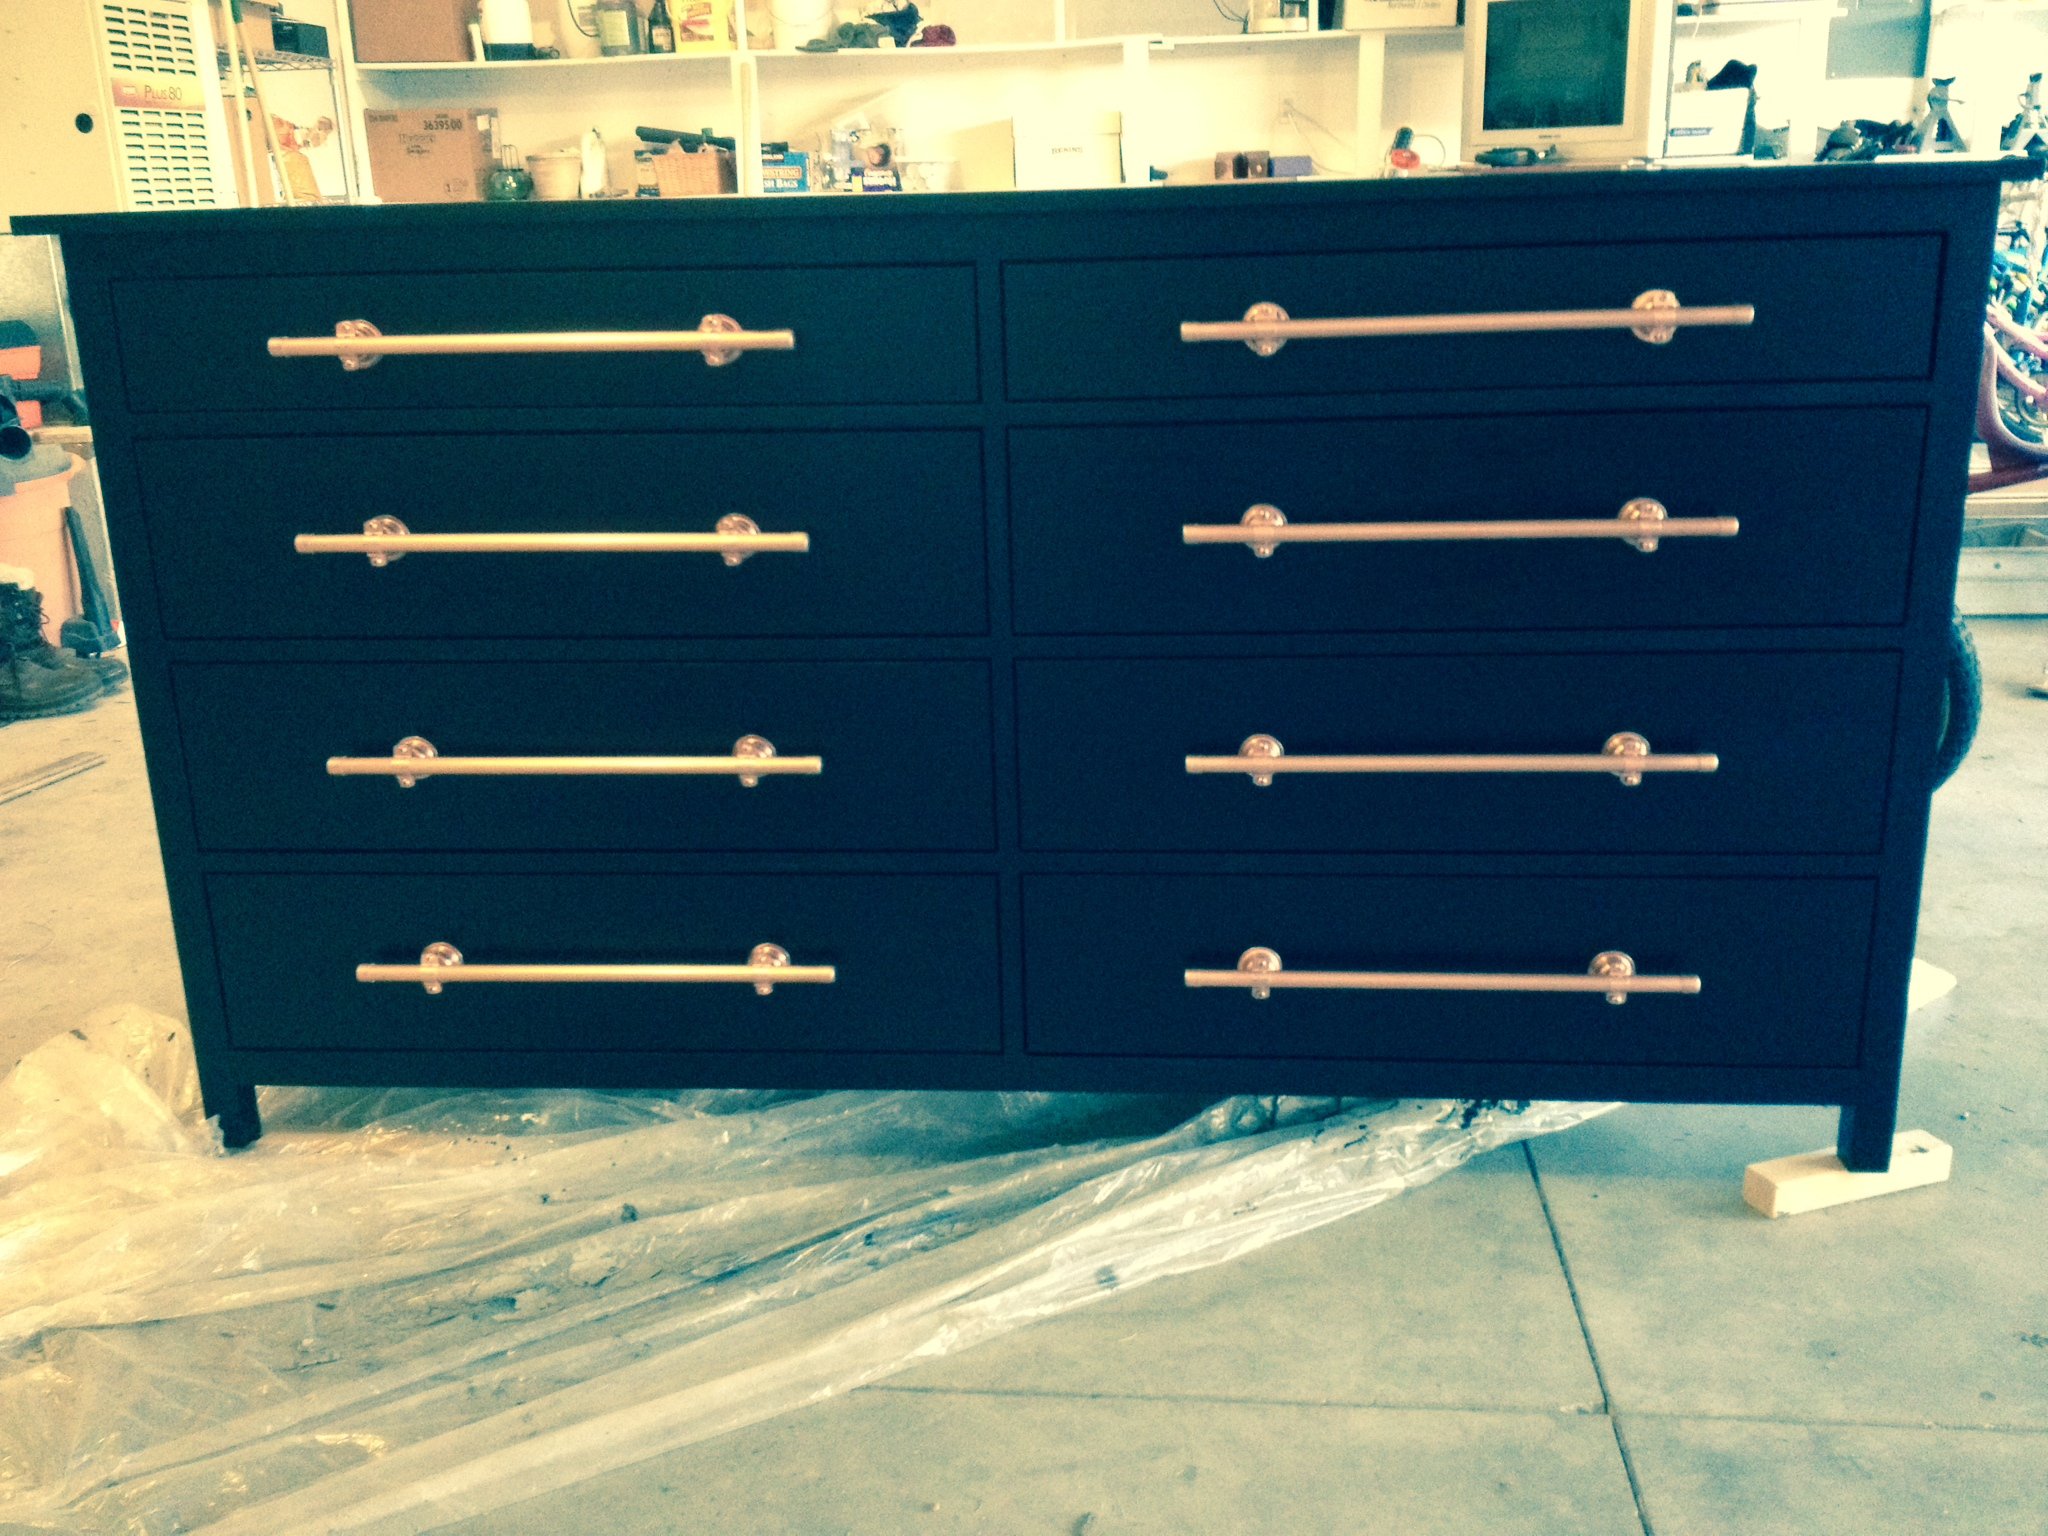
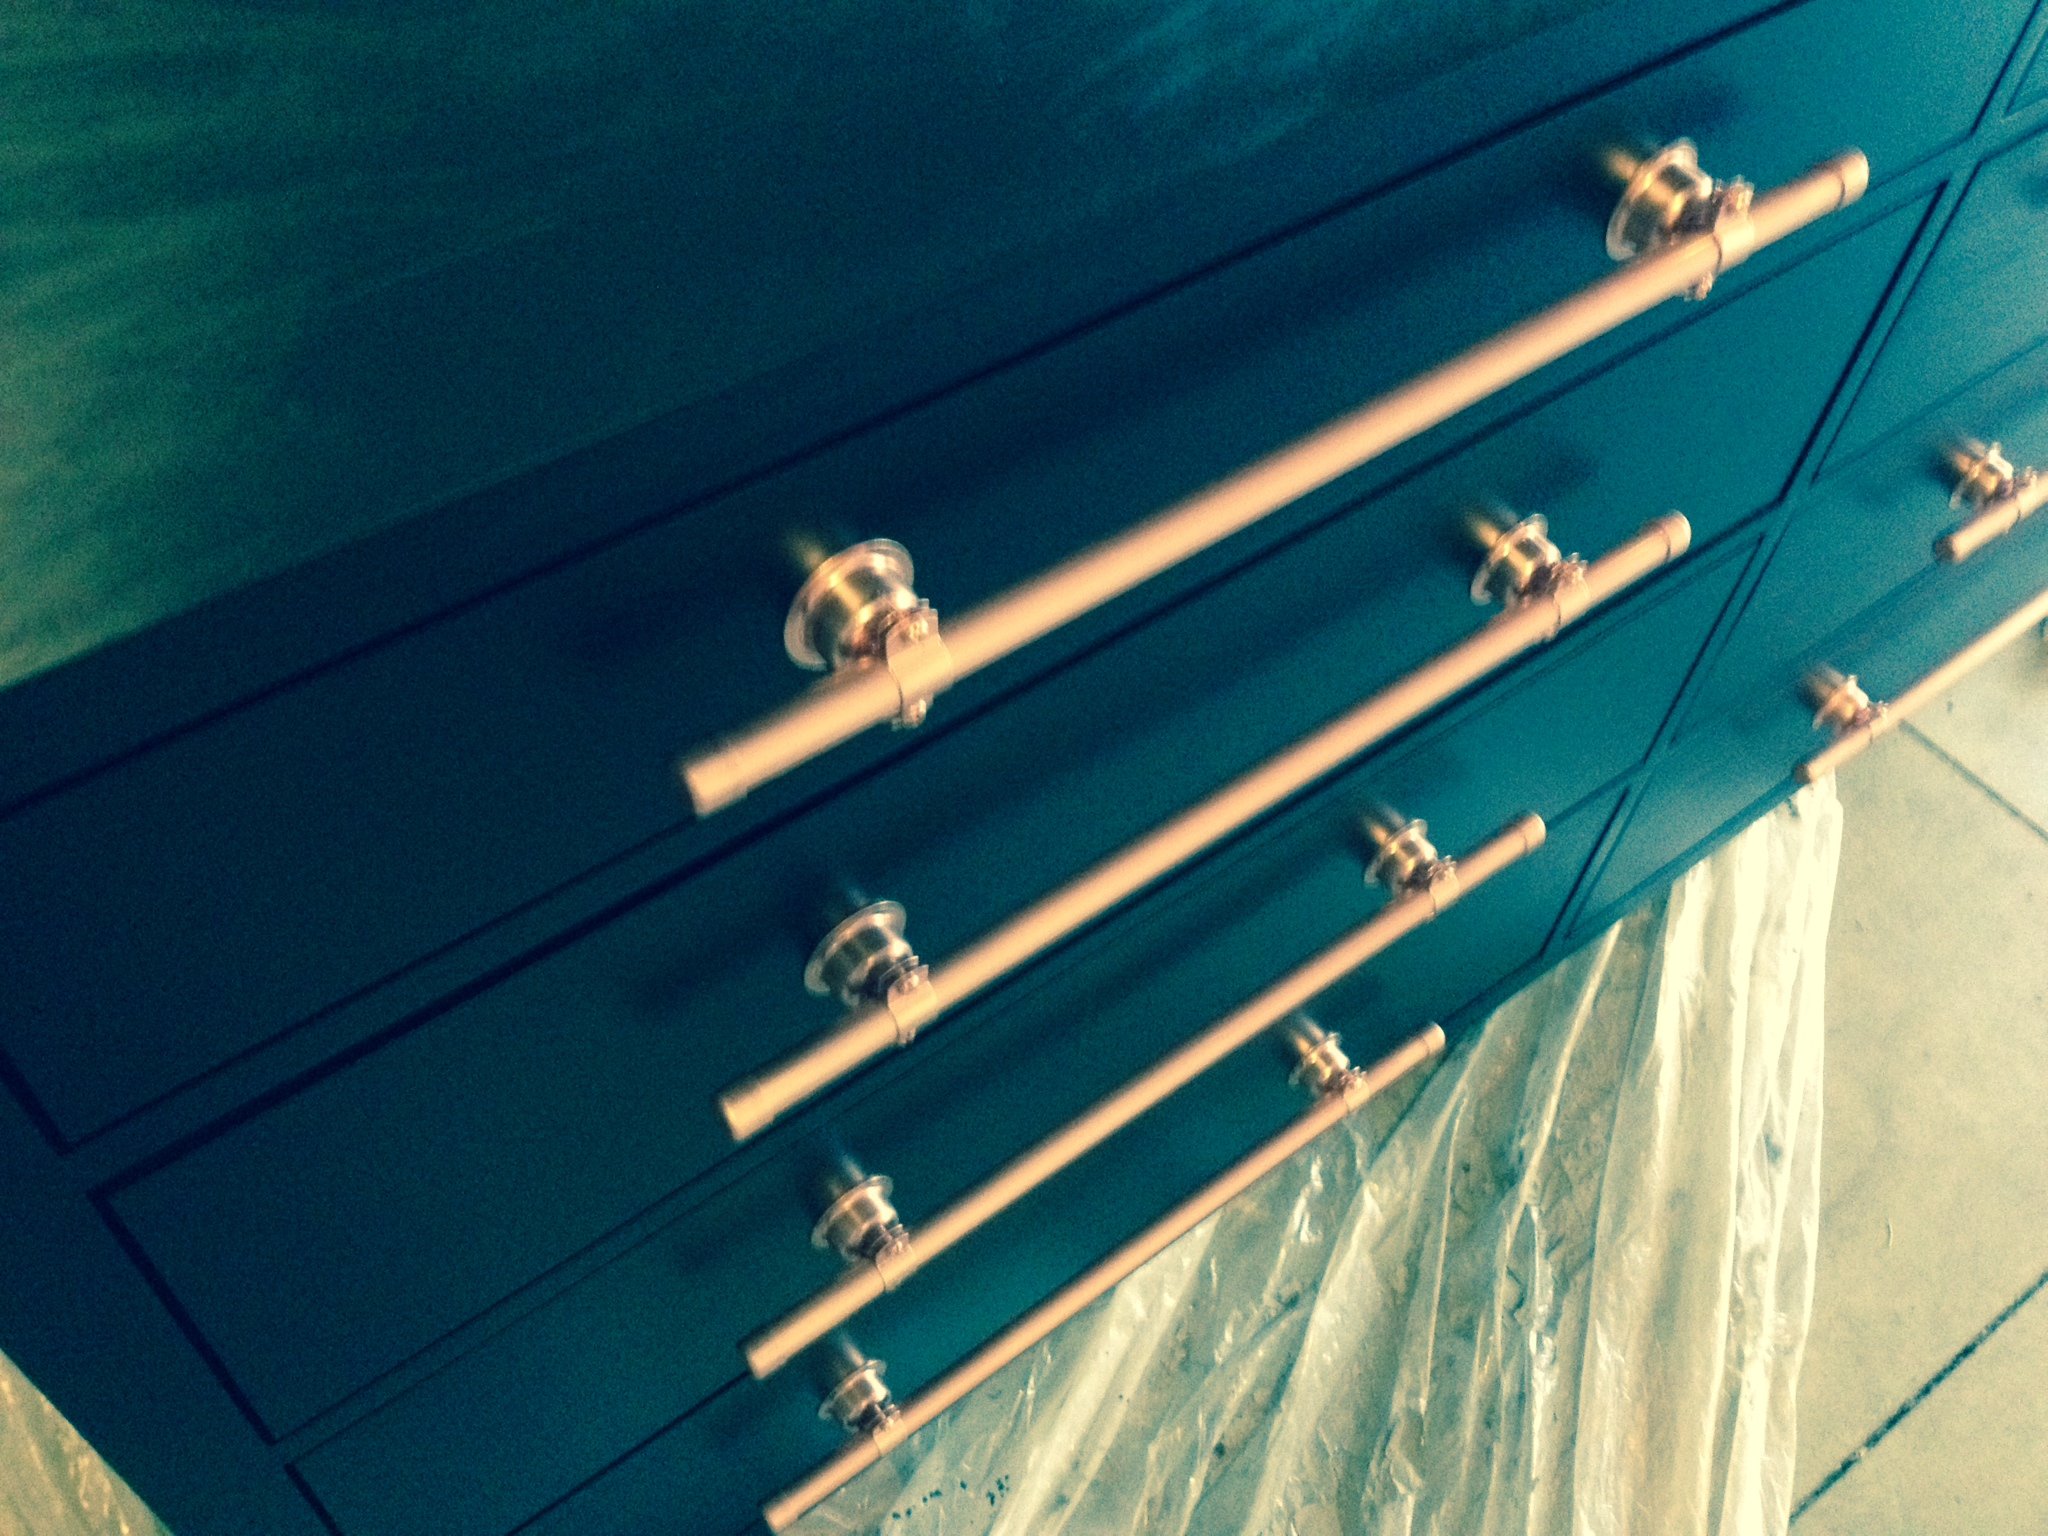
Definitely a more advanced project, but the end result was pretty nice. I used copper bars and fasteners to create a unique hardware look on this dresser.
A few words of advice for those looking to use these plans:
1. Verify that your plywood is truly 3/4". I used Home Depot's so-called "3/4" plywood, which is actually 5/8" or 11/16" plywood (I forget which). Without a true 3/4", the sides of your dresser will be slightly off. I discovered the problem too late, which meant I had to shim the drawer slides. Trust me, you don't want to go through that exercise!
2. You can recreate the copper look with simple supplies from Lowe's or Home Depot. You just need a length of copper pipe and copper plated steel bell hangers. After I cut the copper pipe to the right lengths, I washed each section using barkeeper's friend to get that shiny copper finish. Then I sprayed each piece with clear paint so it wouldn't tarnish. Still shiny even now!
3. Do NOT nail in the front boards of the drawers from the back! The directions call for 1" nails and when I nailed it in, I blew a chunk of wood right off the front of the drawer. I filled it with wood putty, but still, not a good plan. Just countersink a few 1" wood screws and your results will be much better.
Built from Plan(s)
Estimated Cost
$400-$500
Estimated Time Investment
Week Long Project (20 Hours or More)
Finish Used
I used Minwax Polyshades, Espresso, Satin. This is a two in one product that has both stain and finish. I wouldn't recommend using this. I had to use two coats and had a lot of dust nibs show up both times. If I could do it over again, I would stain the wood to the color I wanted, then apply a clear satin finish.
Recommended Skill Level
Intermediate
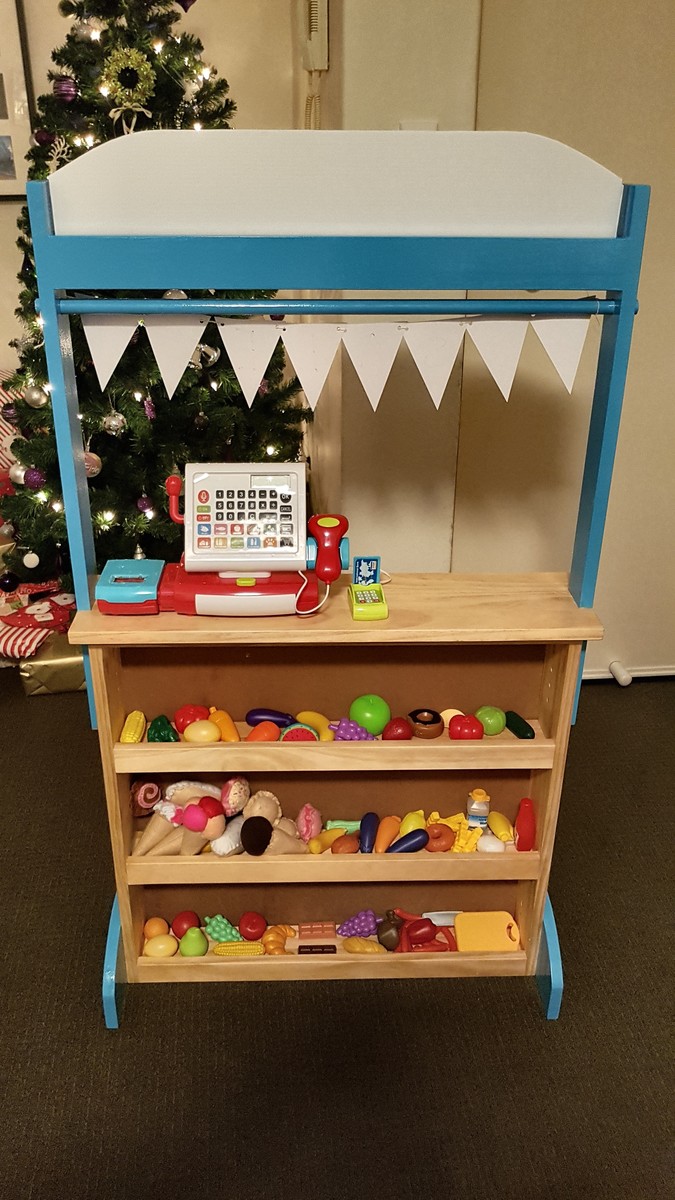
Kids shop
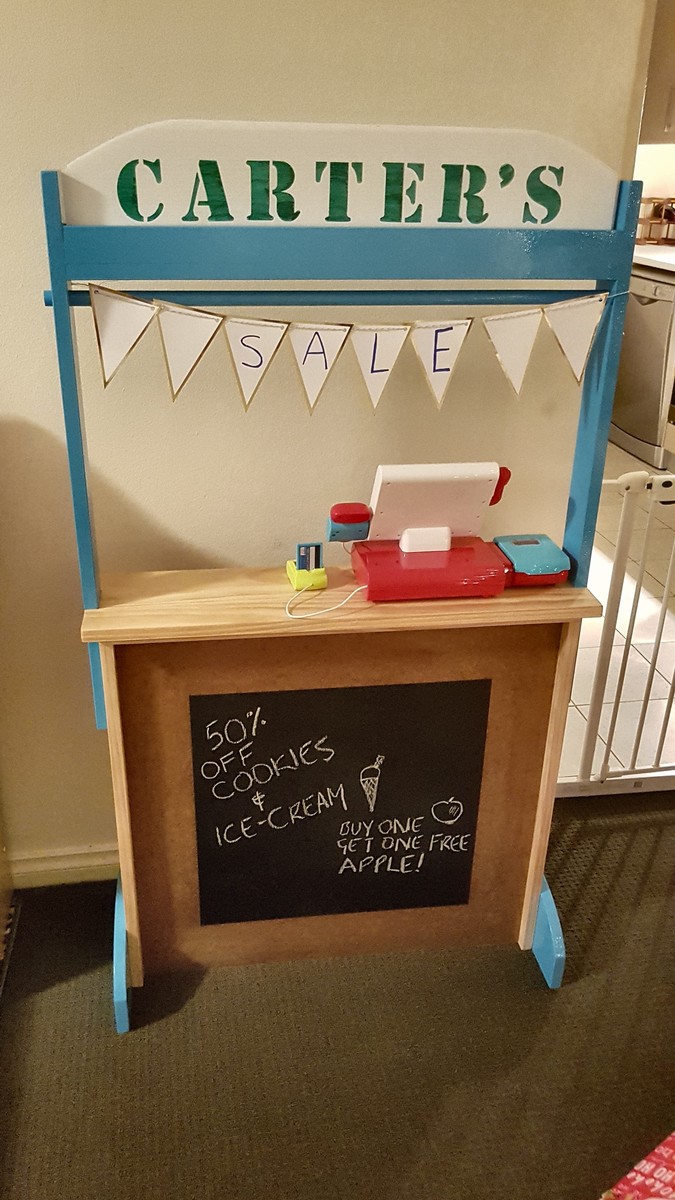
Really enjoyed this project, thanks for the great plans!
Built from Plan(s)
Estimated Time Investment
Weekend Project (10-20 Hours)
Recommended Skill Level
Intermediate
Comments
Wed, 01/03/2018 - 20:19
Really enjoyed this project
Really enjoyed this project and my boy loves the shop. Great plans, thank you!
King size Farm Bed
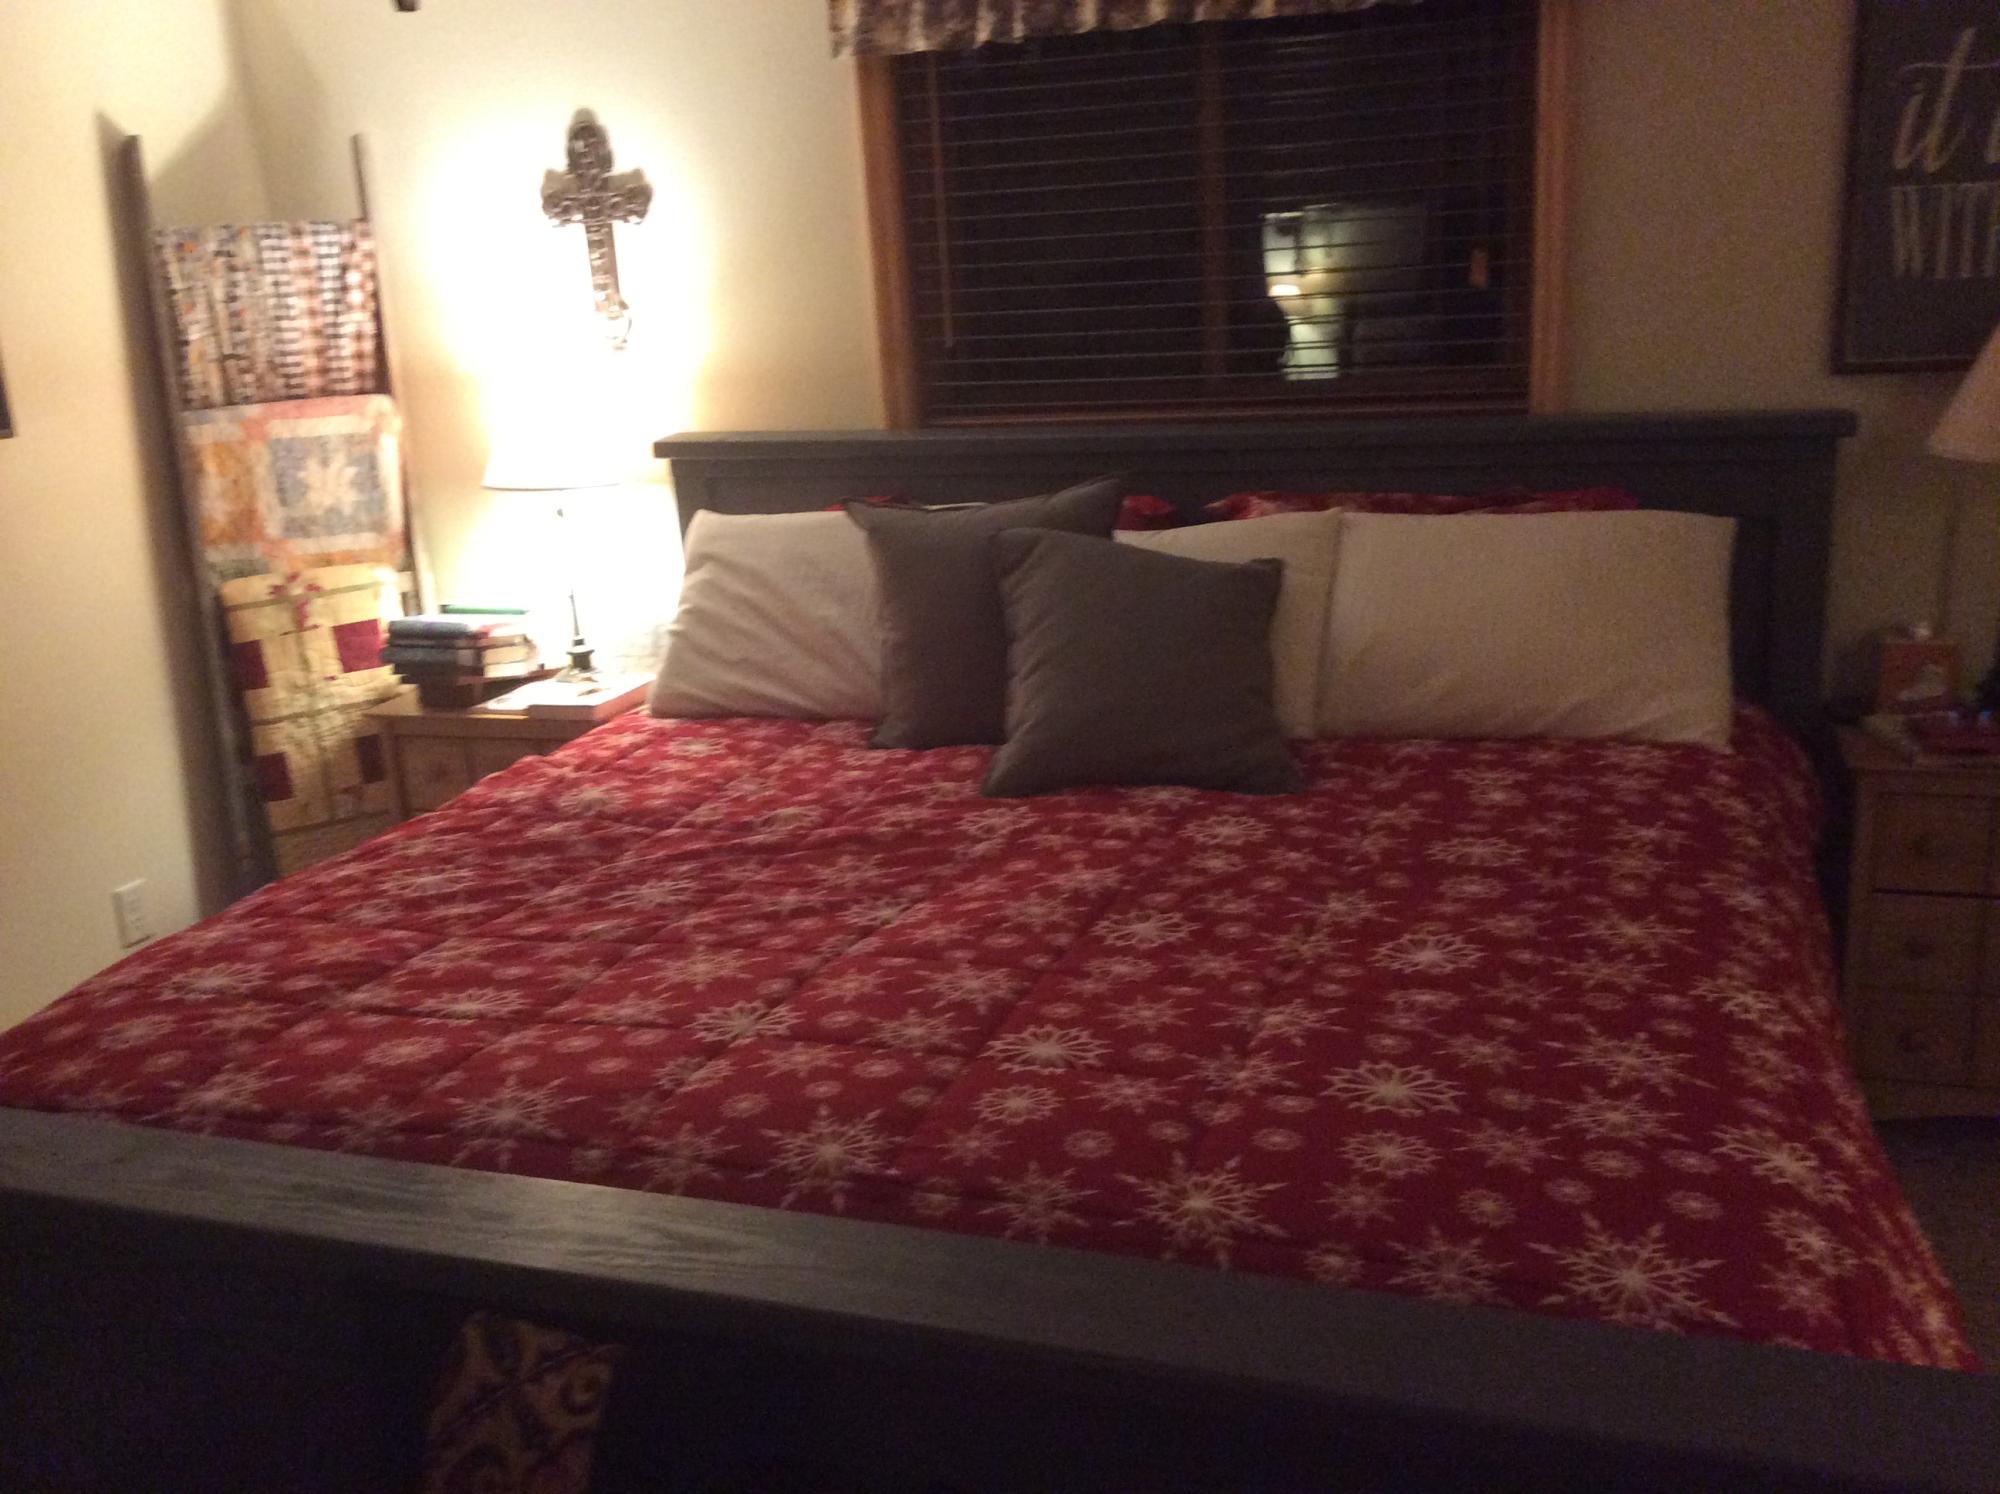
One of many Ana White projects my husband has tackled in the last several years...we painted it a grey stain...love it!
Comments
Two basket tower

I built the two wire basket tower but instead of wire baskets, I used the medium sized fabric baskets from Target. Dimensions are the same as in the online plan. In case you're wondering, the yellow top is actually the donation slip (I made them for my church to auction). The black and yellow one is in honor of University of Iowa and the red and yellow one is in honor of Iowa State.
Built from Plan(s)
Estimated Cost
$25
Estimated Time Investment
Afternoon Project (3-6 Hours)
Finish Used
Rustoleum gloss red and satin black paint
Recommended Skill Level
Beginner


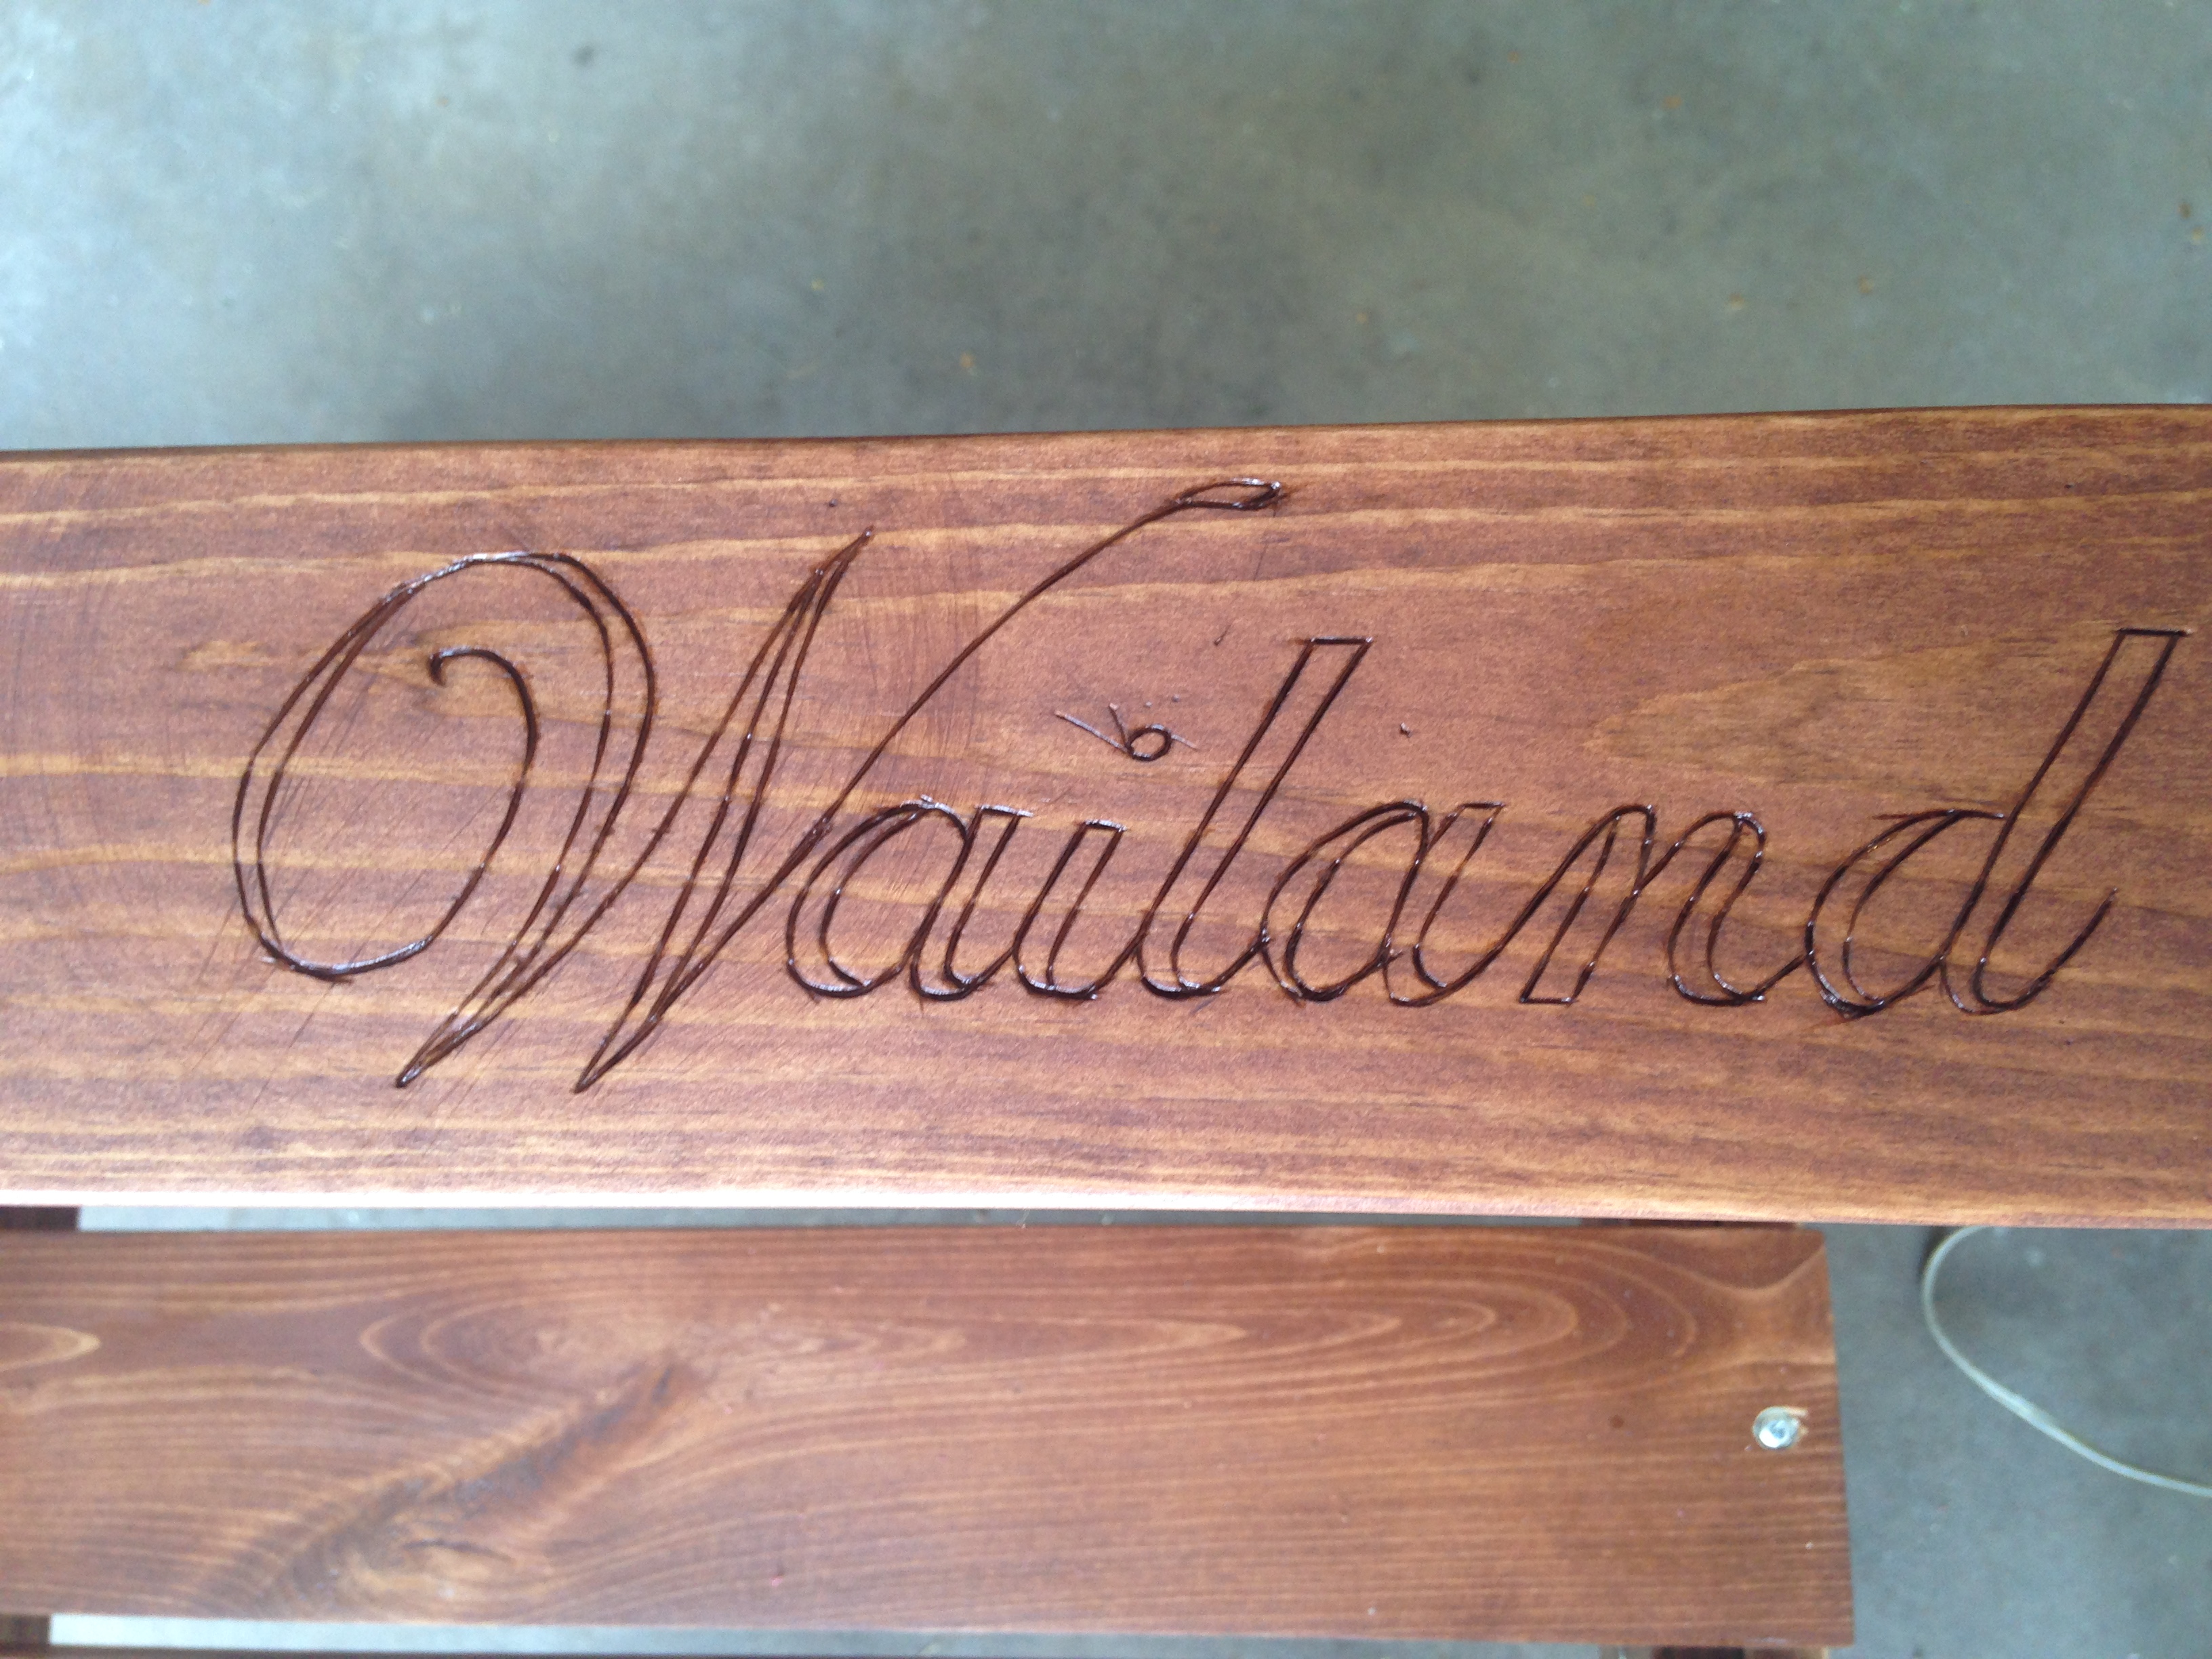
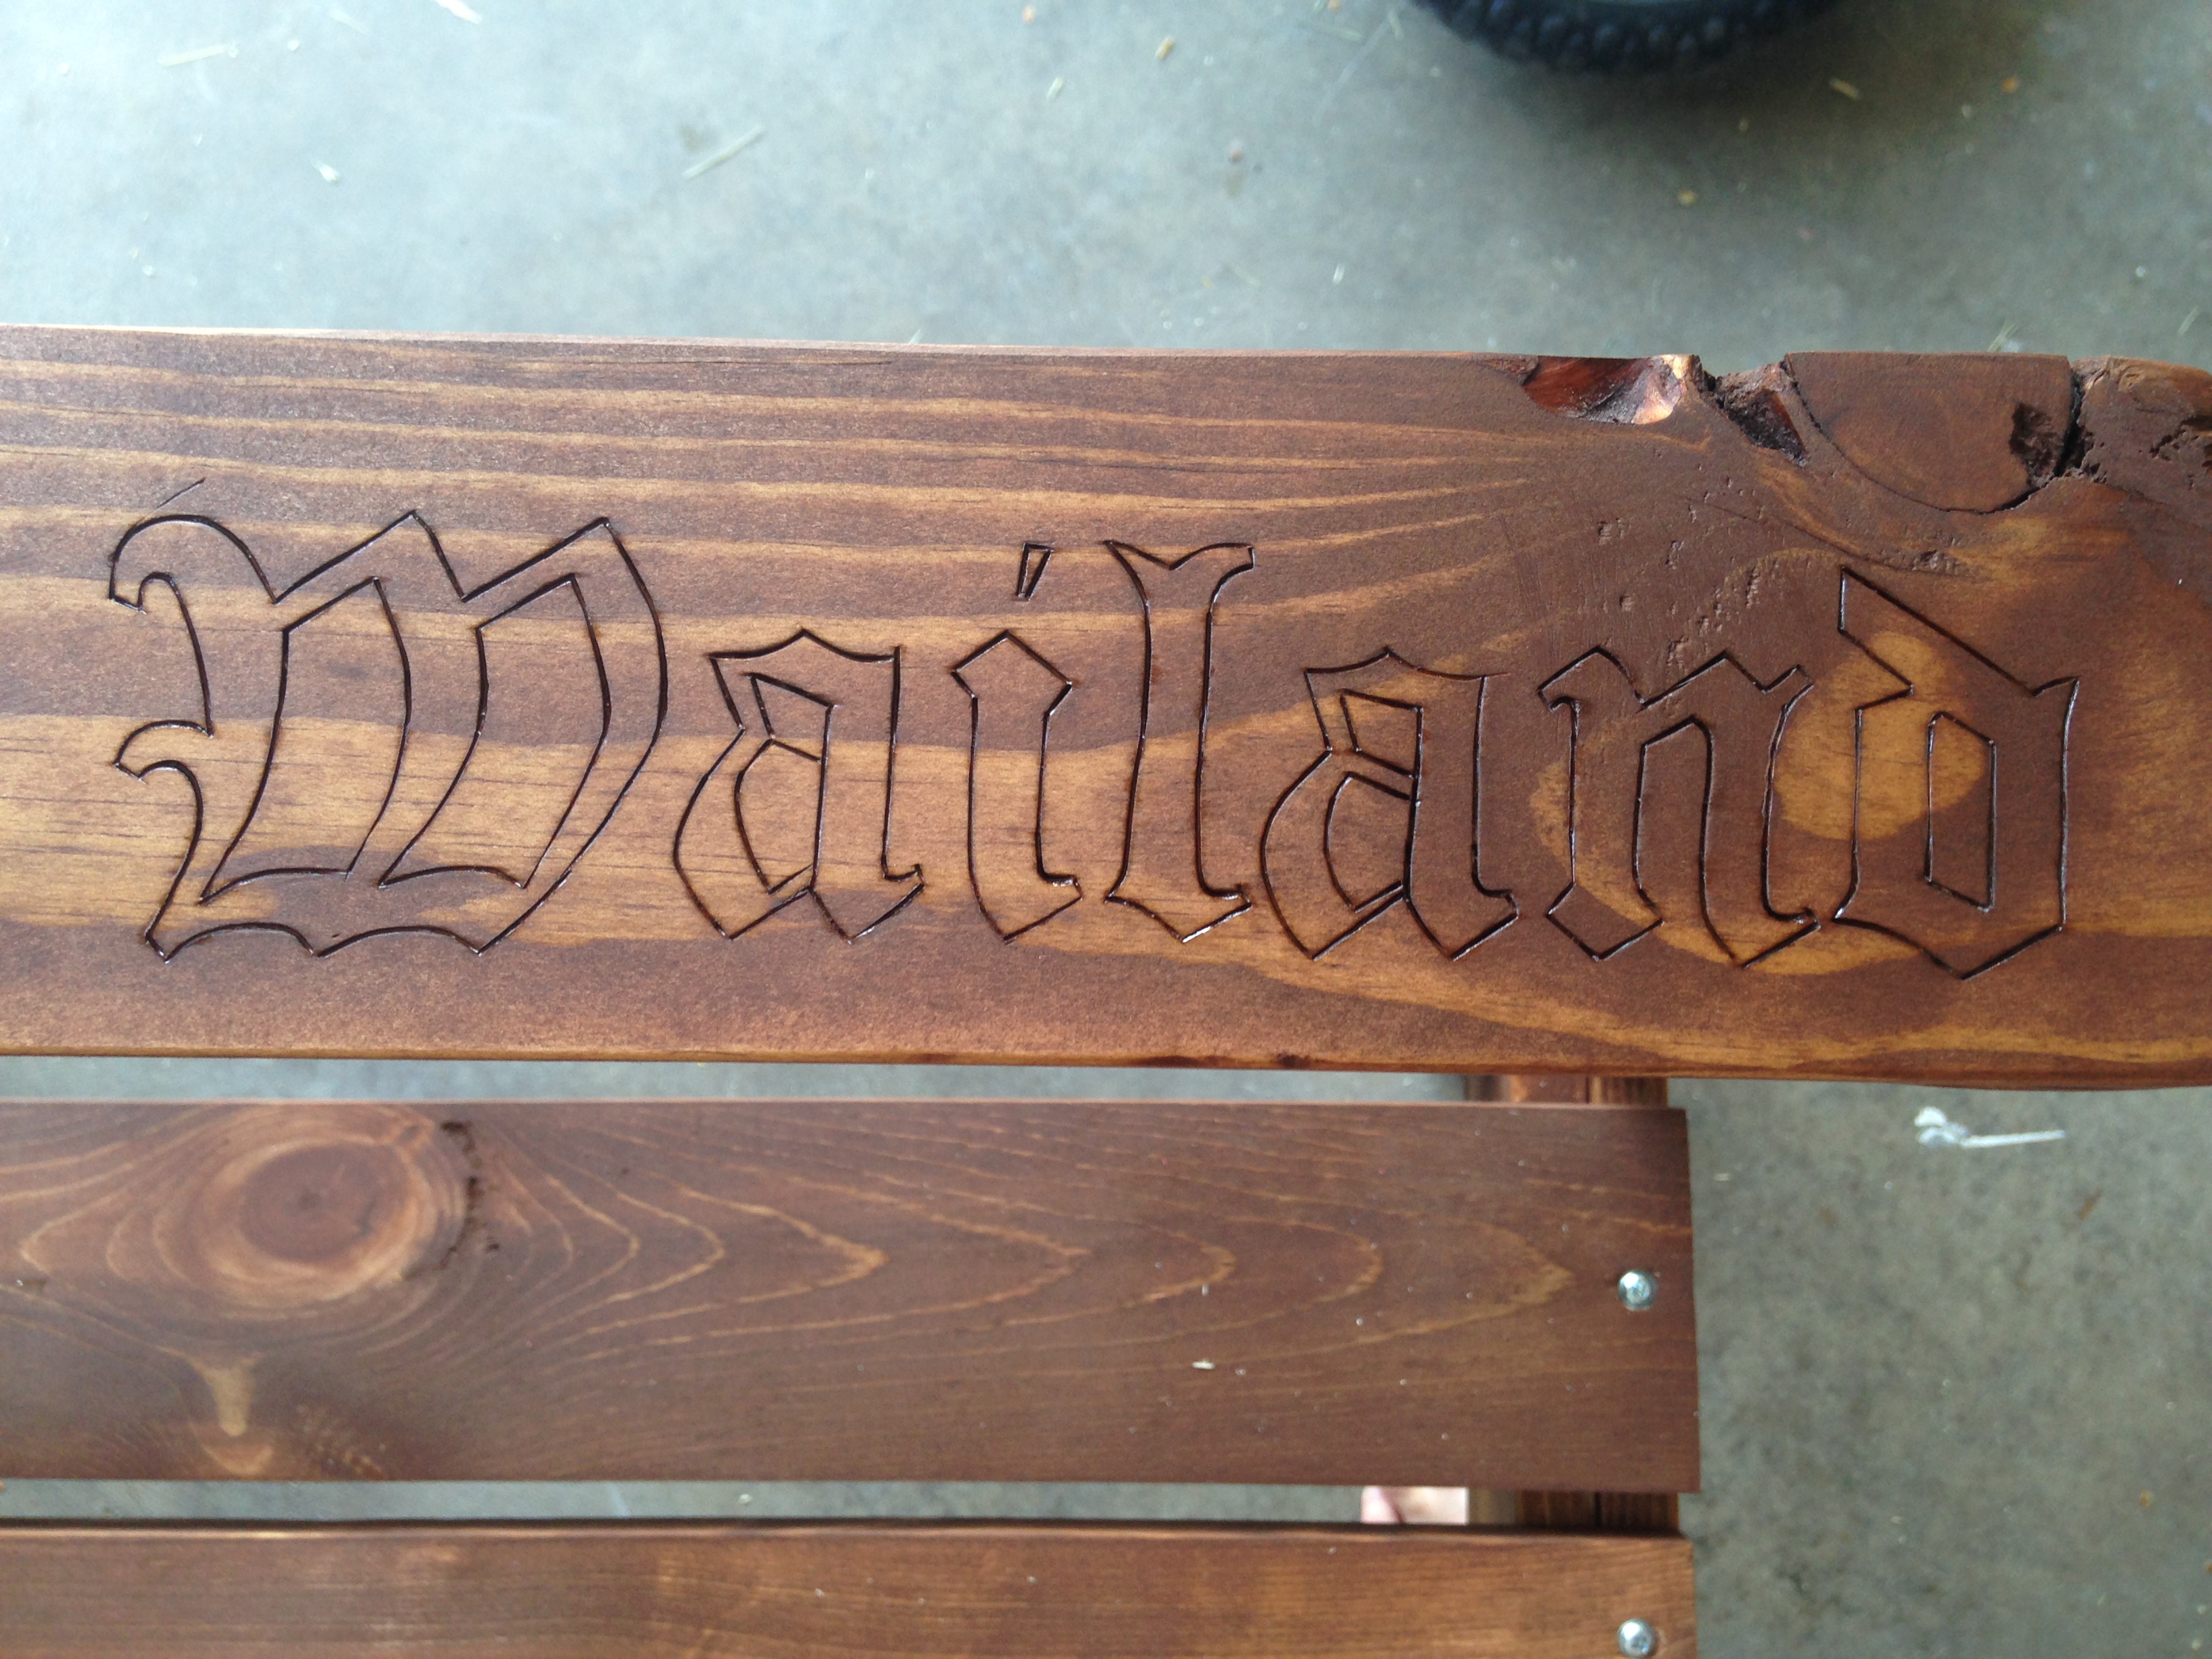
Wedding Presents
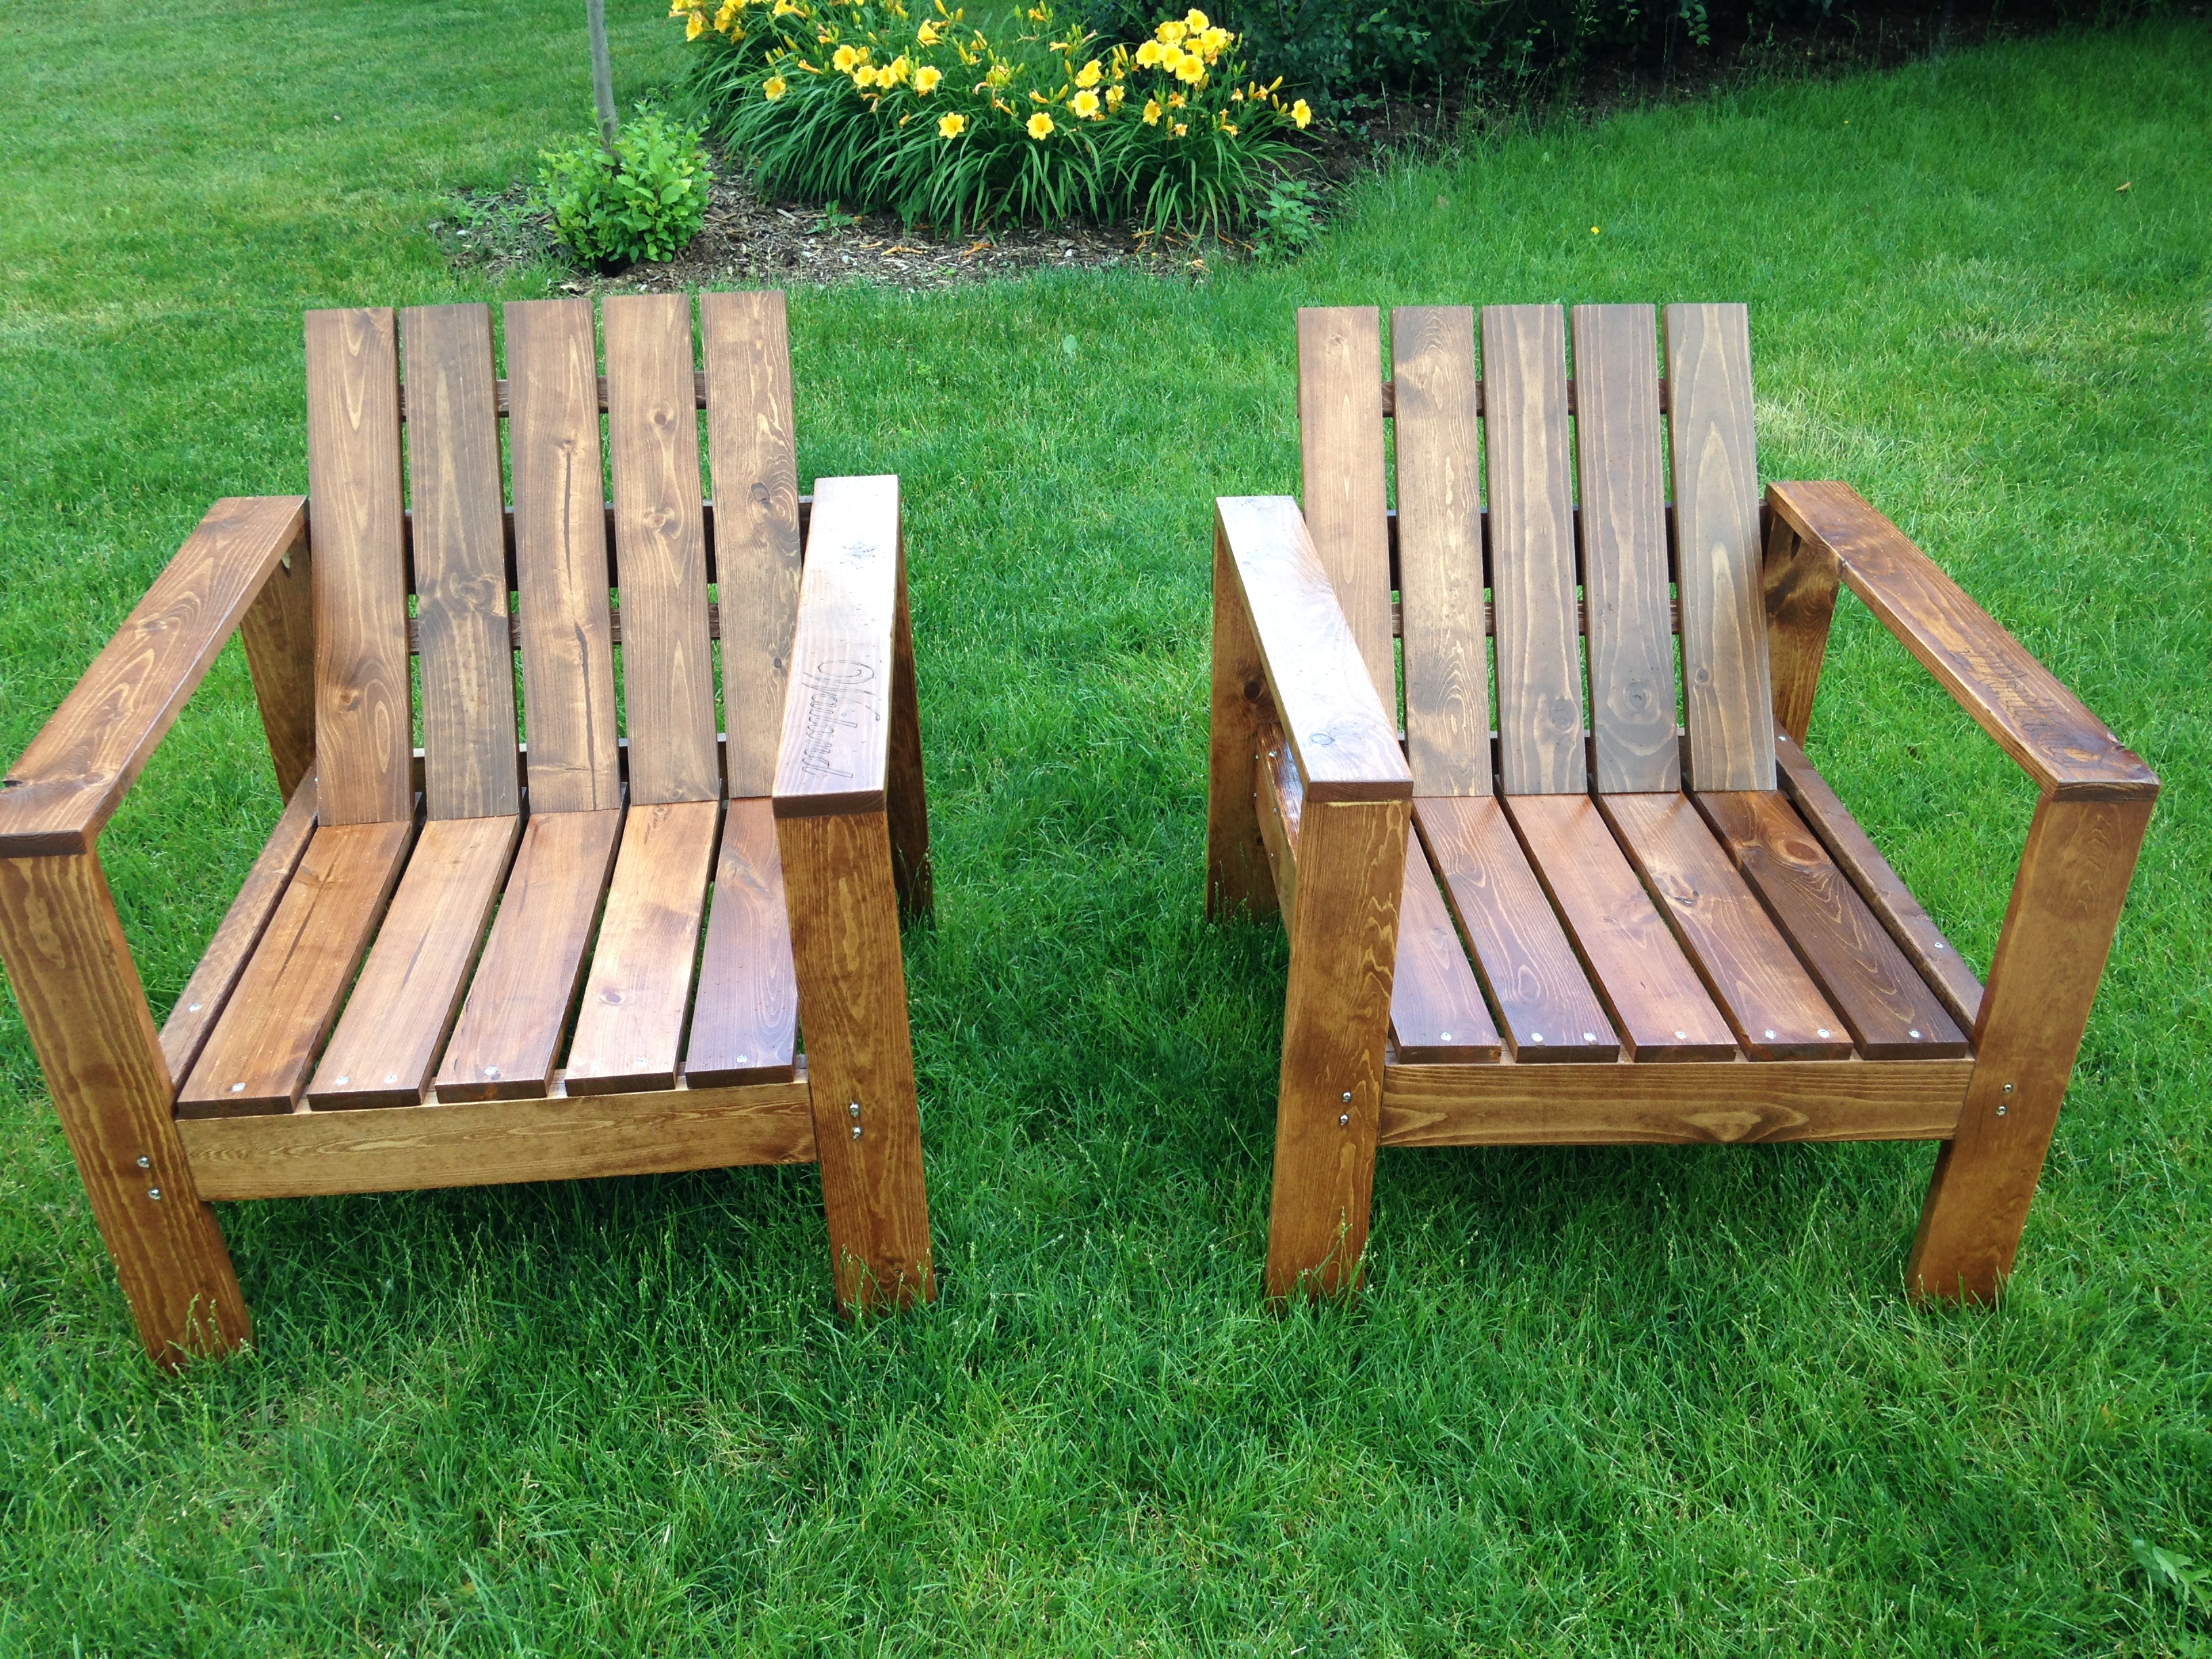
Built these two chairs for a coworker who got married last weekend. I had inherited a wood burning tool from my late grandfather and engraved their last name into each of the arm rests. “Her” chair is written in cursive font and “His” chair is written in old English font. I made some minor modifications on the chair to get everything lined up perfectly. I love these chairs and can't wait to make another set for someone else!
Built from Plan(s)
Estimated Cost
When I went to Menards I ended up getting material for three chairs including stain, screws and sandpaper for about $60. I would estimate cost to be around $45 for the two chairs.
Estimated Time Investment
Weekend Project (10-20 Hours)
Recommended Skill Level
Beginner
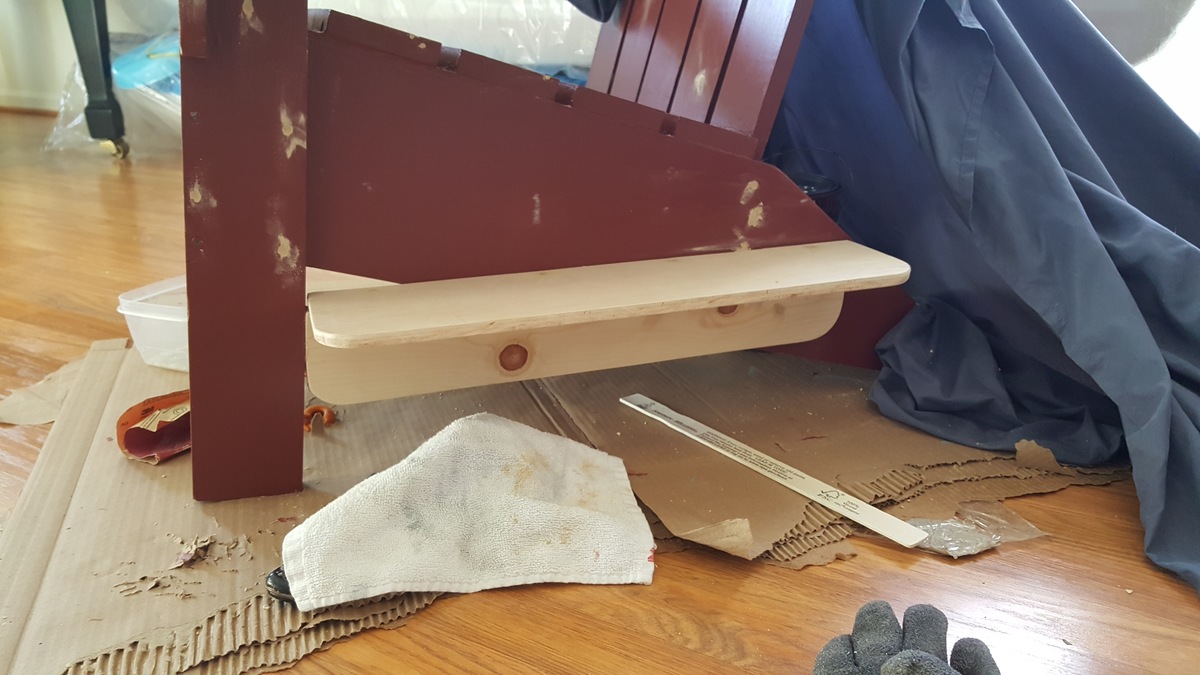
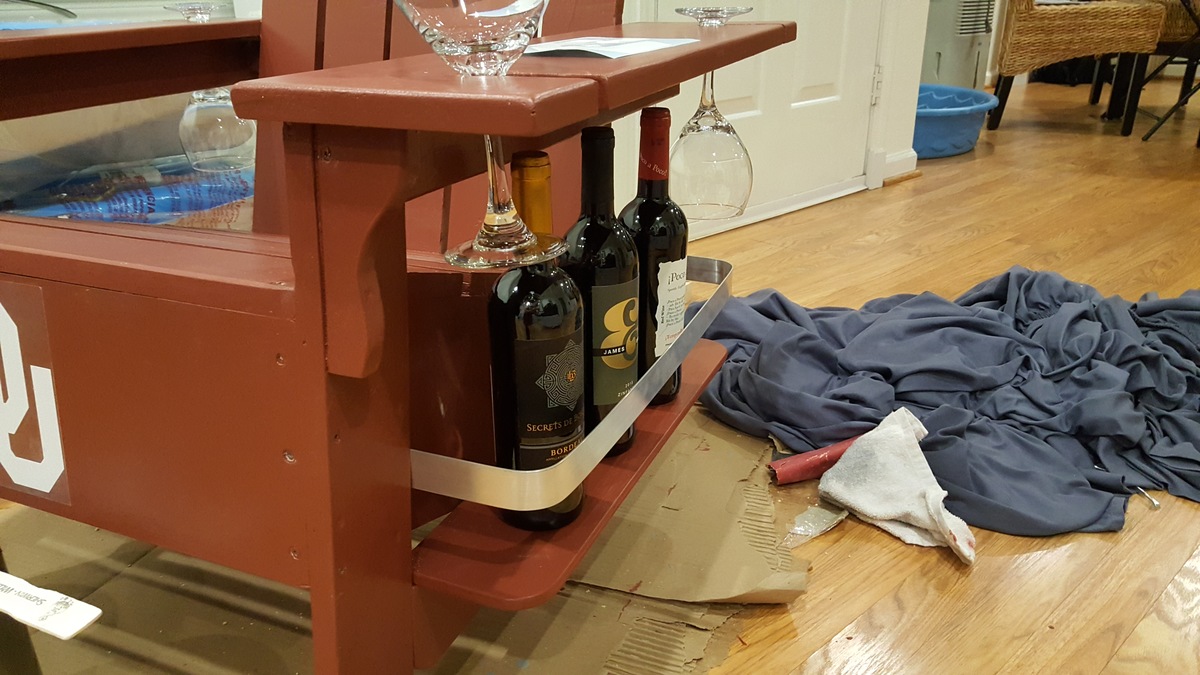
Wine-A-Dirondack by Ana Design
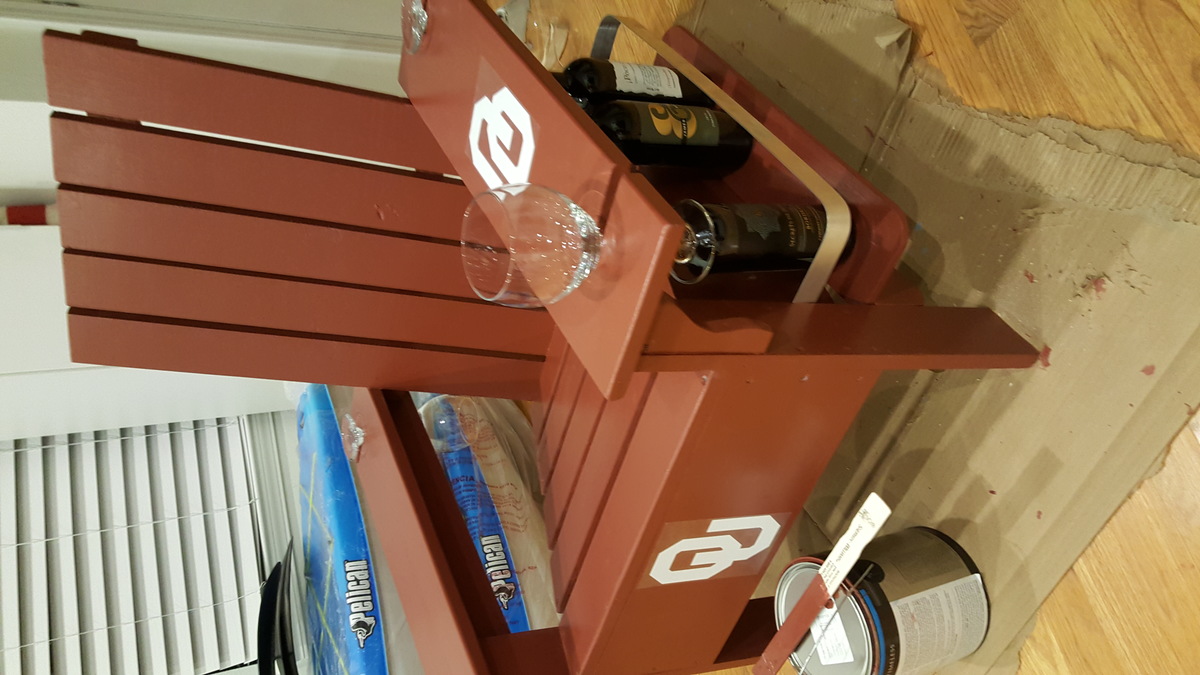
Thanks for the free plans made some modifications. Sharing for all....Have the assembly line going as gifts to my Oklahoma University friends...Personally I am Oklahoma State University....but was a Wine-A -Dirondack among friends....
Estimated Time Investment
Afternoon Project (3-6 Hours)
Finish Used
Official University colors, go to their website...Order Decals online
Recommended Skill Level
Intermediate
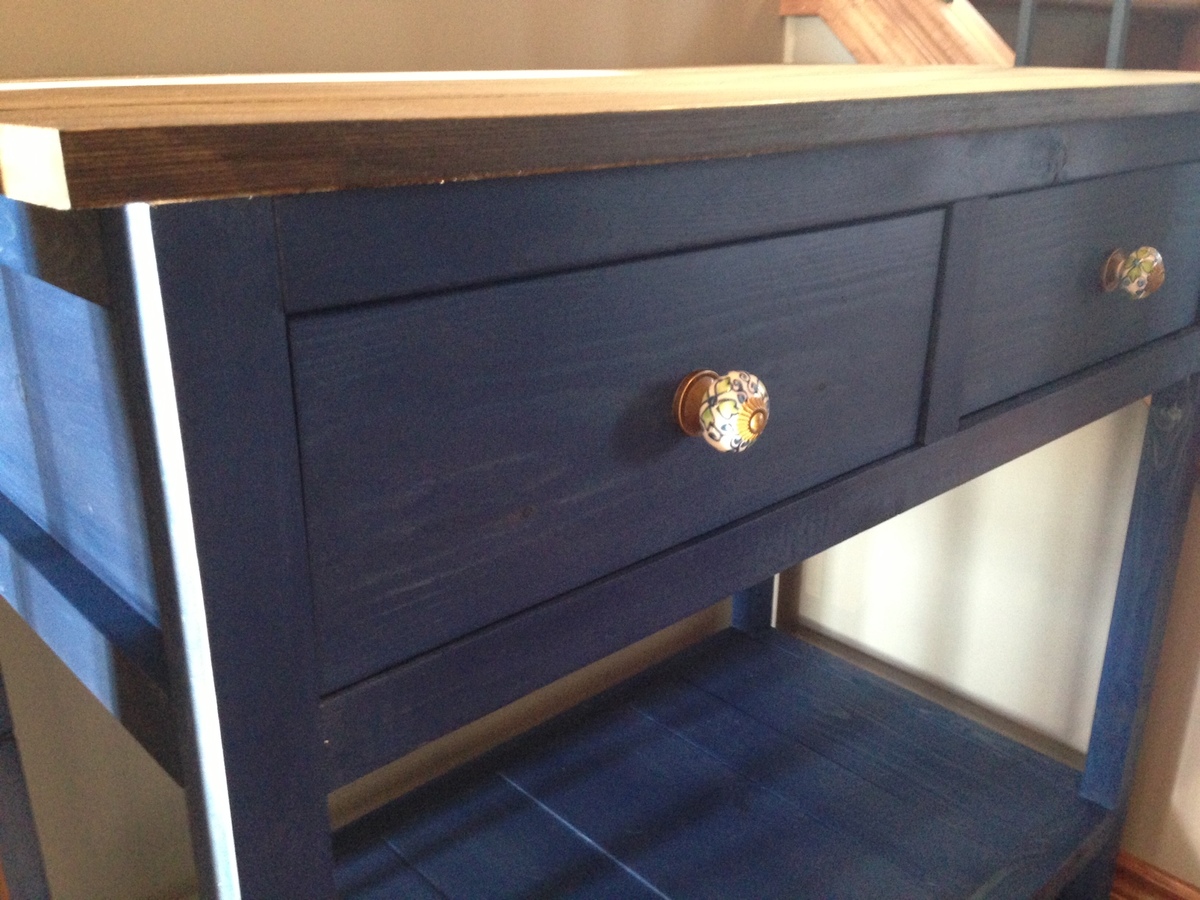
My version of the Shirley table

This project was done casually over a series of weekends.
I used the base plan for the Shirley Console table and modified it by using 2x2s instead of the 1x2s and changed the lengths to fit in a space between my sets of stairs. The drawers were easier to install than I first thought, however I should have placed the slides up a little further up than I did (I should have researched it a tad more.) For the drawers I found some knobs from Anthropologie that seemed to fit well with the personality of the table.
I'm a hobbyist but I am very pleased with the end result and wanted to share - this site has been a real inspiration for me and was the push to try something I'd always wanted to but was not confident enough to do. Thank you, Ana.
Built from Plan(s)
Estimated Cost
Wood $40, Stain $30, Knobs $16
Estimated Time Investment
Week Long Project (20 Hours or More)
Finish Used
Two coatings of Saman Azure blue stain for frame, one coat of minwax dark walnut stain. Two coats of Poly satin. Stain was applied using sponge then wiped off with rag.
Recommended Skill Level
Intermediate
Comments

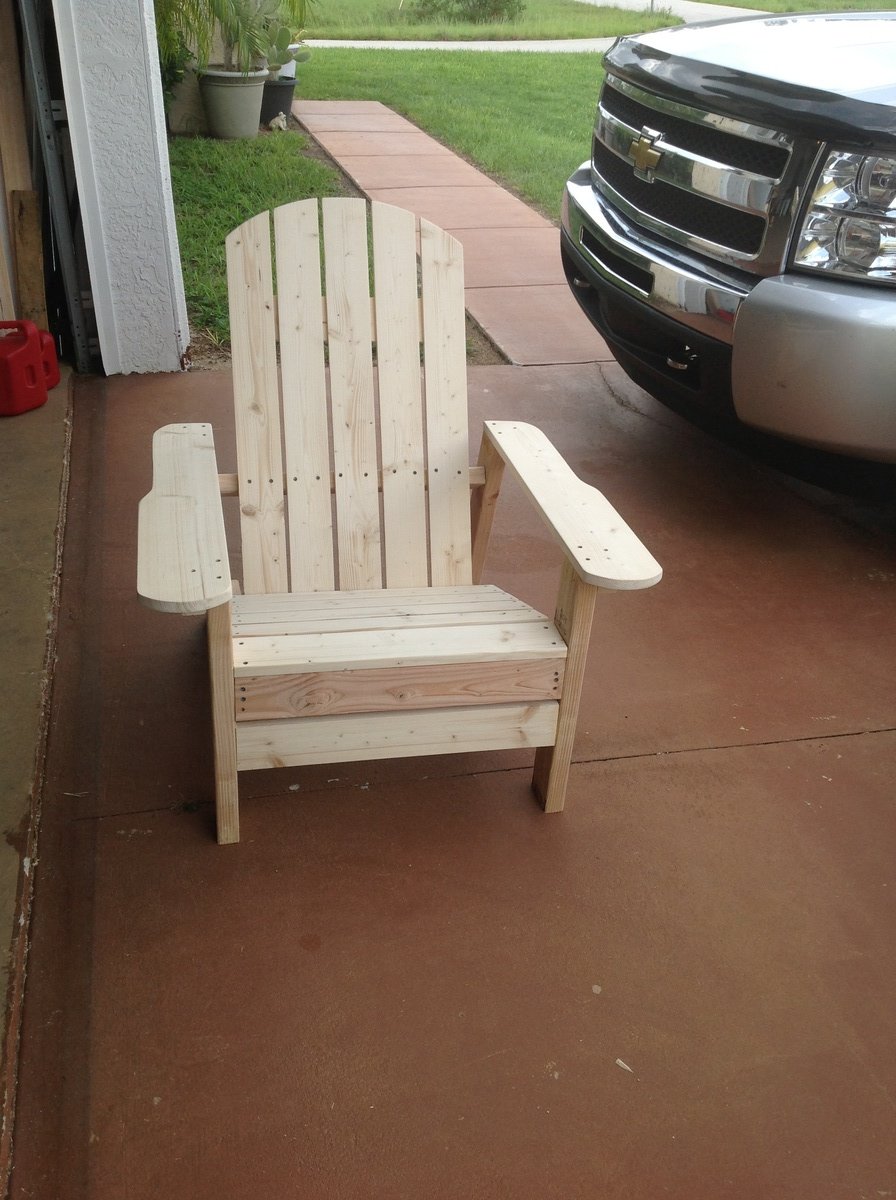
Modified Bristrol Lounge Chair
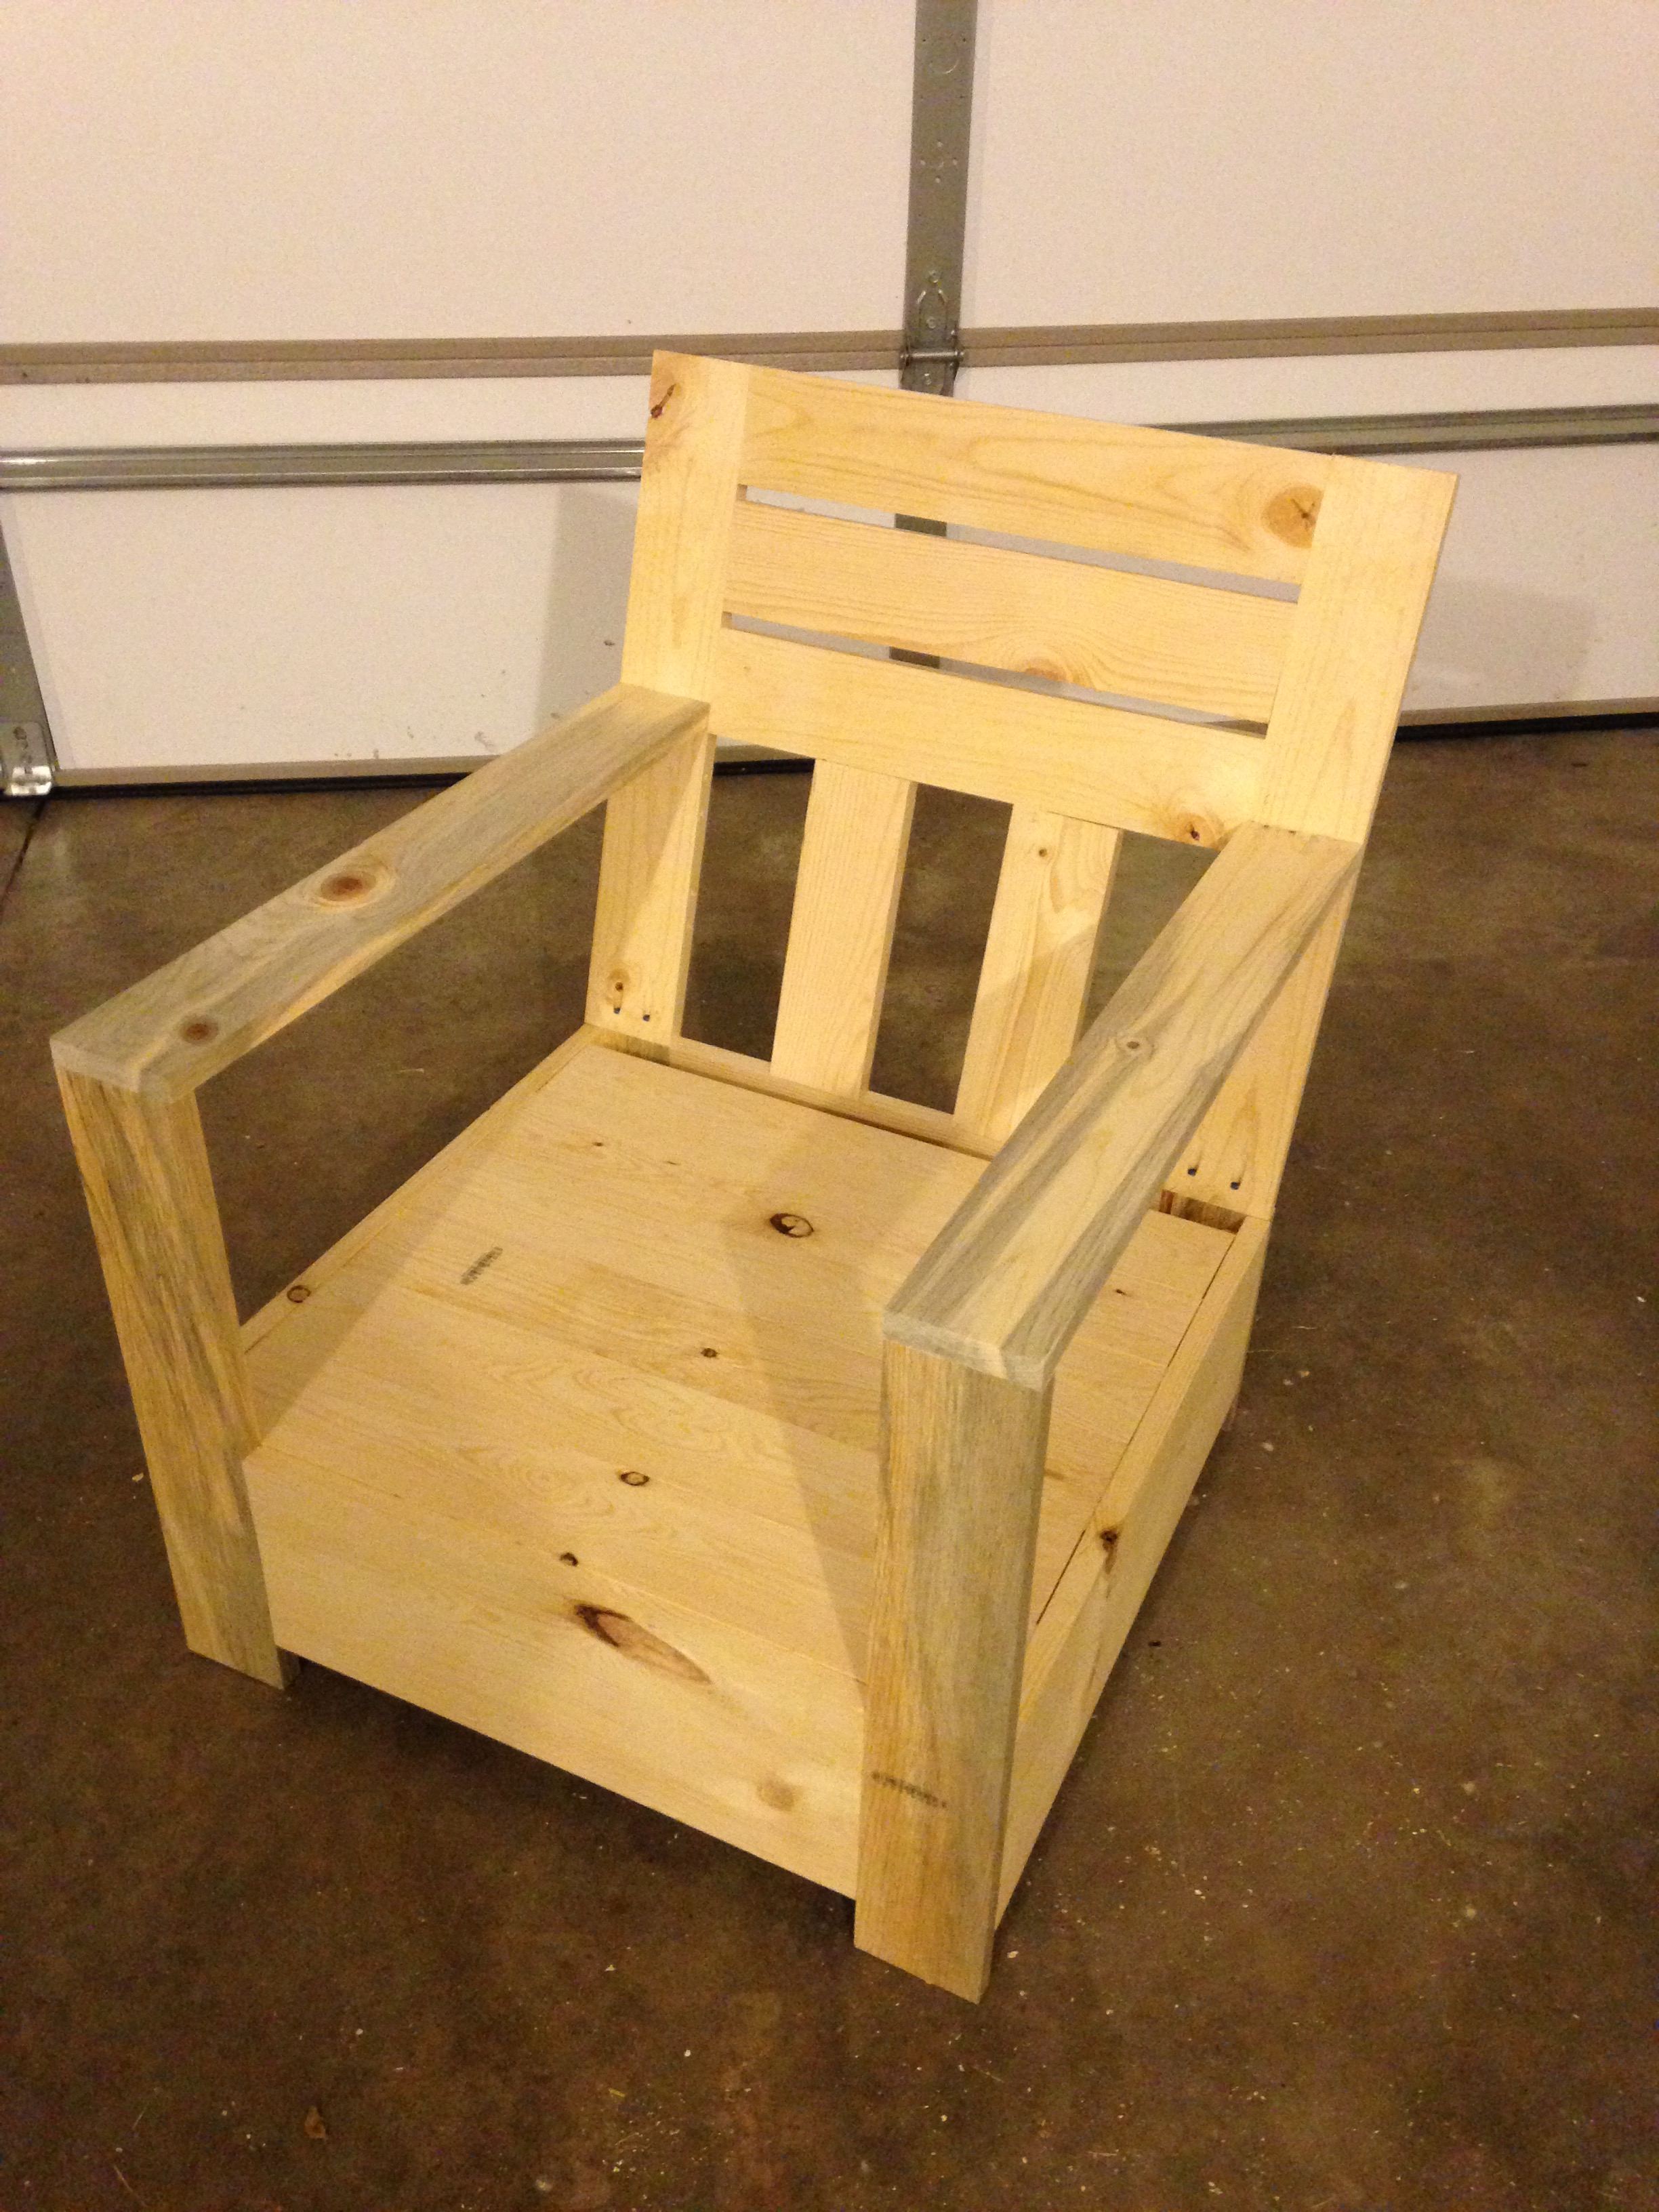
Here is a modified version of the Bristol Lounge Chair. It is more narrow than the original about 4-6 inches shorter and off the width. I actually made an error while attempting to attach the back slats and ended up creating the two verticle slats instead which I kind of like :-)
Estimated Cost
eh $40 maybe
Estimated Time Investment
Afternoon Project (3-6 Hours)
Finish Used
none yet
Recommended Skill Level
Beginner
Floating Shelves... Simply Fantastic and Easy...
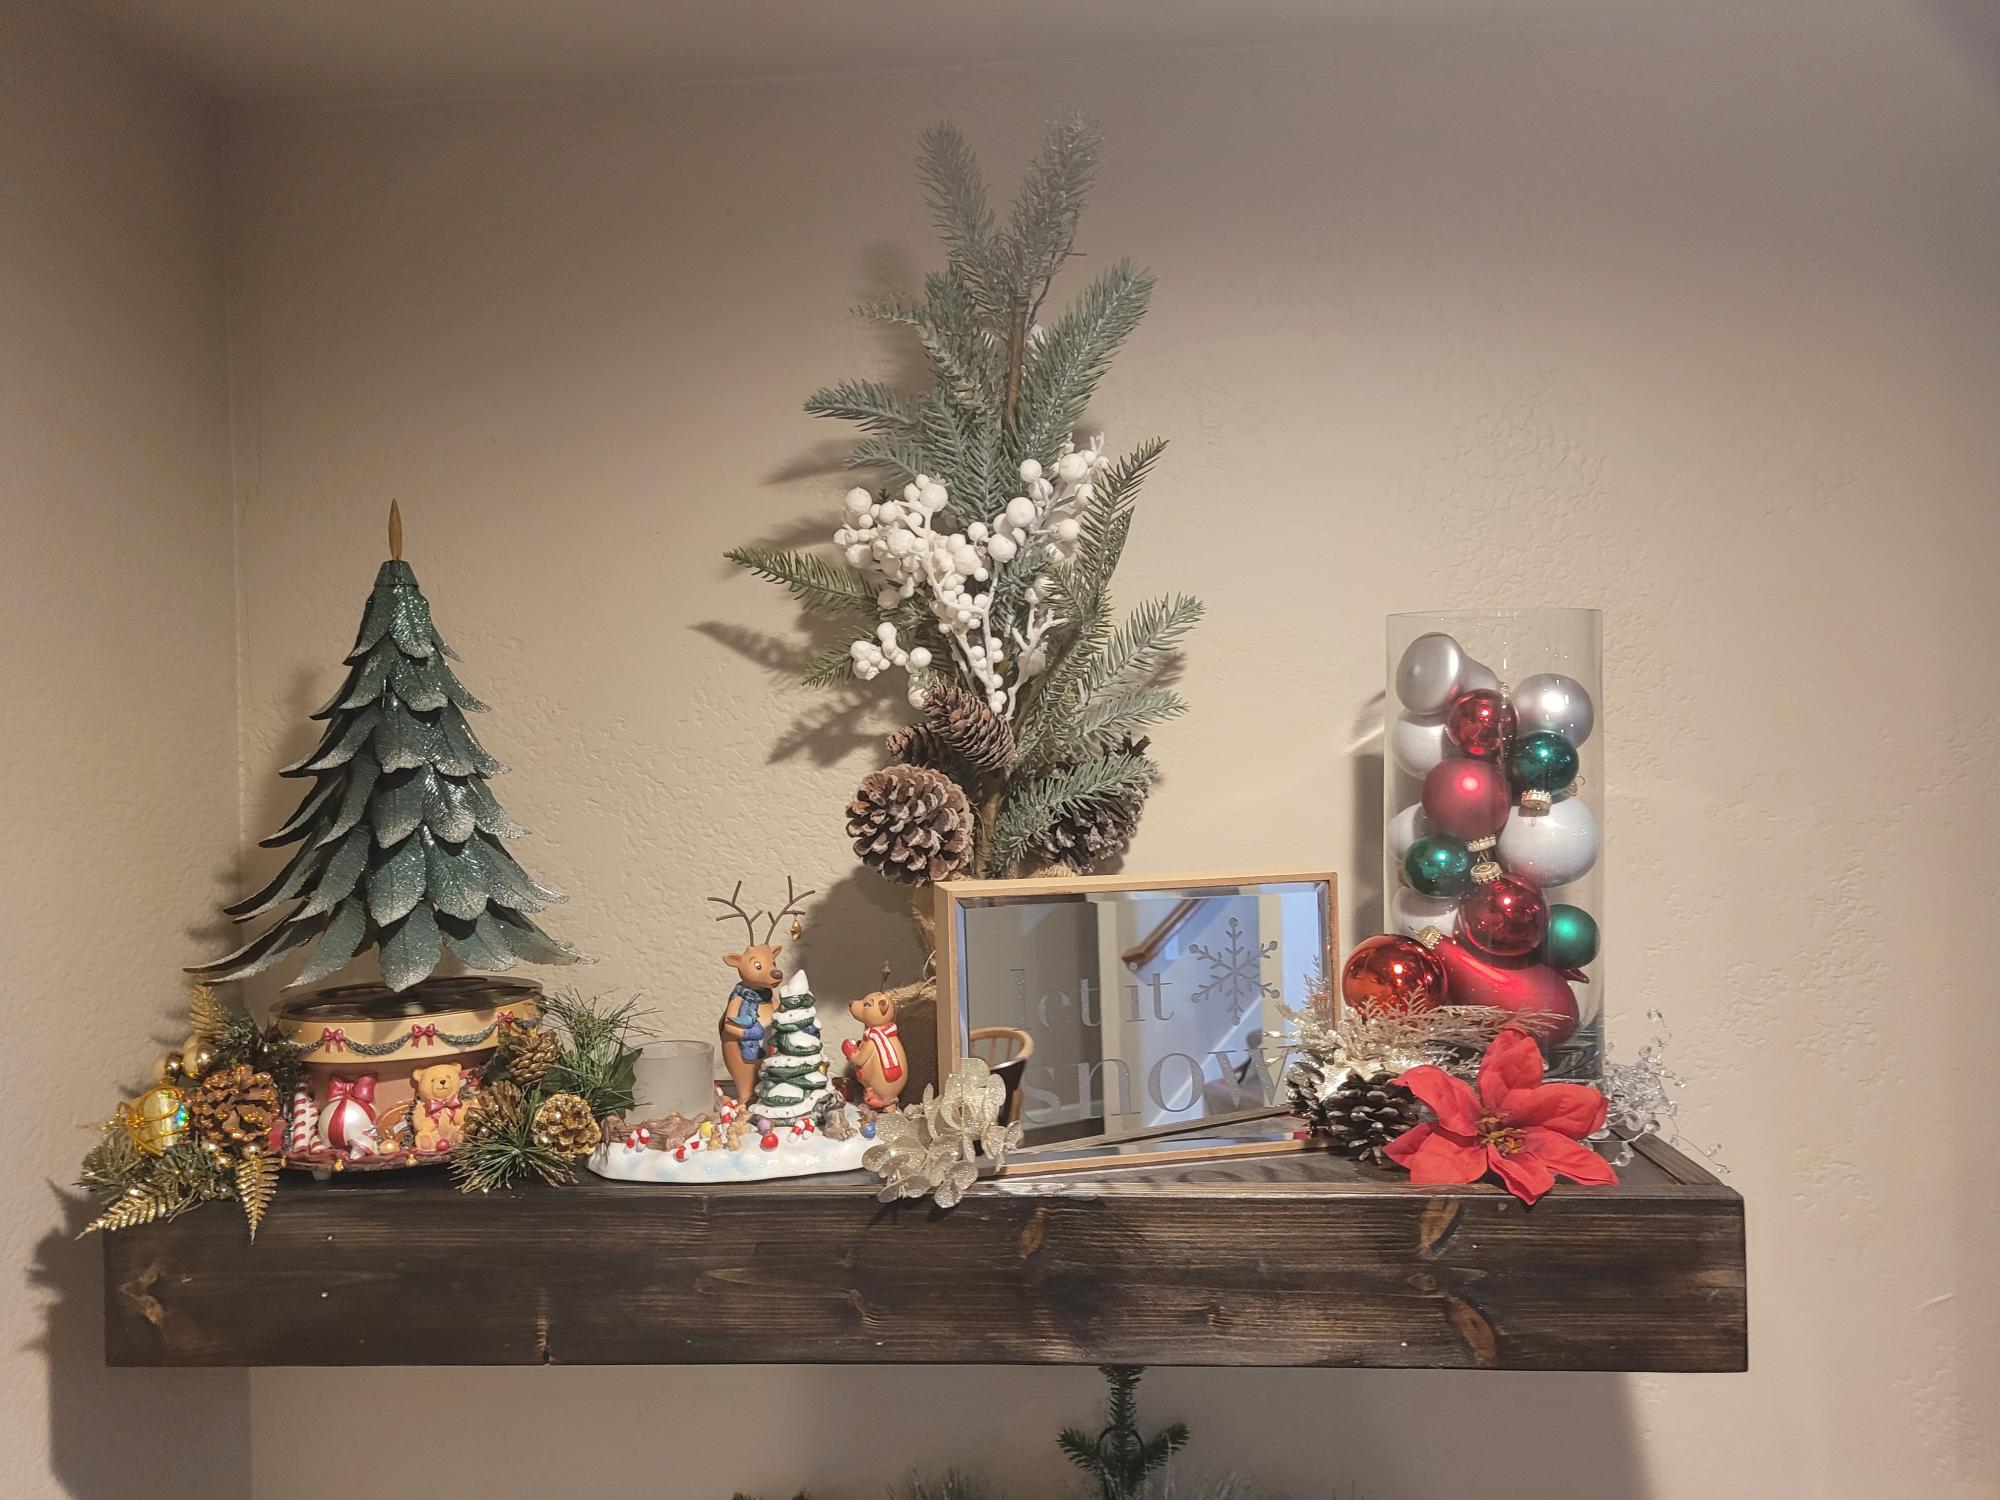
Utilized your idea... First ever woodworking project. My wife is super excited these shelves came out superb. She is excited to see what I have planned next. Thank you.

Built from Plan(s)
Comments
Mon, 12/27/2021 - 22:22
Great first build!
Way to go, that looks amazing! Can't wait to see your next project:)
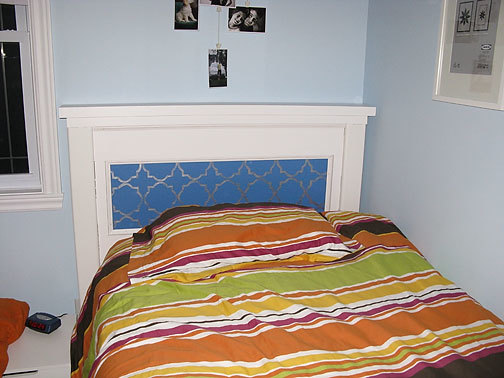
Stenciled Twin Fancy Farmhouse Bed
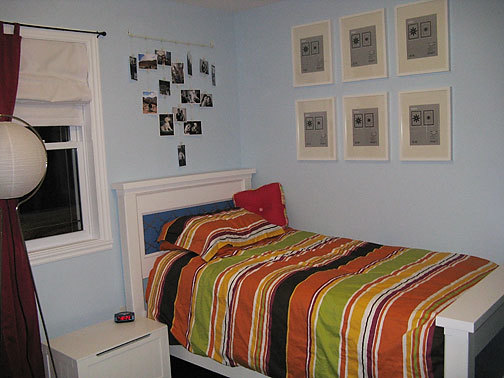
We used MDF instead of the 1x4 slats, but incorporated some of the trim from the fancy farmhouse bed.
The stenciled part is on the head and foot board.
I lowered the head board some, and raised the foot board, but I forgot that her mattress is a pillow top one, so part of the design on the headboard gets covered.
Built from Plan(s)
Estimated Time Investment
Week Long Project (20 Hours or More)
Finish Used
Paint and Primer in one for the white paint, then leftover blue paint, and some silver craft paint.
Recommended Skill Level
Intermediate
Adirondack chairs
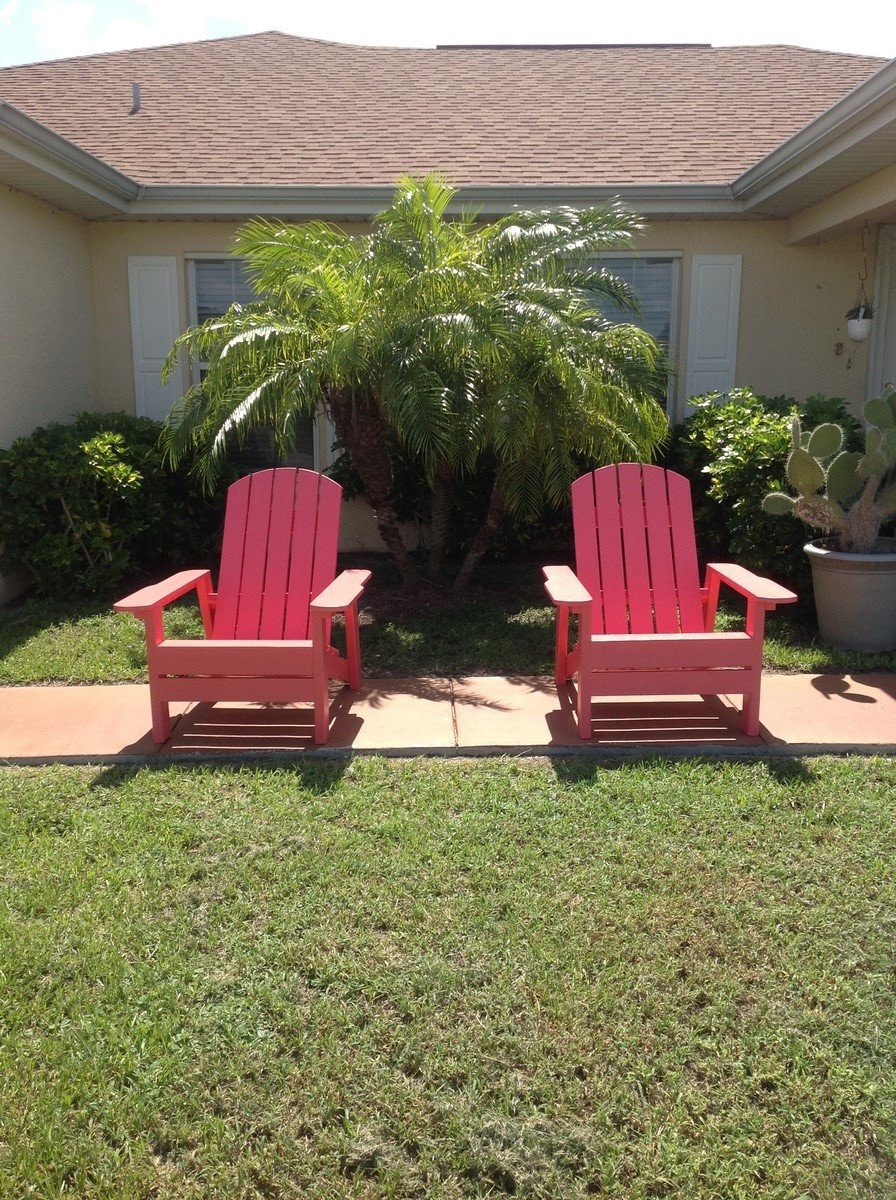
Saw the plans and the video for this and told my wife about it and she said she would love one. I made a pair of them for us to sit together, when get a chance too.....lol. Thanks Ana for inspiring me to get back into woodworking after a long break. This is a great site. More projects to follow.....
Built from Plan(s)
Estimated Cost
38.00
Estimated Time Investment
Weekend Project (10-20 Hours)
Finish Used
Pink salmon exterior primer and paint
Recommended Skill Level
Beginner
Comments
Sat, 07/06/2013 - 15:06
Adirondack chair
I changed the arms to 1X6's and rounded them and added an extra 1X4 below the front apron to give the chairs a more finished look.....
Outdoor Sectional
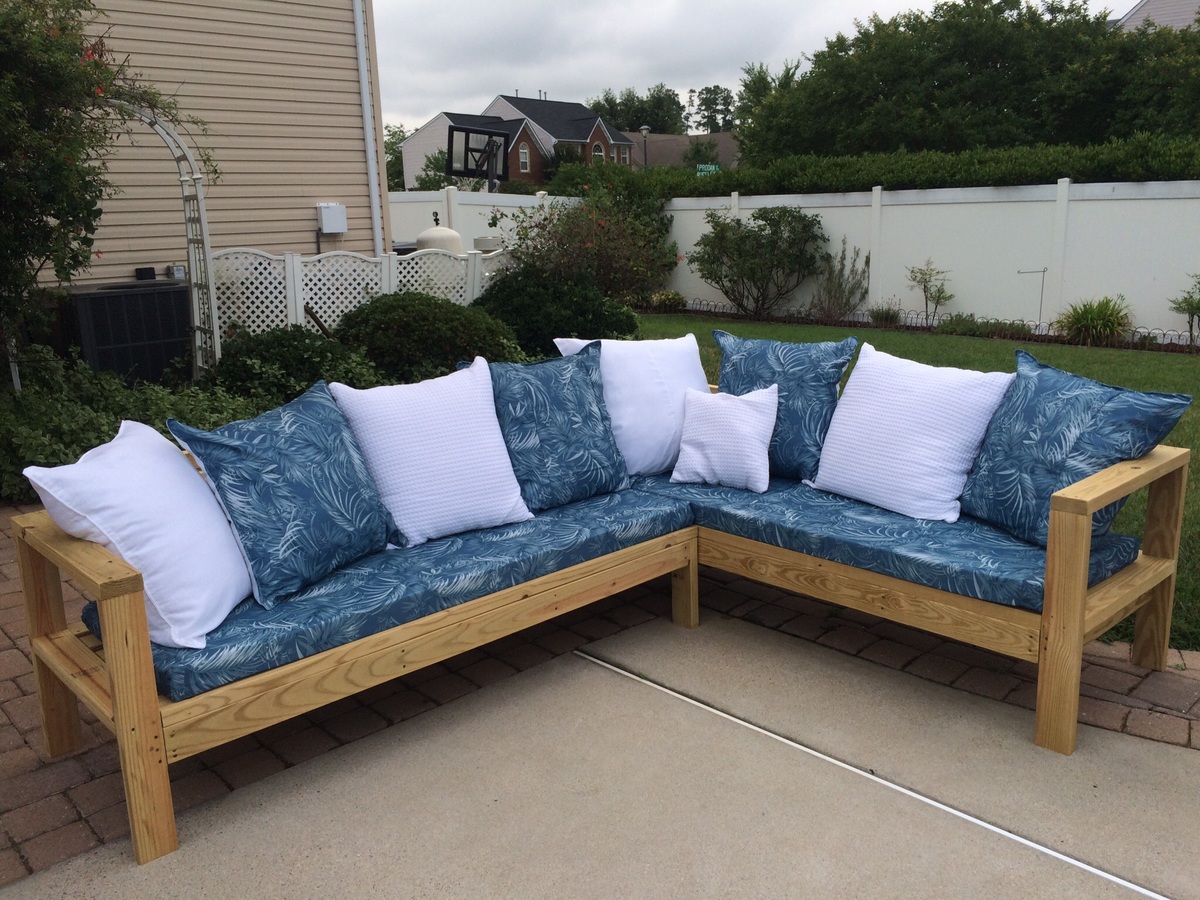
I made the cushions and pillows myself using shower curtains as a cheap and water-resistant fabric alternative. I also ordered the foam and pillow forms on-line. This was a great Father's Day project completed with help from my son and husband. Great plans!
Built from Plan(s)
Estimated Cost
$300.00
Estimated Time Investment
Weekend Project (10-20 Hours)
Recommended Skill Level
Beginner
Comments
Ana White Admin
Sun, 12/26/2021 - 17:13
Great scrap project!
Awesome, thank you for sharing!