Adirondack Chair
Watts Built on Wolfe Way
Used the plans for the Rustic X coffee table as a starting point. Left out the X's as they don't appeal to me. Took a butane torch and burned the base and tabletop before staining, and stained the table in alternating stains to give it a really unique appearance. Stains used were Rustoleum Summer Oak, and Minwax Early American, finished with Minwax Semigloss Poly.
First time project.
My wife loves it and that’s all that matters!
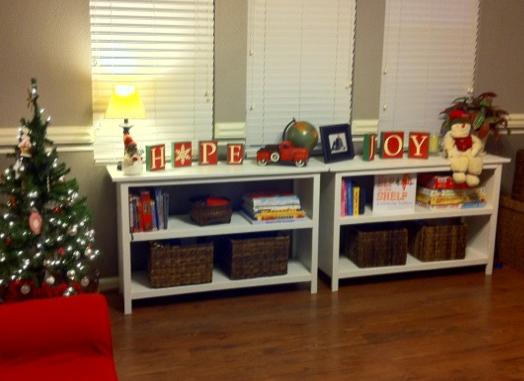
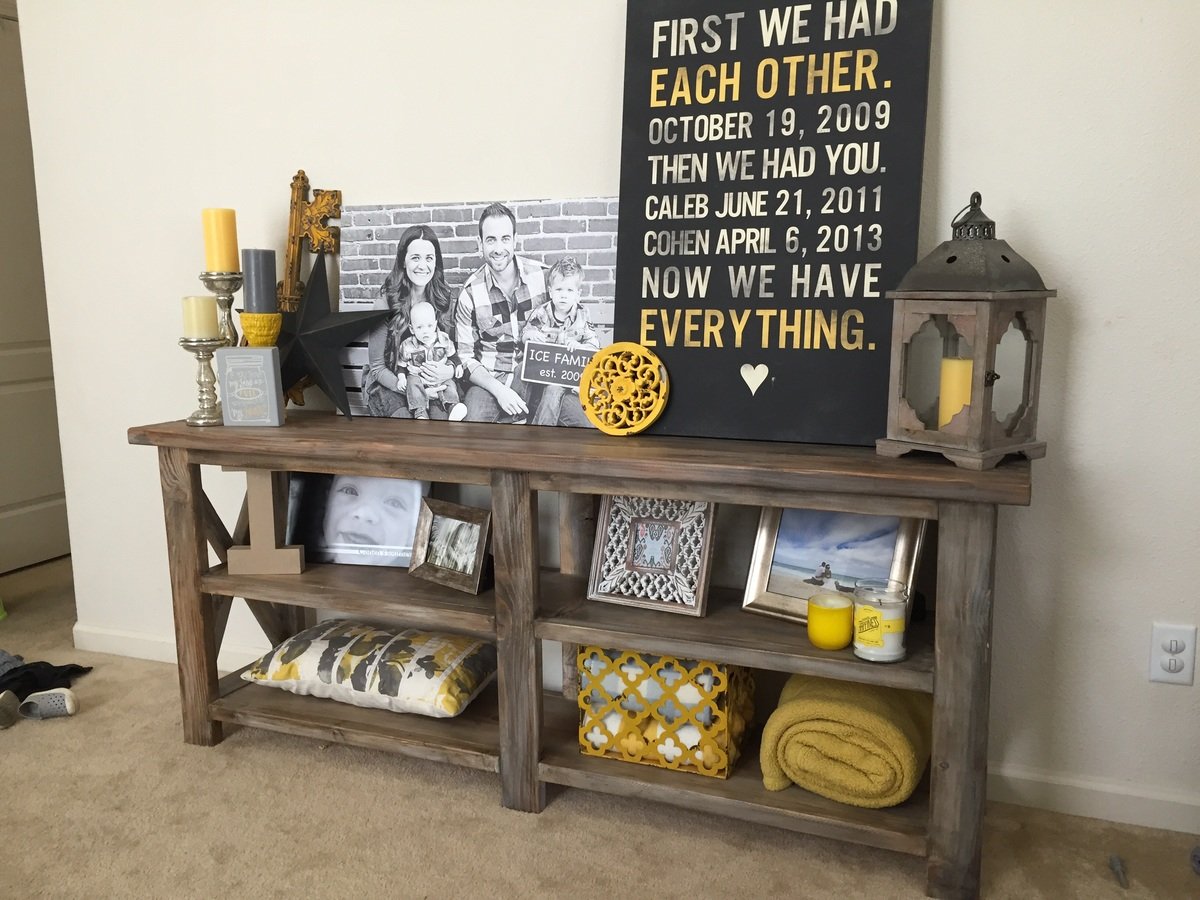
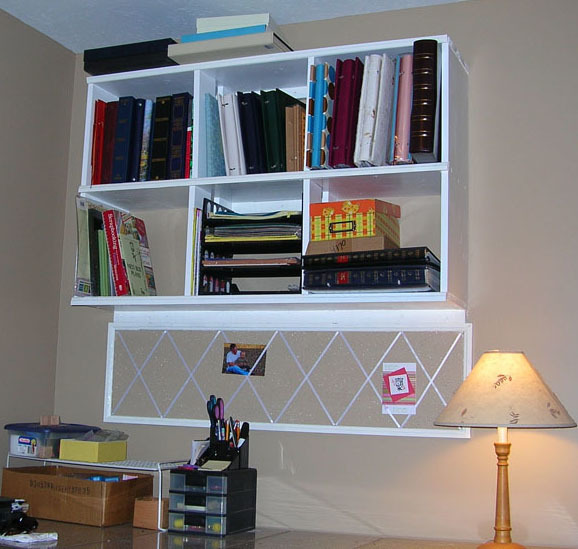
These bookshelves were a great first project, mainly becasue with the affordability, ease and great look......I was able to convince my husband I was not crazy for wanting to build furniture. After all I was a Construction Management major in college, wood shop was my favorite class in junior high and I spent countless summers in Mexico building homes.
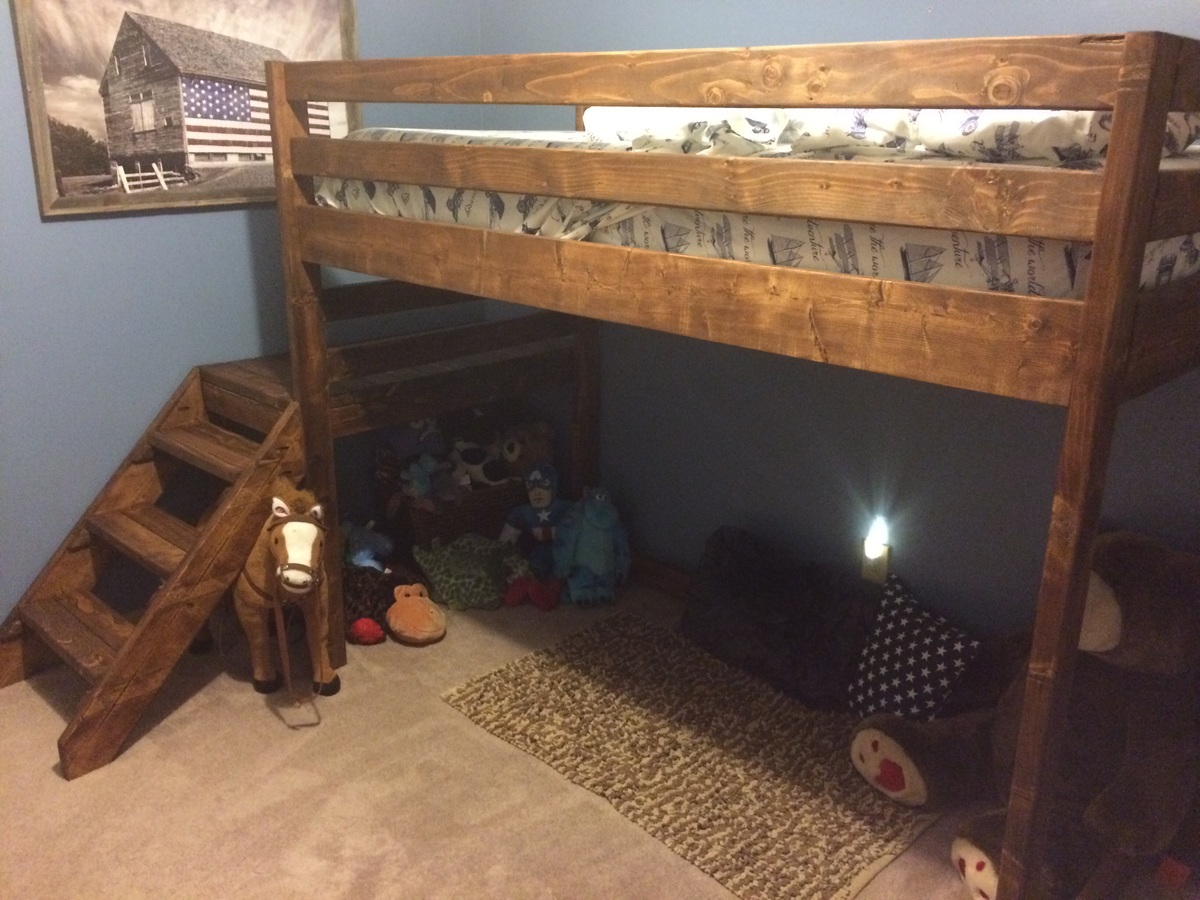
Well he is now convinced! This was the perfect addition to our playroom for our two kids. As they have transitioned out of the preschool years we need to update the look. These bookcases are the perfect size for most basket and cubbies.
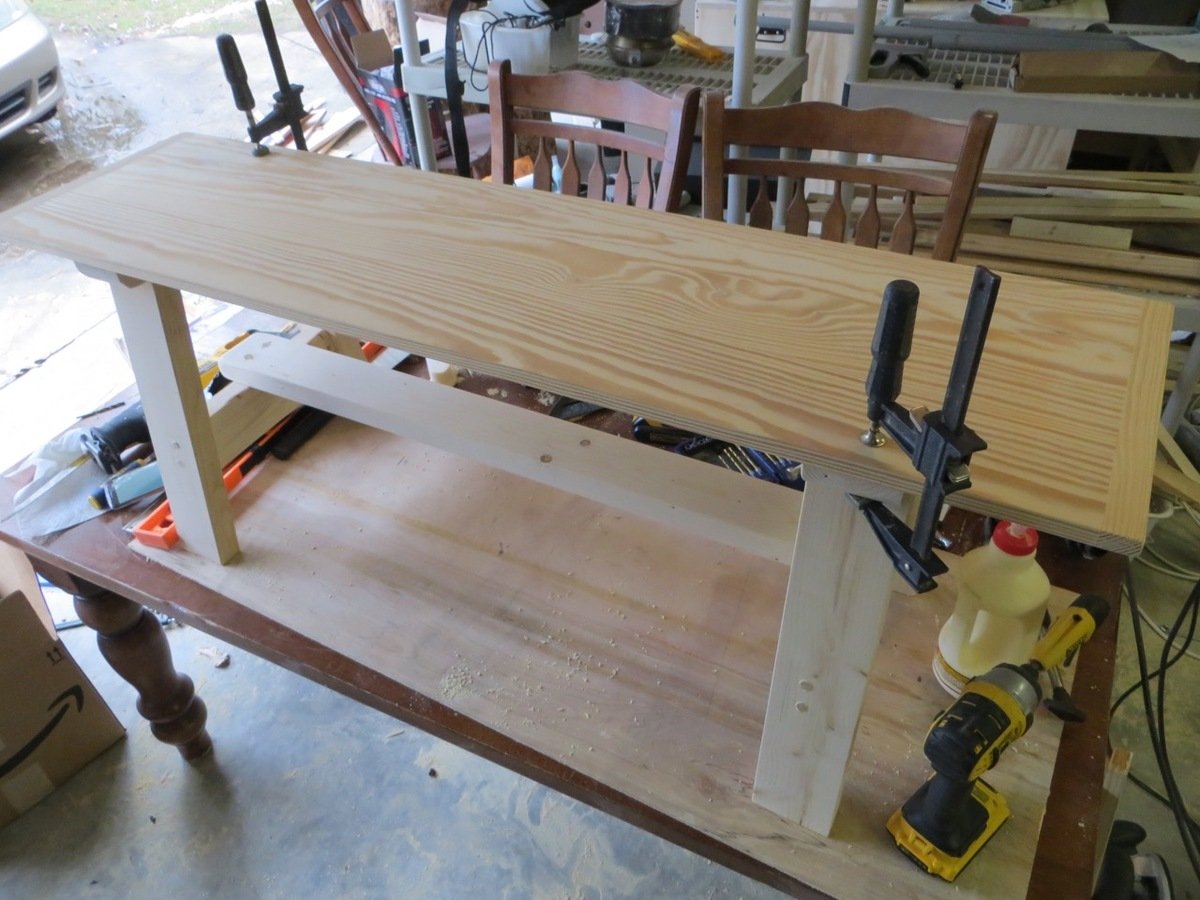
The one lesson I have since learned and would do if I build these again is to make sure the guy cutting my boards at HD cut them all the same width.
The construction of this project itself took me just over an hour. All my time was out into making it look very old, and staining it just right. I am very proud of how it turned out. Looks a lot better in person. This table is for sale.
Enjoyed this project
Mon, 05/04/2015 - 10:16
Thanks for sharing, great job on the decor and finish!
Hi there! This is Dani from The Project Lady!
I wanted to share my building plan and tutorial for these dining room benches! Total cost is about $20 for lumber per bench!
Head over to my website for step-by-step instructions and pictures!
Happy Building!
Inspired in one of your projects this was my first project with wood and turned out a go to place for the kids and guests to play all the time.
Thank you for the plan. Kids appreciate it too.
Loved Ana's Farmhouse Bed so we downsized it and made it into a twin size for our daughter. Took out the boards in the middle and painted a stenciled pattern instead.
This is my first woodworking project ever. I wanted an outdoor sectional for my screened in porch, but couldn't afford to pay $1000 to $2000 to buy one. I saw this plan and decided to give it a shot! I used pressure treated 2x4 lumber rather than 1x4. My Dad always built everthing from pressure treated if it was to be used outside... so I followed suit. I have to say I am more than pleased with the final product. This piece of furniture will outlive me! I have three young girls so it had to be durable.... and this is definitely durable. Thanks you so much for the great plans. It felt great to accomplish this project and we'll enjoy this sofa for years to come!!
My first build, easy and fun. Finished in a weekend . Added handles to help my little man. He loves it, and so do I
Ana white.com
I needed something to hang above my scrapbook table to hold alot of heavy albums and supplies. I got instruction from Ana's General Store Cubbies plan but I modified it to 48" long since the boards were already 48" long. I went with 30" tall so it would hold the 12"x12" format scrapbooks comfortably. I hadn't bought my pocket jig at this point yet so I just used glue and screws stratigically so they are mostly hidden. I already had some trim so I threw some of that on there to cover a couple flaws.
I then made the bulletin board hanging below it. It is a ceiling tile cut in half and painted the wall color. I used the miter saw (yikes!) and even made some awesome 45 degree joints for the frame! Before I added the frame, I fastened some ribbons criss-crossed to tuck things behind. This picture doesn't show the final addition: some undercabinet lighting.
Now I just need to build a new TABLE to go under it!
This was my first build and I definitely learned alot about the new pocket hole techniques. Nothing too technical about it except I made things more difficult by adding a metal bedframe kit because I was in a hurry to finish because of some company arriving. The only issue is that you can see the support legs of the bed frame kit so I'm sure I will dissassemble it once the company leaves and build a lumber frame and remove the metal one.
Otherwise, the only two variations from the Ana White plan was that I added the Arch trim board and I also used 1.25" sheetmetal screws on either side of the pocket holes that attach the verticle boards. I pulled the boards up tight to the horizontal trim boards and made a cleaner line. I also learned to sand and prime every board before assembly next time, there are several hard to reach areas that need sanding once it is assembled.
This bed is built like a tank and is beautiful.
Wanted a new computer desk, fits the space perfectly, clean and simple lines with a beautiful natural wood and white finish. LOVE HOW IT TURNED OUT
This is my take on the Narrow Cottage End Tables. Painted the bottoms and stained the tops. Added the shelves towards the bottom for added storage and stability. The bottom shelf is 'let in' around the inner legs. The shelf boards rounded over to give them a batten look.
Birthday present for the fiancée. I think it was a hit! :)
Thanks for the plans!
I cut my pieces and spent hours sanding to get a smooth finish on each board. After the paint/finish I assembled the pieces in the house so I could use the floor as my flat even surface. I read quite a few comments on Facebook about the tables ending up with a wobble so here is how I avoided that.
Warning! When choosing the boards for this project, be picky. Make sure the 2 pieces in the middle of the table top are flat and not bowed or warped. These are the pieces that the legs are mounted against. With any variation the table will wobble. After screwing the table top boards to the table supports I attached the legs to the table support with ONE screw first. Next I flipped the table over onto a flat surface (top side up) to adjust the legs and then I secured them in place with the remaining screws. Note: I used my legs wrapped around the table legs to hold in place while I was putting in the rest of the screws. My table does NOT wobble, YAY! Everything else went smooth and I love the table.
We had SO much fun turning our existing old play structure into a fun, beach-themed "treehouse". Without Ana's plans and brag posts from others who also built a playhouse, my husband and I would have never attempted this. We are thrilled with the outcome and our kids just adore there fun little home away from home. Thanks Ana!!
Sun, 06/09/2013 - 12:52
You did such a great job. I love all of the special touches for the beach theme.
Thecreativityexchange.com did such a great job with the original project, so of course I had to give it a try! I had only a few minor adjustments in size. I made this one 8ft X 8ft and only using one sheet of pegboard. My amazing wife stained it too with English Walnut!
Comments
Ana White Admin
Tue, 04/28/2015 - 20:04
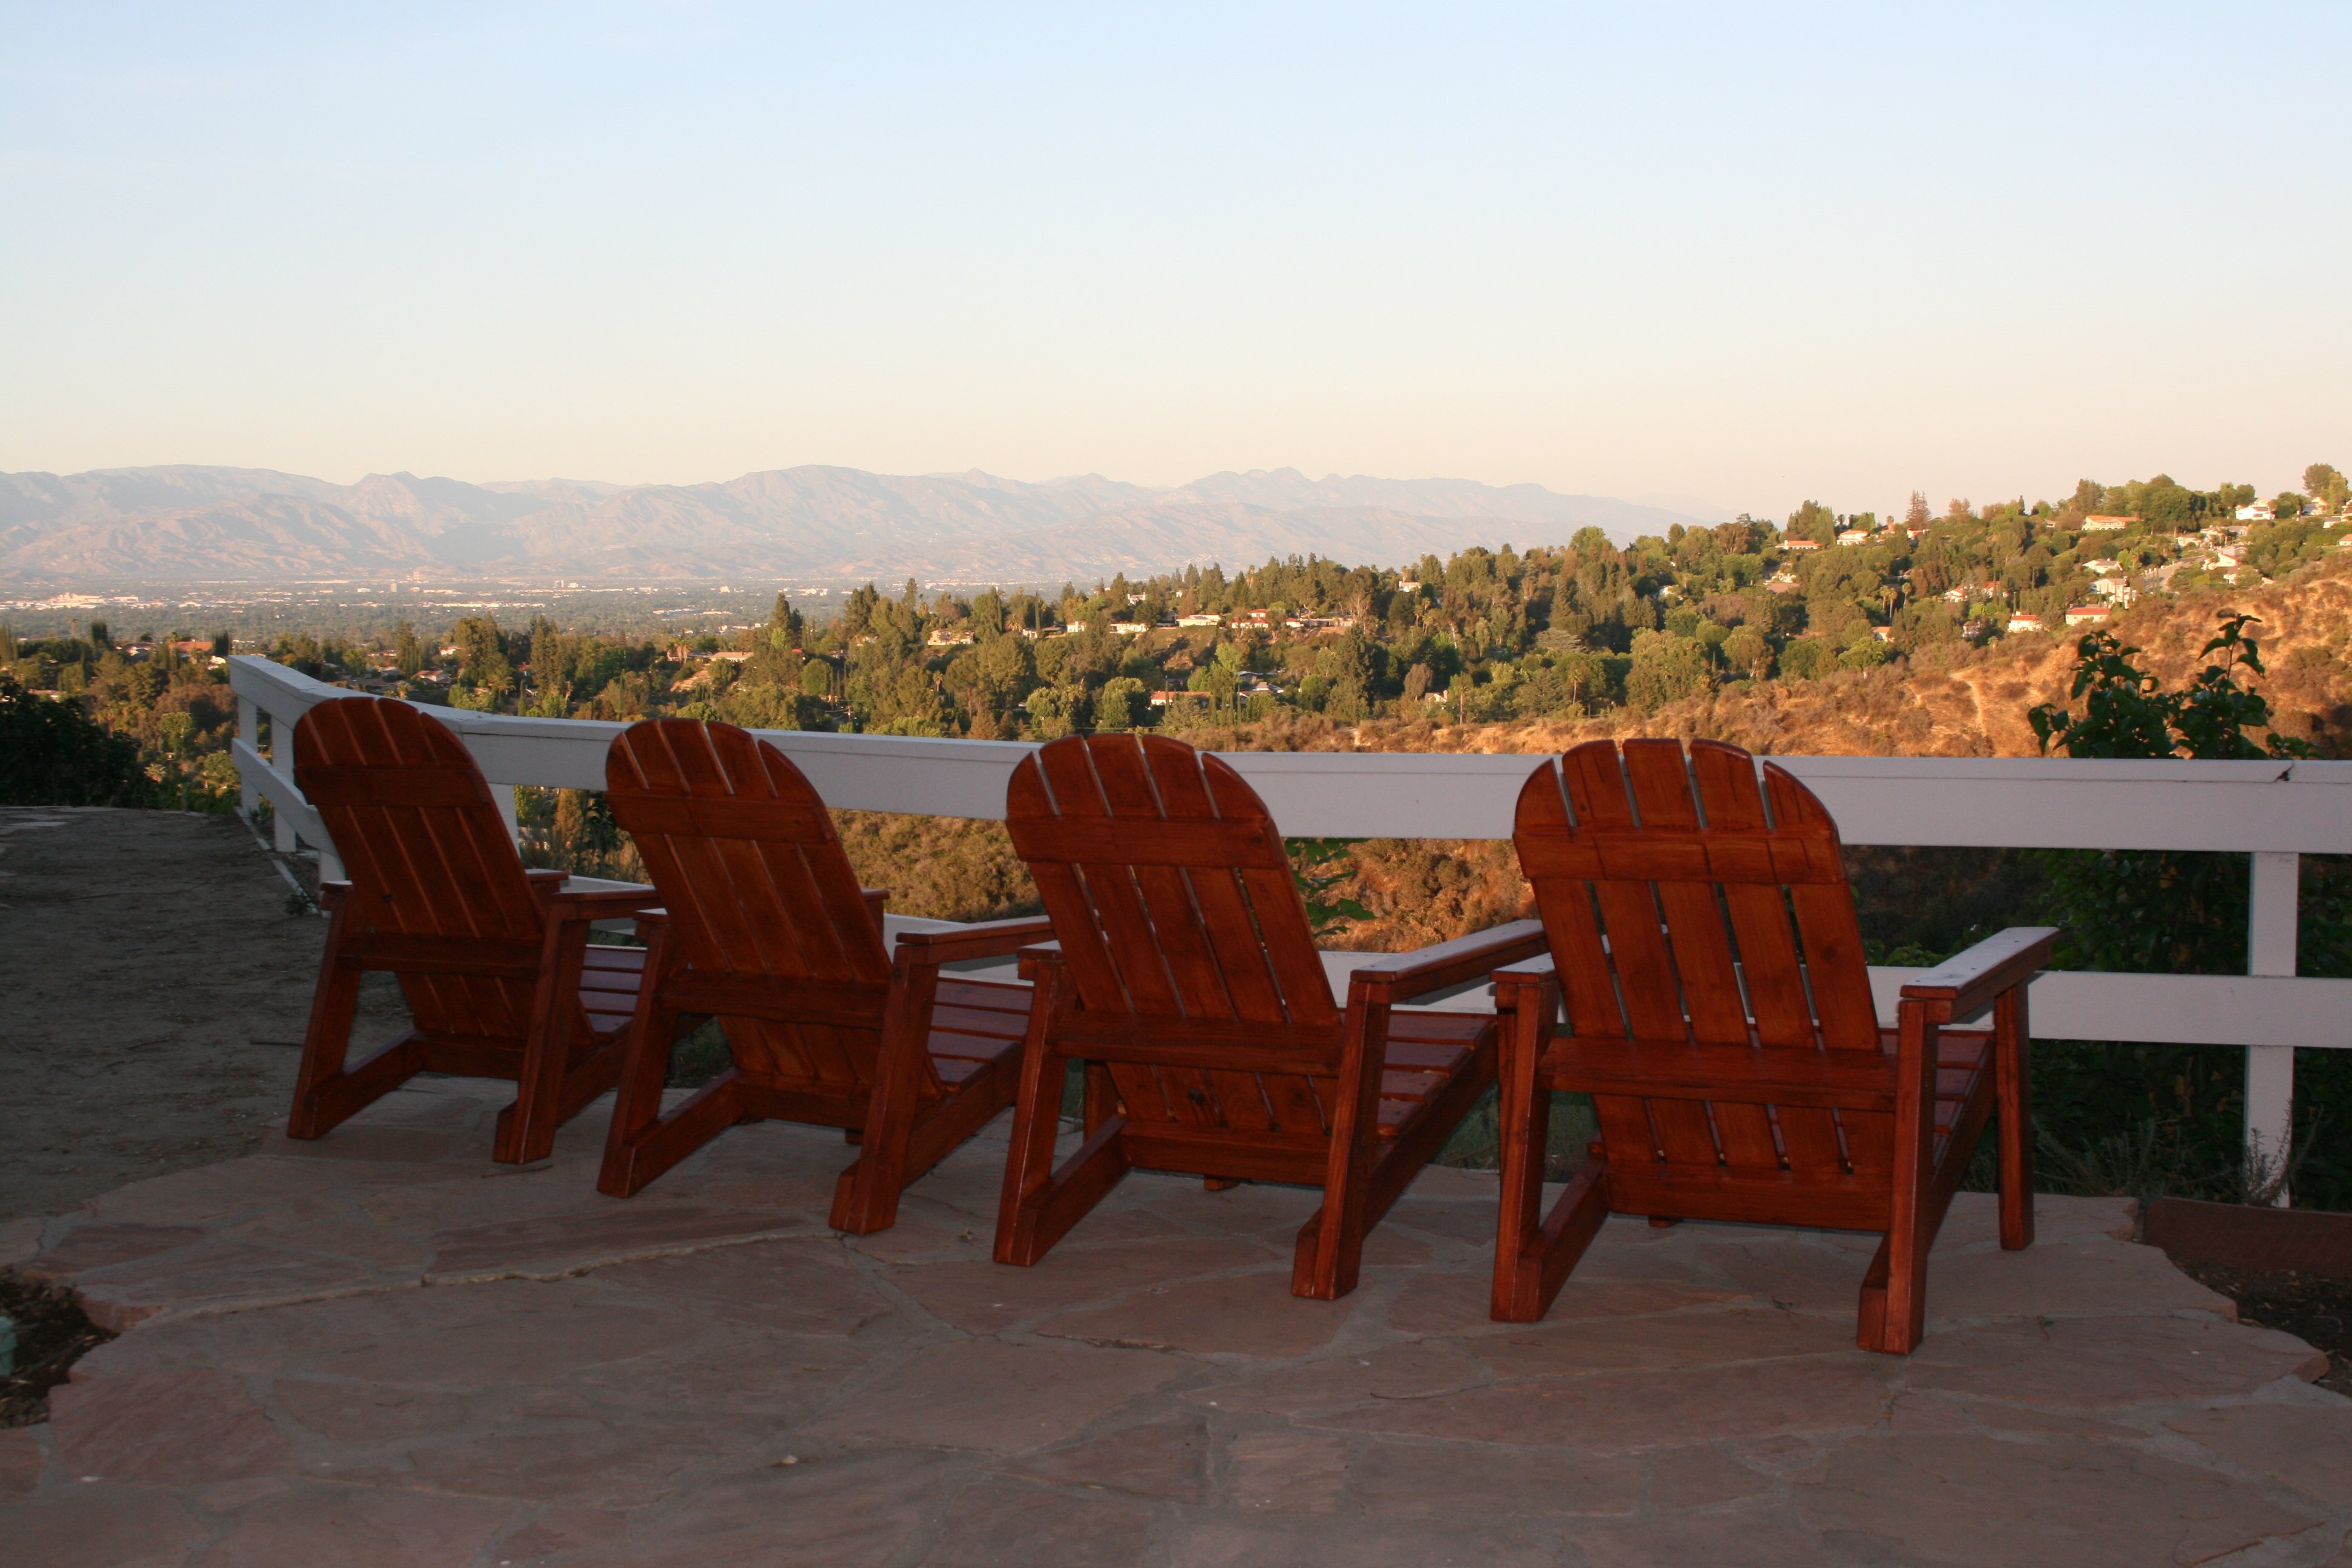
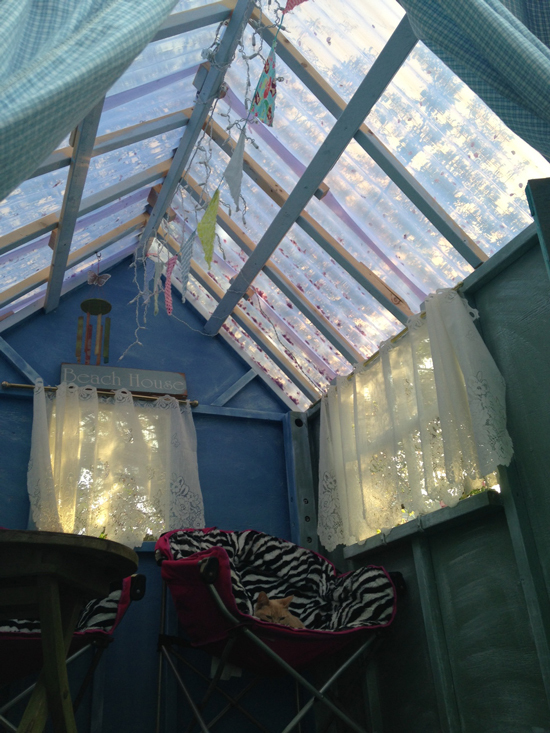
Dreamy!
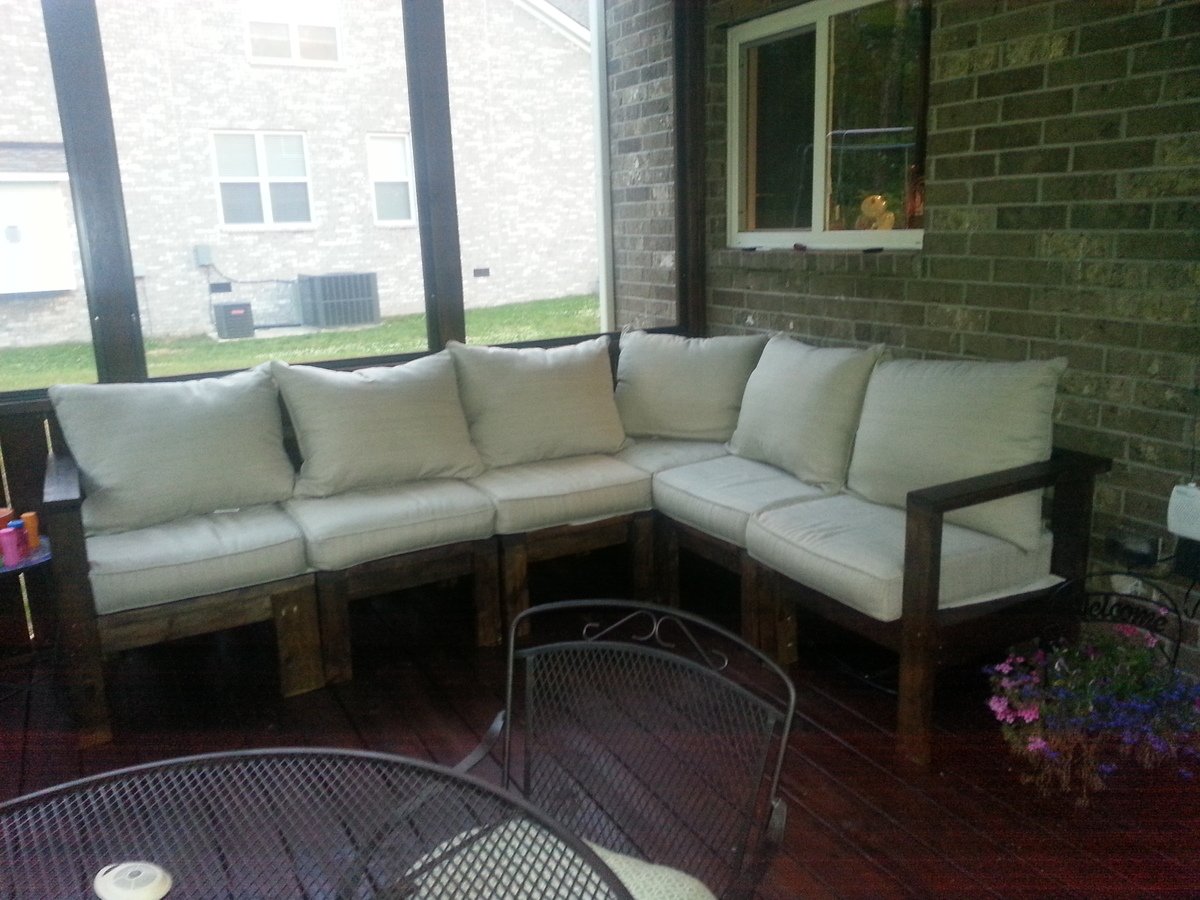
Yeah, I could sit there for hours!
handmadewithash
Wed, 04/29/2015 - 04:53
wow, I'd love to sit with a
wow, I'd love to sit with a view like that too!