Community Brag Posts
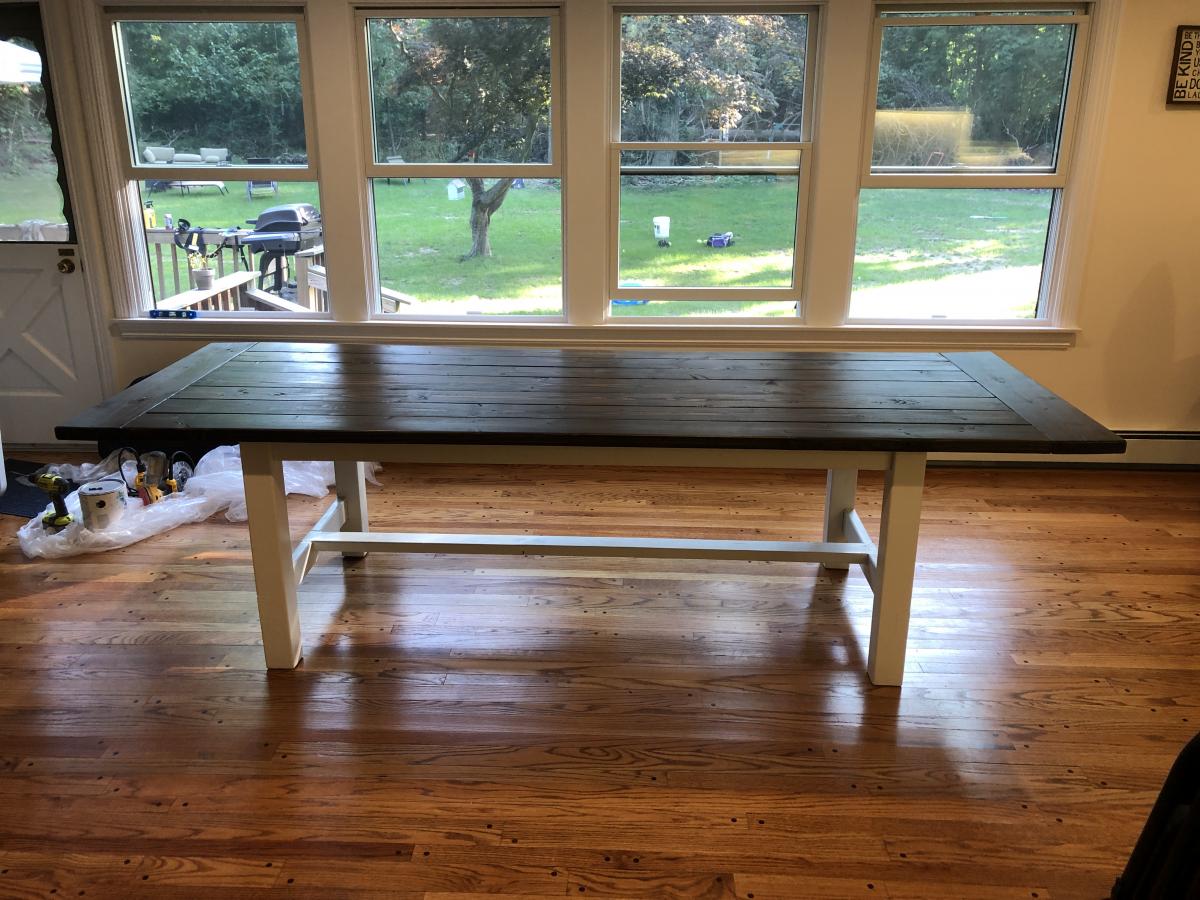
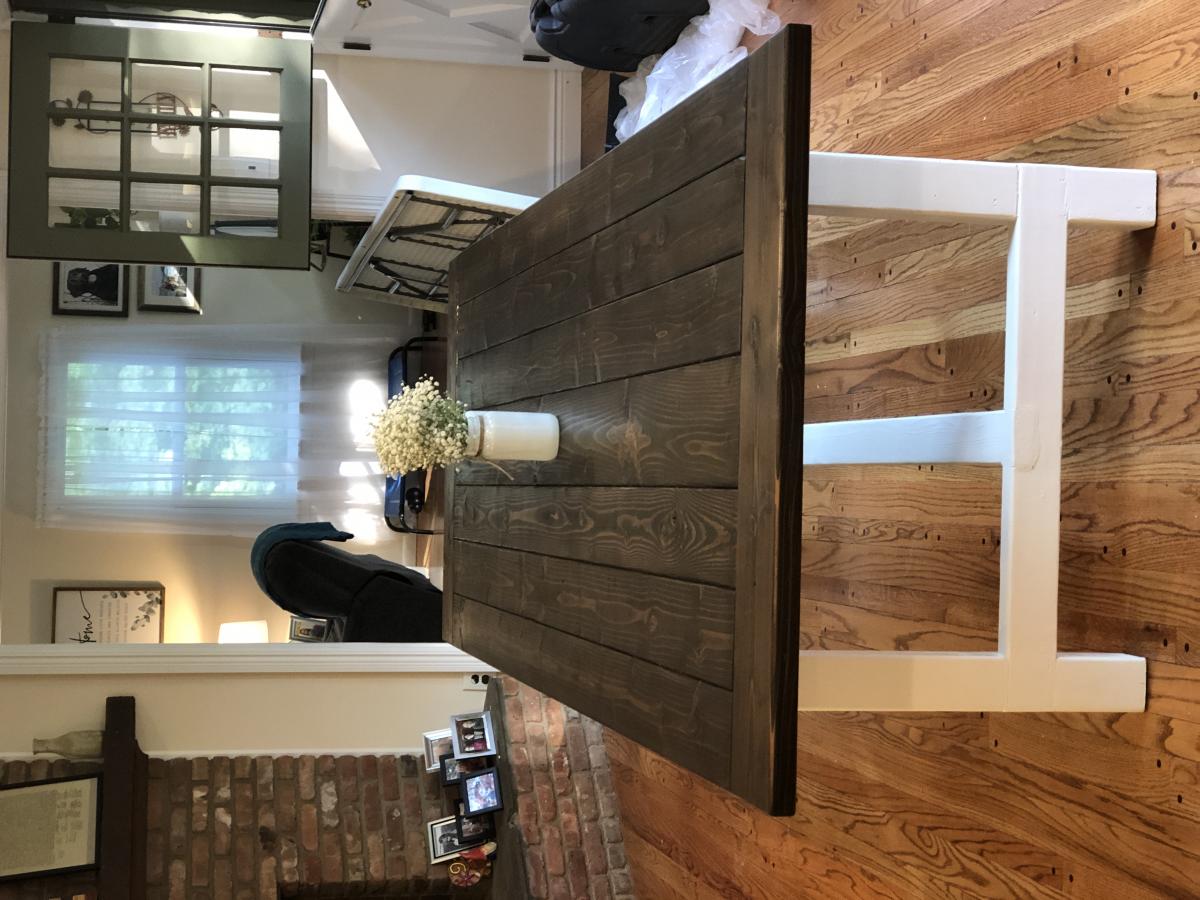
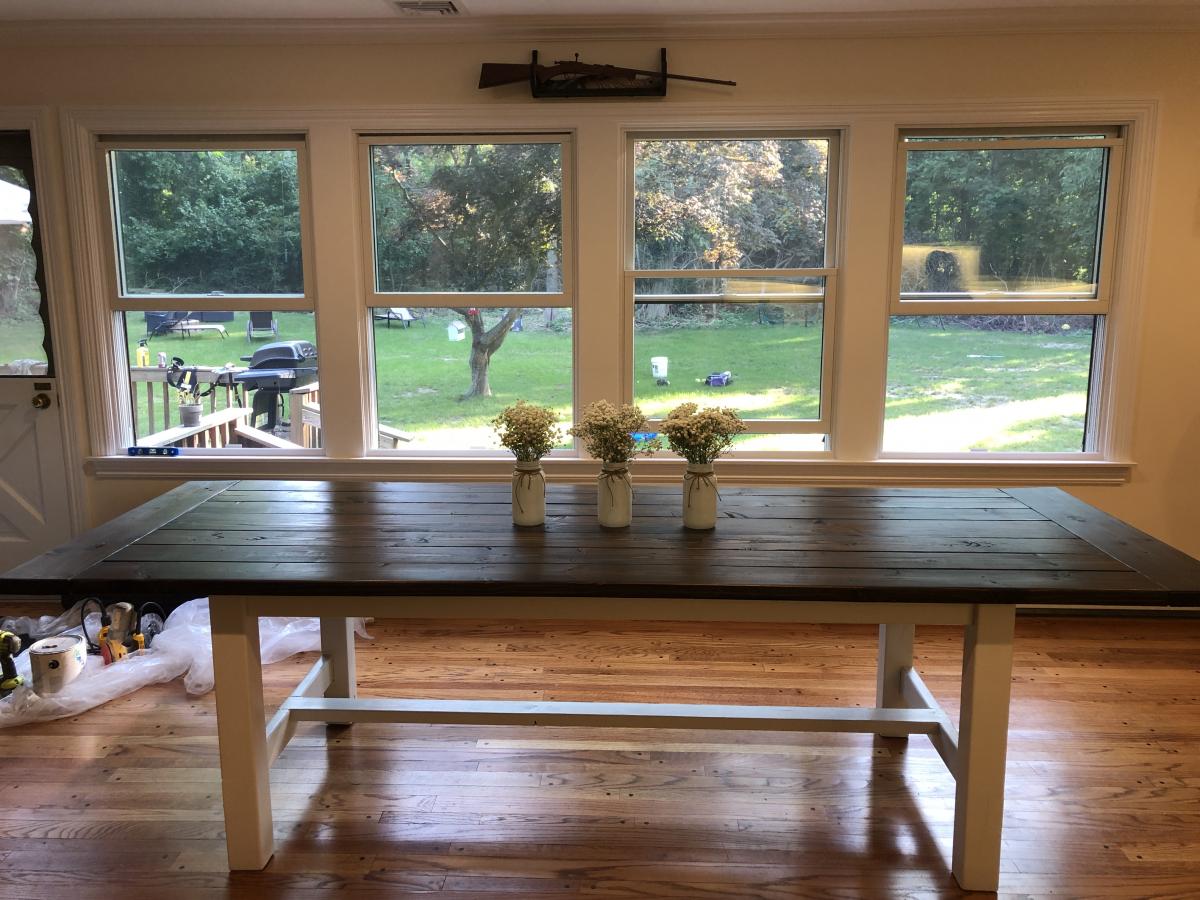
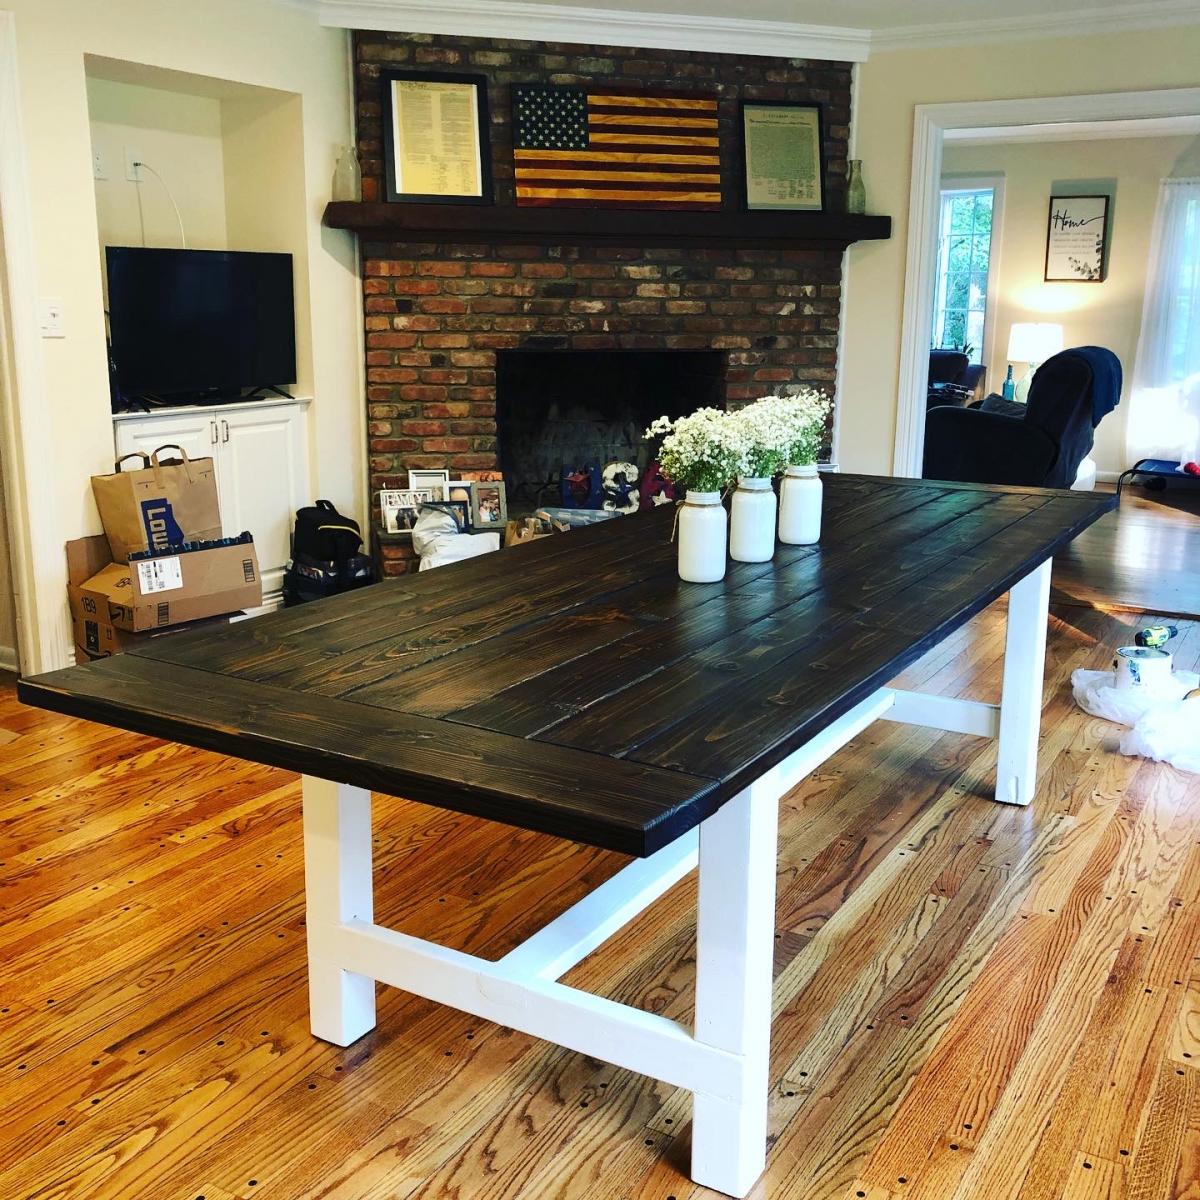
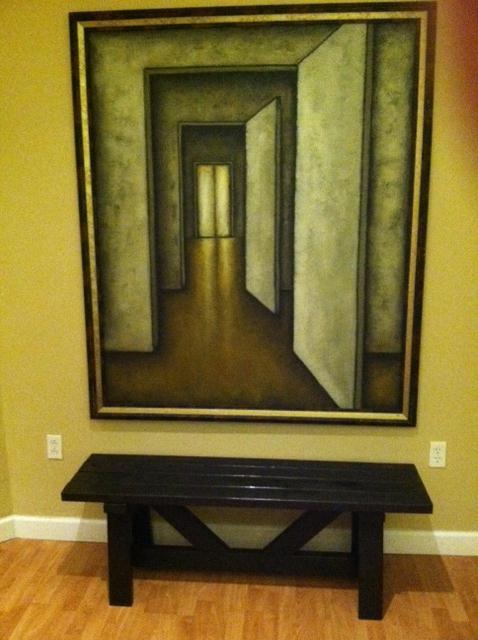
Farmhouse Table with Pocket Holes
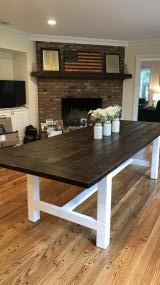
I used the plans for the base but made the table 10 feet long. Came out GREAT!
Built from Plan(s)
Estimated Cost
250
Estimated Time Investment
Weekend Project (10-20 Hours)
Recommended Skill Level
Intermediate
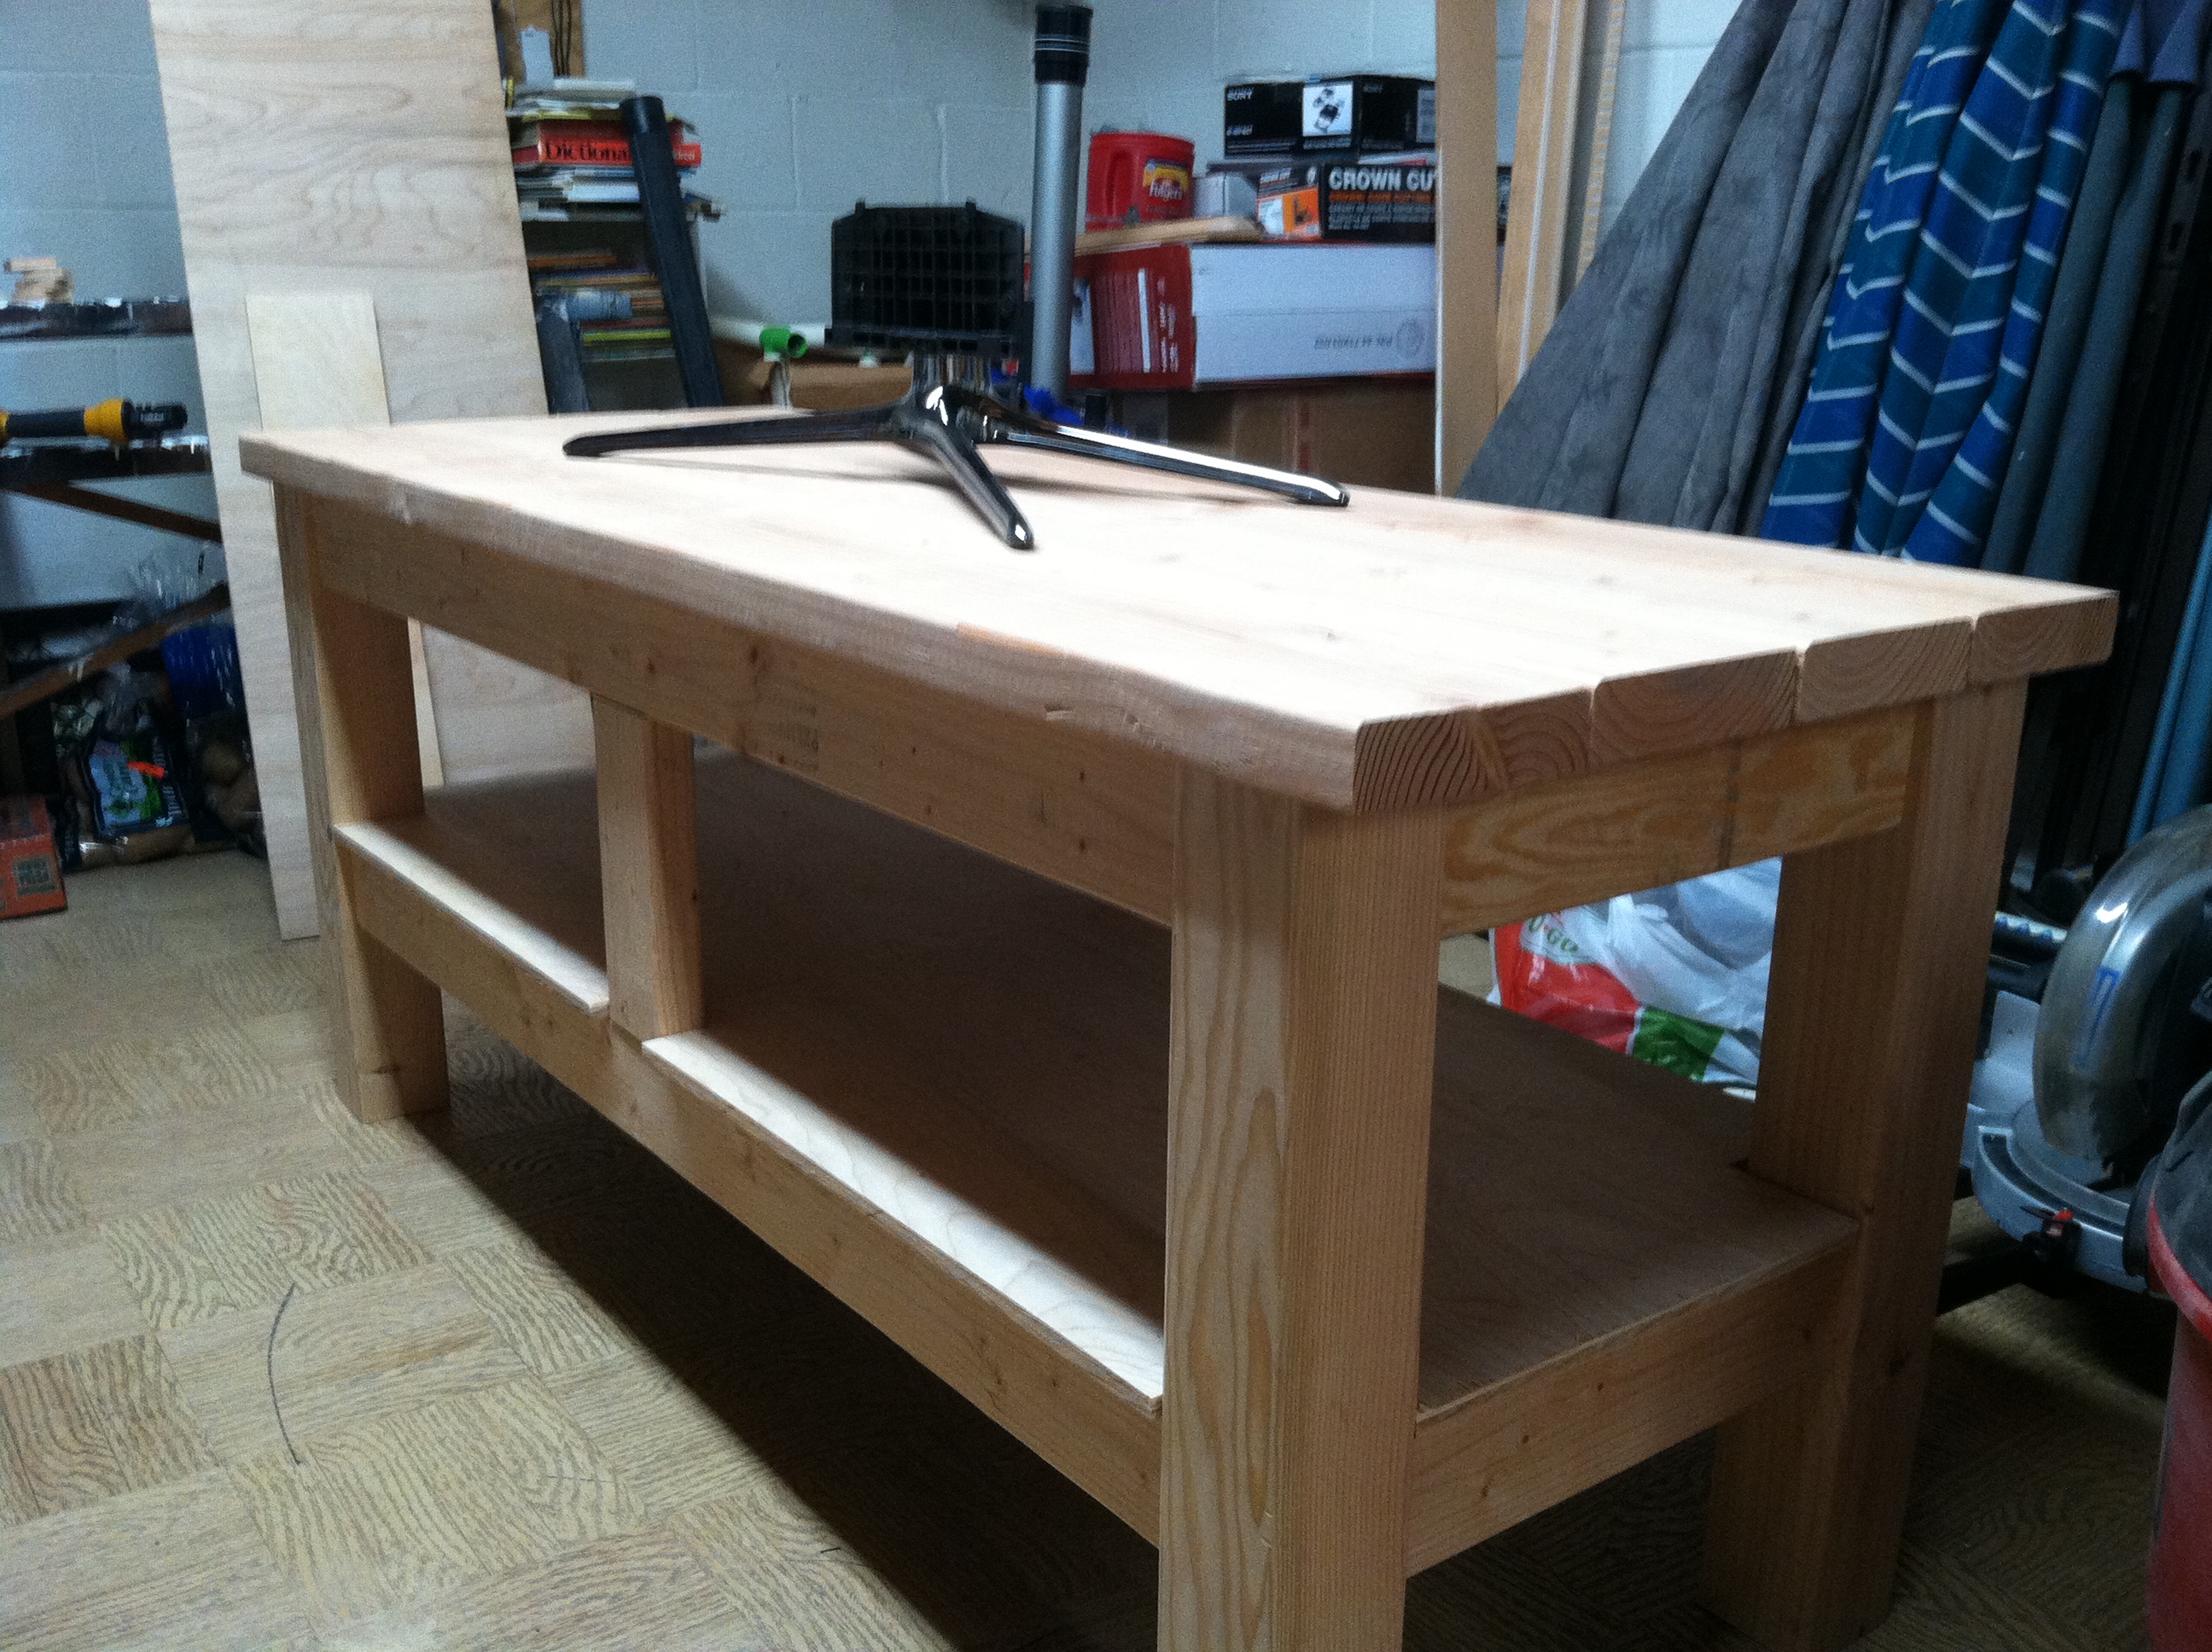
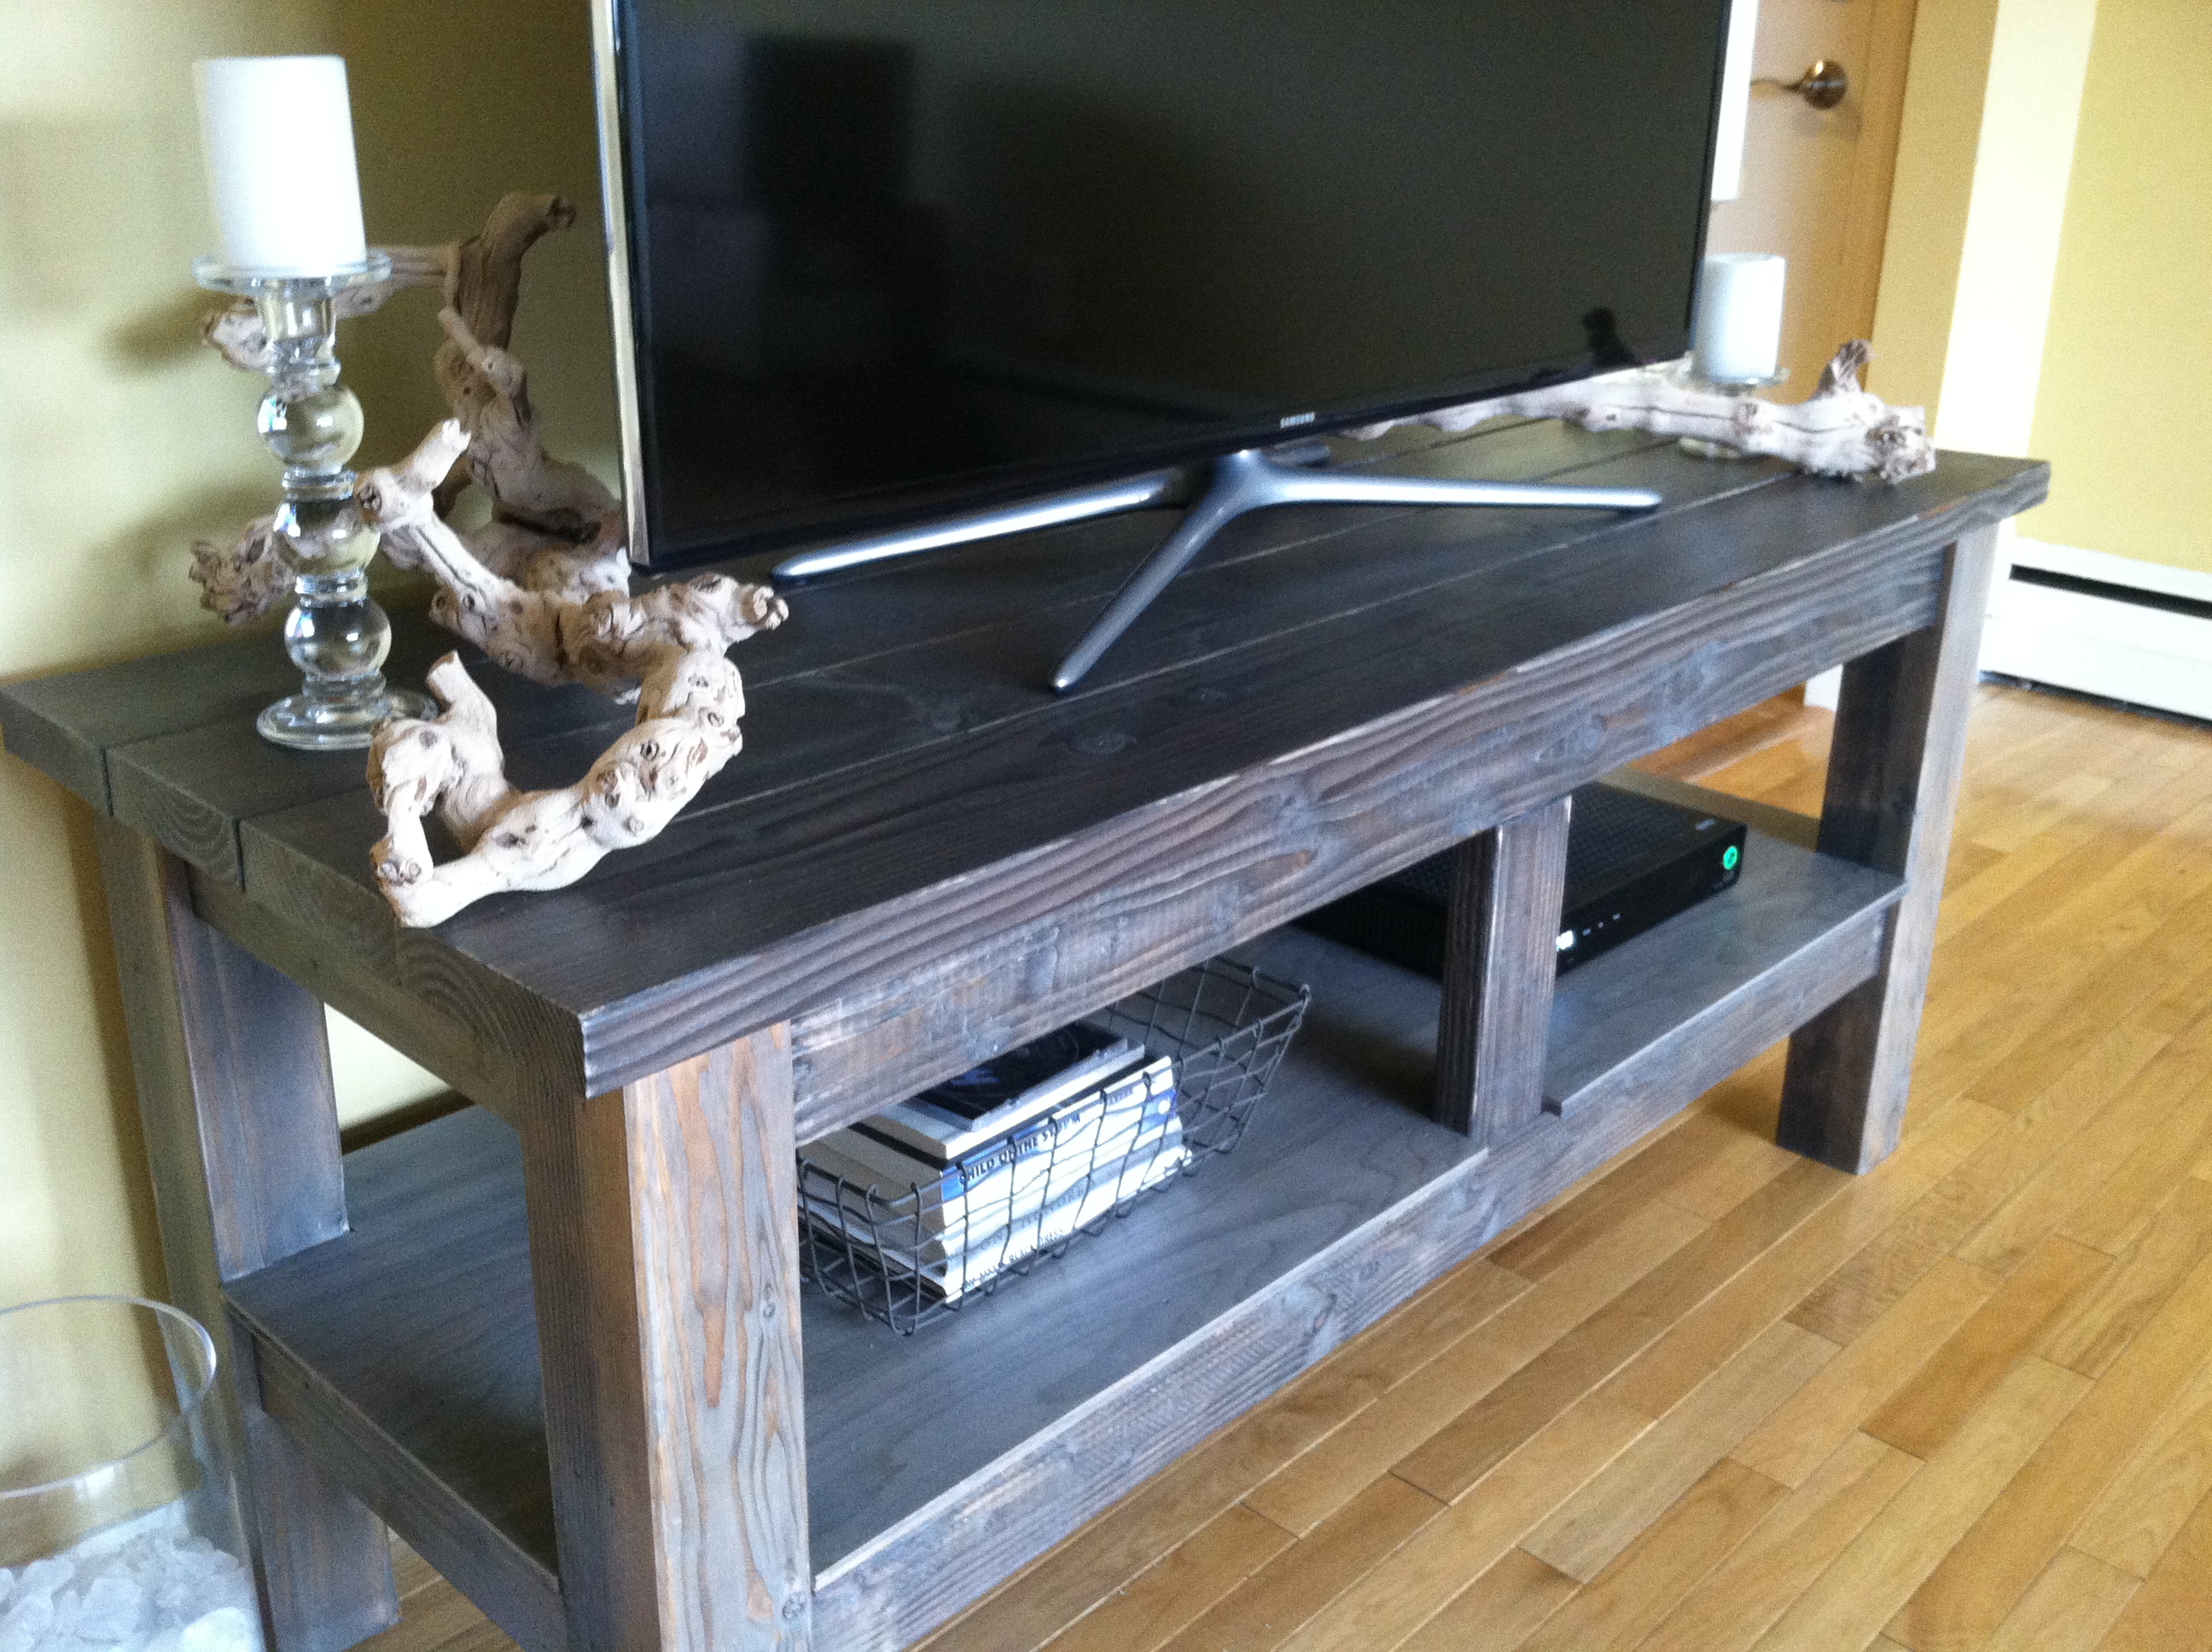
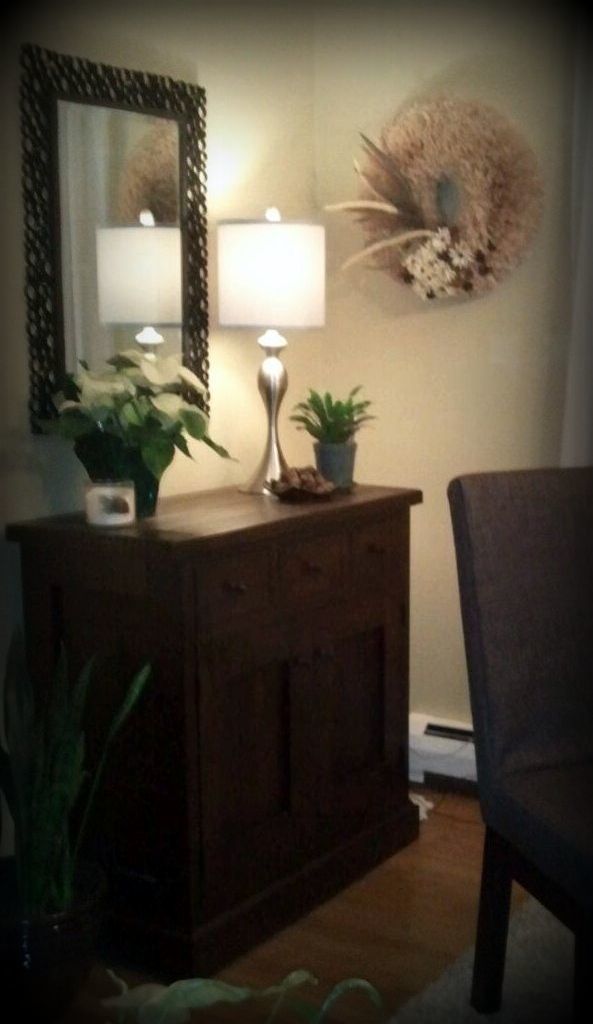
Taylor's Console Table
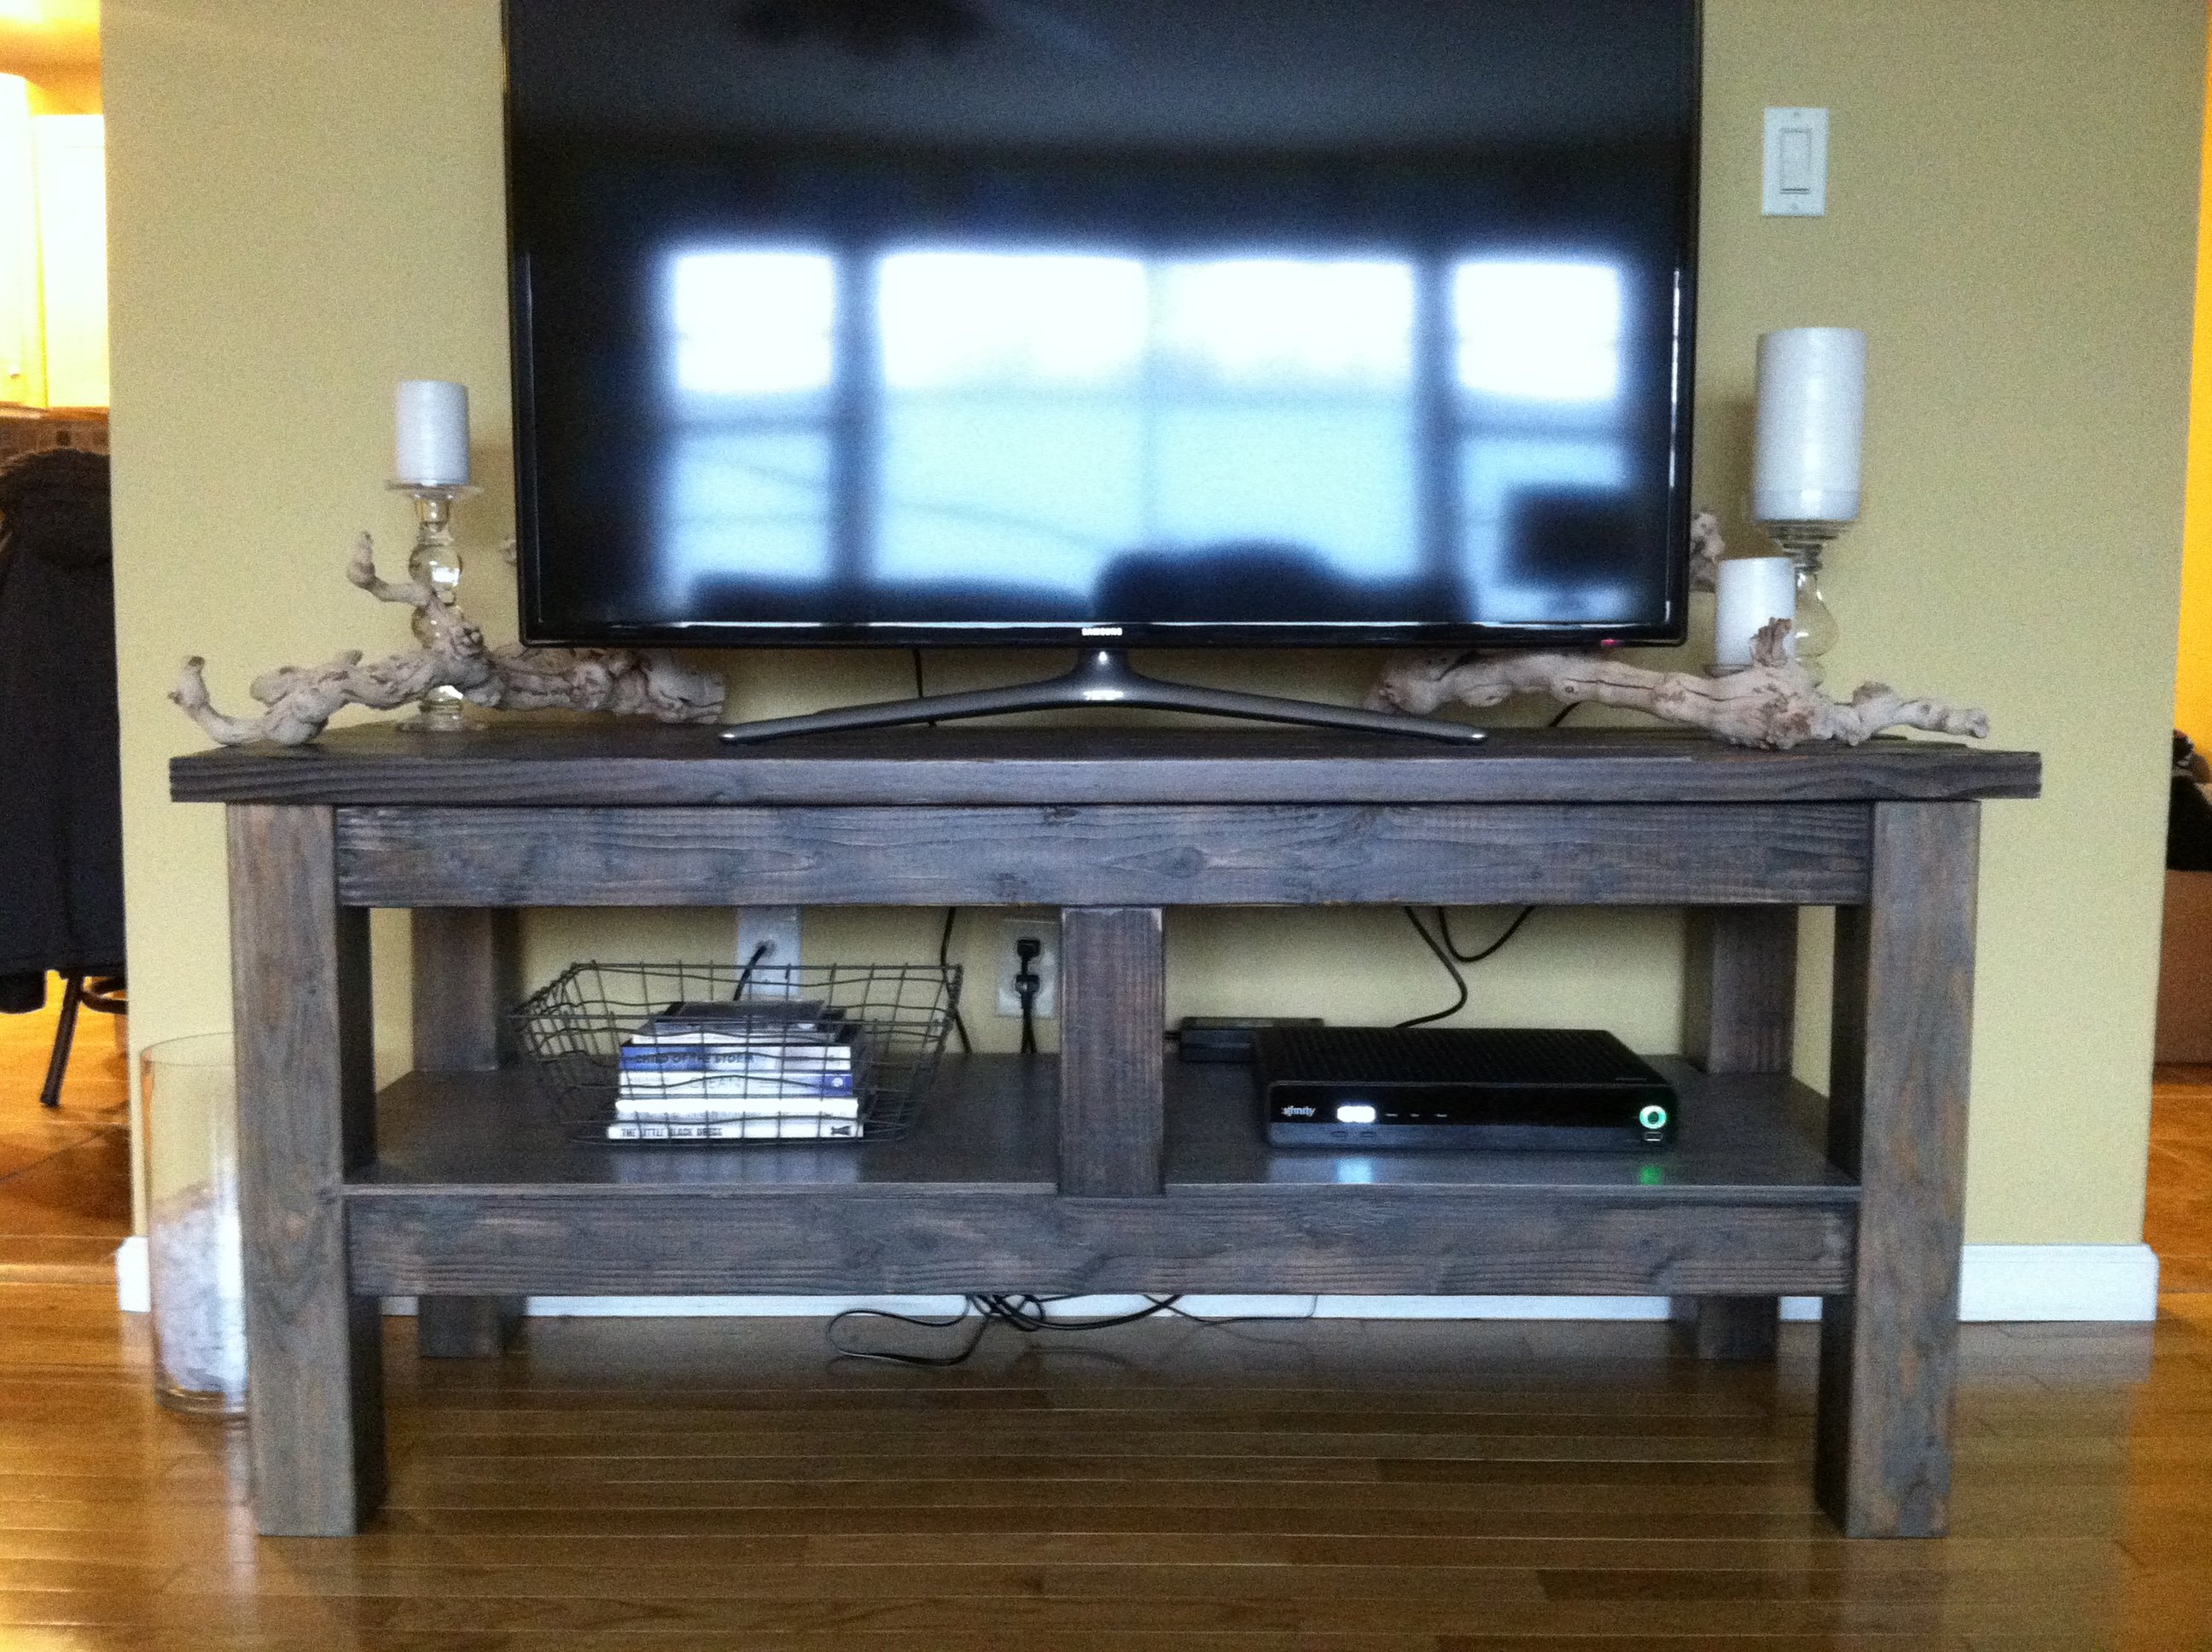
This was a easy build and lots of fun to build! I pretty much followed the plans for this piece. The only thing I didn't add were the wheels on the bottom of the legs. Because I was using this mainly as a TV stand, I wanted it to not be moved. In the future if the TV goes up on the wall, I'll add the legs. Thanks for the plans!
Built from Plan(s)
Estimated Cost
Probably around $75
Estimated Time Investment
Weekend Project (10-20 Hours)
Finish Used
Steel wool and vinegar with a poly topcoat. I made a fresh batch of the steel wool mixture so it was a little bit of a lighter brown than normal, which I like.
Recommended Skill Level
Beginner
My first build!!
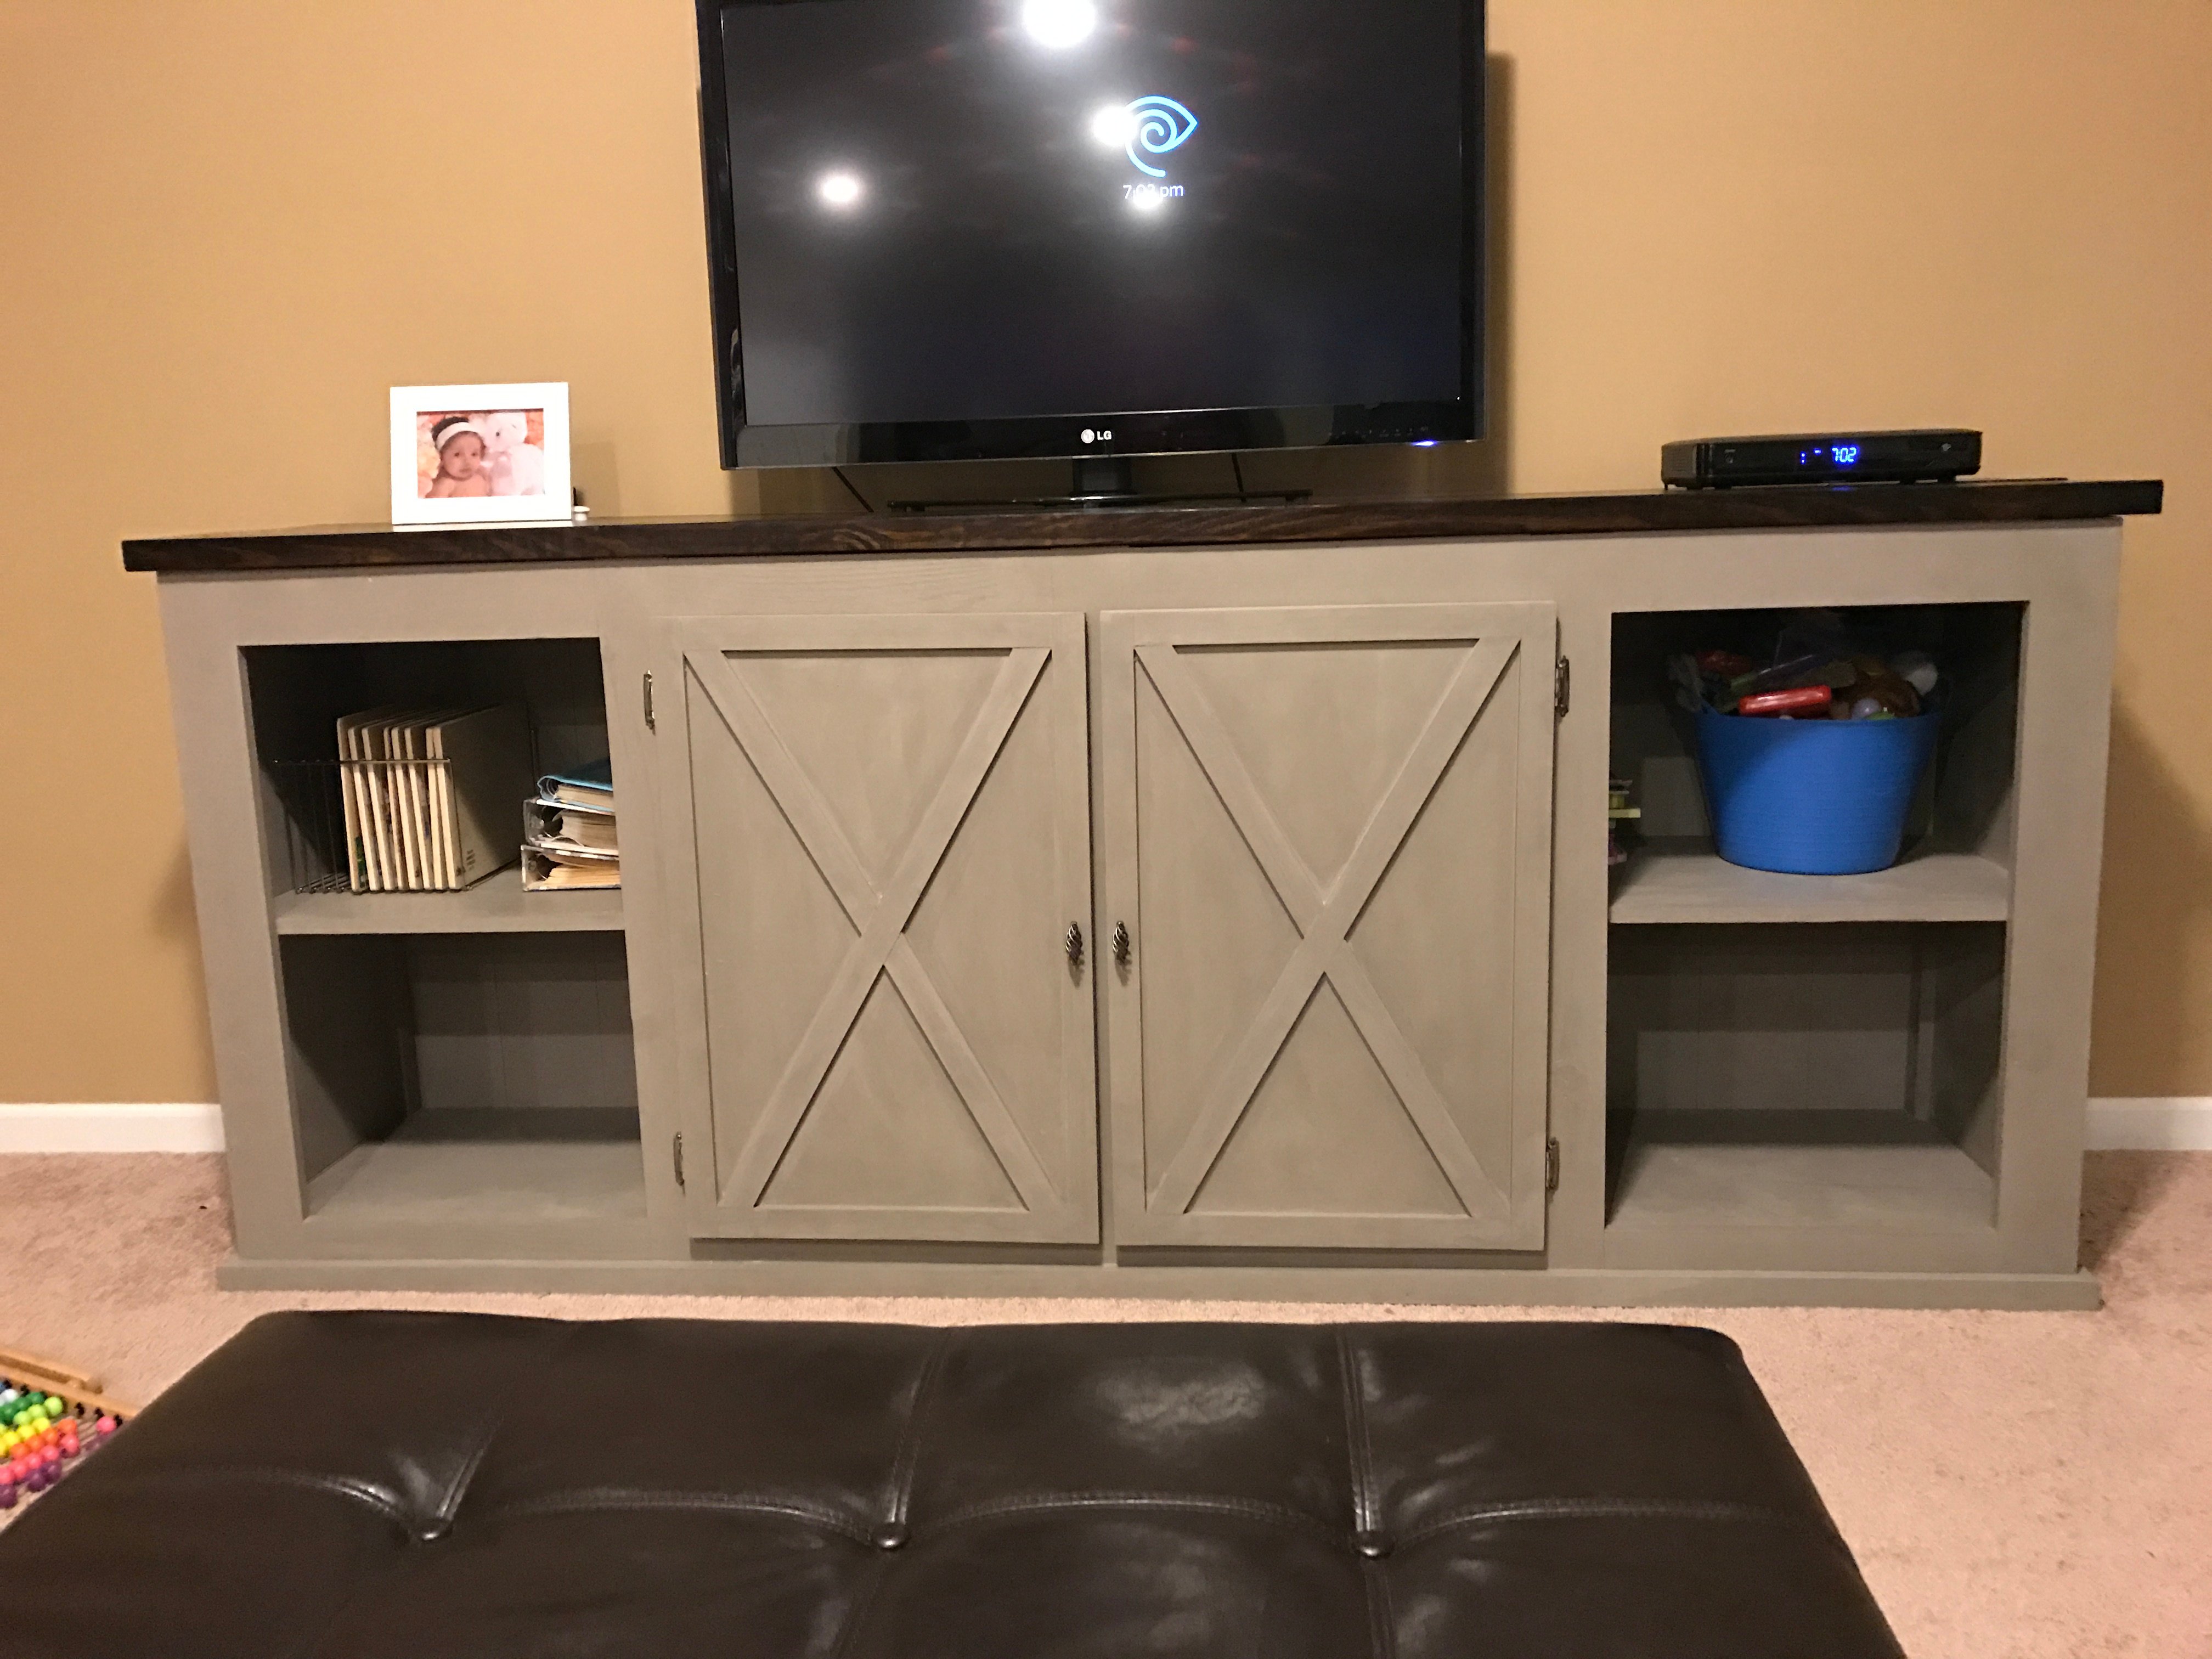
This was my first project. It was fairly easy and has sparked a new interest in building my own furniture going forward. I decided to have my doors hinged instead of sliding, but overall had a lot of fun and love the results!! It turned out great!! Thanks Ana!!
Recommended Skill Level
Intermediate
$5 Recycled Wood Adirondack Chairs
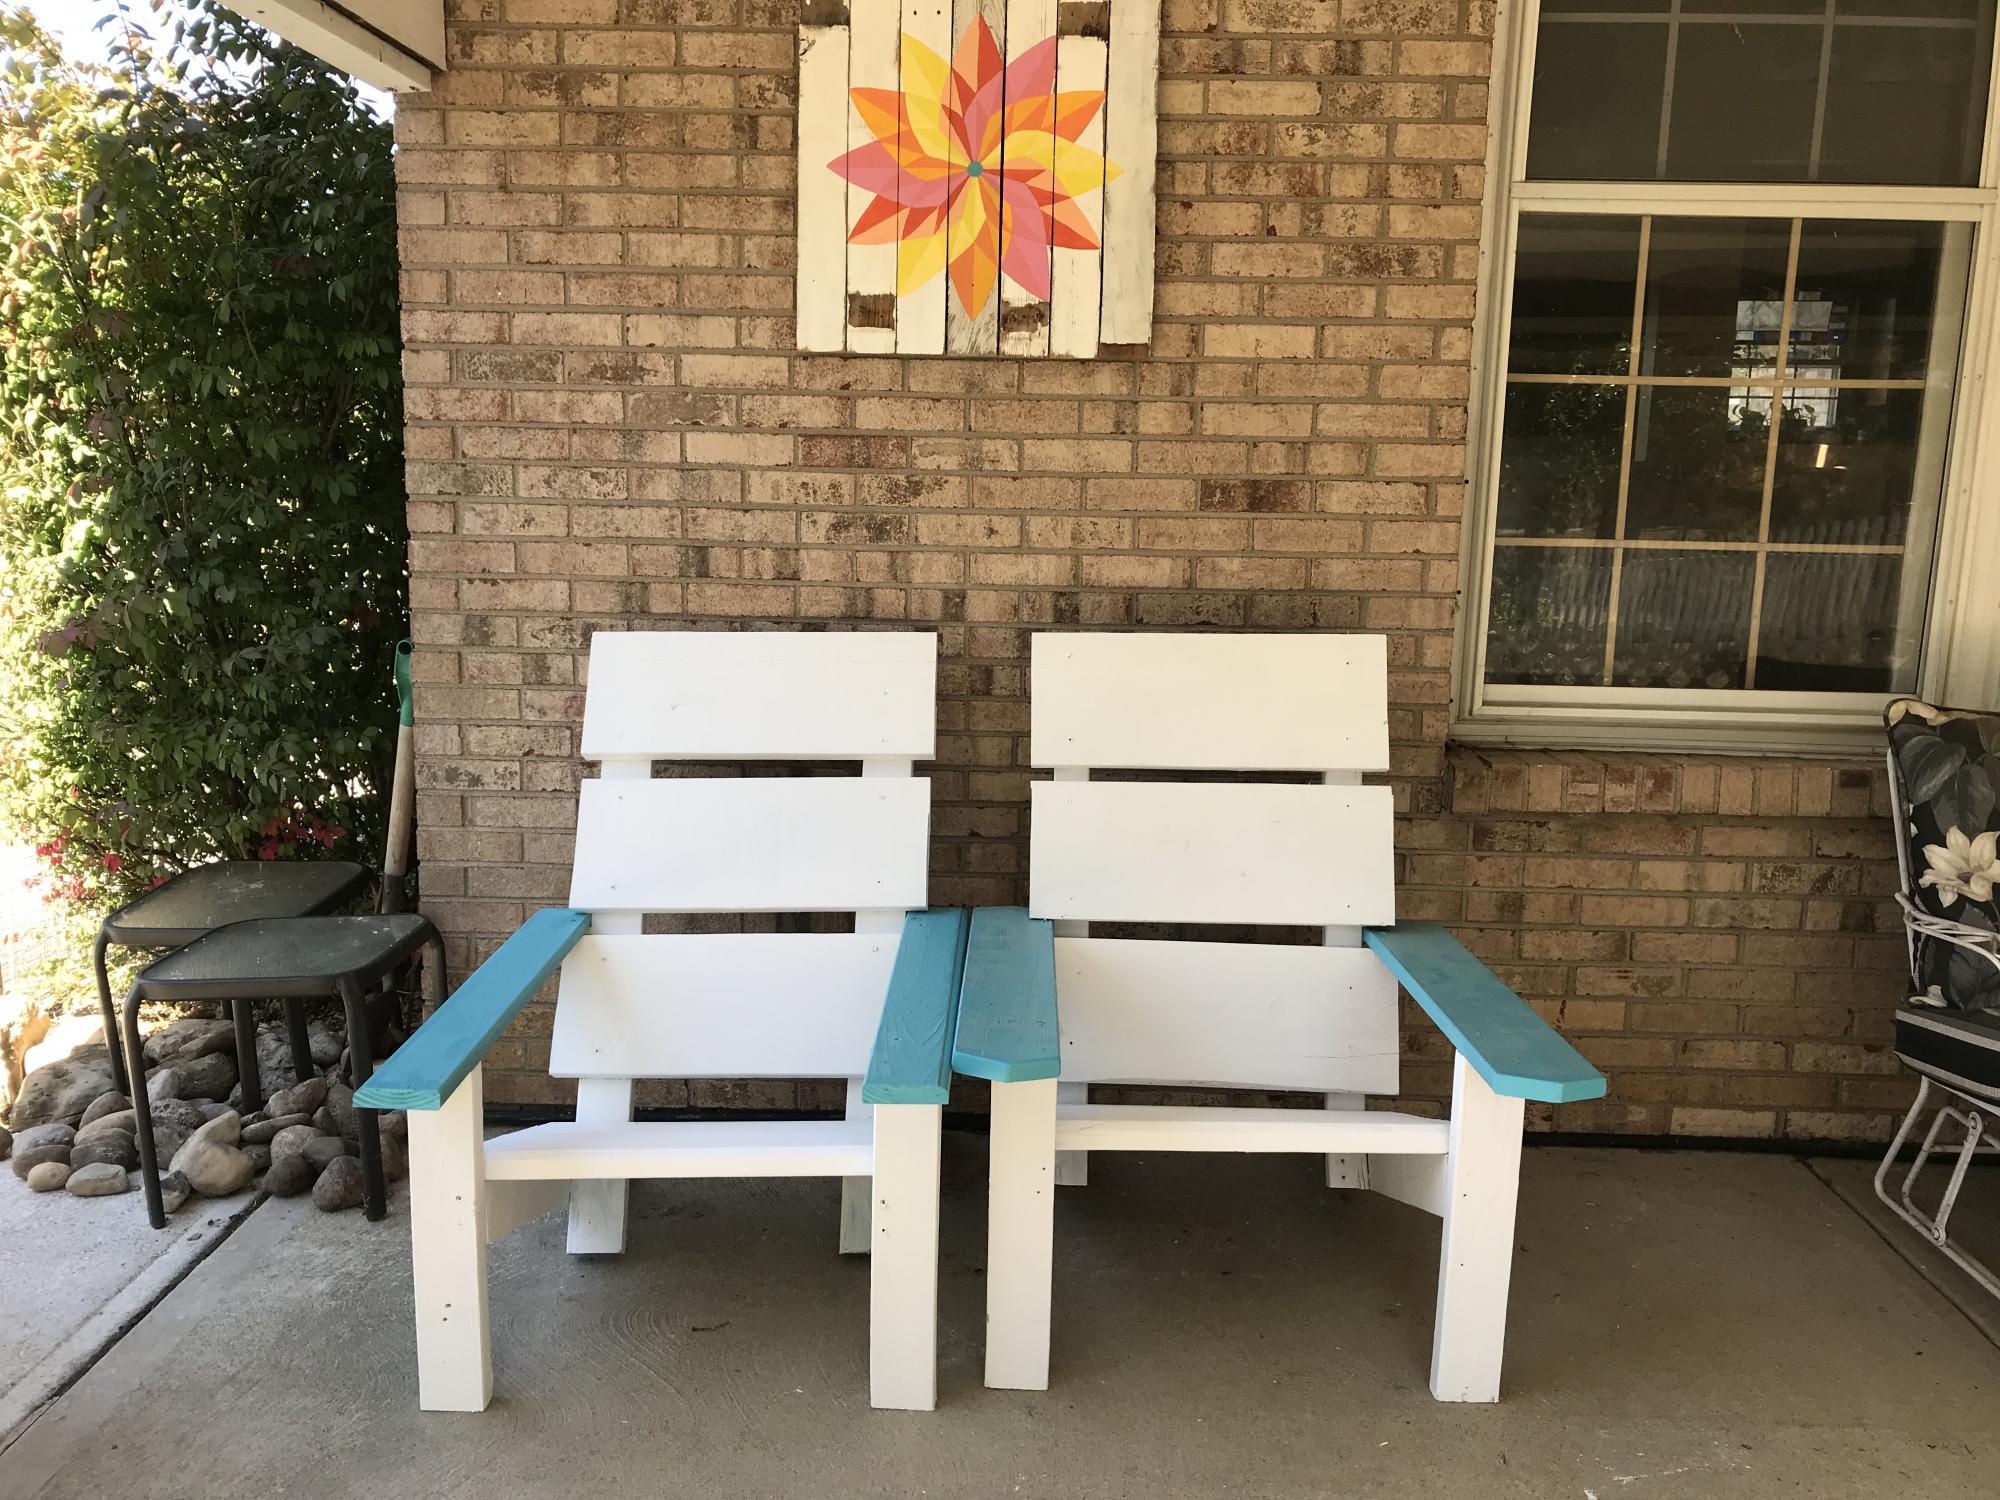
A few months ago I noticed two 2 X 10 X 10s in the damaged wood pile at Home Depot so I snagged them. I am a veteran so I get 10% off on top of the 70% off. The rest of the wood and even the screws and paint were from other projects. Thanks for the awesome, free plans. They are comfy for me at 5'8". Whoop whoop!!
Built from Plan(s)
Estimated Cost
$5 each
Estimated Time Investment
Afternoon Project (3-6 Hours)
Finish Used
The white paint is Behr for fences and the blue paint is named Mermaid Treasure.
Recommended Skill Level
Beginner
Comments
Sat, 10/10/2020 - 11:12
Love that!
Thank you for your service, I am happy to hear you are enjoying them!
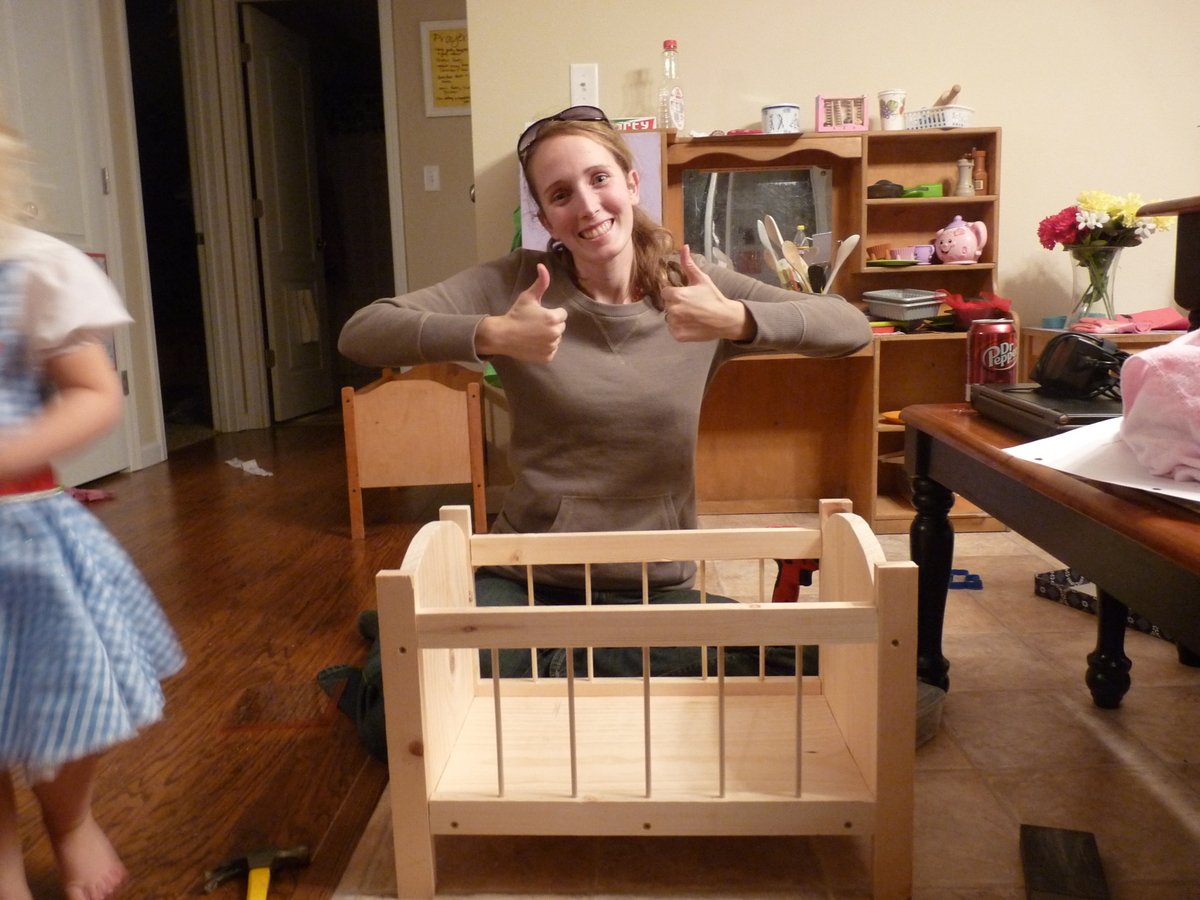
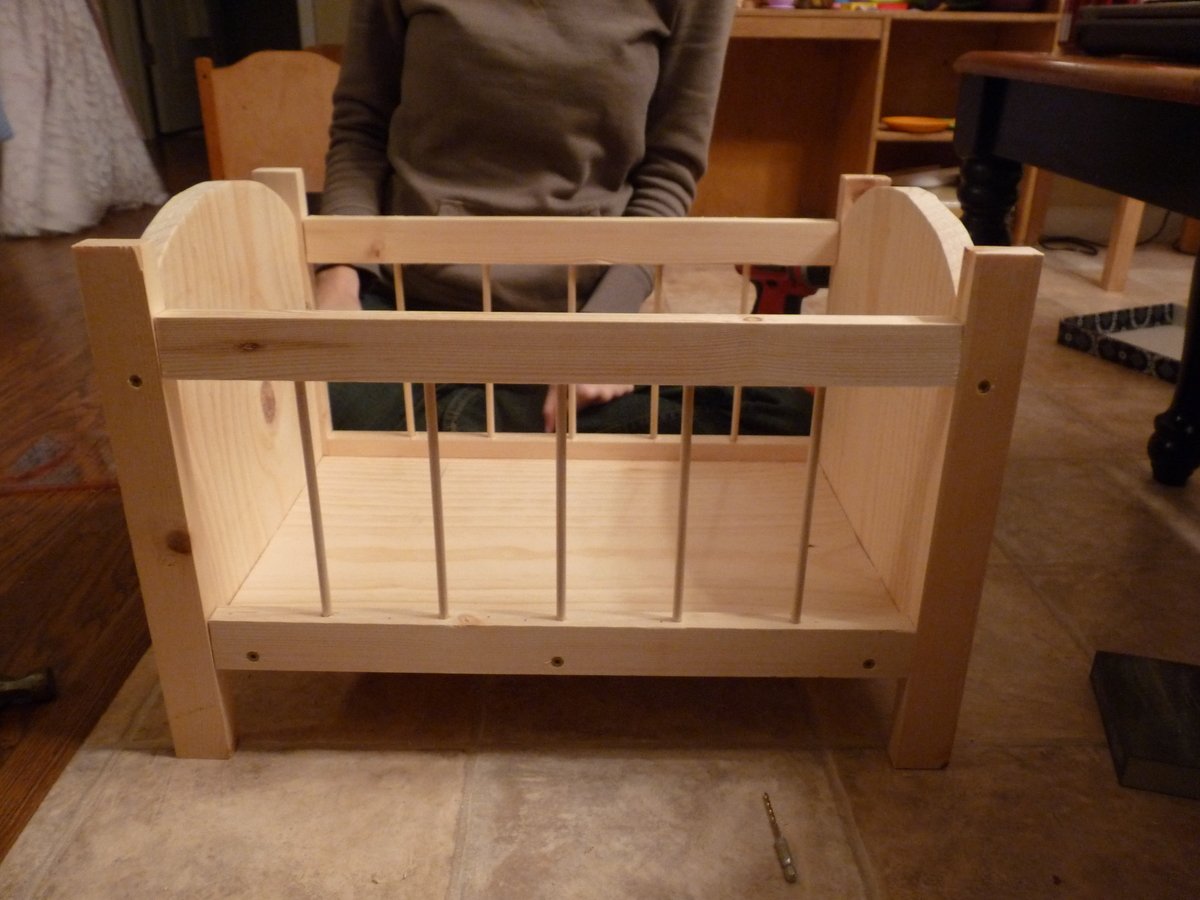
Annabelle's Doll Crib
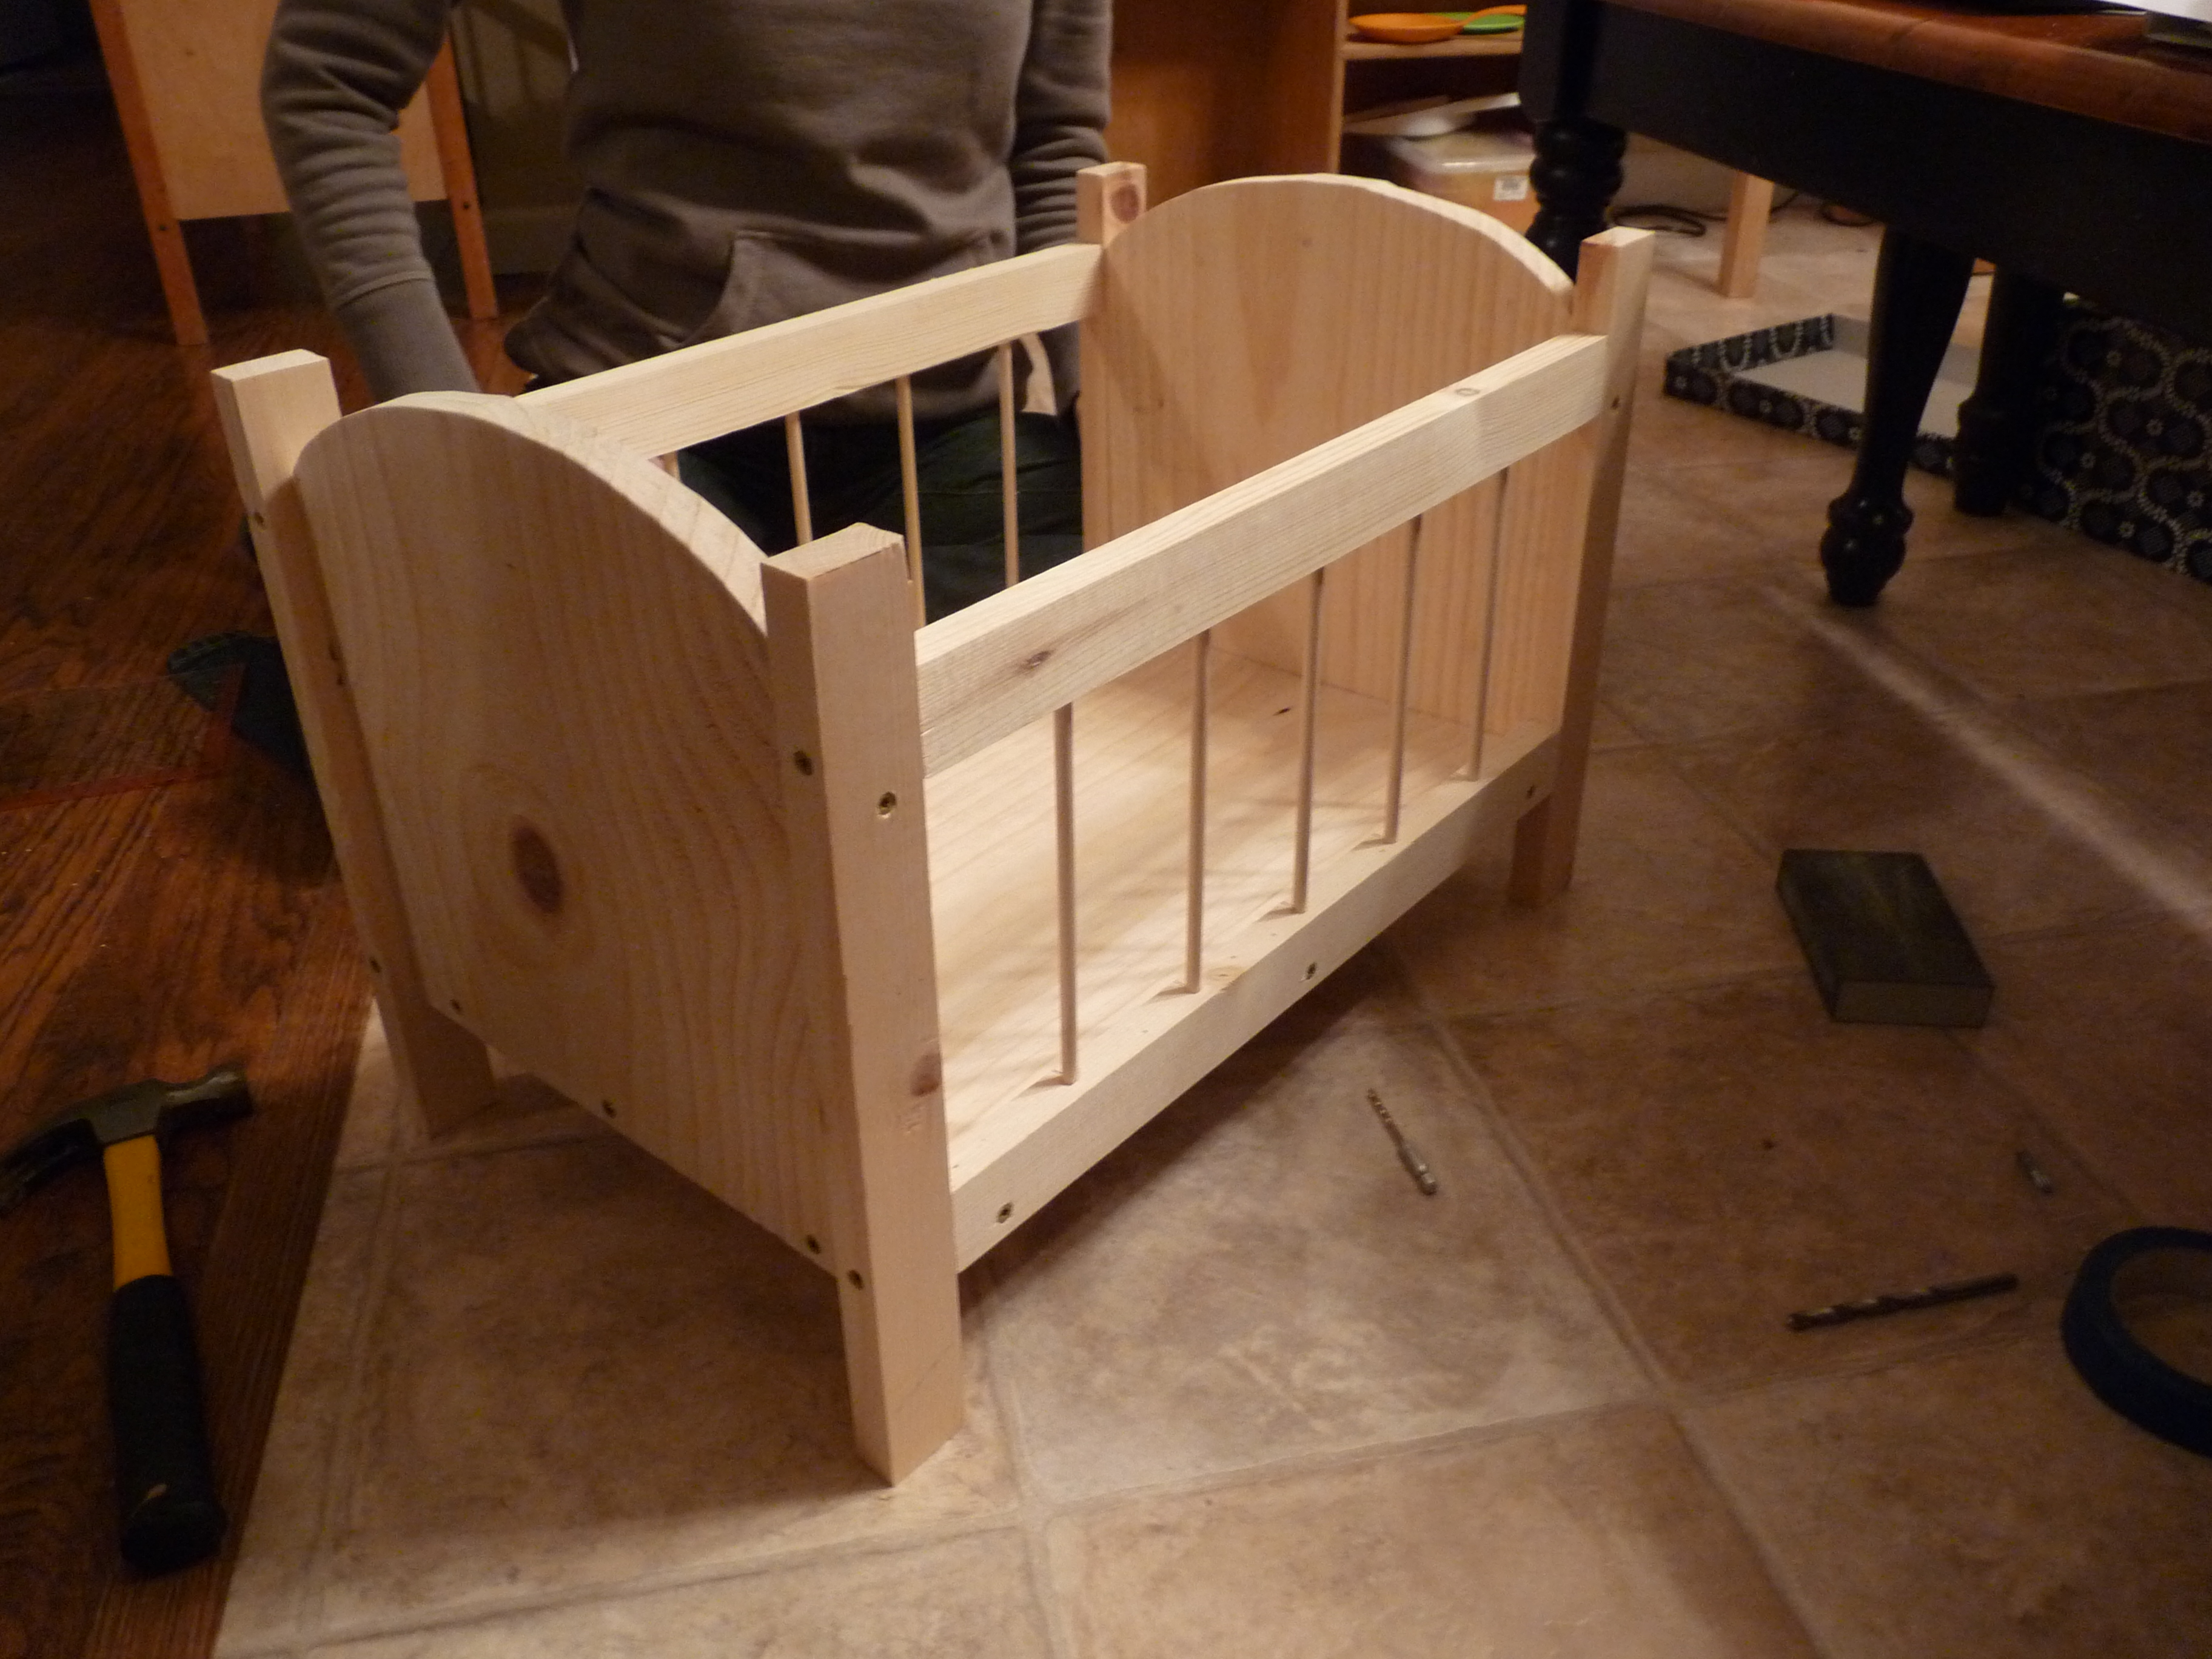
My husband did the cutting and we worked together. Everything was great. We used screws to attach the sides instead of finishing nails because we didn't have the right length.
Built from Plan(s)
Estimated Cost
$20
Estimated Time Investment
An Hour or Two (0-2 Hours)
Finish Used
unfinished
Recommended Skill Level
Beginner
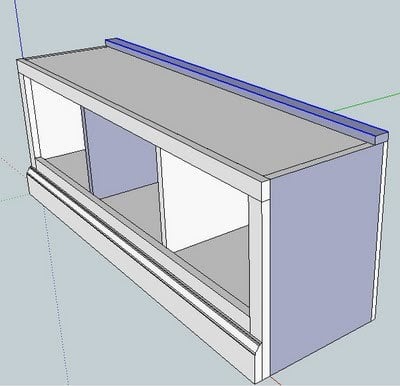
Toy Storage bin box with cubby
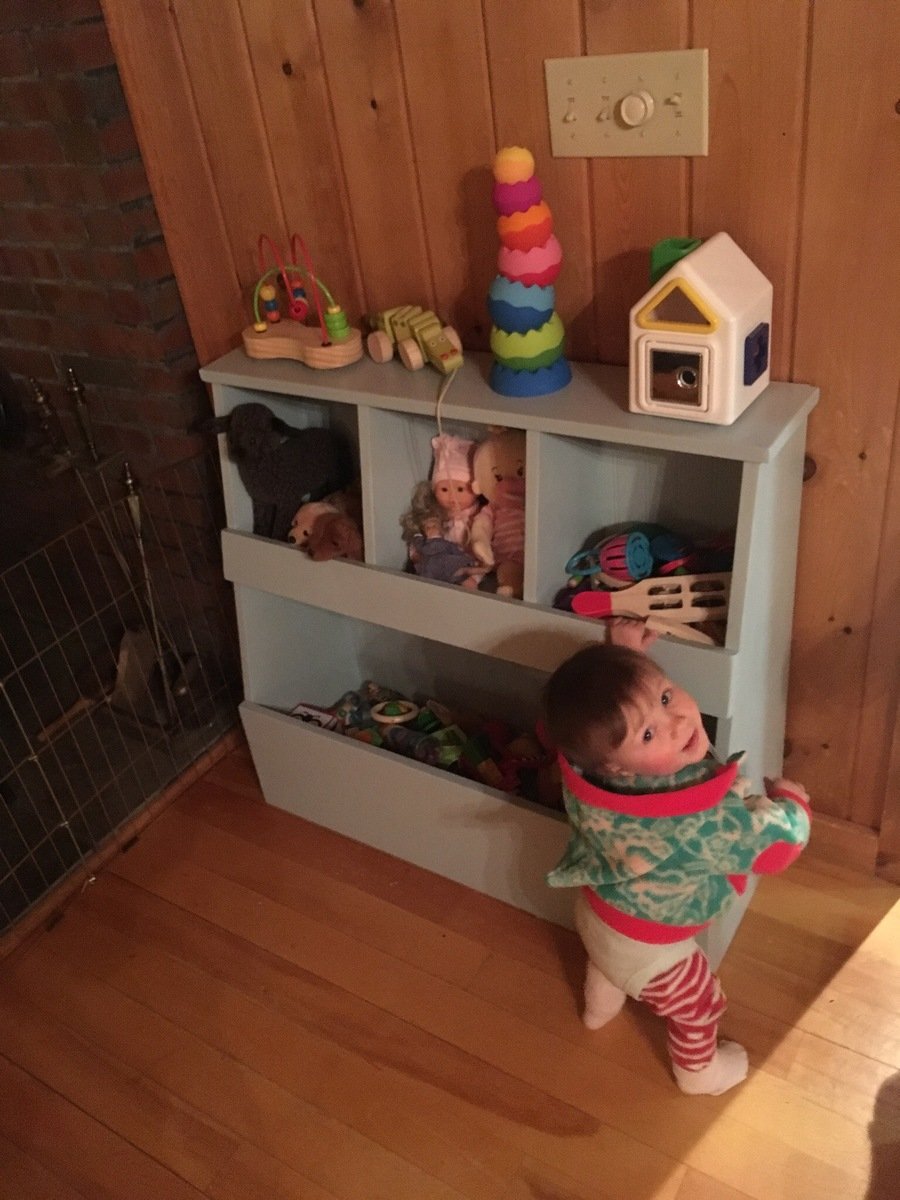
Loved making this toy bin with my mom-in-law. Simple and perfect for our needs.
Built from Plan(s)
Estimated Time Investment
Afternoon Project (3-6 Hours)
Recommended Skill Level
Beginner
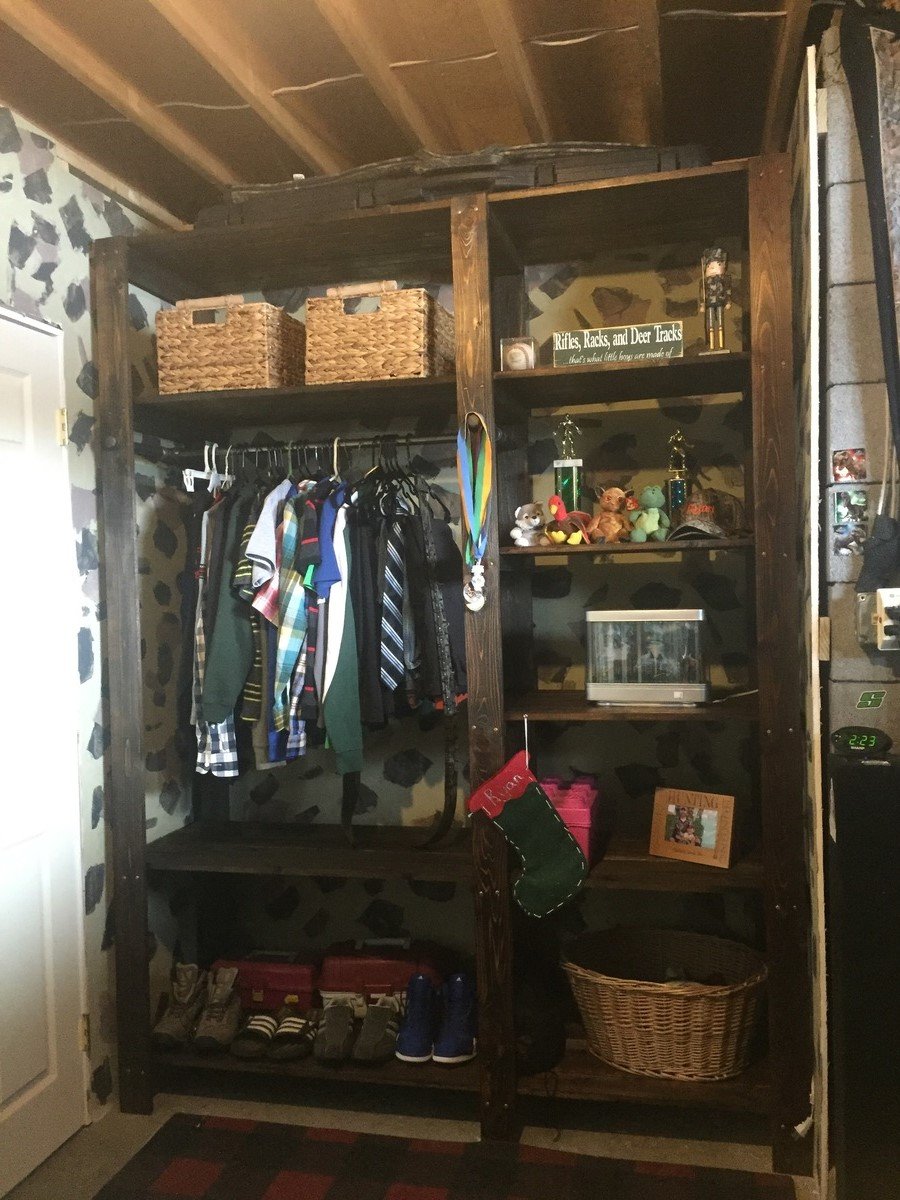
Grandy Barn Door Consoles

I started a custom woodworking bussiness about 18 months ago. Since then we've build everything from consoles to dining room tables to baby cribs. And to this day, I still refer to Ana White plans. Thanks a bunch!!


Estimated Cost
100
Estimated Time Investment
Weekend Project (10-20 Hours)
Finish Used
Minwax Dark Walnut
Minwax Early American
Minwax Jacobean
Minwax Clear Gloss
Minwax Early American
Minwax Jacobean
Minwax Clear Gloss
Recommended Skill Level
Beginner
Patio Table
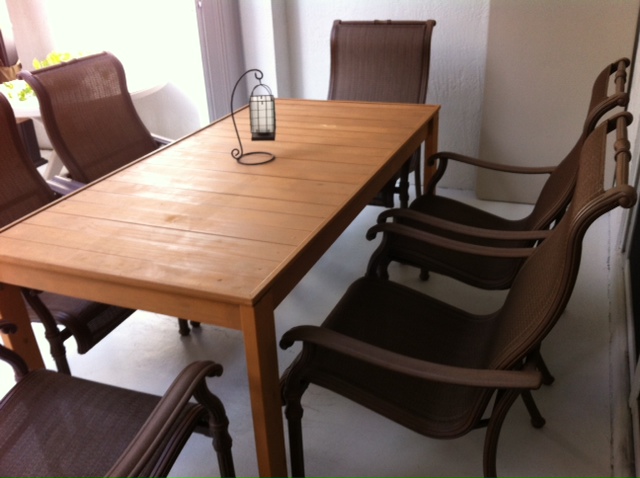
This was a fun project. We couldn't find the exact table that we wanted in the stores. I took the standard farm table on Ana's website and added 1/4 corner trim which finished off the edges nicely. I finished it with minwax cedar stain and we have been enjoying it ever since.
Estimated Cost
$150
Estimated Time Investment
Weekend Project (10-20 Hours)
Finish Used
Minwax cedar stain
Recommended Skill Level
Intermediate
Doll Adirondacks
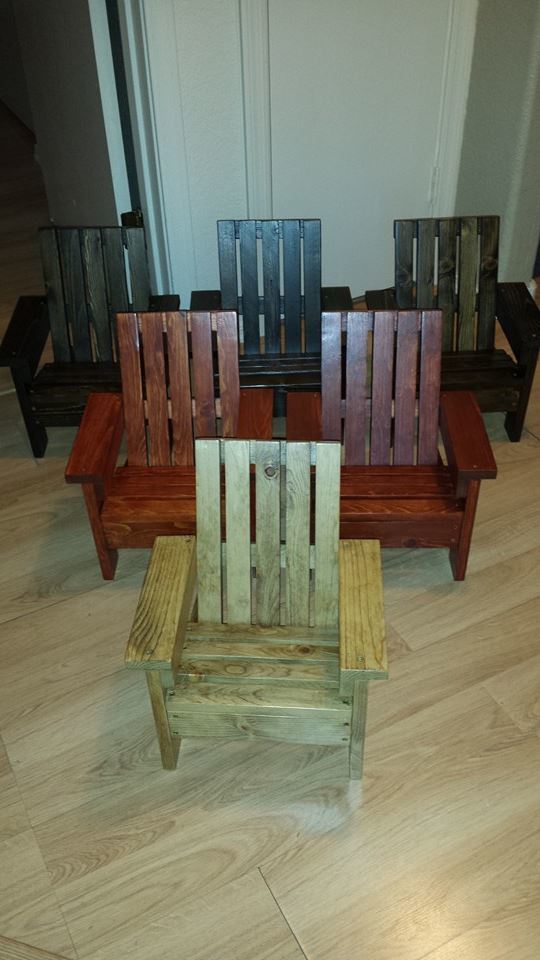
We built 7 for our 7 granddaughters (one girl already got hers so 6 pictured)! I used different stain colors for the different familys! Have to figure out a project for the 7 grandsons!
Built from Plan(s)
Finish Used
Minwax stain (various colors) and Minwax water based oil modified clear satin polyurethane!
Recommended Skill Level
Beginner
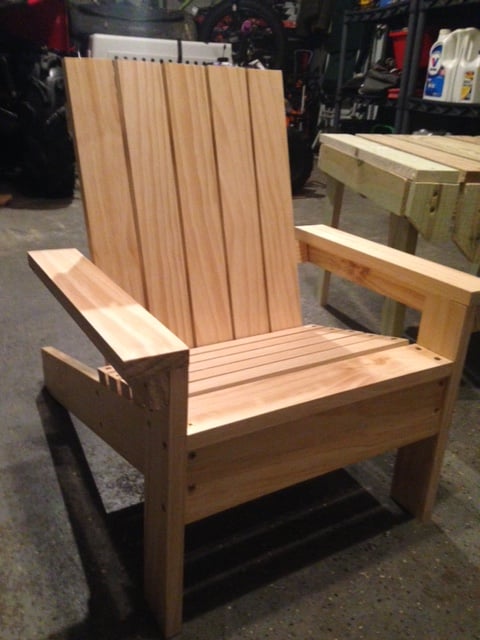
Kids Adirondack Chair
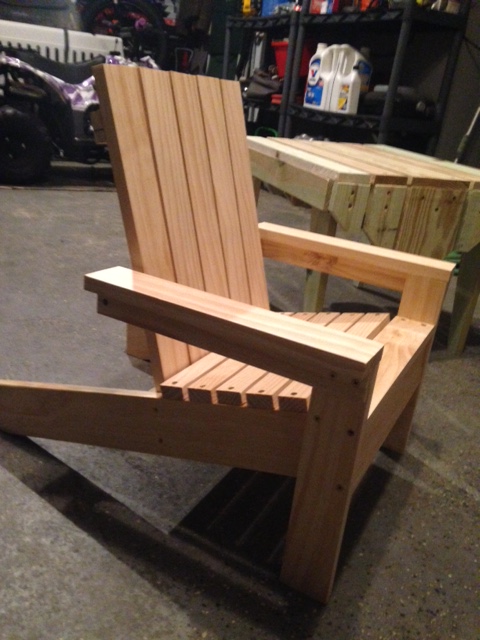
This was one of my very first wood projects and I LOVE it. I used a smaller circular saw, drill and orbital sander. I love how it turned out and now I have a DIY problem. :-)
Built from Plan(s)
Estimated Cost
$25
Estimated Time Investment
Afternoon Project (3-6 Hours)
Finish Used
None yet
Recommended Skill Level
Beginner
Tryde Bottle Top Table

Modified the plans to incorporate 645 bottle tops instead of the center boards. Sealed the whole thing with a 2 part bar top epoxy.
Built from Plan(s)
Estimated Cost
$100-125. Not counting the beer for the bottle tops...
Estimated Time Investment
Weekend Project (10-20 Hours)
Recommended Skill Level
Intermediate
Garden Shed

Had to clean out my storage area to make room for my new woodworking shop, so a new shed was in order. Since my neighborhood does not allow large sheds i thought this would be the perfect fit for the small area right outside of the shop. I had to adjust the plan to make it narrow but longer. Used pressure treated fence pickets for the siding..
Built from Plan(s)
Estimated Cost
Cost approximately $300-350
Estimated Time Investment
Weekend Project (10-20 Hours)
Recommended Skill Level
Intermediate
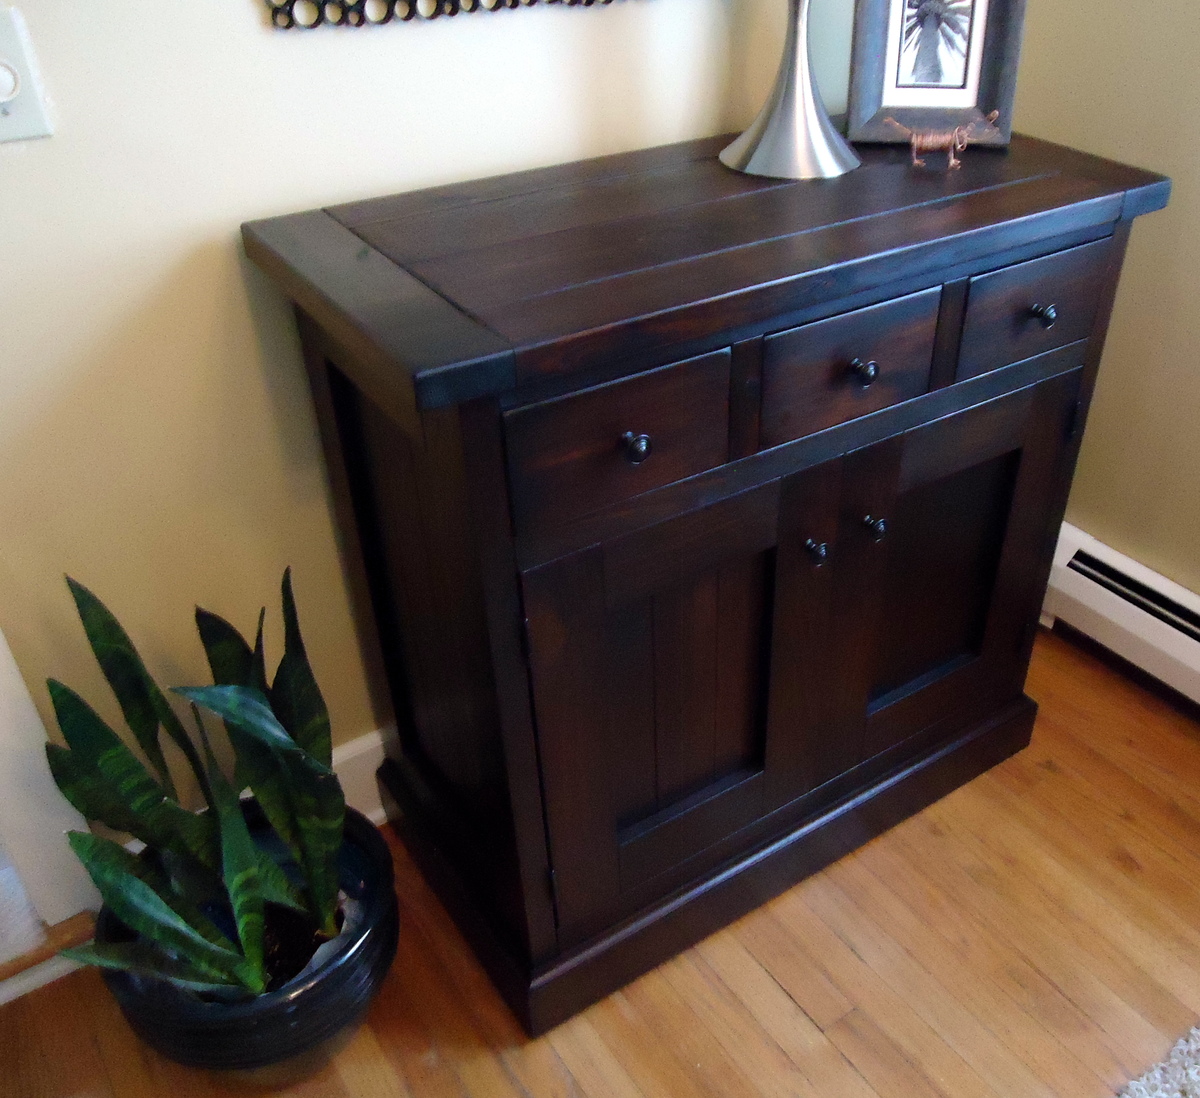
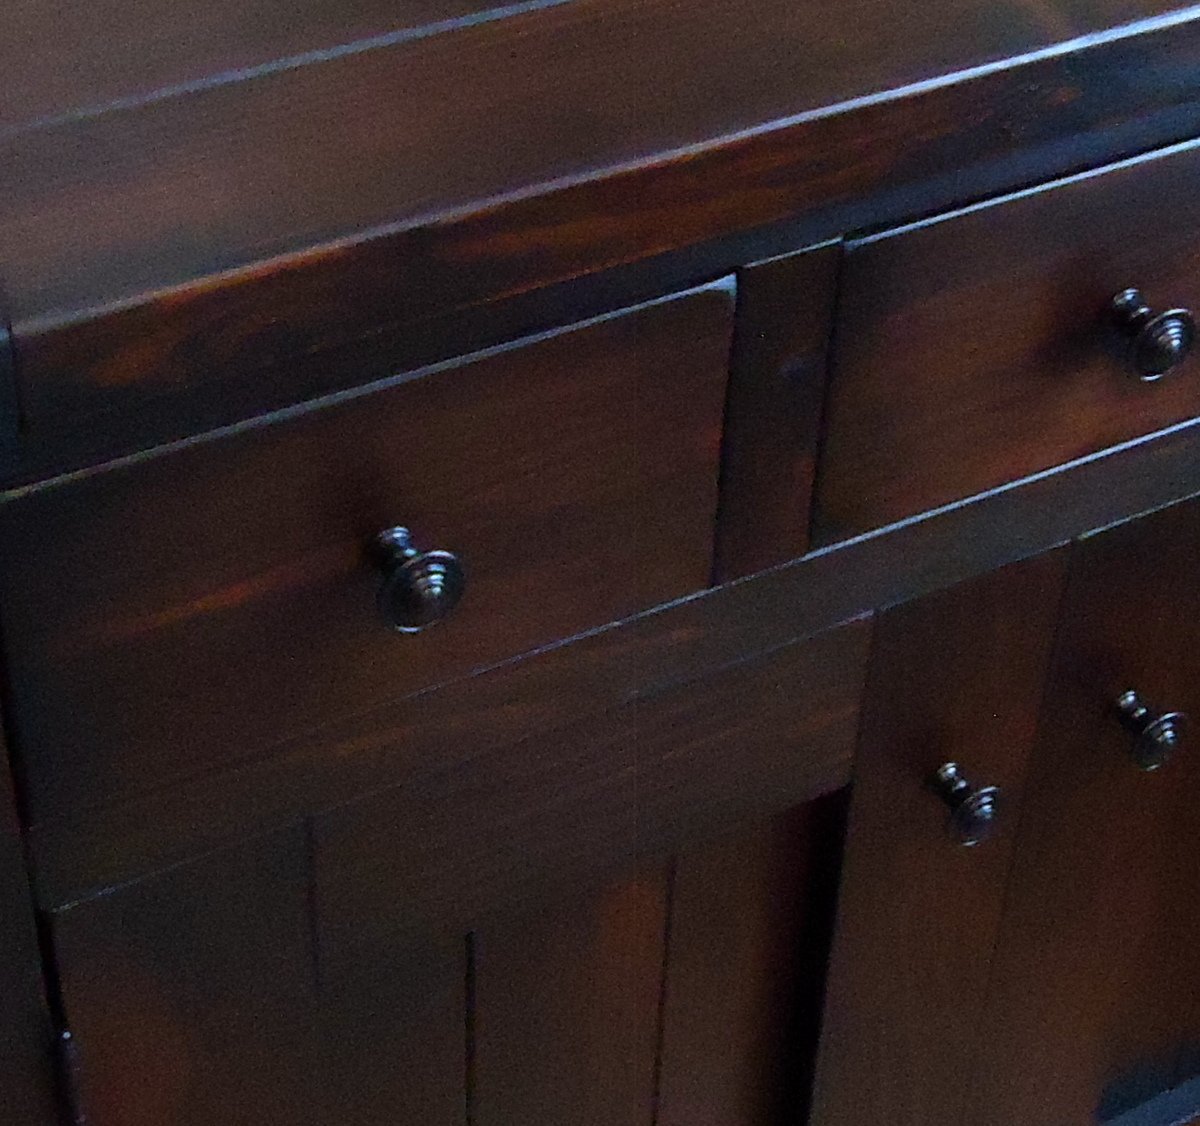
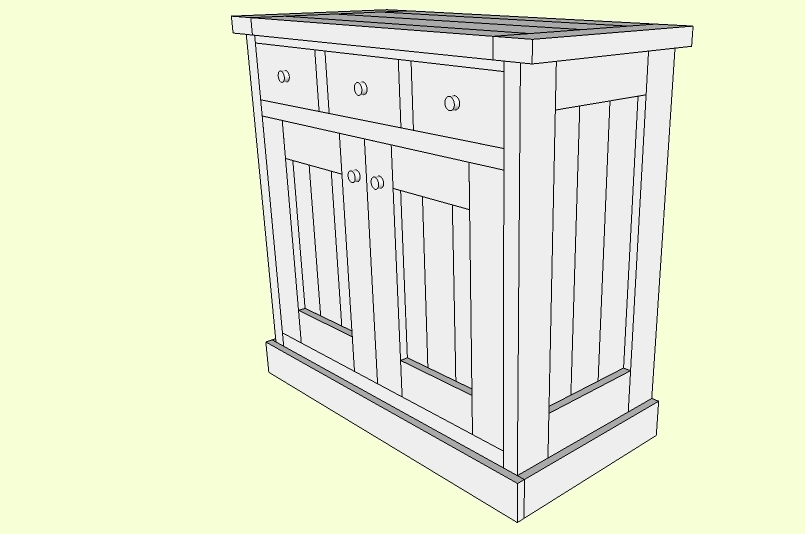
Petite Planked Wood Sideboard
I loved the look of the Planked Wood Sideboard, but it was waaay too big for my small dining room. I scaled the piece down, so it was proportionate to my room. I finished it dark knobs and a dark "IKEA" like finish. No one believes I built this from 2x4s and 2x6s!
Estimated Time Investment
Week Long Project (20 Hours or More)
Finish Used
I first applied a solution of apple cider vinegar and steel wool to give the pine an aged look. I followed that with a coat of Minwax English Chestnut, then a coat of Red Elm Minwax Gel Stain. It's topped with several applications of a solution (1/3 Boiled Linseed Oil, 1/3 thinner and 1/3 varnish) to give it a hand rubbed look.
Recommended Skill Level
Intermediate
Comments
Fri, 01/04/2013 - 07:04
I absolutely love this. The
I absolutely love this. The finish is stunning. Thank you for listing the details because I'd like to copy it!
Fri, 01/04/2013 - 09:33
Beautiful Work
Very beautiful work. I will bookmark this for the finish instructions.
I hope I get around to producing something as lovely to furnish my own home.
Farmhouse Bed for our Cabin

One of my first projects ... farmhouse bed for our Mount St. Helens cabin. Added a few tree cutouts to the headboard to keep with a similar theme throughout the cabin. Turned out pretty good.
Built from Plan(s)
Estimated Cost
125.00
Estimated Time Investment
Weekend Project (10-20 Hours)
Finish Used
Minwax Stain
Recommended Skill Level
Beginner
Tryde Coffee Table
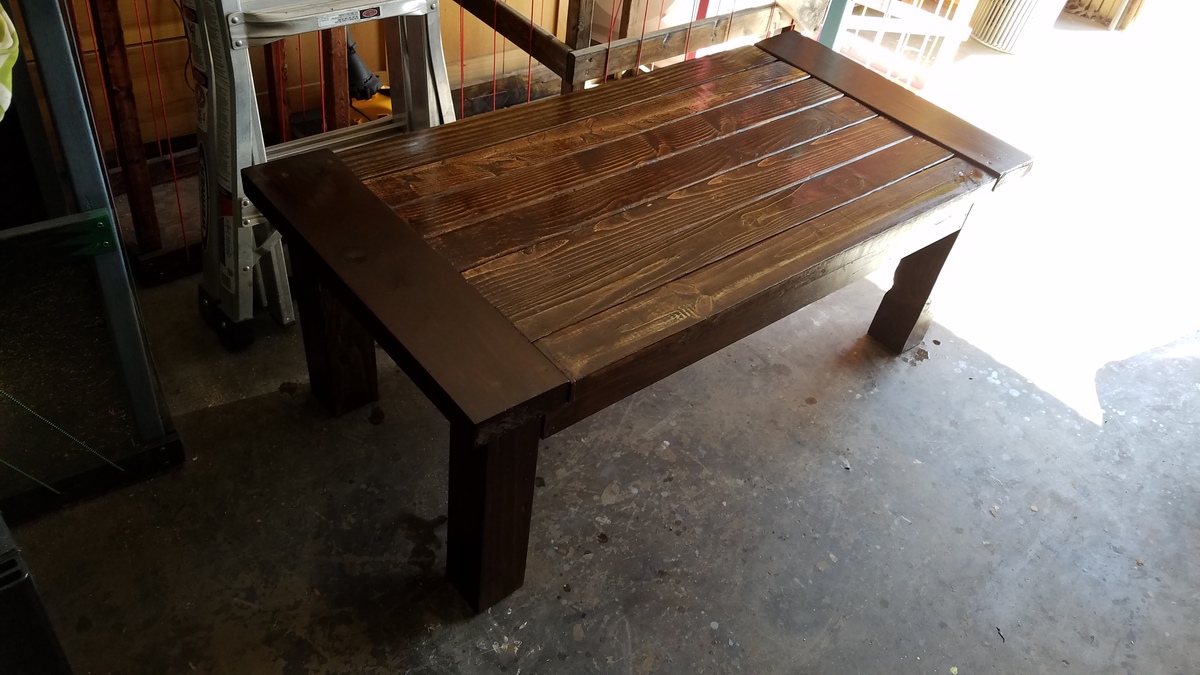
Very fast and easy to complete
Built from Plan(s)
Estimated Cost
$20.
Estimated Time Investment
Afternoon Project (3-6 Hours)
Finish Used
Min wax Special Walnut
Recommended Skill Level
Beginner
Planters

Just made these last night! So quick and easy, thank you so much! You are so inspiring!
Built from Plan(s)
Estimated Time Investment
An Hour or Two (0-2 Hours)
Recommended Skill Level
Starter Project
Comments
Mon, 10/26/2020 - 11:29
Love them!
They really are easy and such a great way to add some curb appeal! Thanks for sharing!
Storage play table with stools
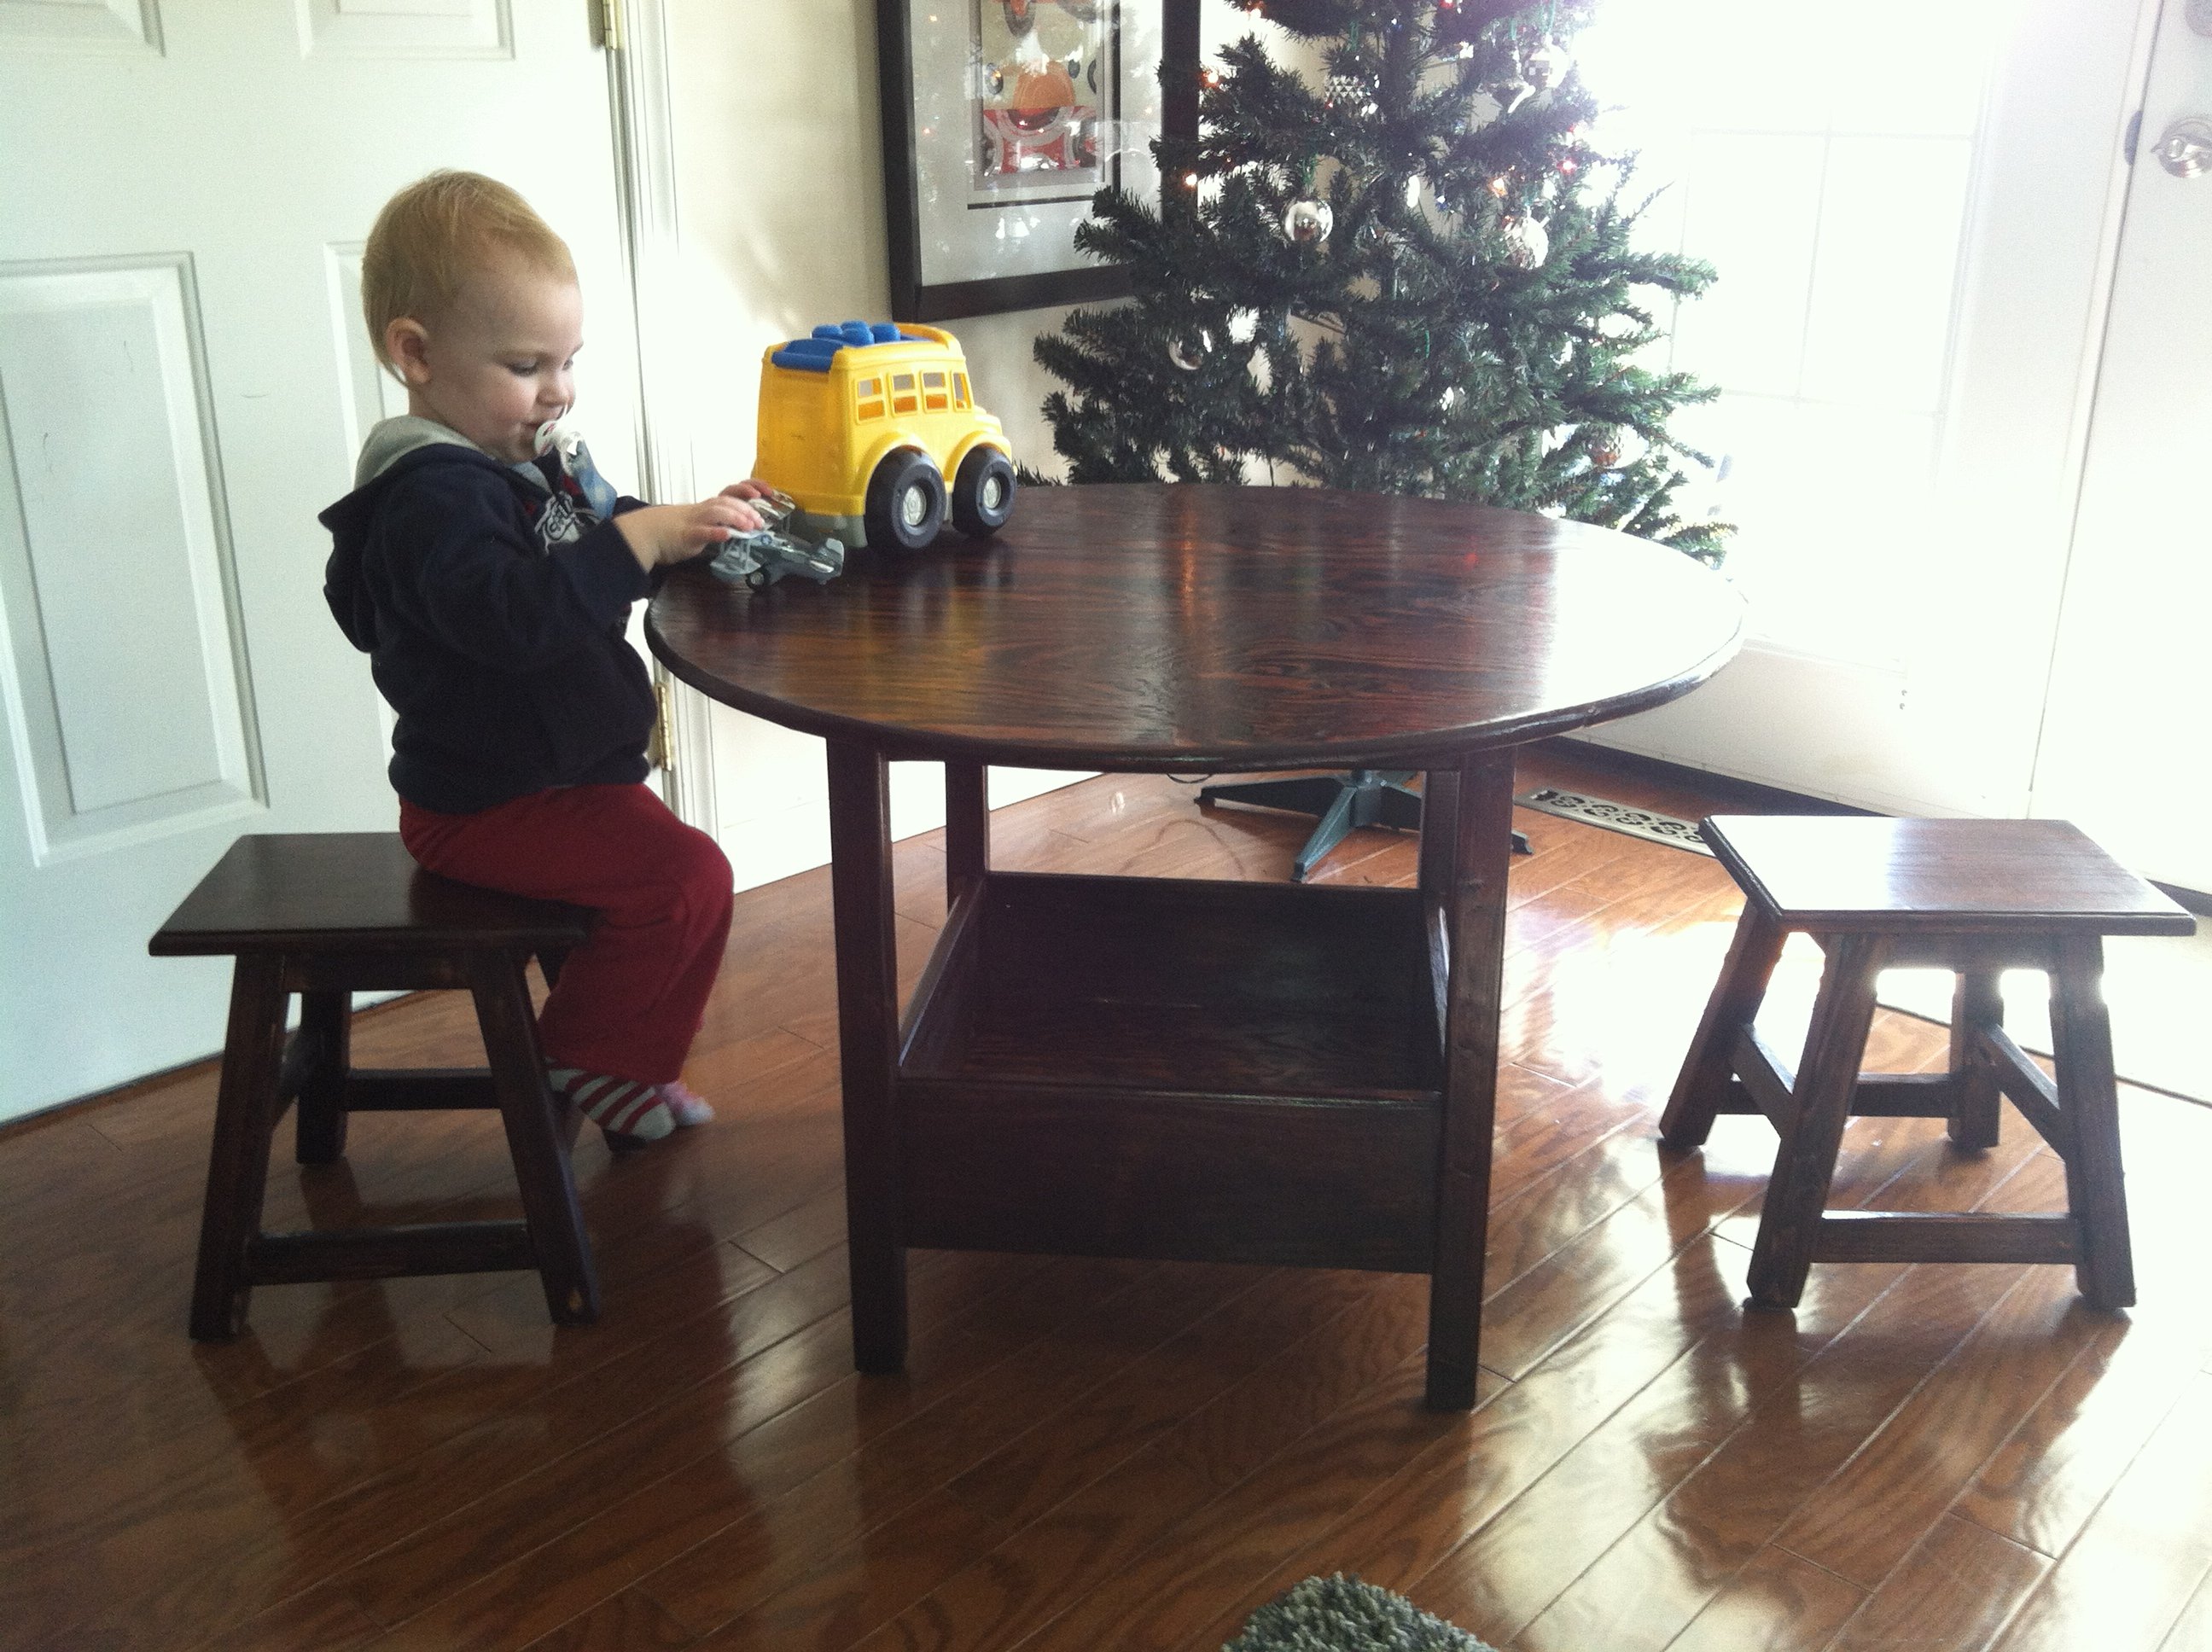
So I had a bunch of wood lying around so I tried the flower storage table and made two stools from Ana's plans with a few modifications. The plans were great though I didn't quite catch at first to miter my stool legs at 10 degrees BOTH ways on my miter saw. After putting them together the tops didn't sit flush or the legs so I had to take them apart and recut them or sand them down to the proper angle. I guess I was able to fix it easily enough though it would have taken me only a day or two to complete the project had I not made this mistake! I finished the table and stools with two coats each of Minwax Dark Mahogany stain and Fast Drying Satin Polyurethane. My little man LOVES it and it'll grow with him for quite a few more years I think. Thanks for such great plans Ana!! The table is a great size and it can handle two more stools so I think I'm going to get busy again! The whole project only cost me $25 for stain, polyurethane and screws. I was able to complete it without buying the expensive kreg jig and used the $15 mini kreg jig kit instead. 2" clamps were a must with the jig though to hold everything securely while drilling.
Built from Plan(s)
Estimated Cost
$25 + lumber
Estimated Time Investment
Weekend Project (10-20 Hours)
Finish Used
Minwax Dark Cherry Stain and Satin Polyurethane
Recommended Skill Level
Beginner
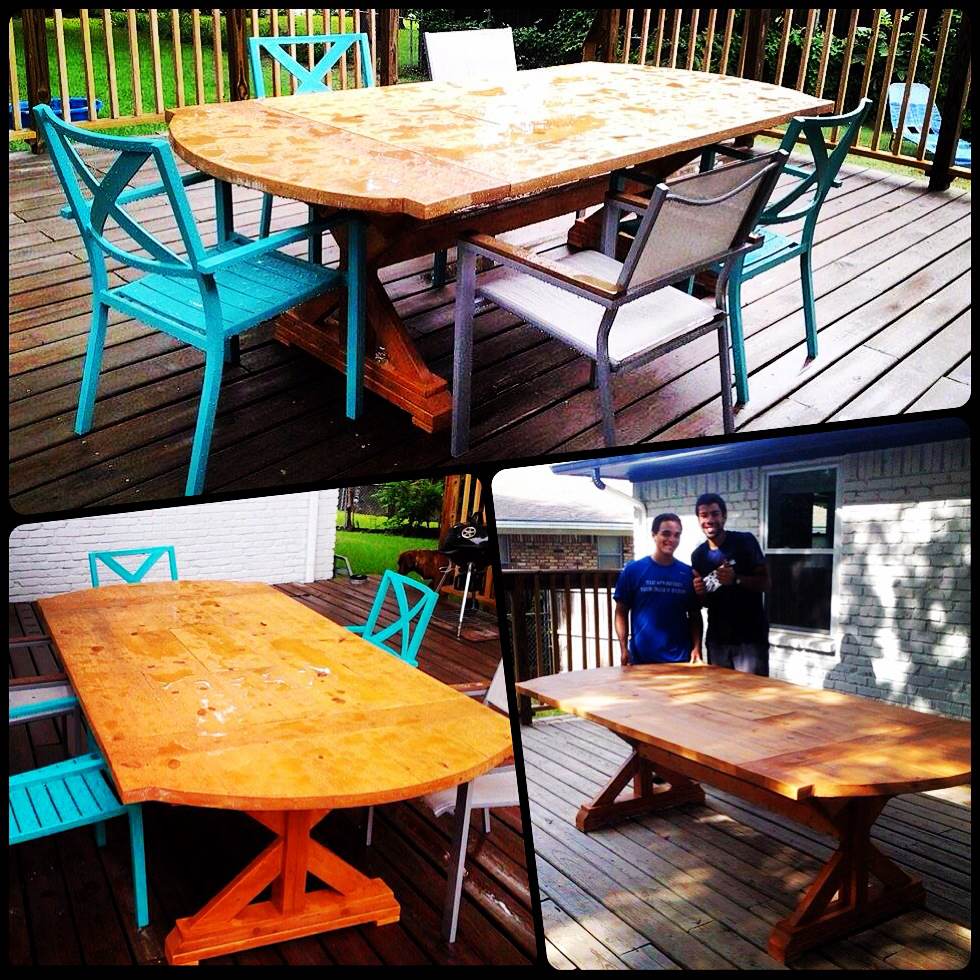
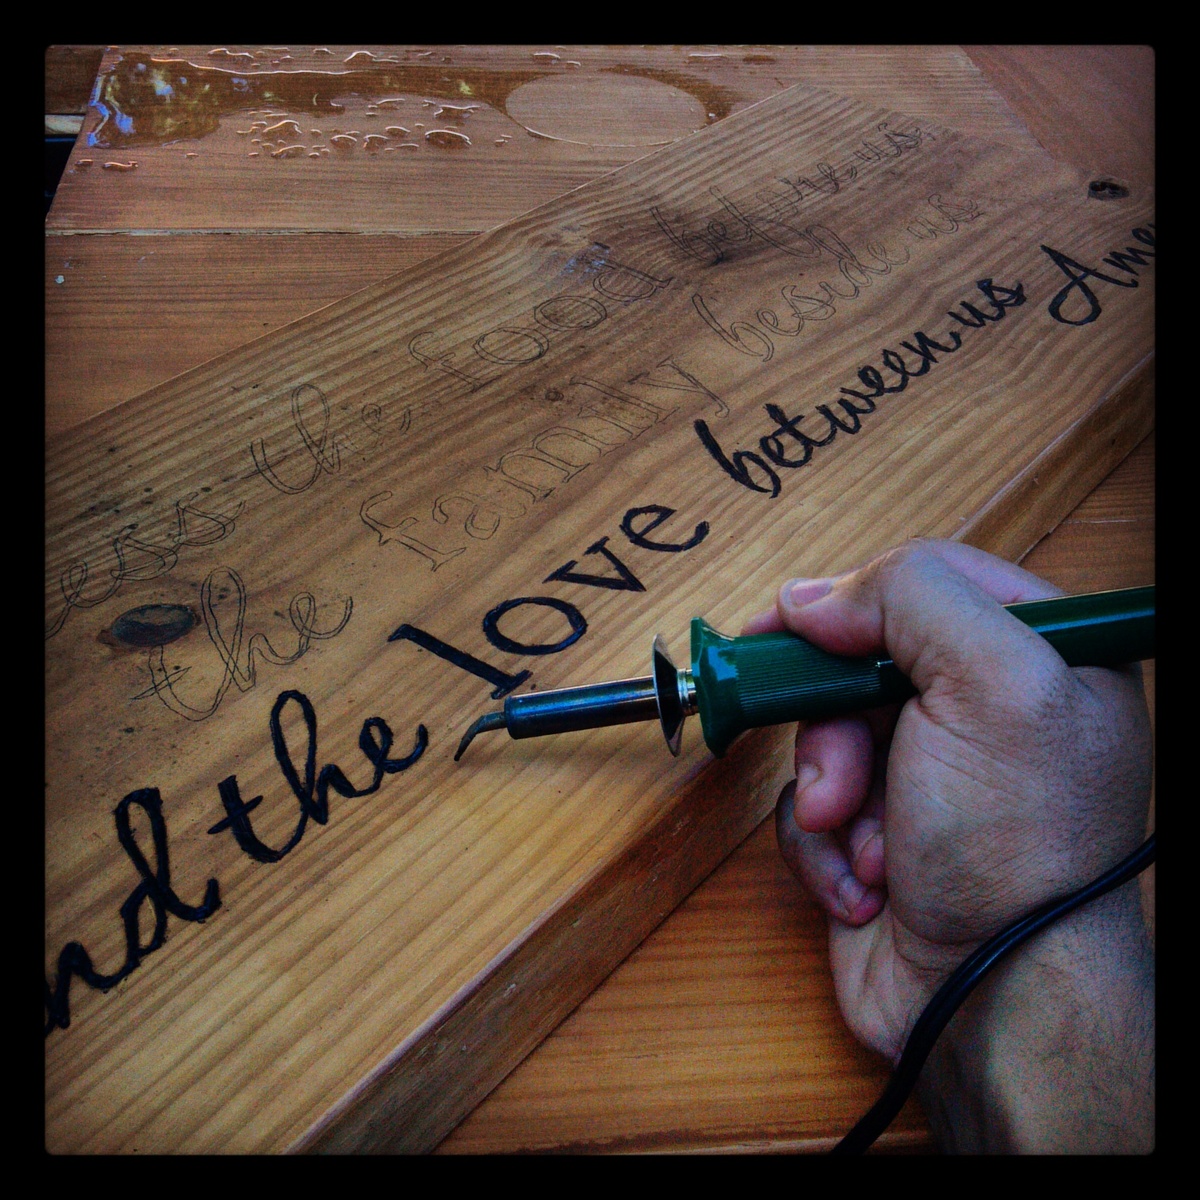
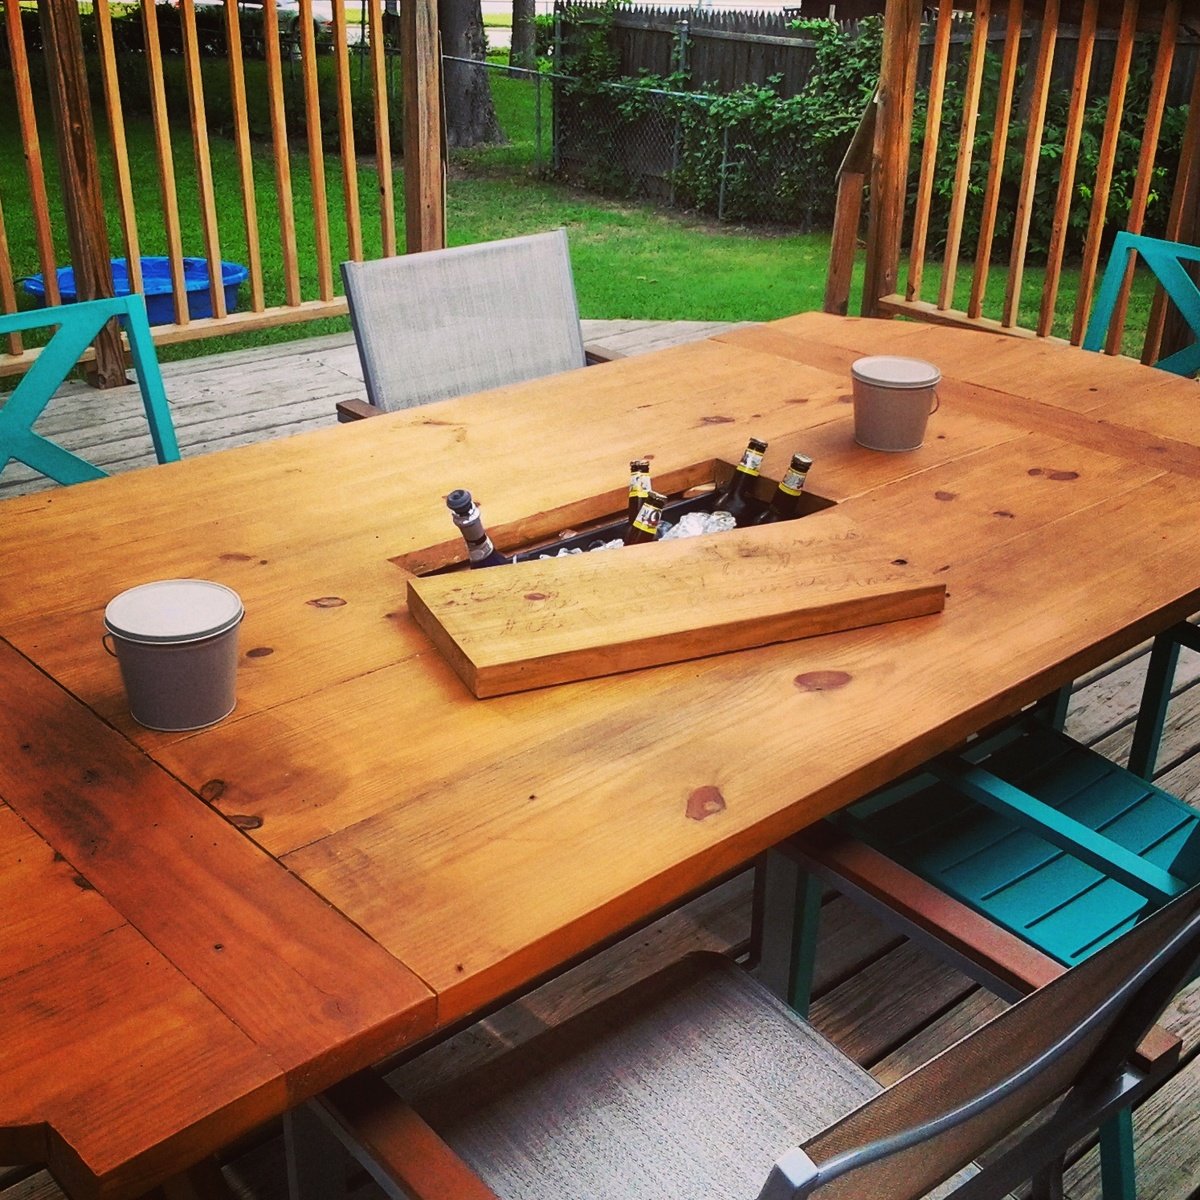
Patio Table with Built-In Cooler
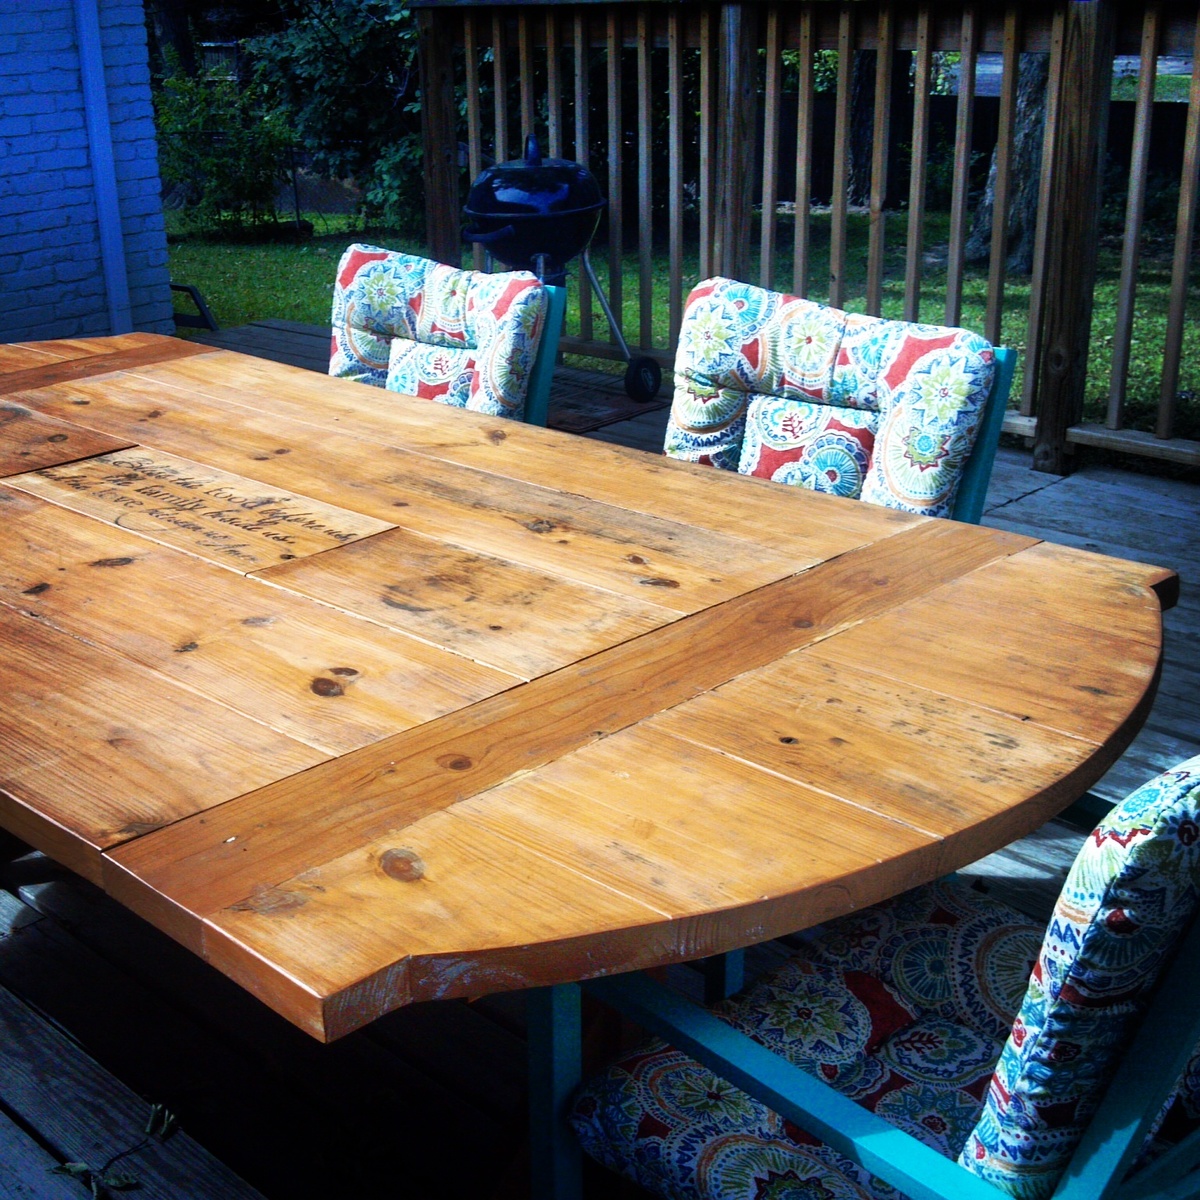
For this table I combined few designs that I liked to give me a large (8'x4') outdoor dining table with a big cooler in the center.


Built from Plan(s)
Estimated Cost
$250
Estimated Time Investment
Weekend Project (10-20 Hours)
Finish Used
Thompson's Waterseal Semi-Transparent Stain
Recommended Skill Level
Intermediate