Community Brag Posts

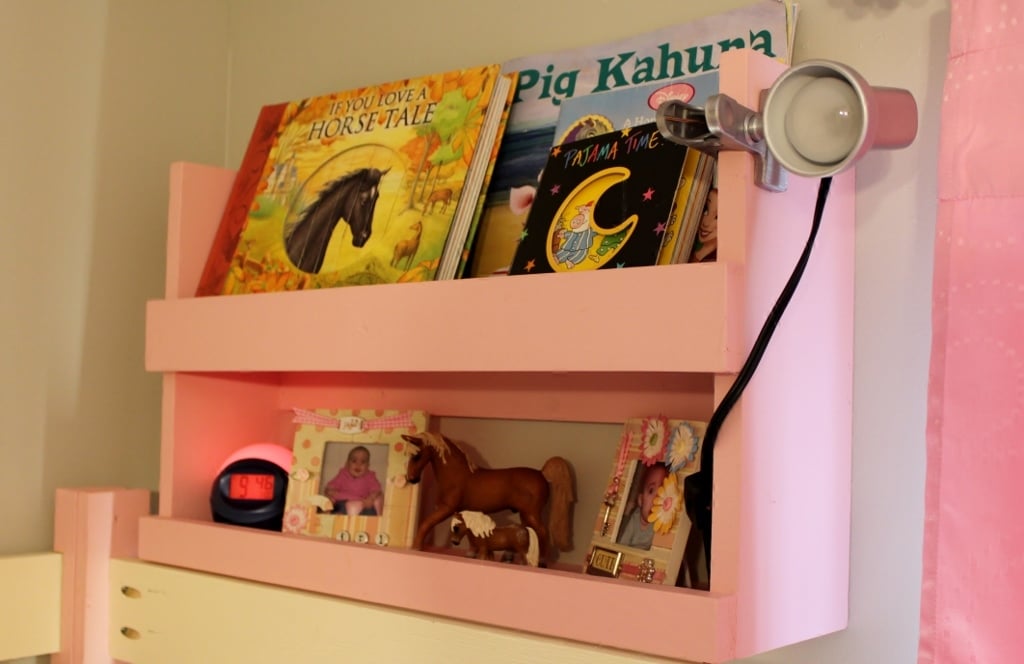
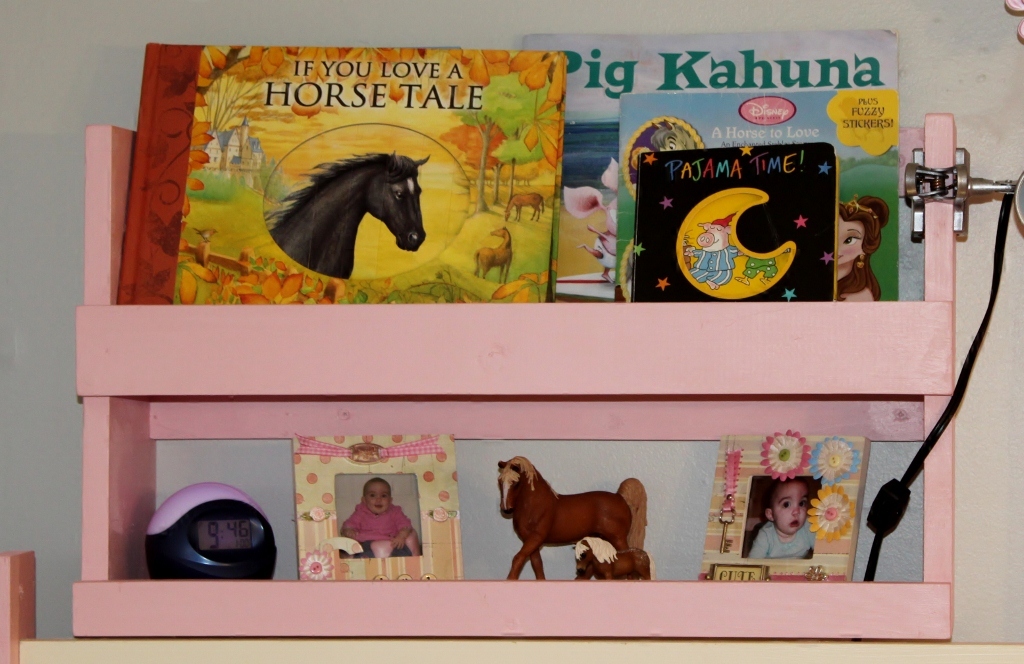
Bunk Bed Shelf Organizer

Submitted by BethStew5 on Wed, 07/18/2012 - 21:51

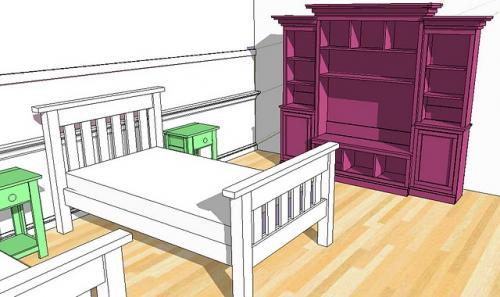
I had just finished my daughter's playhouse loft bed when I saw this plan. It was super easy to build and I used all left over wood from the playhouse. I used 6-inch boards for the sides and shelves since that was what I had left over. Other than that, I followed this plan exactly. Thanks for posting!

Built from Plan(s)
Estimated Time Investment
An Hour or Two (0-2 Hours)
Recommended Skill Level
Beginner

Comments

Outdoor Lounge Chair

Submitted by Goldy272 on Mon, 05/19/2014 - 09:44

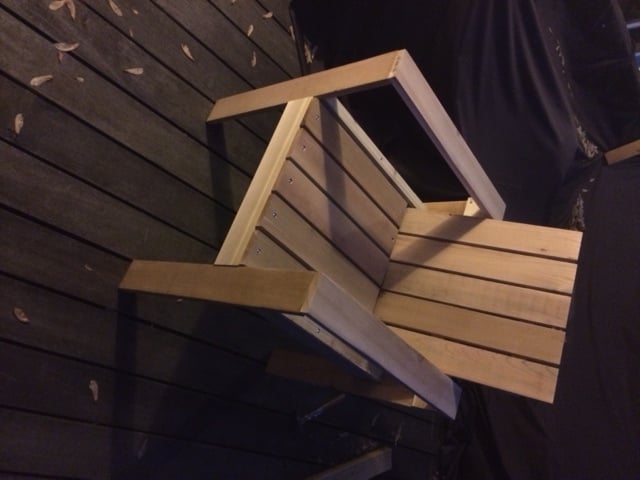
Simple outdoor lounge chair for use on our deck. This is a good design though if I had to do it over again I would make a few alterations:

- It's a bit flimsy, so for the chair frame, I would use 2x4's instead of 1x's.
- We are going to use them for seating at our patio table so I will make the others a bit shorter. The depth is awfully big for a dining chair but would be good for lounging.
- Used a 1x4 on the inside of the back frame to make the chair back more upright (as it said in the modified plans) would definately recomend.

Built from Plan(s)
Estimated Cost
$25
Estimated Time Investment
Afternoon Project (3-6 Hours)
Finish Used
None yet.
Recommended Skill Level
Intermediate

OutDoor dining table

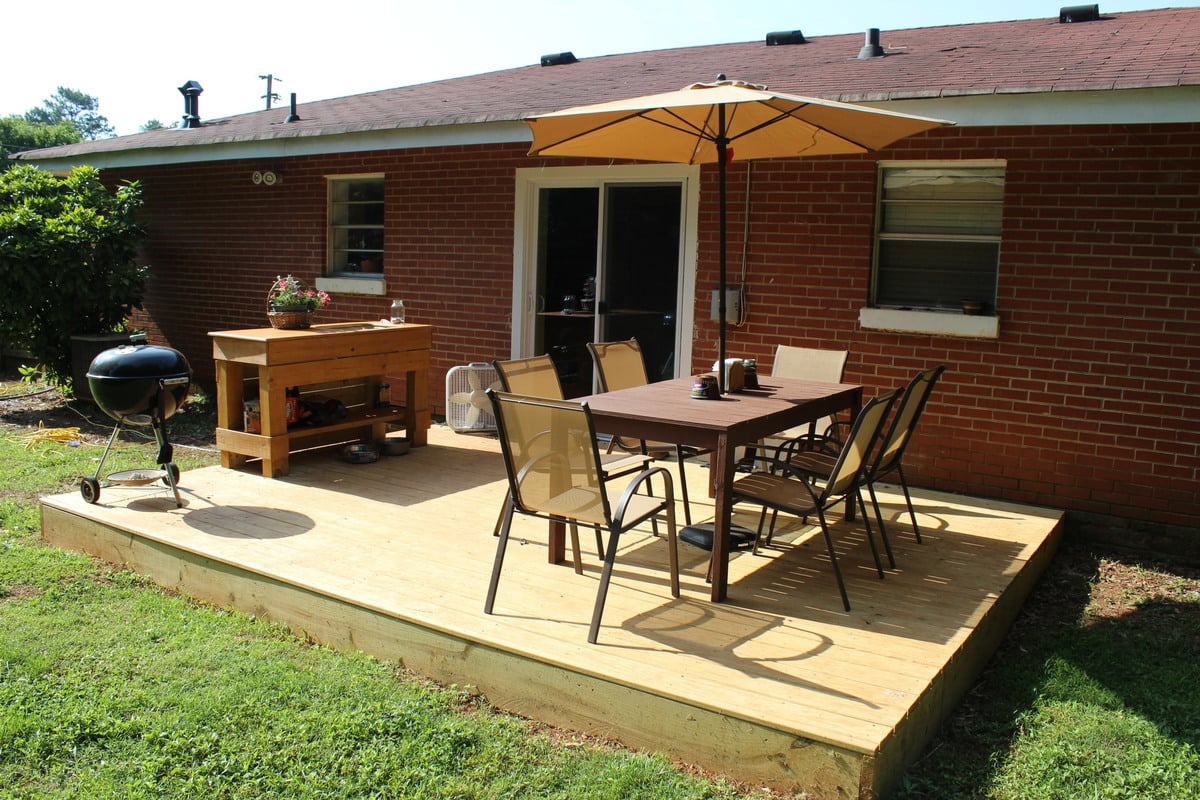
My wife and I were looking for a larger table for our deck and after searching and seeing that everything out there was 300 dollars and up for something decent I decided I would try building something. This table was perfect for our needs and looked easy enough for me to put together. The most time consuming part was staining all of the boards as I went but it was totally worth it in the end. I also deviated from using screws and used my nail gun along with some glue to put the top frame together and the slats on but I did use some 2inch deckmate screws to attach the legs. One problem I did run into was I was about half a board short on the slats which wasn't a big deal just ripped one on the table saw, not sure if I miss measured or what but either way. We love our table and will entertain around it for years to come.

Built from Plan(s)
Estimated Cost
Around 80 Dollars
Estimated Time Investment
Day Project (6-9 Hours)
Finish Used
I used a Behr deck stain that was solid the color is called Russett and I did with a 3inch brush.
Recommended Skill Level
Beginner

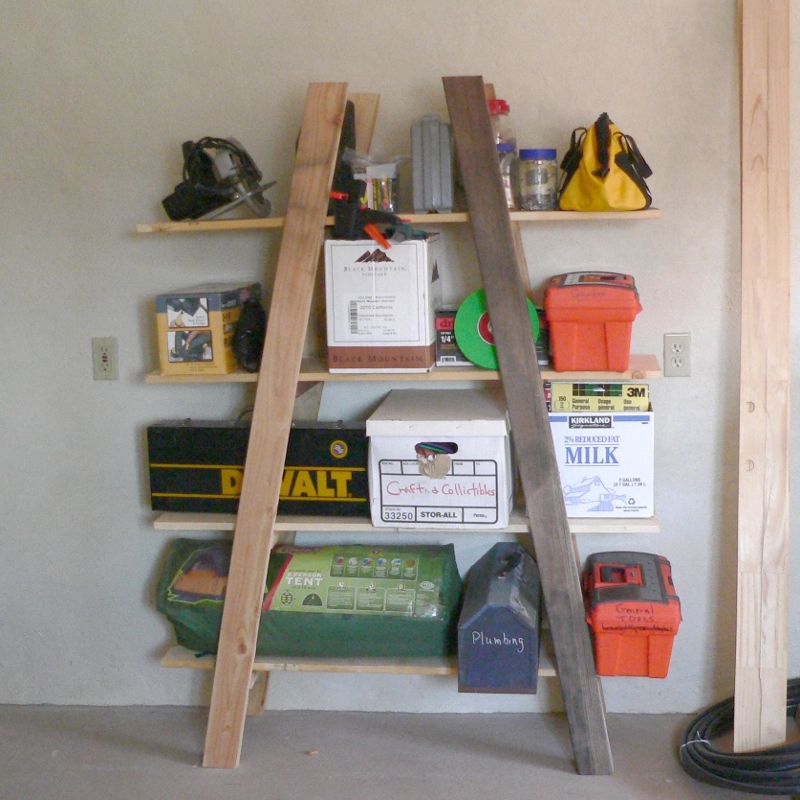
Truss Shelves: Cheap Garage Storage

Made of old fence rail (the dark pieces) and cheap 2x4s and 1x12s .

This is not as stable as I hoped, but for an afternoon's project that got all those tools off the workshop floor, it's not bad. I will add a diagonal brace at the back later. Much later.

NOTE: My engineer friend notes that 2 braces at the rear, below the bottom shelf and below the top shelf, would minimize side-to-side wobbling, and 2 braces front to back, both under the bottom shelf, would minimize the front-to-back wobbling, They could be a scrap of plywood, a 1x6 or wider scrap. Just nail them in two or more places on each of the ladders and they make the structure more rigid. Screw them in if you want a shelf unit you can disassemble.

TIPS:
If you are using pockethole screws, start the screws in all the holes before you put the crosspieces on. Stop when you see the tip of the screw come through the first piece.

Clamp scrap 2x4 to the uprights to hold the crosspieces in place as you drill.

To get the shelves in place, lean the ladders against each other and attach the bottom and top boards on one side. Than pull the other ladder out as far as it needs to go and screw that side of the shelves in place.

Don't try this without clamps.

It could have been cheaper if I had used all reclaimed fence 2x4s, and if my errand runner had bought cheaper 1x12s. He bought top-grade when #2 would have worked for half the price,

Estimated Cost
$ 30
Estimated Time Investment
Afternoon Project (3-6 Hours)
Finish Used
None
Recommended Skill Level
Intermediate

West Elm Knock Off TV Stand

Submitted by Mike F on Sun, 09/18/2016 - 06:50

I did not have any plans for this.  I had the dimensions from the West Elm Website so I did my best to match that.  My sister asked me if I could build this for her and I saw it as an awesome challange.  I used euro style hinges for the doors and the left side shelf is sitting on wood strips nailed in the sides.  There is also a shelf inside the cabinet.  I built the stand and she stained it.  

This was my second time welding.  I used a Mig Welder that my buddy had.  It was a little intimidating at the very beginning but Mig welding is super easy.  You can grind the welds down fairly easy too.  I sray painted it all with a flat black spray paint.  I think it turned out really well.  I had a steel shop her in town cut all the steel to the sizes I needed.  All I had to do was weld and paint.

Estimated Cost
$150-$200
Estimated Time Investment
Week Long Project (20 Hours or More)
Finish Used
She used a mixture of a few stains.
Recommended Skill Level
Advanced

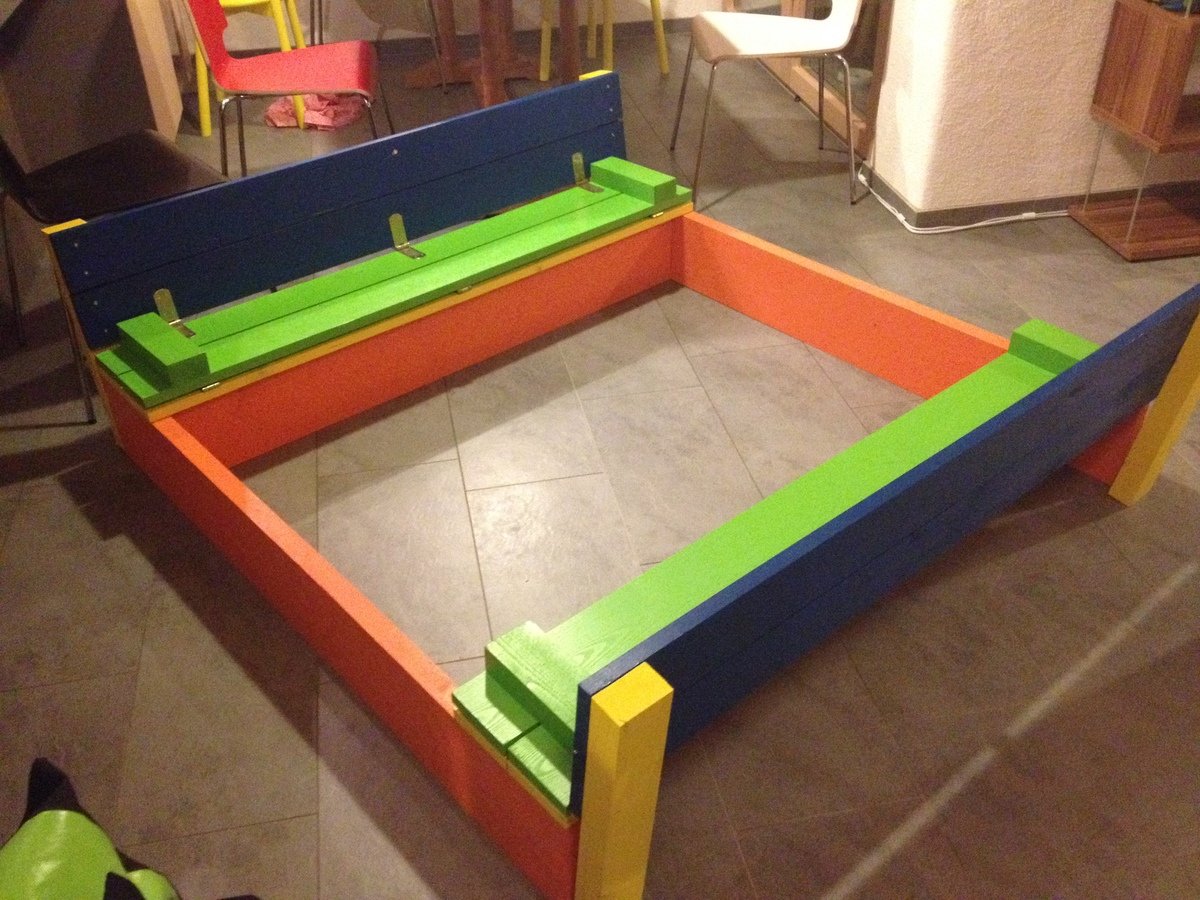
Sandpit with built in seats and lid - metric

Submitted by mrs_dt on Tue, 07/08/2014 - 01:49

This was our first build from this website and we are so pleased! Having seen very involved plans on an Australian website for a similar sandpit, I was so pleased to come across this version, with its far simpler design!
We wanted a slightly bigger sandpit, so I needed to do some modifications, and while I was enlarging it, I also converted to metric sizes, and designed specifically for the timber I knew I could buy locally (very obscure and inconsistent seeming German sizes). So the end result is a 1.5x1.5m sandpit, that has so far had 6 kids playing happily in it at once!
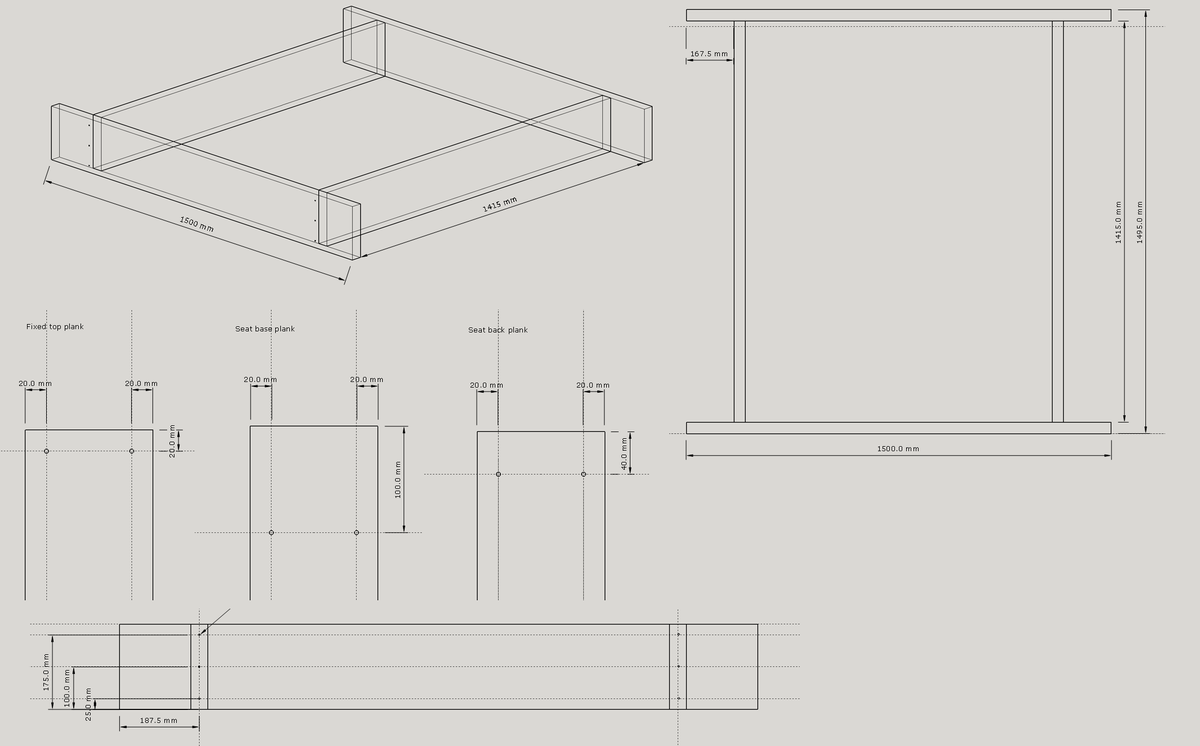
I've put in the drawings I used, and the cutting list for larger sizes in case anyone else is working in metric, or wants a bigger size!
Our other modification was to offset the shorter sections of the base to run along the front plank of the bench seat - there were two main benefits for this - we need a lot less sand, as there is none wasted under the seat, and the seat is supported and can't bow downwards!
The dimensions and layout we used are in the images.

Supplies

Timber
2 - 200 x 40 x 3000mm
6 - 120 x 24 x 3000mm
1 - 80 x 50 x 3000mm

Hinges
12 - 140mm long (the original design had 8, we went with three per edge to allow for the extra width)

Self tapping decking screws
18 - 5 x 80
48 - 5 x 50
96 - 3 x 20 (or enough for your hinges, depending on the design)

Paint
3 - 375ml PU Acrylic Paint, suitable for exterior use (top planks and seat supports)
1 - 750ml PU Acrylic Paint, suitable for exterior use (base)

Weed matting and staple gun

Sand
I calculated I would need 20 x 25kg bags - in the end we needed 11 - don't ask me where we went so wrong!

Cutting list

2 - 200 x 40 x 1500 (long sides of base)
2 - 200 x 40 x 1415 (short sides of base)

12 - 120 x 24 x 1495 (top slats - just under half a plank, to allow for waste)

4 - 80 x 50 x 245 (armrests / seat braces)
4 - 80 x 50 x 495 (back supports of seats)

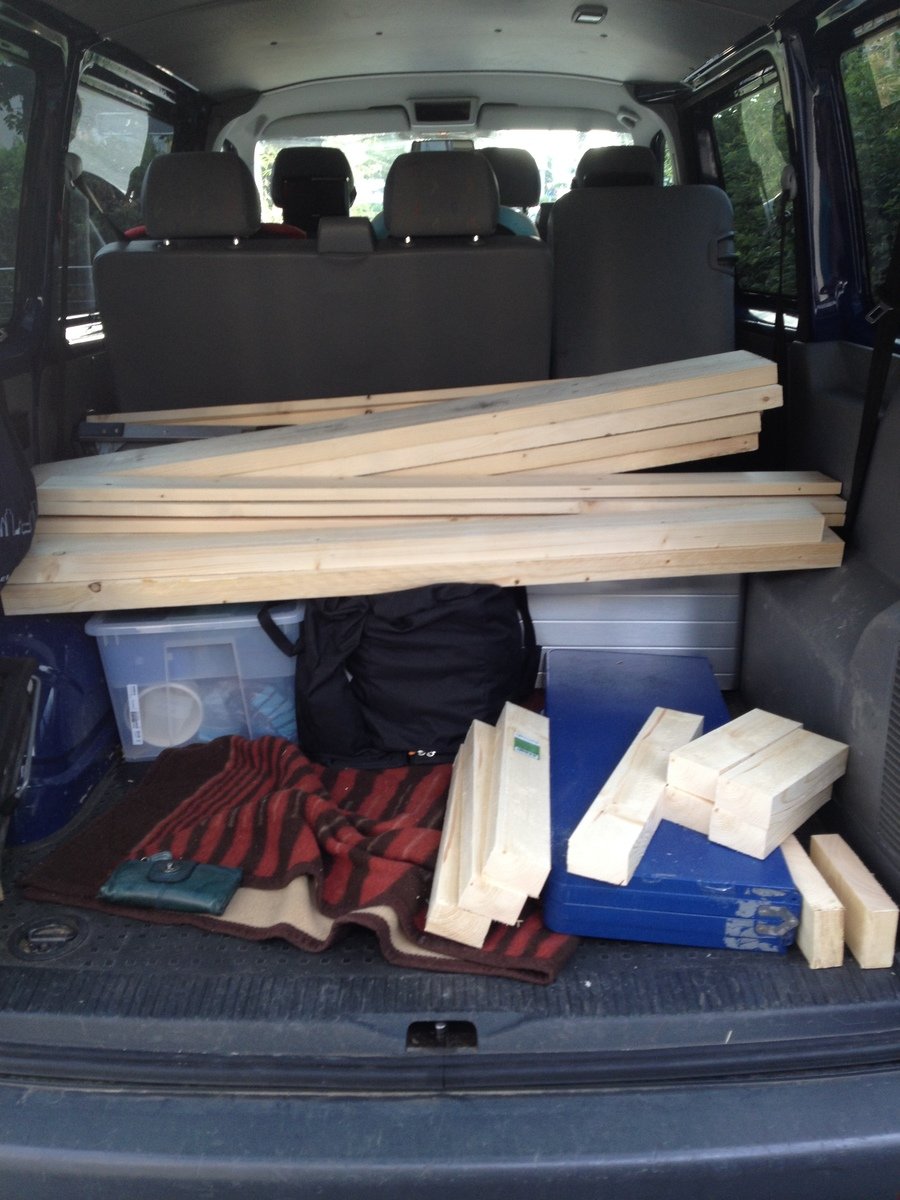
I gladly paid 5 Euro for the wood to be cut in Hornbach - it should have been more than this, but the guy was generous!

12 hinges (the original design had 8, we went with three per edge to allow for the extra width)

On Sunday we had the idea, on Monday I drew up the plans, on Tuesday I went shopping! Once all our wood was home safely, we sanded it down - most edges weren't badly finished, but there were a few splinters that needed getting rid of!
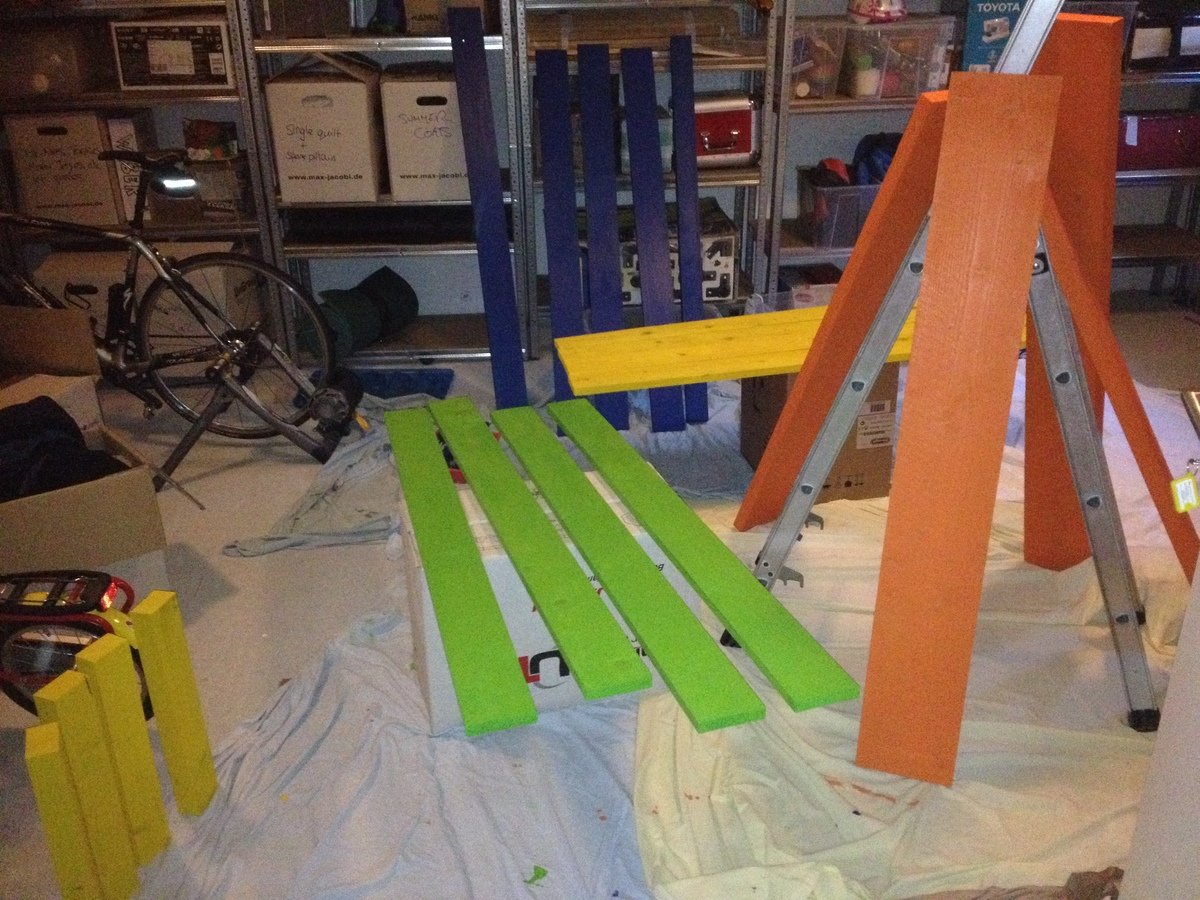
The next two nights Mr W gallantly set to work with the paint brush. After two nights, the wood all had two good coats of paint and we were ready to start assembling on Friday.
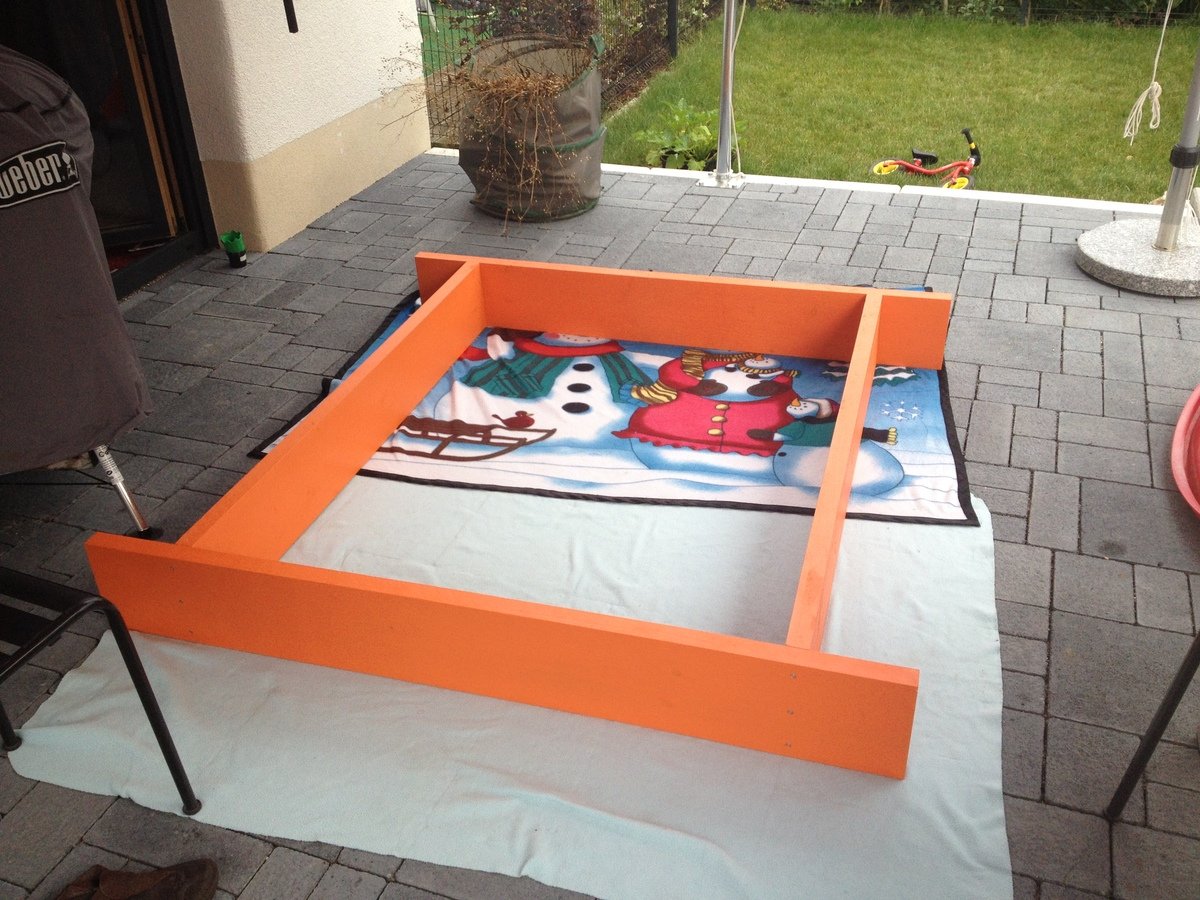
I pre-drilled the base of the bench before the second coat of paint - three holes for each butt joint - with some careful measuring this made screwing the base together really easy!
The top planks were also pre drilled, but there unfortunately my tiredness made me make mistakes, and some had to be re-drilled! Spacing the planks out took a lot of time, but I am glad I made the effort. I used cereal box, and experimented with different numbers of layers - I knew I wanted a theoretical 5.4mm gap, but it took some time to get the right number of layers of carefully creased and concertinaed card!

Having got our spacing wedge sorted, we screwed the blue planks in place at either end of the base. We then assembled the green seat section, and the blue/yellow back rest. Following a tip from the comments section, we added the hinge to the seat/back combo first, as this ends up being on the underside. Once those two hinged sections were made, they were then laid in place on the base (card wedge spacers in place) and then the final hinges added. The final assembly took about 5 hours - but this was partly because we started outside, then had to move everything inside when a huge thunderstorm rolled in!

The next morning we got busy with the staple gun and tacked weed matting over the base, then it was hauled in to position and filled up! For us getting this done and dusted was important, otherwise it could have dragged on a lot, but we are terribly proud that it was done in less than a week from being fist conceived!
I hope the metric/enlarged plans are of use to someone else too. One other idea we had, which we didn't get round to building in, was a support bar to be fitted when you close the pit, so the kids can play on top as a stage when it is not being used for a sandpit!
Built from Plan(s)
Estimated Cost
150 EUR
Estimated Time Investment
Weekend Project (10-20 Hours)
Finish Used
Painted with two coats of Polyurethane Acrylic paint
Recommended Skill Level
Beginner

Cornhole game

Submitted by Anonymous (not verified) on Sat, 10/22/2016 - 14:52

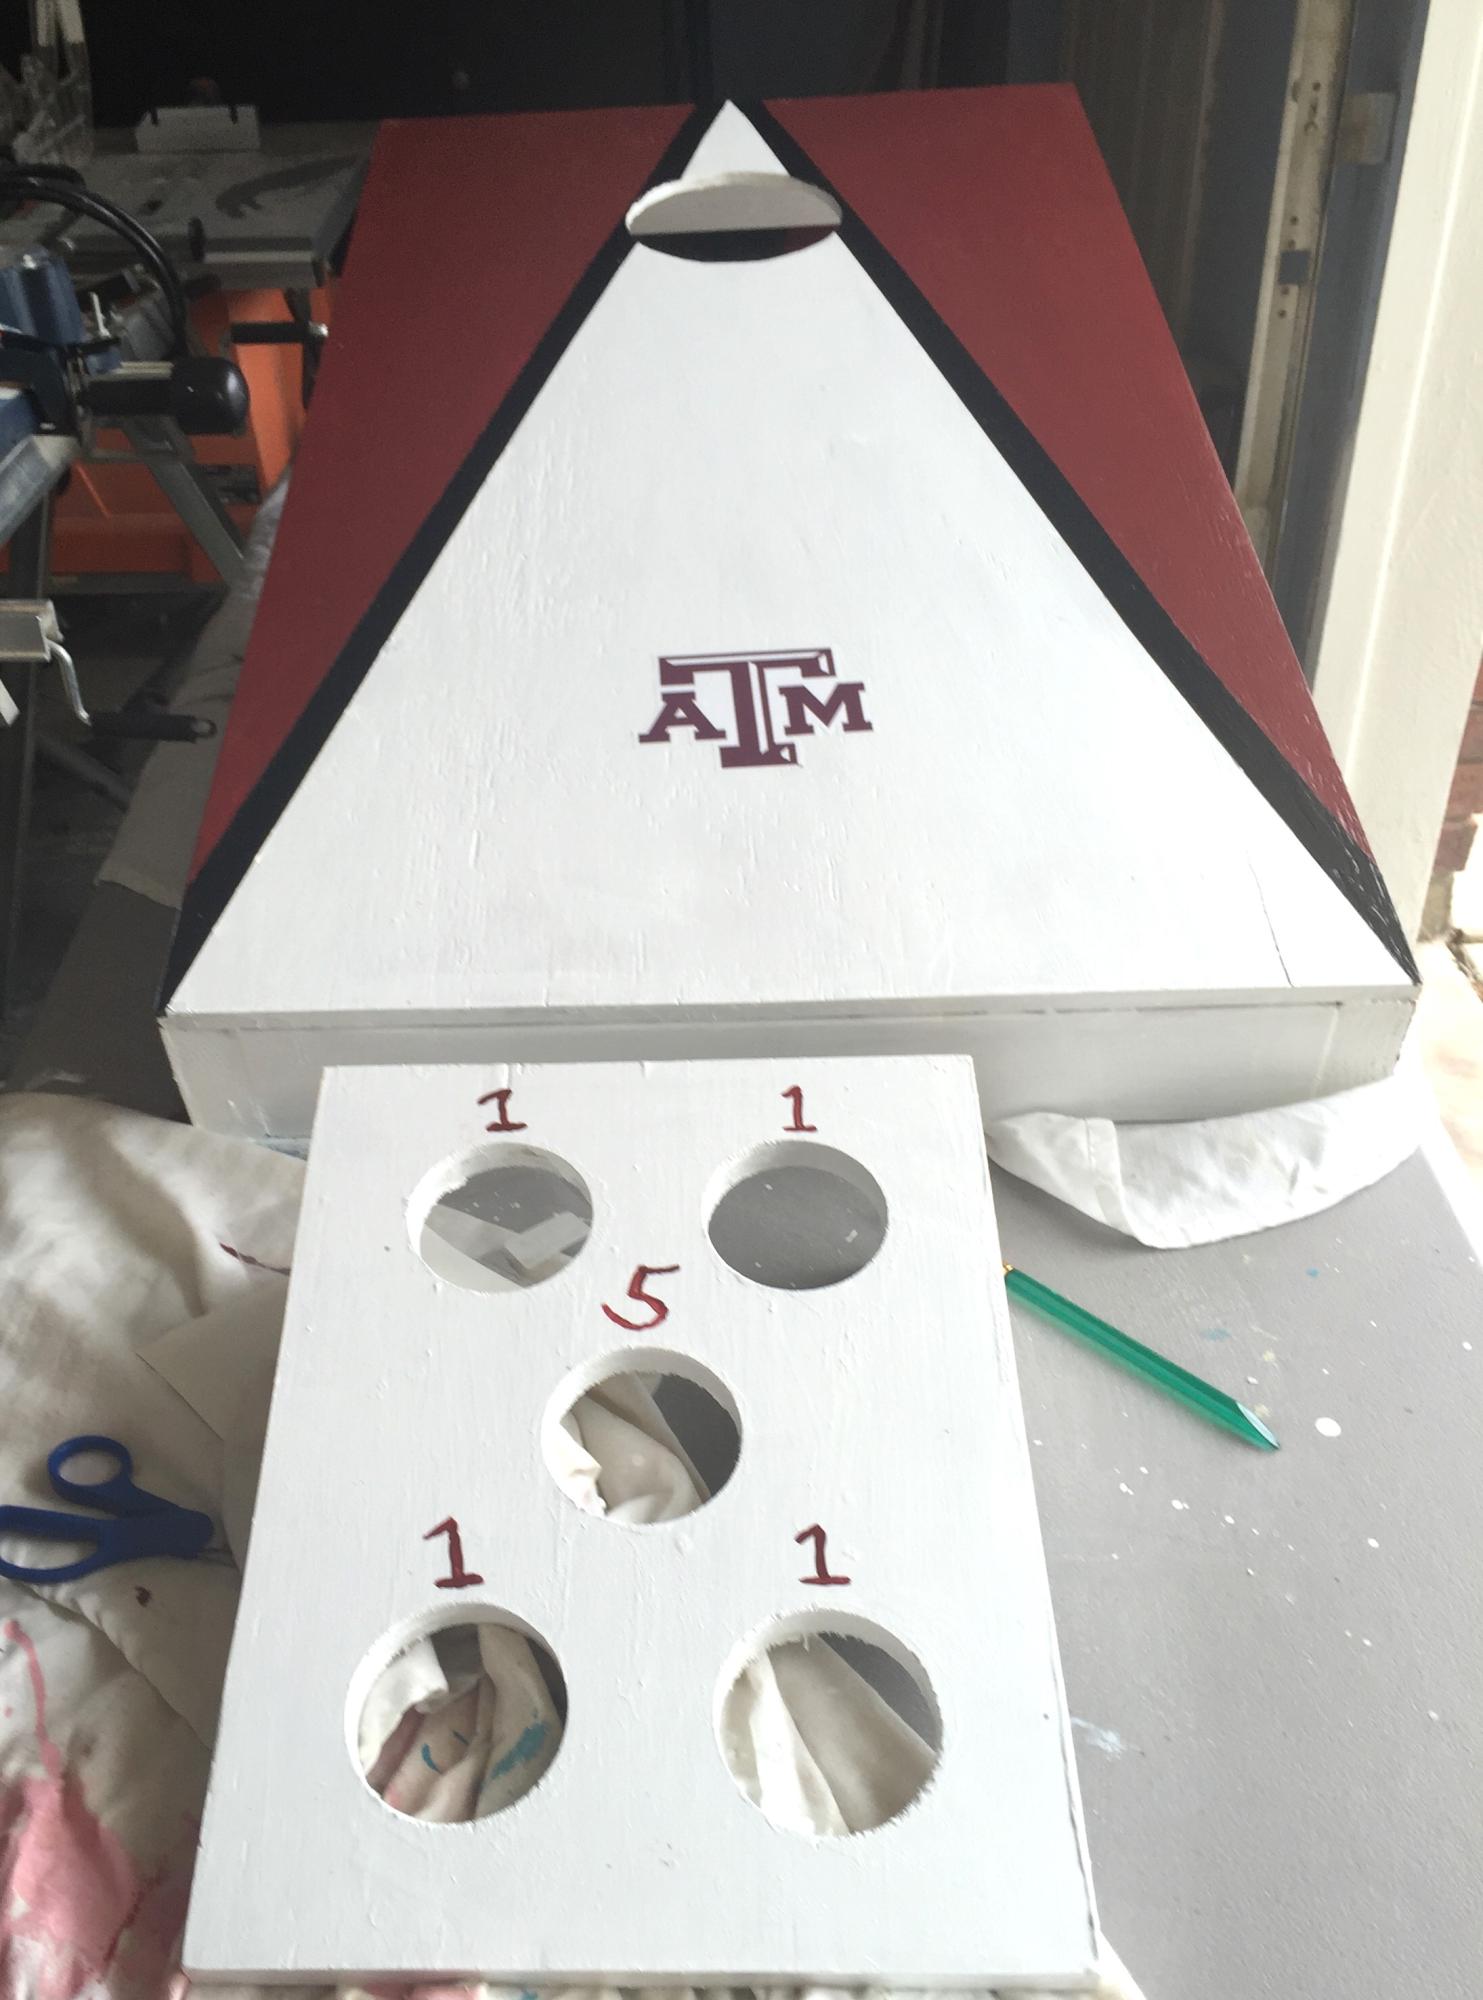
Built this for my son in law. Texas A@m cornhole game and a bonus washer game with the left overs

Estimated Cost
35.00! in plywood and two by four. That also is for paint and stickers.
Estimated Time Investment
Afternoon Project (3-6 Hours)
Finish Used
Paint
Recommended Skill Level
Intermediate

Double Wide Modern Chaise Lounge

Submitted by Anonymous (not verified) on Wed, 07/22/2020 - 13:20

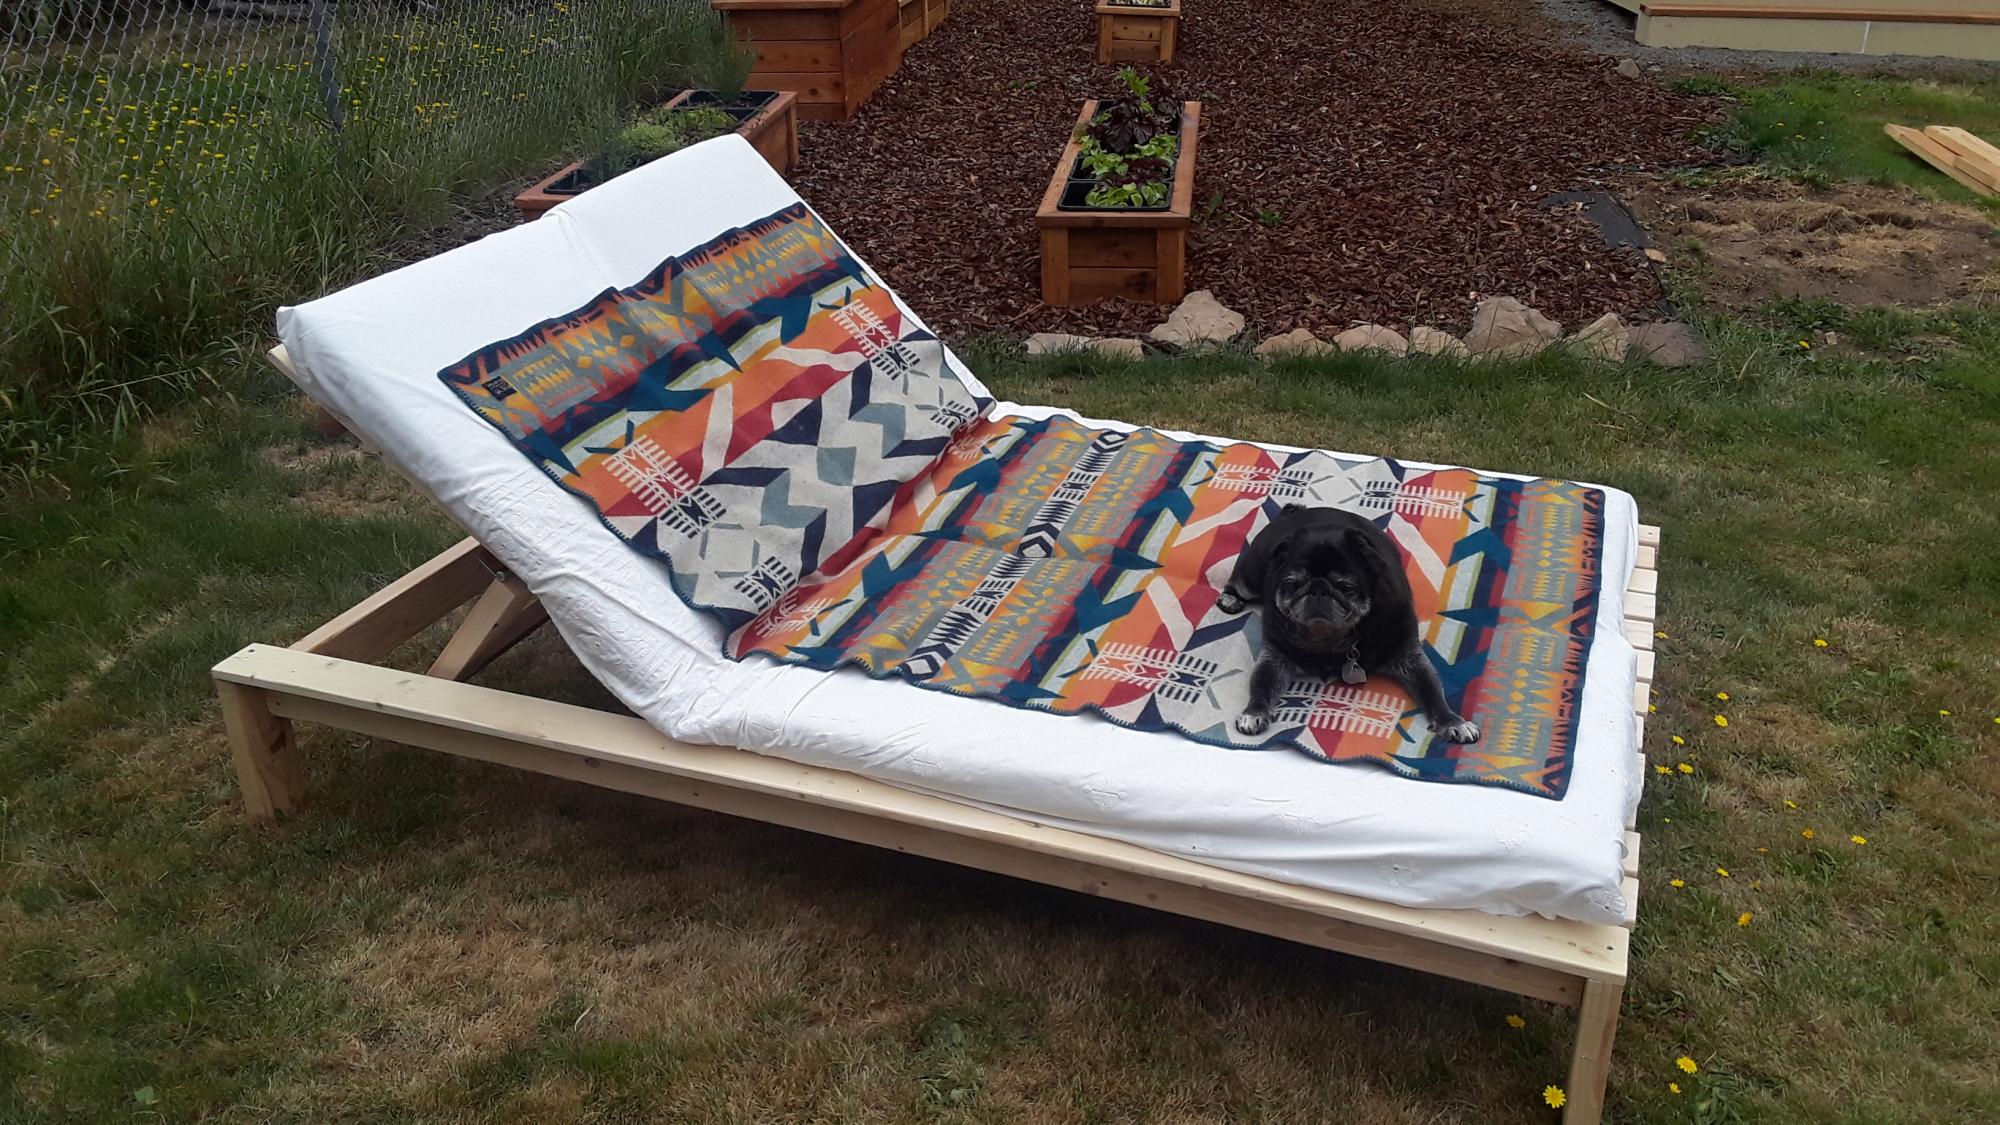
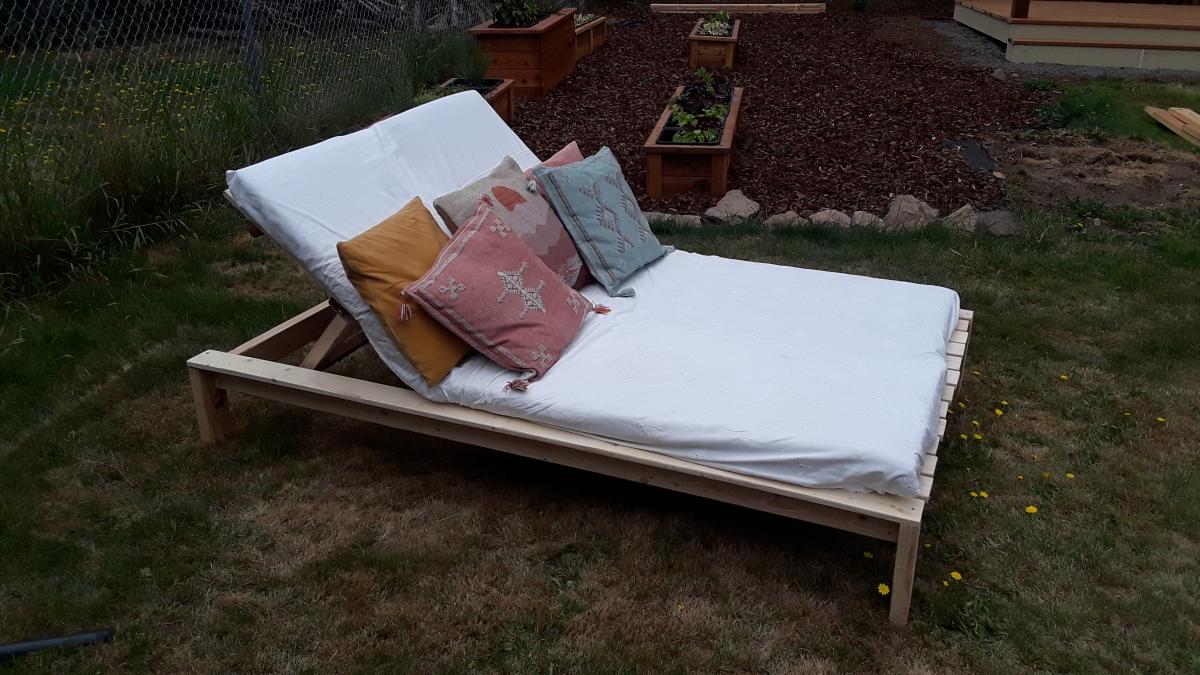
I used pine to build this bed. I am still going to paint it with some exterior house paint! The lumber and screws came in around $120. I got two cushions on clearance at Target for $20 each. I got a duvet cover on clearance at Bed Bath and Beyond for $20. The paint was $25 for a quart, and I also bought a gallon of primer to use on lots of future projects for about $20. I spent 5 hours sanding, 4 hours cutting, and 5 hours assembling with a friend. Much cheaper and more fun than the $1400 one from Restoration Hardware!
Estimated Cost
$225
Estimated Time Investment
Weekend Project (10-20 Hours)
Recommended Skill Level
Intermediate

Coffee Bar

Submitted by eddingsr on Mon, 10/31/2016 - 10:56

I modified this plan to fit a 27"x 25" chunk of butcher block that my mother-in-law gave me. The finished height is 36 & 1/2". I didn't have any special tools to make the notches for the shelves. I simply lowered the blade-stop on my 7&1/4" miter saw and fastened the screw with hair ties (or in other words, I jimmy-rigged it ;)). I practiced on scrap wood until I reached the depth I needed. There is a 9&1/4" clearance between both shelves, and the shelves have a 1" overhang off the sides. I mainly used pocket holes to connect the pieces. The shelves (3-2x6s each) were fastened together with wood glue and pocket holes, then I slid them into place and screwed them into the side aprons/supports from the top, then filled with wood filler. For the top, I added support from underneathe (2x2s that I had on-hand), then used 2&1/2" screws from underneathe through the 2x2s into the butcher block. At first I used zinc wood screws, but learned quickly that they strip extremely easily, so I switched to sheet rock screws. Fun project!!

Built from Plan(s)
Estimated Cost
$35 in lumber, not counting the butcher block top which I got for free from my mother-in-law.
Estimated Time Investment
Weekend Project (10-20 Hours)
Finish Used
For the butcher block, I decided to stain it since it would not be coming into contact with food. I sanded the butcher block with 220 grit sandpaper with my orbital sander. For the rest of my project I first used 80 grit, then 220 grit. Then I applied pre-stain wood conditioners overall, then Minwax provencial stain (I left it on for about 3 minutes then wiped it off). Then I used two coats of polyeurethene, sanding with 400 grit between the coats.
Recommended Skill Level
Intermediate

Folding Work Bench

Submitted by Anonymous (not verified) on Tue, 08/11/2020 - 16:03

First build.

The plans and cut list were a tad off but I made a saw guide a cut it down from 36 to 24 after assembled.

I had HD do all my cuts but have since done my own!

Built from Plan(s)
Estimated Cost
Not sure bought tools, wood and hardware at same time ($160)
Estimated Time Investment
Afternoon Project (3-6 Hours)
Finish Used
None
Recommended Skill Level
Beginner

Sweet Pea Bed

Submitted by Anonymous (not verified) on Sat, 11/26/2016 - 16:24

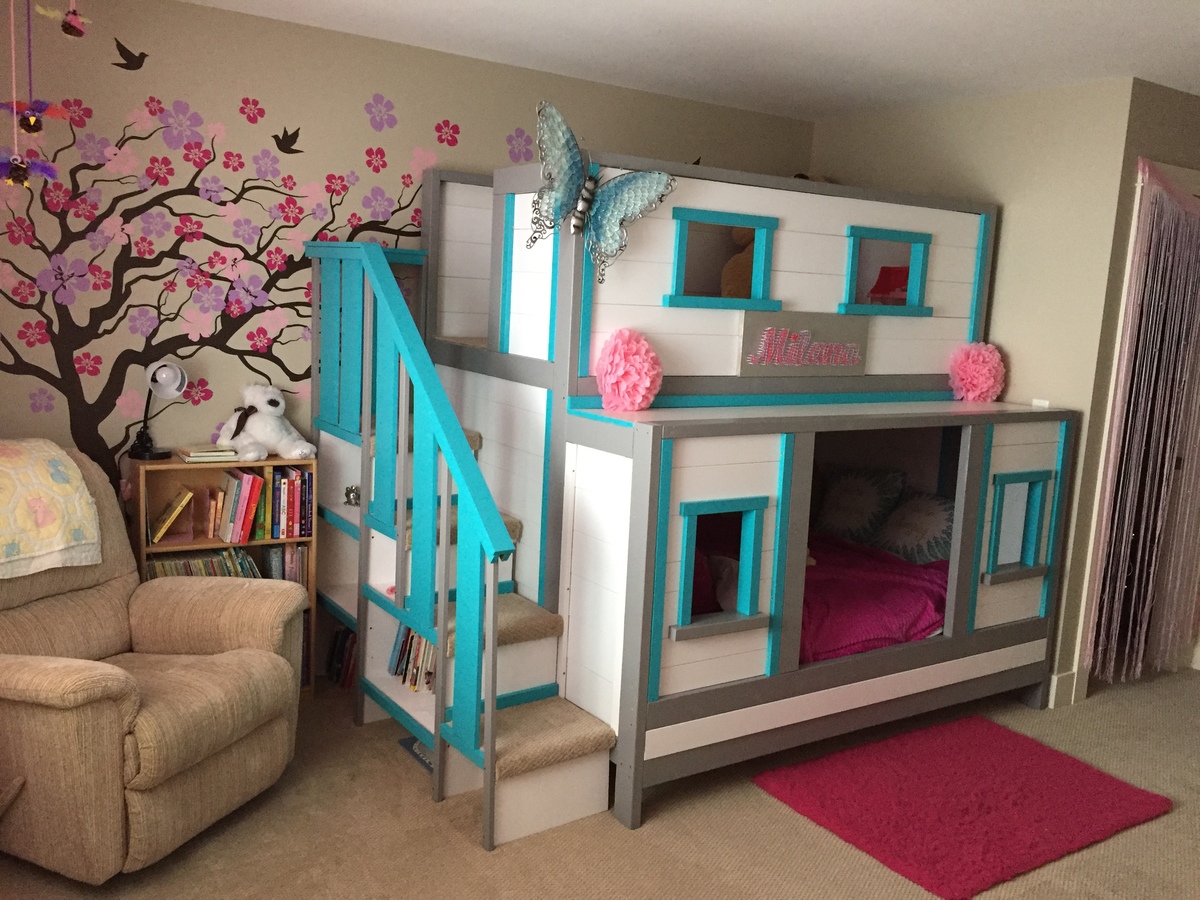
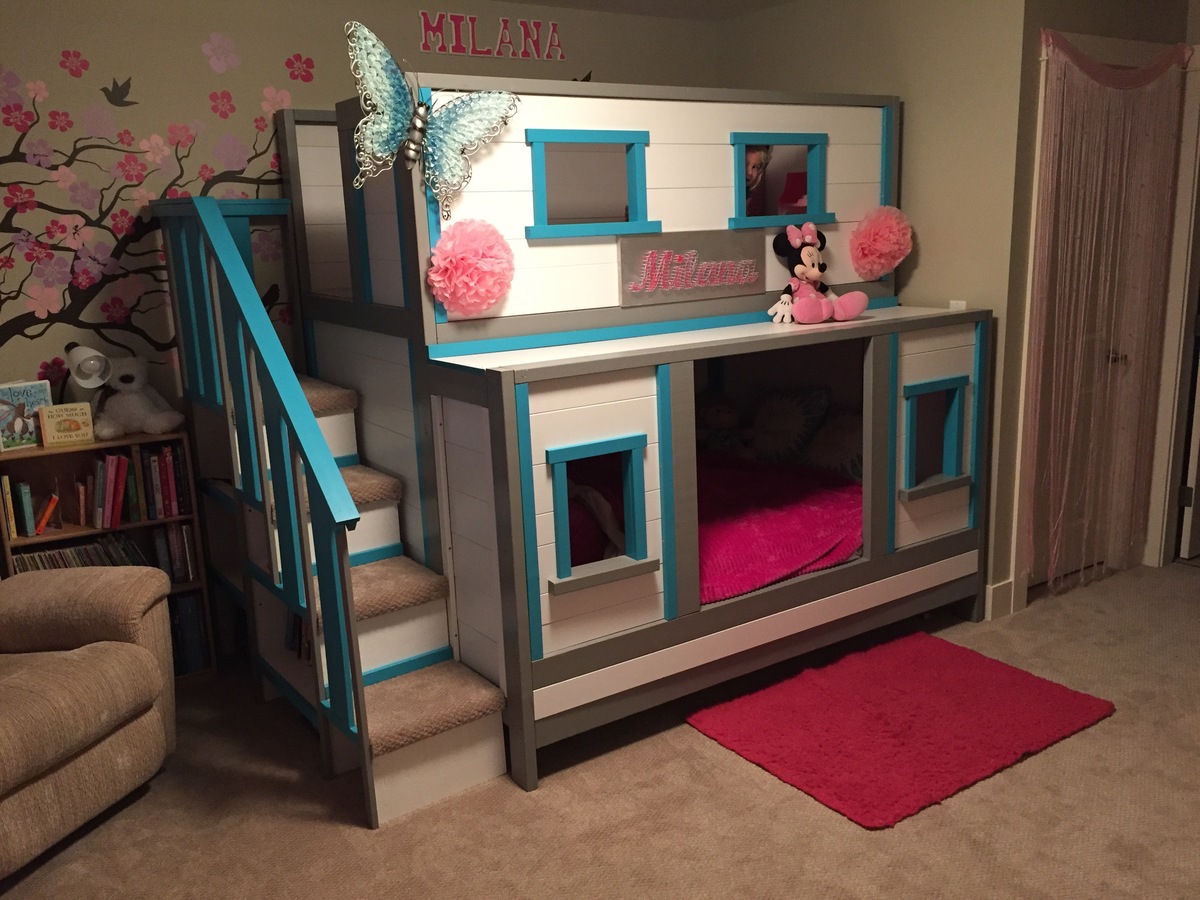
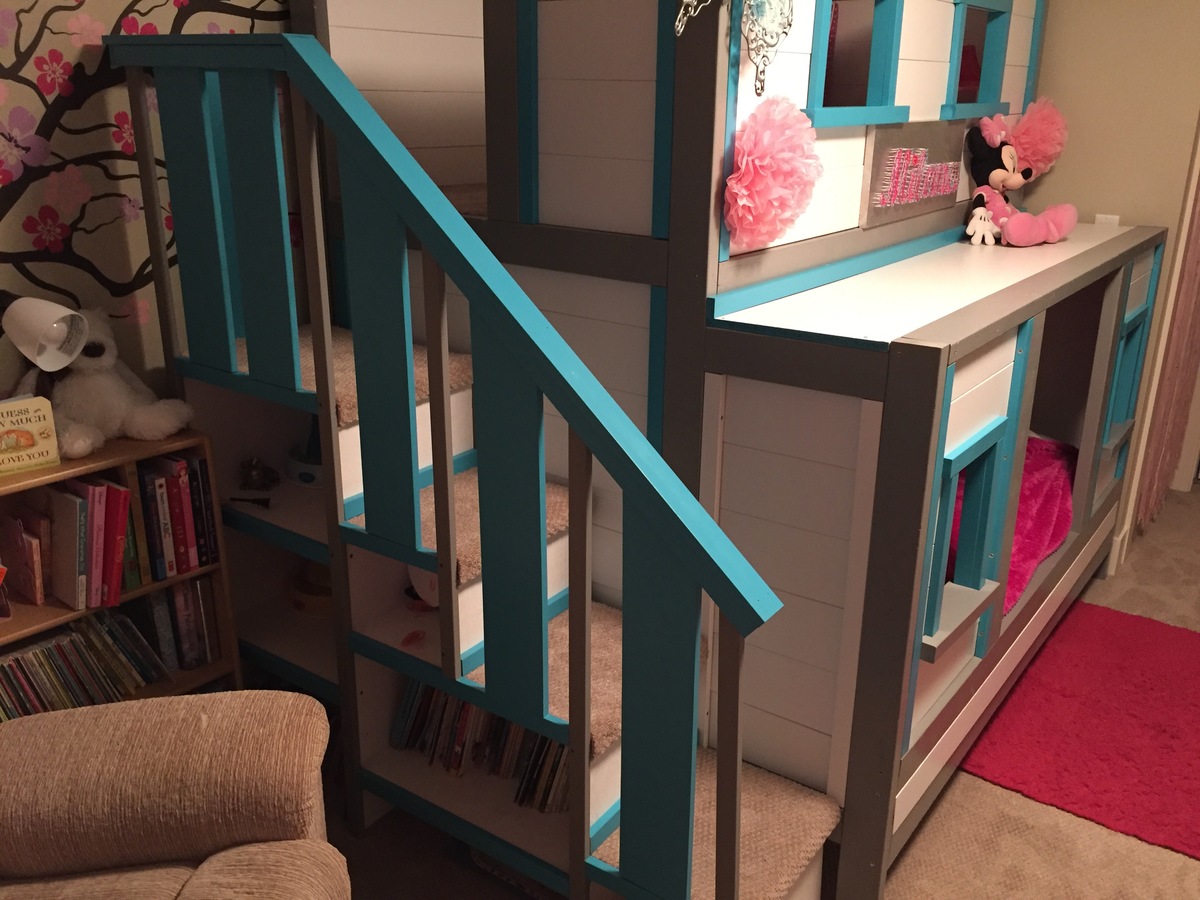
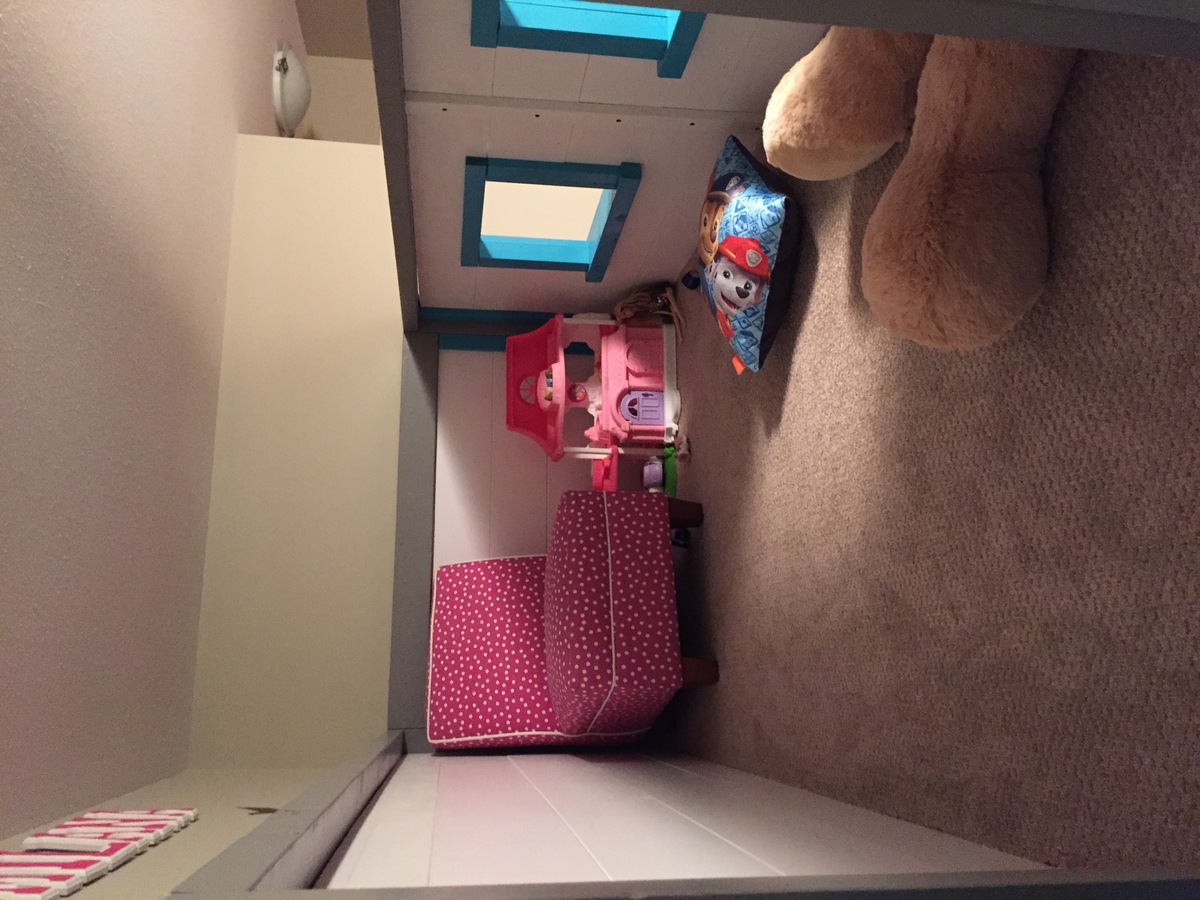
This project cost us about $850CAN and took us around a week (5ish hours a day) to complete. My husband and I are definitely not carpenters so it's not perfect but it's pretty amazing :)

we made several alterations to the plans including making the bottom bunk larger to accommodate a double/full size mattress. We also made the "door" to the bottom bed larger with an opening of 30". Another alteration was we dropped the mattress cleats to 9" off the ground so that the mattress dat down in the bed. The bed is for our 2 year old so we thought she would have trouble getting in if it was much higher. This eliminated the storage area underneath but she has a large closets so we didn't think it would be an issue. 

The plans were great and pretty easy to follow. We are over the moon with how it all turned out! 

Estimated Cost
$850
Estimated Time Investment
Week Long Project (20 Hours or More)
Recommended Skill Level
Intermediate

Gray Farmhouse Console Table

Submitted by boneill on Mon, 08/17/2020 - 18:56

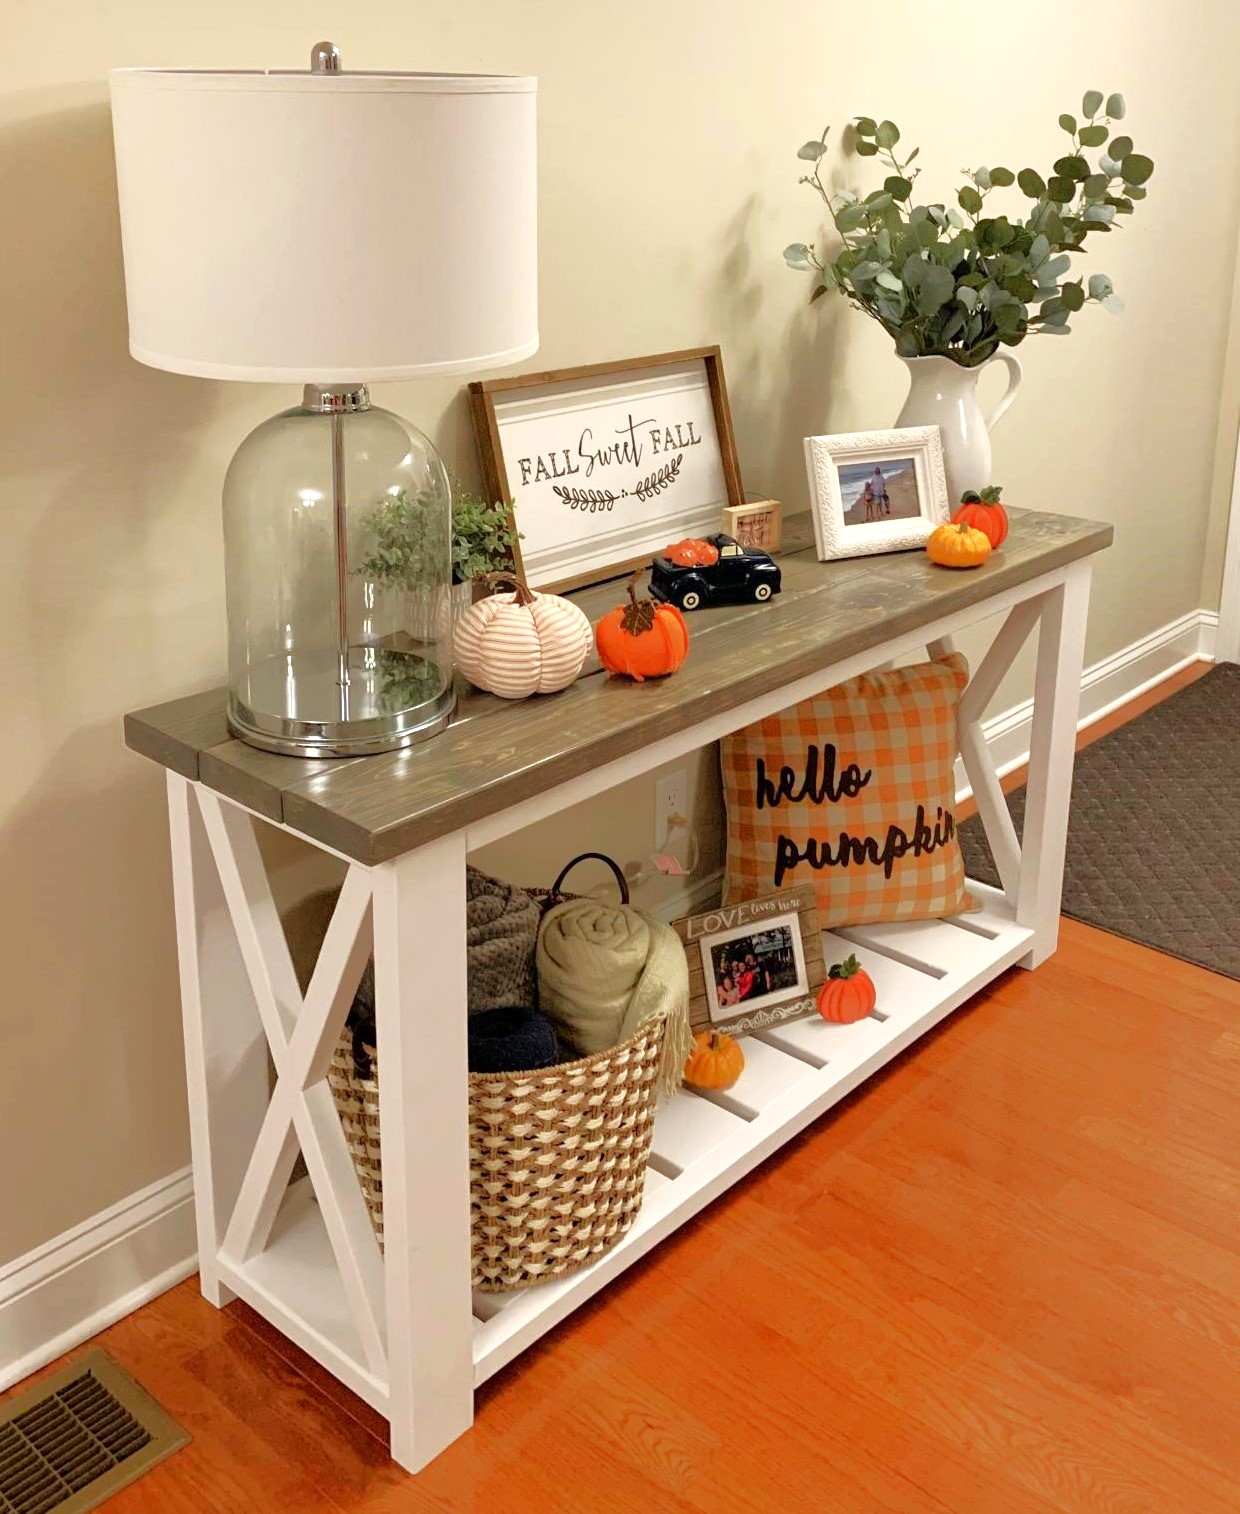
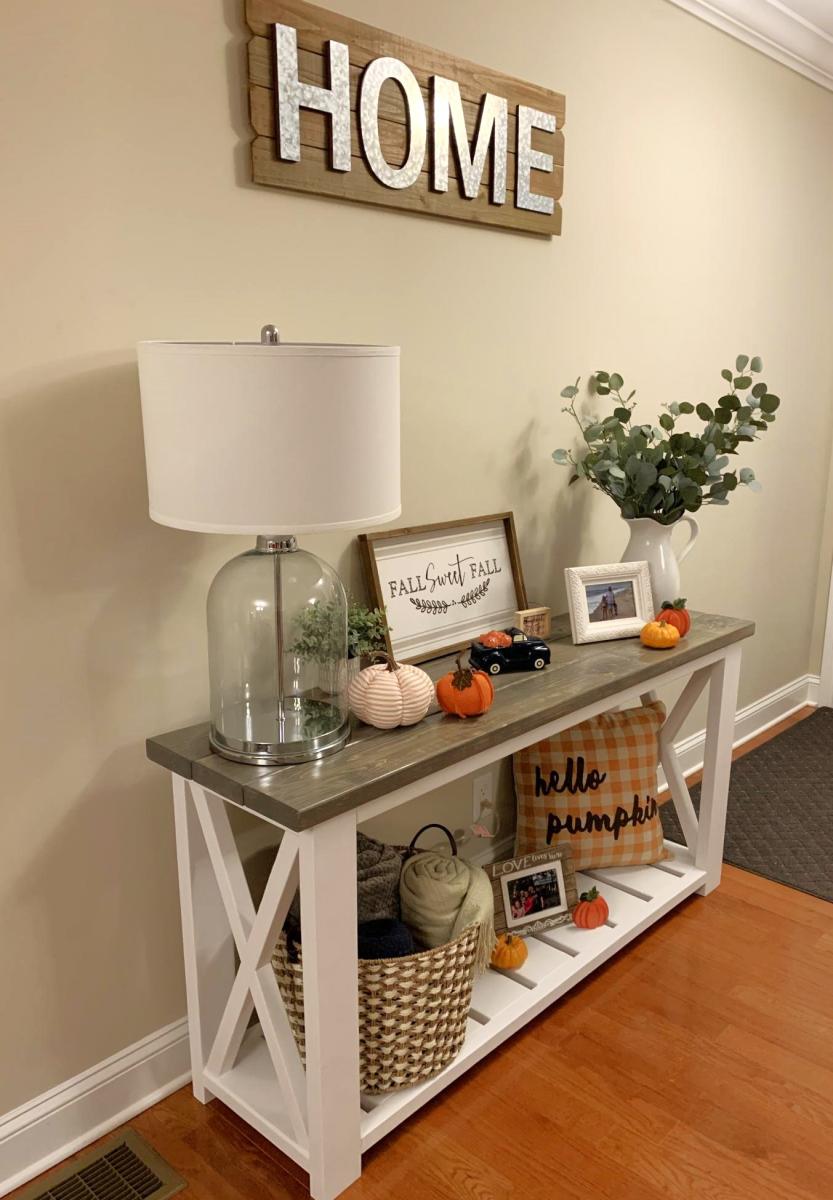
Happy Fall Y’all. Love the Gray / White Farmhouse Colors. I can share the plans I modified for this build if anyone wants to build their own .

Built from Plan(s)
Estimated Cost
$50
Estimated Time Investment
Day Project (6-9 Hours)
Finish Used
Gray Stain, White Paint
Recommended Skill Level
Beginner

Comments

dheald

Sun, 09/06/2020 - 07:05

Hello! This looks great and it’s exactly what I’m looking for in an alternative build. Would you be willing to share the plans with me?

Thanks!

Seasonal And Holiday

Modern outdoor chairs and sofa

Submitted by goose71 on Mon, 08/24/2020 - 23:09

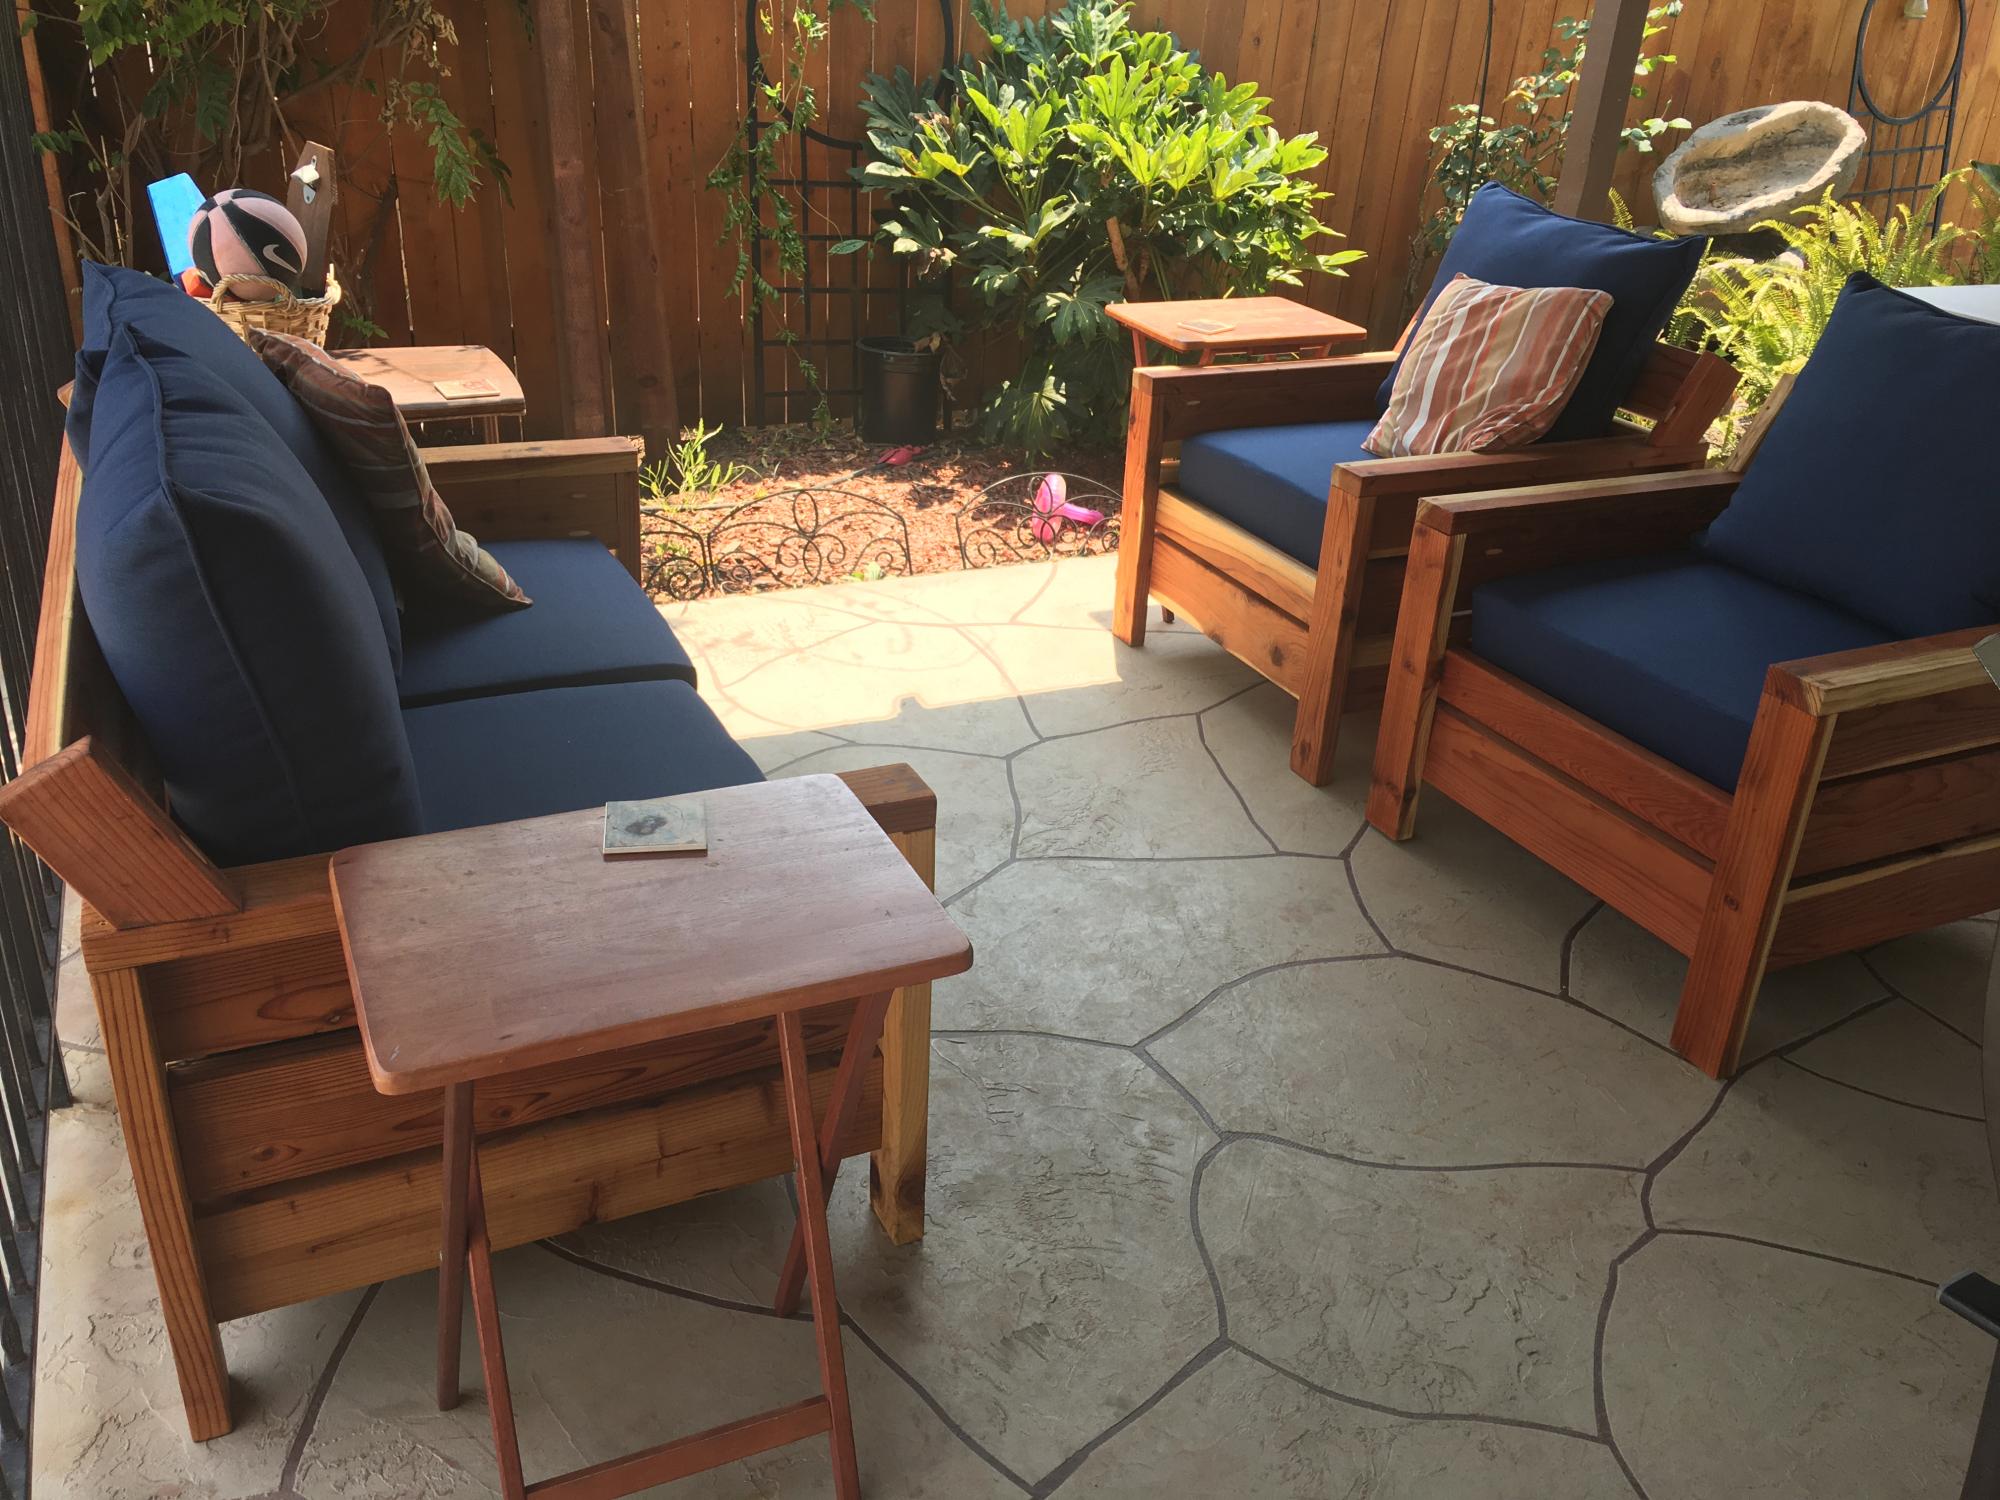
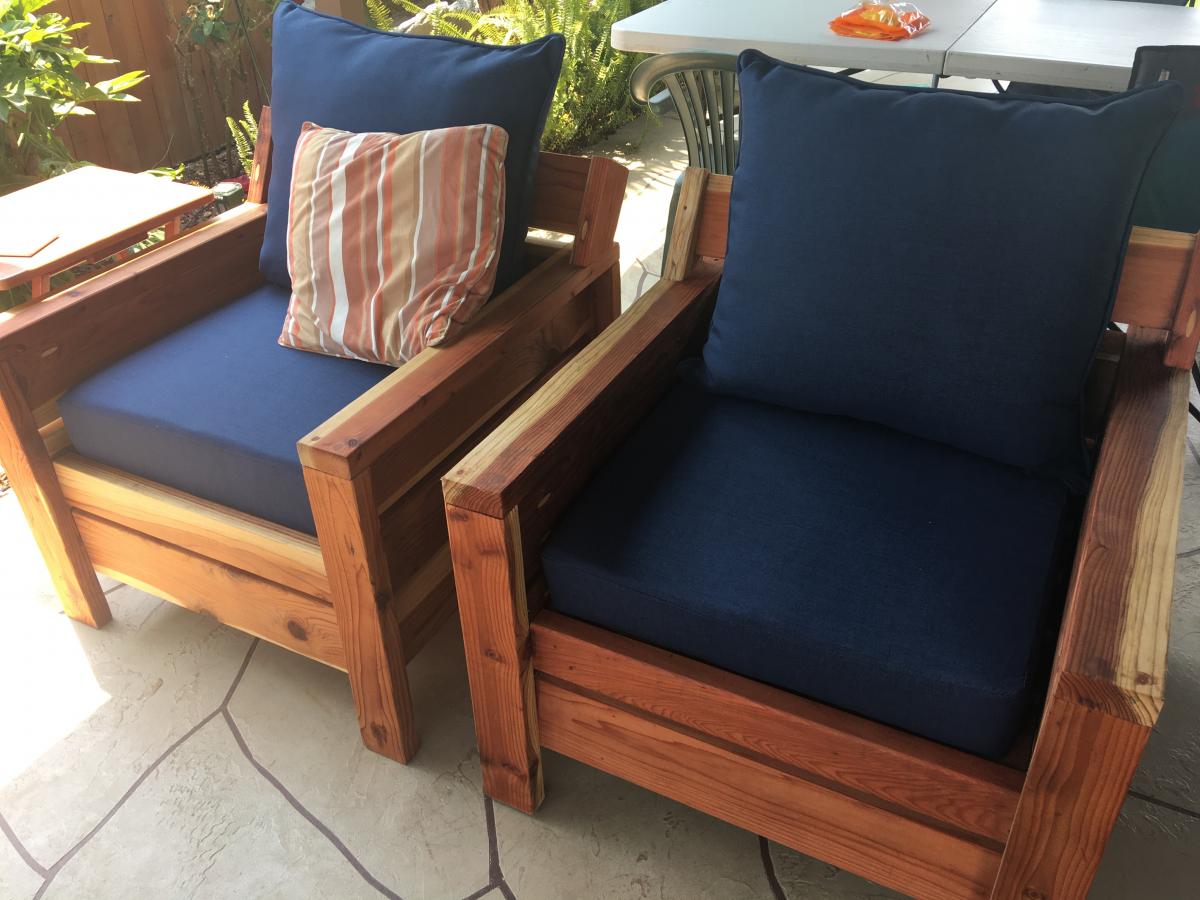
Saw some of the other brags which includes a raised backrest so I incorporated that into my build. There's a 30 degree angle on the backrest (two 2X4's and one 2X6)

Estimated Cost
$500
Estimated Time Investment
Week Long Project (20 Hours or More)
Finish Used
Thompson’s water seal, clear.
Recommended Skill Level
Beginner

Easy DIY Workbench on Wheels

Submitted by Anonymous (not verified) on Wed, 09/09/2020 - 13:26

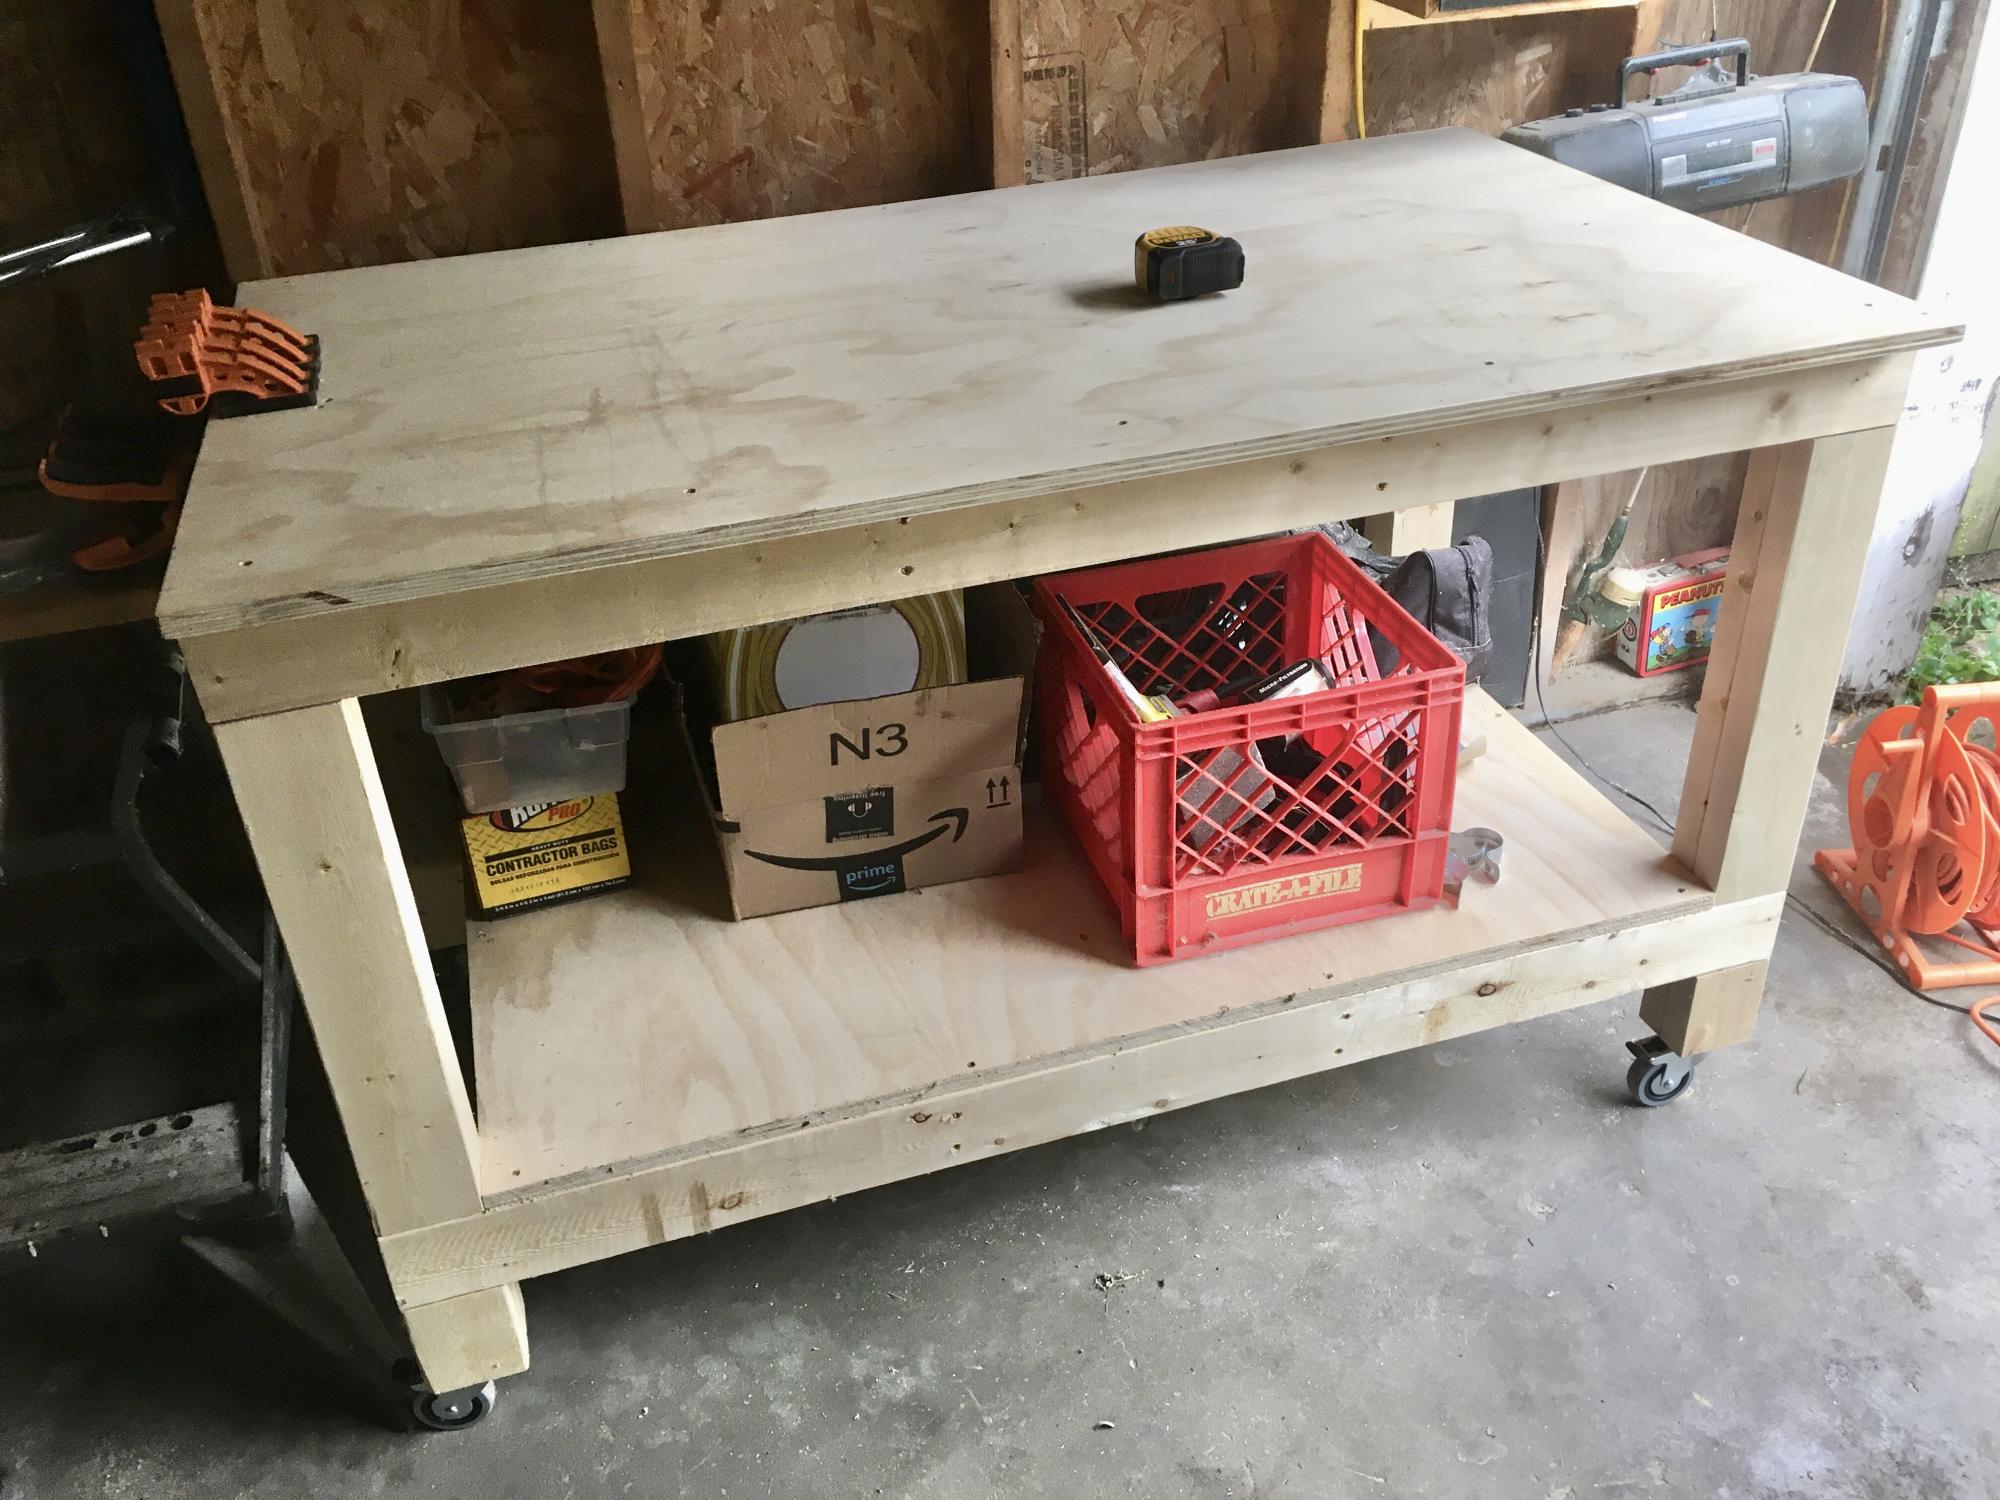
I needed a workbench and Ana's easy plans were perfect for what I needed. I have a small one-car garage that I do my projects out of. The garage also provides storage for bikes, kayaks, gardening tools, etc. I customized the dimensions a little, making the bench only 30" deep to better fit the space available, and to add wheels to be able to roll the bench out into the driveway if needed. The lower shelf provides some good storage for me as well.

Estimated Cost
$90
Estimated Time Investment
Afternoon Project (3-6 Hours)
Finish Used
none
Recommended Skill Level
Beginner

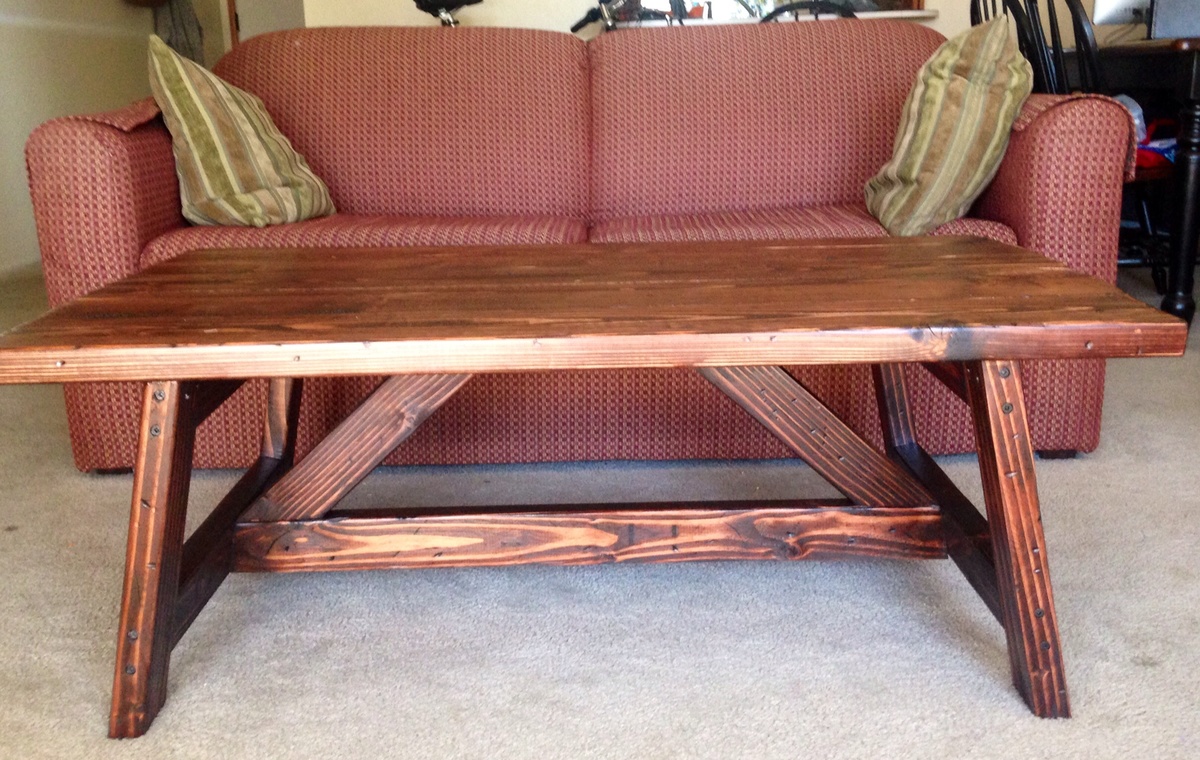
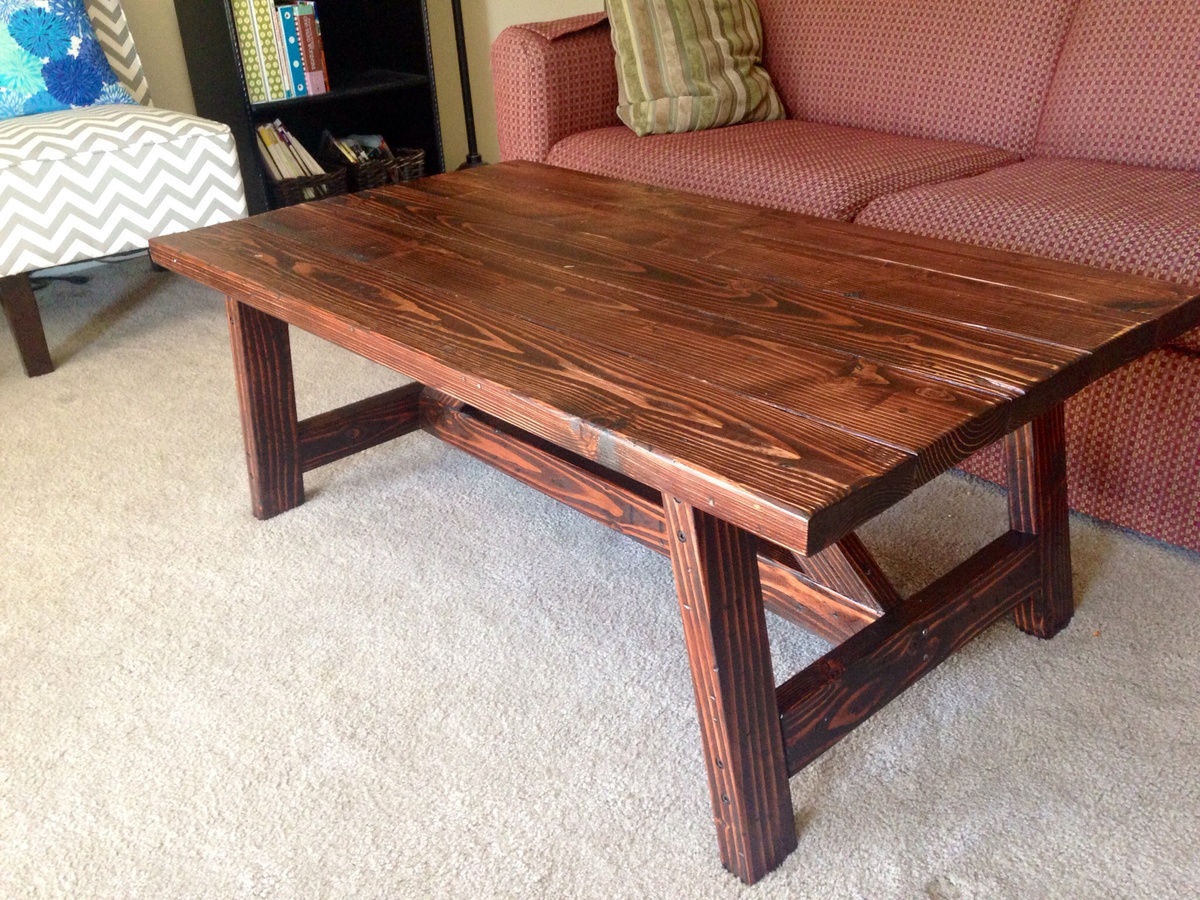
Truss coffee table

Submitted by mwoods on Thu, 09/18/2014 - 20:37

The first larger project I've done on my own. I distressed it some before staining it but no other changes were made to the plan. 

Built from Plan(s)
Estimated Cost
$23 for wood
Estimated Time Investment
Day Project (6-9 Hours)
Finish Used
Minwax Red Mahogany
Recommended Skill Level
Beginner

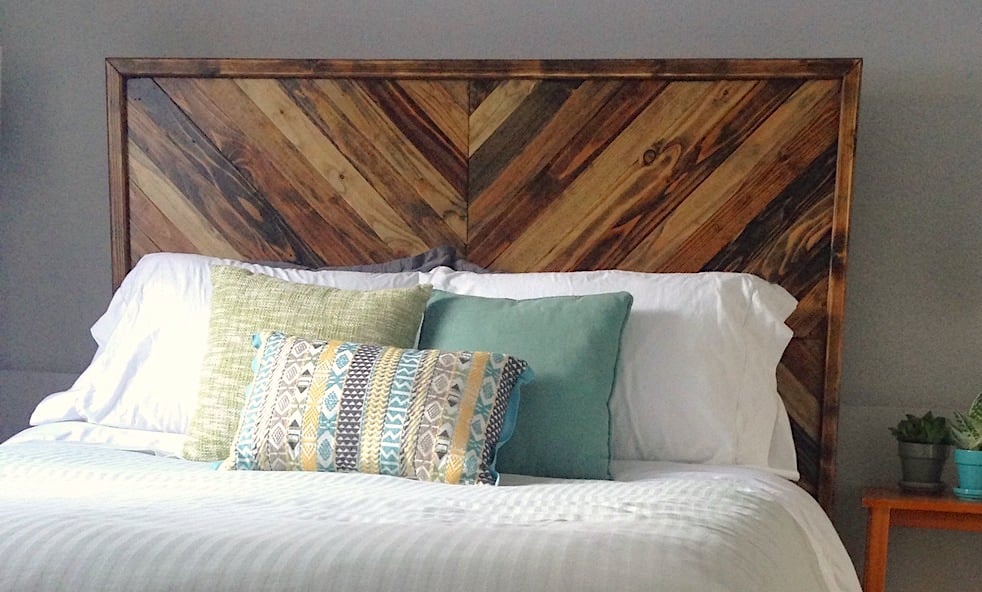
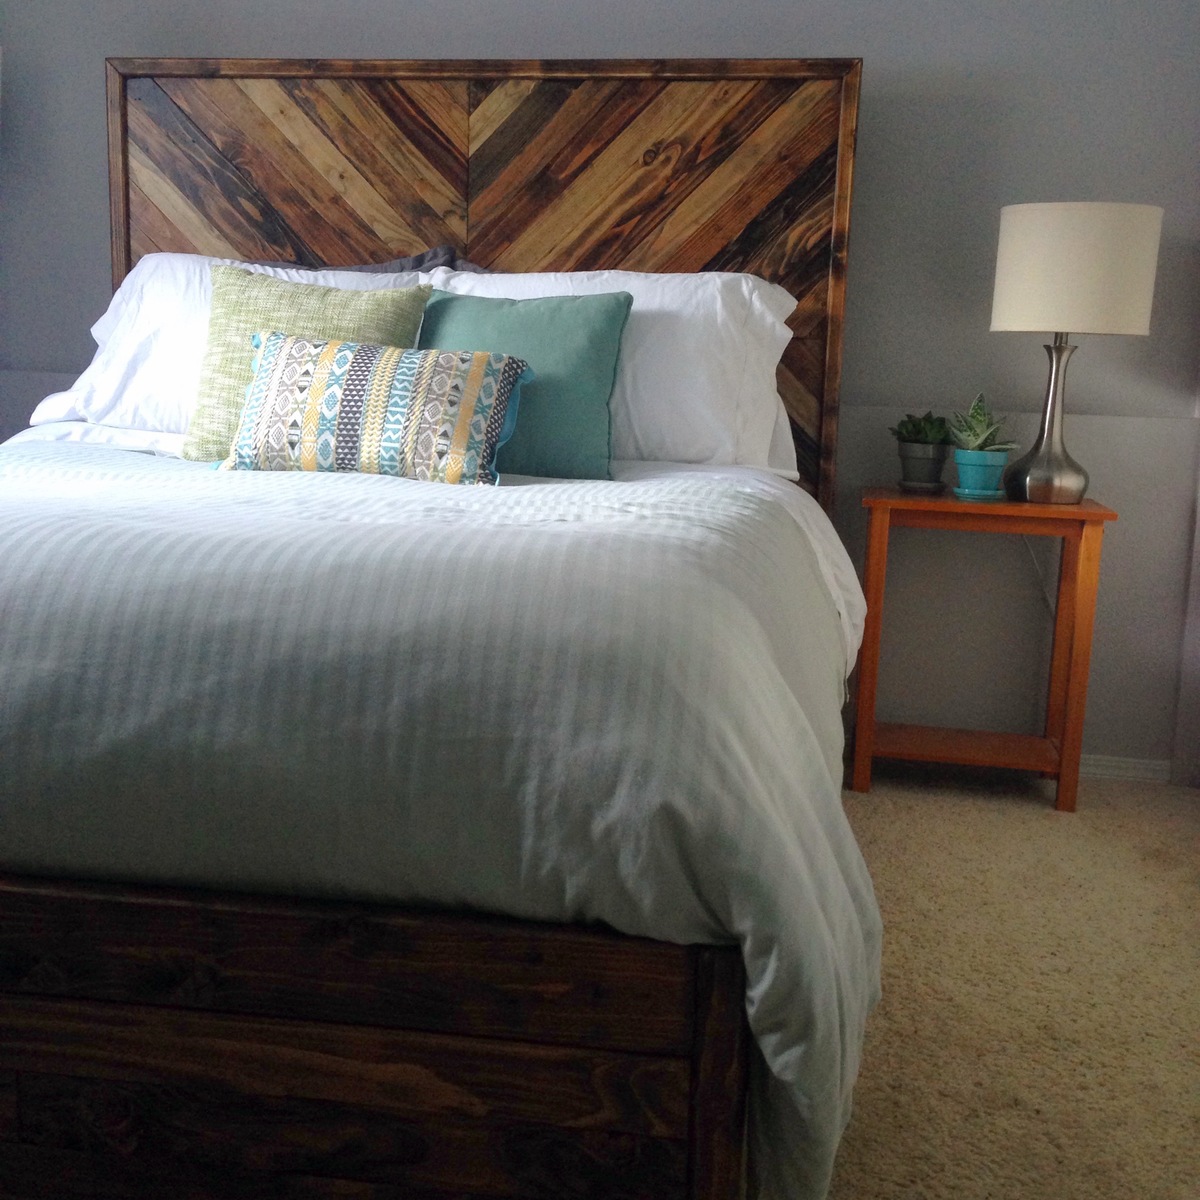
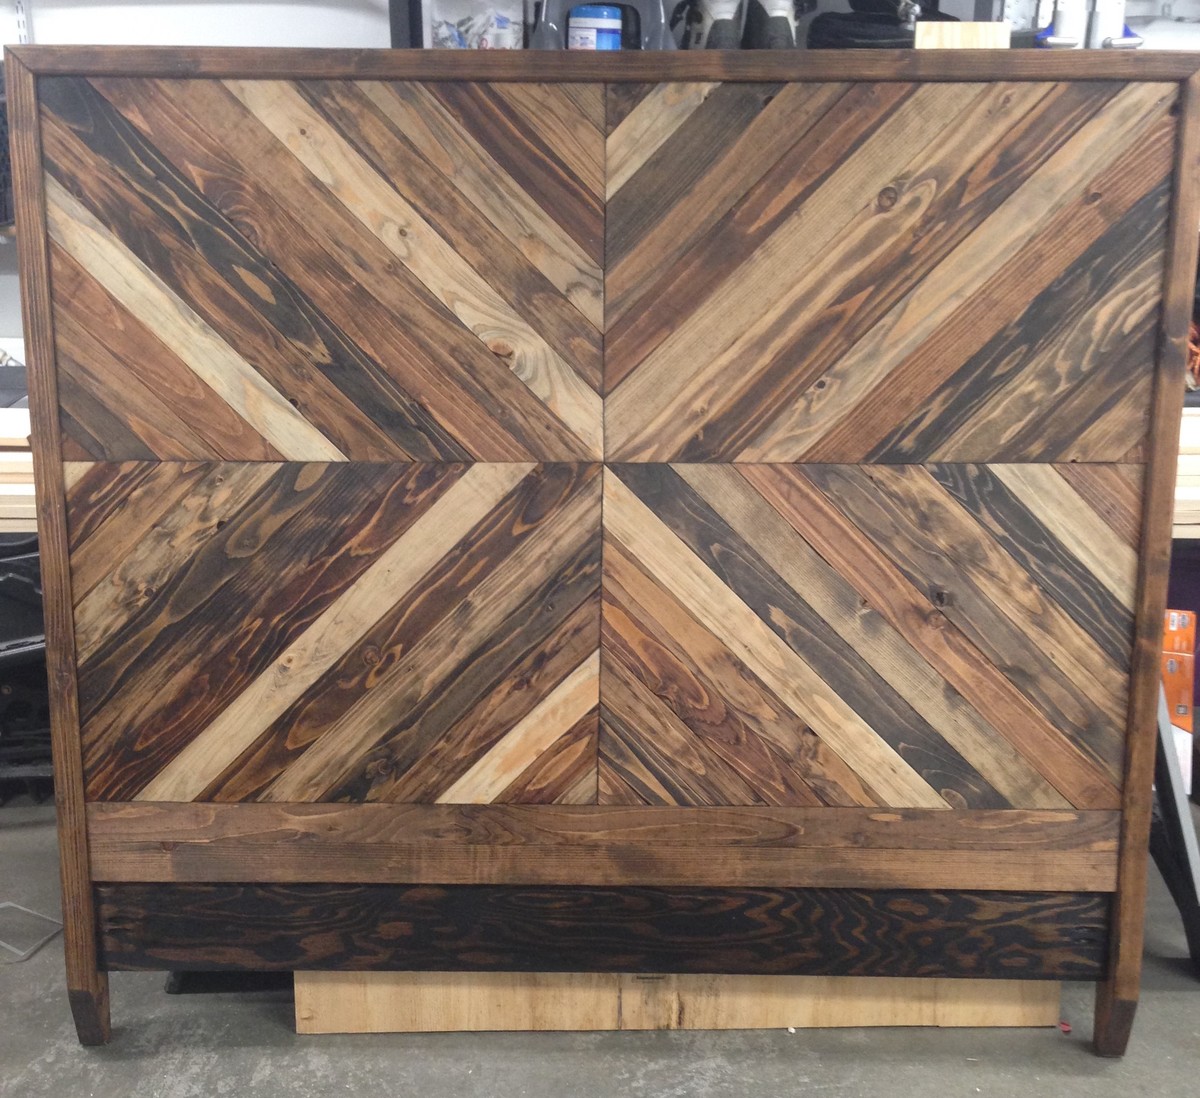
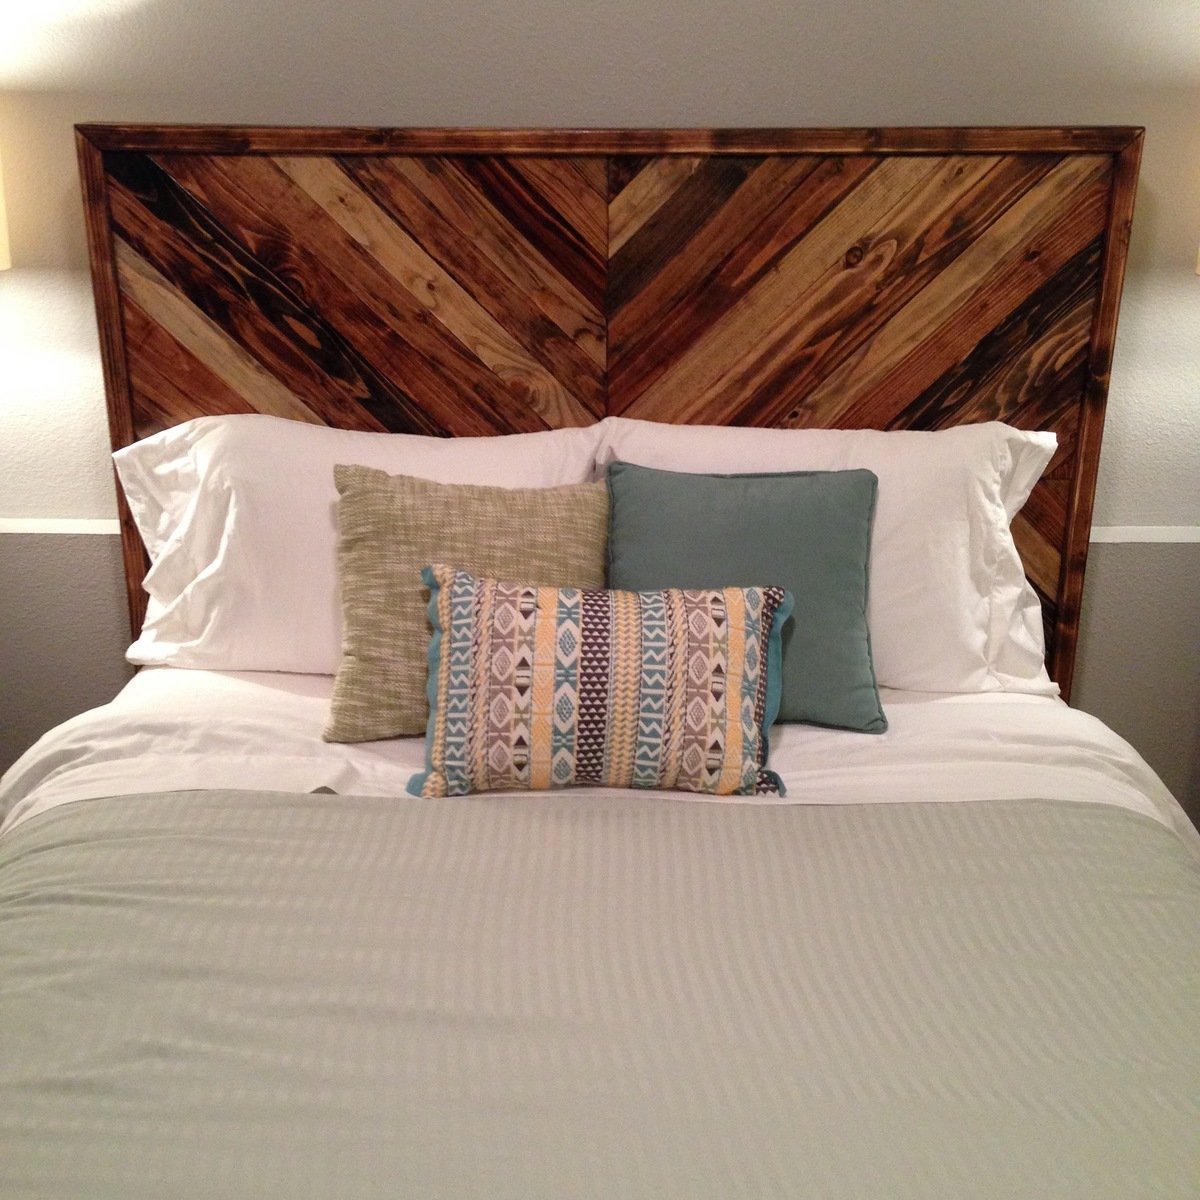
West Elm Knockoff Chevron Queen Bed

Submitted by Anonymous (not verified) on Fri, 01/13/2017 - 21:07

This was my first build and I am so happy with how it turned out! The plans from Jen Woodhouse were extremely easy to follow and I would definitely recommend this project to others!

Estimated Cost
$200
Estimated Time Investment
Week Long Project (20 Hours or More)
Recommended Skill Level
Intermediate

Square X Base Pedestal Gym Floor Table

I used the "square x bass pedestal" plans to complete this 4' card table. The top is made from reclaimed gym flooring from the local high school. The "x base pedestal" provides a nice sturdy base for the large table. The project was completed over several weekends when I had time to work on it. 

Estimated Time Investment
Week Long Project (20 Hours or More)
Finish Used
I painted the base and frame around the top with a black gloss paint. The top and base both have 3 coats of water based polyacryllic.
Recommended Skill Level
Intermediate

fire pit bench

Submitted by Anonymous (not verified) on Thu, 01/26/2017 - 18:34

fire pit bench

Recommended Skill Level
Beginner

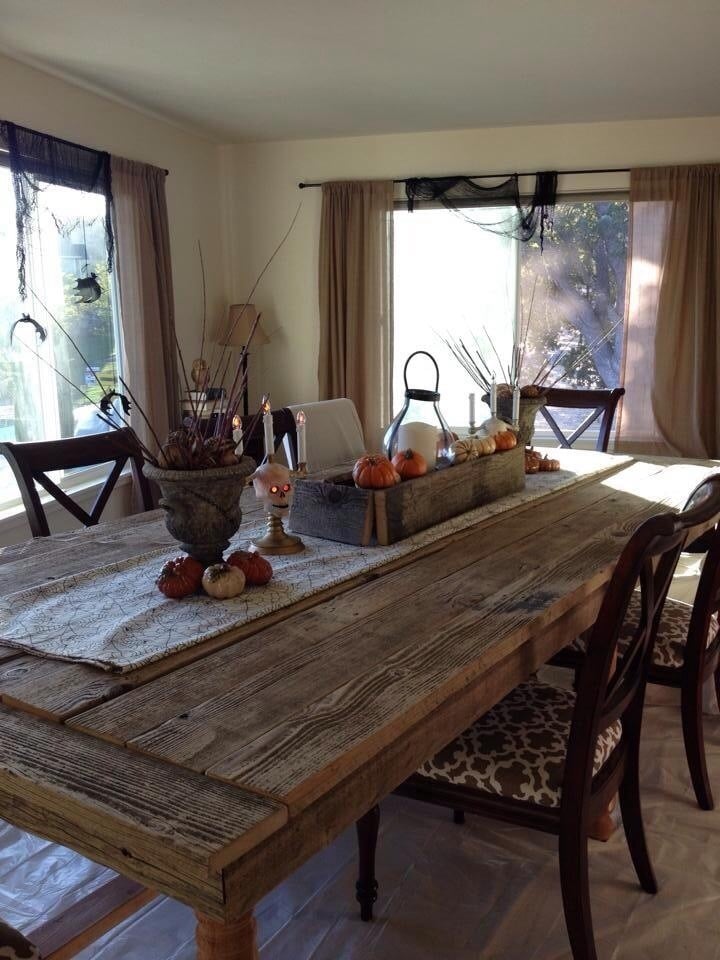
60 year old Barnwood Table

The wood came from a 60-70 year old barn that was torn down out on a friends property. The wood was fee and materials cost around $175. Took a couple weekends to build. 

Estimated Cost
$175
Estimated Time Investment
Weekend Project (10-20 Hours)
Finish Used
Polyurethane
Recommended Skill Level
Intermediate

Comments

Gmiller1966

Fri, 10/24/2014 - 19:56

My wife wanted a large table to entertain. She mostly wanted to be able to decorate the center and not have to move it during dinner. The table measures 10' x 4'8" and is 29" high.