Community Brag Posts

Sideboard Build

Submitted by craw4dz on Thu, 02/27/2020 - 10:24

Before moving, I sold my older, MDF-containing, sagging china hutch that was given to me by a friend.  I had dreams of building my own and had printed out these plans... built it in my head, rebuilt it, scratched out notes, wrote new notes, and so on until my husband finally said "just build it already" haha.  It took me 2 months to finish it and fill it with all of my china and I'm into it for about $330.  I love her and affectionately refer to her as Gert... she's a big girl.  I added adjustable shelving inside and horseshoes to the front to match everything else in my house and I think it turned out great.  It's sturdy enough I think we could have dances on top of it!

Thank you for the simple and easy-to-follow plans!

Built from Plan(s)
Estimated Cost
$330
Estimated Time Investment
Week Long Project (20 Hours or More)
Finish Used
Varathane Kona with a satin poly
Recommended Skill Level
Intermediate

Superman Stool

This stool is a gift for my nephew's 4th birthday!! The hardest thing about this stool is trying to get all the legs put together without having enough room to get the drill at the right angle. This time, we used an extender piece on the drill bit (duh!) and it was MUCH easier than the other stools we have built.

I used a projector to put the trace the Superman symbol, then painted it.

I hope he likes it!!!

Built from Plan(s)
Estimated Cost
$20
Estimated Time Investment
Afternoon Project (3-6 Hours)
Finish Used
Blue is spray paint, the yellow is some pre-mixed paint I used for my picnic table, and the red is acrylic paint. All the finishes are different, so that's probably not good. I sprayed a clear coat on at the end.
Recommended Skill Level
Starter Project

Farmhouse End Tables

Submitted by pde00311 on Mon, 02/24/2014 - 22:49

Of course, with our new king farmhouse bed, we needed matching his and her bedside tables. It was a pretty straightforward build. However, if I were to build it again, I would install slide hardware for the drawers. For whatever reason, our drawers, which use the wood on wood slides in the plans, are difficult to open/close. When I get a chance, I am going to sand everything down to try to prevent the drawers from sticking so much.

Built from Plan(s)
Estimated Cost
50
Estimated Time Investment
Day Project (6-9 Hours)
Finish Used
Behr off white #1873 paint distressed with Minwax special walnut stain
Recommended Skill Level
Beginner

Comments

ehays216

Wed, 02/26/2014 - 05:44

I love the stain you used on the tables and bed, thanks for giving the details! They all look great!

Double farmhouse bed

Submitted by Anonymous (not verified) on Wed, 05/25/2016 - 20:05

My husband built the full size farmhouse bed for our 2 year old son. It turned out beautiful but very high off the ground. In hindsight he would've cut off about 4" from the end posts so it would be lower to the ground. Overall we are very happy with it!

Built from Plan(s)
Recommended Skill Level
Beginner

Breakfast nook with storage

Submitted by nahoy08 on Mon, 03/09/2020 - 08:12

Modified the benches a little to be opened without removing a cushion. Cushions to come. We made our own paneling for the back and reused the original trim. Table to come. 
Idea and plans from another brag Breakfast nook. 

Estimated Cost
275
Estimated Time Investment
Weekend Project (10-20 Hours)
Finish Used
Variety of stains all with a light clear coat on top.
Recommended Skill Level
Intermediate

Kids Storage Table & Stools

I built a storage table and stools for my son's school class project and my wife wanted a set for her mom to give to her on Mother's Day.

Estimated Cost
$130
Estimated Time Investment
Week Long Project (20 Hours or More)
Finish Used
Rustoleum Kona Stain, Poly satin finish
Recommended Skill Level
Beginner

Comments

spiceylg

Sat, 10/20/2012 - 10:25

Beautiful build. Is that the 36" round project panel? I don't the 32" size she refers to in any store.

Modified Kitchen Island from the Handbuilt Home Island Plans

Today I’m sharing this unexpected addition to our kitchen! Everything about the construction of this furniture-style kitchen island seemed to be charmed. There is usually a lot of trial and error that goes on behind the scenes during our projects- but everything seemed to just kind of fall in to place. We enjoyed it while it lasted, since we know it won’t be that easy again! ;) Without a real plan for the island, we found the beautiful marble slab on Craigslist for a steal. While the slab was having it’s edges finished, I began comparing island legs. The ones I decided on came from Osbourne Wood, they are called The Grand Harvest Island Posts. I liked the chunky style in order to support the heavy marble. We are so so happy with the quality of the legs that we plan on using this company for all future furniture building projects. For the specifics on how to build the island, we were a bit stumped. We were just kind of going to wing it. Then, when I was daydreaming about a completely unrelated project, I stumbled across the kitchen island plans in Ana‘s book The Handbuilt Home. The dimensions were almost perfect for the slab! We modified the plans slightly- we didn’t need casters, and our island needed to be a bit narrower than the plan in the book, and we swapped out the 2×4′s for 2×6′s in some places- but the length was perfect, so we were still able to use most of the materials list (a huge time & money saver!) to maximize yields. We ordered a Kreg Jig, like Ana recommended, and I have to say- I love it! This island was so much fun to build and finish- and it makes a huge statement in our DIY renovated kitchen!

Built from Plan(s)
Estimated Time Investment
Day Project (6-9 Hours)
Finish Used
Aged Driftwood Finish: I started out by giving the island a coat of Minwax pre-stain conditioner, since I was planning to use a water-based stain. Next, I did a coat of Minwax Waterbased Wood Stain White Base tinted Slate at the paint counter at Lowes. My next step was the whitewashing. I very lightly dry brushed the entire island with white satin paint. After it dried, we sanded it all smooth, removing some of the white paint. Some stayed behind in the detail. Then, we stood back and looked at our results… and we decided that it was too white with the rest of the kitchen, so we went over the paint with Rustoleum Driftwood. Weird, I know- but it worked perfectly! It changed some of the white paint into a more natural looking gray color, and toned down some of the blonde wood peeking through. The overall effect made it appear aged, and we were so happy with it!
Recommended Skill Level
Intermediate

Comments

suschen

Fri, 02/28/2014 - 05:22

This looks amazing! I was wondering how you attached the marble slab to the posts?

gkubrynski

Mon, 03/03/2014 - 17:24

Unbelievable! Great accent to the kitchen. You mentioned you used both pine and maple... can you specify which parts were pine v. maple? Beginner here... Thanks

Vegetable Storage Bin

Submitted by Loaded918 on Sun, 03/15/2020 - 16:56

I had some scraps leftover from a previous project and decided to see what I could make. My wife wanted this vegetable bin, so I figured I’d give it a shot. I used my table saw to create my own 1x boards for this build. The back board is two 2x4’s with trimmed edges, glued together. The rest was a 2x10 I cut to size for the different pieces I needed. All in all, it turned out great!

Built from Plan(s)
Estimated Cost
~0
Estimated Time Investment
Afternoon Project (3-6 Hours)
Finish Used
None
Recommended Skill Level
Starter Project

Comments

Workbench

Easy to build! Took about 3 hours!

Built from Plan(s)
Estimated Cost
$75
Estimated Time Investment
Afternoon Project (3-6 Hours)
Finish Used
Floor Verathane
Recommended Skill Level
Beginner

Comments

deannaf

Sat, 05/19/2012 - 05:15

This is fantastic, just what I need to build. Would you mind sharing some measurements such as height, width and depth.

"Thomas" Train Bunk Bed

We wanted a short bunk bed for our sons, age 4 and 1. Our 4-year-old insisted on a Thomas Train bed. We modified the fort bed plans slightly to add stronger barriers on the top bunk and add a barrier on the bottom for the little guy. We also used solid plywood rather than MDF. We used 2x4's and steel angle to hold up the top bunk. It should be sturdy enough for them to use into teenage years. Because we beefed up the strength, the cost increased as well.

We tried staining it and it didn't come out as nicely as we had hoped, but the boys added their own stickers to it and now they have a Thomas bed that they love. When the 1-year-old gets older, we will probably remove the barrier on the bottom bunk to make getting in and out easier.

Built from Plan(s)
Estimated Cost
$200
Estimated Time Investment
Weekend Project (10-20 Hours)
Recommended Skill Level
Beginner

Alexia Bench modified

Submitted by Anonymous (not verified) on Thu, 06/02/2016 - 08:21

This was a very quick and easy build that was completely finished in an afternoon. My Kreg jig was loaned out, so I have exposed fasteners, but I prefer to let them show instead of filling the holes. I built this with 20" legs to make it a little taller and more comfortable for my height. I also prefer straight lines and angles, so I changed the trim pieces a bit to suit my style. The hardest part was getting the drawer slides lined up. The finish is Rustoleum Heirloom White with a coffee colored glaze. The picture makes one drawer look darker, but it's really just a shadow. I'm in love with this project!

Built from Plan(s)
Estimated Cost
$65 for standard boards and a small can of paint
Estimated Time Investment
Afternoon Project (3-6 Hours)
Finish Used
Rustoleum Heirloom White with a coffee colored glaze
Recommended Skill Level
Beginner

DIY Pantry Shelves

Submitted by Anonymous (not verified) on Sat, 11/04/2023 - 14:49

Built in 5ft x 5ft pantry using pine panels as they were available in the widths we needed. Inspired by your pantry build video, thank you.

Rob Worsnop

Built from Plan(s)

Double Farmhouse Beds with Trundle Bed

Submitted by Kirk on Mon, 05/21/2012 - 23:25

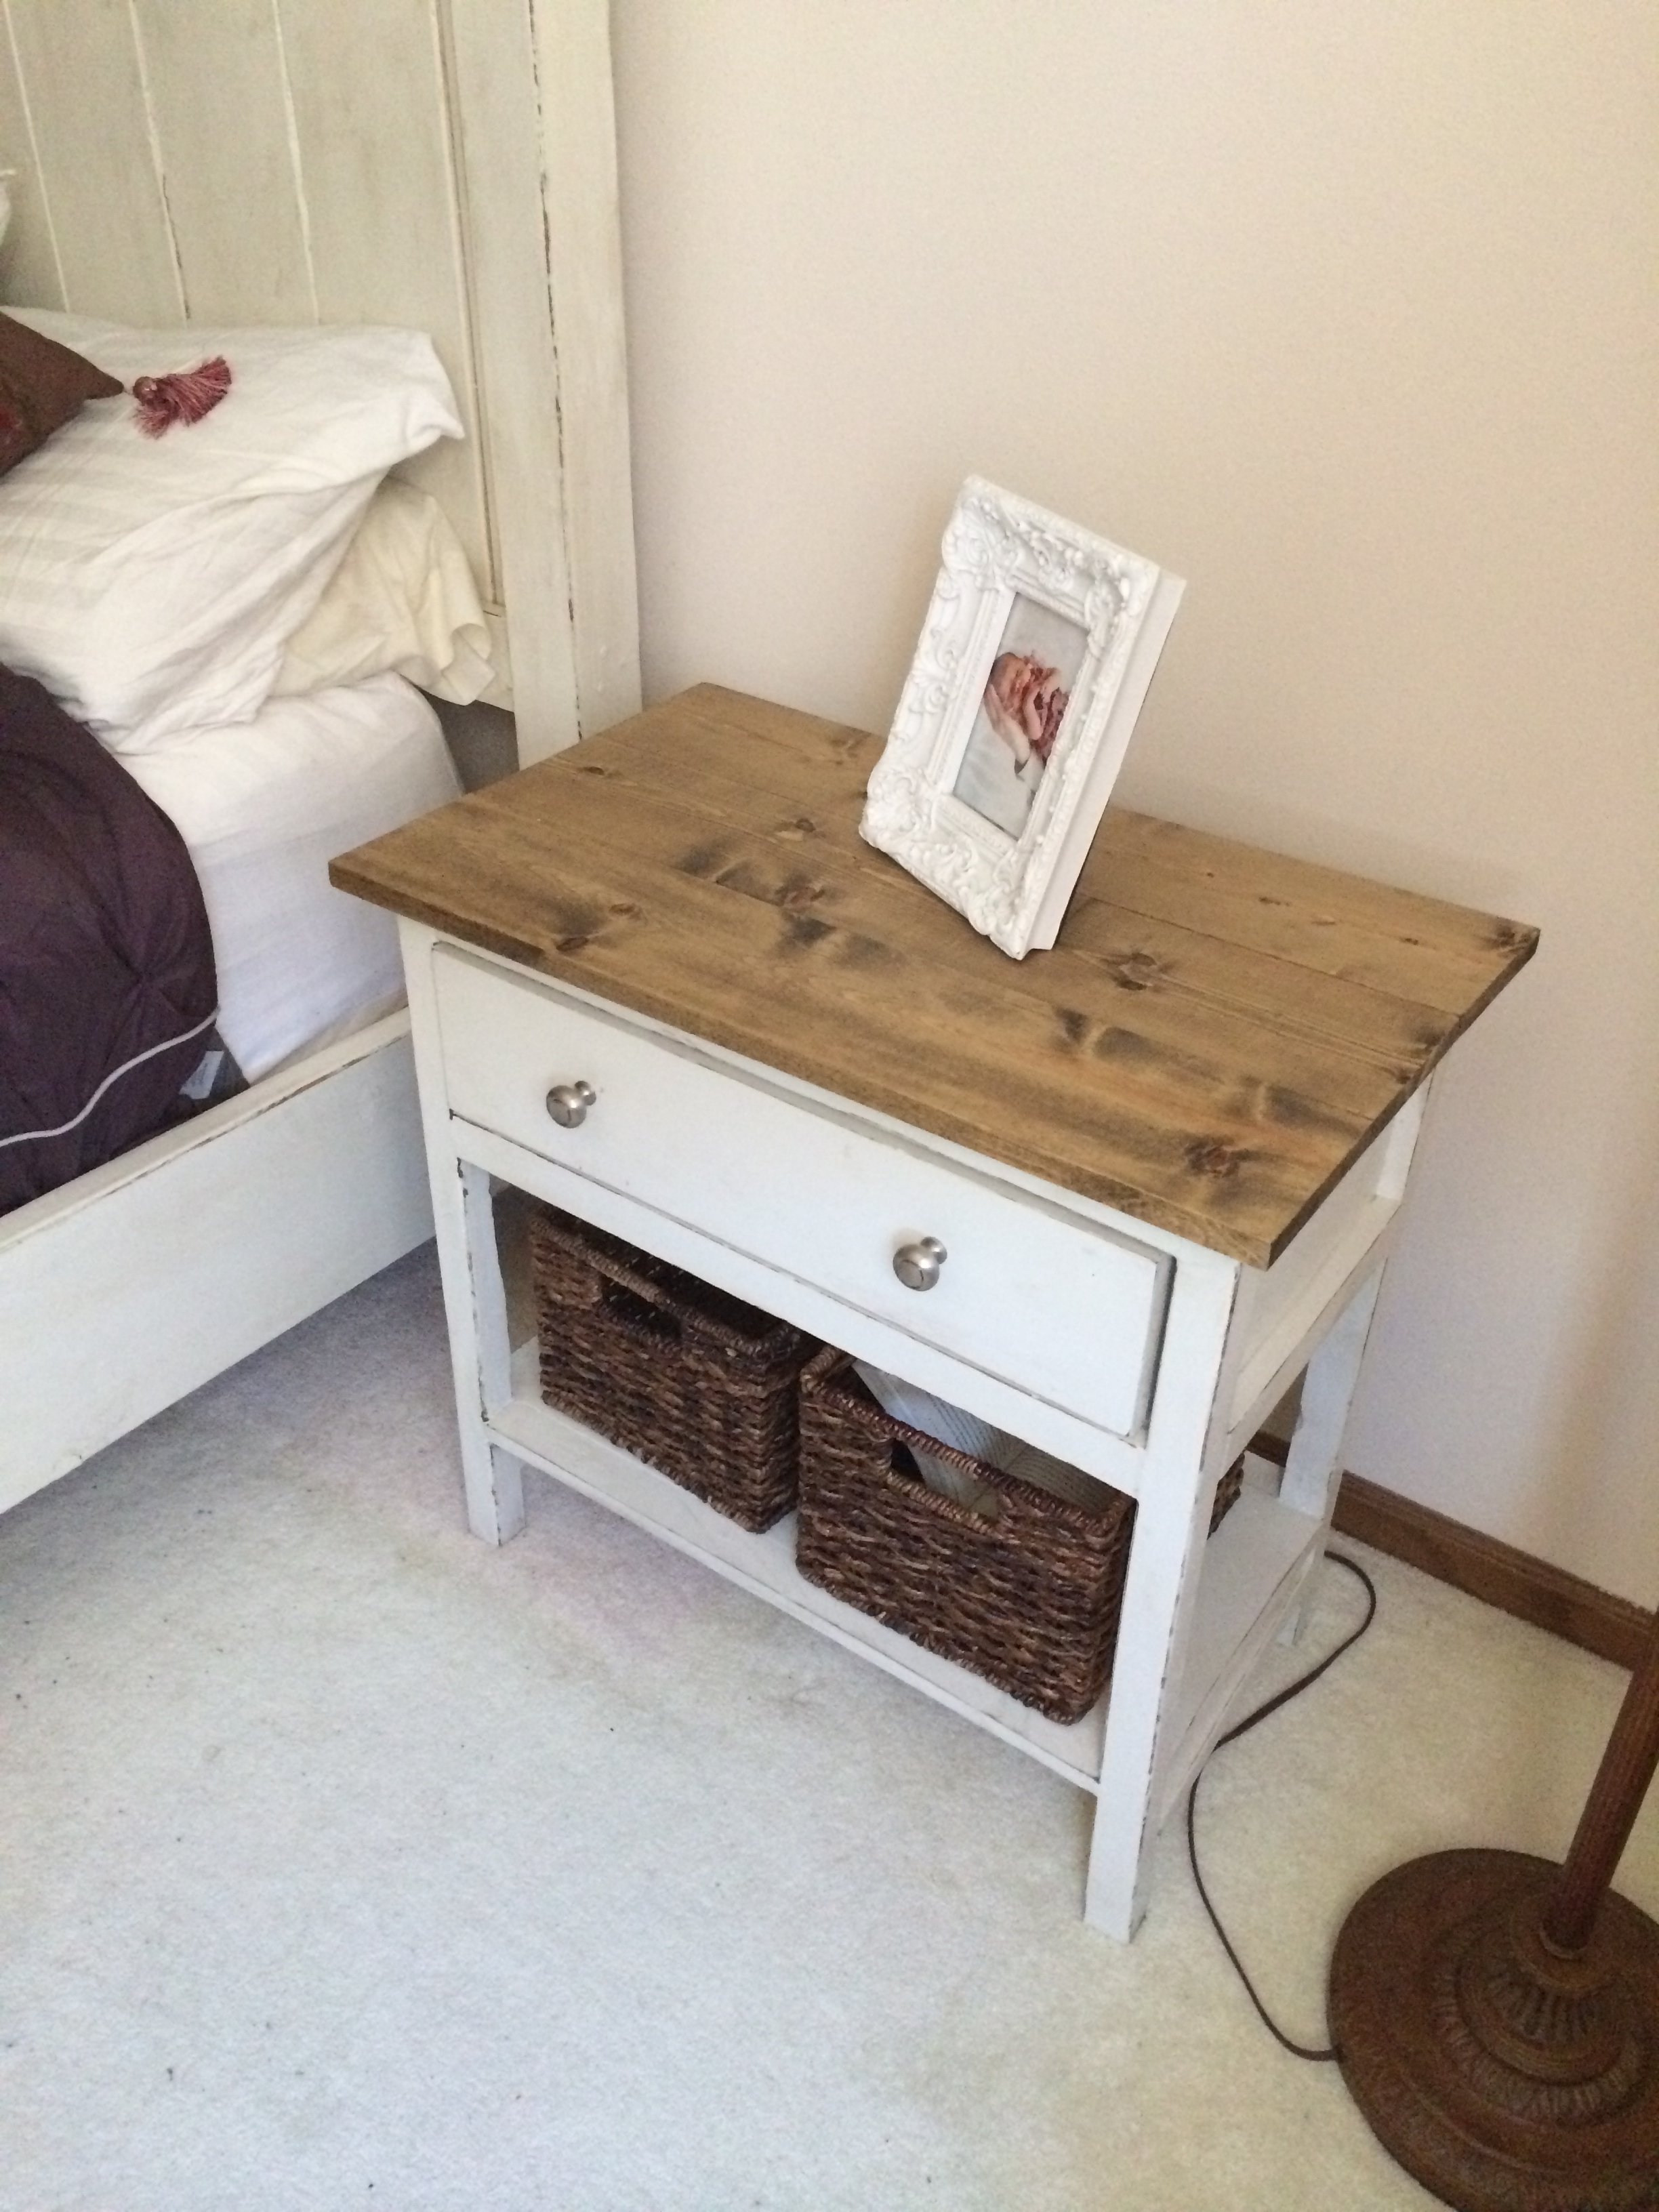
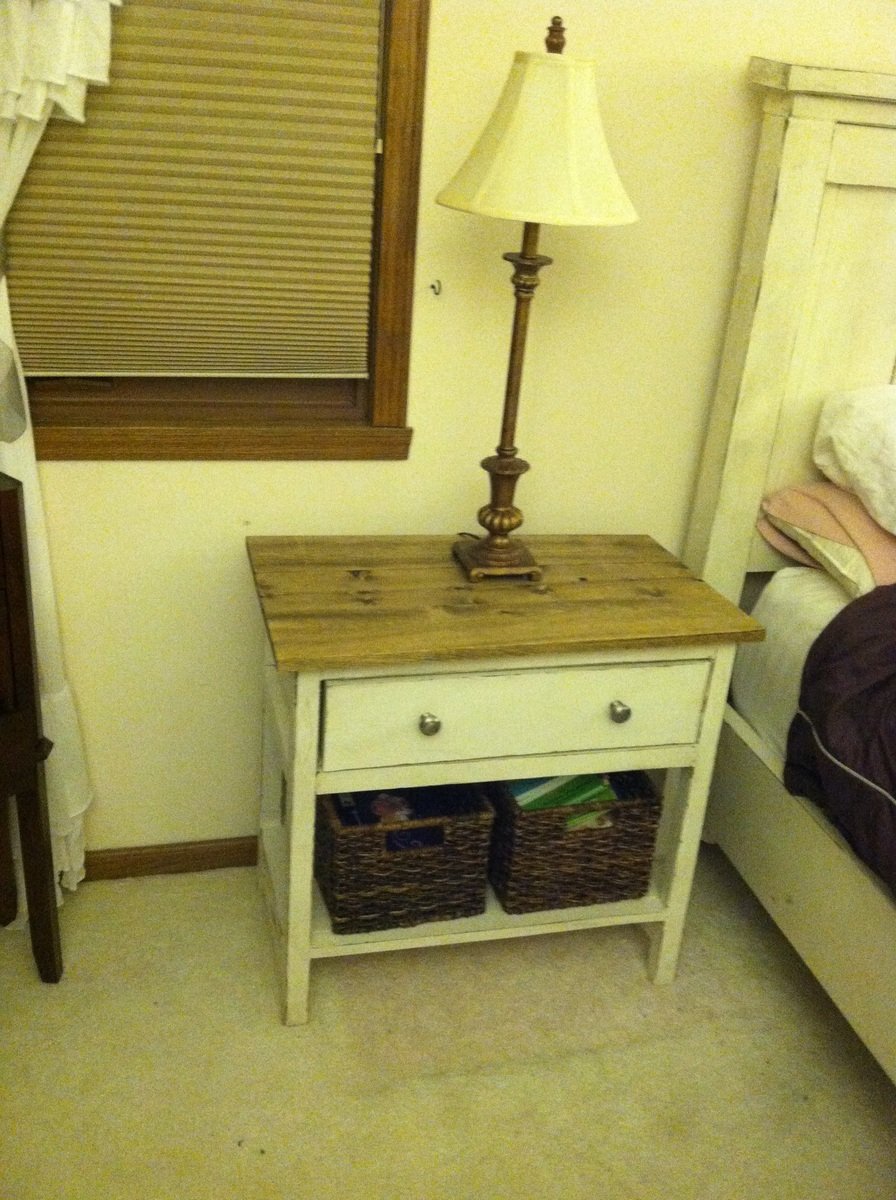
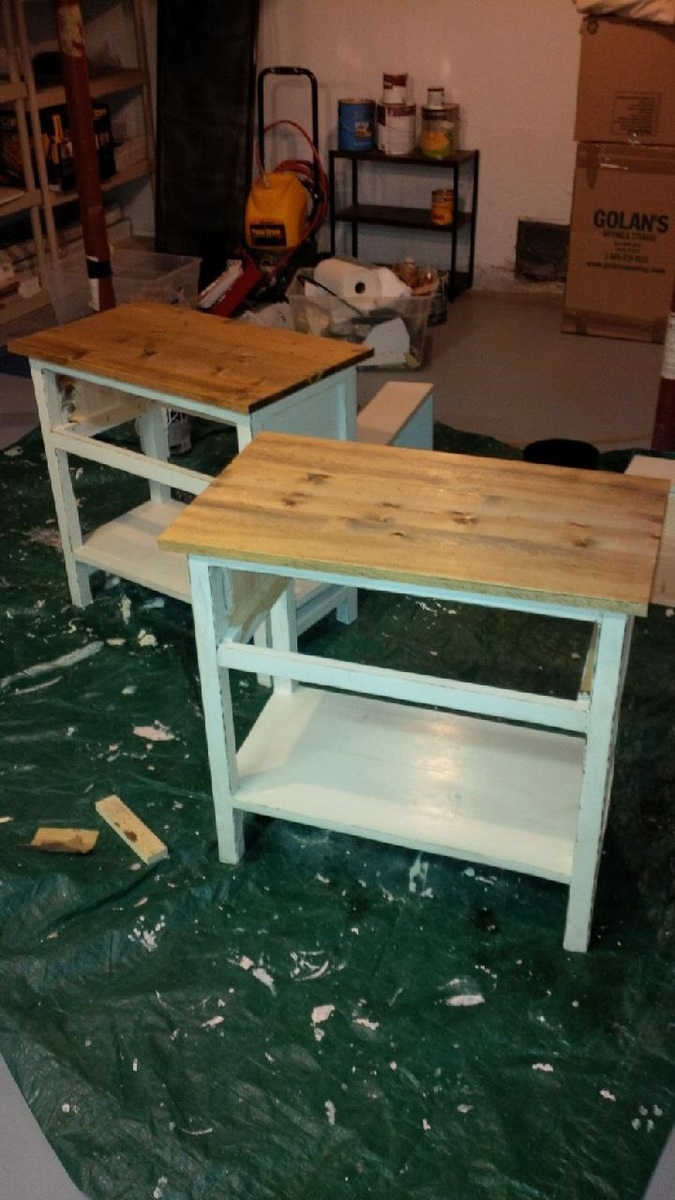
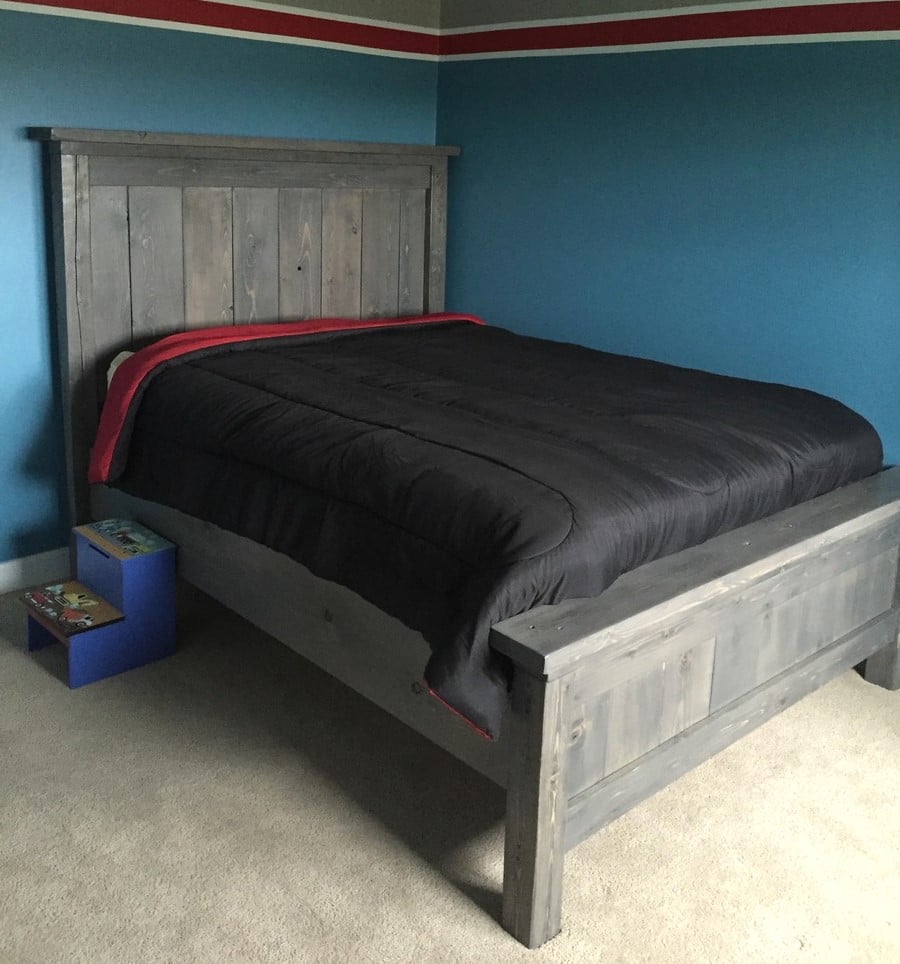
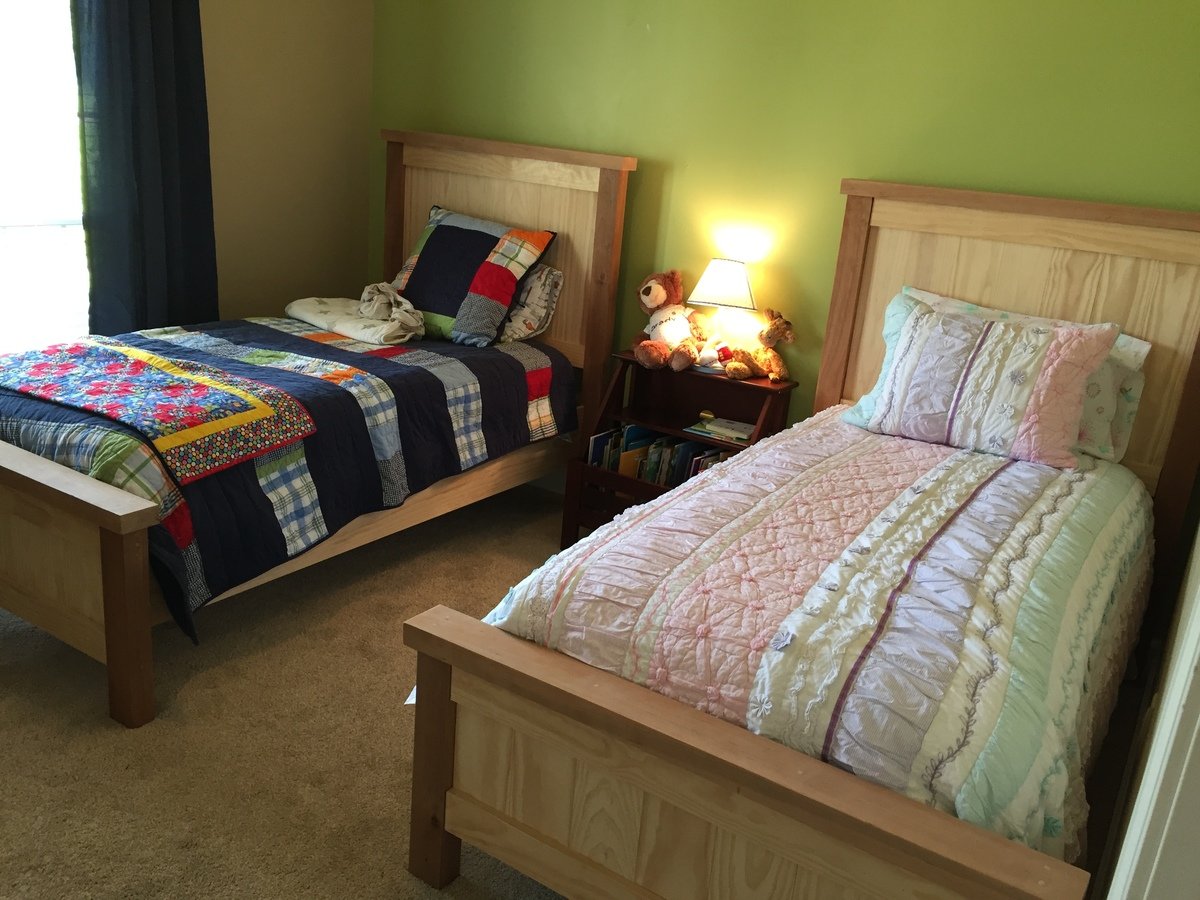
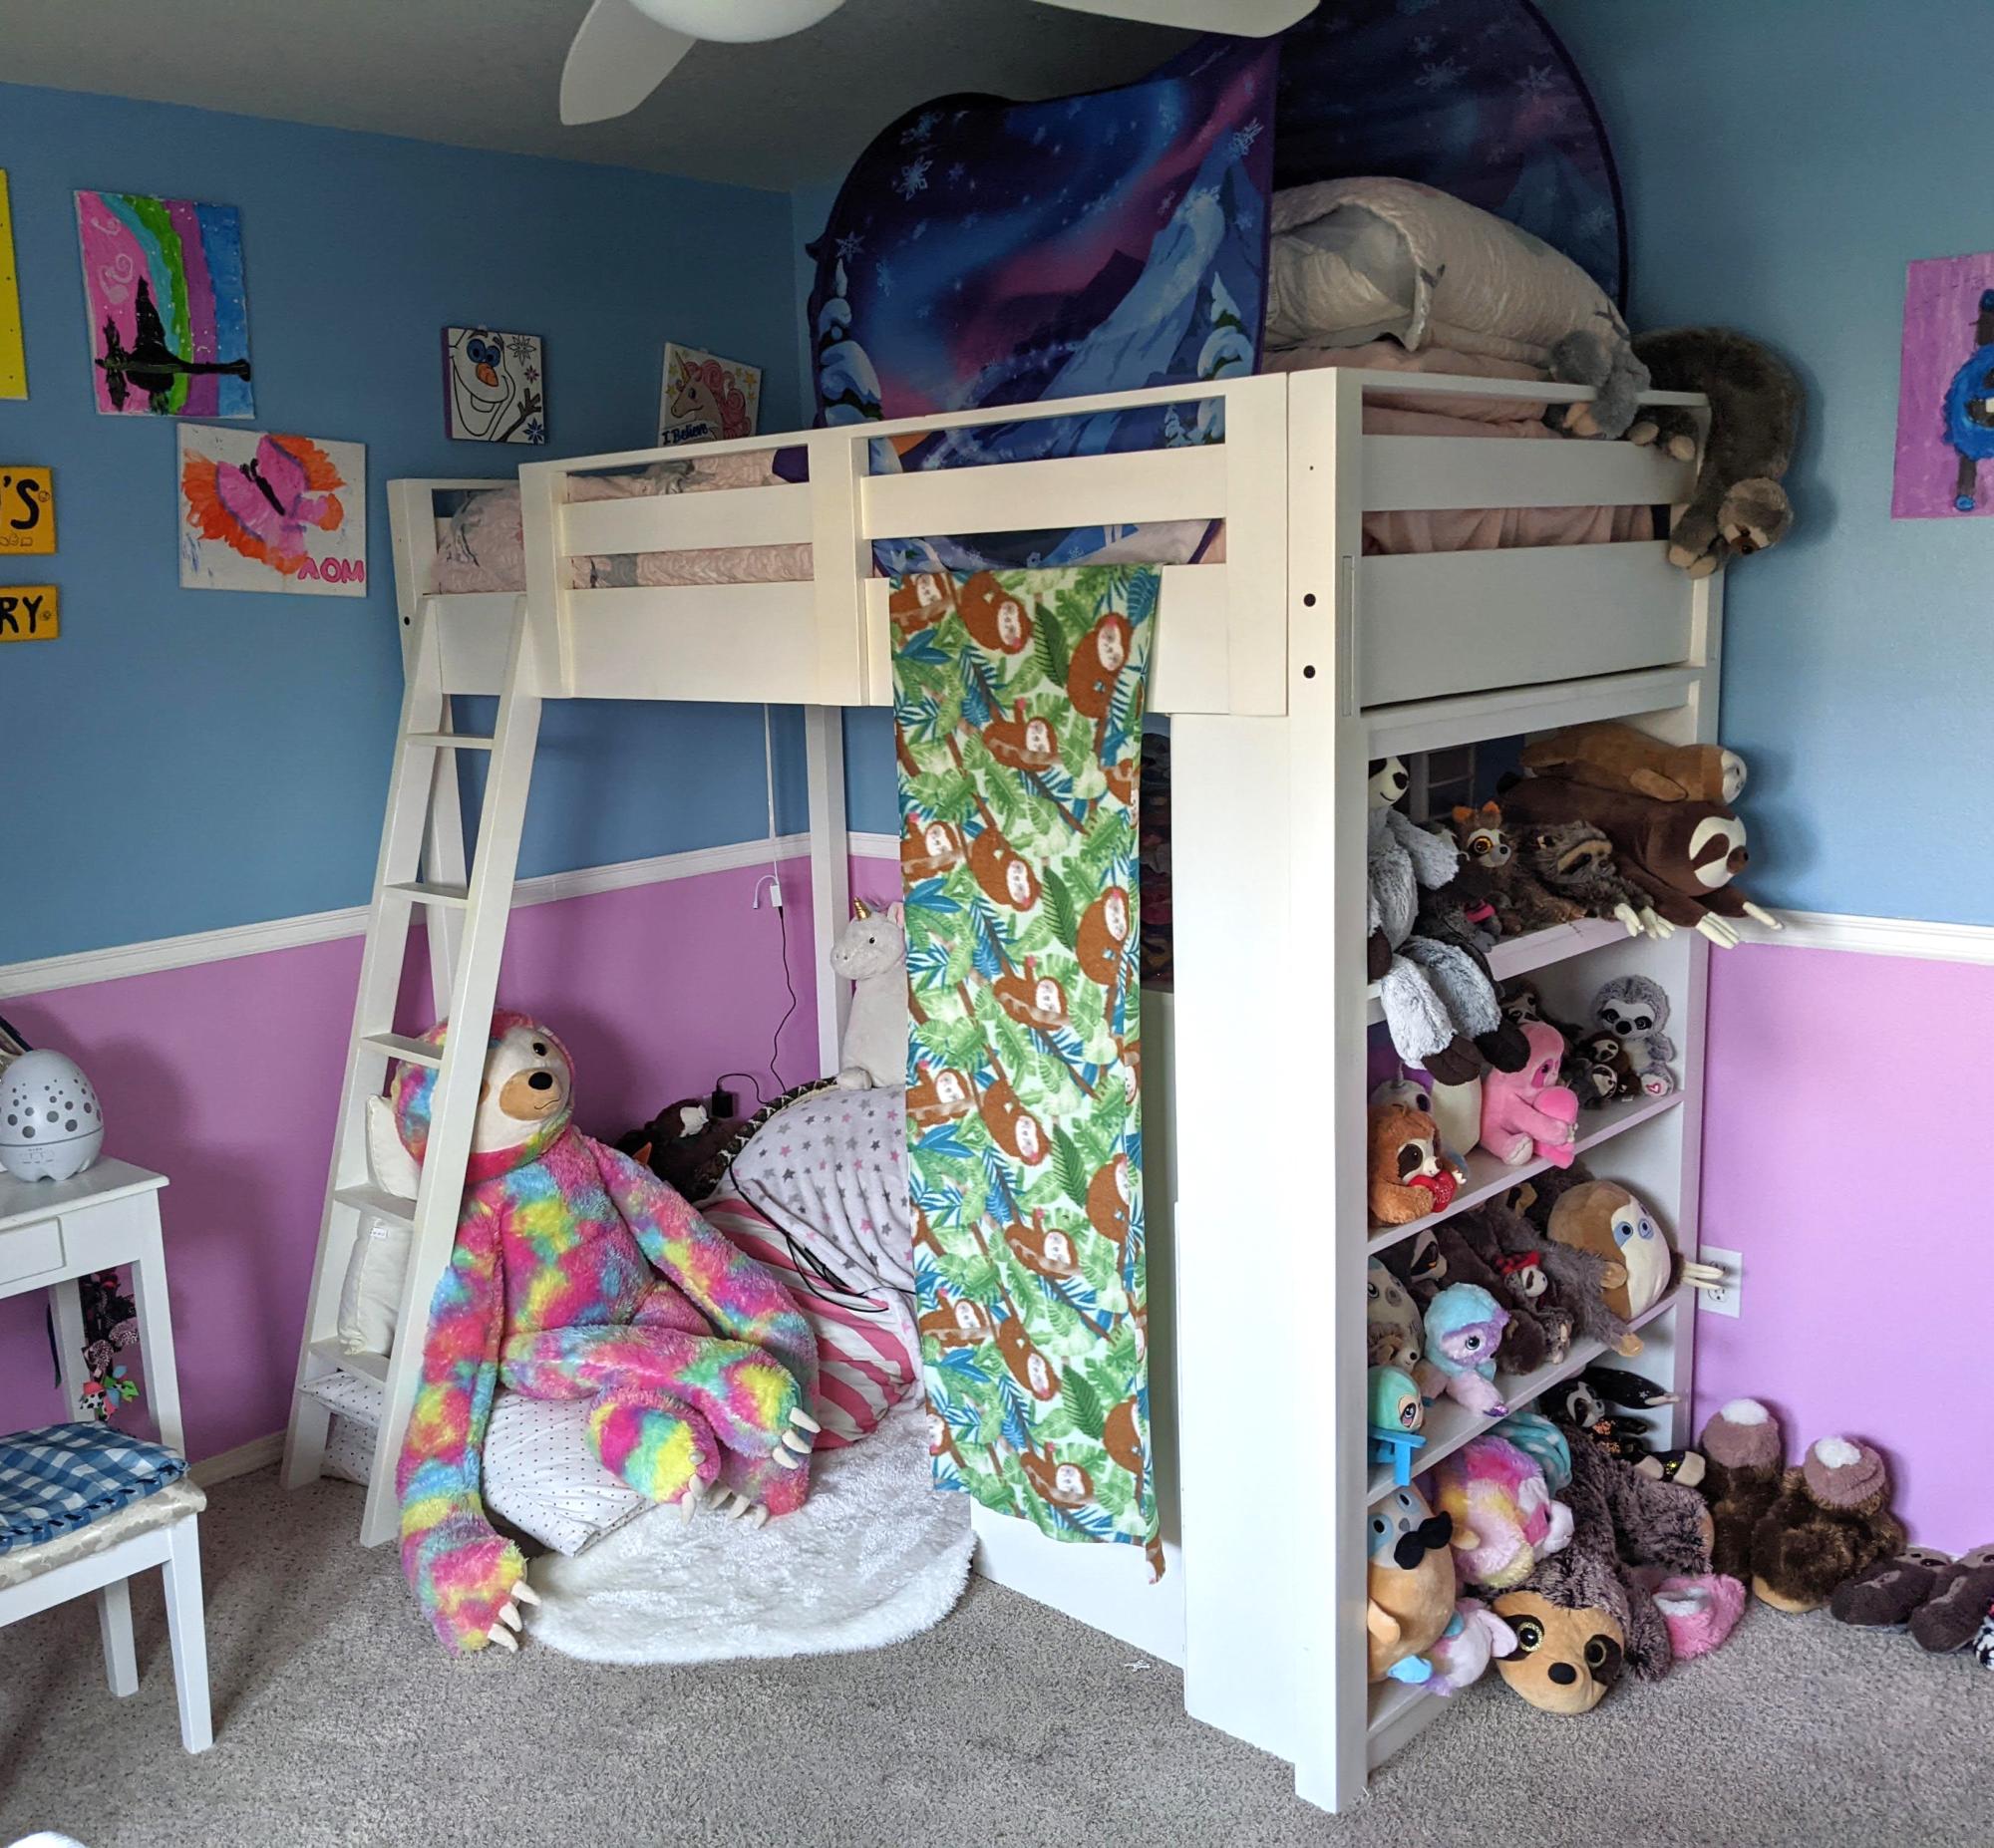
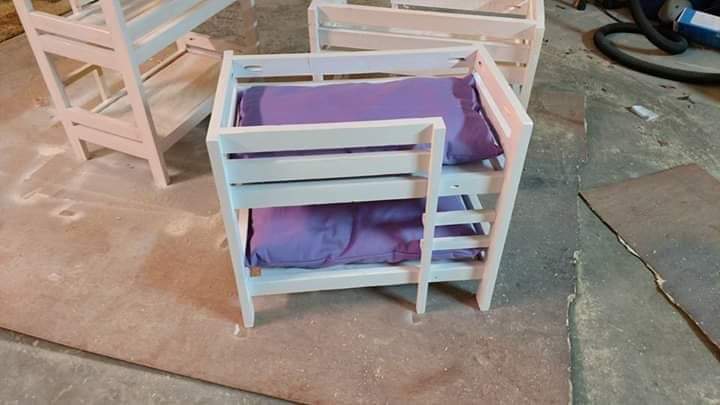
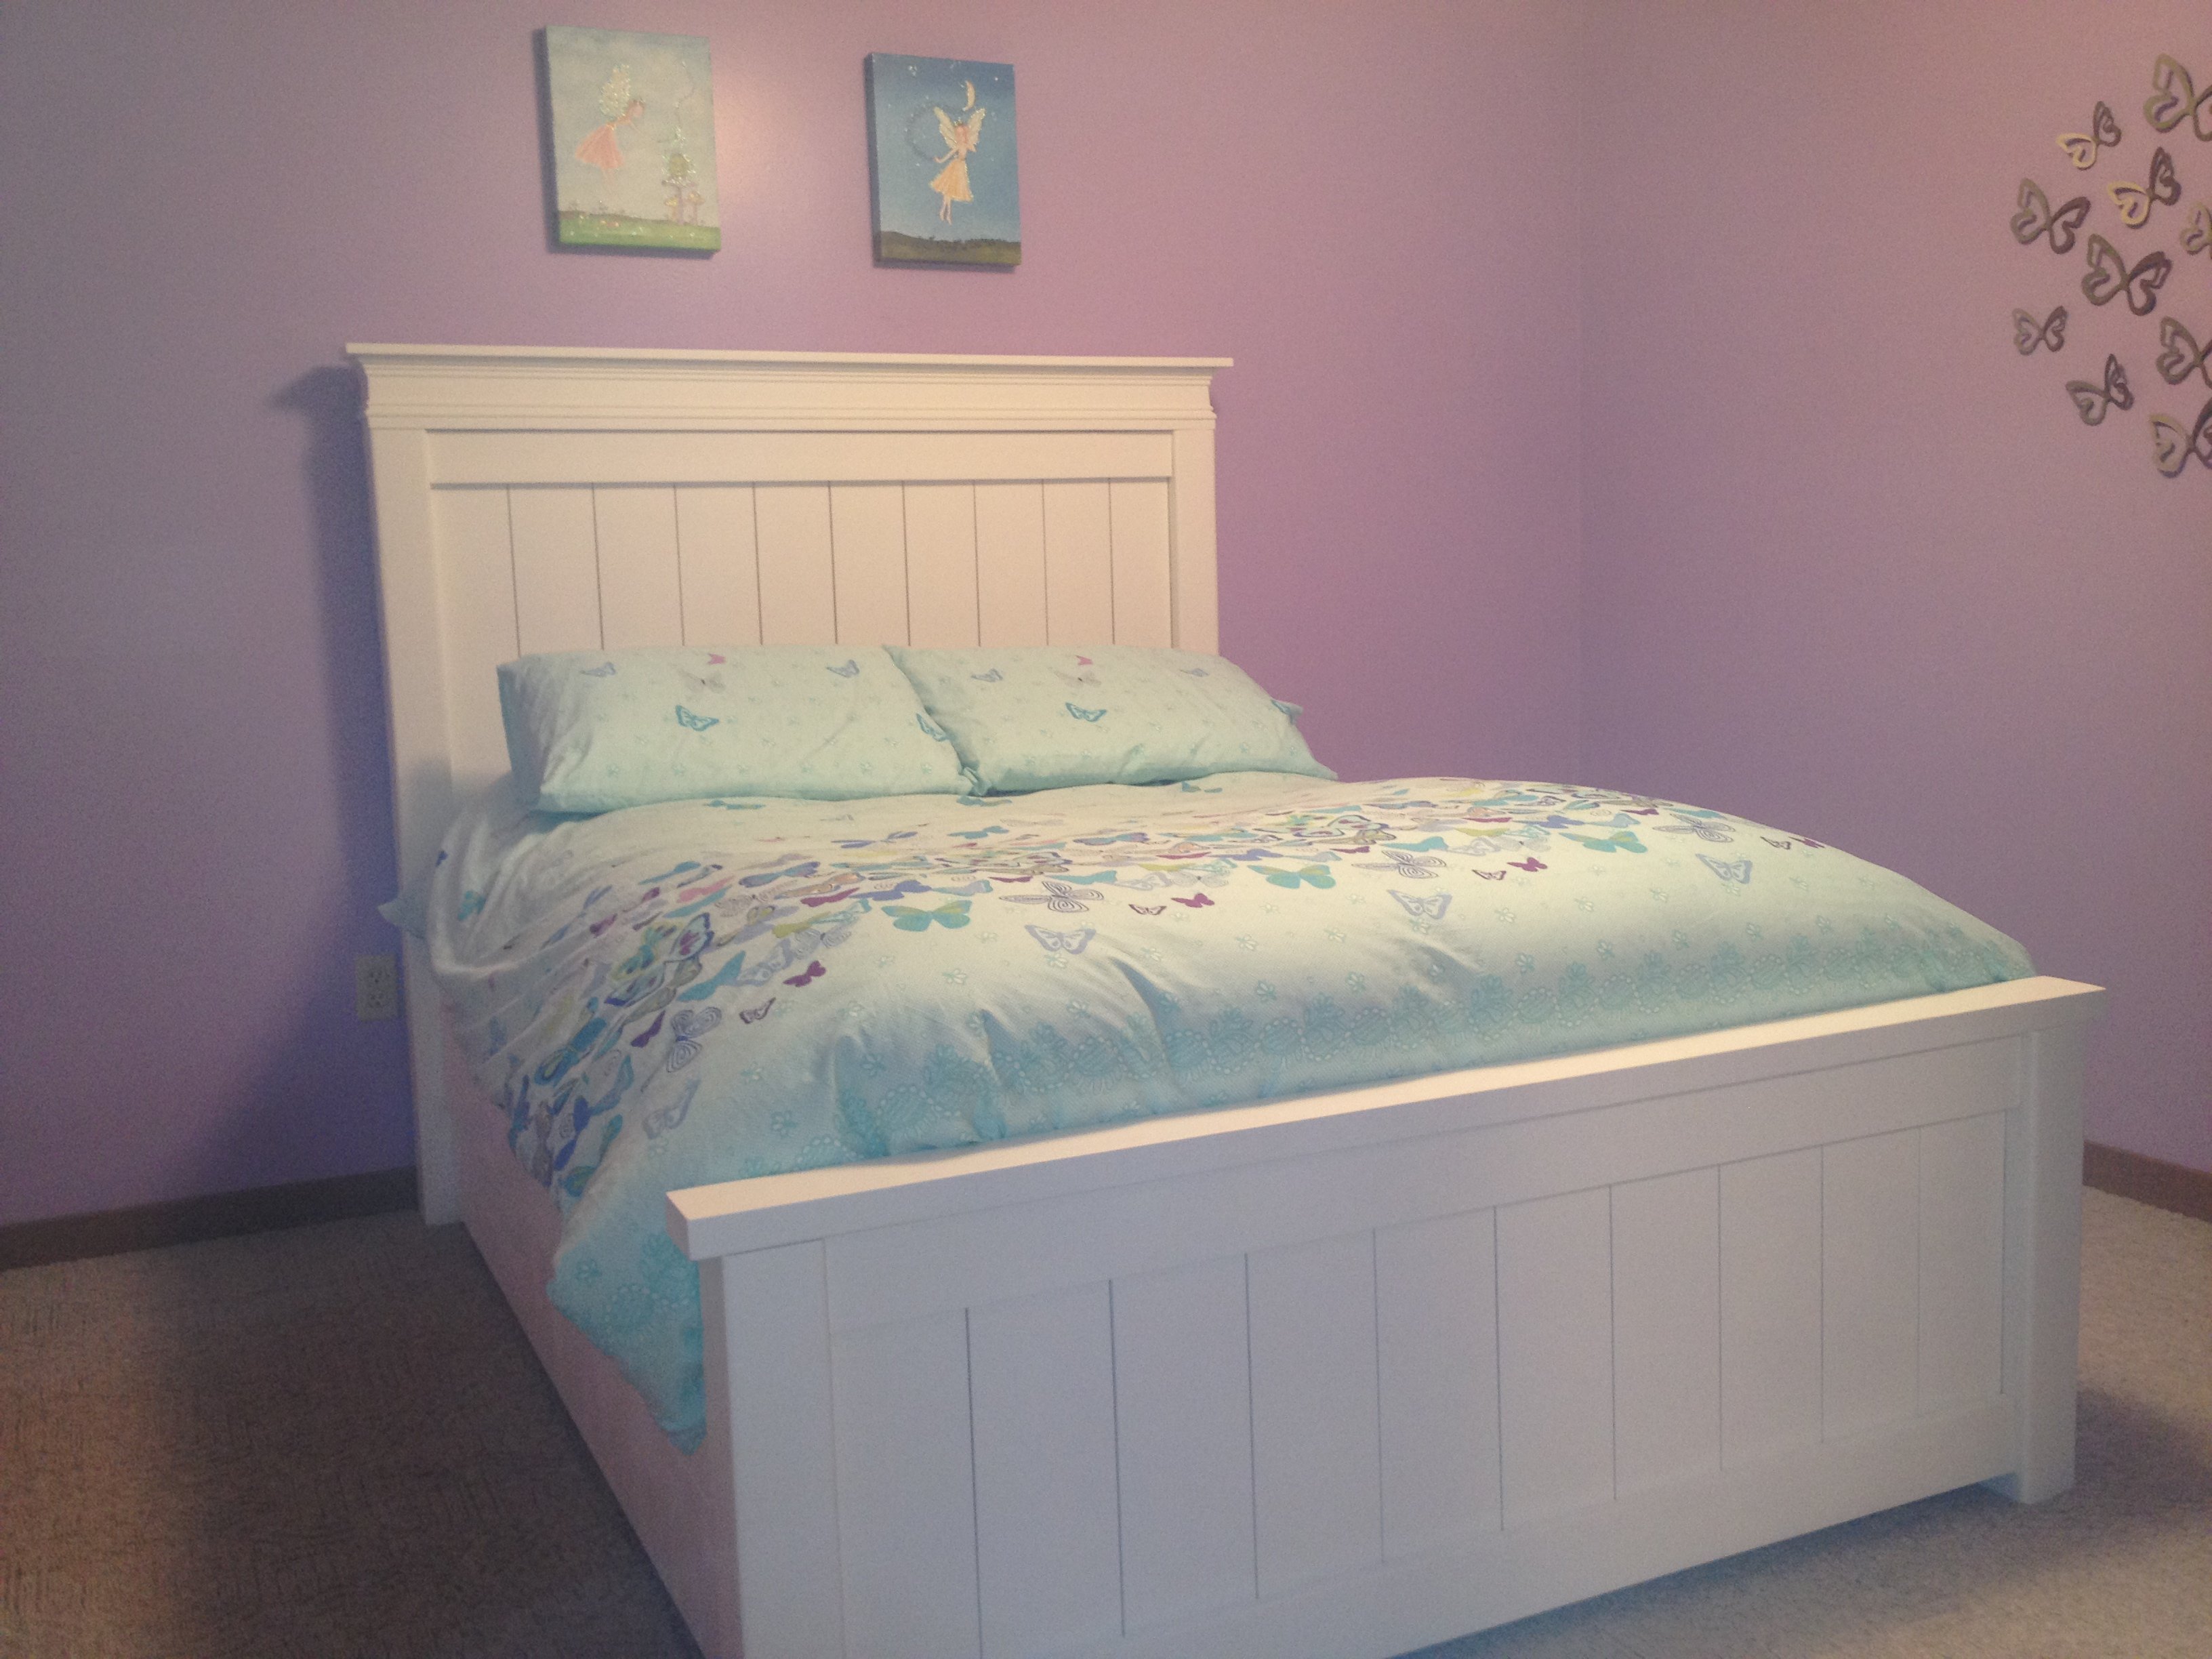
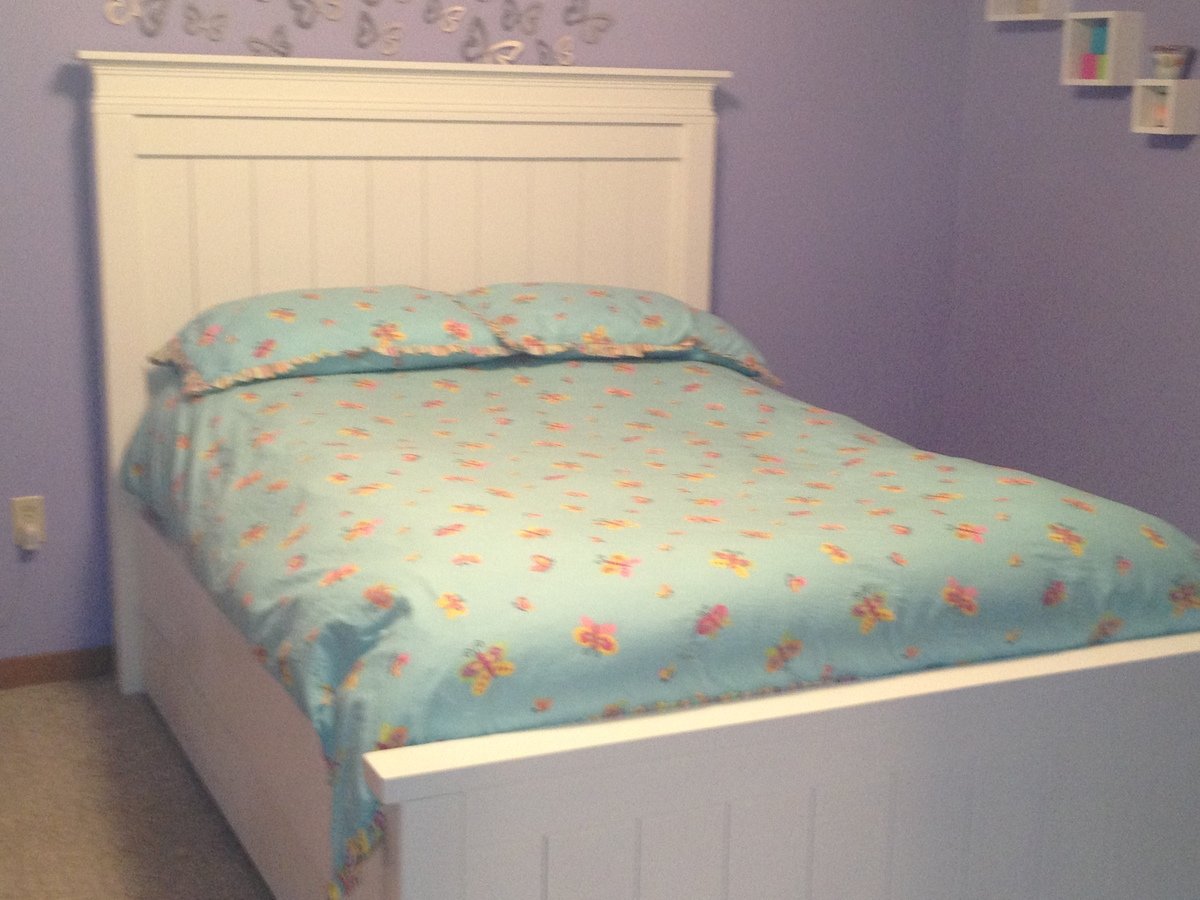
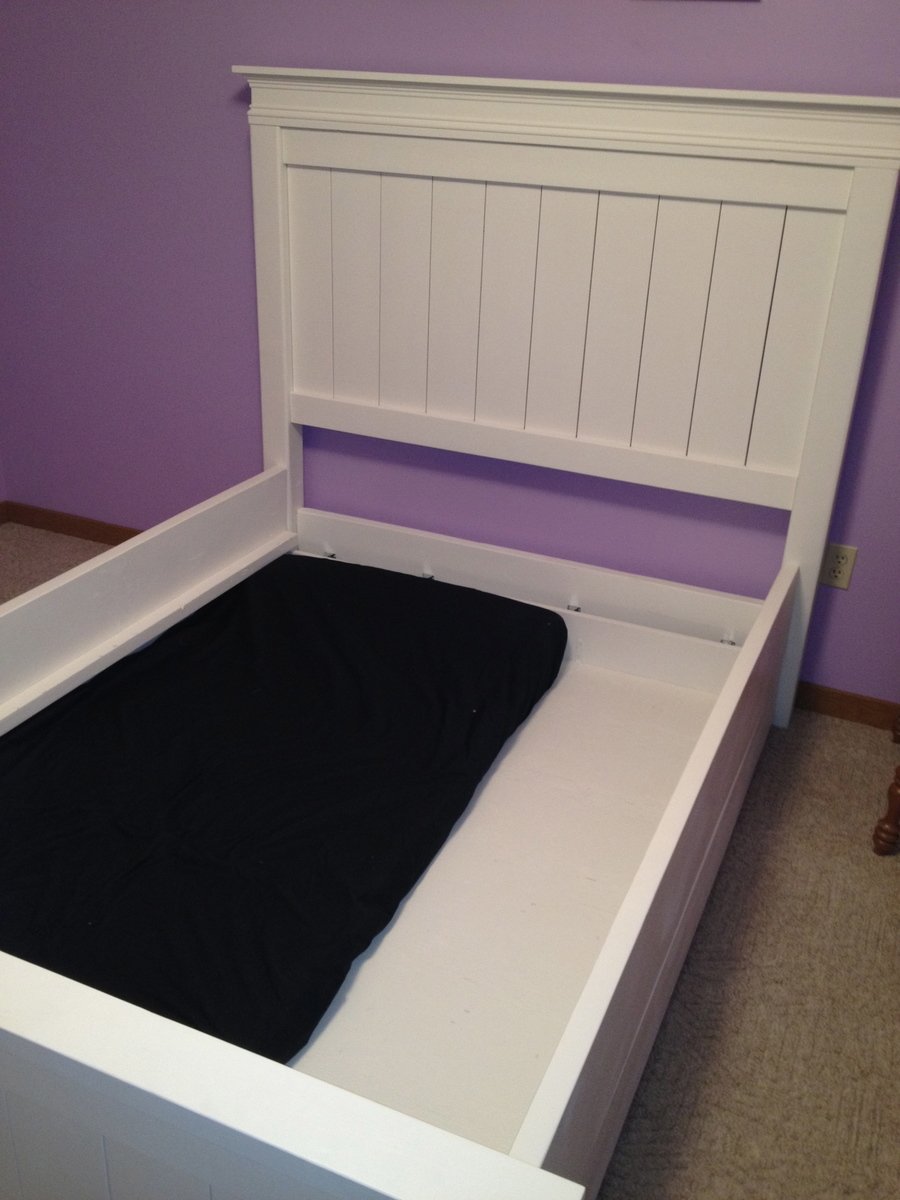
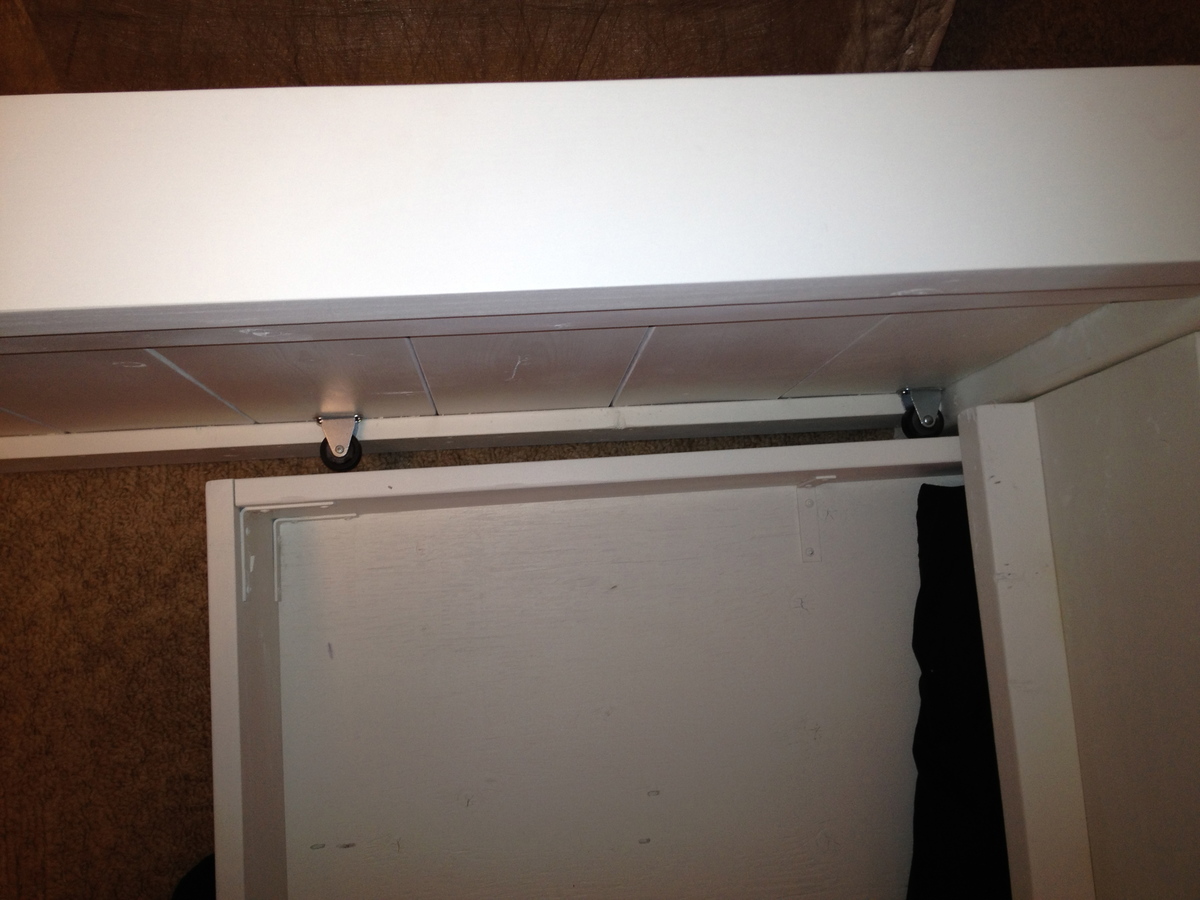
These were my first builds. I am so pleased with how it all turned out! My sister in law introduced me to Ana's page and I was off! We have twin, 5 year old girls with their own rooms. They both needed new furniture and I fell in love with the Farmhouse Bed Plans. I used a little of the Mom's Fancy Farmhouse Bed Plans and the Queen Farmhouse Bed Plans. I wanted to use our existing mattresses with box springs, so I put a cleat on the inside edge, running the length of the side rails. Another modification, being that I wanted to use mortised bed locks on the side rails to allow for quick connects to the head and foot boards. I used these from LV: http://www.leevalley.com/en/hardware/page.aspx?p=67916&cat=3,40842,4126… I routered them in using a guide. I strongly recommend them if you are able. You can paint the bed pieces independently and assemble very easily. No building in the room! The other modification I made was that I made the actual side rails higher in order to fashion a trundle bed underneath. The trundle is a double as well, rolls on stationary castors, and on carpet too. I have a single mattress in it and it can be pulled out on either side. One side is for the bed and the other can be used as storage etc. My girls can easily pull it out and put it back in place. Great for sleep overs and extra company! It is technically unattached from the bed, but there are small stationary castors that run the inside length of the head and foot boards on their sides to act as guides for the trundle. I have attached pictures to show what I mean. I did not want it banging around underneath, and the castors are great little guides. I have more detailed pictures, but am having difficulty including them as their file size is too large. Since making the beds, I have also made the farmhouse side tables, and am in the midst of making the Madison Dressers to match! It is all coming together nicely. It took me about 2 months to complete the beds, but that was a few hours here, and a few hours there. I didn't think that was too bad, as I made two of them and it was my first project! Either way, I am very excited and have the builders itch now! So many things to create. Thanks for a great site, and so many ideas.

Estimated Cost
$250 per double bed and double trundle
Estimated Time Investment
Week Long Project (20 Hours or More)
Finish Used
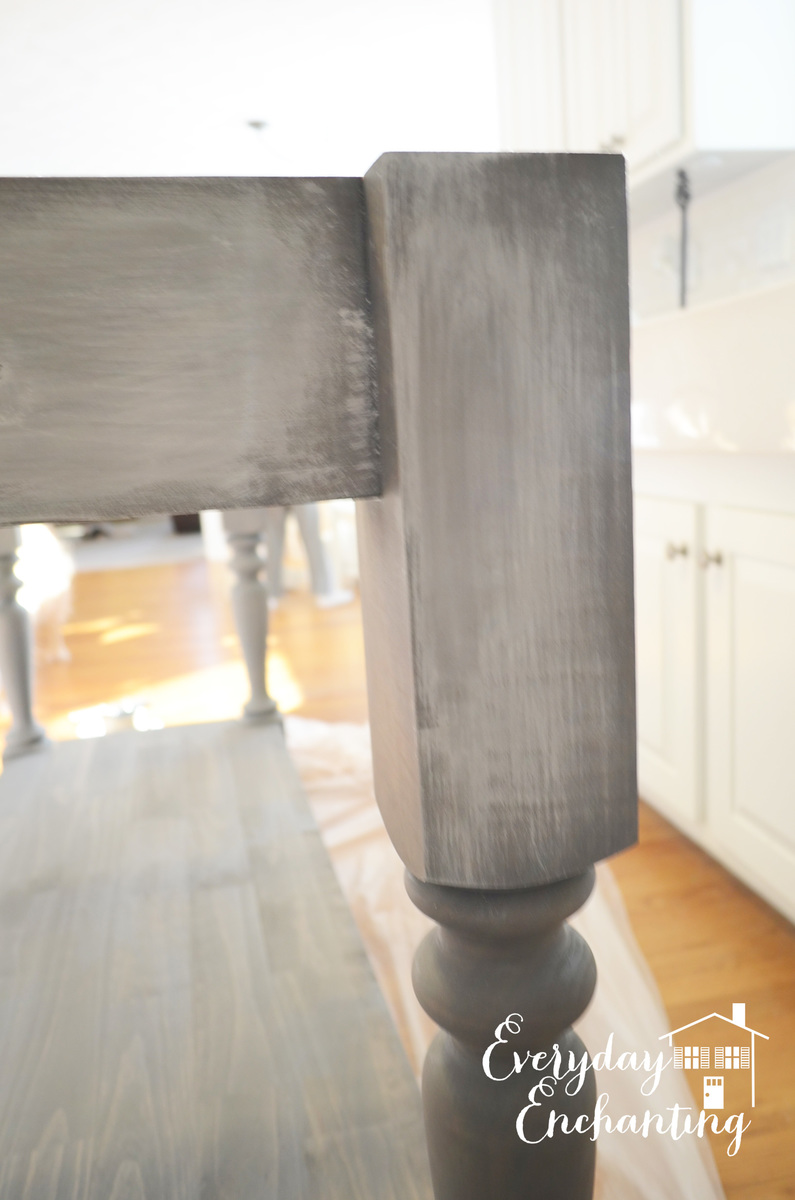
All pieces were primed and painted with an air spray gun, and the colour is Benjamin Moore "Cloud White". If you can do it, I suggest spraying. It makes the paint go a lot further than if you were to brush or roll it on!! Way more affordable.
Recommended Skill Level
Beginner

Comments

Abby K (not verified)

Wed, 07/11/2012 - 17:35

I absolutely LOVE these beds you made! This is *exactly* what I have been thinking about for my spare bedroom...a mix of the farmhouse bed, farmhouse storage bed, and mom's fancy farmhouse bed! I wanted to have the option of a trundle beneath our spare bed as we frequently have overnight guests that have children, but I thought the storage would be awesome, too! Your modifications are perfect!! I would love to know more and see more pictures...and pick your brain about all you changed/did with yours! Thank you so much fro sharing!

Kirk

Wed, 07/18/2012 - 12:22

Thank you for commenting. I am very proud of these, I still go and look at them! Haha! I do have more pictures, they were just too big to put in this post. There is a MB size limit. If you'd like me to send them, just leave me an email addy to send it to. I am afraid I will be of little help as far as the measurements go. It was a learning project, but in the end it went well. I can help, but I went by measurements from their existing mattresses and heights, and what I conjured from other plans from this wonderful site! If you do not have one, I strongly suggest getting a Kregg Jig. I did not have one for the beds, but now have one for the nightstands and Dressers. IT MAKES LIFE WAY BETTER!! It is an investment, but worthwhile! You will also need some clamps, but like I say, worth it! Happy building!

Farmhouse Doll Bed

Submitted by risingeden on Wed, 03/05/2014 - 22:39

My daughter and I built the farmhouse style doll bed and had a great time! The plans were wonderfully easy to understand and follow. It was a great experience to work together and learn some new skills. She even chose the paint color herself - pretty good taste for a 9 year old! Thank you so much for a great, inspiring website!!

Estimated Time Investment
Weekend Project (10-20 Hours)
Finish Used
We used valspar "posh red" interior paint. Love it!
Recommended Skill Level
Beginner

From Portugal, with minor modifications

Submitted by Anonymous (not verified) on Sun, 06/05/2016 - 10:48

Followed the plans, with minor modifications to adapt the size to the available wood. Bigger modifications are the use of bolts and nuts instead of screws (to allow easier disassembling for storing), and the underneath reinforcements to avoid the table to bend over time.

Thanks for the plans, the kids loved it!

Gonzalo, from Portugal

Built from Plan(s)
Estimated Time Investment
Weekend Project (10-20 Hours)
Finish Used
Water-based pore filler, priming, exterior paint (mate)
Recommended Skill Level
Beginner

Helpful Helper

Submitted by JD_2030 on Thu, 03/26/2020 - 14:53

This was our first wood working project - boy, we were super excited to build this because our little one is Curious George and wants to see everything going on in the kitchen. 

The plans were modified very slightly to save some time and avoid major learning curves. We were very happy with the end result. We've since learnt that finishing a product is a whole new project - we ended up painting this helper. After the noticeable wear and tear, we realized we should have sealed it with poly.

PS: Pocket holes are everything.

Built from Plan(s)
Estimated Time Investment
Day Project (6-9 Hours)
Finish Used
Paint
Recommended Skill Level
Beginner
Back