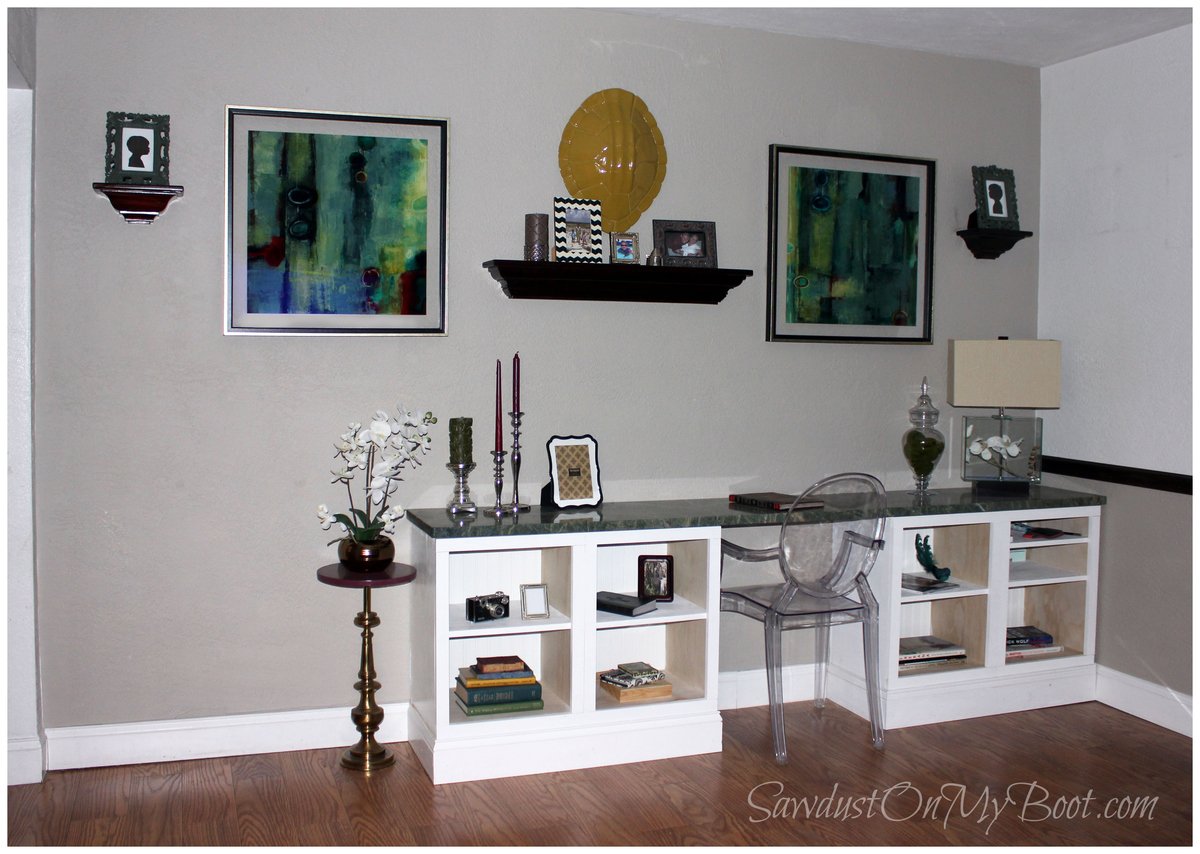
Built-In Desk
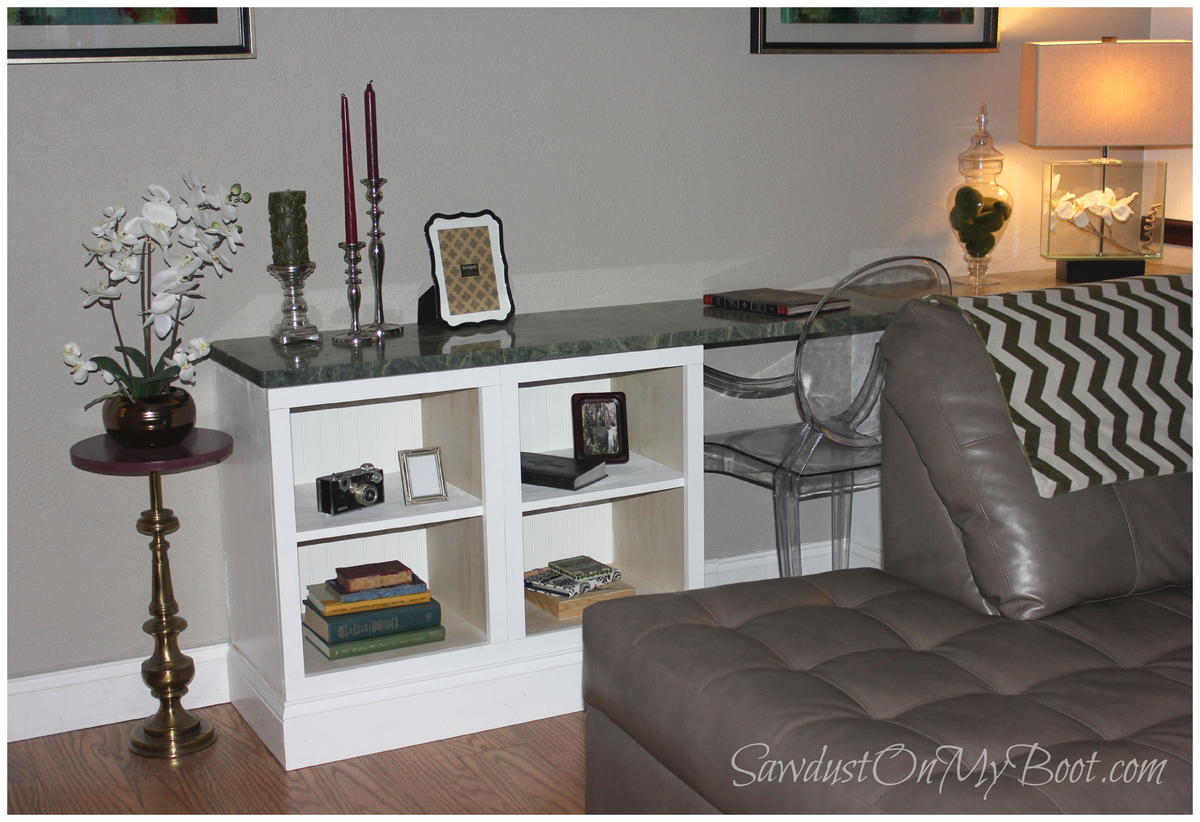
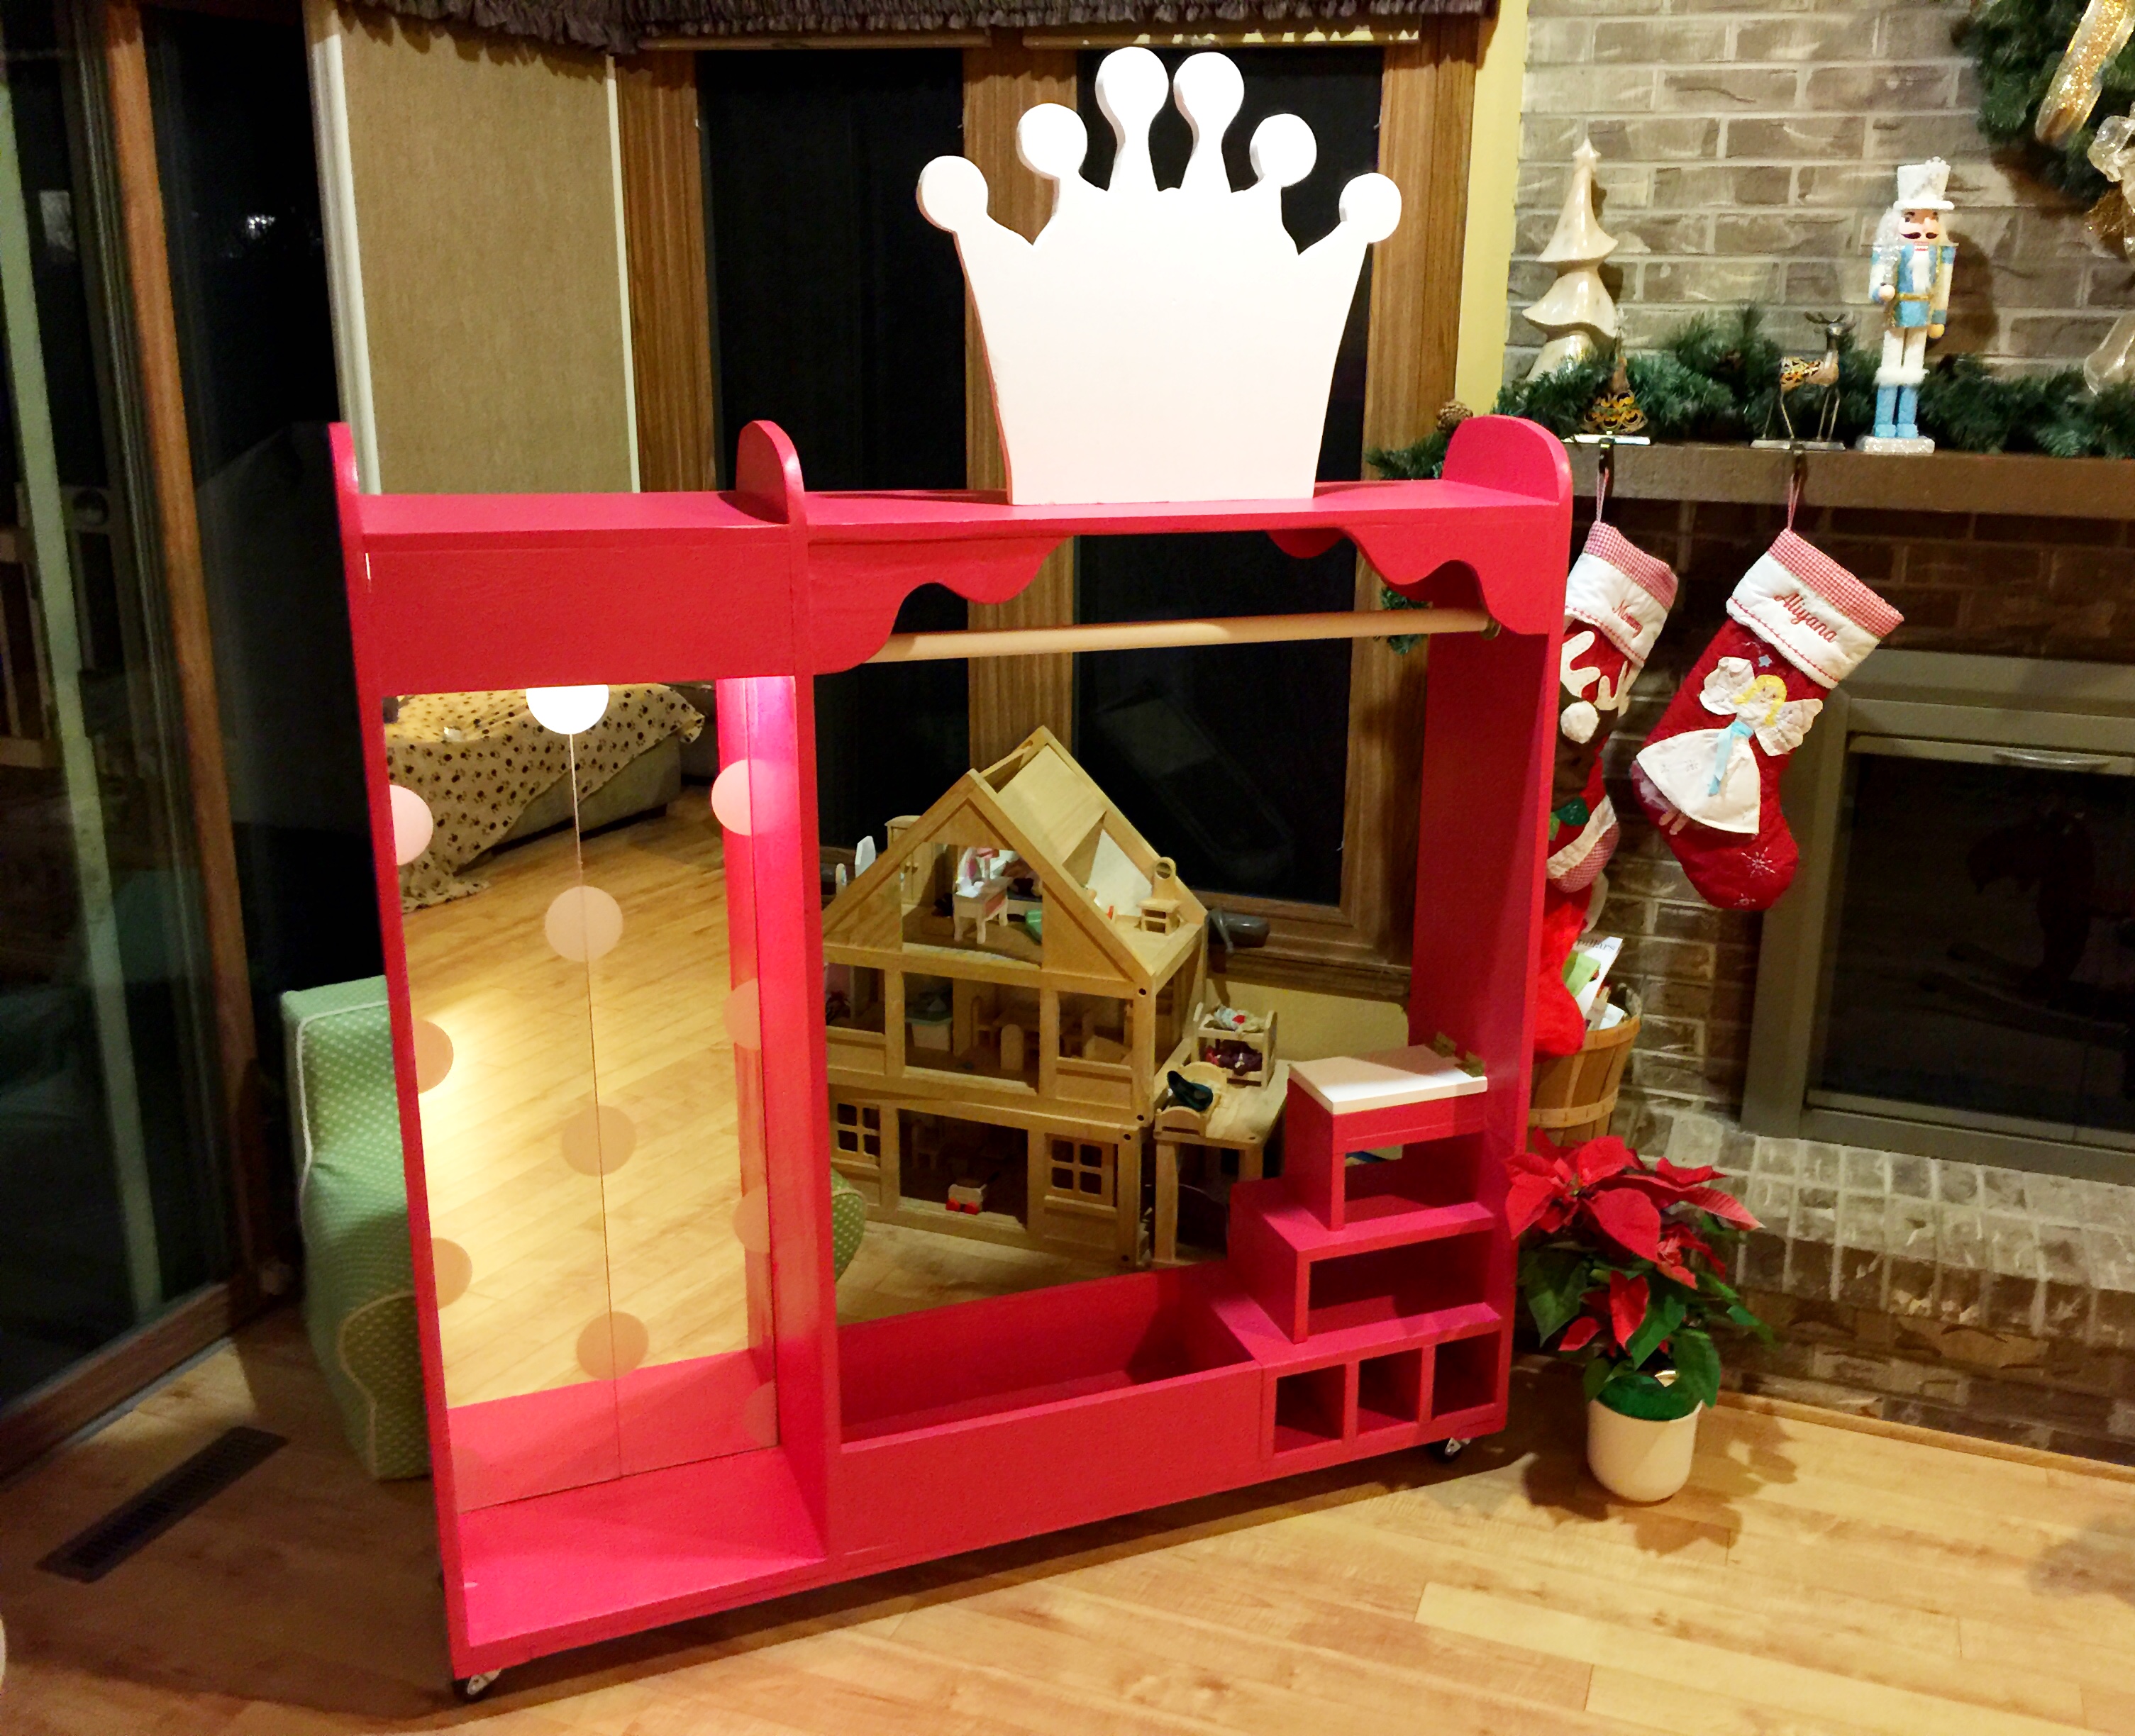
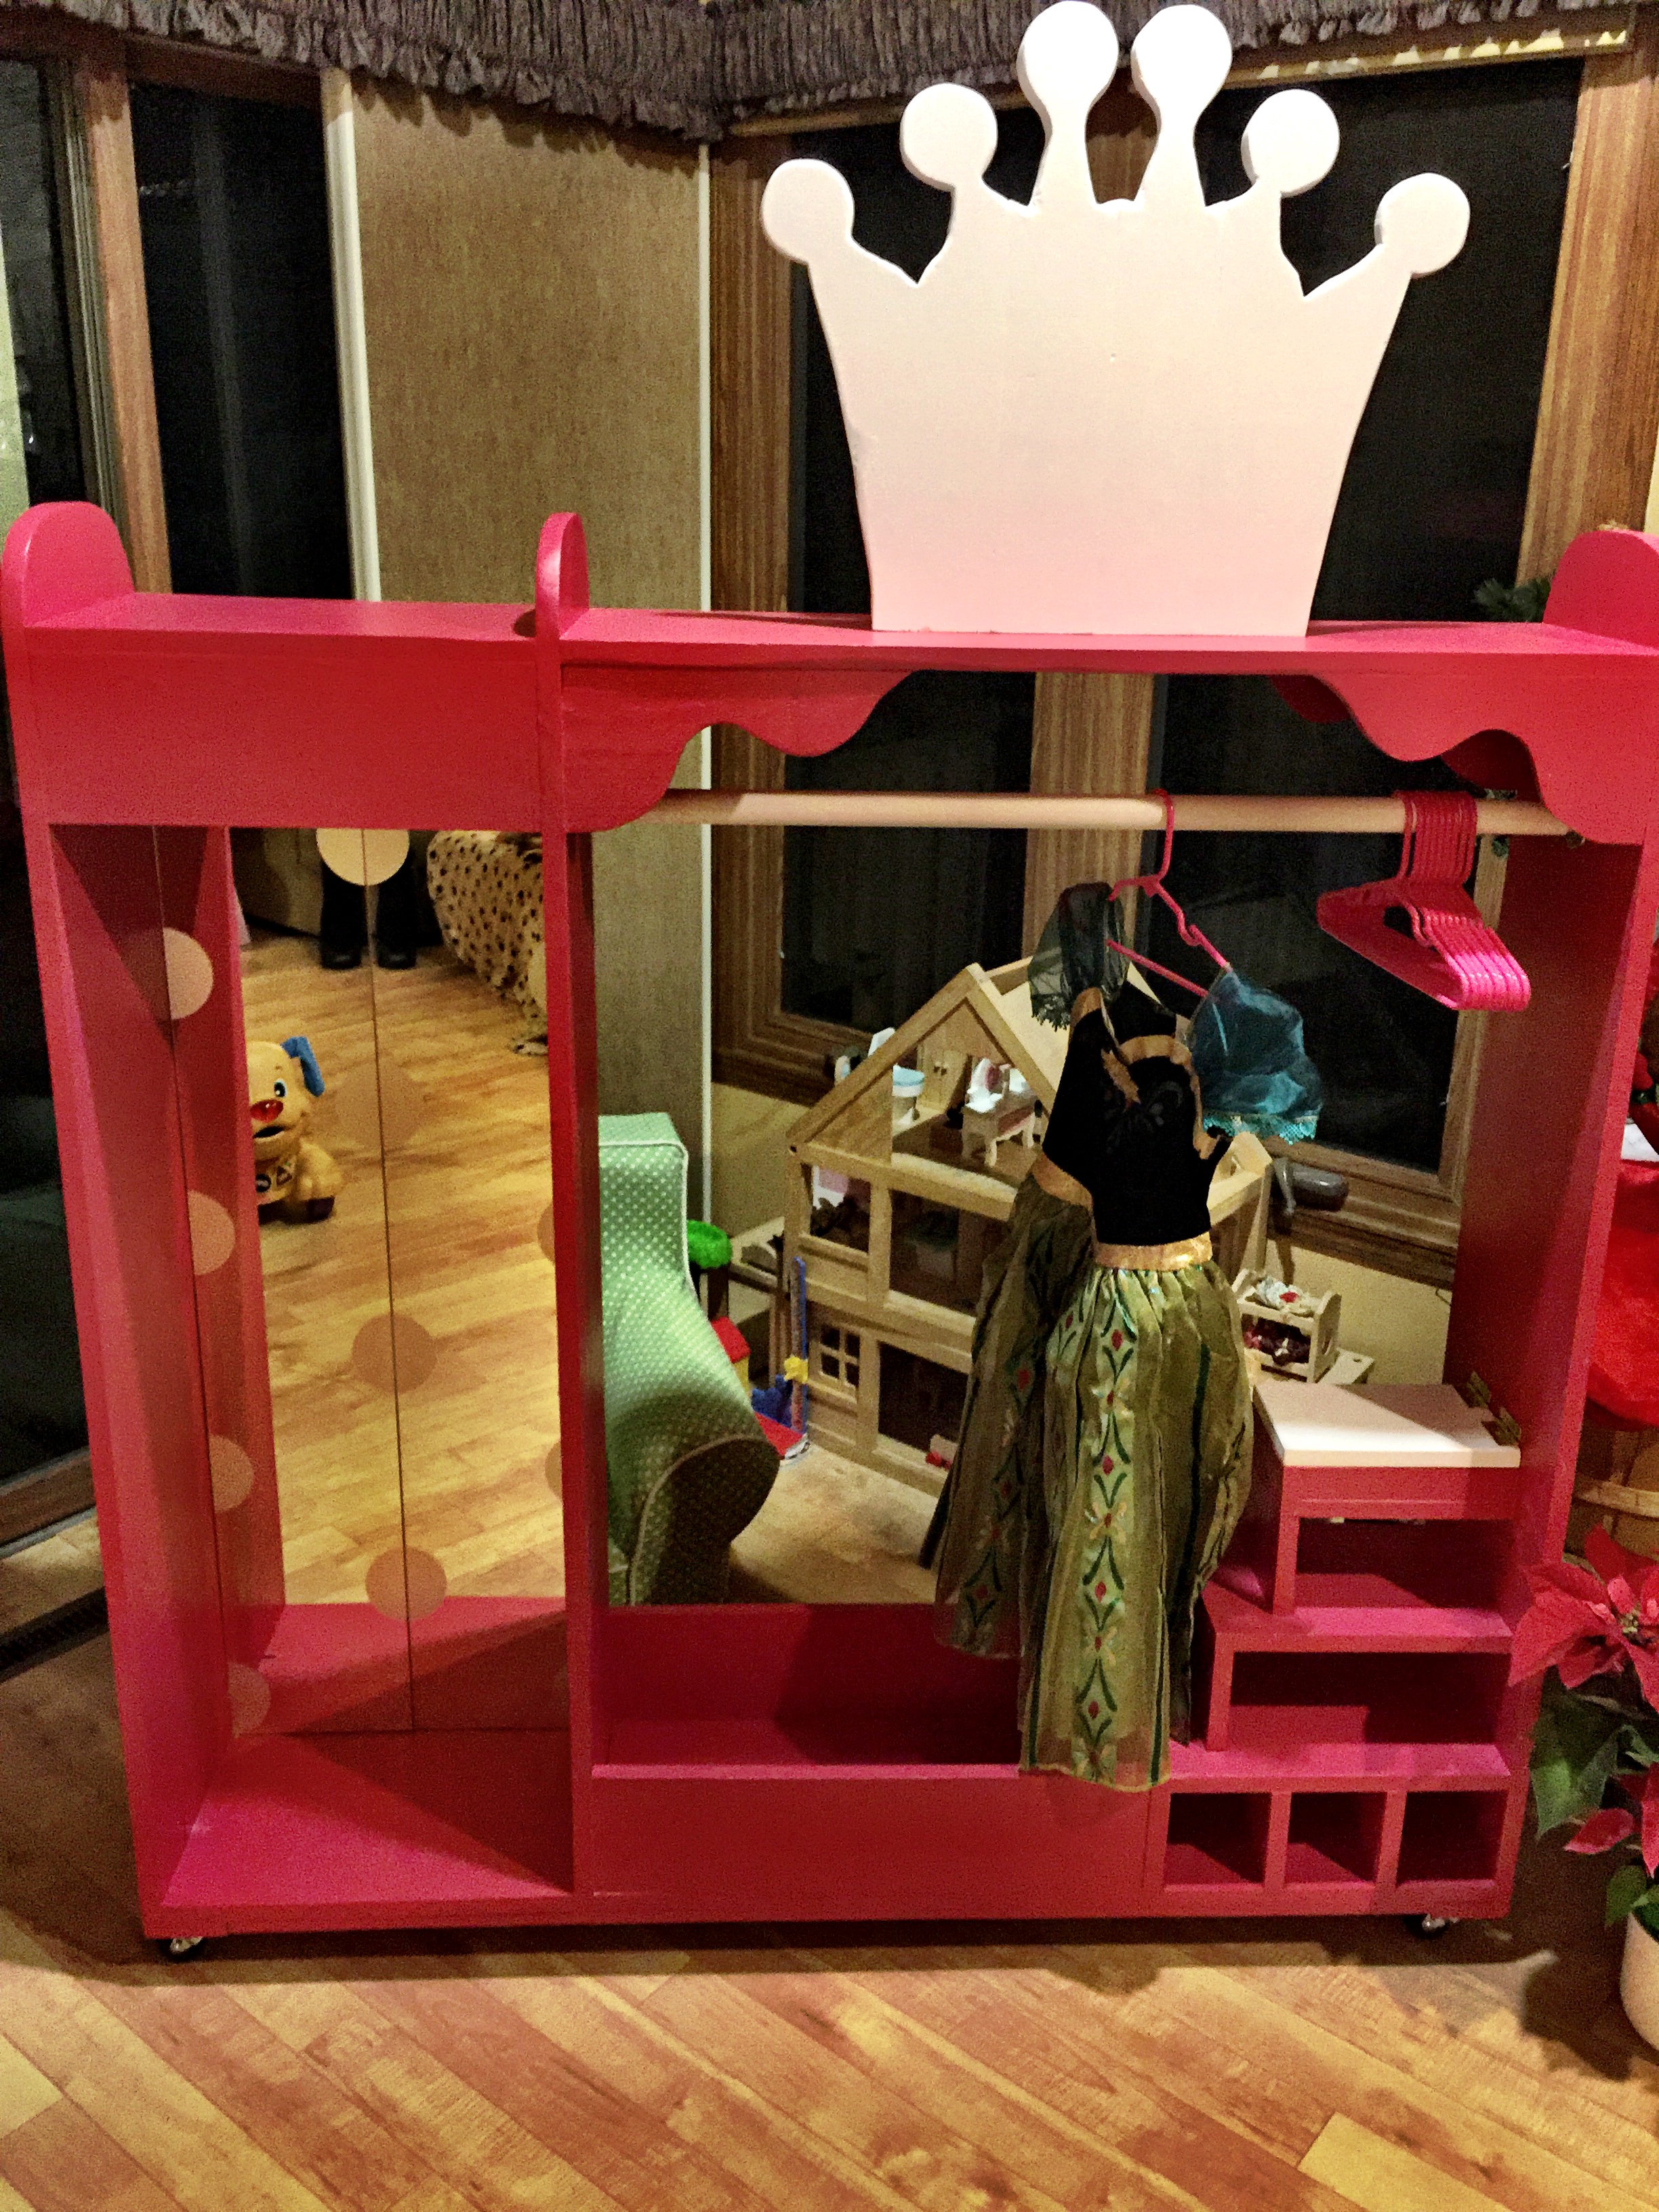
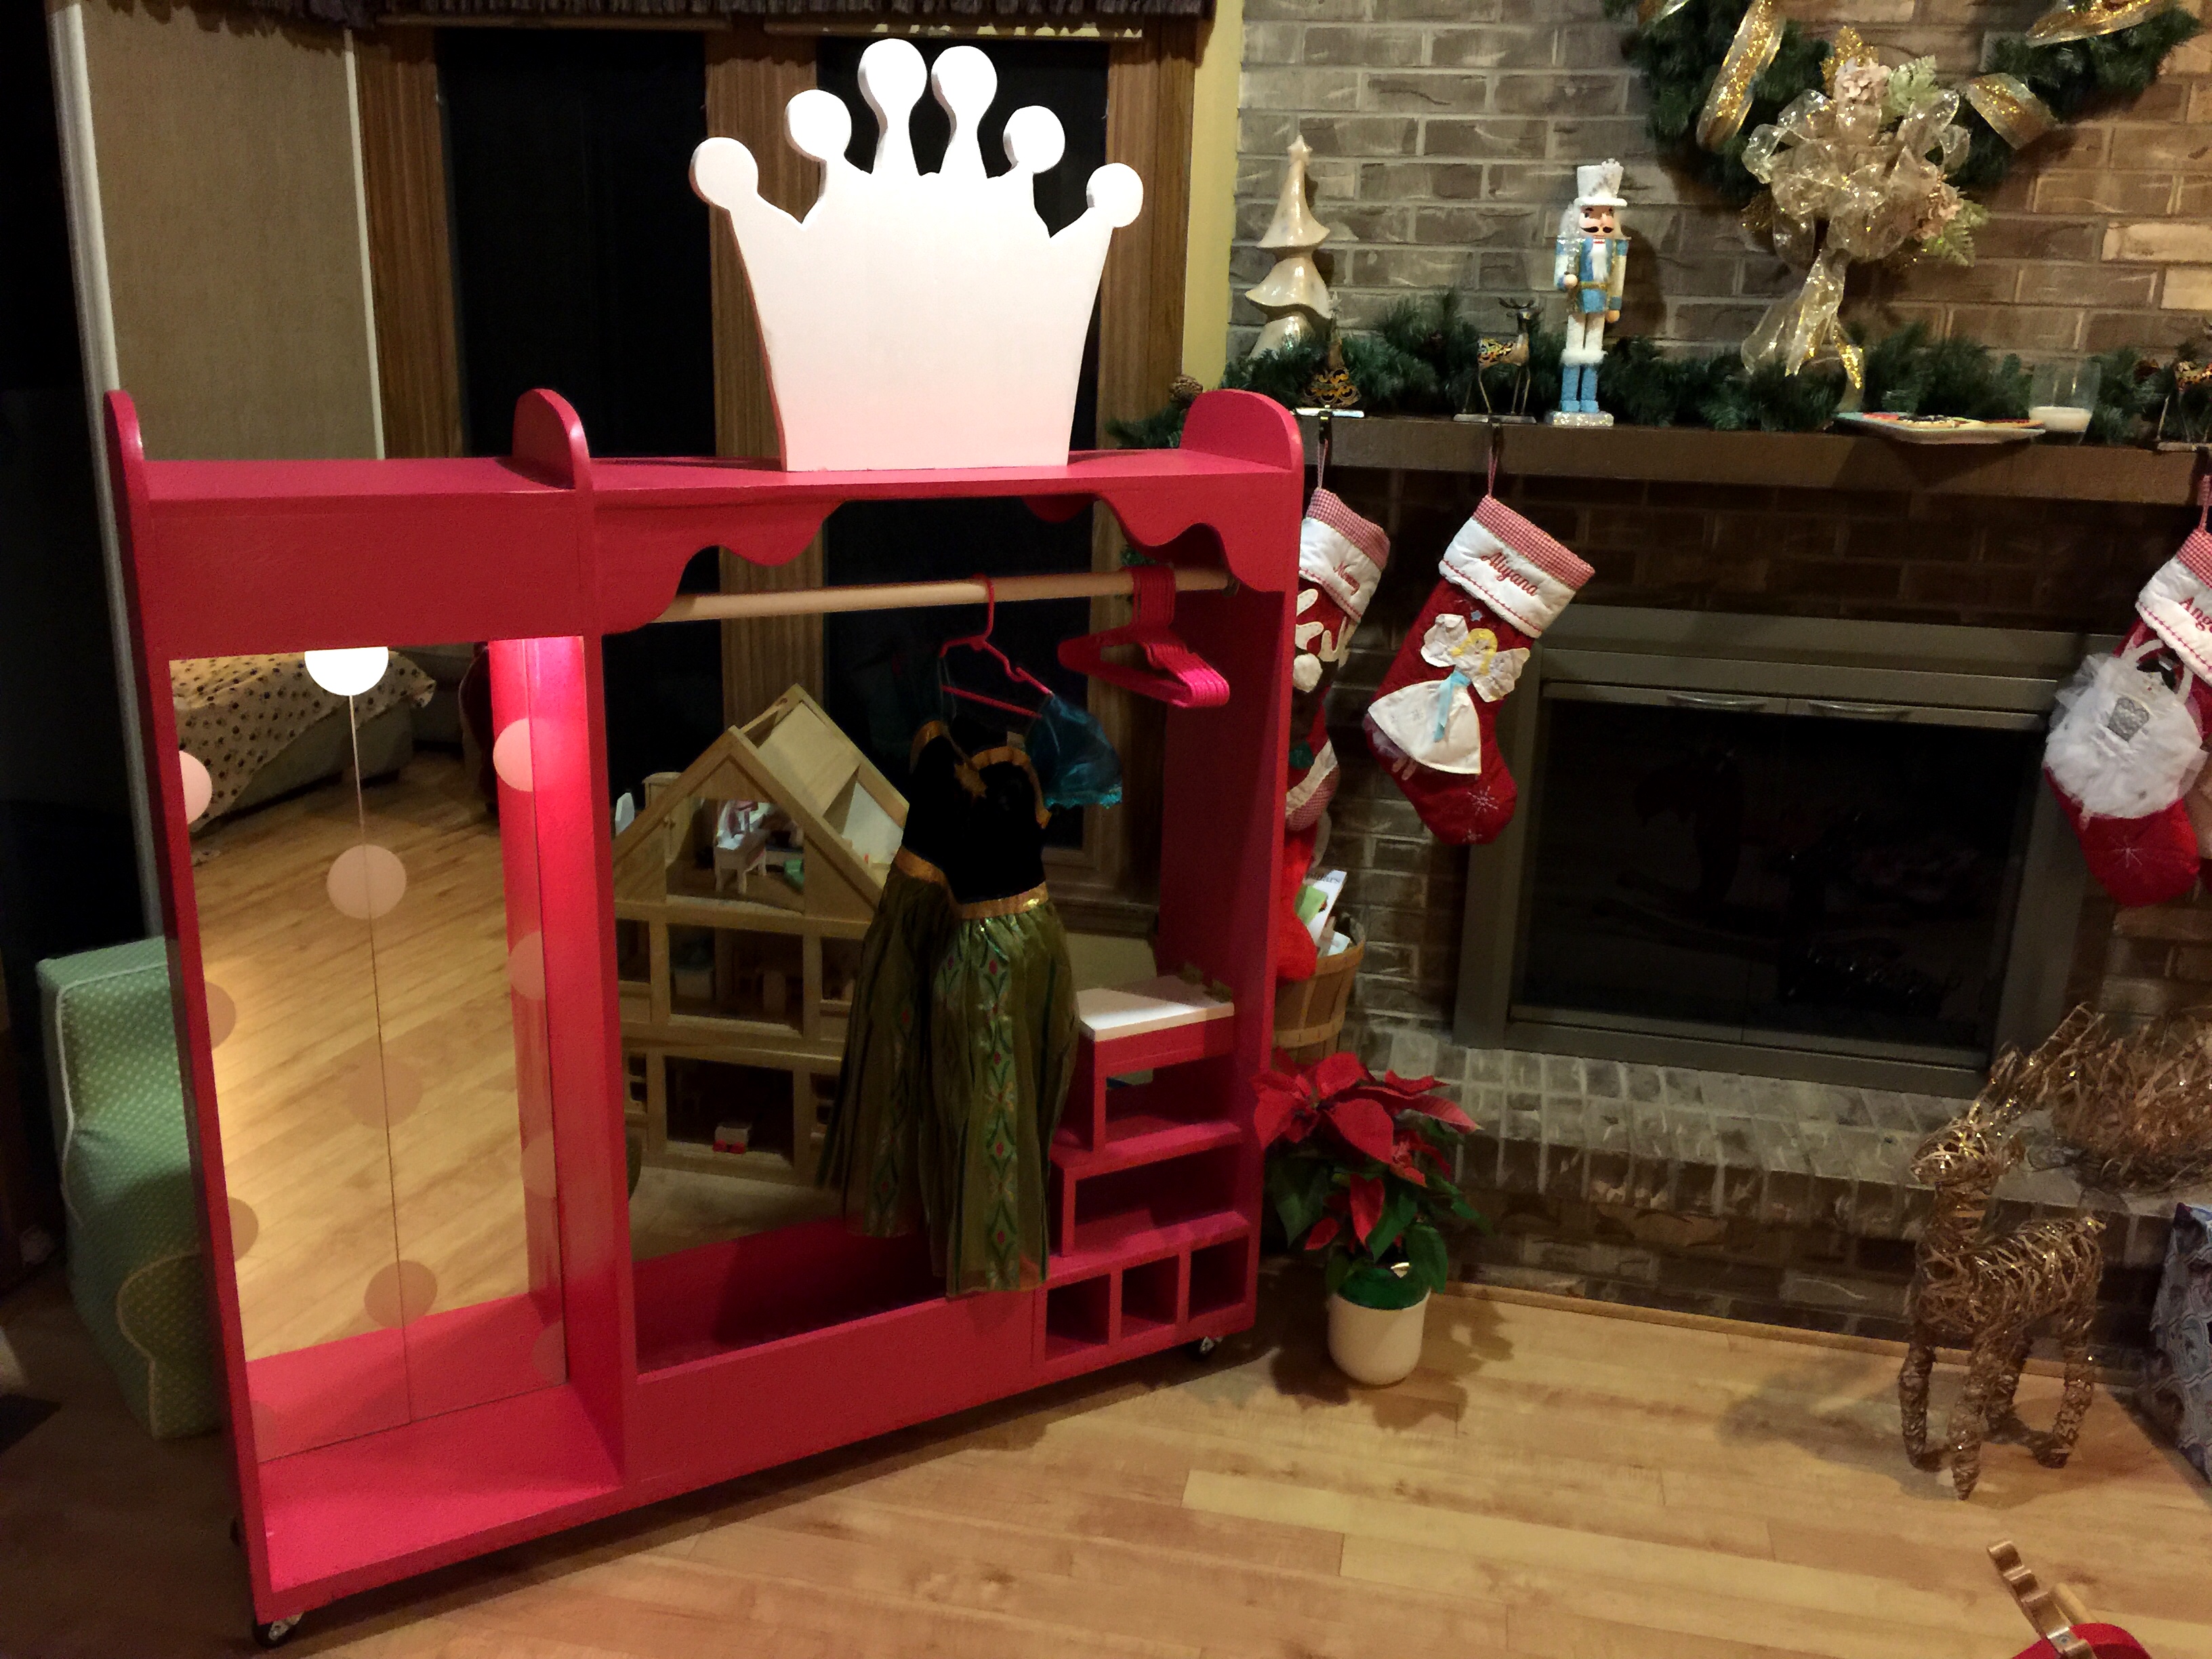
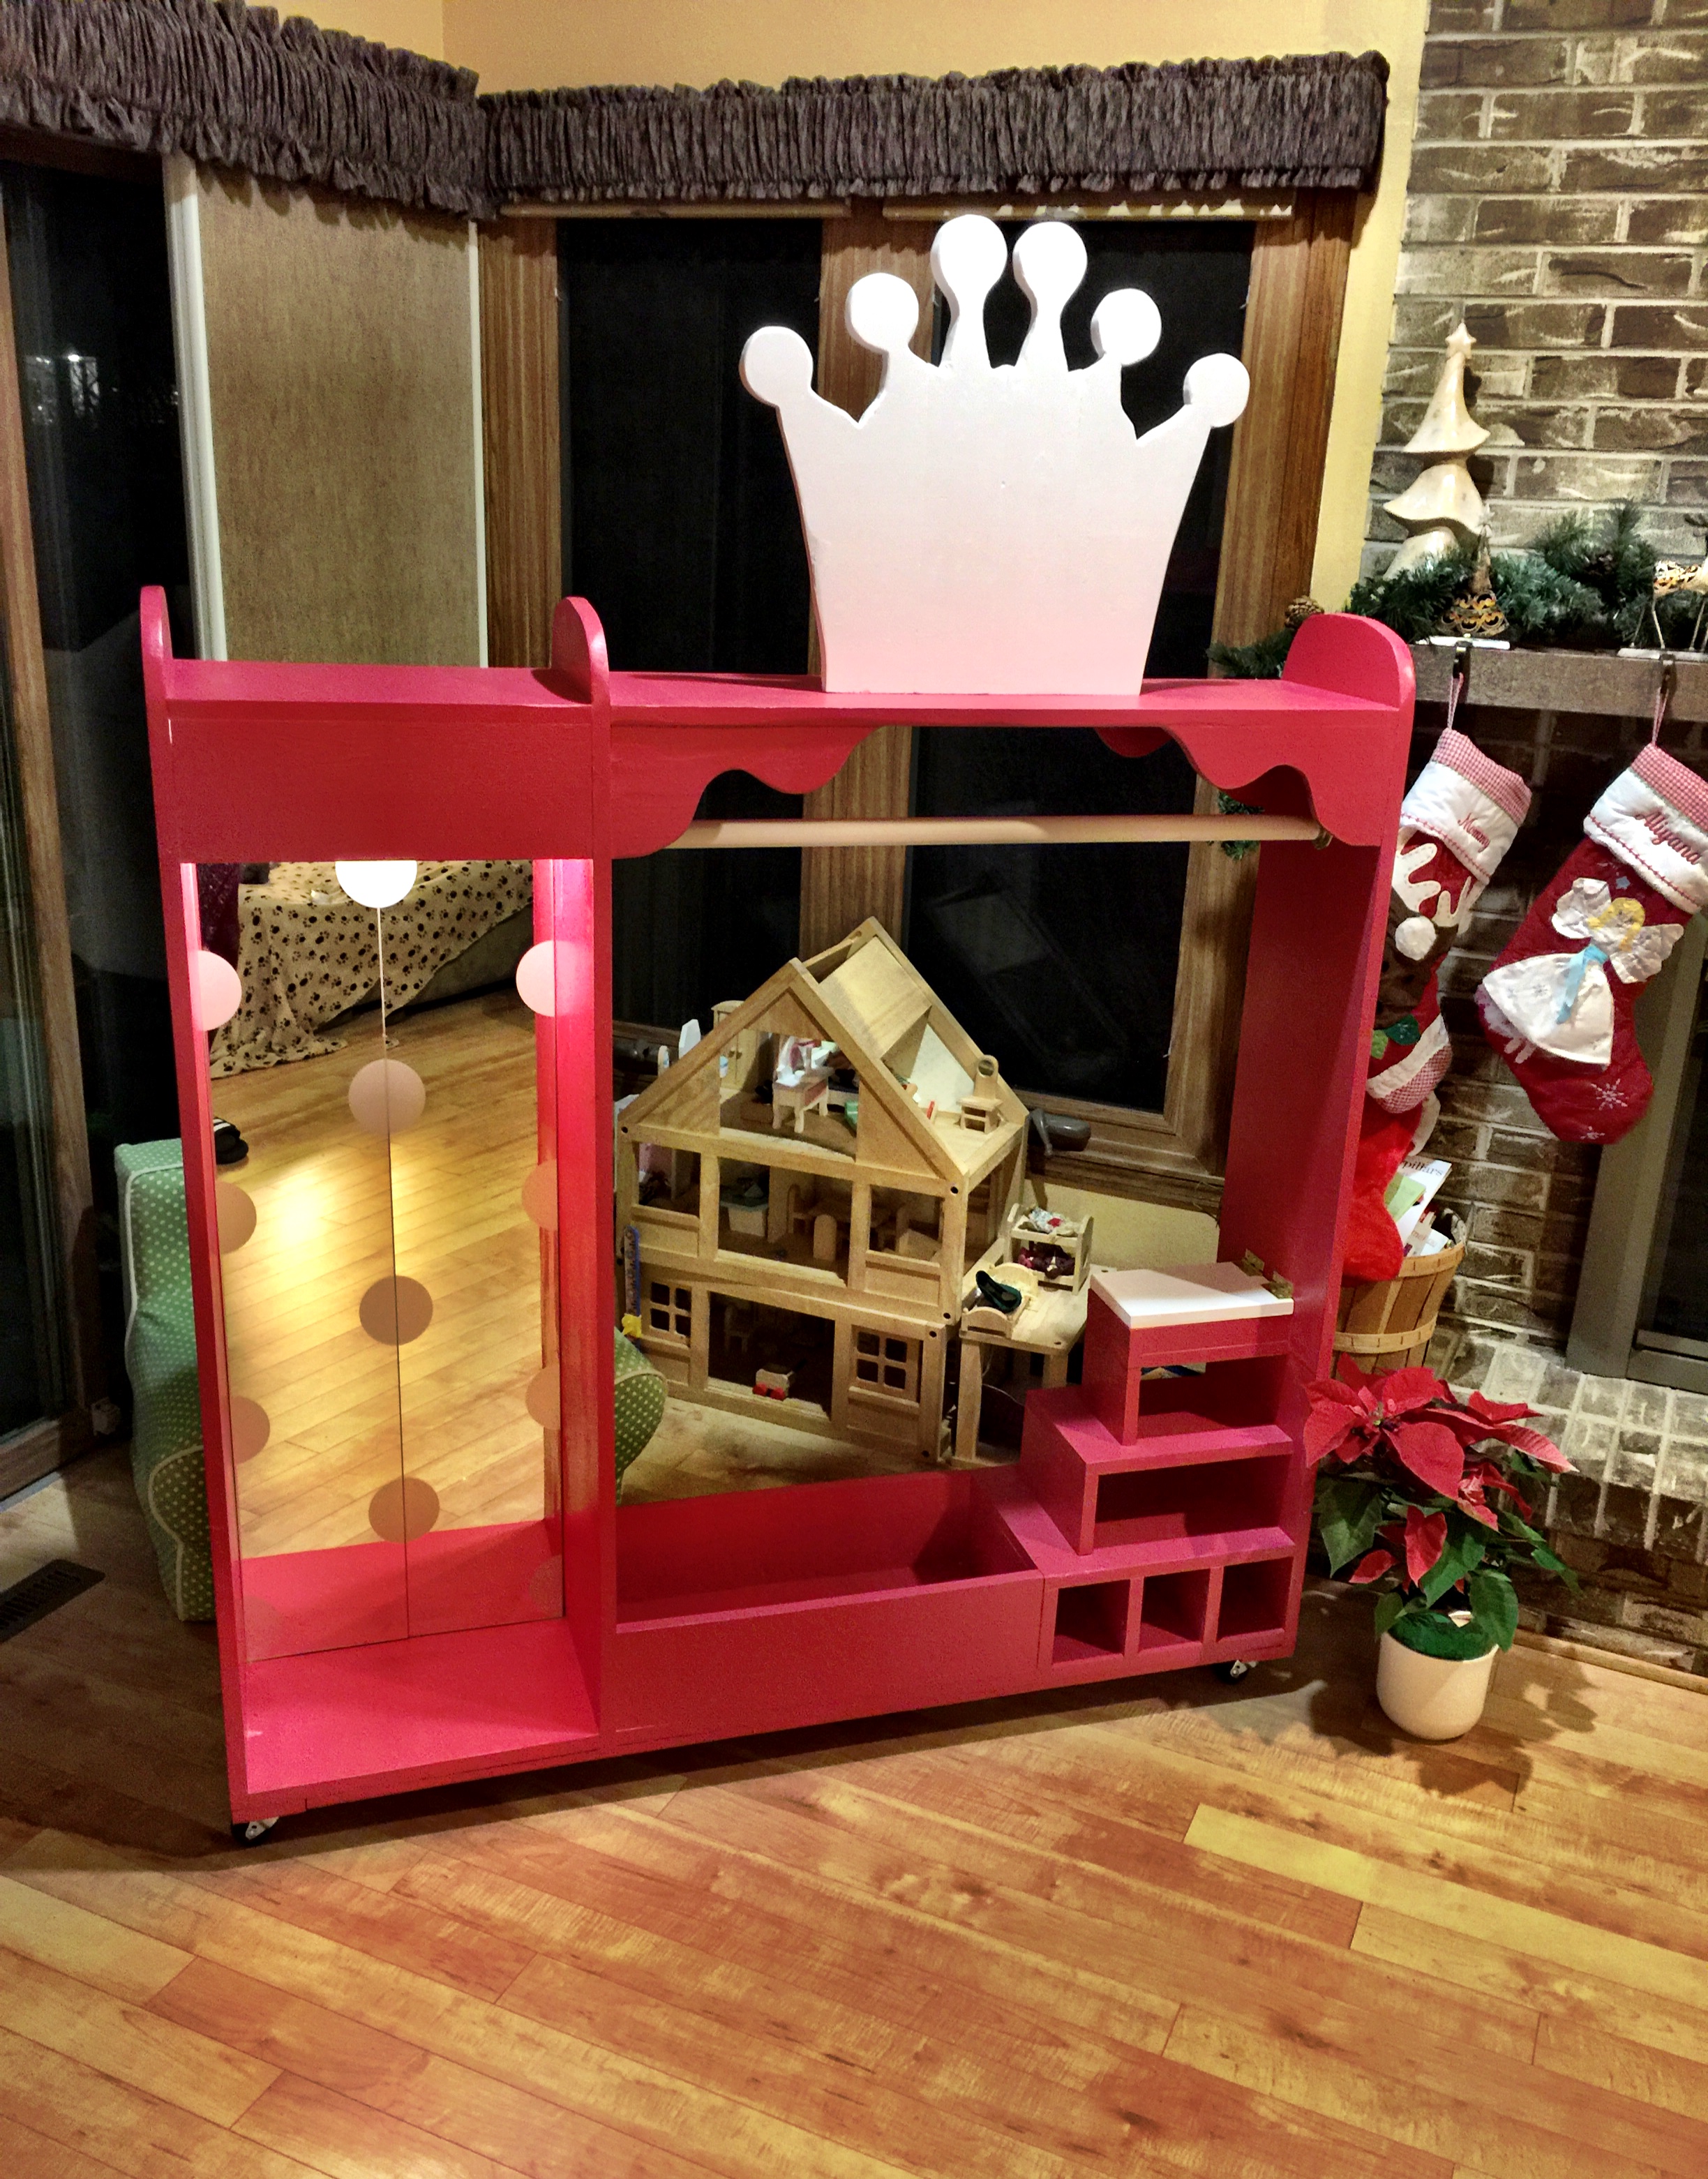
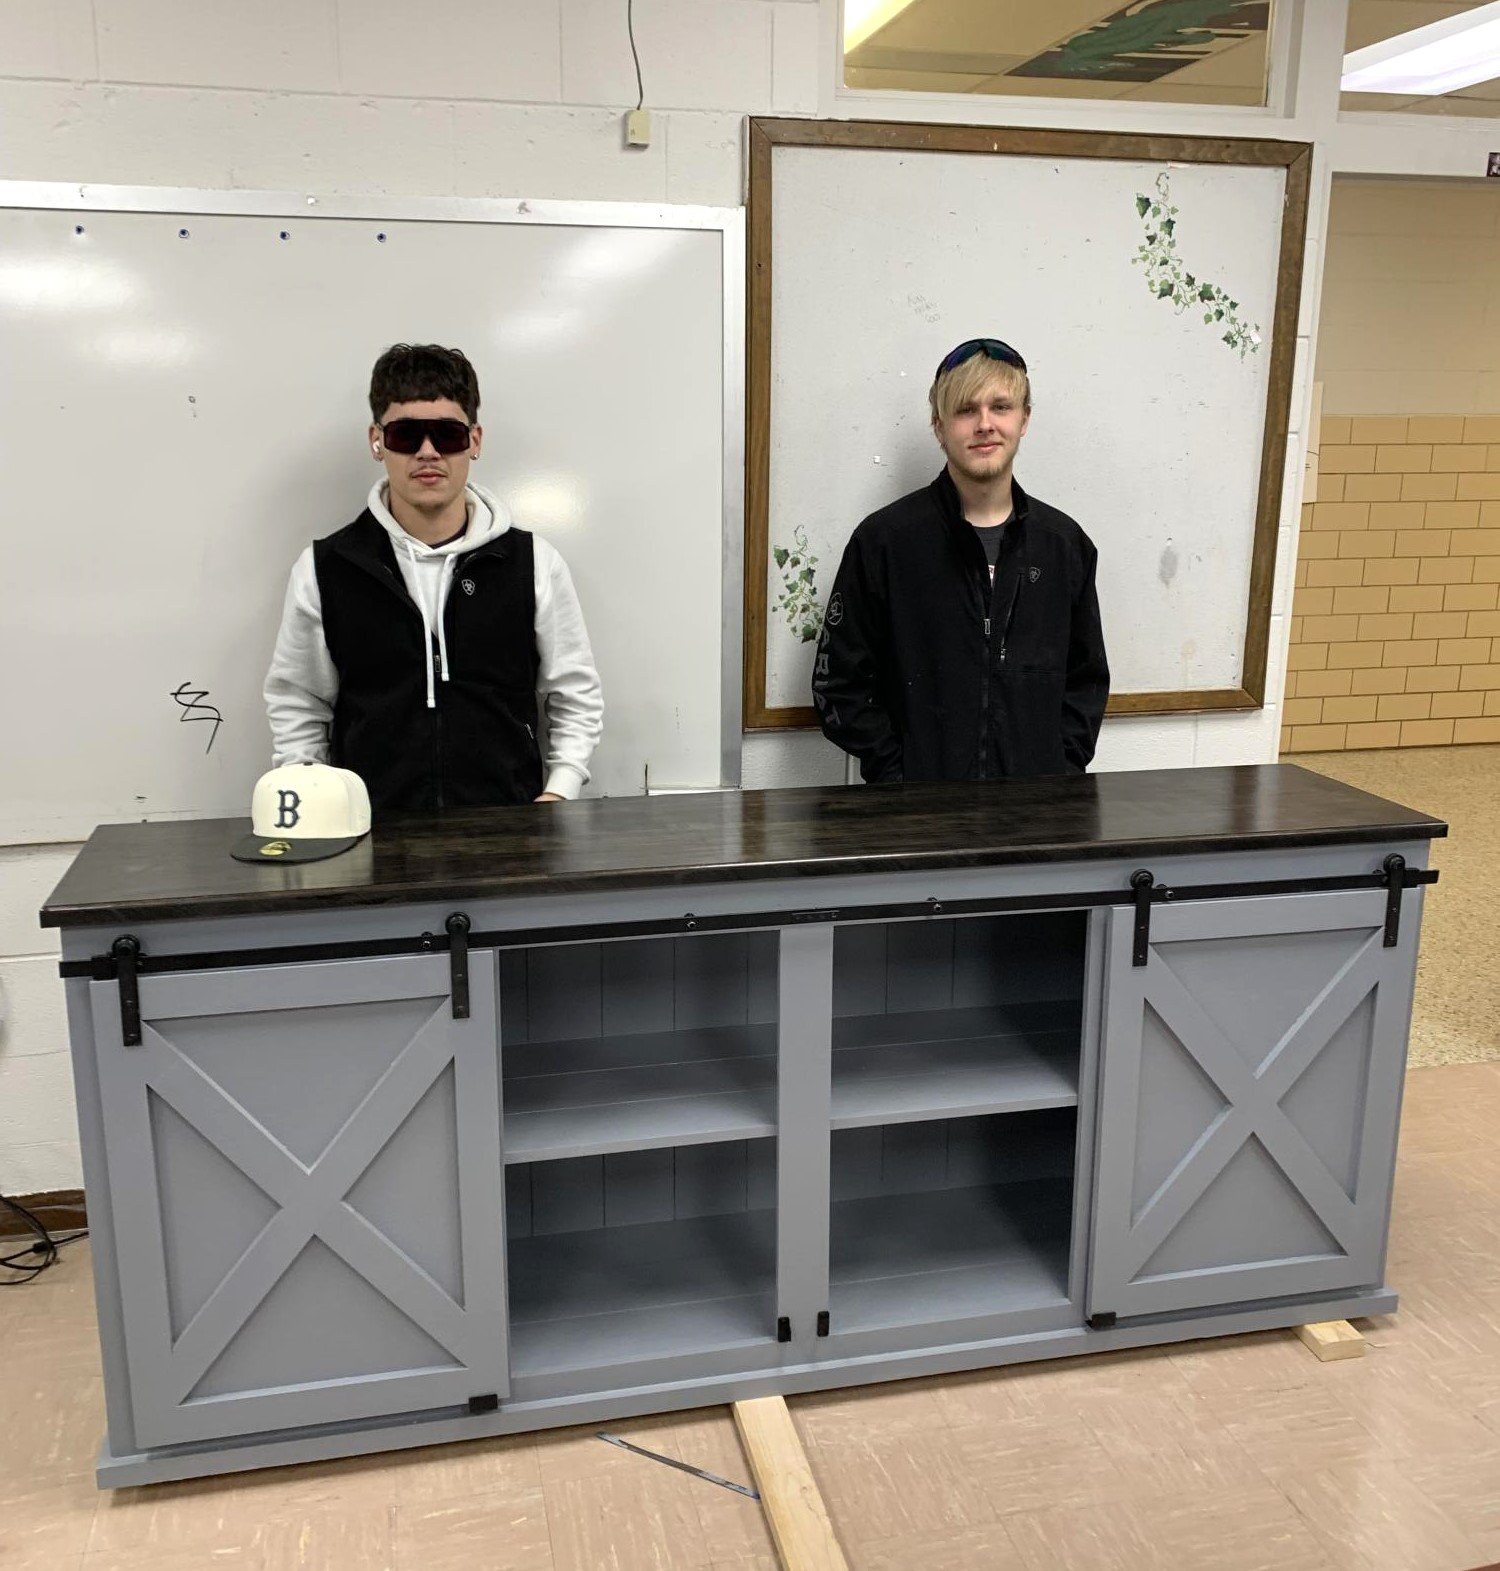
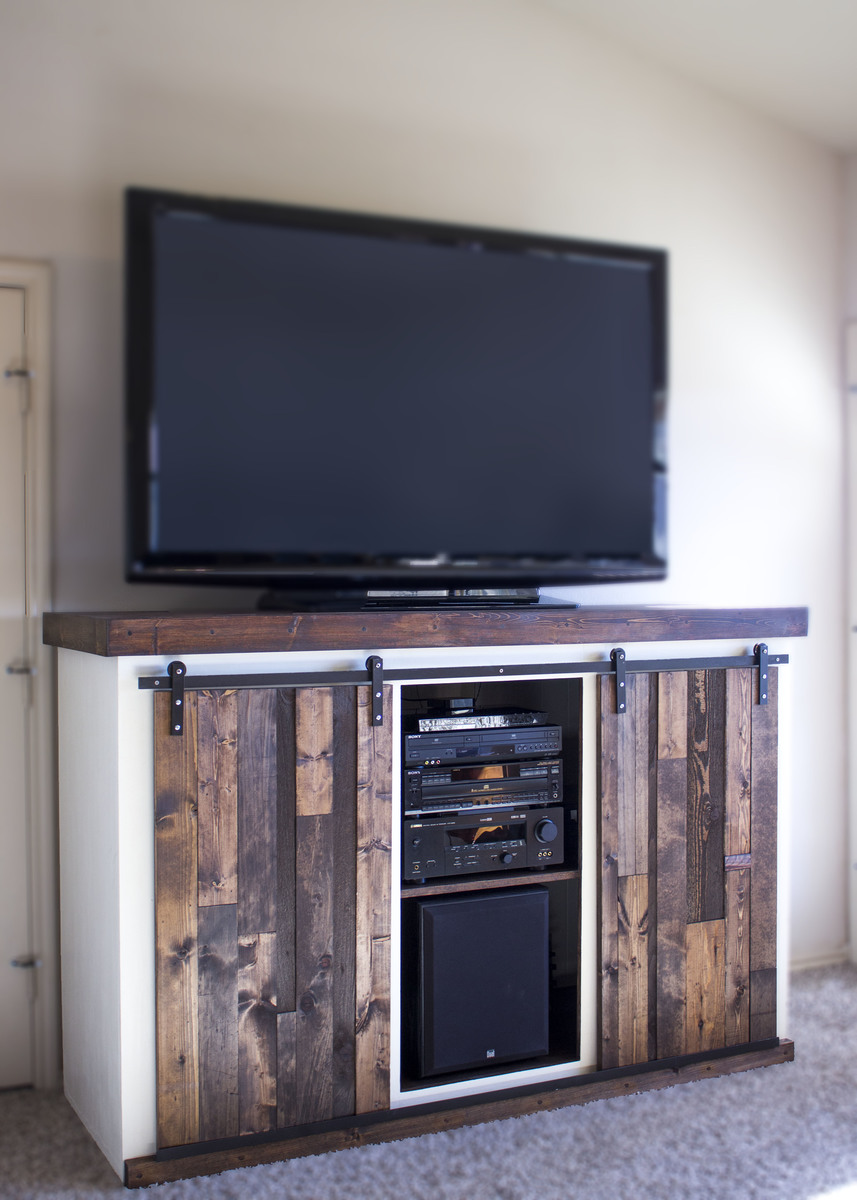
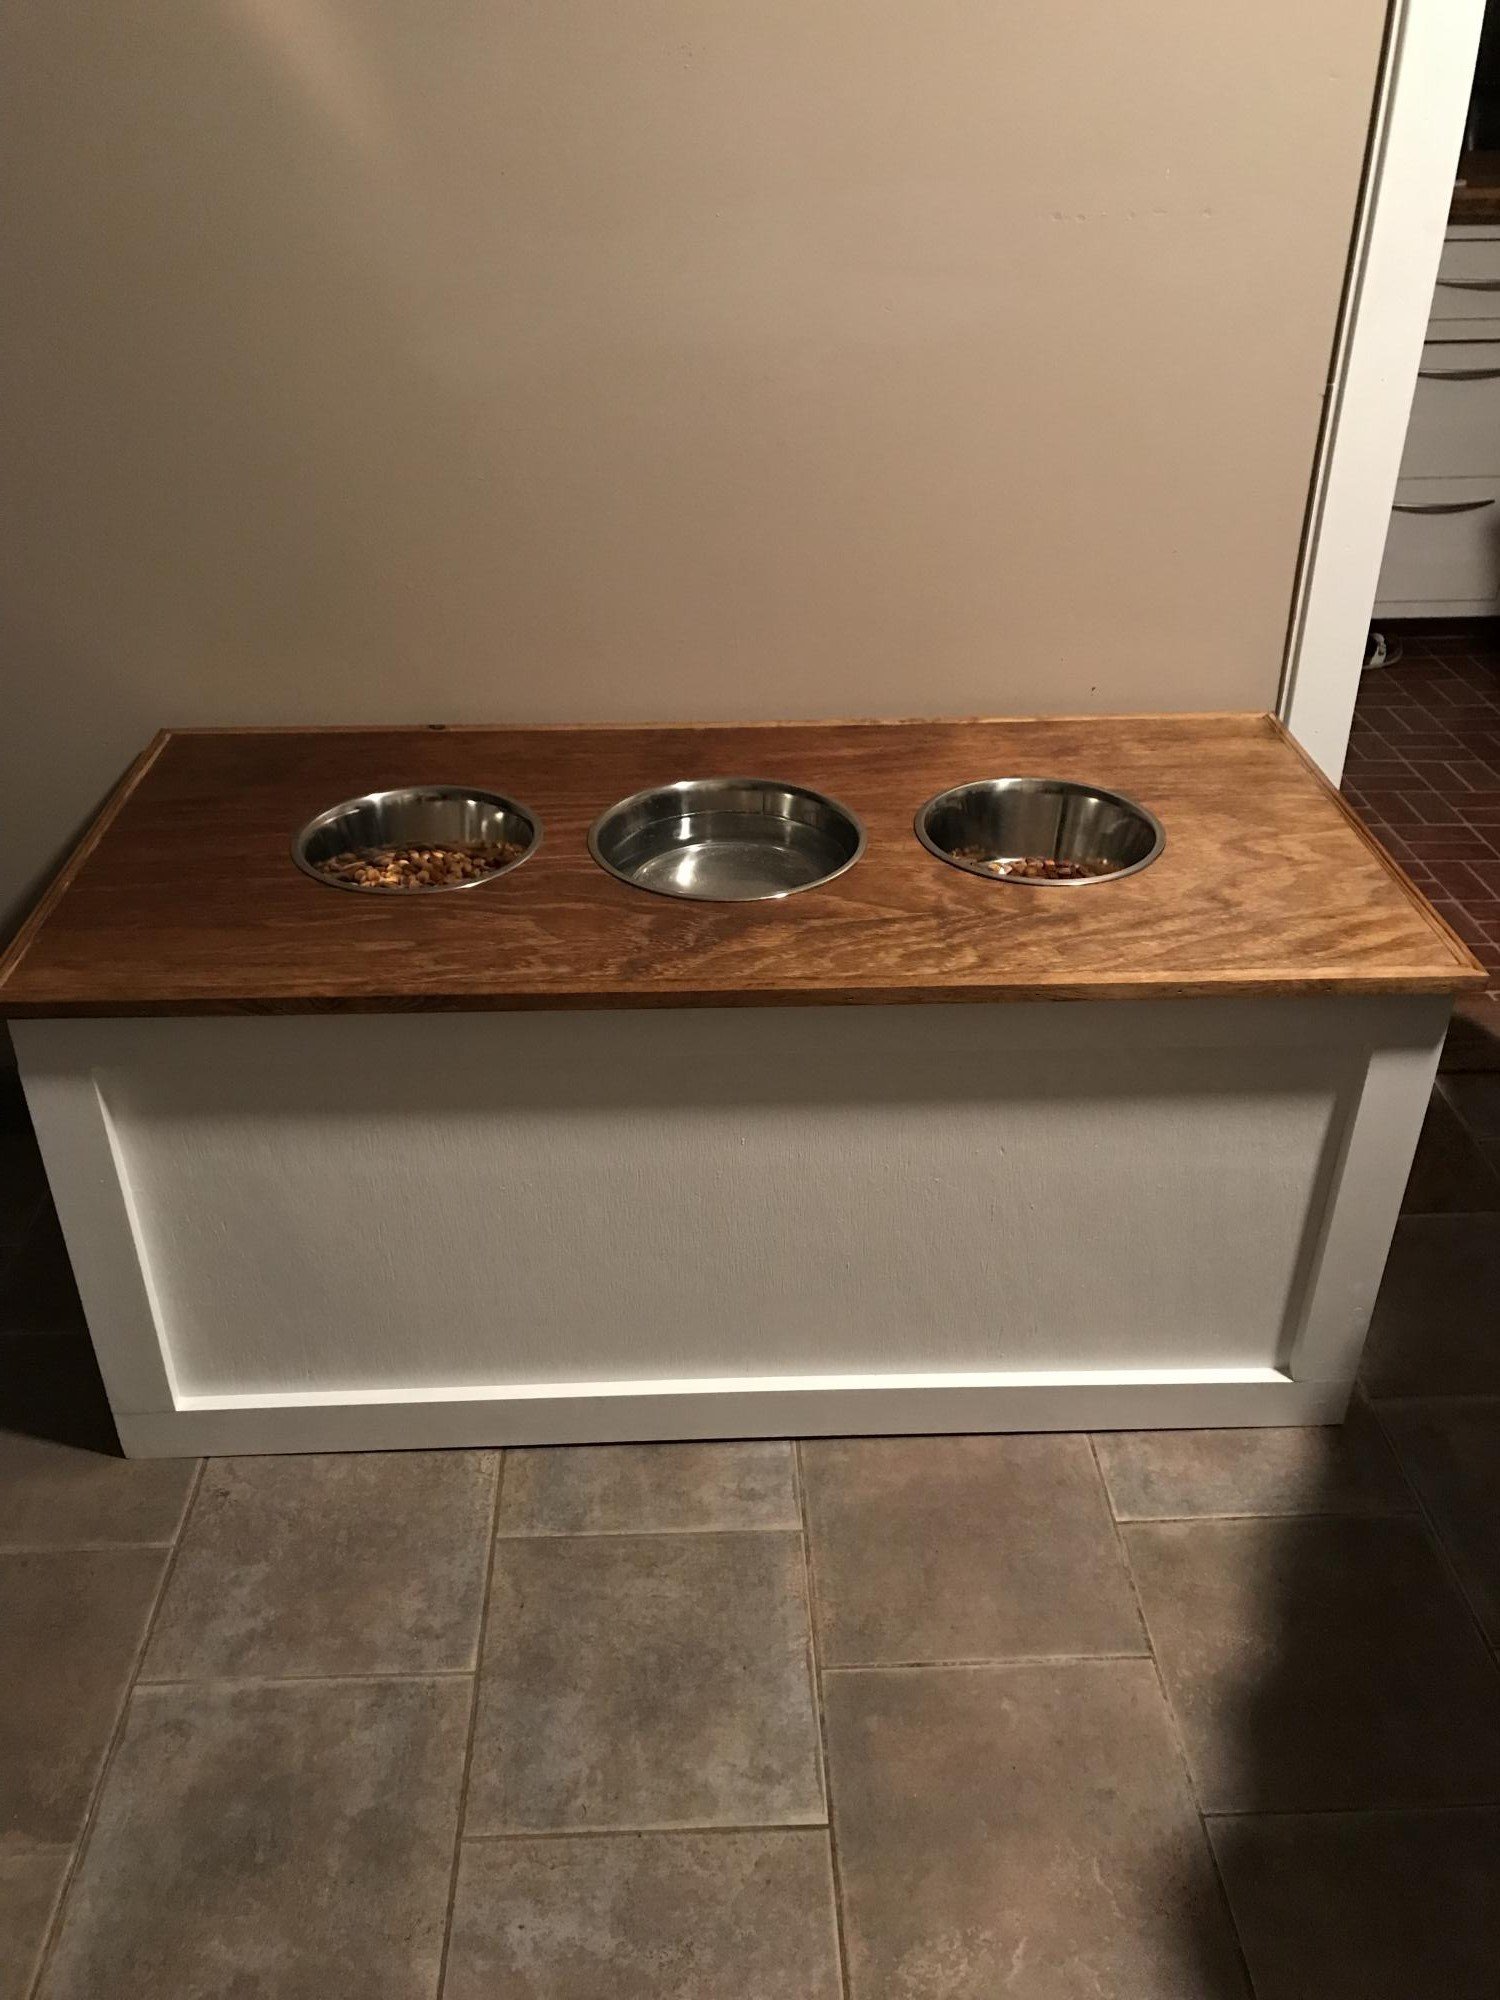
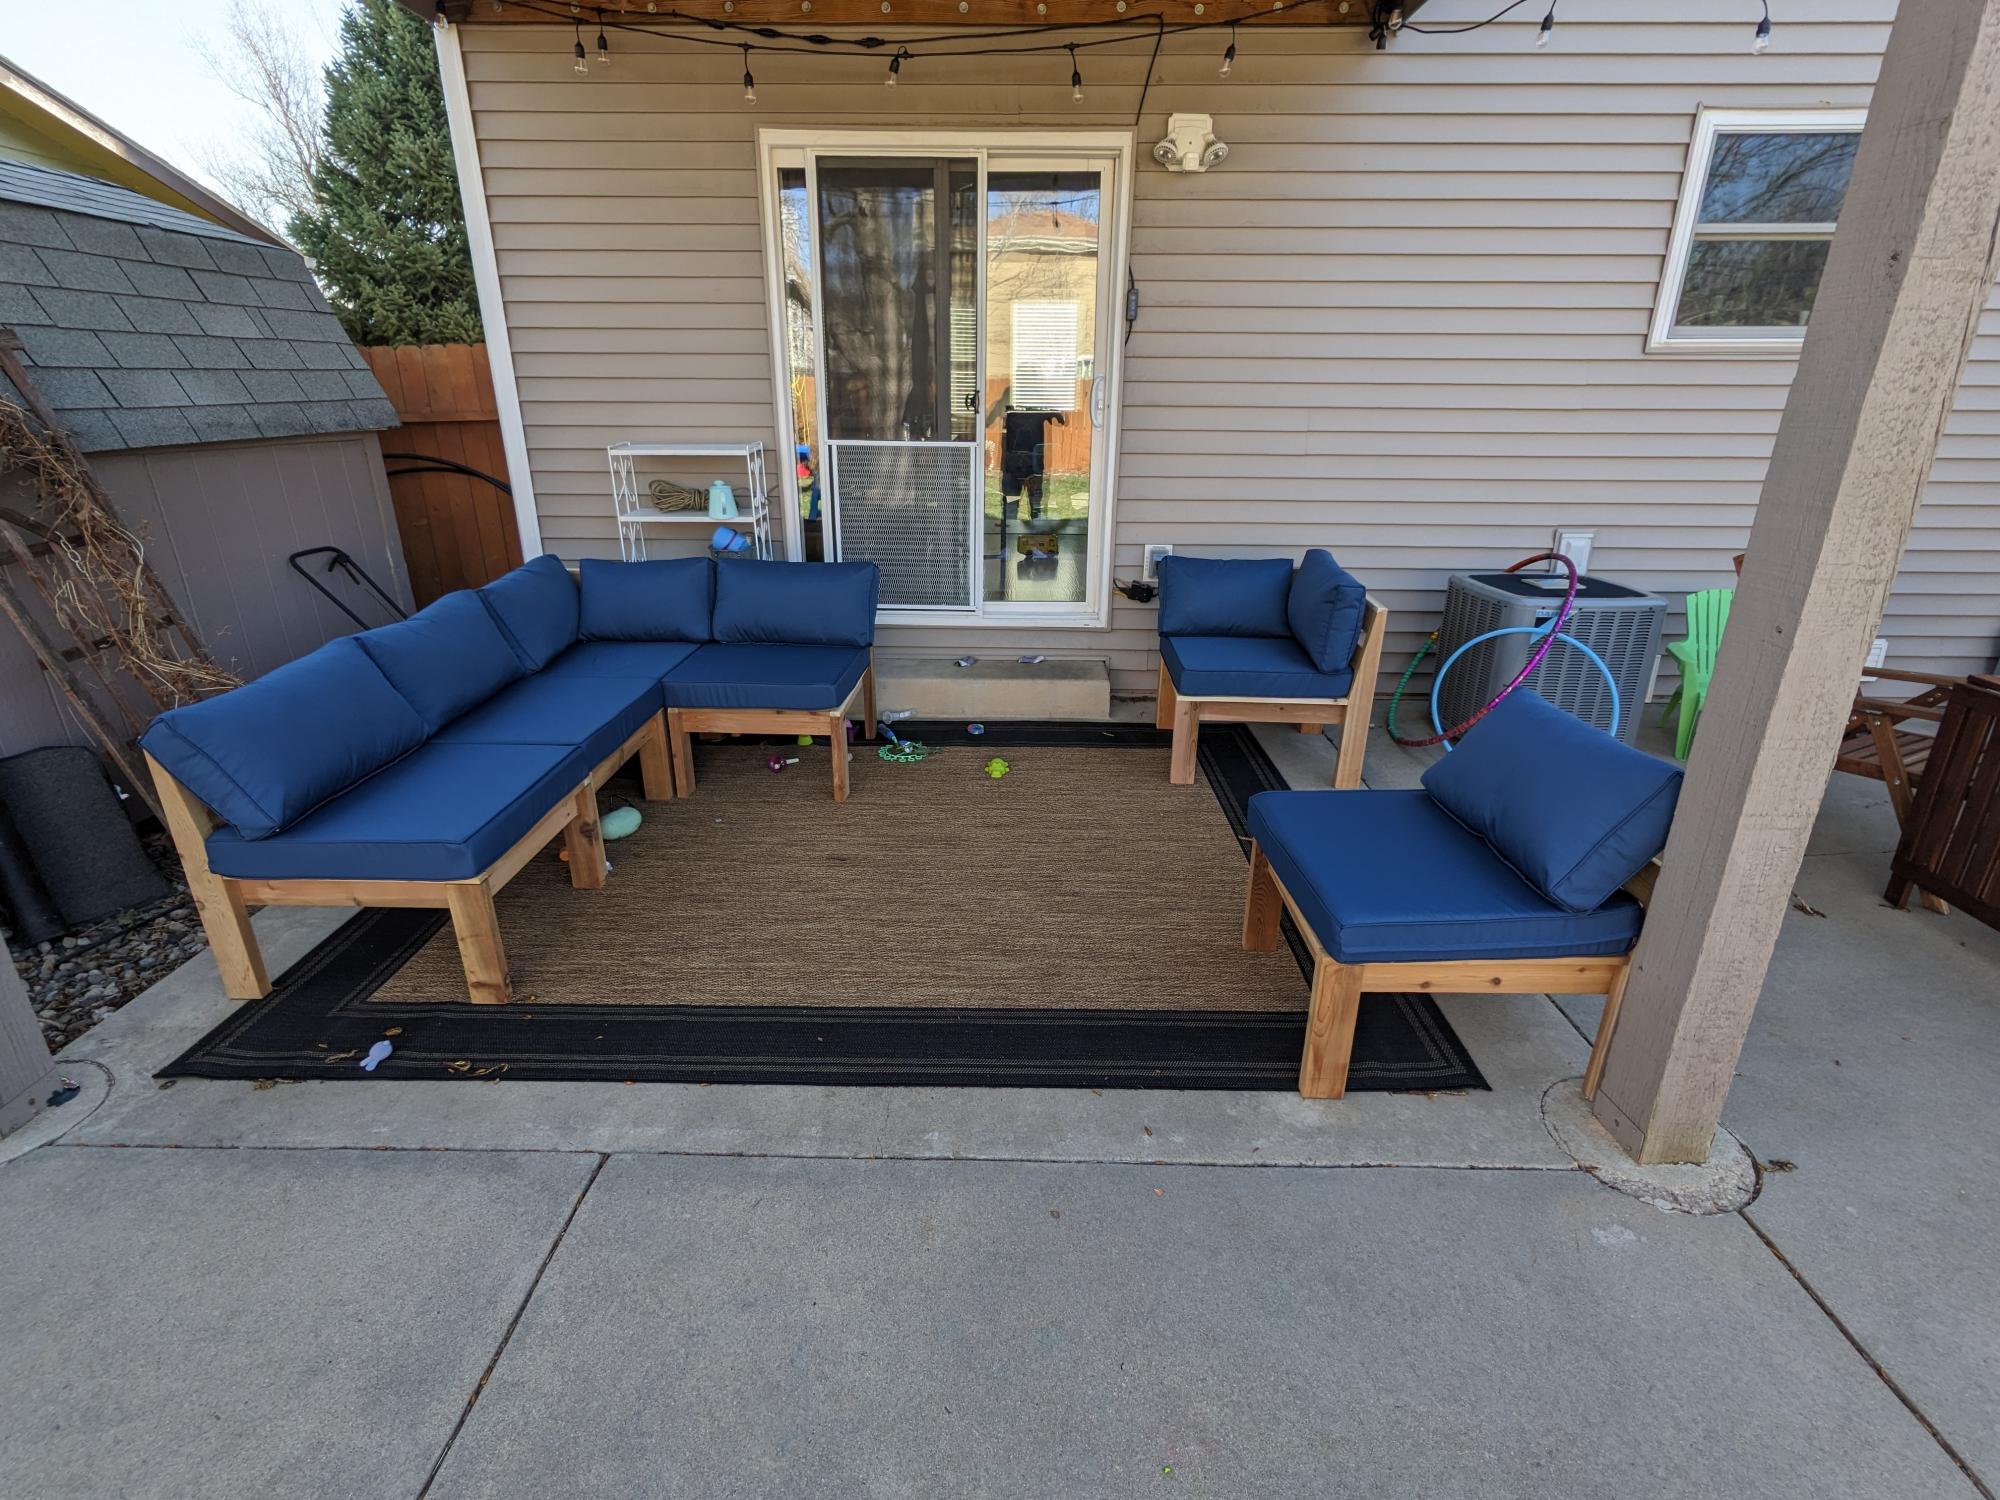
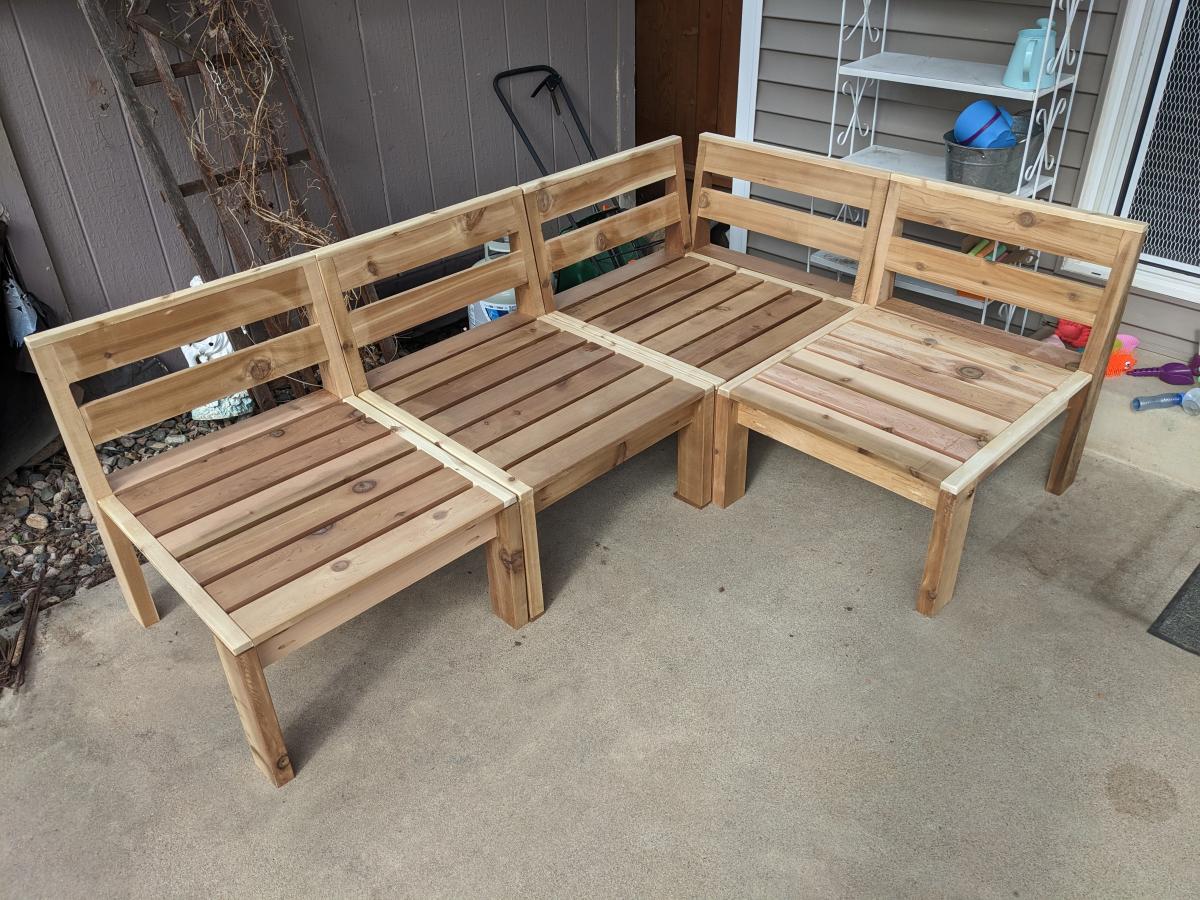
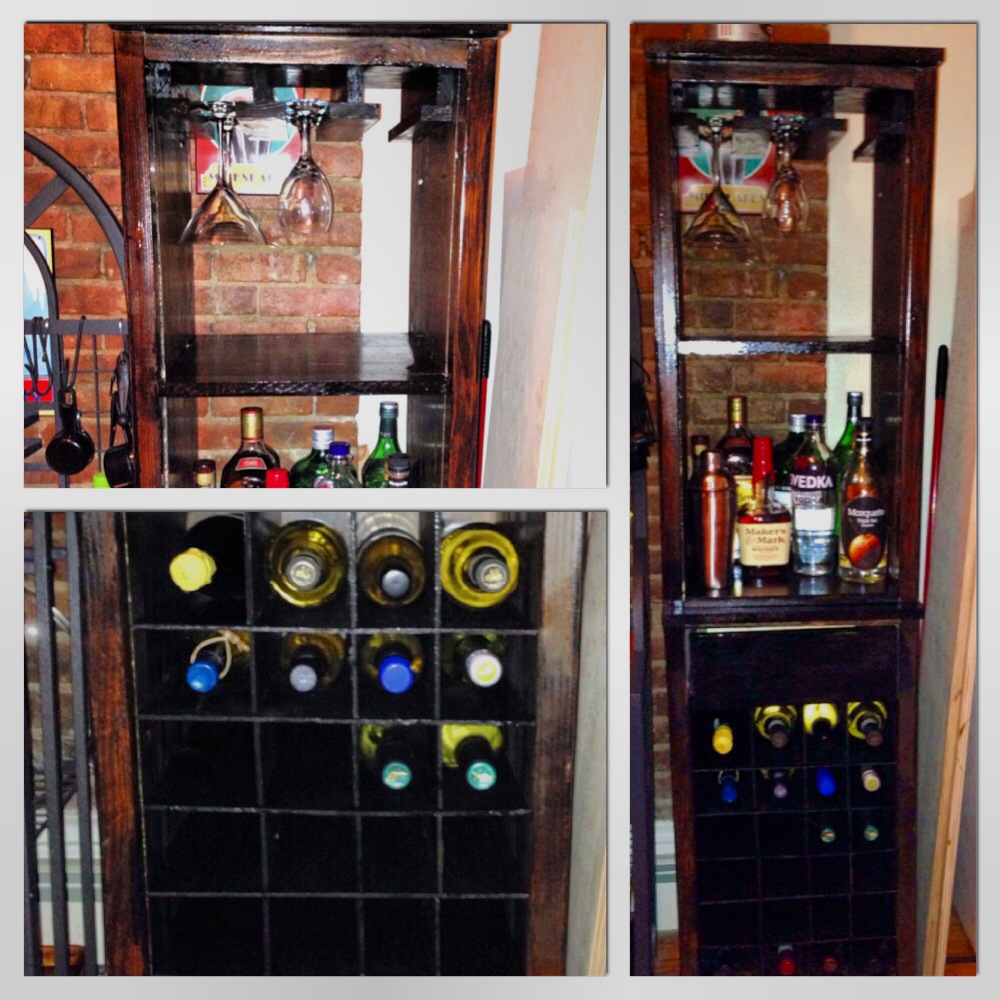
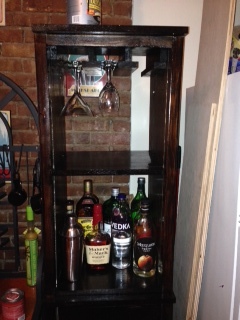
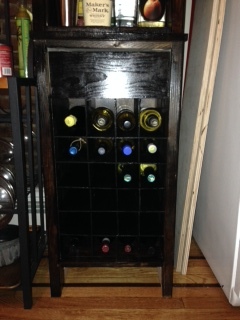
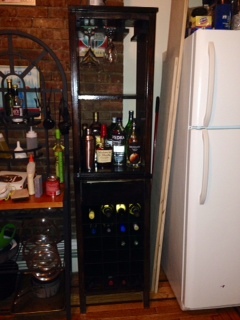
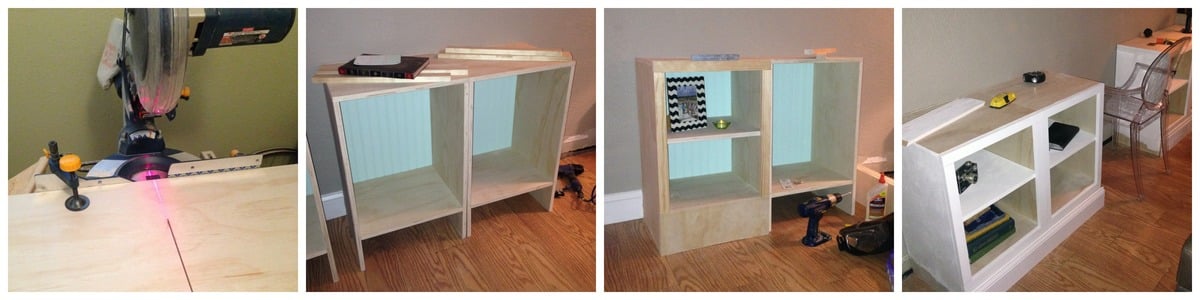
Hi there! I made a built-in desk for our long rectangular living room using a granite top on 4 cabinets... modified from a simple base cabinet plan. It was a blast to build & my family really enjoys it! :D
Built from Plan(s)
Estimated Time Investment
Weekend Project (10-20 Hours)
Finish Used
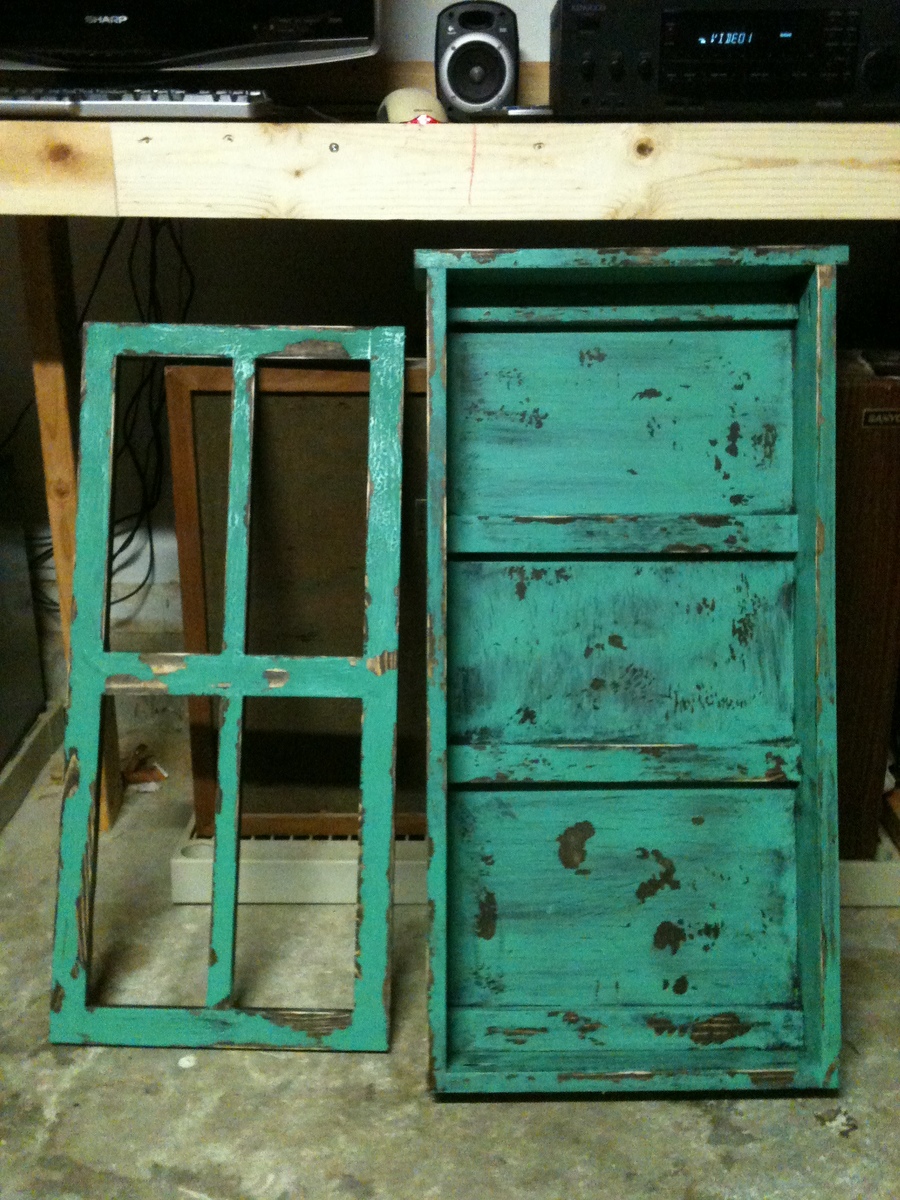
Latex paint
Recommended Skill Level
Intermediate