Adirondack chairs
I loved these plans. Thank you so much. I expanded some of the measurements to make a love seat too. Added another back support in the middle of the loveseat.
Farmhouse Table with pocket holes.
Duffsdesignsnc
I used the barn wood frame plans to make these 33in square pine frames (24 inch by 24 inch interior). I added a 90 degree routered space on the inside lip of the frame so that my acrylic, mat and picture had a nice place to sit on the backside. I also added some left over trim to the inside of the 1x2. With a little hammered silver spray paint with distressed white on top, mats cut with my fabric cutting wheel from Hobby Lobby, and my vacation pics of our kids on engineer prints from Staples, I am really happy with these! (FYI prints are NOT grainy! I have tried this before with a regular camera and it didn't look right. The bigger the jpeg and more megapixels the better)
Wed, 09/05/2012 - 11:09
Love these! Can you post a few more pictures of them close up so I can see how you did them and finished out the back? I've want to build some picture frames but am having a hard time figuring it out. Thanks! These are so beautiful!
Thu, 09/06/2012 - 13:41
Once I got to the back part I realized that it would have probably been easier to just skip the routered part....I originally was going to make these for mirrors and was worried about weight. If you don't router it it might actually be easier to use some sort of mirror clip/holder to keep things in place or it may even work with push points like the ones I used but used tacked straight into the back. Does that help? I may have just confused myself:)
These benches and table are a fun blend of rustic wood, fresh colors, simple clean lines, and a touch of industrial gabion. They are made from reclaimed pallet wood, a metal storage shelving unit that’s no longer needed, and a material that’s locally abundant – beach pebbles.
Finish with non-toxic wood finishes. Check out the step by step tutorial, with detailed plans!http://www.apieceofrainbow.com/diy-pallet-wood-bench-and-gabion-table/
I had a customer want one of these, then she decided she wanted matching bookcases to flank it. She let me run wild with the design of the cases, so I made them with the X's and tied it all together with the doors on the console. Finished with General Finishes Java Gel stain and Minwax Polycrylic. You can see my other work on facebook, youtube and Instagram under "Reaperwoodworks". Thanks for looking!
Looks great , easy build
Turned out much larger in person than I thought it would, but built it for our porch. I also remembered the plans in my head differently and ended up with the X on the sides originally intended to be open. Didn't finish staining it yet, but I was too excited to share.
Sat, 09/08/2012 - 20:21
Oh wow!!!! Looks great!!! Love the stain, thank you so much for sharing!
I built the arbor bench first, and was very impressed at how complete the instructions were. I enjoyed it so much, that I found the plans, and built the outdoor rustic coffee table to complement it. I ended up using pressure treated pine, and am now waiting for the wood to completely dry out enough to put a stain on both pieces. The plans for both were very comprehensive.
We built our patio furniture with your outdoor chair and couch plans! Thank you thank you!
Candice
A birthday present for my best friend. Turned out awesome!
Next time, I will cut the 1x2 and 1x3 at the 5 degree angle to match the top and bottom planes...
Thanks for the idea! It is great
Following Brooke of Killer B Design's How-To blog post, I built and painted some woodland animal stools for my first handmade business collection. Please visit Brooke for her How To here: http://www.killerbdesigns.com/toddler-sized-animal-stools-a-how-to/
See all 4 stool designs I made on my little blog for a few more design ideas: http://sunnysideup-stairs.blogspot.com/2014/07/woodland-animal-stools.h…
Happy and safe building! :)
I built this coffee table at the request of my sister-in-law and it was my first attempt at a project like this. It was definitely a rewarding and great learning experience. I used a thickness planer for the pallet wood to get a consistent thickness for the top and so that the stain would set well. Other than the pallet wood itself, this table was built to the specifications of the original plan.
I am long overdue to share these Adirondack chairs that I made last fall. I followed the exact plans for Ana’s Adirondack Chair to make my own. These chairs have such a simple, clean, modern style that I love. Adirondack chairs, no matter what style, are just an all-around classic!
I built it for my husband, but had to make a shorter version, only 52" instead of 72" to fit it into the corner.
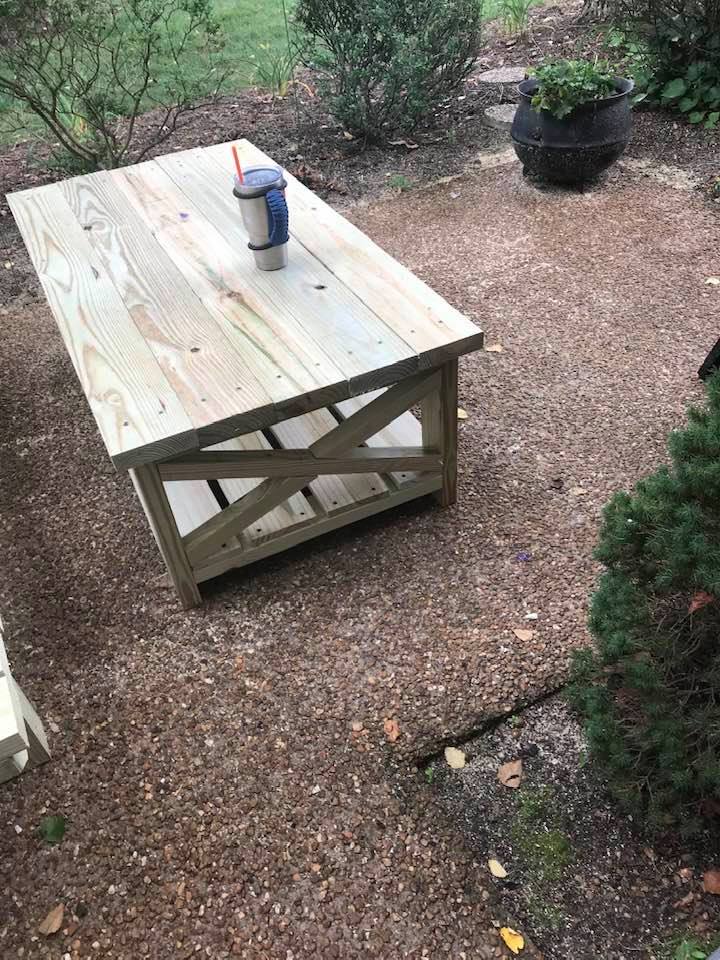
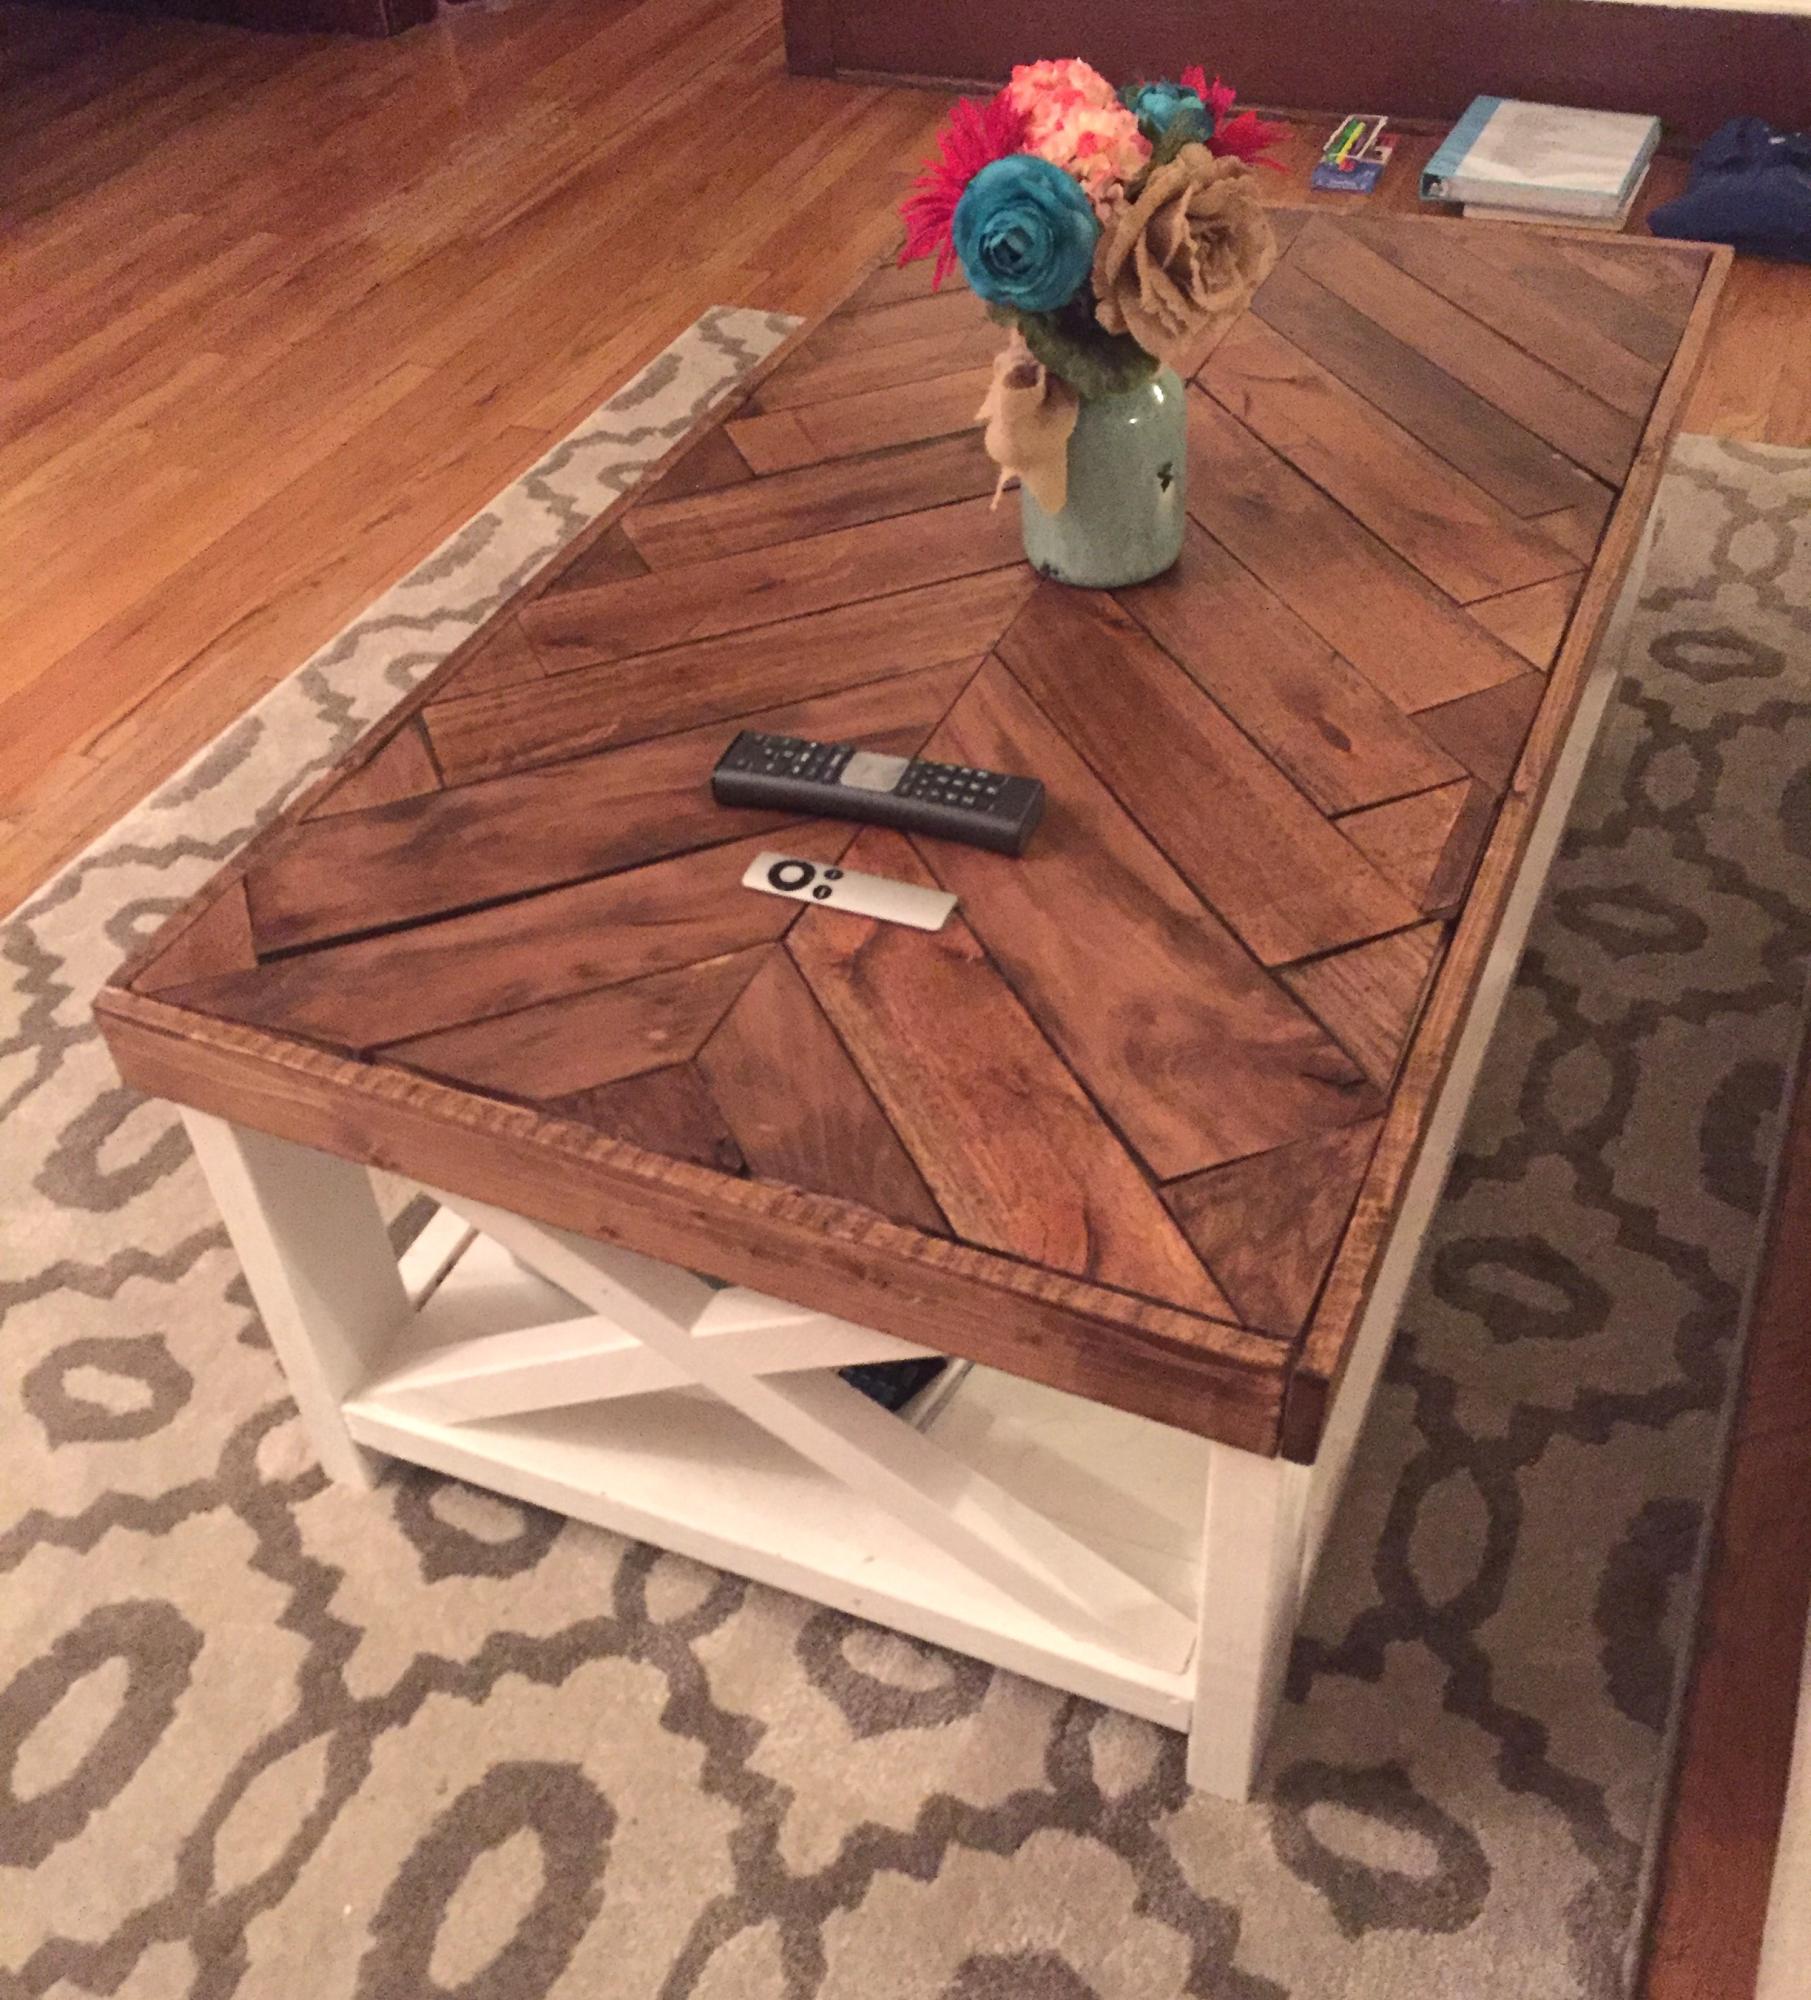
What a great project! I went all out with it, spending much more time and money than a sandbox probably deserves :) but I wanted something similar to the colors on our house.
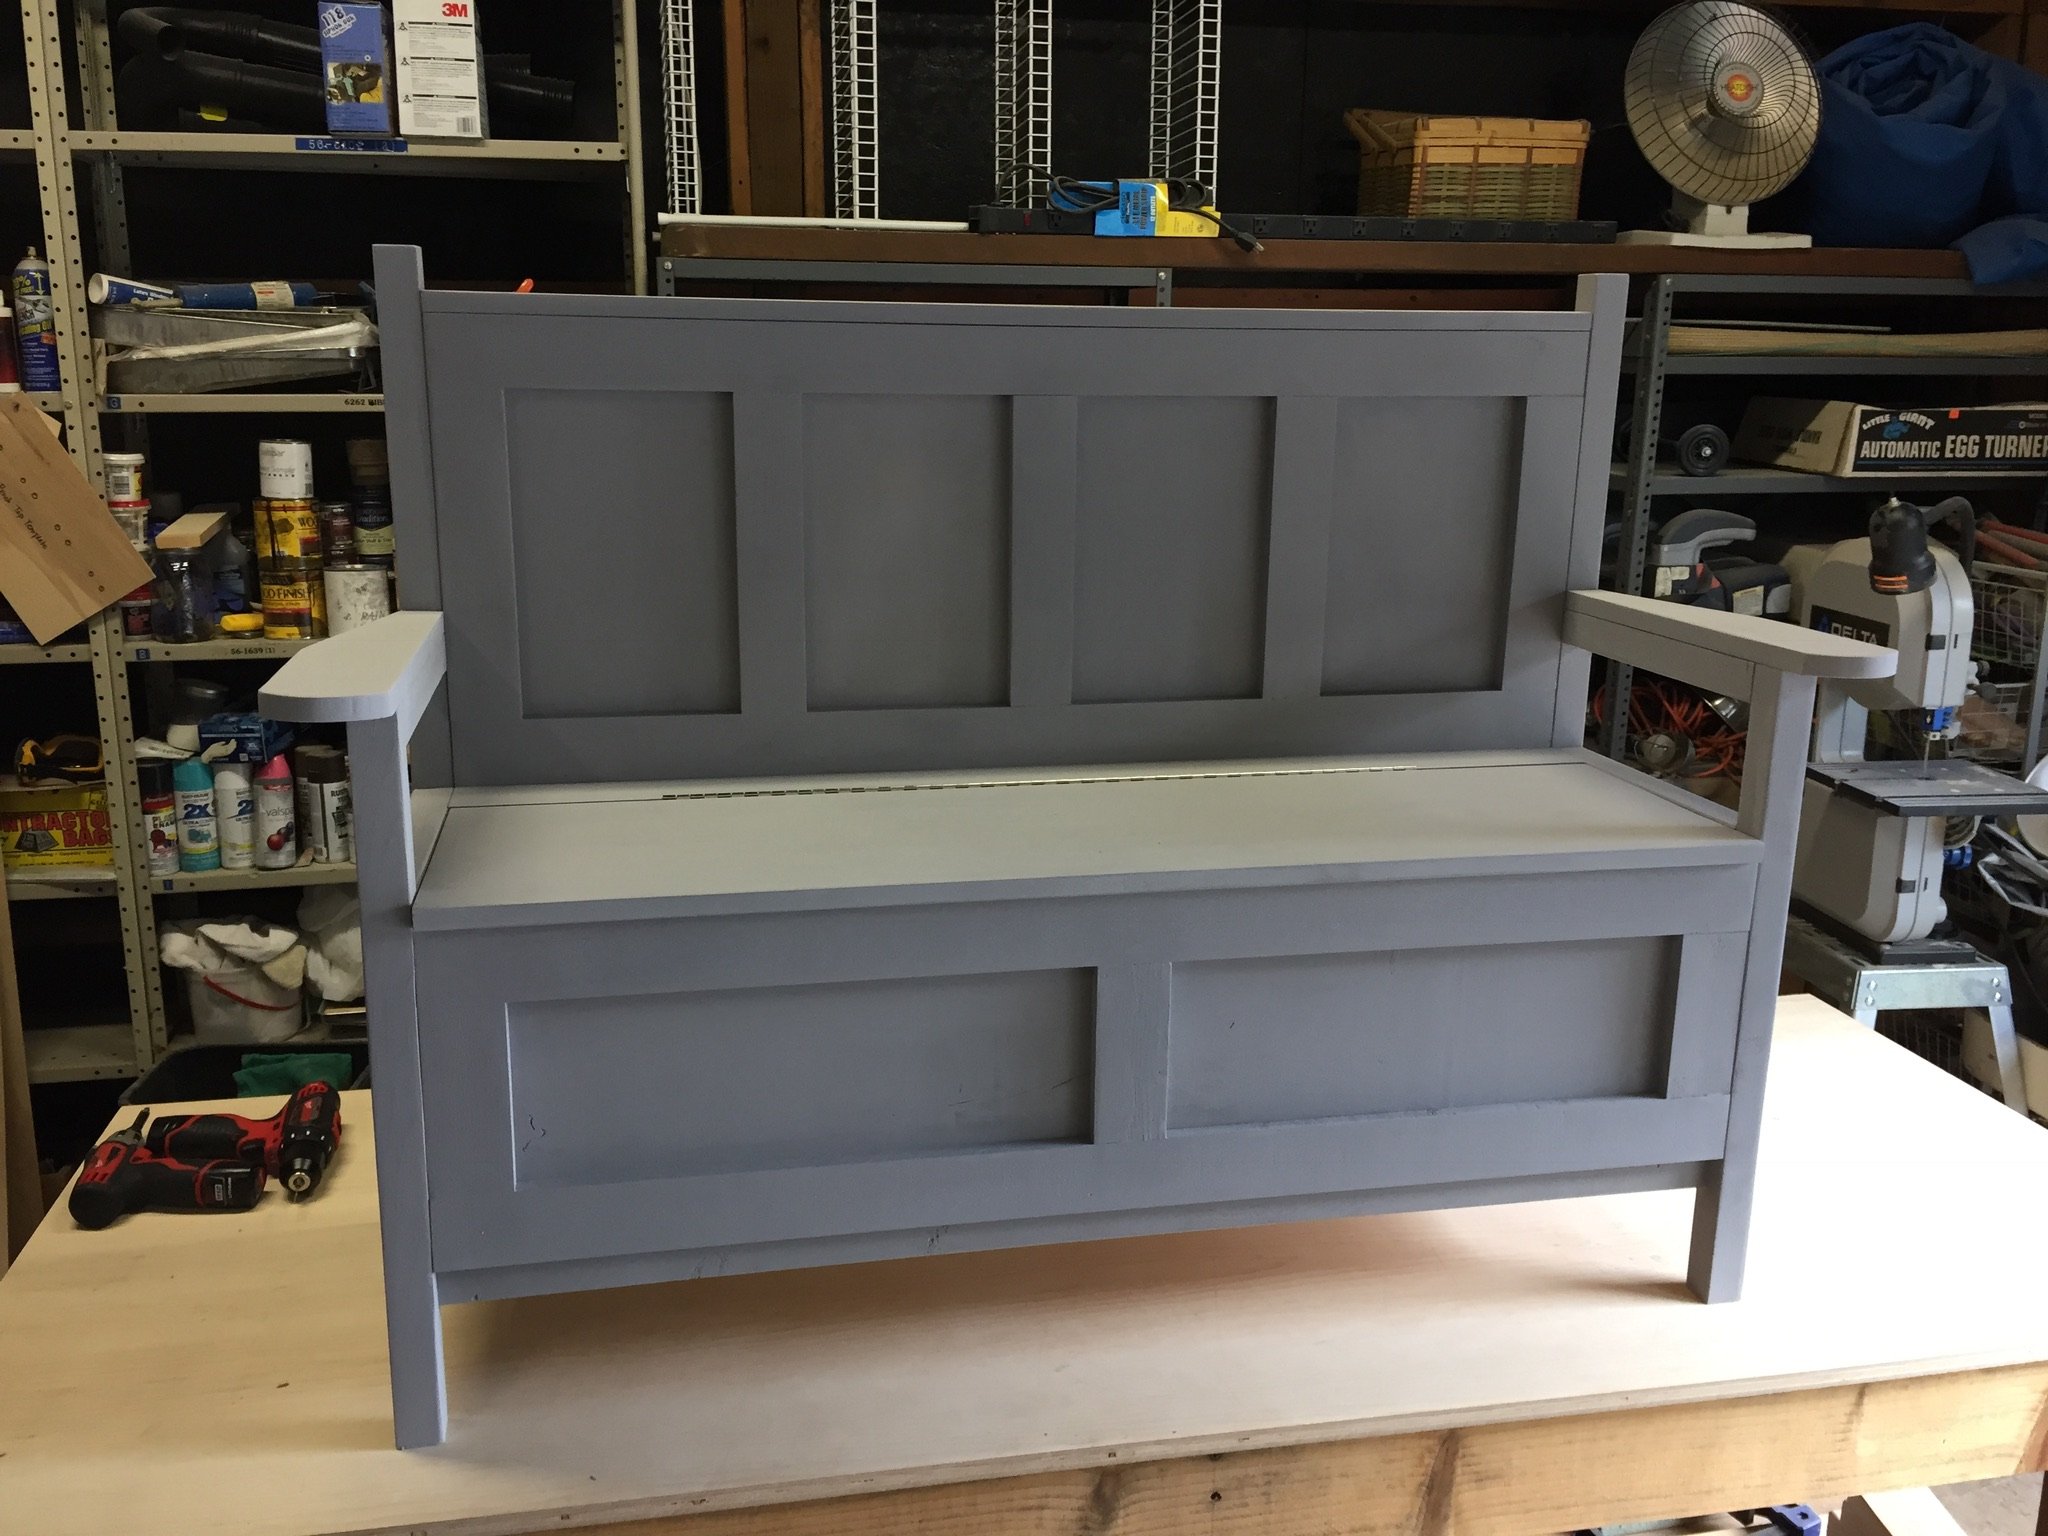
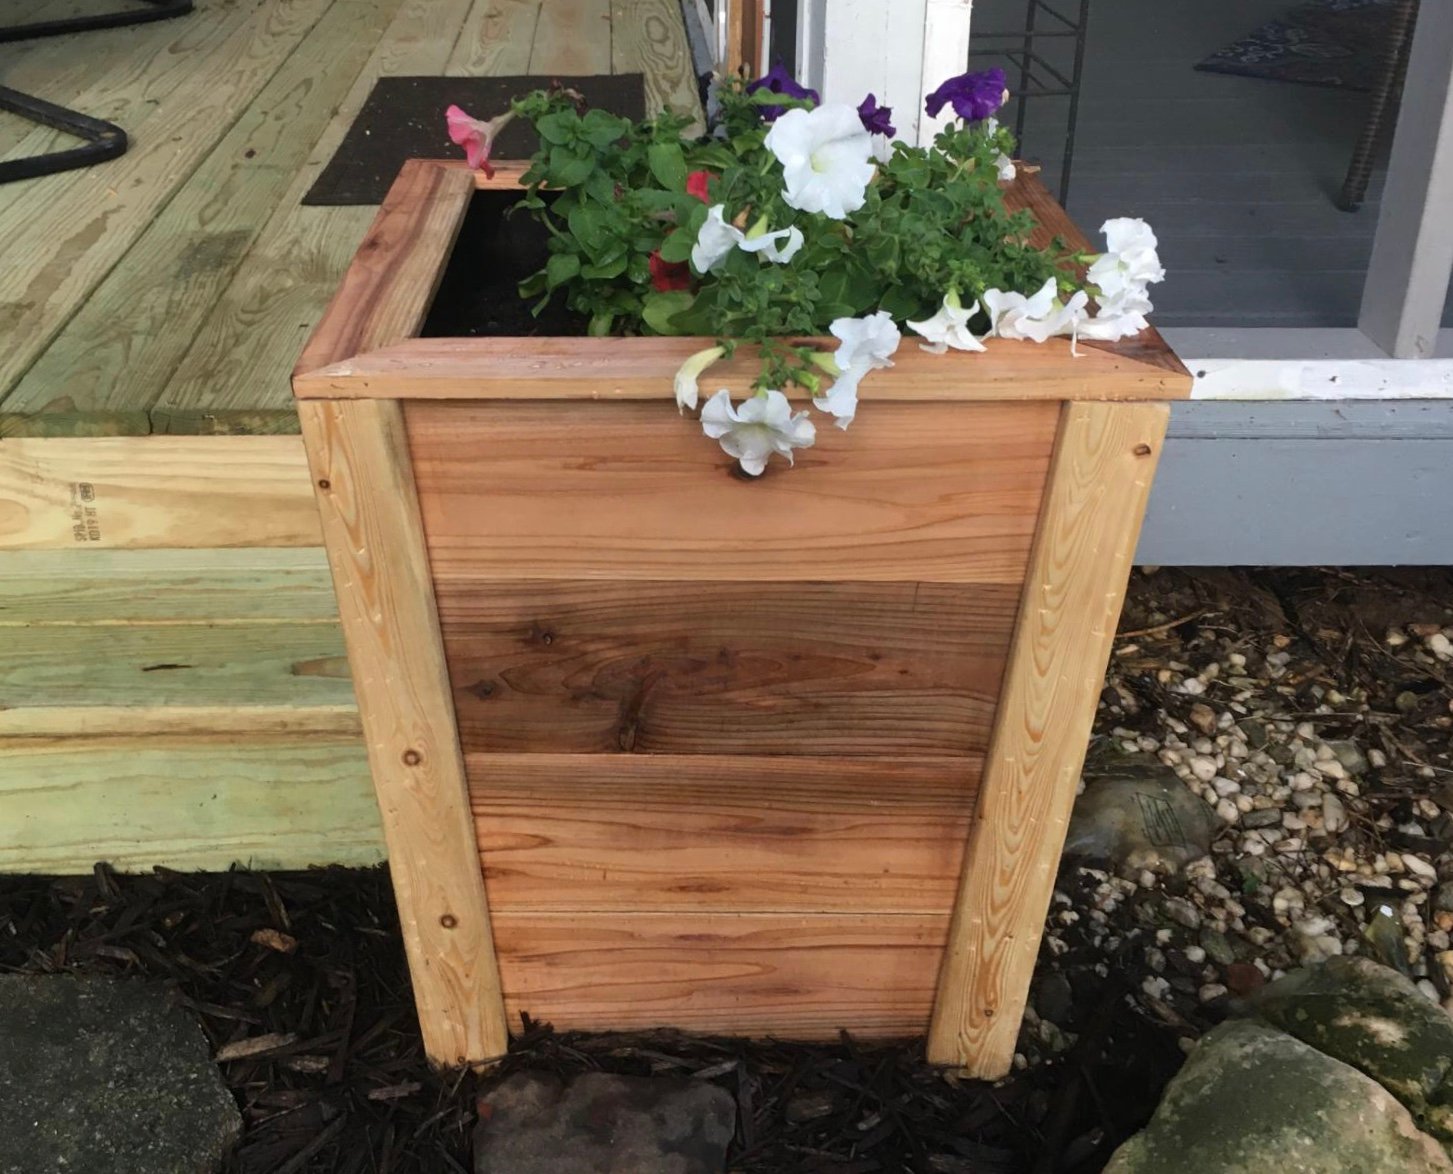
Since we have humid summers, and much of the wood wasn't pressure treated, I sanded, primed (2x) and painted (2x) after cutting. I also changed the base to a 12" wide board rather than 8" to make it deeper. . . changing this one aspect doesn't effect any of the other instructions or measurements. Because of the primer and paint and paint supplies, the project cost about $150. But the kids love it and are in it every day we are home!
Custom built kitchen island with stainless steel top. Everything hand crafted. 4 stage paint process to acheive the desired finish.
Mom wanted croquet scoreboard and I needed a grill prep area.
Built on a few hours
Sanding and finishing took a few evenings.
I couldn't see spending several thousand for outdoor furniture, so I looked at what you had done. It was so much easier and sturdier than I thought it would be. Thank you for all you do for the community.
I added the board on the back of the sofa to stop the cushions from slipping through. My wife wanted a fun color so we found a waterproof stain and had it tinted. I thought it came out very nice.
Comments
mjackson41995@…
Fri, 10/02/2020 - 16:12
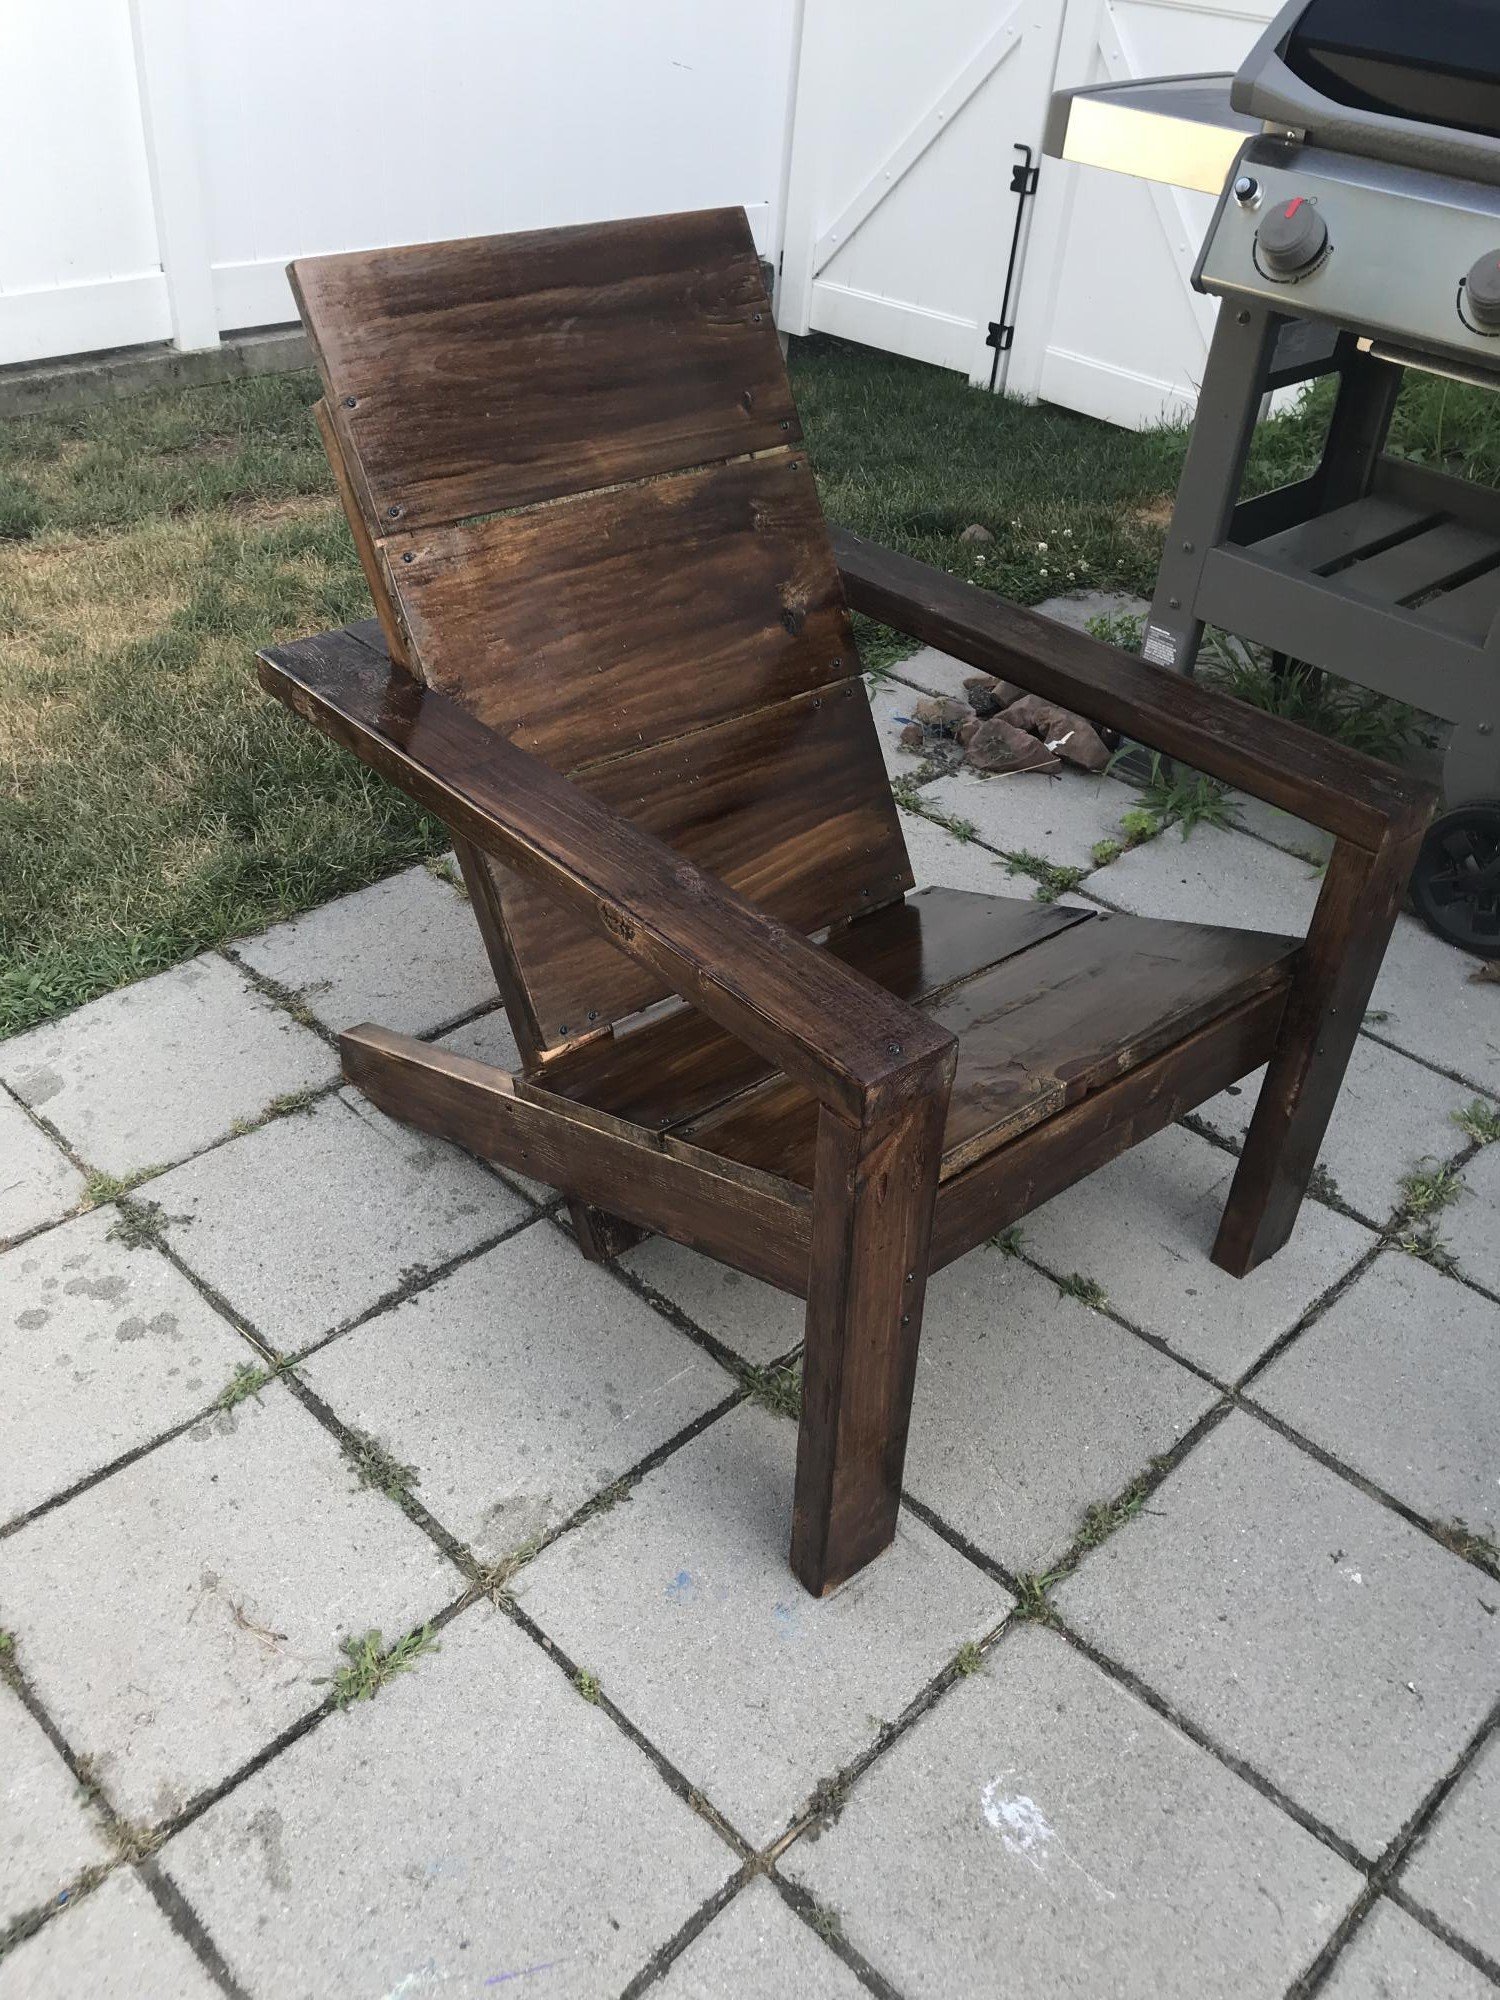
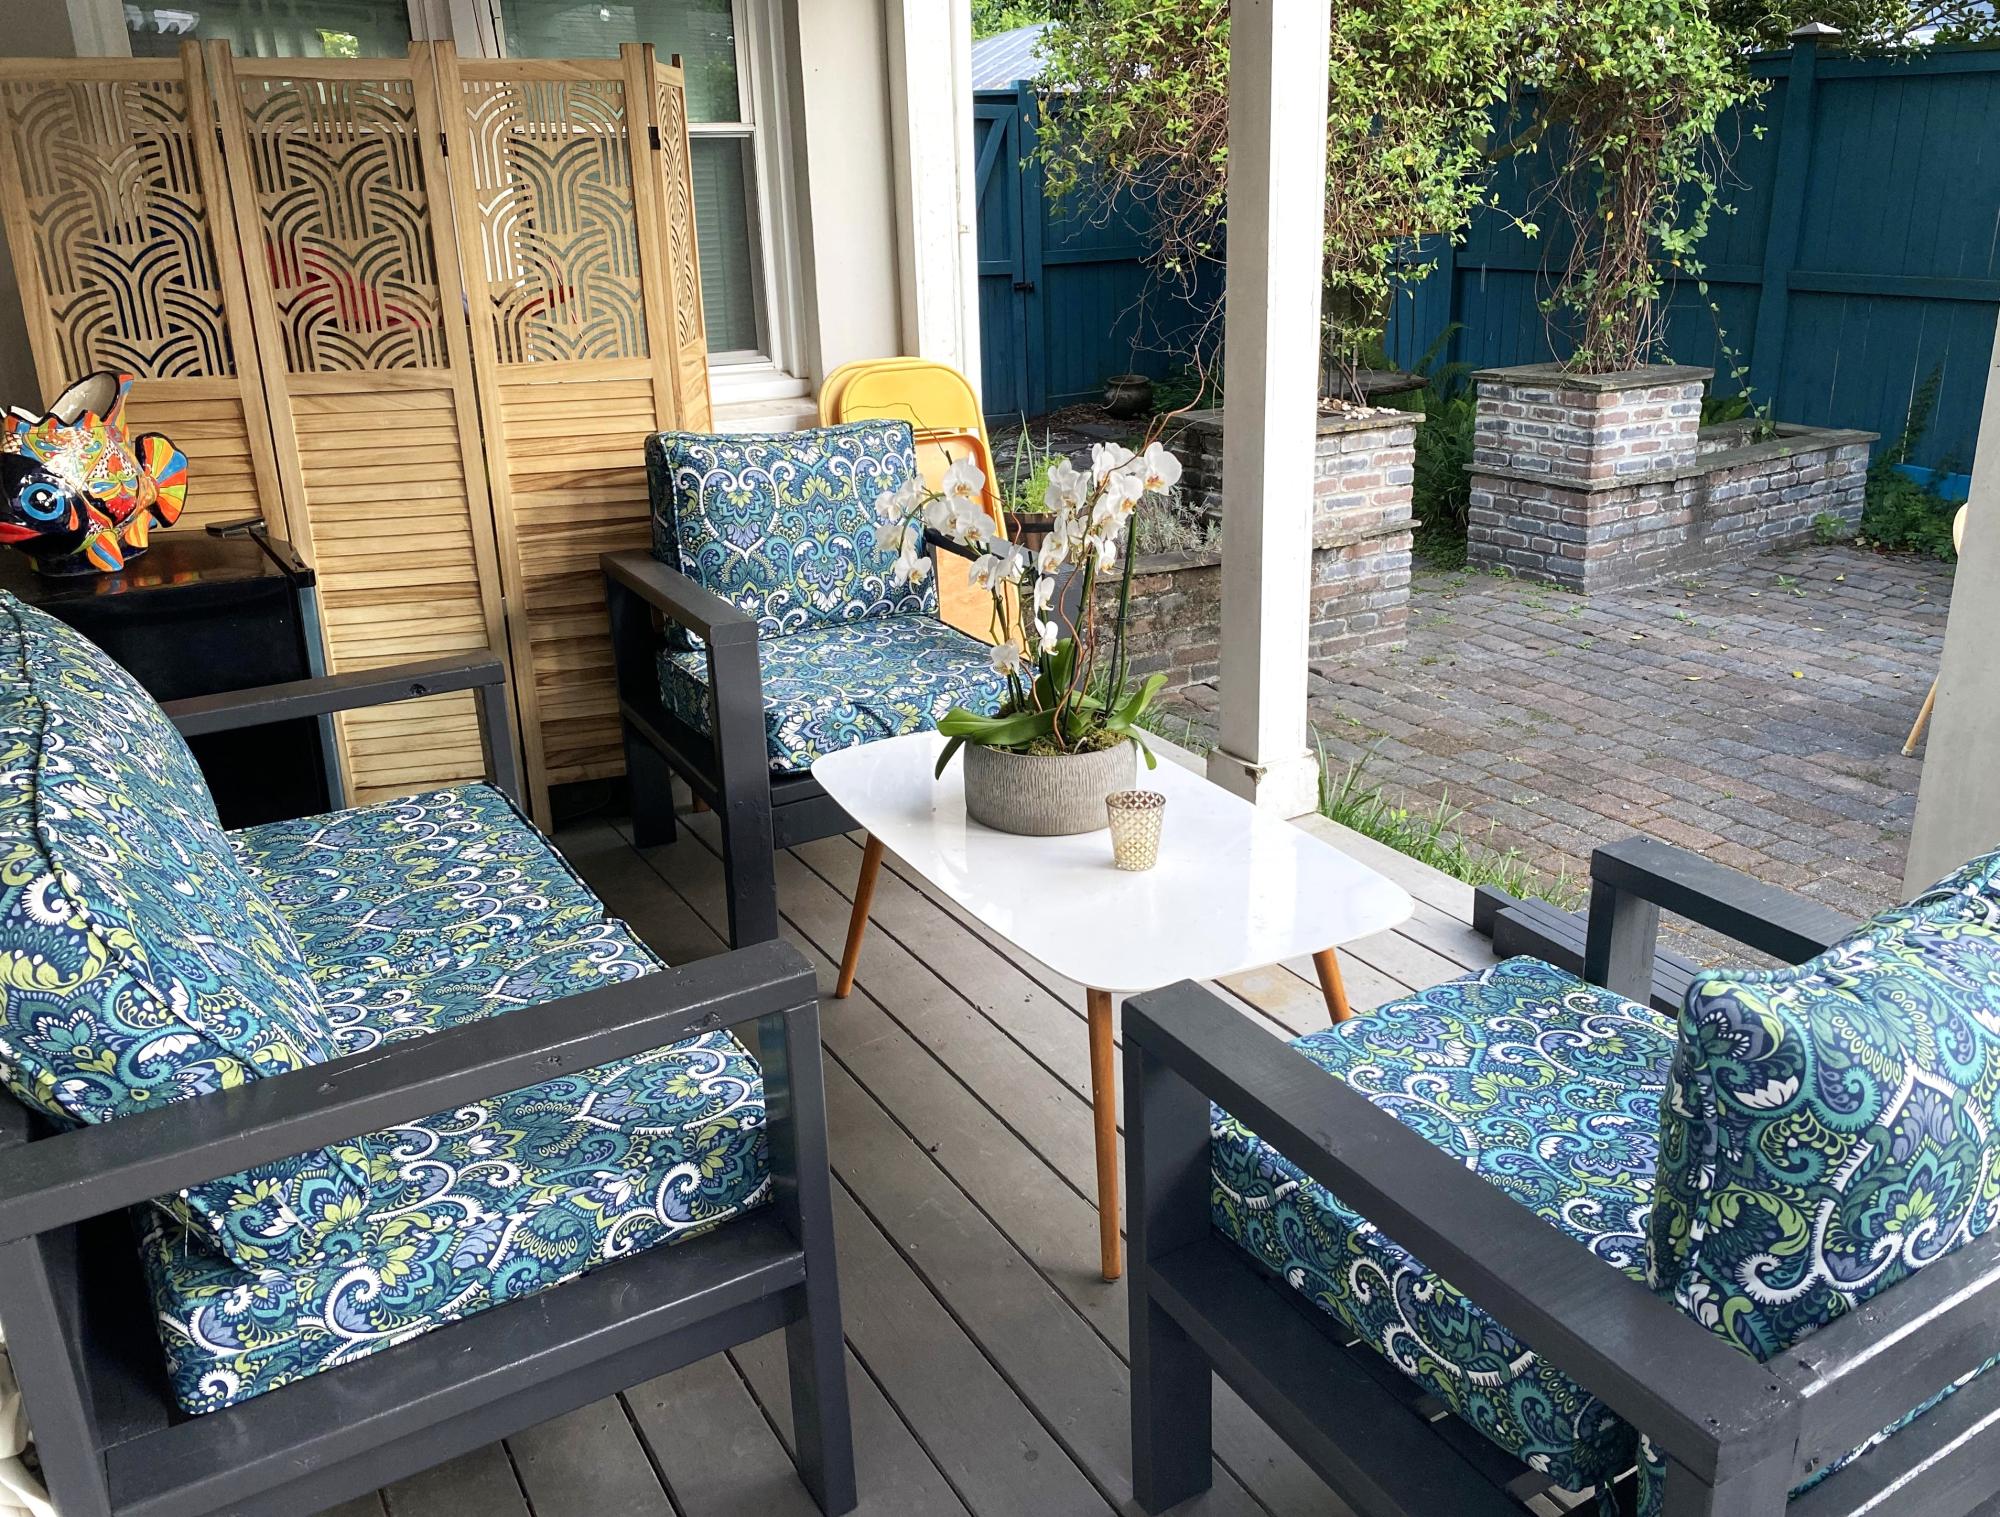
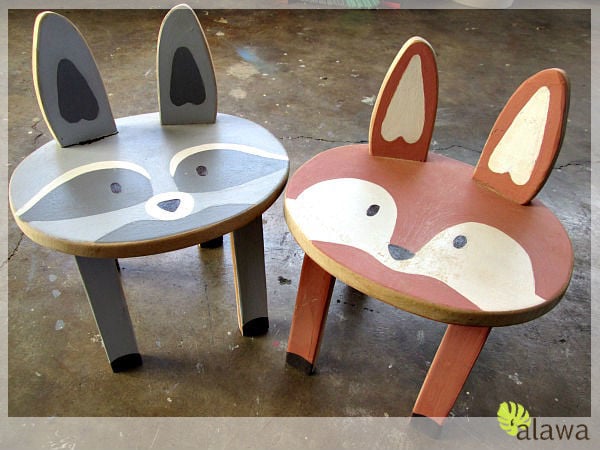
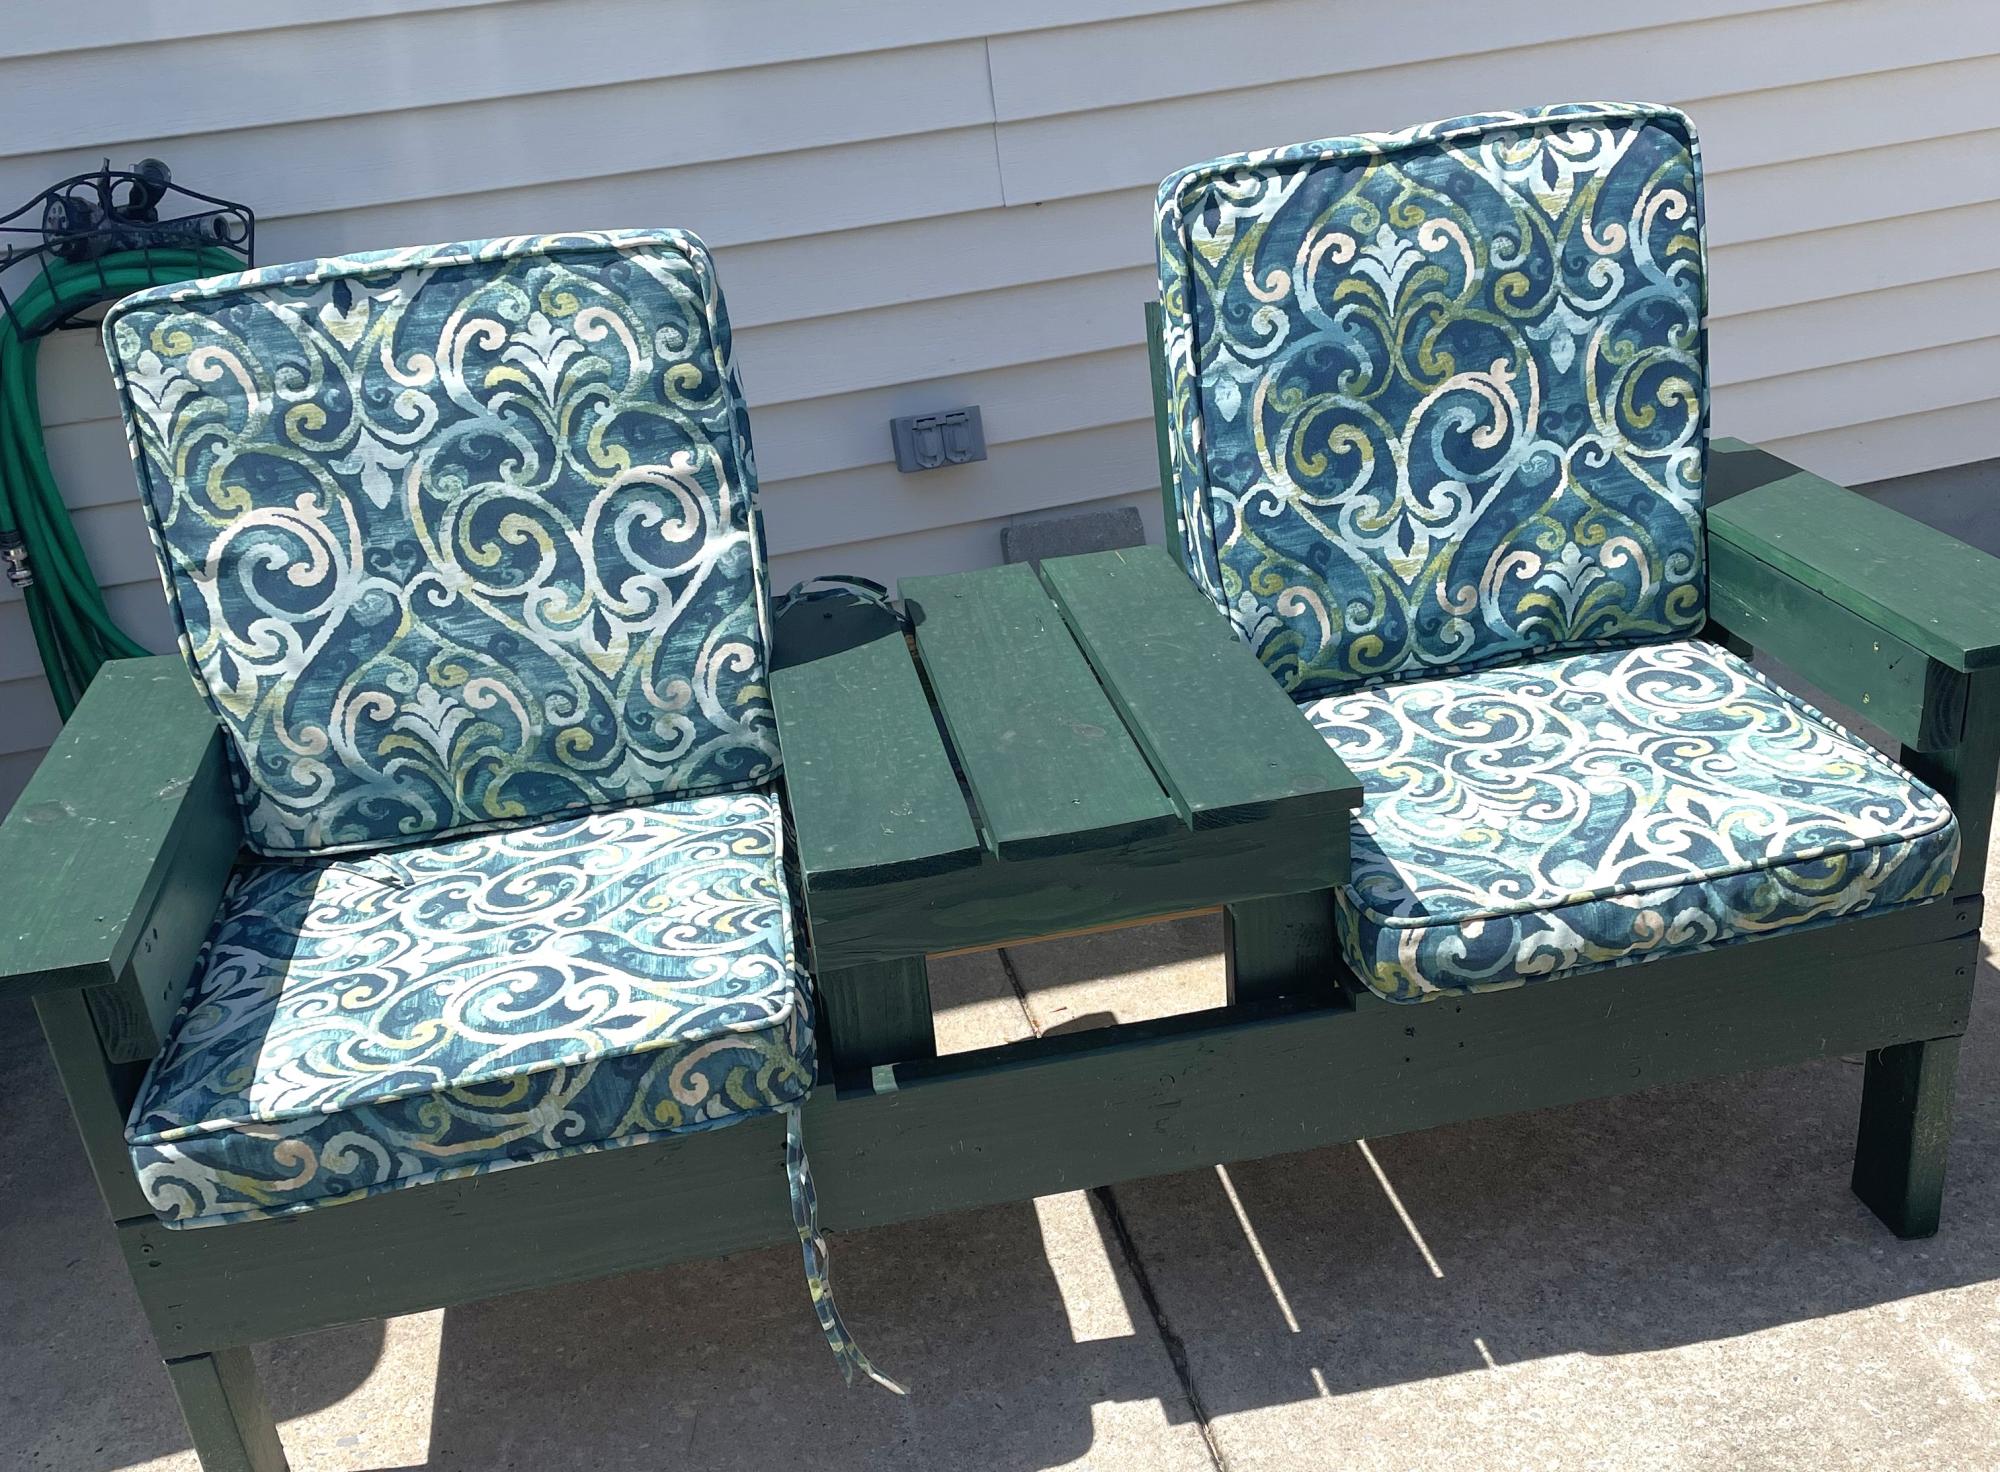
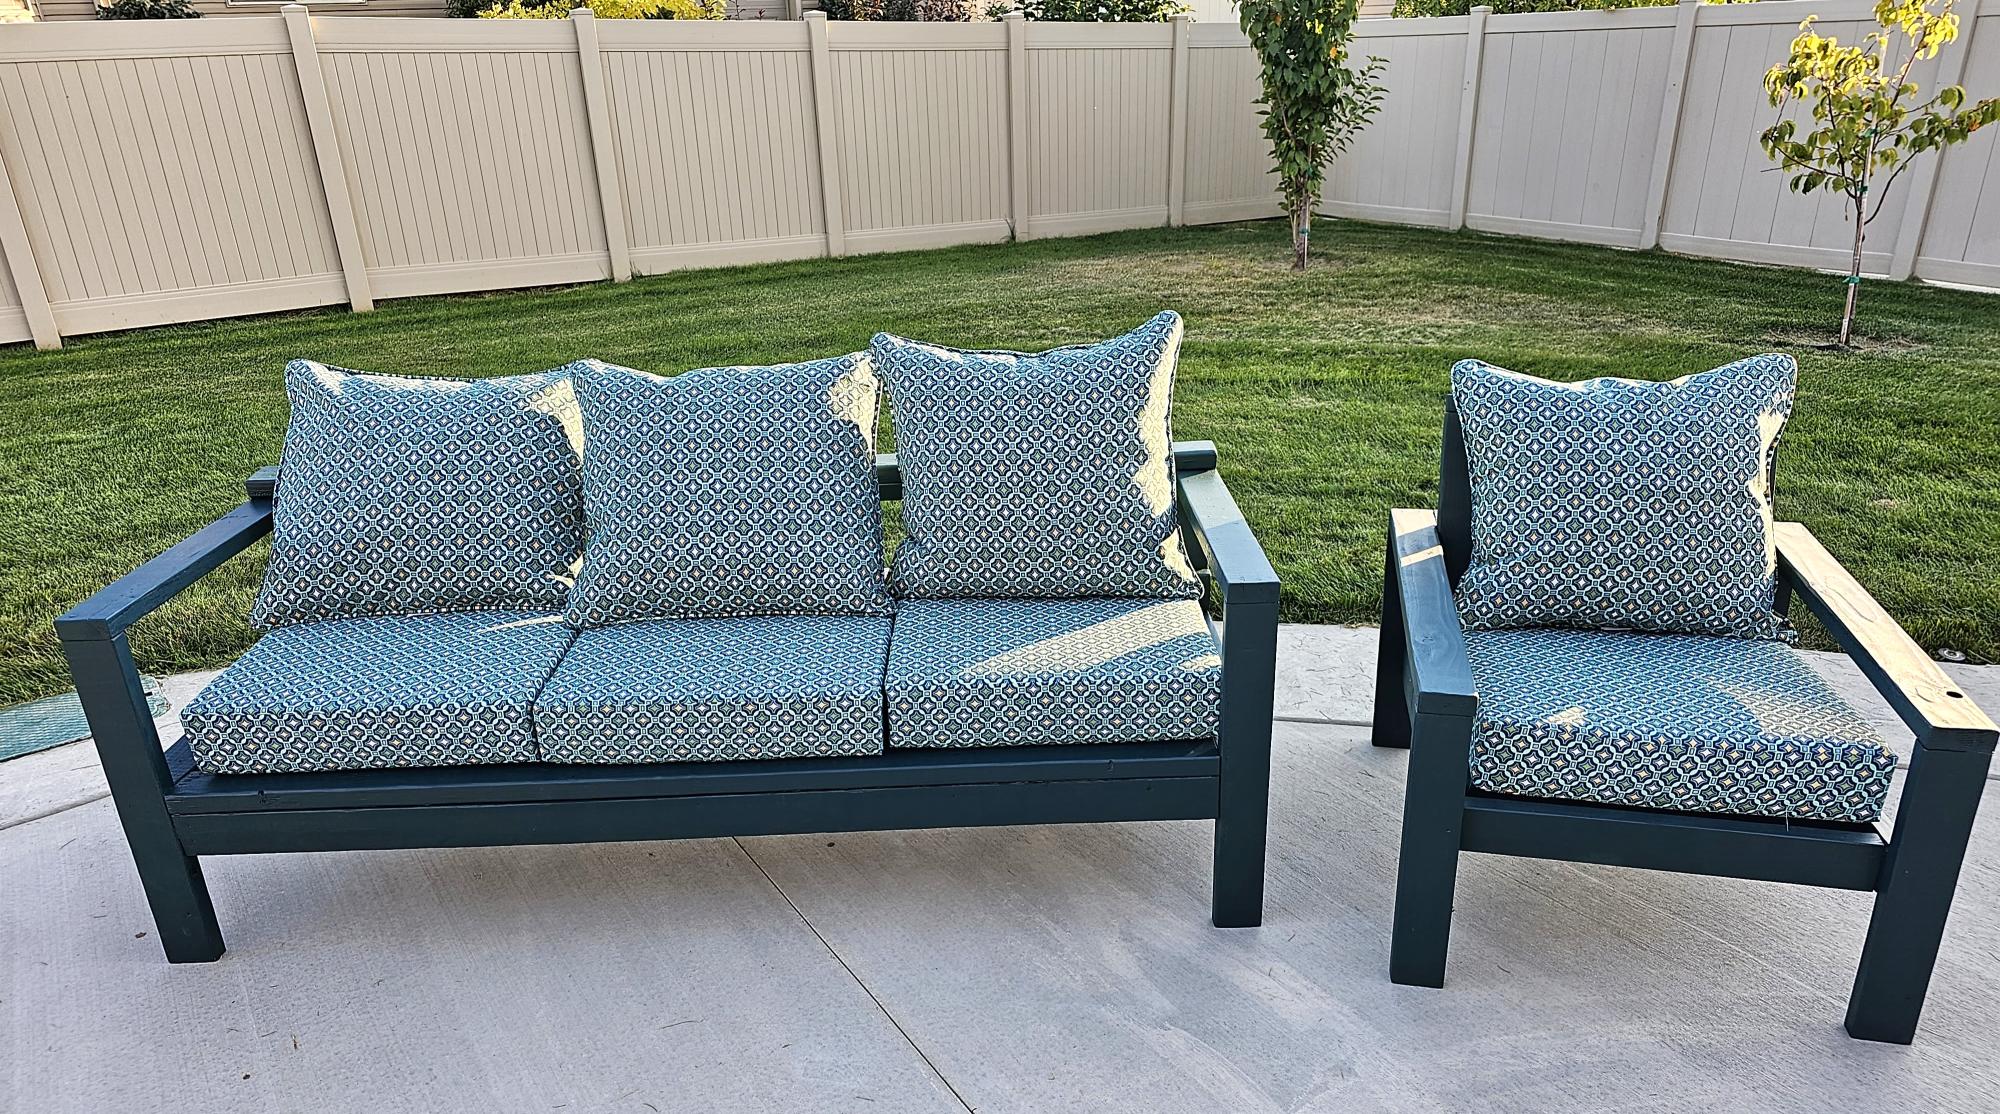
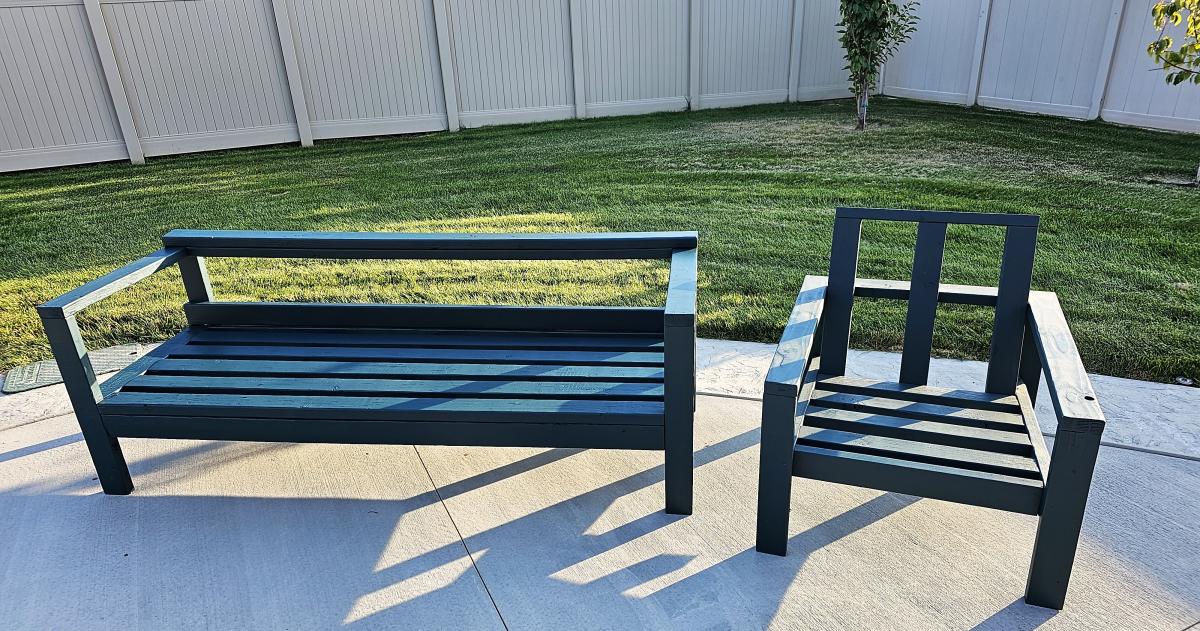
Wow! Love the stain you used…
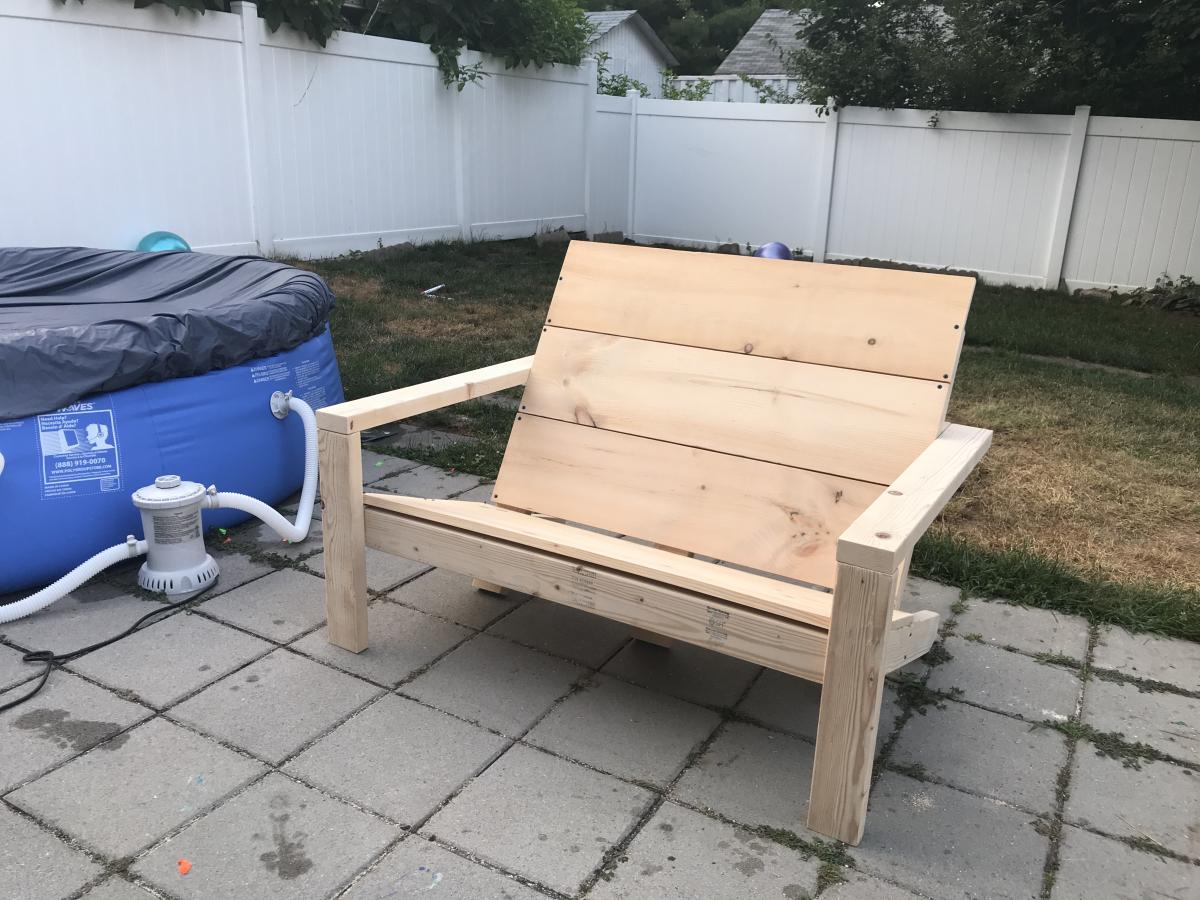
Wow! Love the stain you used on the chair. The loveseat is a great idea!