Community Brag Posts
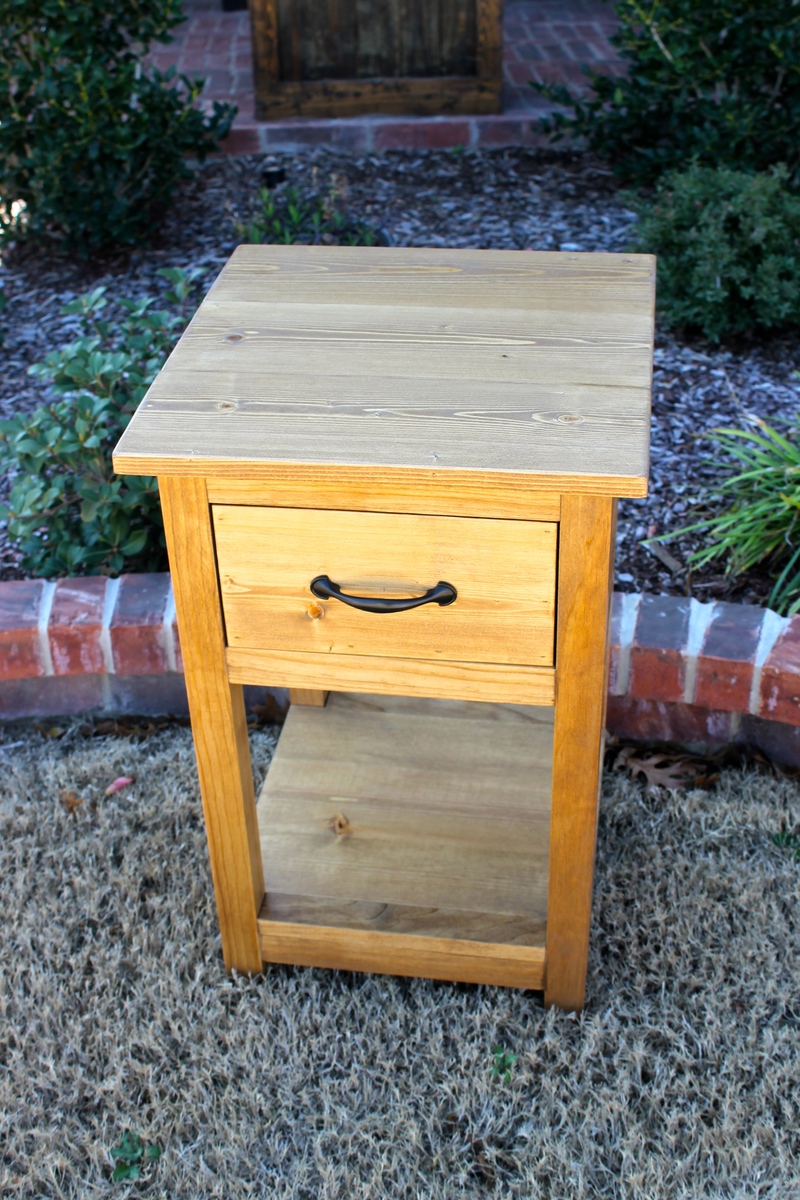
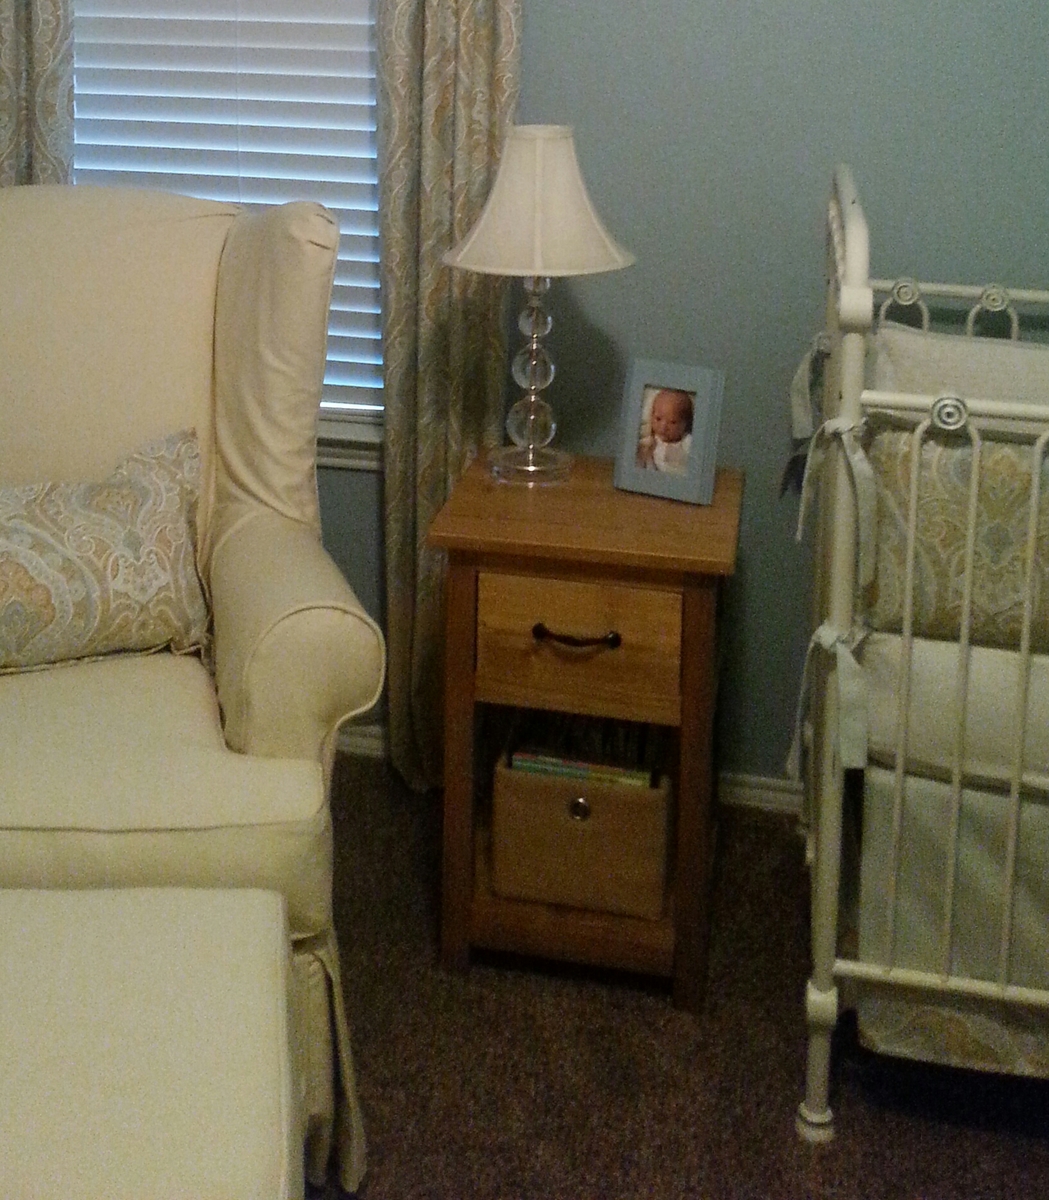
Mini Farmhouse Side Table
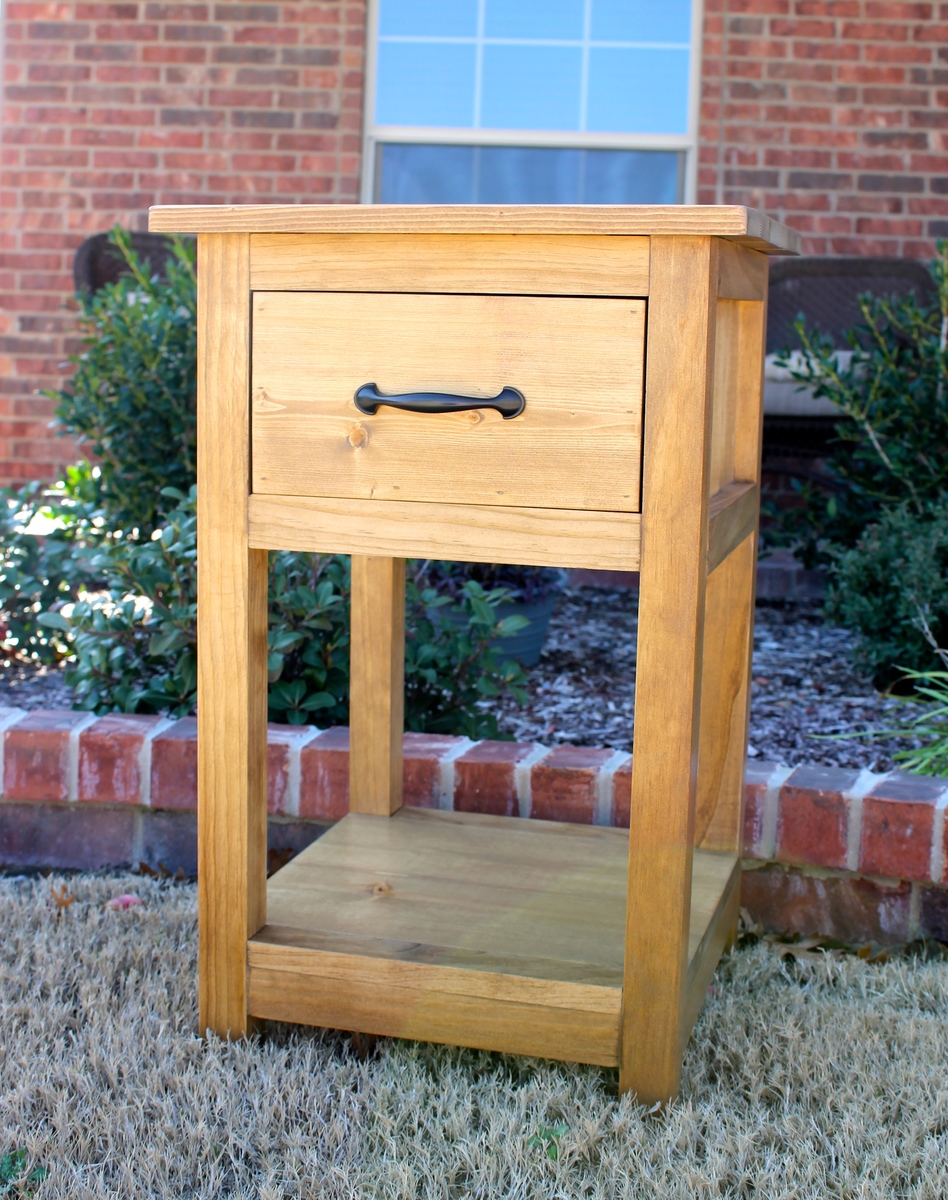
We built this for our new grandson's nursery. The rest of his furniture is white and our daughter wanted to bring in some wood tones. We modified the table to be a little shorter than the plan so it wouldn't be too much taller than the arm of the glider in the nursery. I also added a 1x2 to act as a drawer stop.
Built from Plan(s)
Estimated Time Investment
Day Project (6-9 Hours)
Finish Used
I applied a wood conditioner and let it set for about 15 minutes. I used a combination of Minwax Weathered Oak and Early American. I brushed on the Weathered Oak first then followed with the Early American. I let that set about 15 minutes then wiped off the excess. I finished it with two coats of Polycrylic.
Recommended Skill Level
Intermediate
Comments

Outdoor Sofa

Made some adjustments to the original plans to help support larger cushions and pillows.

Built from Plan(s)
Estimated Cost
$400
Estimated Time Investment
Day Project (6-9 Hours)
Finish Used
Used a roll of tape as a guide to round the headrest and arms.
Recommended Skill Level
Beginner
Comments
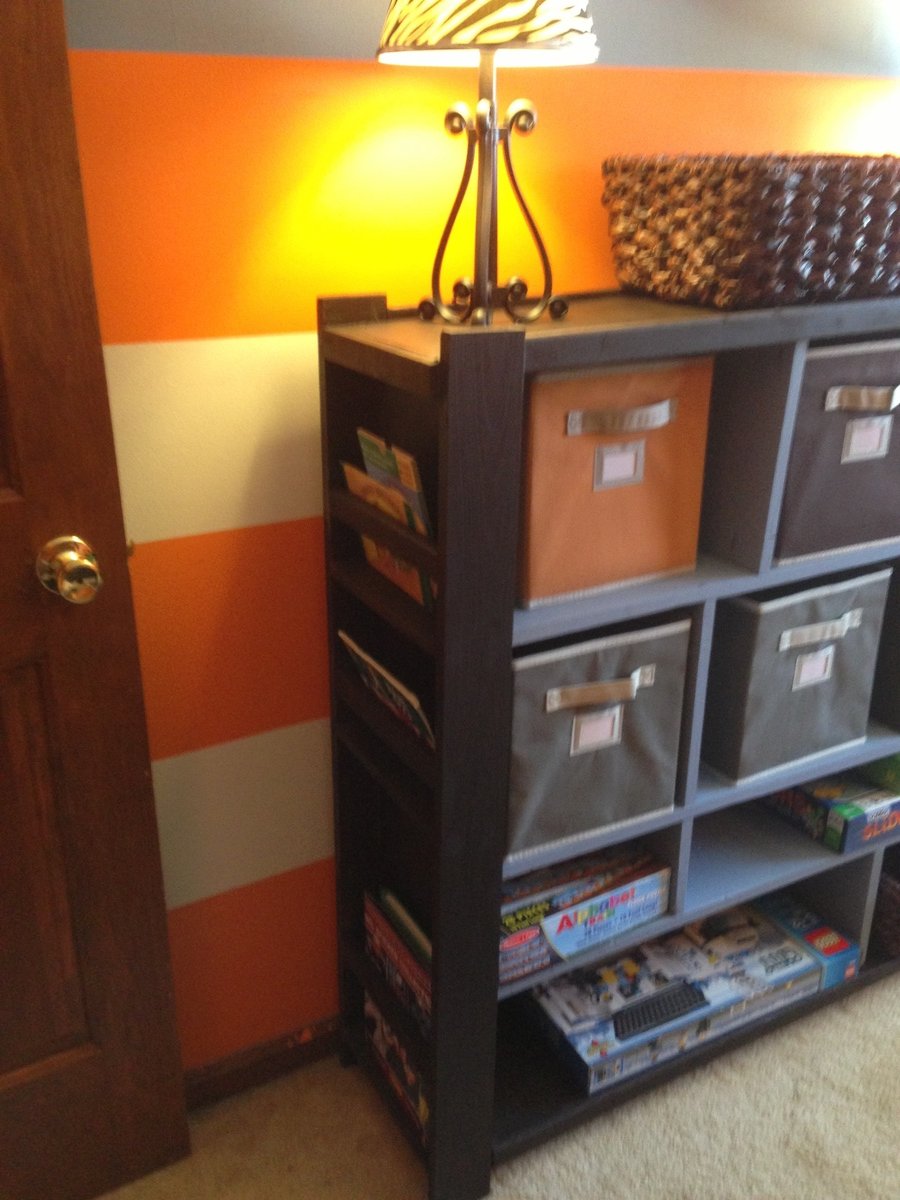
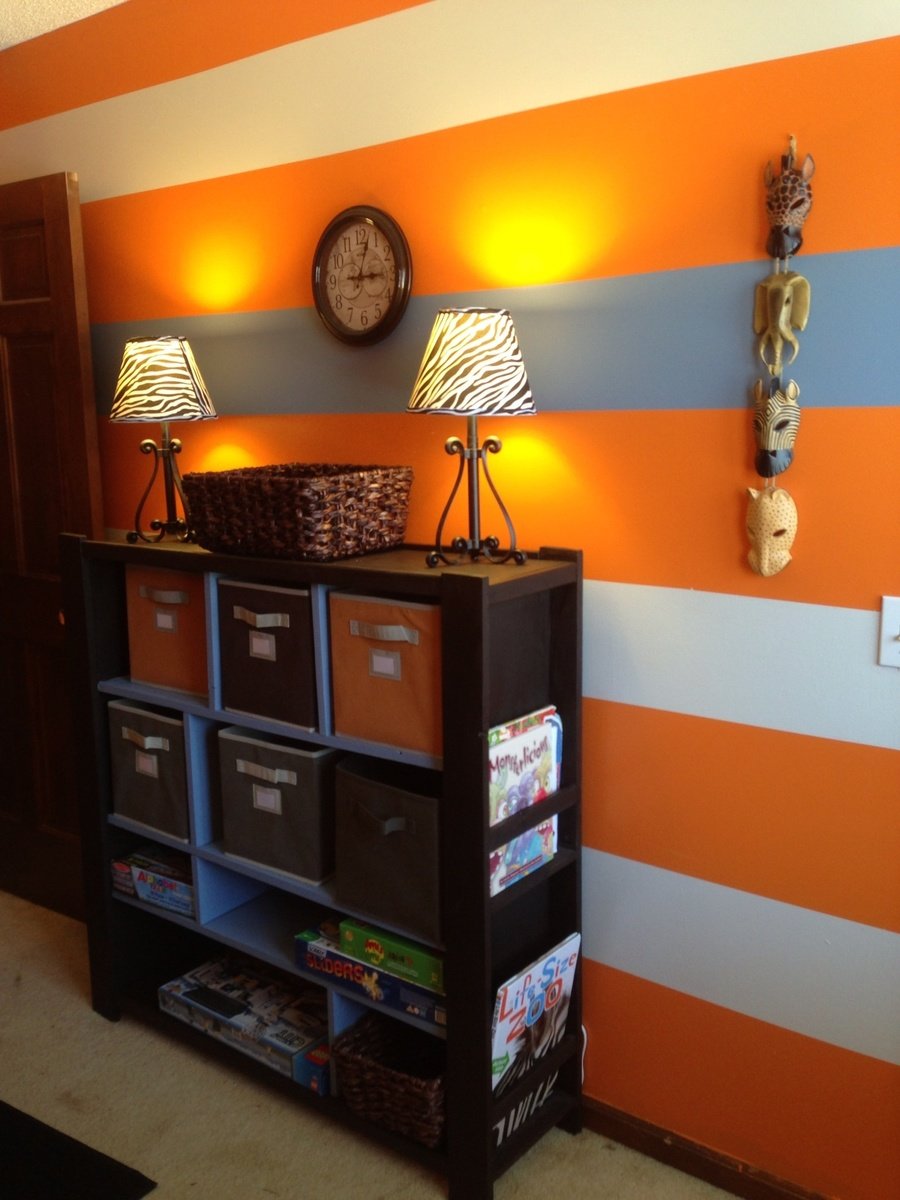
Compartment depot bookshelf
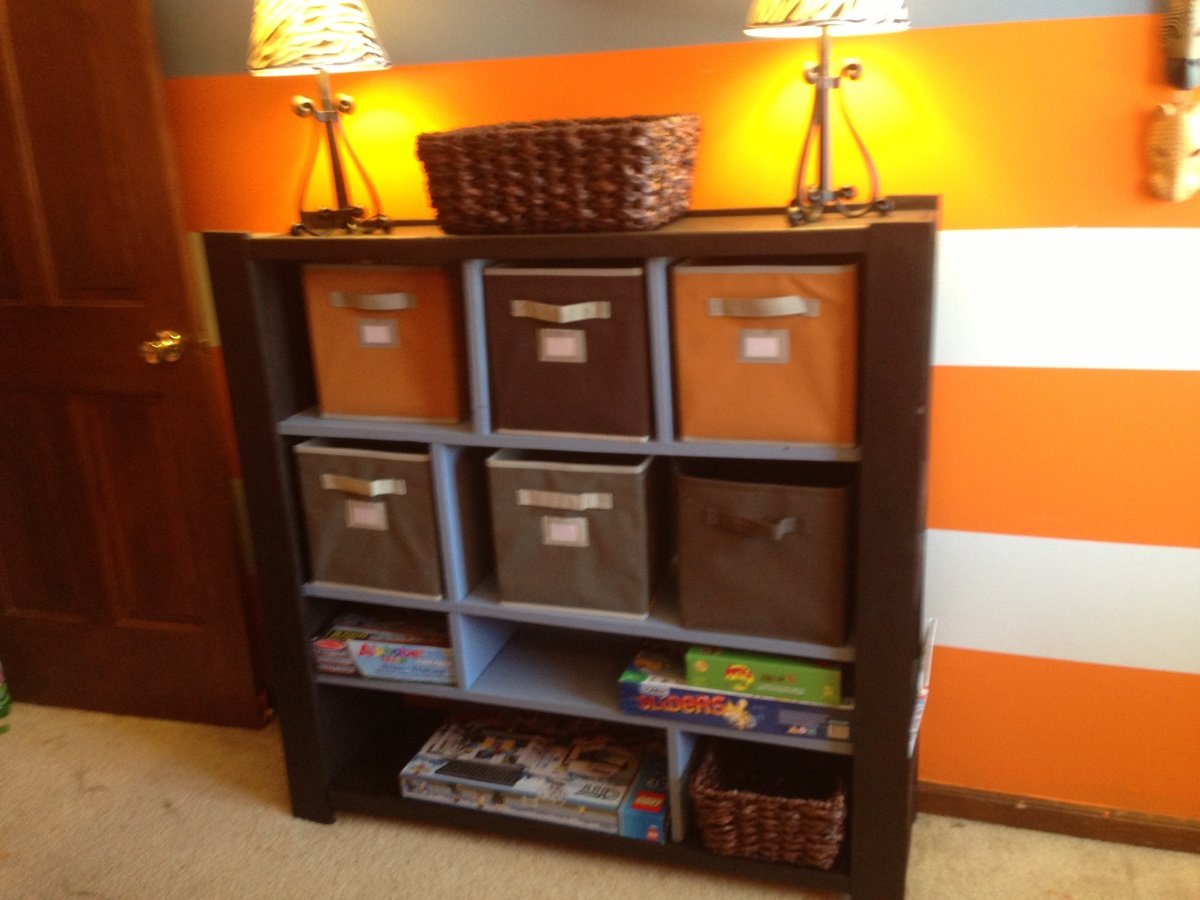
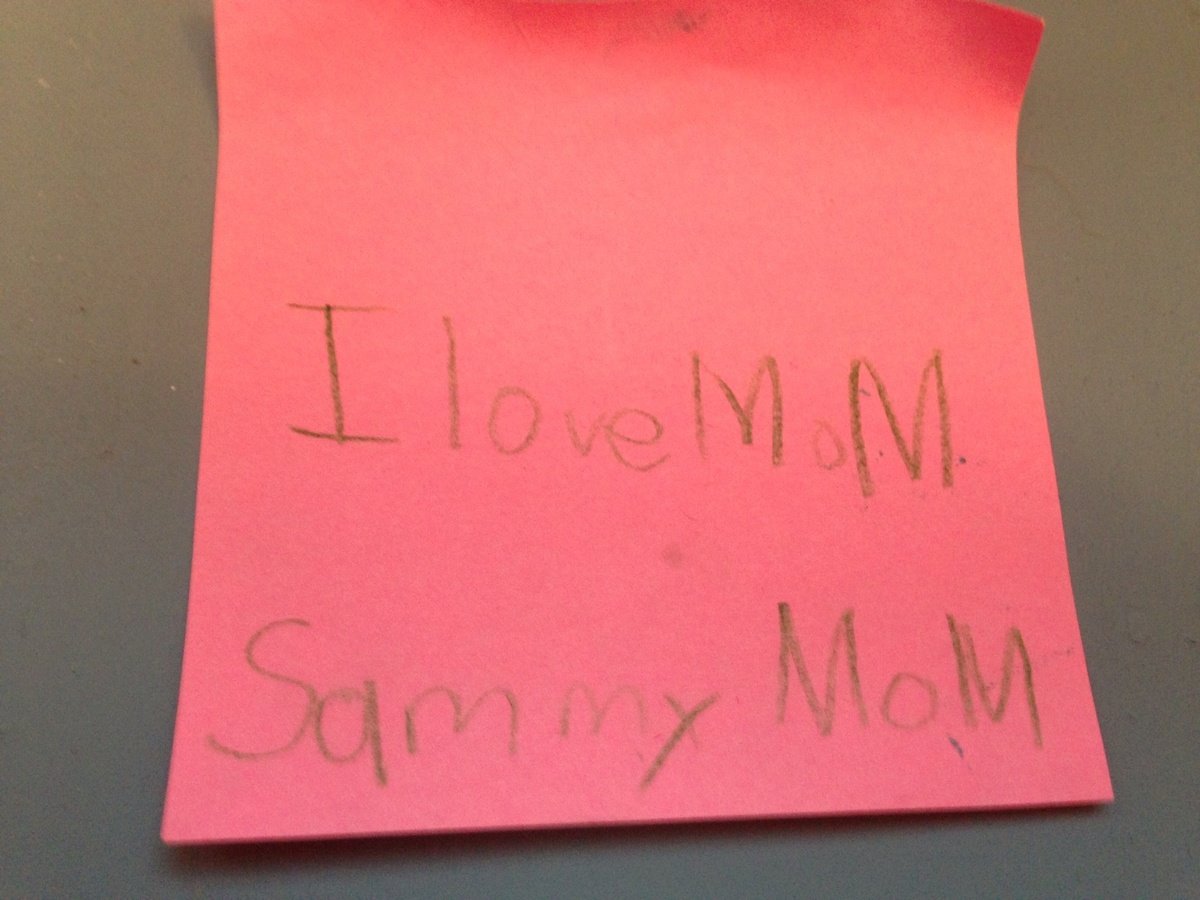
I had just finished building the elementary trestle table when the plans for this came up! I fell in love and although I hadn't planned on building a bookshelf this needed to be done! I bought the four foot 1x12's cuz they were cheaper and they worked fabulously! The build was complicated and I redid things quite a bit but I was so so happy with the outcome! It was my final project for the room and I found the pink post it from my son the next day on his desk! Made all the hard work totally worth it! He loves his new room so so much!! Thank you ana!!! I would never have believed I could do this before
Built from Plan(s)
Estimated Cost
75.00
Estimated Time Investment
Day Project (6-9 Hours)
Finish Used
Java gel stain on outside behr bleached denim on inner shelves... Stain/paint before assembly!!!
Recommended Skill Level
Intermediate
Comments

Sun, 04/14/2013 - 07:42
Good job, I'm building these
Good job, I'm building these next. And I have the same animal masks that you have on your wall there lol, Disney World?
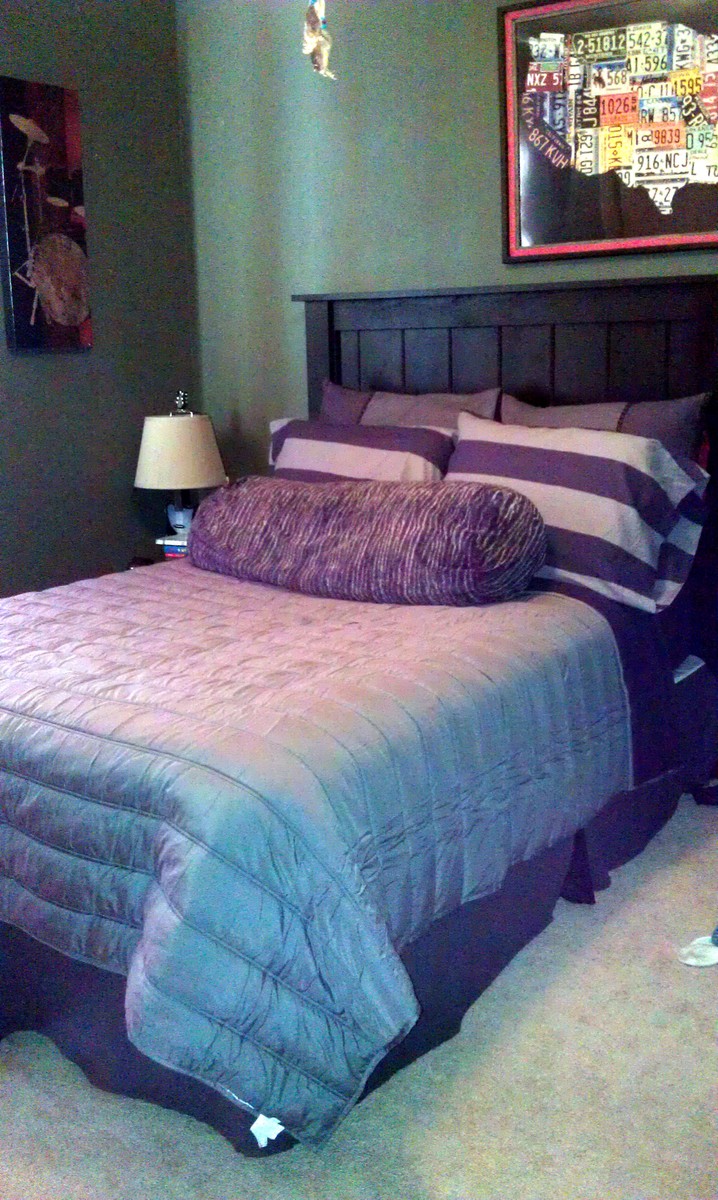
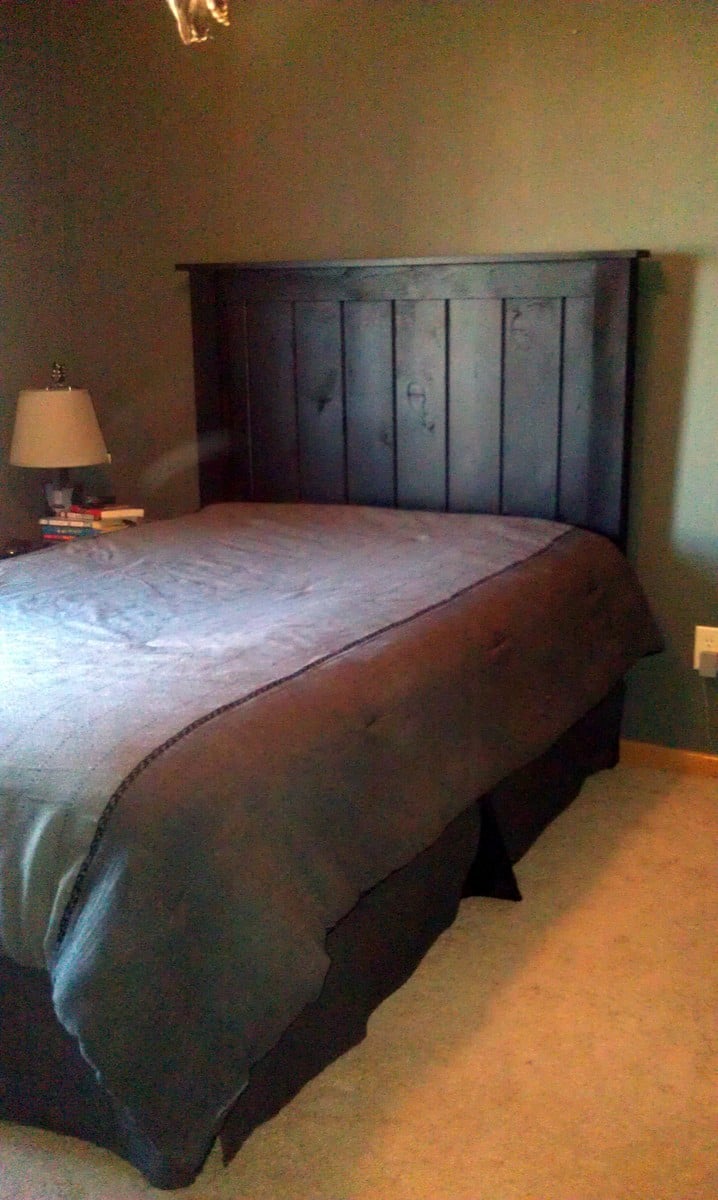
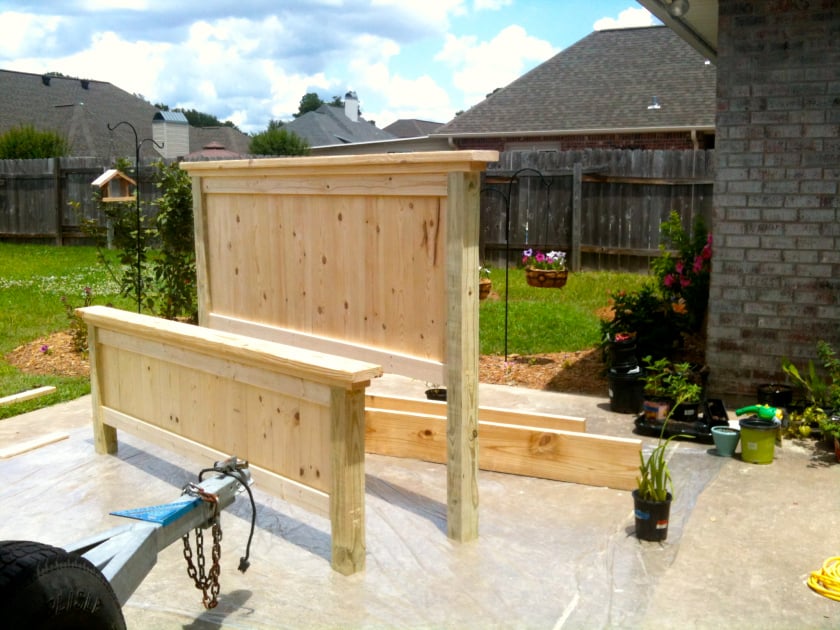
DIY Farmhouse Bed
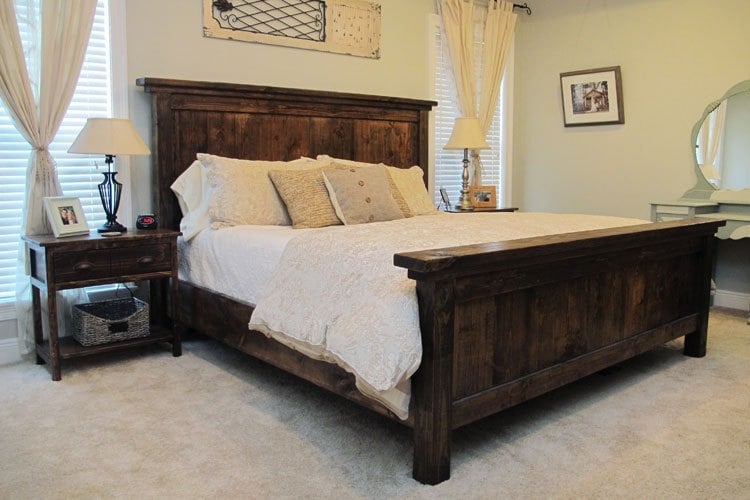
We built this Farmhouse Bed in 1 weekend for less than $200!
Built from Plan(s)
Estimated Cost
Less than $200
Estimated Time Investment
Weekend Project (10-20 Hours)
Finish Used
Rustoleum Dark Walnut Stain applied with a brush and immediately wiped off using a lent-free cloth. Sealed with Minwax Satin Spar Urethane.
Recommended Skill Level
Beginner
Comments
Fri, 02/20/2015 - 19:26
Beautiful! Both the bed and
Beautiful! Both the bed and bedside table turned out great!
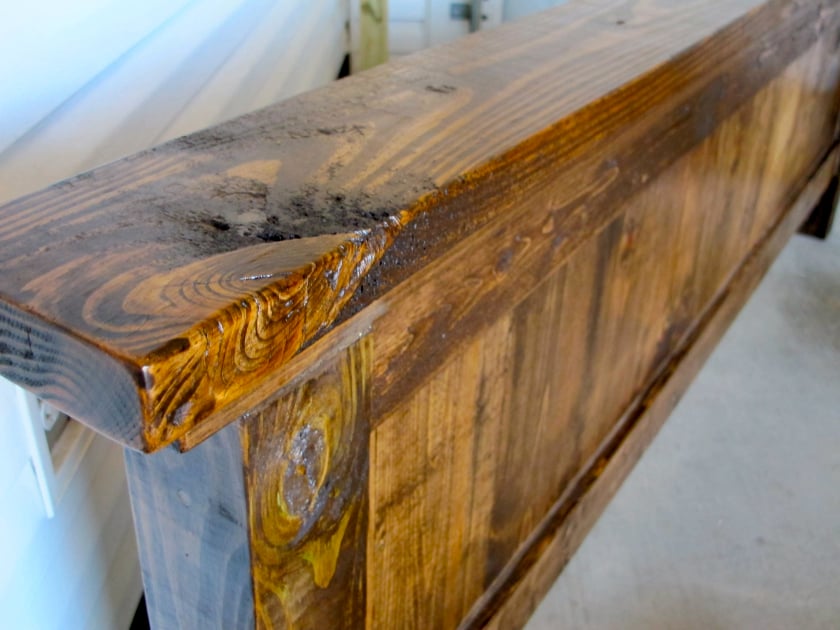
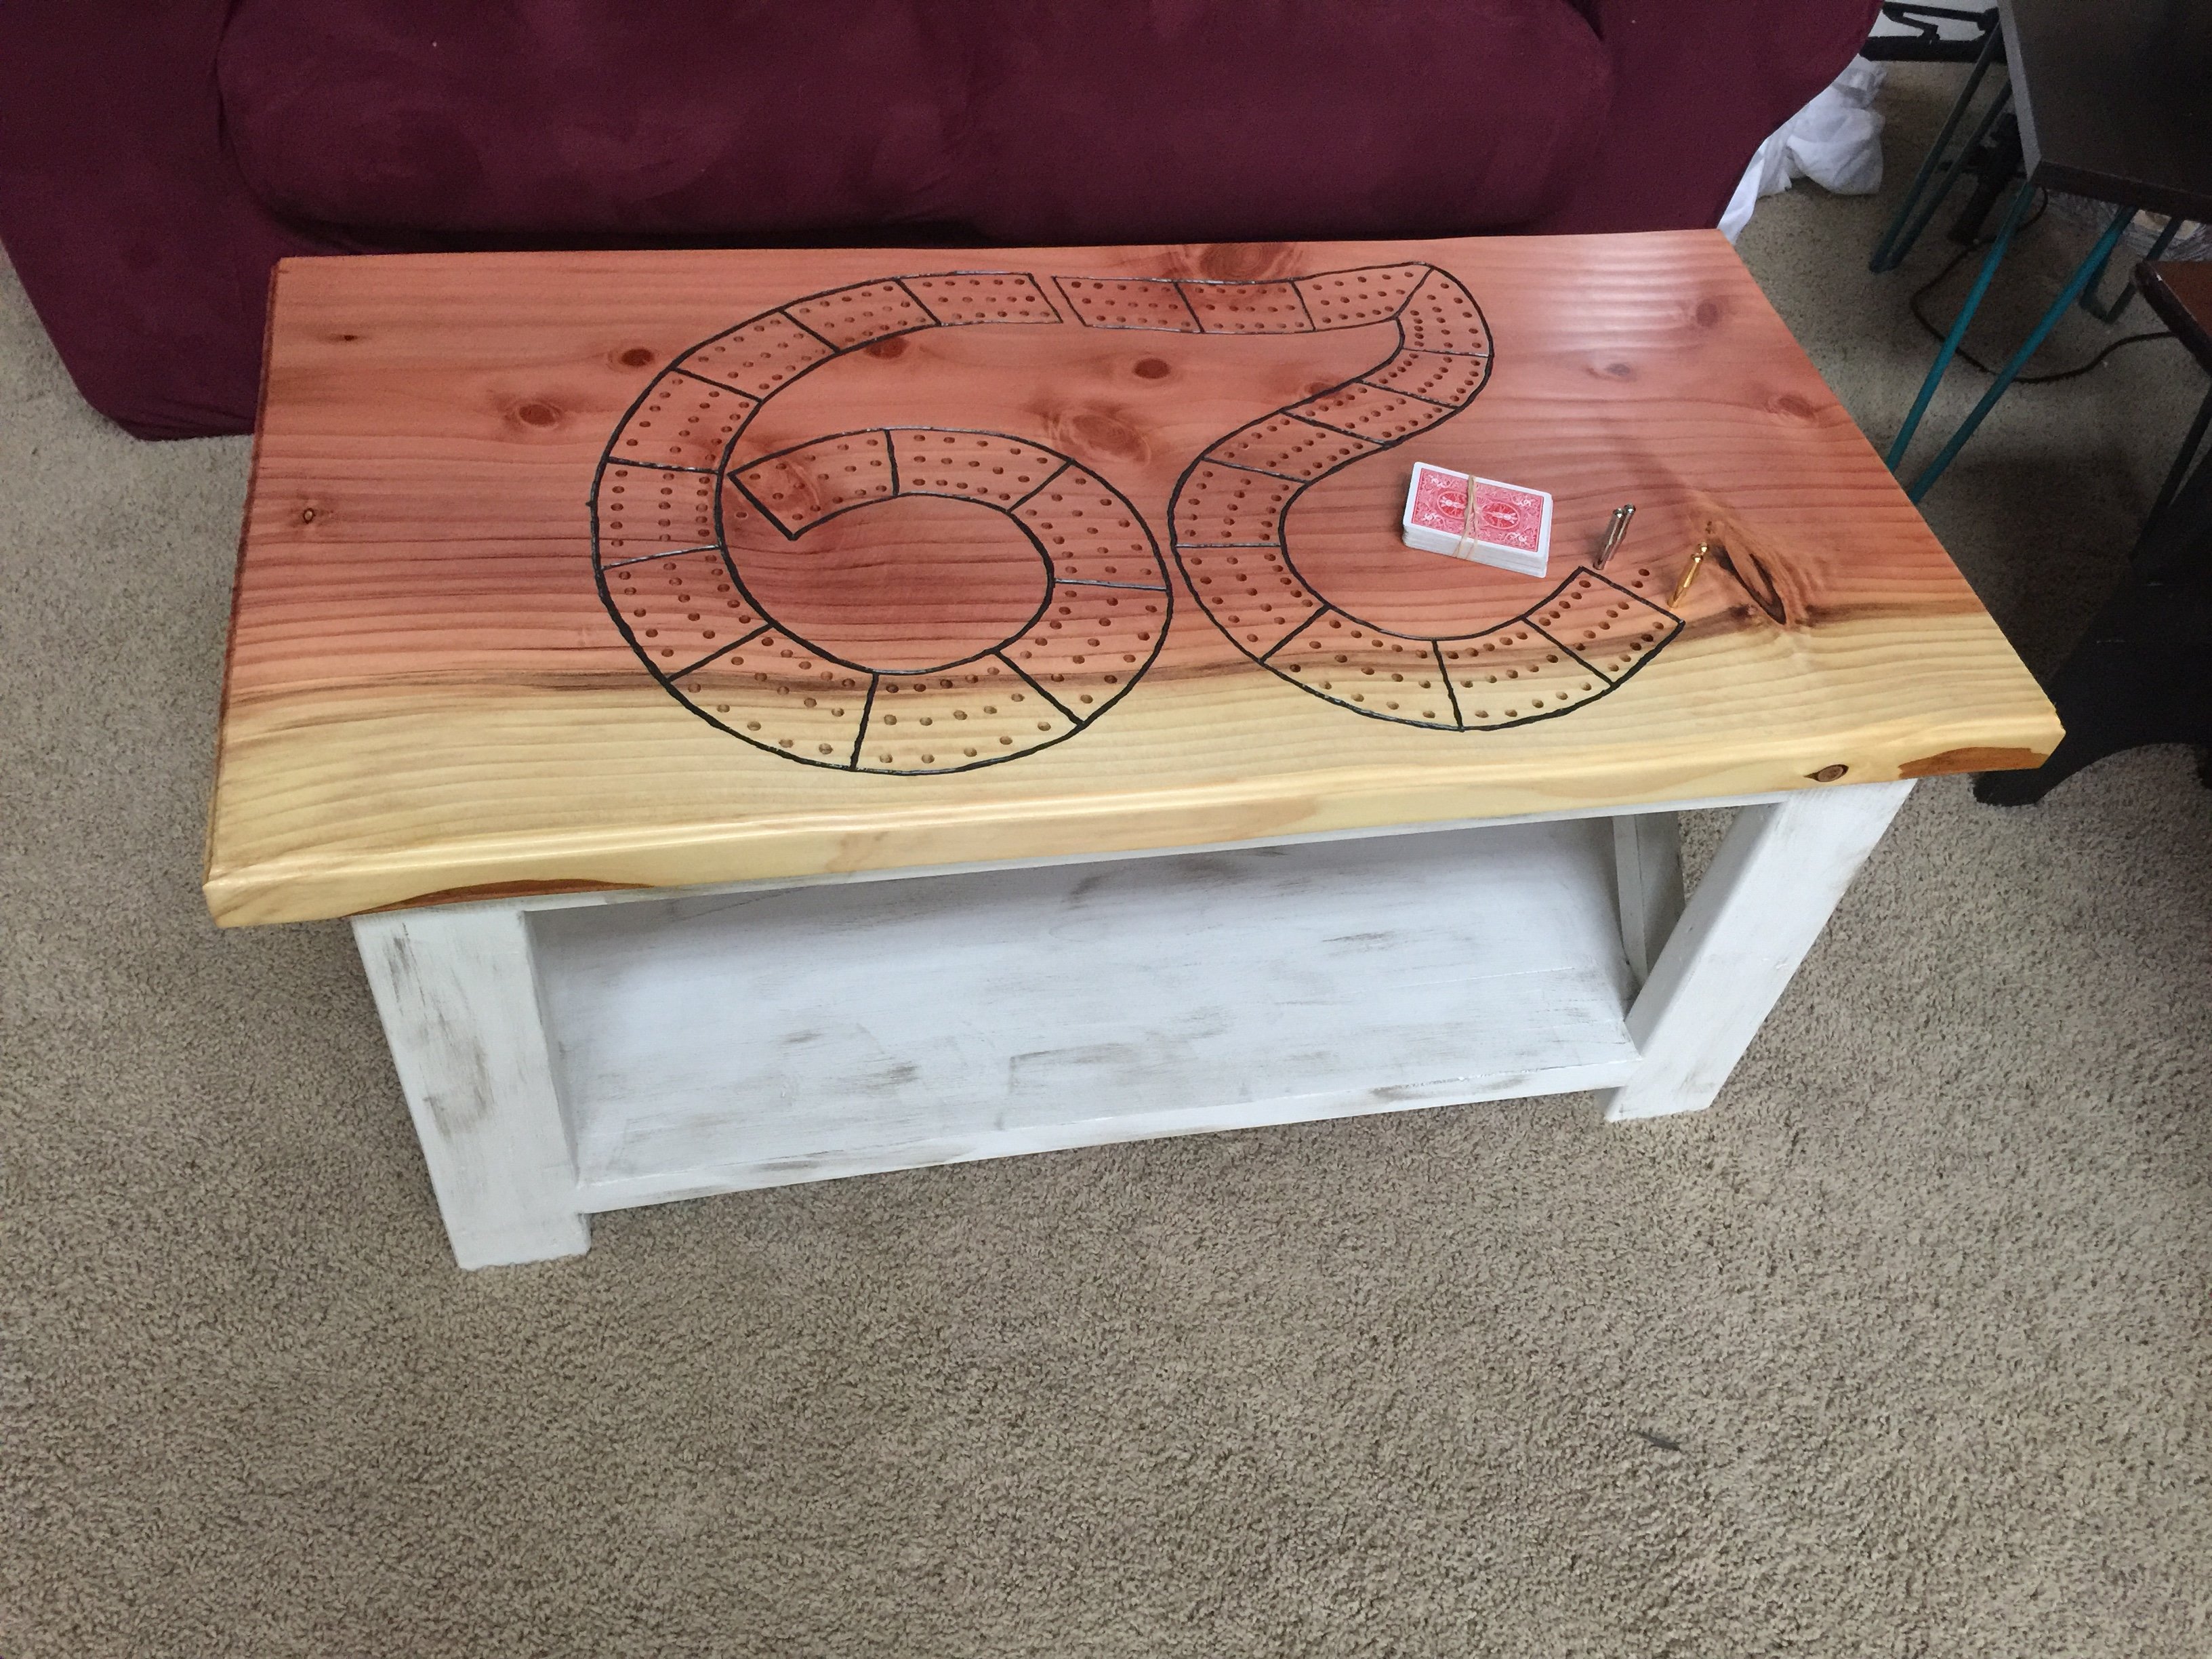
Rustic x coffee table cribbage table
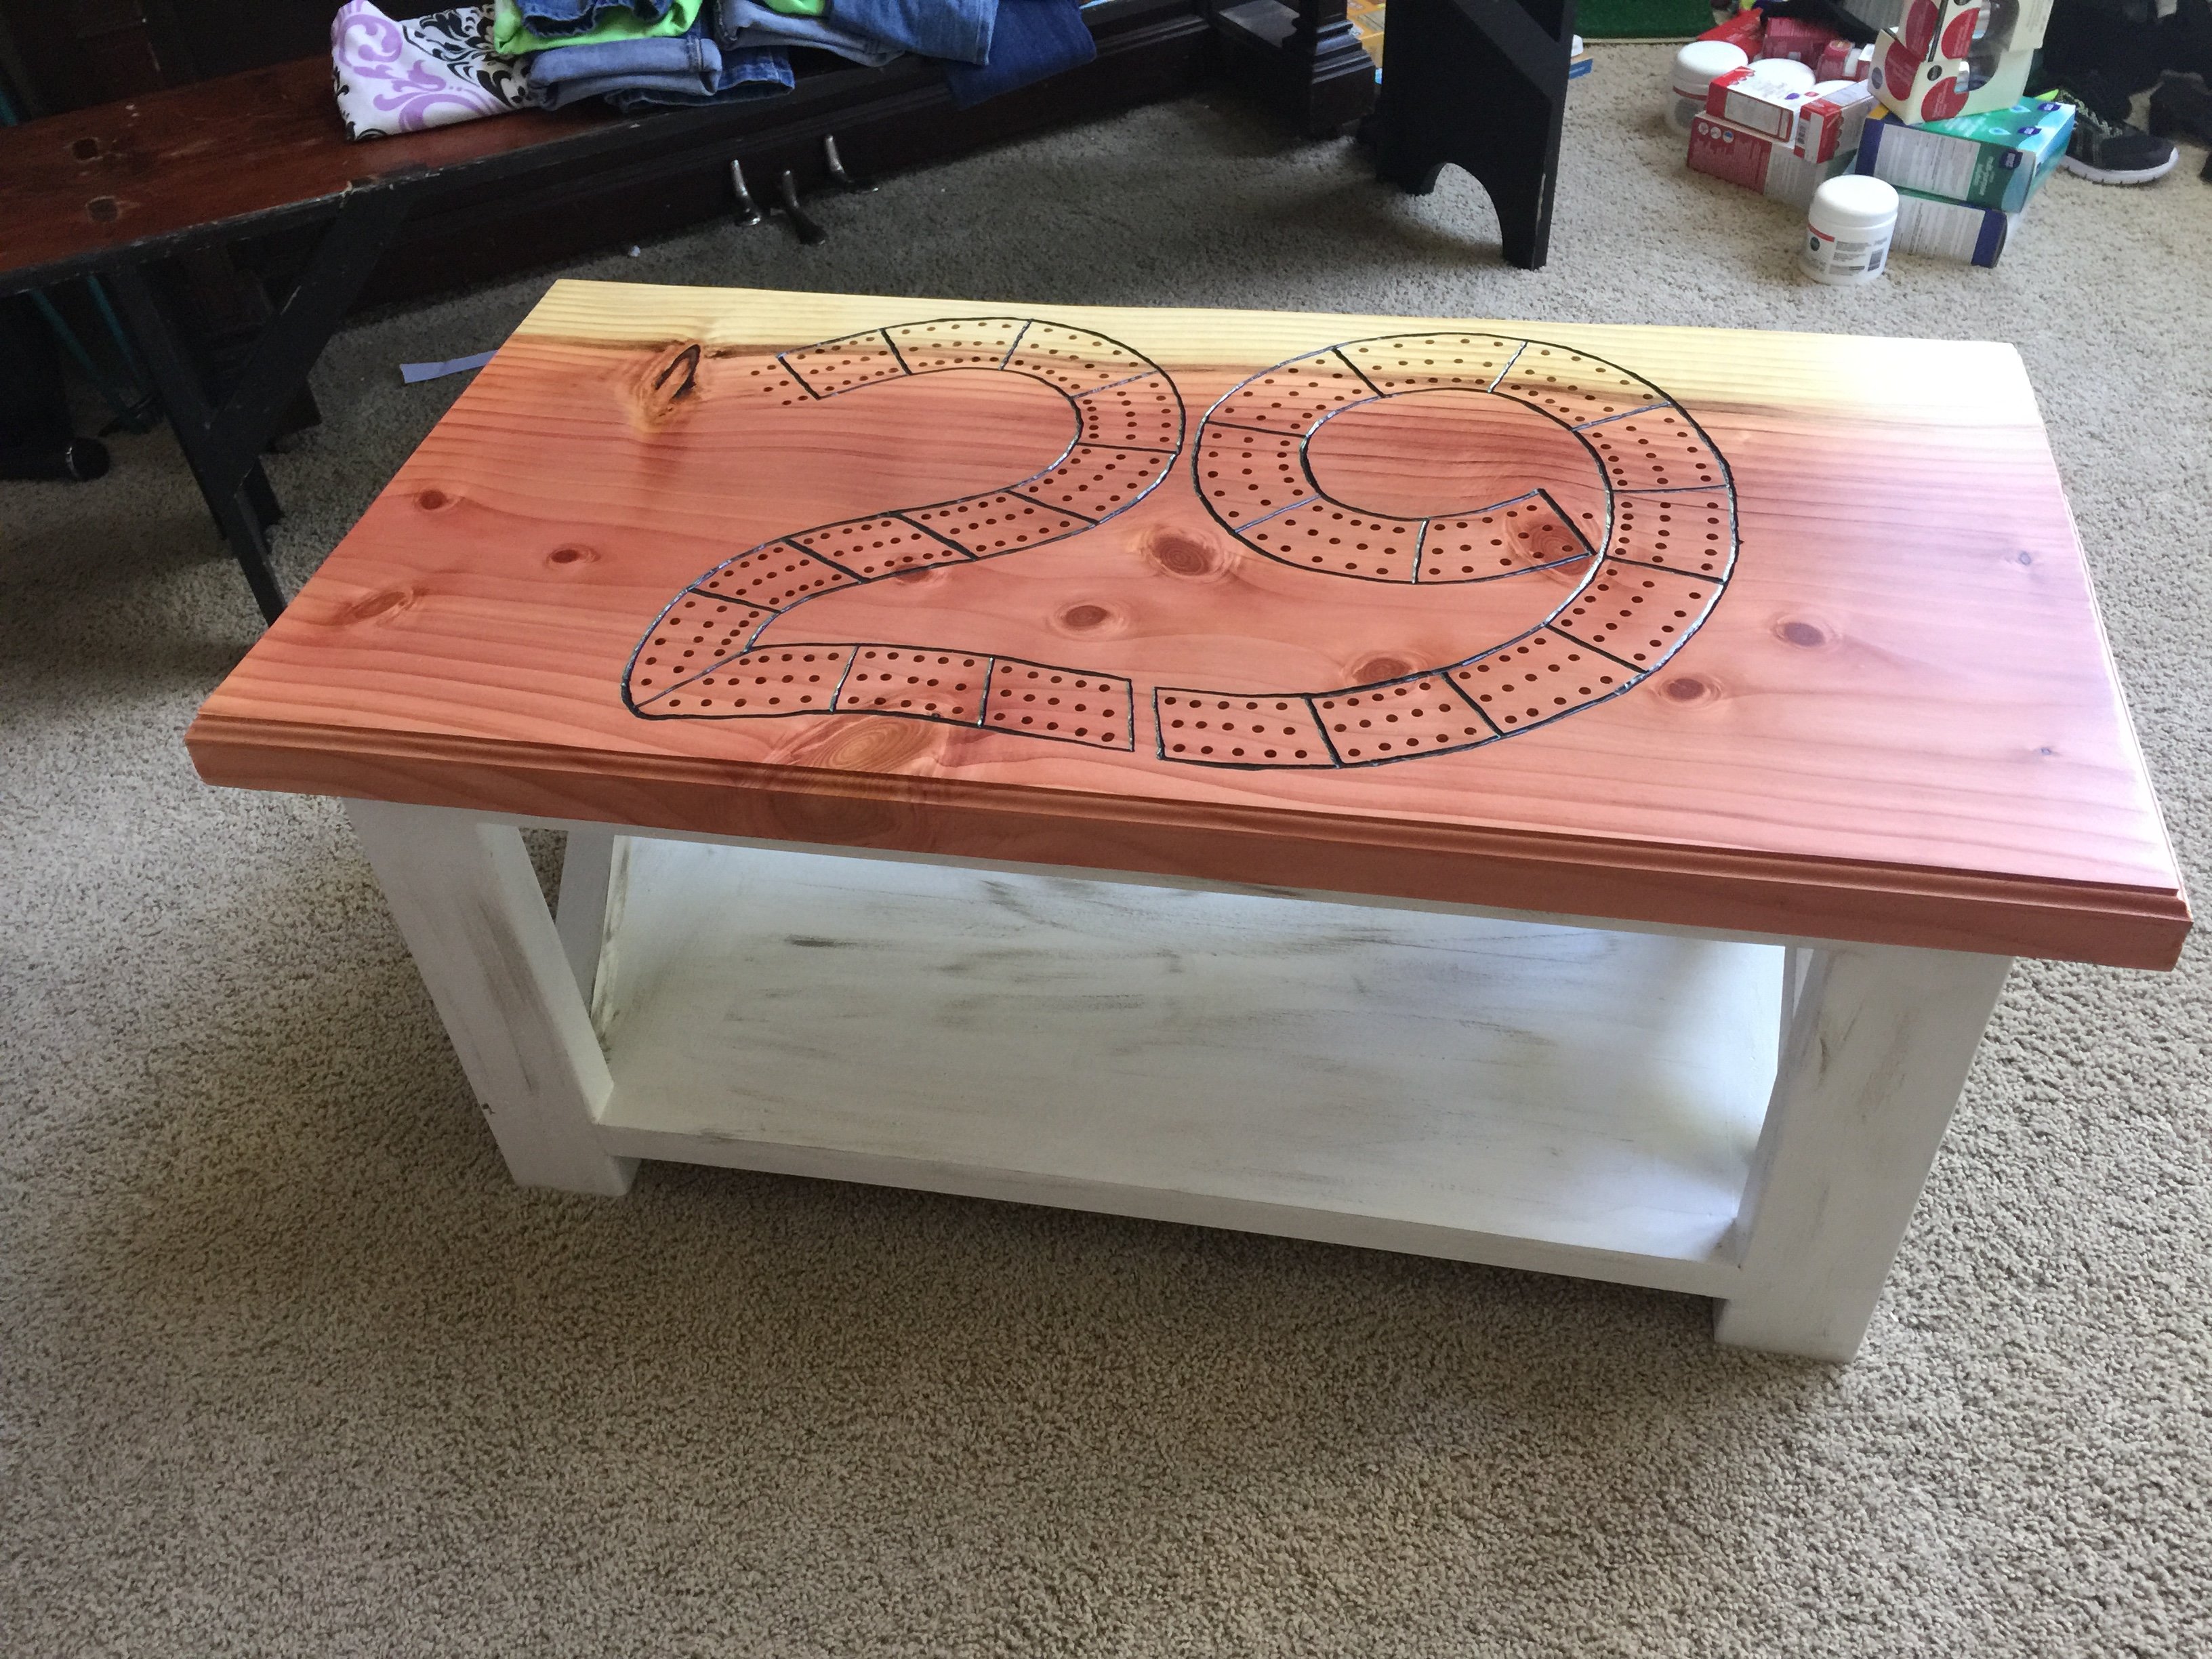
Used rustic x coffee table design for base. Used paint scheme someone else used in brag post. Made giant cribbage board top from redwood slab. Majority of time involved sanding slab which came rough and finishing the polyurethane.
Built from Plan(s)
Estimated Cost
100
Estimated Time Investment
Week Long Project (20 Hours or More)
Finish Used
Four coats polyurethane
Recommended Skill Level
Intermediate
Our "marriage" bed
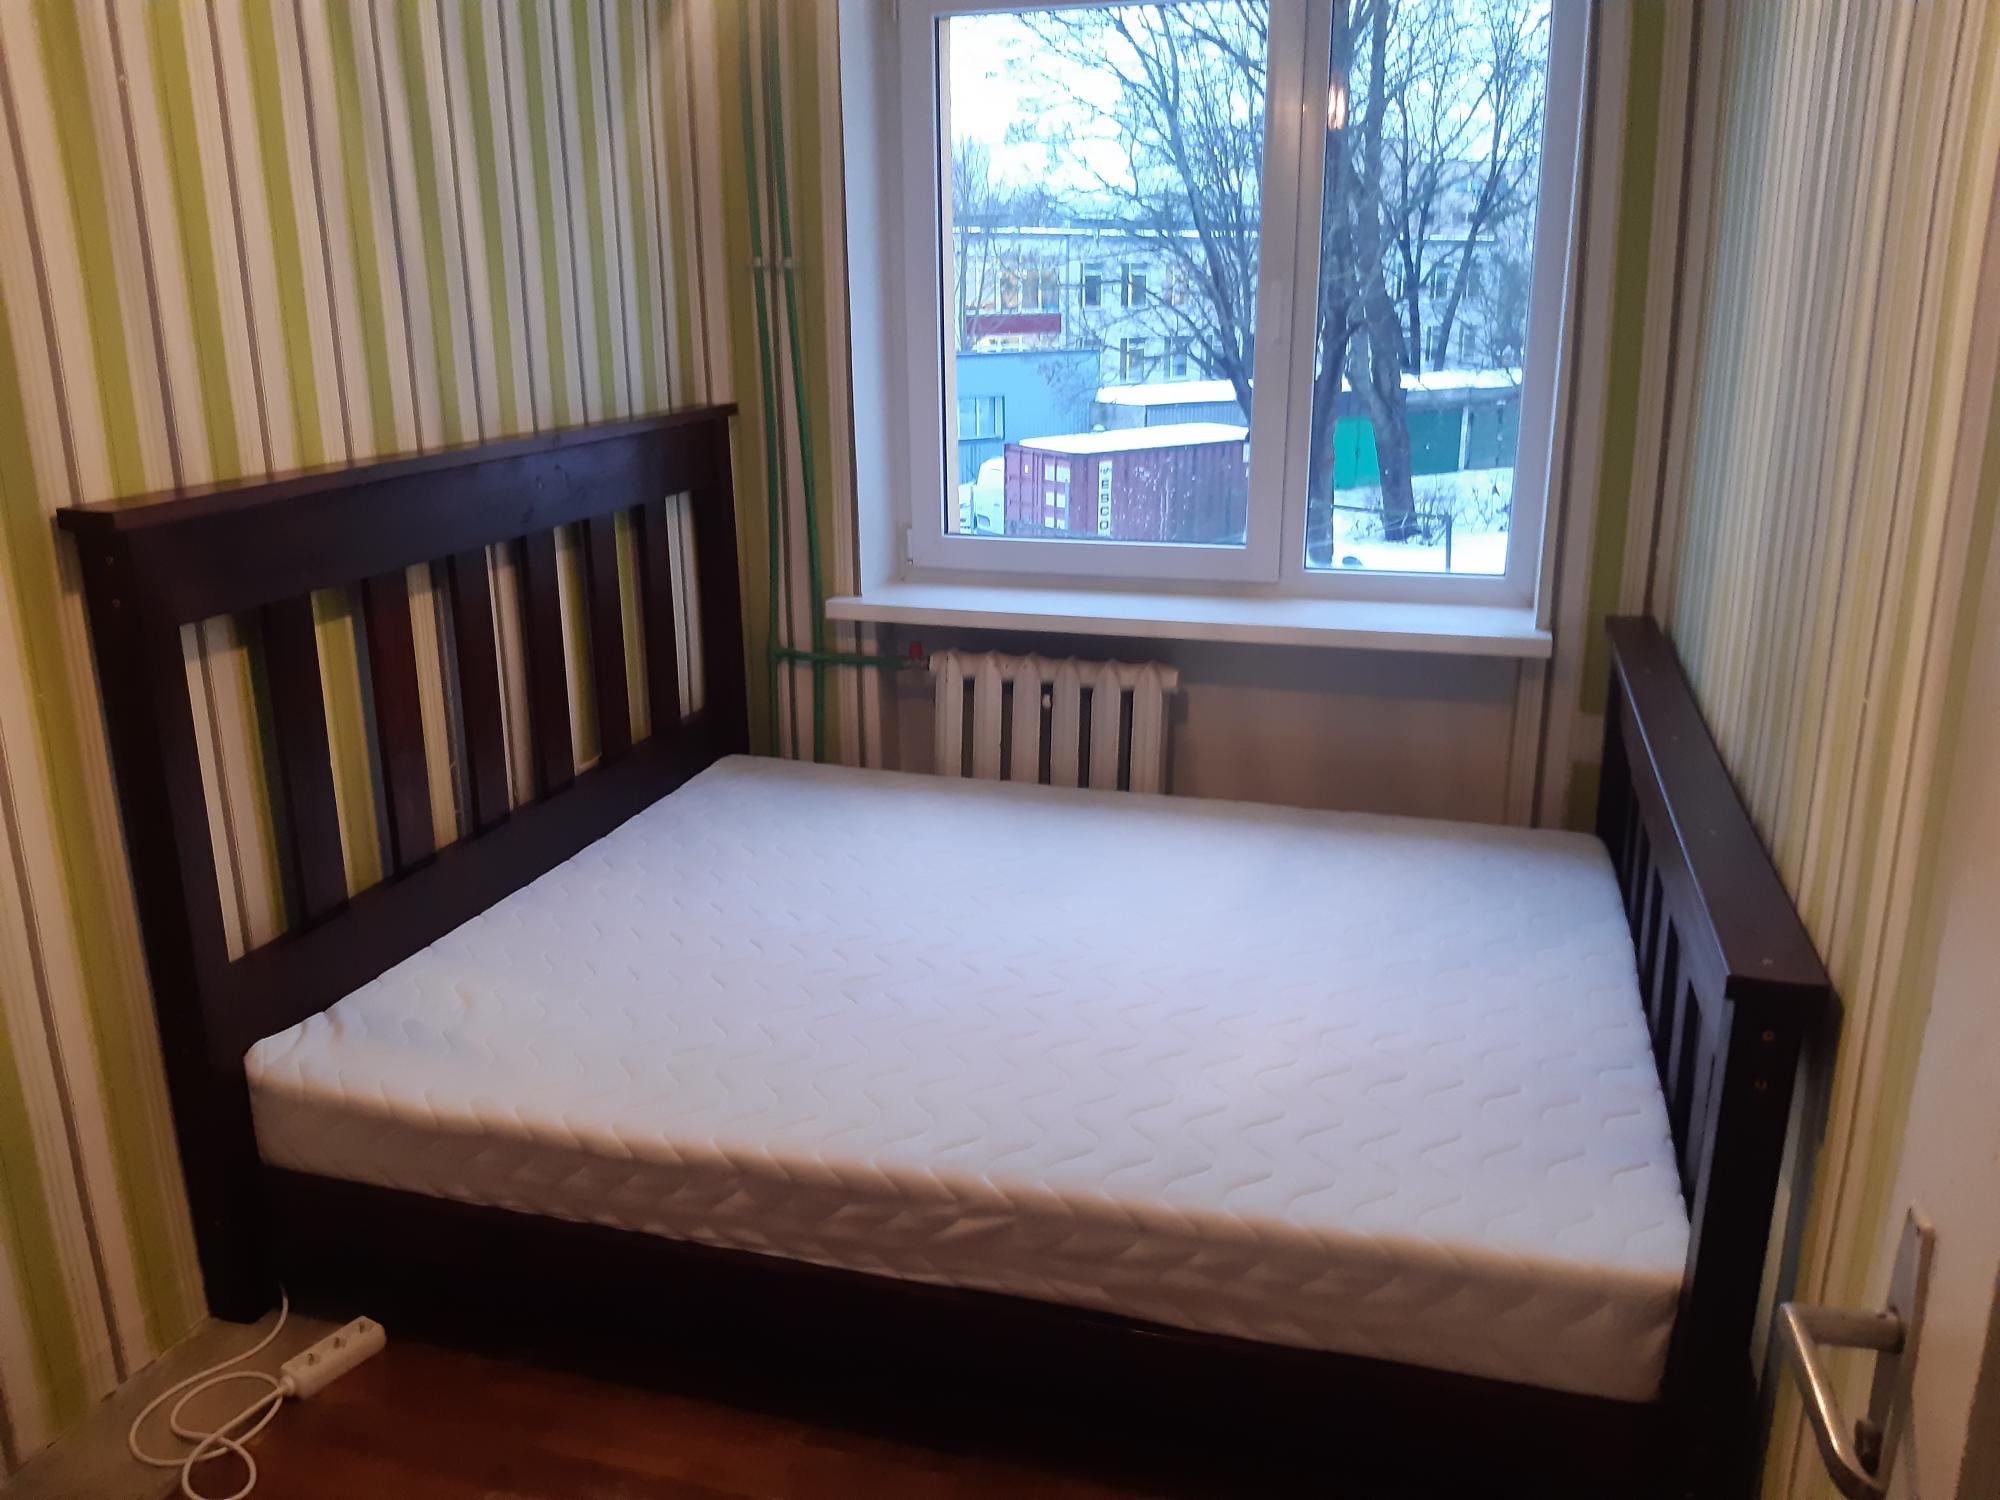
We built a europeanized queen-size farmhouse bed. The mattress size is 160x200 cm. I had to recalculate most measurements, because the available wood dimensions didn't really correspond to the usual 2x4 etc standard sizes - and mattresses come in different sizes around here as well. Other modifications: the footboard was built exactly like the headboard, because it was supposed to end up against a wall (no point in the outside covering). We're both very happy with the way this turned out - no squeaks, no bumping *khm*.
We used commercially available pre-bent slats for the mattress support. I've marked the skill level as beginner, as we are - but we're both very thorough and exact people with the will to go step-by-step and access to in-laws' proper tools and knowledgeable advice.

Built from Plan(s)
Finish Used
stained and sealed
Recommended Skill Level
Beginner
Comments
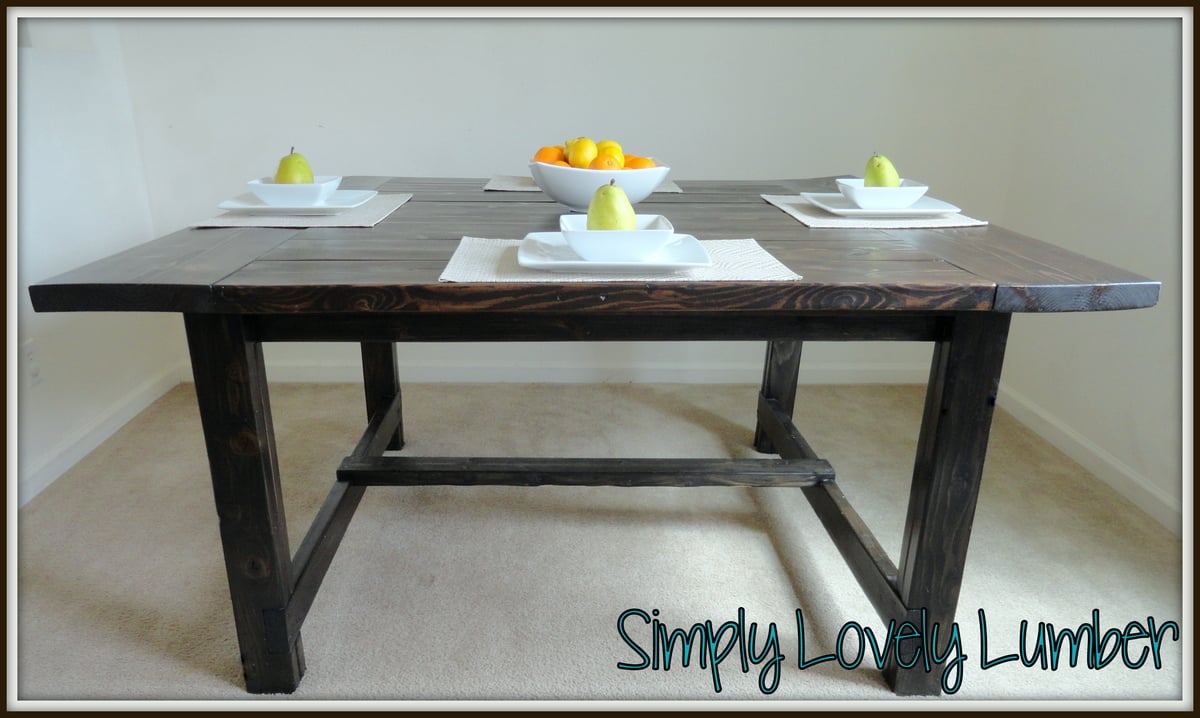
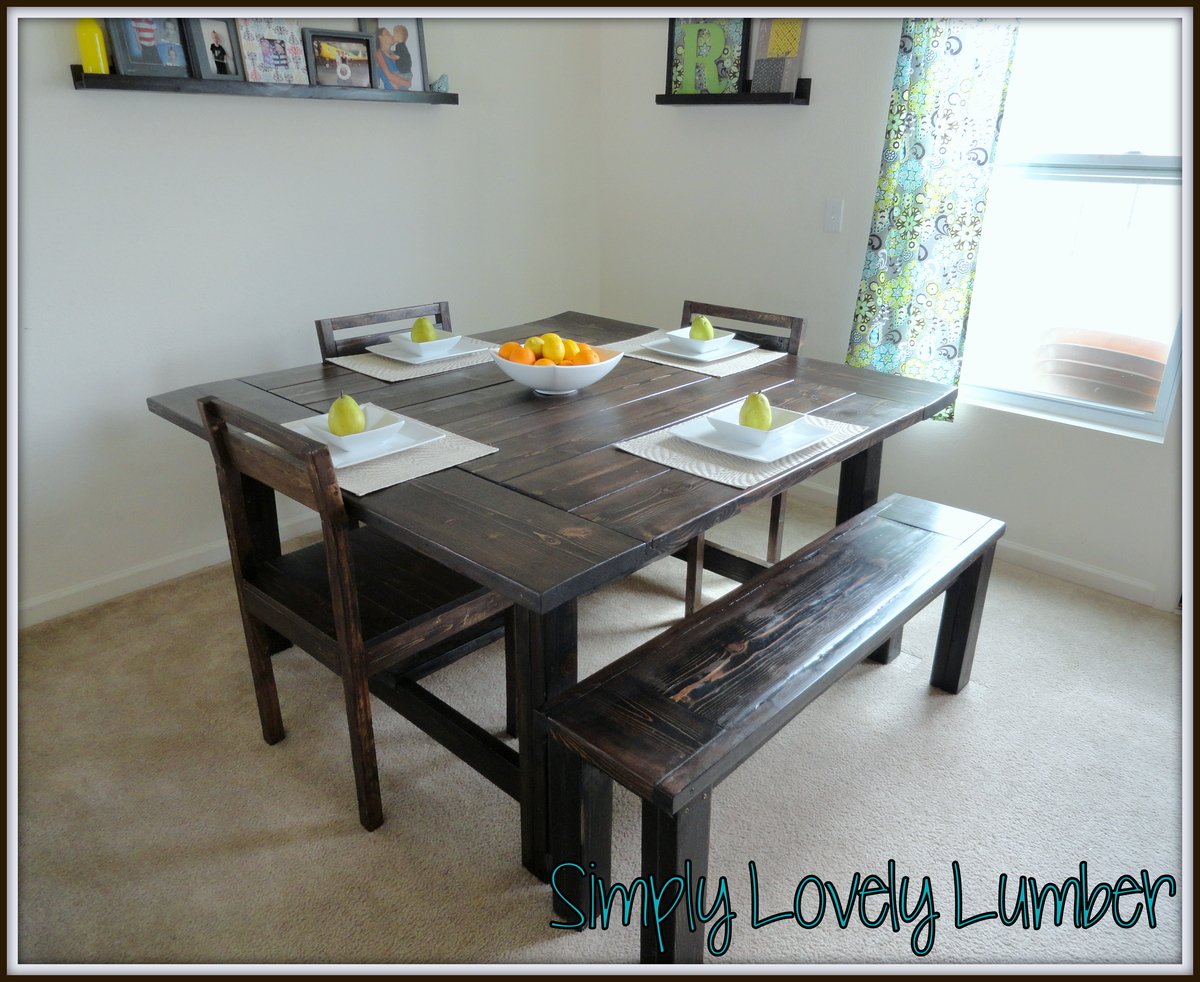
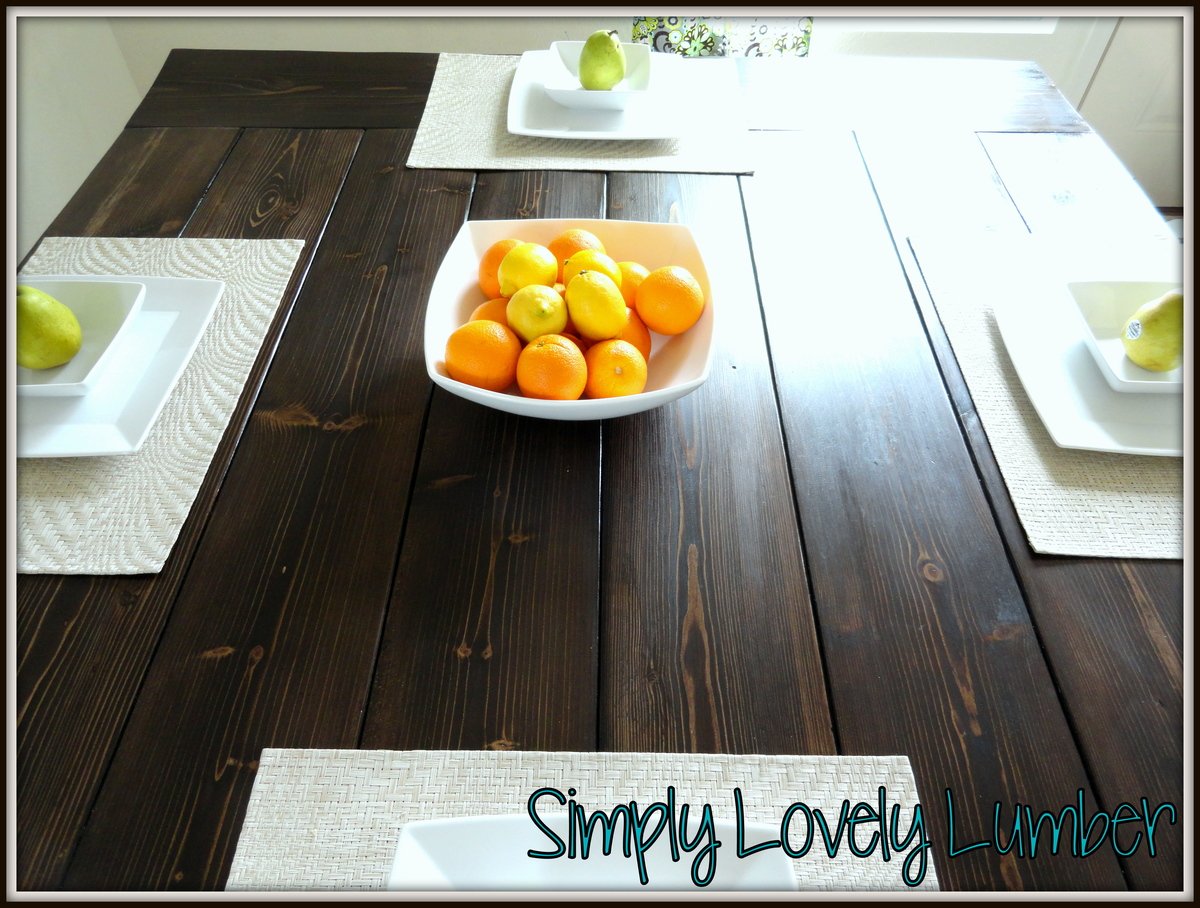
Farmhouse Table Squared
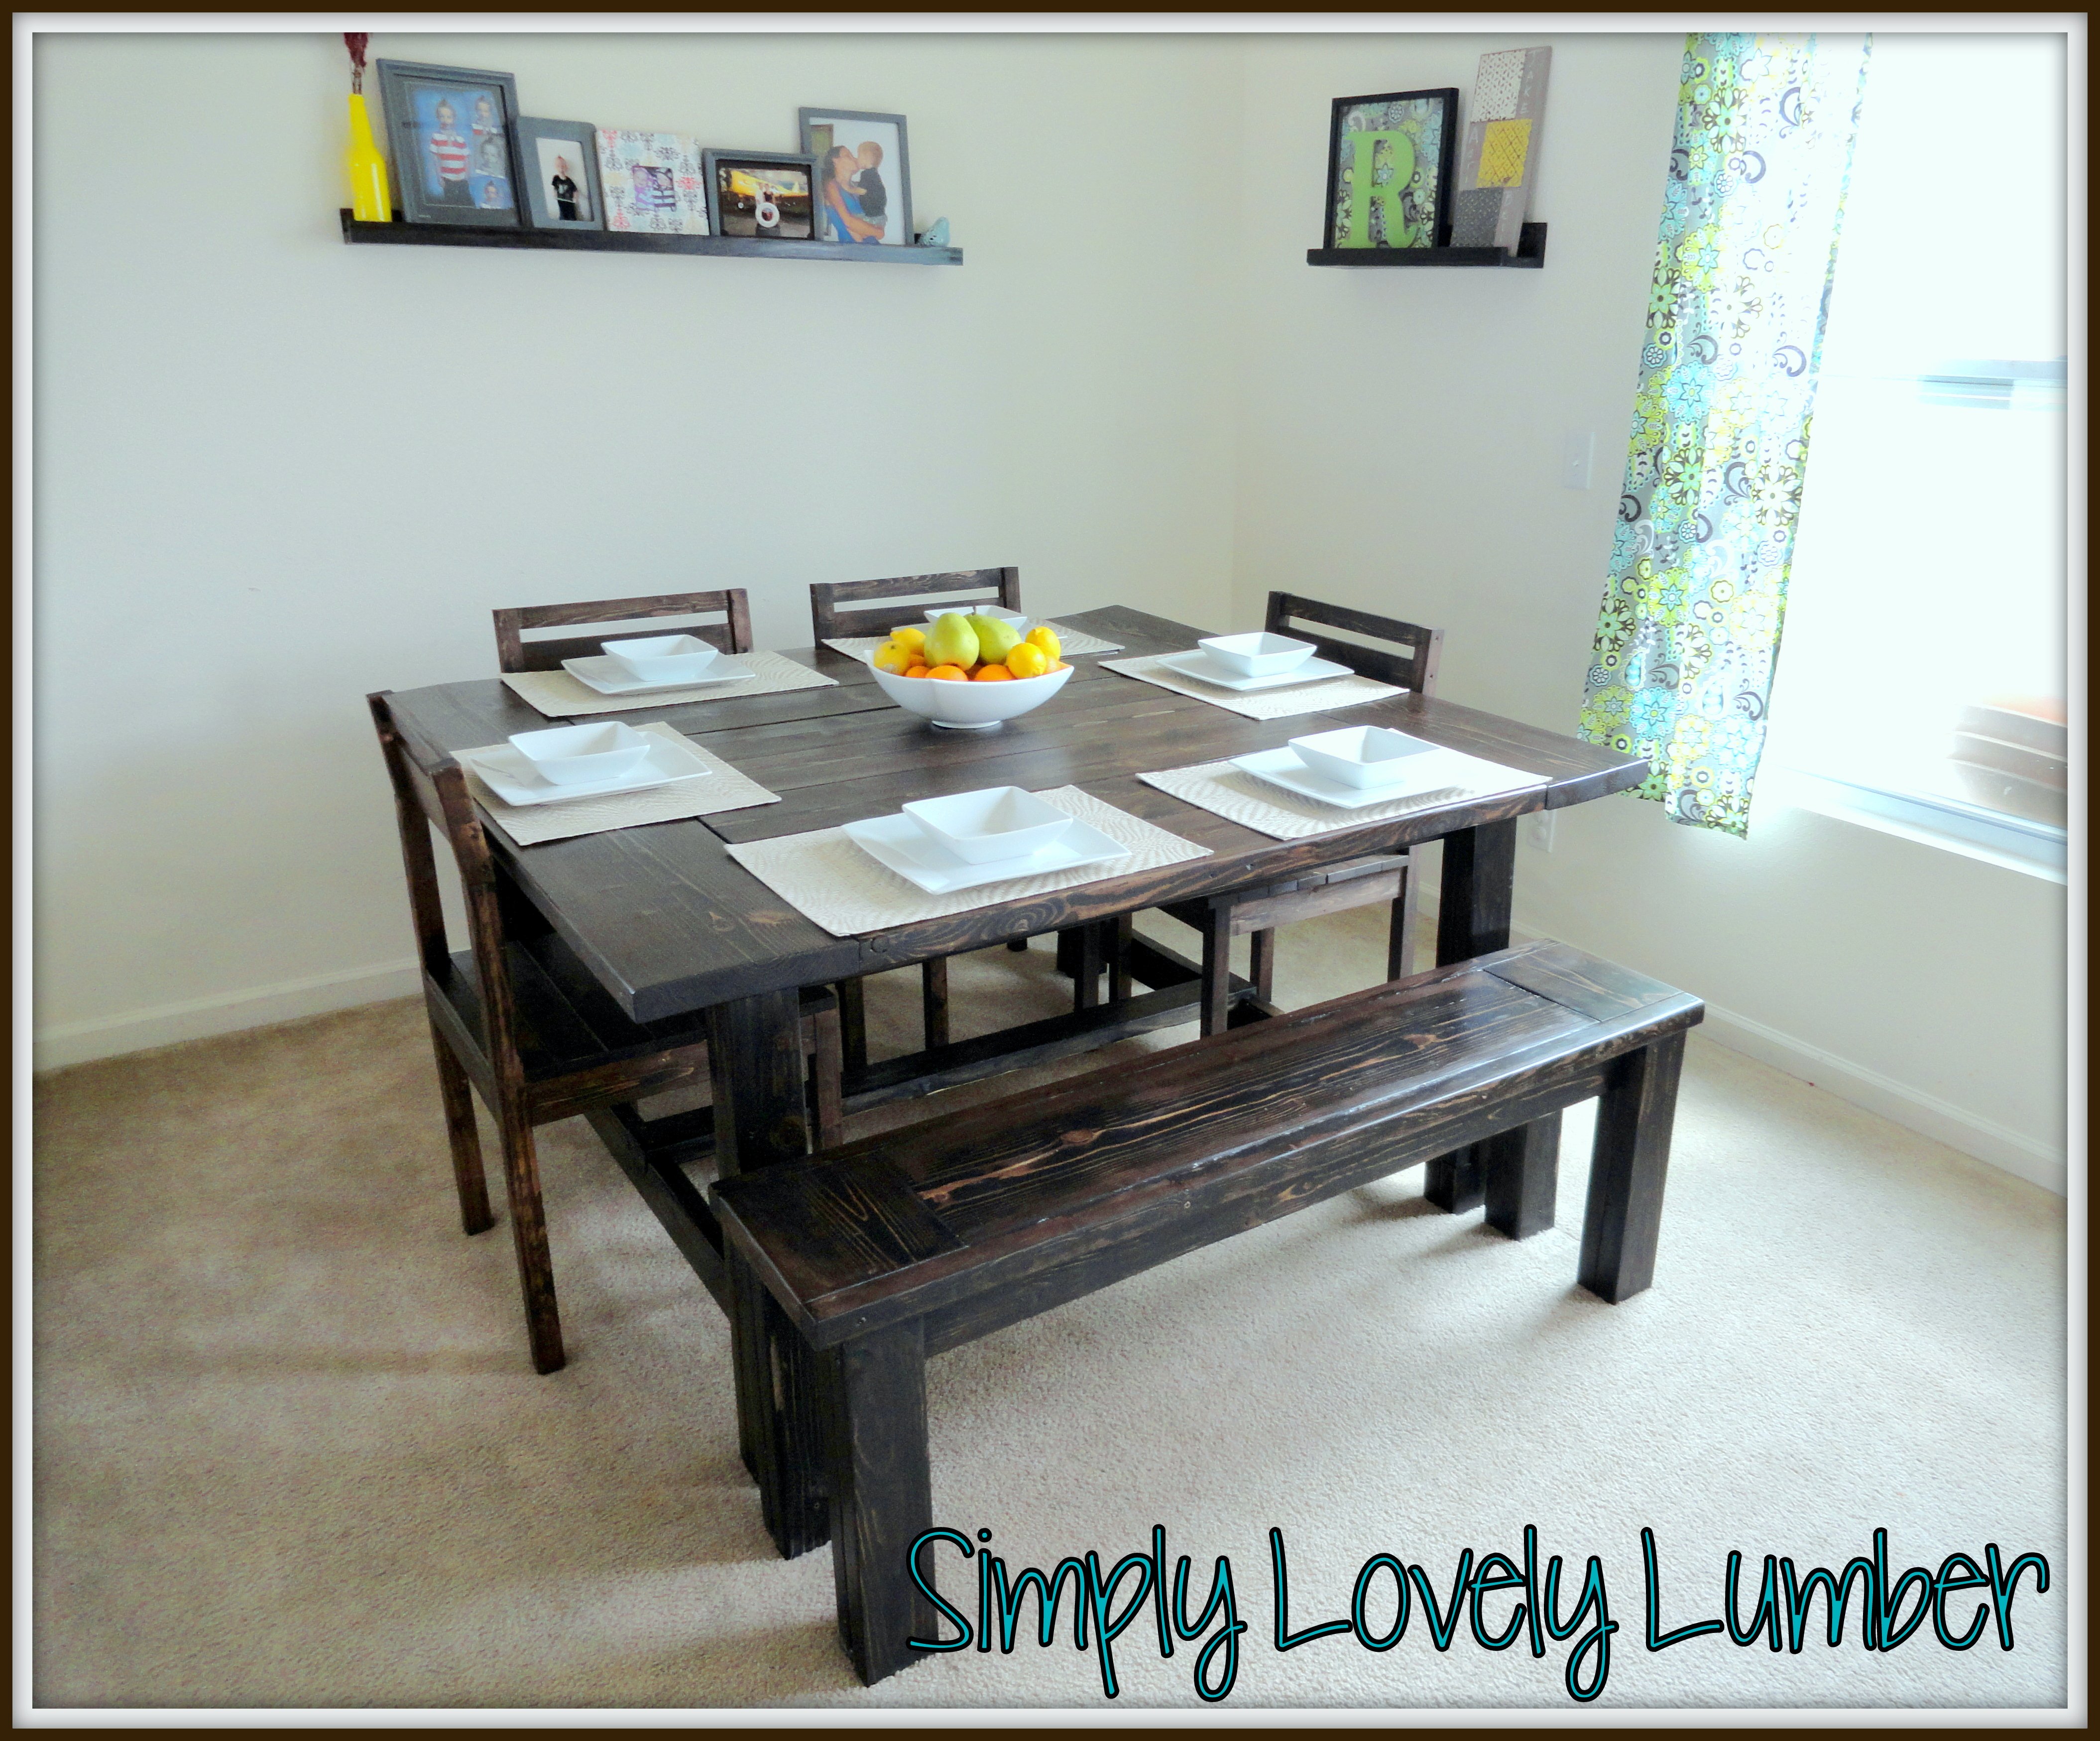
I used your plans for the table but changed the table dimensions to fit my space. My table is square and measures 58"x58". I also changed the chairs to have a straight back and then the top is is cut at a 6 degree angle. I love them so much!!!

Built from Plan(s)
Estimated Time Investment
Week Long Project (20 Hours or More)
Recommended Skill Level
Intermediate
nightstand

Thanks for the nightstand idea!
Recommended Skill Level
Intermediate
Comments
Coffee table and end tables

Built from the outdoor coffee table plans.
Changed the dimensions up a bit on the coffee table and shrunk them down to make matching end tables.
Changed the top layout and the bottom shelf a little bit.
Thank you for the plans!!!
Built from Plan(s)
Finish Used
White frame
Dark walnut tops
Dark walnut tops
Recommended Skill Level
Beginner
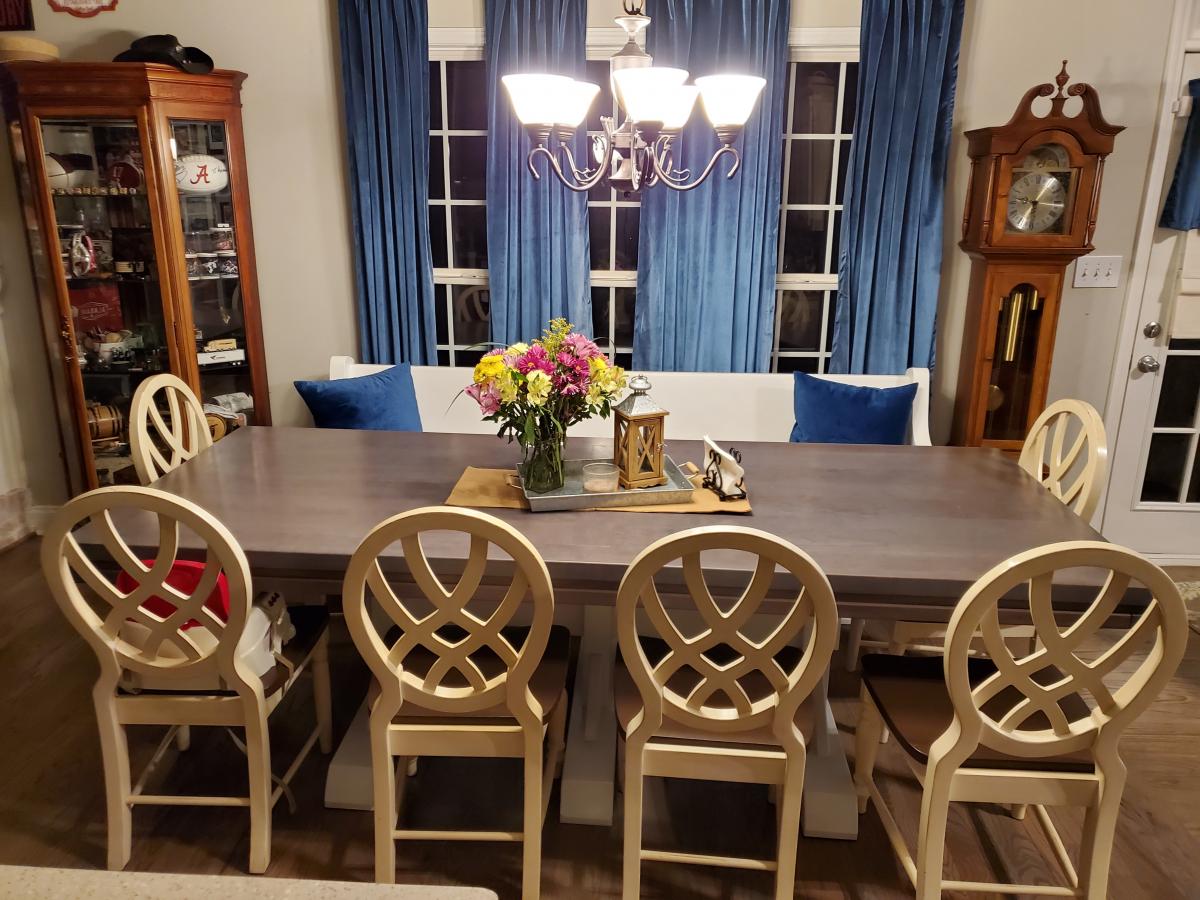
Triple Pedestal Farmhouse Table
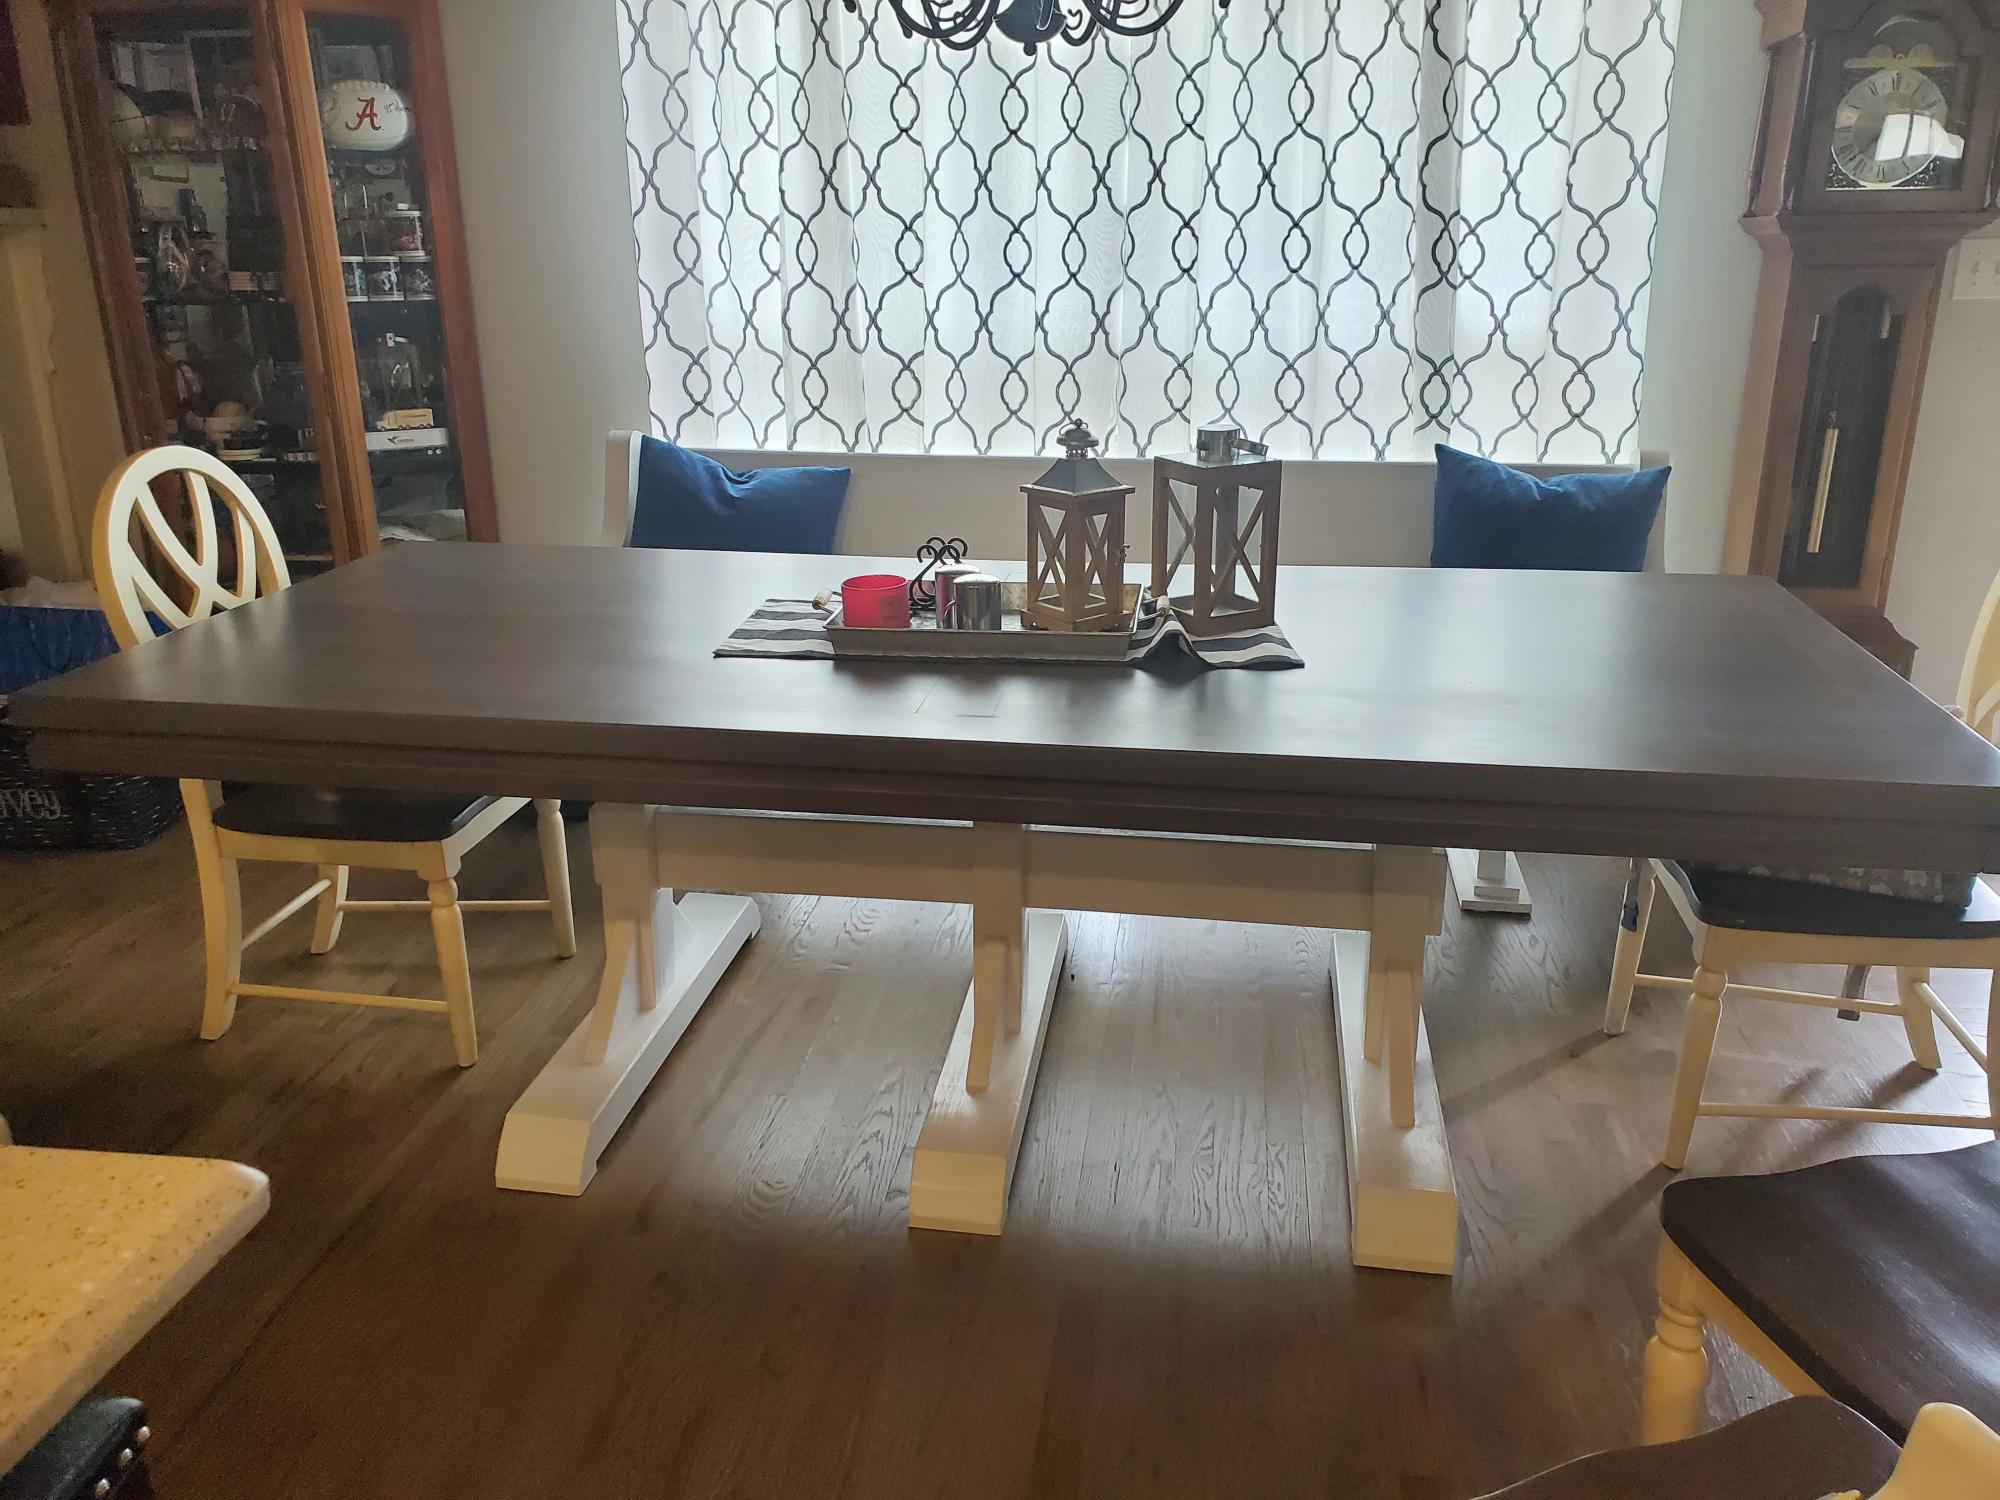
I did many 2020 (Covid projects) and this was my favorite. My wife has an 8' church pew that she wanted a farm table to go with it. The table ended up being 8'10" long. The most time was spent on sanding, painting and finishing. Enjoyed this project.
Built from Plan(s)
Estimated Time Investment
Weekend Project (10-20 Hours)
Finish Used
Satin Poly
Recommended Skill Level
Intermediate
Comments
Mon, 06/07/2021 - 16:10
Gorgeous table for gathering!
You've been busy! Thank you so much for sharing your wonderful projects!
Twin farmhouse bed

My first project!! Made a big boy bed and love how it turned out! It took me a weekend and several trips to the hardware store. Totally worth it and a huge savings versus purchasing a bed from land of nod or pottery barn!


Built from Plan(s)
Estimated Cost
Around $150 for everything
Estimated Time Investment
Weekend Project (10-20 Hours)
Finish Used
Paint
Recommended Skill Level
Intermediate
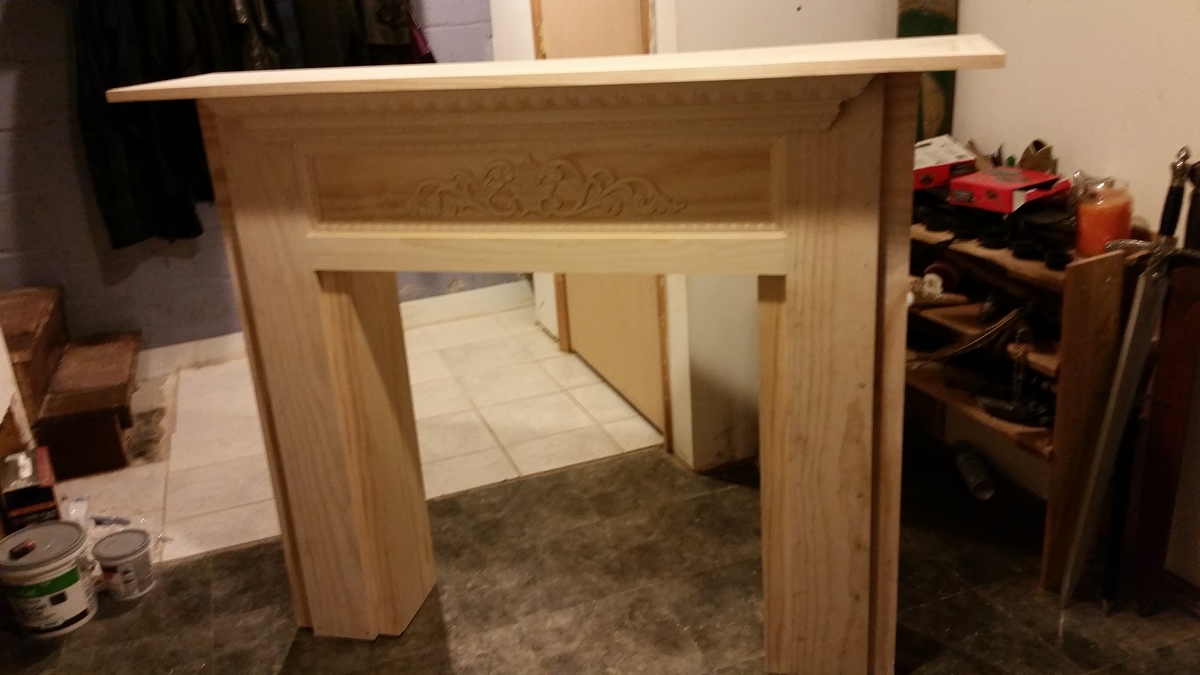
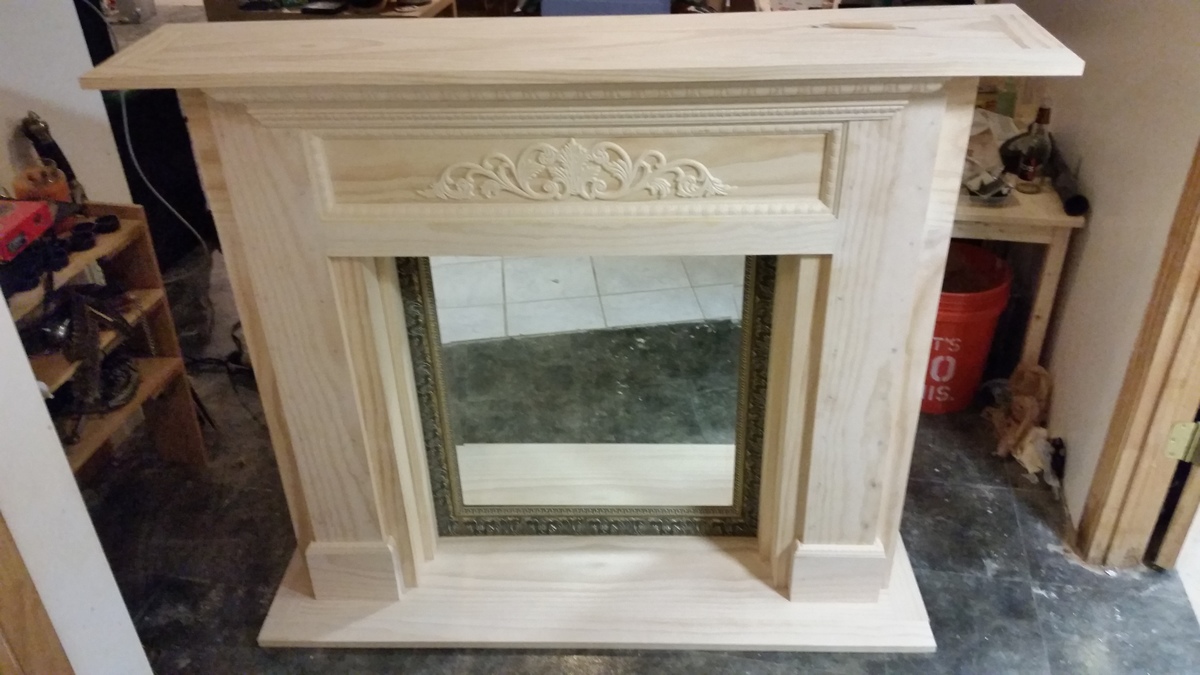
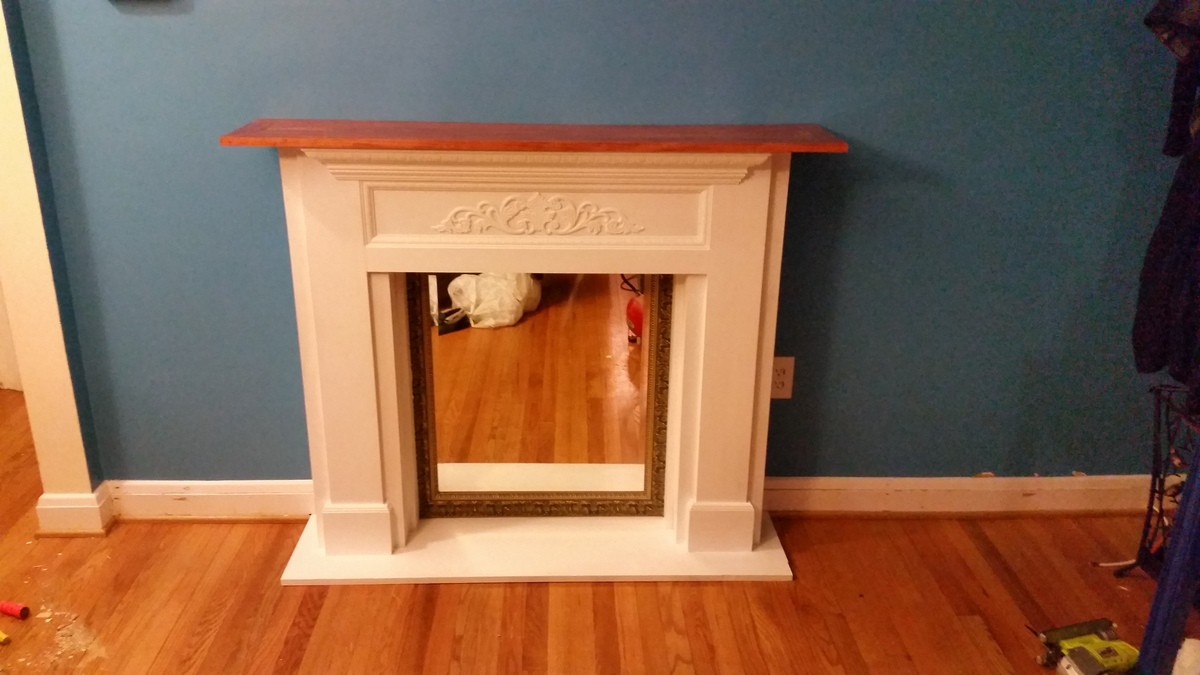
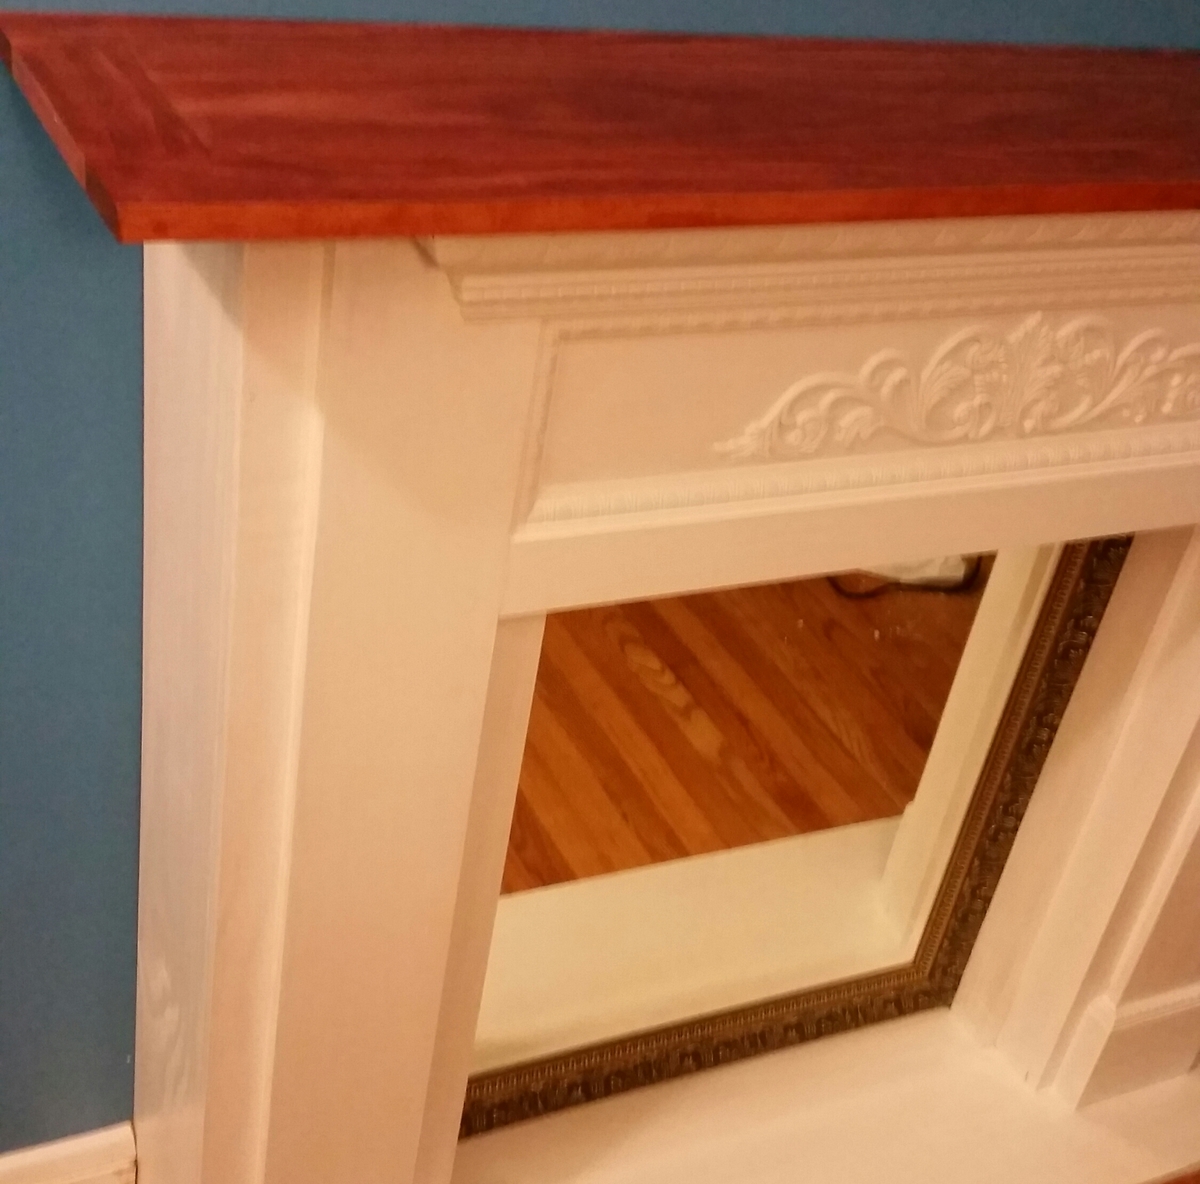
Mac's mantle
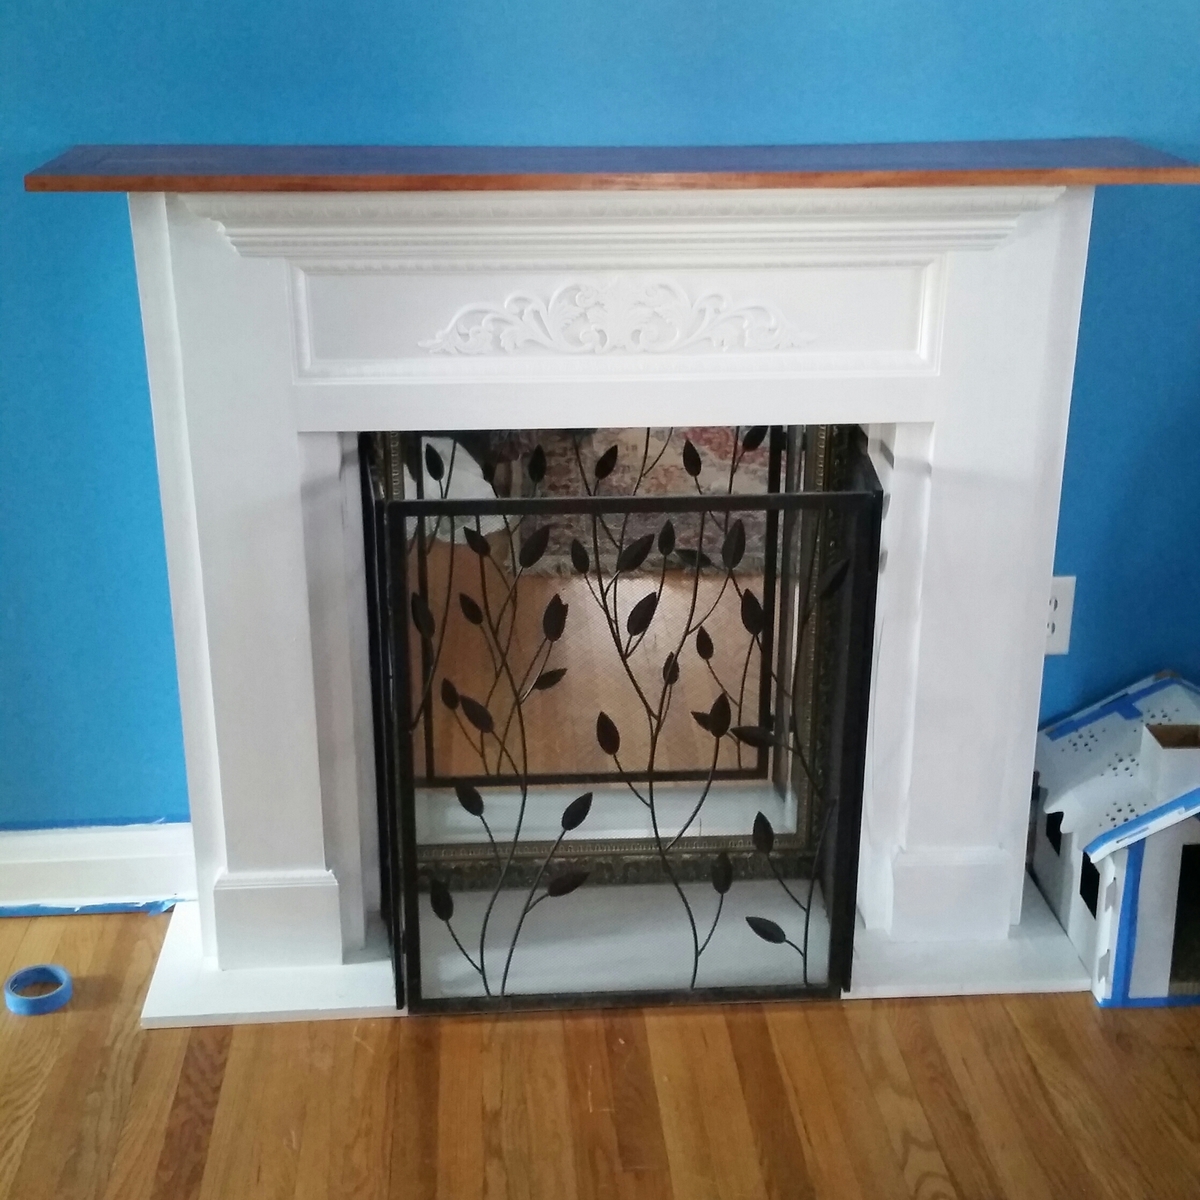
I changed a few things on mine. I wanted the mantle to be deeper in case we want to put a natural gas fireplace insert in it in the future so I used 1x8's for the sides I also used the remaining 48" or so 1x12 for the base and used 1x3's to trim it in to make it a bit wider. I did something similar to the top I trimmed it with 1x3's using pocket hole screws. As for the mirror, my wife had an old mirror that she wanted me to use and it was actually an after thought but it fit in there perfectly! I just used 1x3s to trim it in the front and used smaller scrap pieces and screws to wedge the mirror in the mantle in case we want to use it for something else if we install the gas insert. That's about it I used traditional cherry 1 coat and 3 coats of polyurethane I had to pull up the base board trim and cut it to get it flush against the wall. My wife was upset that I made her wait to decorated it with picture frames and porcelain birds. The polyurethane hadn't cured yet and I didn't want marks on it after spending so much time on it.
Thanks! She loves it!

Built from Plan(s)
Estimated Cost
$300
the crown molding was the killer
the crown molding was the killer
Estimated Time Investment
Weekend Project (10-20 Hours)
Finish Used
Traditional cherry miniwax
Hi gloss white Baer
Clear polyurethane miniwax
Hi gloss white Baer
Clear polyurethane miniwax
Recommended Skill Level
Intermediate
Comments
Fri, 03/06/2015 - 19:10
Thanks Ana! She wants me to
Thanks Ana! She wants me to build her something like what you recently posted. An entry bench/ window seat with storage space for shoes and boots. Thanks for the plans! I will have to modify it a bit to fit the space of course! I've also used your plans to make 3 sets of toddler tables and chairs as gifts for relatives with kids and they love them! Thanks again Ana!
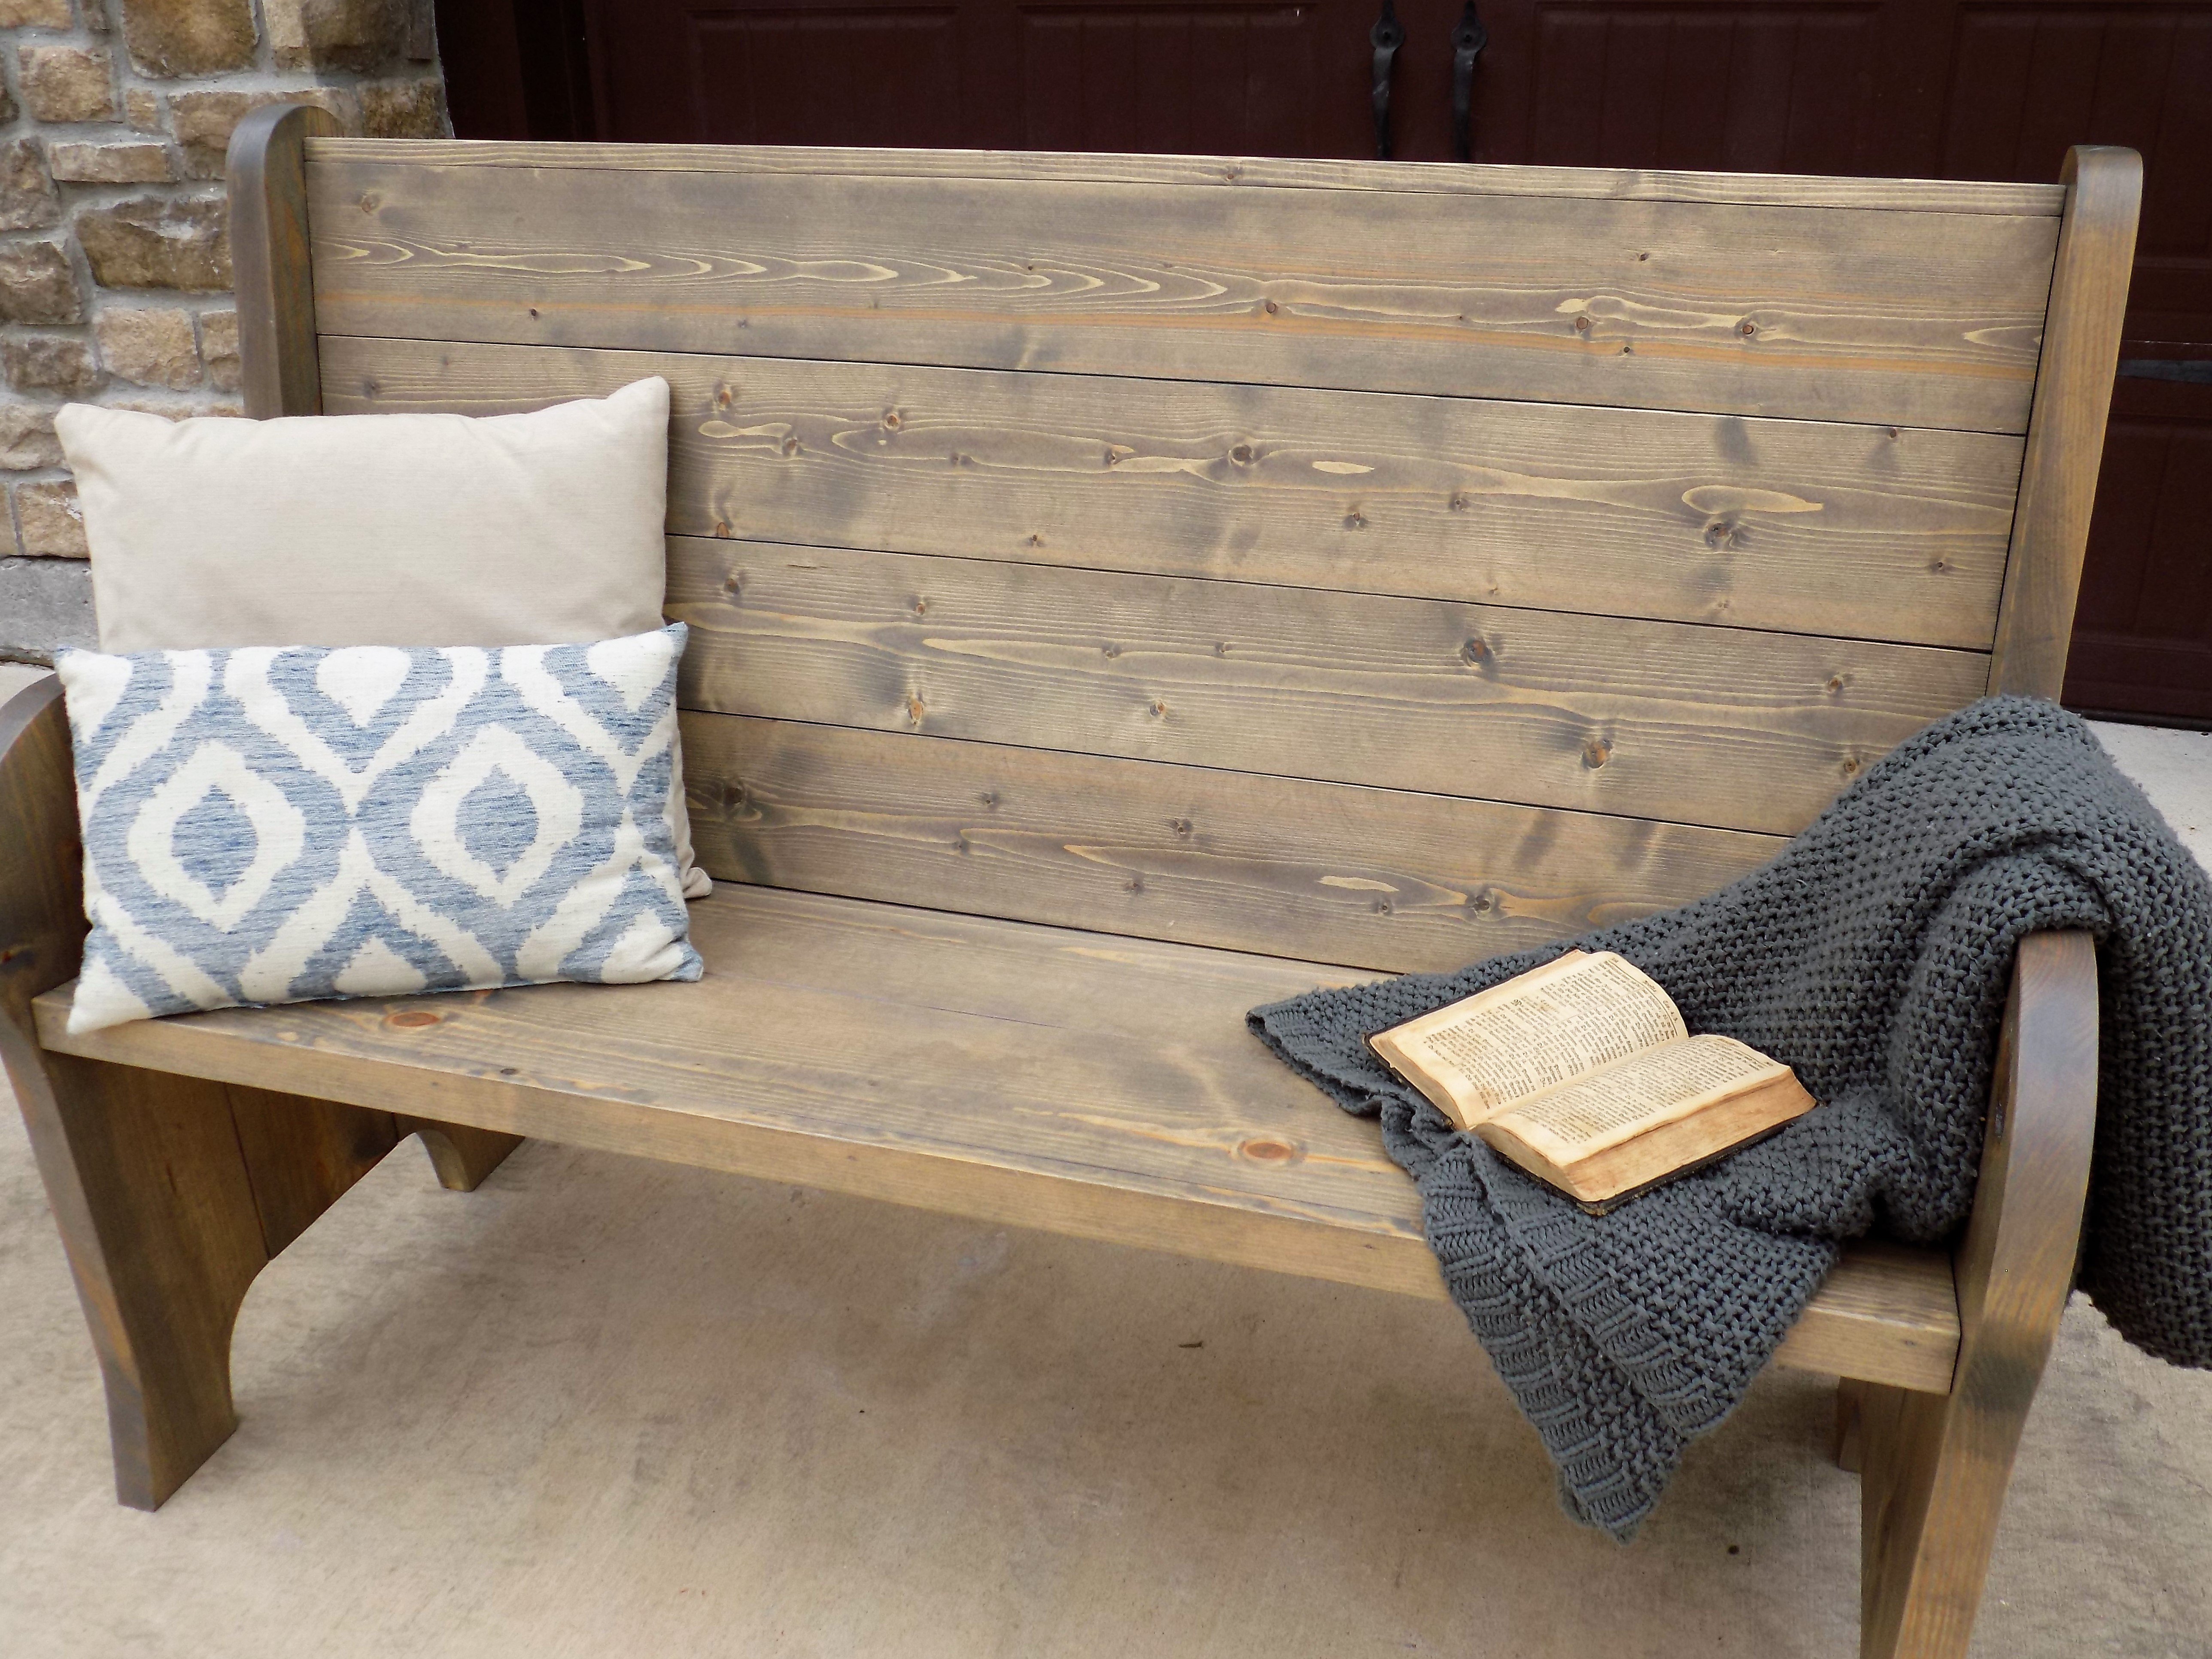
Church pew style entry bench
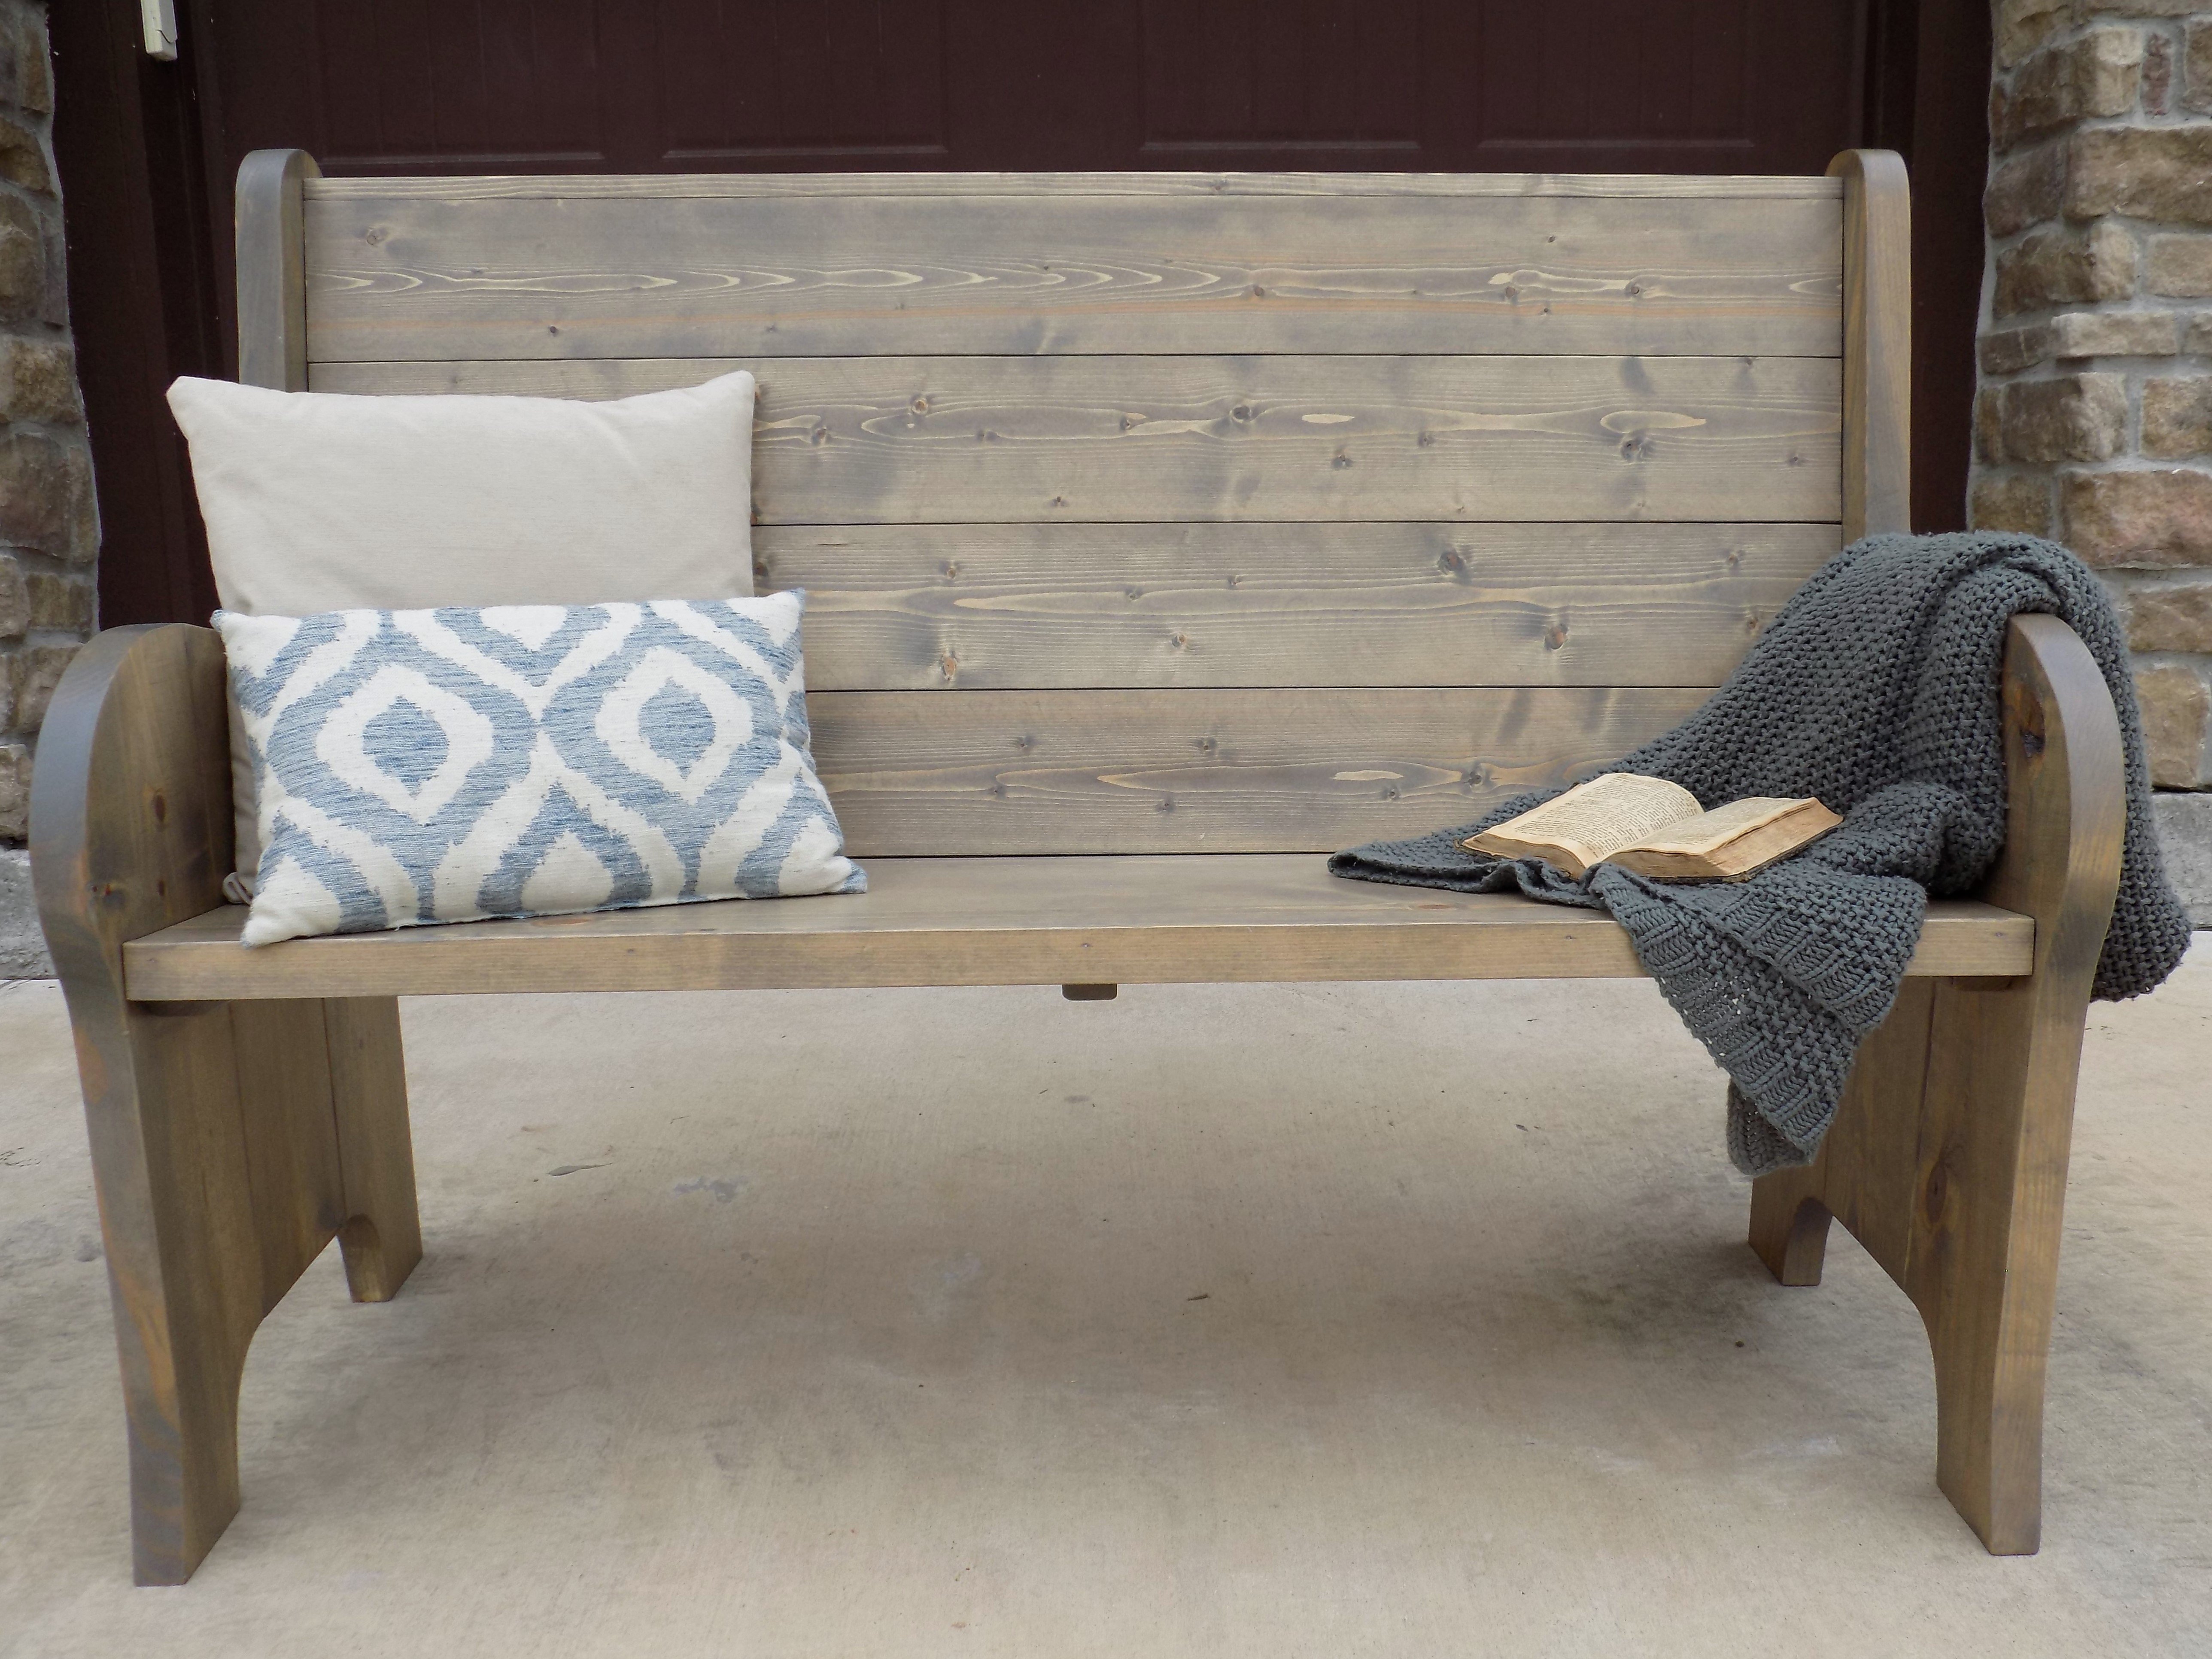
The bench measures 54" wide x 21" deep. We slightly modified the Rogue Engineer plans at the customers request to allow it to sit flush against the wall.
Estimated Cost
99.00
Estimated Time Investment
Day Project (6-9 Hours)
Finish Used
Stain is 1 coat Minwax Classic Grey immediately followed by 1 coat Old Masters Dark Walnut Wiping Stain immediately followed by another coat of Minwax Classic Grey. Topcoat is Gemini Gem Coat Matte Pre-cat Lacquer
Recommended Skill Level
Beginner
Comments
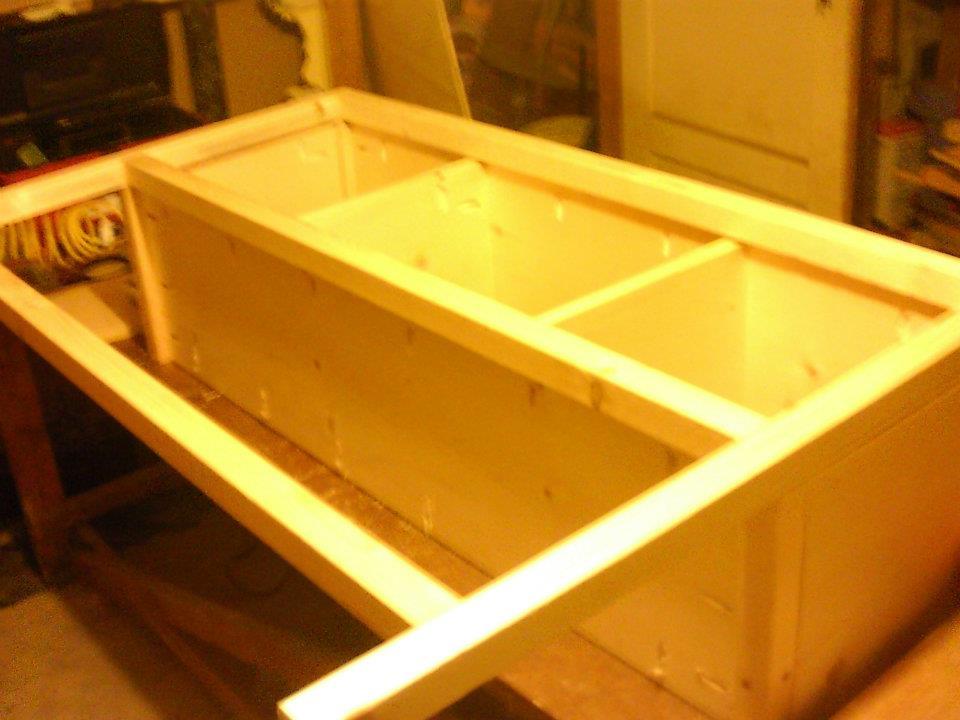
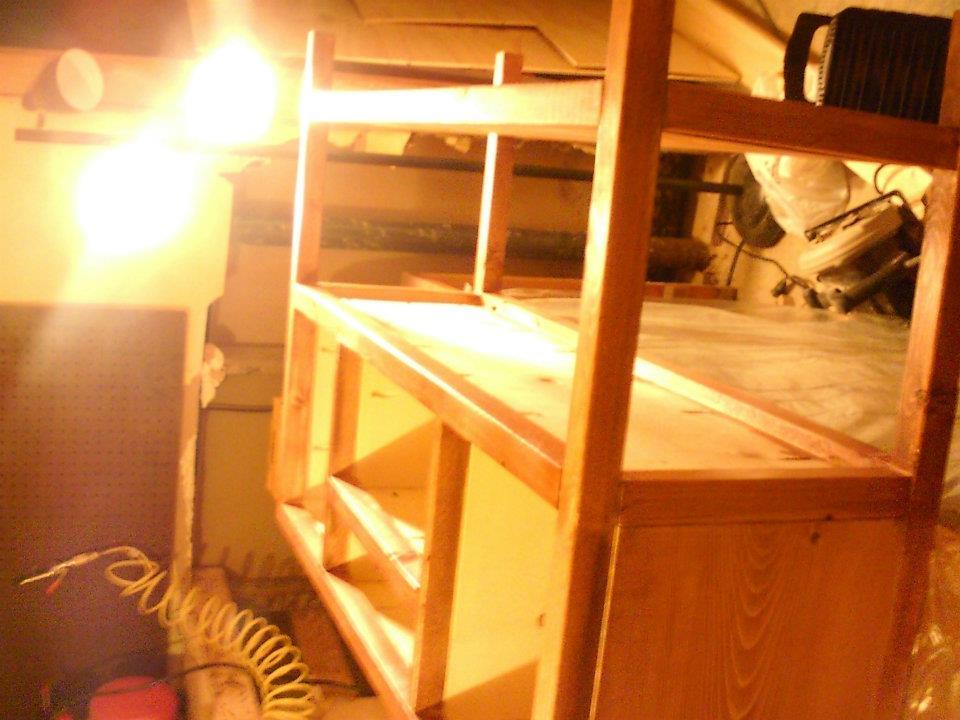
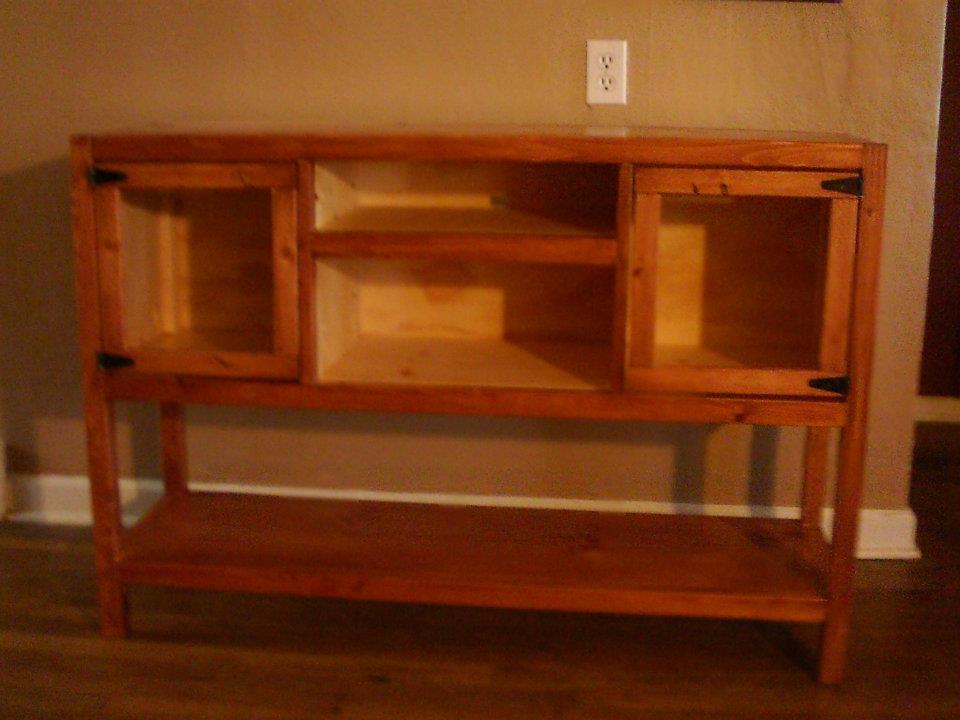
Rhyan Console Table
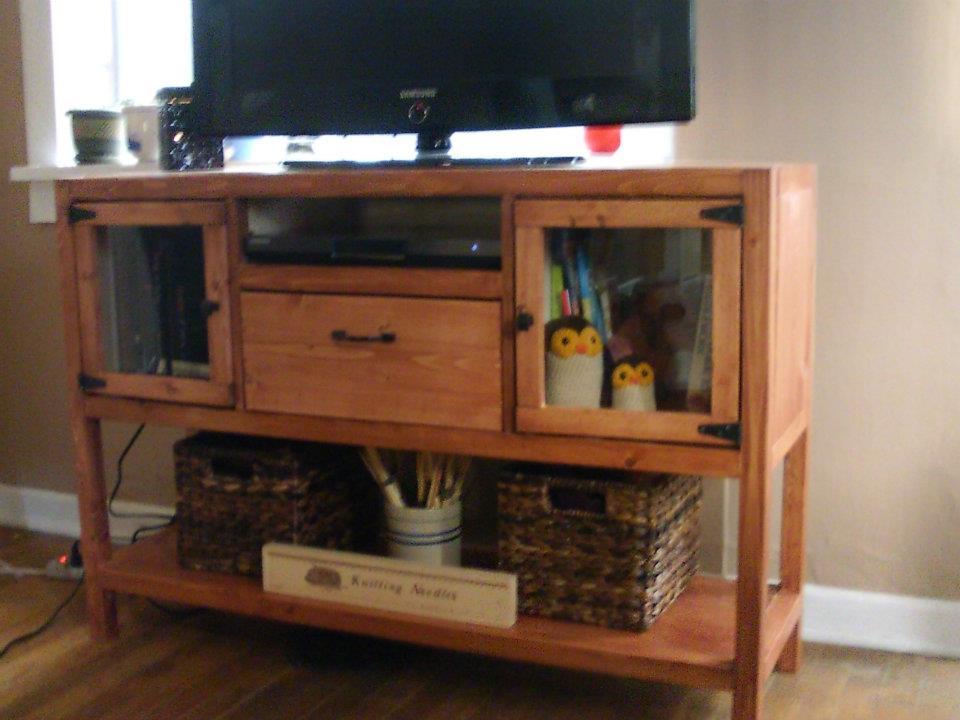
This was my first project. I have actually been looking projects on this site since it was called Knock on Wood, but did not have the space or money to do anything.
I wanted to build a stand for our tv, but also make it have a bit of storage - and look nice of course. Found the Rhyan Console Table plans, and I liked them a lot. Instead of having two drawers, I made the bottom drawer a little bigger, and made an opening at the top for the blu-ray or satellite receiver.
Could not find little black hinges in town, so we scuffed up some silver ones and spray painted them black. They have not started chipping at all.
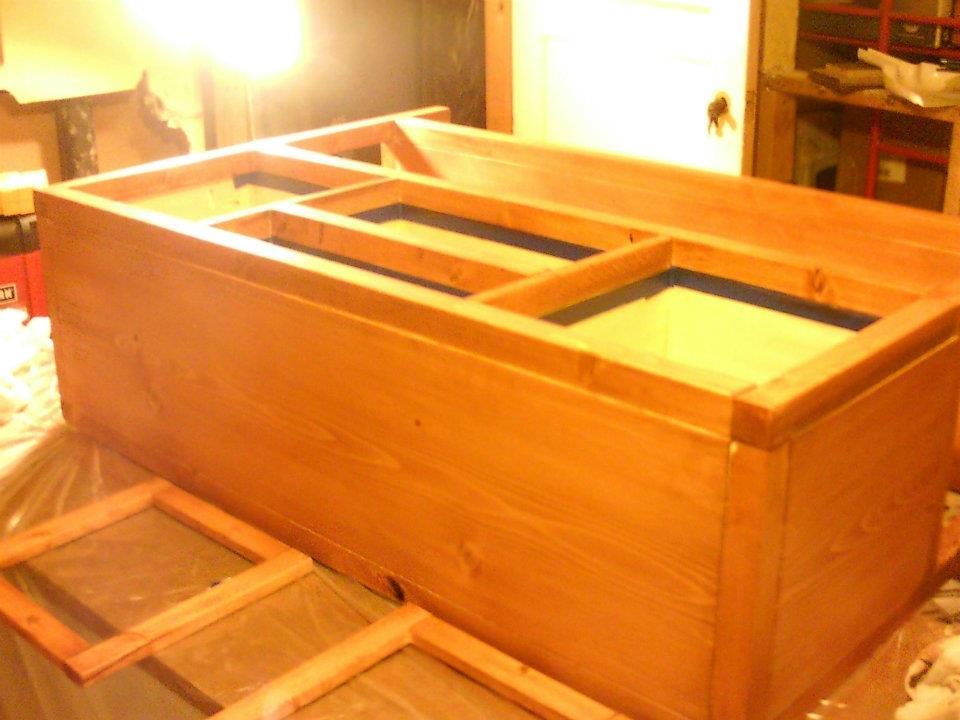
Stained it using advice from this site and around the internet. I left the inside of the drawer and cupboards unstained - which I really like.
Built from Plan(s)
Estimated Cost
$70
Estimated Time Investment
Weekend Project (10-20 Hours)
Finish Used
Miniwax Water Based Wood Conditioner, Miniwax Red Chesnut Stain, Spray Poly and then painted some Miniwax Poly on top of that.
Recommended Skill Level
Beginner
Kentwood End Tables

After I built the balustrade coffee tables for the living room, I built these matching kentwood end tables.


Built from Plan(s)
Estimated Cost
$80
Estimated Time Investment
Weekend Project (10-20 Hours)
Finish Used
One coat Minwax white wash pickling stain over one coat colonial pine (both water based). Seal with Minwax polycrylic
Recommended Skill Level
Intermediate
Chunky x base table

Easy to build I used 2-12 for the top
Built from Plan(s)
Estimated Cost
225$
Estimated Time Investment
Day Project (6-9 Hours)
Recommended Skill Level
Starter Project
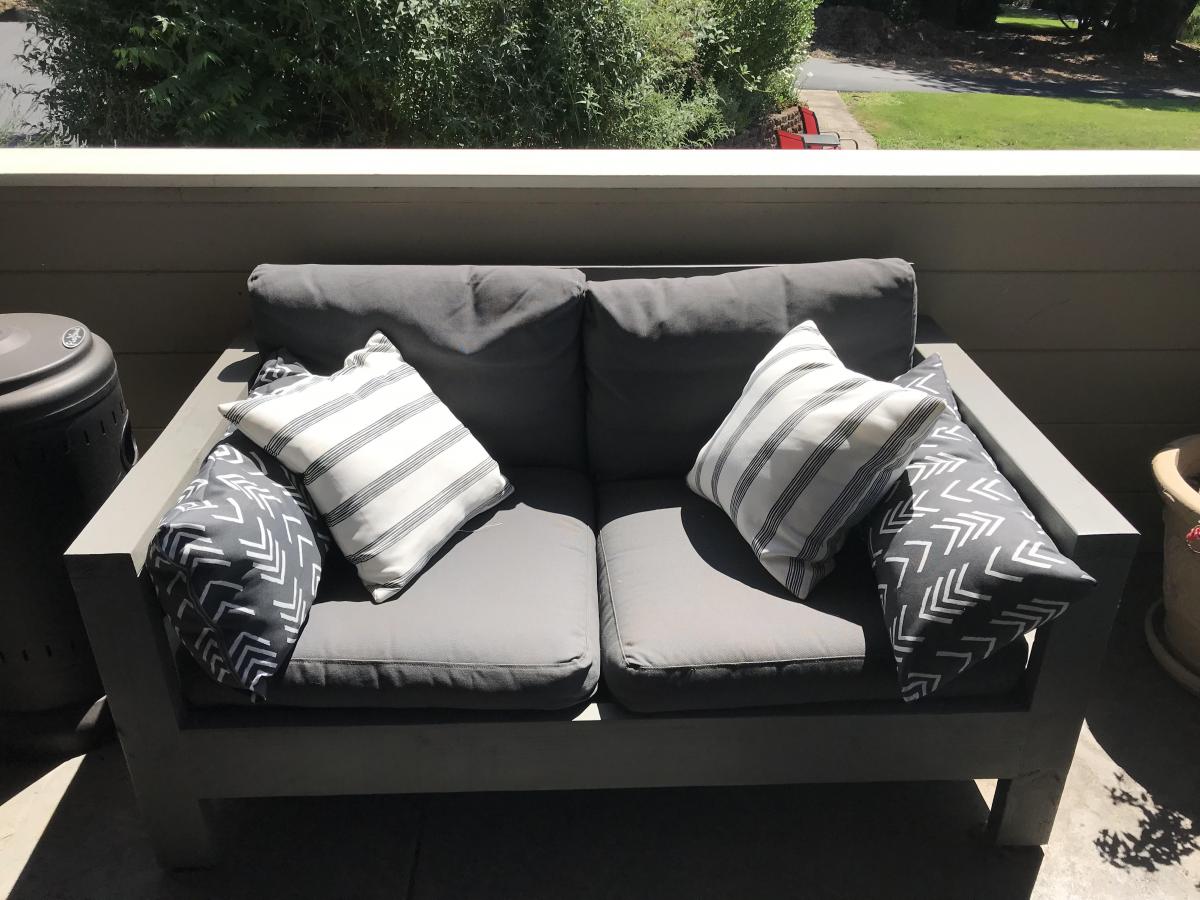
Outdoor Modern Comfort Collection using Ikea cushions
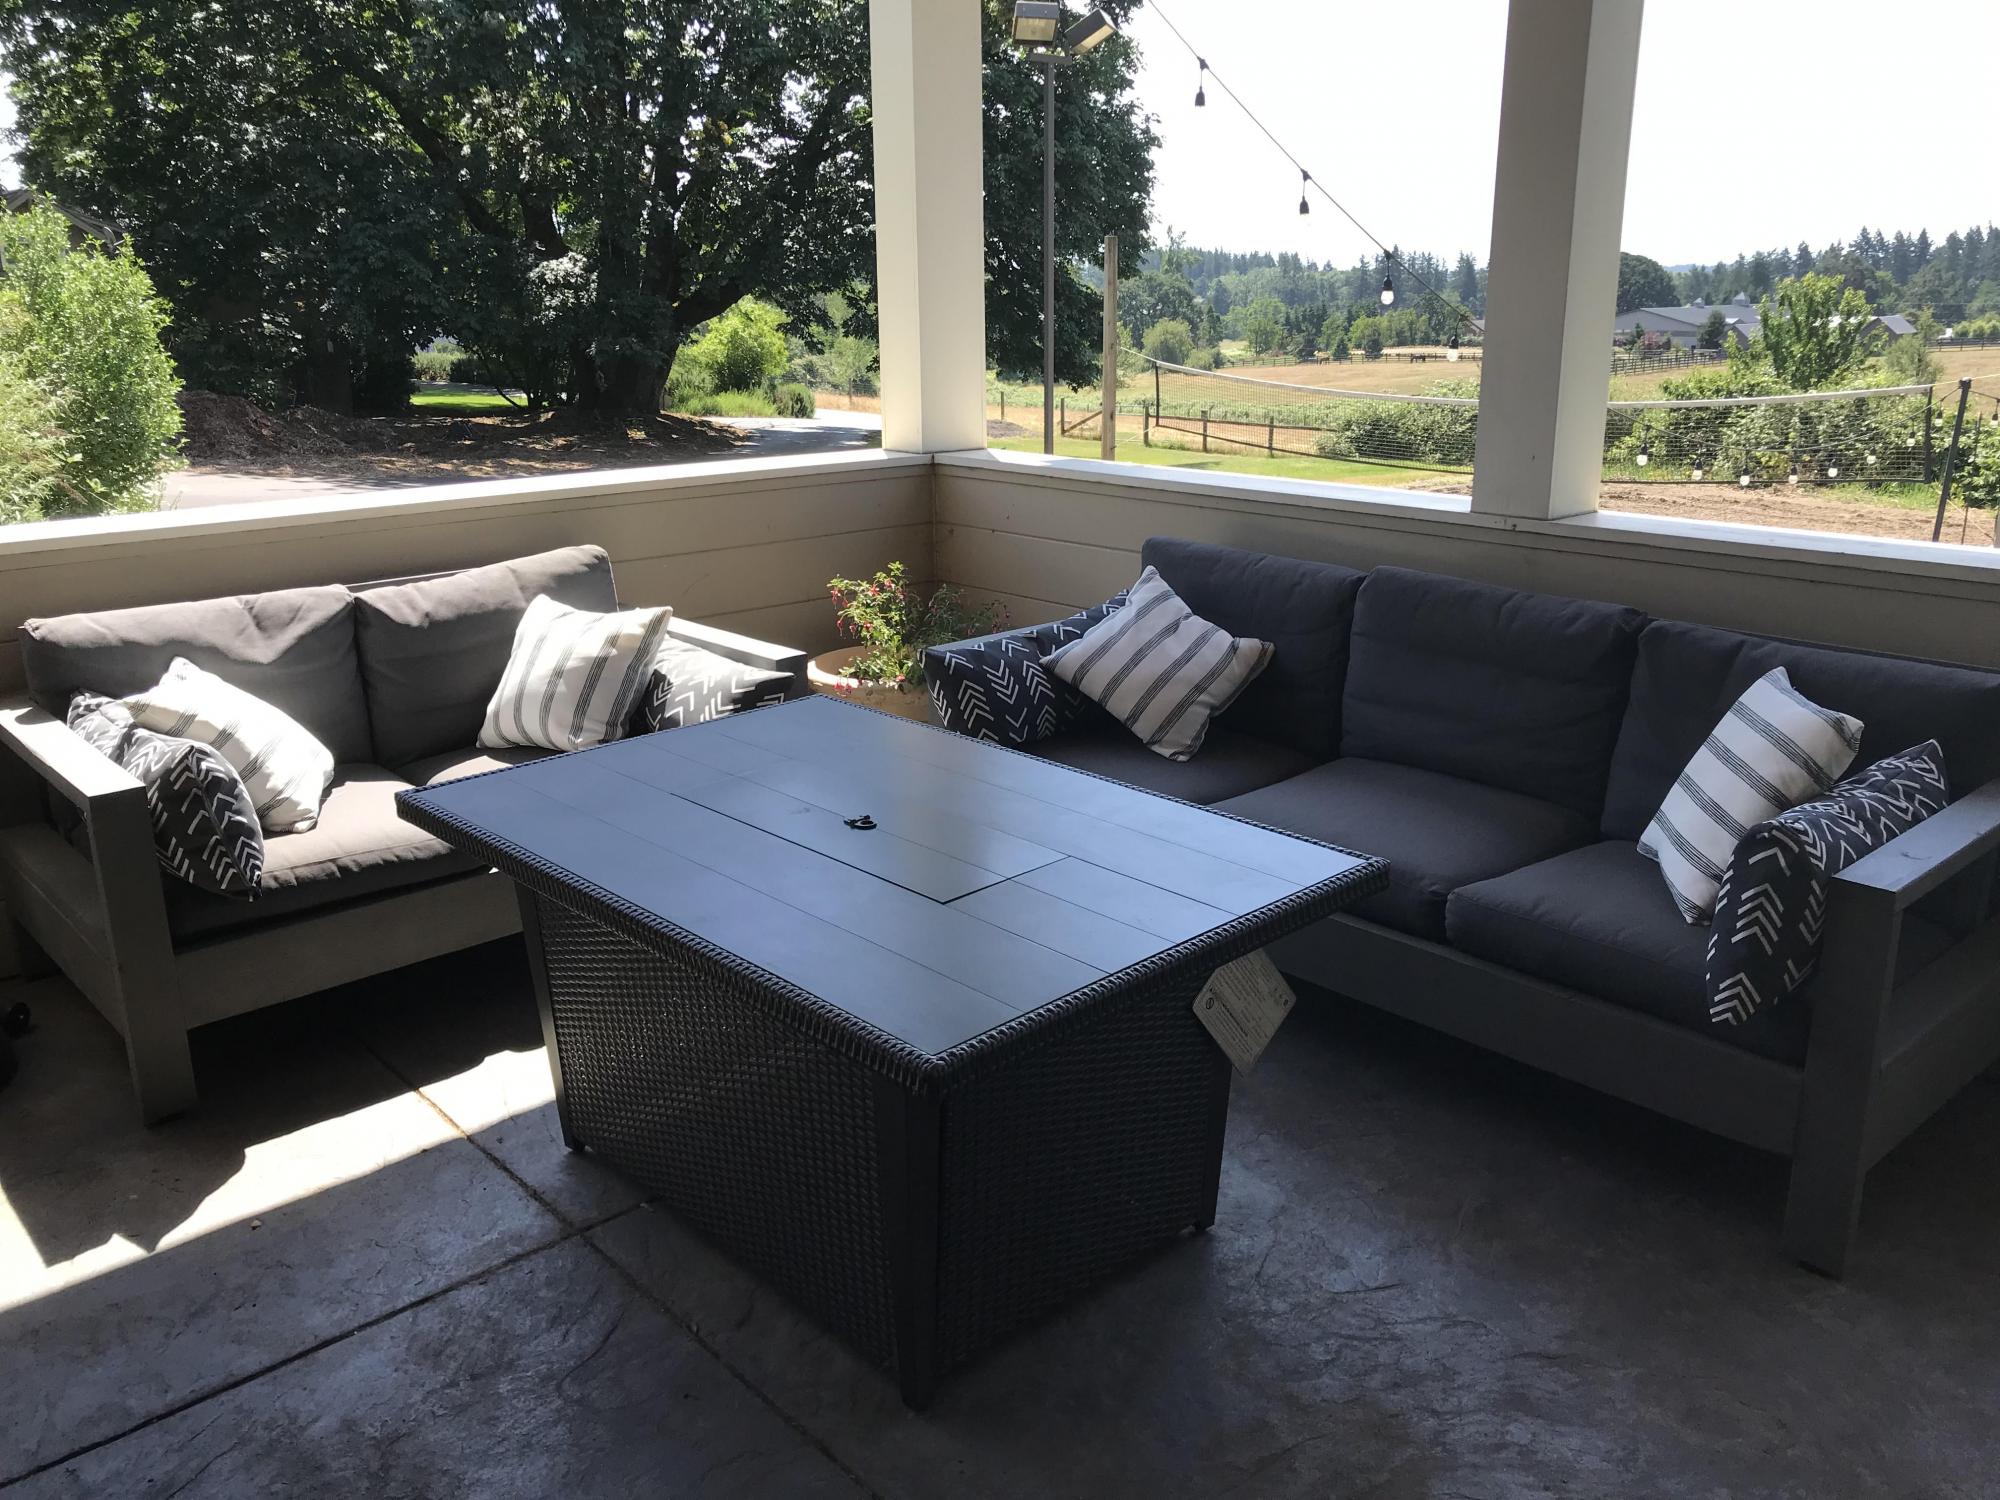
We were needing a set for our covered patio and didn't want to make the leap to purchase a set until we knew which configuration would feel right for the space. We decided to start with this set and we are so happy with it. We get so many compliments and requests for the plans. We modified the plans to fit Ikea cushions. We also added rubber footpads to the bottom of the legs to keep it better waterproofed. I built the couch first and then stained it . .. so for the loveseat I stained the big pieces before assembling. I'm not sure one approach was any better than the other. It was an easy build and super quick--the bulk of the time was spent on staining and waiting for stain to dry. We highly recommend this plan. The only thing we may change is to go back and add a cross piece in the arms so that the throw cushions don't fall through. Overall, a great value and super comfortable.

Estimated Cost
$450 including cushions
Estimated Time Investment
Day Project (6-9 Hours)
Finish Used
outdoor stain
Recommended Skill Level
Beginner
Comments
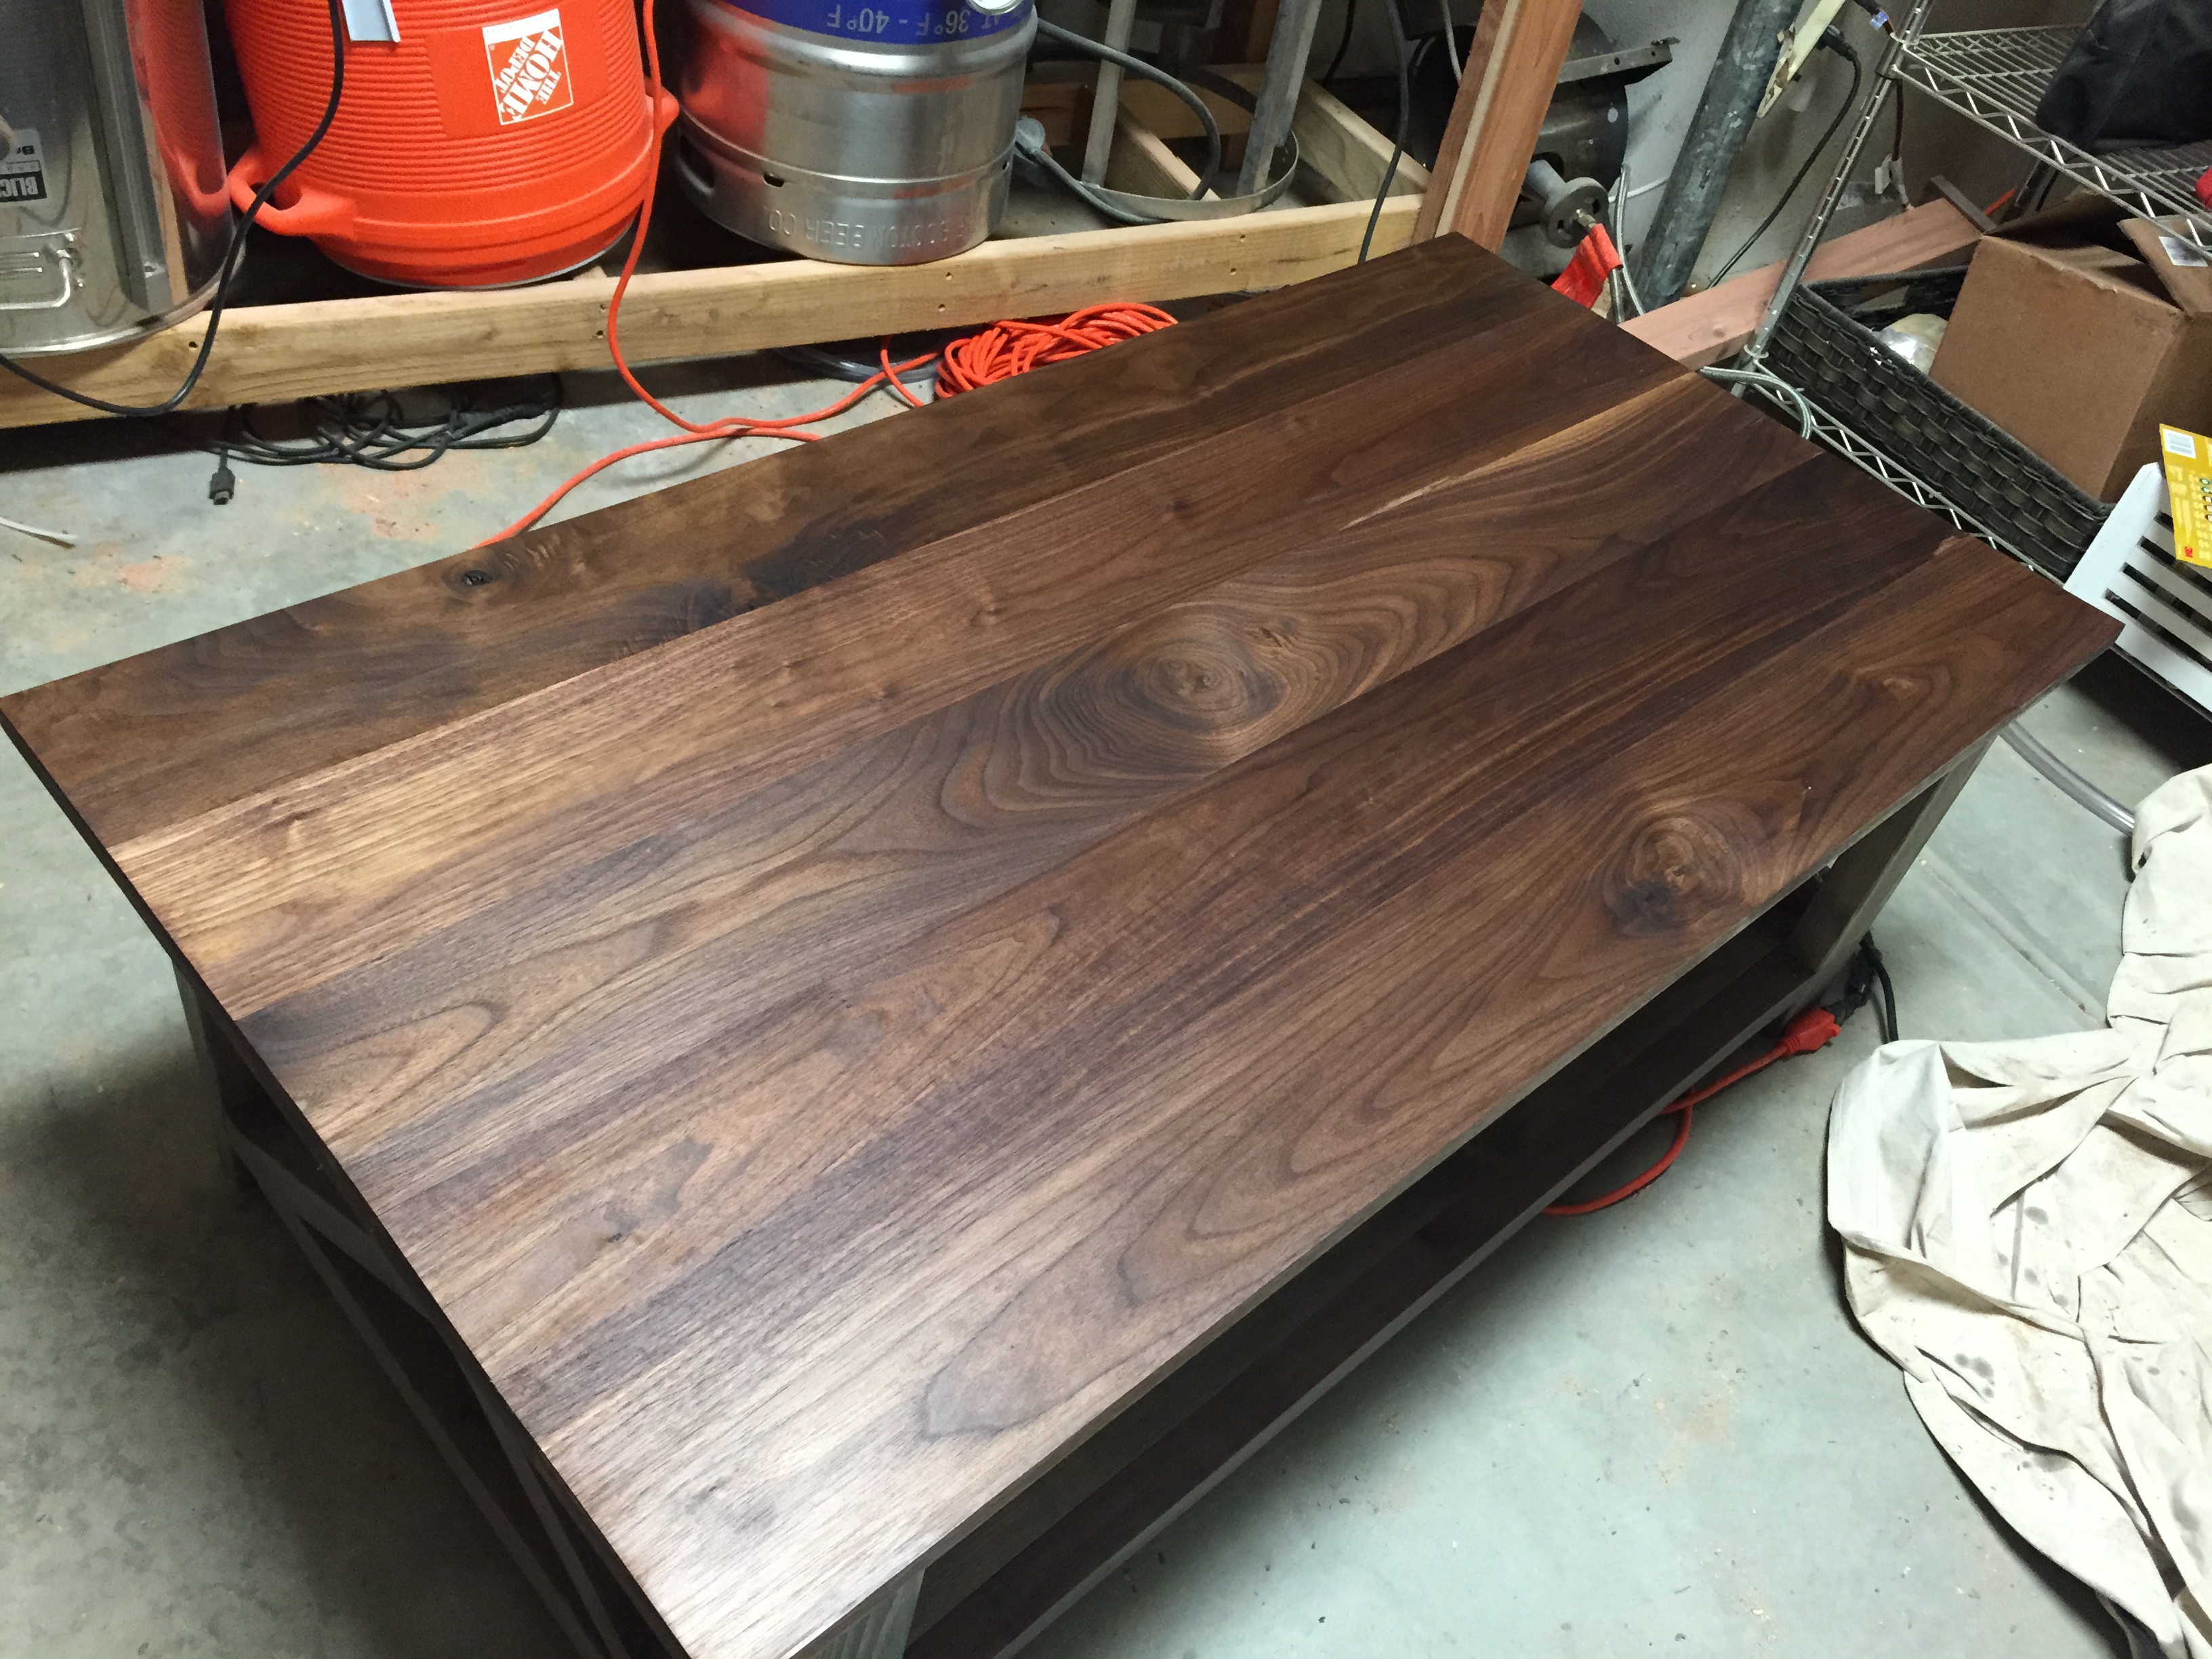
Rustic X Table Walnut Top
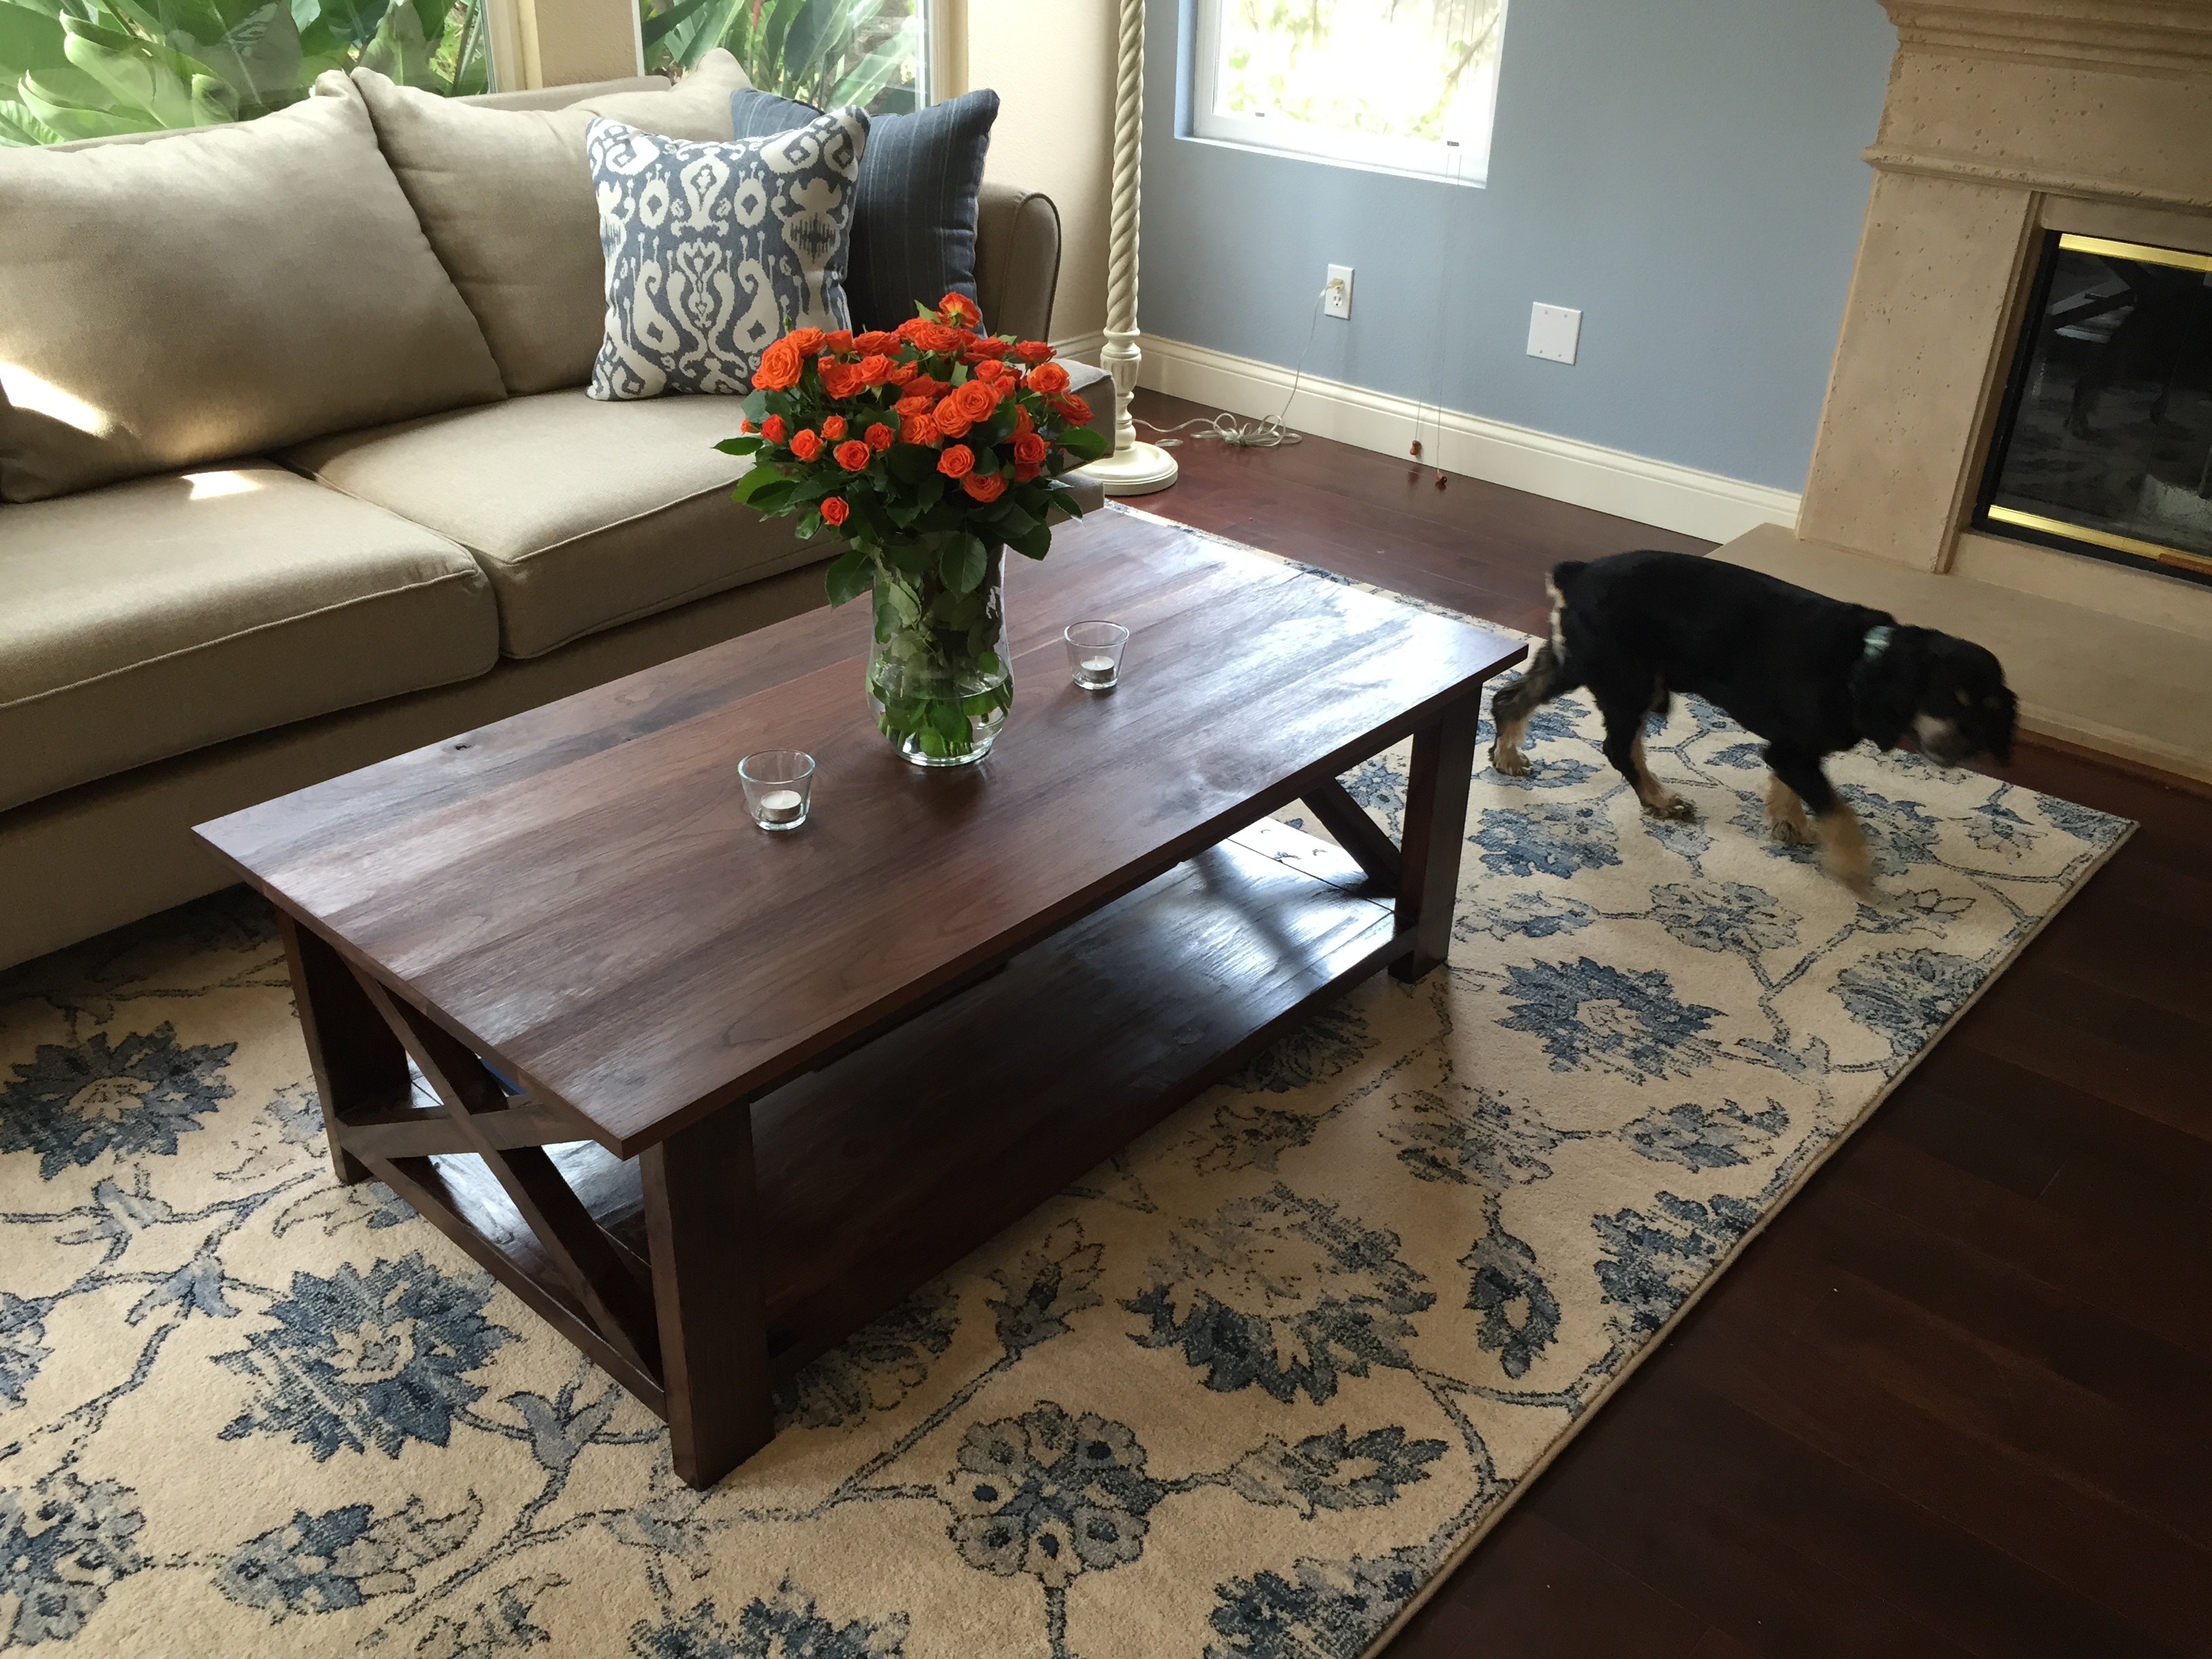
My wife and I were looking at coffee tables for quite some time and didn't find any in the store that she liked. She even turned down quite a few at Pottery Barn, West Elm, etc., but she loved the X Coffee Table at first sight, so I built it. I already had a table with 2x4s for the top, so she asked me to do something different with this one and really have the table top be seamless. Home Depot carries the walnut 1x6 as S4S right now, so I was able to make the top without even a table saw. A belt sander followed up with a random orbital did the job to get the level top you see in the picture.

Built from Plan(s)
Estimated Cost
$200
Estimated Time Investment
Weekend Project (10-20 Hours)
Finish Used
Gray, Dark Walnut, Provincial, and Bombay Mahogany for the structure and bottom shelf. I used Danish Oil: Natural for the top.
Recommended Skill Level
Intermediate
Comments

Fri, 03/06/2015 - 15:51
This looks really awesome in
This looks really awesome in your room! Great job!
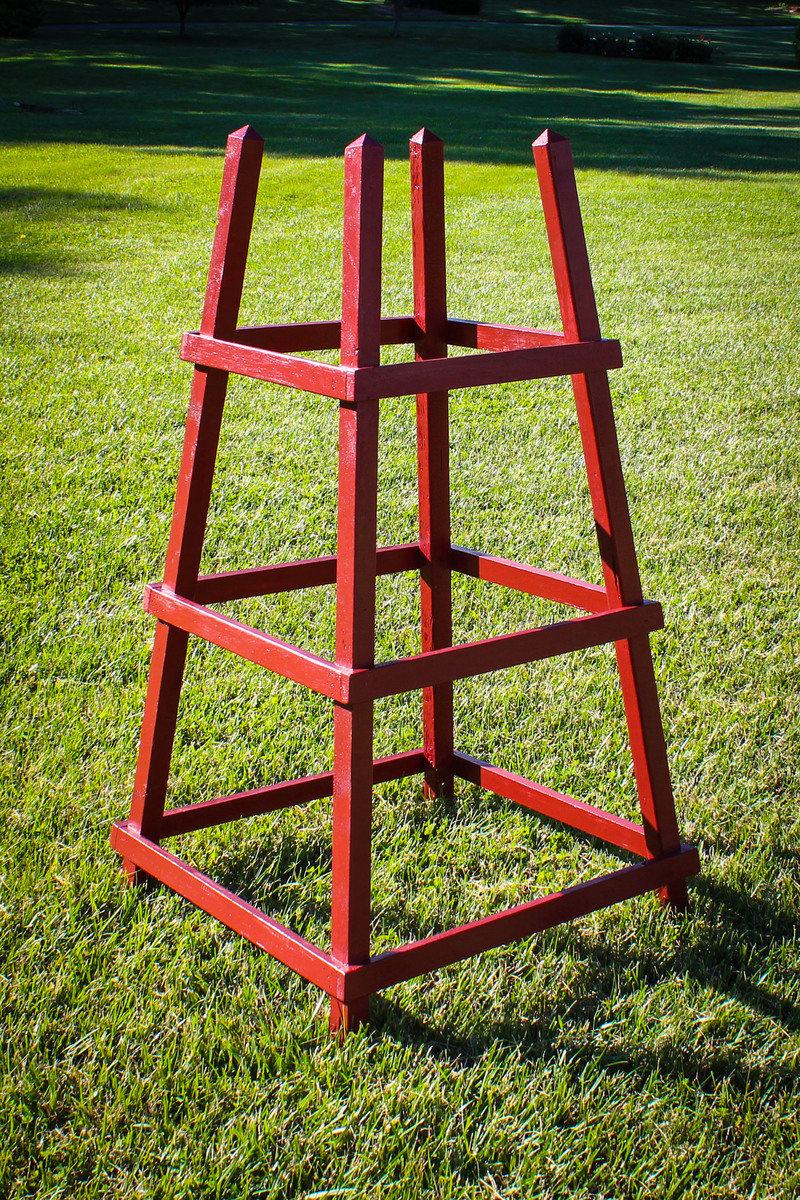
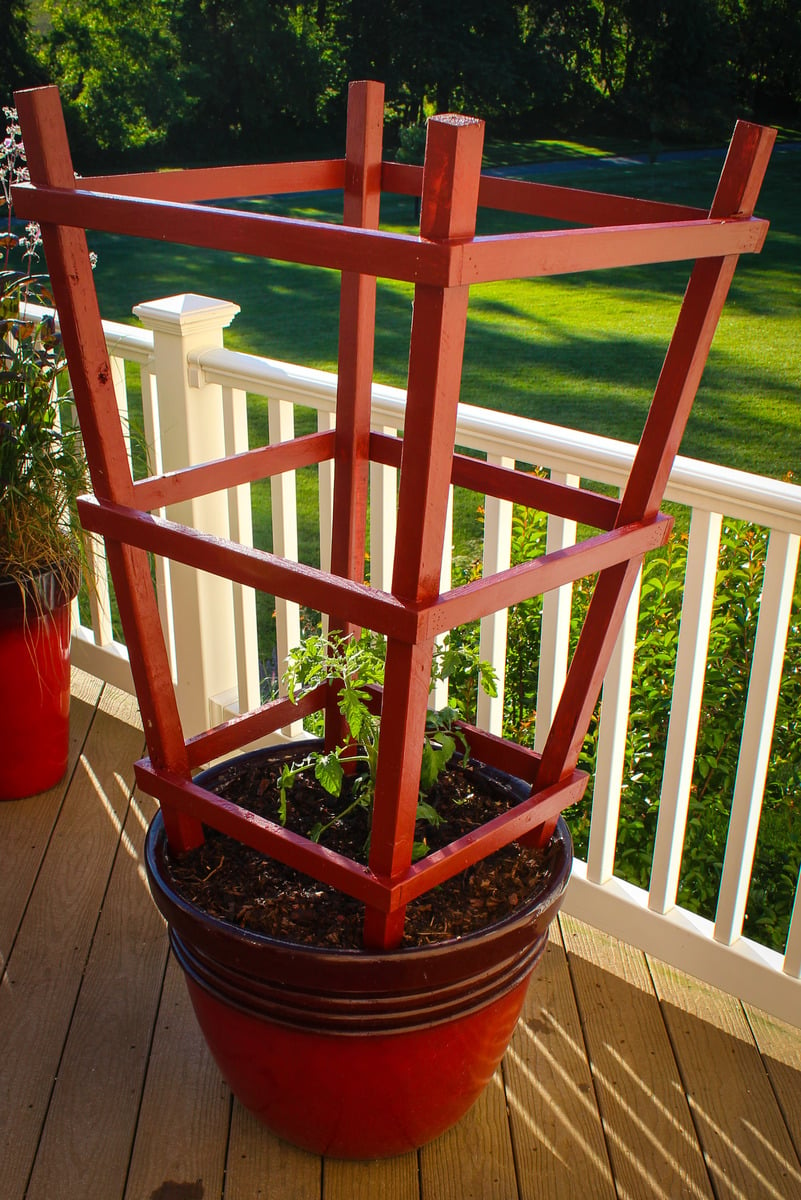
Obelisk Trellis
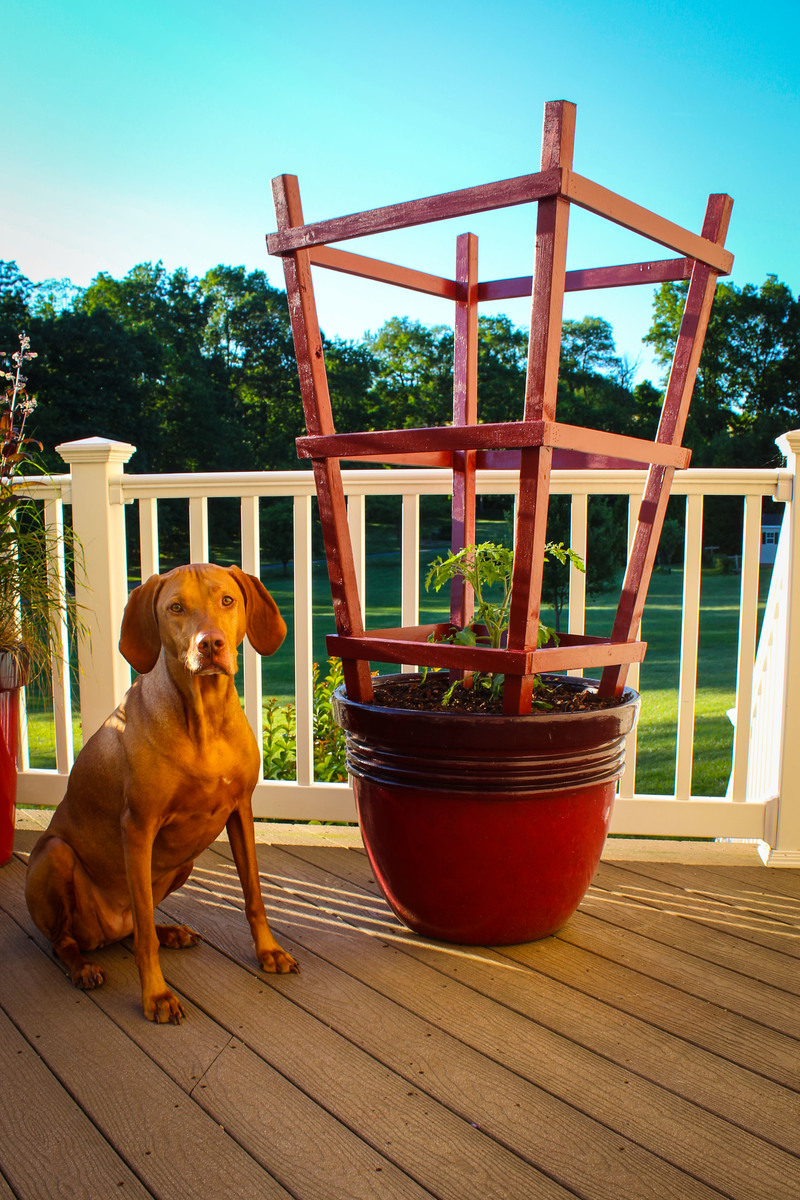
Each year I try something new in the garden. This year, I was looking for a different way to cage tomatoes. I have metal wire cages that are pretty flimsy and always seem to tip over after the tomato plant reaches 3 feet tall. This is my try at a wooden trellis in the shape of an obelisk. Mostly, it is for decoration but having the obelisk shape does allow us to stack the cages together for winter.
Estimated Time Investment
An Hour or Two (0-2 Hours)
Finish Used
Paint
Recommended Skill Level
Beginner
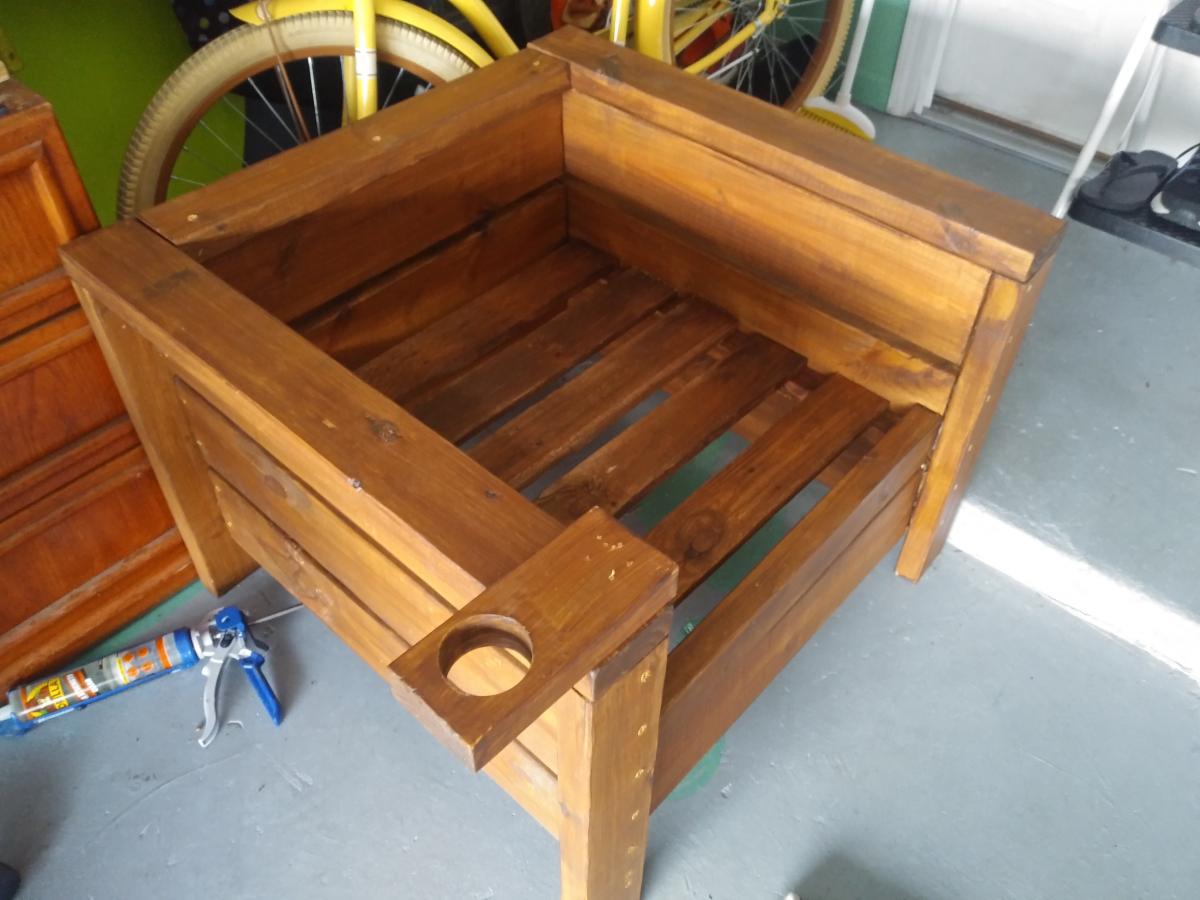
2x4 2x6 chair with 1x4 slats and a cupholder on a hinge.
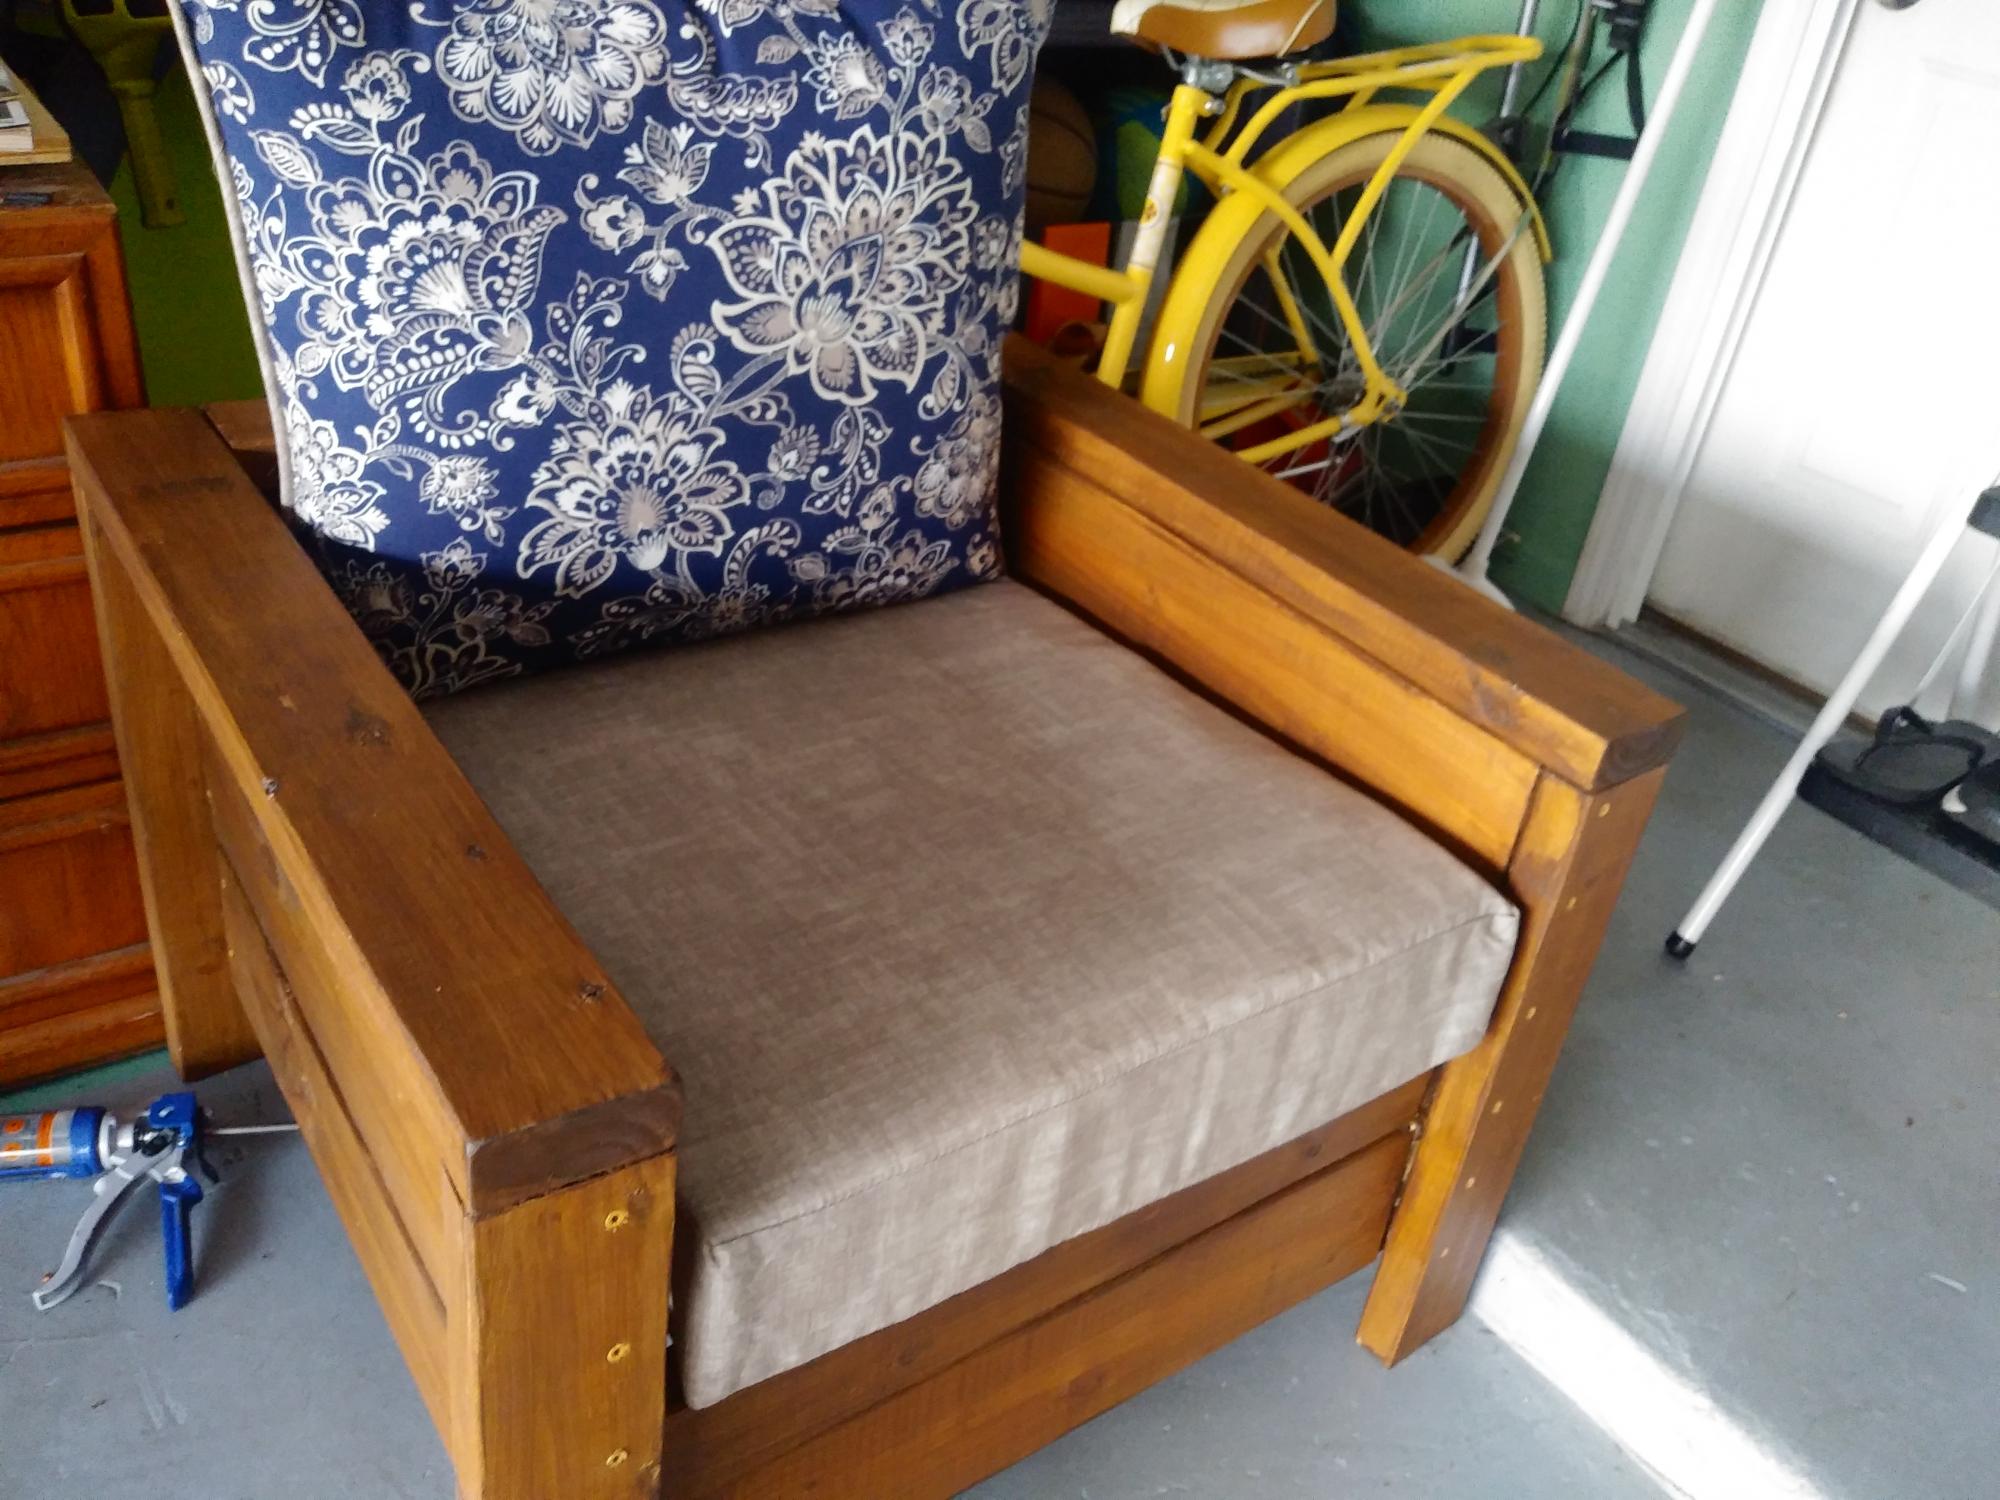
Great project! Added a cup holder and due to lumber prices uses 1x4 for seat slats from a free pallet. This also allowed the thick cushion to sit lower in the chair and made the chair lighter, and did not have purchase an extra 2x4.