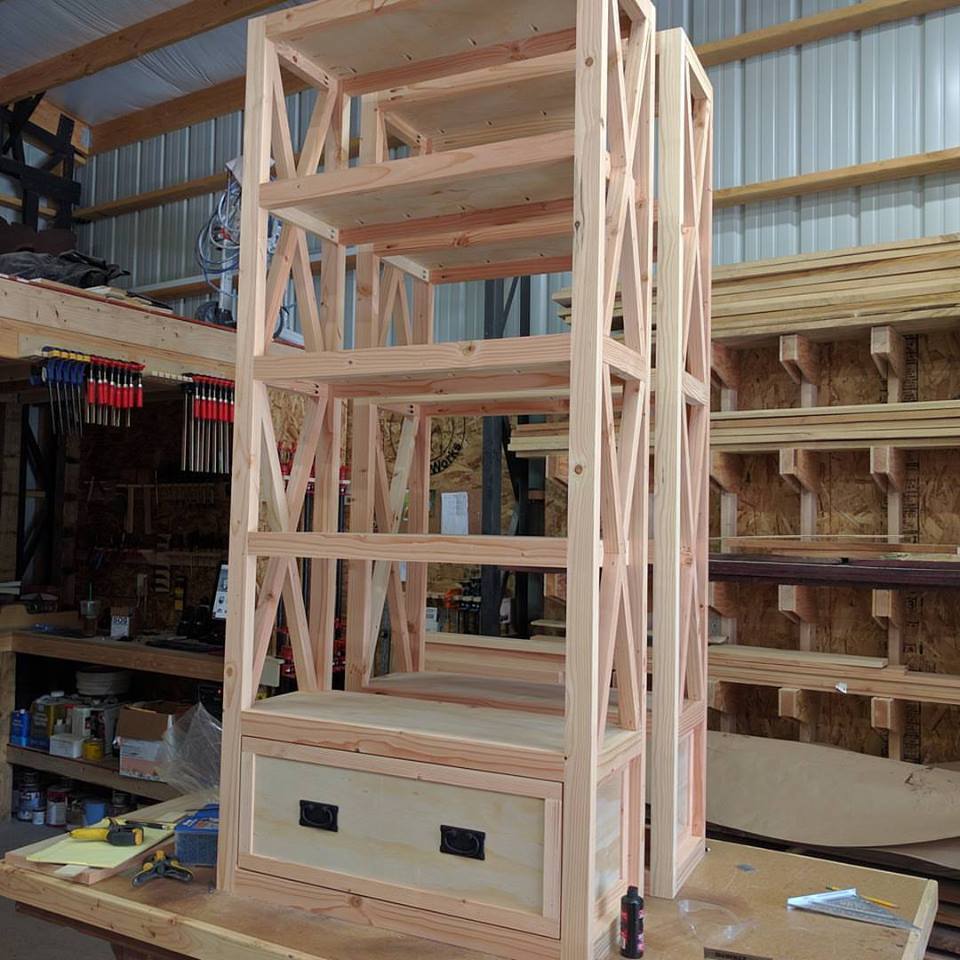
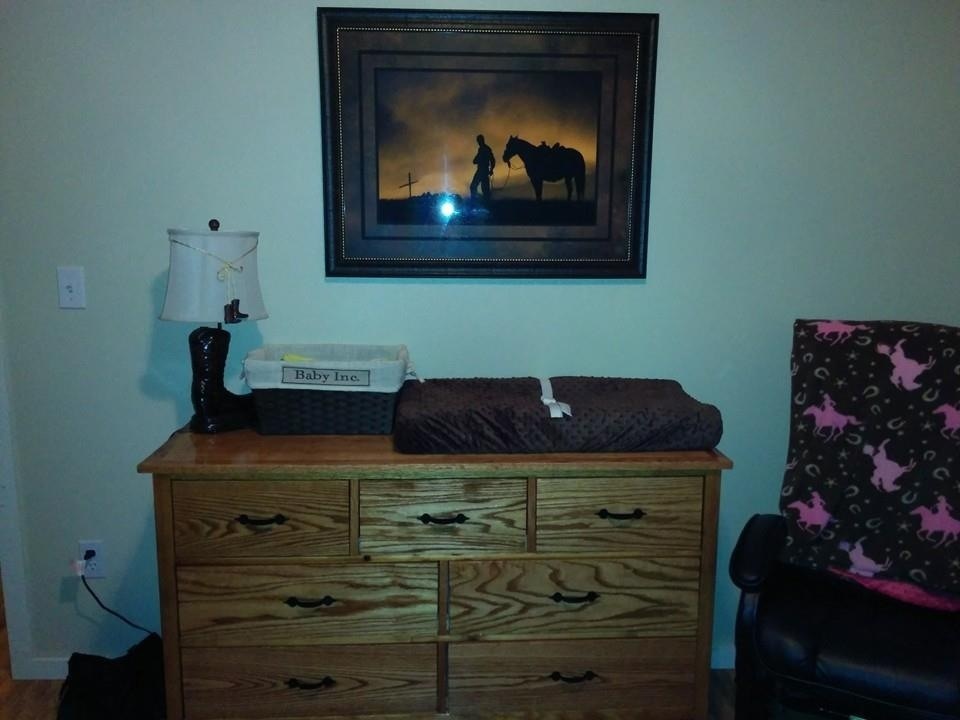
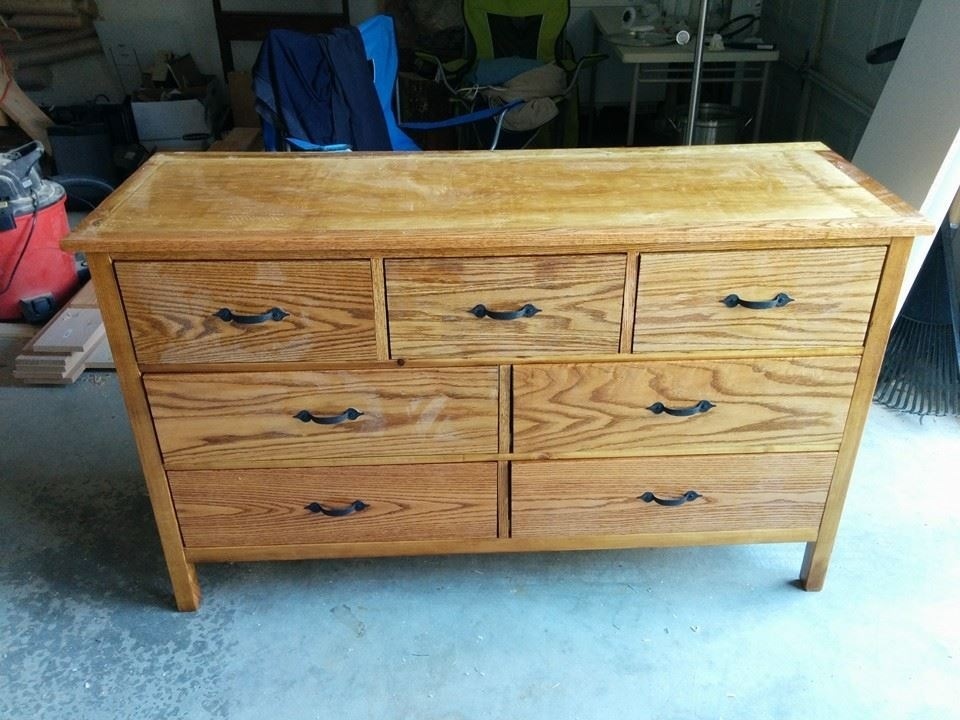
Kendal extra wide dresser/changing table

When we found out we were expecting, my husband and I decided we wanted to build all the nursery furniture. The dresser/changing table was our first project before we moved on to a closet system and the barn bookshelf. We just have the crib and night stand to finish before our little cowgirl, Teyla, arrives in October.
We decided on using oak for the furniture. This was also our first attempt at drawers which means some of the drawer faces are not flush with the dresser front like we wanted. Overall the frame and drawer boxes went together very easily. The drawer installation was the trickiest part for us.
Built from Plan(s)
Estimated Cost
$150
Estimated Time Investment
Week Long Project (20 Hours or More)
Finish Used
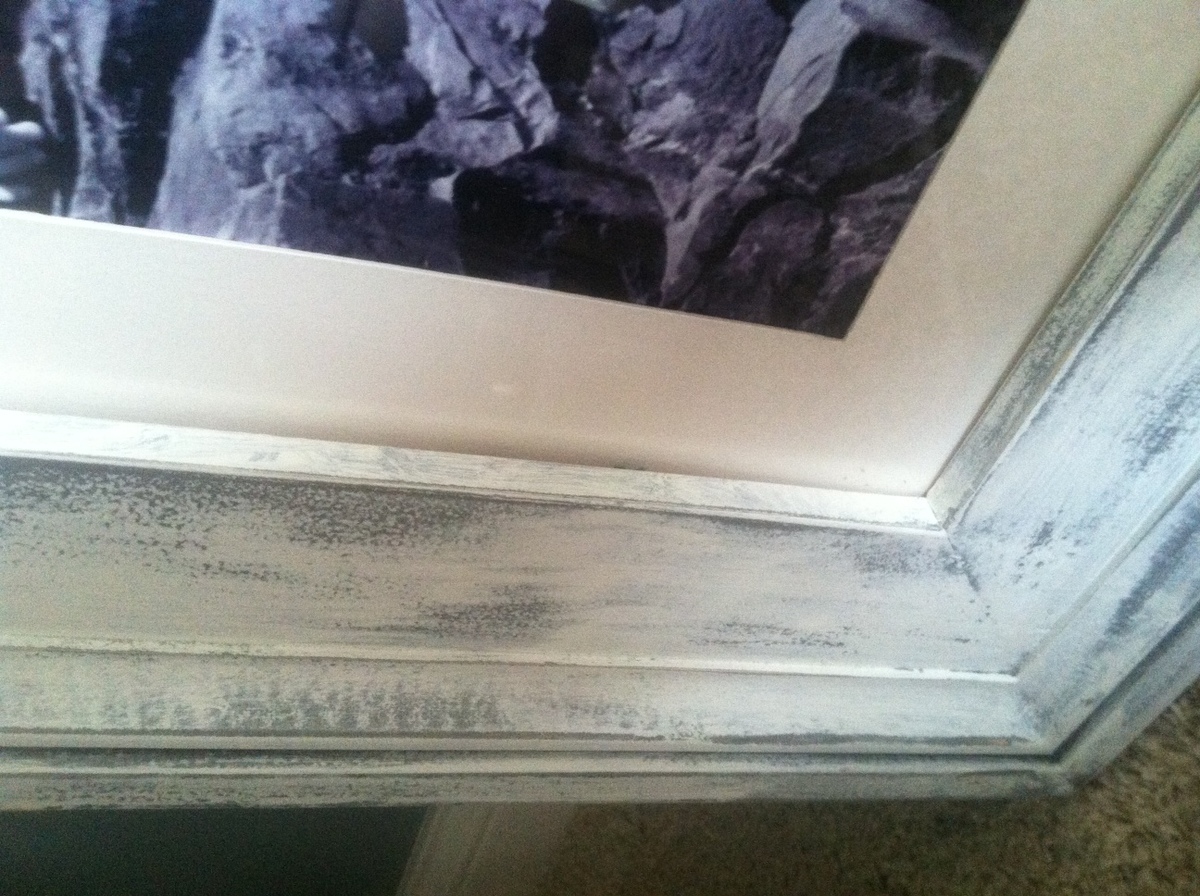
Golden oak
Recommended Skill Level
Intermediate