Community Brag Posts

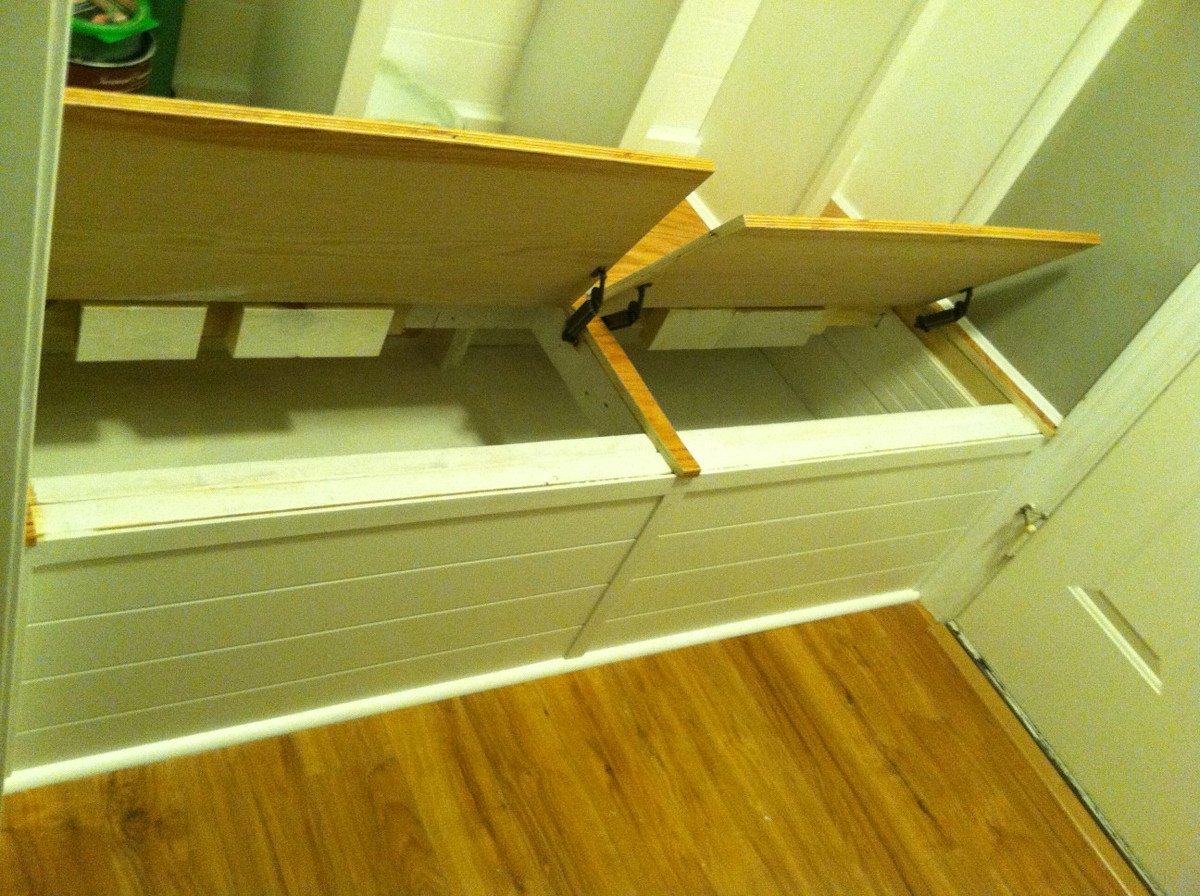
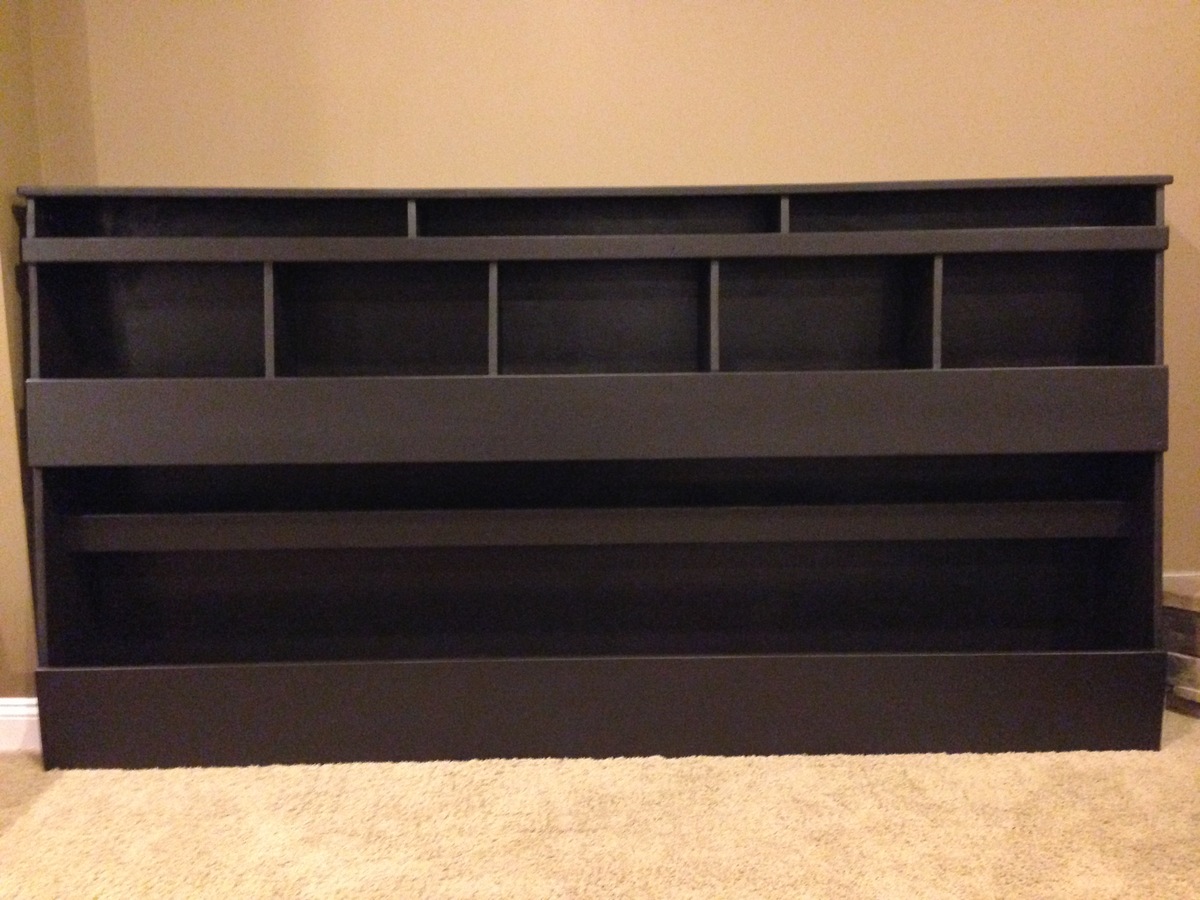
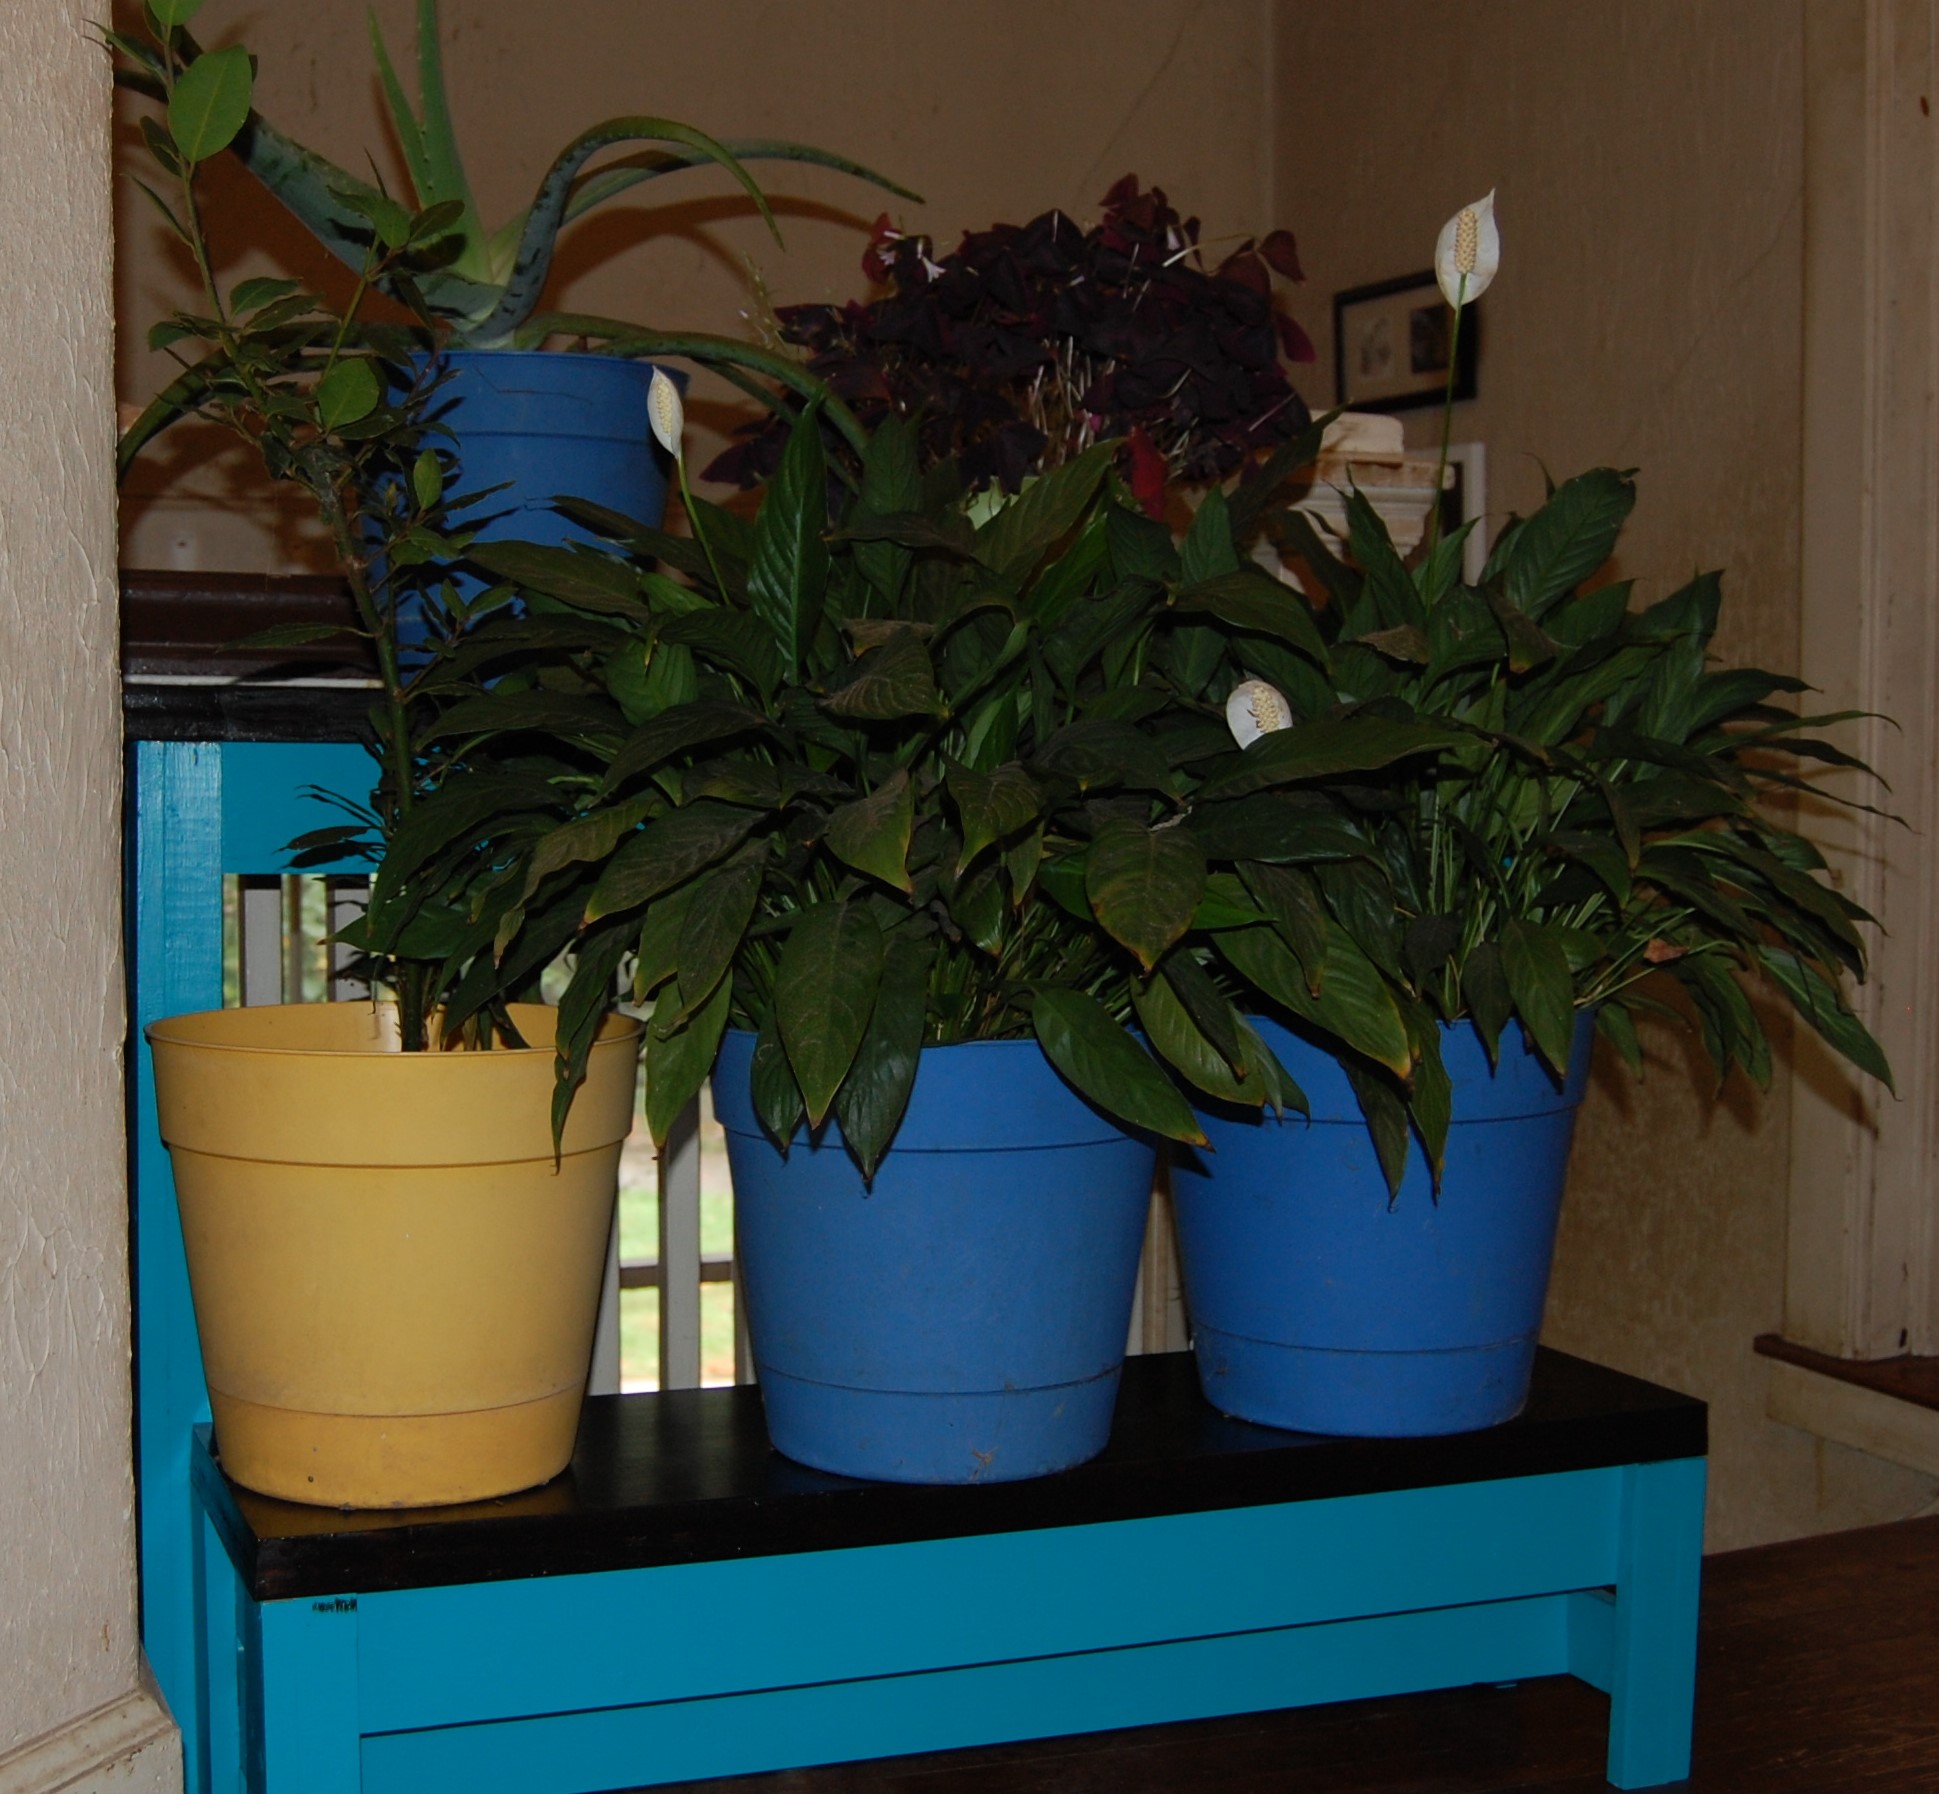
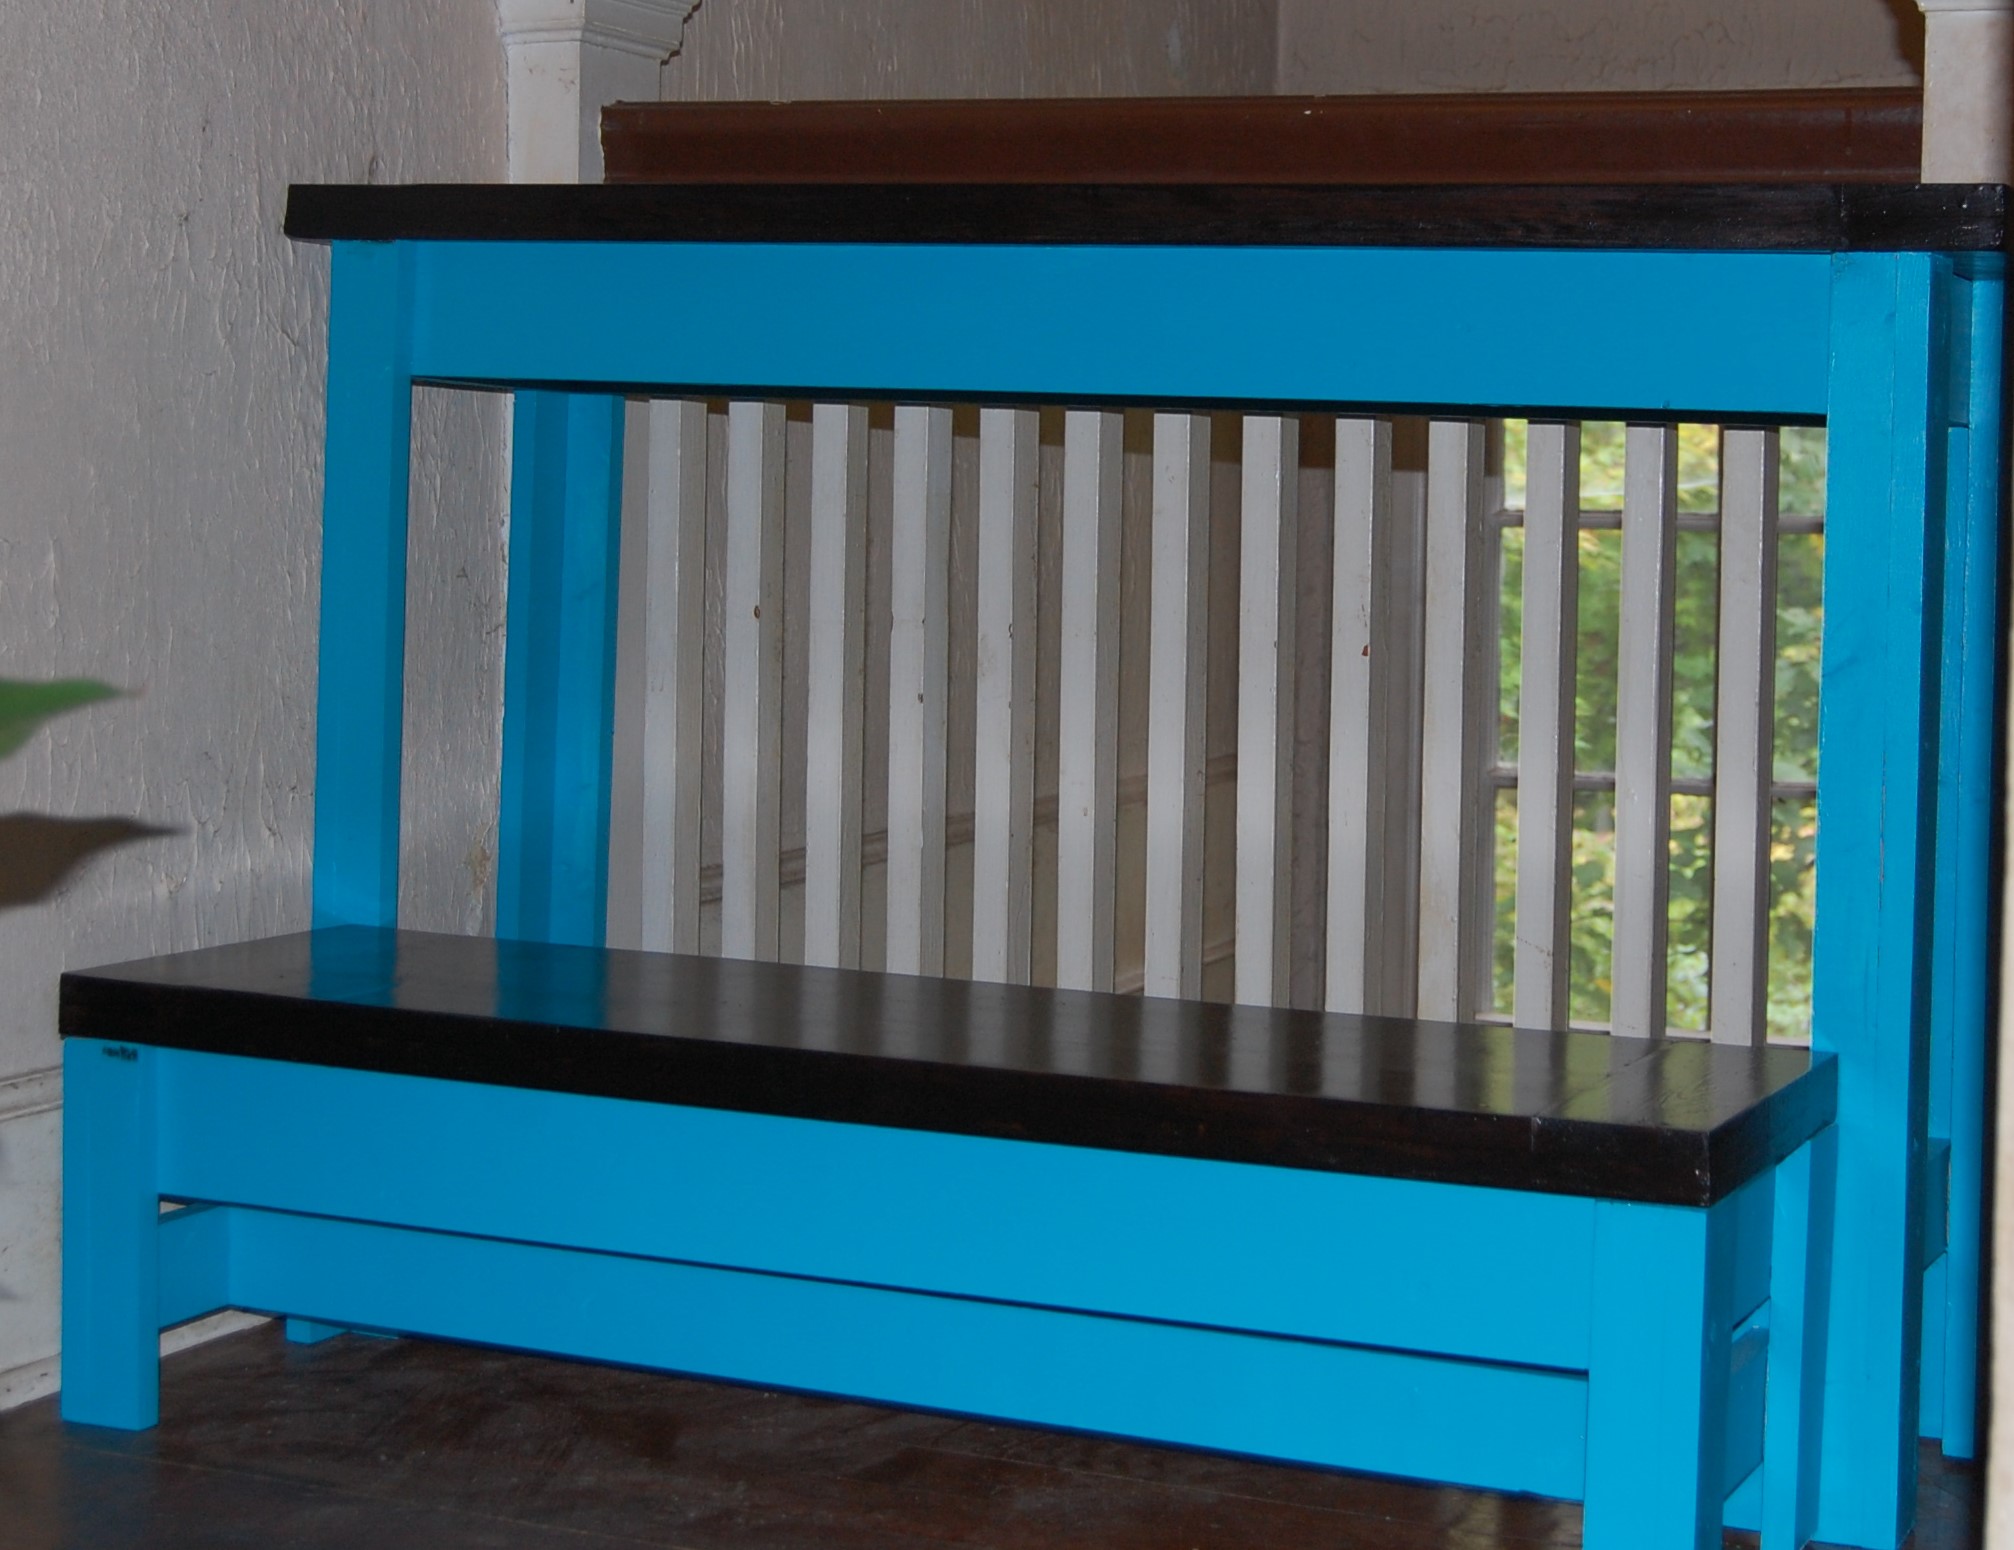
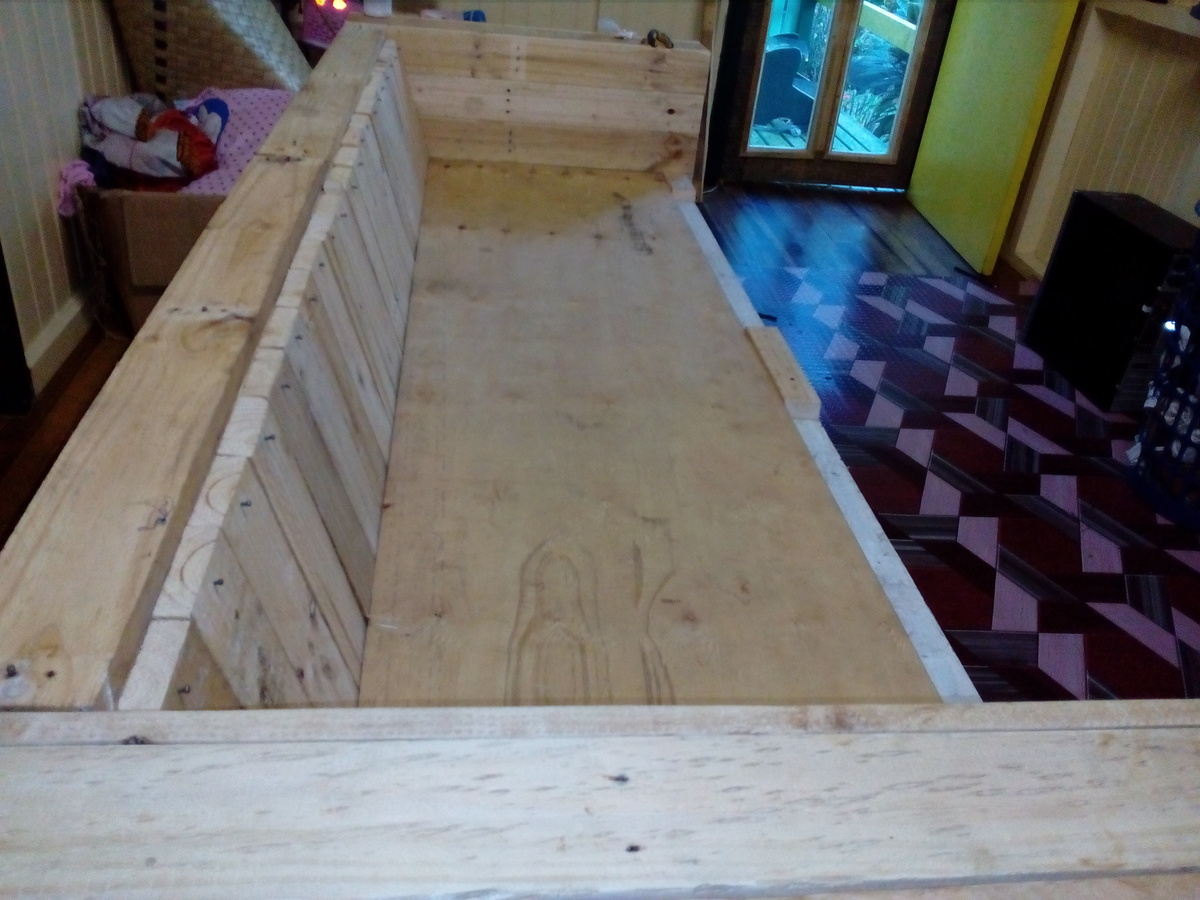
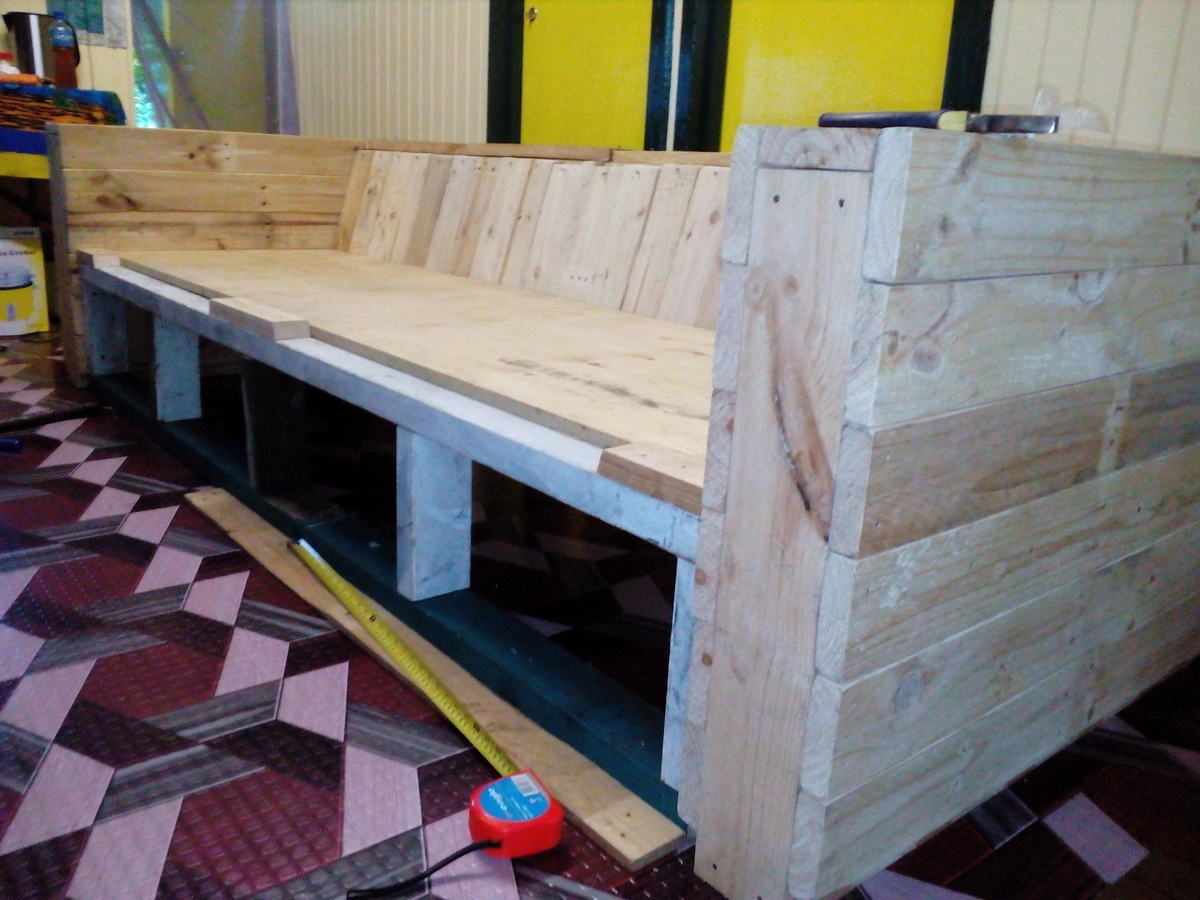
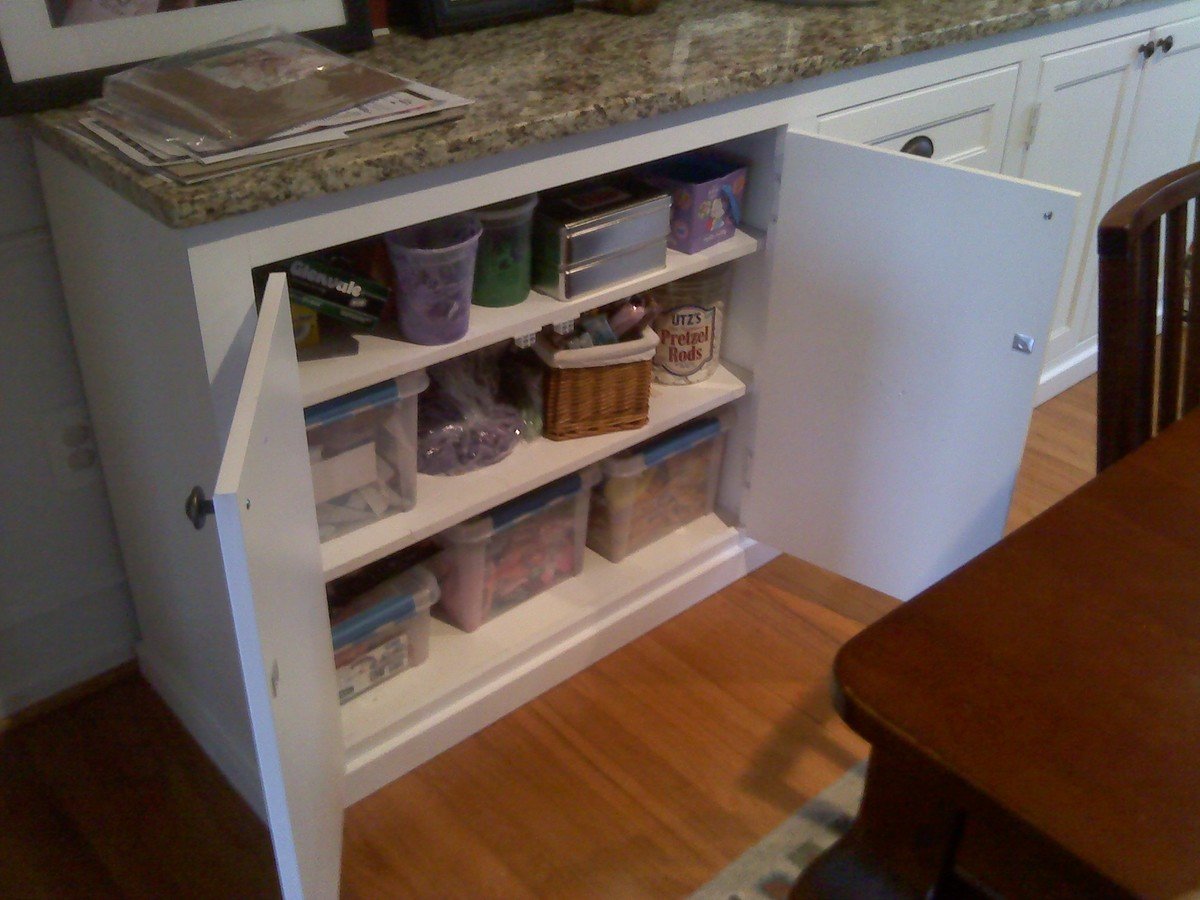
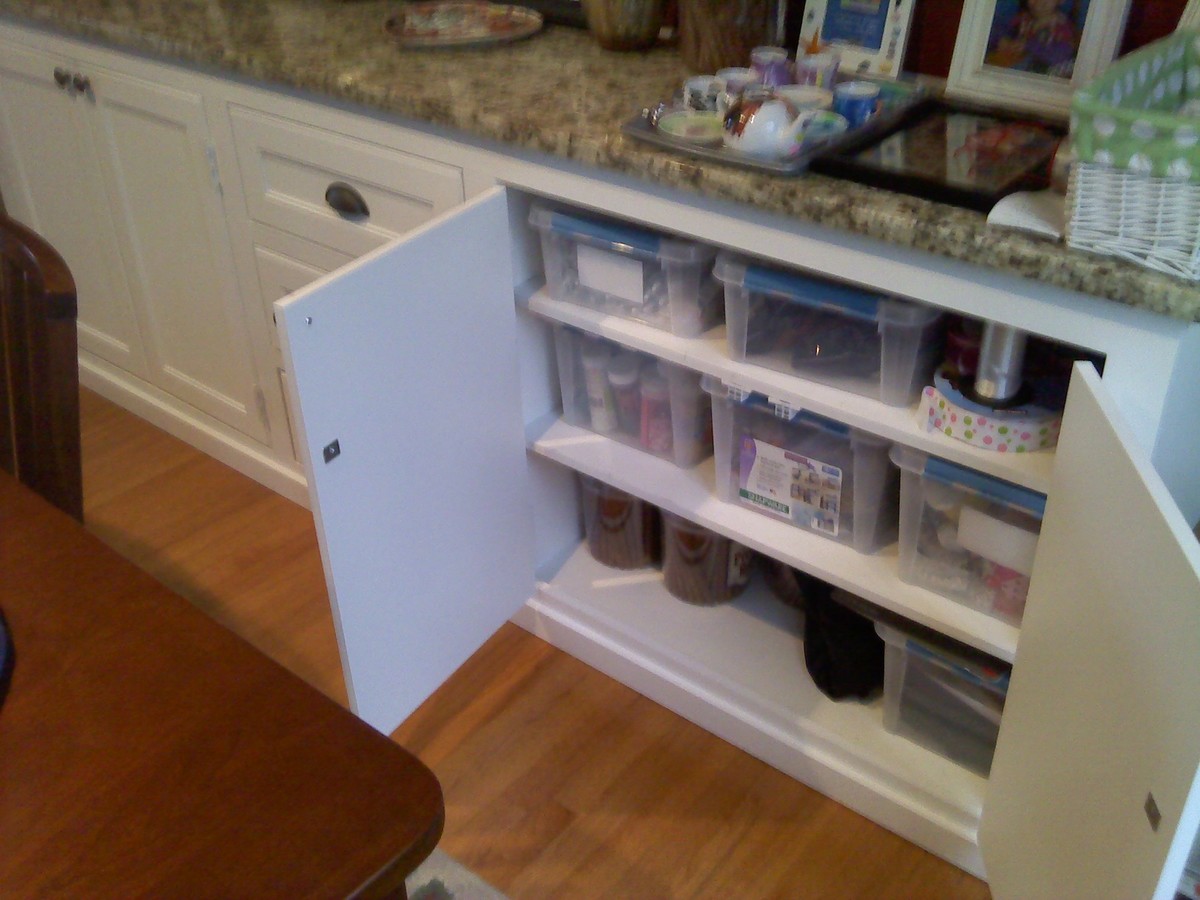
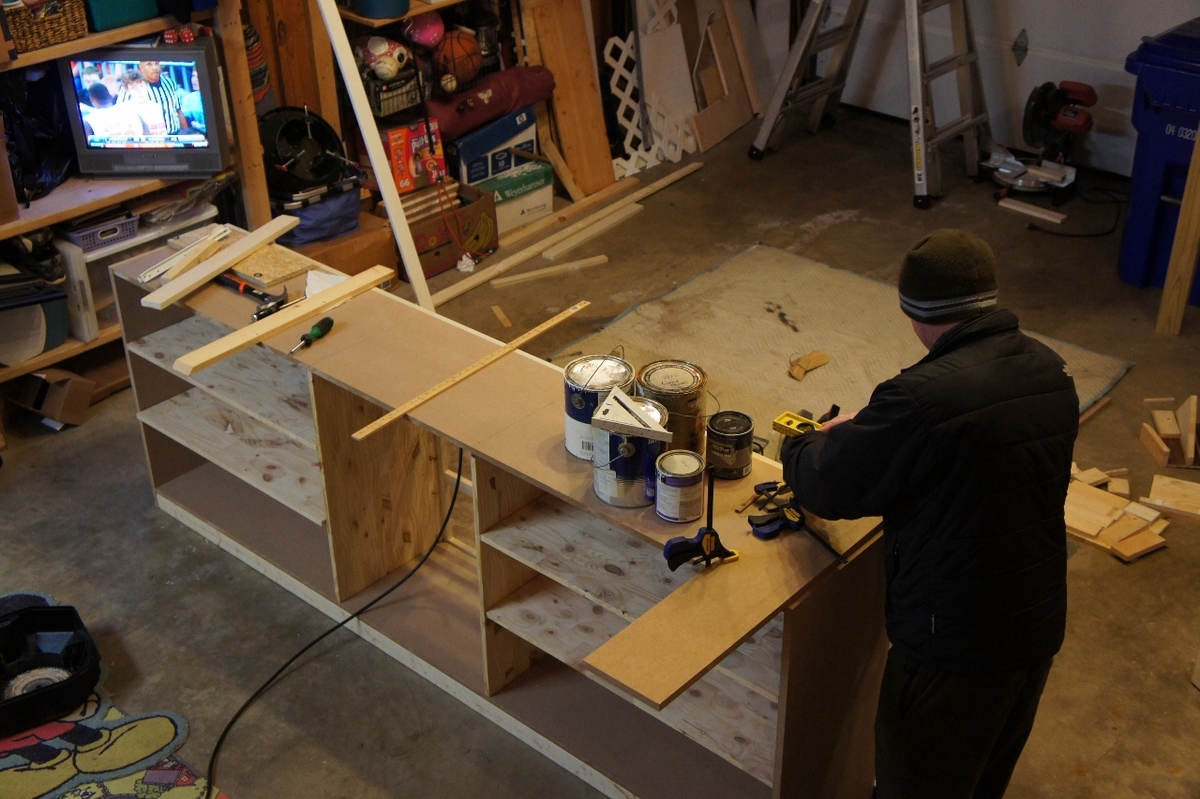
Mail sort/locker inspiration on a flip top bench

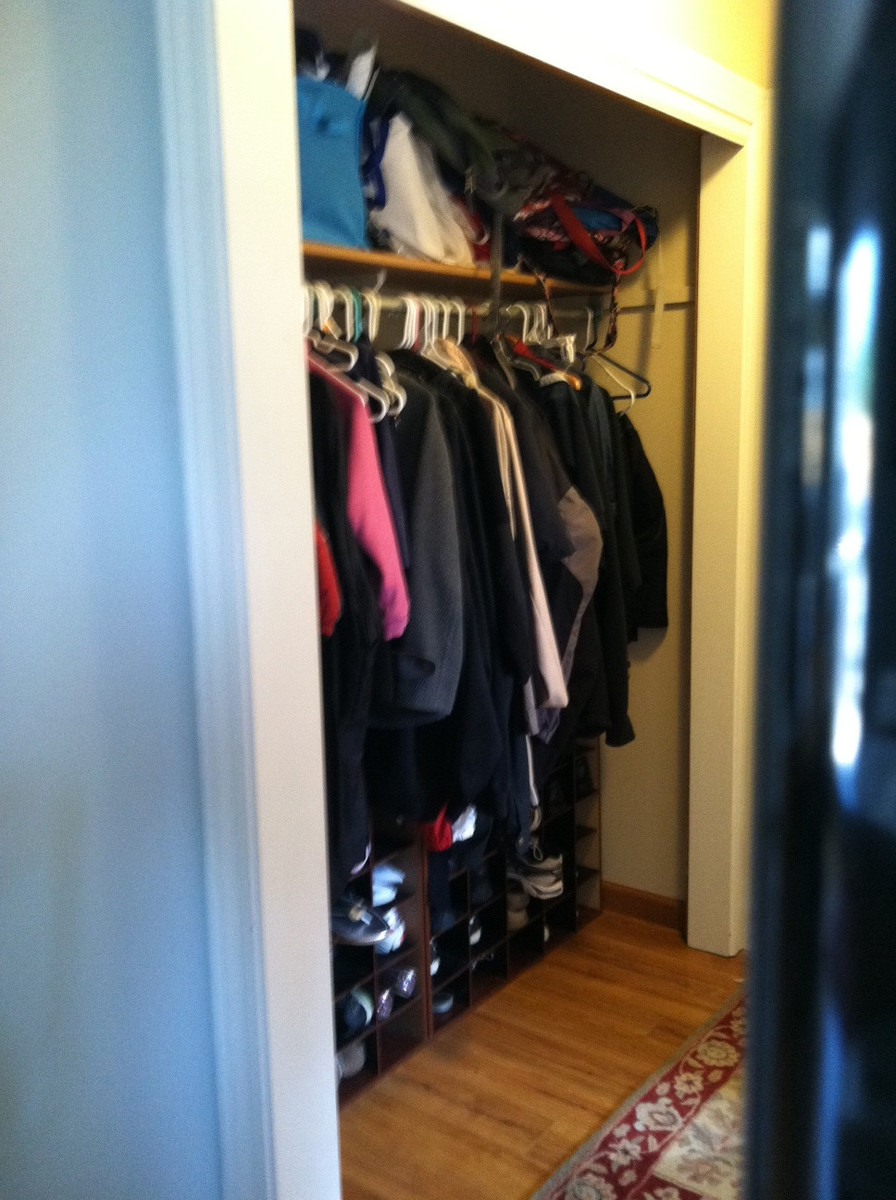
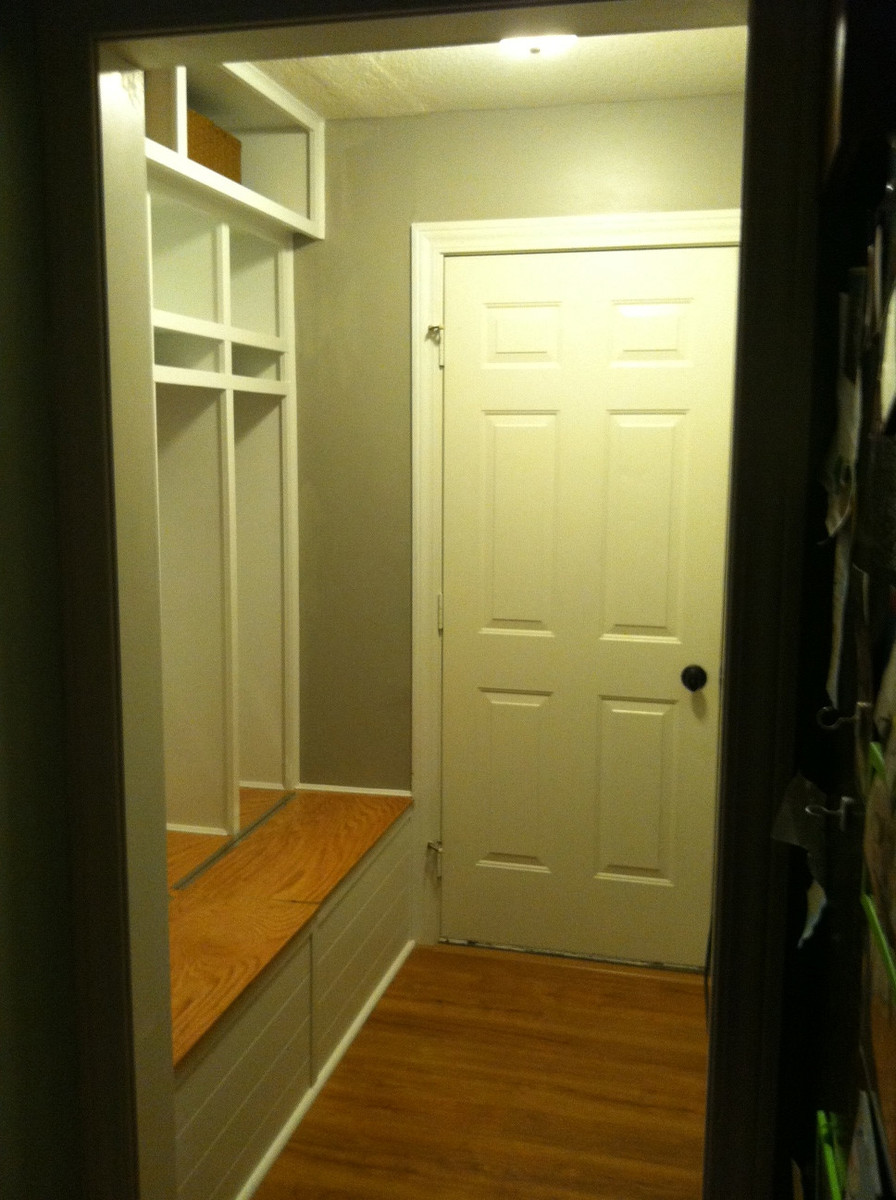
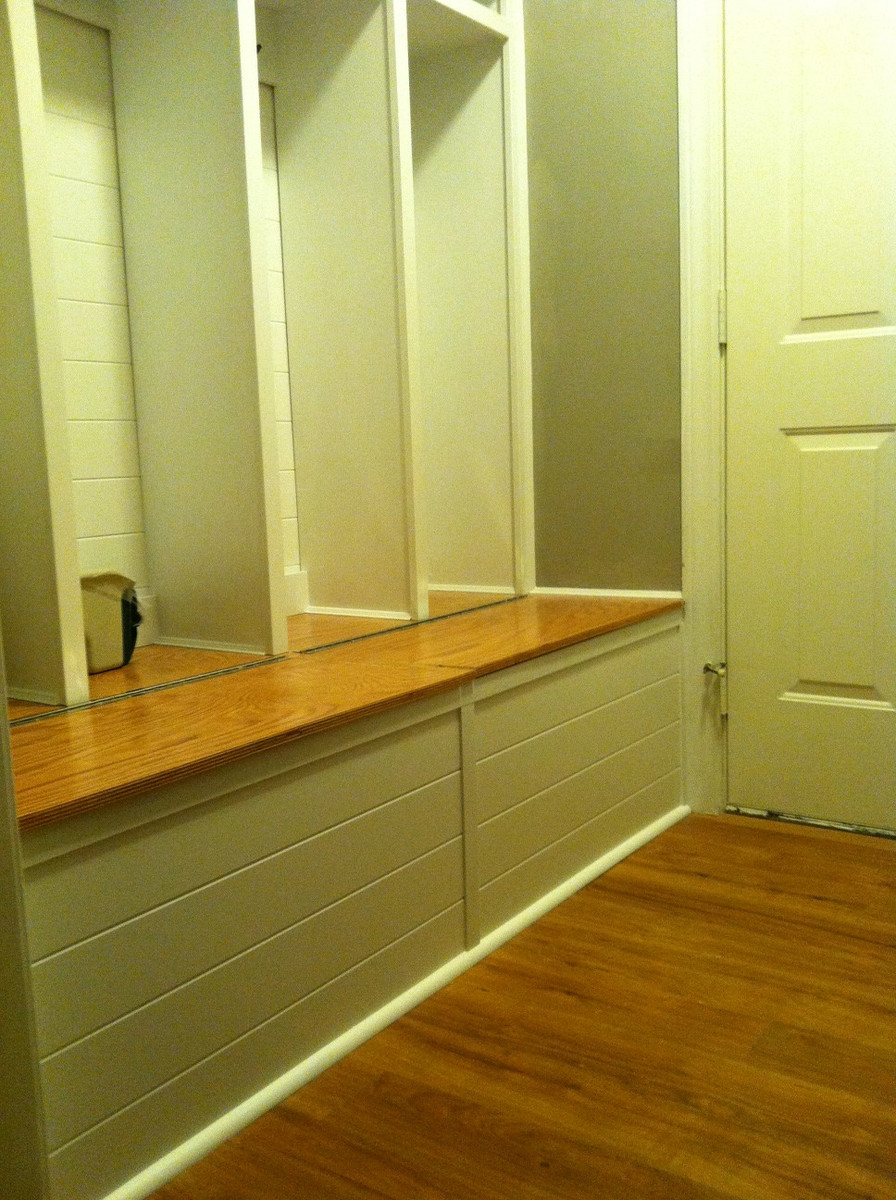
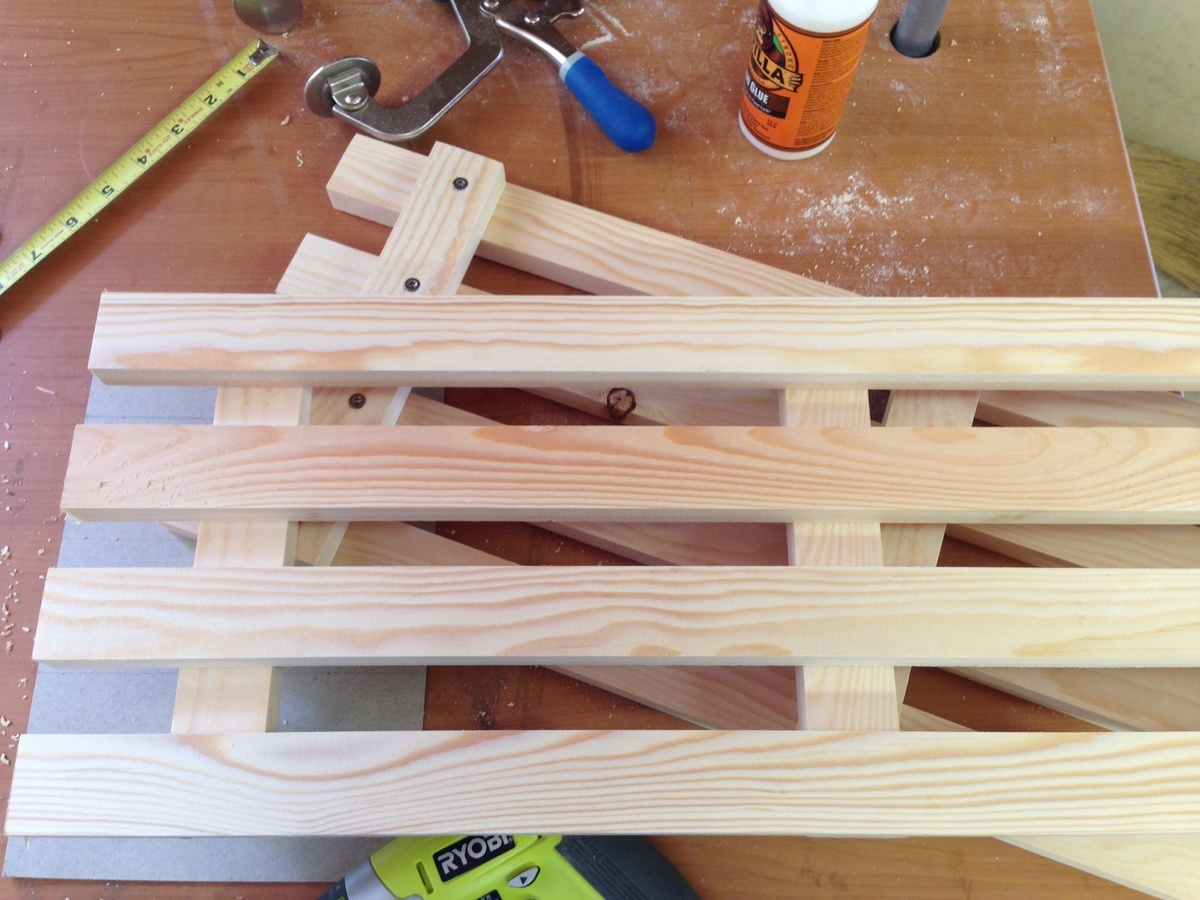
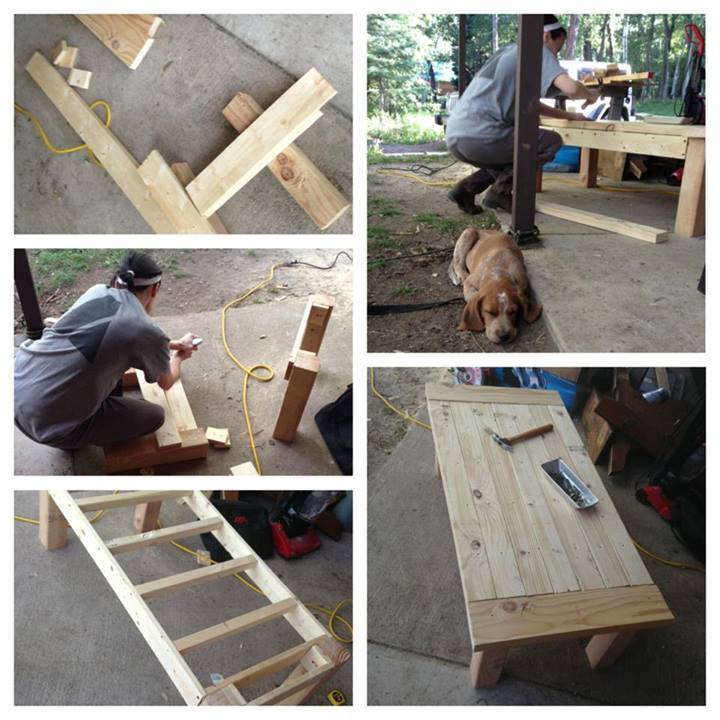
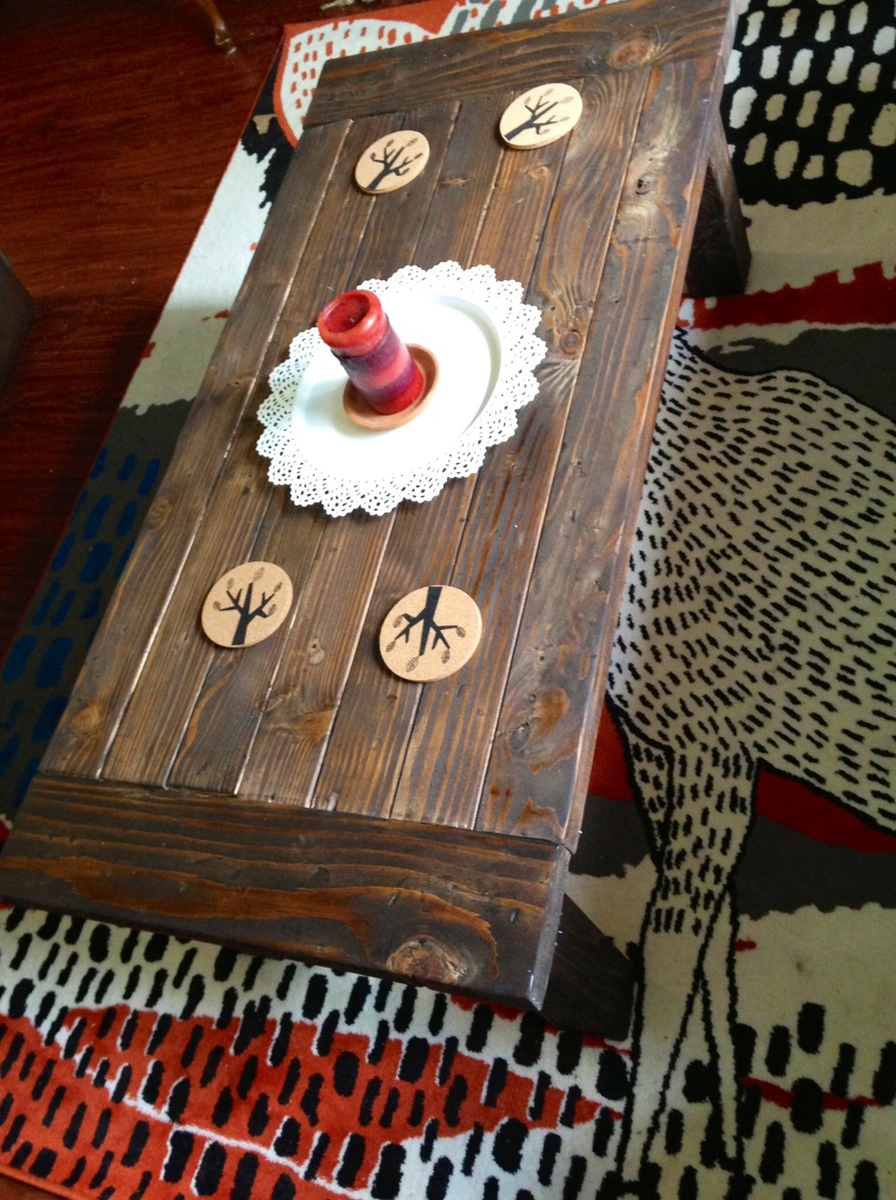
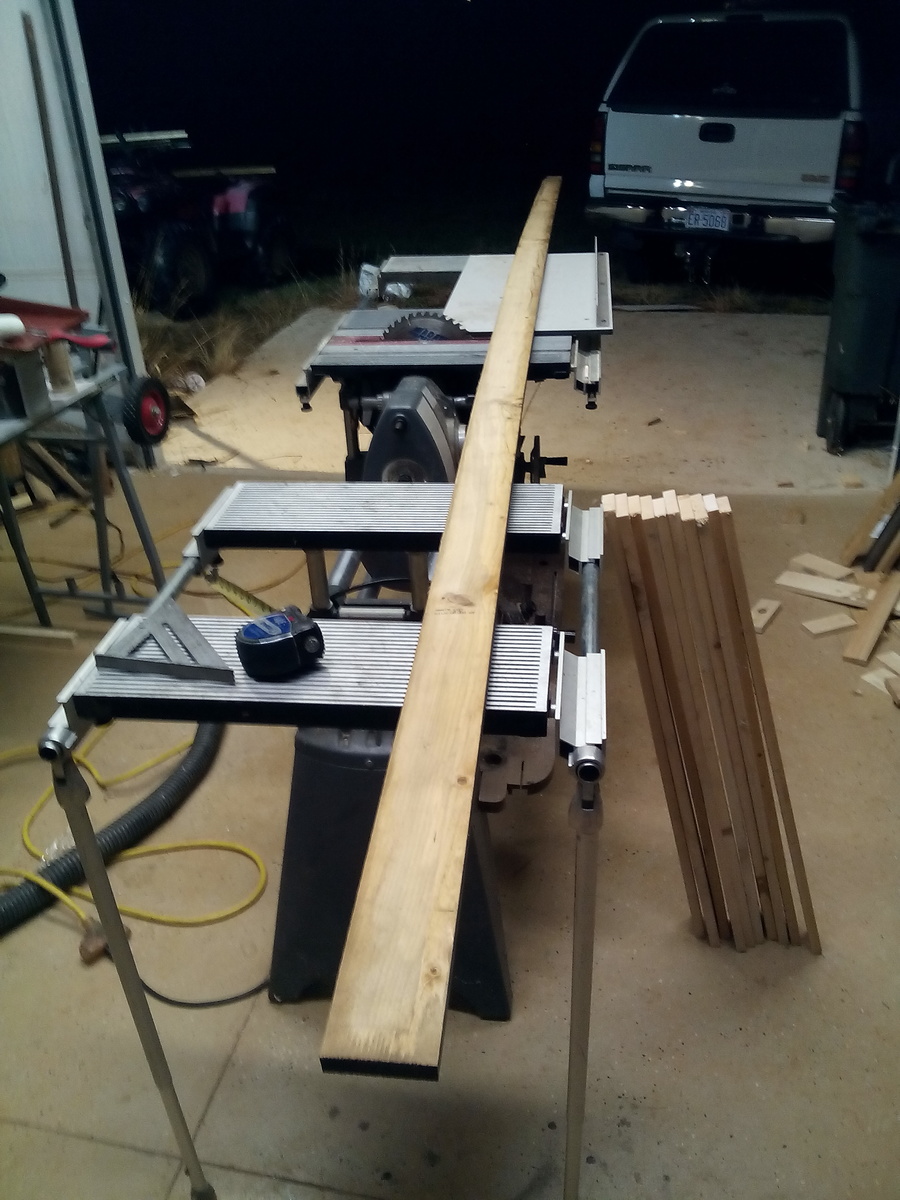
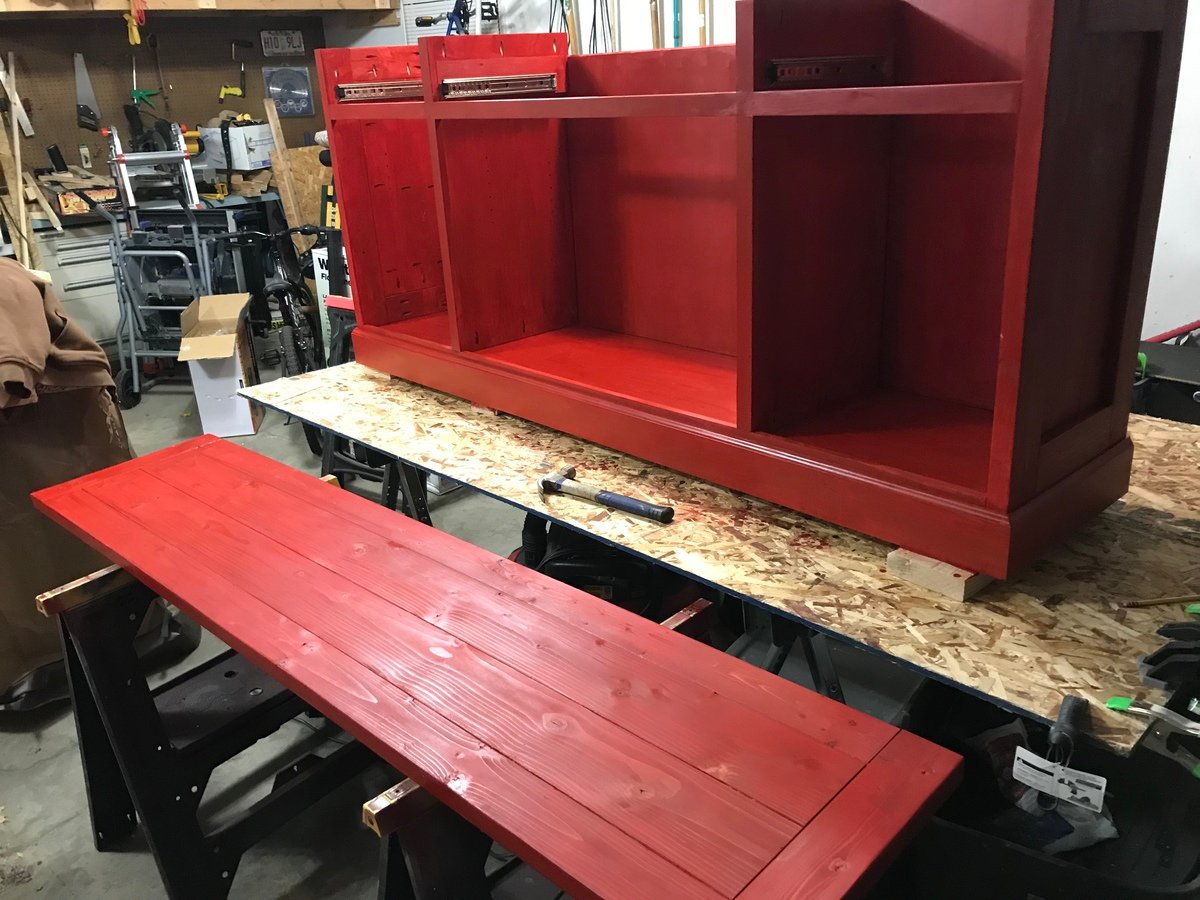
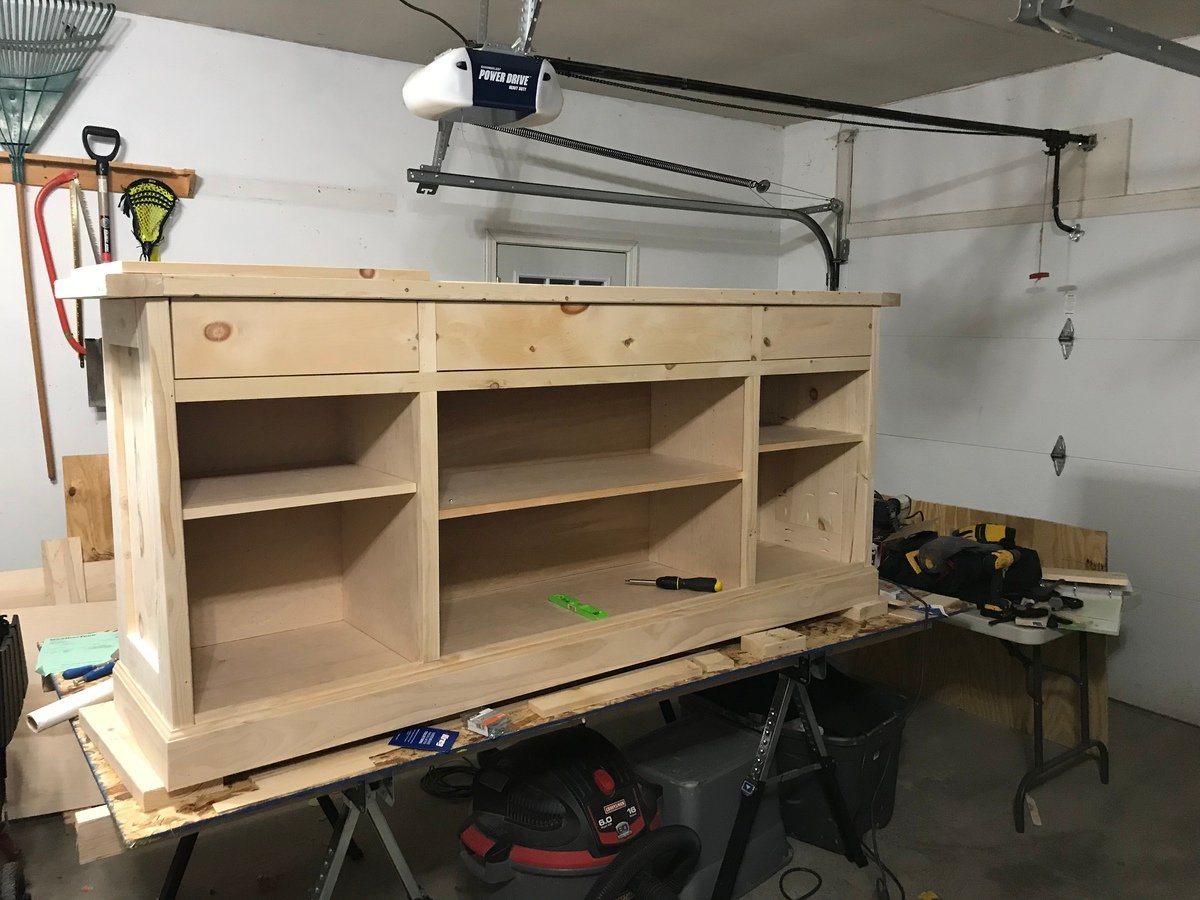
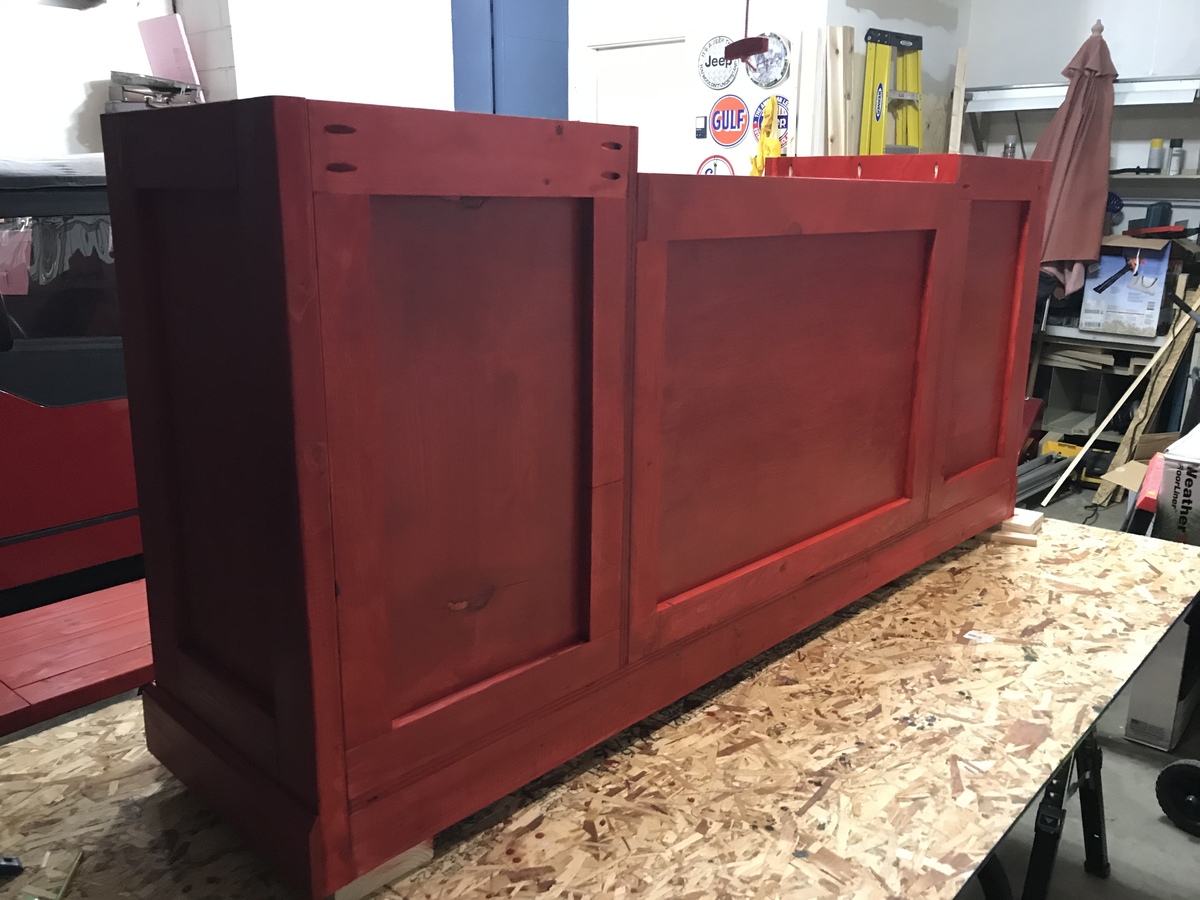
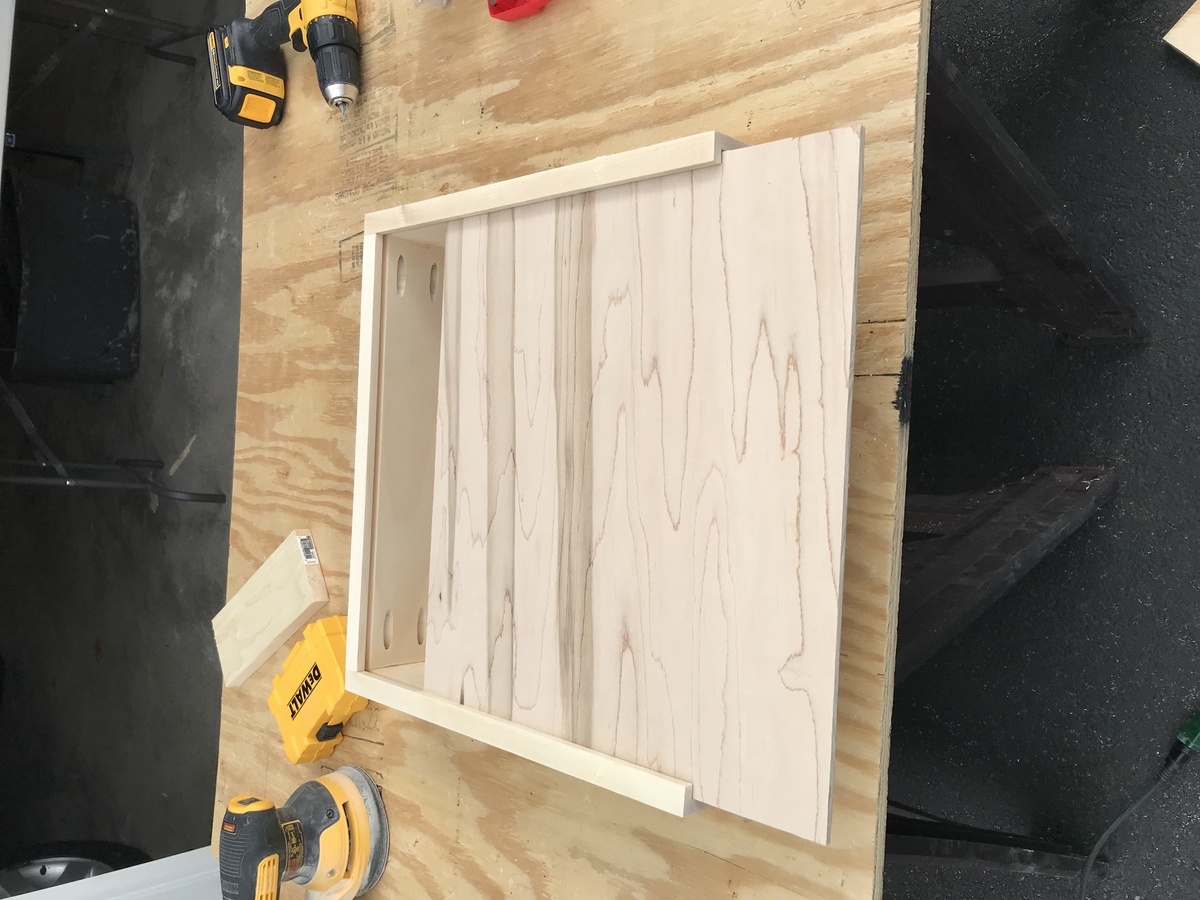
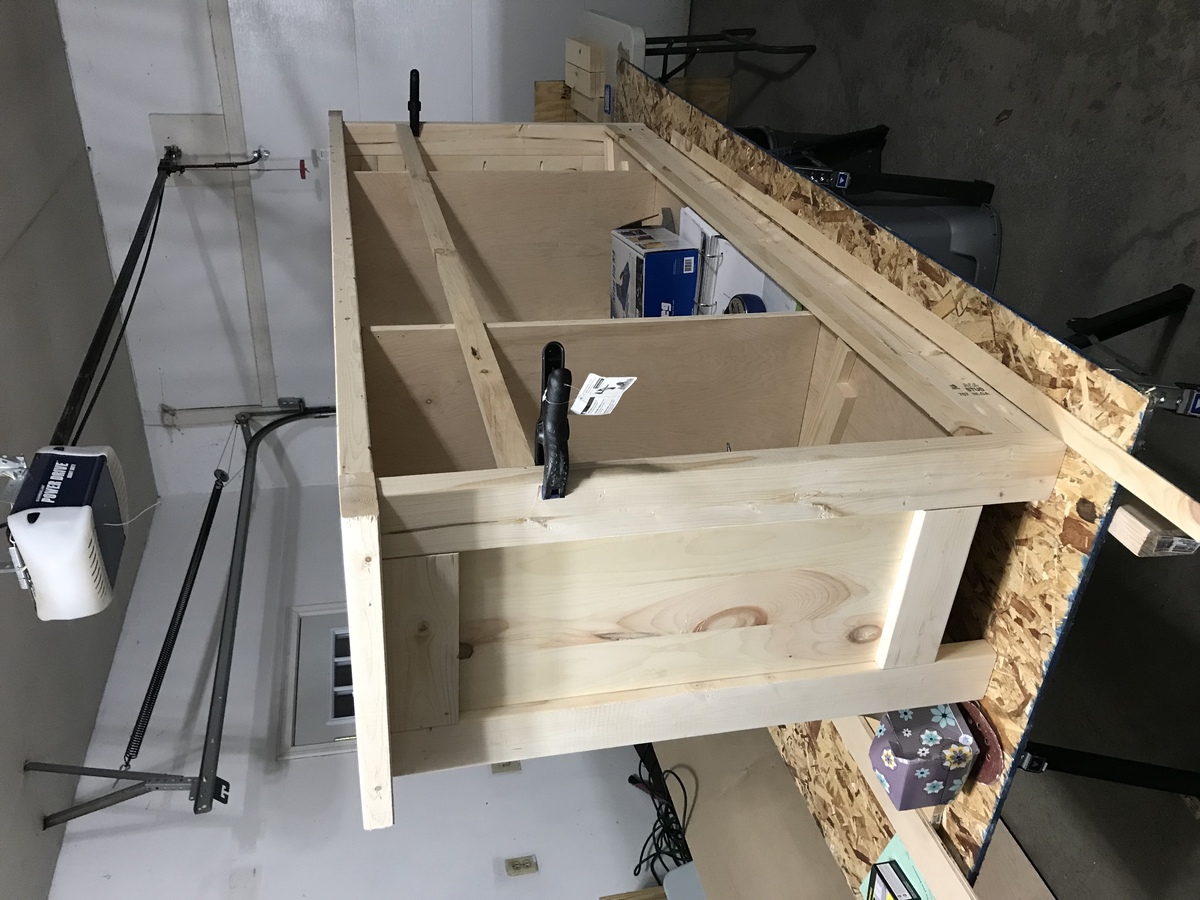
Our old cluttered coat closet is now lockers with lots of storage. I chose not to do the Braden bench due to a space issue so I framed a bench out with 2x4's, lined it with ply wood, covered the front with some trim and bead board and topped it with a nice piece of stained oak 3/4 inch plywood. The lids were cut and attached with continuous hinges and inside I used 2 lift hinges so that little fingers won't get smashed. I attached the lockers to the bench with a few Kreg jig screws which worked really well.

Estimated Cost
less than 300
Estimated Time Investment
Week Long Project (20 Hours or More)
Recommended Skill Level
Intermediate

Comments

StacieM

Sat, 08/06/2011 - 21:35

Wow that looks great! It really opens up the space and I like the stained oak top, very classic.

kelli224

Sun, 08/07/2011 - 07:22

This is so nice!! It makes the area look so different and I'm sure you appreciate all that extra storage. I also love that stained top. It looks perfect with the floors.

Debi G

Sun, 08/07/2011 - 13:42

Love this idea! I think I'll make a flip top bench to fit my closet. I could climb on it to reach the upper shelves, or sit on it to put my shoes on. And it will be so much nicer than the hampers I'm using for shoe storage right now. Thanks for the inspiration--it looks fantastic and is a great use of space.

Craftycraftswoman

Mon, 08/29/2011 - 06:48

Thanks. I am glad you ladies like it. It has been a God-send for us! The old backpack dumping ground is now a hallway again:). I have even added a "daddy locker between the door and the lockers with a small box for his stuff....I think I need one now too.

mrsmillikin

Mon, 09/12/2011 - 17:41

This looks amazing! If you can, would you tell me the dimensions from top down, just heights, of the cubby system. I'm trying to get a feel for the propotions.

Thanks!

Craftycraftswoman

Tue, 09/20/2011 - 16:06
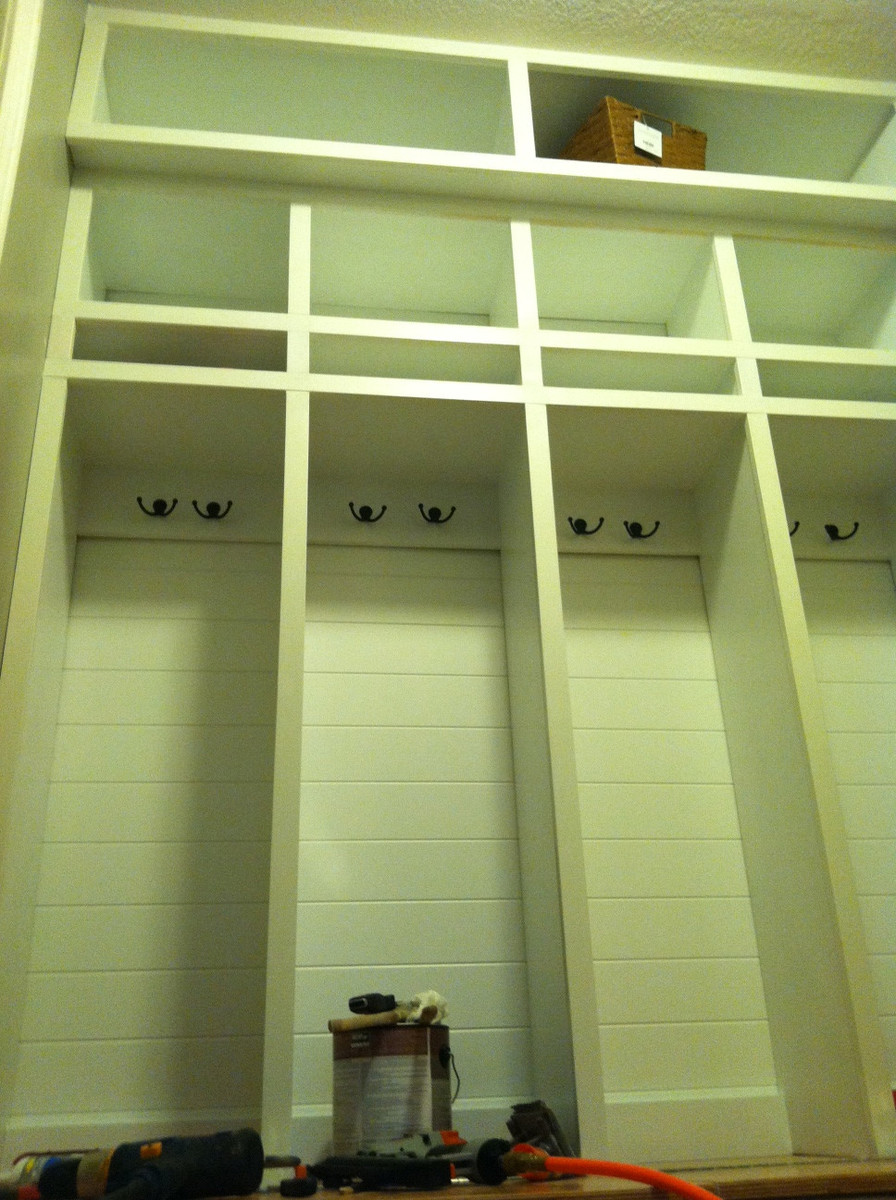
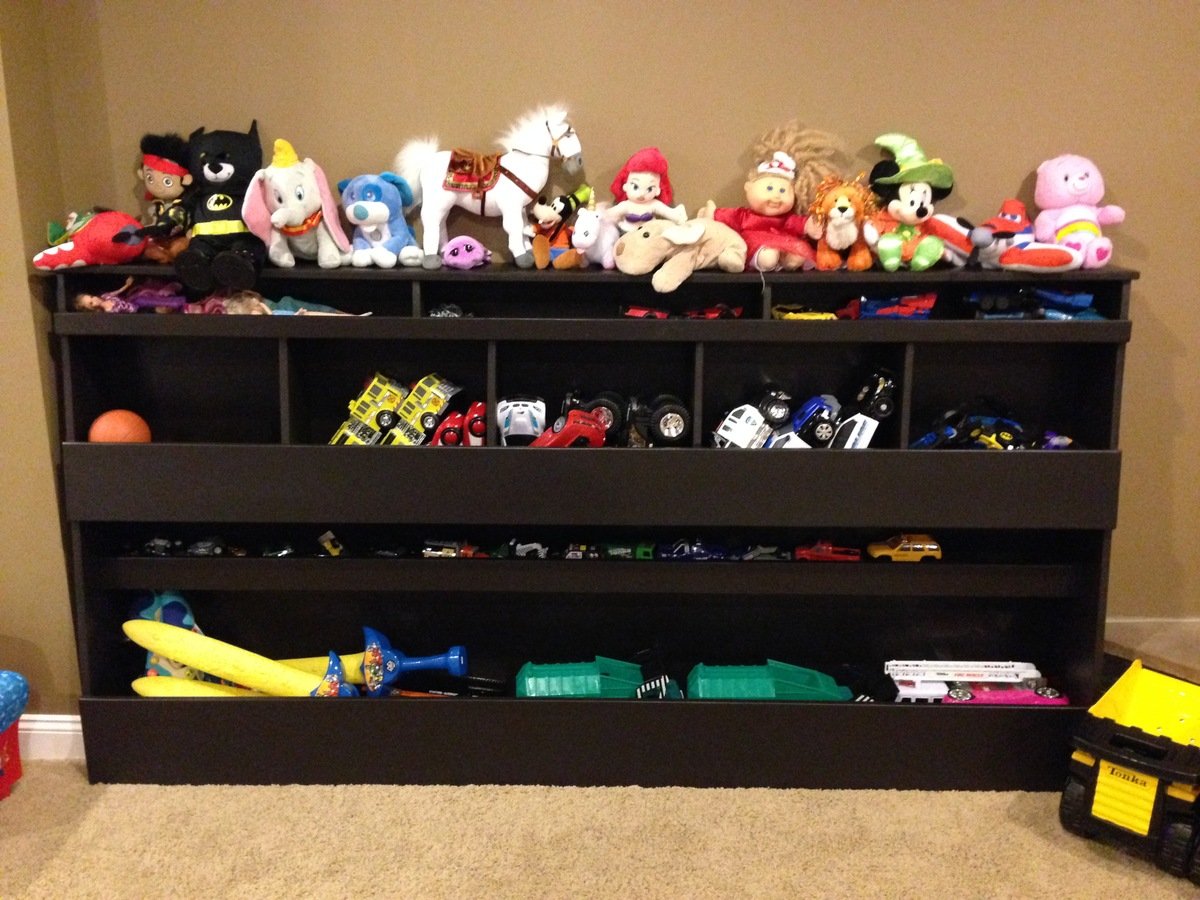
We have 8 foot ceilings. This nook is 65inches wide so each locker is 15 inches wide (and change). The bench is 18 inches high. The lockers are 45 inches high. The paper cubbies are 4 inches. The square cubbies are around 10 to 12 inches as are the top rectangular cubbies. I wish now that I would have also bumped out the square cubbies to make the deeper and provide a place to put some more down hanging hooks but it has been so handy that it is hard for me to complain about much.

Folding (or not) Plant Stand

Submitted by Beth H on Sat, 08/31/2013 - 14:28

This was the most complicated project I've built yet, and of course I had a few problems. First, I drilled some holes in the wrong places, and things didn't line up. So i drilled them again. Then I had trouble with holding everything level without a helper. When it came time for the plant stand to stand ip, it wouldn't.

No worries. I screwed a couple of short boards underneath the top rack and made it a Stationary Plant Stand!

The thing is really cute and everyone asks me where I got it. I tell them I made it myself from Ana White plans. They never notice the extra holes in the legs or wonder why I can't fold it up and store it!

Built from Plan(s)
Estimated Time Investment
Day Project (6-9 Hours)
Finish Used
Spray paint with primer
Recommended Skill Level
Beginner

Mailbox Base

Submitted by TxDork76 on Wed, 11/14/2018 - 20:27

my mailbox was hit by a vehicle so I decided I wanted to do something creative/different but also didn't want to spend much money as it may just get taken out again in the future :)

this is a good project to get kids to help you with

instead of cutting into the concrete easement, I installed 2 post bases & locked them with sleeve anchors.  They're sturdy enough but will give if hit again.  drilling the holes for the sleeve anchors was the hardest part of the project.

I used a left over 4x4x8 for the posts, scrap 1x4s, 1x2s up the sides (1/2" gap between boards), and a 2x4 scrap to attach the mailbox.  I eyeballed the width between posts using the mailbox itself. I left over stain from another project (almost bought a quart of oops paint at HD)

I figure the total cost would have been about $100

It's a super easy project that took about 4hrs. I've already had a couple of neighbors come by to take measurements to try something similar.

FYI: USPS guildlines for installing a curbside mailbox: https://www.usps.com/manage/mailboxes.htm

Estimated Cost
$75-$100 depending on materials/tools on hand.
Estimated Time Investment
Afternoon Project (3-6 Hours)
Finish Used
valspar semi-transparent stain & sealer in "Pinebark"
Recommended Skill Level
Beginner

Comments

2x4 Modern Adirondack Chairs

Submitted by Anonymous (not verified) on Fri, 08/12/2022 - 09:48

These chairs were a perfect addition to the front porch and so comfy!

Comments

Cat Condo

Submitted by Me-go-Eco on Tue, 08/09/2011 - 10:20

Built my sister a cat condo before she moved so she could take it with her to her new house. Made out of carpet remnants, and scrap wood, so it was FREE! hahaha. I like free! Don't you?

Estimated Time Investment
Day Project (6-9 Hours)
Recommended Skill Level
Beginner

Factory Cart

This was my first furniture piece. I was very please with the way it turned out. The step by step instructions are so easy to follow. Anyone can do this!

I stenciled on the design then sanded to make it look worn.

Built from Plan(s)
Estimated Time Investment
Week Long Project (20 Hours or More)
Finish Used
I used an oil based stain (I don't remember the color). I always use a rag to apply stain. I used several coats of water based polyurethane to finish this piece. I also use a rag to apply the poly.
Recommended Skill Level
Beginner

a place for my plants

Submitted by maggiekat on Sun, 10/25/2015 - 09:00

Winter is approaching, and my plants needed a place to live indoors. I built two of these console tables to fit in the space at the  head of the stairs.

The base layer of the tops is plywood, because I had a half-sheet left over from another project. These went together really quickly with my Ryobi Airstrike nailer

Estimated Cost
about $25, plus scrap wood and paint/stain
Estimated Time Investment
Afternoon Project (3-6 Hours)
Finish Used
Behr Ultra "Paradise Landscape"
Minwax Polyshades "Espresso"
Recommended Skill Level
Beginner

Modern Wood Storage Sofa

Submitted by M@cher1e on Sat, 12/08/2018 - 01:17

Great Project!! I am currently working on it, love the challenge. I am using pallets to build will upload the finished looks.

Love it!

Estimated Time Investment
Weekend Project (10-20 Hours)
Recommended Skill Level
Beginner

Wine gift carrier

Submitted by Anonymous (not verified) on Mon, 08/22/2022 - 14:01

Easy and fun project that took part of a day. I made so my wife can give to friends she will be staying with on a girl's trip.
I used Provincial stain on wood I had on hand. I bought handles and it was done.

Comments

Barnwood frame as a vanity mirror

Submitted by Lady Goats on Thu, 08/11/2011 - 10:59

I was watching the DIY network while my neighbor was over one day, and got a hair up my butt to take the builder grade mirror down from my hall bath. I had just gotten a $50 Lowe's gift card for my birthday, so I decided to do a mini bathroom makeover. I had NO plans and no clue what I wanted in there, but the mirror was down so I needed to get GOIN!

I saw the plan for the Barnwood Frame and altered it to use 1x3s as well as 1x2s, and (obviously) made it bigger. I also built a medicine cabinet from 1x6s.

The biggest issue with this whole thing was cutting the mirror to size. I had never done anything like this, so my medicine cabinet mirror is about 1/8" too small for the frame (hid that by using DUCT TAPE on the inside!).

I still plan on building a vanity and changing out the sink in there, but that has to wait until I have the motivation to redo the floors!

Yeah, me and motivation aren't very close...

Estimated Time Investment
An Hour or Two (0-2 Hours)
Finish Used
I DON'T REMEMBER! But this paint color is so sexy, I DEFINITELY have to find it!
Recommended Skill Level
Beginner

Coffee Table

I have been looking for a big enough rustic coffee table for us, and oh boy those cost a lot of money!
My friend told me about ana-white.com website and when I found this Tryde coffee table, I was so happy!
It took me about hour to cut (with help of my husband) and put this coffee table together and then during next weekend I sanded and stained it.

We are having our full house under renovation and it was so nice to have clear plans to follow and get this done without hassle.

Built from Plan(s)
Estimated Cost
I had some left overs from my other projects but I think this cost around 30$
Estimated Time Investment
An Hour or Two (0-2 Hours)
Finish Used
WINWAX dark walnut stain
Recommended Skill Level
Beginner

Modified X end tables

Submitted by Anonymous (not verified) on Wed, 12/26/2018 - 09:37

I modified the plans for a smaller size and used pallet wood as well as 2x4s and 2x6s ( scraps I had from earlier projects)

Built from Plan(s)
Recommended Skill Level
Beginner

Comments

Dining Room Buffet Cabinet

Submitted by kdins31 on Sat, 08/13/2011 - 11:26

I scoured the web unsuccessfully for months trying to find a cabinet big enough to store everything we needed to store. I wanted something huge and bright and simple, and so I decided to just build away. It's 8'4" long, 18" deep and 36" tall. Topped with a slab of Giallo Napoleon granite and painted a nice plain white. Took me only a few nights to build and paint, thanks to my power nailer and power paint sprayer. Thanks to a great deal on a remnant granite slab, this was just about $400 total start to finish. I winged the entire plan and didn't really use any plans in particular, though I have gathered many great ideas and tips from this site.

Built from Plan(s)
Estimated Cost
$450-500
Estimated Time Investment
Weekend Project (10-20 Hours)
Finish Used
Satin white, nothing special!
Recommended Skill Level
Intermediate

Comments

shanestric

Sat, 08/13/2011 - 14:51

Wow - looks great! You would think it was done by a pro! You should be very proud of your finished product.

pallet desk from tiny house table plans

Submitted by Anonymous (not verified) on Sat, 12/29/2018 - 15:25

made from tiny table table plans & pallet wood.

Estimated Cost
$5 for stain, poly & hardware
Estimated Time Investment
Afternoon Project (3-6 Hours)
Recommended Skill Level
Starter Project

Tryde Coffee Table

Submitted by jaustin613 on Mon, 08/15/2011 - 10:44

You'd think it'd be easier to find a great coffee table but it's not! After looking for several weeks I finally told my wife that I could build us a table cheaper (even accounting for tools) than what we would pay, not to mention we were spending weekends looking for something that doesn't exist.

This table is STURDY - with all the nails and glue in it, it's not going anywhere. I would recommend this to anyone who thinks they'd like it, fairly straight forward directions but there's lots of sanding involved. This is the first thing I've ever built and I think it turned out great.

You can do this just as easily!

Built from Plan(s)
Estimated Time Investment
Weekend Project (10-20 Hours)
Finish Used
Minwax Jacobean
Recommended Skill Level
Beginner

Outdoor Sectional

Submitted by brelausto on Mon, 09/09/2013 - 06:58

Used 1 x 4 cedar boards for the legs and backs and 1 x 6 cedar deck boards that were left over from when we built the deck it is sitting on. Built 6 armless units and one corner unit. Total the sectional is 10' x 6' with two 2'x2' ottomans. As everyone else states, the cushions were the most expensive part of the project. We purchased these 8 Sunbrella cushion sets from Home Depot for about $600. After cutting all of the pieces it really did not take that long to assemble the units. I ended up building a little "support bridge" that I rested the unit on so I could attach the back legs since the front legs are attached first. This way I knew the legs would end up level without having to measure, attach the back legs and hope that the legs would end up level. With the front legs resting on the ground and the rest of the unit supported by the "bridge" I could set the back legs in place, resting solidly on the ground and attach the legs to the seat, with no measuring needed.

Estimated Cost
Wood = less than $200, cushions = varies depending on your desires.
Estimated Time Investment
Weekend Project (10-20 Hours)
Recommended Skill Level
Beginner

Comments

Triple Bunk Bed

I took the “classic bunk bed” plans and changed them to accommodate my 3 girls. I have 9 ft ceilings so I just stretched the traditional plans out to allow the 3rd bunk to be added. It turned out nice and my girls enjoy it. I also built a matching toy box that is visible in one of the pictures. Please excuse my messy shop. I built this with my 40 year old shopsmith and a kreg jig. Thank you for the plan.

Built from Plan(s)
Estimated Cost
$300 +-
Estimated Time Investment
Weekend Project (10-20 Hours)
Finish Used
Golden oak stain and lots of poly.
Recommended Skill Level
Beginner

Rustic sideboard

Submitted by Anonymous (not verified) on Tue, 01/01/2019 - 08:01

This project was a lot of fun to build. I always learn something along the way. The sideboard filled the one wall in our kitchen, taking the place of a bench and a drop zone for miscellaneous stuff. Now we can keep those things out of view with proper storage spaces. 

I routed a channel into the front and side pieces of the drawers so that I could slide the 1/4 plywood bottom in. I then screwed the bottom to the back piece which I ripped down to size. This way if I need to change out the drawer bottom I can just unscrew it from the back and replace it if needed.

i also chose to finish the back up a bit more in case we decided to ever move it off a wall in the future.

Thanks for the great plans Ana!

Built from Plan(s)
Estimated Cost
$300
Estimated Time Investment
Week Long Project (20 Hours or More)
Finish Used
Minwax pre-stain conditioner followed by two coats of Minwax Scarlet stain. I chose not to wipe the stain and let it just dry between coats. I then put a coat of polyurethane over the stain.
Recommended Skill Level
Intermediate