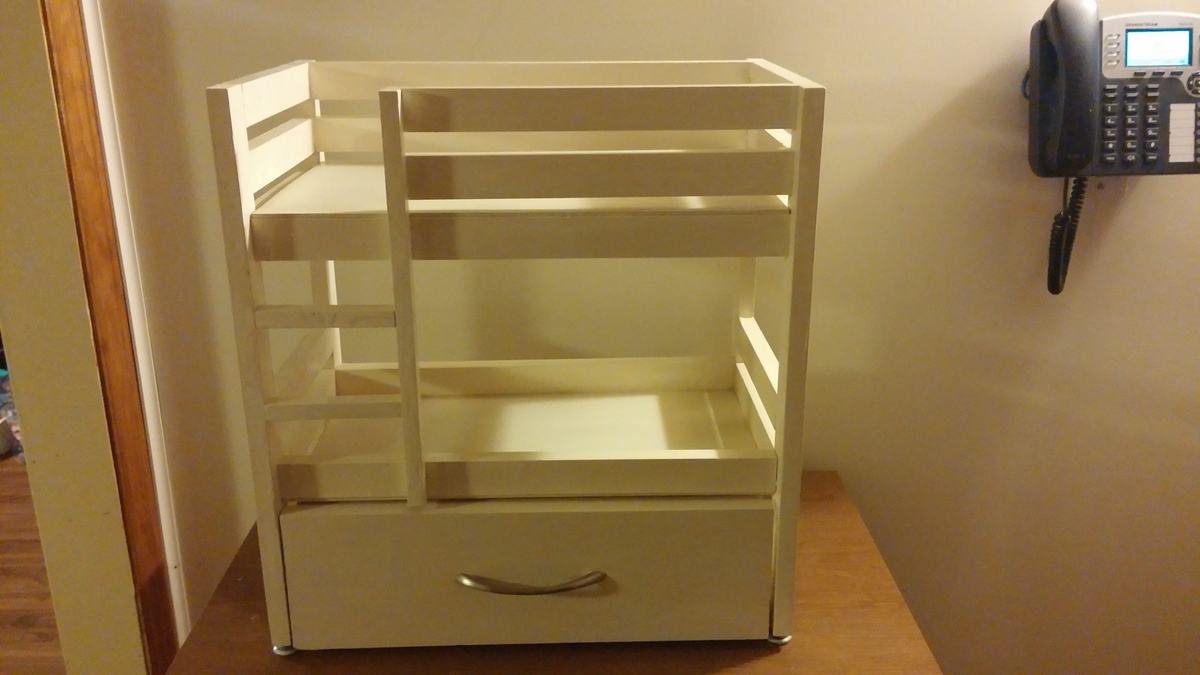
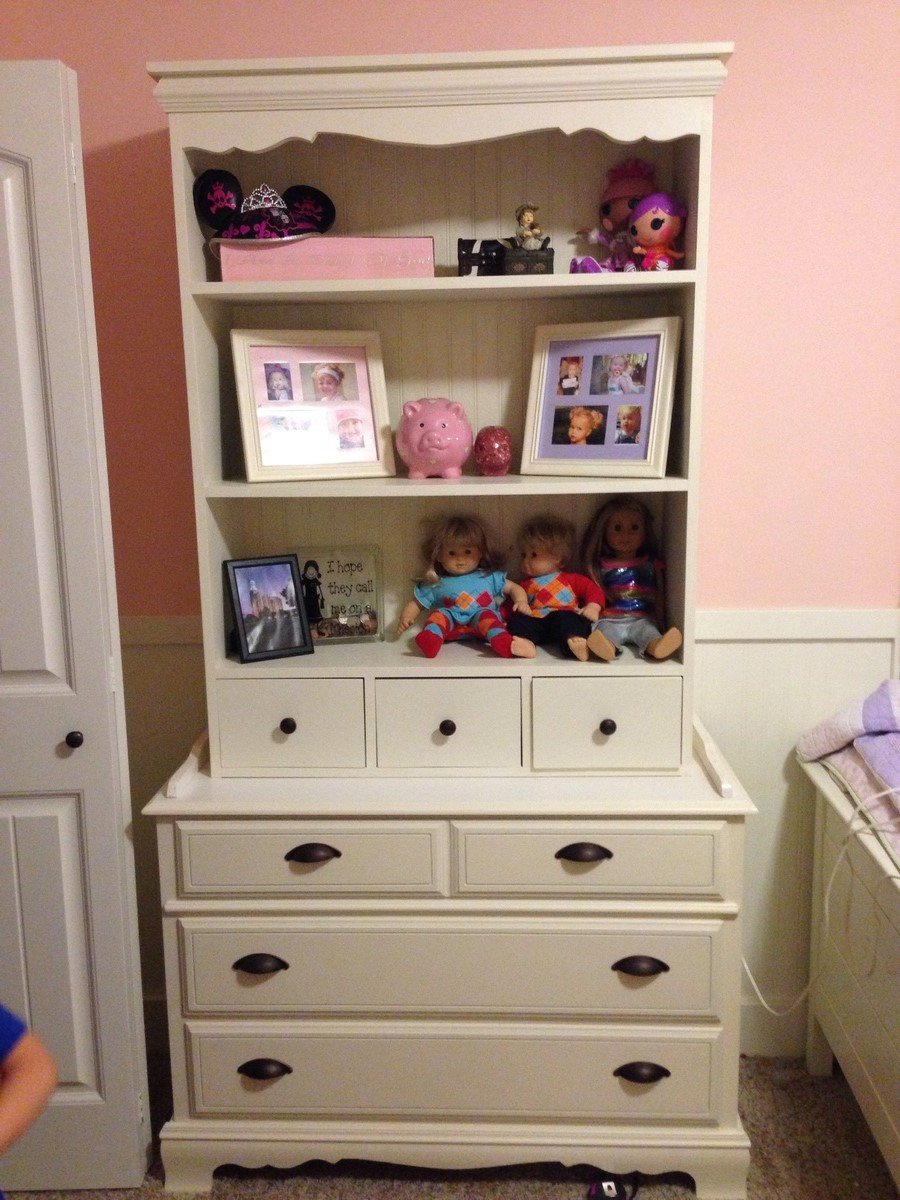
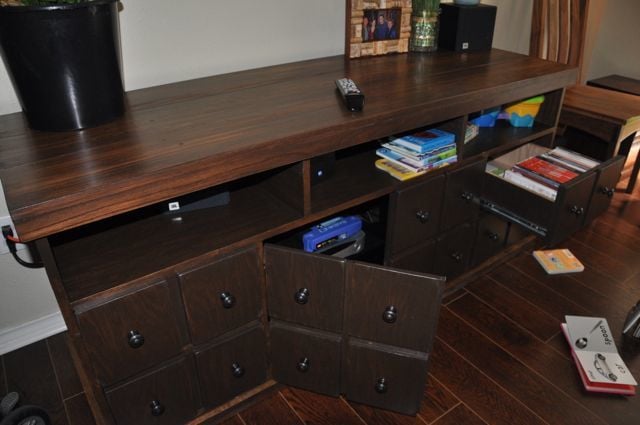
Laundry Basket Dresser
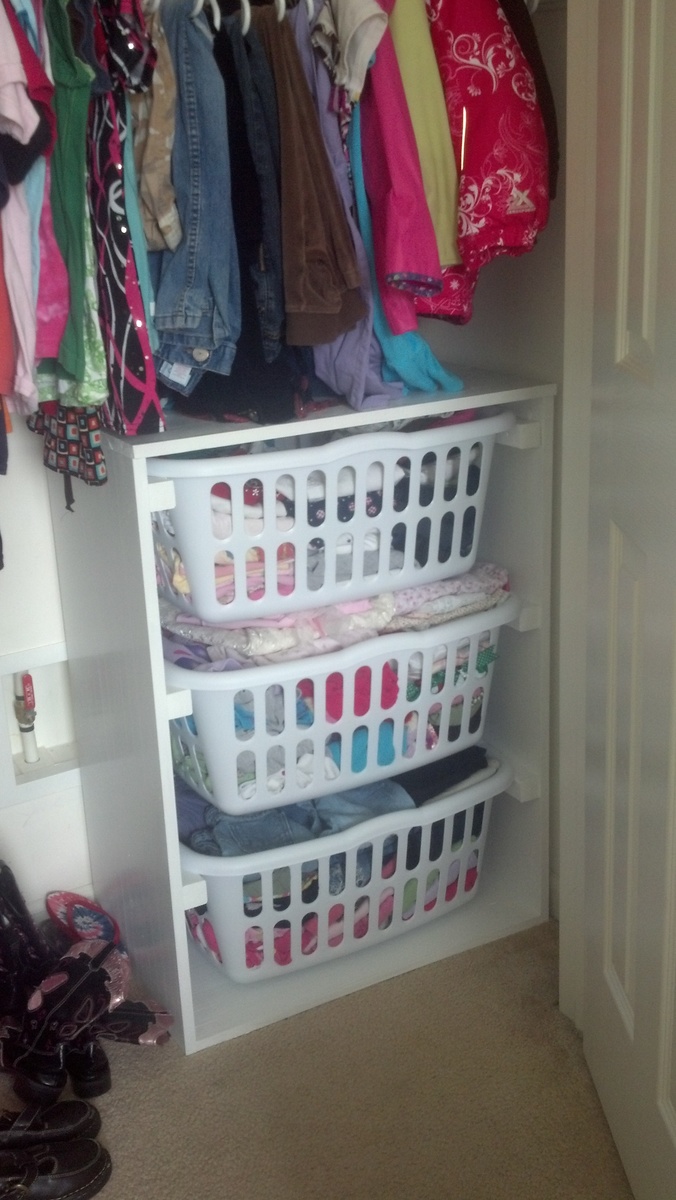
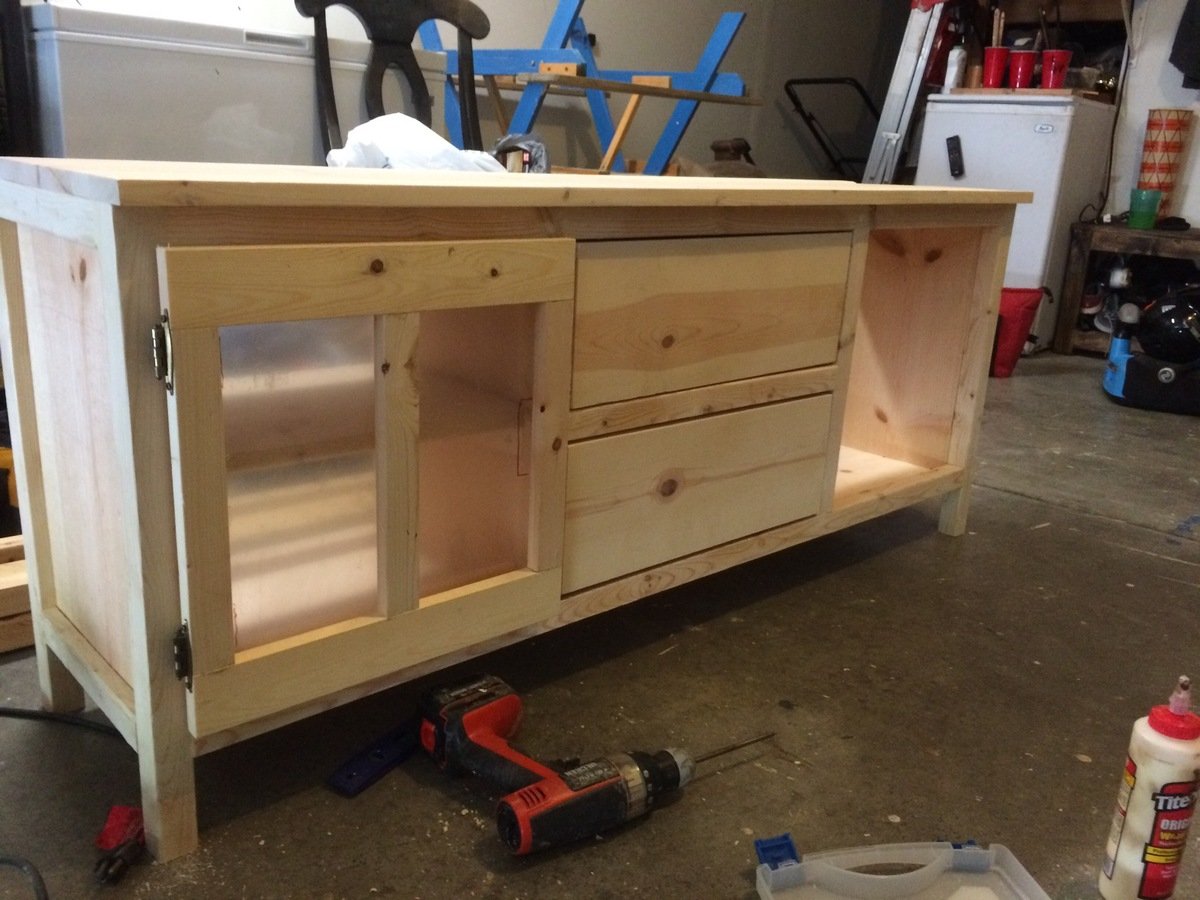
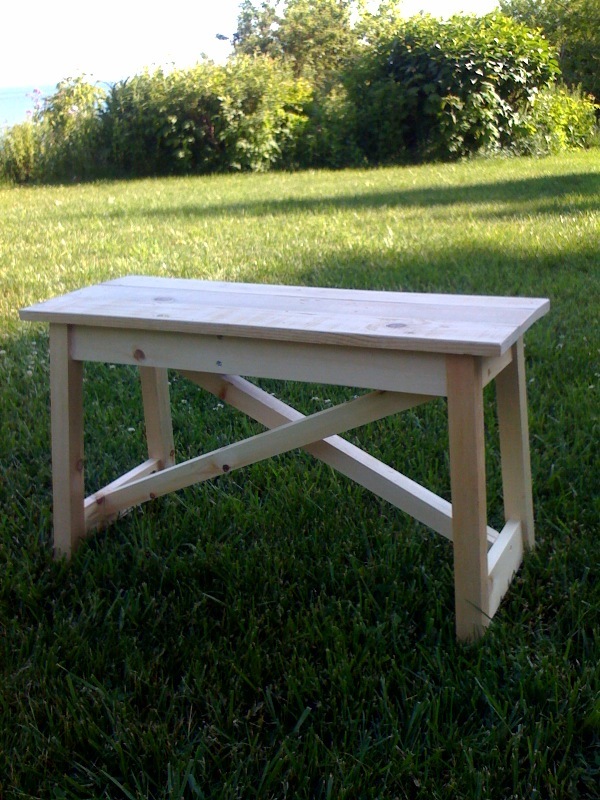
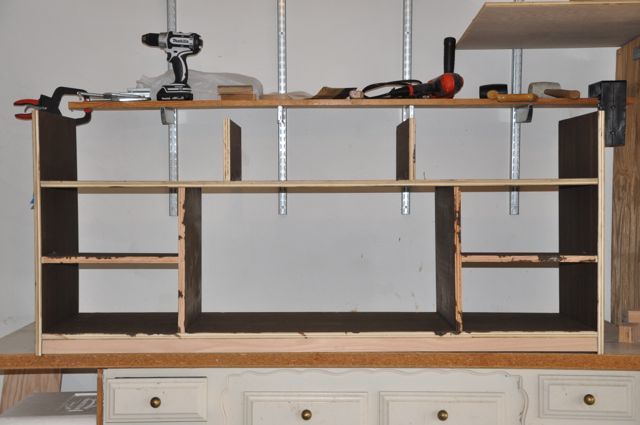
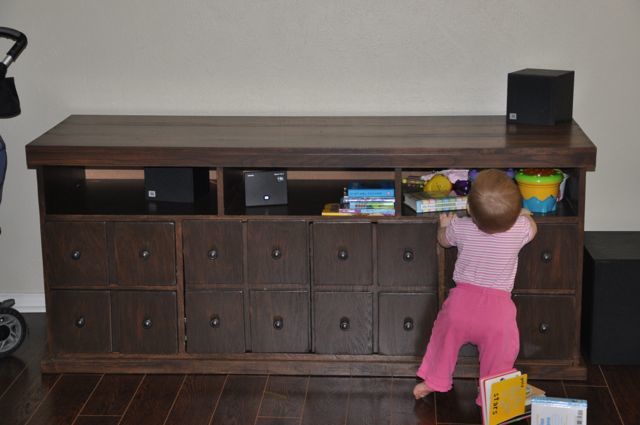
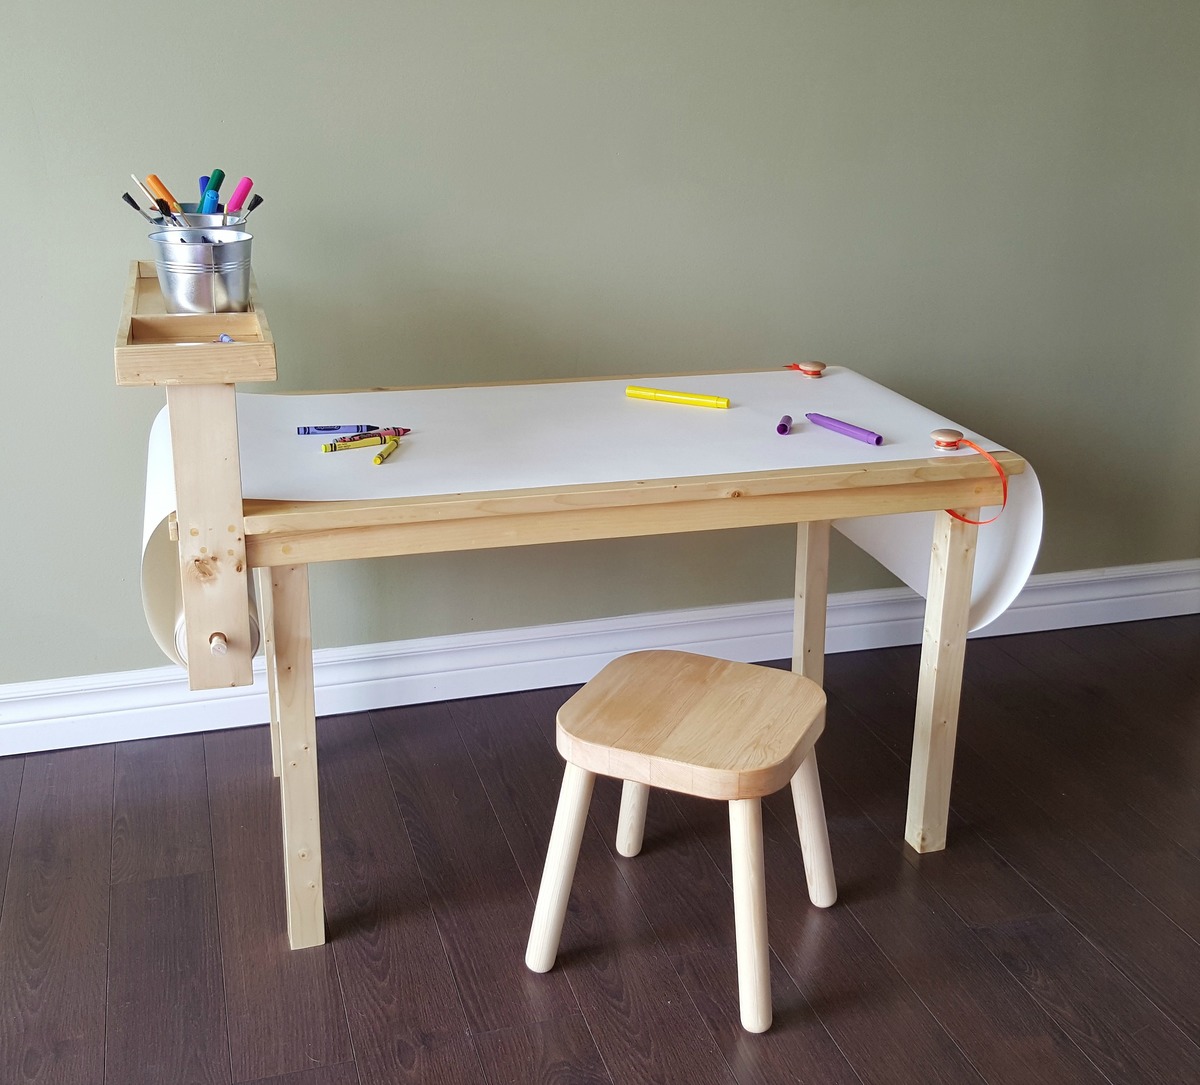
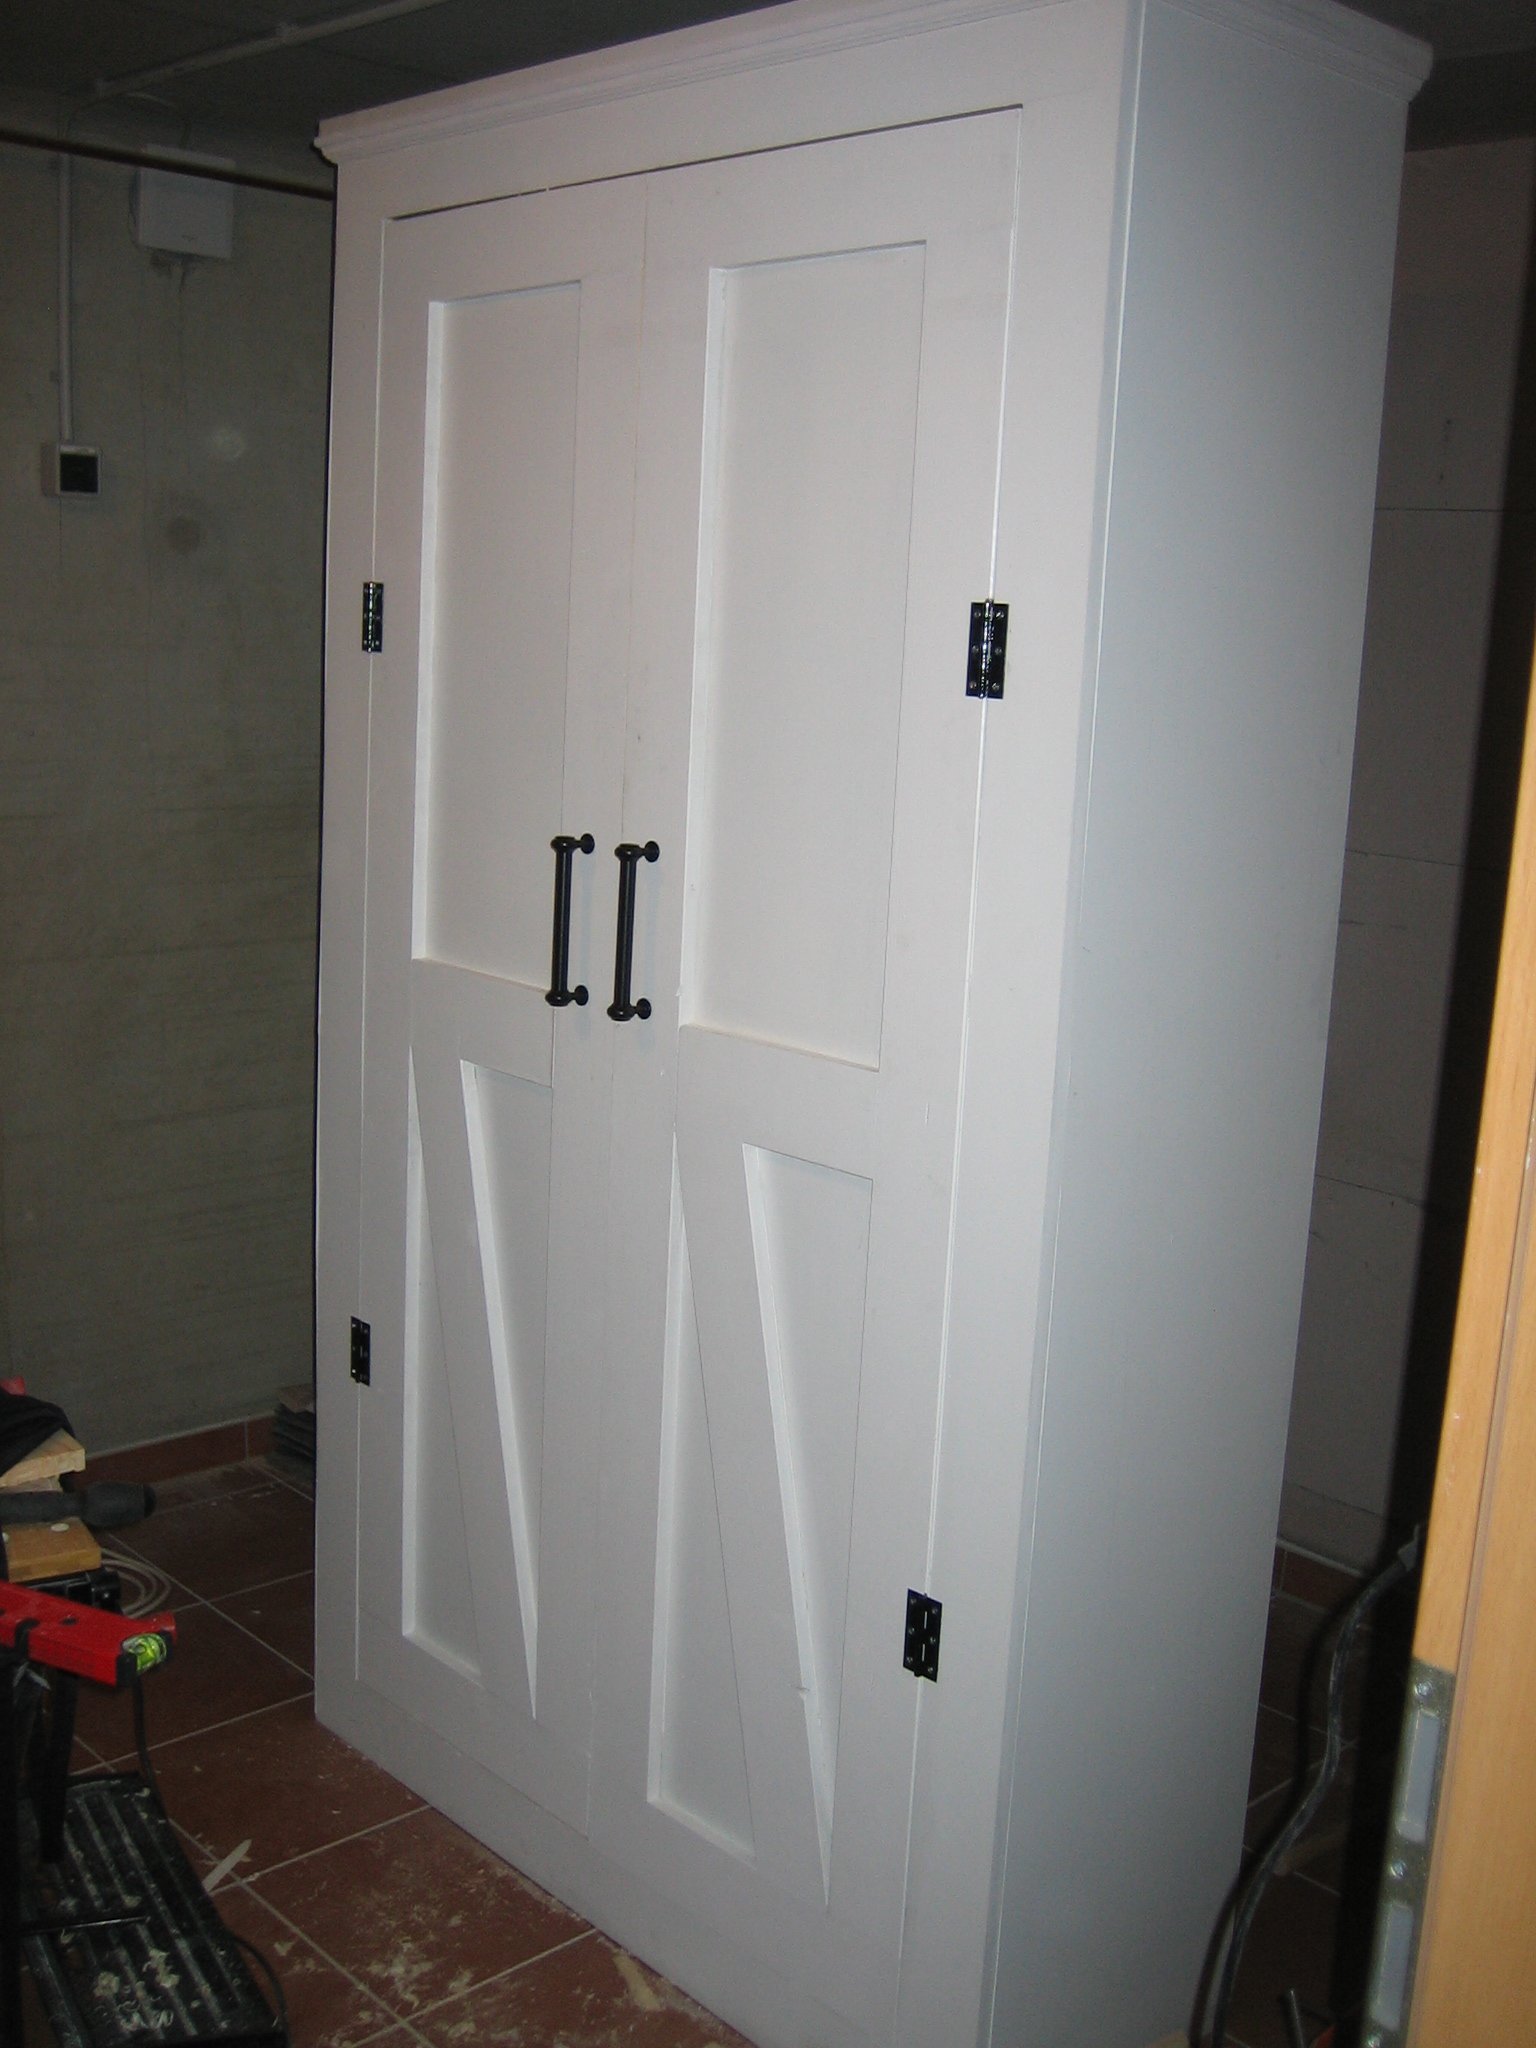
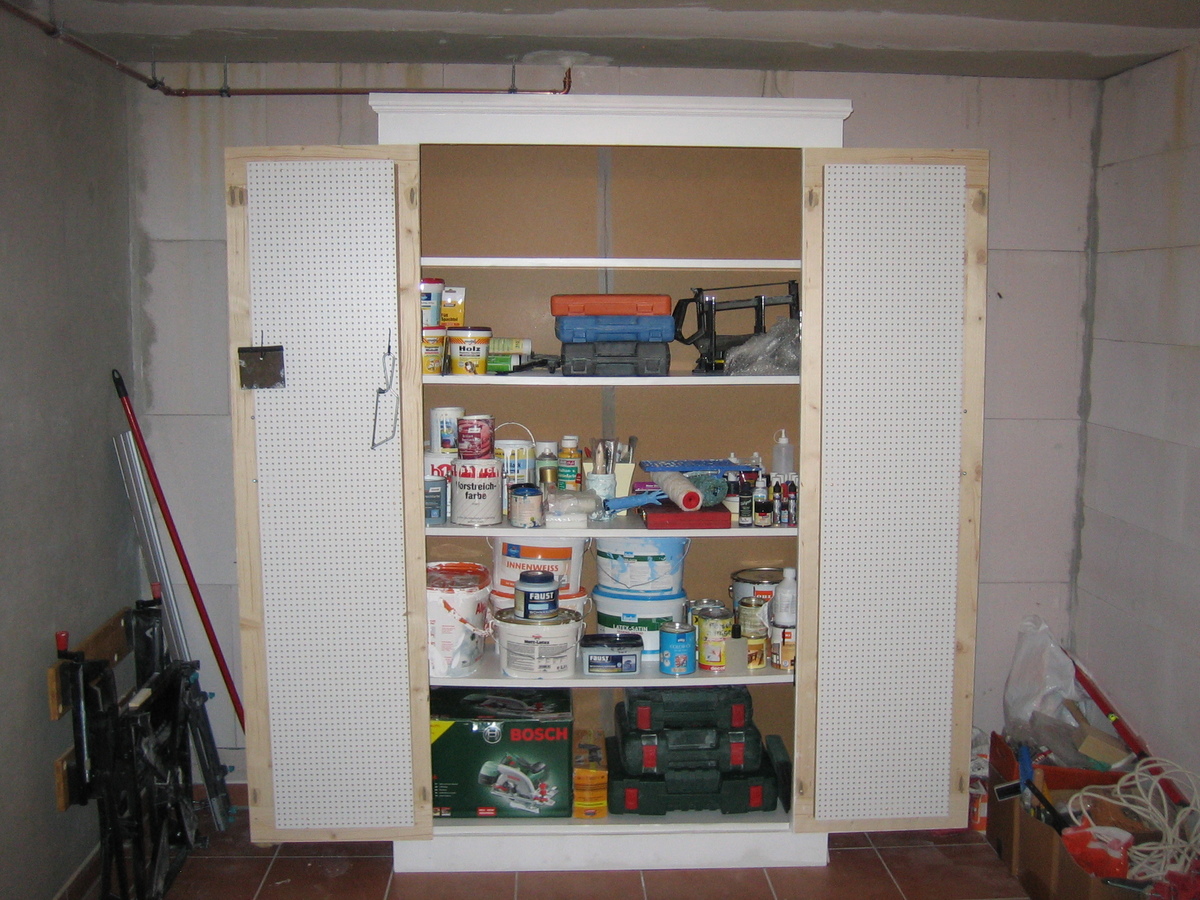
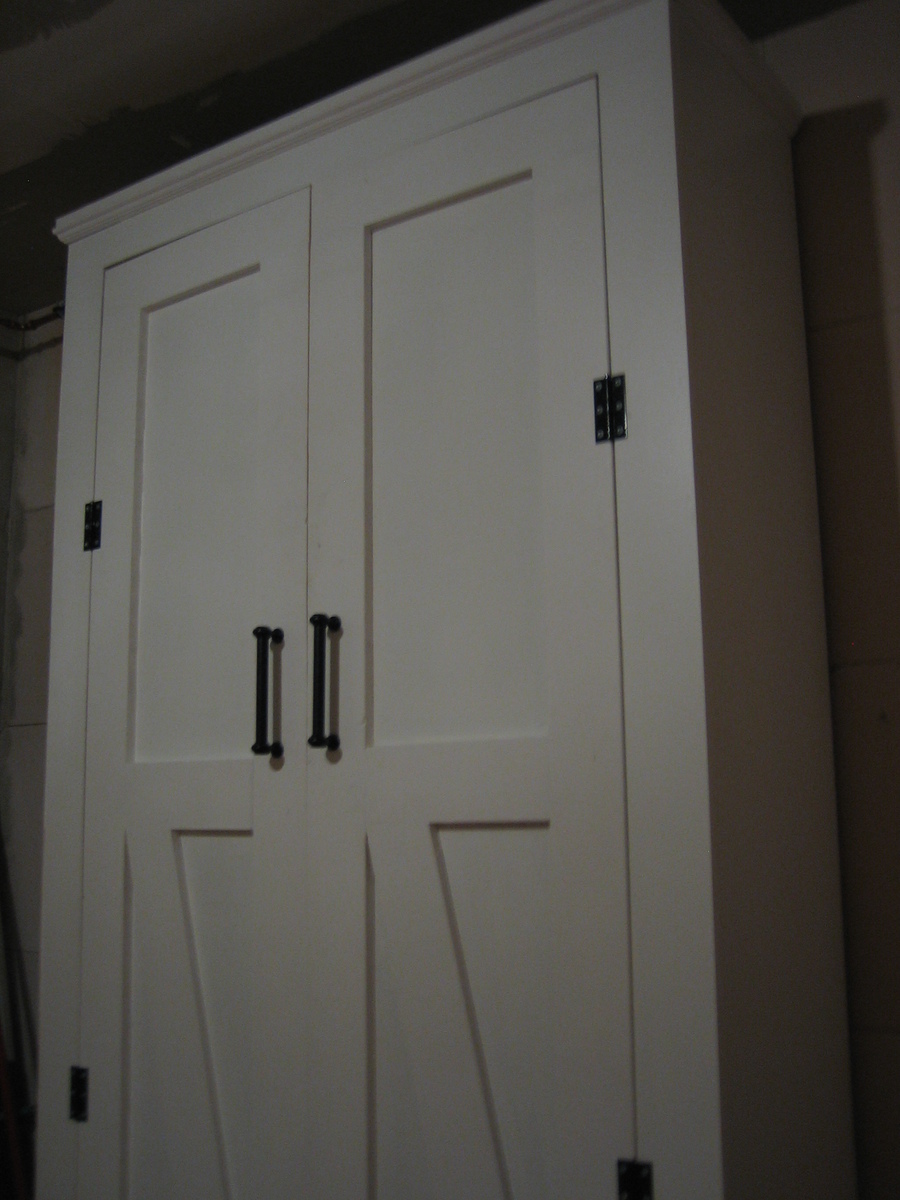
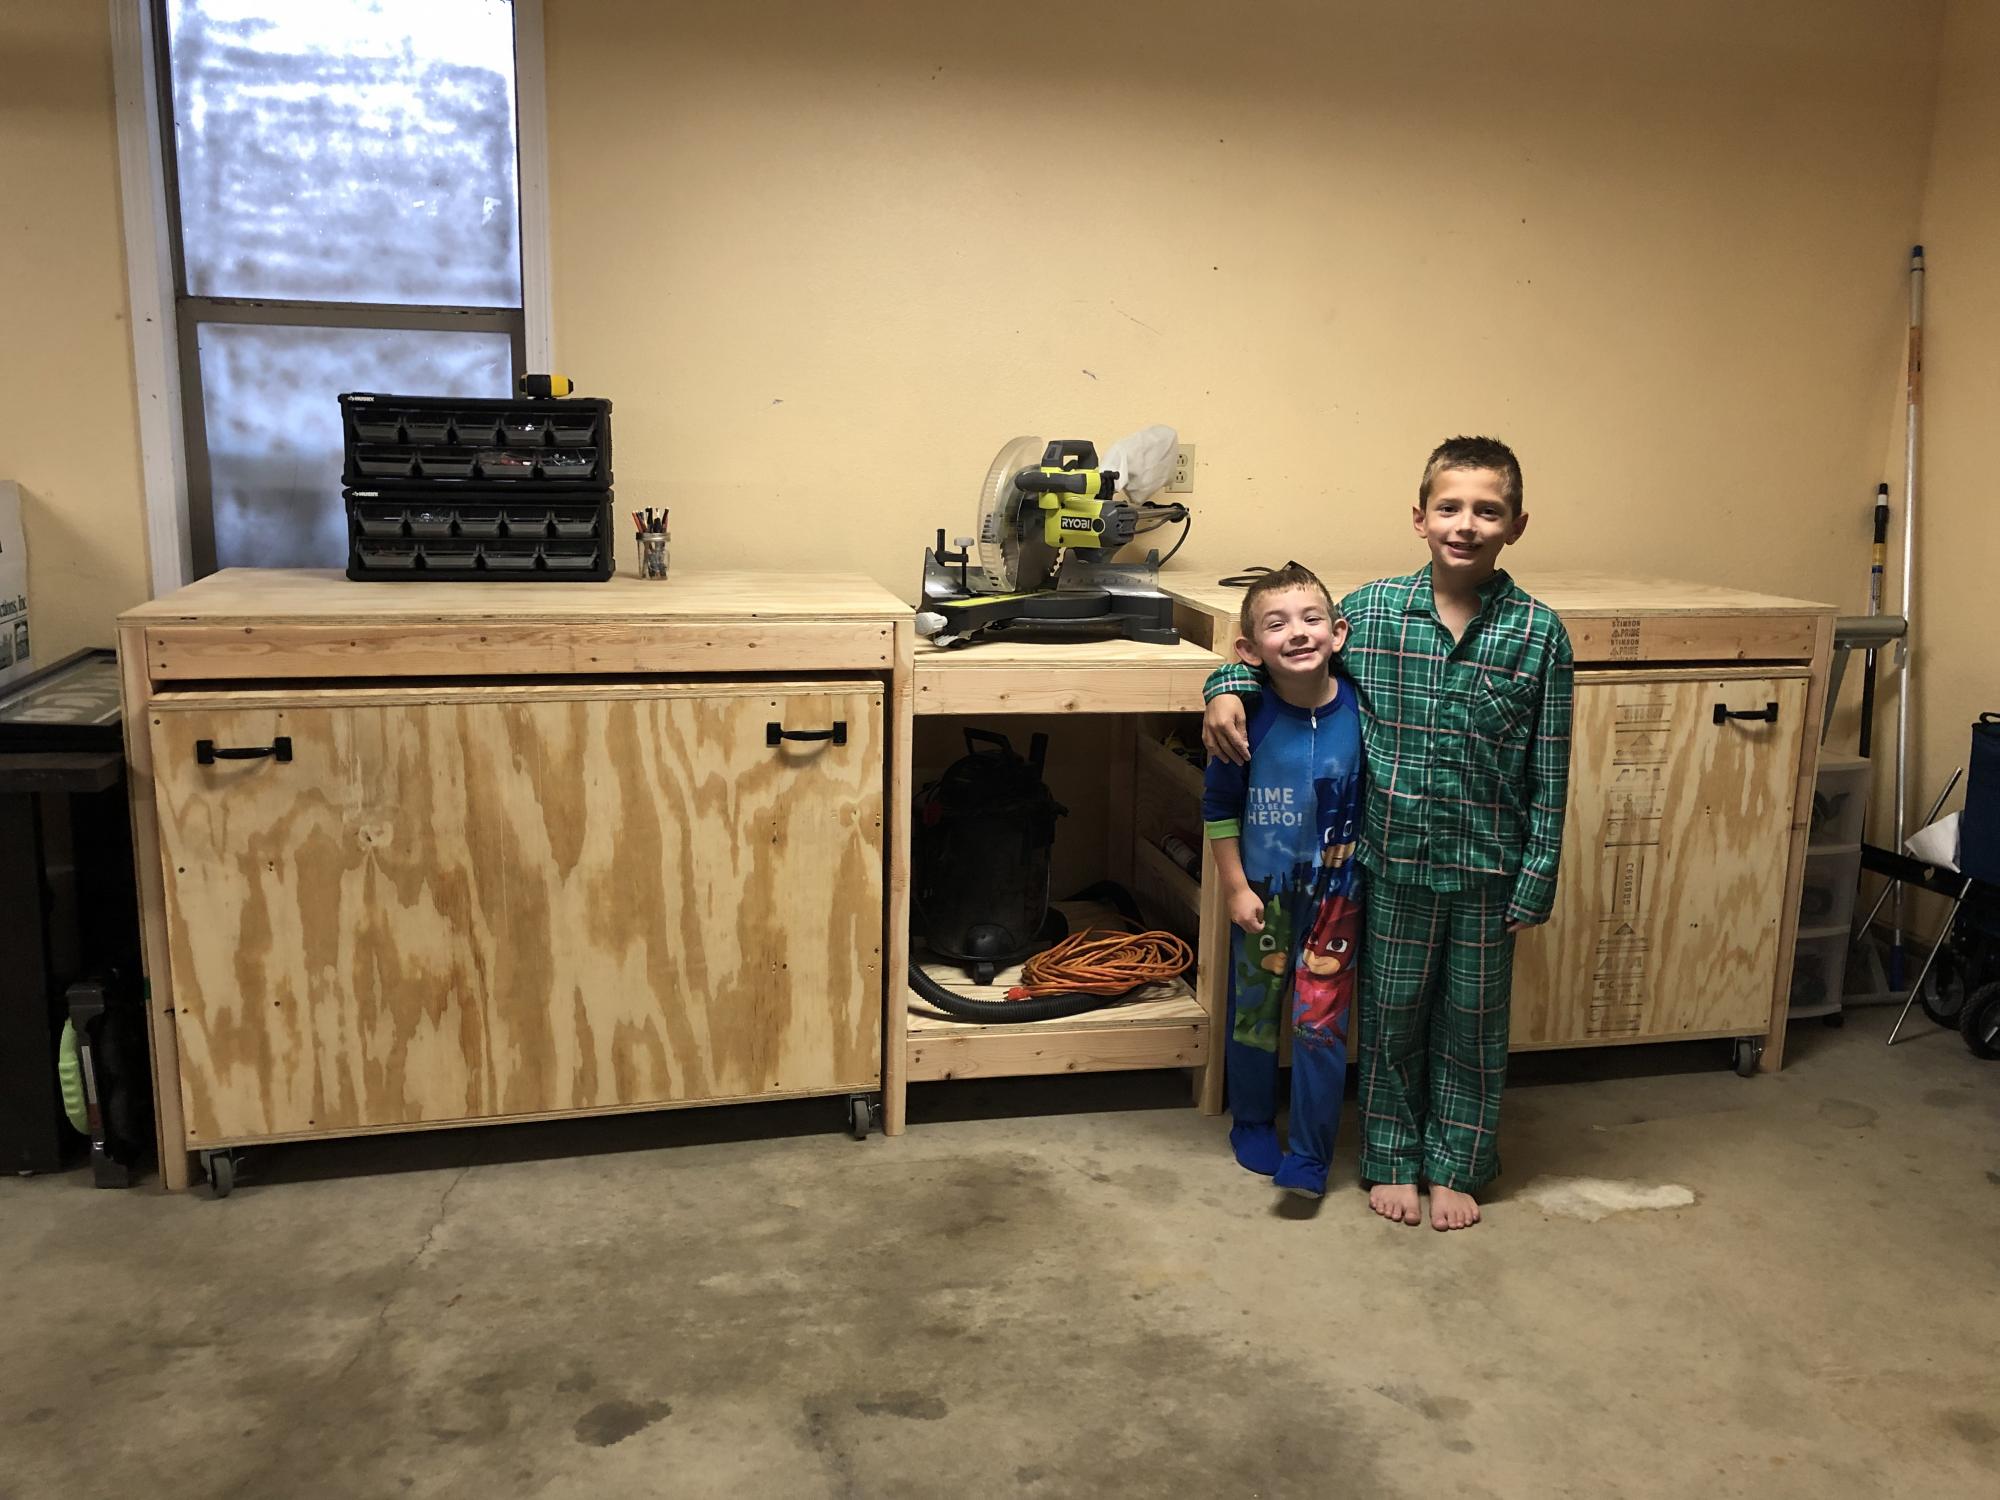
We had to get rid of our standard dressers awhile ago, since they were in awful shape. We tried only hanging clothes, but that was a disaster too (our daughter stood on the wire shelf). I was so excited to find these plans. The dresser is super sturdy and was easy to build. No more problems with standing on them, heck I could even stand on them.
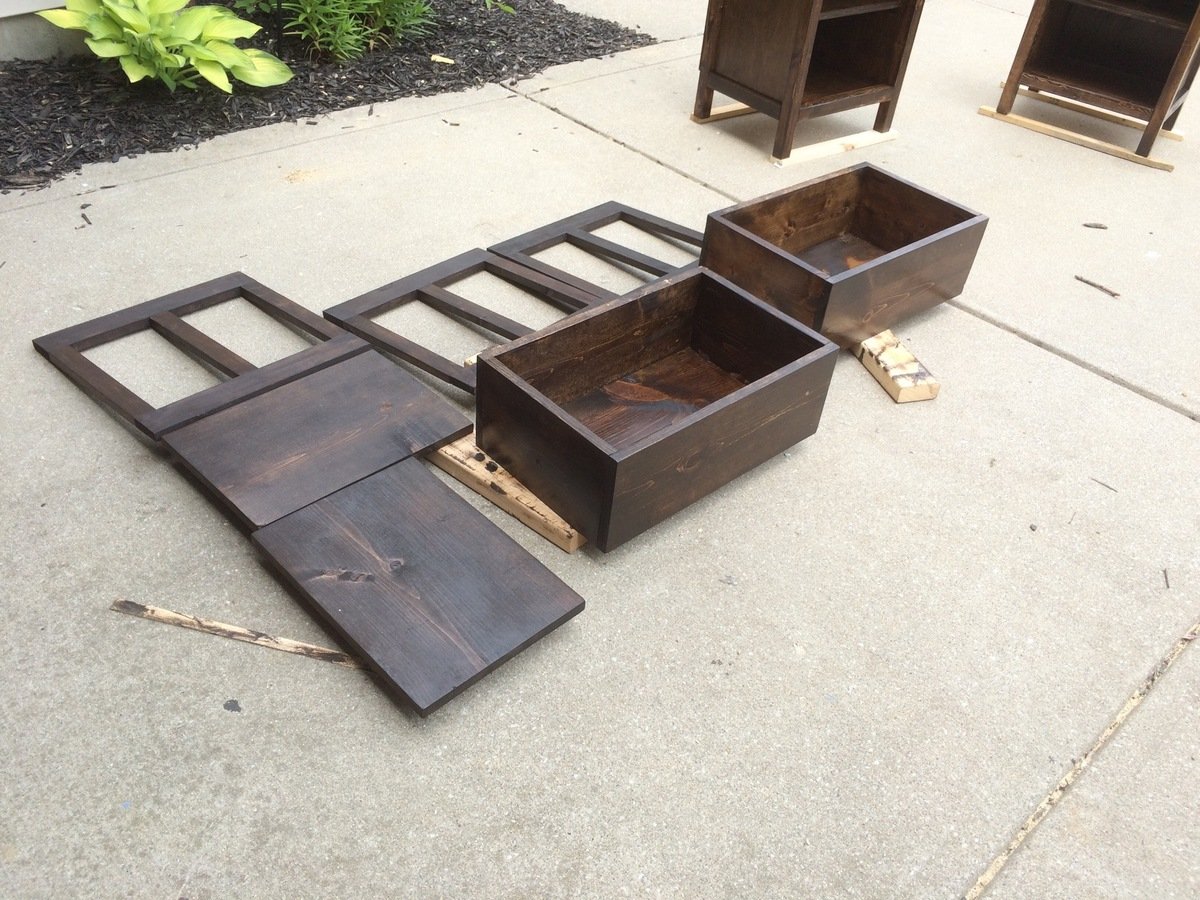
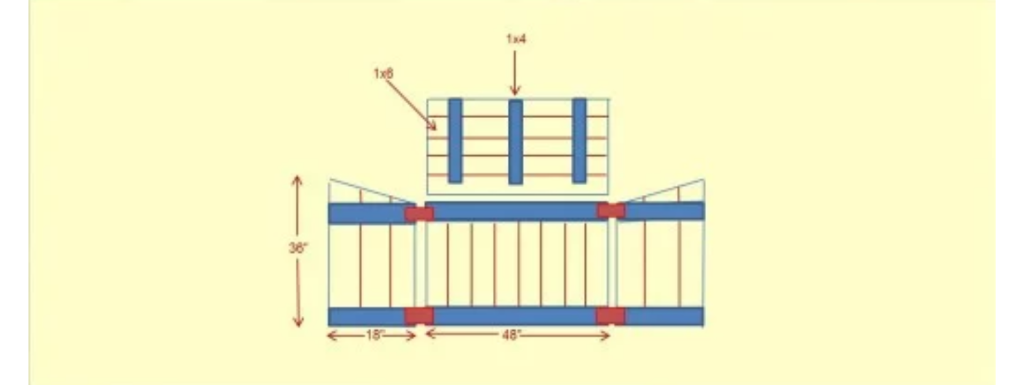
The angle iron was really expensive, so we went with wood rails instead. It was super easy to do and really cheap.


Built from Plan(s)
Estimated Cost
$20
Estimated Time Investment
Afternoon Project (3-6 Hours)
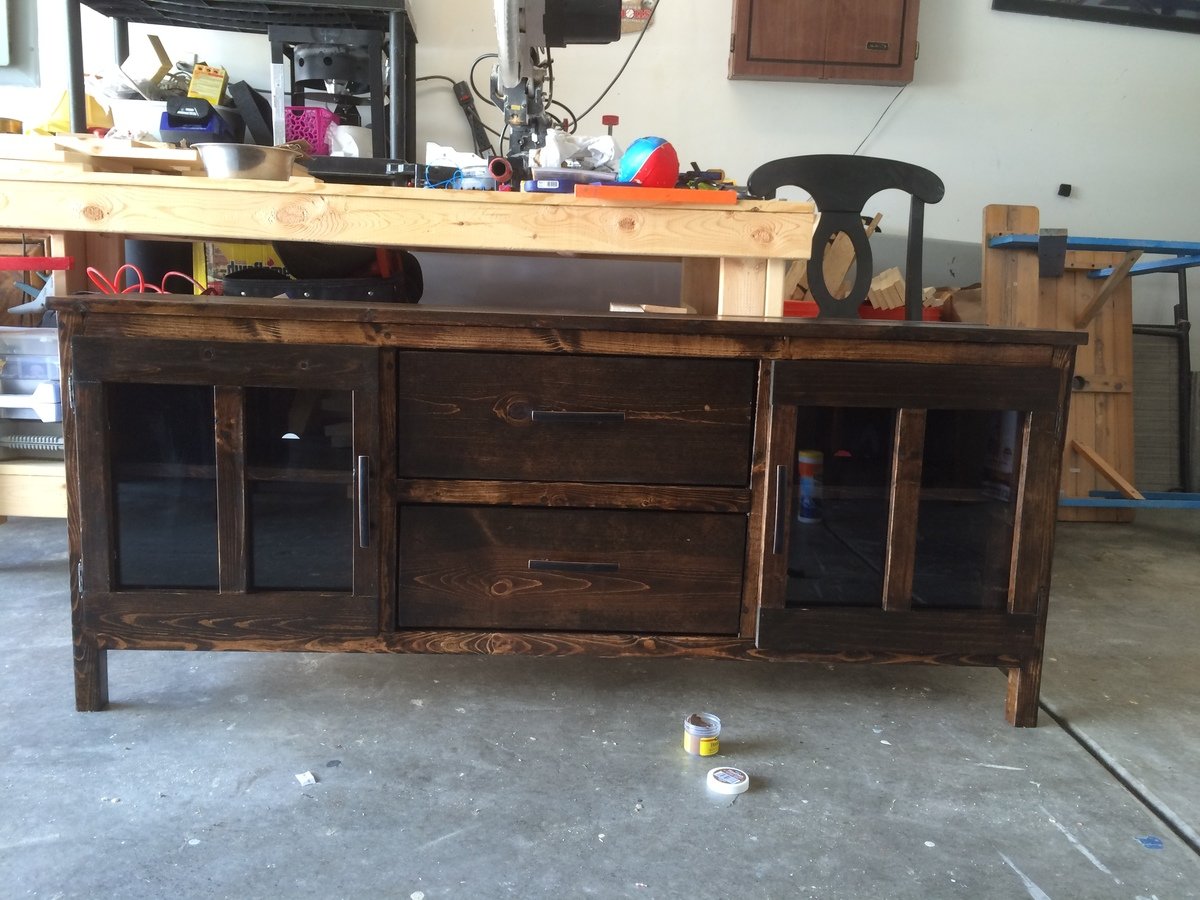
Finish Used
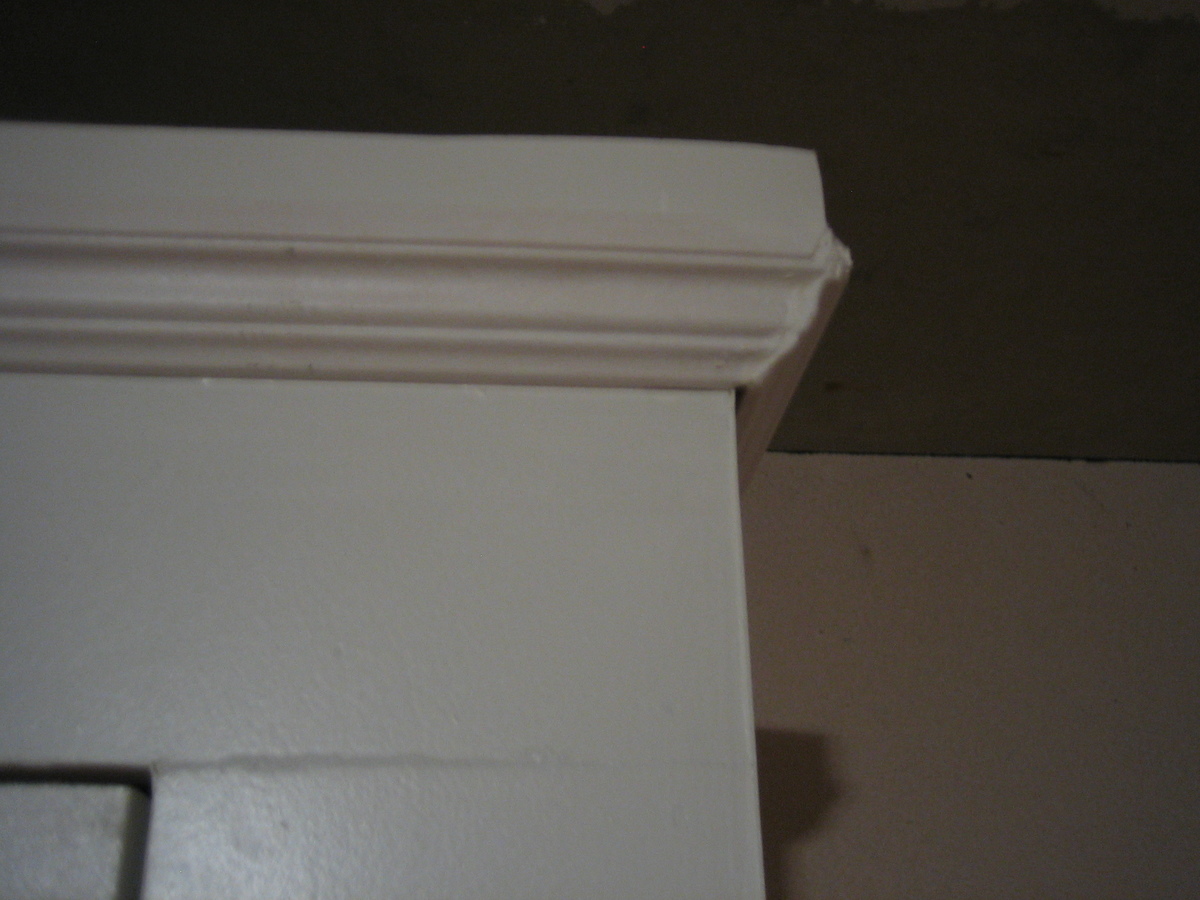
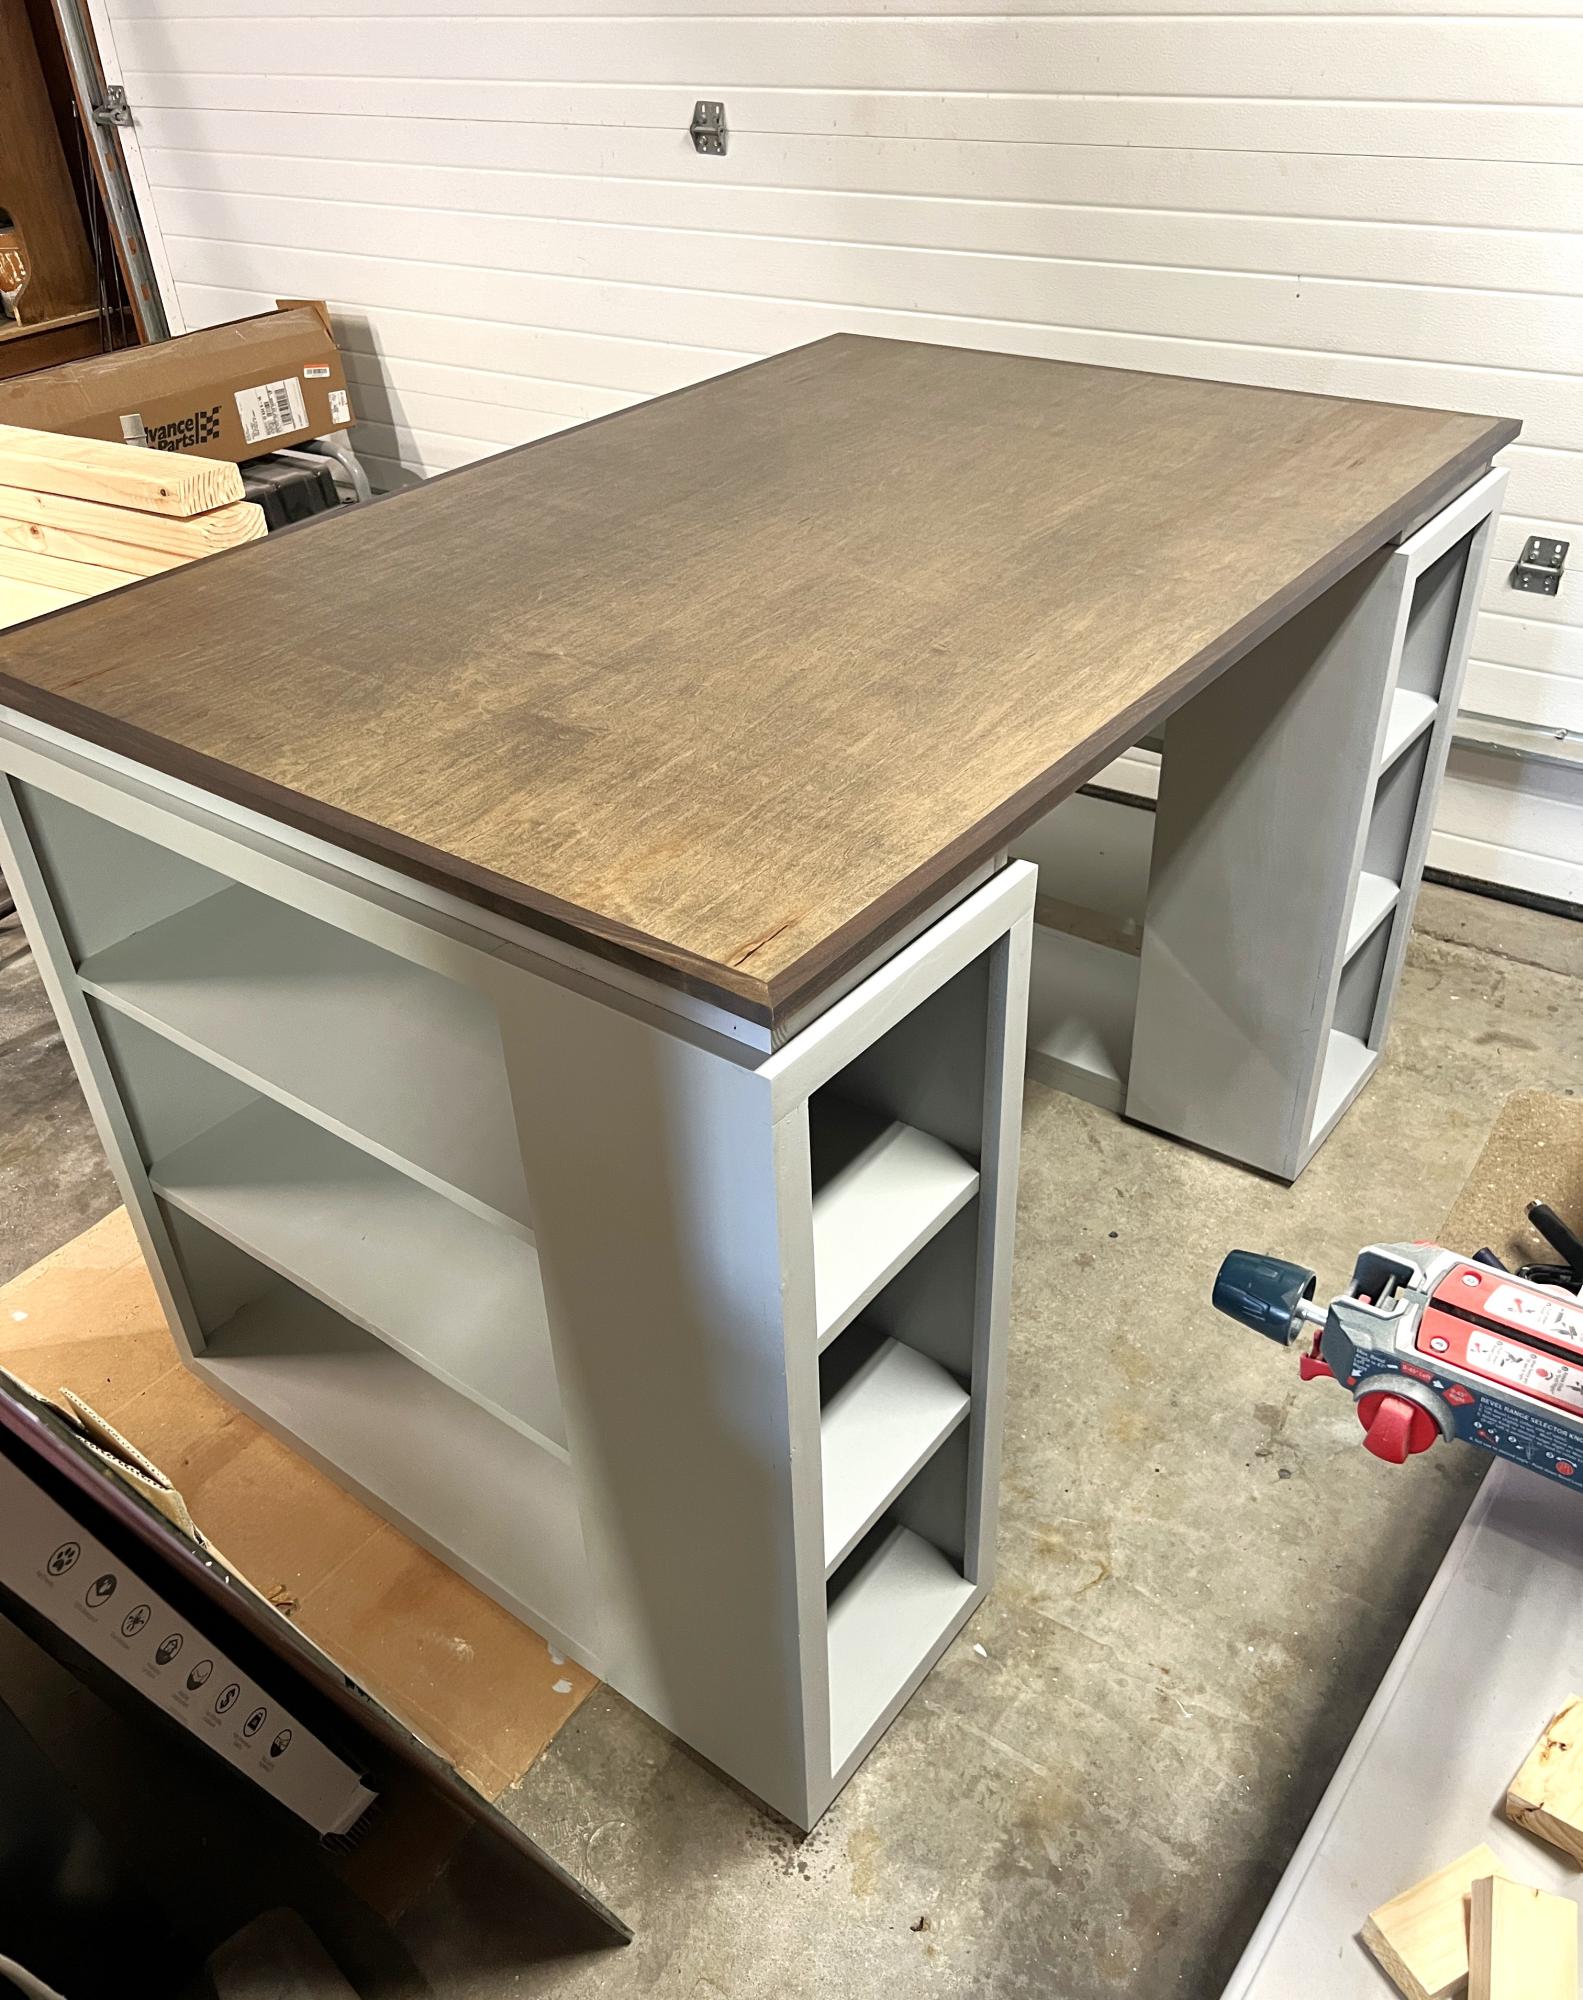
We used white paint without primer, but next time i will definately use a primer first. I also should have sanded better.
Recommended Skill Level
Beginner