Community Brag Posts

Back Entry (Mudroom) Shelf

Submitted by lbrown on Thu, 08/30/2012 - 07:06

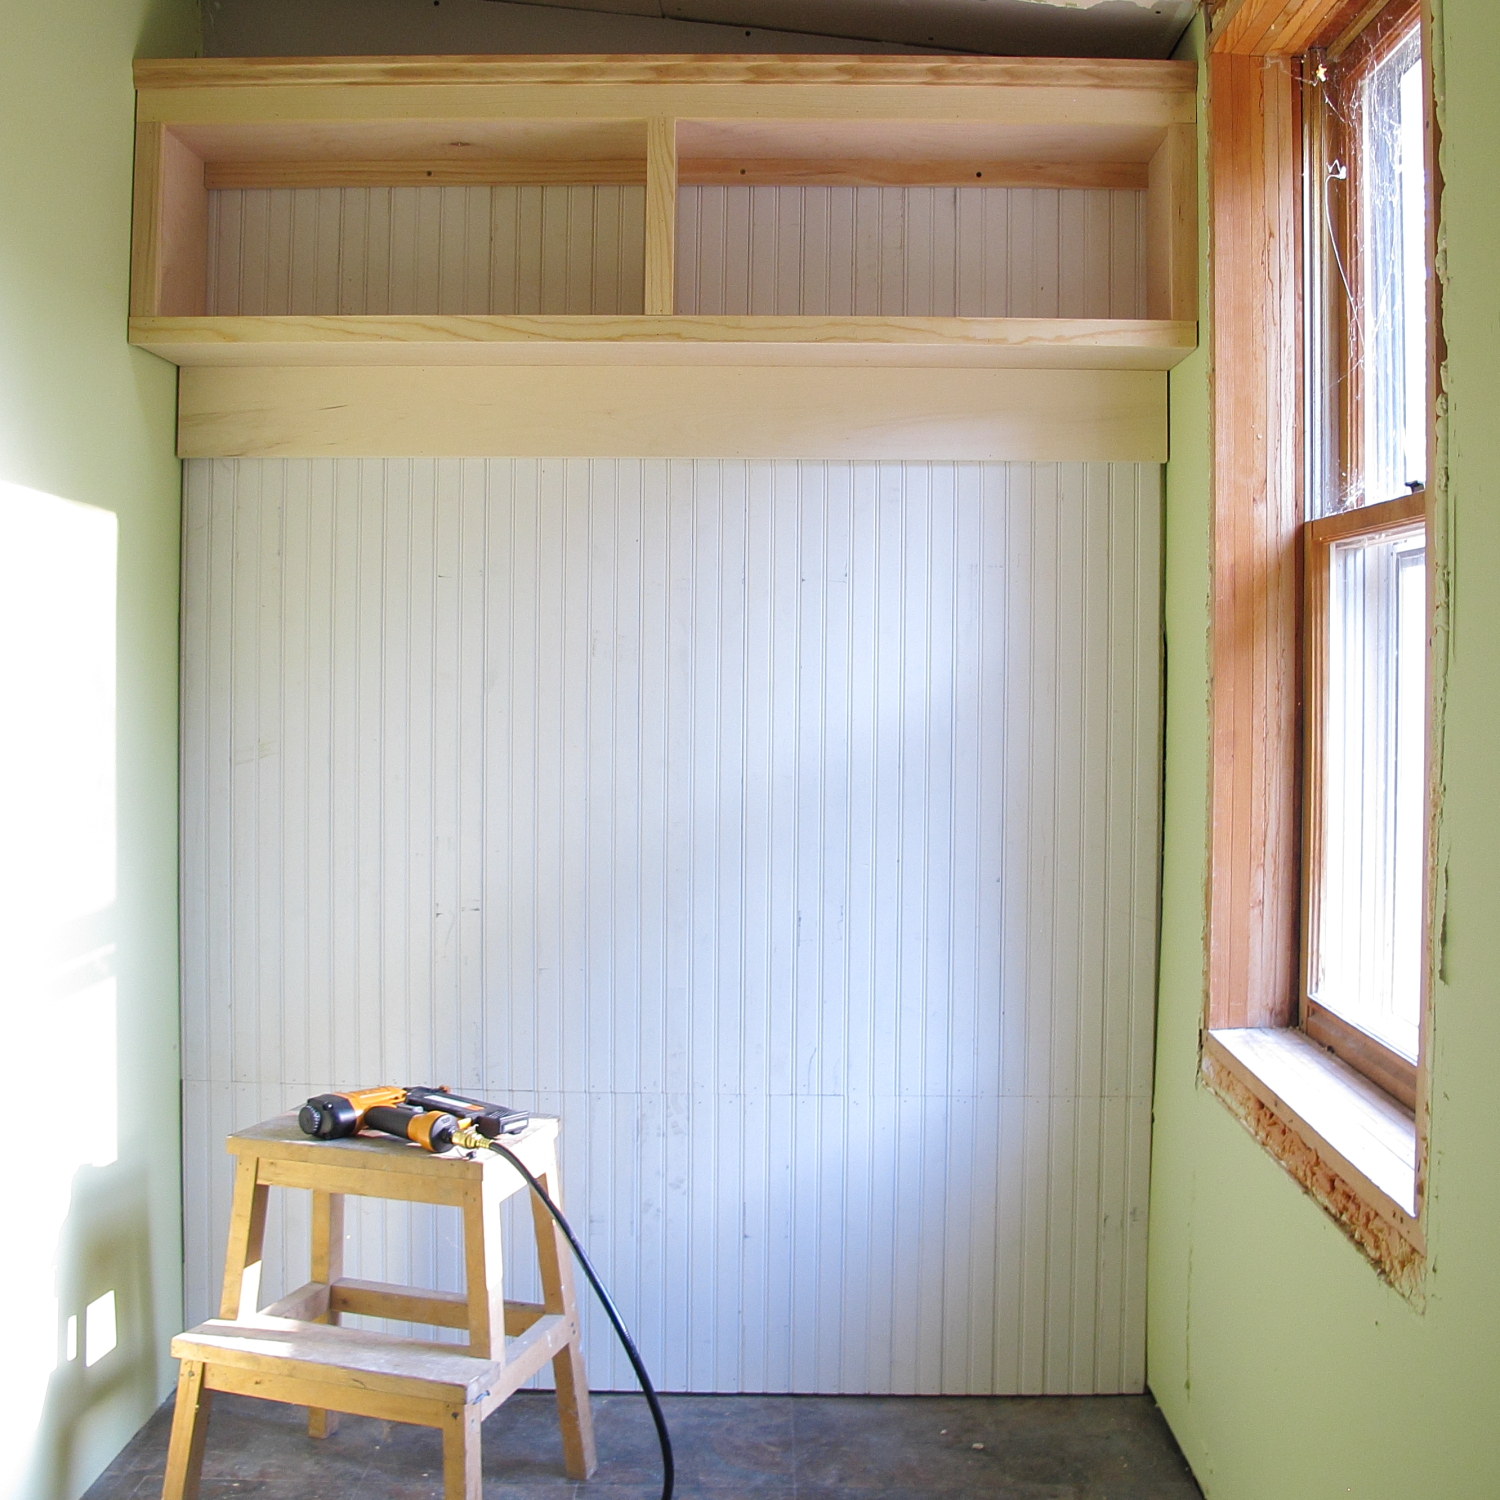
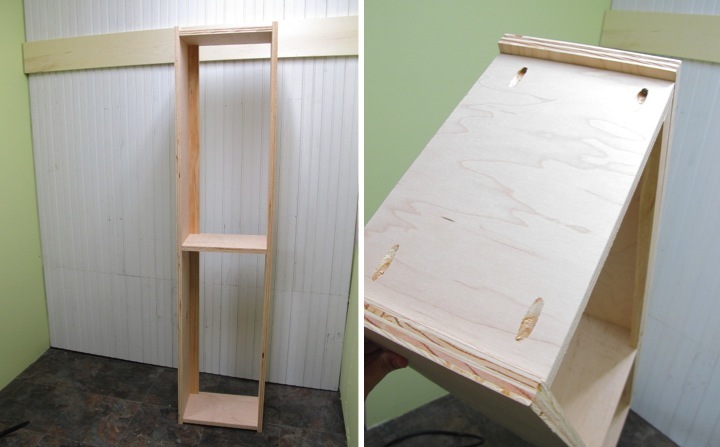
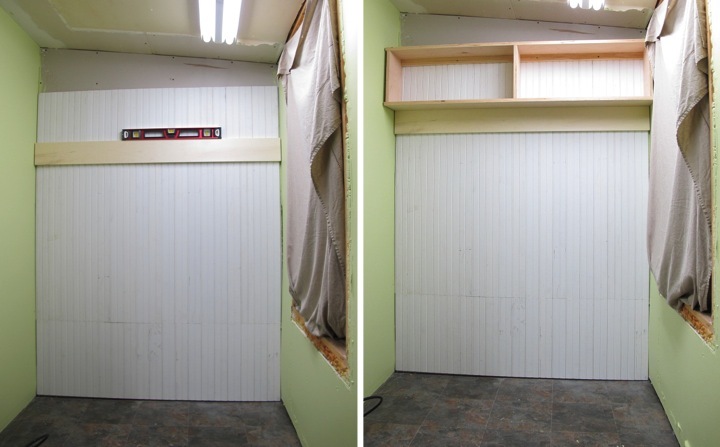
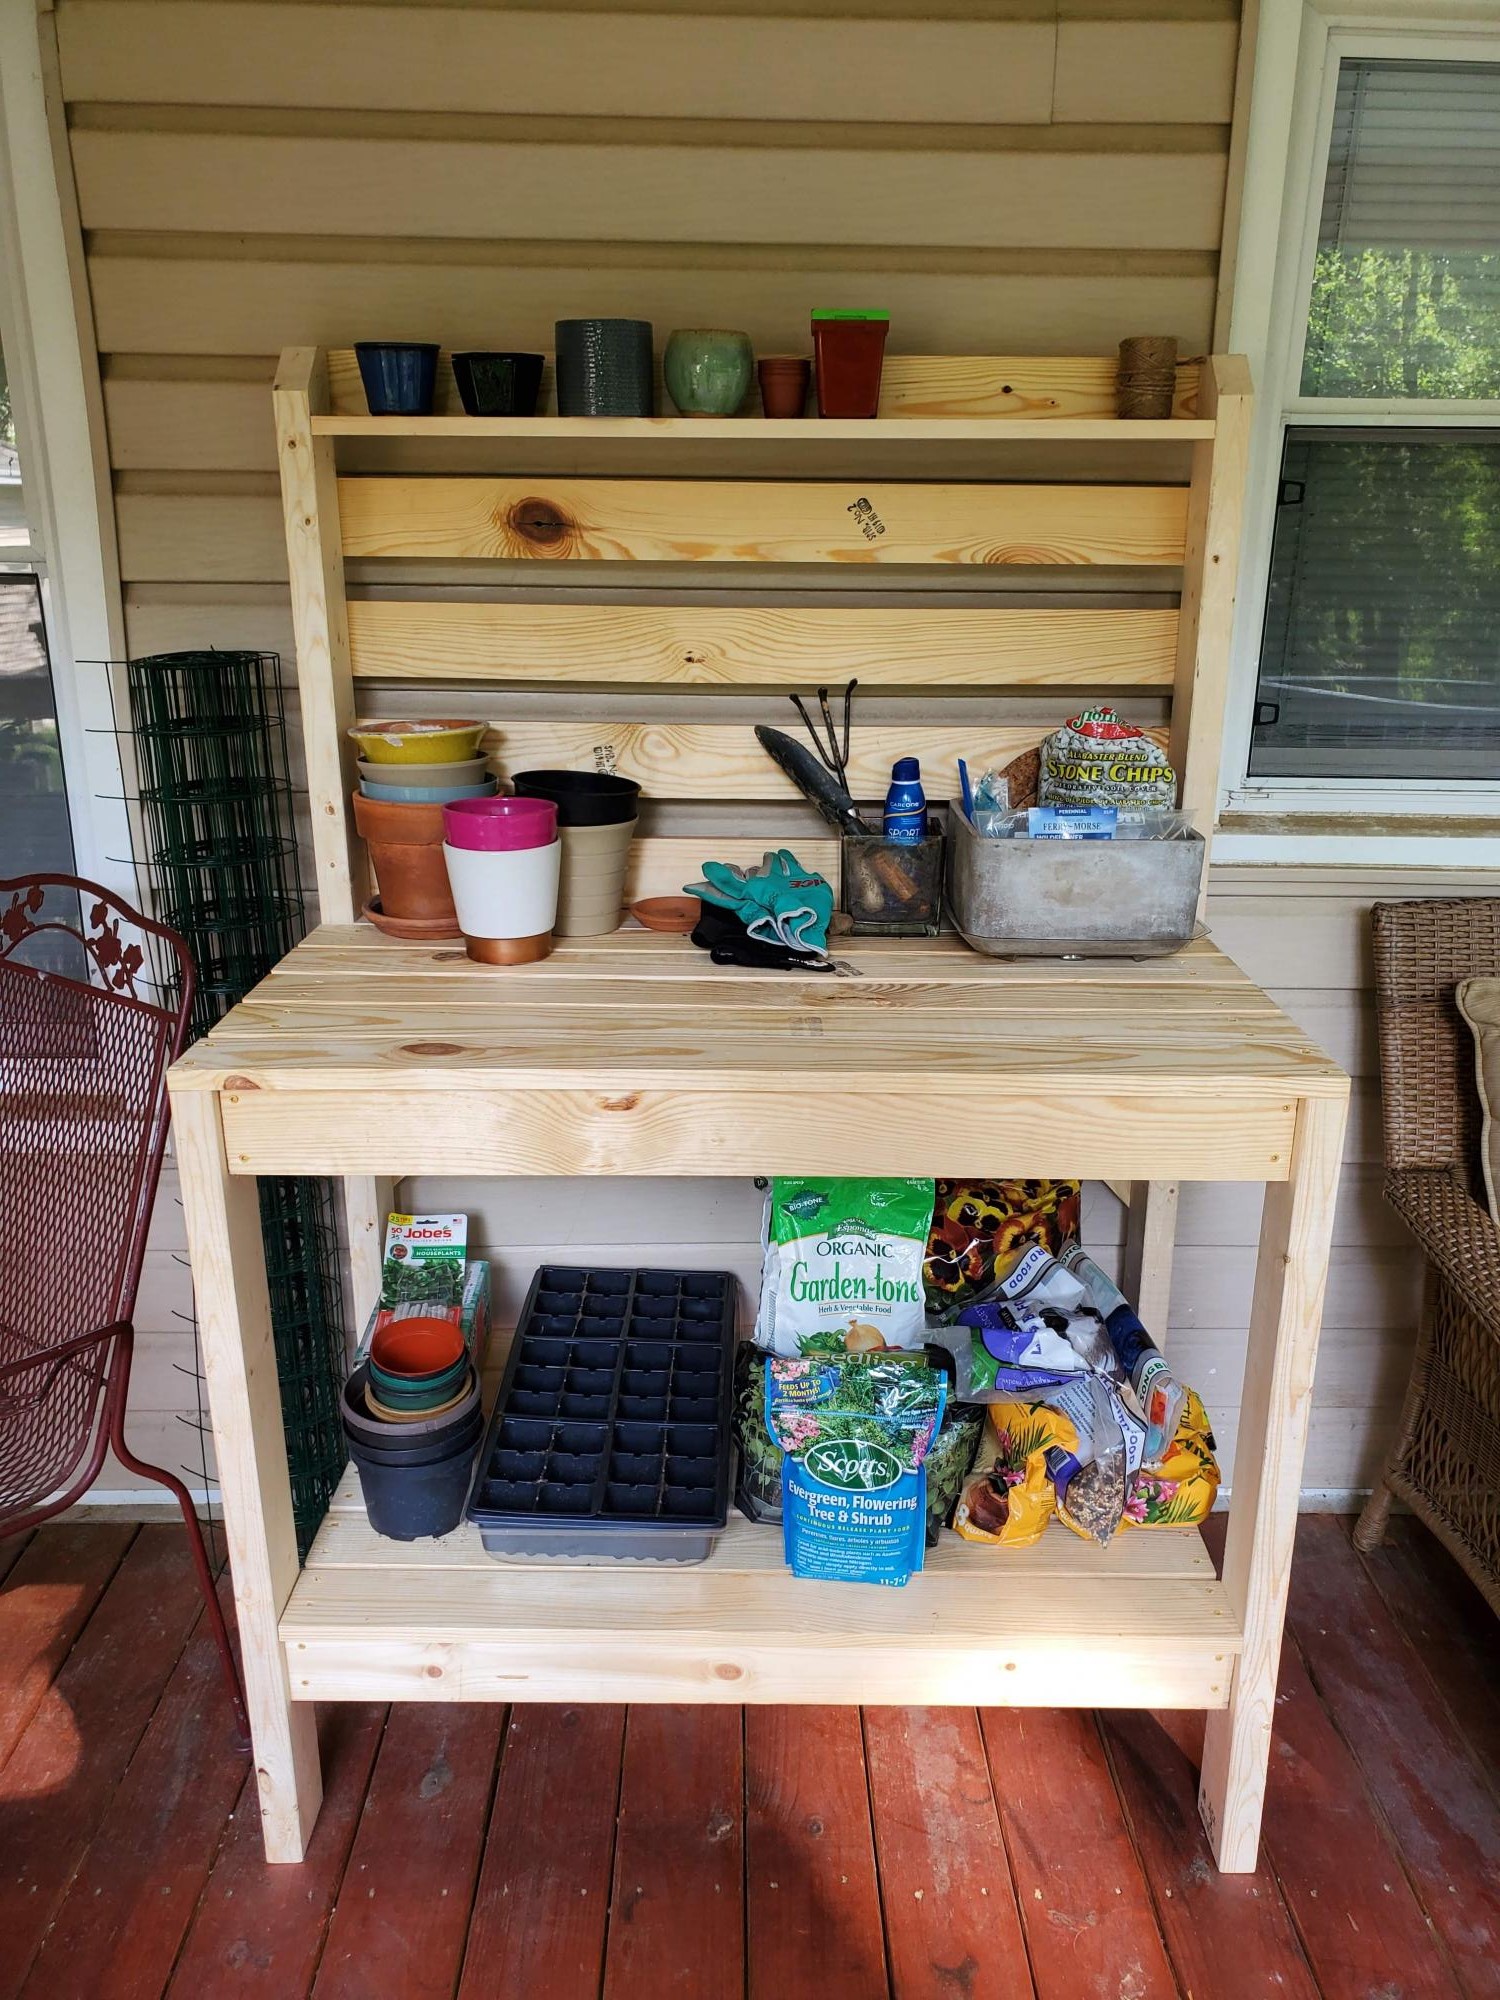
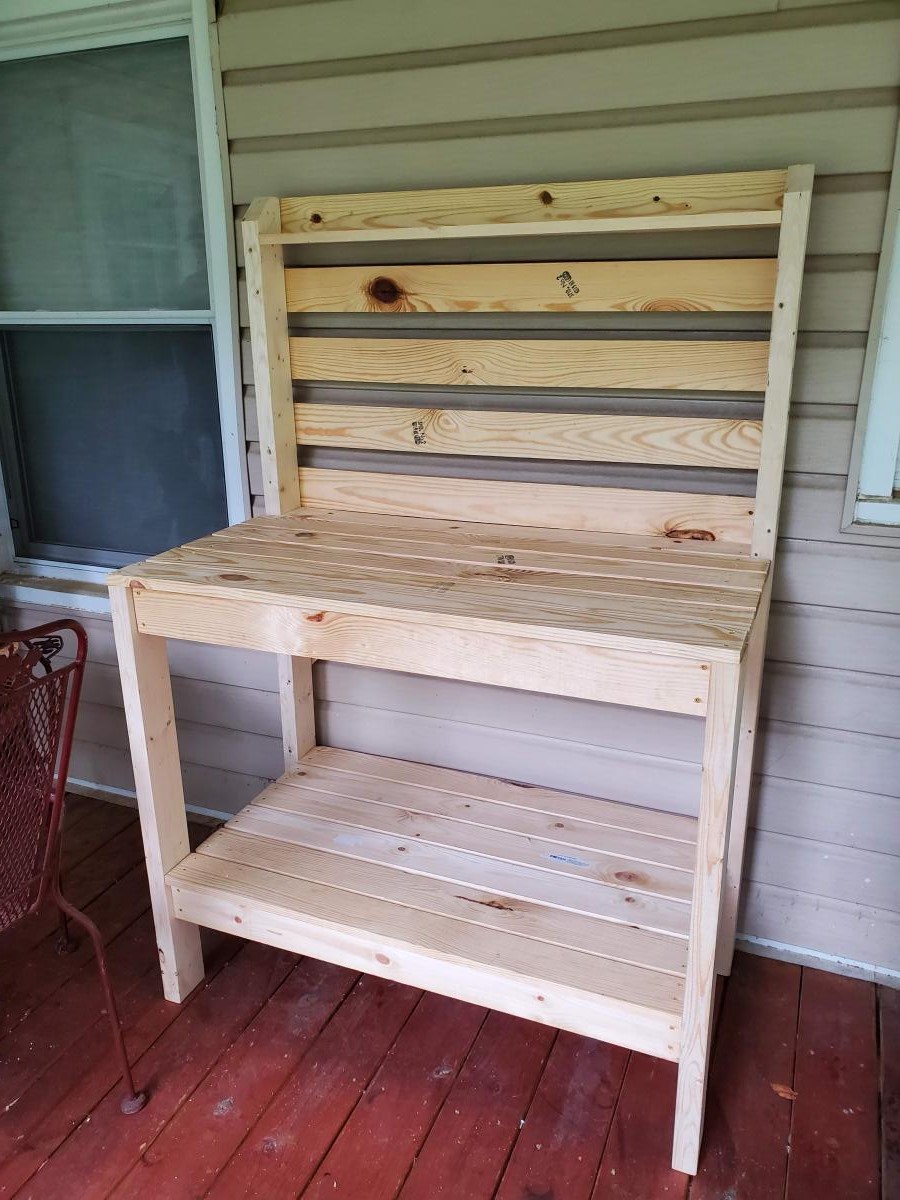
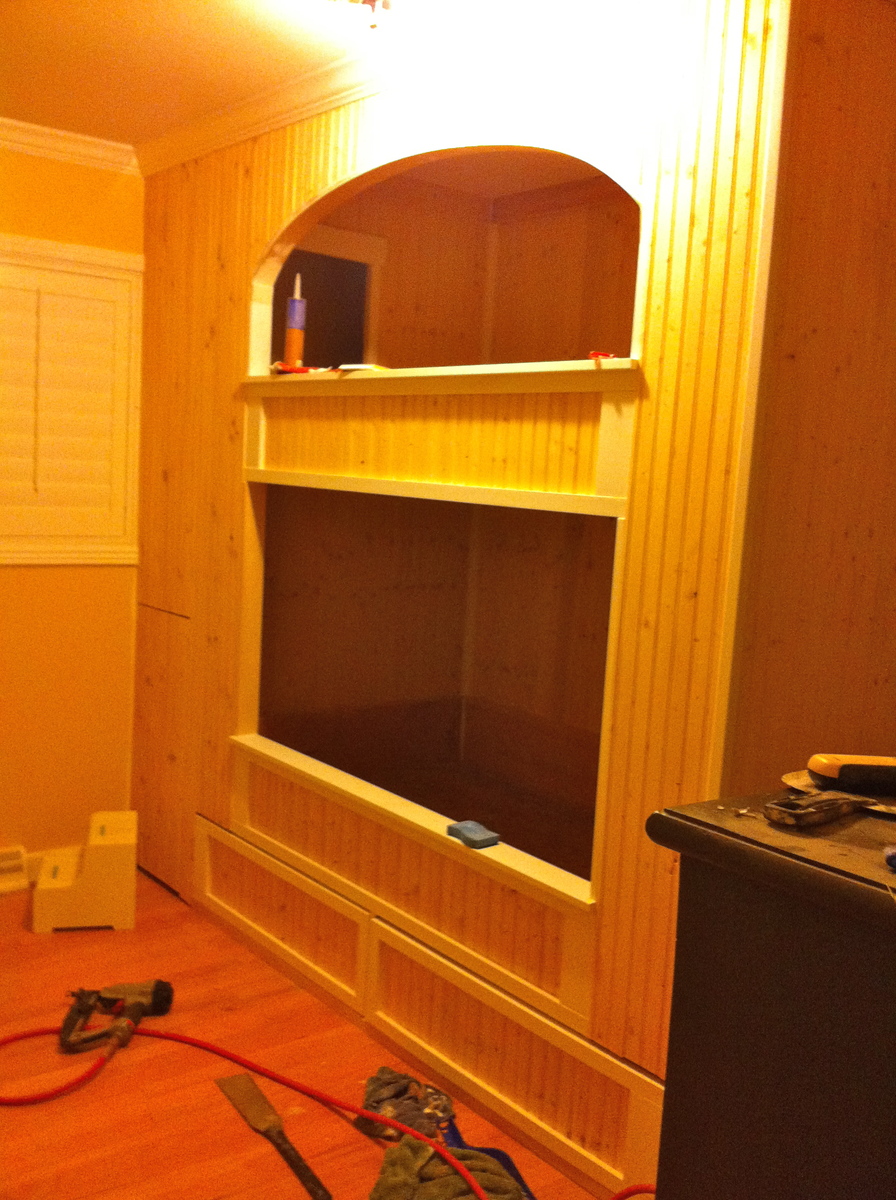
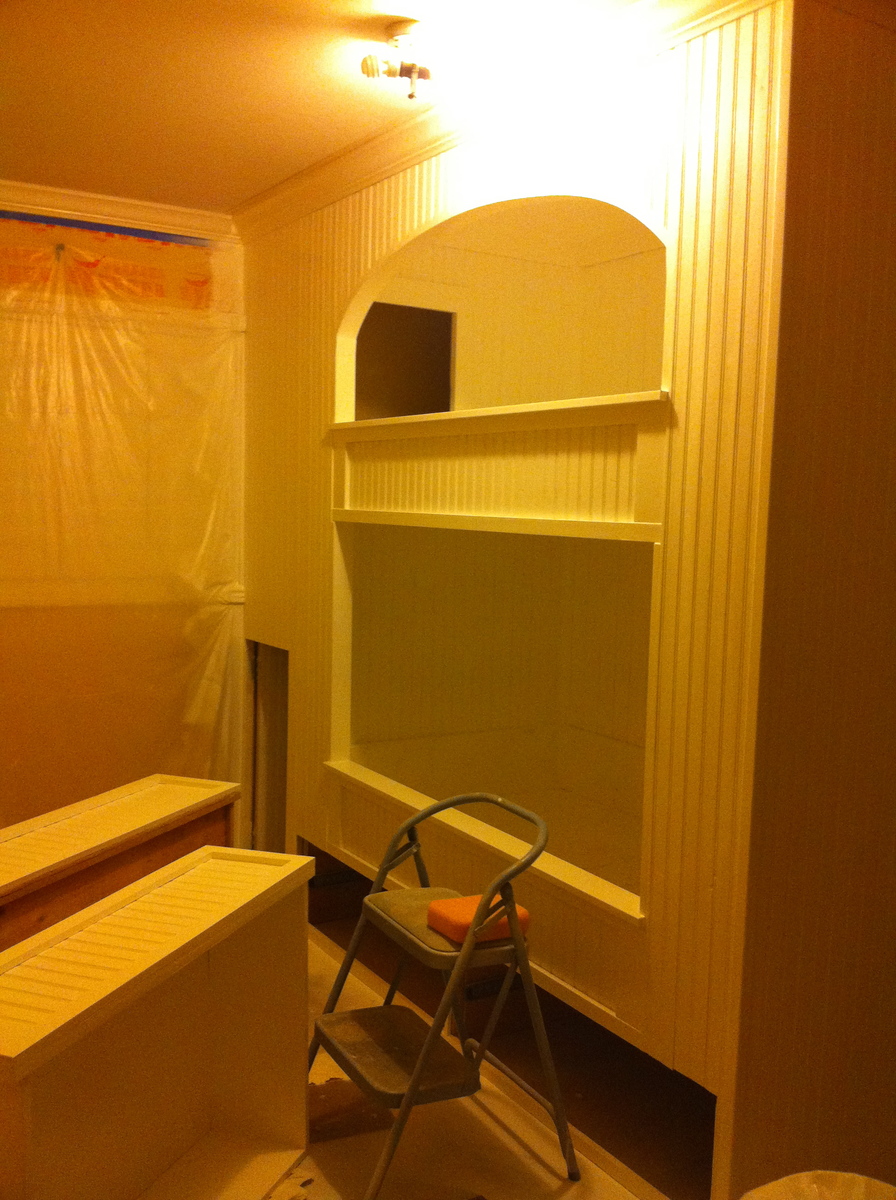
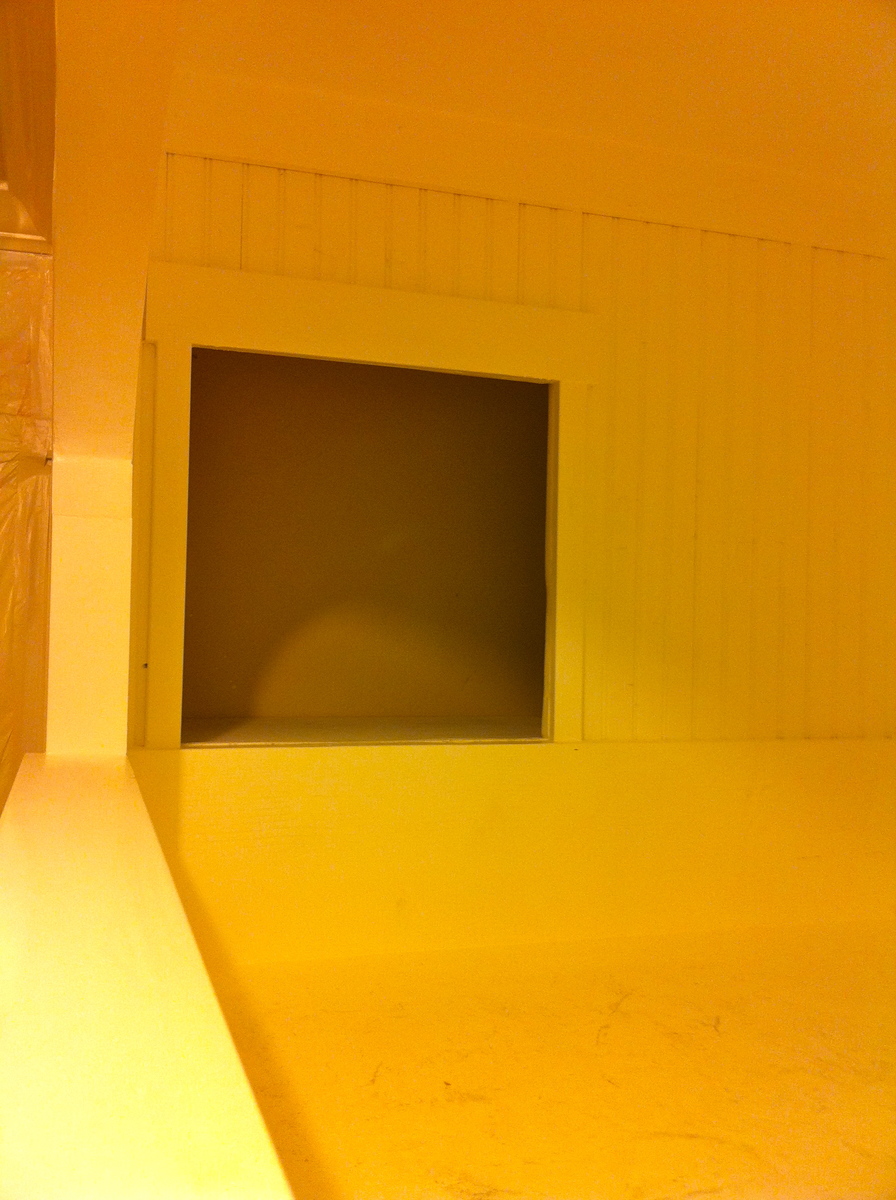
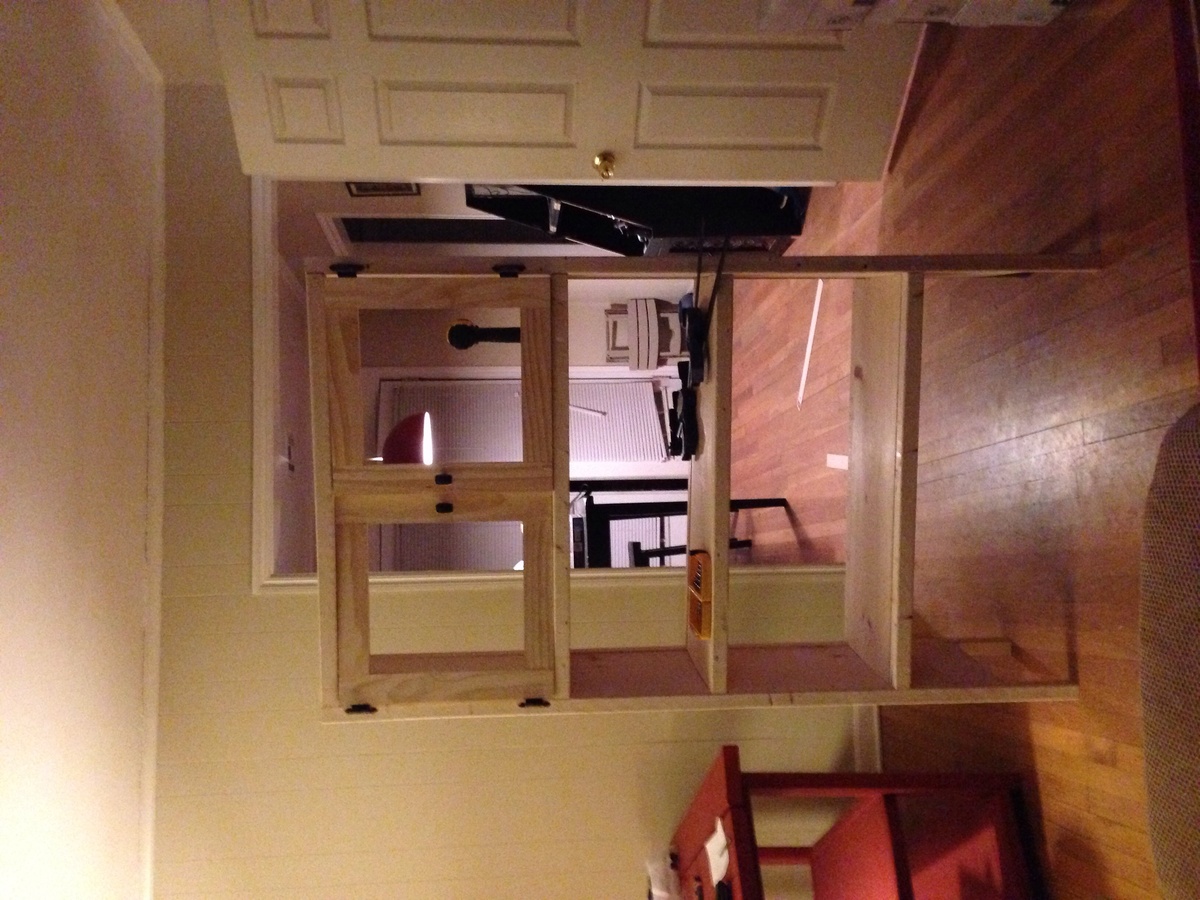
With my beadboard installed and the trim board for my hooks in place in my back entry I was ready to get building. I decided to tackle the shelf first since that would be easier to install without the bench in the way.

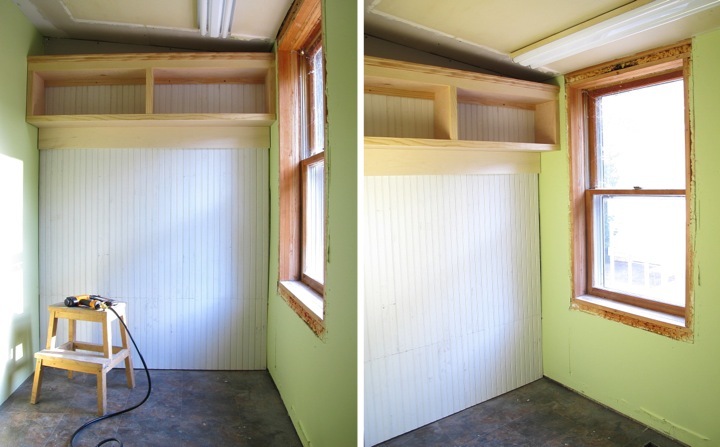
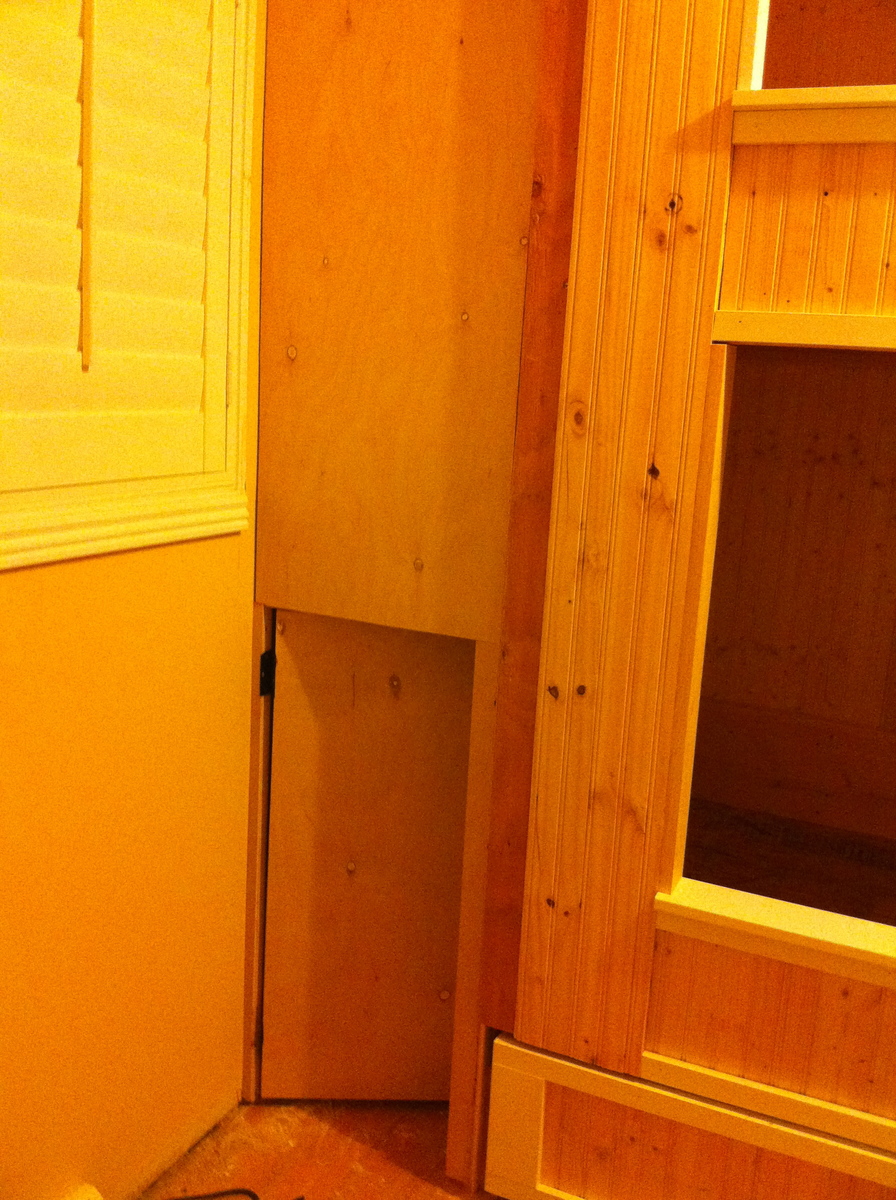
For my shelf design I planned it together with my bench so that I could cut everything but the bench top and face framing pieces from a single piece of plywood. Also, the width of my space is a little strange and the shelf couldn't be too deep because of my window location.

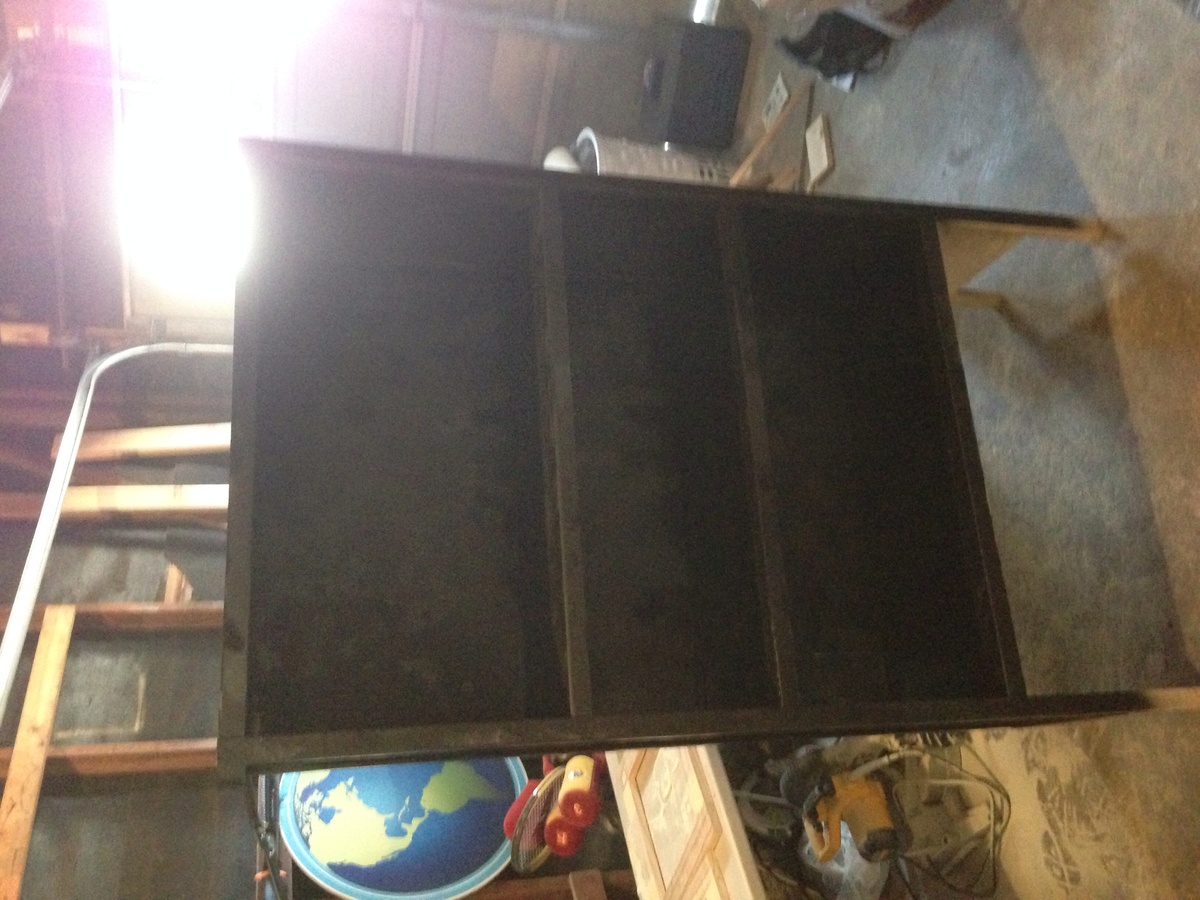
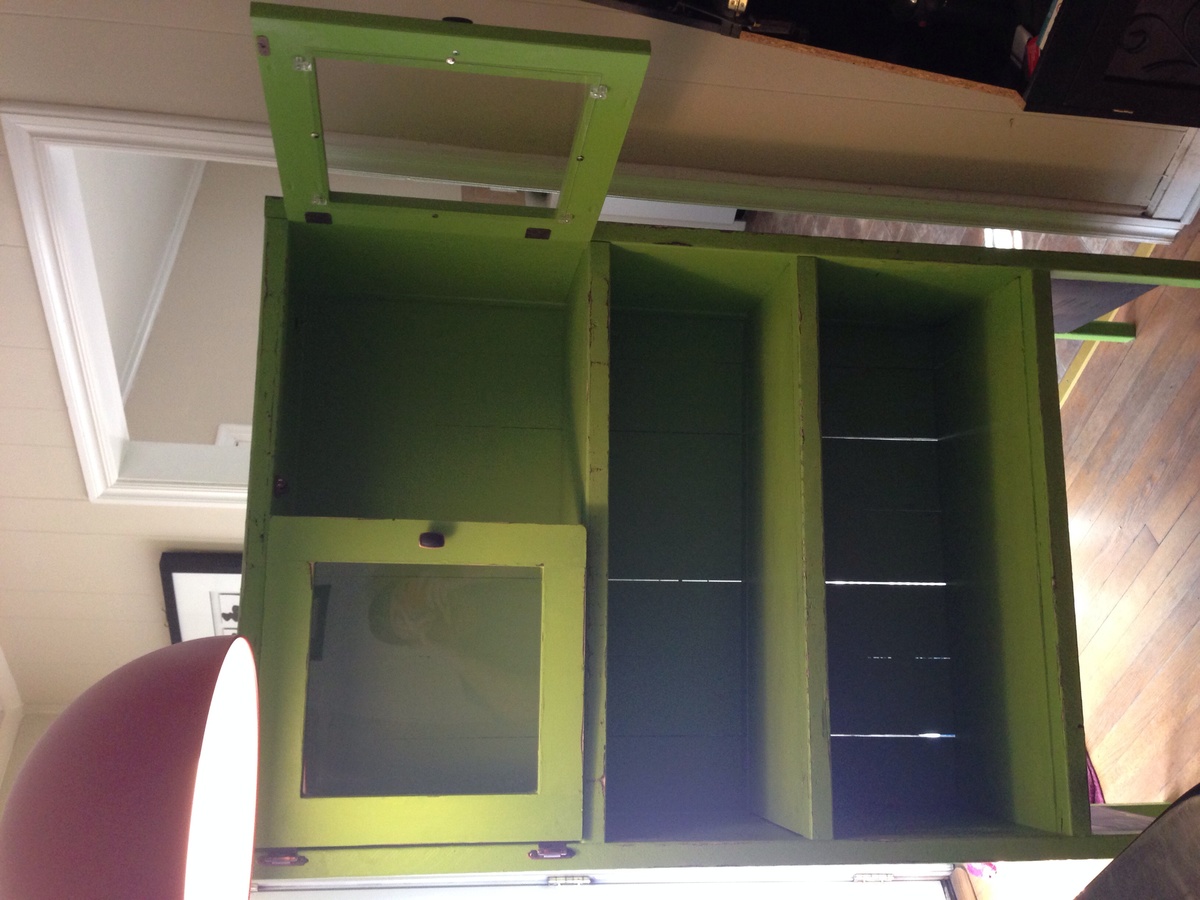
I think the shelf turned out cute and I can't wait to prime and paint it and add the coat hooks. I plan to do the finishing work at the same time as the bench so I need to build my bench first though.

For more details, check out my blog: http://homeandawaywithlisa.com/blog/2012/8/30/building-a-storage-shelf-…

Estimated Cost
$45
Estimated Time Investment
An Hour or Two (0-2 Hours)
Finish Used
I plan to paint it white
Recommended Skill Level
Beginner

Flat wall bookholder

Submitted by jenn-82 on Wed, 06/25/2014 - 10:29

Followed directions but altered the length of the bookshelf to fit tight space. Super easy to build, not as easy to put up. Recommend anxious and drilling into the backs of the bookshelf.

Estimated Time Investment
An Hour or Two (0-2 Hours)
Finish Used
Behr, satin interior paint, white, two coats.
Recommended Skill Level
Starter Project

Comments

hi-smiley

Fri, 12/05/2014 - 19:06

I was wondering how they were affixed to the wall?  I've read several posts by people and although the plans seem easy enough nothing is noted on how to affix them to the wall...and I have toddlers.  Thanks so much.


Comfort on the deck

Submitted by Anonymous (not verified) on Mon, 09/26/2016 - 04:48

This deck furniture was made using construction grade 2 x 4's and the simple plans from Ana. The cushions were purchased at Kohls. They were on sale for just under $25.00 each. The cushions are made for chairs, but this seemed to work well. The short bench is 4ft long and the long bench is 8ft. I altered plans slightly by adding center support on long bench and adding a couple supports on the back. The back rails and end arms were raised a little higher. Made them 30". May be a little too high? My wife is going to make back pillows and a corner table is to be added later. 

Estimated Cost
$125.00
Estimated Time Investment
Weekend Project (10-20 Hours)
Finish Used
Paint
Recommended Skill Level
Beginner

Comments

Our first project!

Submitted by hannahJoy on Mon, 07/06/2020 - 10:18

This project was so fun! It was relatively easy to follow, and only took a total of about 4-5 hours. (Probably would have taken less time if it weren't so hot out!) The only suggestions I have to the Simple 2x4 Potting bench plans are as follows: - List how many of each screw are needed. We bought 50 of both types, thinking surely that'd be enough. Nope! A quantity on the shopping list would have been helpful. - Tell us what cuts come from which boards. We were so afraid of cutting up the wrong pieces, so we ended up doing a lot of manual calculation. No big deal (I'm an engineer) but it still would have been helpful.

Estimated Cost
$75
Estimated Time Investment
Afternoon Project (3-6 Hours)
Recommended Skill Level
Beginner

built in bunk bed

This is a bed I built for my son. I thought the secret door with ladder up to his bed would be fun but as it turns out it scares him to go in there. So I have since added climbing rocks to the outside of the bed so he can climb up that way as well as just climb around. It's all made with pine and bead board. The drawers are huge and eliminates the need for any dresser.

Estimated Cost
$500
Estimated Time Investment
Week Long Project (20 Hours or More)
Finish Used
semi gloss white paint
Recommended Skill Level
Intermediate

Kendal extra wide dresser/changing table

When we found out we were expecting, my husband and I decided we wanted to build all the nursery furniture. The dresser/changing table was our first project before we moved on to a closet system and the barn bookshelf. We just have the crib and night stand to finish before our little cowgirl, Teyla, arrives in October.

We decided on using oak for the furniture. This was also our first attempt at drawers which means some of the drawer faces are not flush with the dresser front like we wanted. Overall the frame and drawer boxes went together very easily. The drawer installation was the trickiest part for us.

Built from Plan(s)
Estimated Cost
$150
Estimated Time Investment
Week Long Project (20 Hours or More)
Finish Used
Golden oak
Recommended Skill Level
Intermediate

Fancy X Farmhouse Table and Benches

Submitted by JustJ on Tue, 07/07/2020 - 07:44

Modified the size of the Fancy X Farmhouse table, down to 34-1/2" x 60", and the benches to fit fully under the table.

The only thing I wish I could change with these plans is how you attach the tabletop. Because you are stacking wood for the base, and there are no aprons, you have to attach the top by going through the table top. But wood filler and stain hides them well enough, but I'm never the biggest fan of going from the top. I prefer to hide the screws on the underside.

Other than that, I love building this table.

Finish Used
Varathane Carbon Gray Stain for the tops
Glidden Ultra Bright White for the bases
Recommended Skill Level
Intermediate

Cedar Outdoor Sofa

Submitted by Anonymous (not verified) on Mon, 05/06/2024 - 13:17

Two projects that I recently built for my wife and my daughter. My wife wanted a tea bar and a beach vibe, my daughter wanted an outdoor couch so it is made out of cedar. They both loved them.

Todd Springer

PB Inspired Toddler Bed

Submitted by Rennie82 on Mon, 09/03/2012 - 17:51

I loved this bed from PB but couldn't see spending the $400 that they wanted for this bed that the little one will only be in a shortwhile. This was a fairly simple build with the finishing taking the longest. A little more skill with the jigsaw would have made the curves flow better but all in all it turned out very nice. Looking forward to more fun things to build!

Built from Plan(s)
Estimated Cost
40$
Estimated Time Investment
Day Project (6-9 Hours)
Finish Used
Used Rustoleum spray paint with 3 coats of gloss minwax polycrylic.
Recommended Skill Level
Beginner

Modified chick coop

Submitted by Luke-Bro on Tue, 07/01/2014 - 19:14

I have limited counter space and needed something for additional storage but was also limited on space. After looking at pre-made kitchen hutchs running from 1,200 to 3,000 dollars and never really finding anything I truly liked. I decided to find some plans to build my own to fit my need and space. I came across Ana's Chick Brooding Cabinet. I really liked the style and it was something that could be easily modified. It has really come in handy!!

Built from Plan(s)
Estimated Time Investment
Weekend Project (10-20 Hours)
Recommended Skill Level
Starter Project

Fire table sectional and conversation set

Submitted by Tbacks on Wed, 10/05/2016 - 04:54

Thank you for making these patterns available online!!  I was able to create wonderful seating areas for entertaining on our new deck.  I extended the ottoman legs by 4 inches to create the raised table in conversation set.  These were my very first woodworking projects and your patterns made it a fun adventure.  They add such a beautiful touch to our new space.


I chose to stick with the original pattern and love the results!  Very sturdy!  Only thing I would do differently would probably be to go pick my own wood instead of having all the wood needed delivered by Home Depot,  some pieces that I received I would have passed by had I selected them.

Finish Used
painted all seating with exterior paint and used Anna's online cushion pattern and Sun Shade water resistant fabric purchased on Amazon along with marine grade cushion foam that is mildew and mold resistant also purchased on Amazon.
Recommended Skill Level
Beginner
Seasonal And Holiday

Adirondack chairs

Submitted by Anonymous (not verified) on Wed, 07/08/2020 - 07:11

I loved these plans. Thank you so much. I expanded some of the measurements to make a love seat too. Added another back support in the middle of the loveseat.

Estimated Time Investment
Day Project (6-9 Hours)

Comments

Extra BIG barn frames with engineer prints

I used the barn wood frame plans to make these 33in square pine frames (24 inch by 24 inch interior). I added a 90 degree routered space on the inside lip of the frame so that my acrylic, mat and picture had a nice place to sit on the backside. I also added some left over trim to the inside of the 1x2. With a little hammered silver spray paint with distressed white on top, mats cut with my fabric cutting wheel from Hobby Lobby, and my vacation pics of our kids on engineer prints from Staples, I am really happy with these! (FYI prints are NOT grainy! I have tried this before with a regular camera and it didn't look right. The bigger the jpeg and more megapixels the better)

Estimated Cost
scraps
Recommended Skill Level
Beginner

Comments

baklund

Wed, 09/05/2012 - 11:09

Love these! Can you post a few more pictures of them close up so I can see how you did them and finished out the back? I've want to build some picture frames but am having a hard time figuring it out. Thanks! These are so beautiful!

Craftycraftswoman

Thu, 09/06/2012 - 13:41

Once I got to the back part I realized that it would have probably been easier to just skip the routered part....I originally was going to make these for mirrors and was worried about weight. If you don't router it it might actually be easier to use some sort of mirror clip/holder to keep things in place or it may even work with push points like the ones I used but used tacked straight into the back. Does that help? I may have just confused myself:)

Pallet Garden Bench and Cofee Table

Submitted by ananda on Thu, 07/03/2014 - 21:04

These benches and table are a fun blend of rustic wood, fresh colors, simple clean lines, and a touch of industrial gabion. They are made from reclaimed pallet wood, a metal storage shelving unit that’s no longer needed, and a material that’s locally abundant – beach pebbles.

Finish with non-toxic wood finishes. Check out the step by step tutorial, with detailed plans!http://www.apieceofrainbow.com/diy-pallet-wood-bench-and-gabion-table/

Estimated Time Investment
Weekend Project (10-20 Hours)
Finish Used
tung oil, citrus solvent, wax
Recommended Skill Level
Beginner

Grandy Sliding door console

Submitted by Anonymous (not verified) on Fri, 10/07/2016 - 22:49

I had a customer want one of these, then she decided she wanted matching bookcases to flank it. She let me run wild with the design of the cases, so I made them with the X's and tied it all together with the doors on the console. Finished with General Finishes Java Gel stain and Minwax Polycrylic. You can see my other work on facebook, youtube and Instagram under "Reaperwoodworks". Thanks for looking! 

Estimated Time Investment
Weekend Project (10-20 Hours)
Recommended Skill Level
Intermediate

Not so Rustic X End Table

Submitted by tldavis on Sat, 09/08/2012 - 18:47

Turned out much larger in person than I thought it would, but built it for our porch. I also remembered the plans in my head differently and ended up with the X on the sides originally intended to be open. Didn't finish staining it yet, but I was too excited to share.

Built from Plan(s)
Estimated Time Investment
Afternoon Project (3-6 Hours)
Finish Used
Rustoleum Golden Oak
Recommended Skill Level
Starter Project

Comments

Keith (not verified)

Sat, 12/22/2012 - 09:05

How did you connect those cross members; at the center and at the ends?

Arbor Bench and Rustic Outdoor Table

Submitted by Anonymous (not verified) on Fri, 07/10/2020 - 14:05

I built the arbor bench first, and was very impressed at how complete the instructions were. I enjoyed it so much, that I found the plans, and built the outdoor rustic coffee table to complement it. I ended up using pressure treated pine, and am now waiting for the wood to completely dry out enough to put a stain on both pieces. The plans for both were very comprehensive.

Estimated Time Investment
Week Long Project (20 Hours or More)
Recommended Skill Level
Beginner
Back