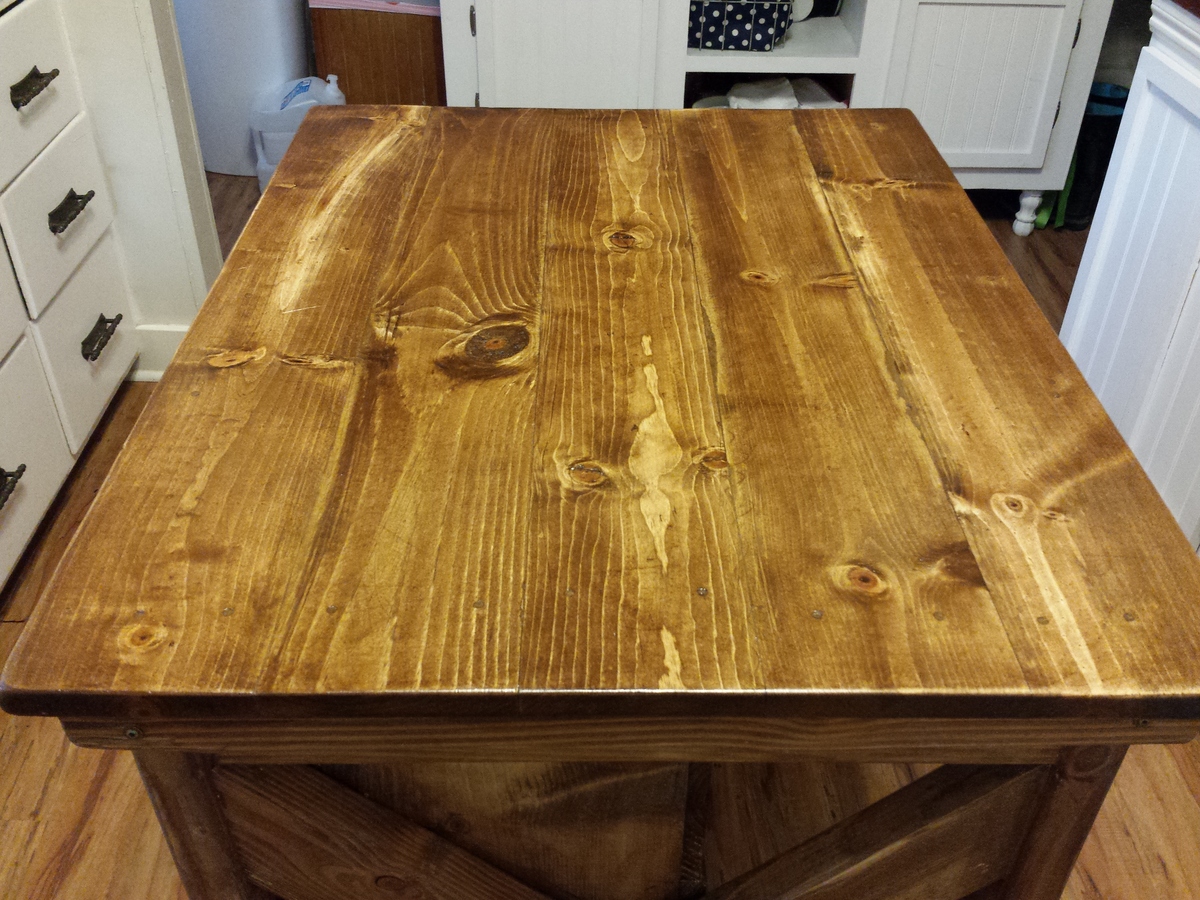
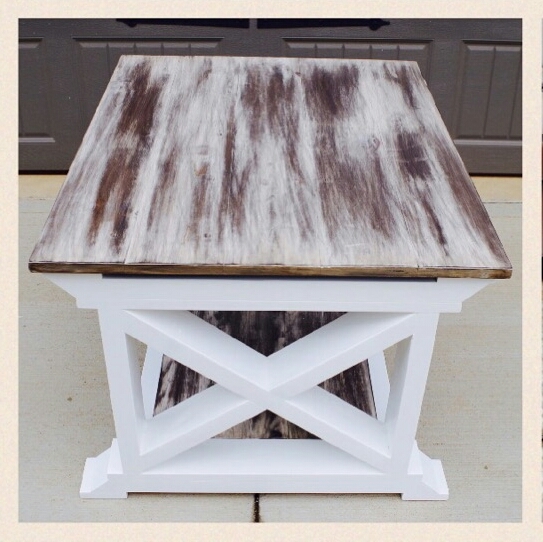
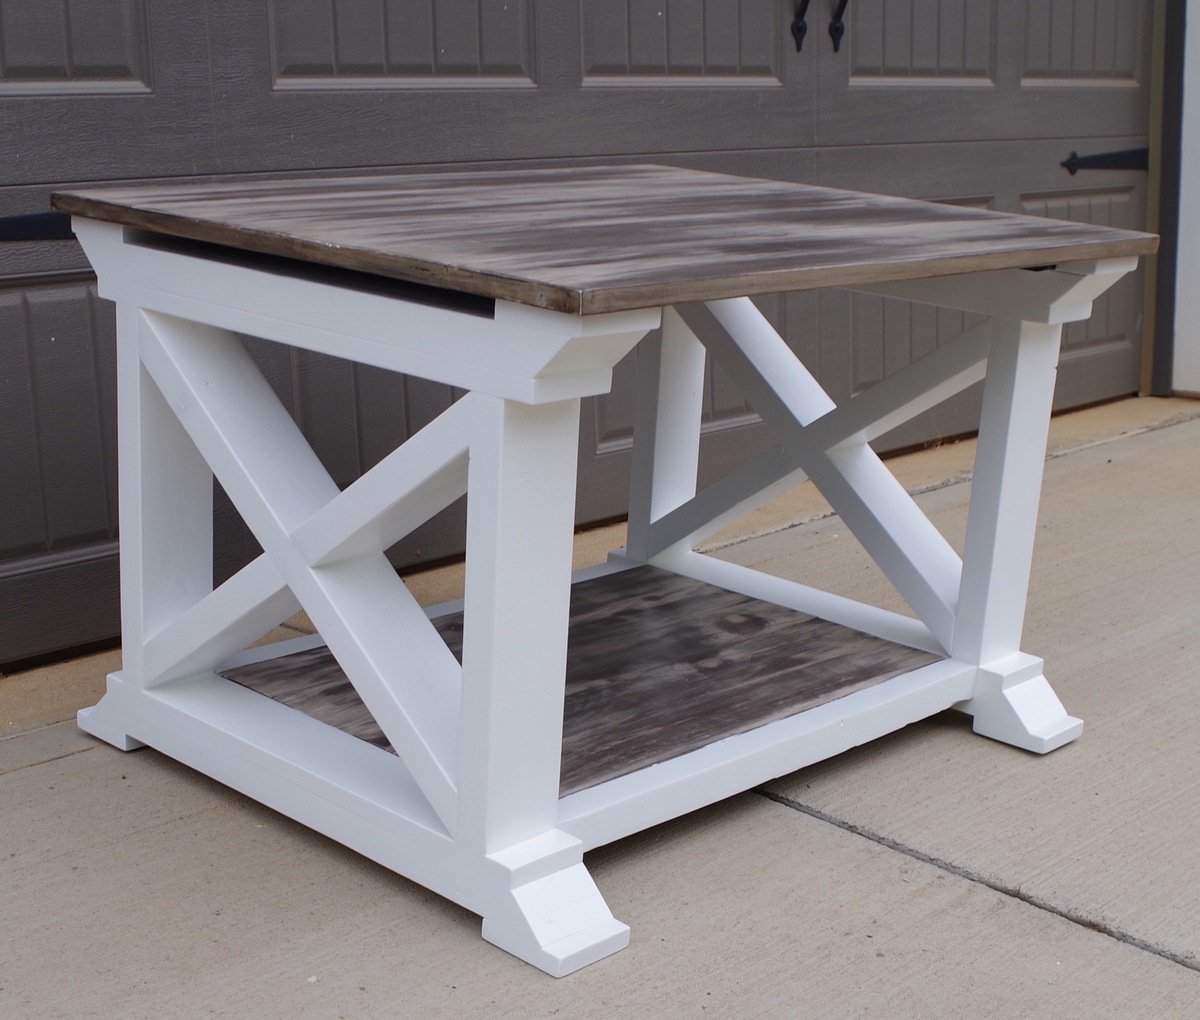
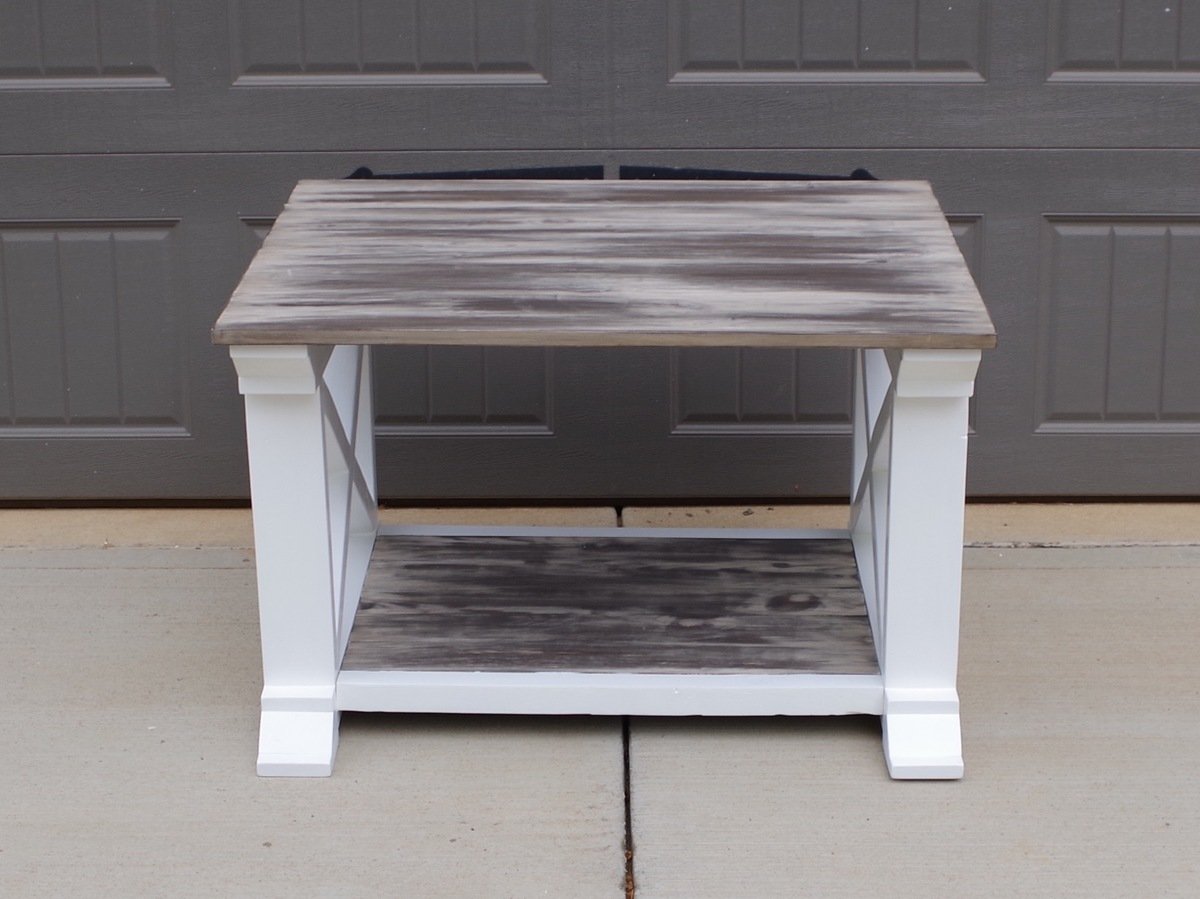
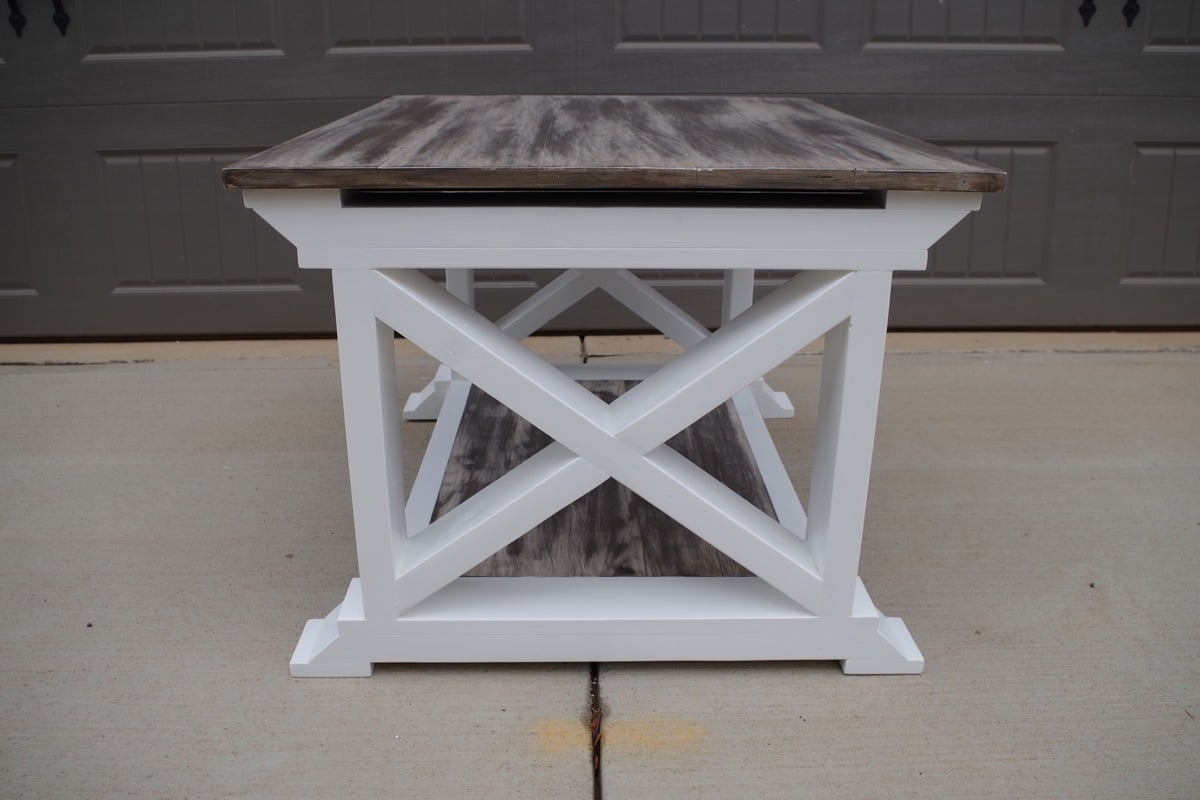
Simple Modern Outdoor Sectional

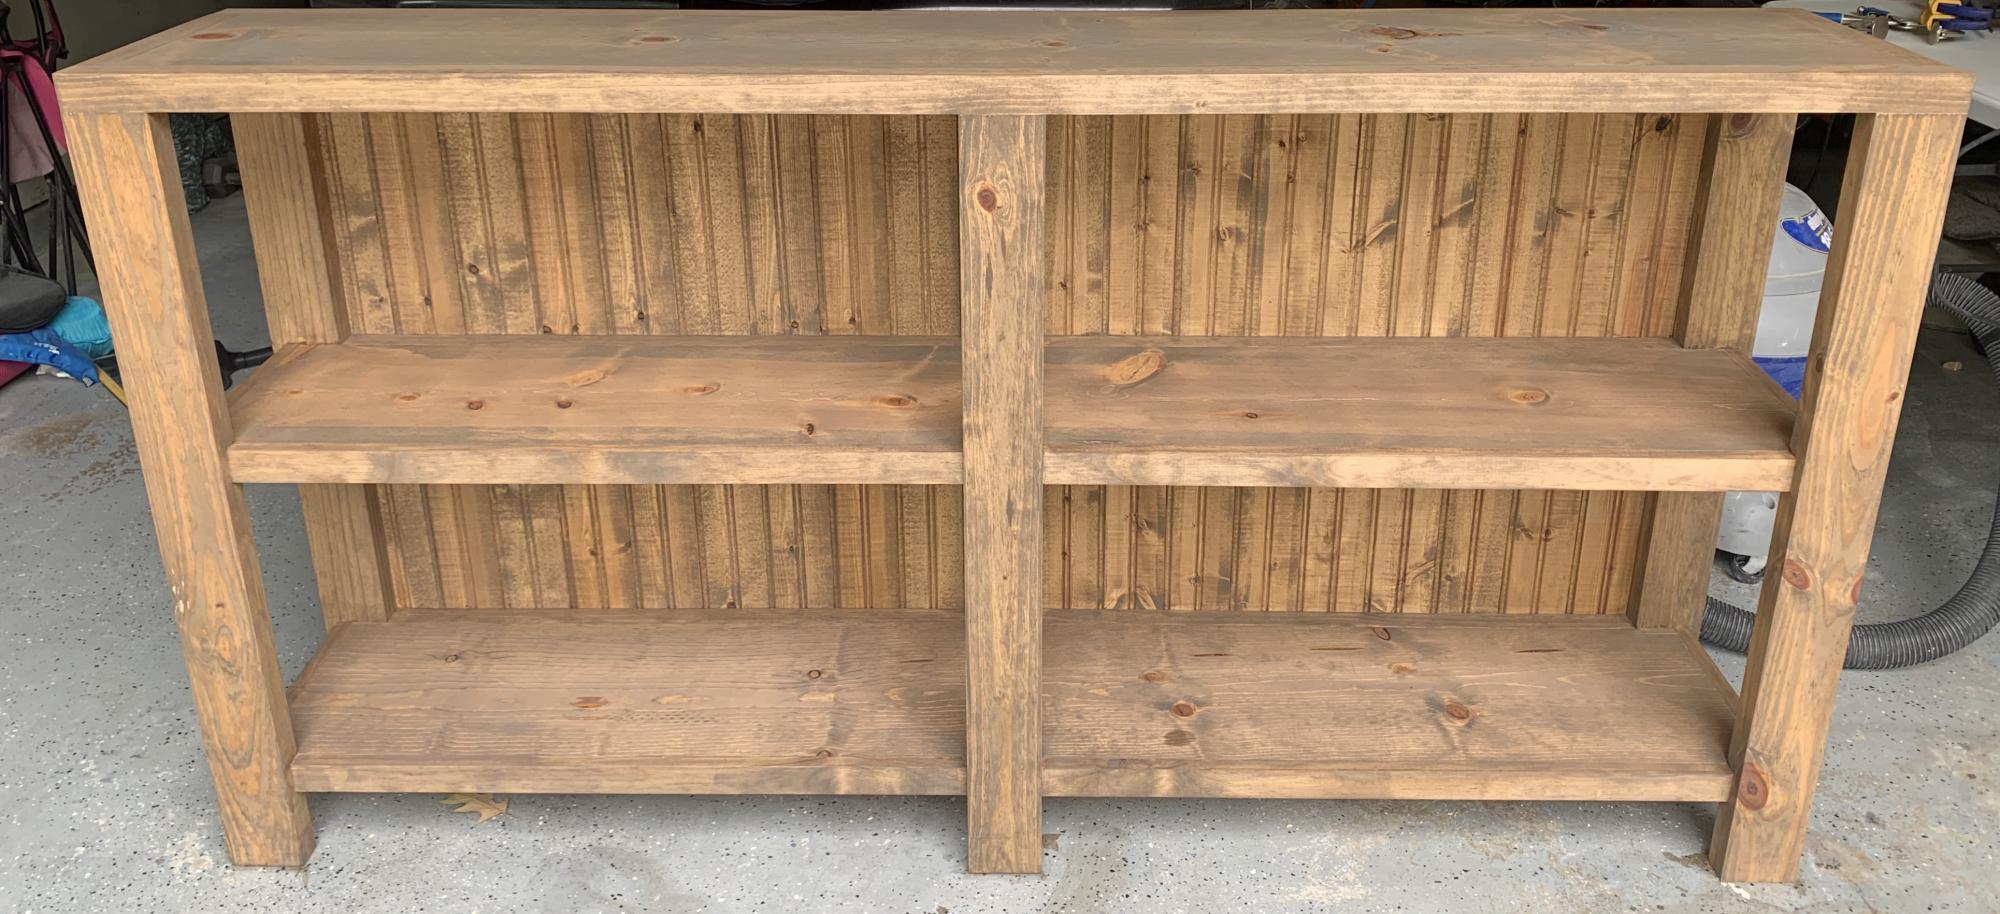
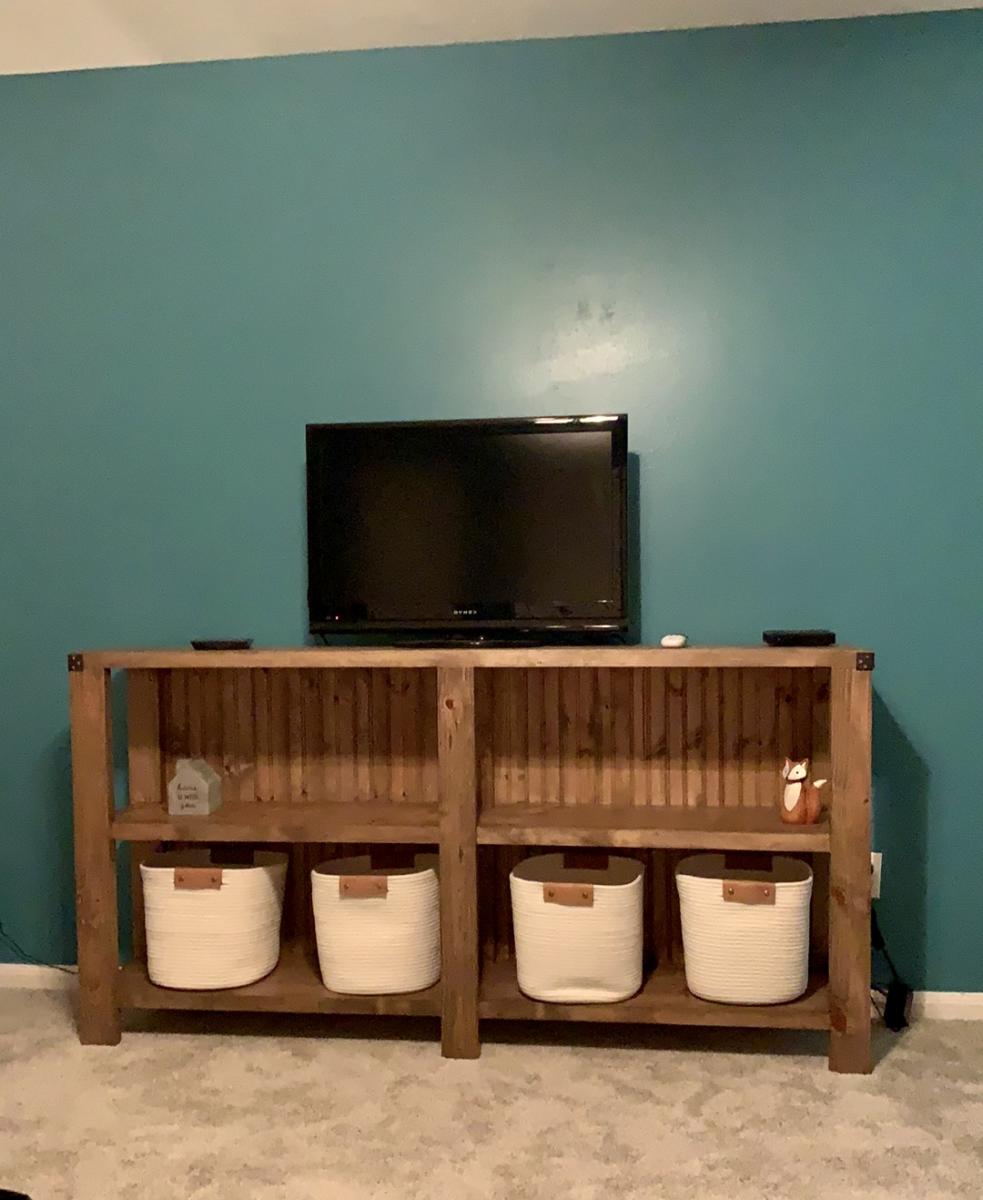
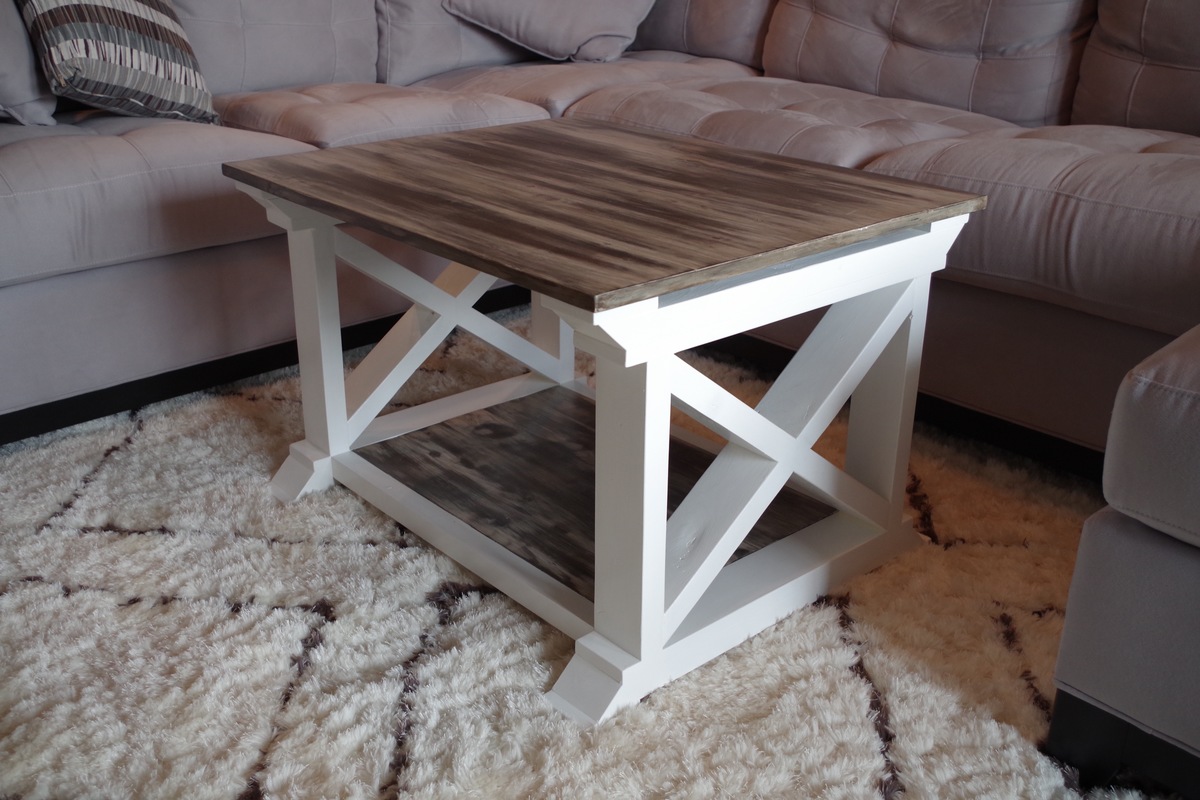
Loved the simplicity of this design. It turned out beautiful. My sectional is 6'X10'X10'.
Built from Plan(s)
Estimated Cost
400.00 not including the cushions
Estimated Time Investment
Week Long Project (20 Hours or More)
Finish Used
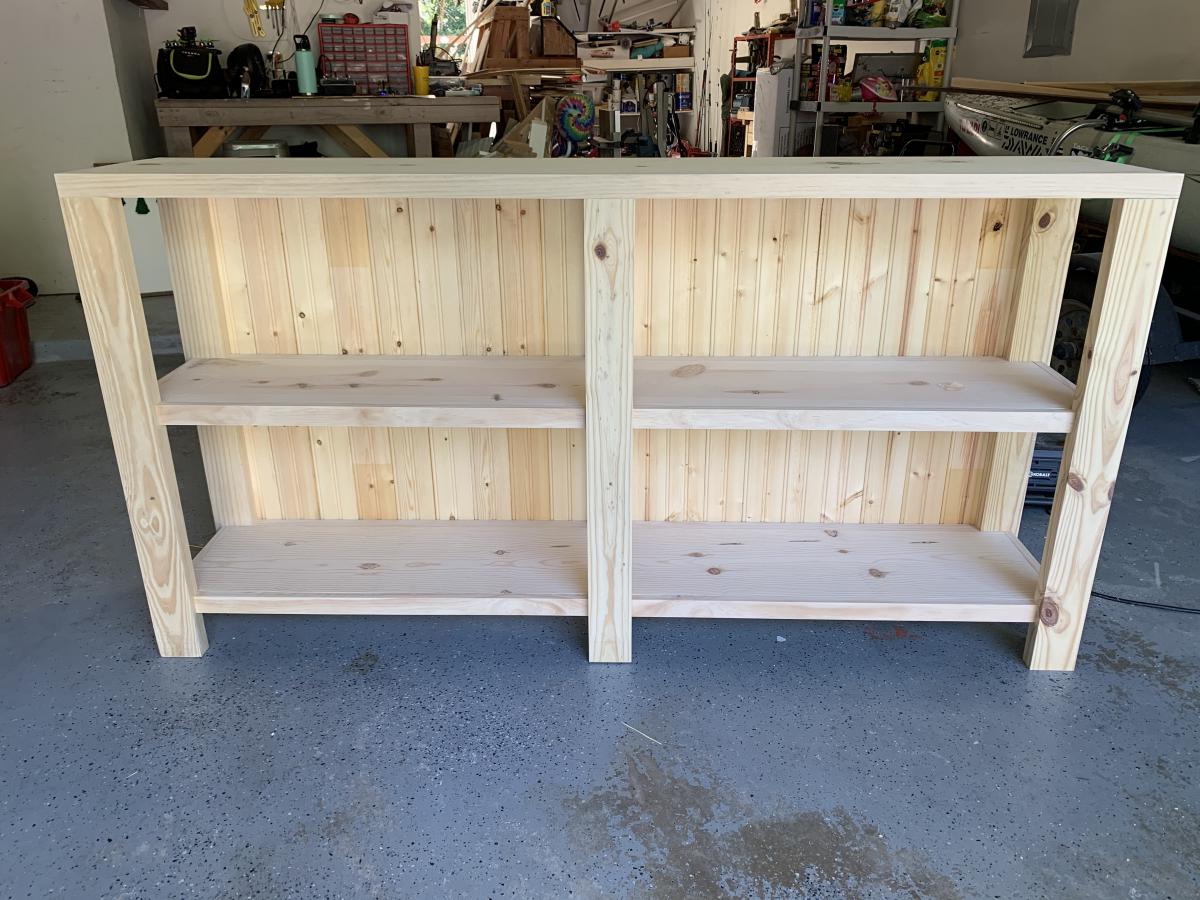
I havent decided on a finish yet but i will post more pictures when i do.
Recommended Skill Level
Intermediate


Comments
rgordon1507
Mon, 12/31/2012 - 17:13
Very nice project
Very nice project