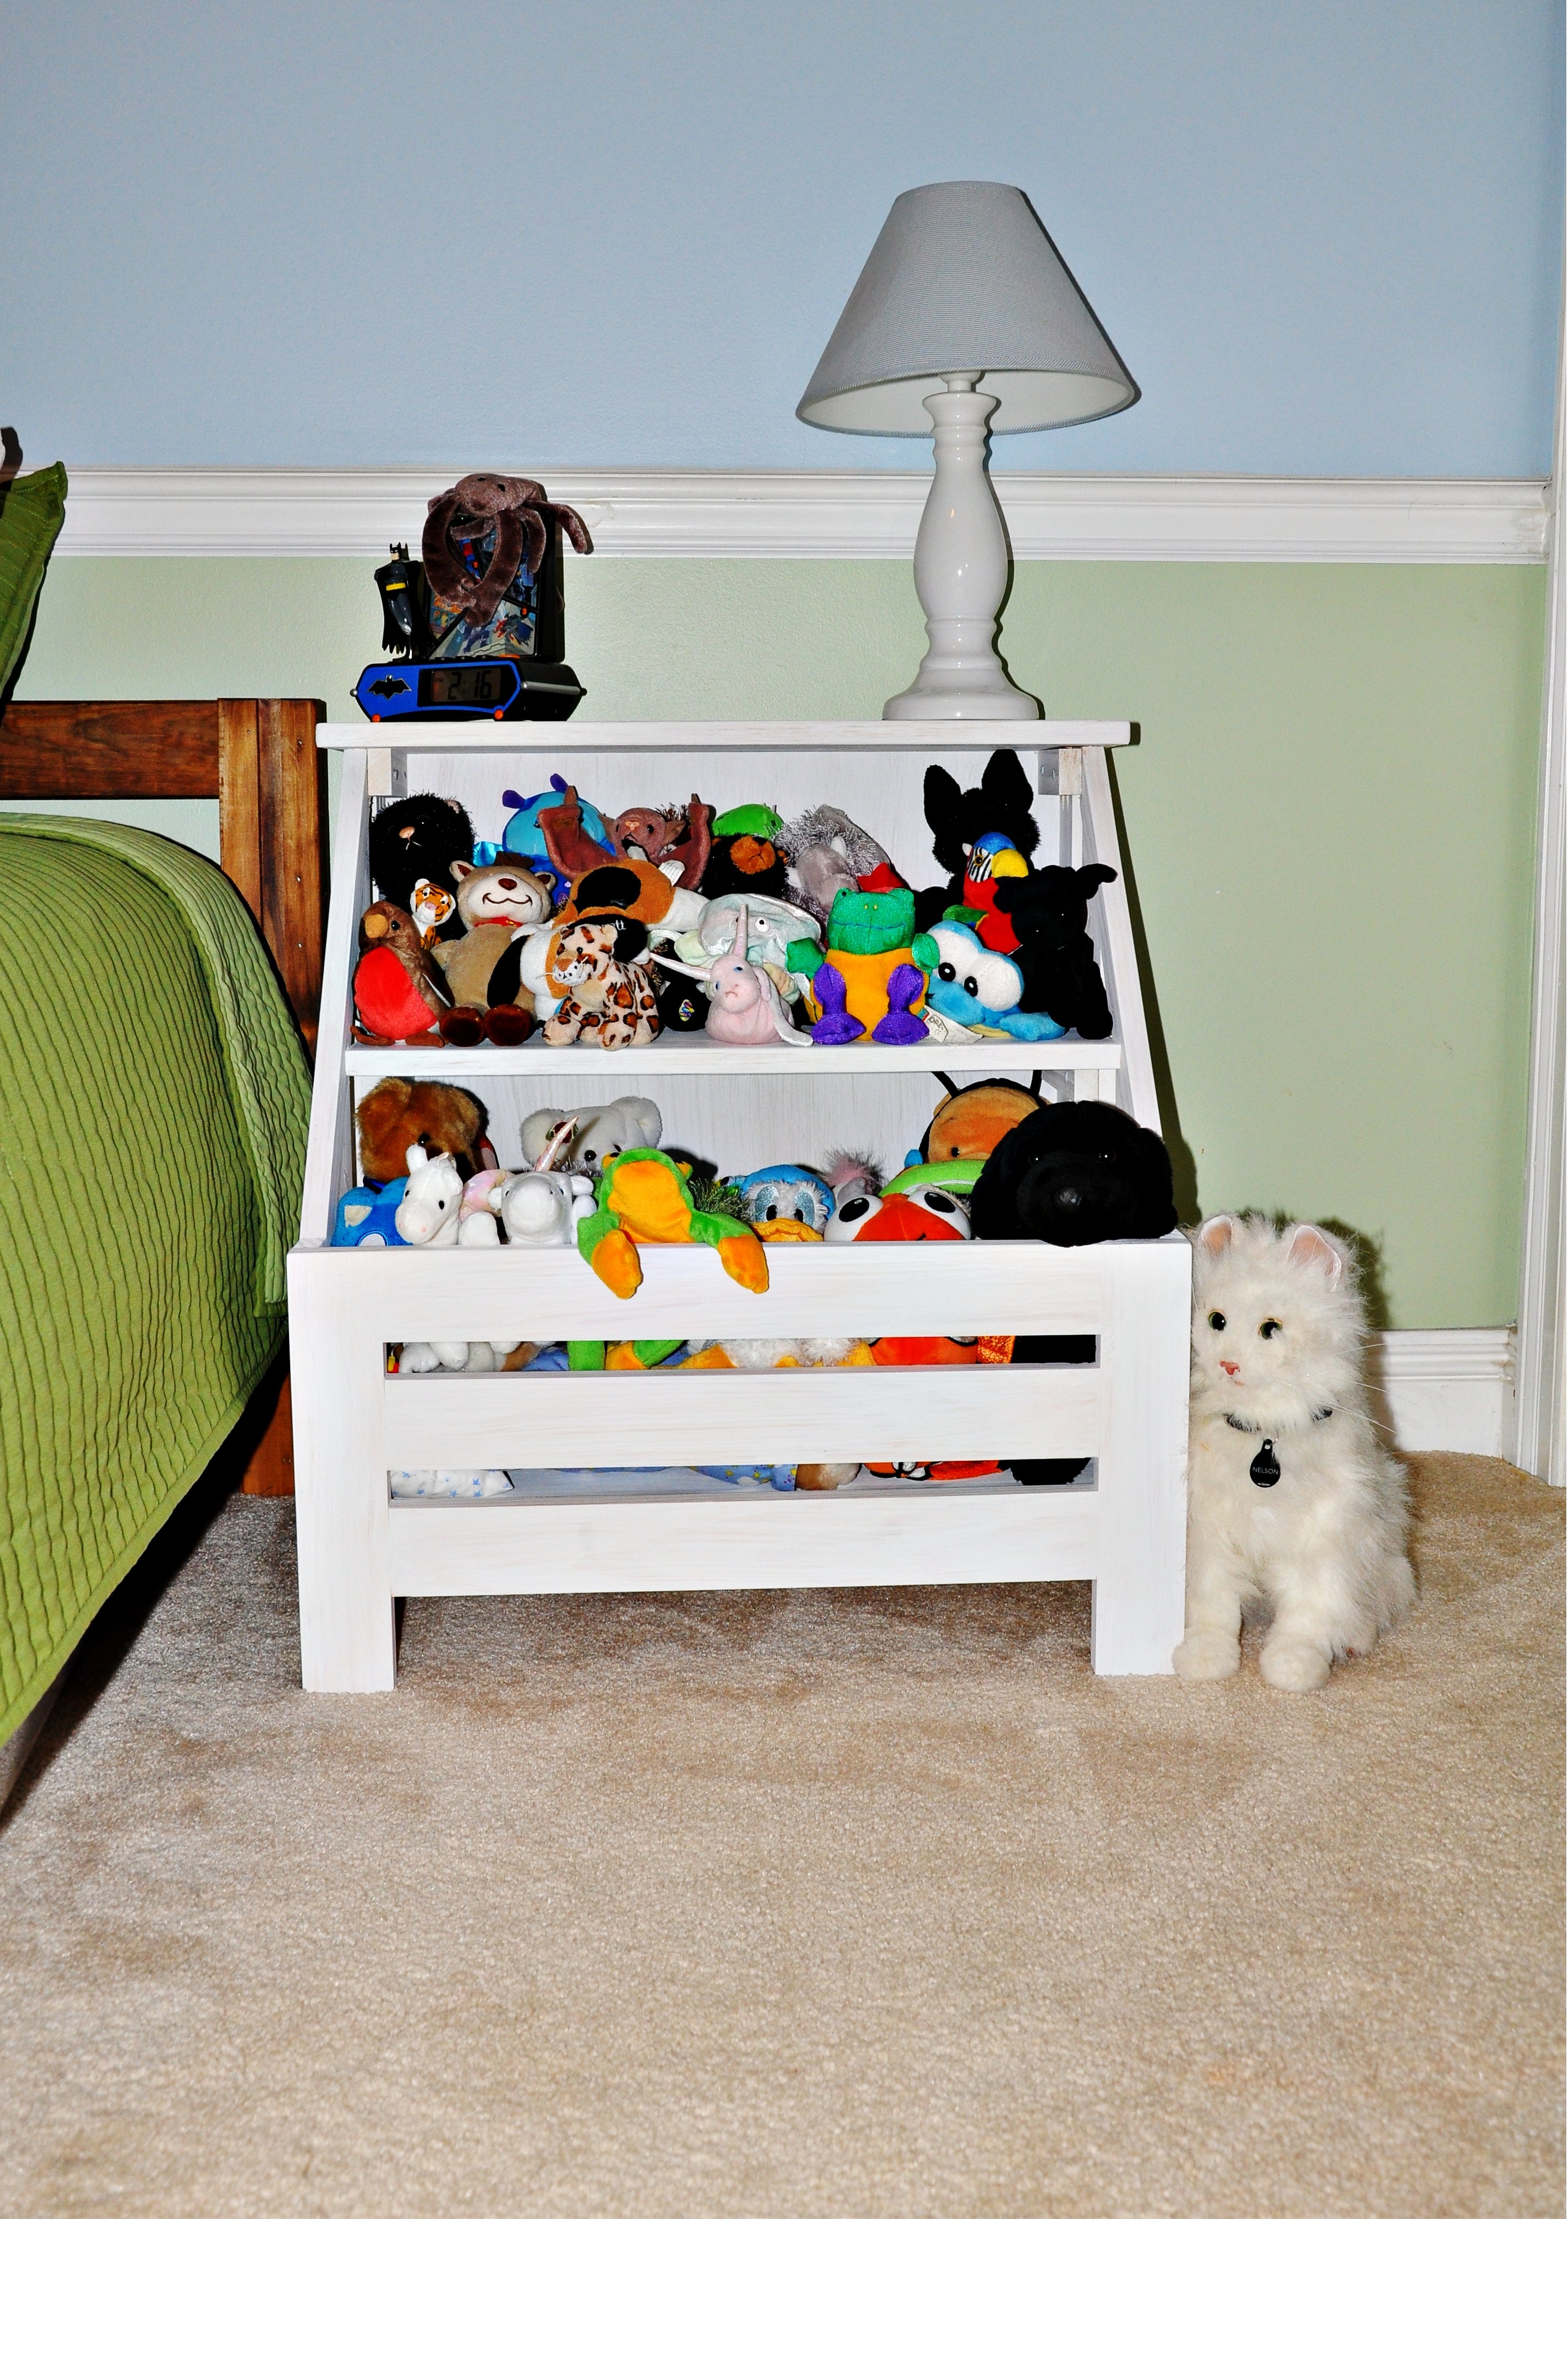
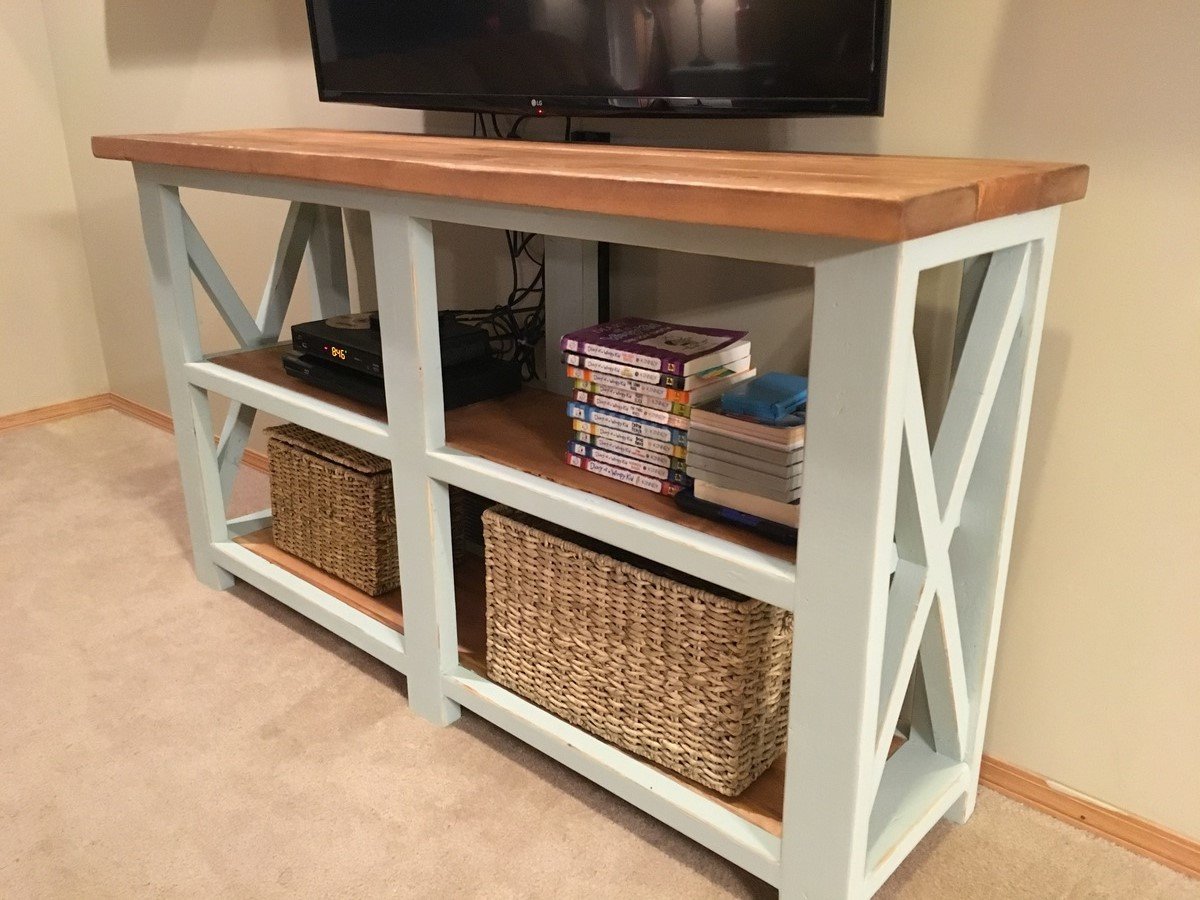
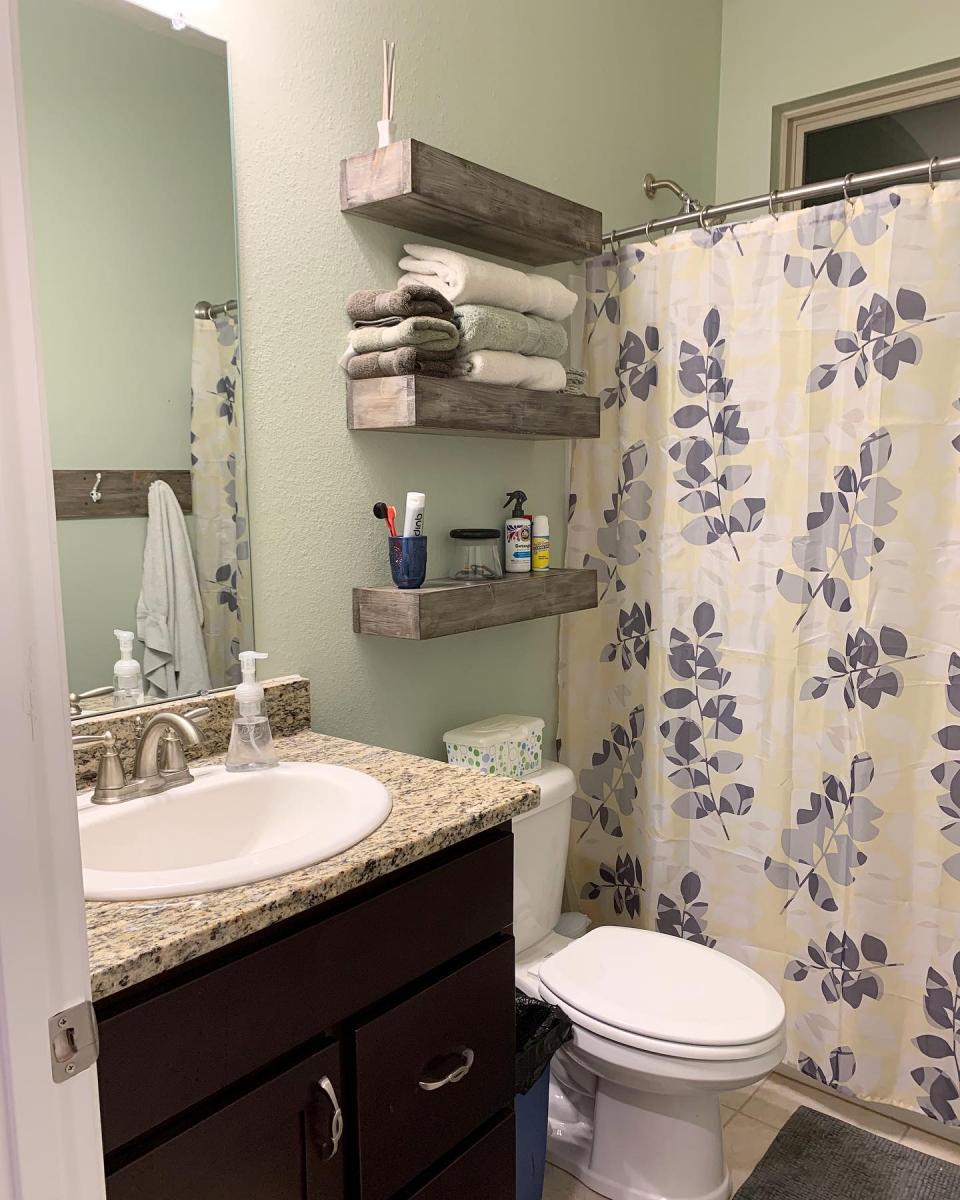
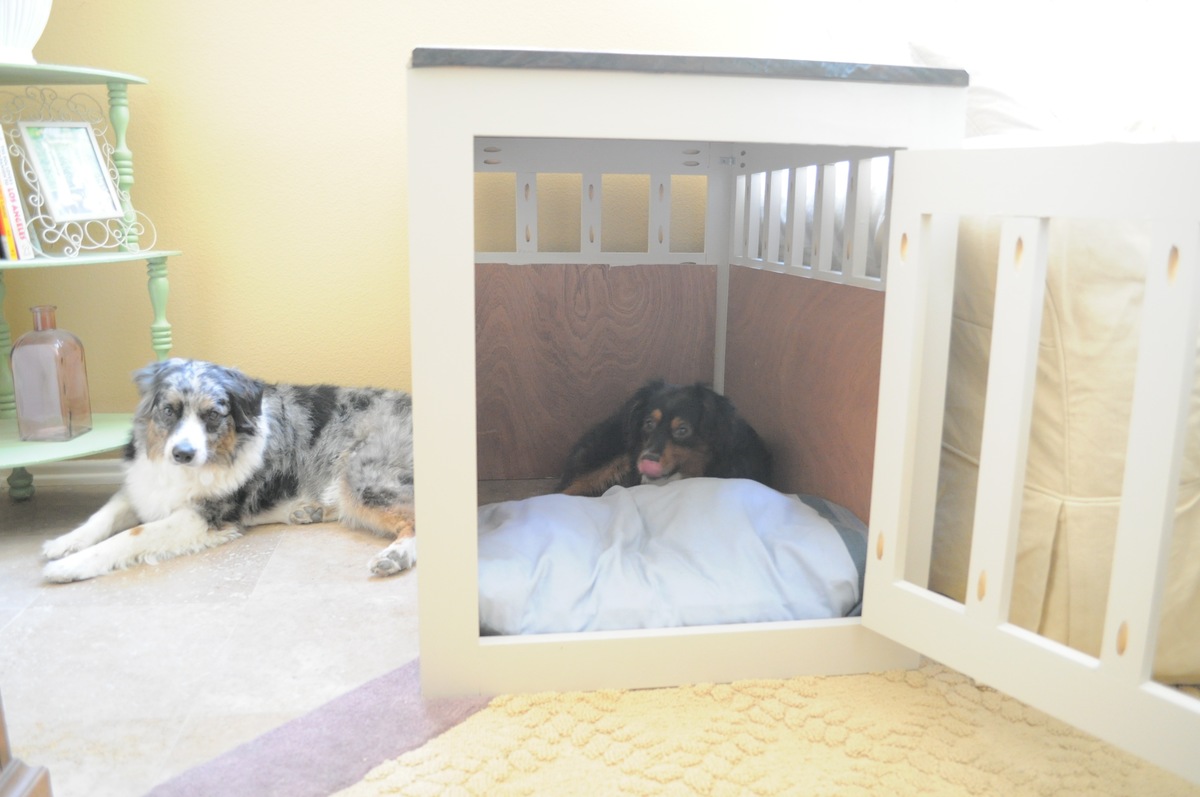
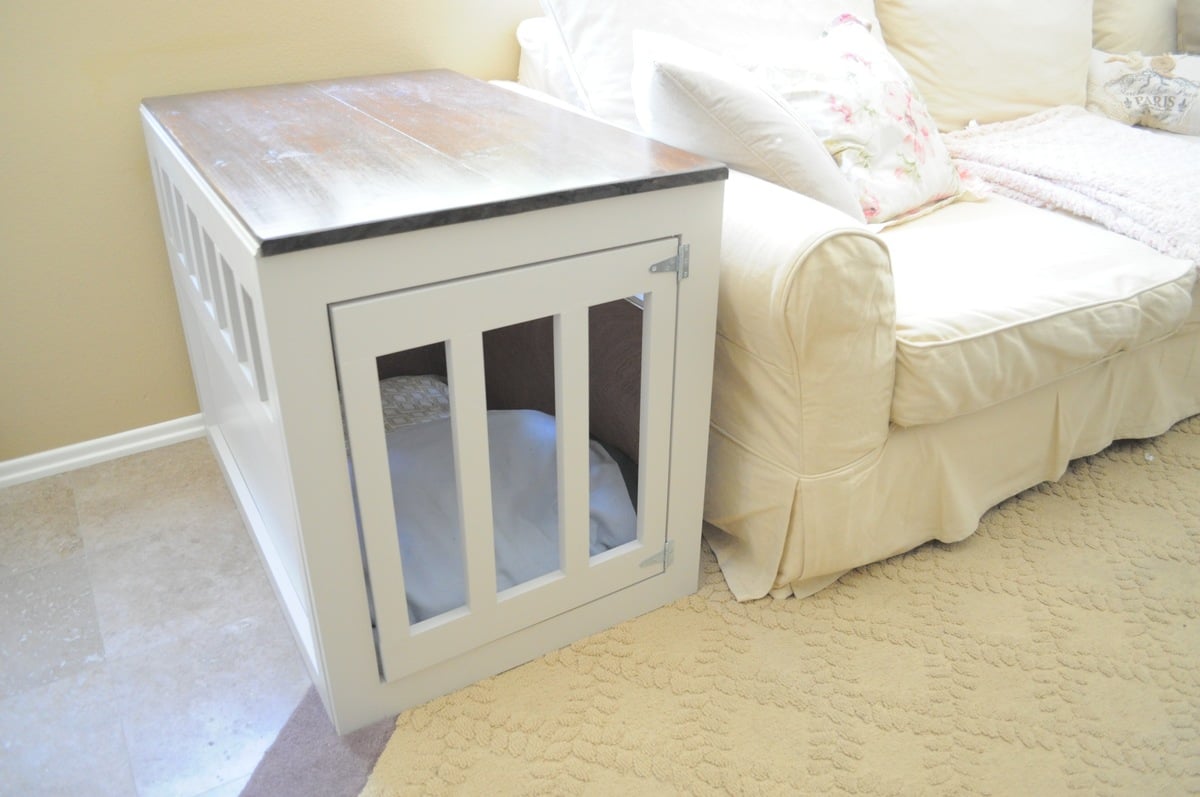
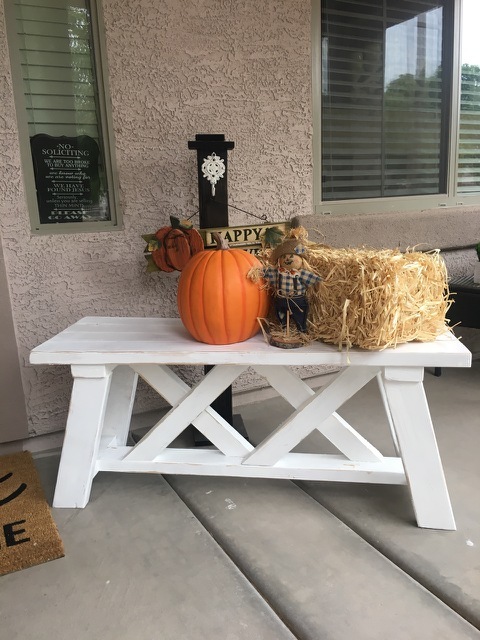
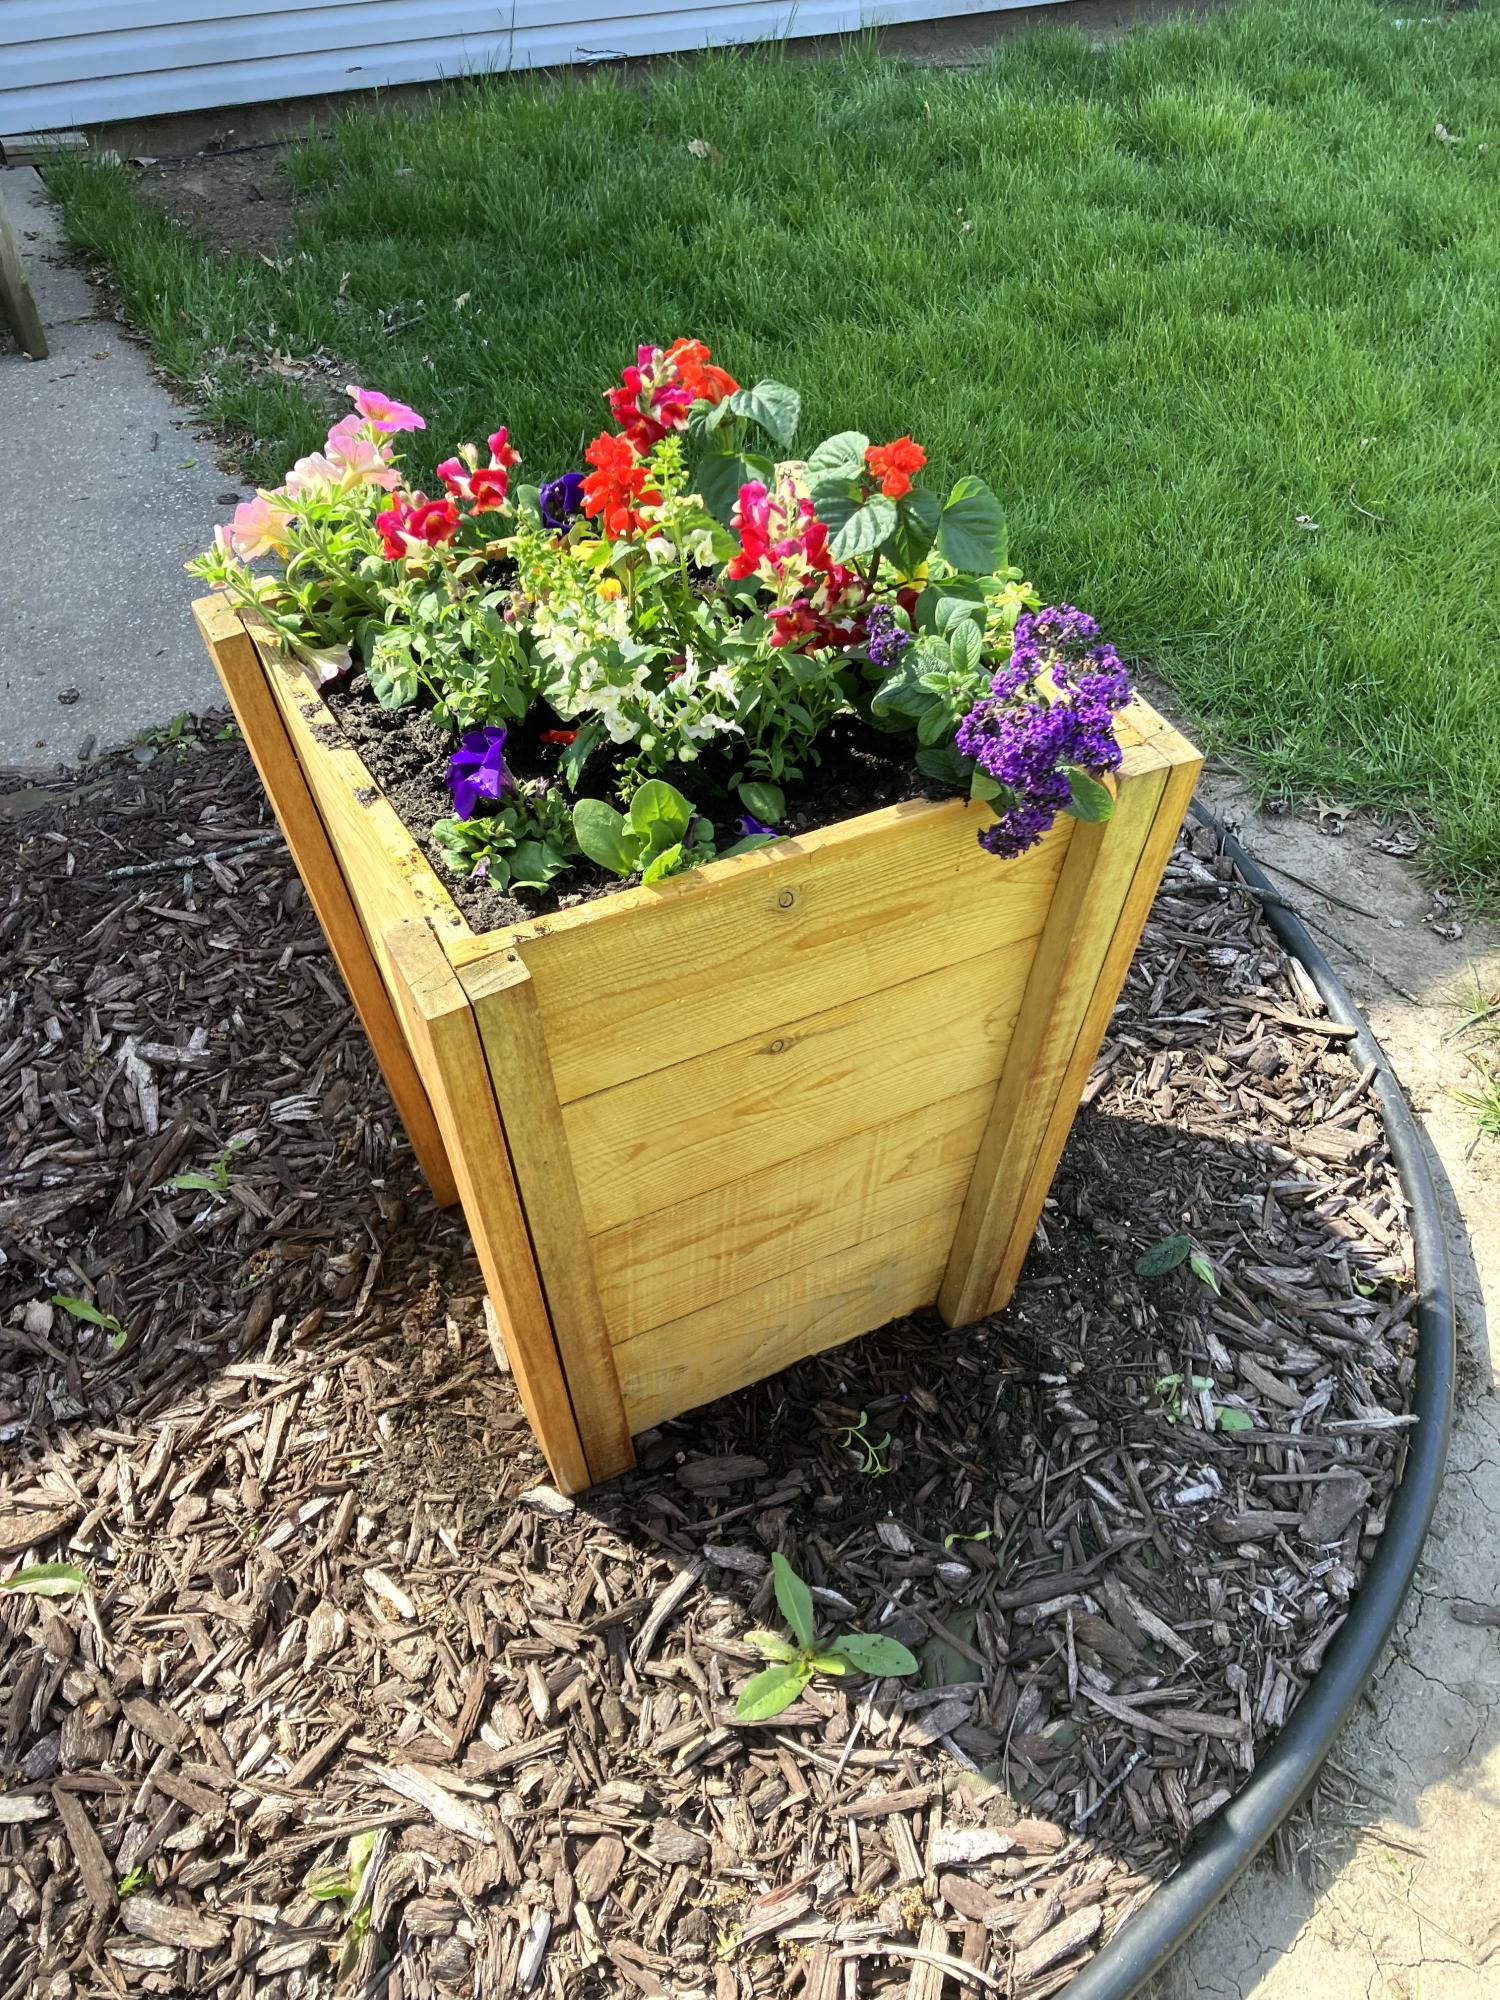
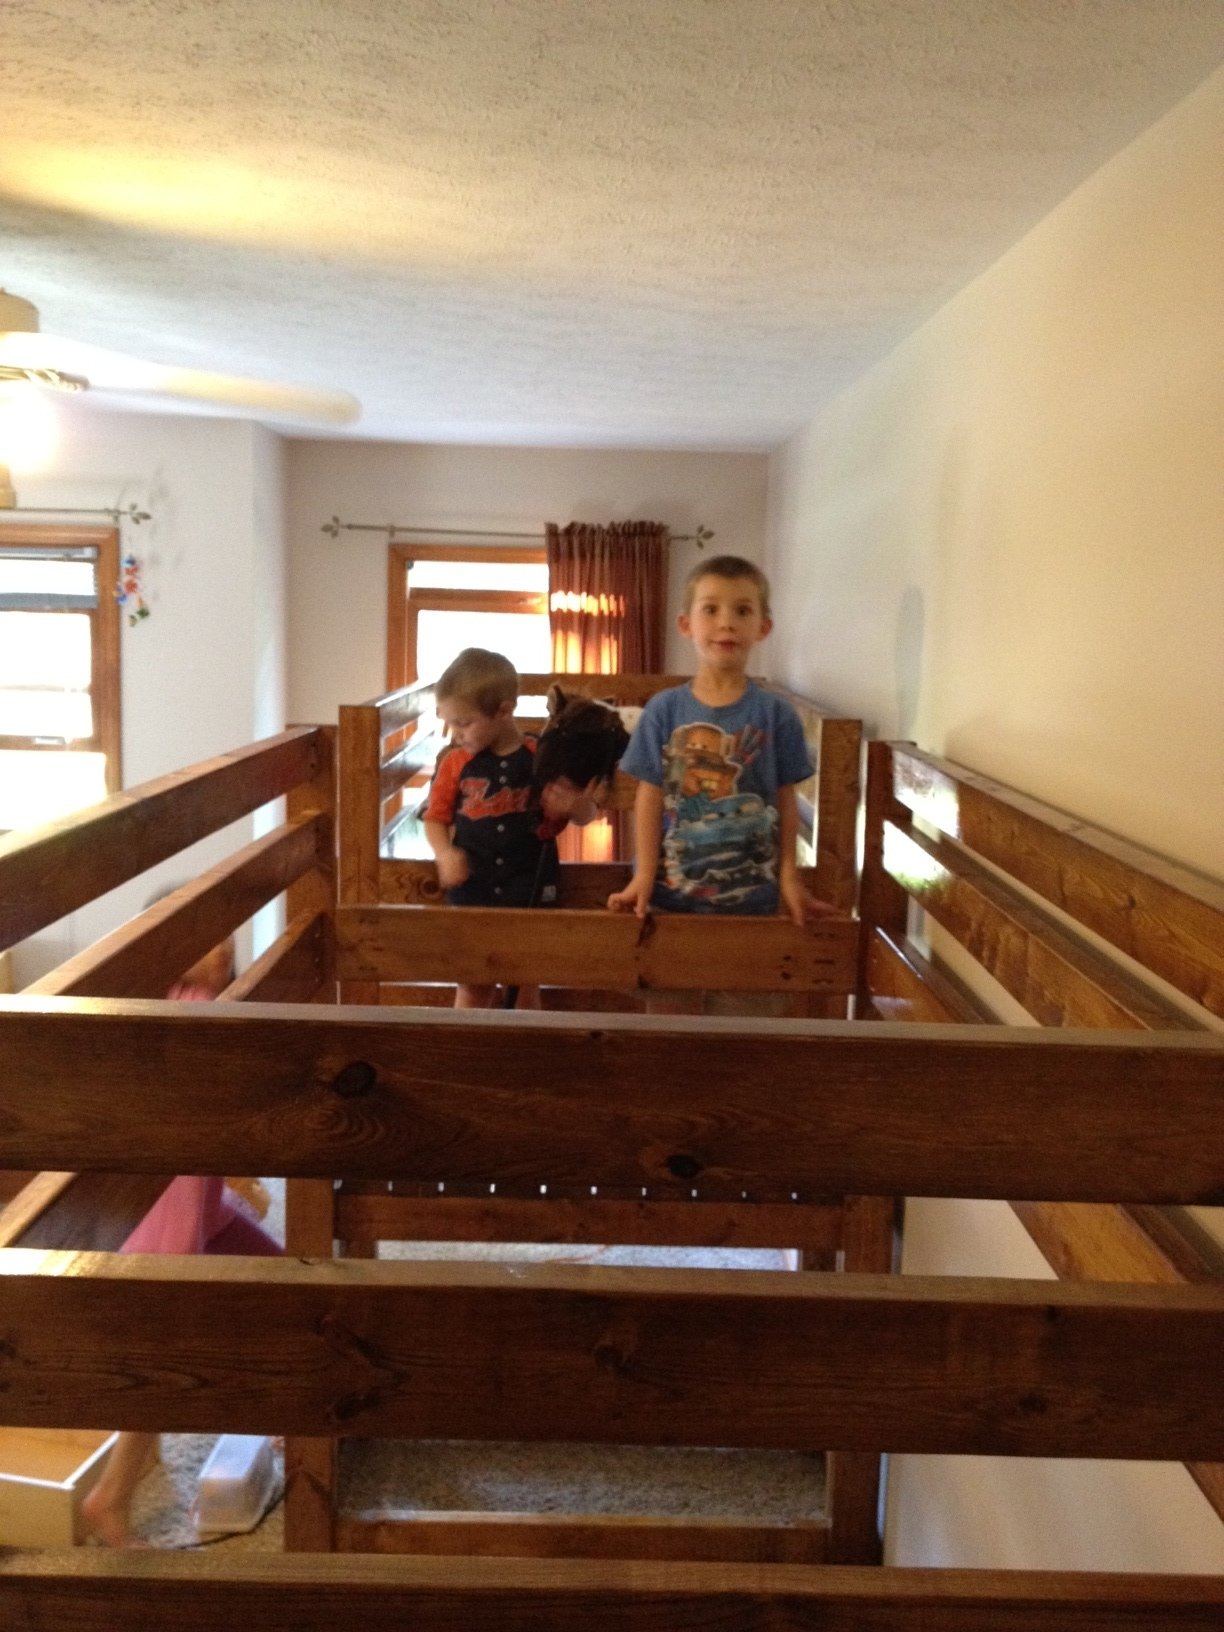
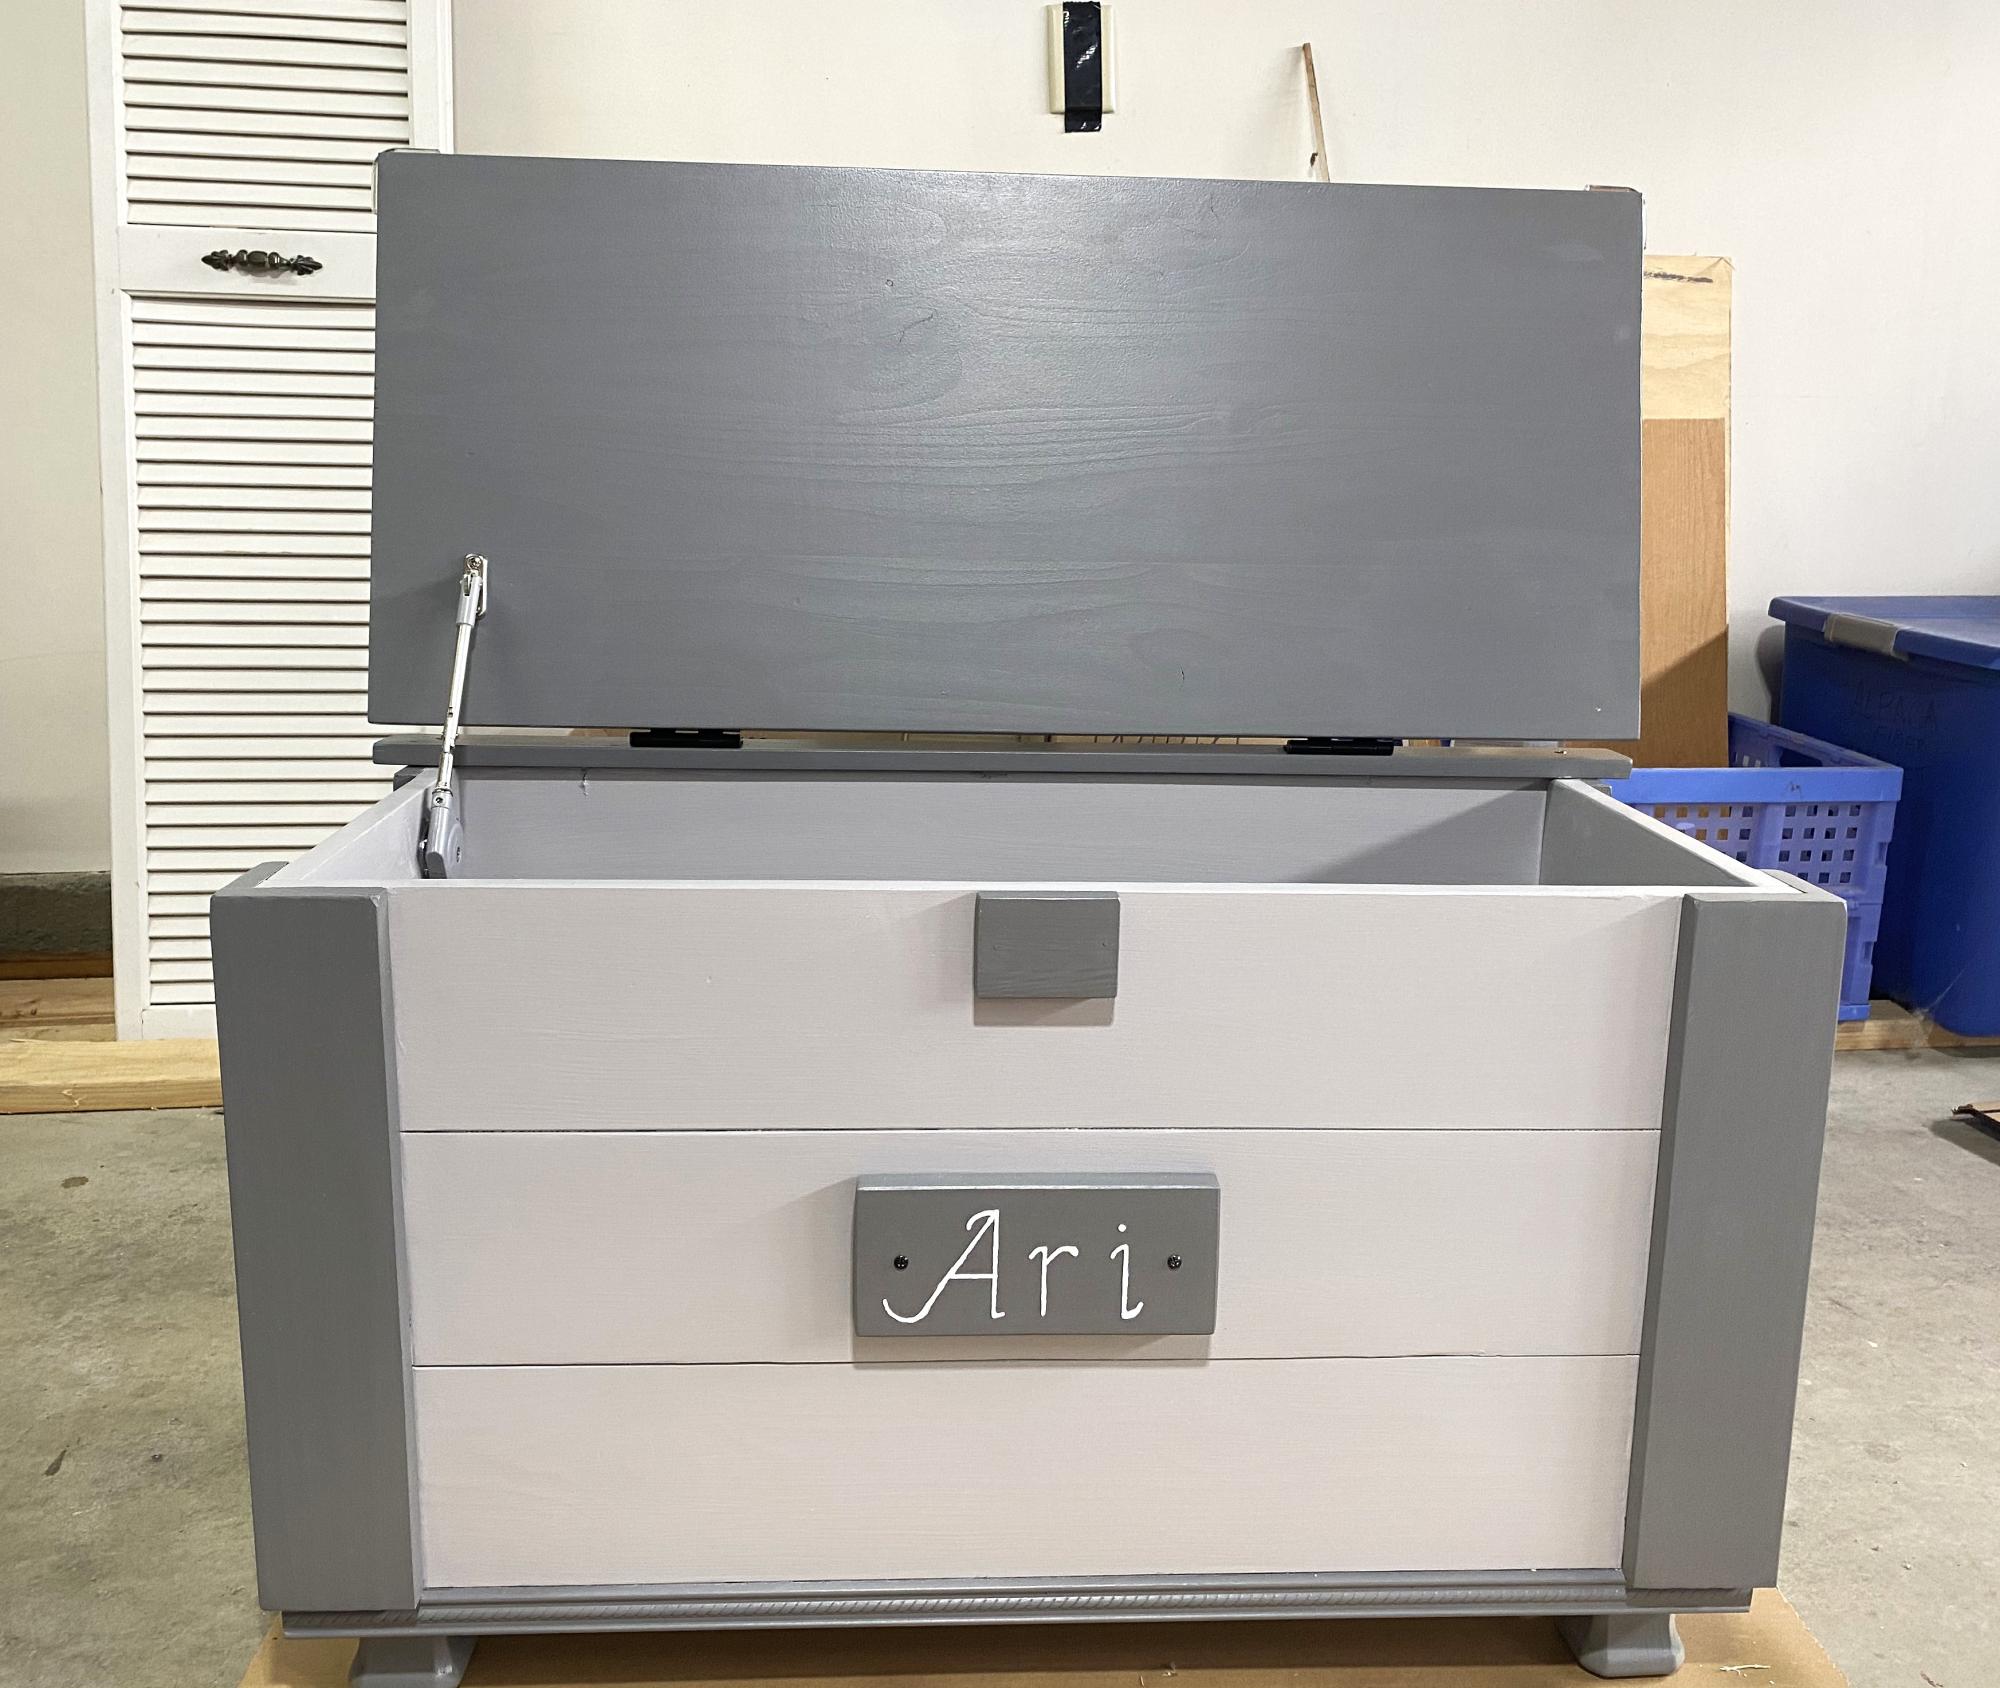
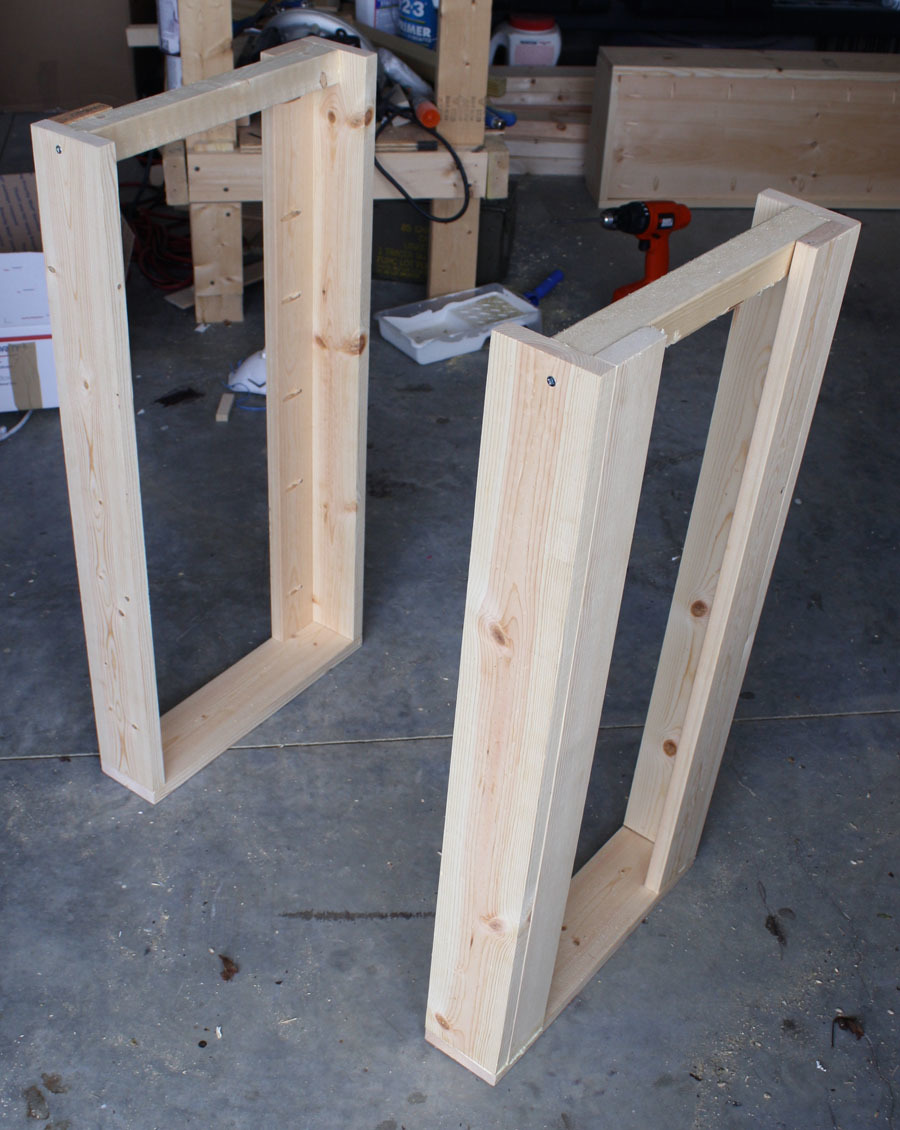
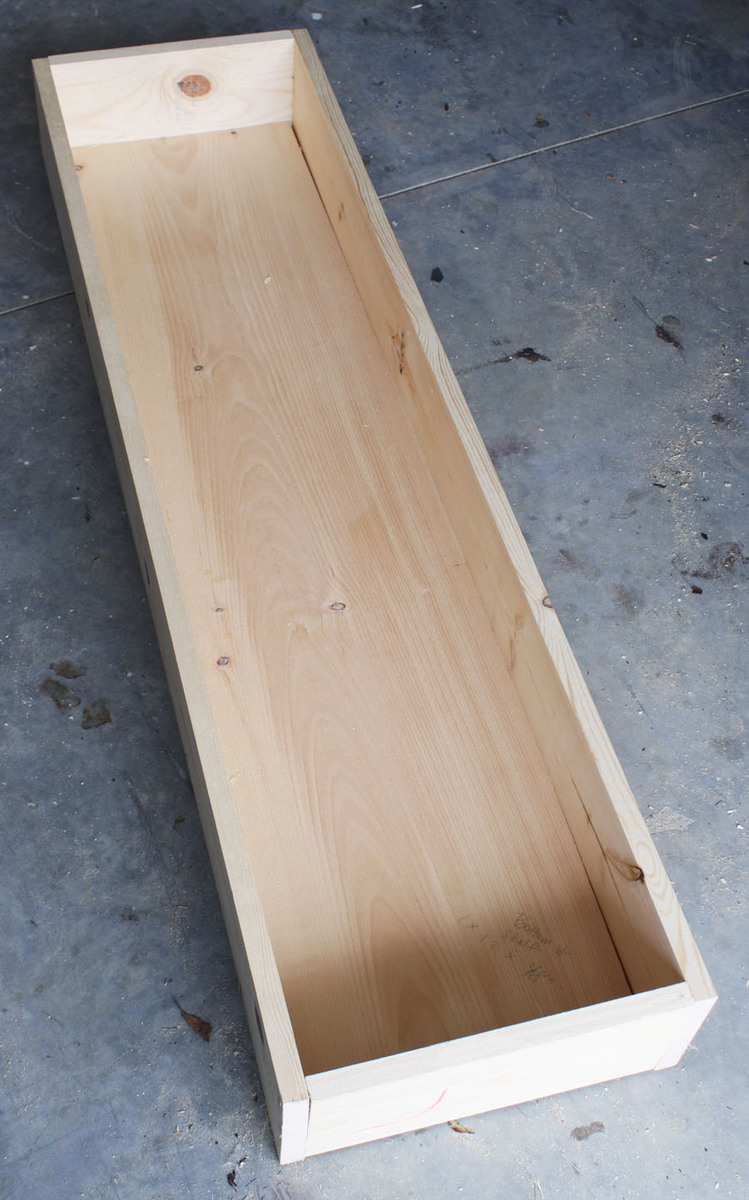
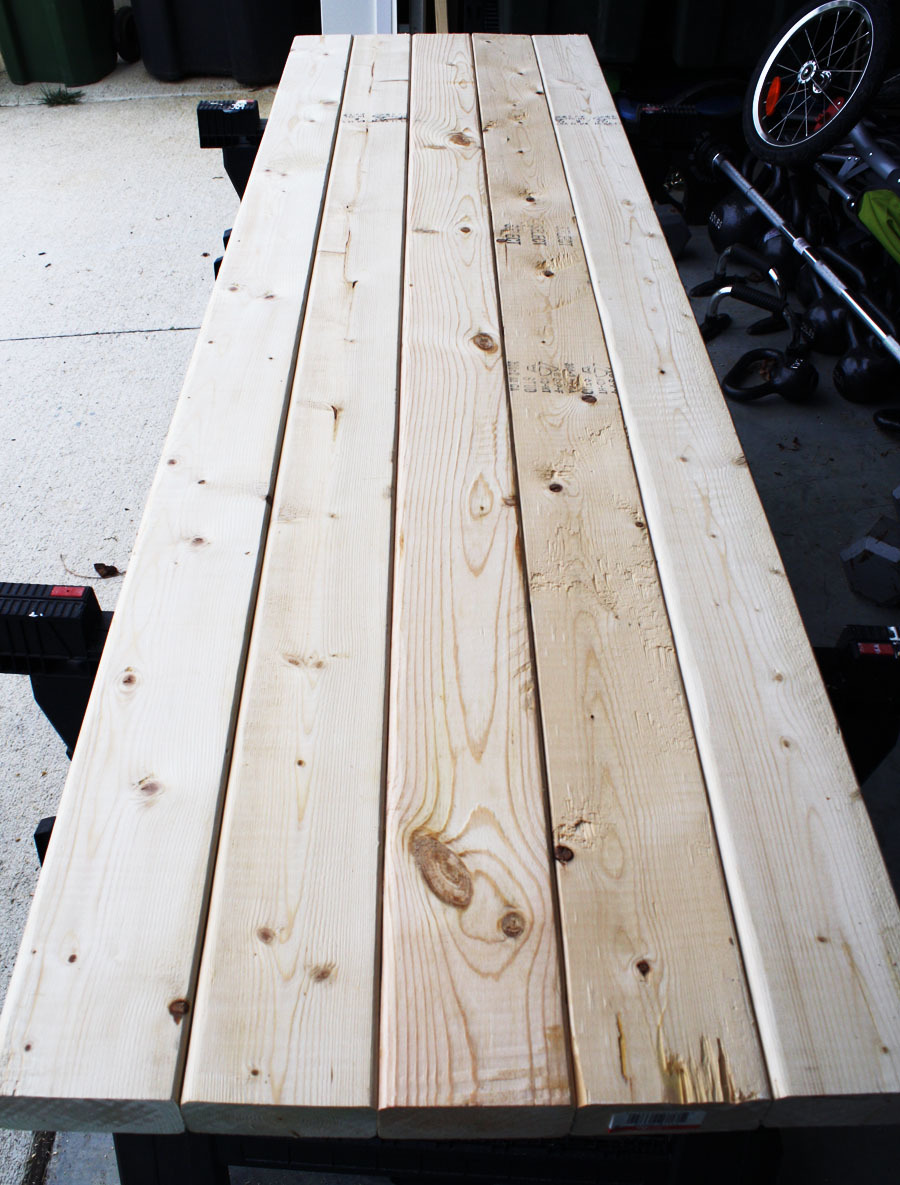
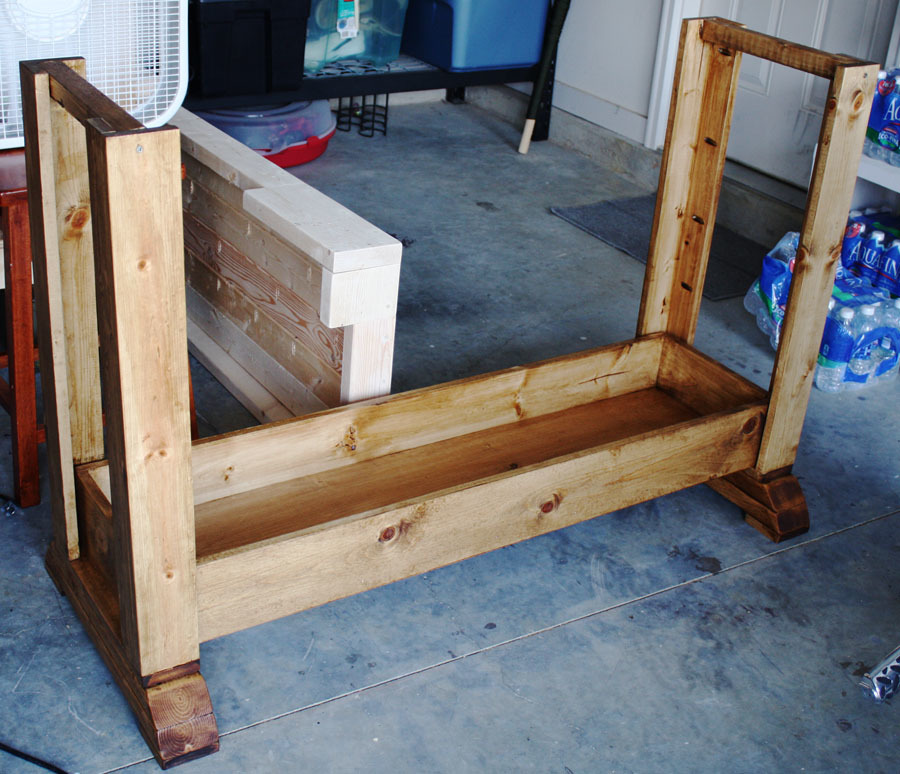
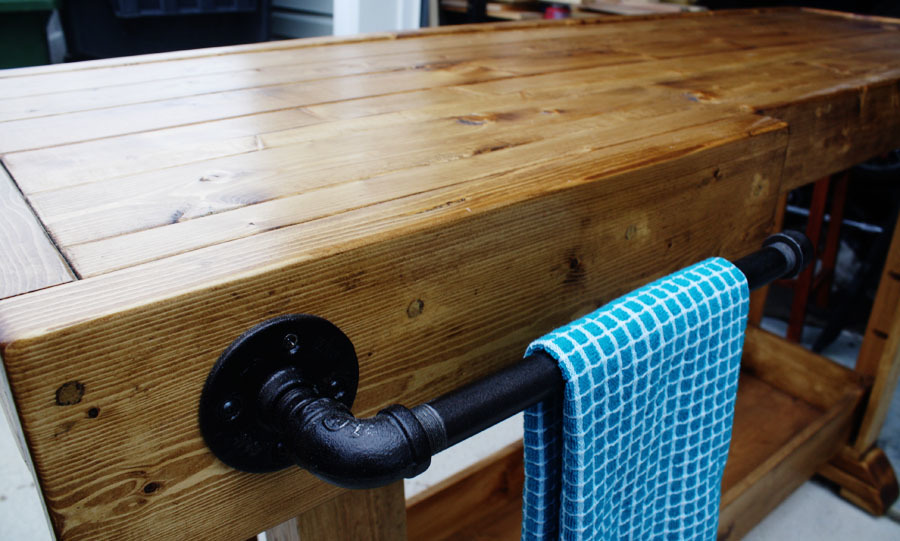
Workbench Console
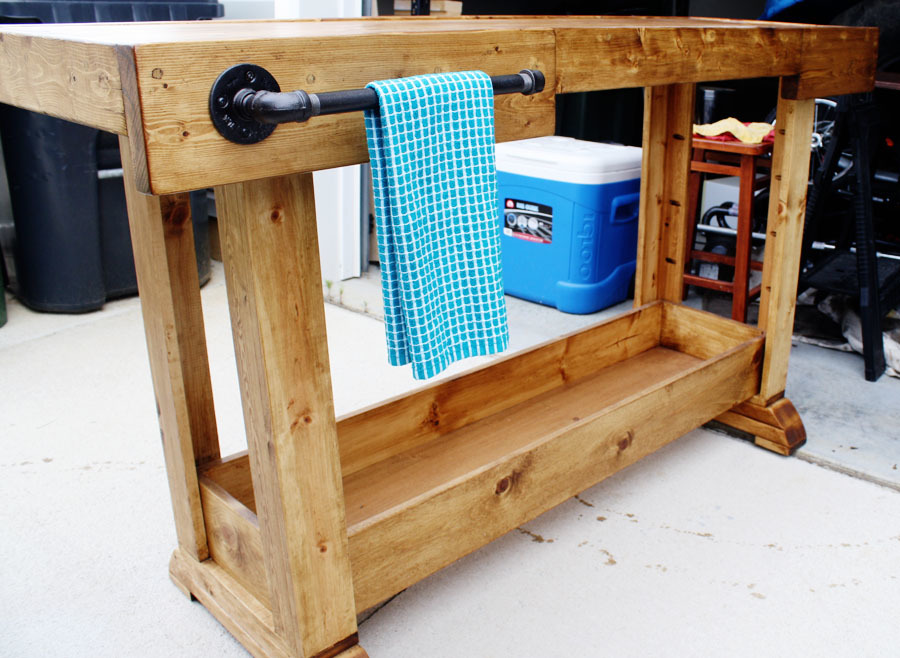
I built this workbench console as a housewarming gift for our good friends who just bought their first house. I'm thrilled with the way it turned out! Check my blog link for the complete play-by-play!
Built from Plan(s)
Estimated Cost
$65
Estimated Time Investment
Weekend Project (10-20 Hours)
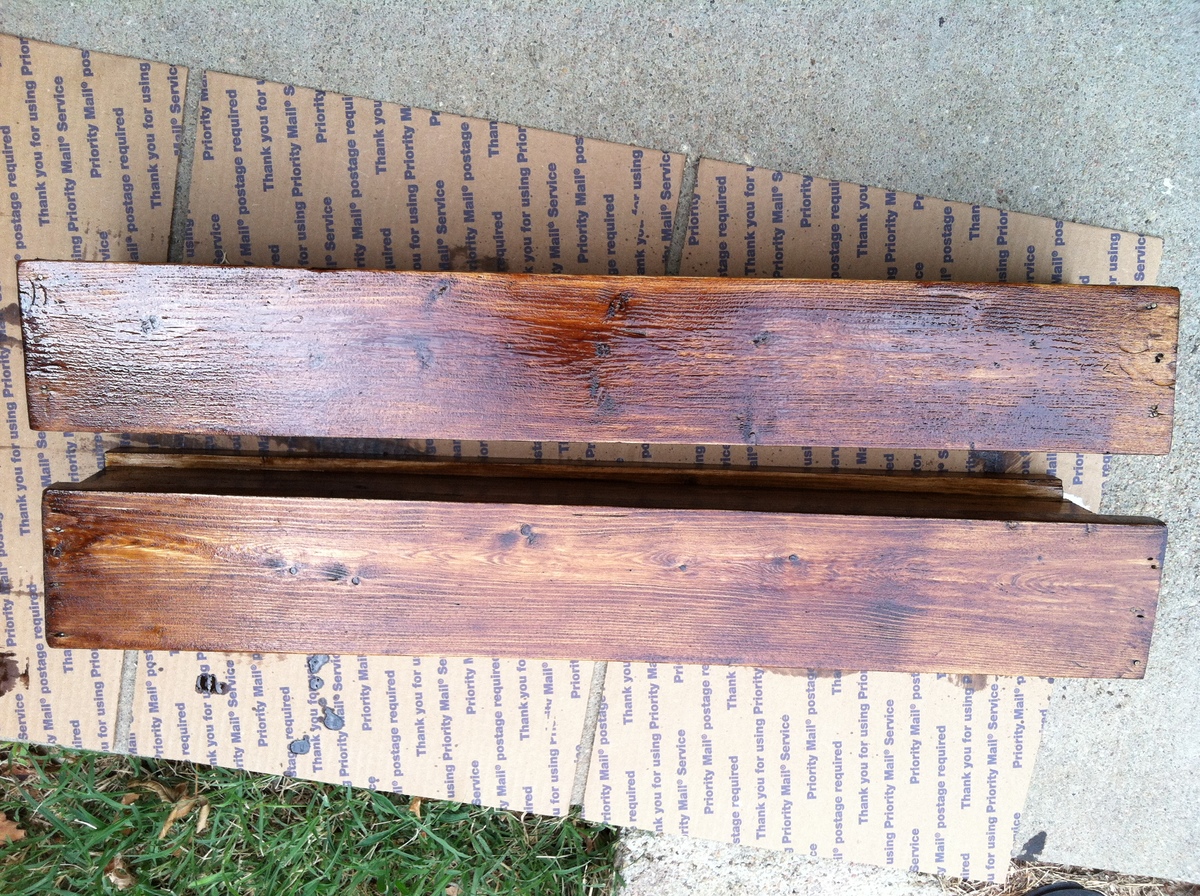
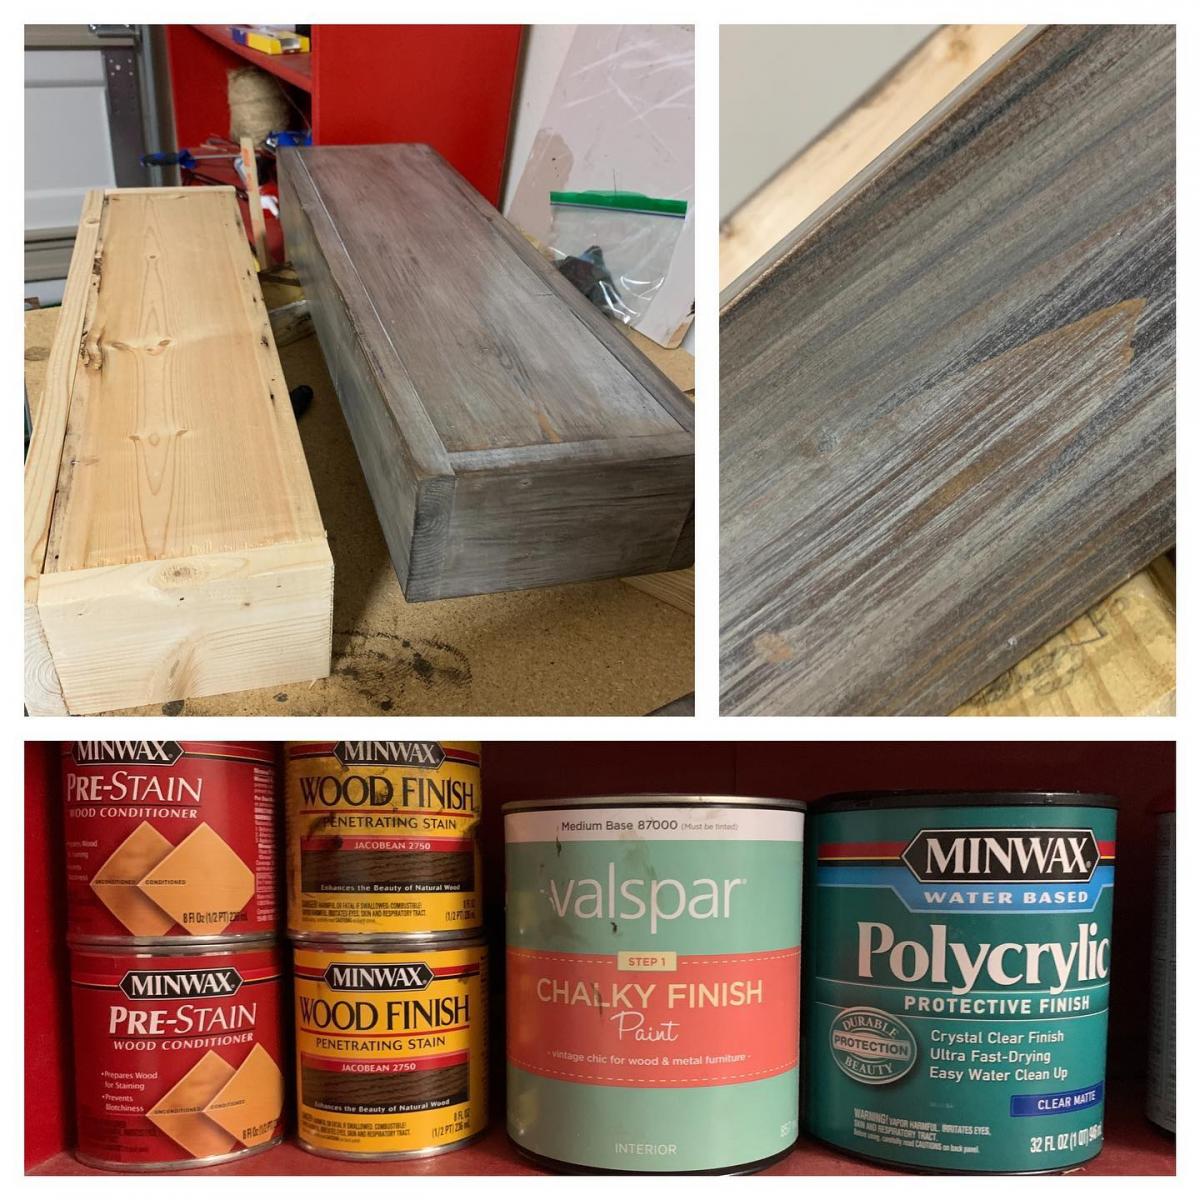
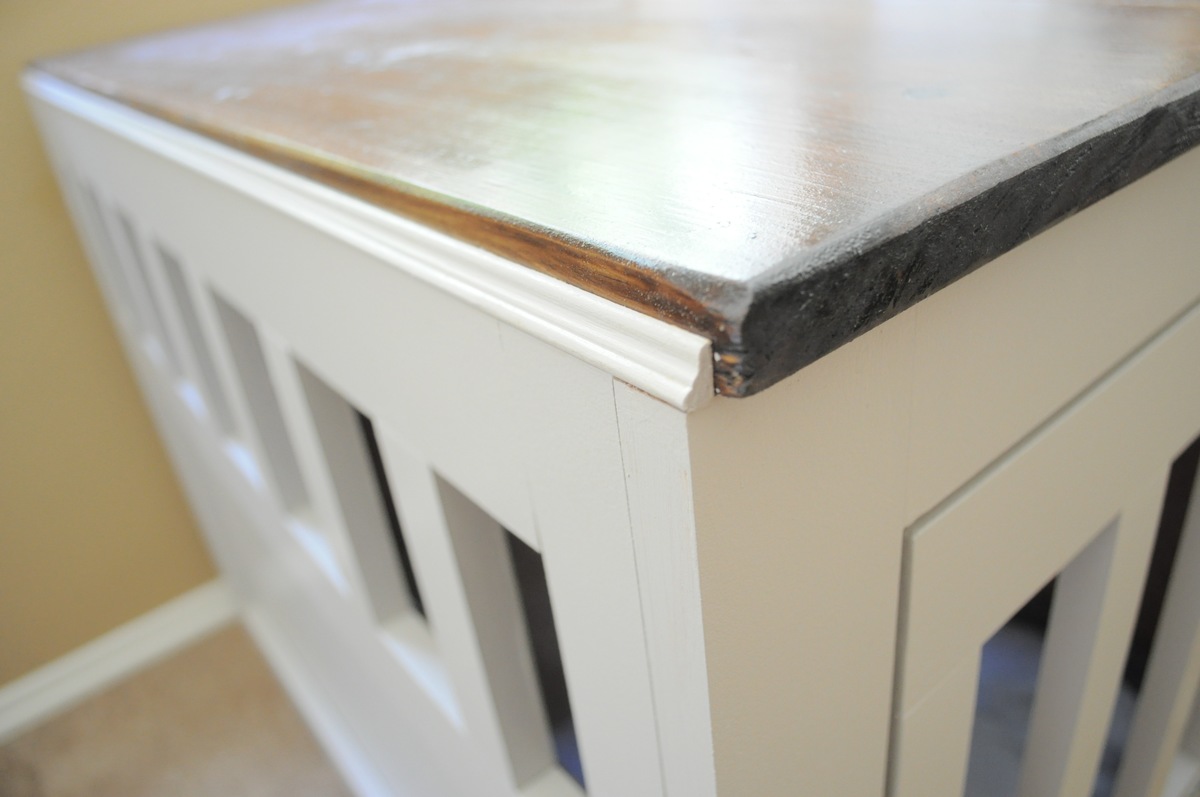
Finish Used
Rustoleum Ultimate Wood Stain in Golden Oak with 3 coats of Rustoleum Satin Polyurethane
Recommended Skill Level
Intermediate