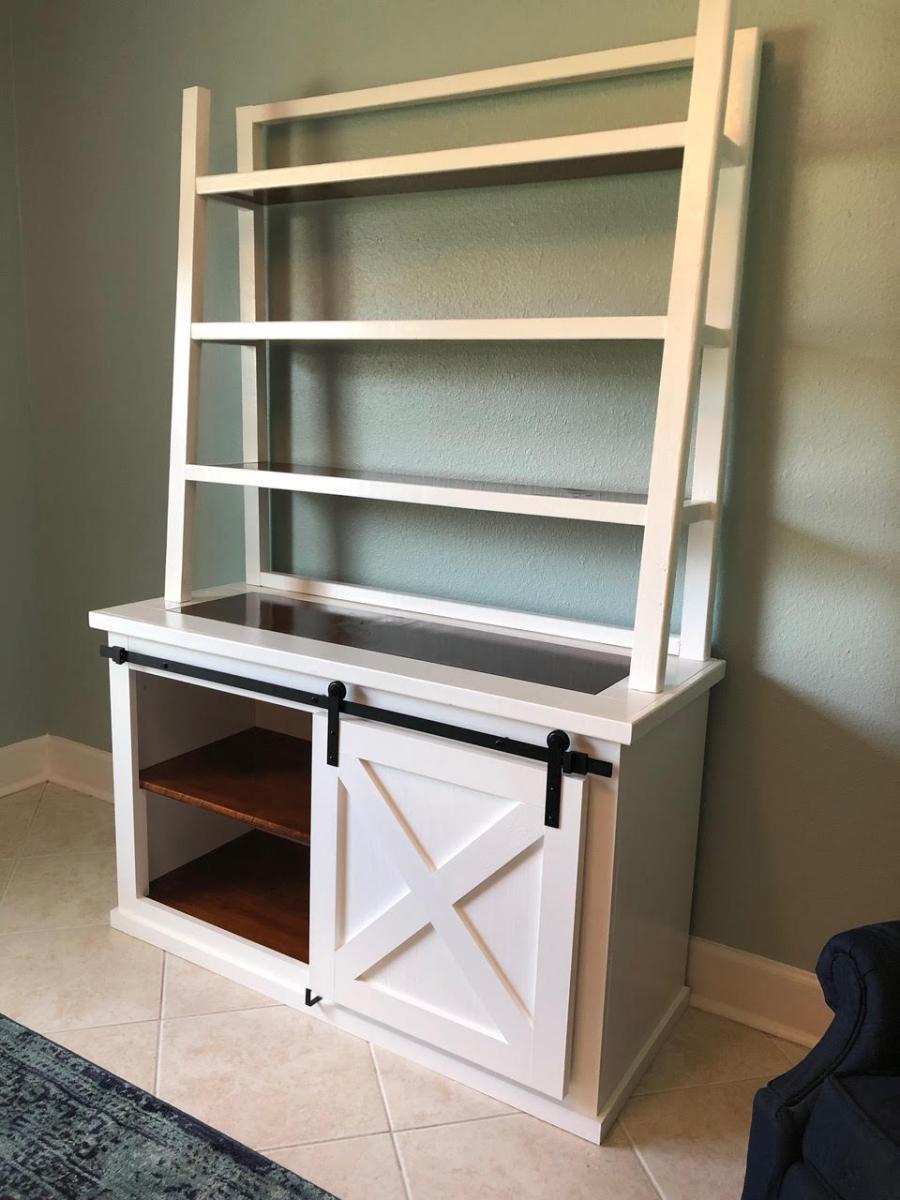
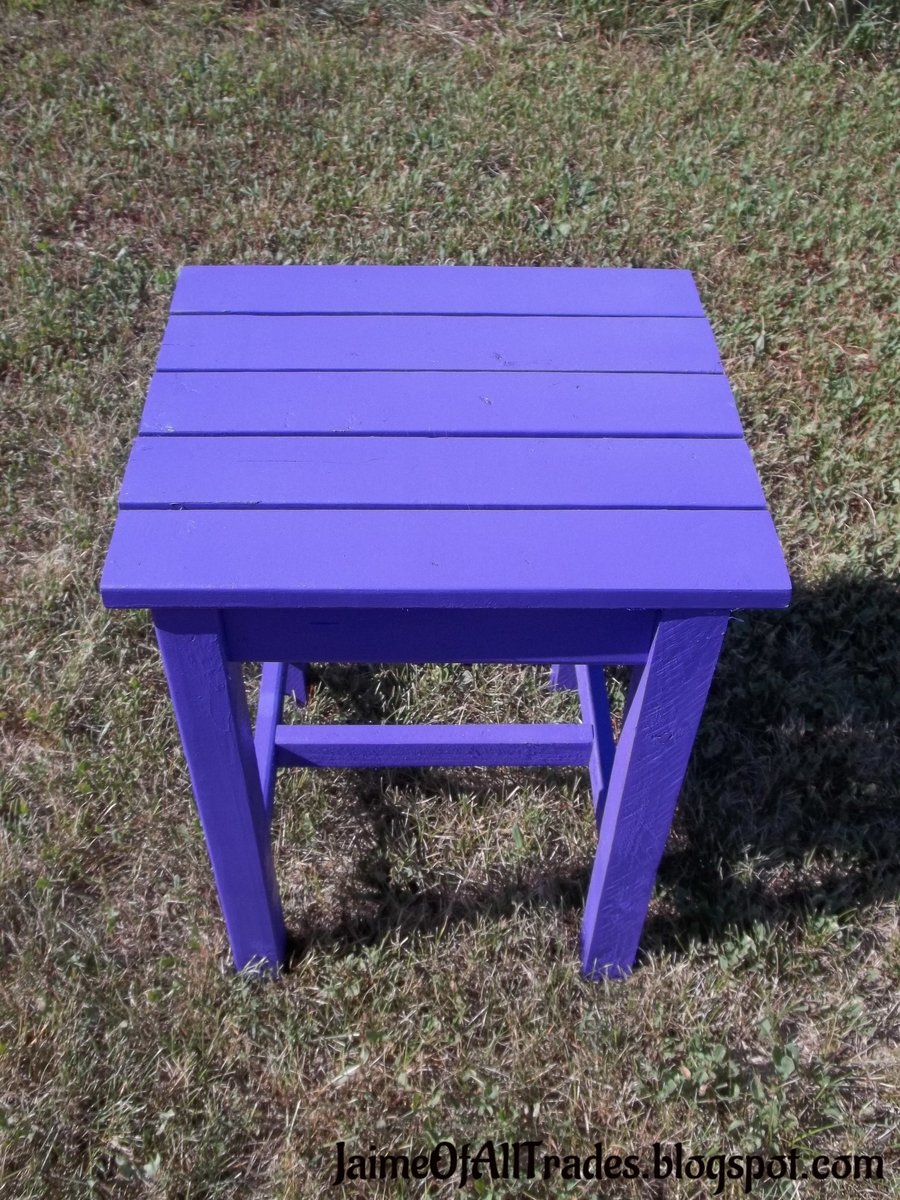
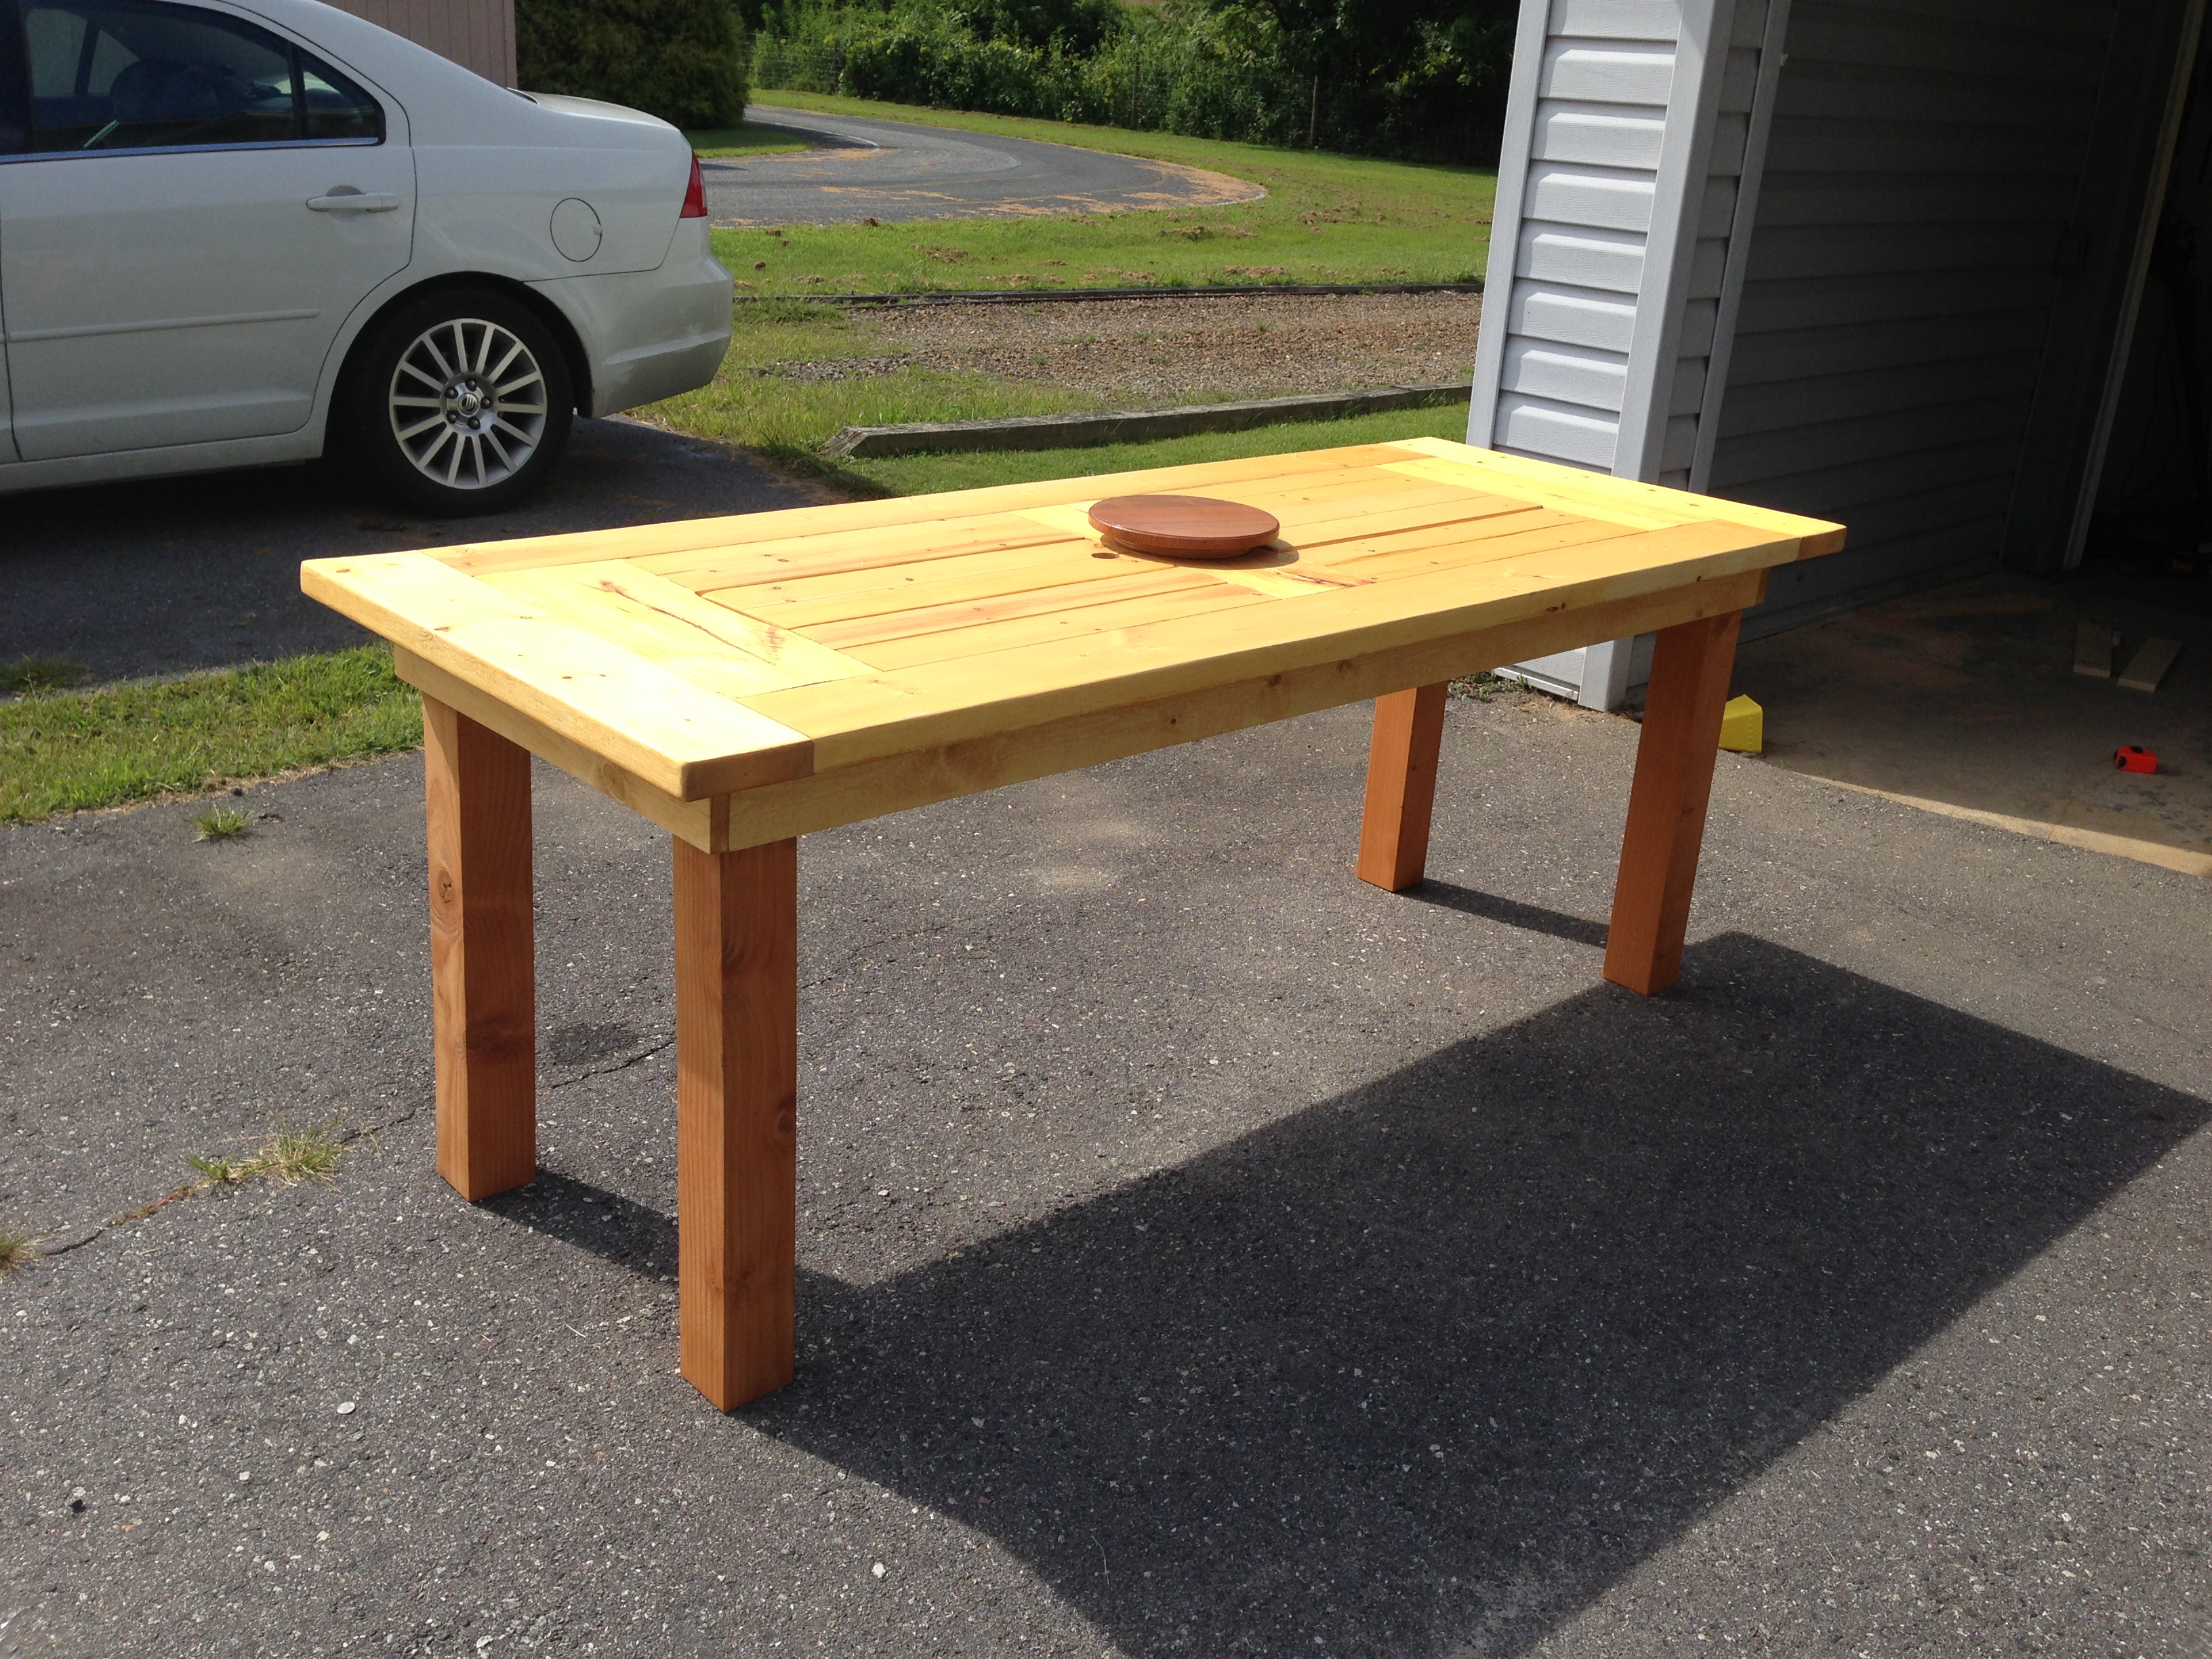
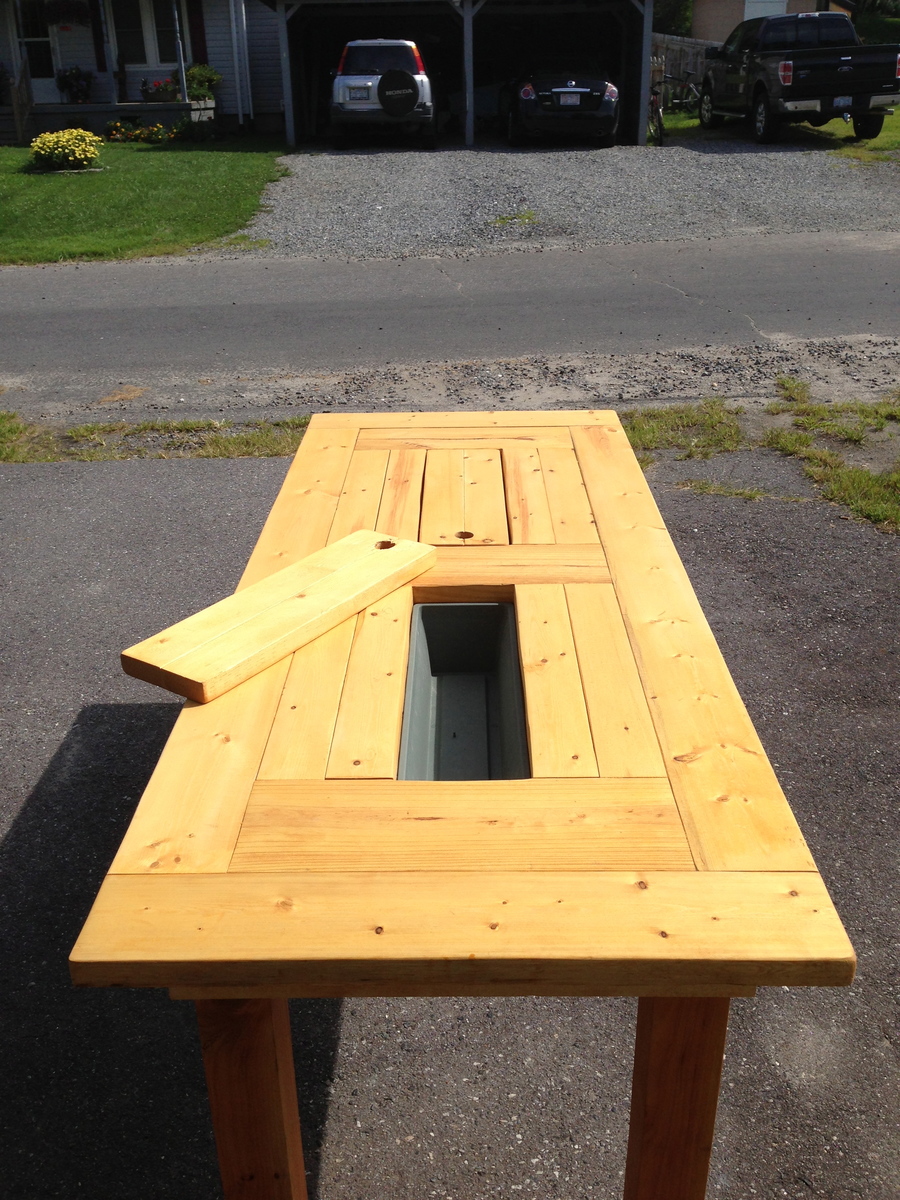
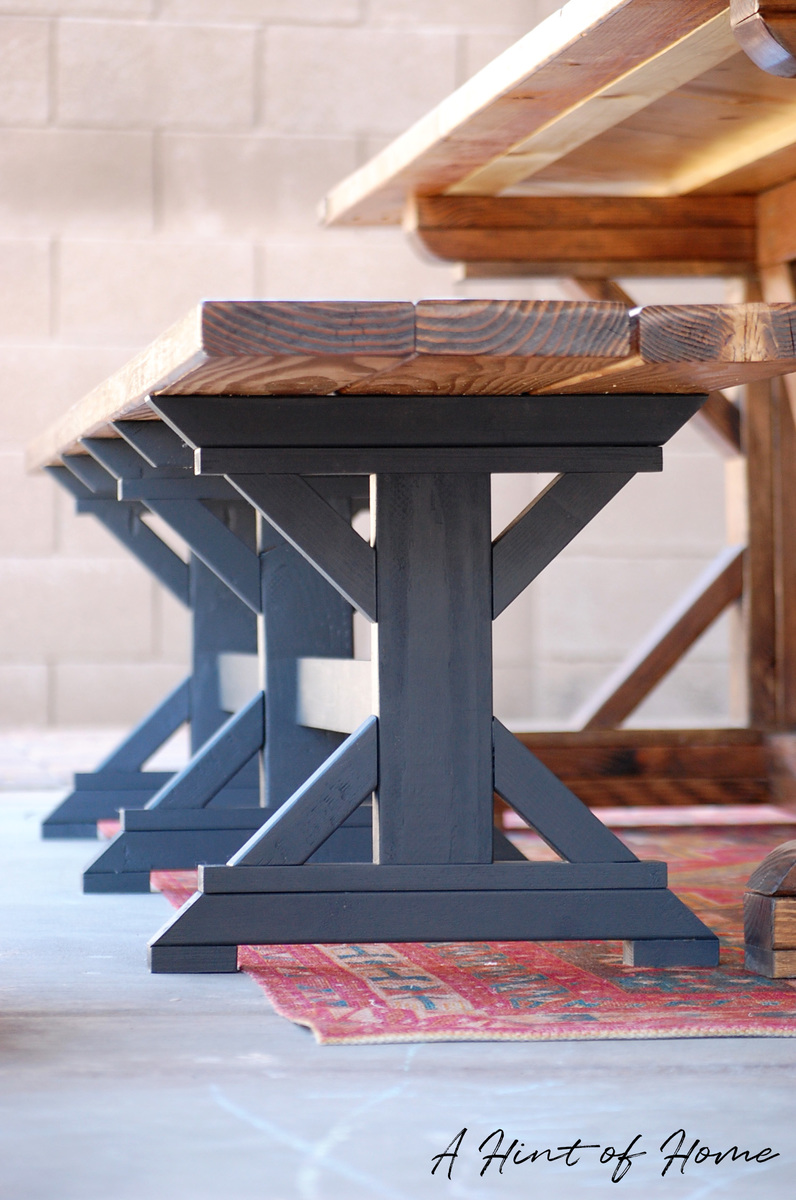
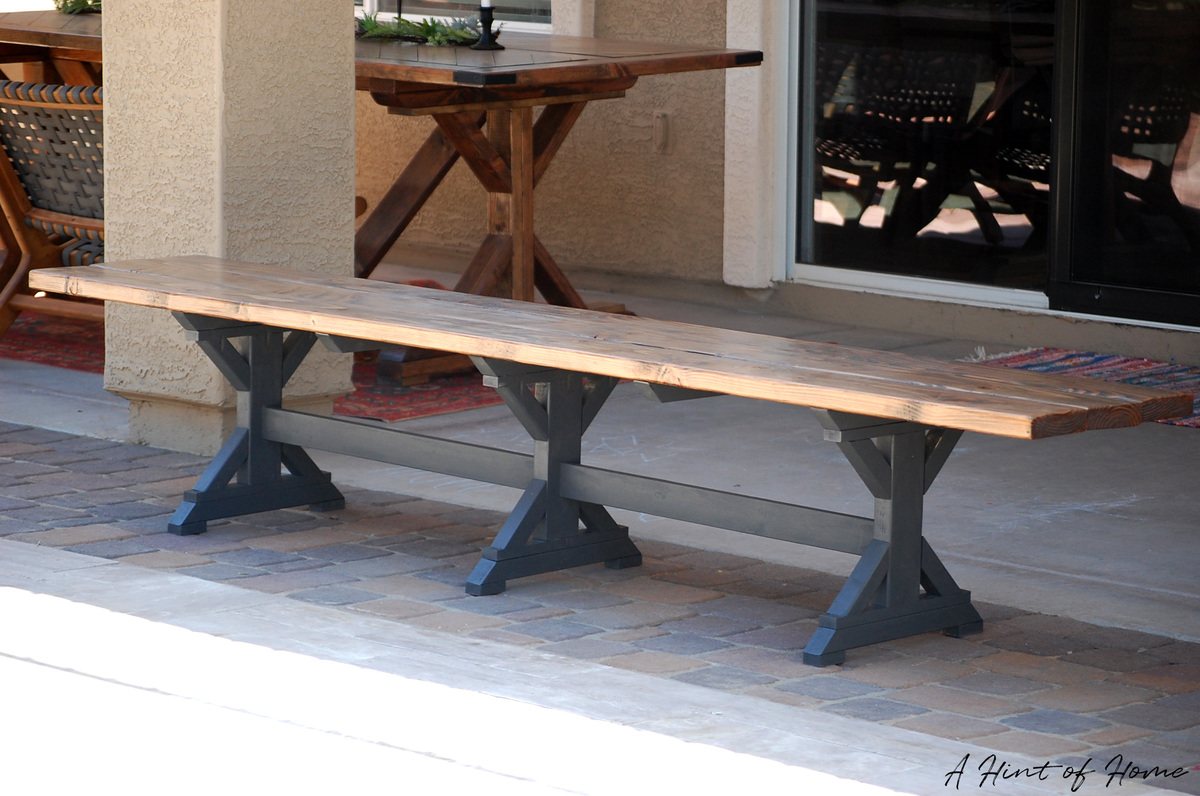
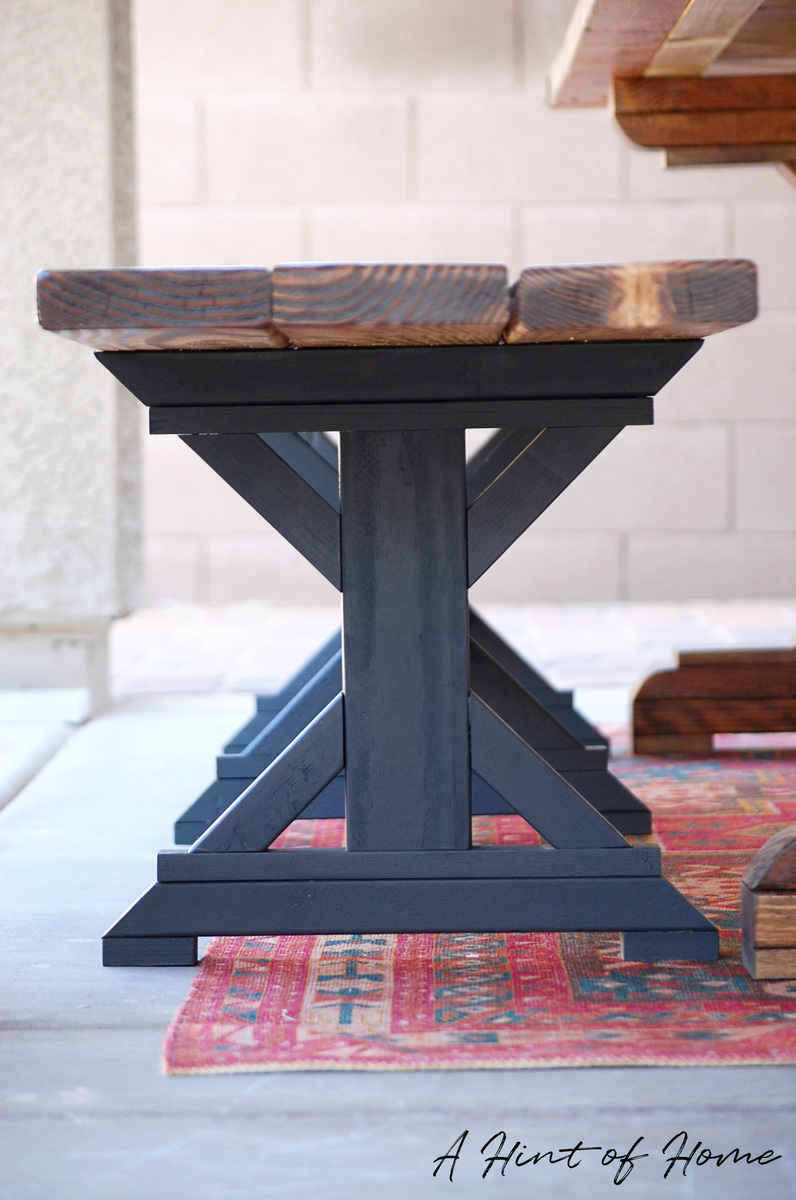
Patio Stools 35 inches

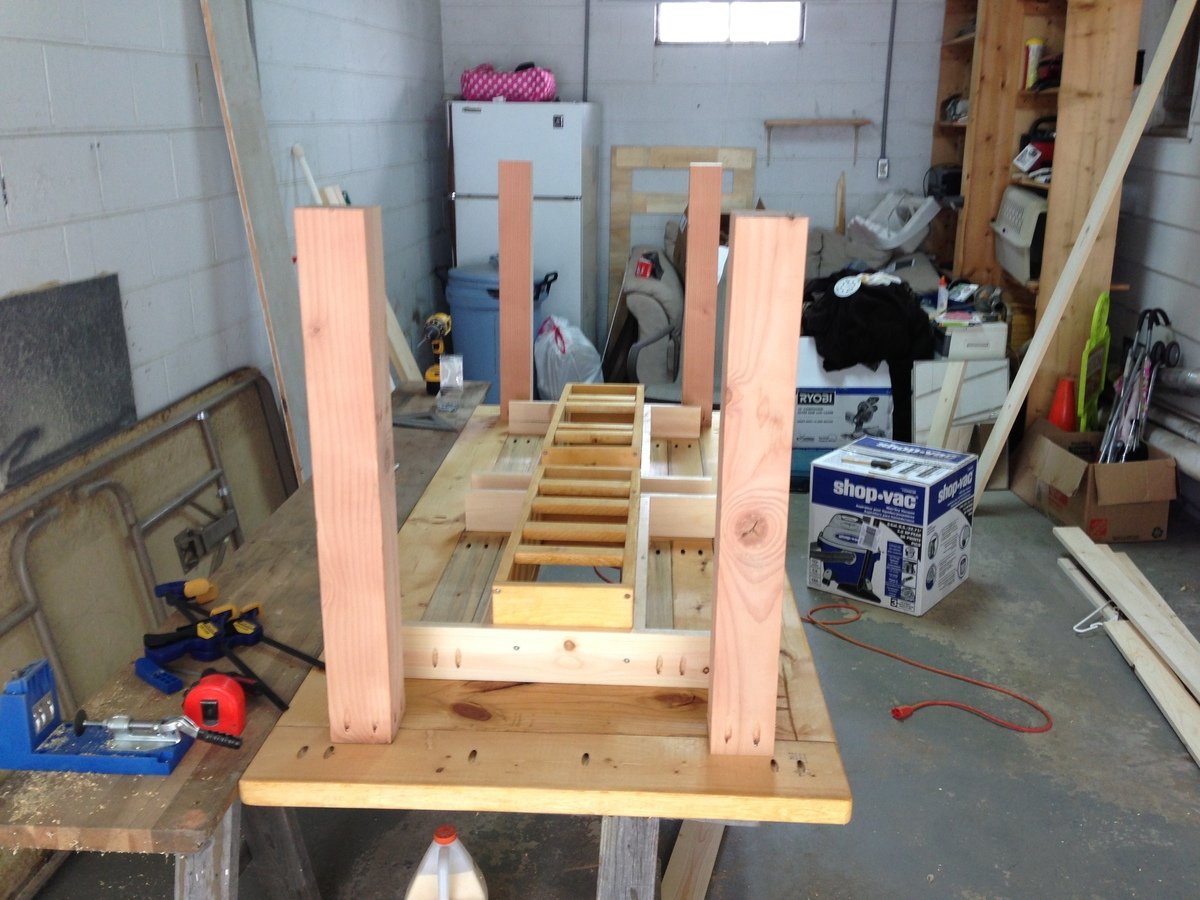
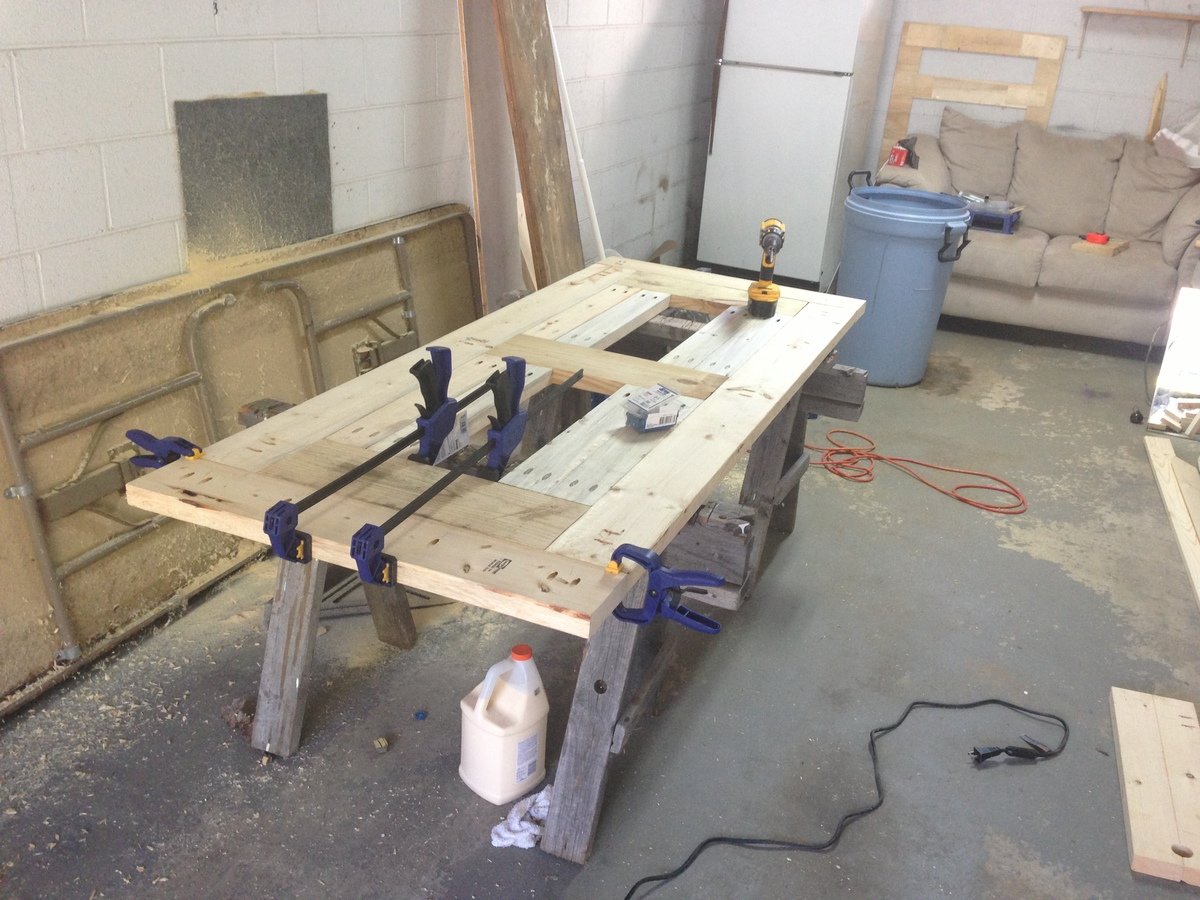
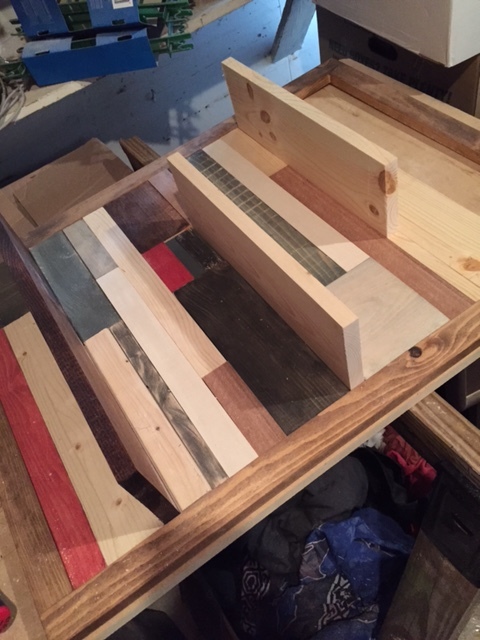
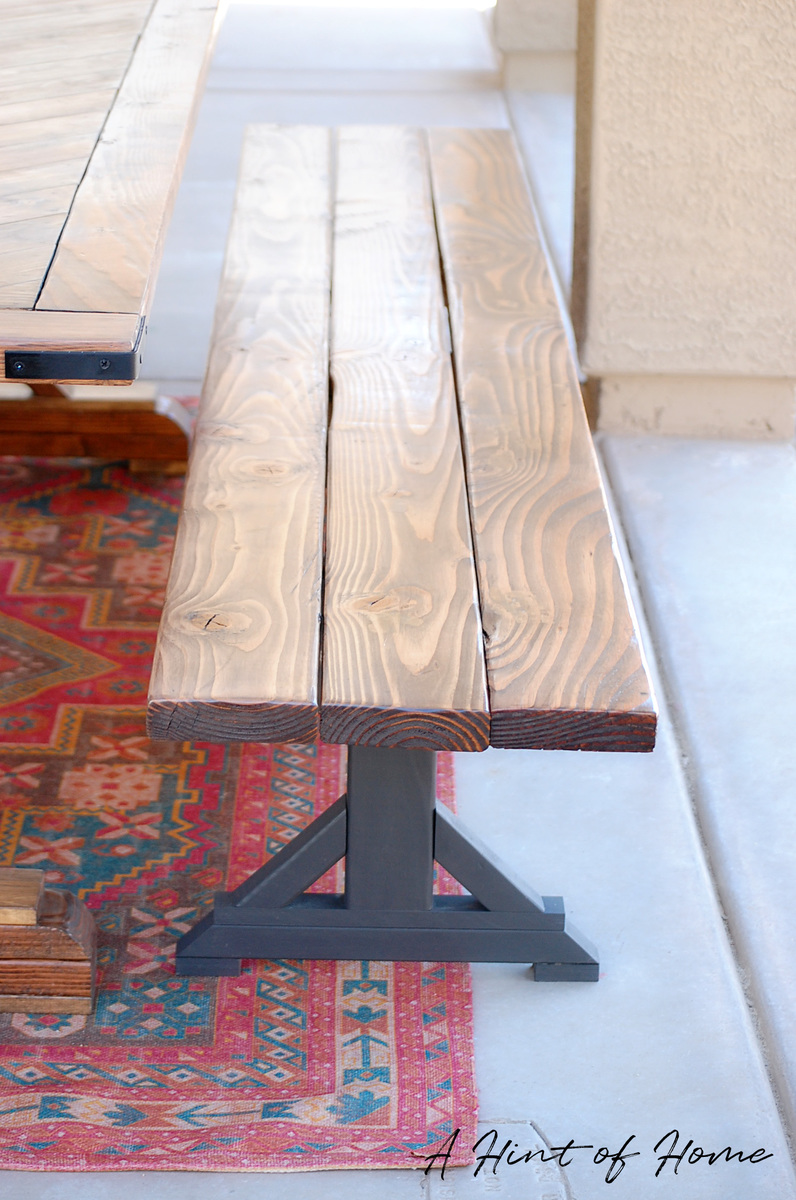
I adjusted from the plan to build the stools to 35 inches and found they remianed very stable! Used Cedar for the seat and aprons, and redwood for the legs and supports.
Built from Plan(s)
Estimated Cost
25 per stool
Estimated Time Investment
Day Project (6-9 Hours)
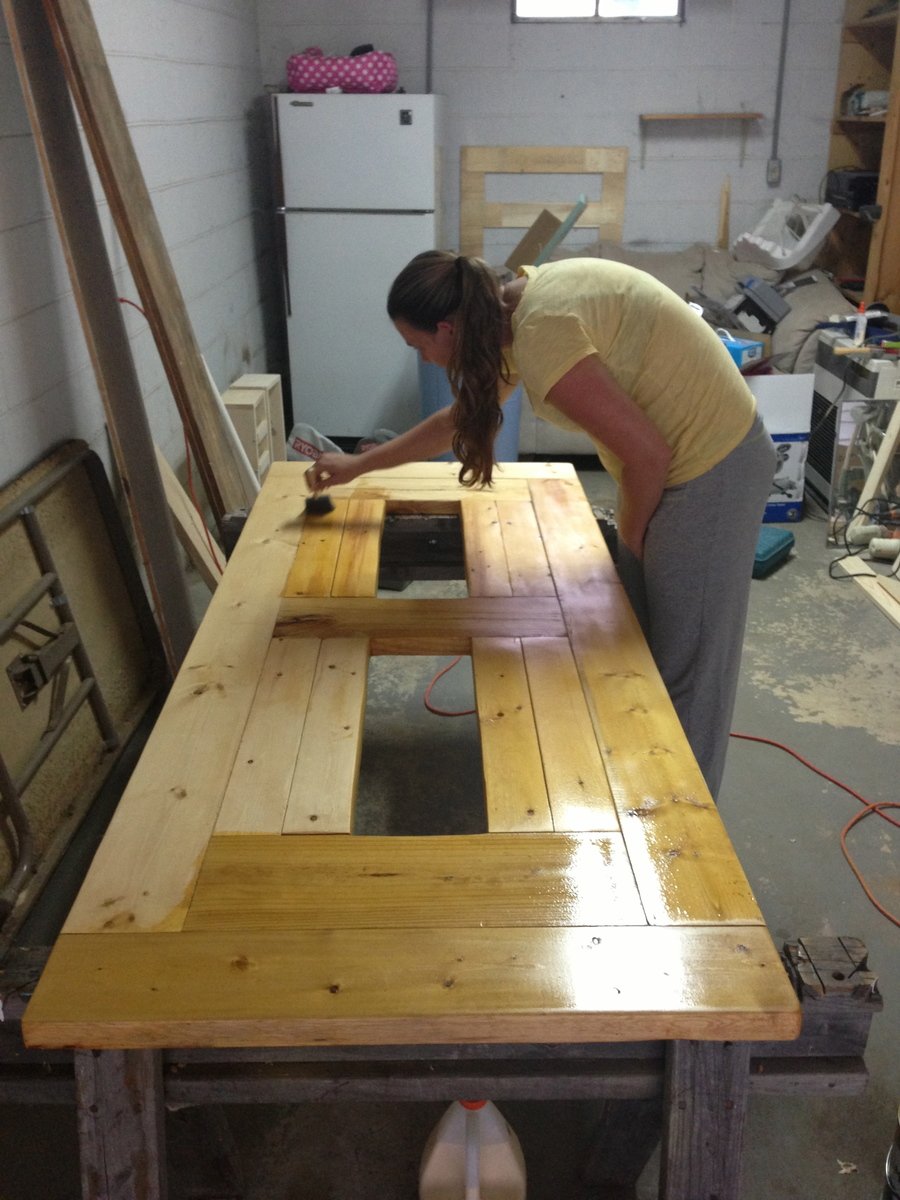
Finish Used
Jacobean stain
Recommended Skill Level
Beginner