Easy DIY Workbench
DIY Workbench
Built from Plan(s)
DIY Workbench
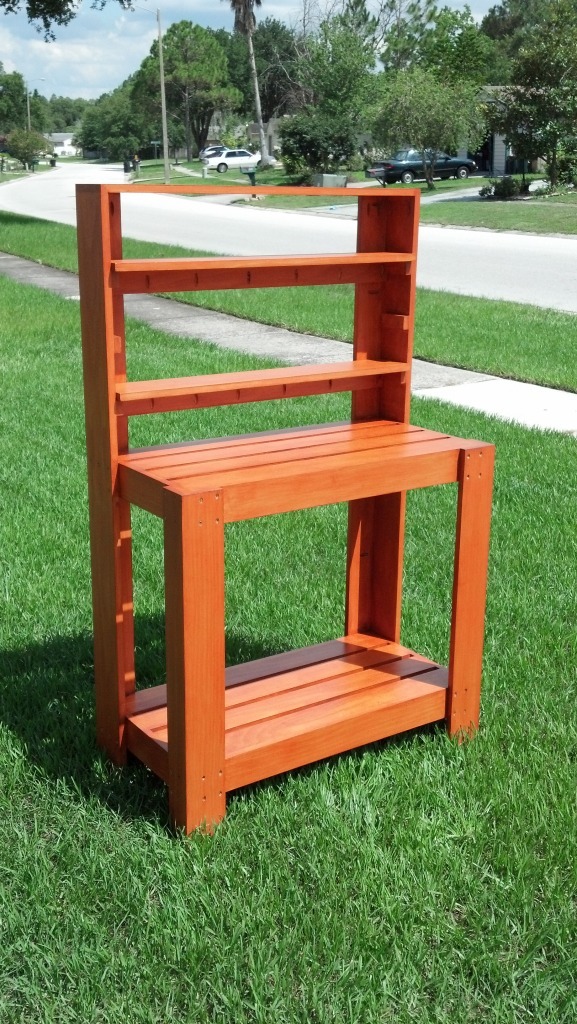
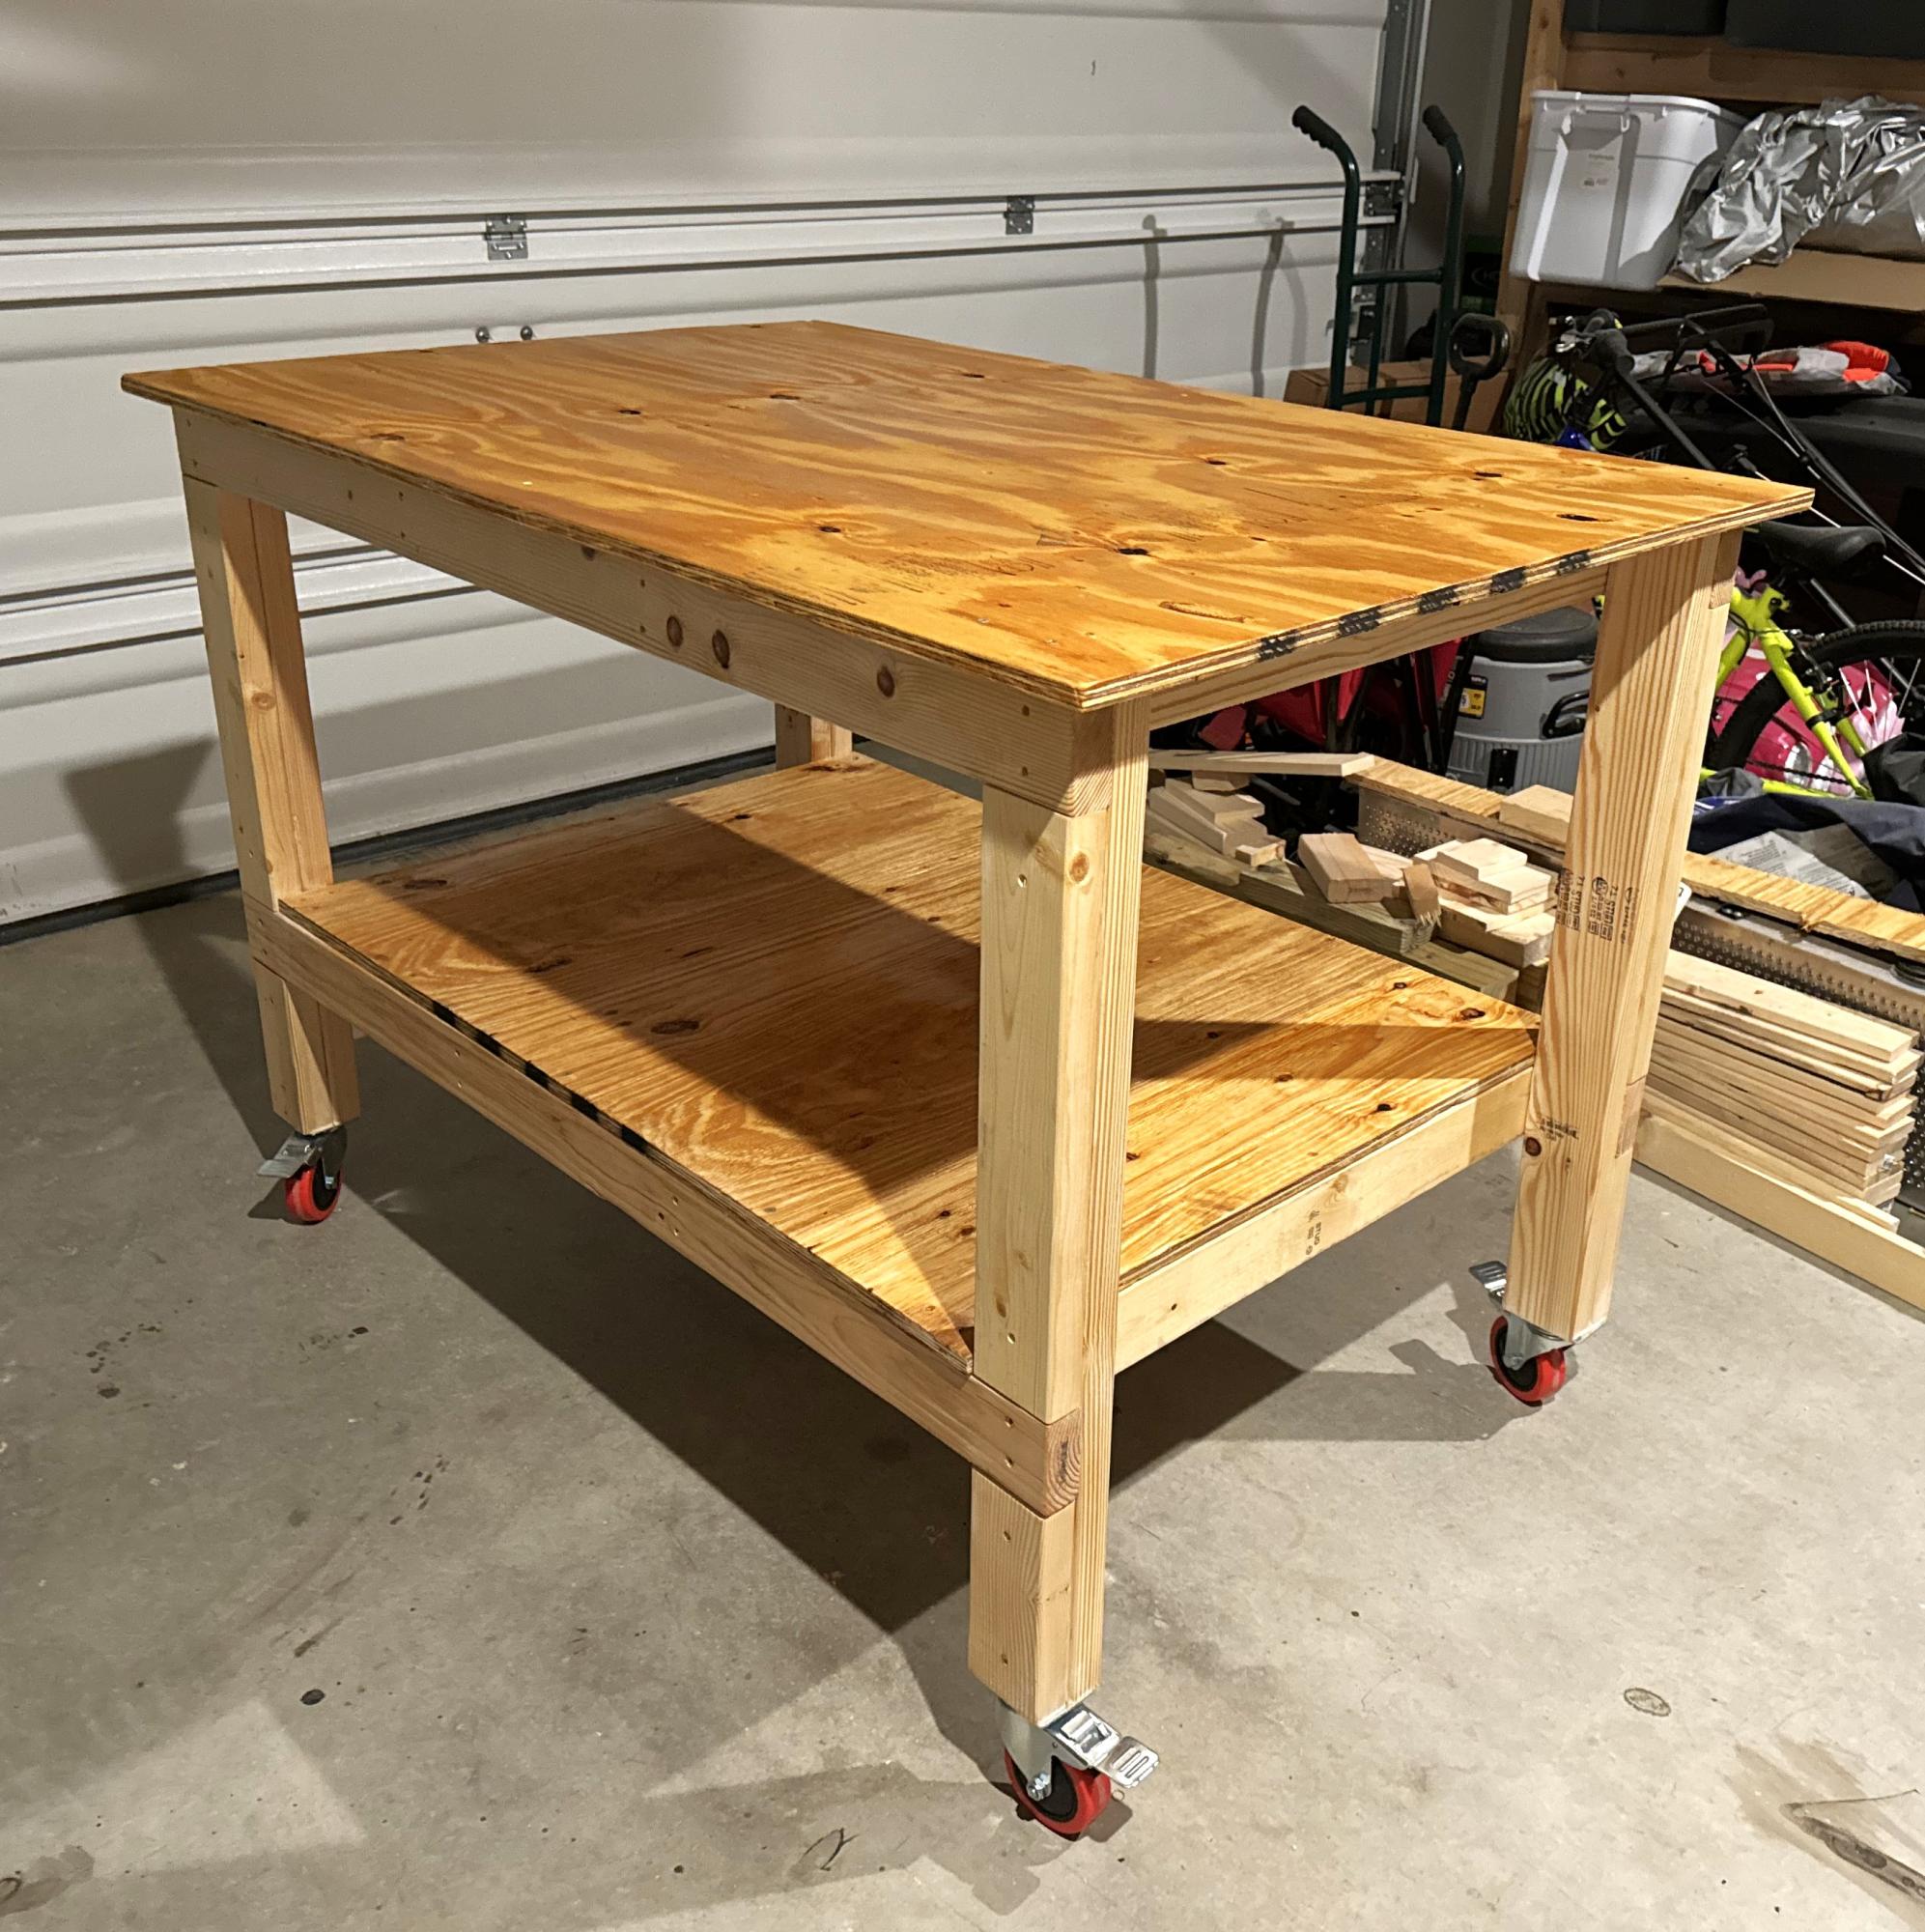
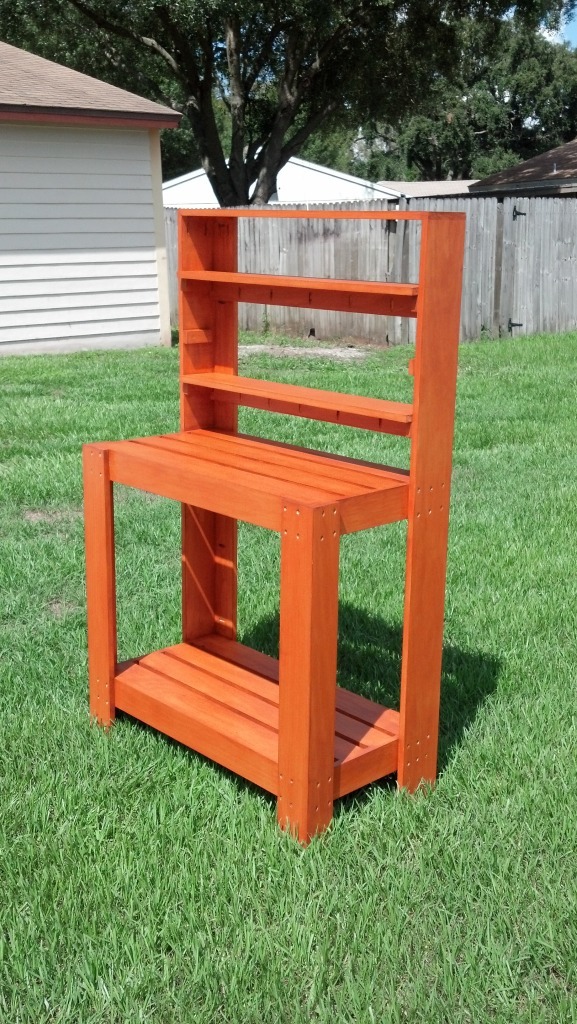
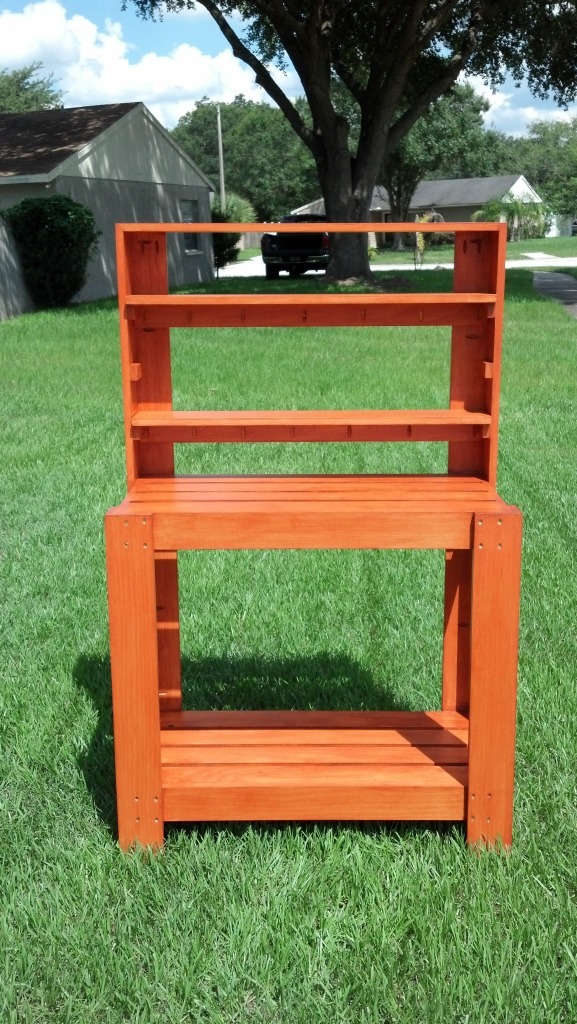
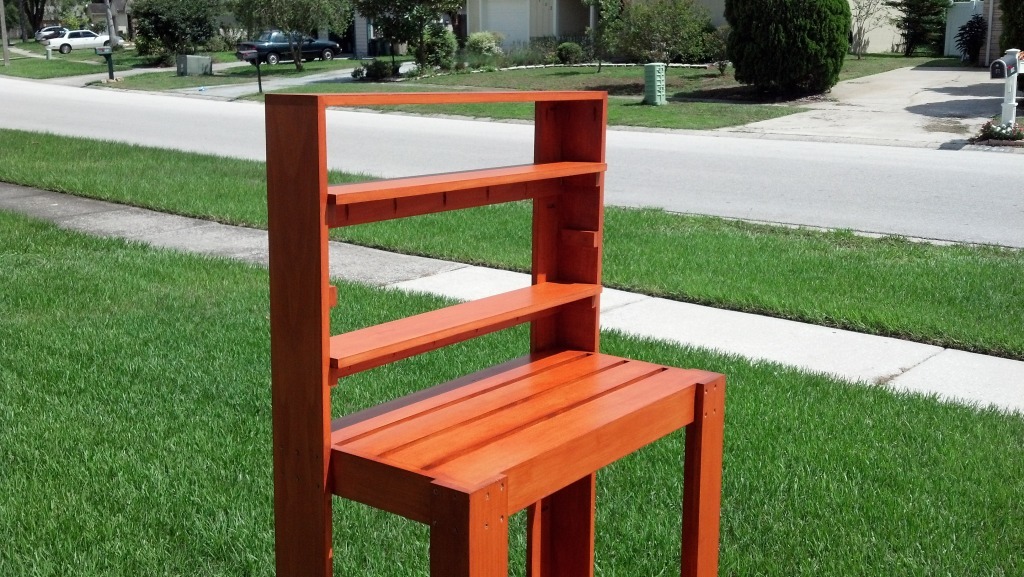
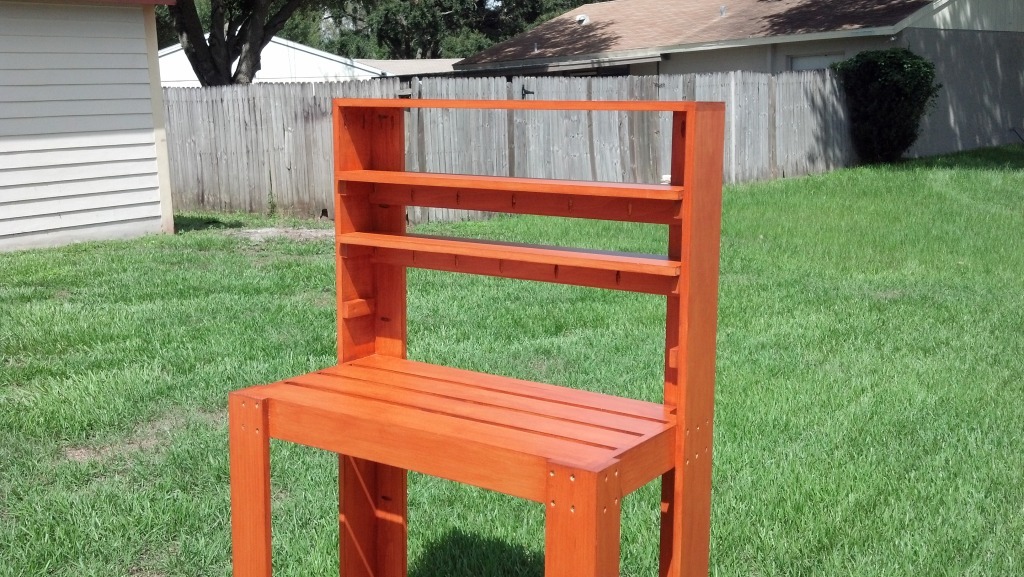
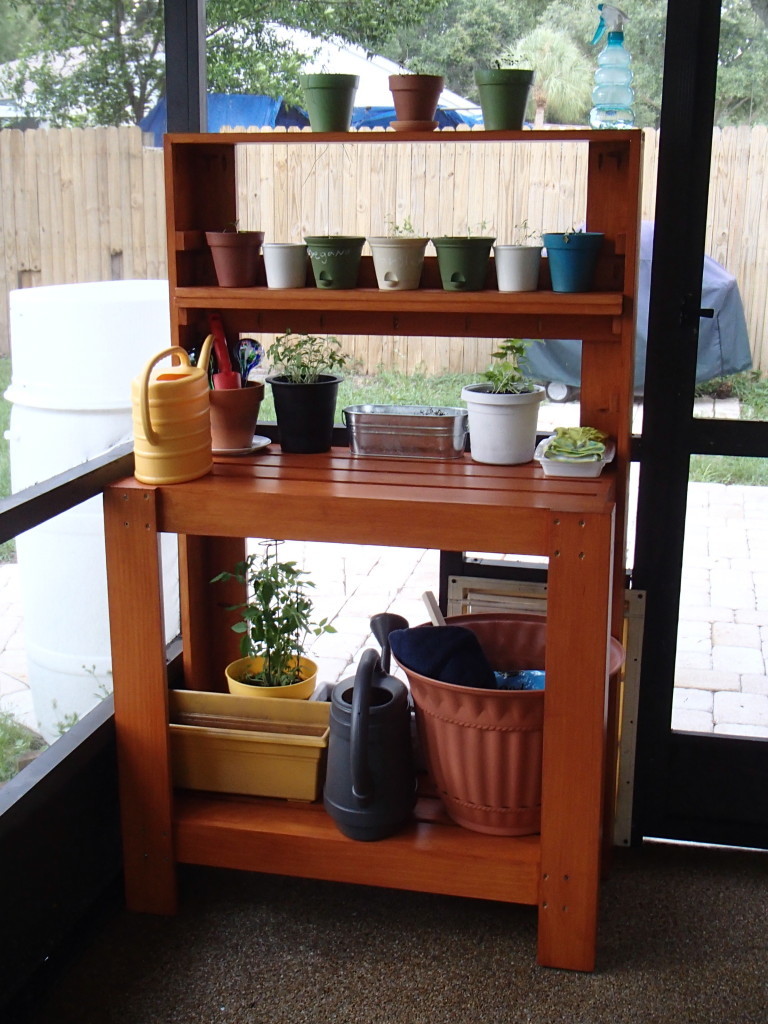
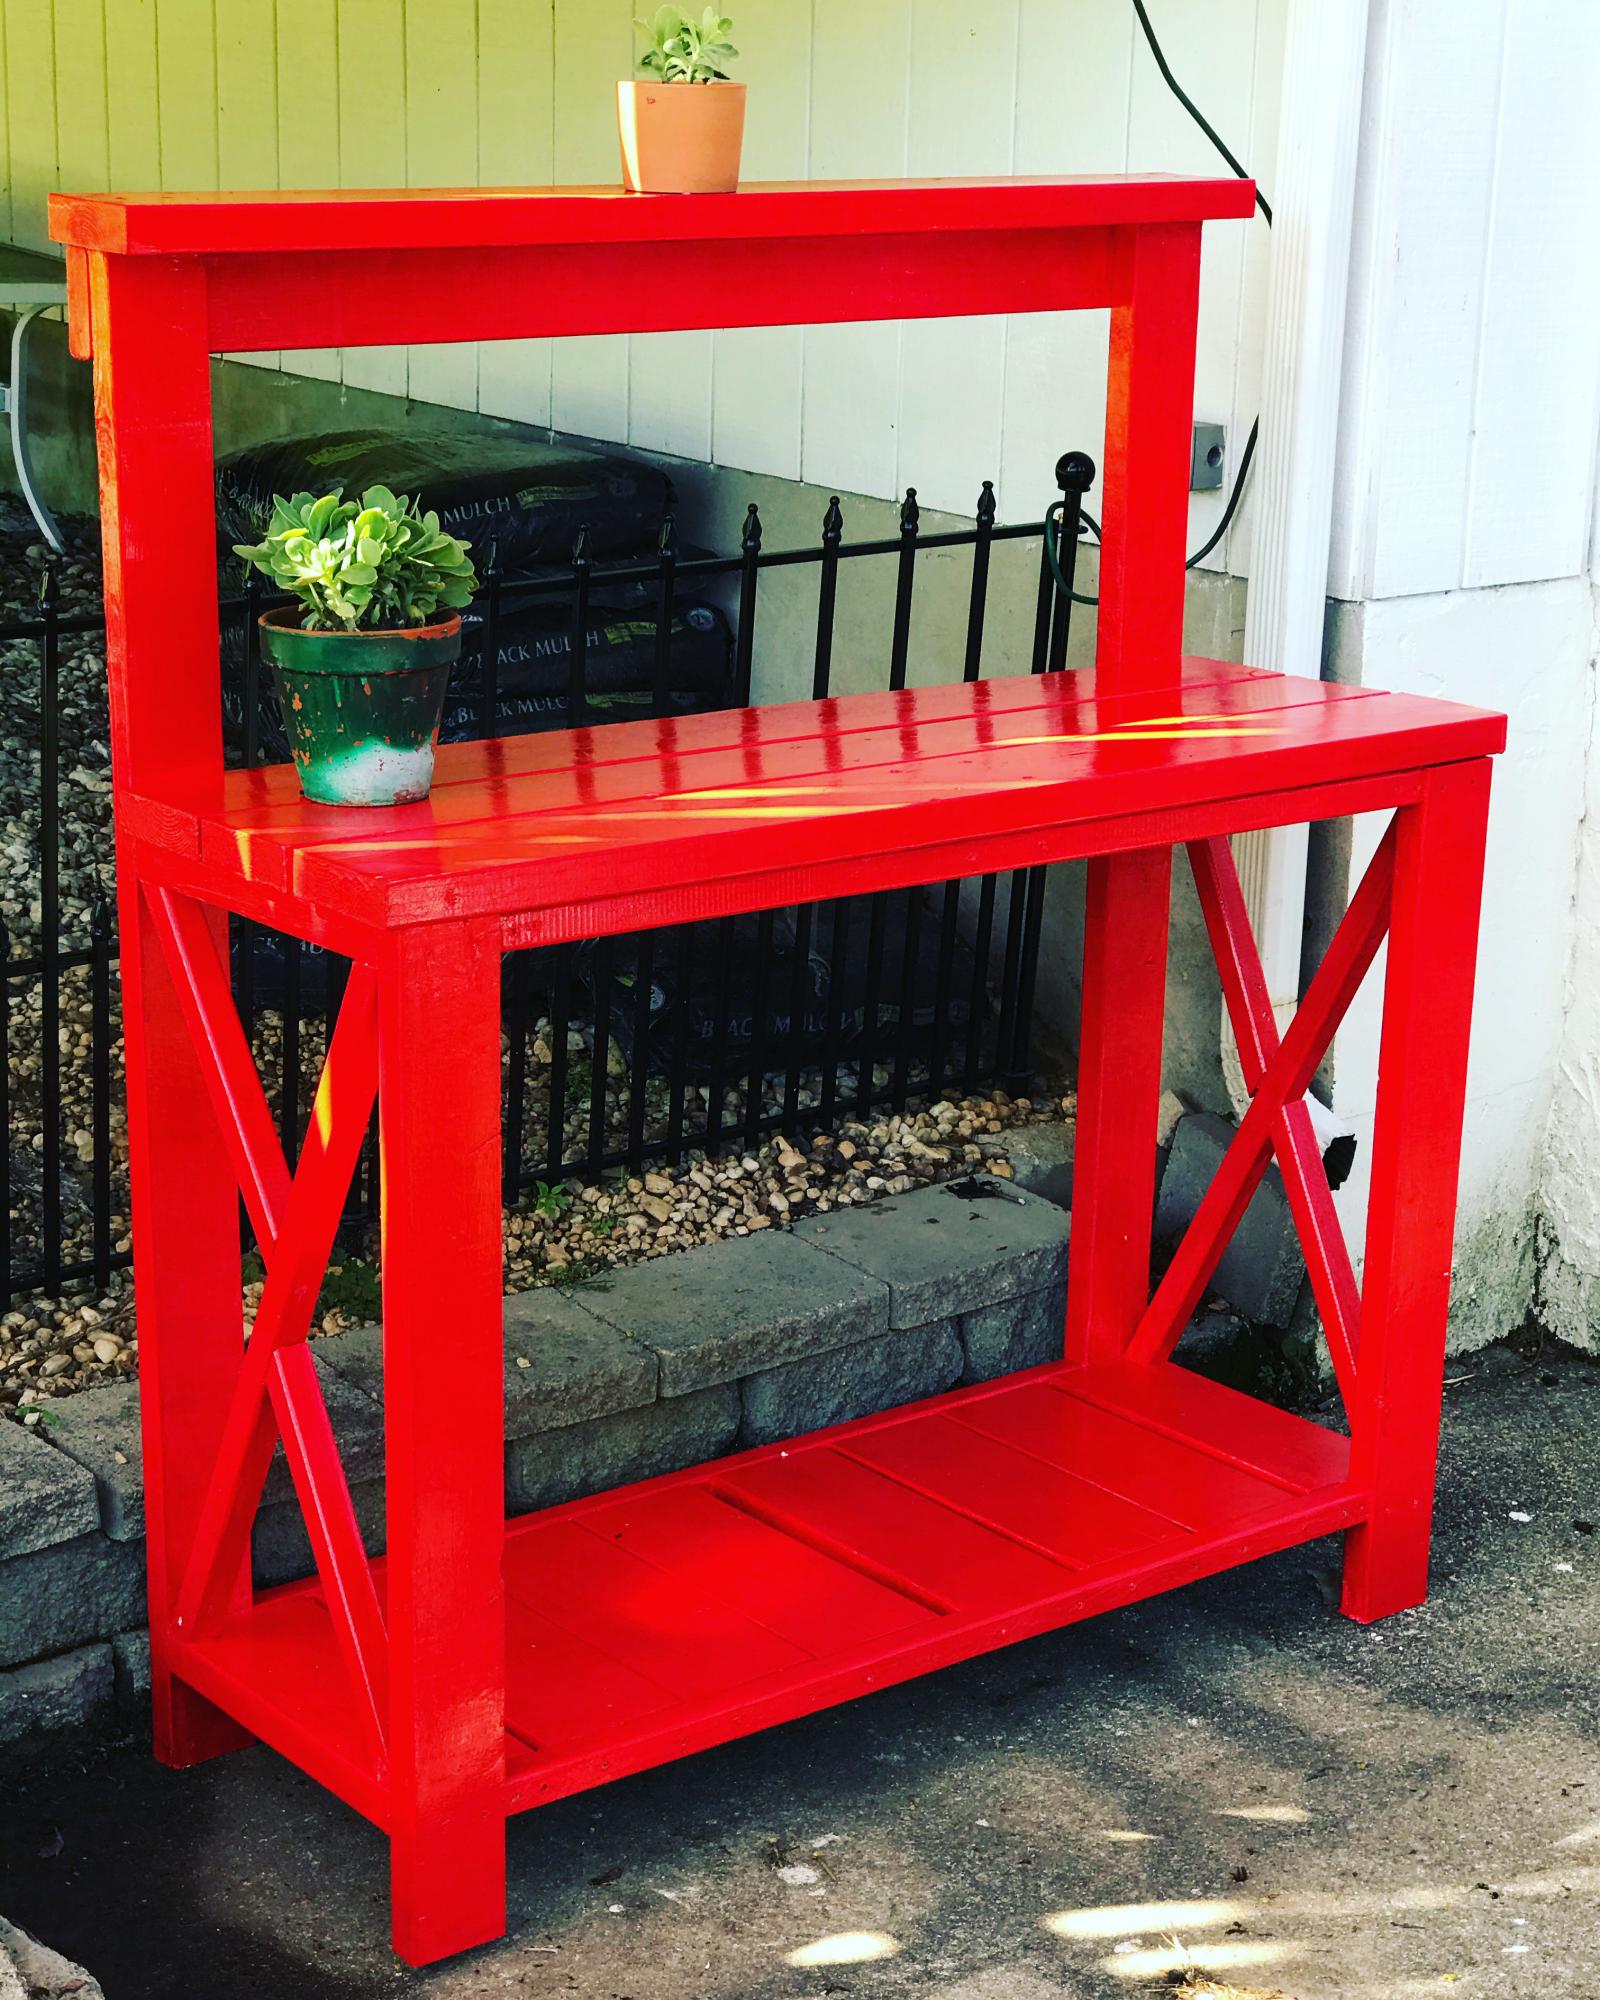
I made this potting bench as a plant rack/stand for my wife for the back porch. She has had the plants on the ground and now this will give her some place to put them on as well as not having to work on the ground. I changed the dimensions to fit our space as well as used 1x4's mostly since it is what I had. I used 1x6 for part of the back legs so as to have a deeper shelf. I also made it to have additional shelves that are a bit adjustable to (3) different levels. I also changed the front a bit so it is closed in. Thankfully you can't tell in the pictures much but this was my first time trying to stain something. Definitely not my forte. Hopefully will get better with time and experience. Thank you for posting the plans for to build from.
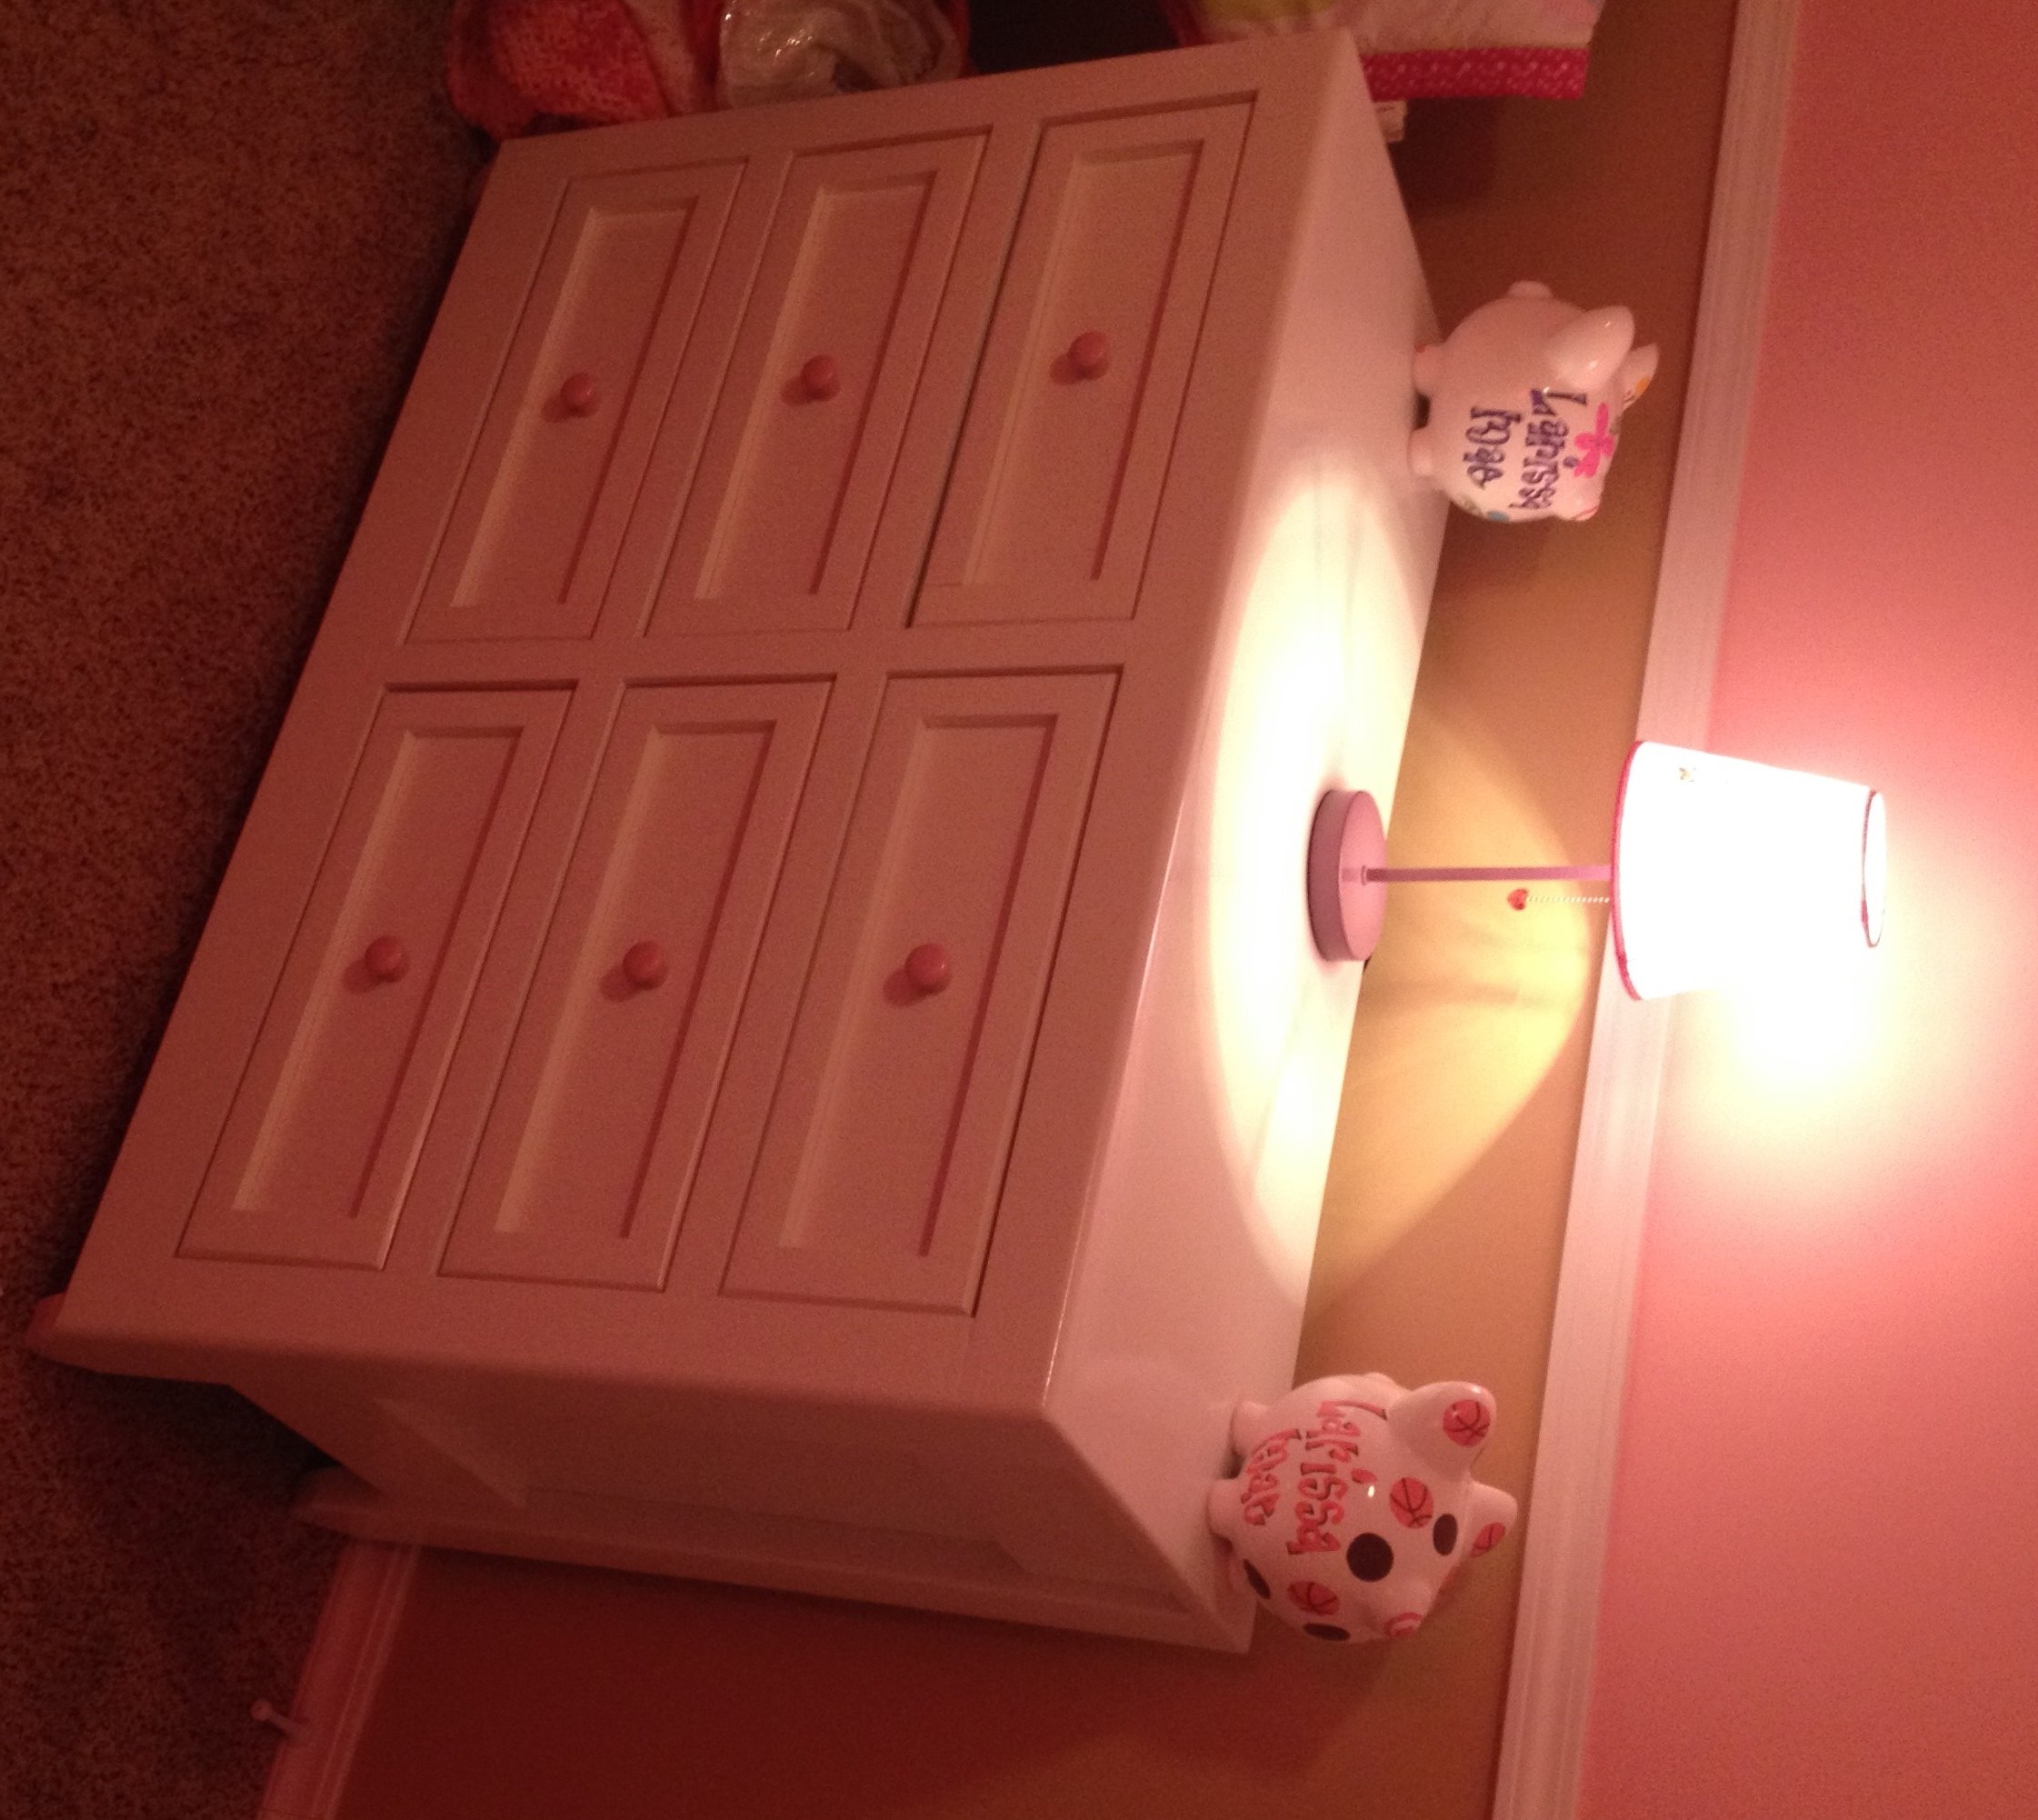
I had built the "Traditional Toddler Bed" for our first daughter a while back. Since then we have had our second daughter and a house of 3 girls (and not knowing how many more were coming) we needed another dresser. So i designed and built this dresser to match the toddler bed. It was made from 2x4 studs, b grade pine plywood, b grade pine and wainscoting. Though it required extra sanding and finishing work it was well worth the savings.
Mon, 04/07/2014 - 15:03
Your dresser turned out fantastic! I love the finish you can get with a spray gun, but I always get a fine mist overspray on everything in the garage when I use mine, even with a make shift spray booth. I'd use it more often if it weren't for that!
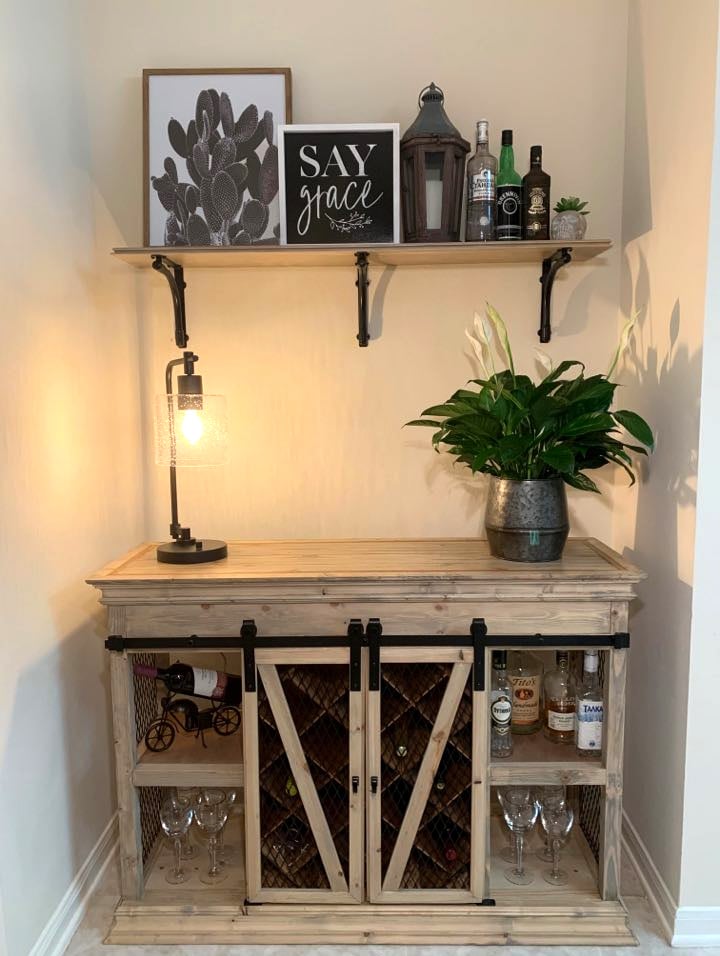
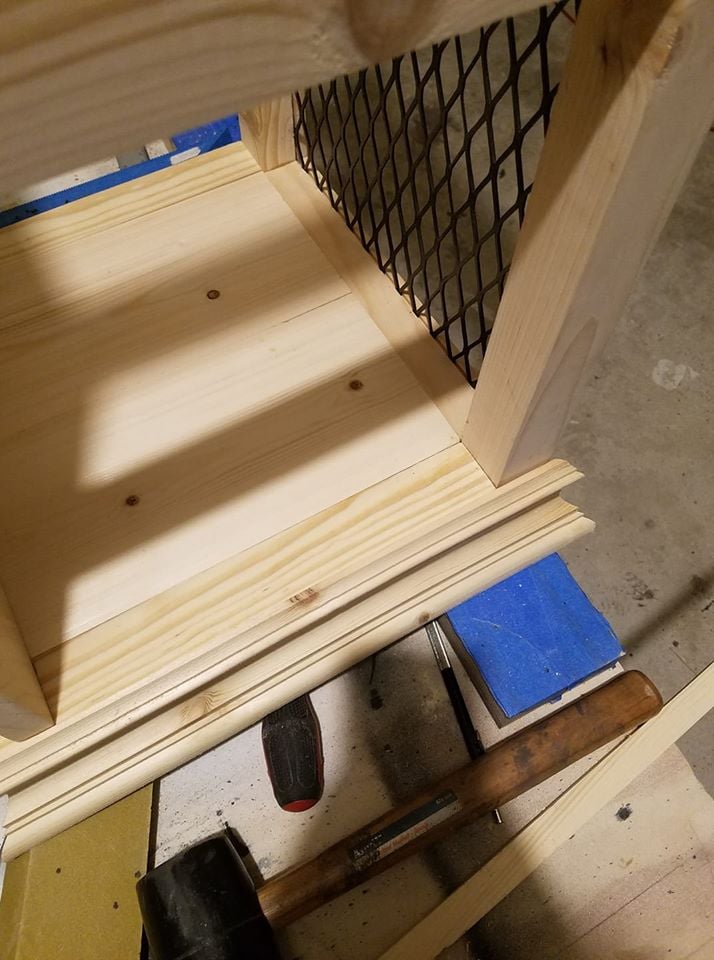
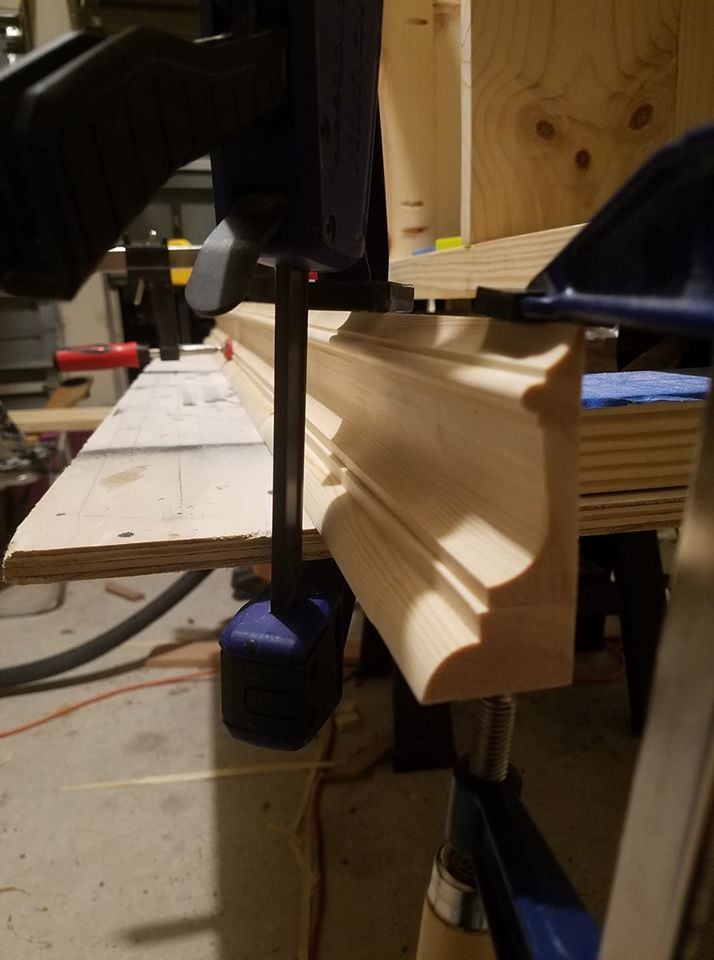
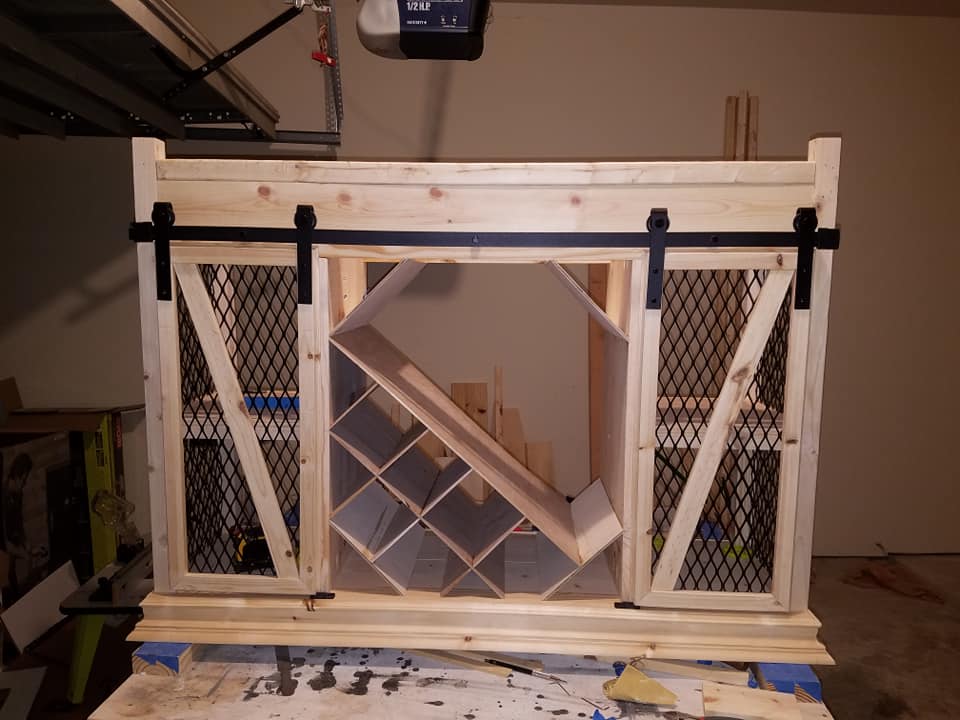
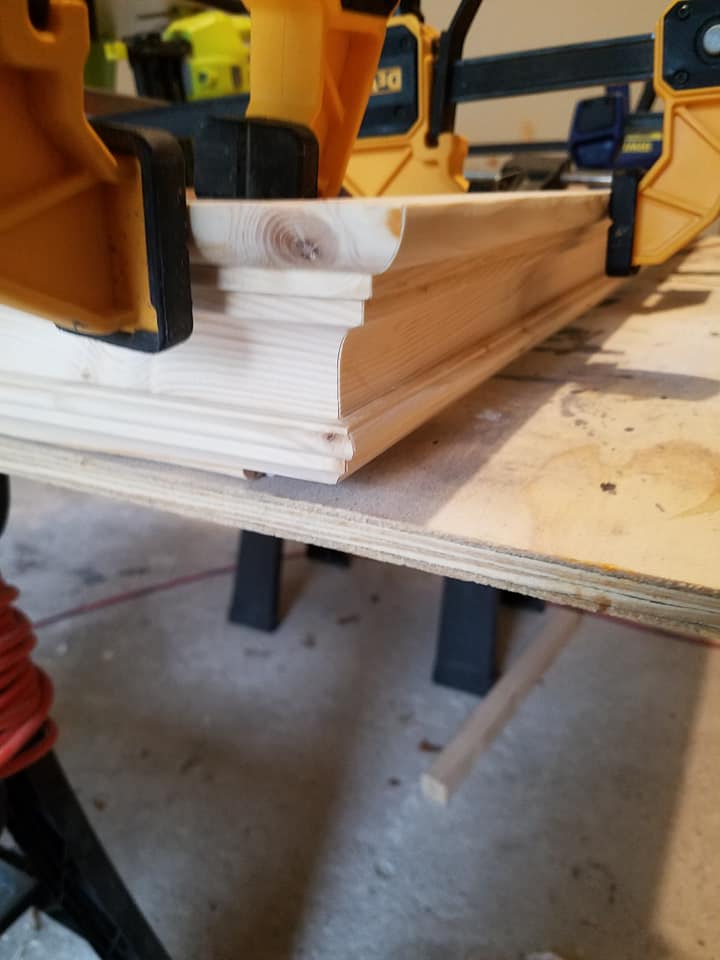
We had this cheapy wine rack from an old apartment, but the new house required an upgrade. This is all pine boards and 2x4s milled down at home, sans the the top surface inlay which is red oak. The inlay is a design element but is also the load-bearing square from the rest of the surface boards and attachment to the base. The center wine rack is 1/4" fiber board cut to size and pieced together with some clever geometry (though I think I'm going to save myself the grief in the future by making slots instead). The molding is custom made, it's milled furring strips and white boards ran through a few different router bits, cut on the table saw, then glued back together. The negative spaces on the doors and sides are filled with expandable steel grating cut to size with an cut away wheel, and then painted. The hardware for the rail and shelf mounts are store-bought.
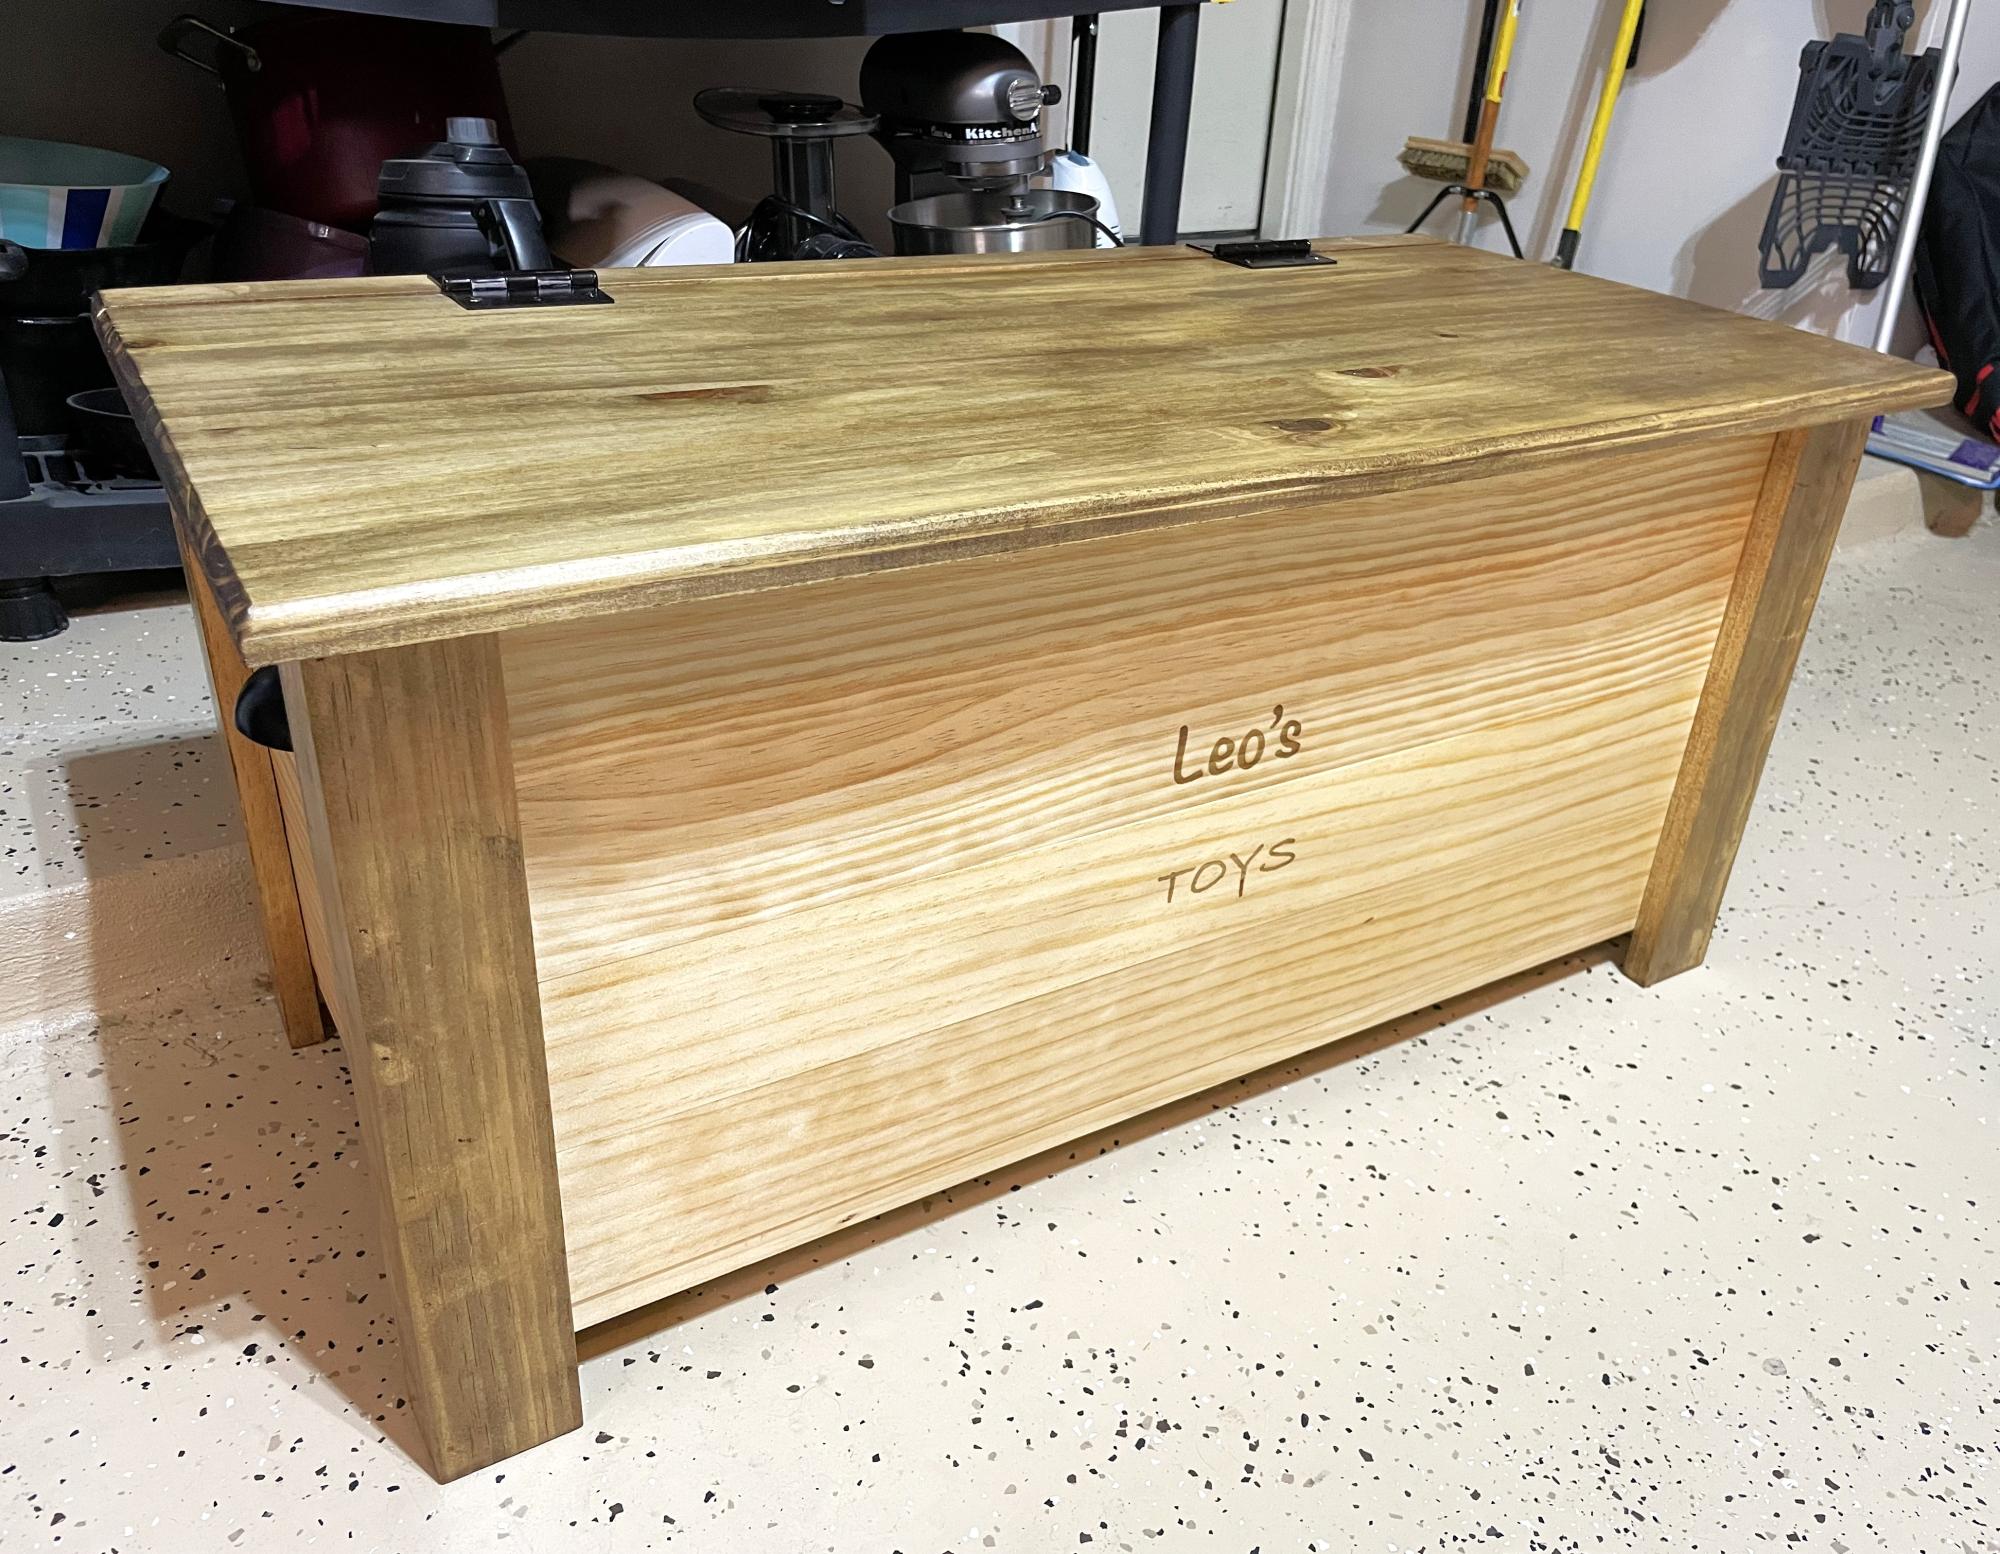
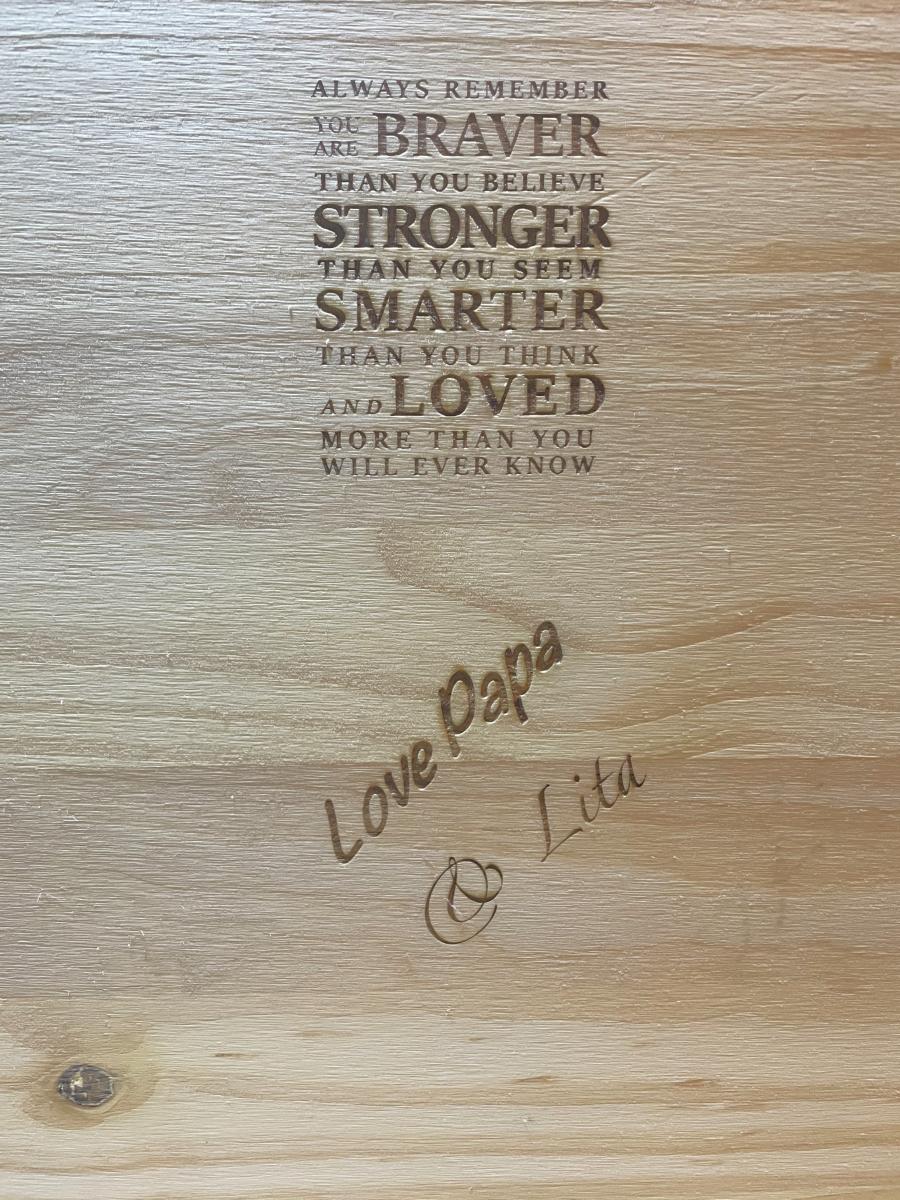
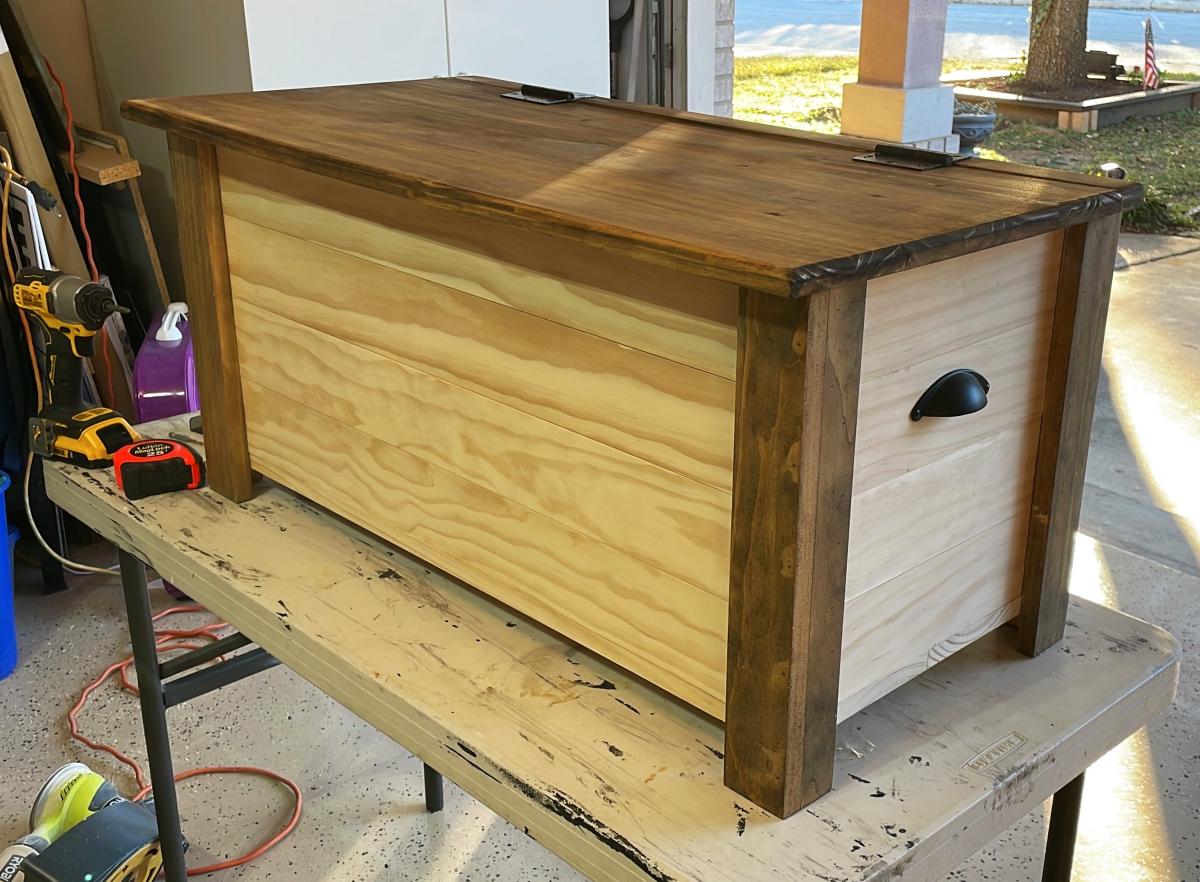
I made these toy boxes for my two grandsons for Christmas. They have been laser etched with their names and a special note on the inside of the top lid. "Always remember you are braver than you believe, Stronger than you seem, Smarter than you think and Loved more than you will ever know. Love Papa and Lita.
Jim Greaves https://www.facebook.com/jim.greaves.180

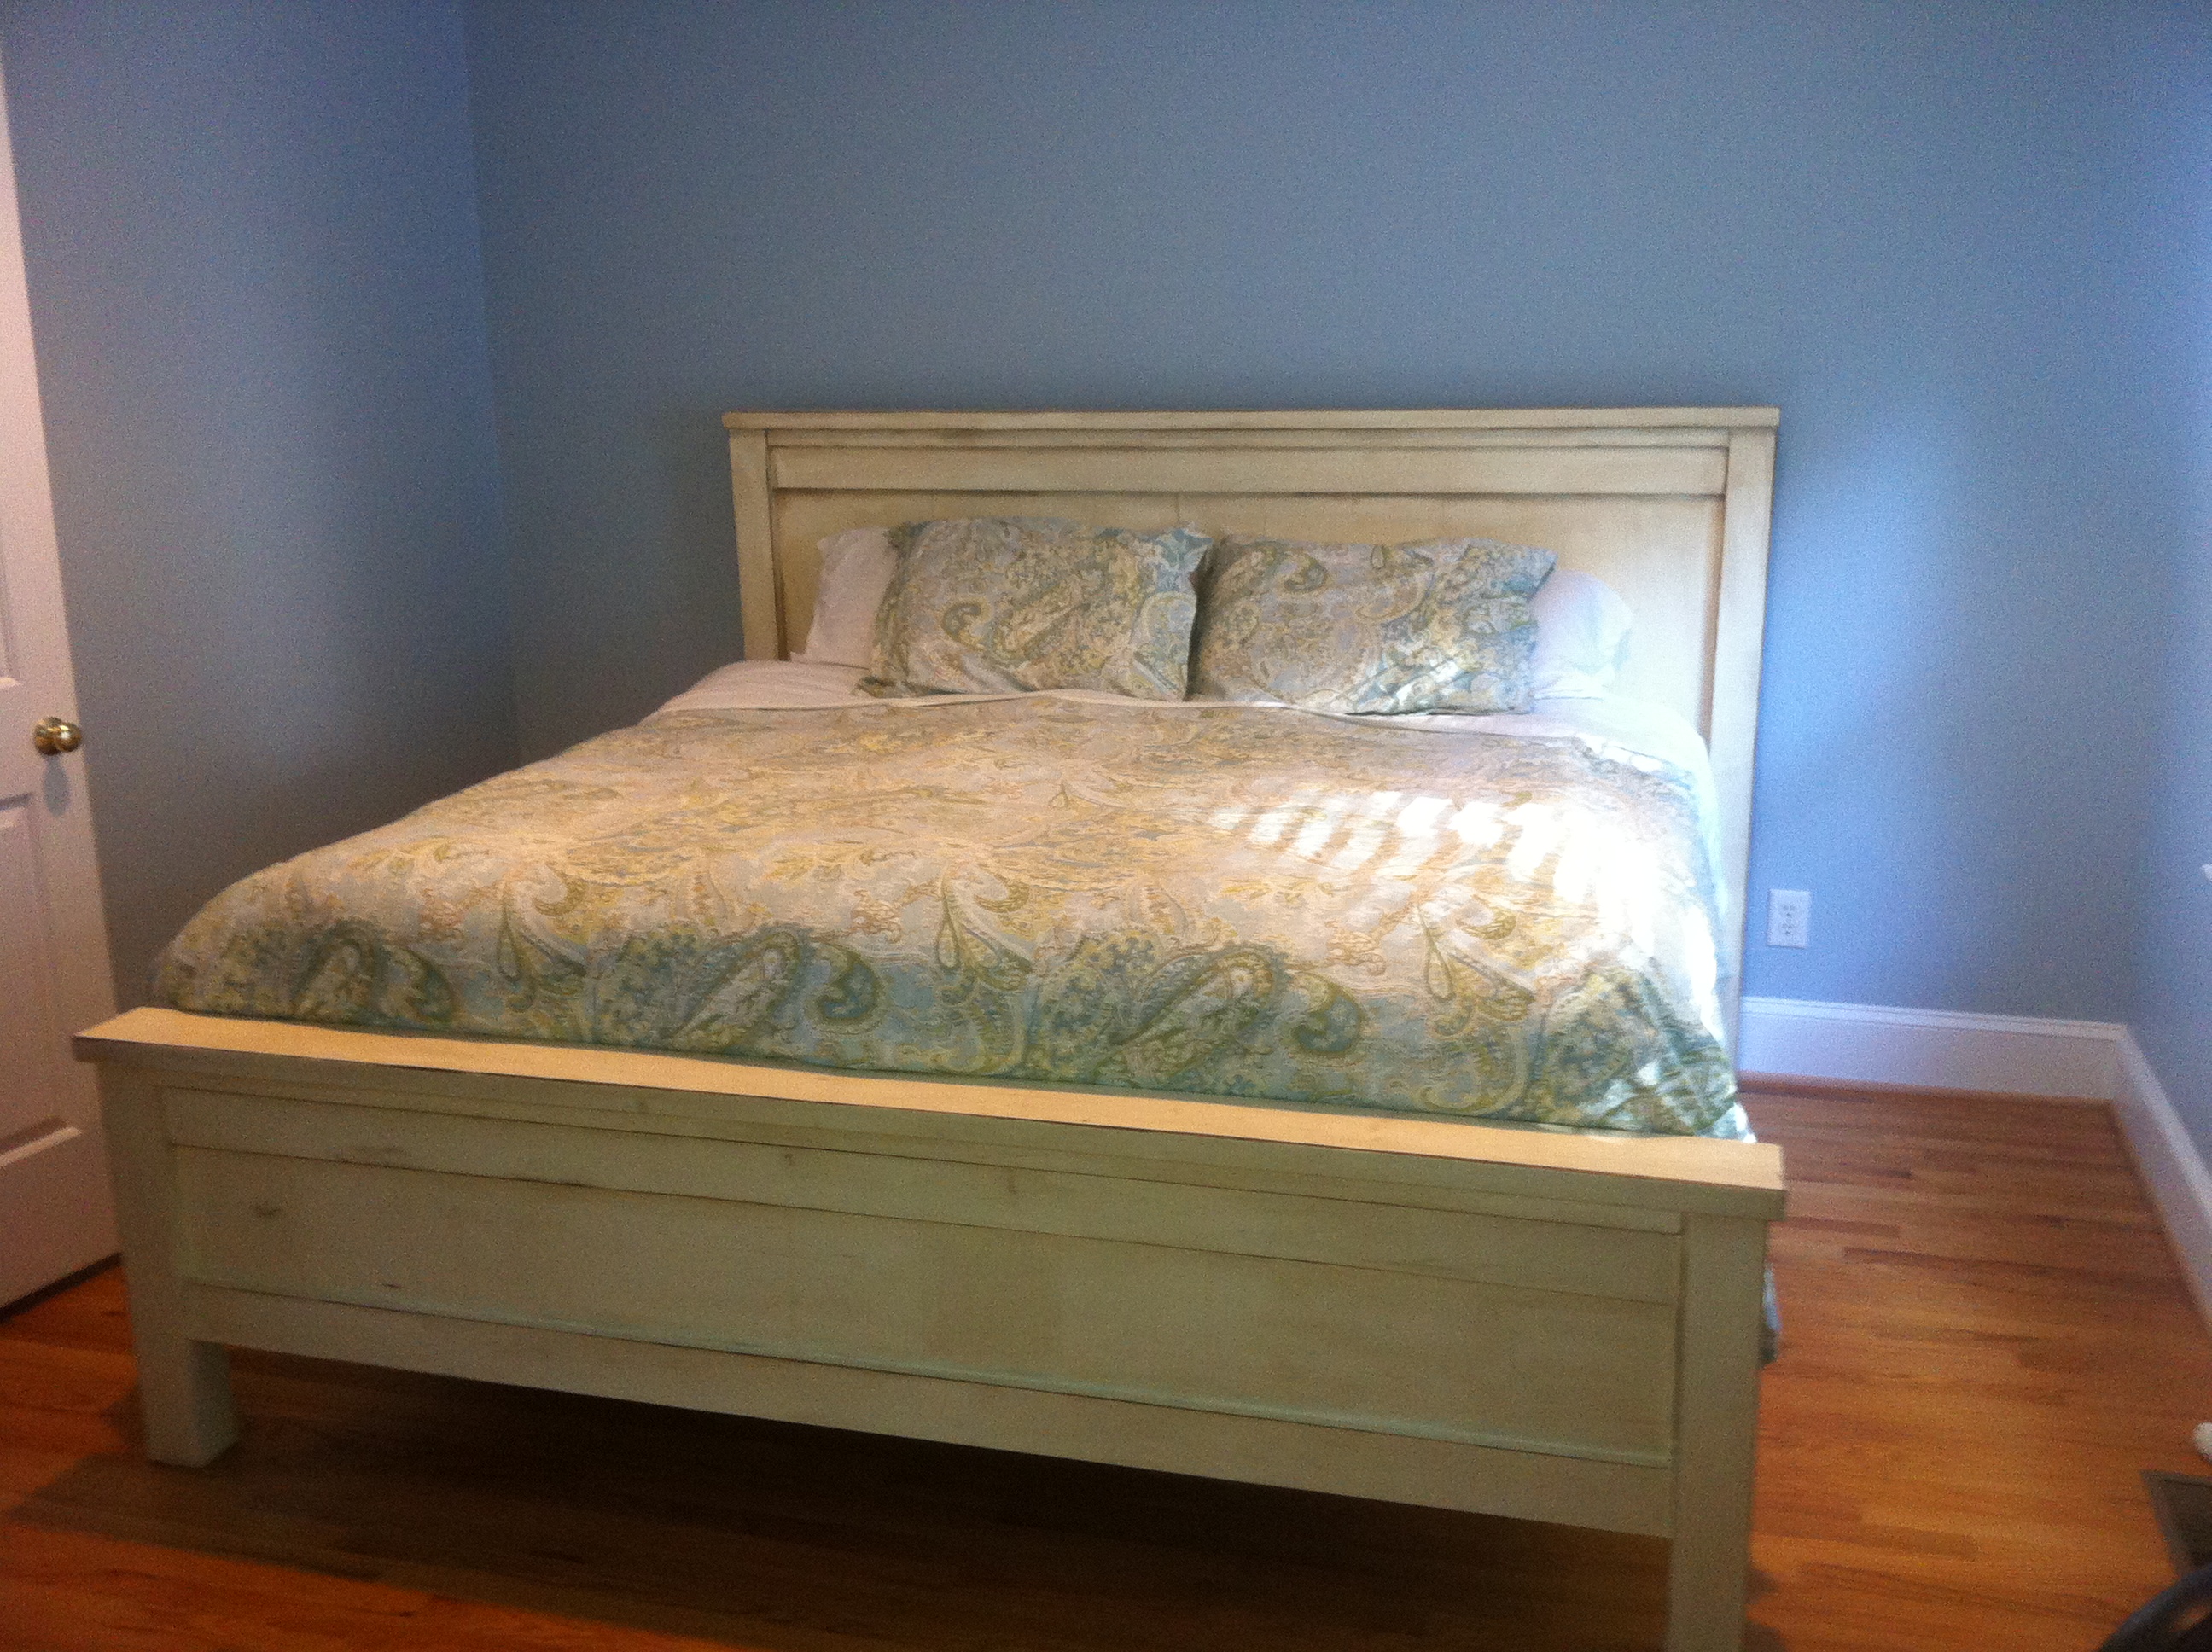
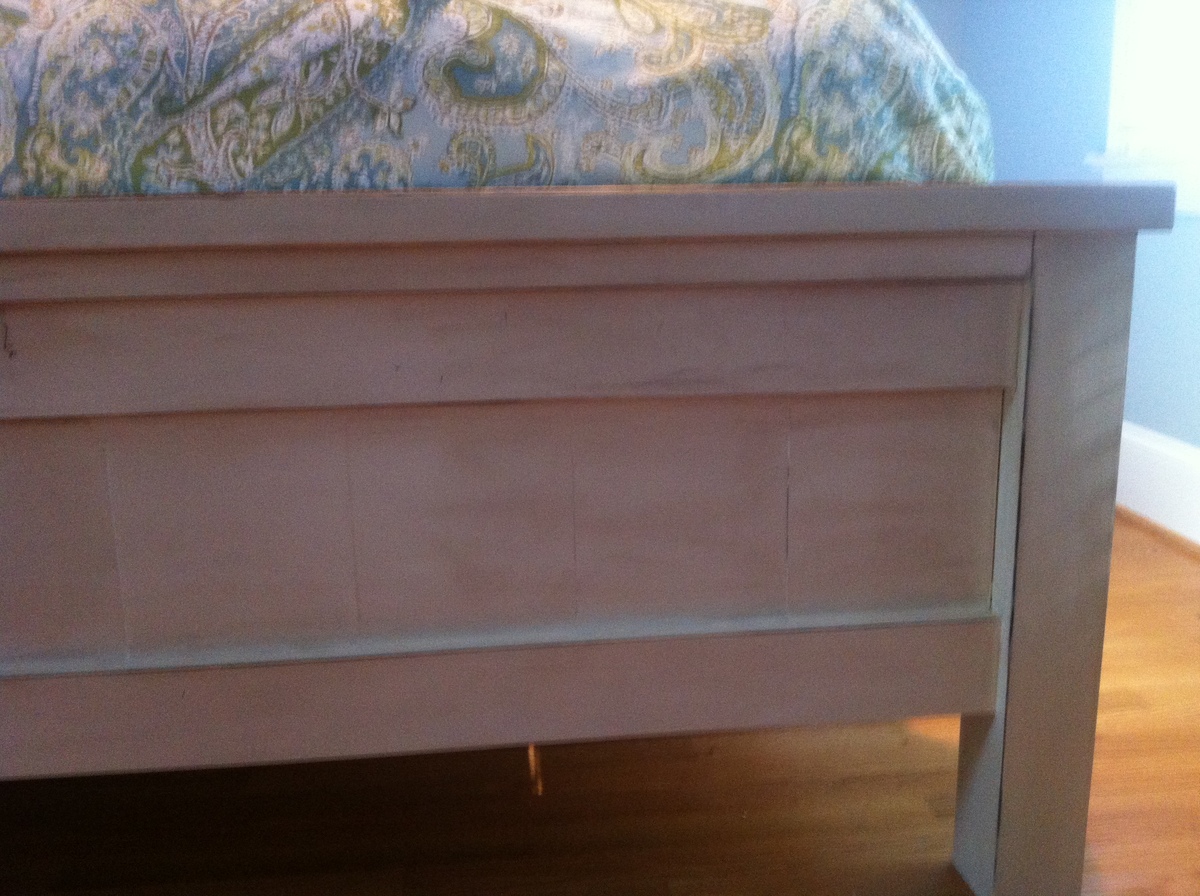
Used Fir for the posts, side rails, and top 2x6, pine for everything else.
Sun, 05/05/2013 - 20:16
Congratulations for such a beautiful product! One of the best project that I've seen so far. I really like it.
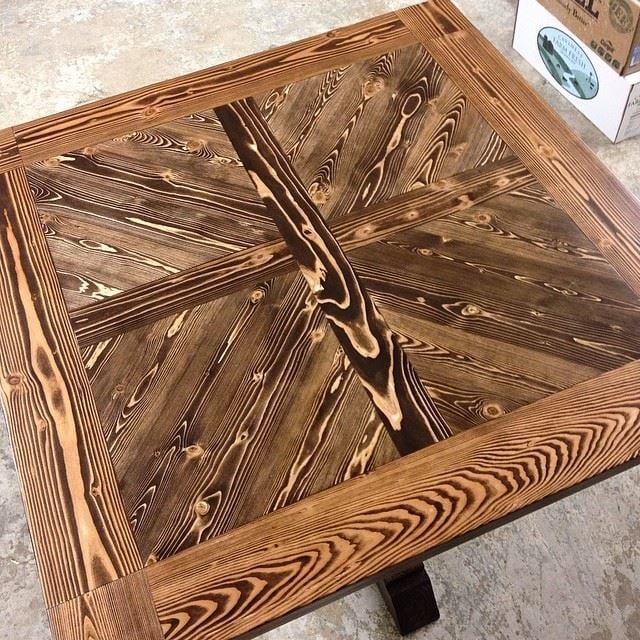
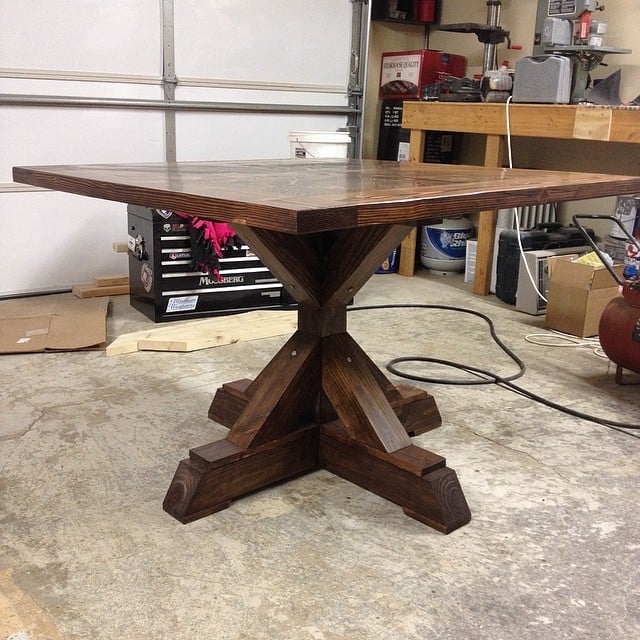
Our new home has a corner area of the kitchen with enough room for a table, so we figured this one would be perfect!

Fri, 04/11/2014 - 06:20
Wow, this is beautiful! The finish and the wood grain in the design looks amazing!
Fri, 04/11/2014 - 13:14
I agree with JoanneS's comment above. When you stained, how did you achieve the high contrast effect on the woodgrain?
Fri, 04/11/2014 - 13:14
I agree with JoanneS's comment above. When you stained, how did you achieve the high contrast effect on the woodgrain?
Tue, 04/15/2014 - 06:23
I just sanded to 220, applied the stain with a rag, let stand for 15 minutes, and rubbed it down really, really well with a clean rag. I didn't use a sanding sealer or any type of pre-stain coating, so I'll just chalk it up to dumb luck and good lumber.

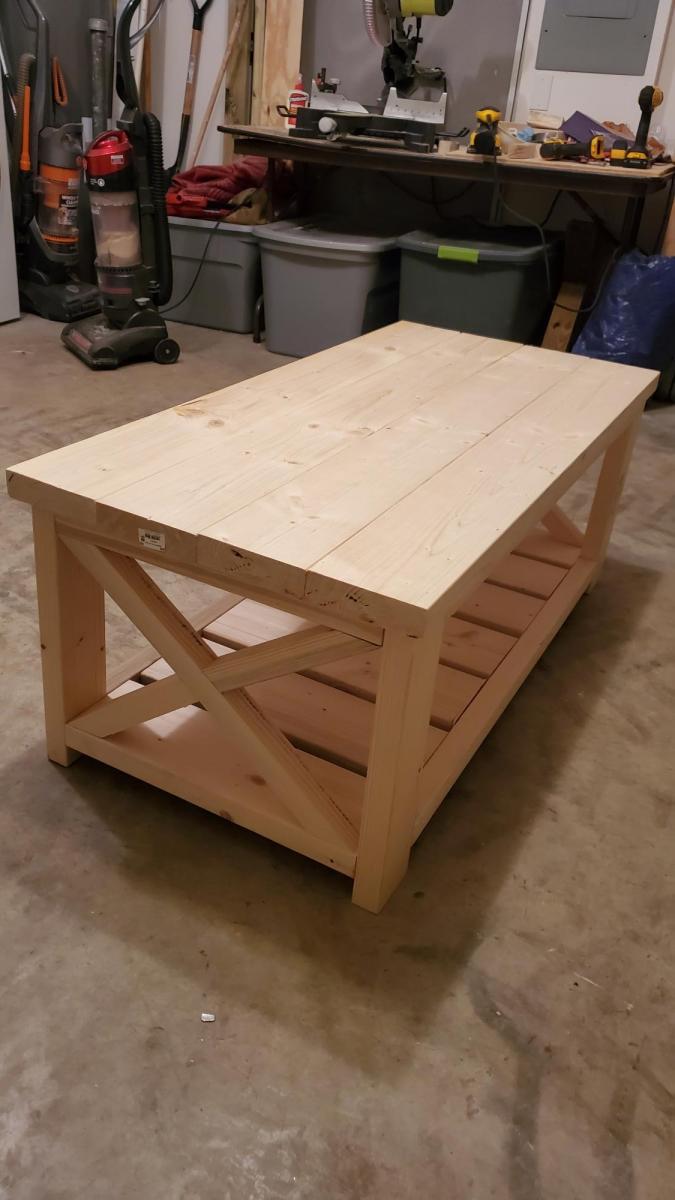
Rustic console table- distressed. Made this one wider and taller. Used 2x8s for top and shelves. Increased height by 2".
Distressed wood with a good beating and also metal hardware. Paint/sand distress for top.


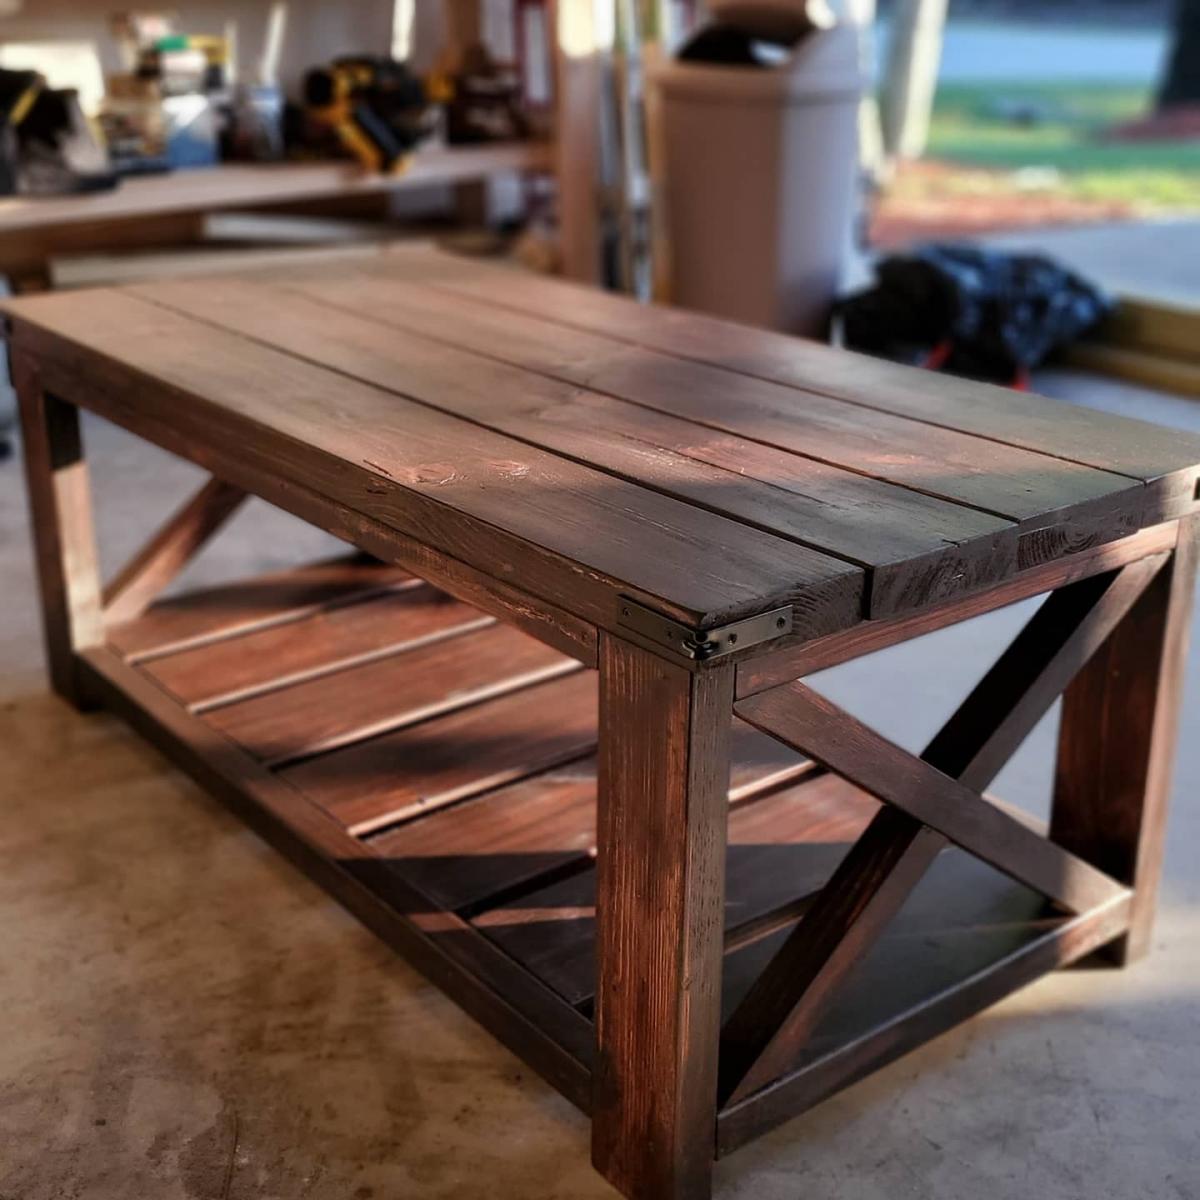
Thank you for the awesome coffee table plan. Love the finished project on it. Can't wait to do something else.

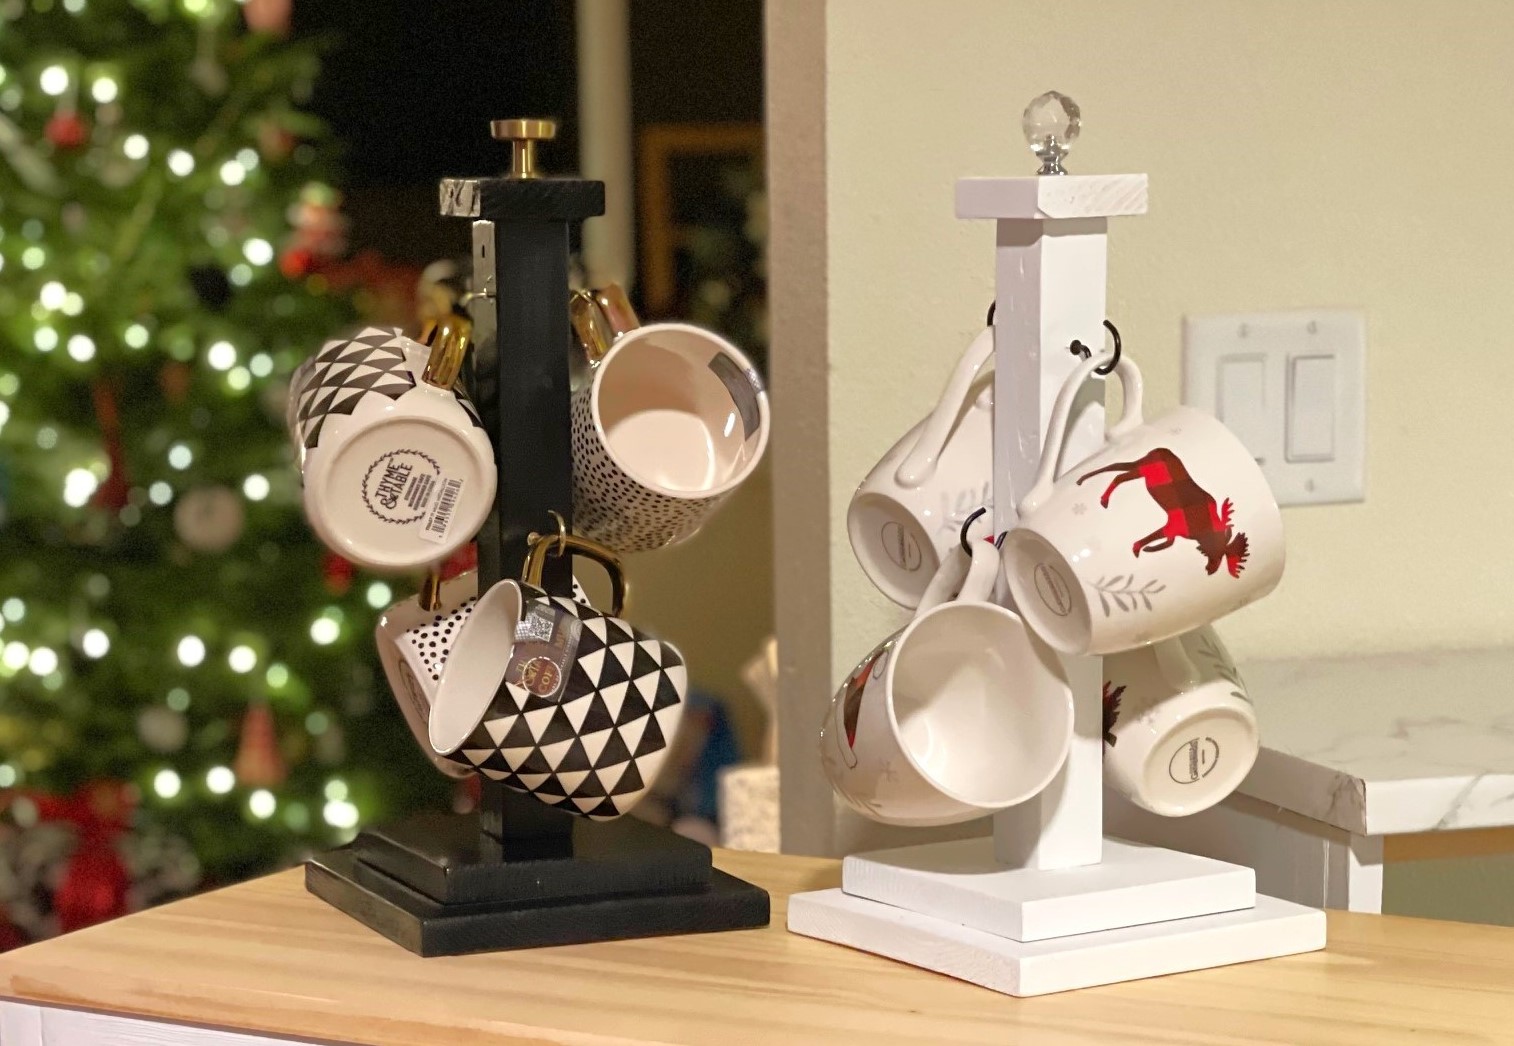
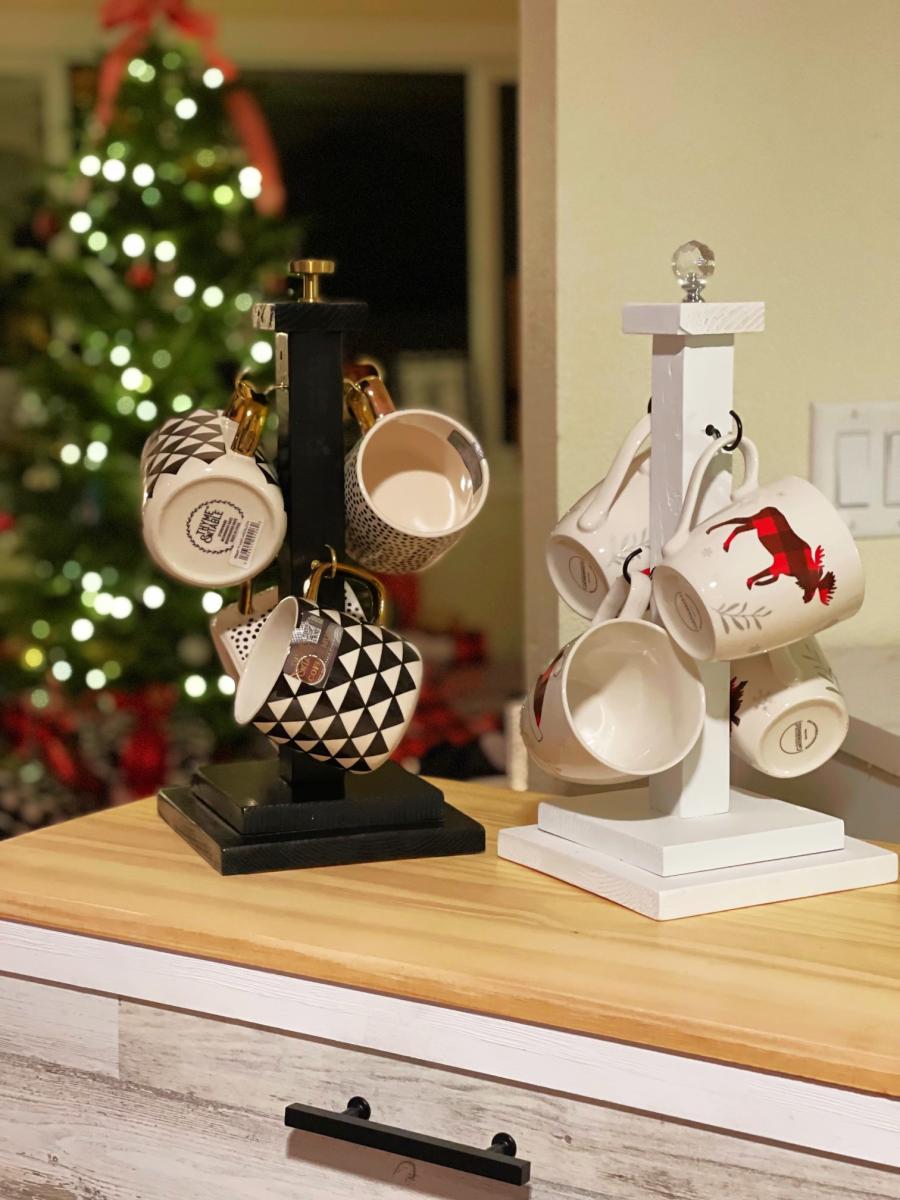
These are fun and easy handmade Christmas gifts. Easy to modify hardware and finish to get different looks depending on the mugs you choose to pair with it!

This was mine and my husband's very first attempt at making something on our own from wood, and I'm so pleased with the end result! Actually I didn't do much of the actual building - I left that up to my husband. We recently moved into a new home, and I wanted some nice furniture for our front porch that was comfortable to on. I found a lot of nice furniture, but the price was just a little more than I wanted to pay especially since I knew there were other things we needed for the house. So after discovering Ana's site we decided to bite the bullet and buy some tools and the supplies we needed to build this loveseat. The only thing we really had was the drill because our circular saw needed to be replaced. It turned out to be probably more expensive by the time we paid for all of those things, but we knew in the long run it would pay off.
So my husband started his work, and when he finished building I put two coats of primer on it and one coat of white paint. The woodwork itself turned out better than my paint job because there are some drips here and there. I just haven't bothered trying to sand them yet since it's not too bad.
We bought our cushions from Lowe's. They were $55 for each set (cushion bottom and back) so about $110 for the all. It's amazing how much more expensive the cushions were than the actual loveseat! All in all we are very happy with our new loveseat and absolutely thrilled that we found Ana's site! We've already made something else since this project and are working on a third!
Fri, 06/22/2012 - 11:06
Beautiful job Motsy! I agree with Patrick that you're probably hooked now! A little sweat equity can produce the most beautiful things that make us proud!

Decided build this simple cahnging table for my wife and I. I used the "Simple Changing Table" plan, but used 1/4" Hardboard instead of 3/4" ply or MDF. To keep the 1/4" hardbaord in place I cut a groove in each of the 6 end pieces and glued it in, then I put 2 supports (1x2) under the middle of each shelf. I didn't make the top try insert and made it a little narrower. I notched out the legs to help support the cross beams.


My husband and I made this as
an anniversary gift
to one another! Love how it looks.
First project

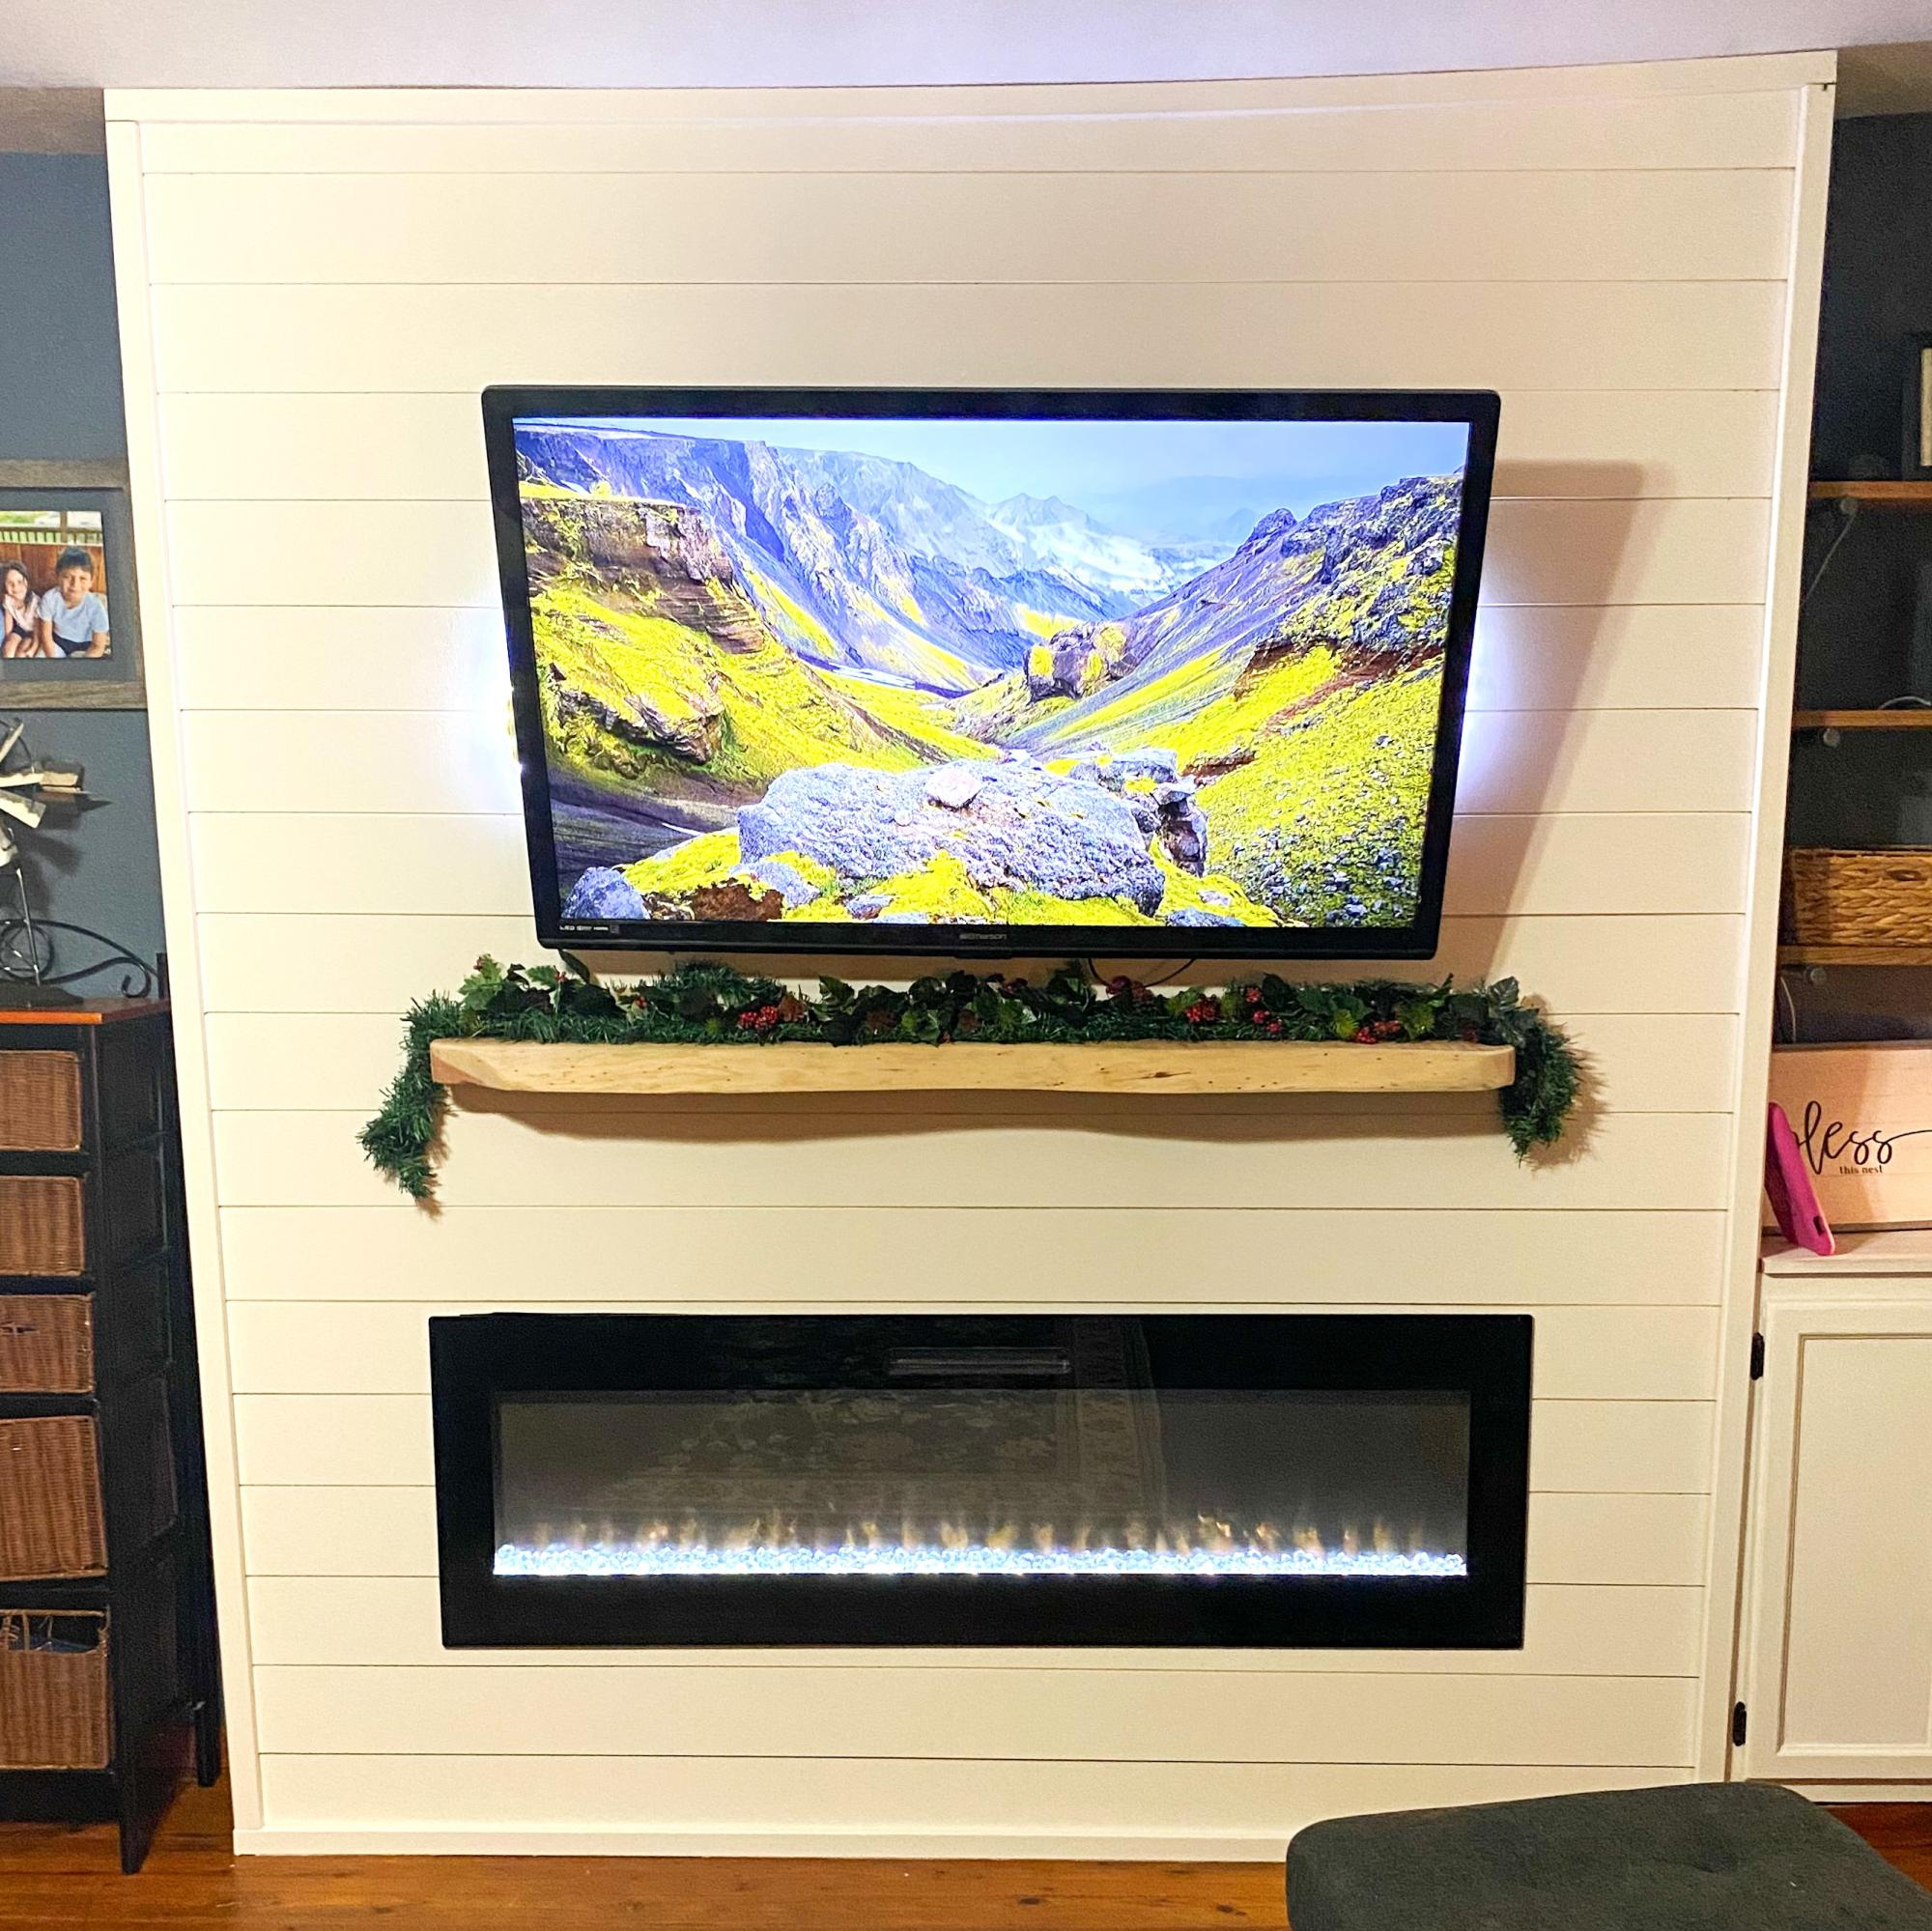
My daughter and I decided 2 weeks before Christmas to try your easy mantle project. Well not so easy for us, lol my husband had to help, but it was fun! I think it came out great! Thanks Ana
Jackie
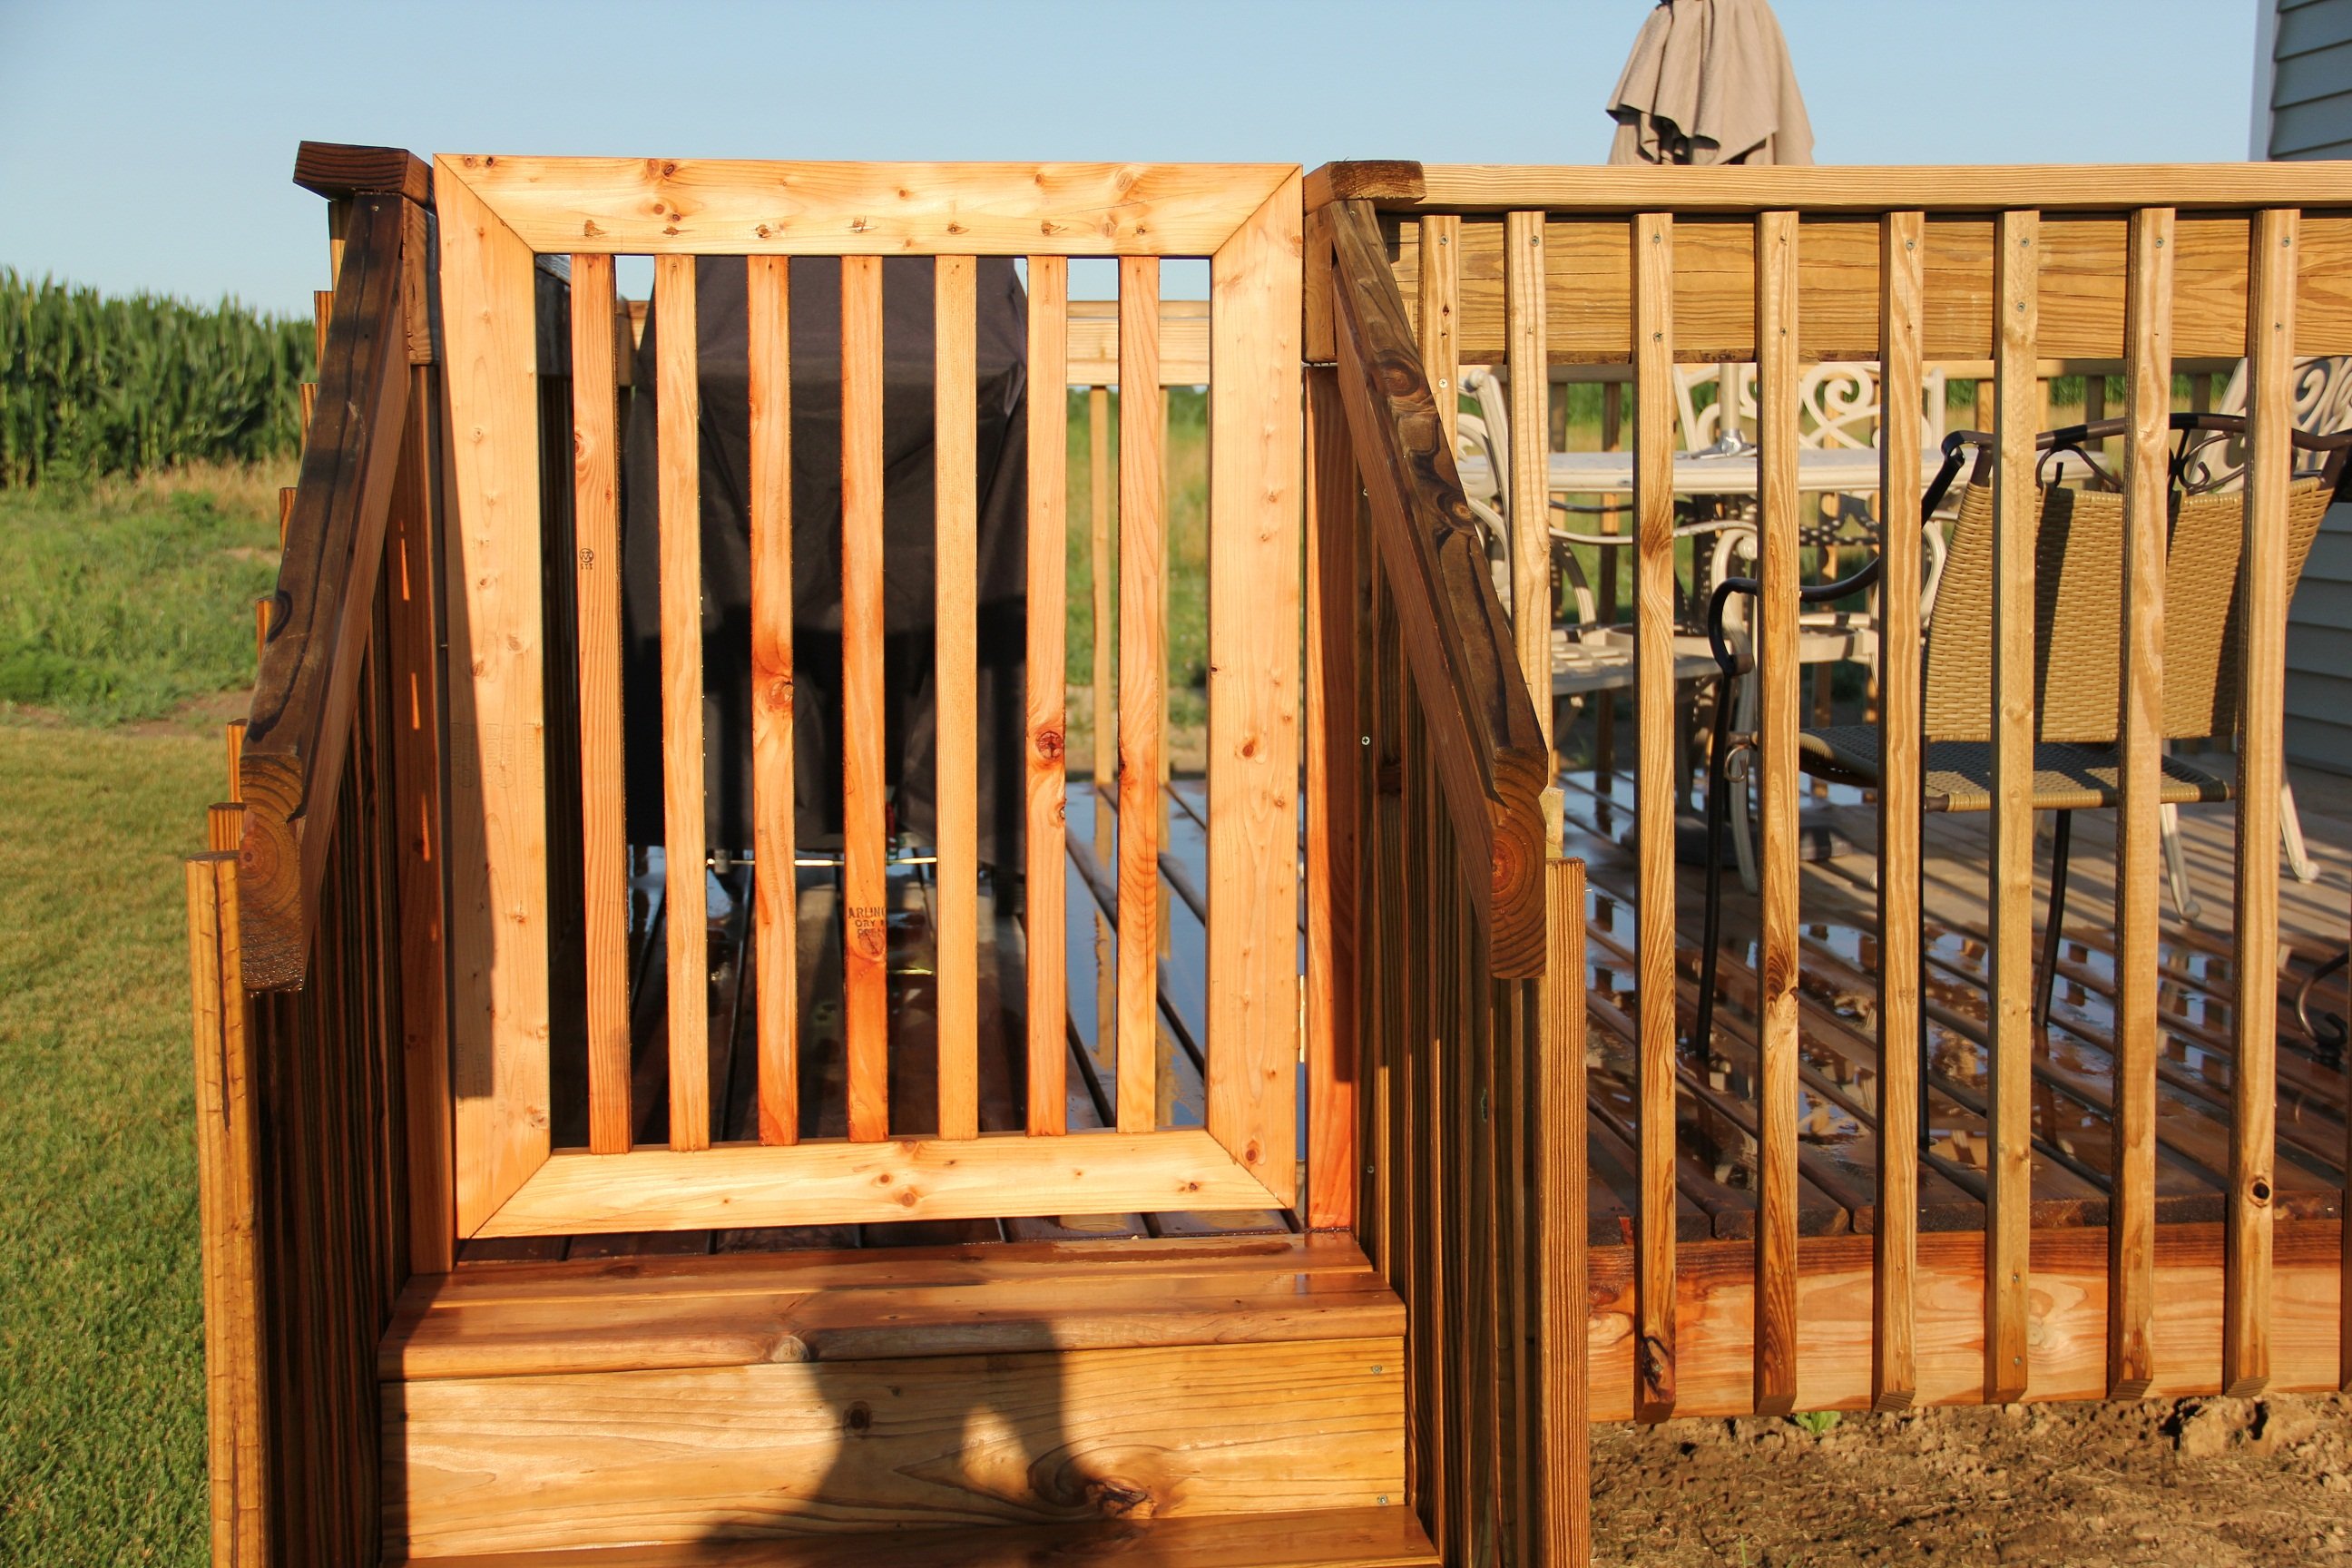
With grandchildren and pets we decided to put a gate on the deck.
The gate is made from 2 X 4's and 2 x 2's. I used brass hinges to prevent rust and smooth operation
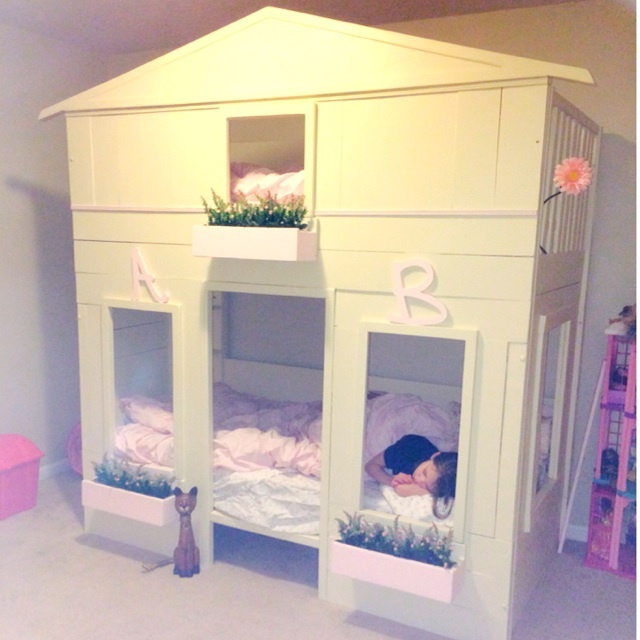
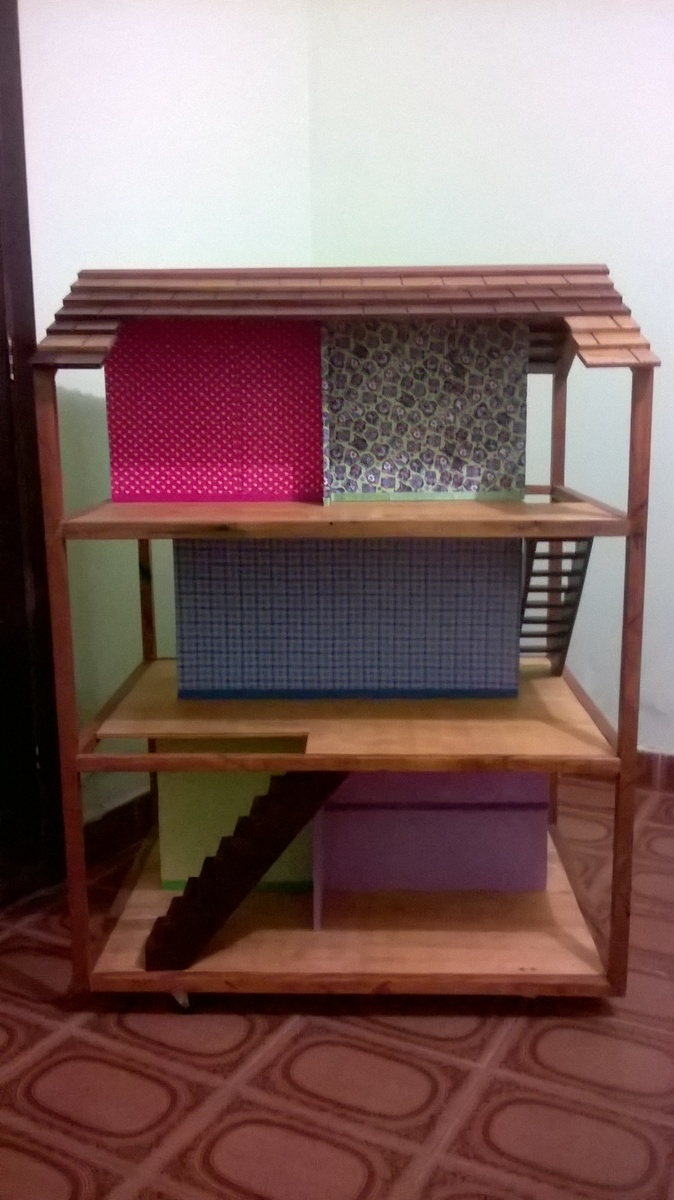
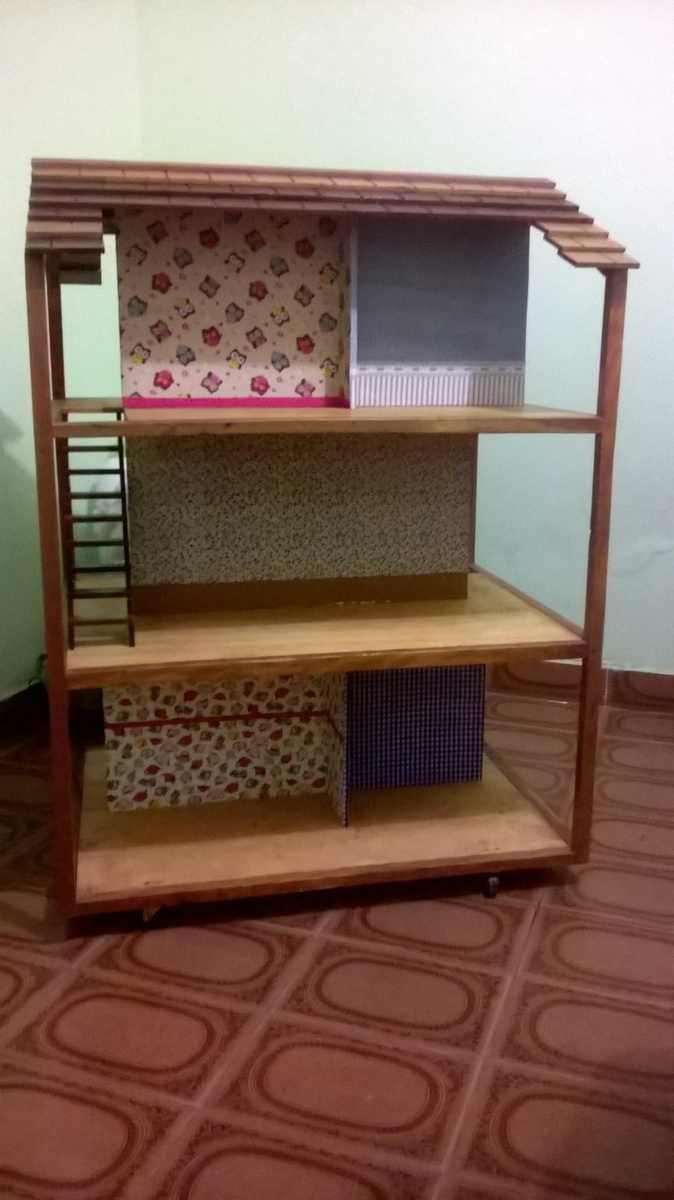
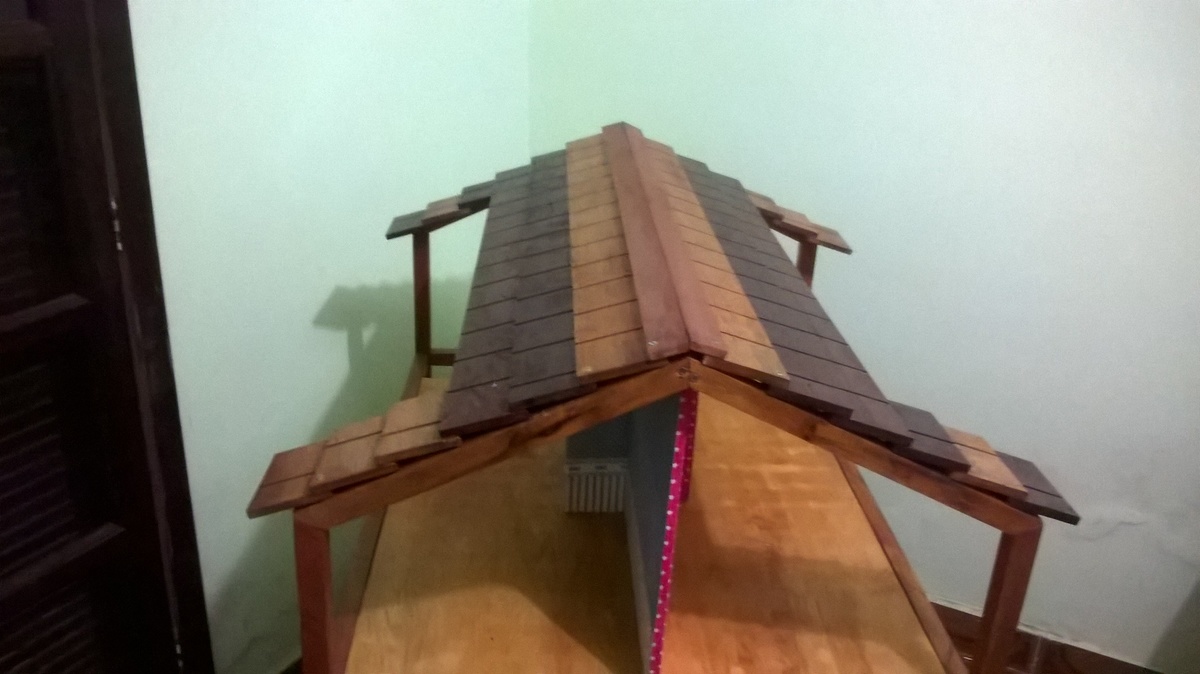
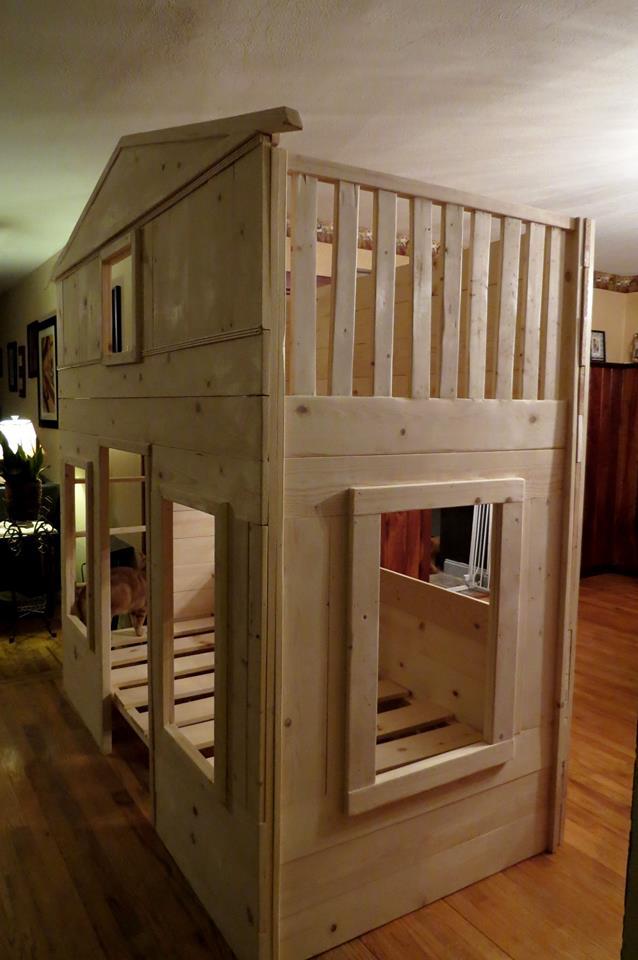
This was Ana's cottage loft. I was asked to make it into a bunk bed. So I changed the backside to include two sets of five 1x6s, and added a 'second floor' so the top bunk child would feel like she was in the house as well. I also added the flower boxes and made the rails 19" high on the top bunk. Next time, I would add a ladder to both sides for easier access to making the bed. The customer painted the bed.
Sat, 08/09/2014 - 09:28
First of all, what an amazing job you did! I love the changes you made!
I'm wondering if you could offer some advice.
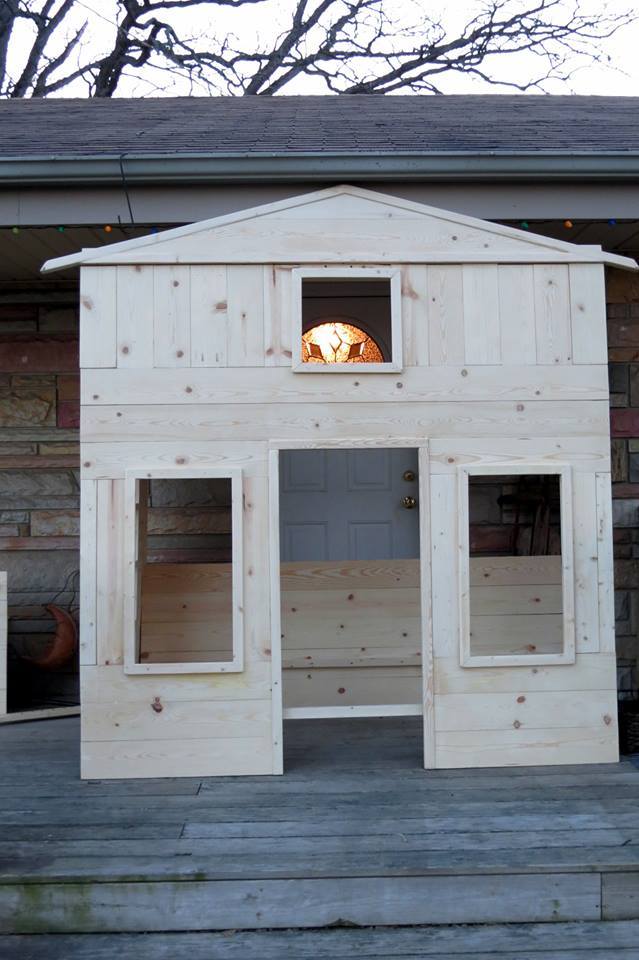
I'm building a "Little Cottage Loft Bed" for a friend's daughter. With the few changes that I've made there are approximately 375-400 pocket holes (thank goodness for my trusty kreg jig!).
With previous projects, I've used wood filler to fill and cover the pocket holes but due to the quantity involved in this project, I'm not sure that's the best approach.
What did you do with the pocket holes on your beautiful bunk bed?
Would you recommend using wood filler? Using wood plugs? If so, how do you recommend trimming them flush? I've not used them before because I was unsure of that step. Should I pay an arm and a leg for plastic plugs (I'm in Canada and would have to order from the US)? Or should I simply paint and leave them visible since the vast majority of the pocket holes are on the inside of the lower level playhouse and would not be seen from the outside?
Any advice would be greatly appreciated!

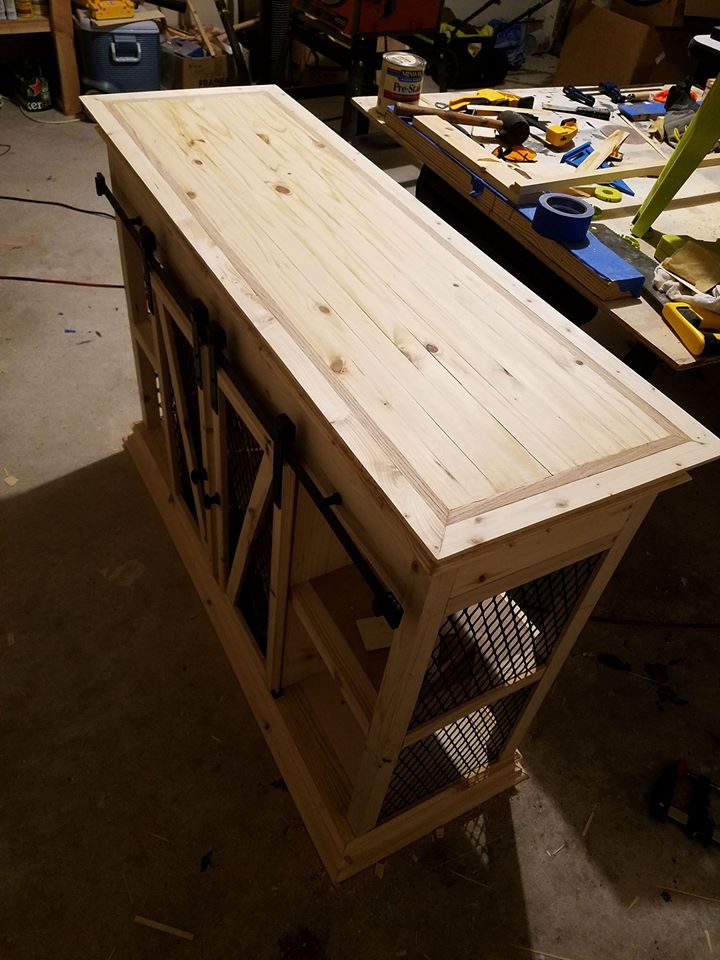
Modified from the Grandy plans to fit in my room. Made from old cedar, new cedar made to look old (vinegar and steel wool) and an old weathered door for the sliding doors. I used a steel rod and 4 pulleies all from Lowe's hardware store. The rods are held with 4 grounding clips made for circuit breaker boxes.


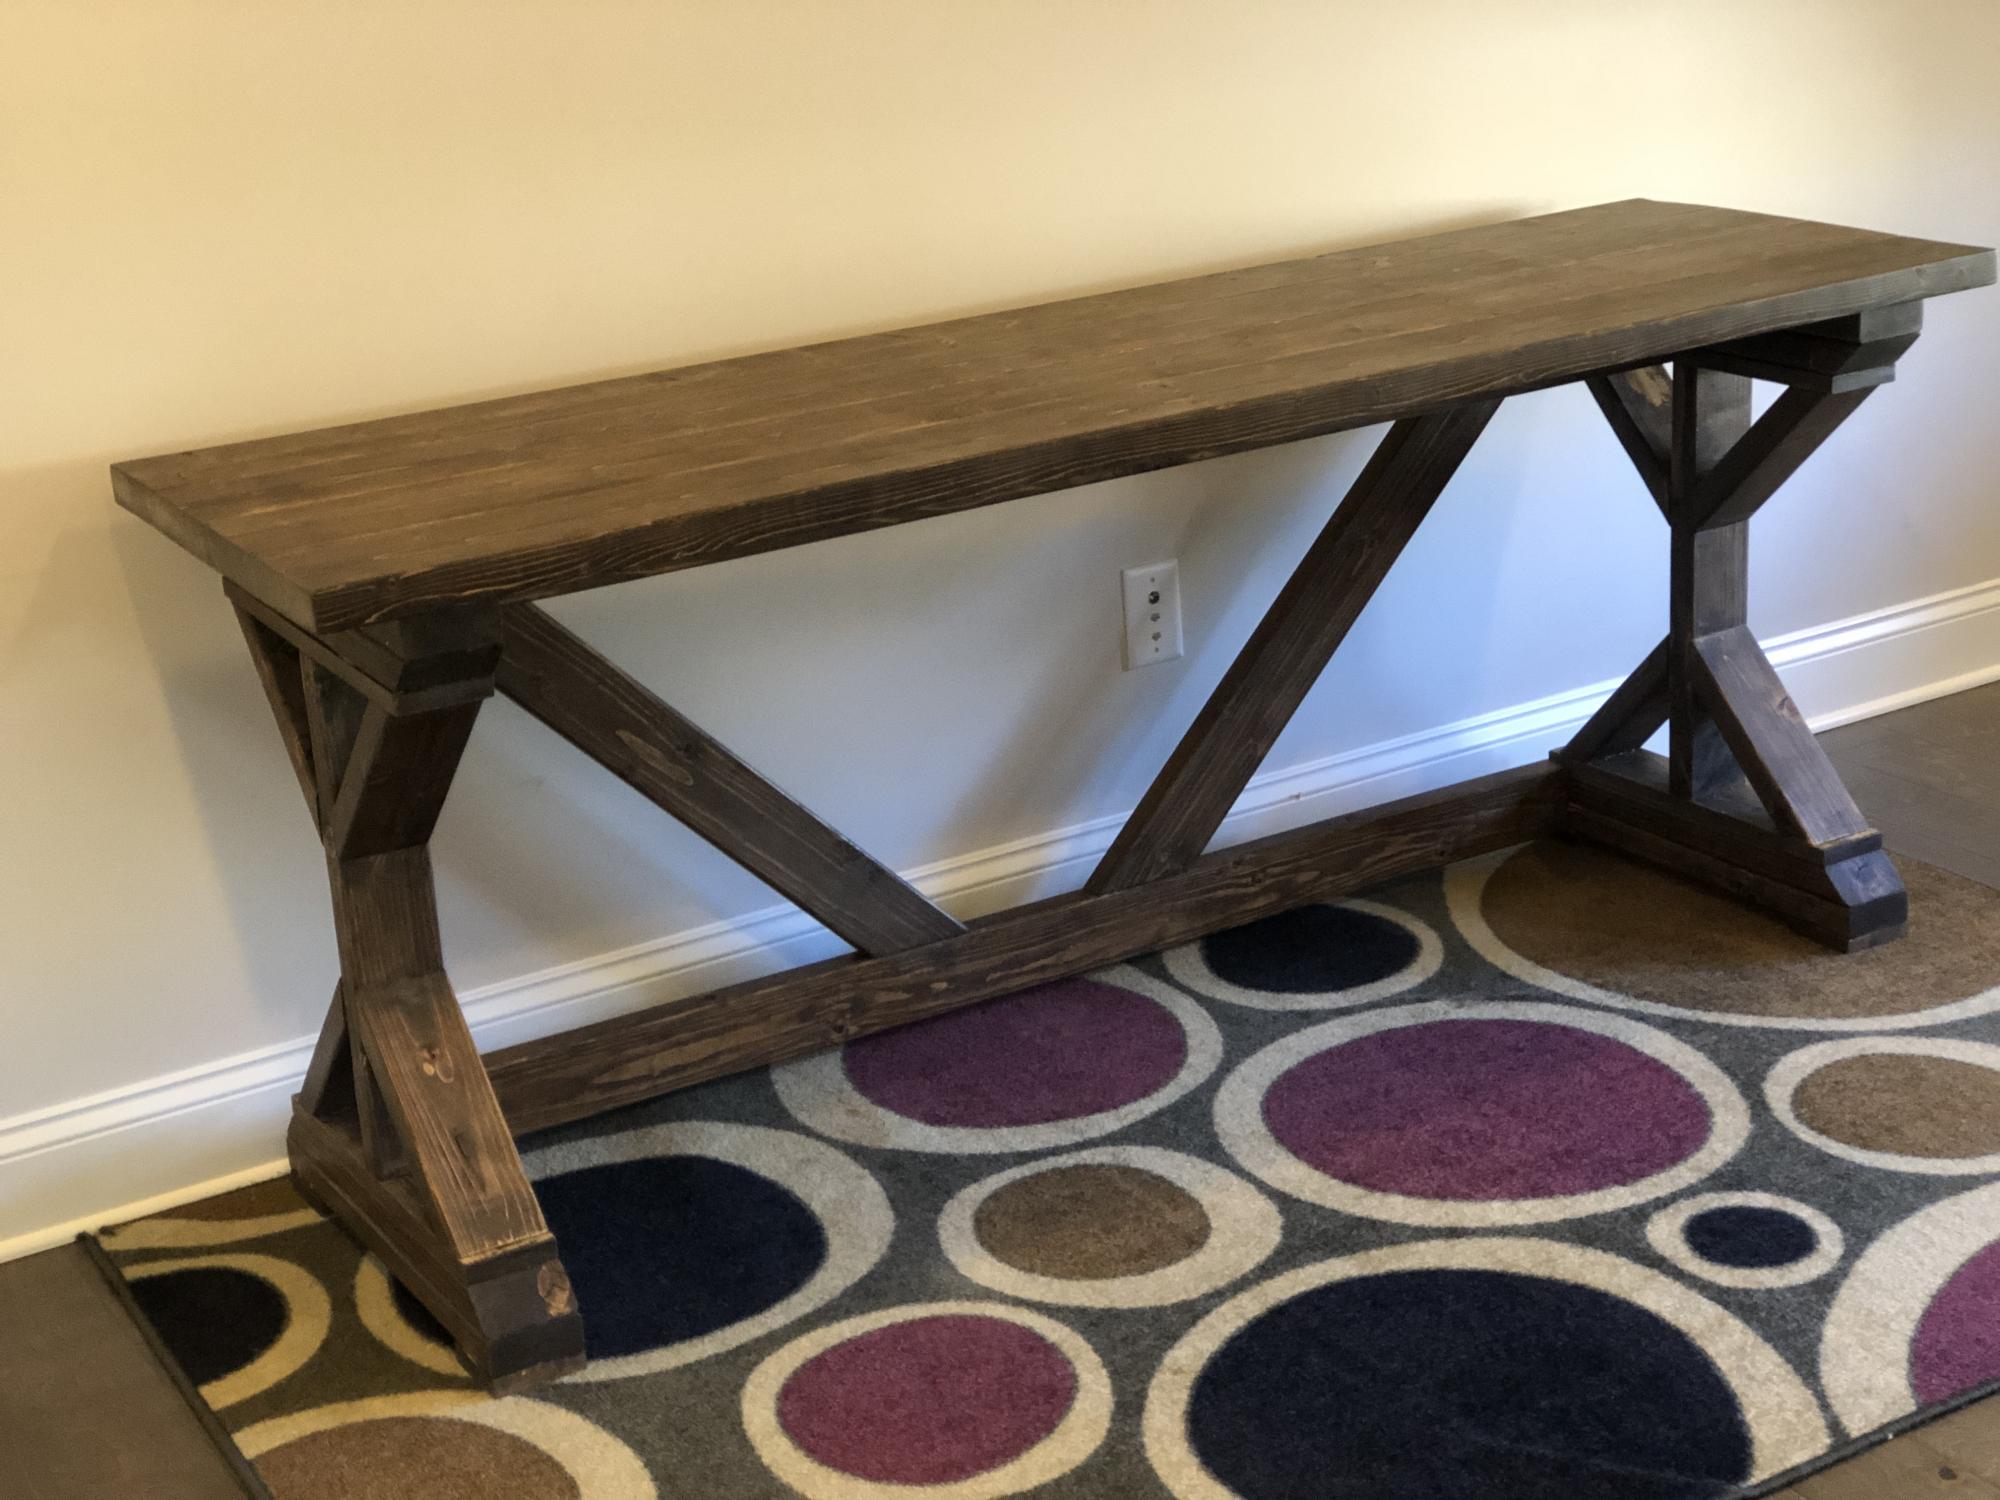
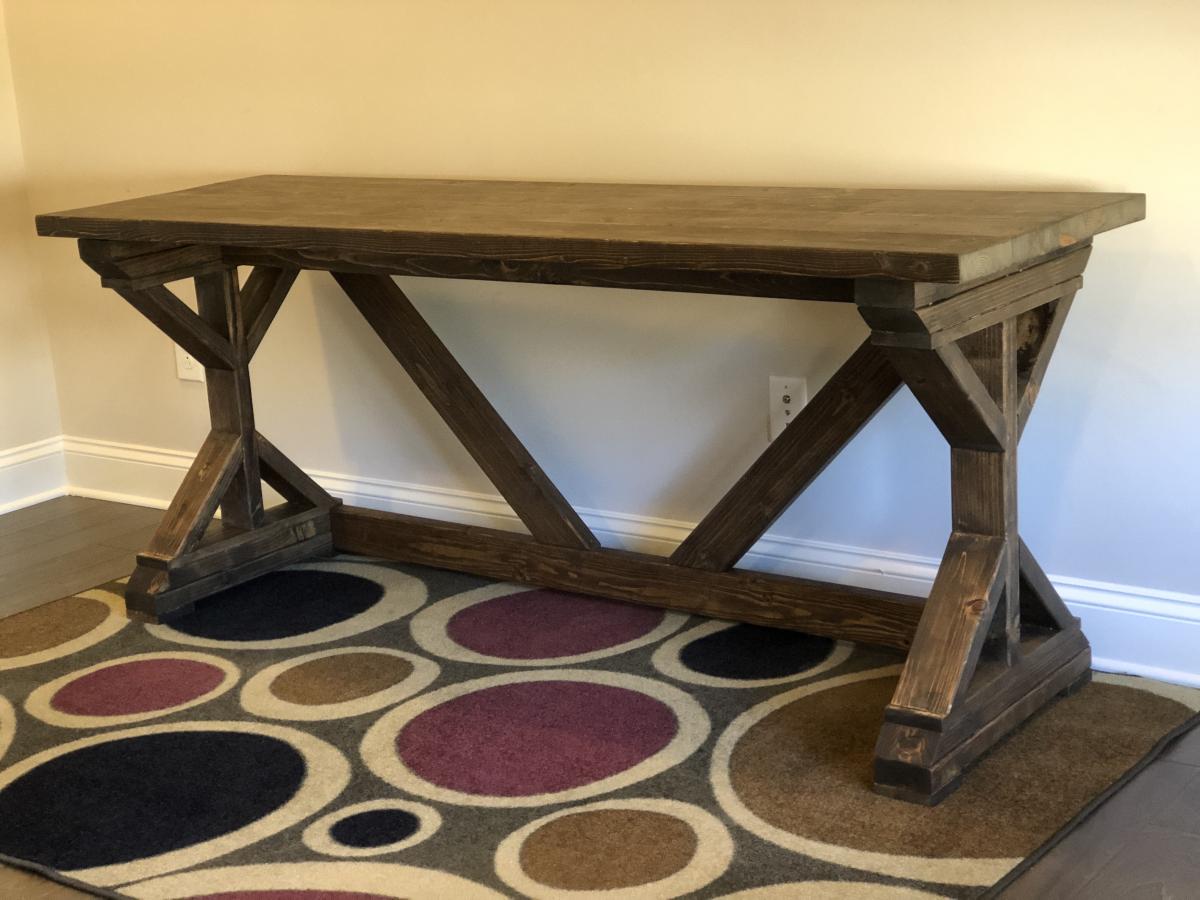
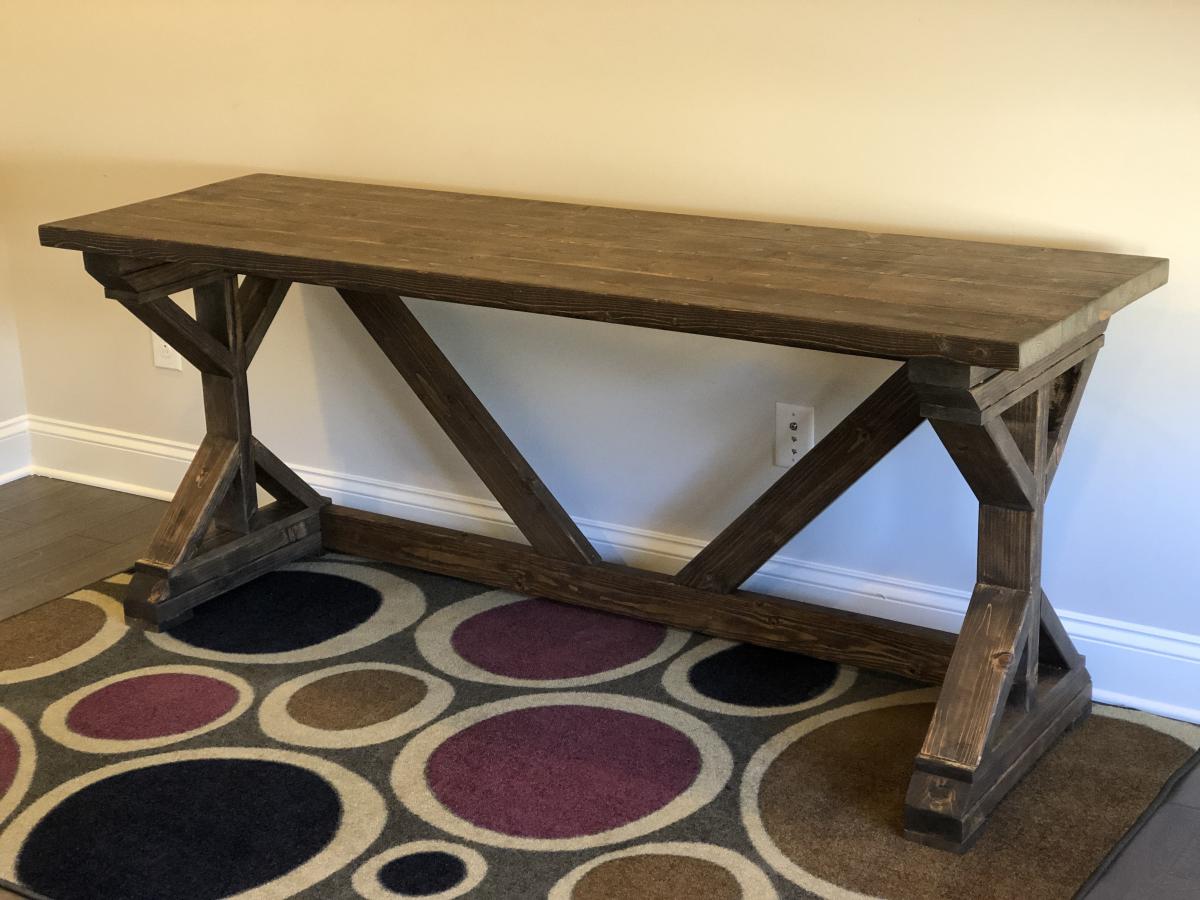
Built this office desk since I needed a space to work on due to the Covid 19 lock down. I enjoyed building this and love the look of the desk.
My husband completed this project in three short days.