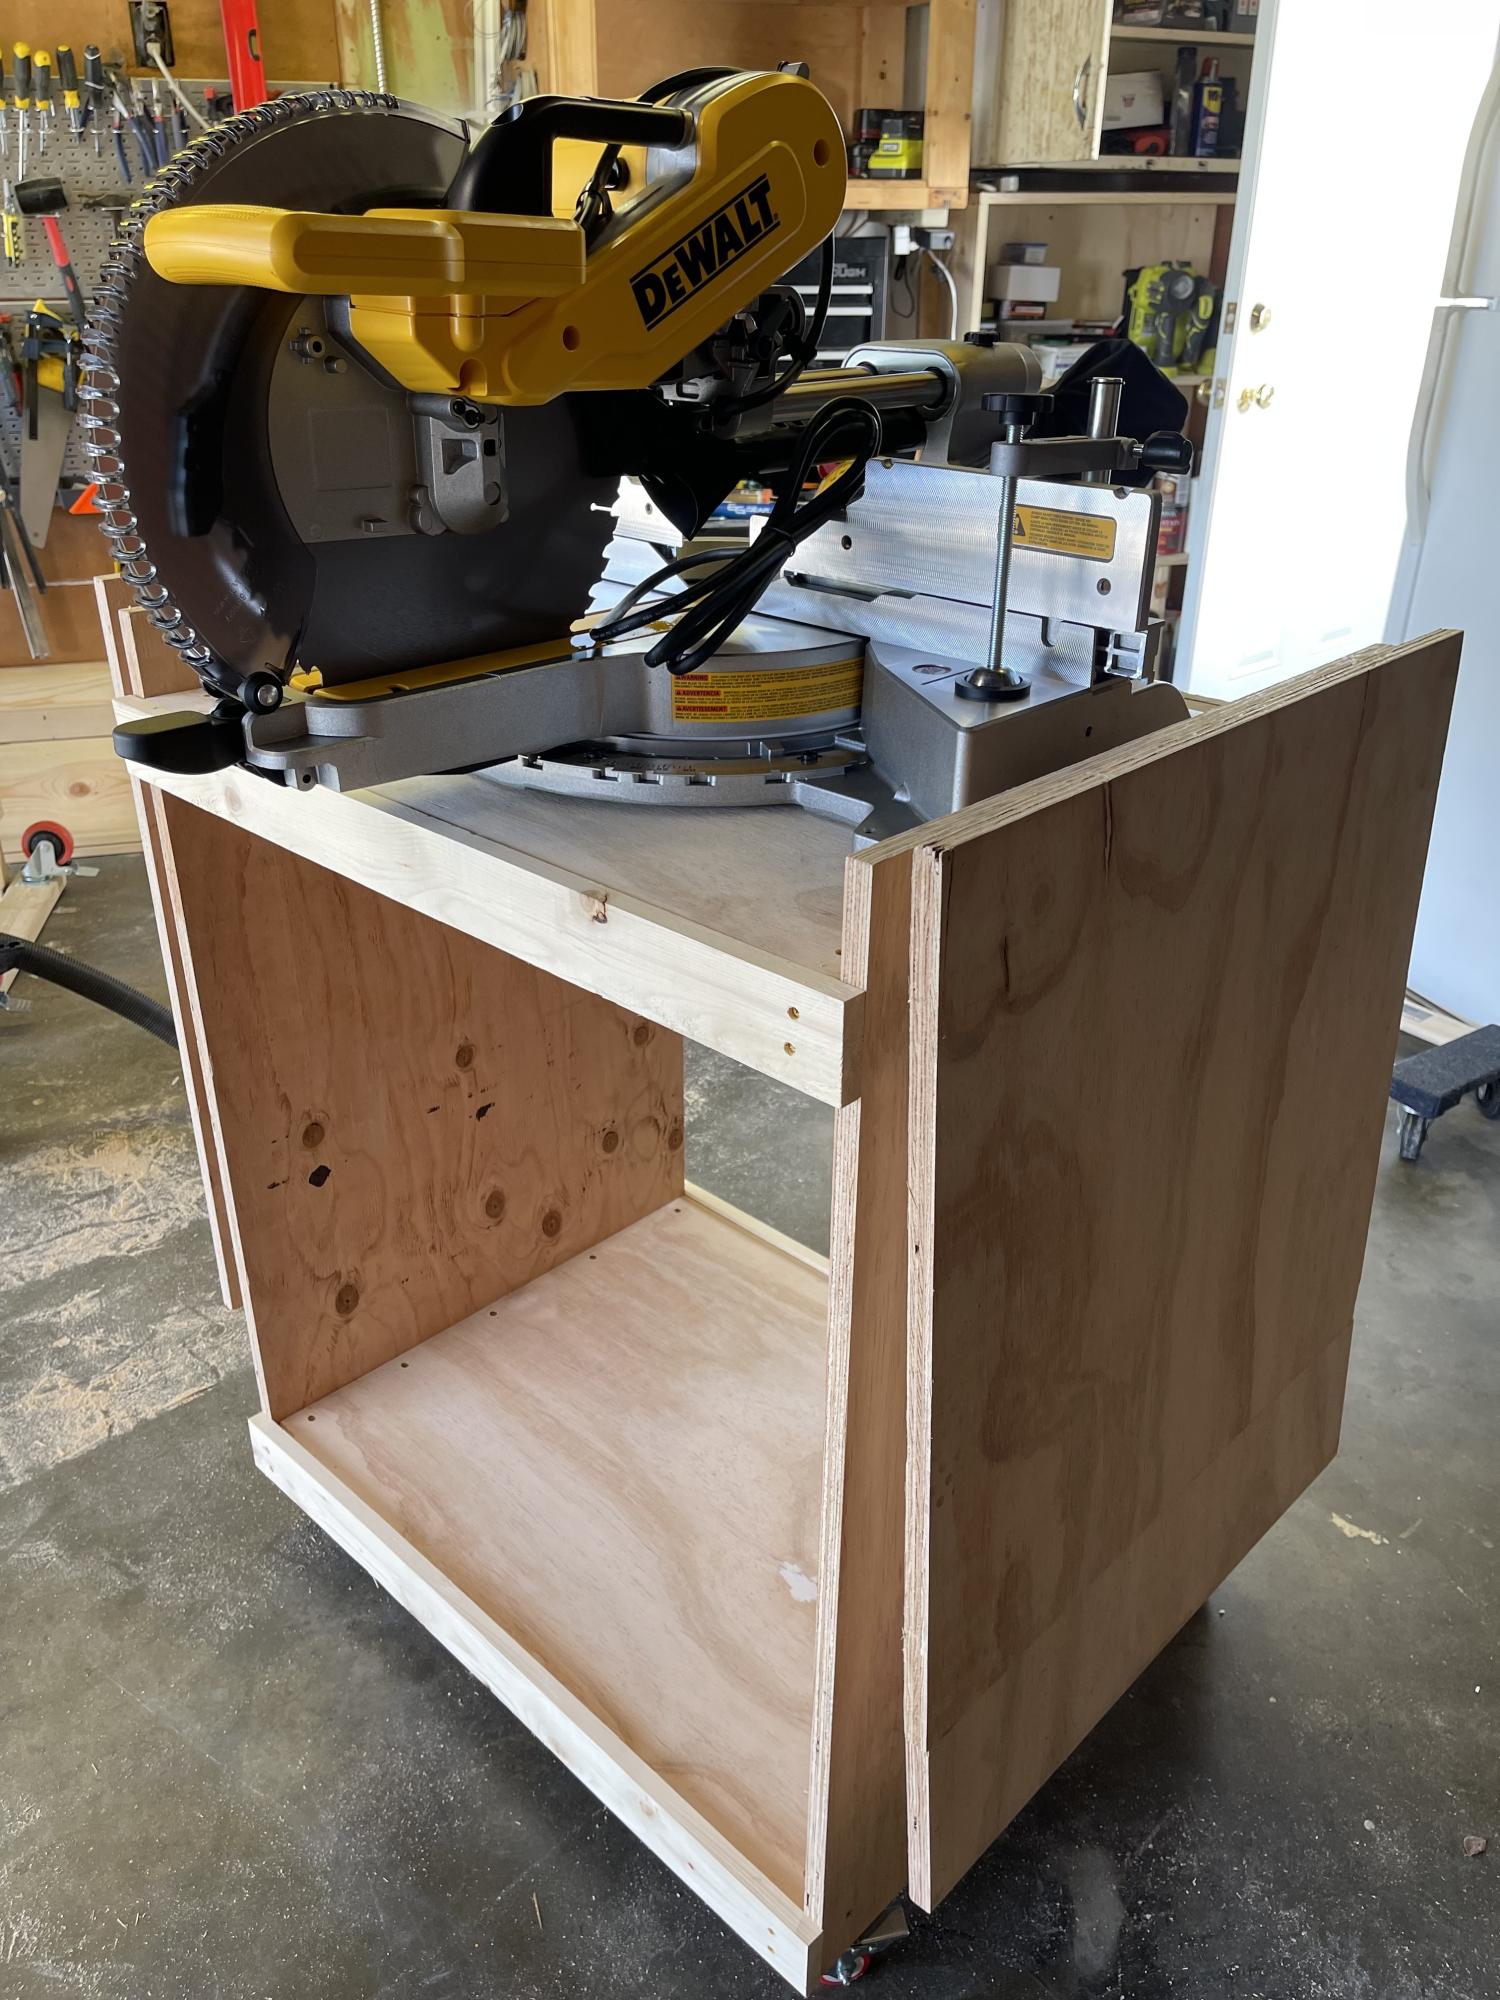
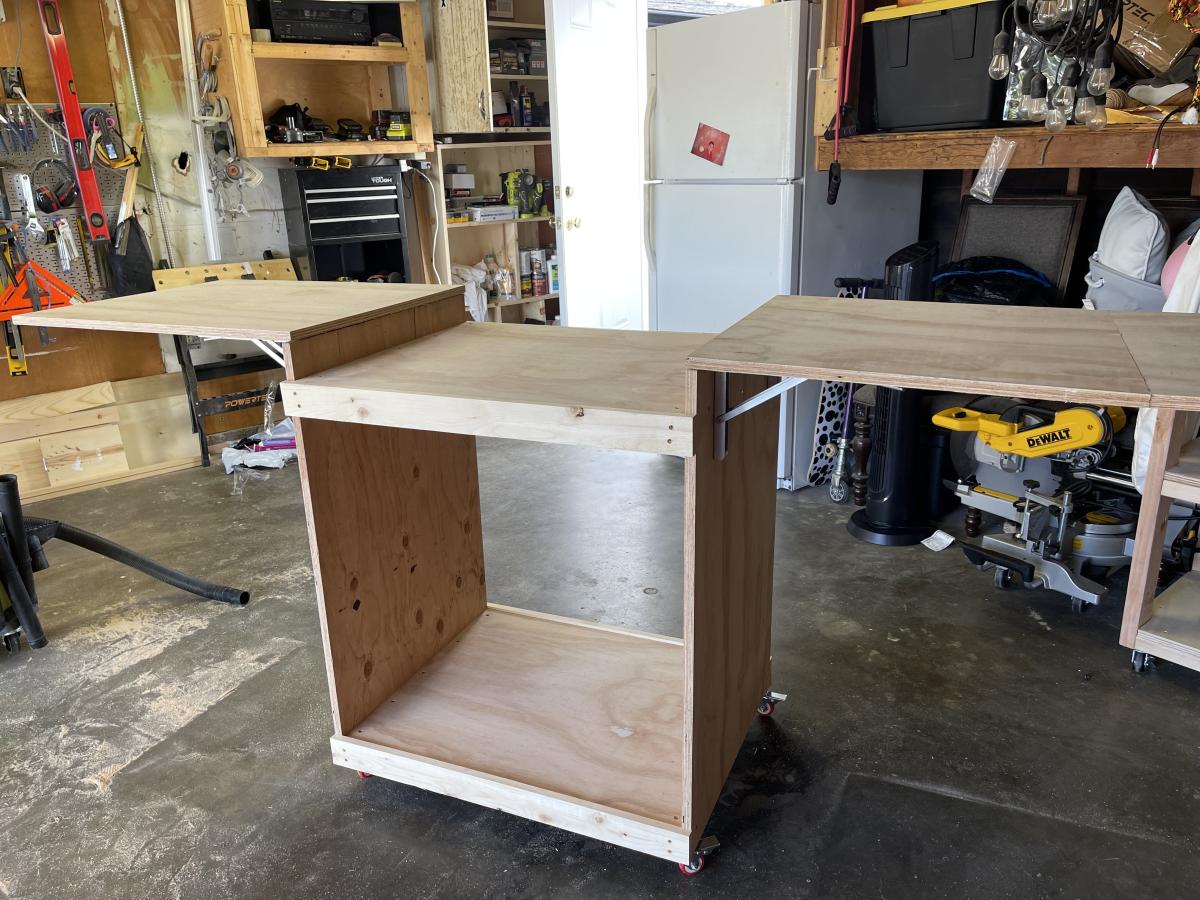
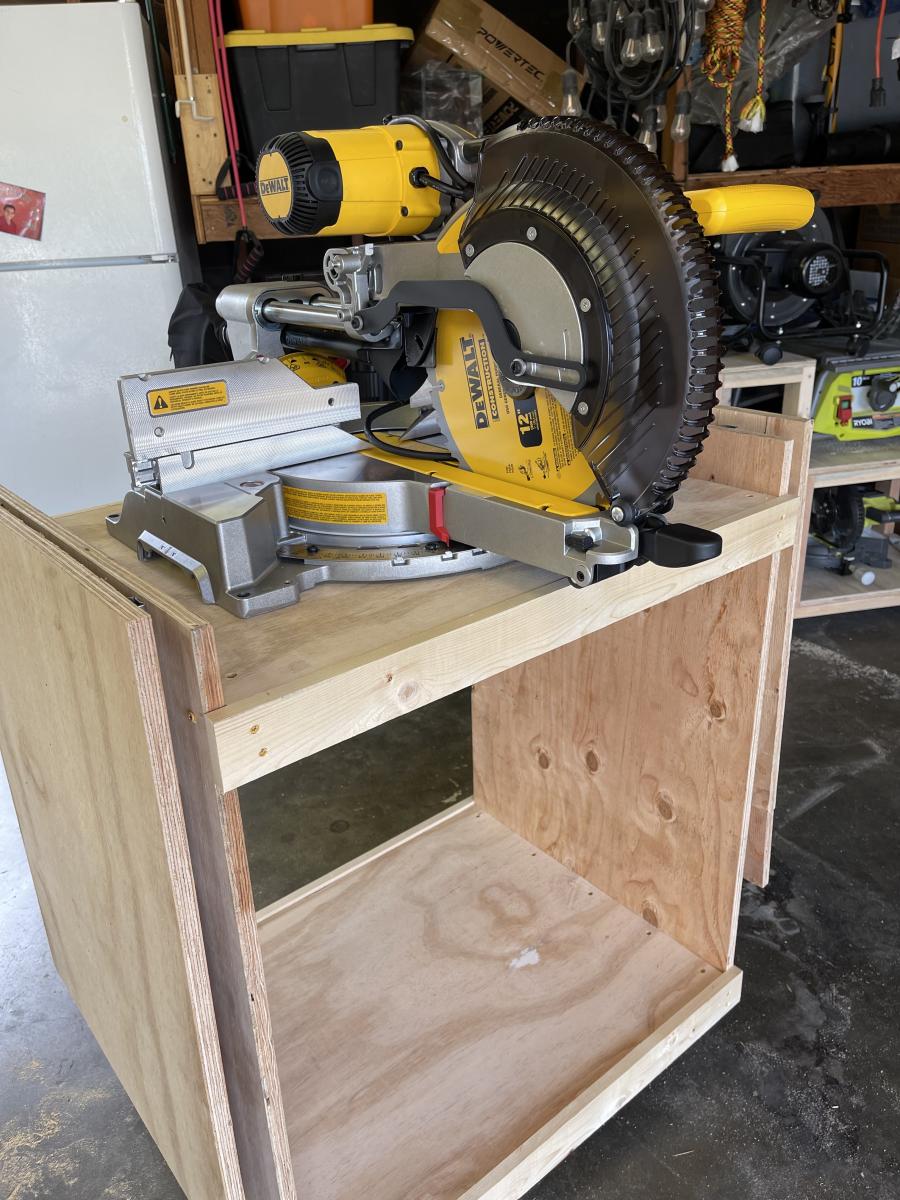
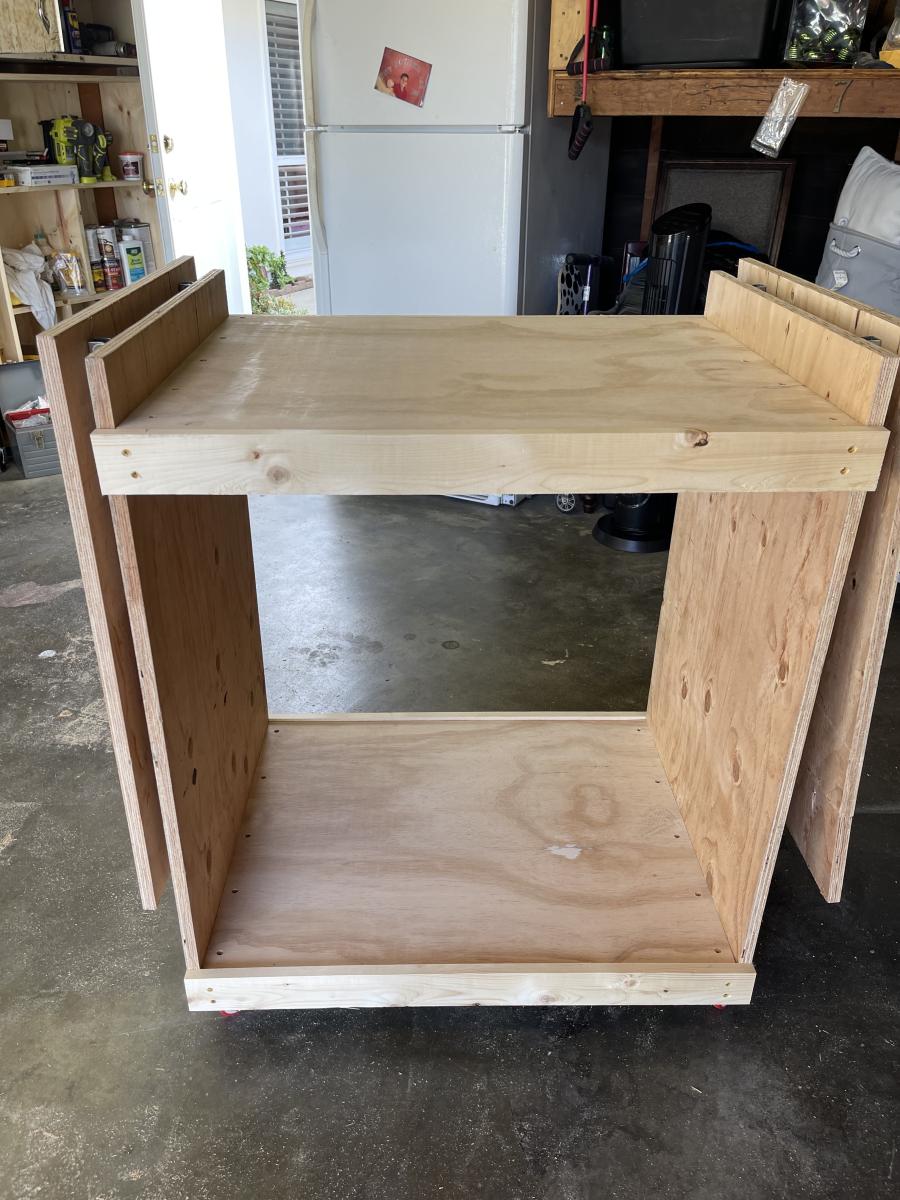
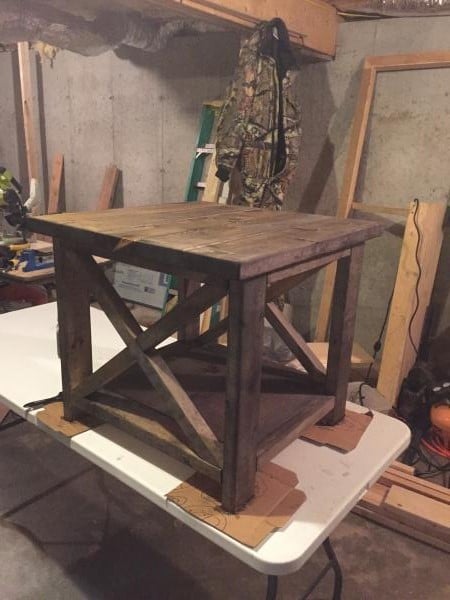
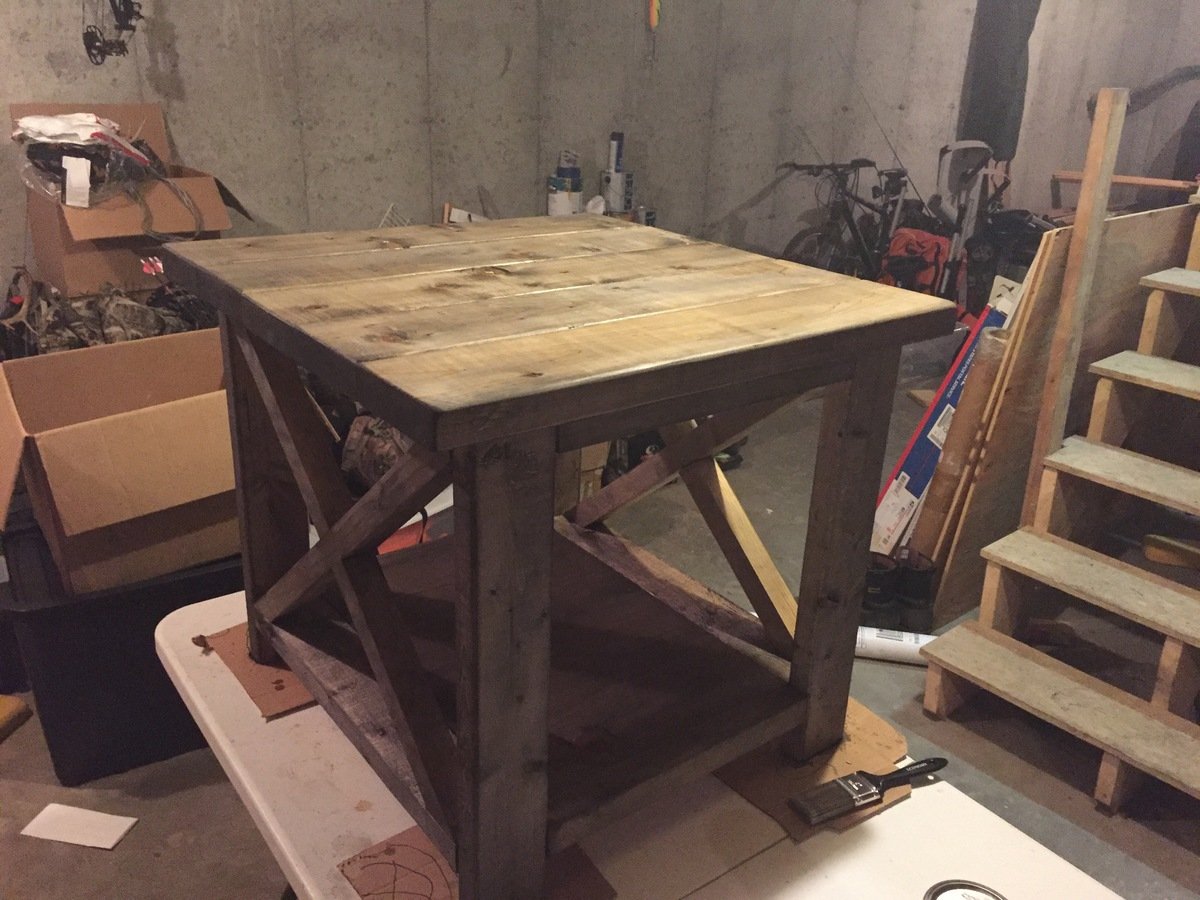
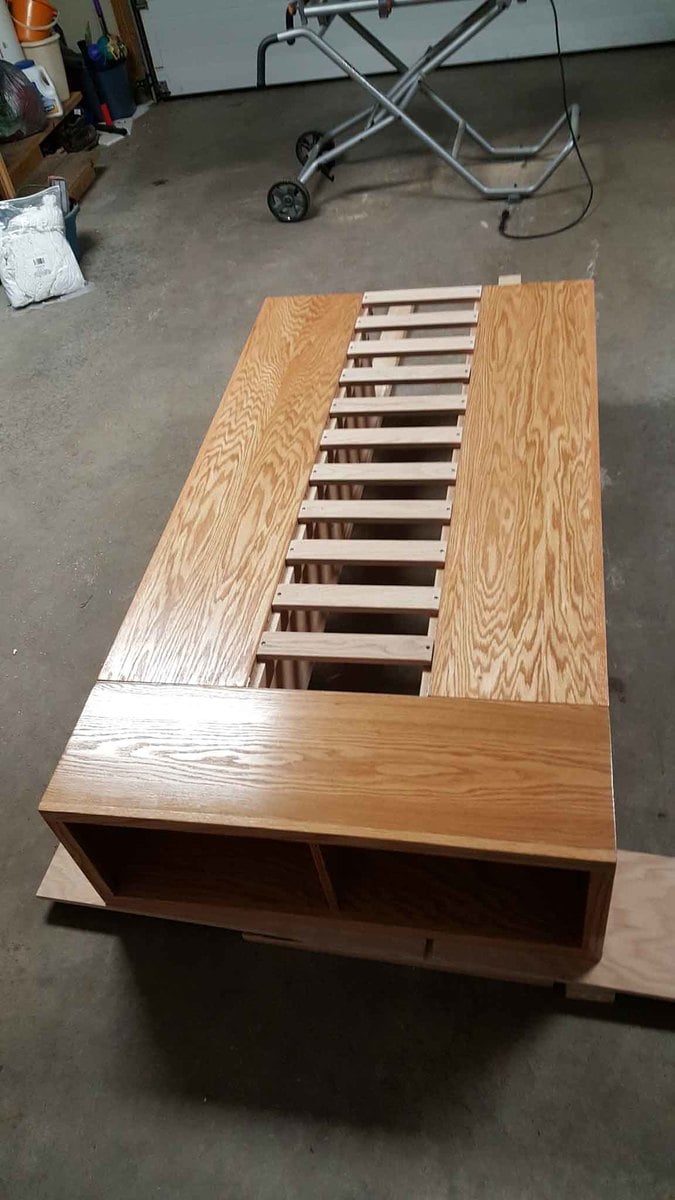
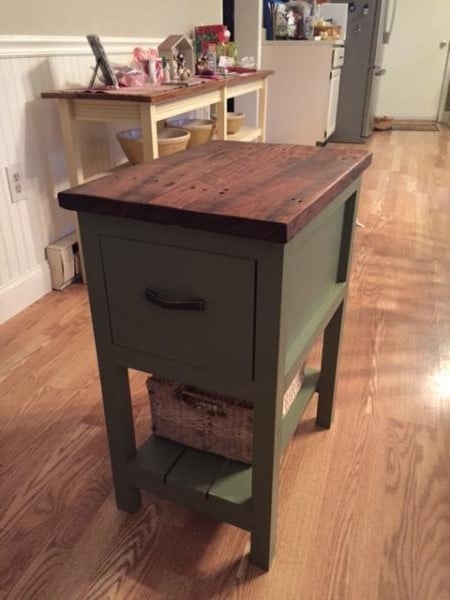
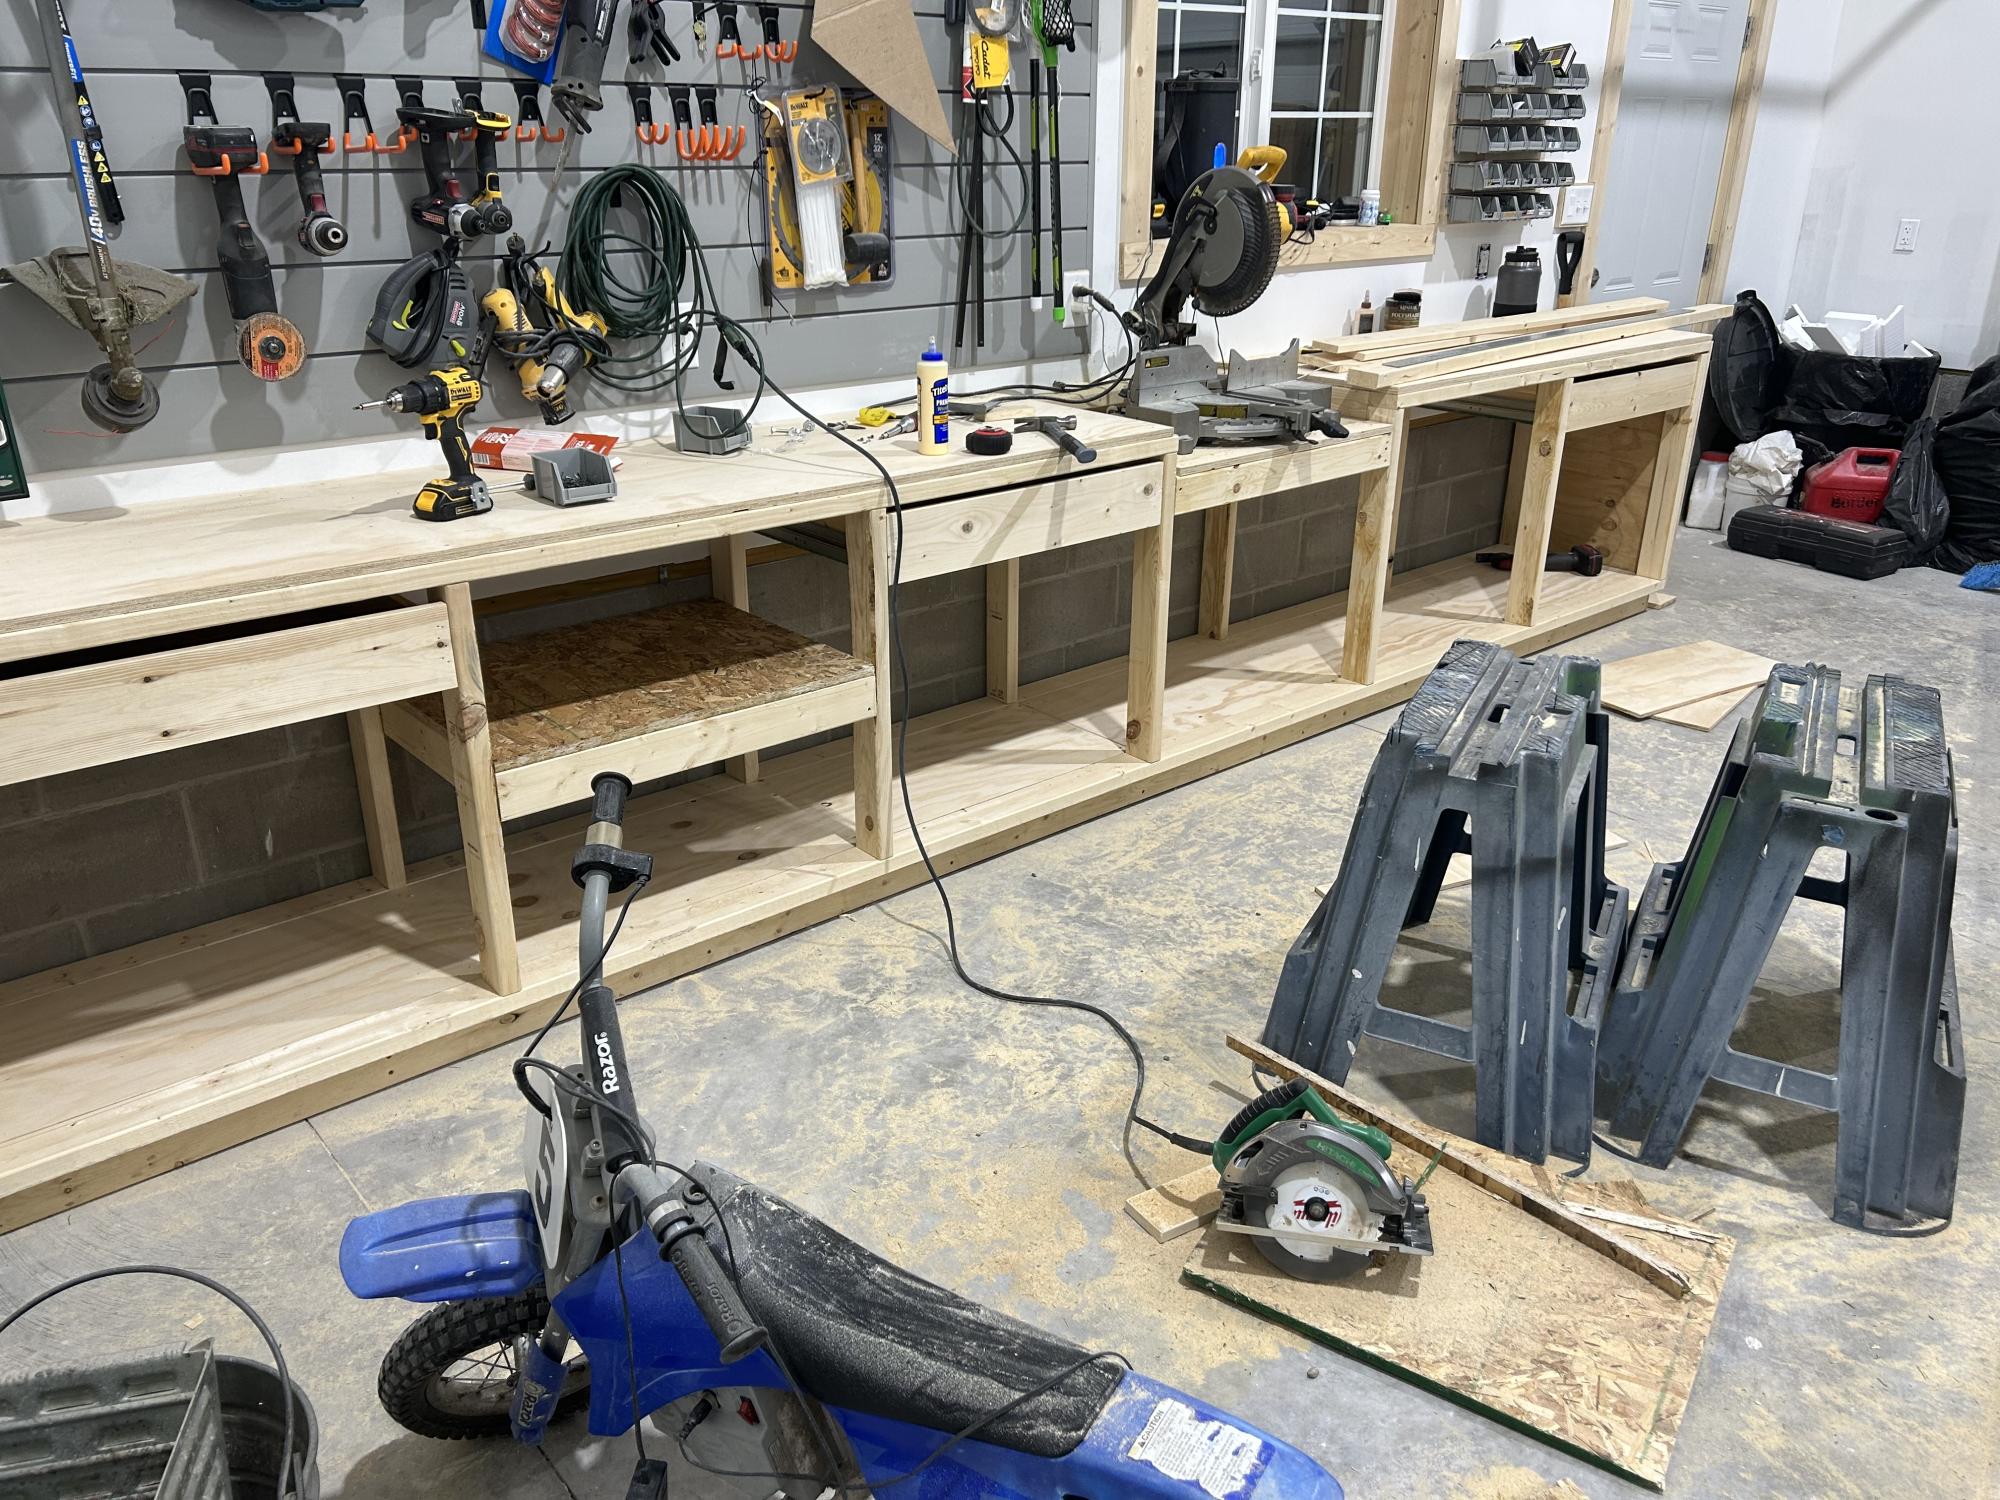
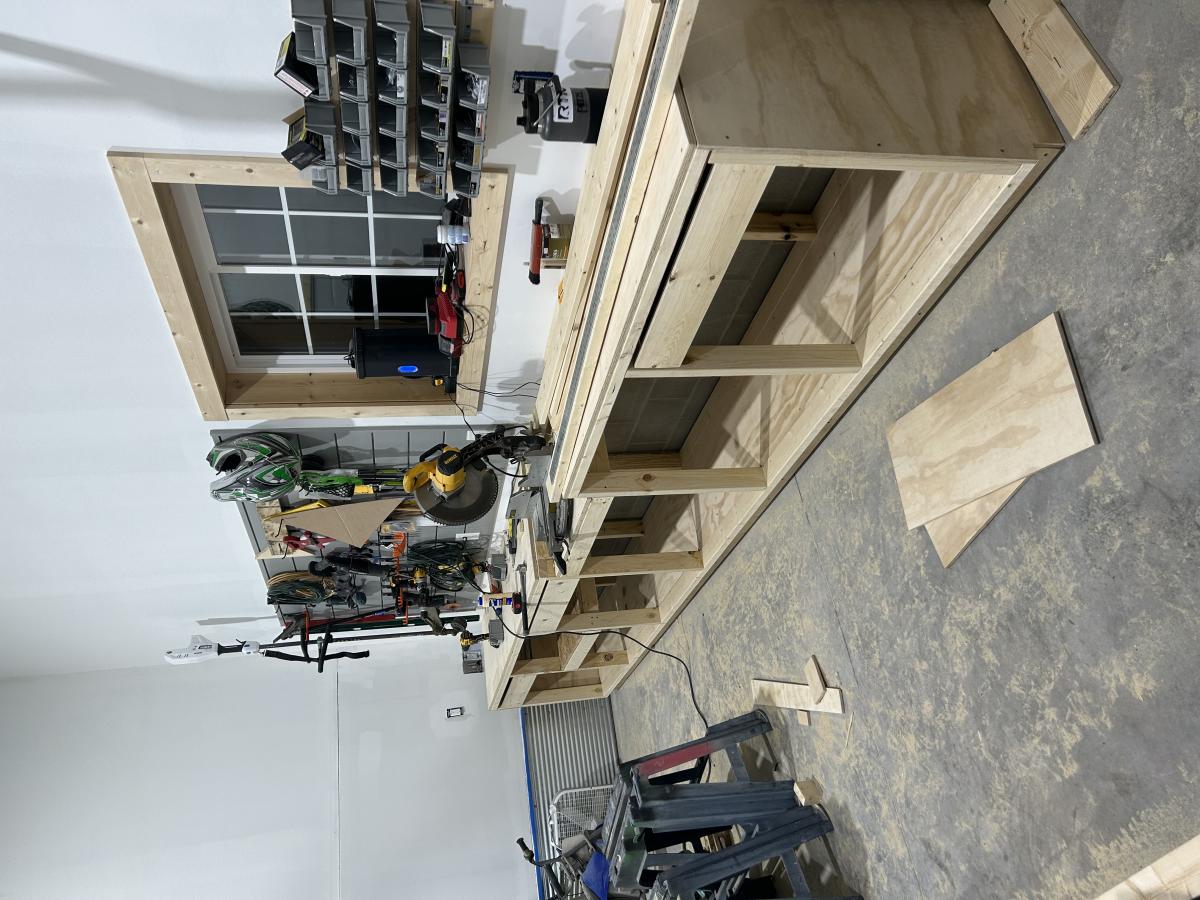
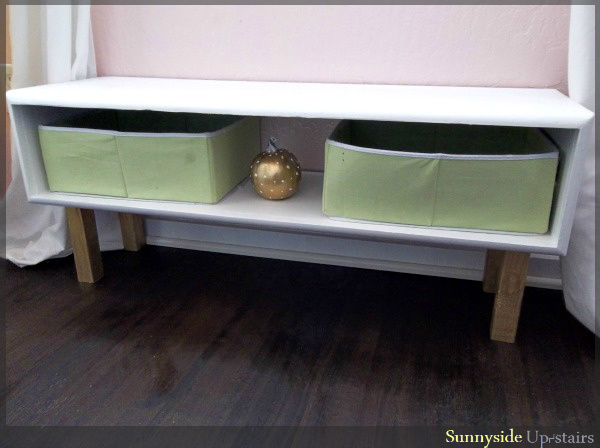
Media cabinet

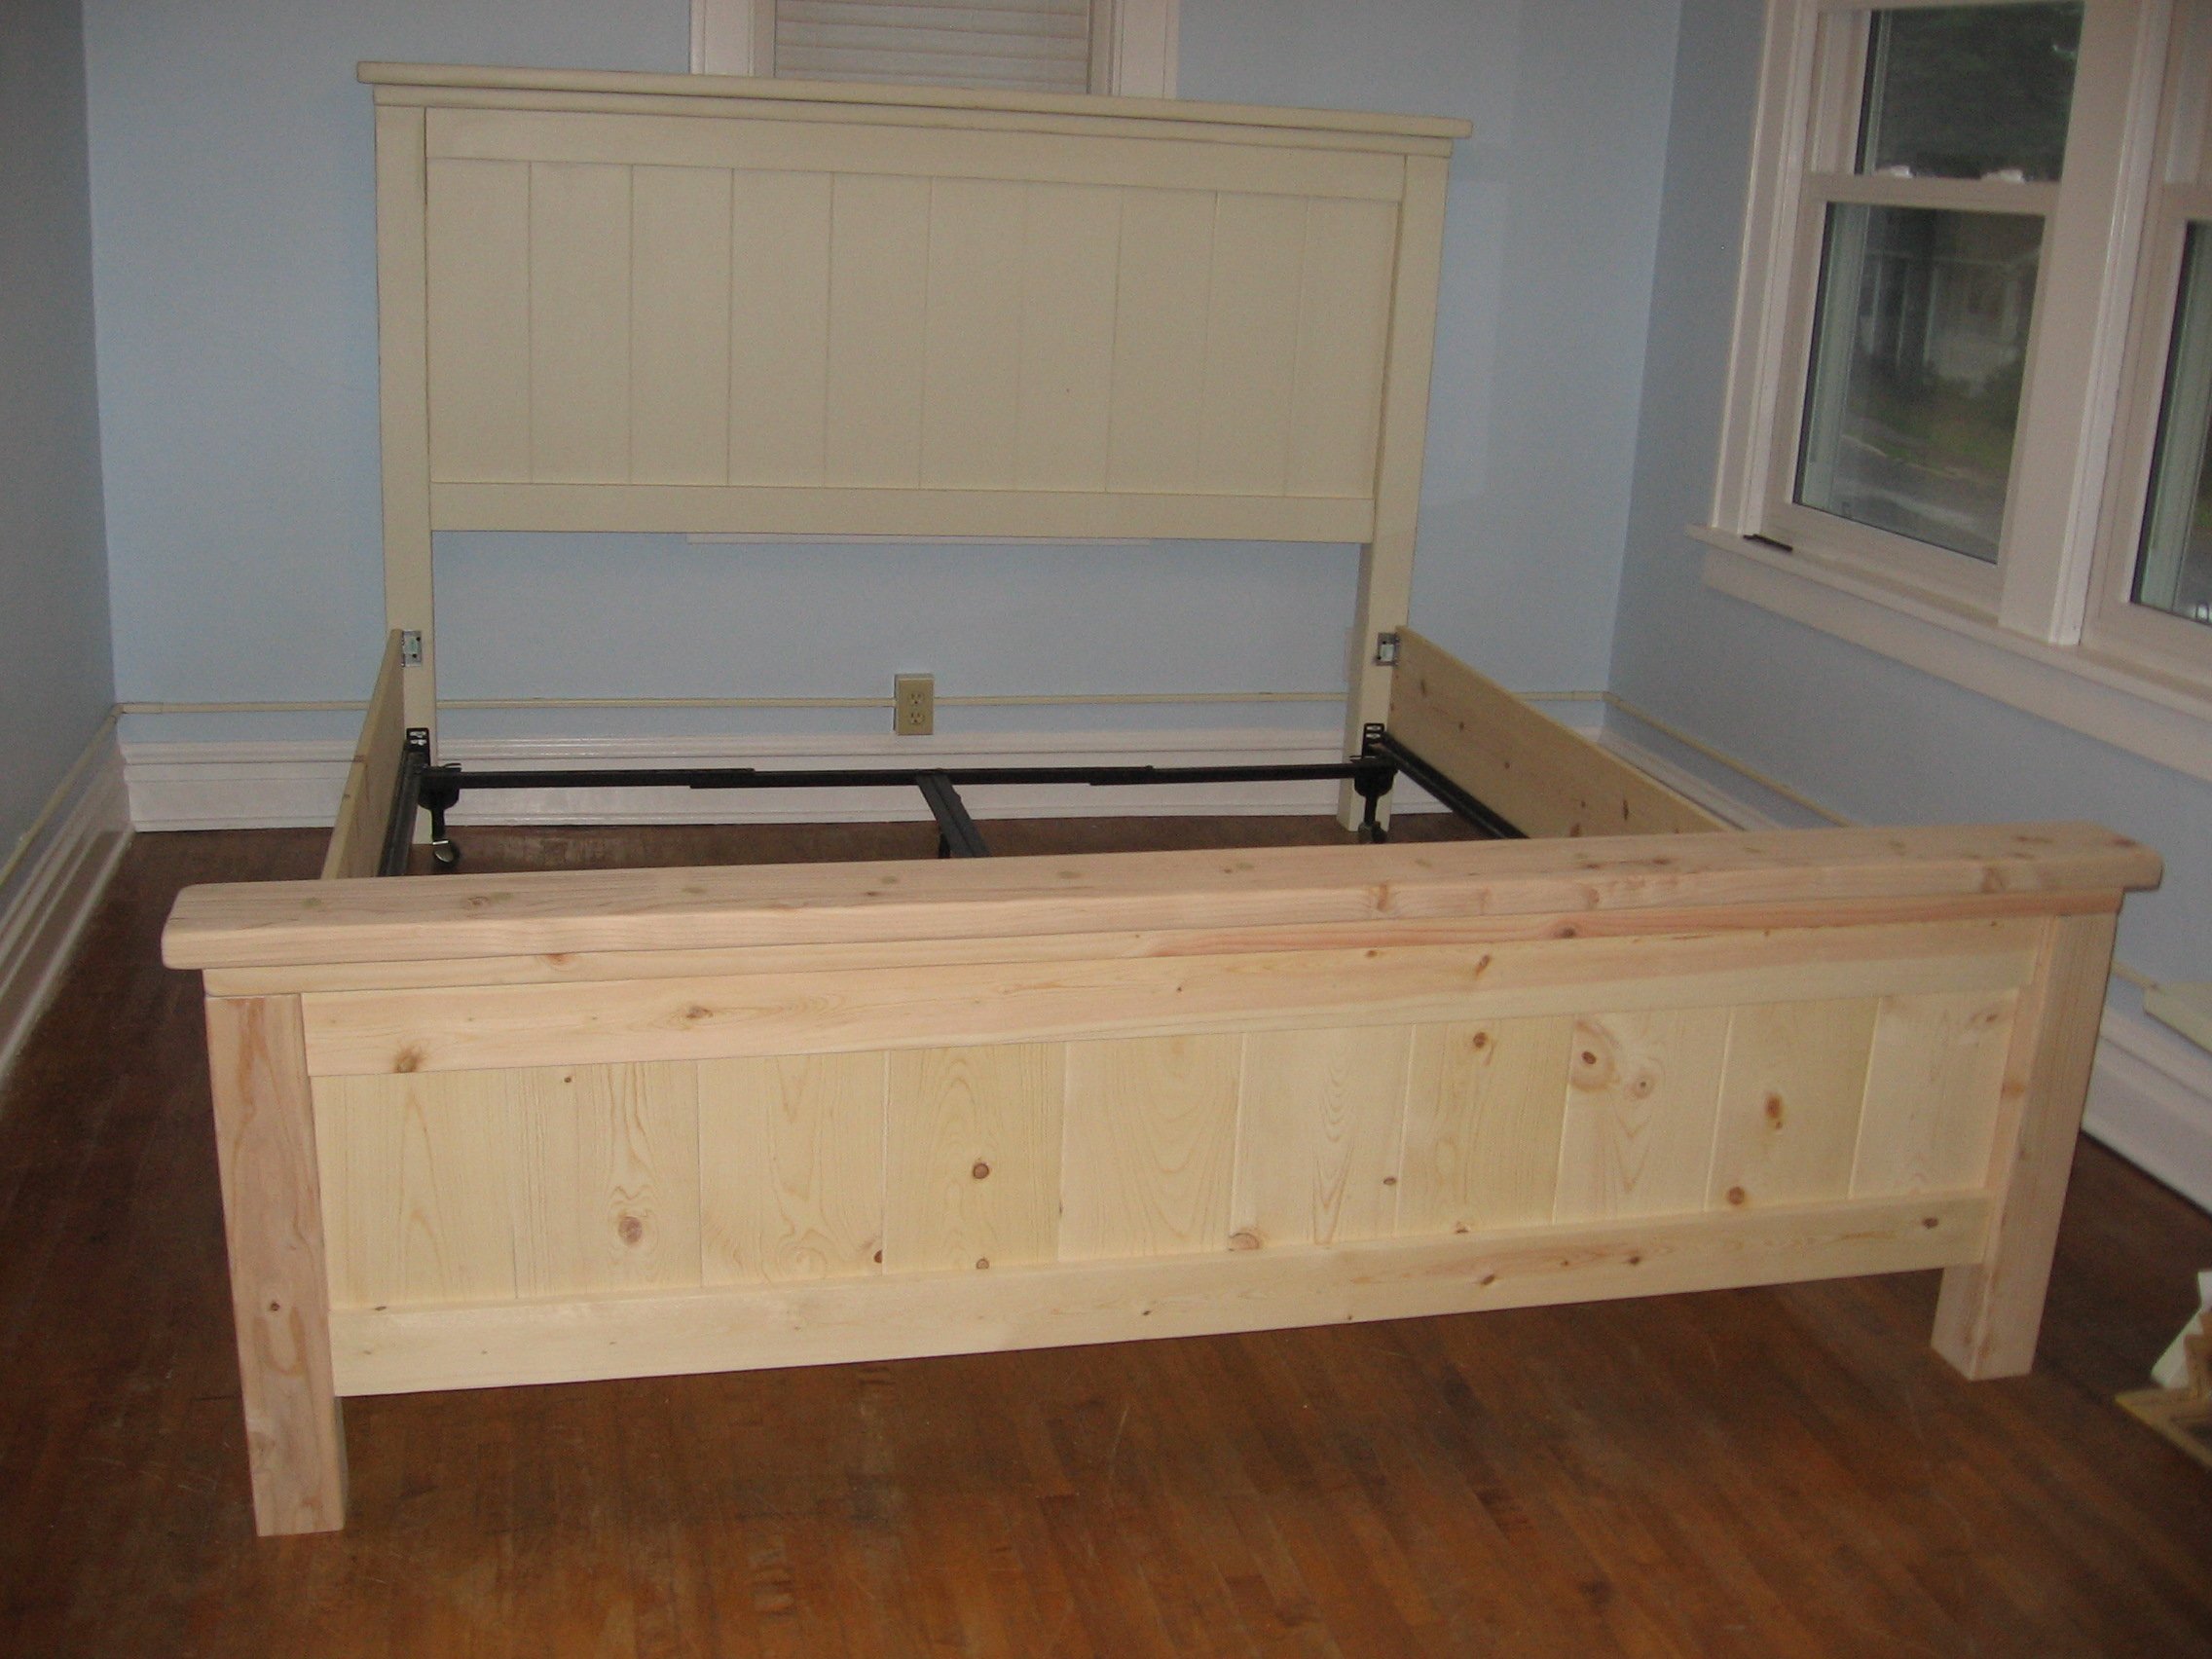
This was a very difficult project for me, getting the backstreet was the hardest part and the doors but it turned out great and I thank you for the plans!
Estimated Cost
300.00
Estimated Time Investment
Week Long Project (20 Hours or More)
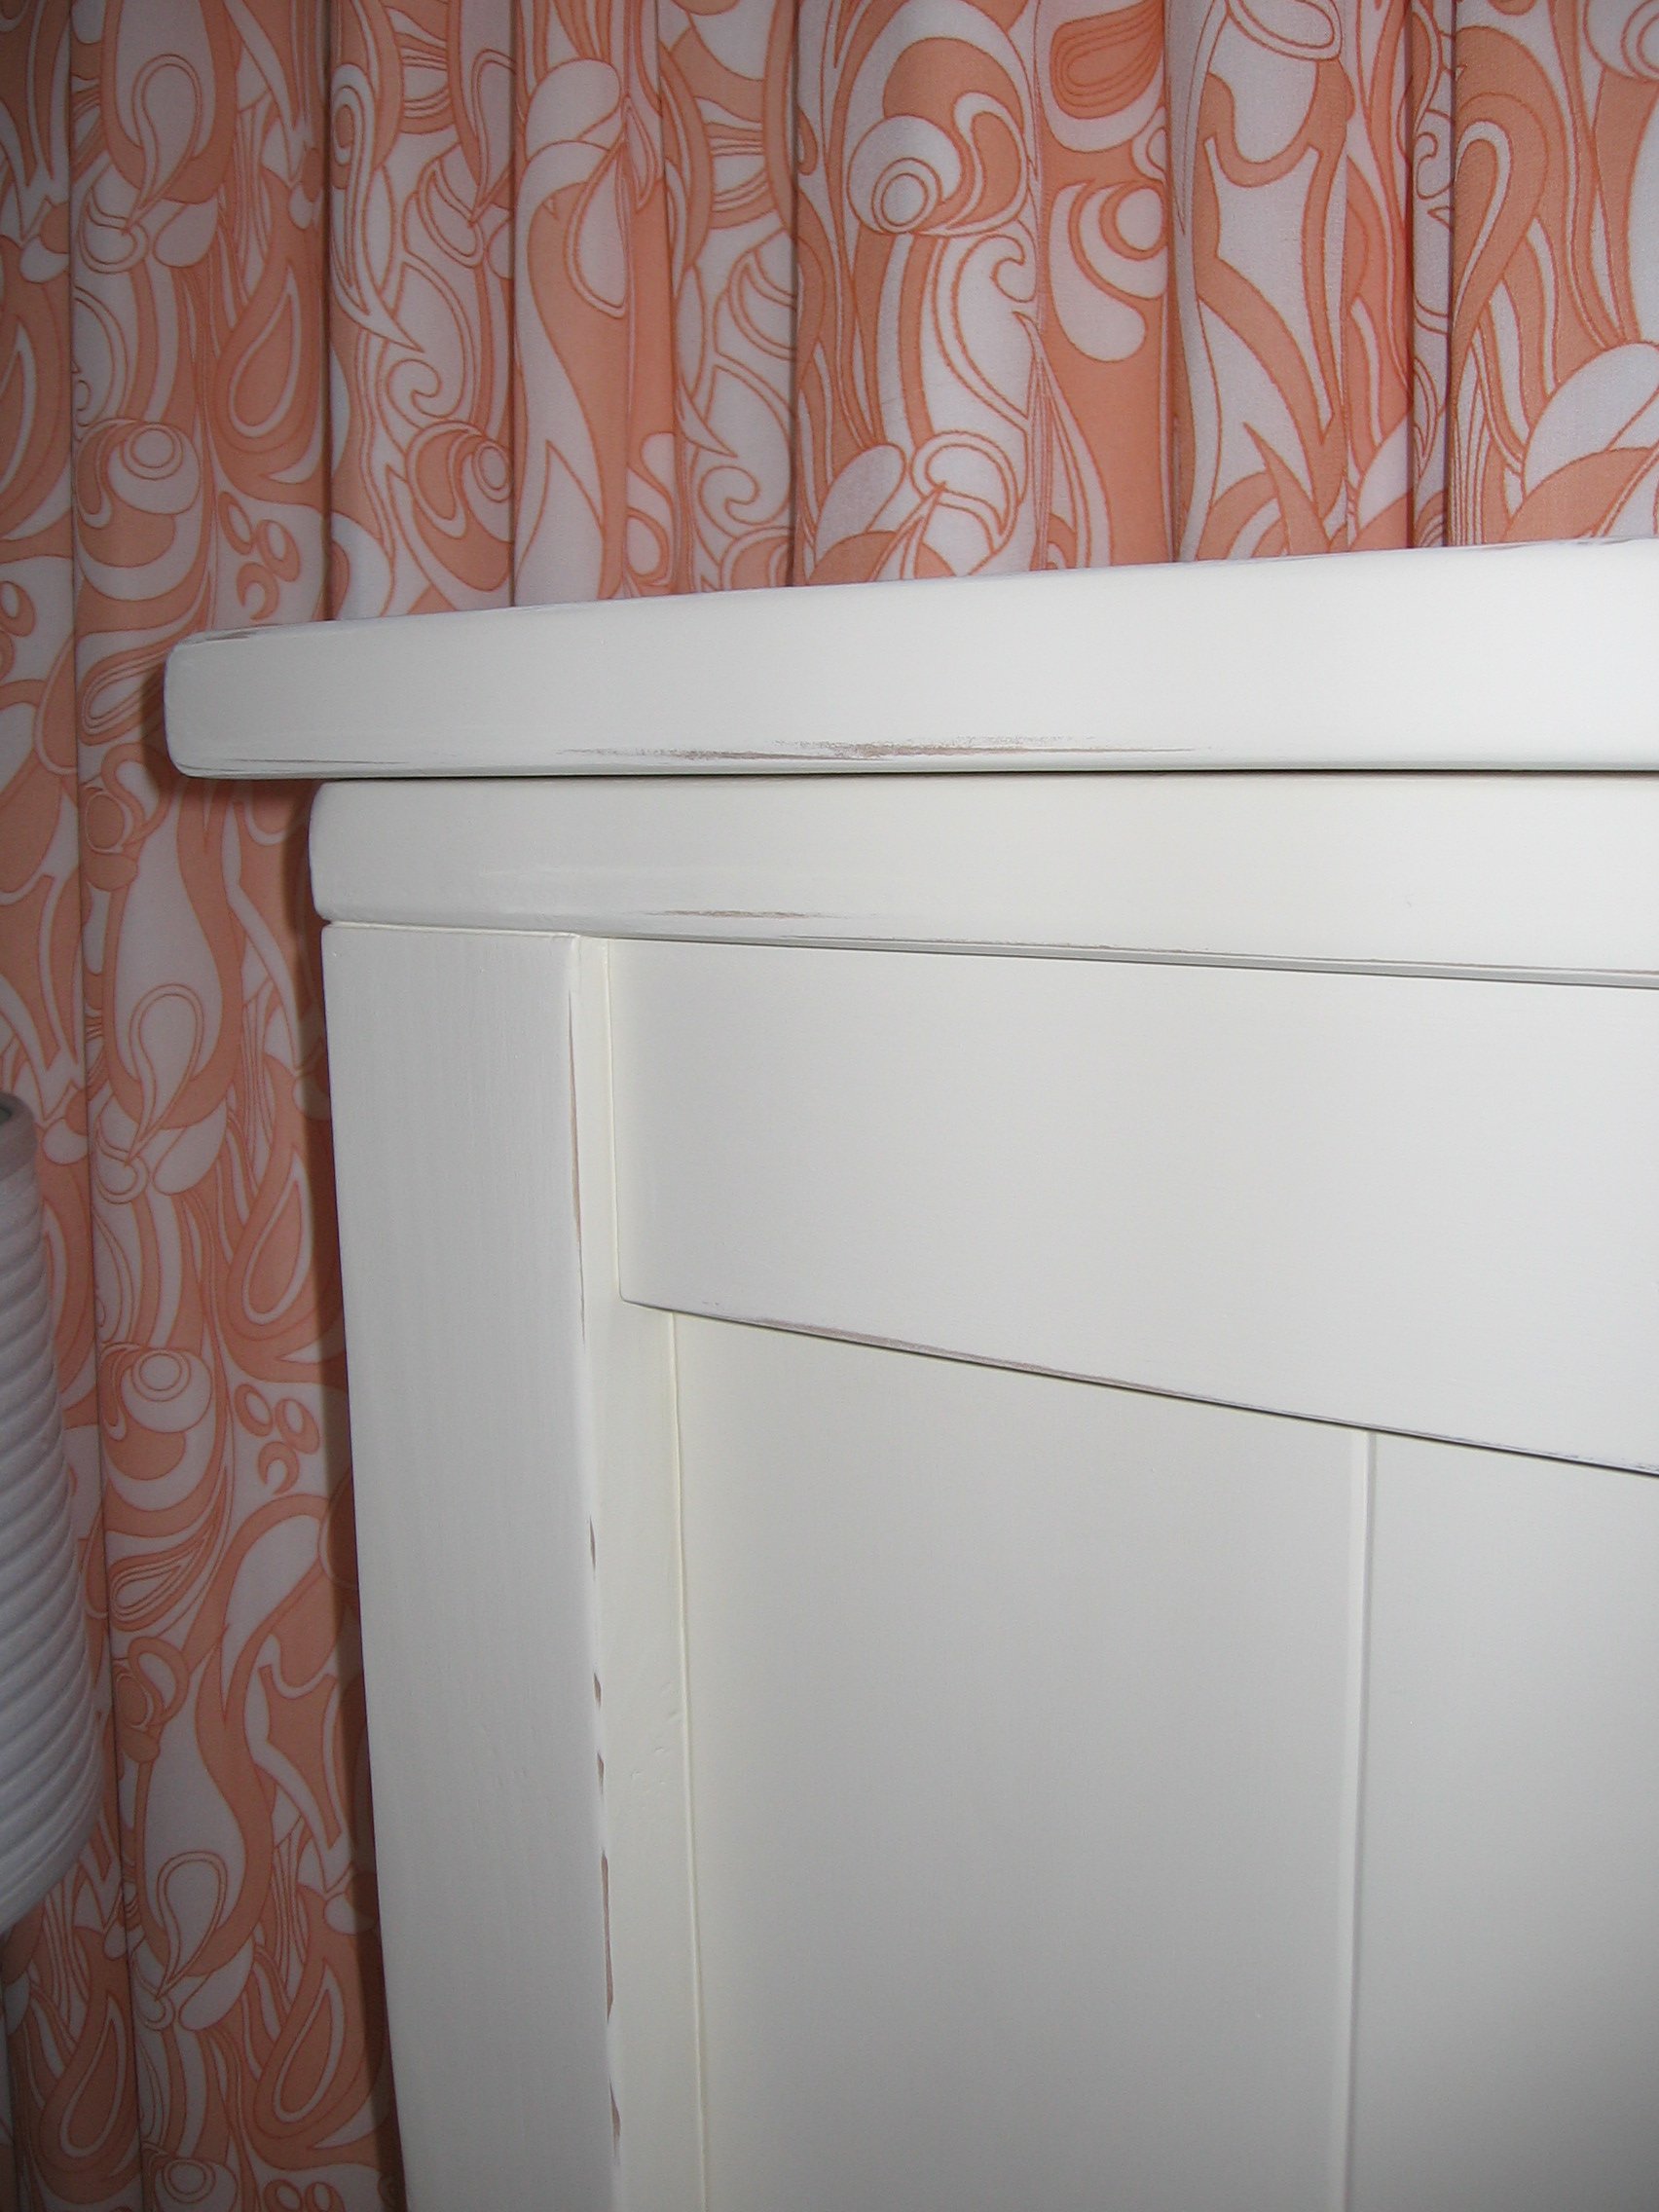
Finish Used
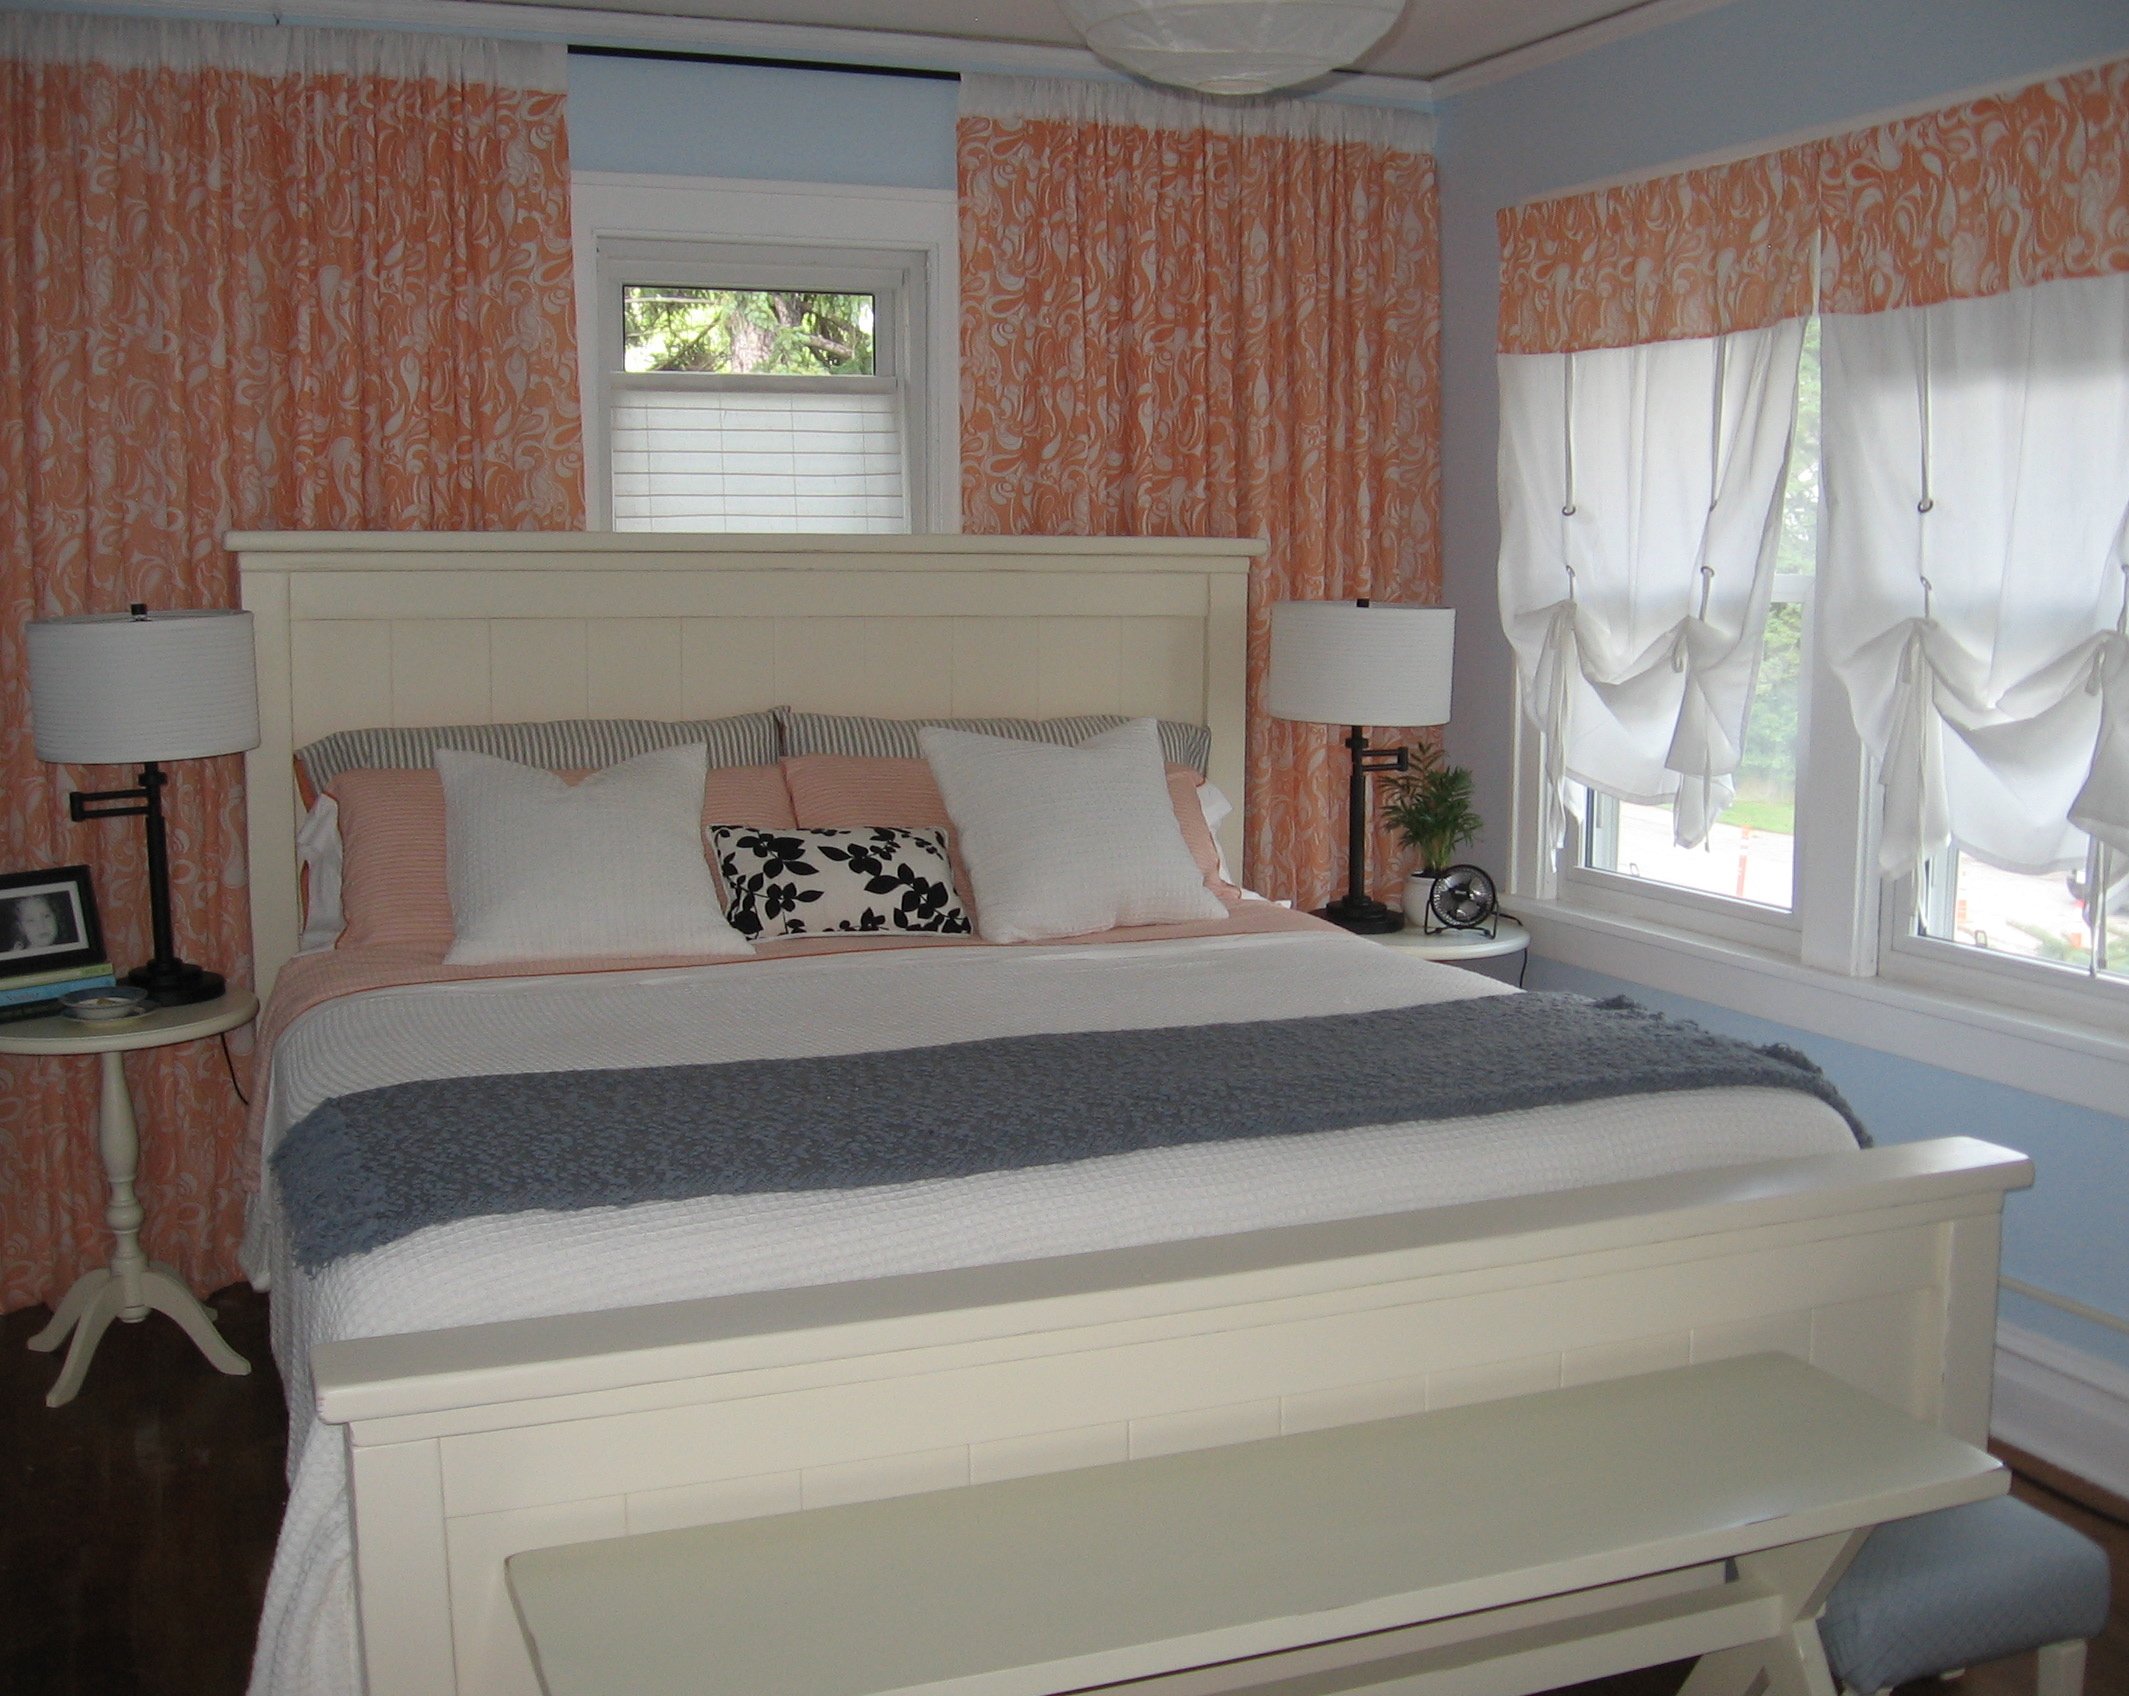
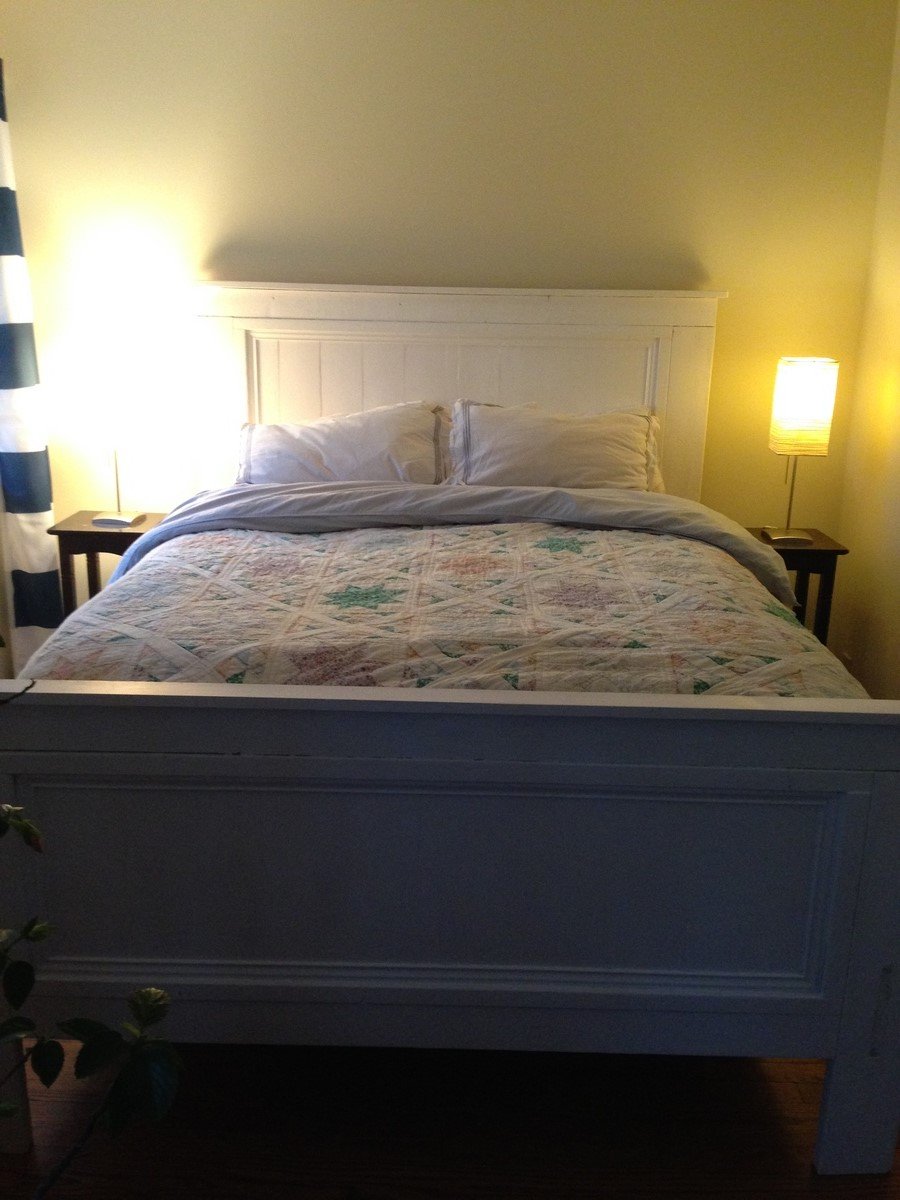
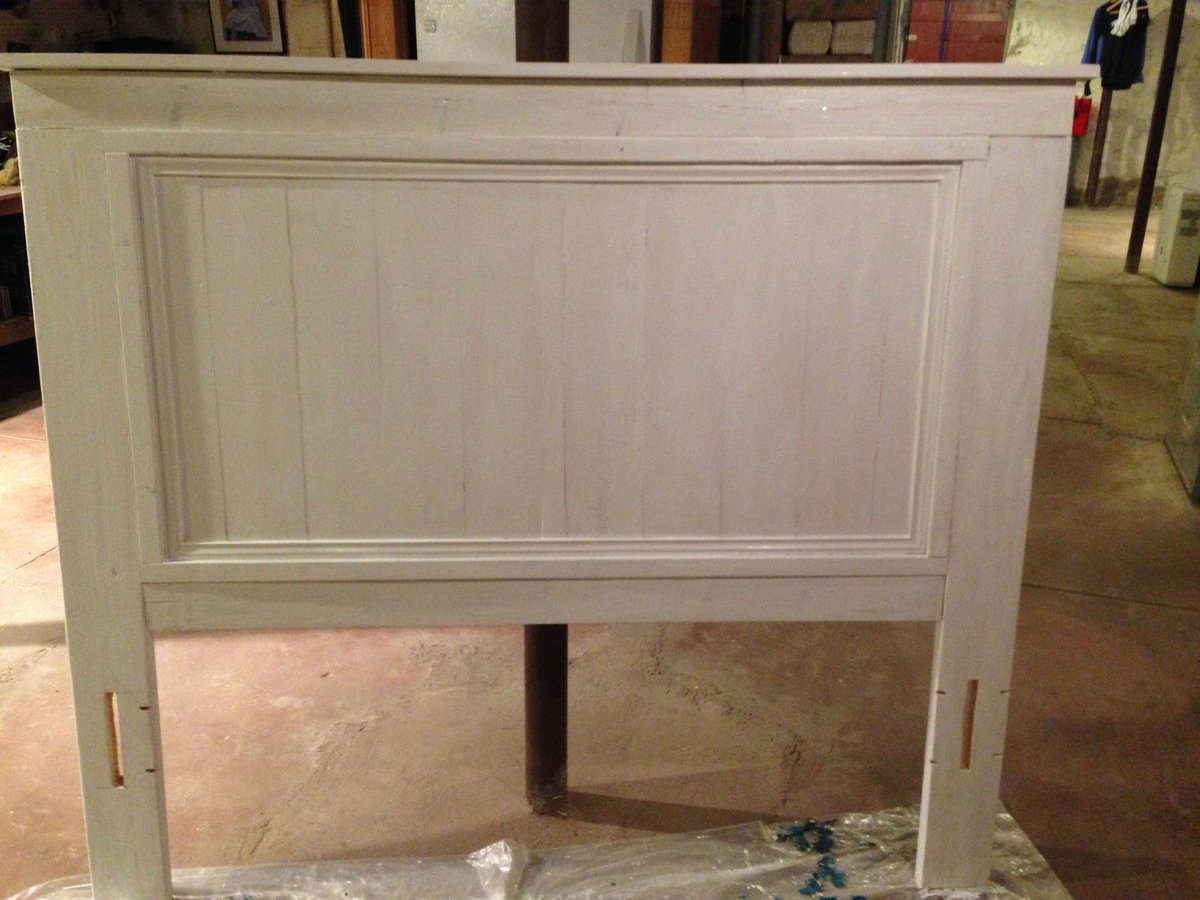
Chalk paint in cream.
Recommended Skill Level
Advanced