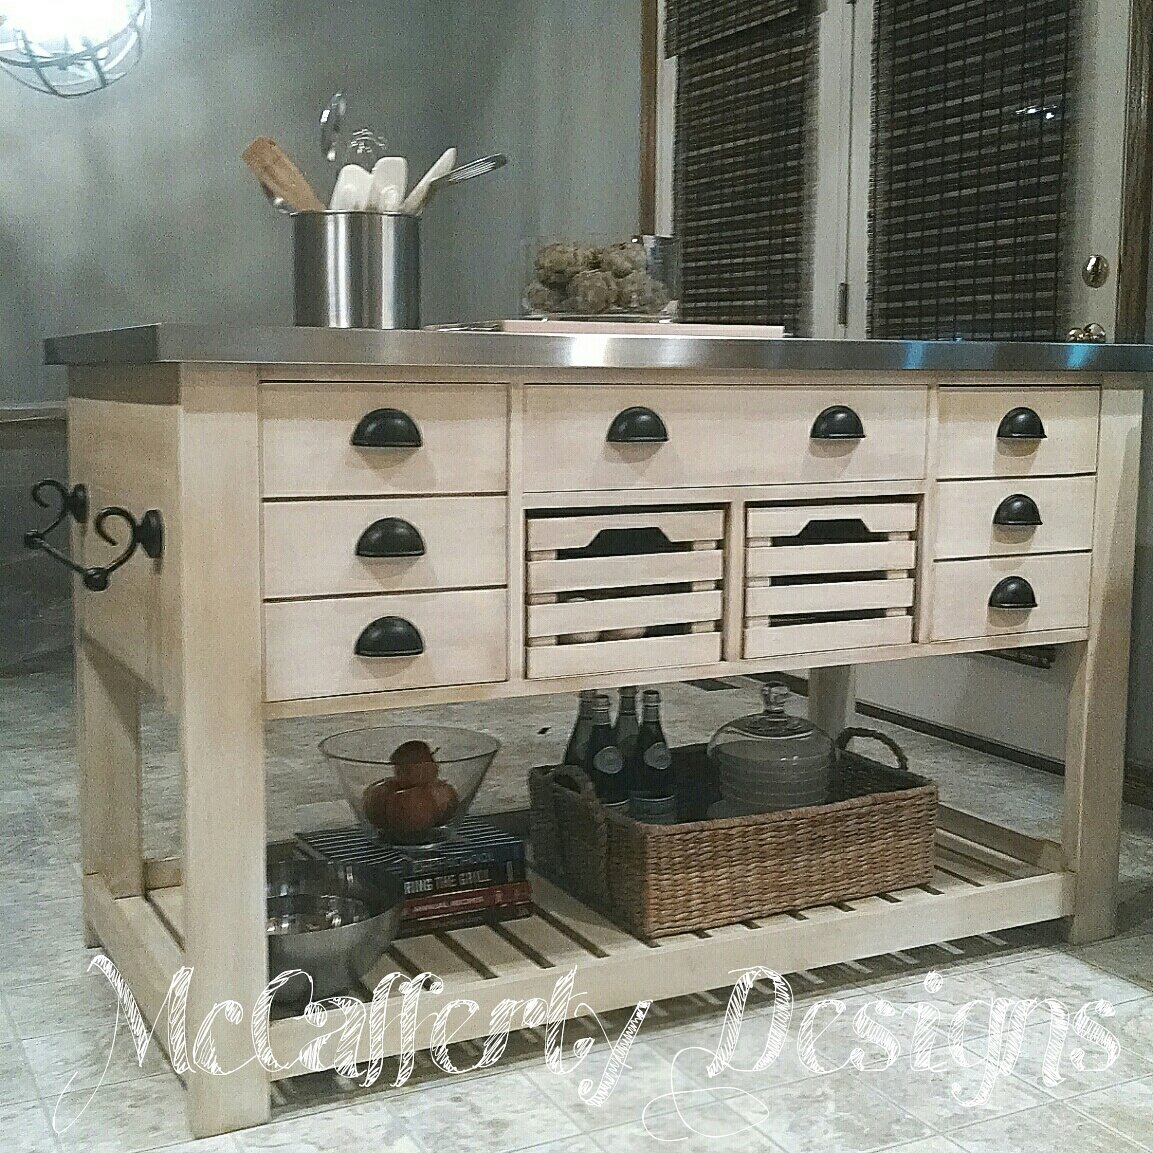
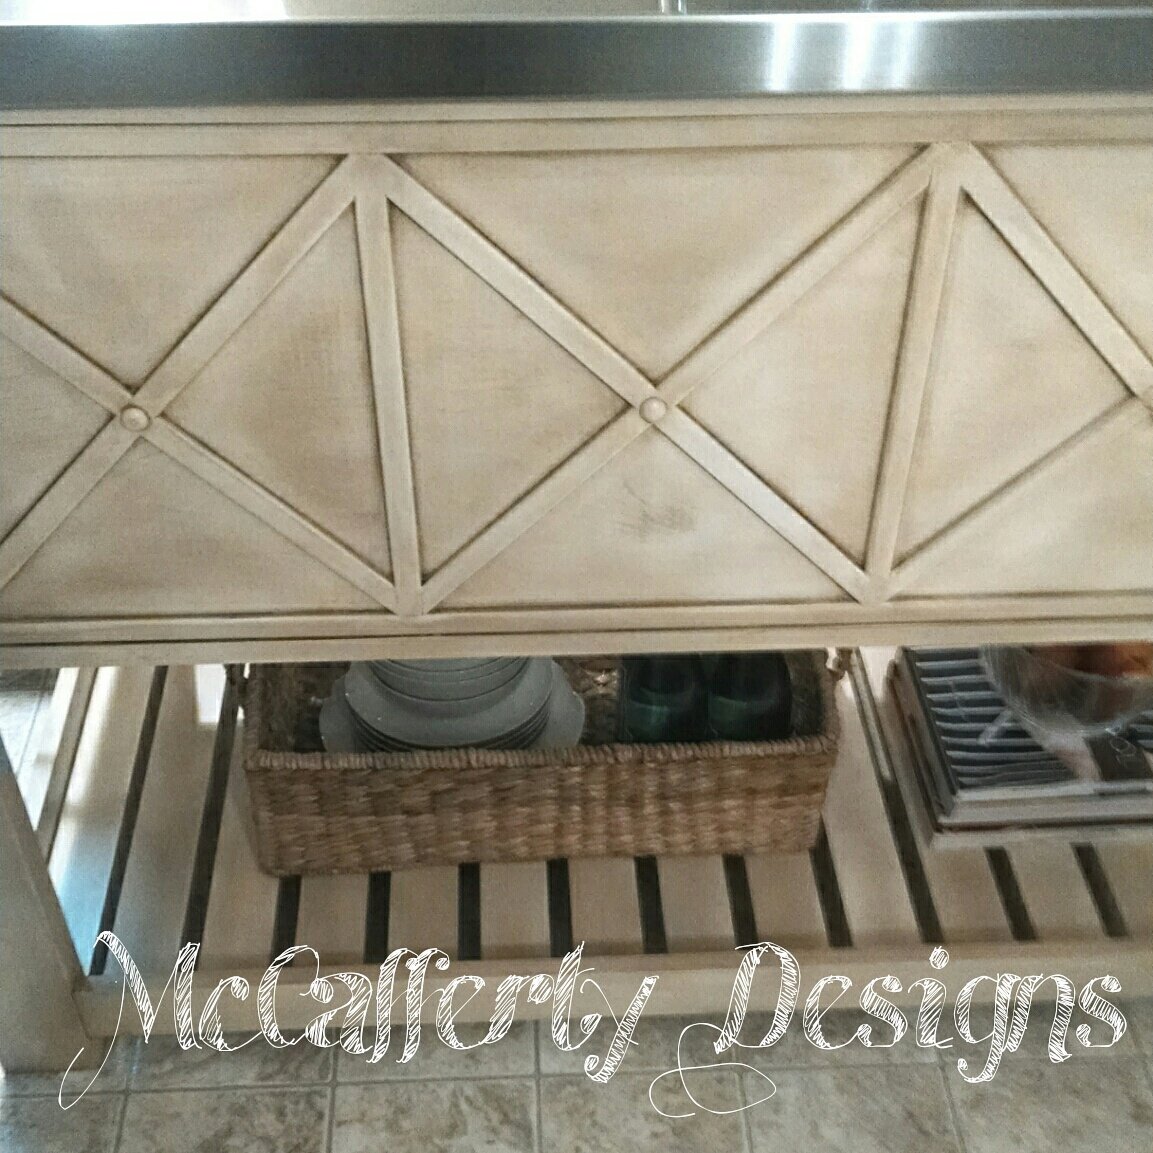
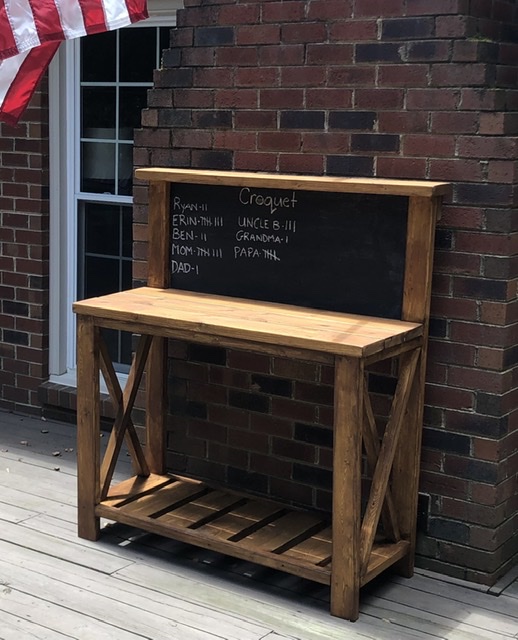
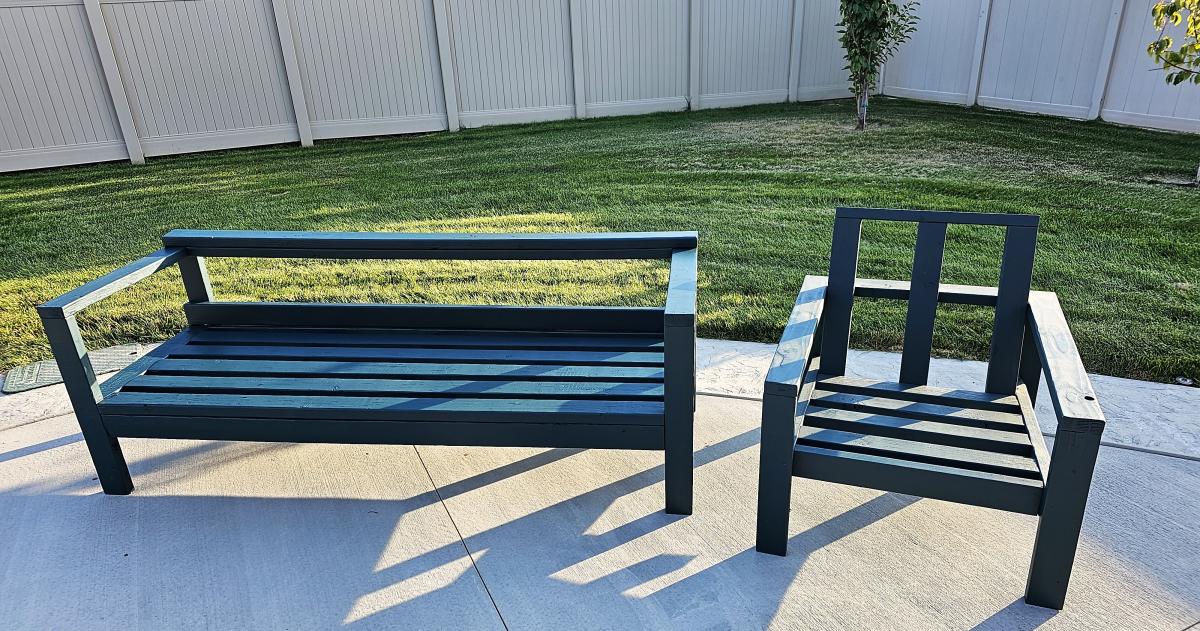
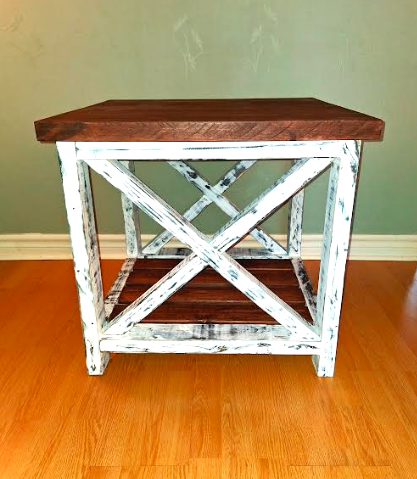
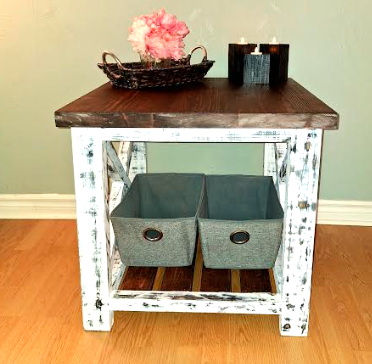
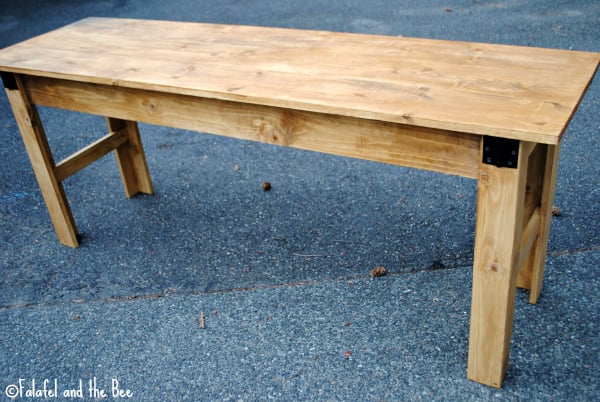
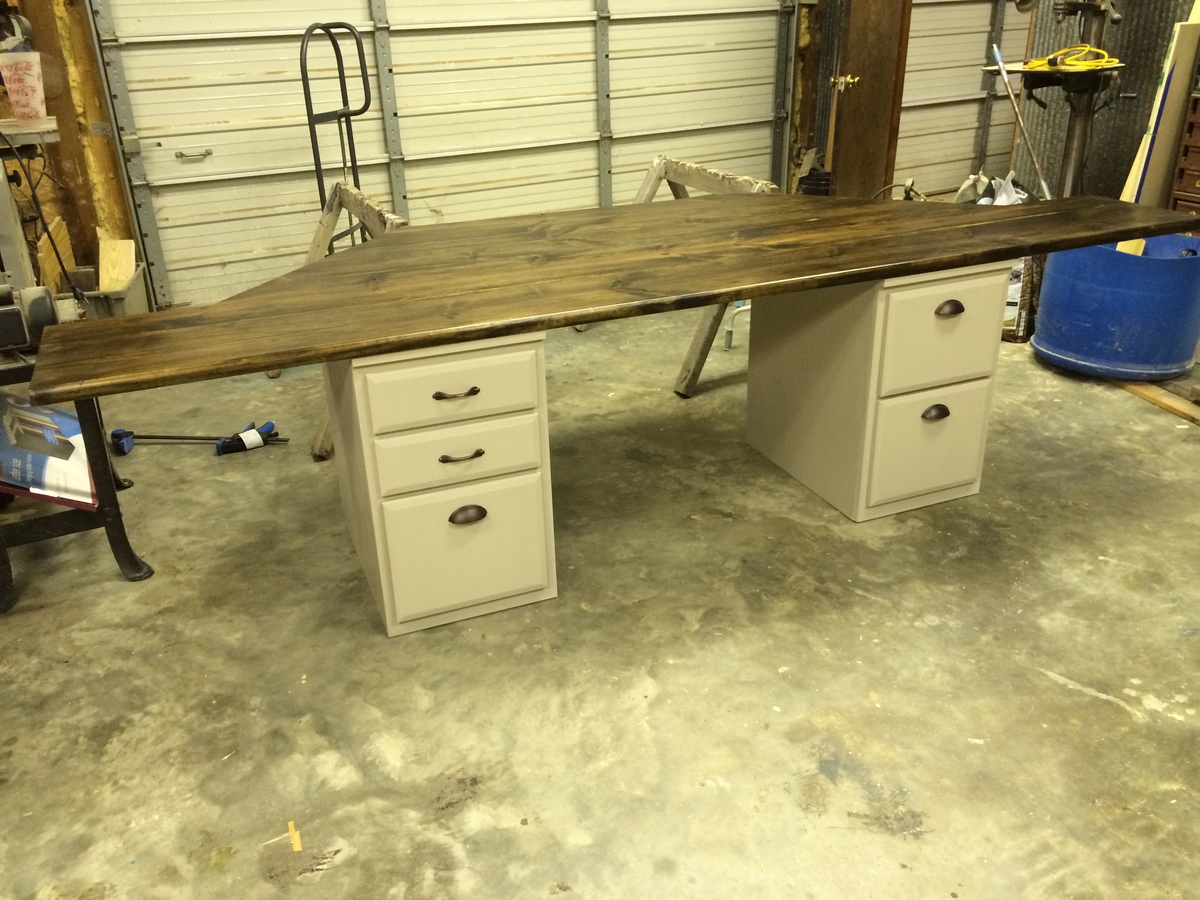
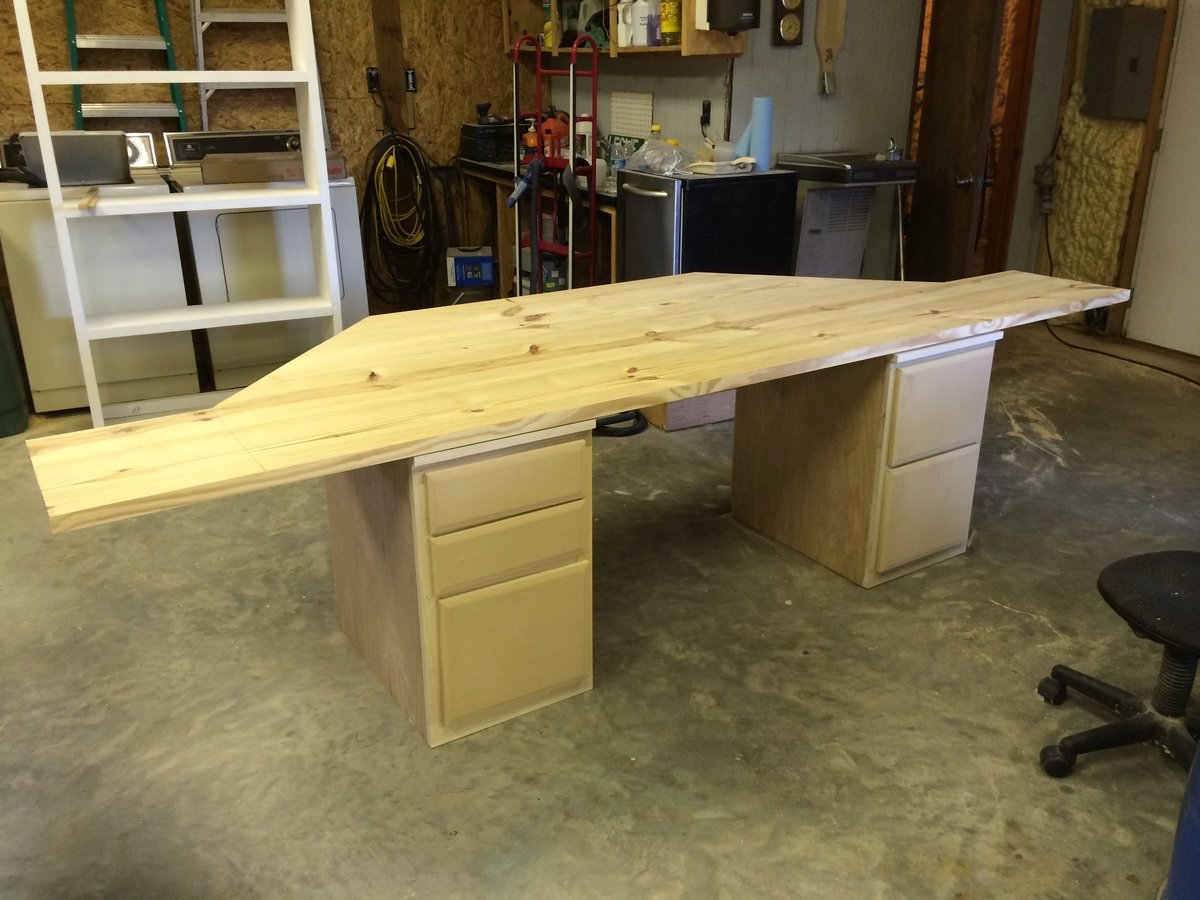
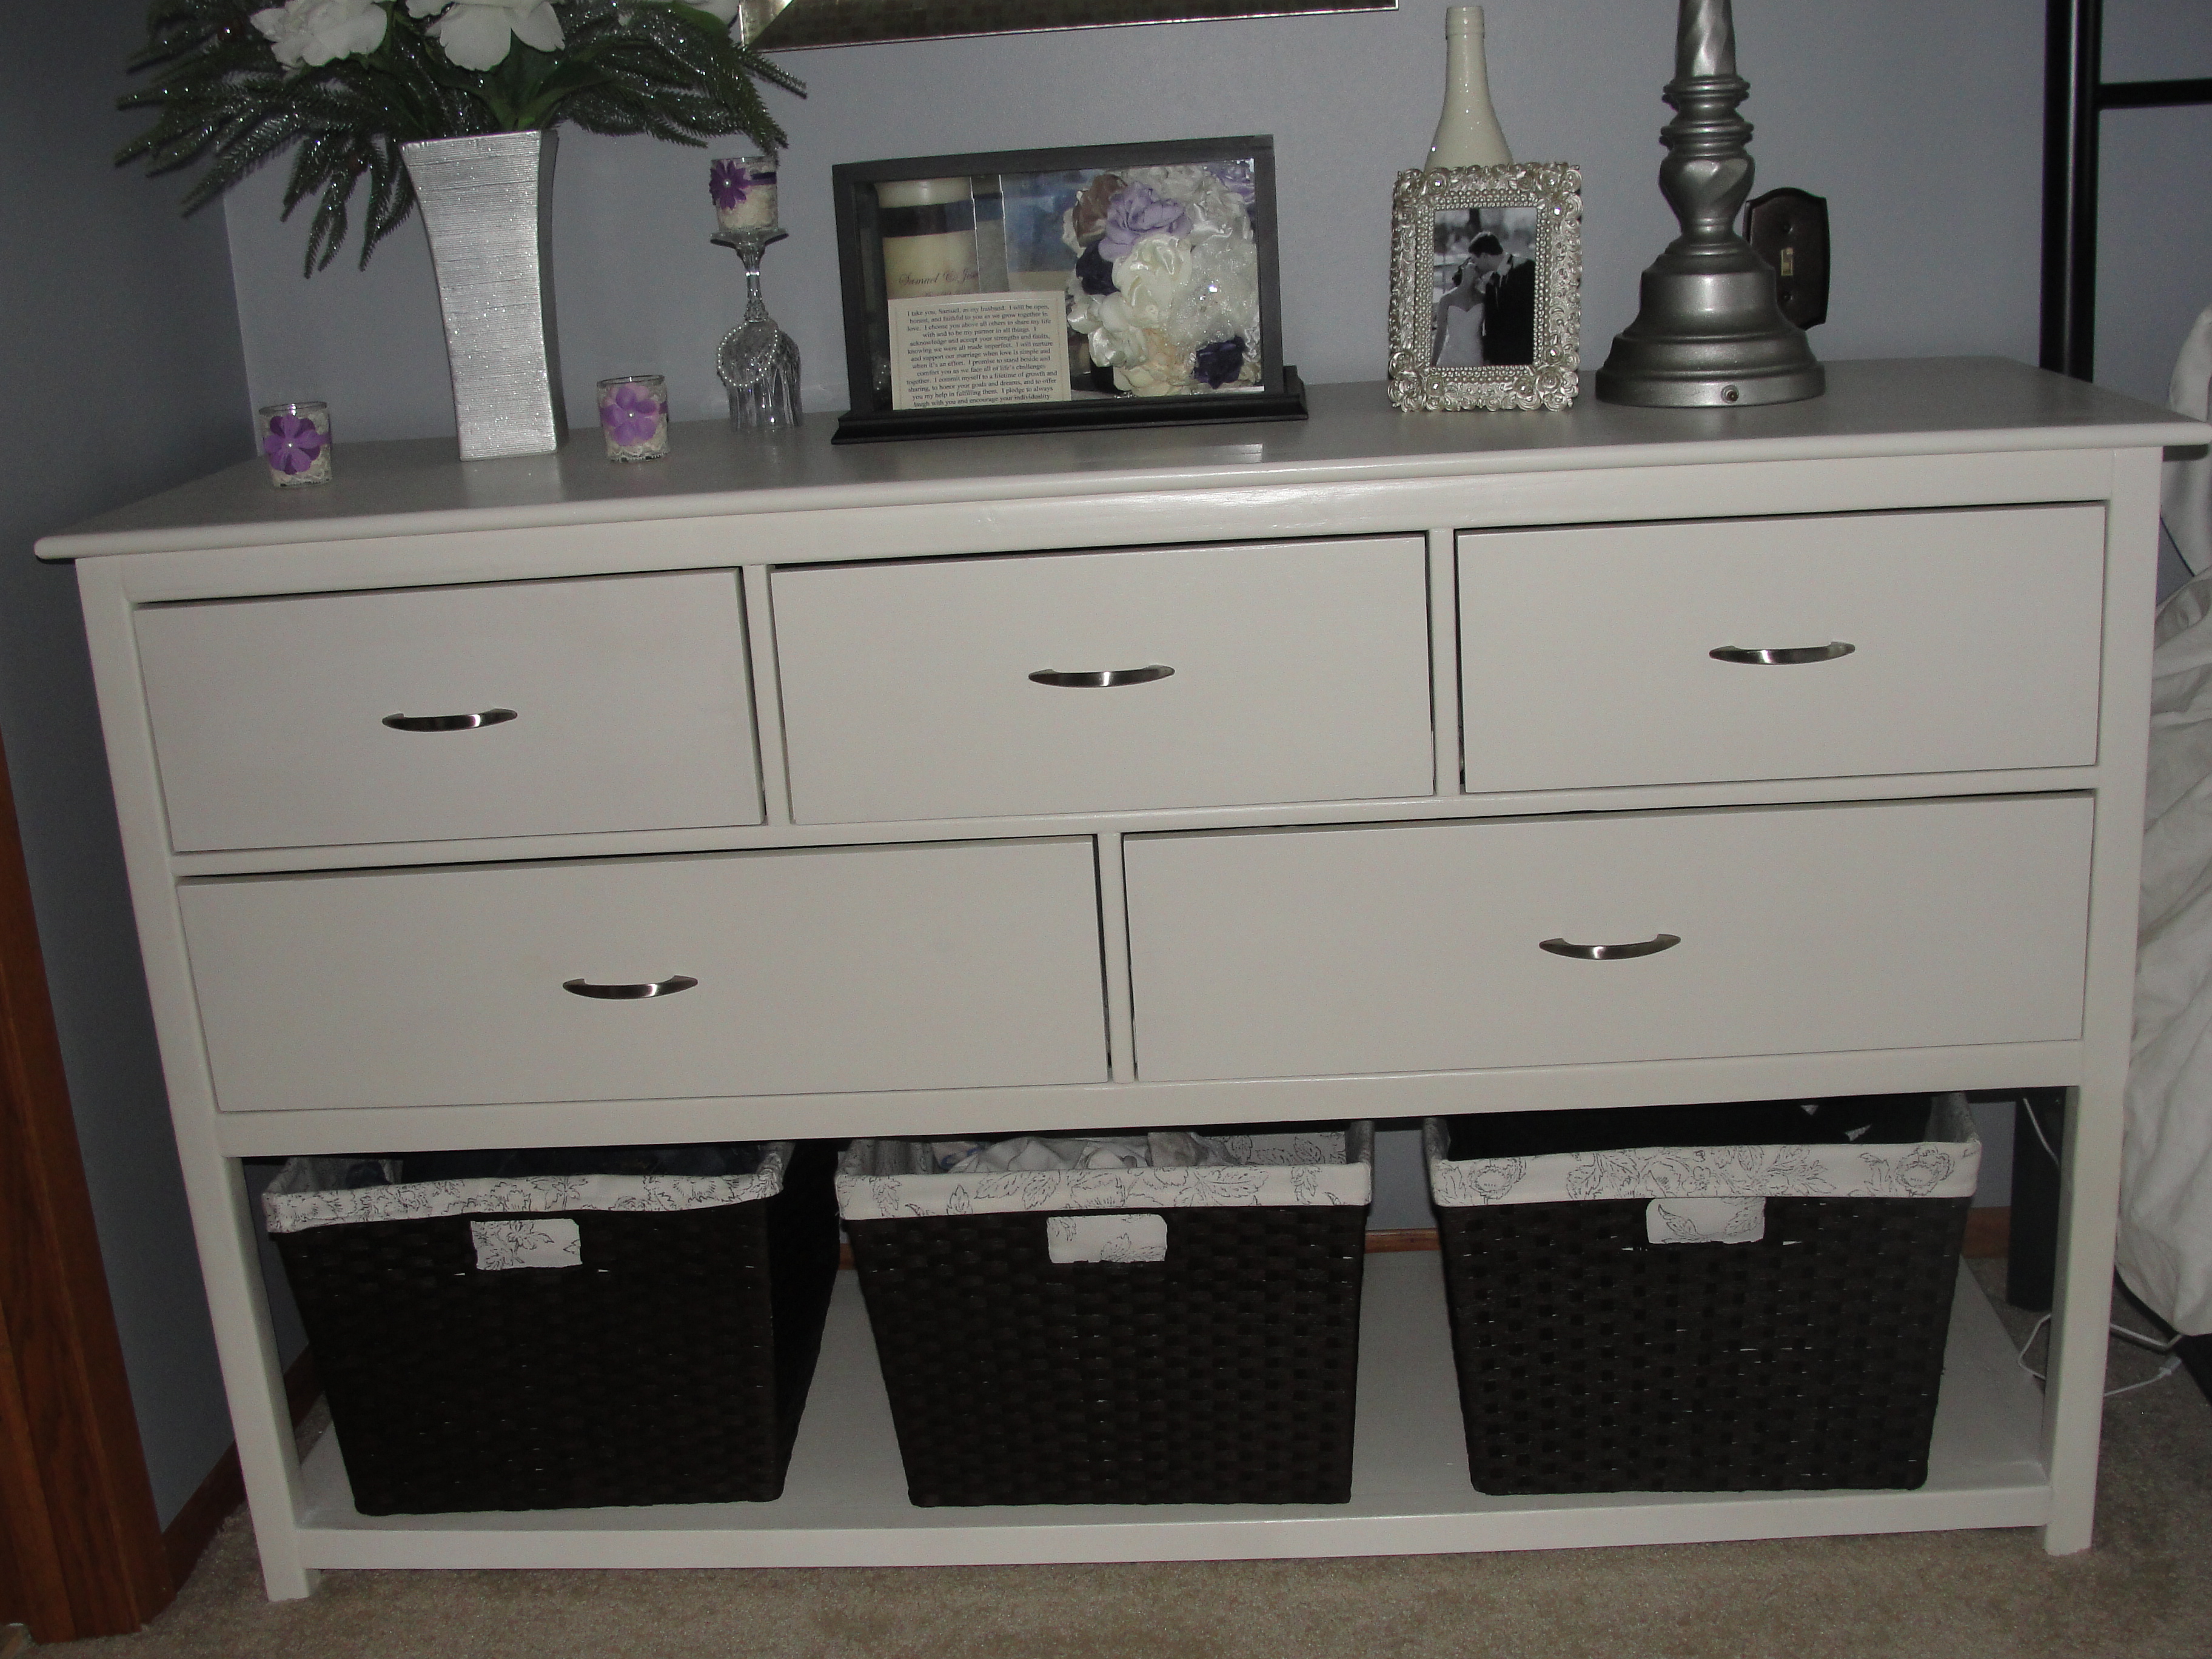
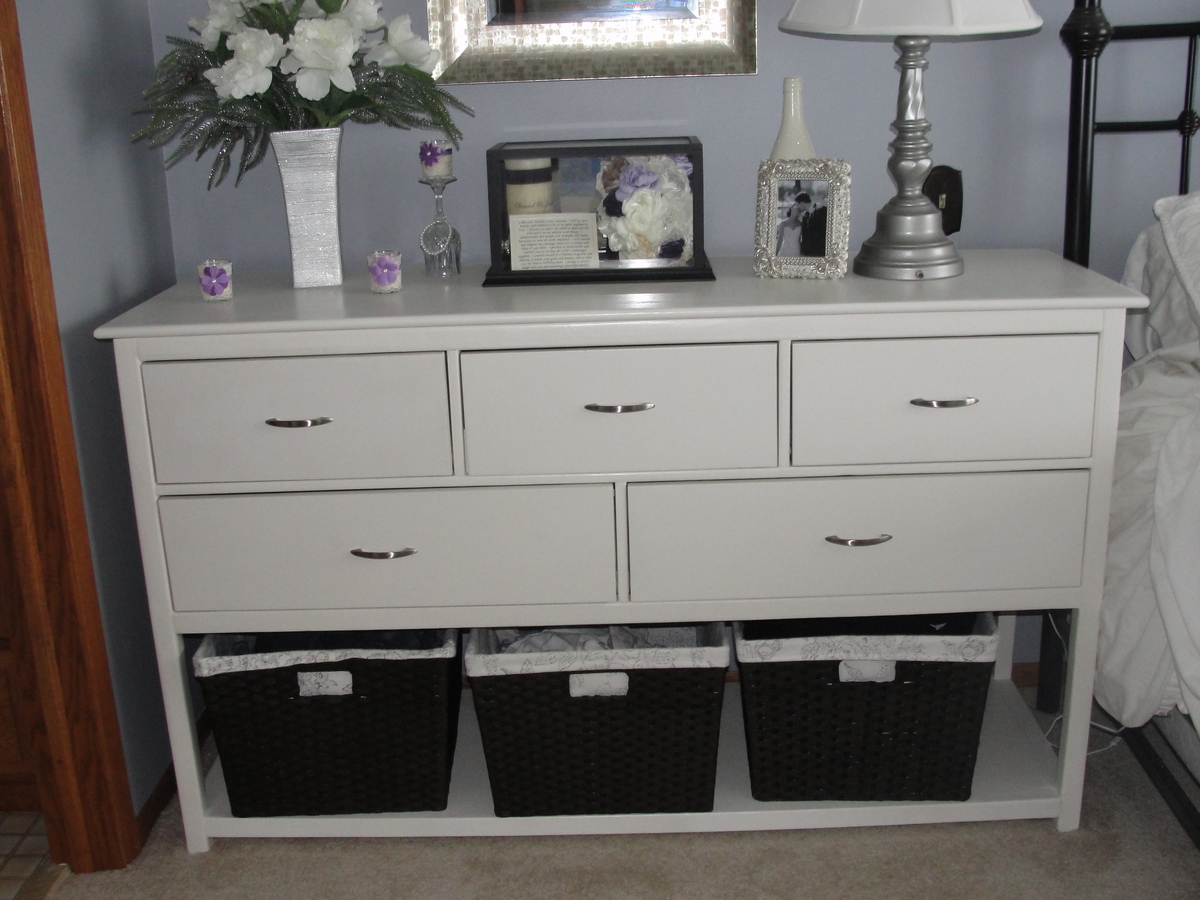
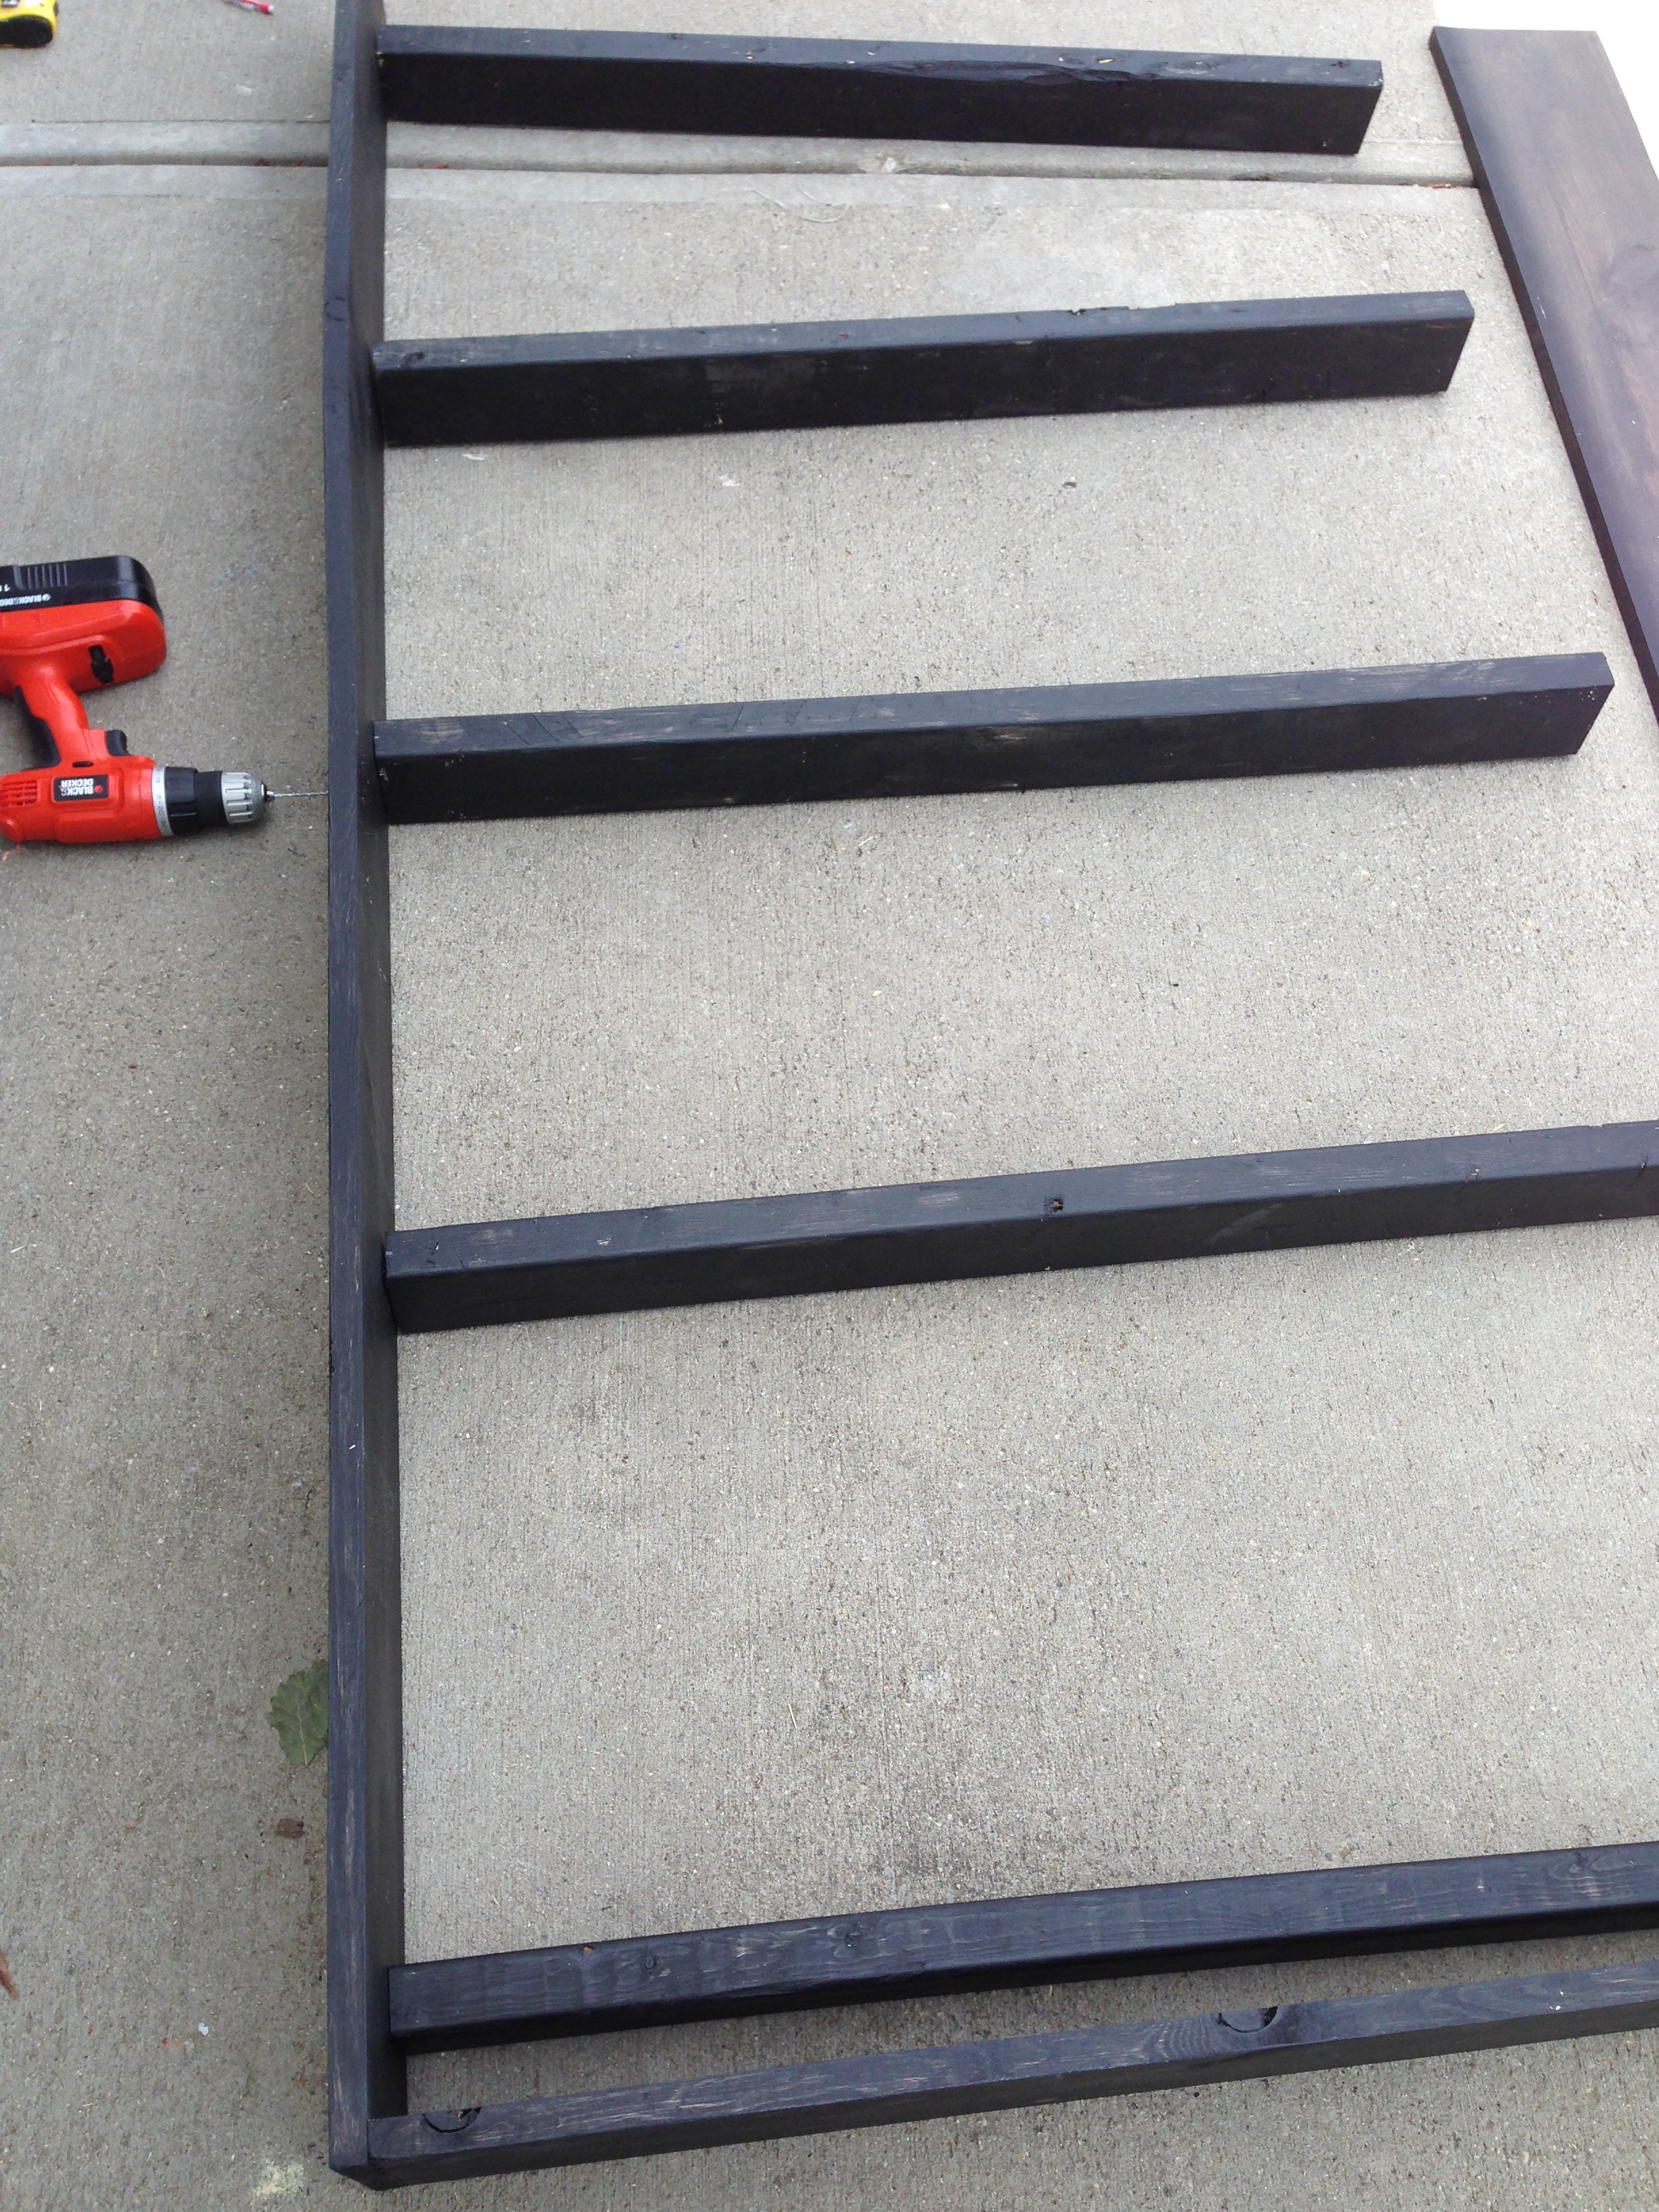
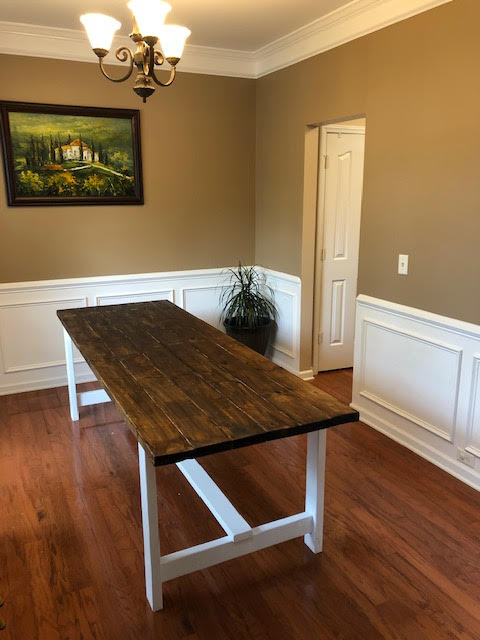
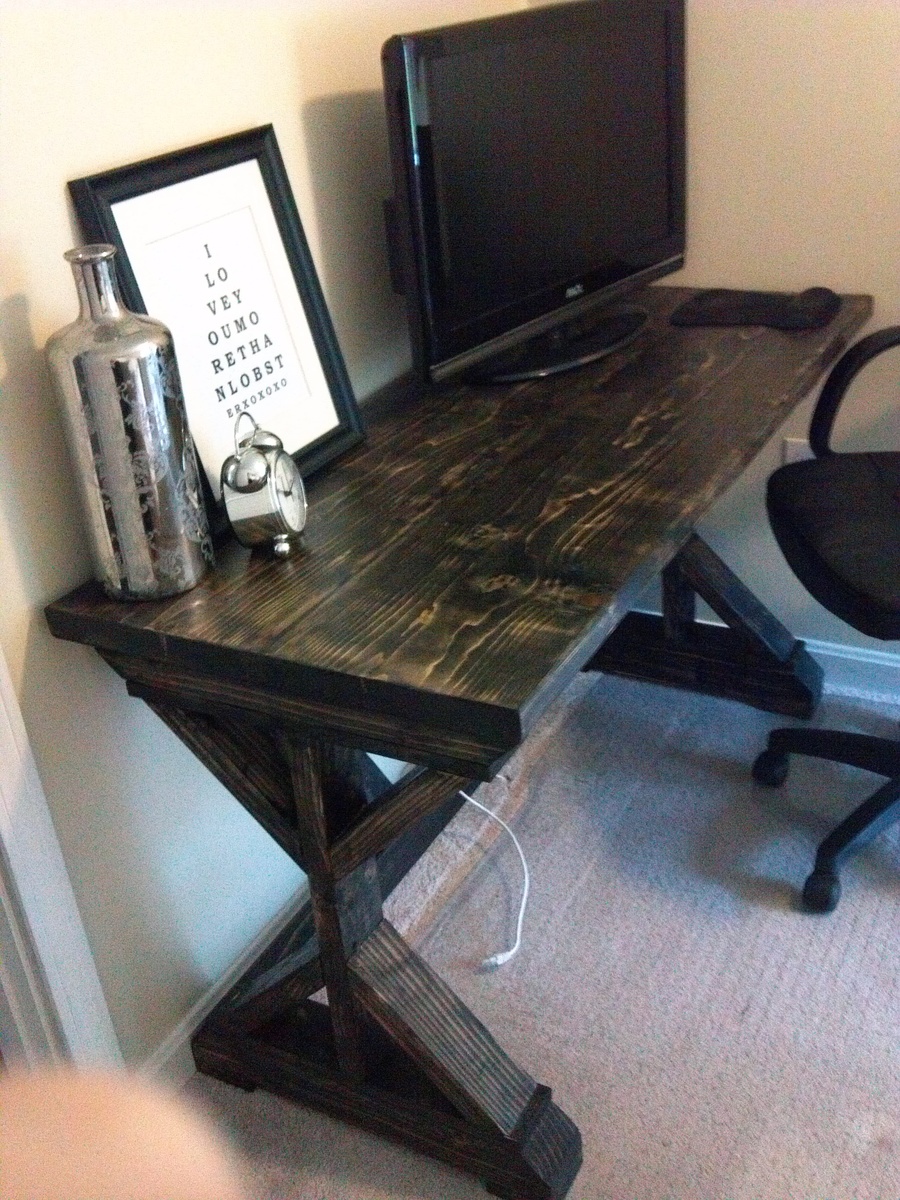
fancy X desk
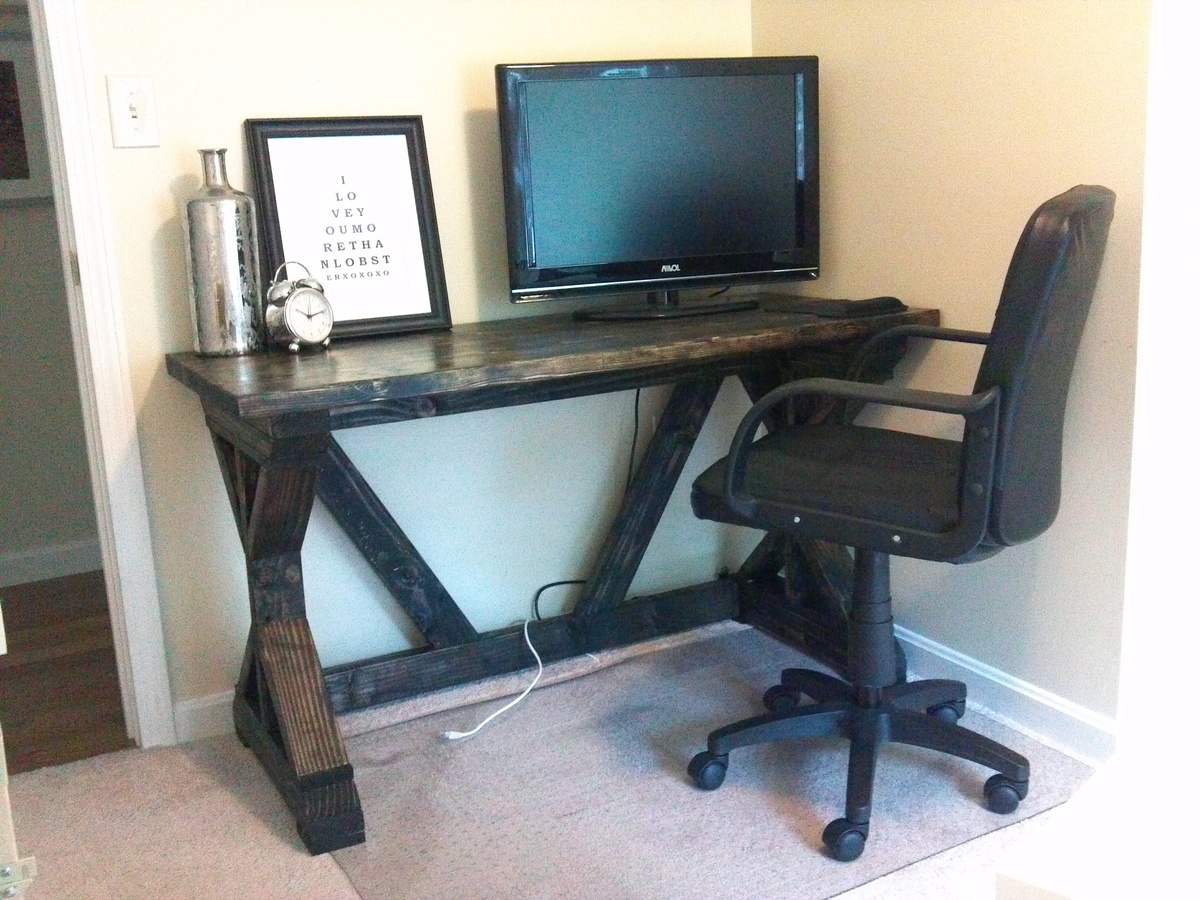
I built it for my husband, but had to make a shorter version, only 52" instead of 72" to fit it into the corner.
Built from Plan(s)
Estimated Time Investment
Afternoon Project (3-6 Hours)
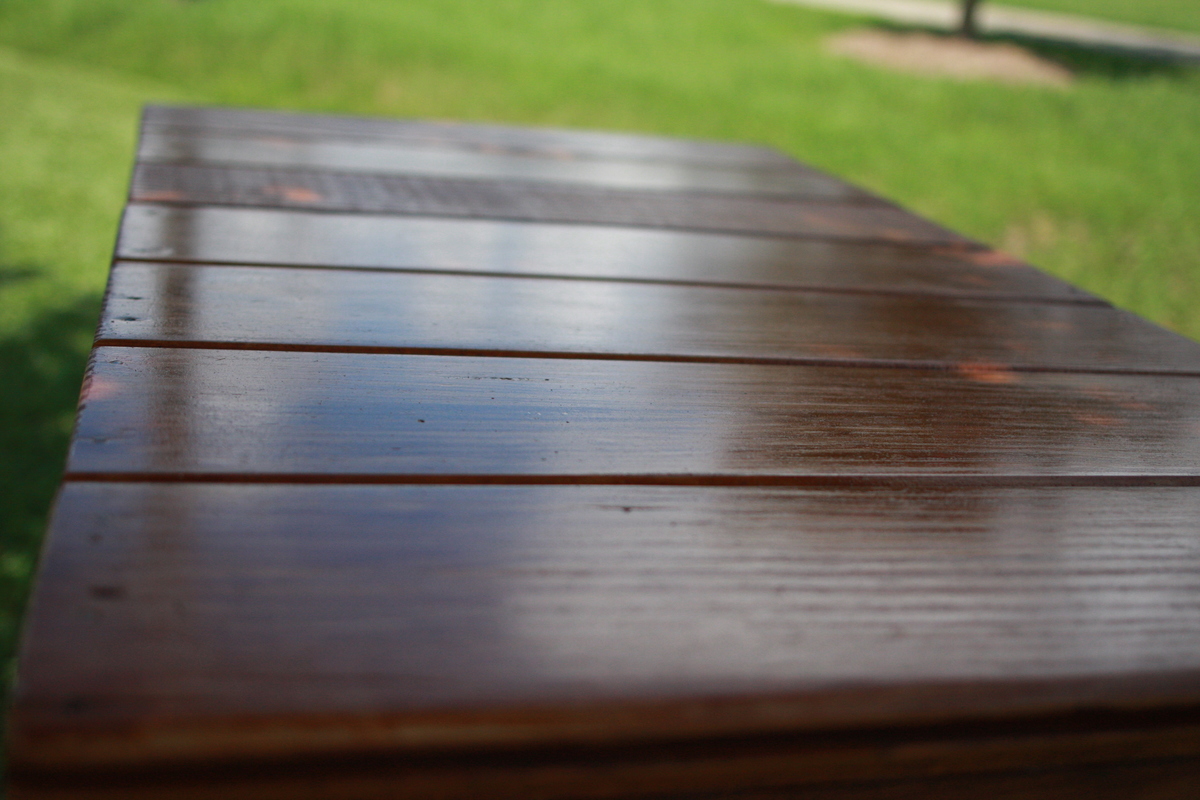
Finish Used
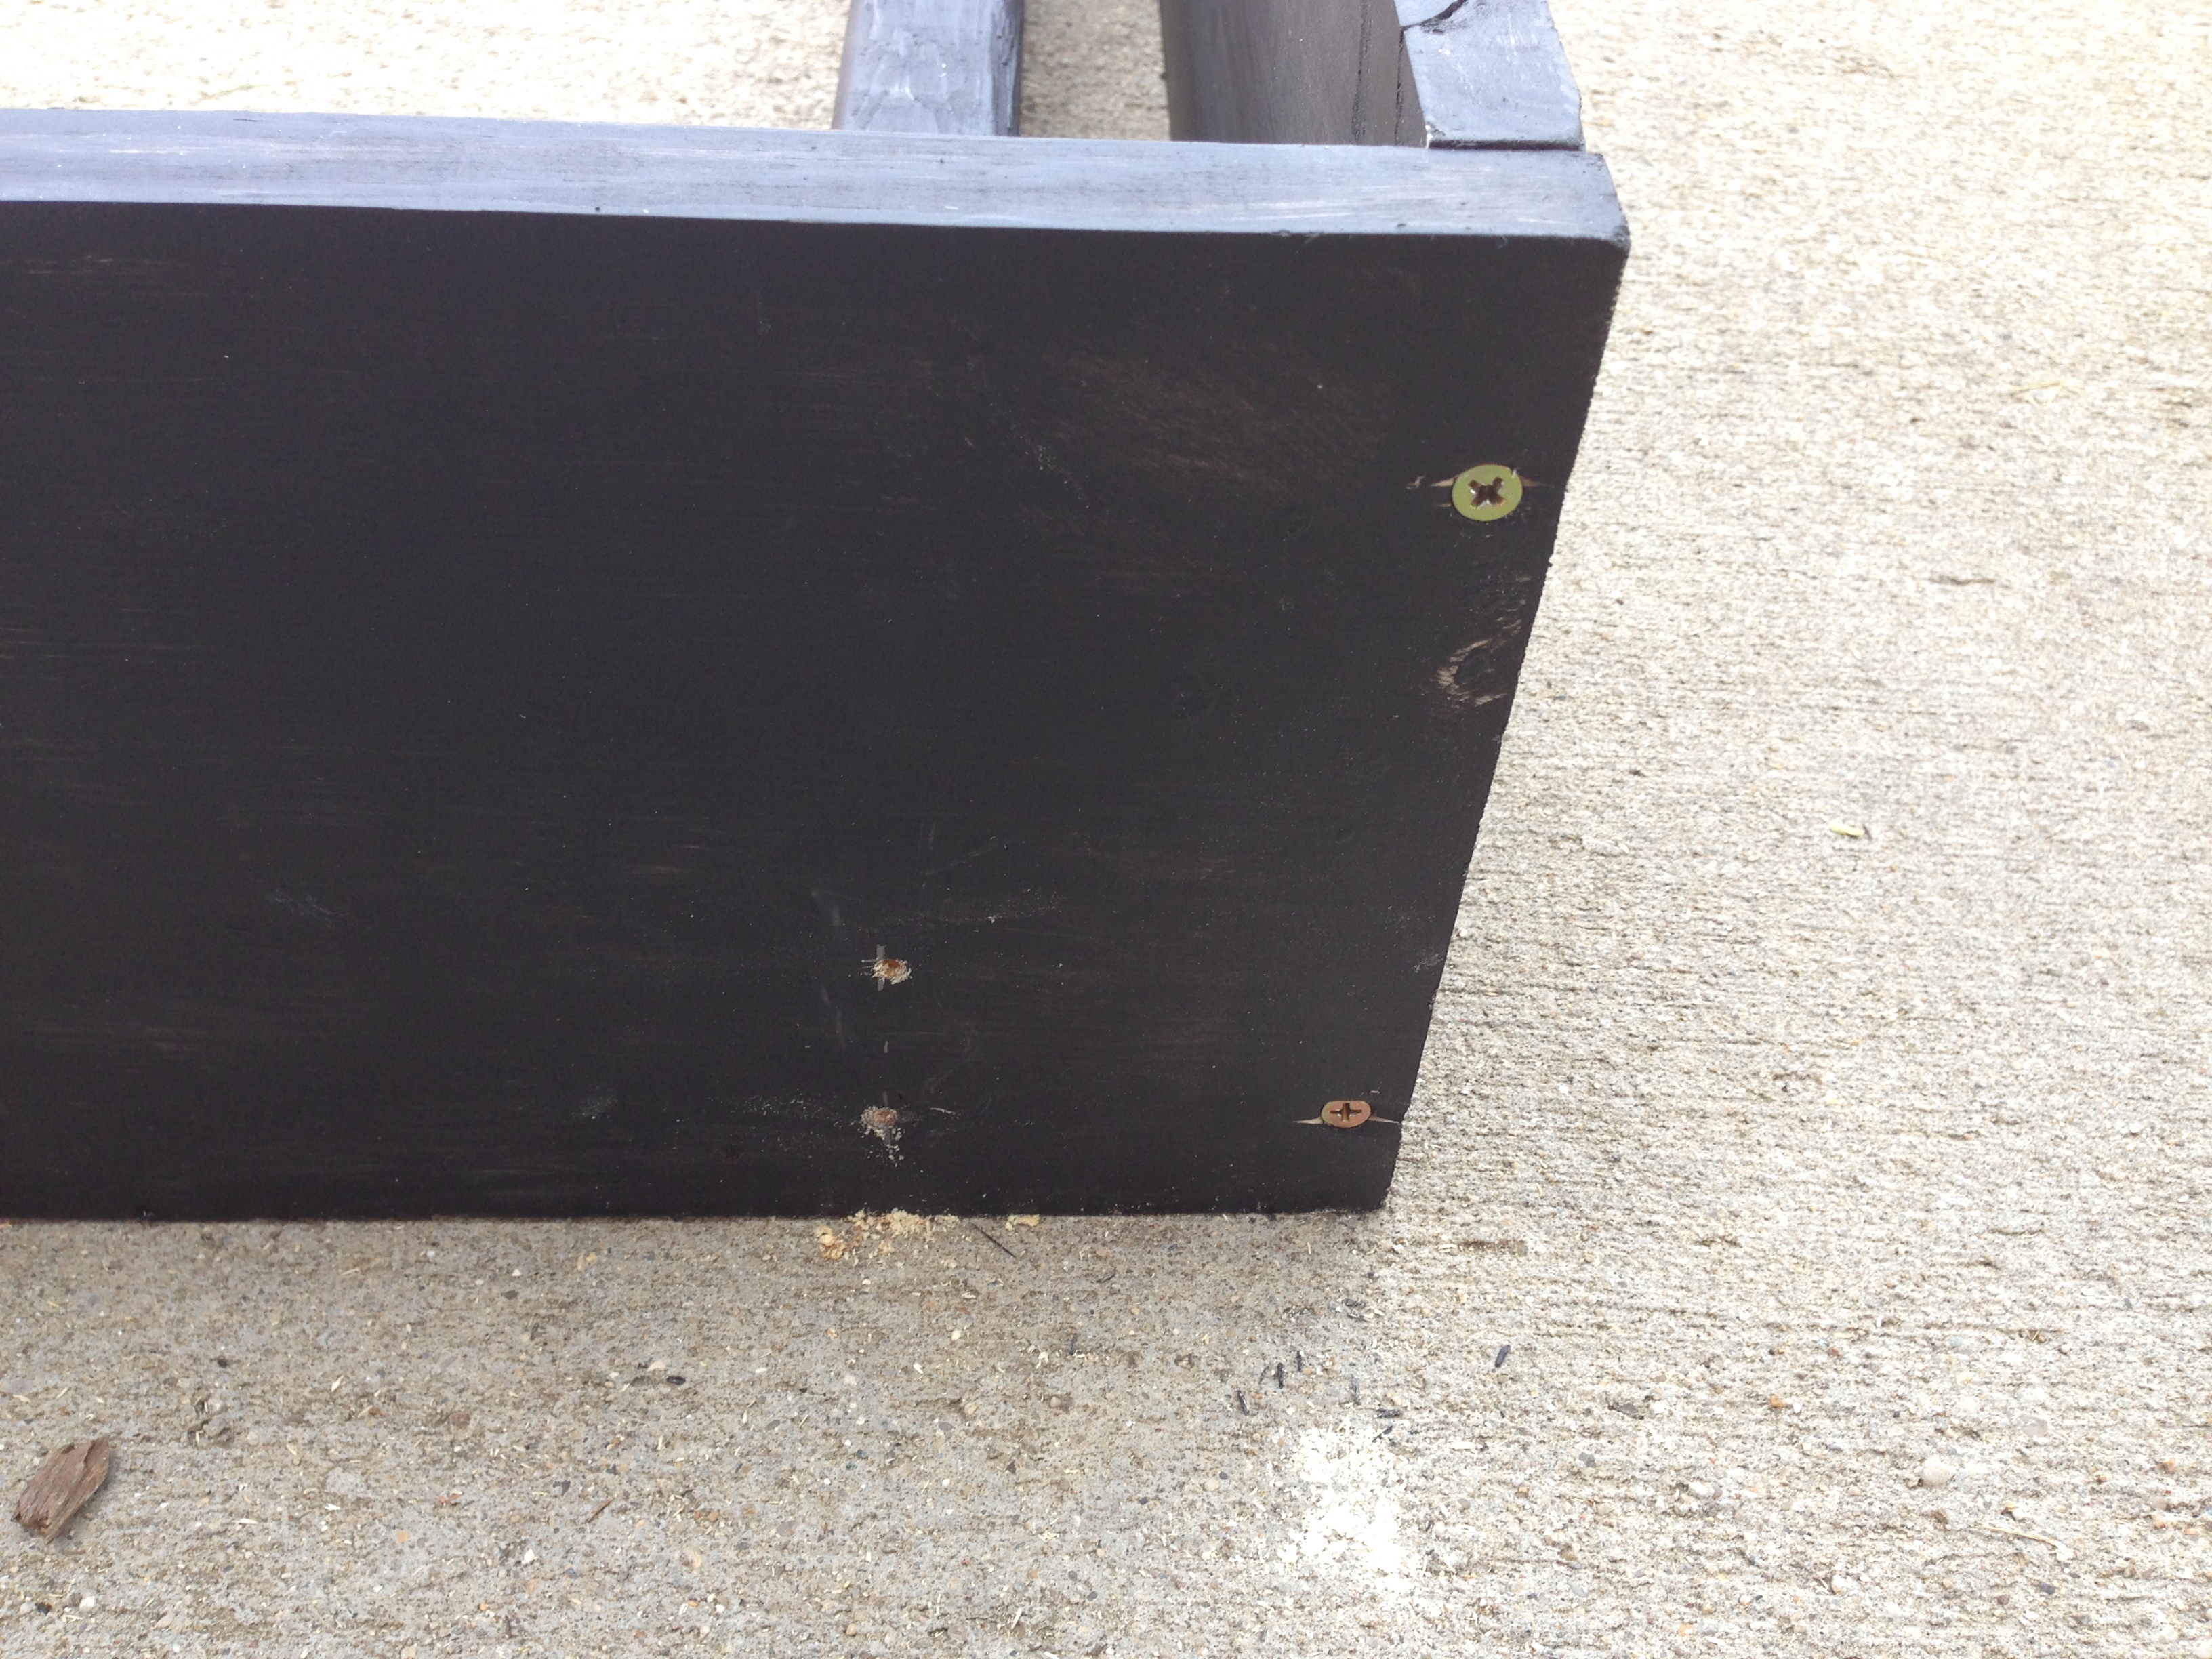
minwax black poly+stain
Recommended Skill Level
Beginner