Laundry Room Mudroom
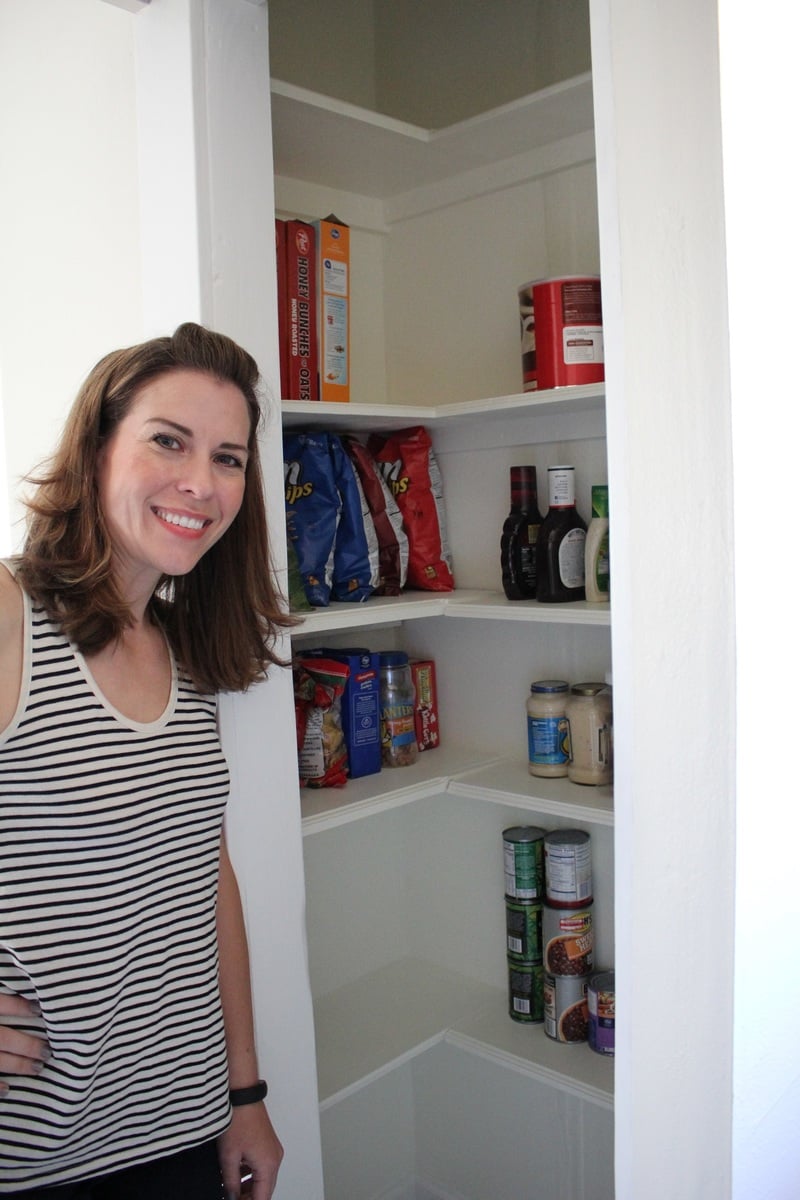
My space was really small (28" wide and 14" deep), so wanted to use the space to its capacity. Sorry, about the pictures being not of the full thing, not enough room for a full length picture.
My space was really small (28" wide and 14" deep), so wanted to use the space to its capacity. Sorry, about the pictures being not of the full thing, not enough room for a full length picture.
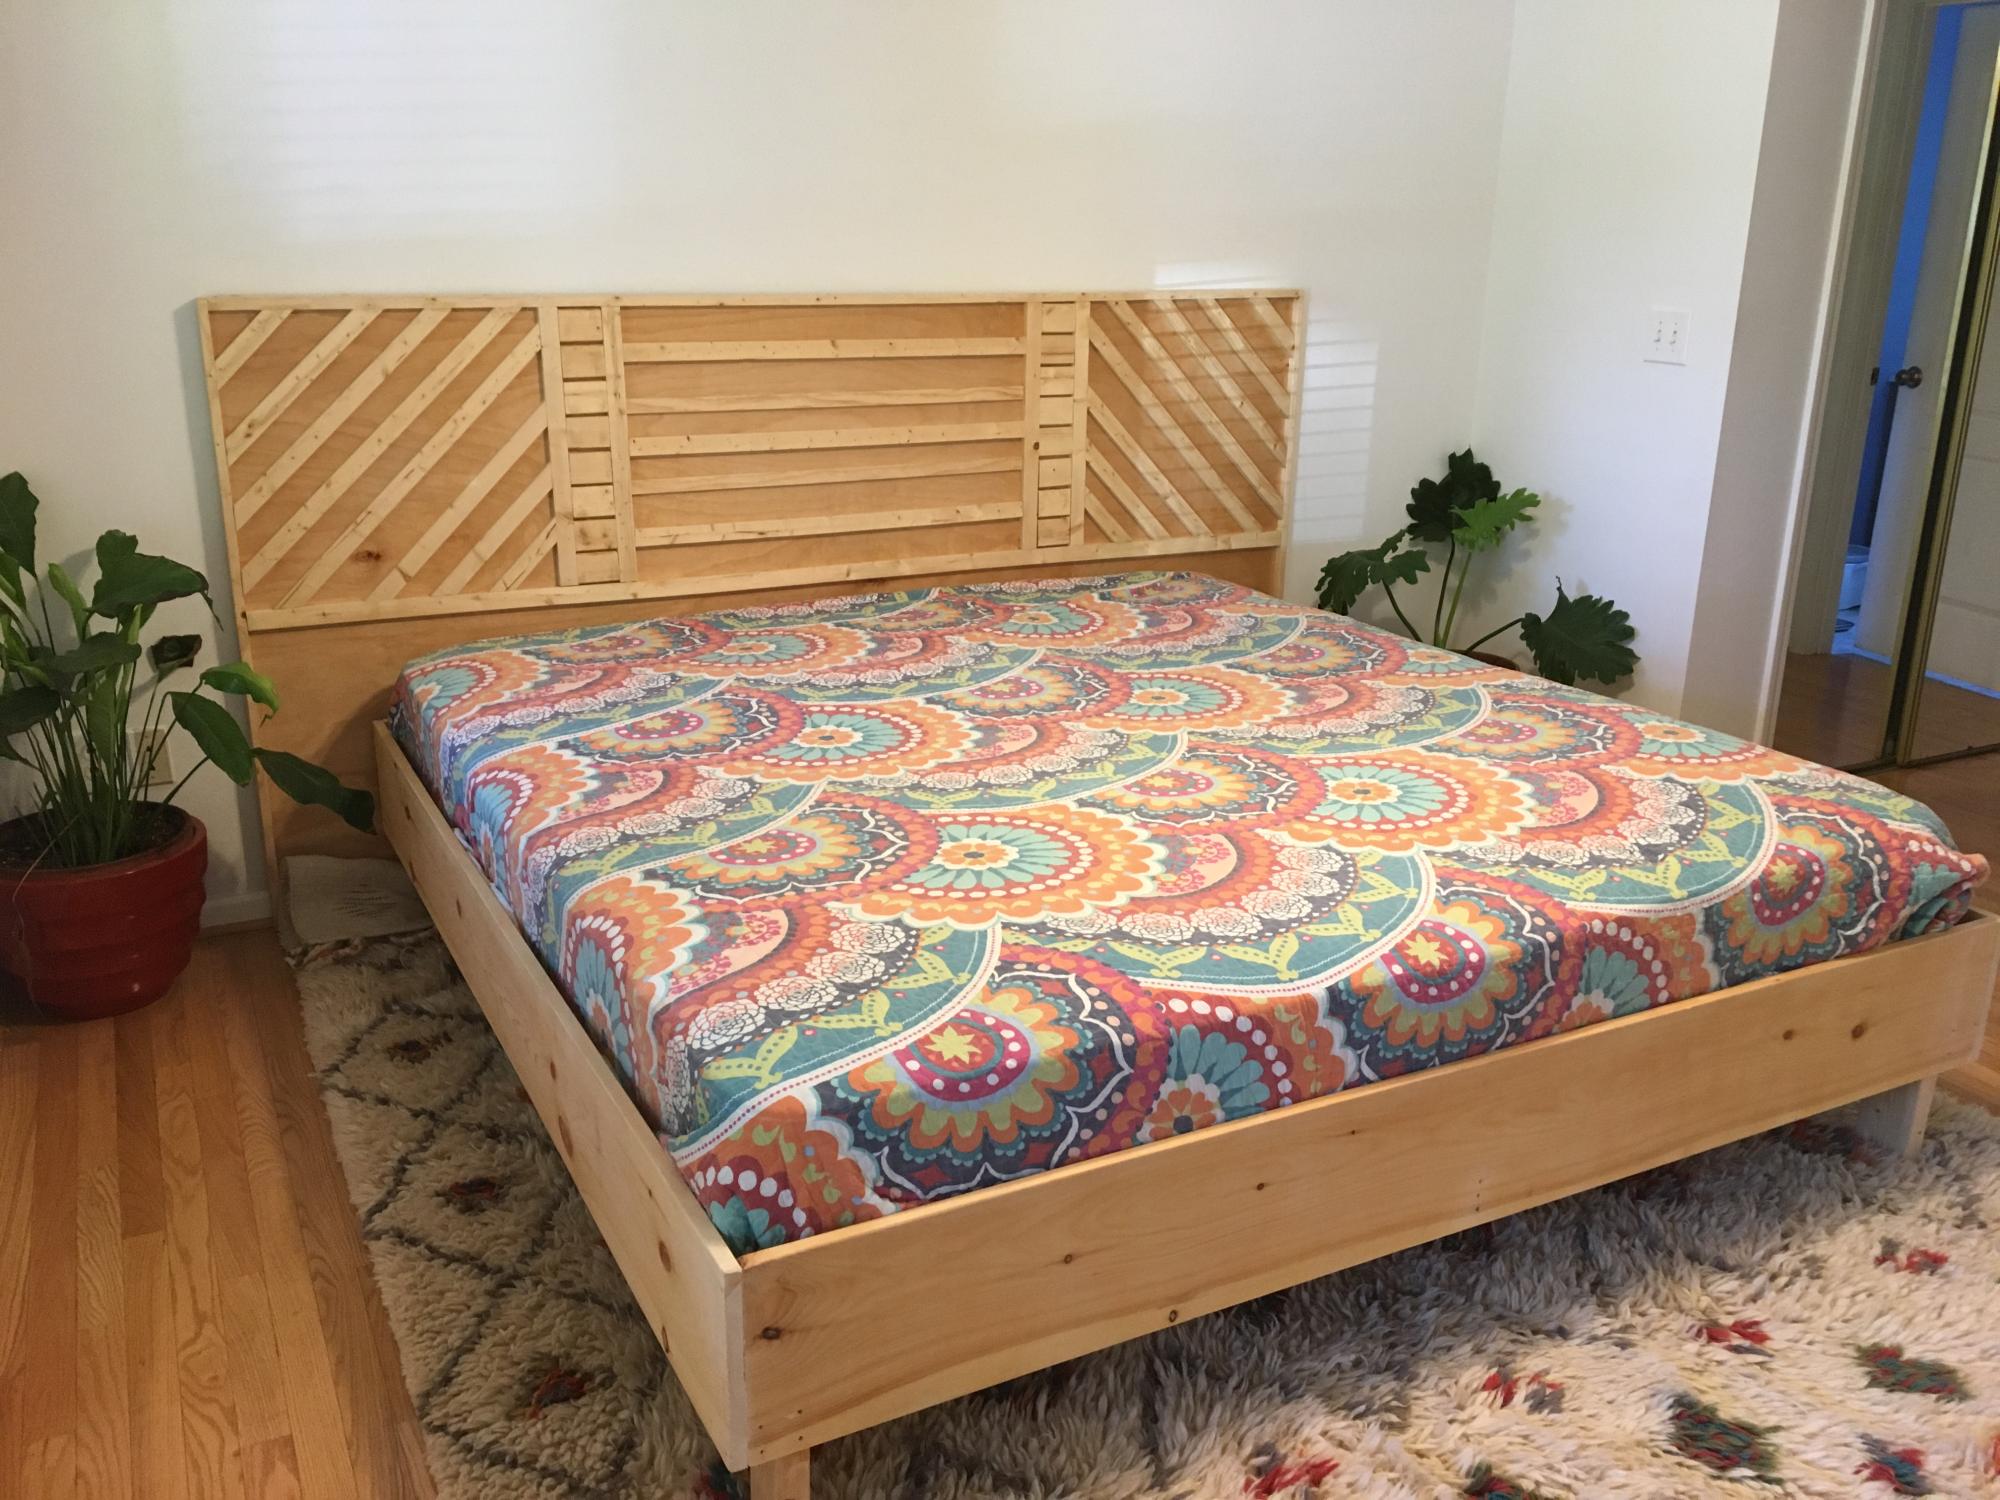
We decided to upgrade to a king sized bed and so my queen sized bed frame and headboard had to go. I based the whole idea off of Ana White’s modern headboard plans. Just using one sheet of plywood and some common board was super easy and made the geometric design fun and quick.
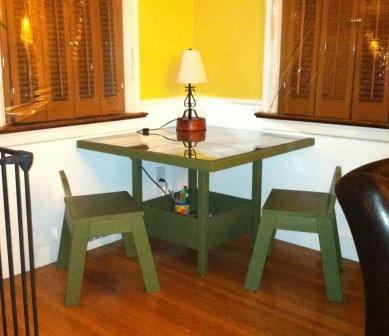
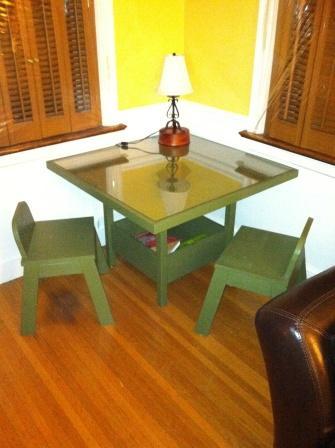
When I saw the plans for the flower storage table, I realized it was just what we needed for homework time.... Except our only child is a boy, so I just made the top a square instead of a flower. Also because I bought the least expensive plywood, it was too rough for a homework surface so we bought very thin plexiglass to go over it. The thick plexiglass would have cost $60 for a sheet, but the thin option was around $14.00. My son loves it so much he eats his breakfast and dinner at the table. It sits in the corner of our livingroom and is just the right size.
Thu, 02/02/2012 - 07:35
Really cute! I love the plexiglass-what did you use to anchor it? Or does it just lay on top?
Thu, 02/02/2012 - 17:42
I put a 1x2 trim around the table to give the cheap plywood a finished look and off-set it the width of the plexiglass with the intention of screwing the plexi down with shallow screws. However... I couldn't get the plexi cut the exact size of the table so I ended up just laying it on there. It hasn't moved an inch yet! I was a little nervous drilling into the plexi glass so this ended up working out just fine. It is really easy to clean pb&j off of too!
As a bonus the Land of N0d catalog came last week. The thumb chair is in it at a retail of $65.00!!! I LOVE Ana White!
great project to do with the kids
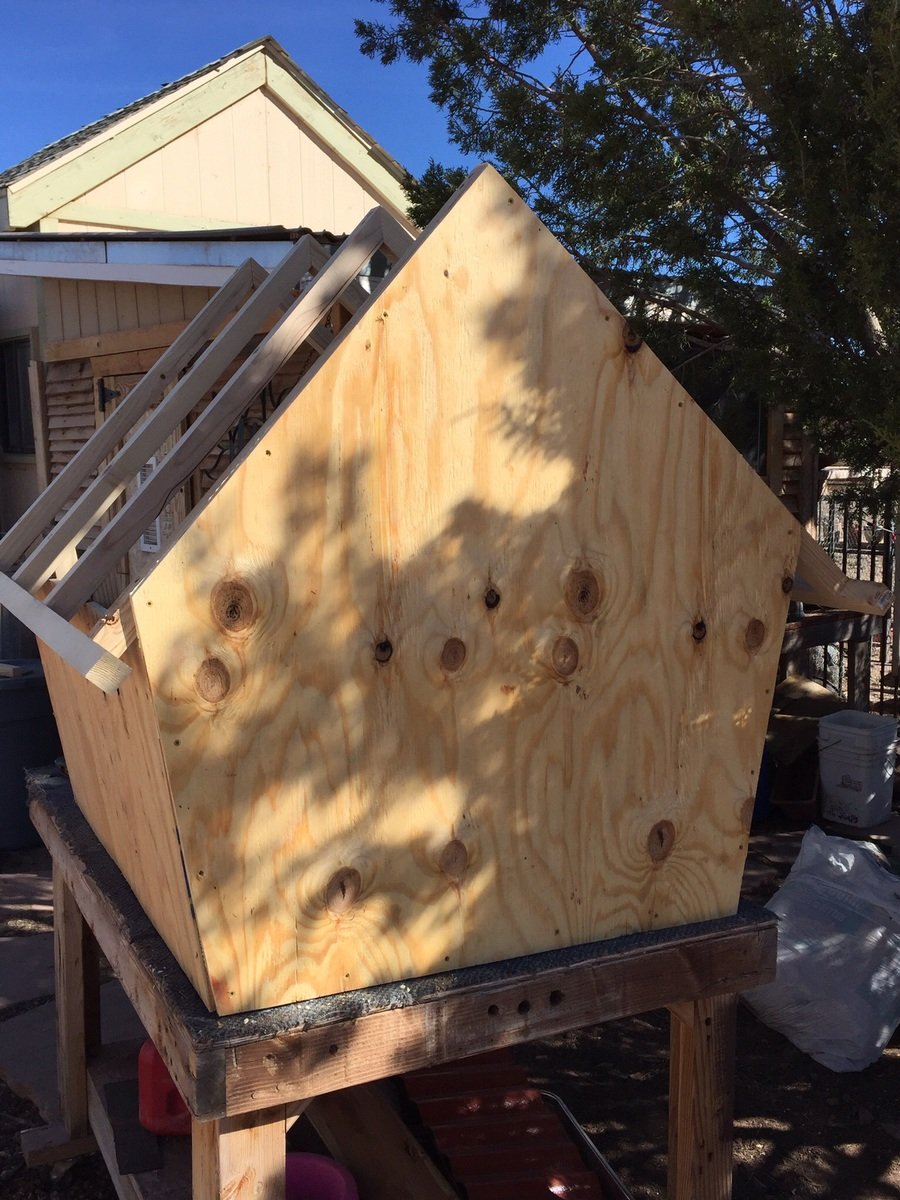
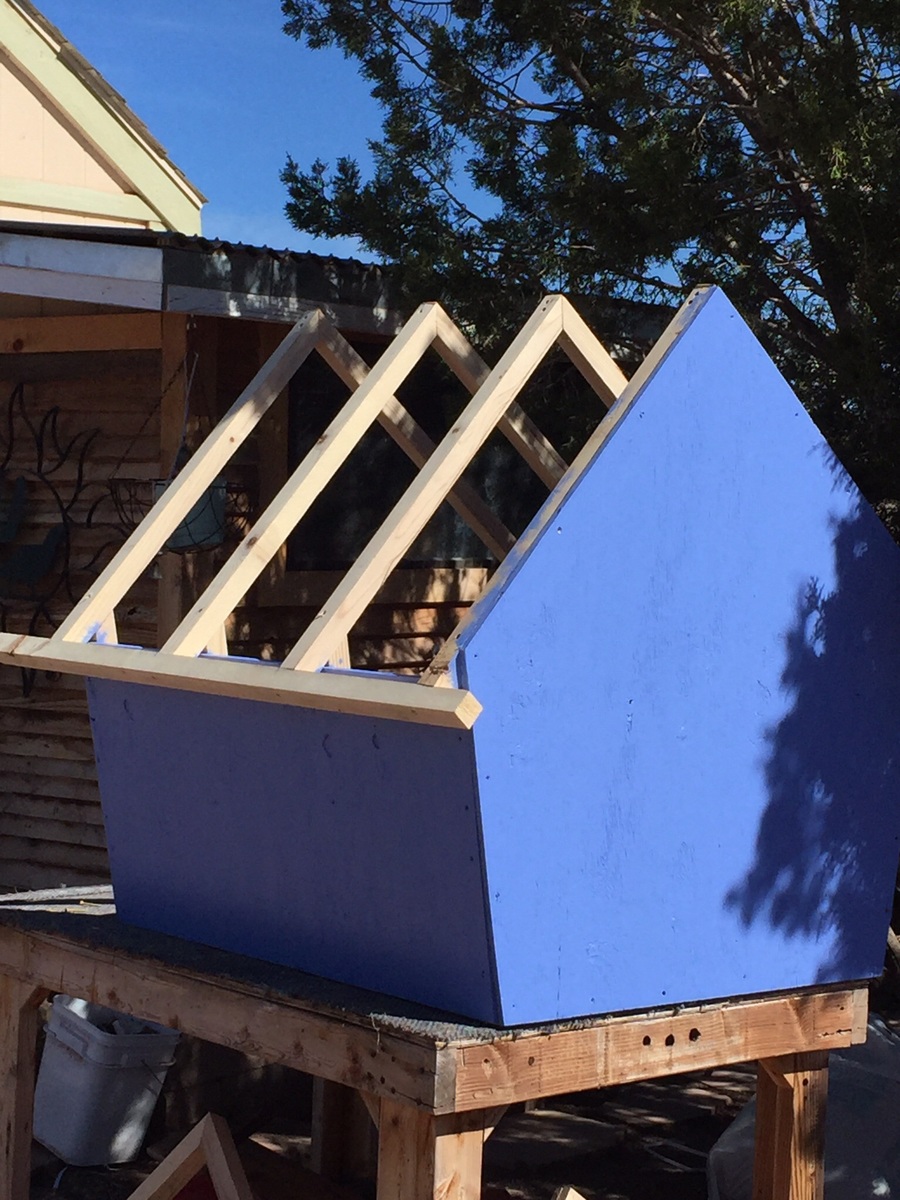
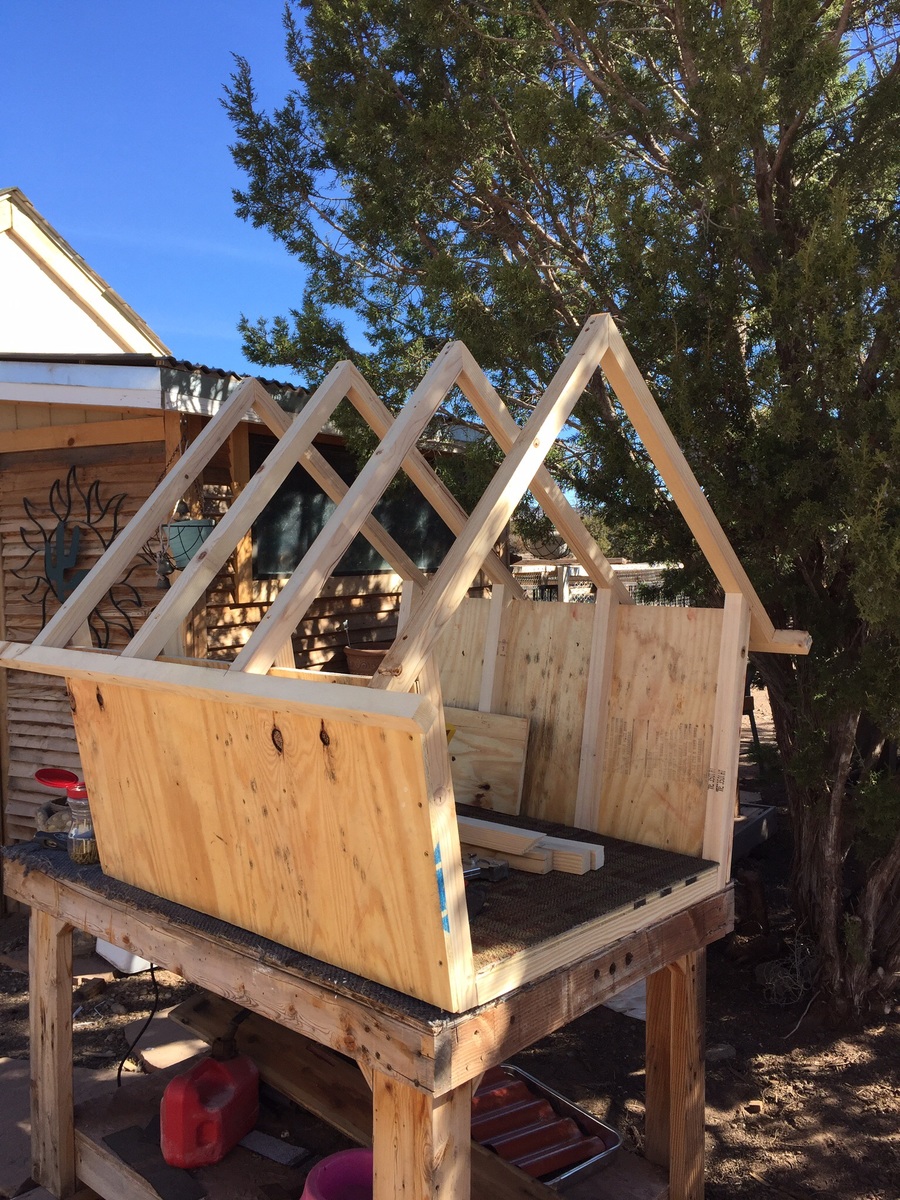
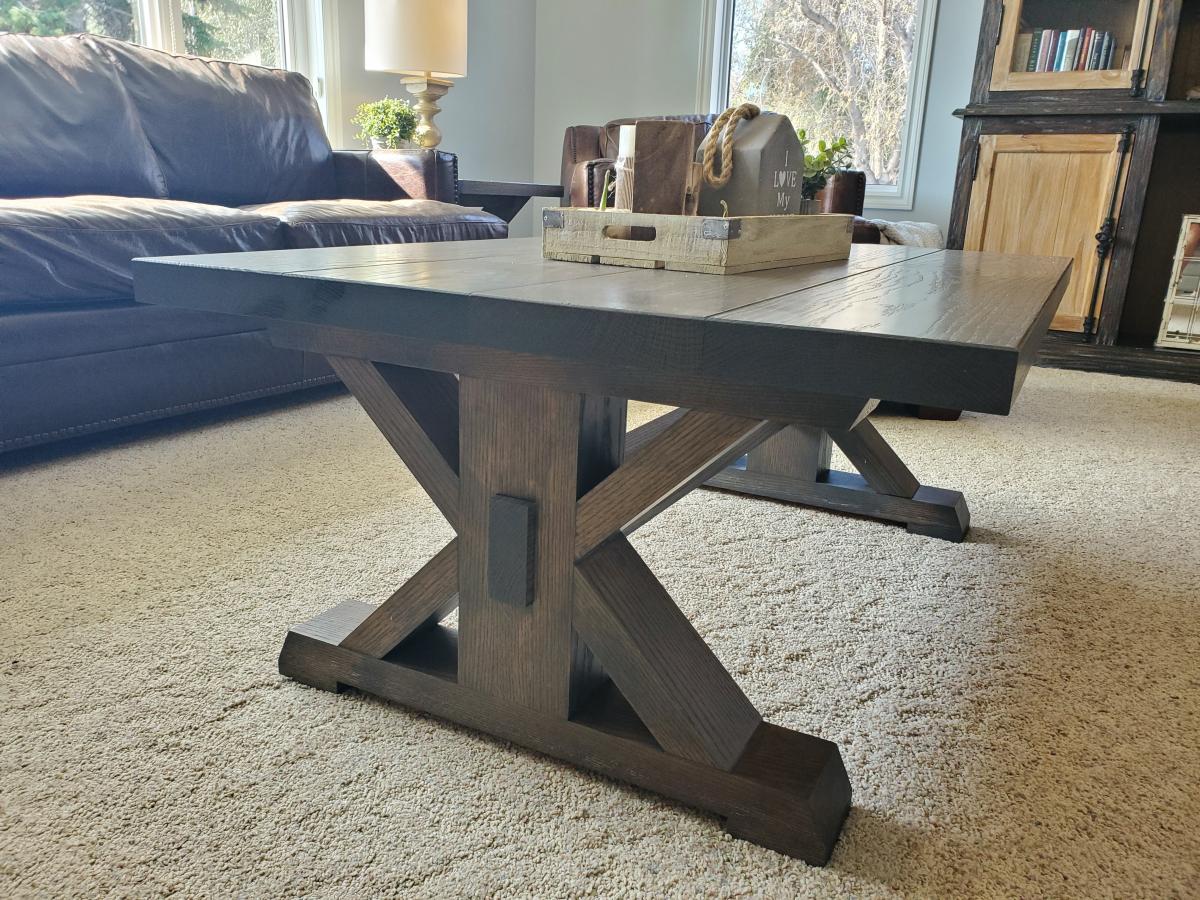
For this coffee table I actually used the triple pedestal farmhouse table as an inspiration and just made it smaller and made 2 rather than 3 pedestals! I made the top the size I wanted it to be and then I made the pedistals really short to get the look I was after!
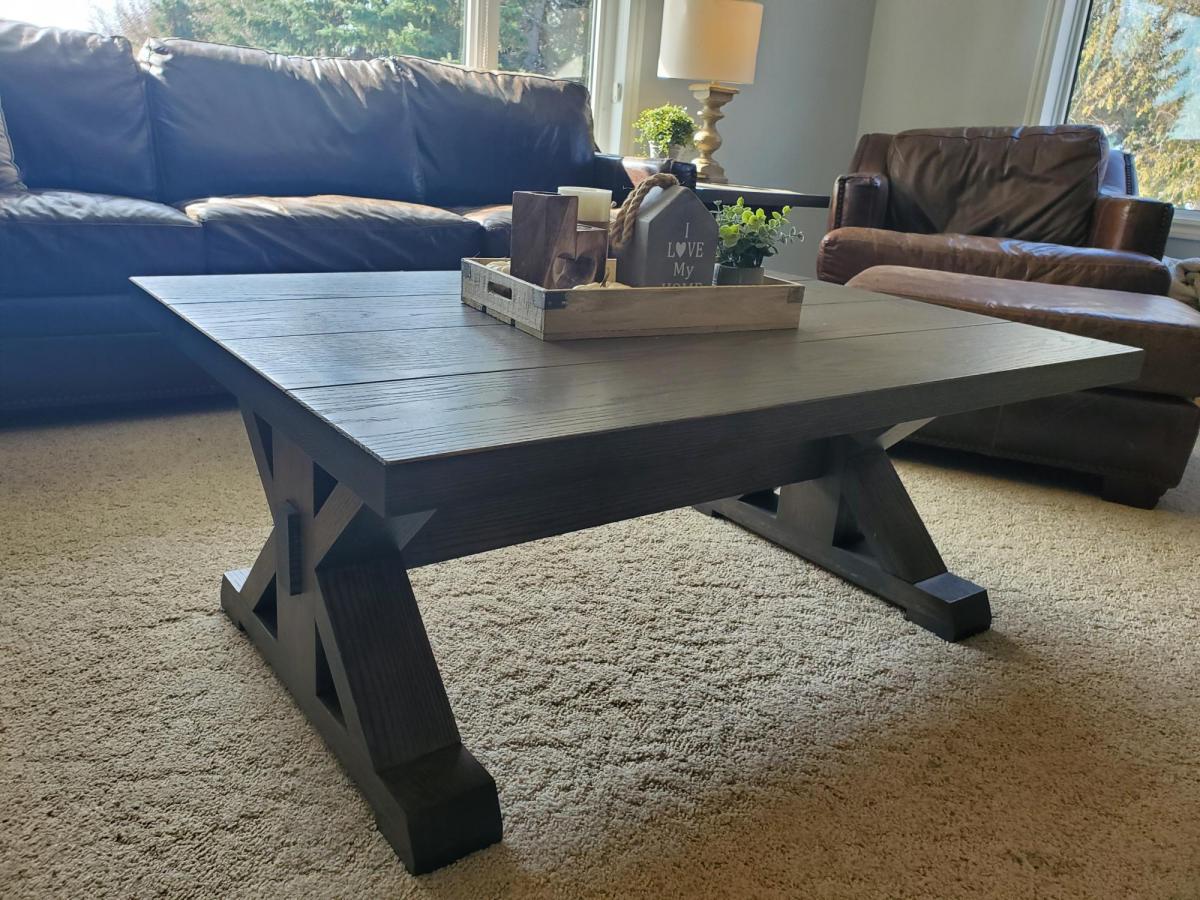
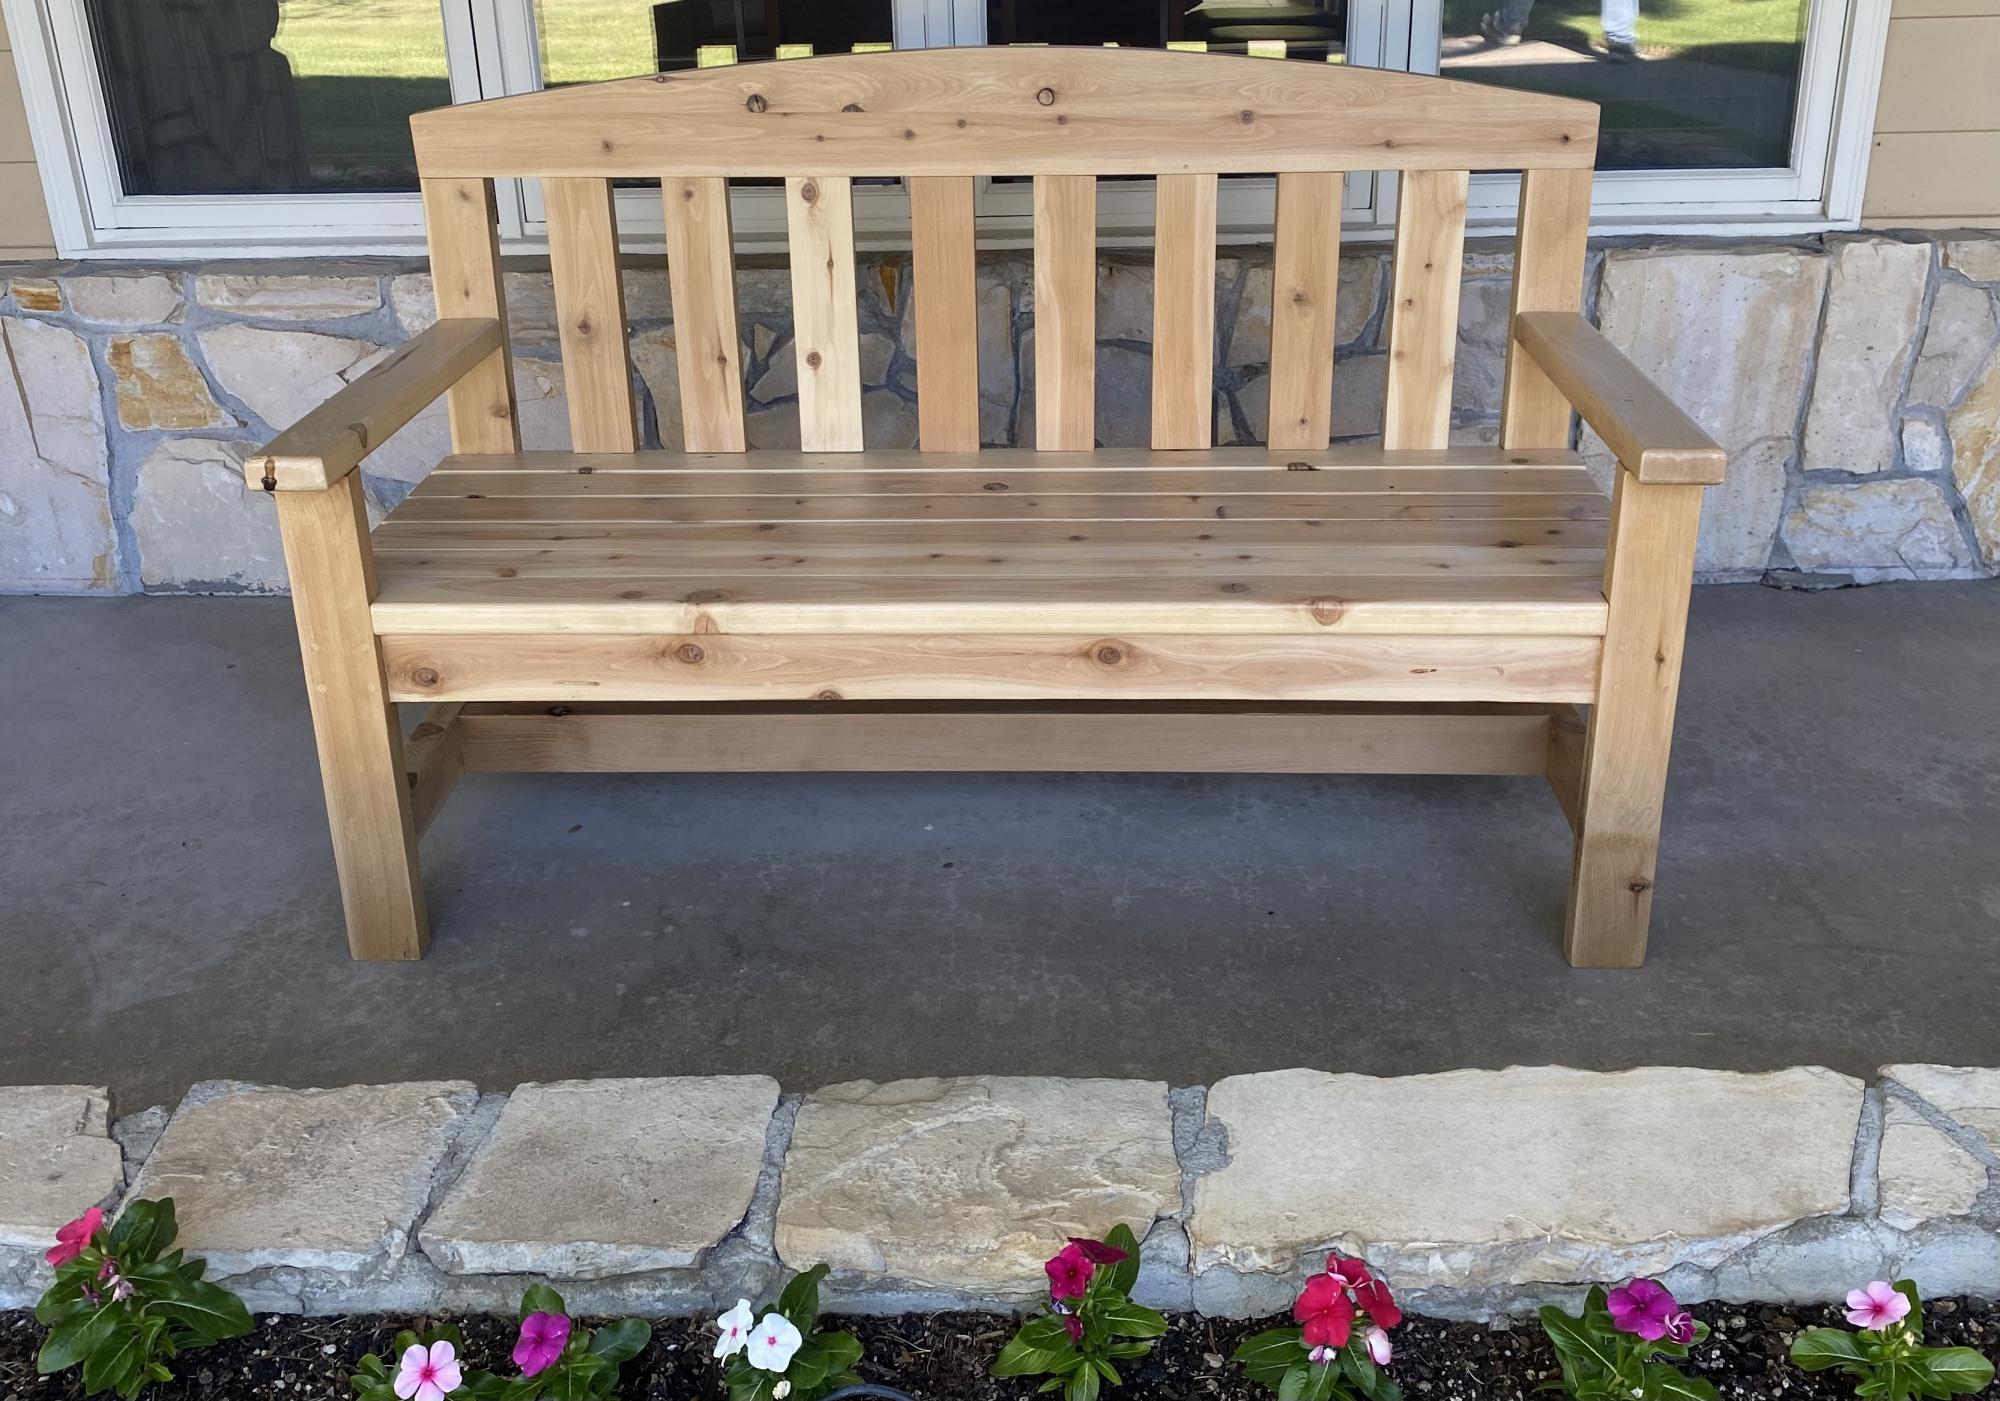
I took a woodworking course through the community college and built this cedar bench for my front porch. I learned so much throughout this process and am proud of how it came out. I am now building up my own arsenal of tools and supplies. I can’t wait to choose my next project!
Plans from myoutdoorplans.com/2x4benchplans
Mon, 06/19/2023 - 17:39
Such a great first project, thank you for sharing. Can't wait to see your next project!
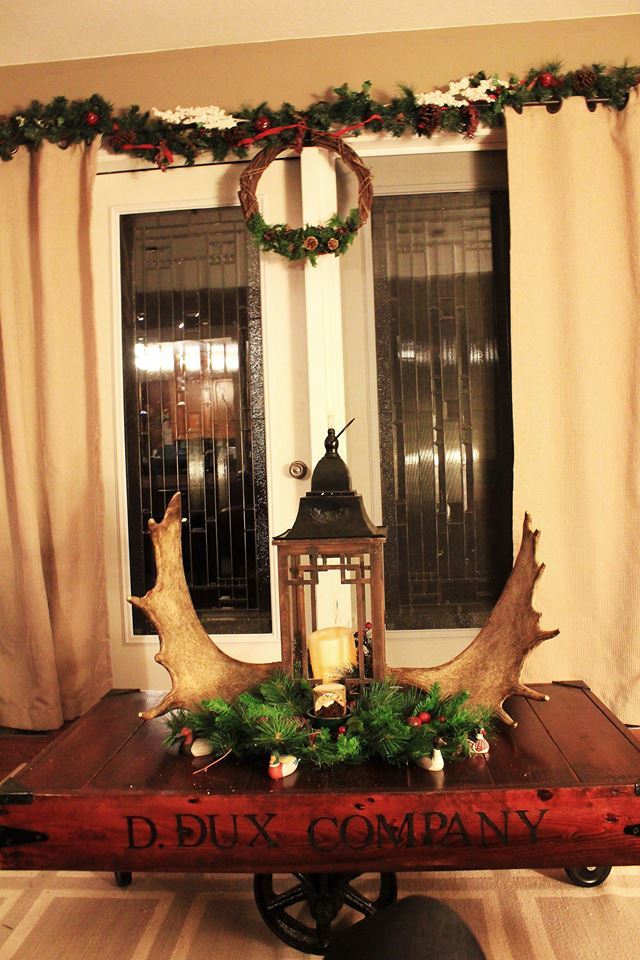
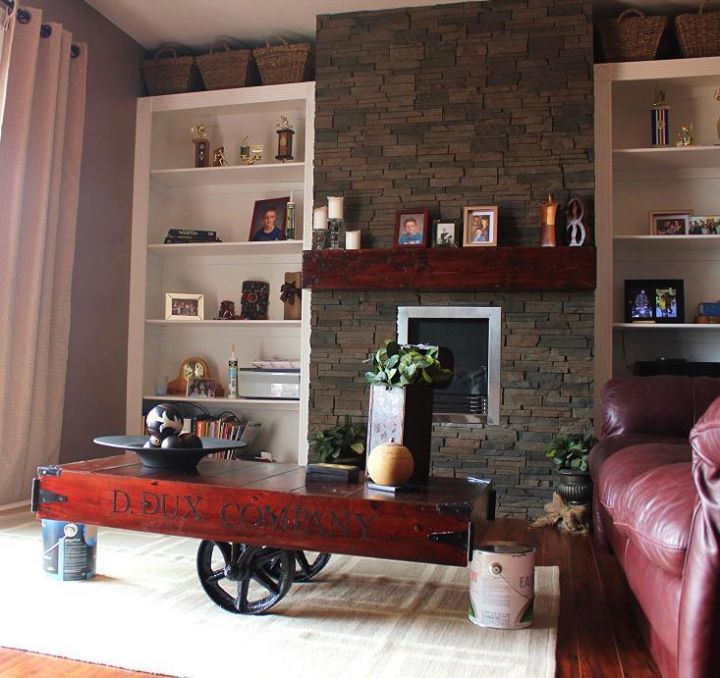
Obviously fell in love with Ana's plans after I had a mild heart attack at the price of refinished ones. But I still really wanted to keep the wheels looking somewhat original.
So after weeks of searching and placing wanted ads everywhere - a lovely lady contacted me to say she had an old barrow in a slough behind her house and would the wheels from that be any good!
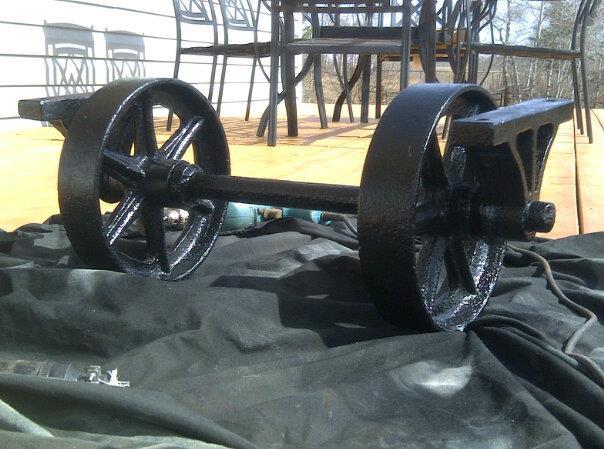
You bet they were. (They are cast iron and weigh a ton (hauling it out and getting it in my truck was a story on it's own!)
Unbelievably (and I seriously mean this) the plans for Anas table and the dimensions of the 'axle' part of the wheels fit like a glove.
Do you love the paint pot balancers in the second pic lol I was holding out for the perfect wheels and I really am still searching for the right style to use, but for now I've attached casters (cos paint pots didn't give it that right look!!!!!) and I love this table
Thanks so much Ana x

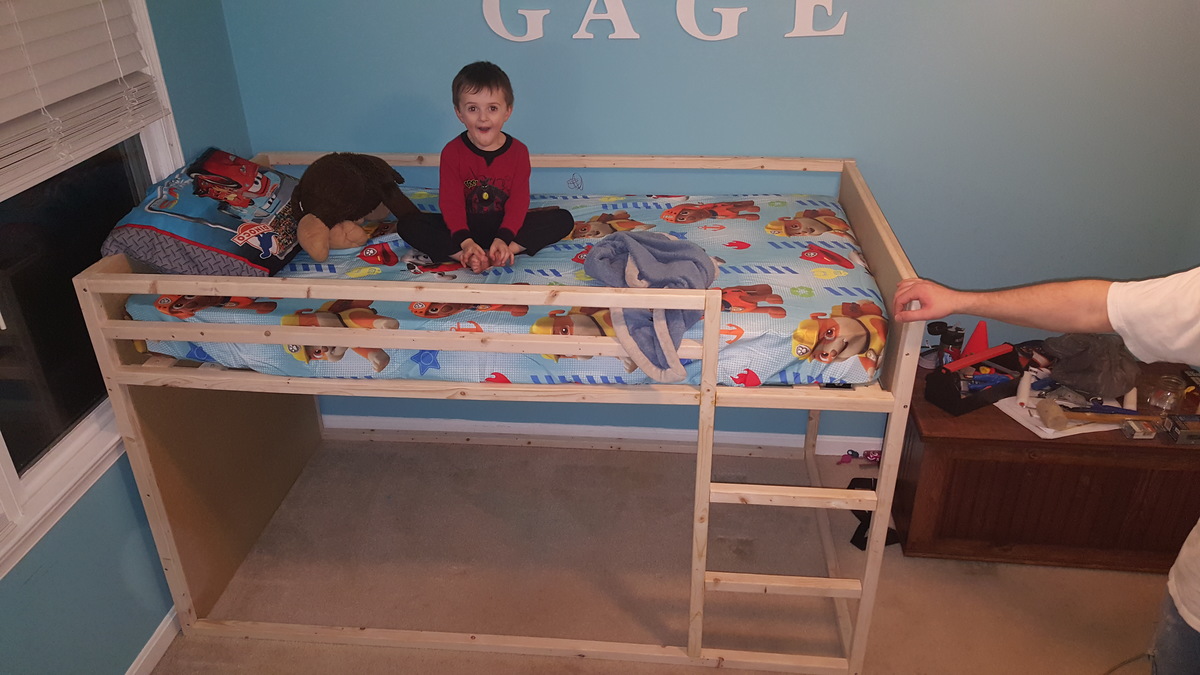
This was an all day project but we bought cheaper wood and had to do some serious sanding. The plans are missing a 44 1/2" 2x2 for the ladder. We also plan to brace the middle of the back with another 2x2 post because our 4 year old loves bouncing around. So glad we did this I stead of spending $100 extra dollars at ikea!
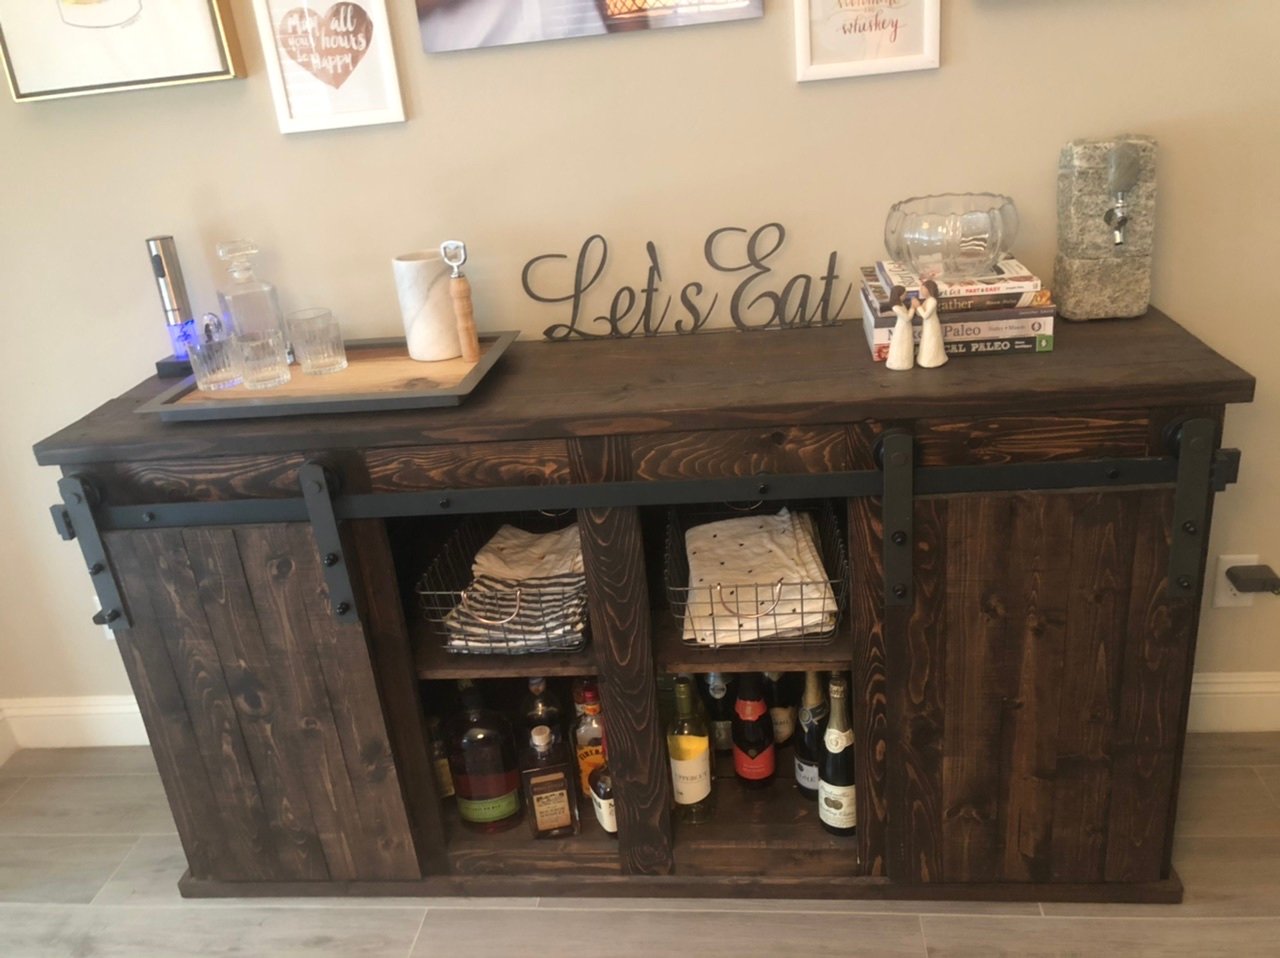
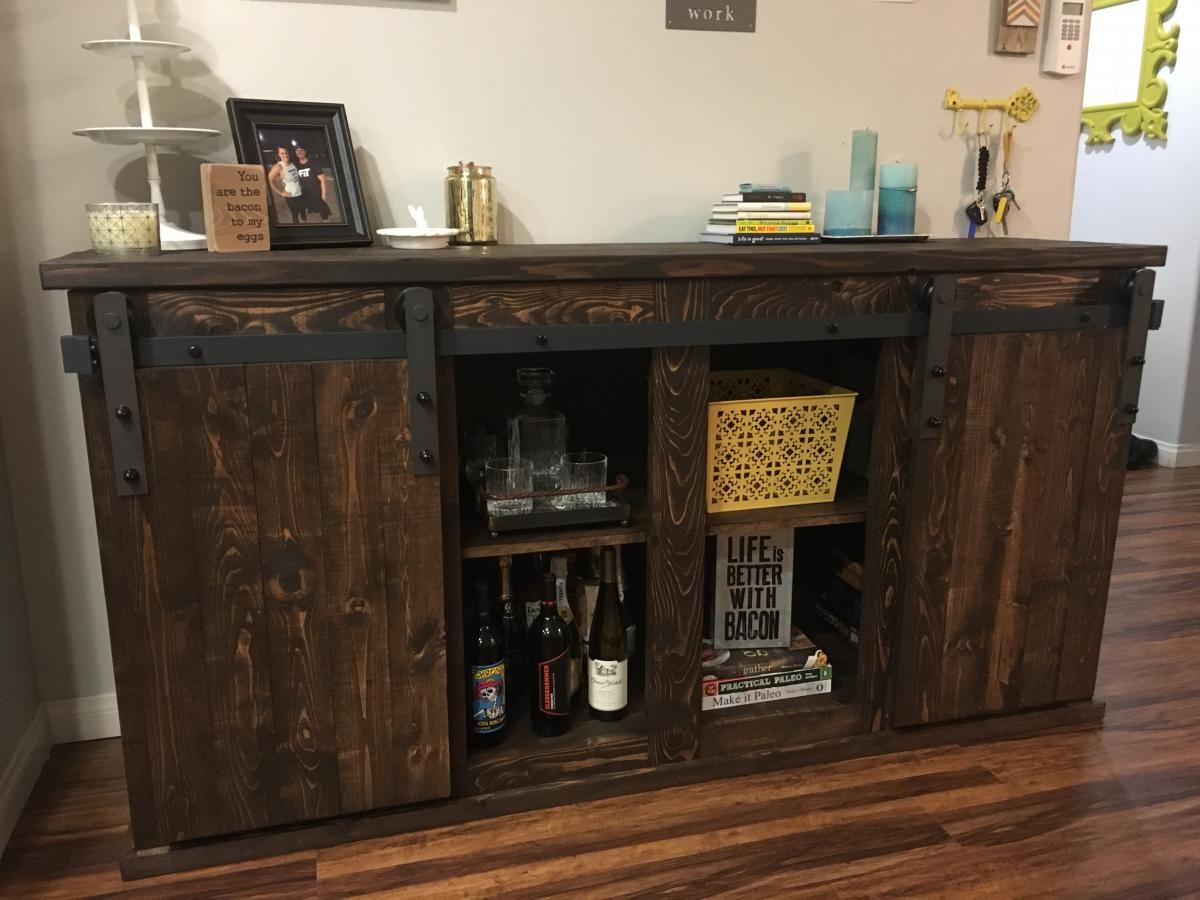
We needed a unique bar for our home, and loved the sliding bar doors on this one! It fits our house, and we get so many compliments!
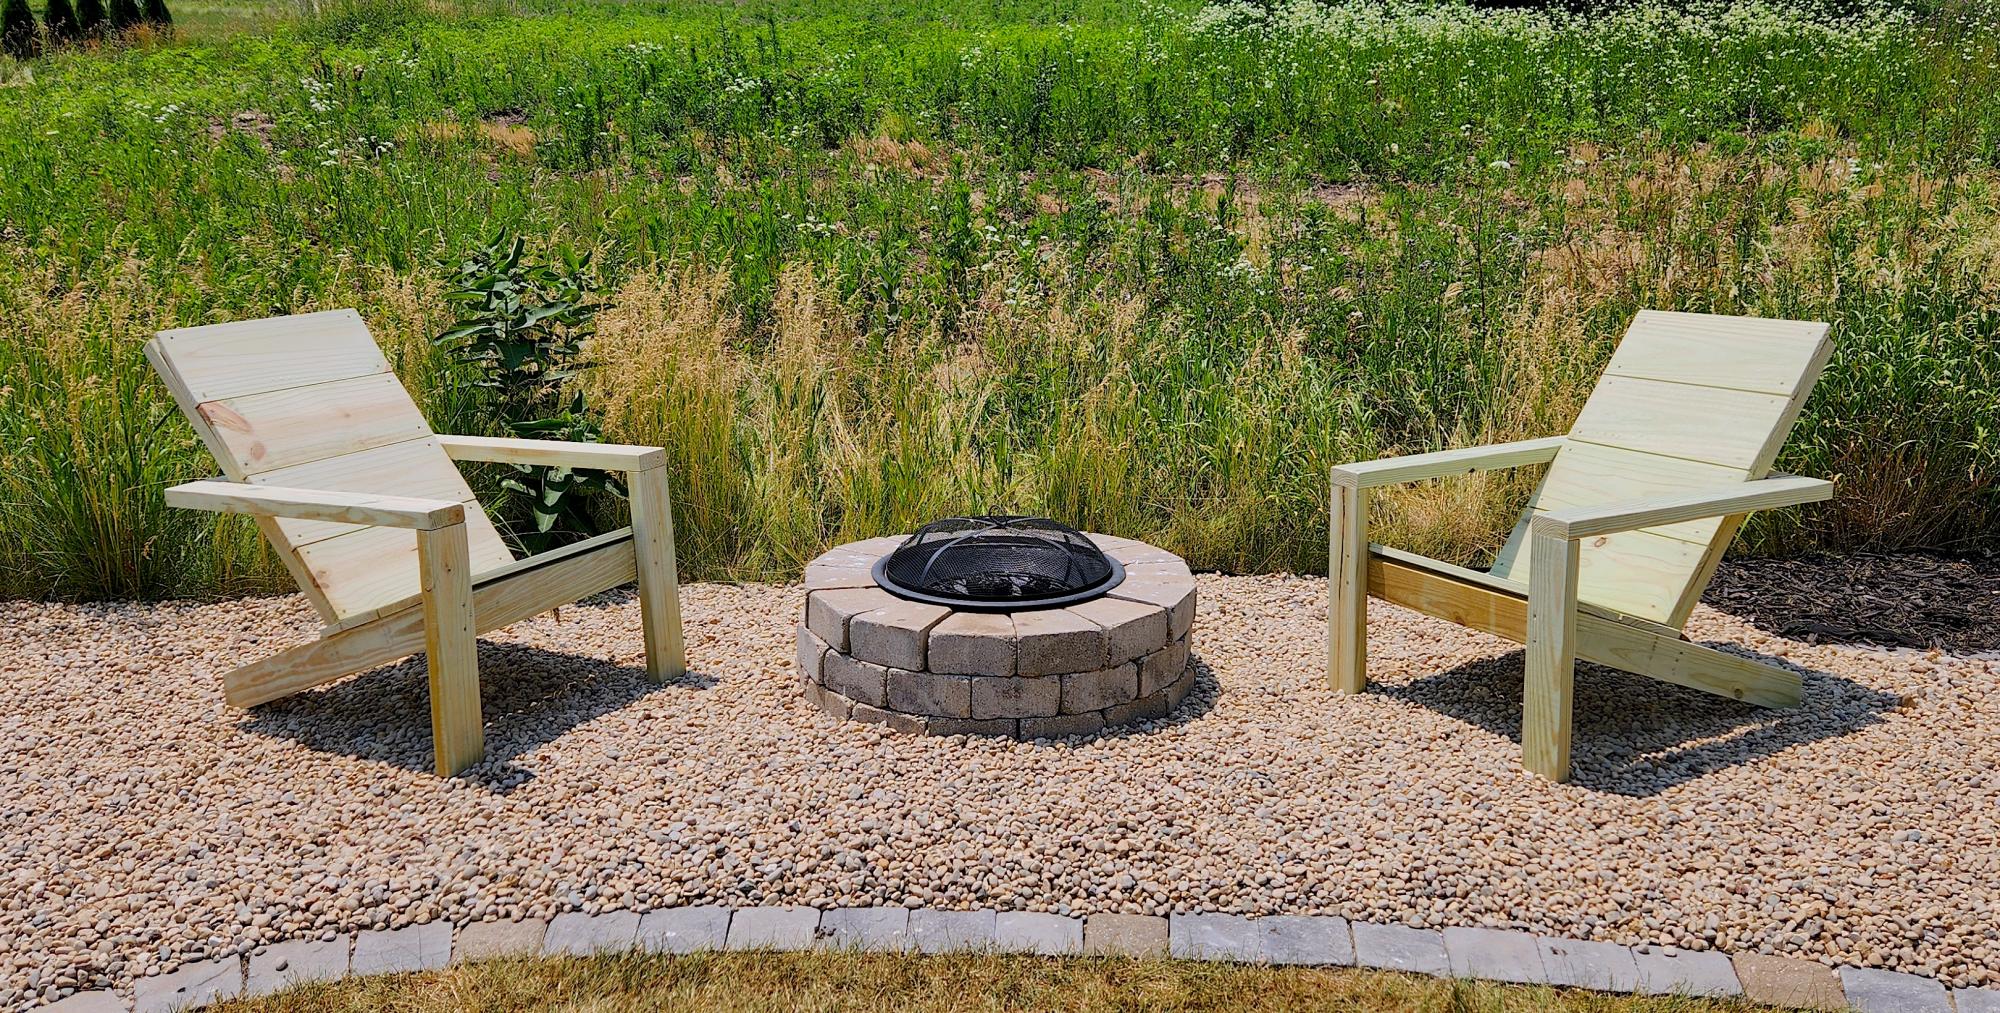
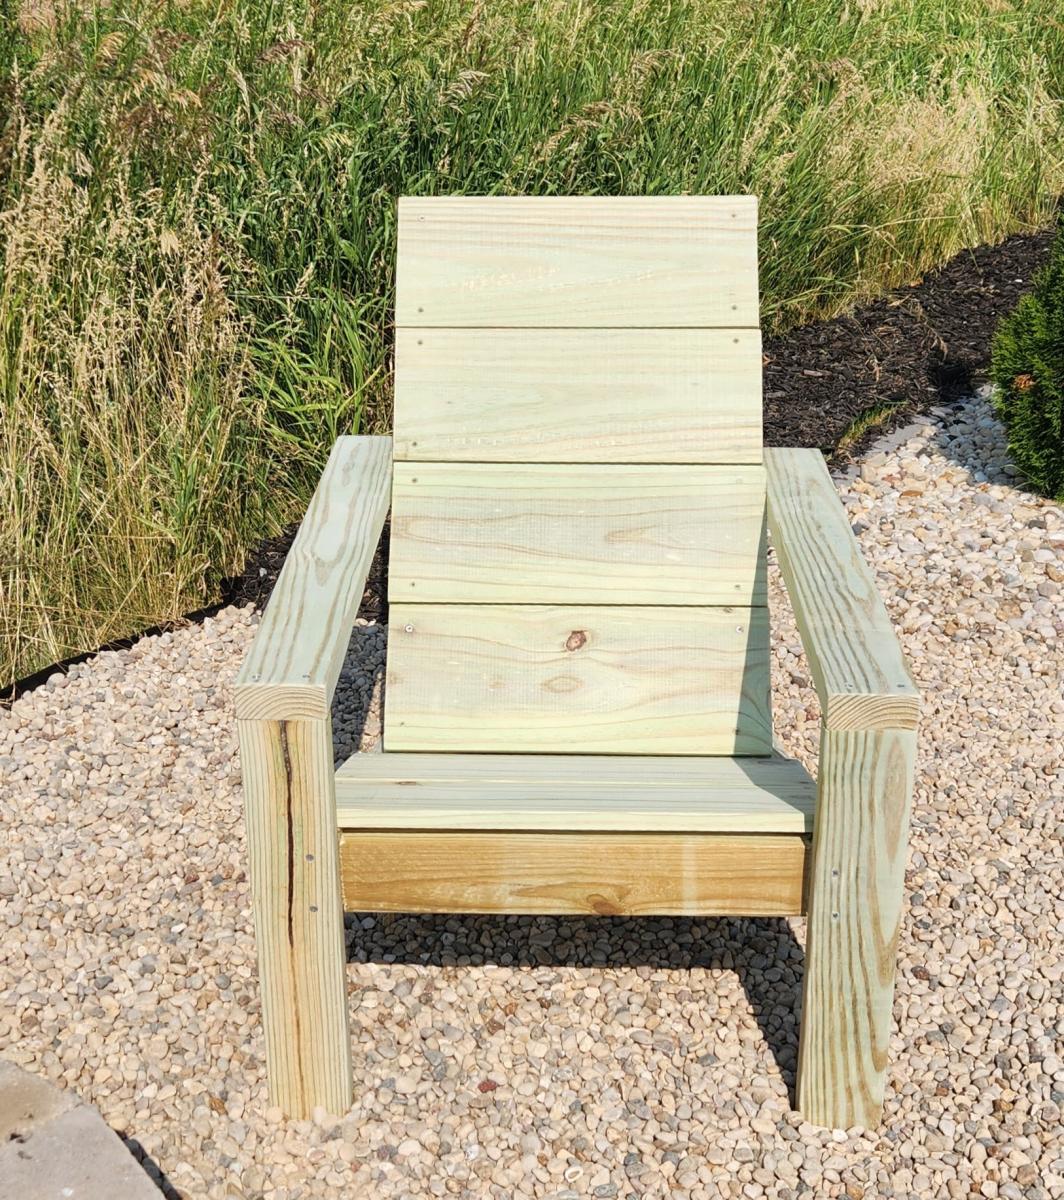
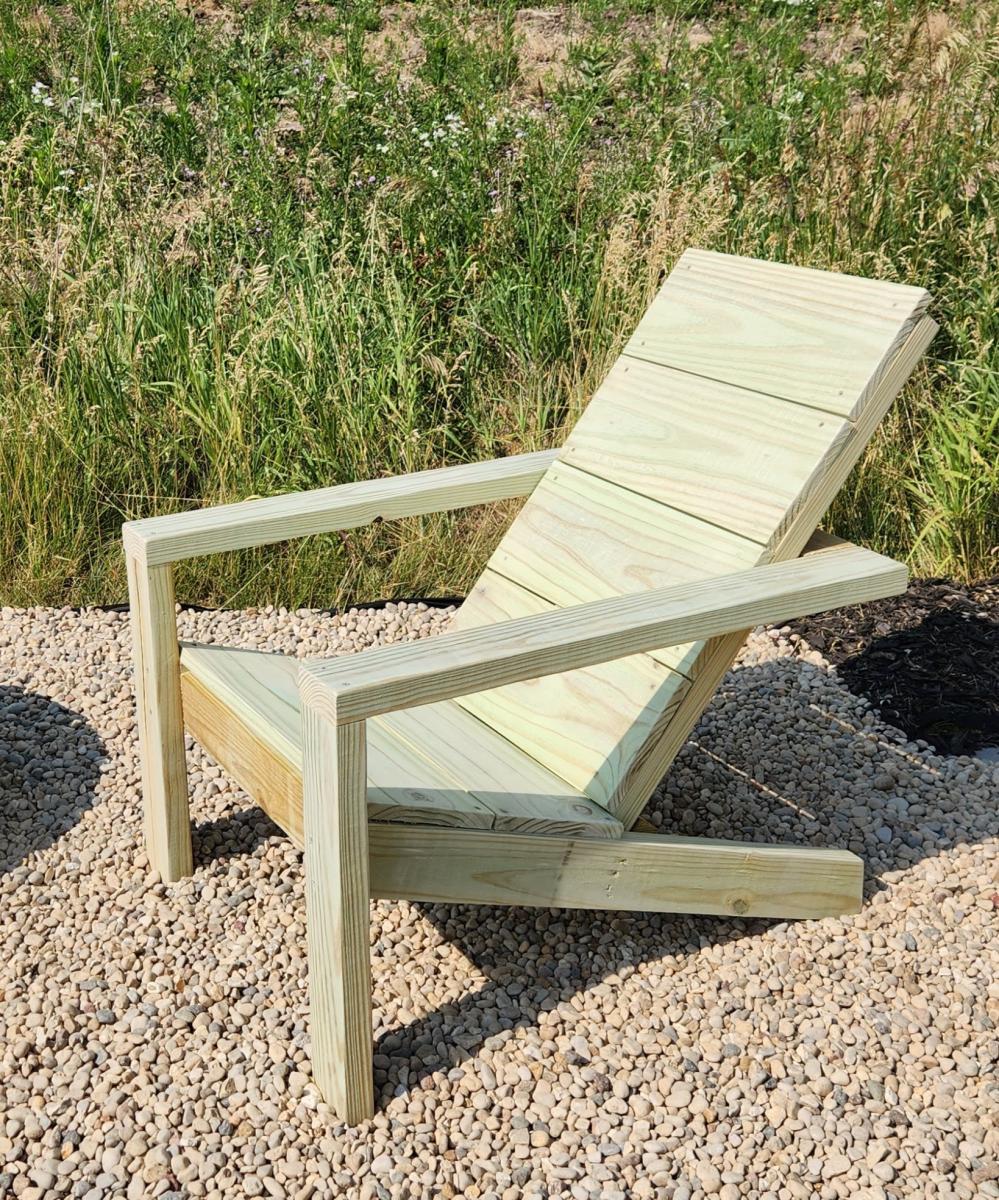
I used treated lumber for my project. One chair took me 2 to 3 hours from start to finish and the 2nd chair went a lot faster! The plans were so easy to follow, Thanks Ana!
- Built by Kara
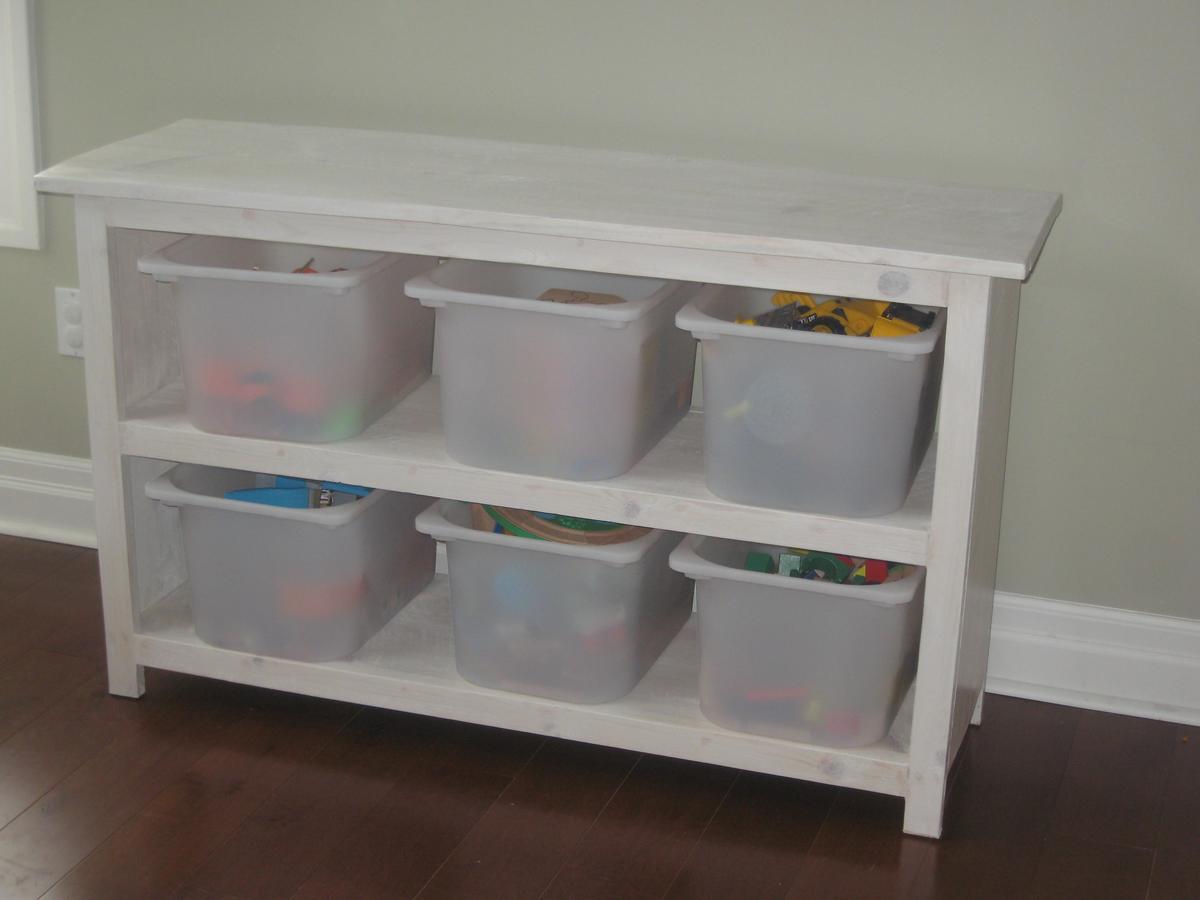
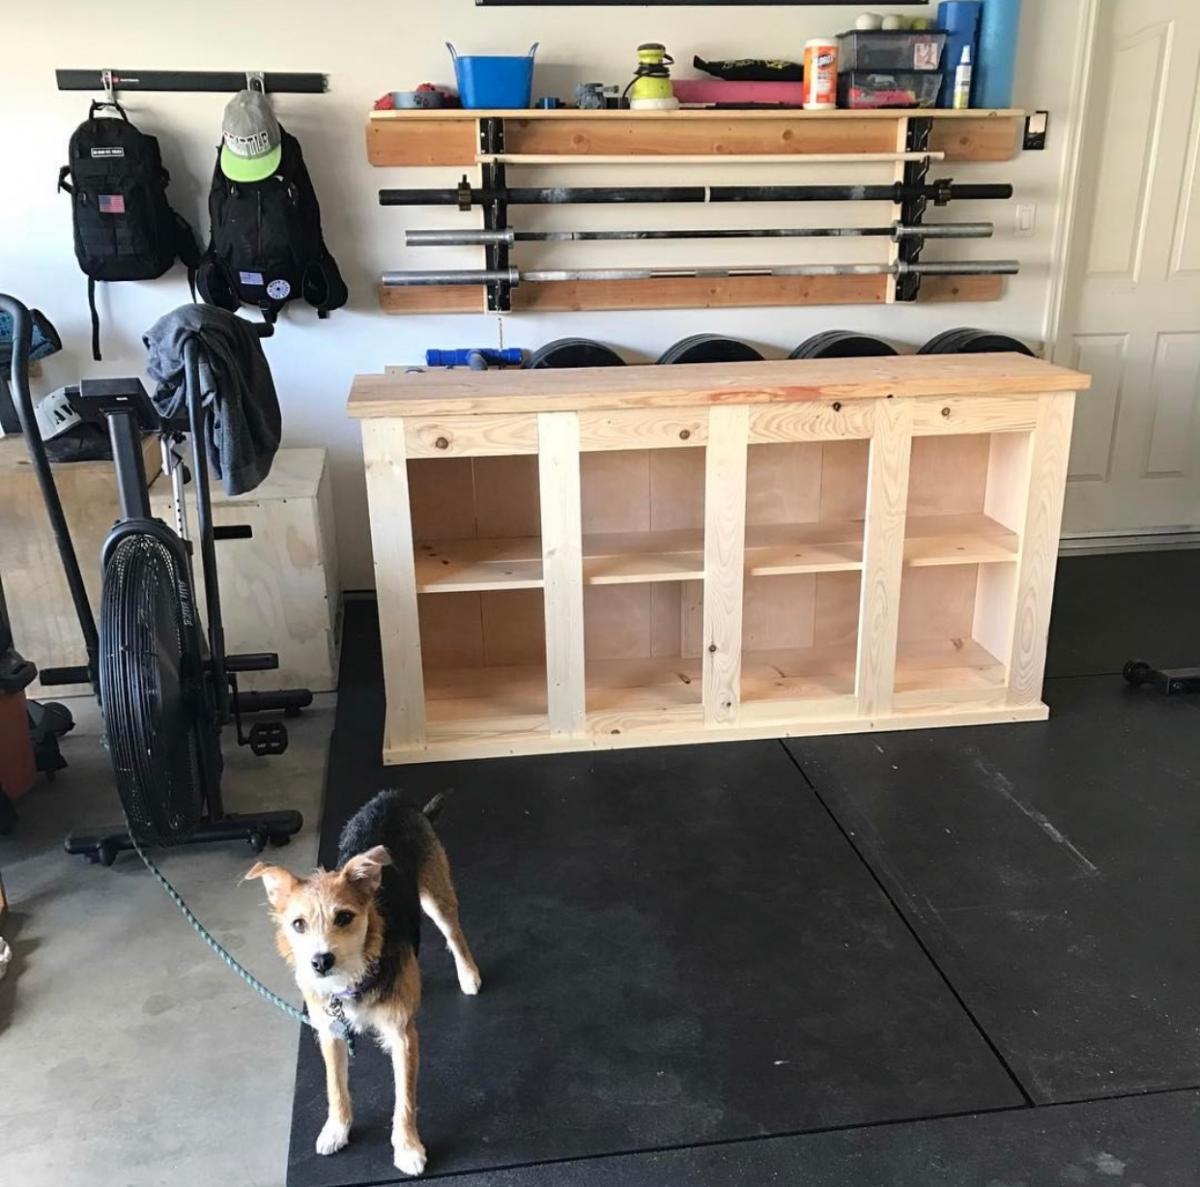
I built this out of rough cut pine direct from the saw mill. The wood is beautiful and thick, but it took a TON of sanding! It fits 6 medium Ikea Trofast bins with a bit of room to spare.
The hardest part about this project was figuring out how to hang the shelf on the wall. I have never made anything before and wanted to buy the Pottery Barn version of this but did not want to spend $600 + shipping so with some help from some friends and my husband, Voilà!
I spent about $100 total on this project. We did buy a jigsaw for this but plan to use it for many other things so I'm not counting that. It really doesn't require much skill and wasn't all that difficult. We put ours together with screws and since I was painting it I wasn't worried about the imperfections along the way. All that's left to do is sew a cushion! I am so happy with the results! Thank you so much Ana White for these plans!


This was my husband's first build and I think it turned out great! I was very nervous about painting it such a bold color, but after distressing it, I absolutely love it! My three kids each have a drawer and cabinet for their homeschool things.
Wed, 03/02/2016 - 17:13
Beautiful color! I love the look. I'm currently building this as well. I'm almost at the paint step. I would like to go with a nice bold color too. I'm inspired by the yellow color.
Wed, 03/02/2016 - 21:56
WOW, that is an amazing job all around! Can't wait to see your next project, you make a great team, thanks for sharing!
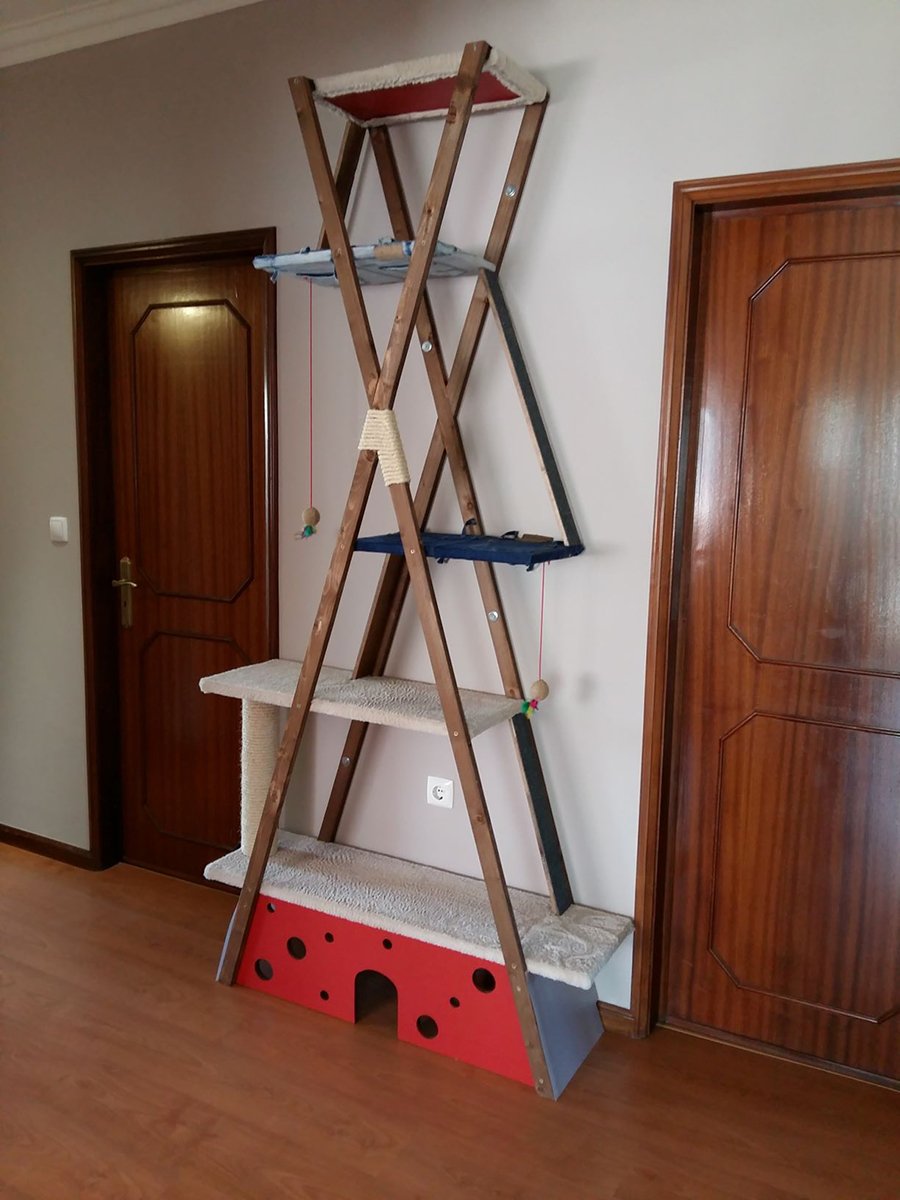
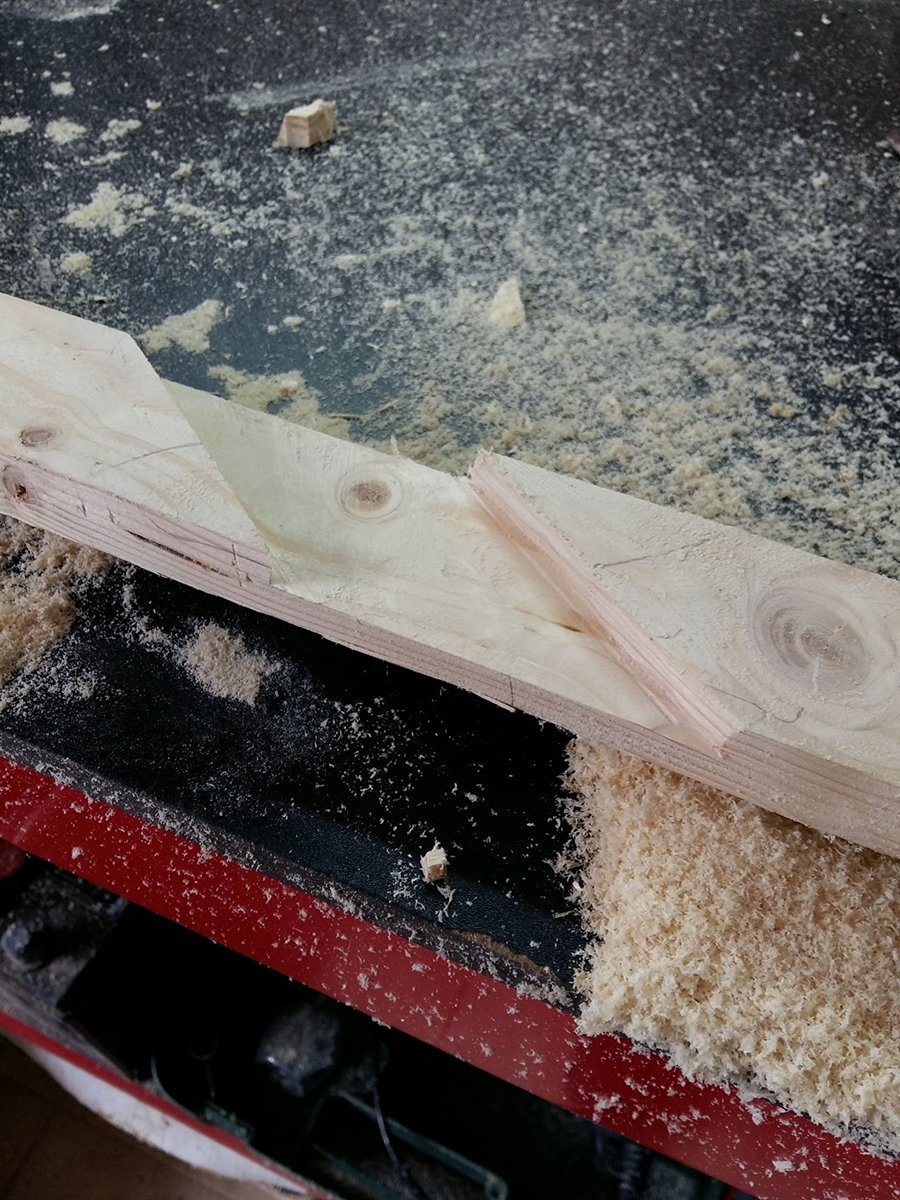
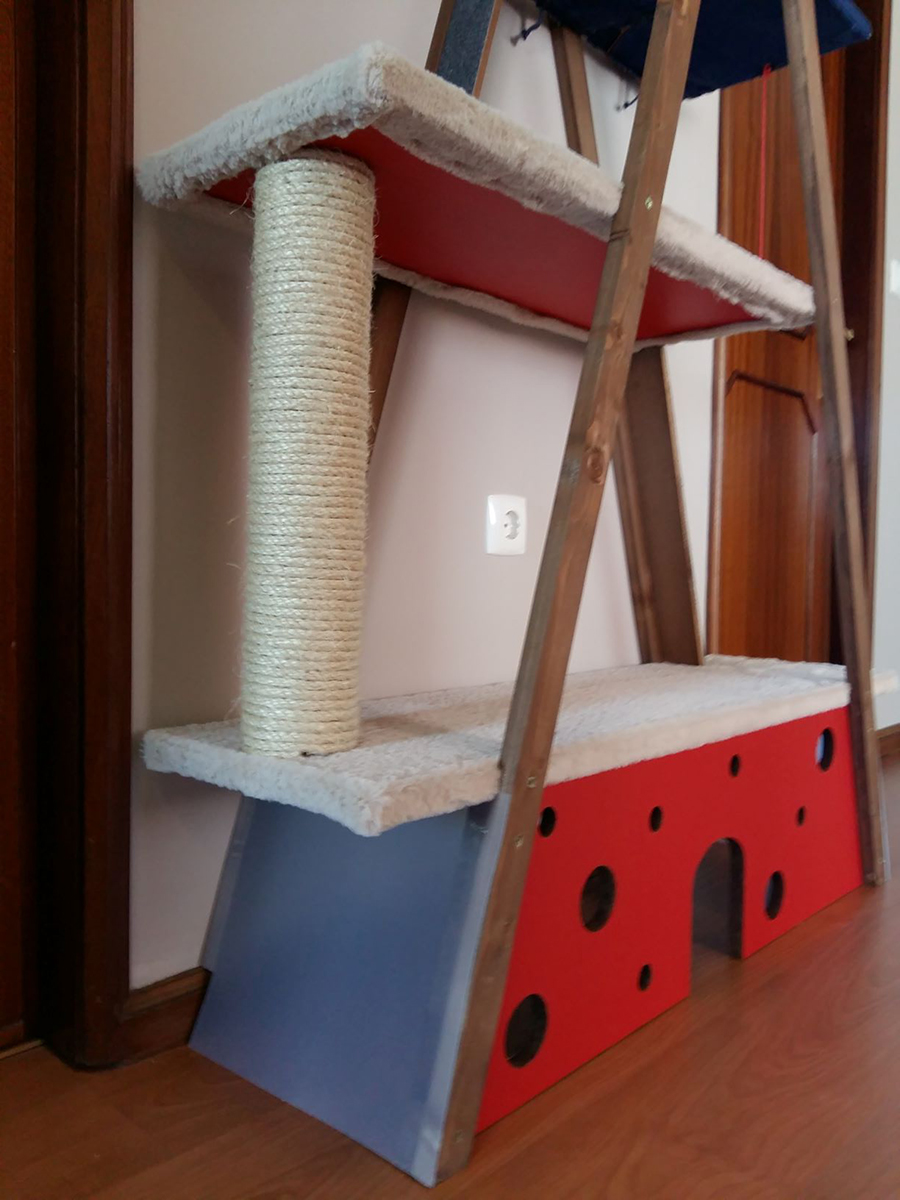
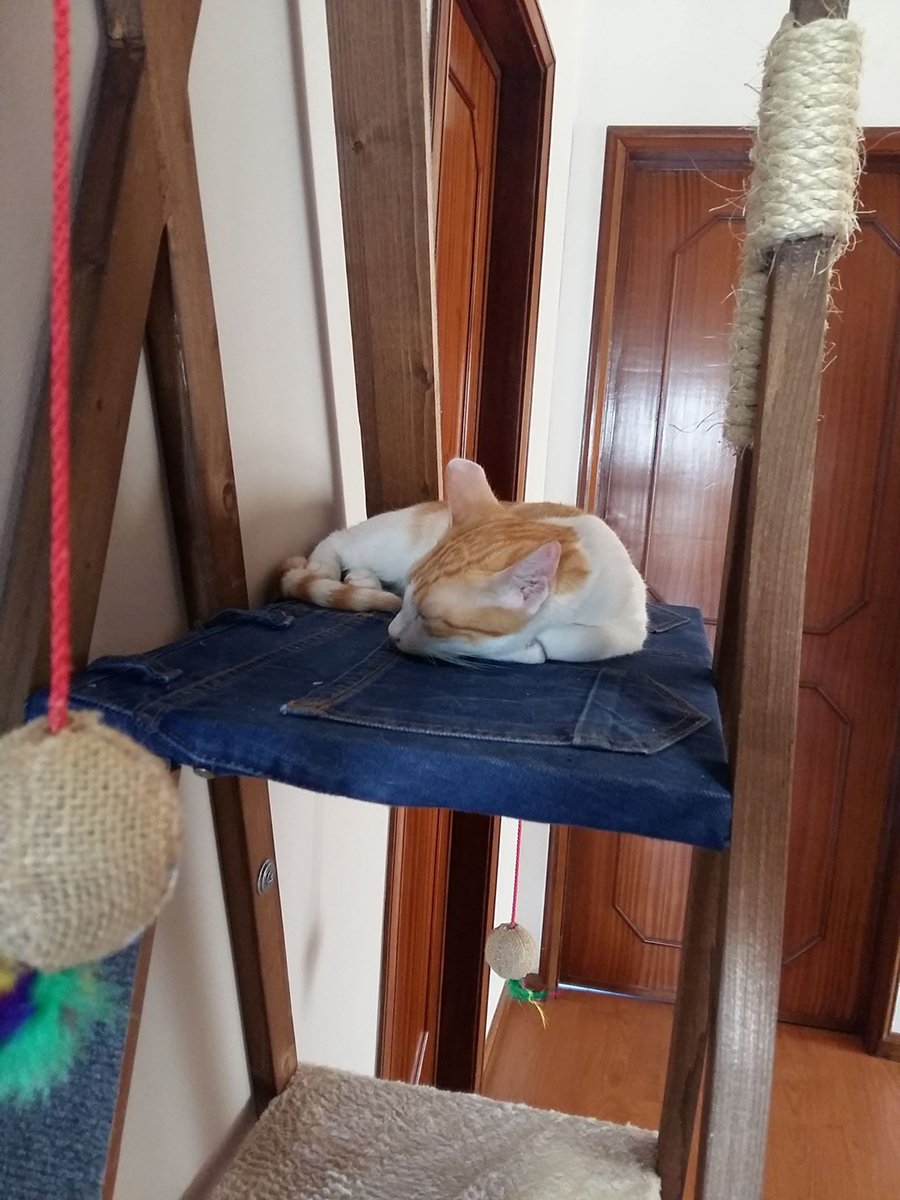
This project started with the need of a cat scratcher and evolved to this! :D
Buying one was out of the question cause they are too small and too expensive.
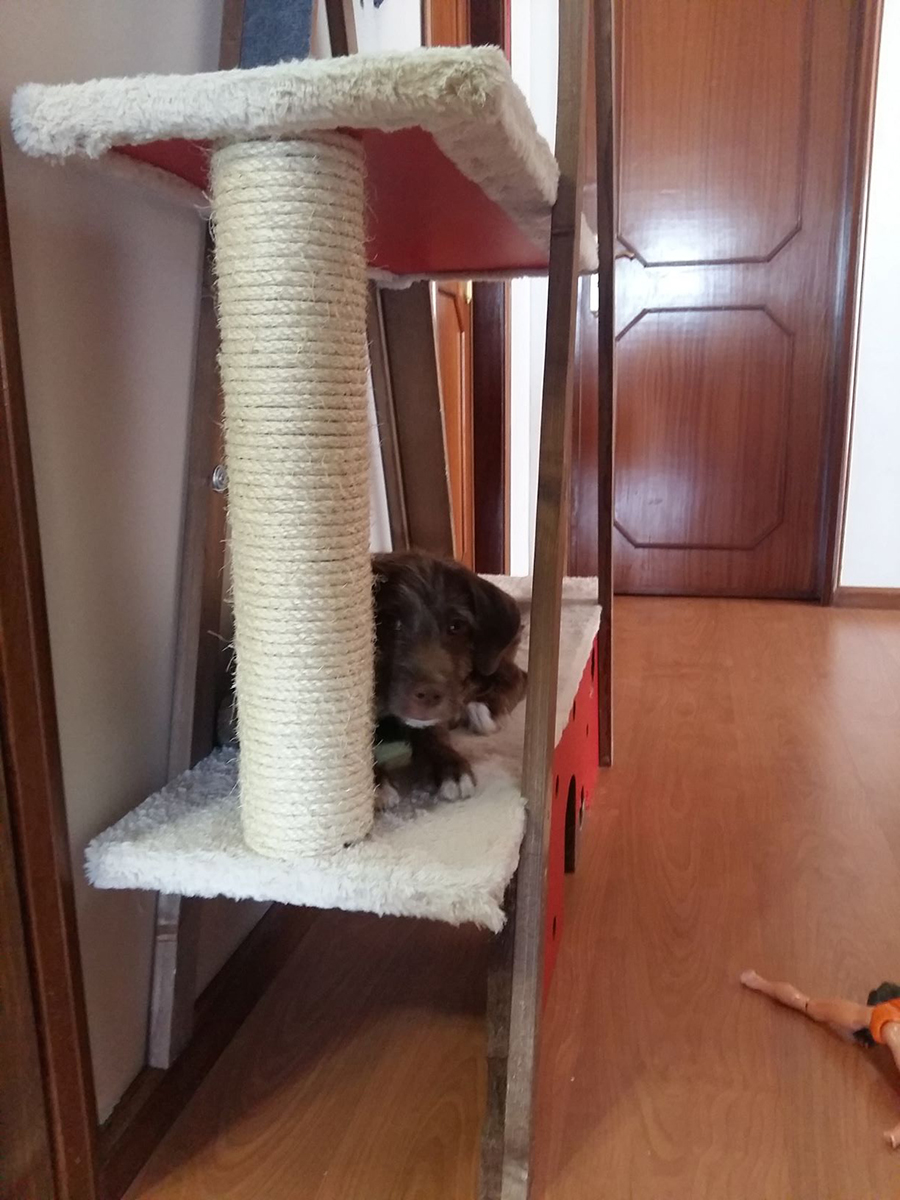
Even the dog loves it!
I dont have any plans because it was made to fit that specific wall and its pretty basic but if you have any question about it I will gladly answer.
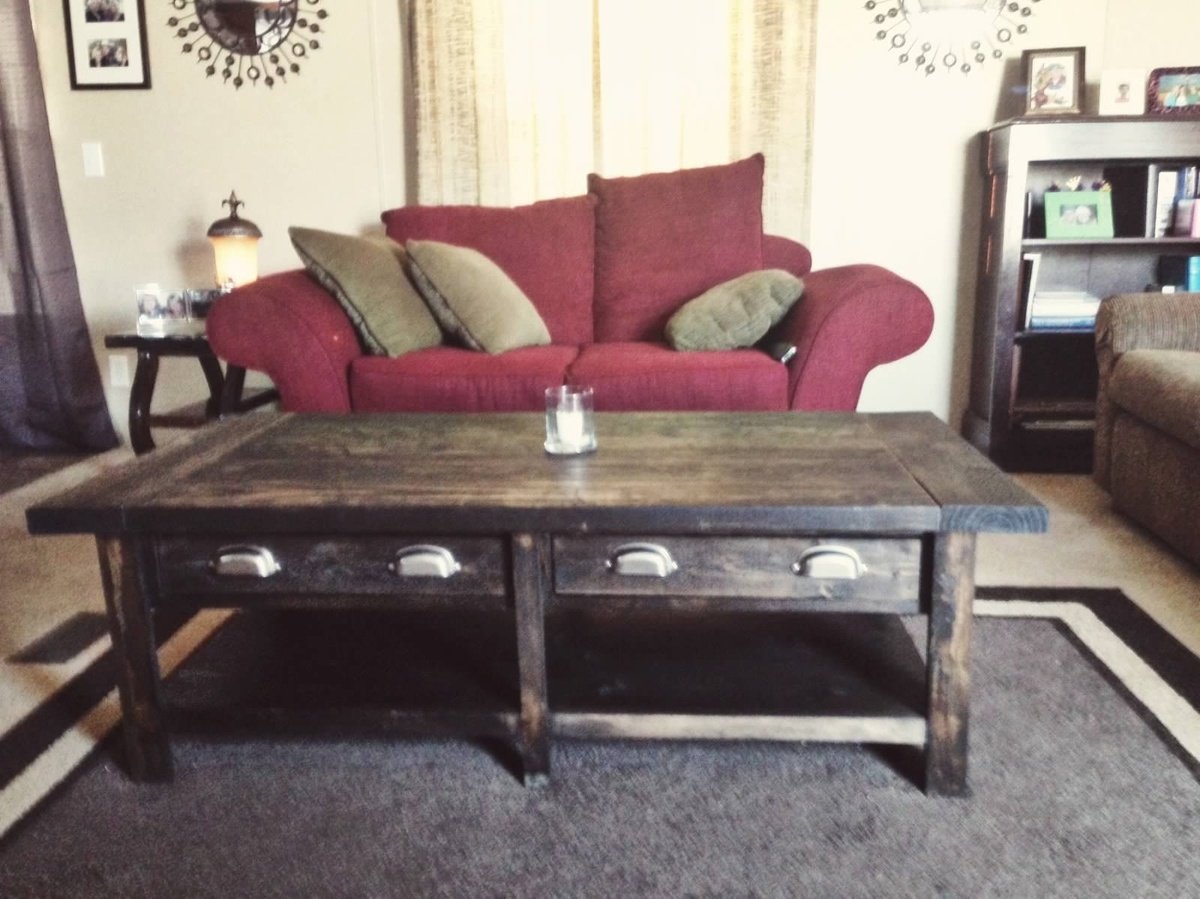
I made this for a friend and absolutely love it! The drawers were my first and proved to be as difficult as I expected since I had not done any before, but I refused to accept defeat as I made and remade them until they were just right. When choosing 2x6s i suggest choosing those that are more squarish than those with the rounded edges. This will prevent having to use a ton of wood filler if you are wanting a flat table top. I cant remember, but they may be a tad more expensive...but not much. As always, I forgot to take pictures and had my friend send me this one. I wish I had more because this picture definitely does not do the table justice. It is heavy and very sturdy unlike those store bought fake wood jobs that are way overpriced. I would absolutely say this is no small feat for the beginner but certainly possible as I still consider myself a beginner contrary to what other who know me may say. So get your wood and your kreg jig and get to it! It feels wonderful to be able to sit back, admire, and say, "It's Ana White and I helped!!"
I started this project with 1x3 mdf primed molding and used 1x5 for the base. For the hearth I used 1x8 knotty pine and created a box, distressed and stained it. I glued veneer to the sides so you couldn't see the seems. To finish off the project I used 1x6 mdf boards to create shiplap effect and painted them grey. I love how cozy this fireplace makes the room.
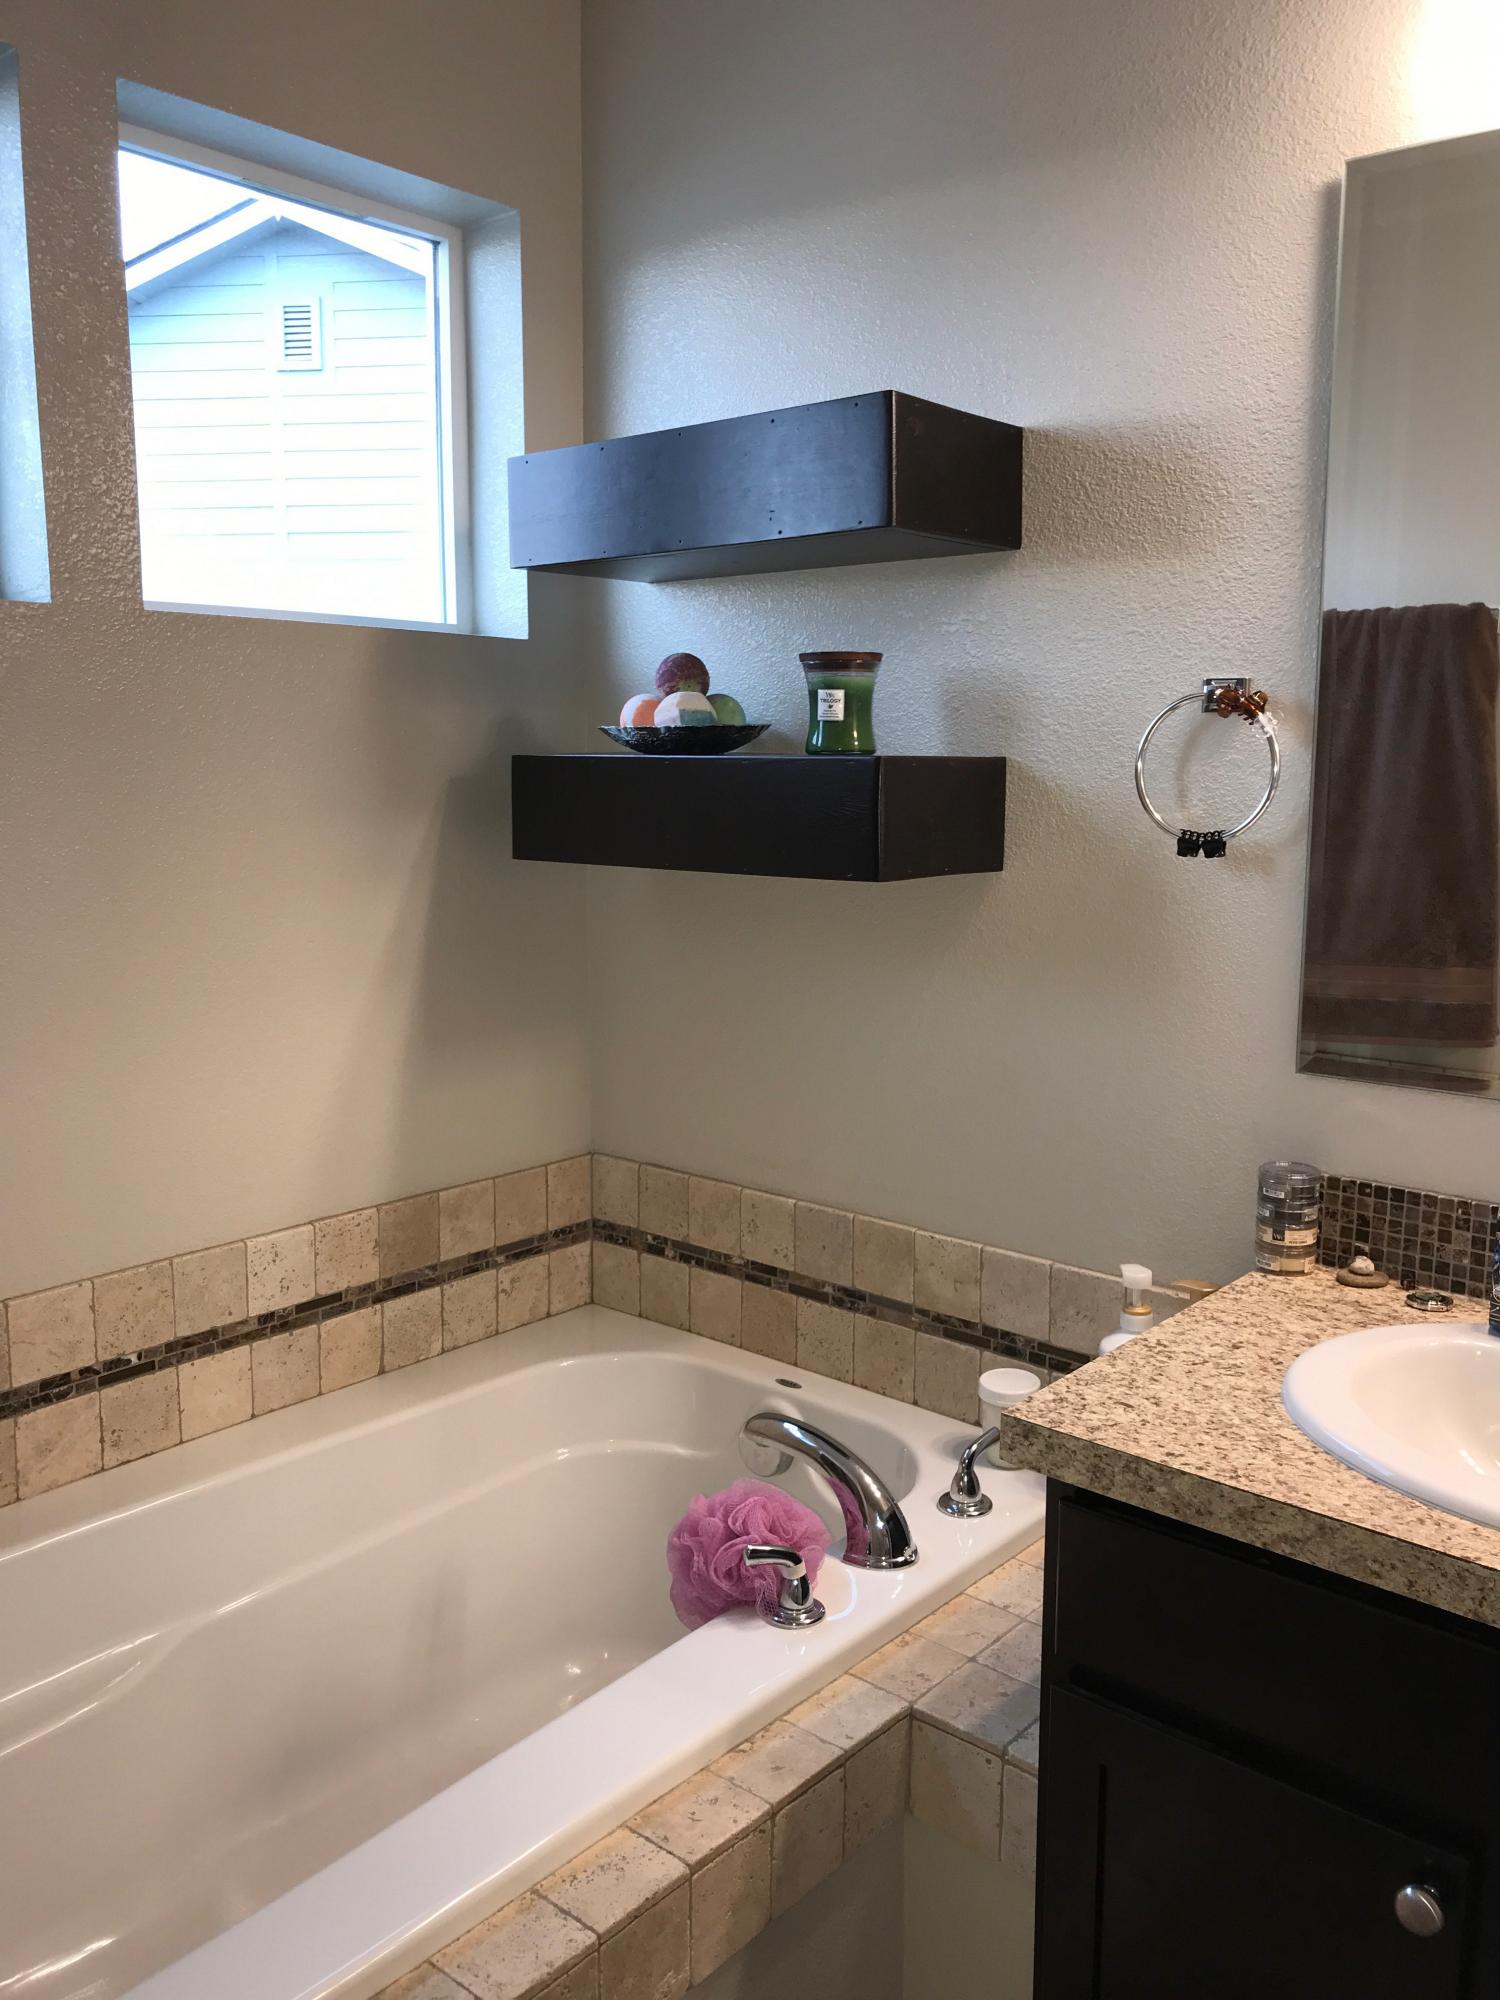
Wife wanted some shelves to put bath bombs, candles, and her other bath luxury items on.
Built with the same mounting technique as the "DIY Floating Shelf" plans noted below, using standard 2x4s for the pocket hole mounted supports.
Additionally, I used 1 in x 6 in x 6 ft Premium Kiln-Dried Square Edge Whitewood Common Boards instead of cutting plywood down for them.
{The pocket hole mounting technique is no joke. I sat two of my kids on the upper finished shelf just to prove to my wife they would support anything she put on them.}
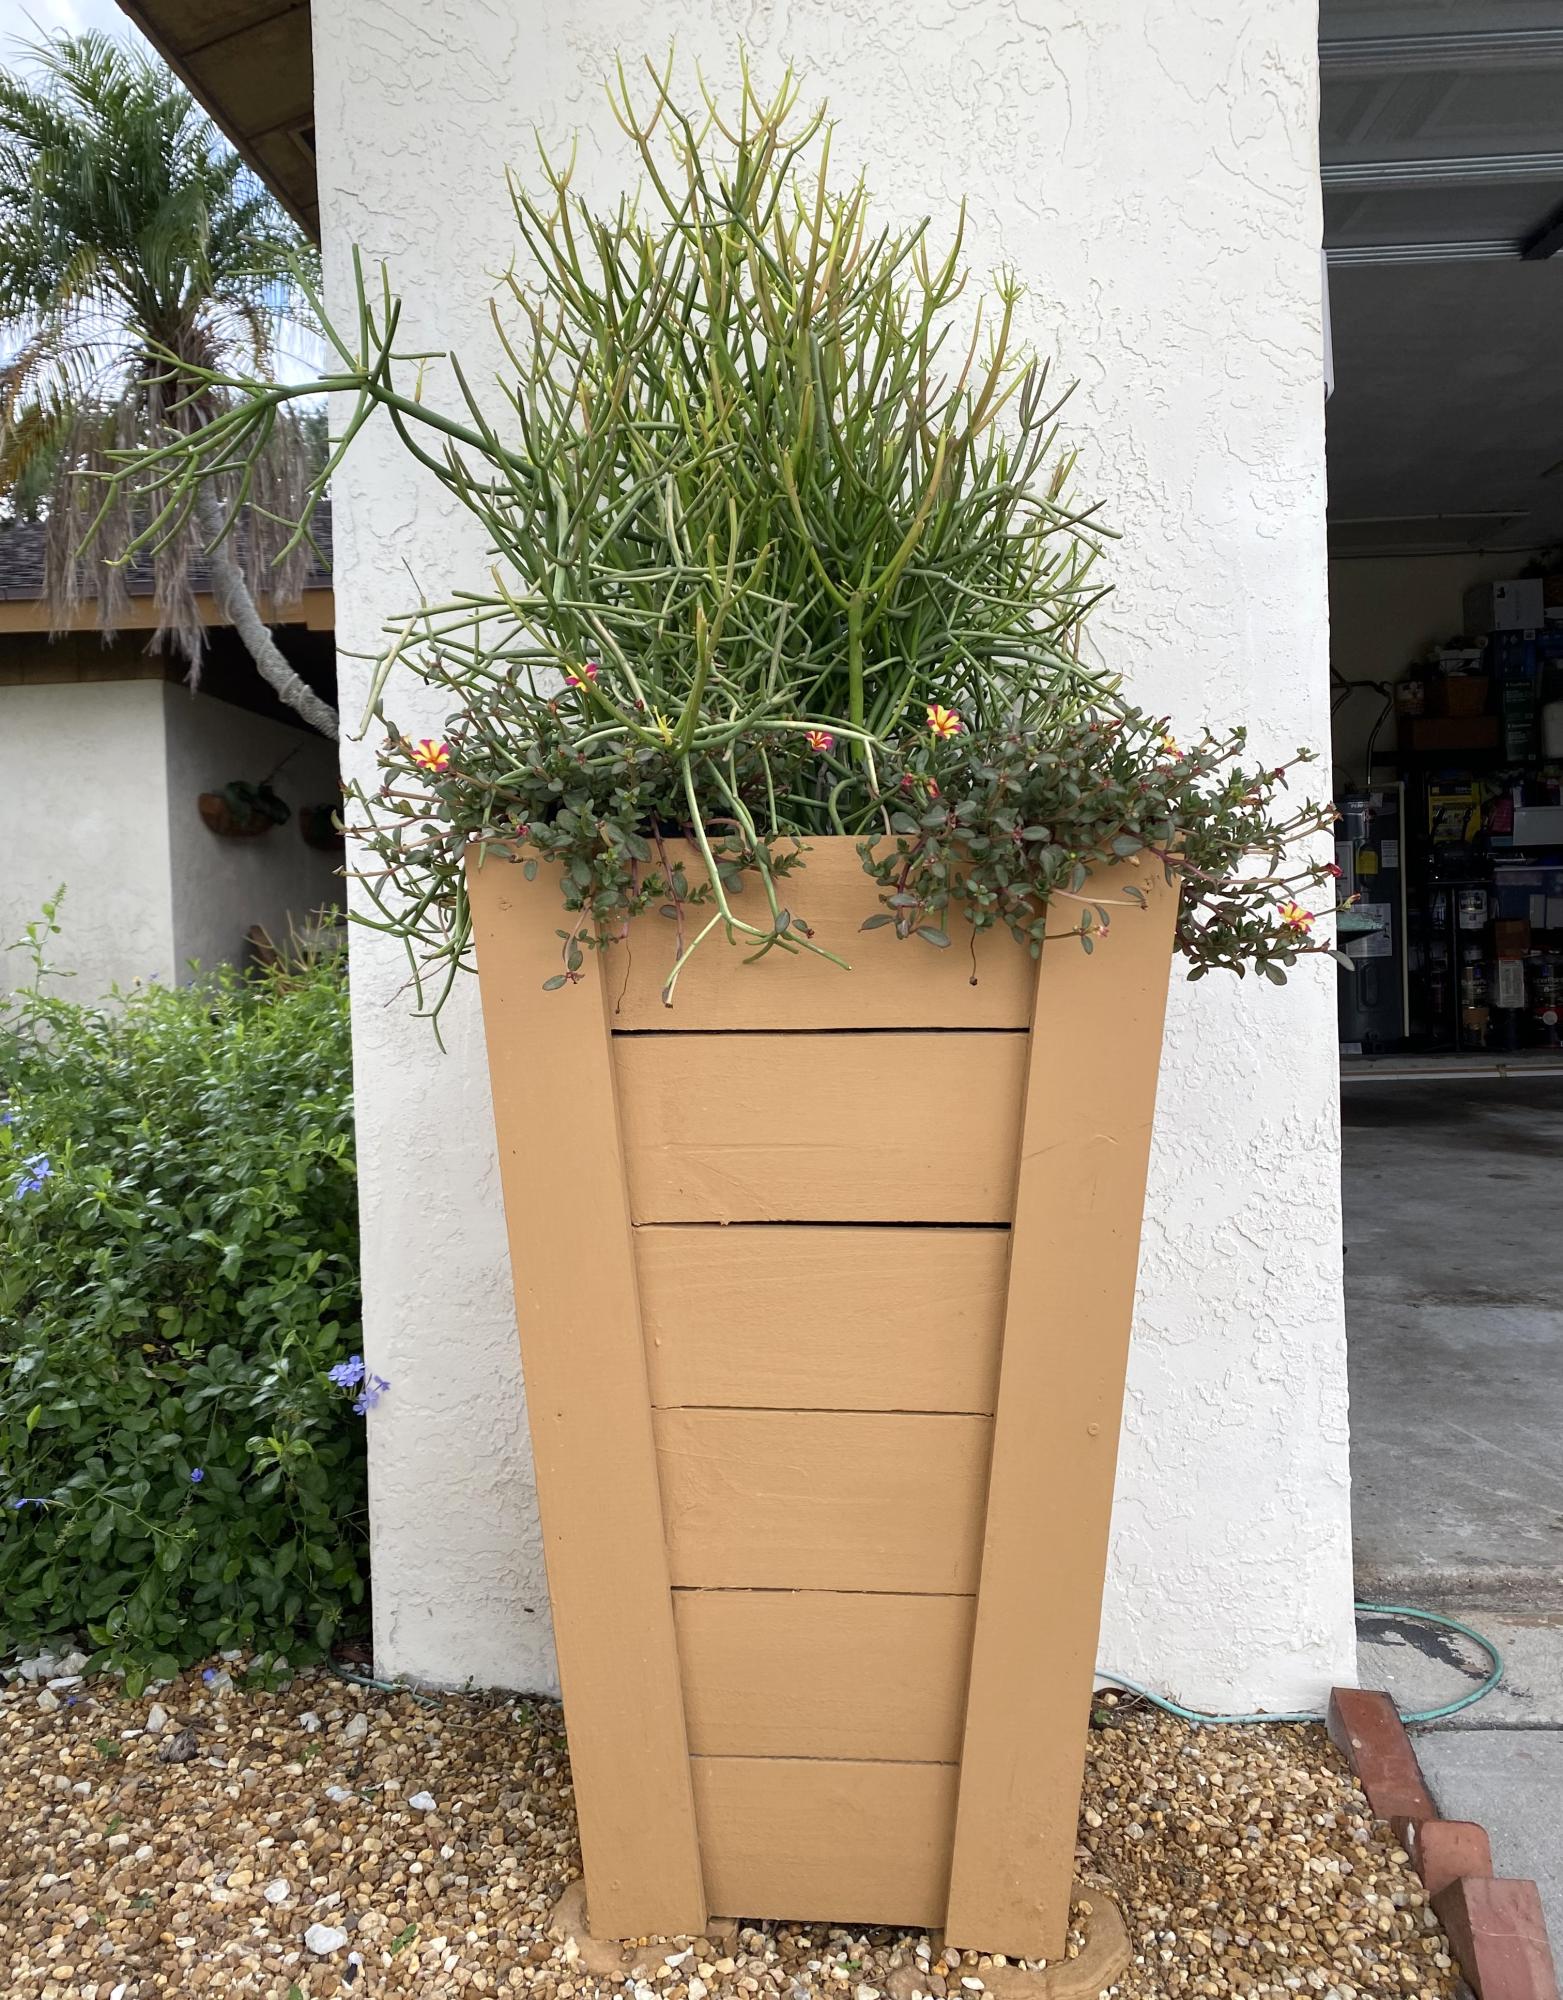
My husband made these fabulous tall planters based on your plans and video. We painted them the same color as the trim on our home. We live in Florida so instead of filling the entire planter with potting soil my husband put screening about 1/4 from the top so the plants can drain easily, especially in the rainy season. He made the planters with pressure treated wood which is perfect in south Florida.
Thank you so much for providing us with such a beautiful idea for unique and custom planters. My husband had a great time with this project and the results are just fabulous.
Annemarie
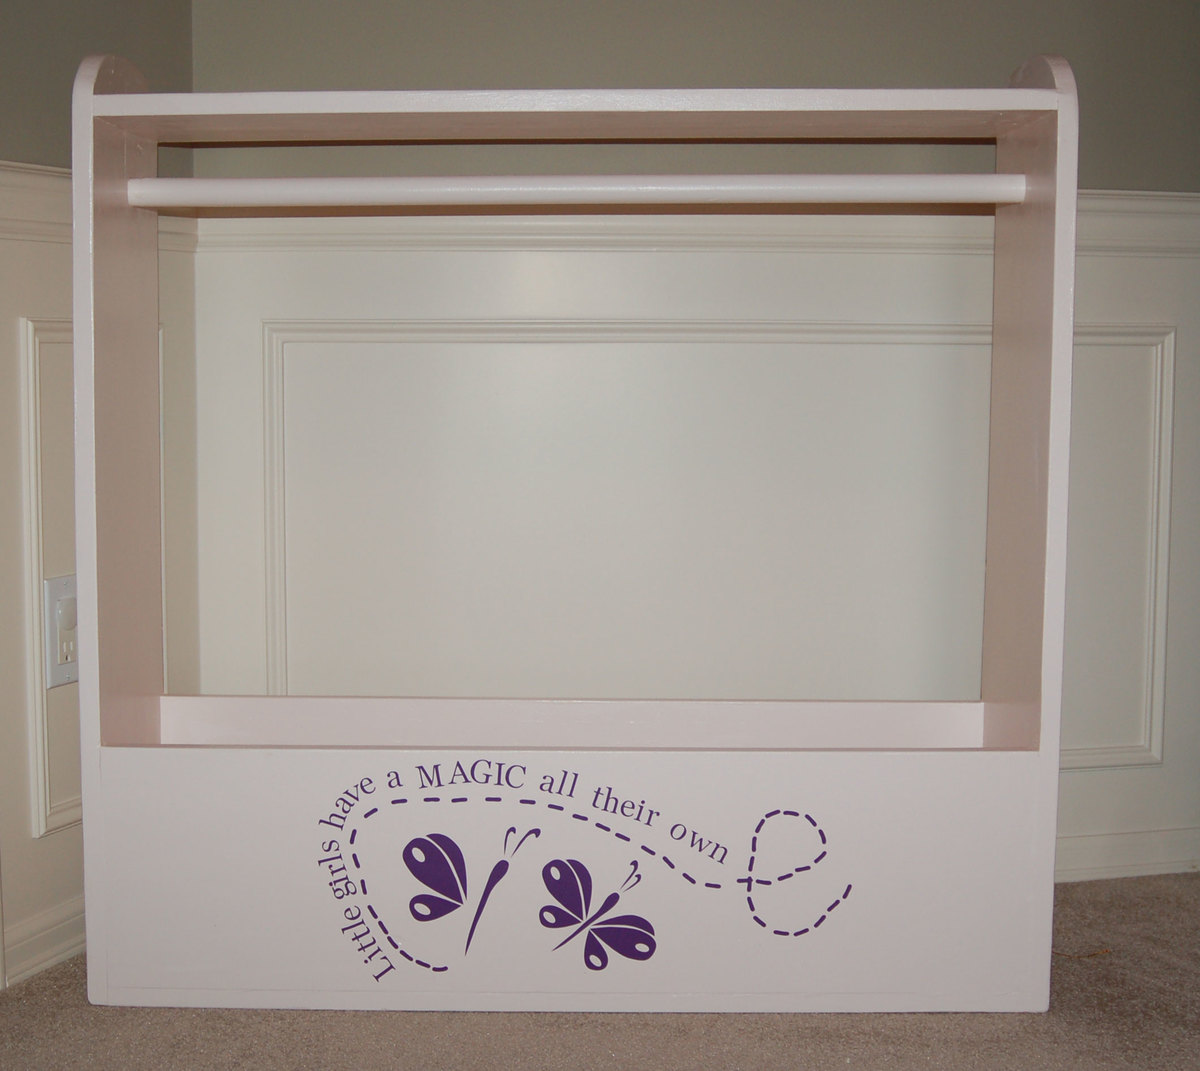
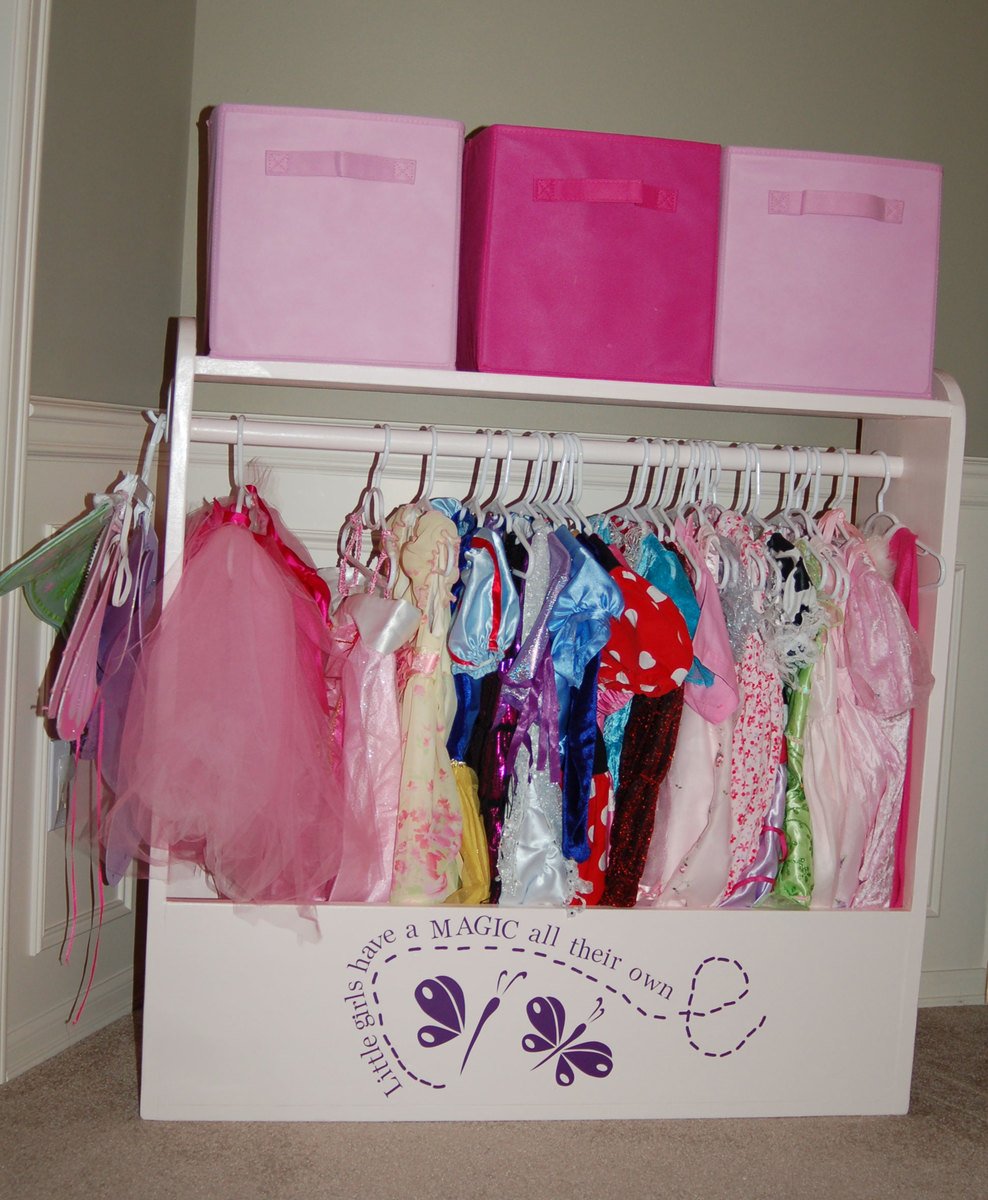
I've been working on a couple of doll beds, but since the storage cabinet that was keeping my girls' dress-up clothes partially collapsed, I put those on hold to make this.
I followed the dimensions as written, though in hindsight, I wish I had made it a little larger. This is for three girls and already jam packed. Or maybe we need to pare down our selection. :-) I skipped the wheels for now but did add the upper shelf. The shelf is holding three Closetmaid fabric cubes which contain shoes, wands, crowns, purses, etc. I put a little 3M plastic hook on the side which is holding their fairy wings.
The actual piece went together fairly quickly -- ~2 hours. It took me a few days to do all of the sanding, priming, painting, and poly.
The design is an Uppercase Living vinyl rub-on. It's not perfectly placed because I had it on the wall in the playroom at our old house. I took it off when we moved and kept it stored between two pieces of Glad Clingwrap. It took a little tinkering to get it to reapply. I rubbed it onto a Cricut cutting mat and then rubbed it again back on to the wood. The cutting mat wasn't large enough so I had to do three transfers to get it all on...part of the reason it's so wonky.
I wish I had time for a blog, but I'm too busy reading everyone else's.
Mon, 02/20/2012 - 06:57
Don't get rid of any of the dress up clothes! Just build a second unit! =)
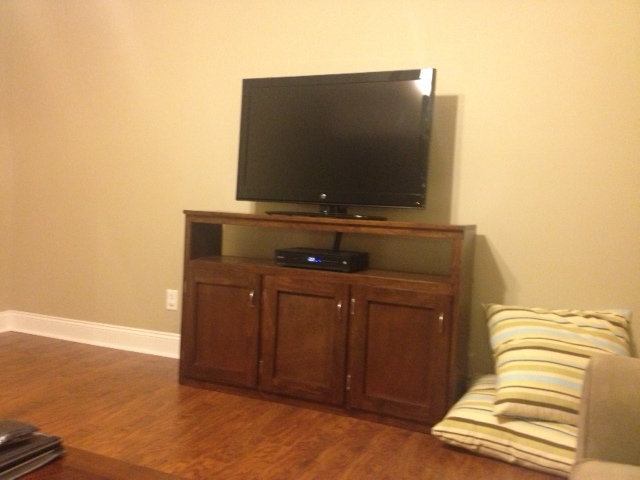
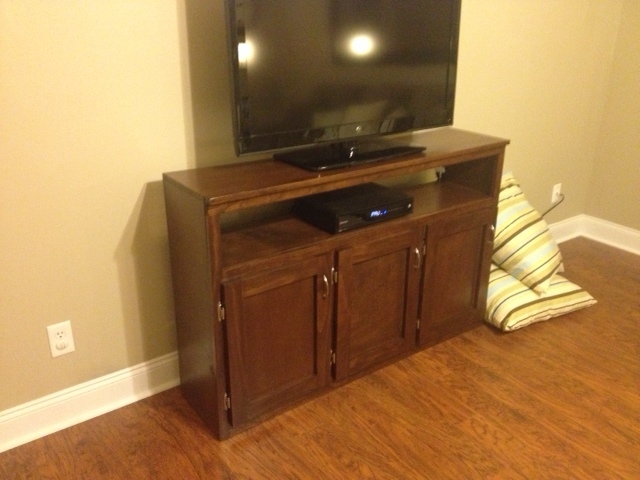
My version of the Rebecca Media Center - Console.
Had a great time completing this project, being a professional wood-finisher I was able to match it exactly to the other pieces of furniture in our family room.
Can't wait to start the next project.
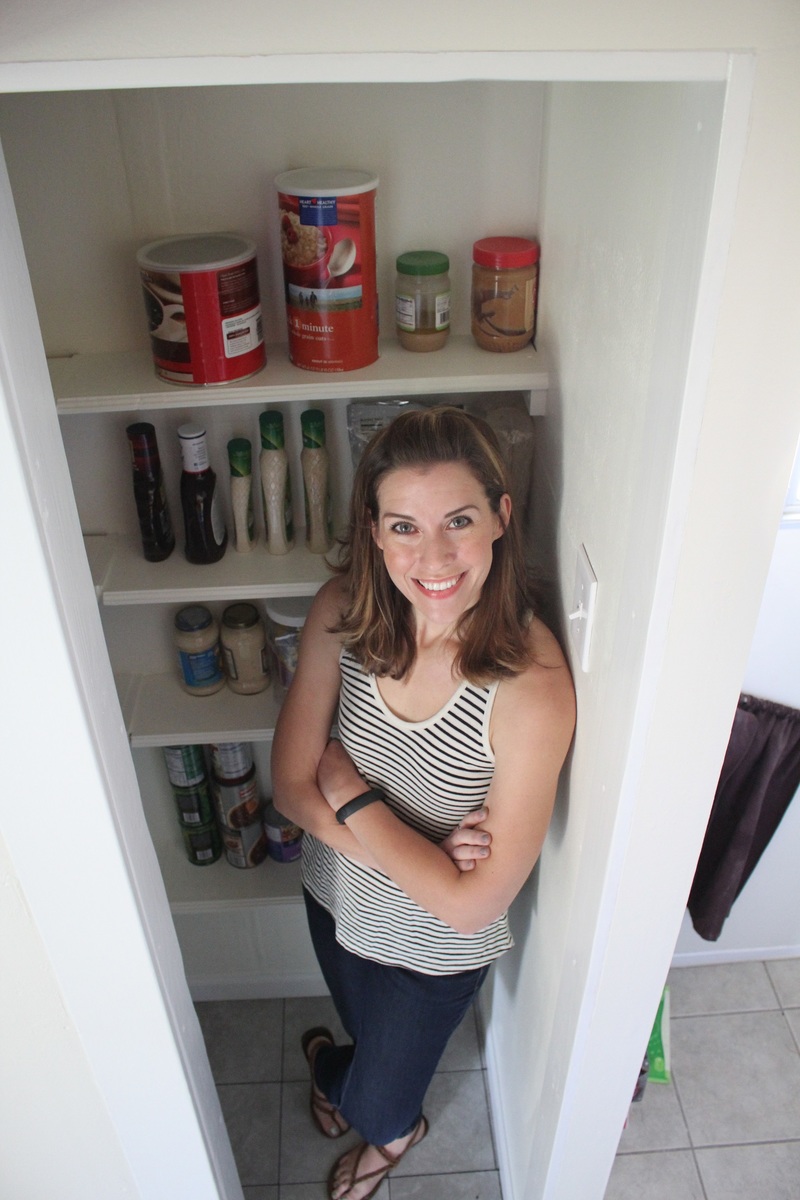
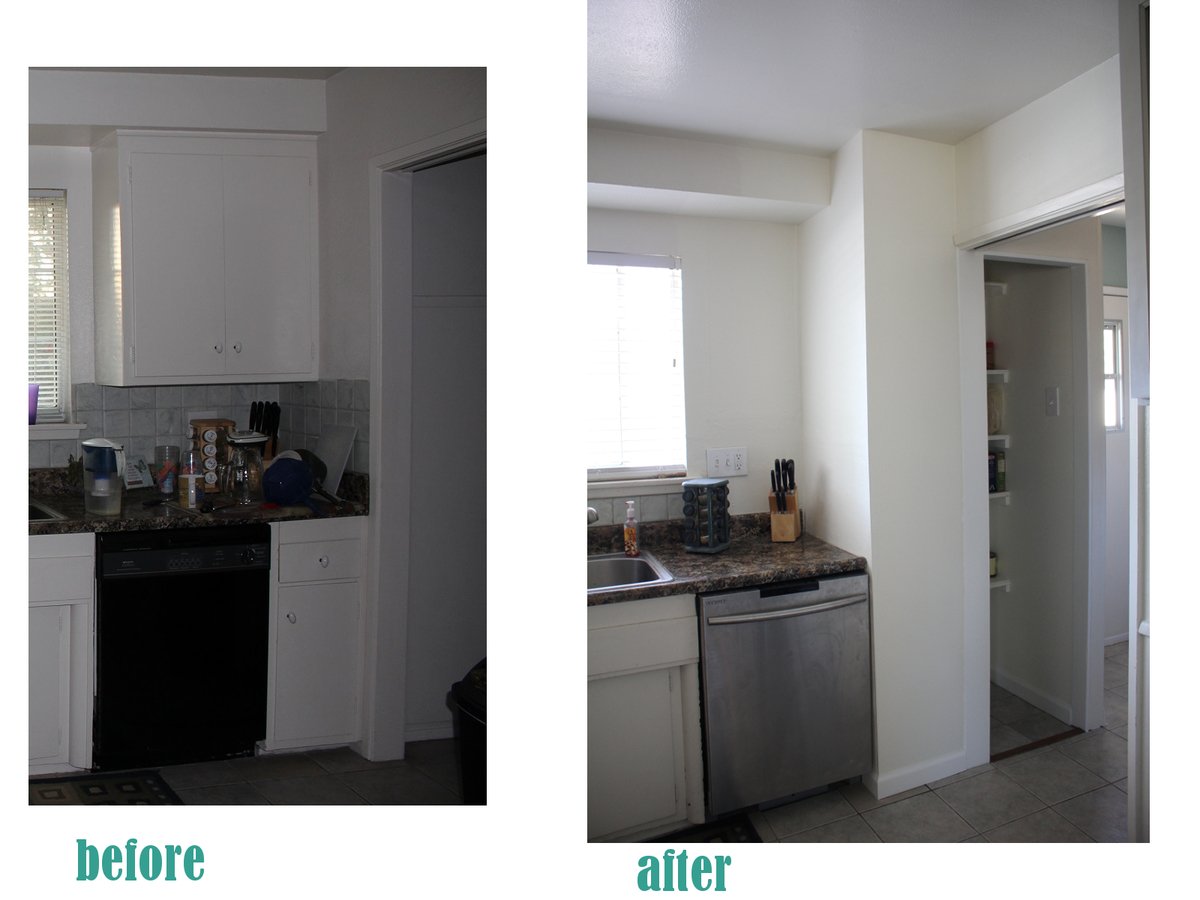
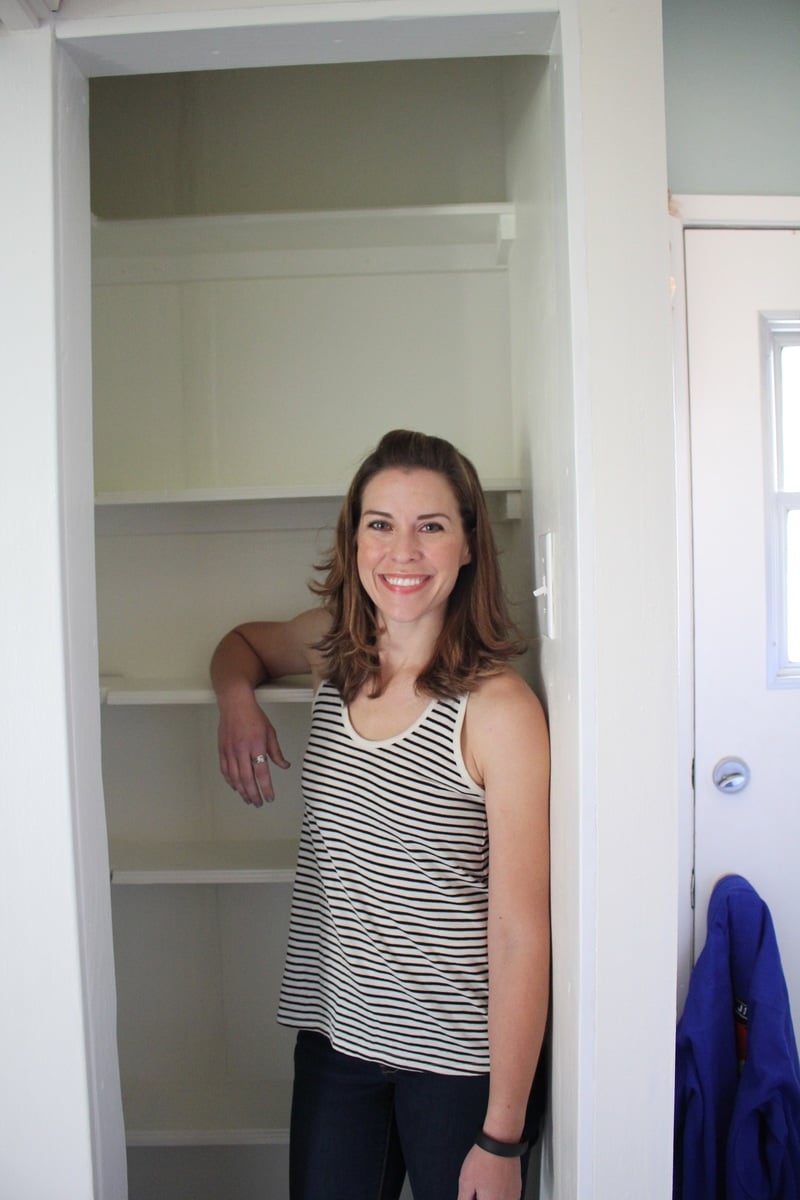
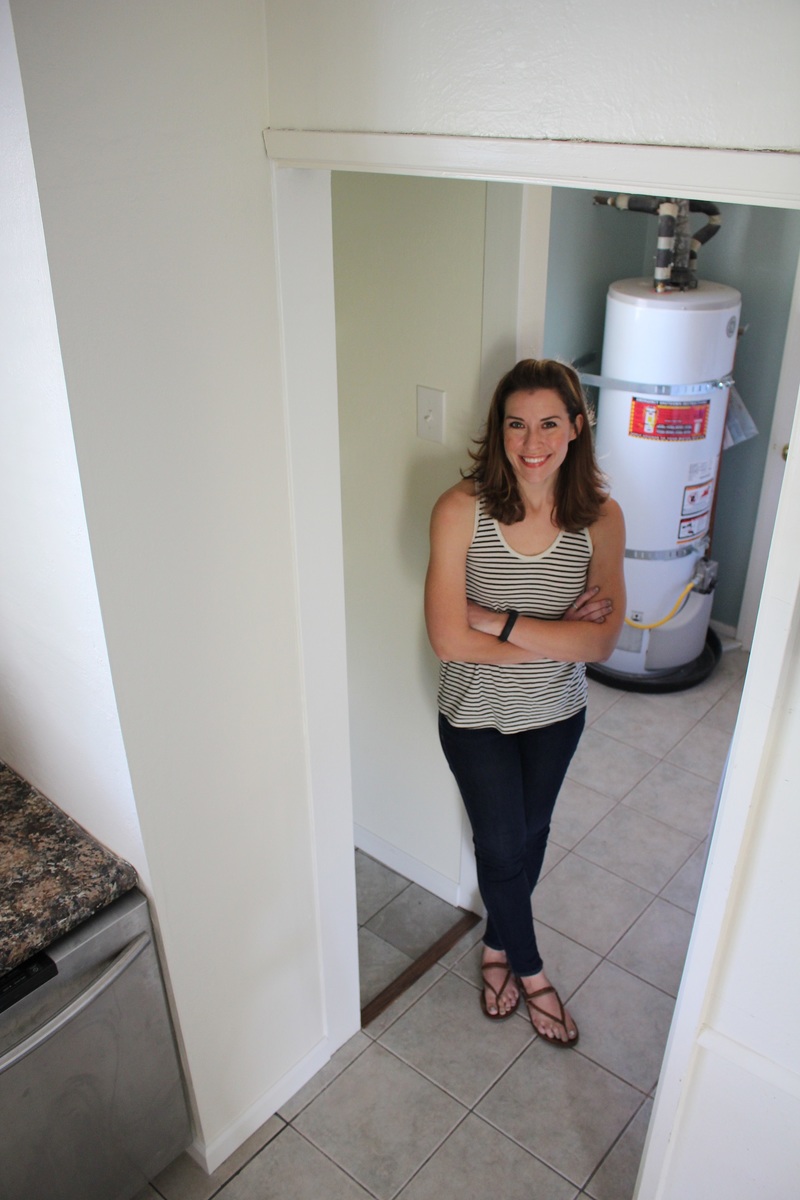
This was the most complicated project I've taken on so far as it included electric, tiling, drywalling, painting, and carpentry. I did it all by myself from start to finish in a little over a month. What was before a small cabinet pantry where all our food got lost in the abyss, is now open shelving where all the food is accessible and visible. With a light overhead and plenty of space, no food gets left behind.
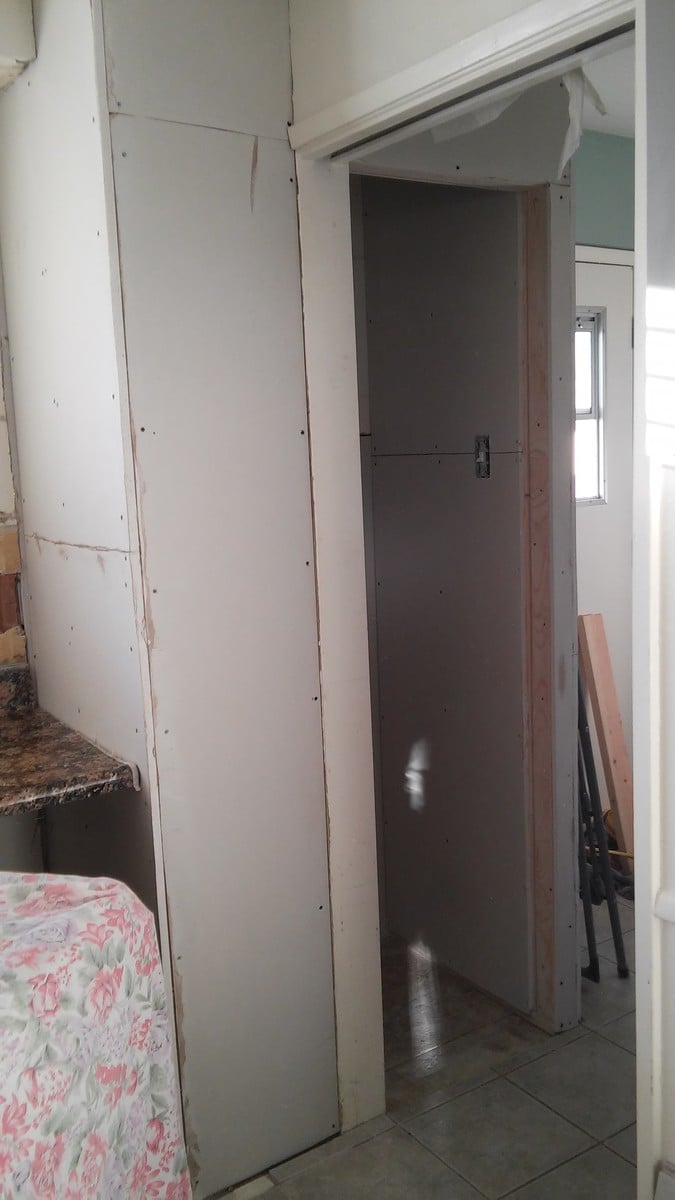
The project involved knocking down a wall, framing new walls, removing cabinetry, countertop and soffit, replacing subfloor, tiling, running electric in for an overhead light and switch, drywalling, texturing, painting, building the shelves and routing moulding for the end trim, and installing baseboards.
I love how my new pantry turned out! Now onto the rest of the kitchen cabinets : )
