Kitchen island
Followed the basic design but used 1x4's instead of a project panel for the top. Found a great drawer pool at a little shop in Folsom.
Simple and very easy to build. Used scraps left over from other builds.
I couldn't believe how simple this console table was. I used my Kreg pocket hole jig to easily add the shelf and am so pleased with my results. Used white-washed pickling stain to hivevit this great color.
Created this chair for 1st grader online schooling to go with rustic x computer desk. Used 1 x 2 for frame, 2 x 2 for back, 1/4 thick MDF board for seat (from previous project), 1/2 x 6 board for back rest (from previous project).
We had a horrible time finding furniture in Mexico for our house and decided to build our own starting with these chairs for our roof top deck!
I had to alter the original plans to work for me, but I loved this project! I even took the time to stain this table.
Seeing this project posted somewhere is what brought me to ana-white and got me building. While mine is nowhere near as beautiful as the one posted, I'm really proud of this project and think it turned out great. It's all reclaimed lumber and I use 4x4's instead of the open leg design and I'm really happy with the way it came out.
This was my first DIY woodwork project. When I started exploring DIY woodworking ideas, tutorials and demos, I instantly became aware that I'd require a workbench before actually building any decent product.
This project uses 2X4 and 4X4 pine with top and bottom of MDF. Nuts and bolts were used to join legs catering for 6 inch wood depth. I provide around 3 inches protruding for clamps and I am glad I did that as it is used quite often as I work alone and needs a lot of clamping. The bottom shelf is very useful for stroing wood also.
This project is actually an amalgamation of different ideas I gather from woodworking websites and tailored for my suitability.
Mon, 04/20/2015 - 10:30
Was wondering if you have the complete plans for this cabinet, I'm moreless a beginner and complete plans help me alot, Thank
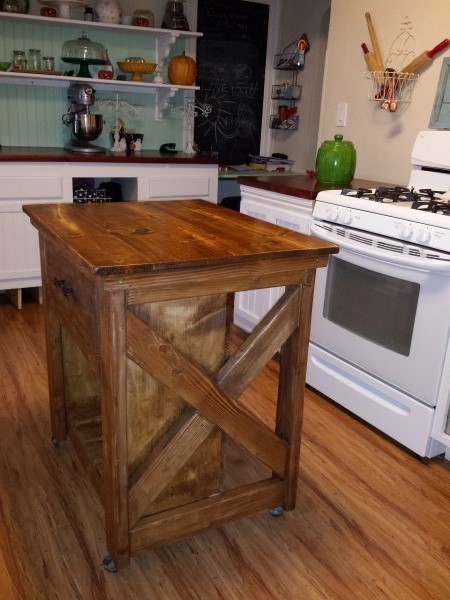
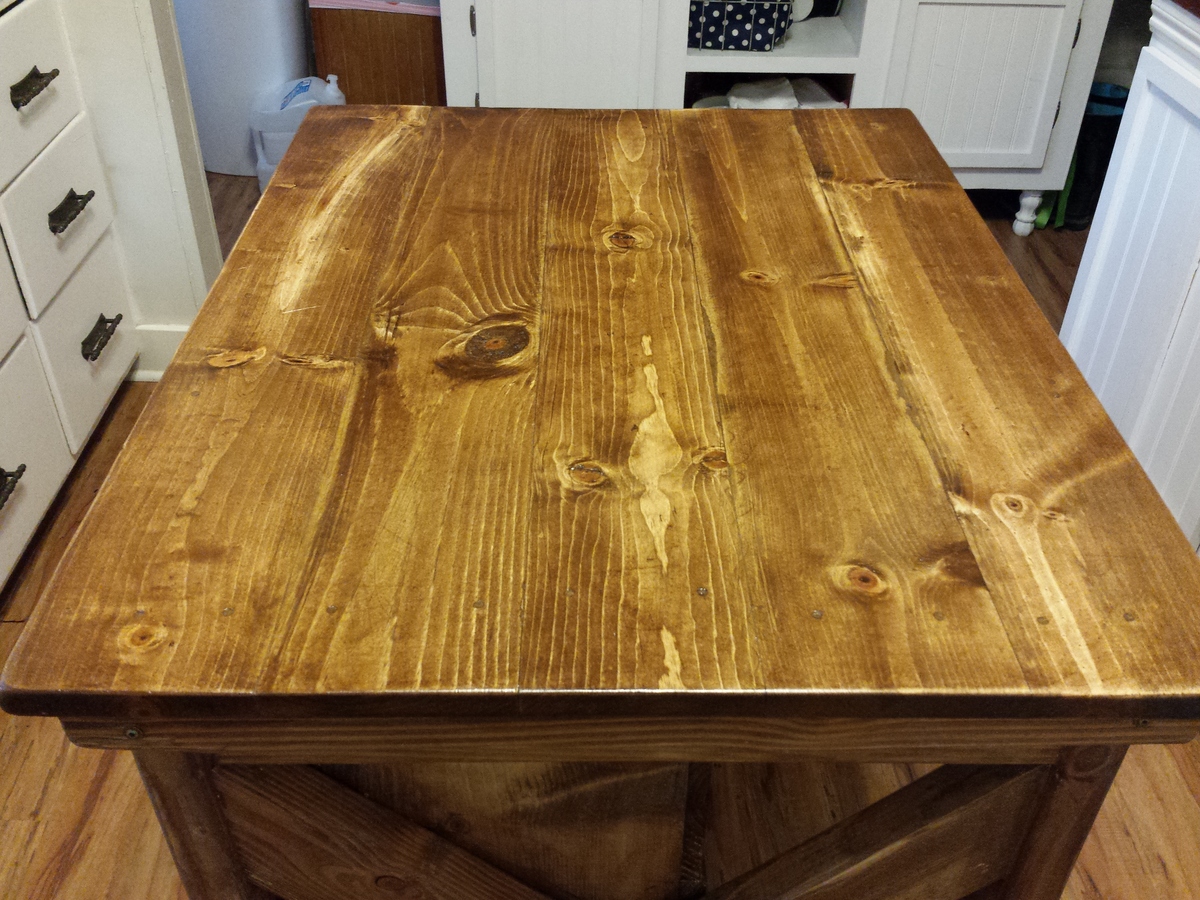
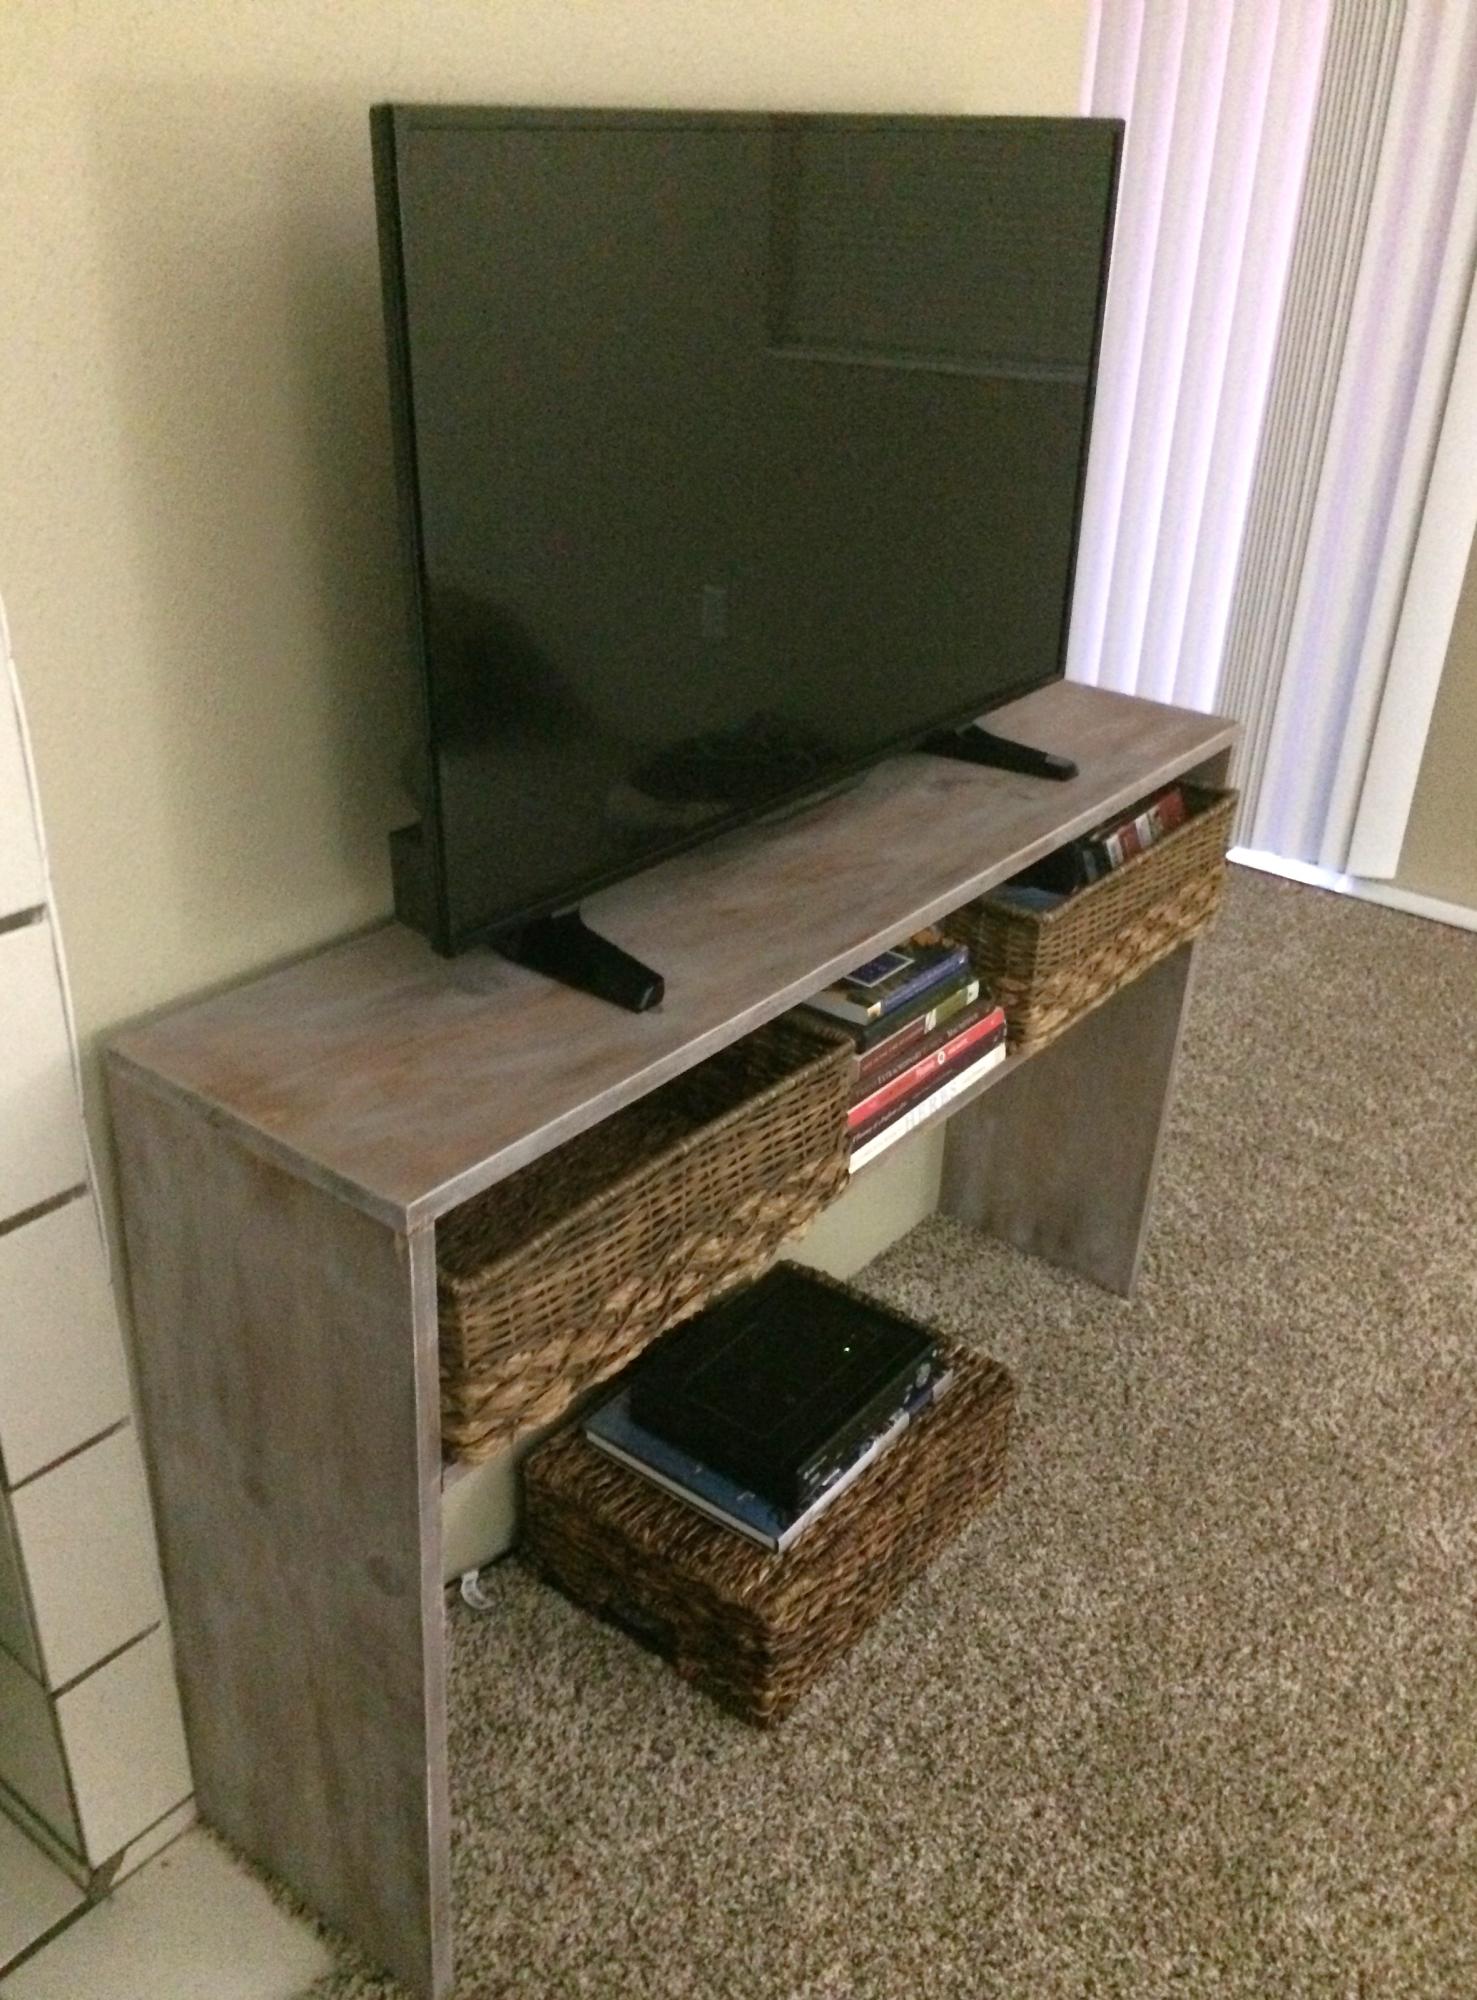
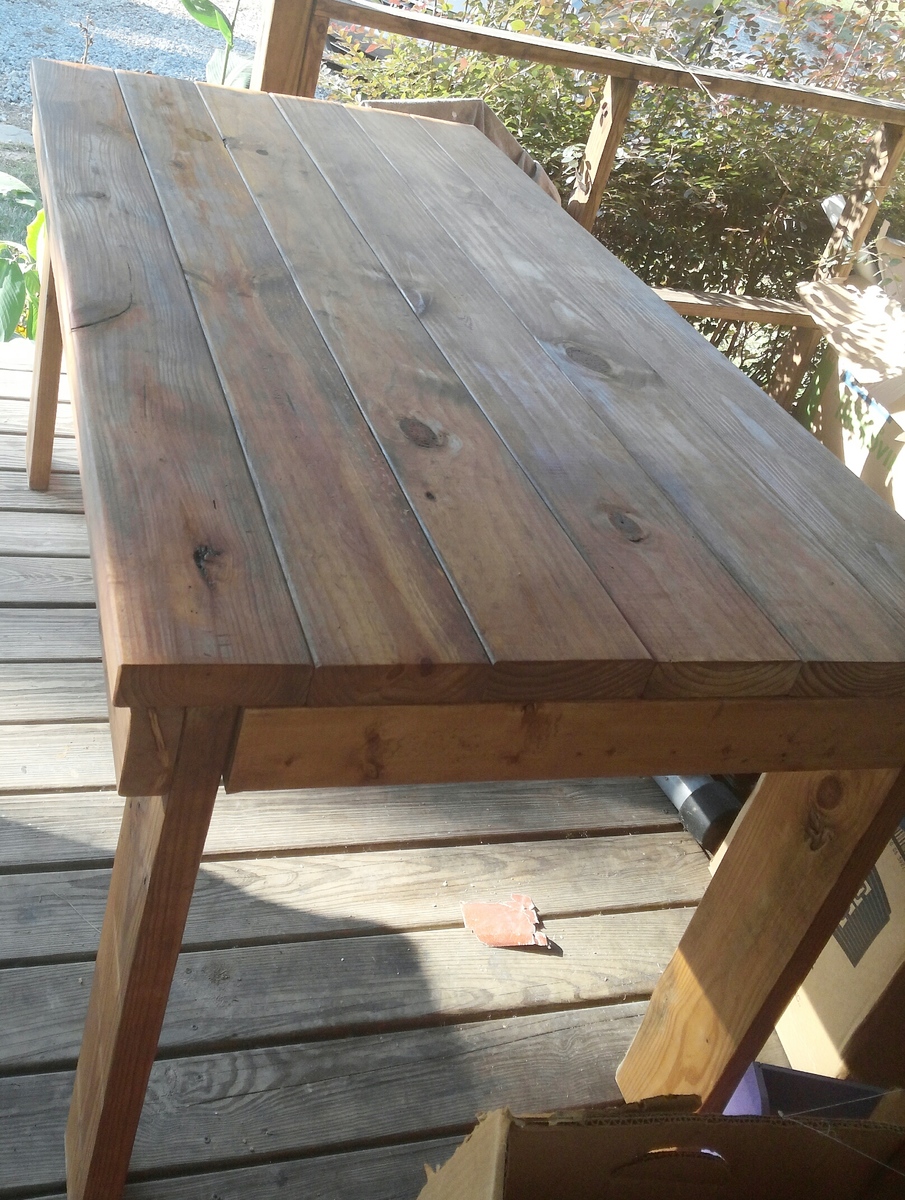
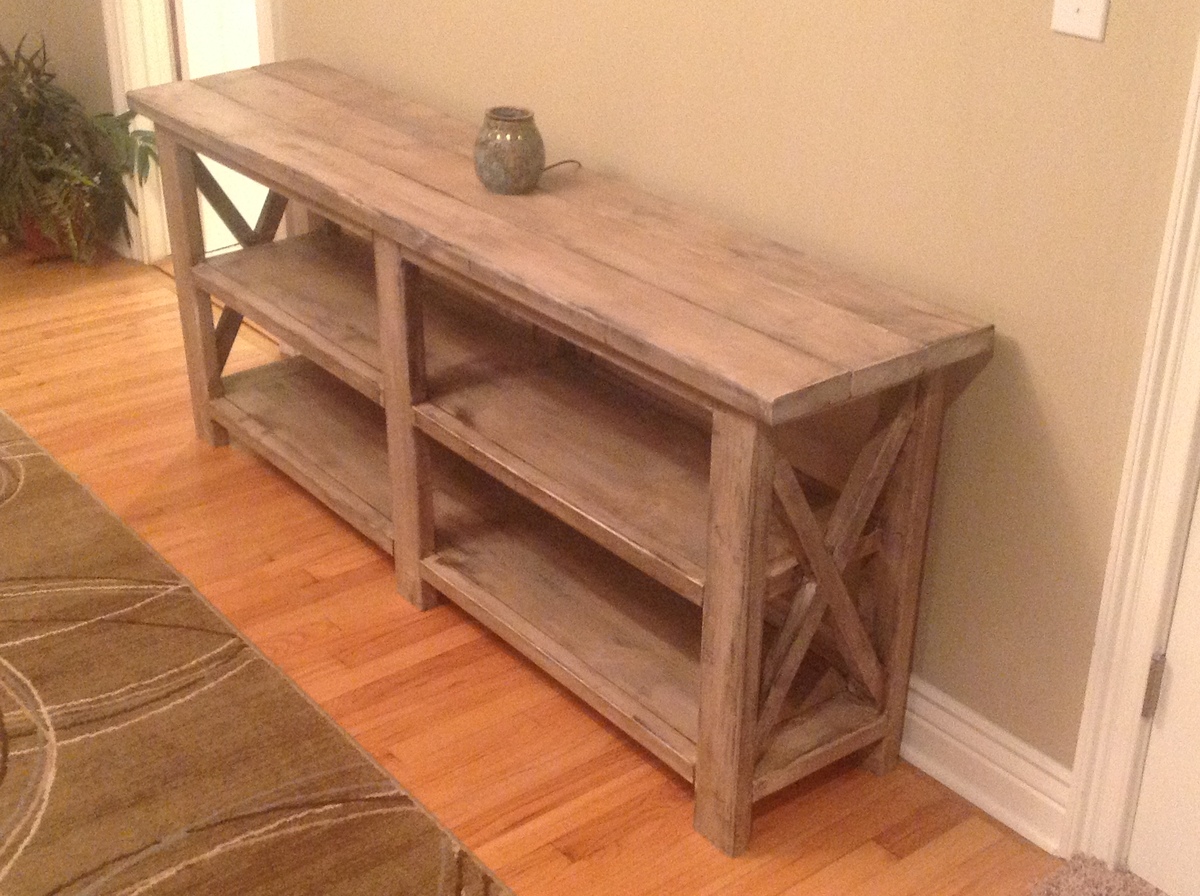
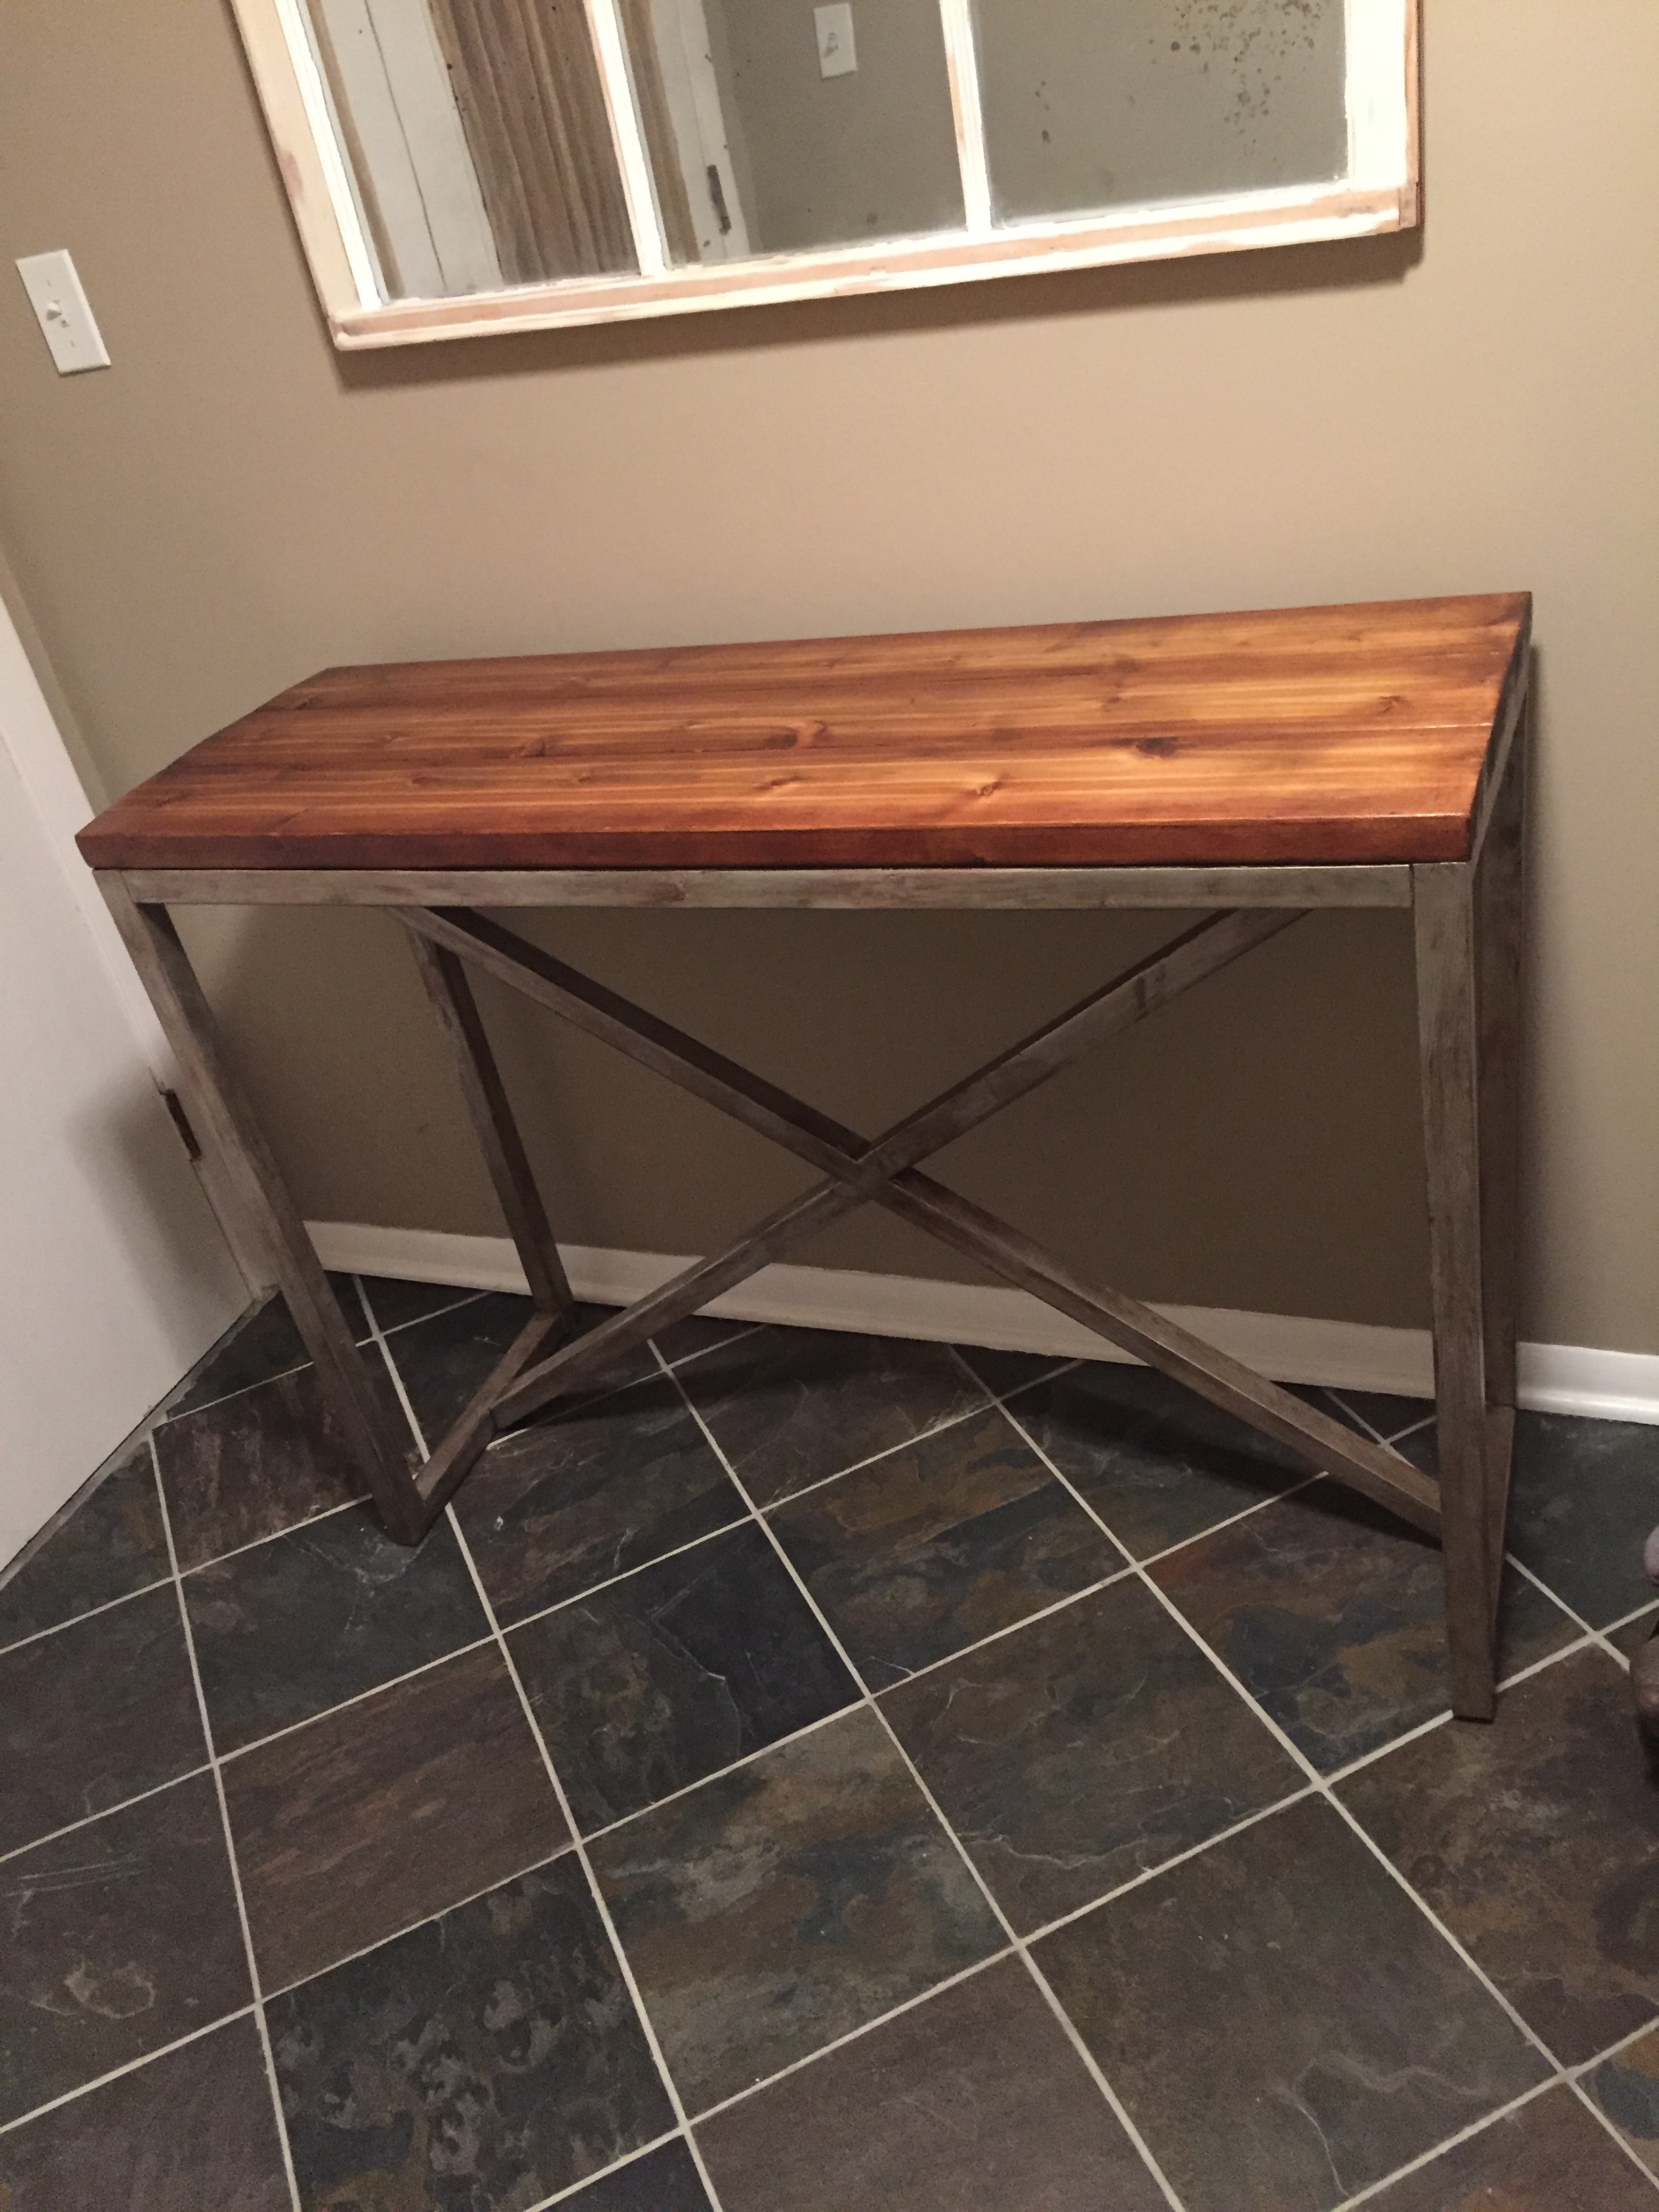
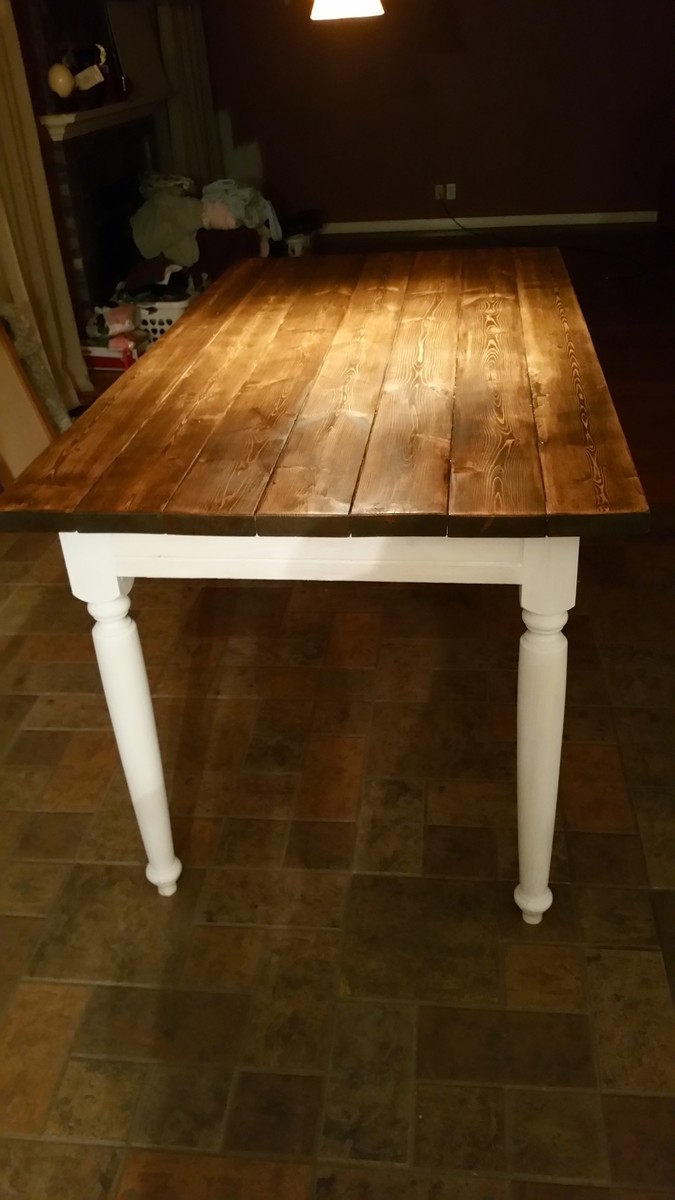
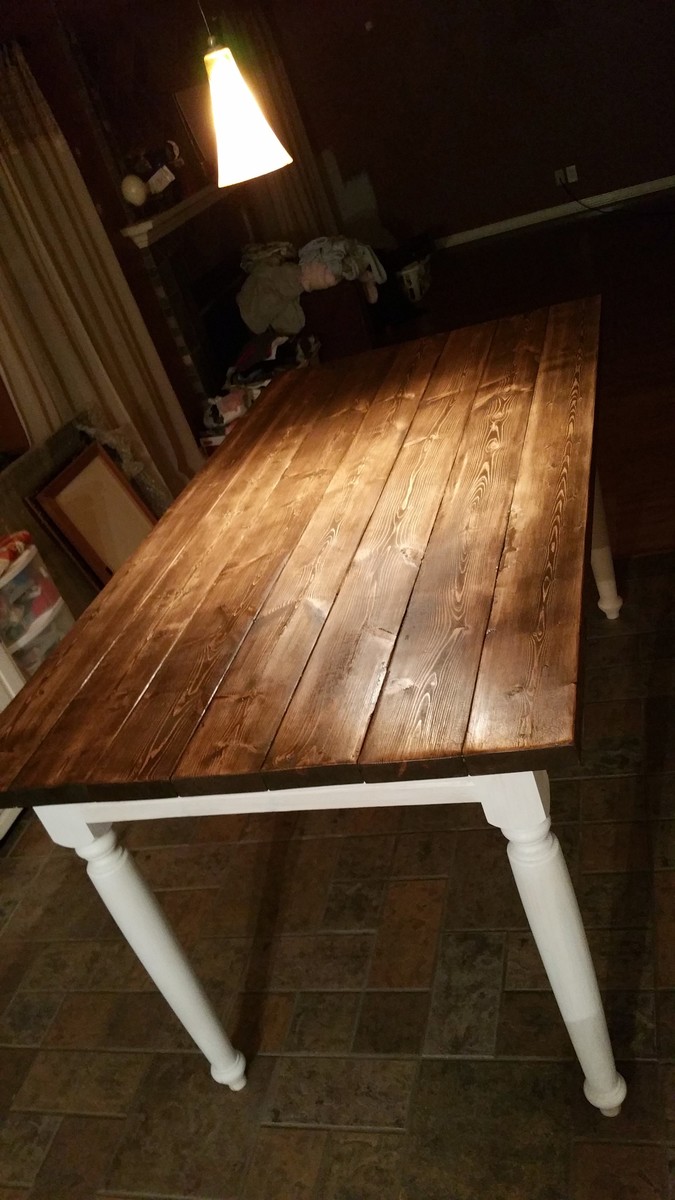
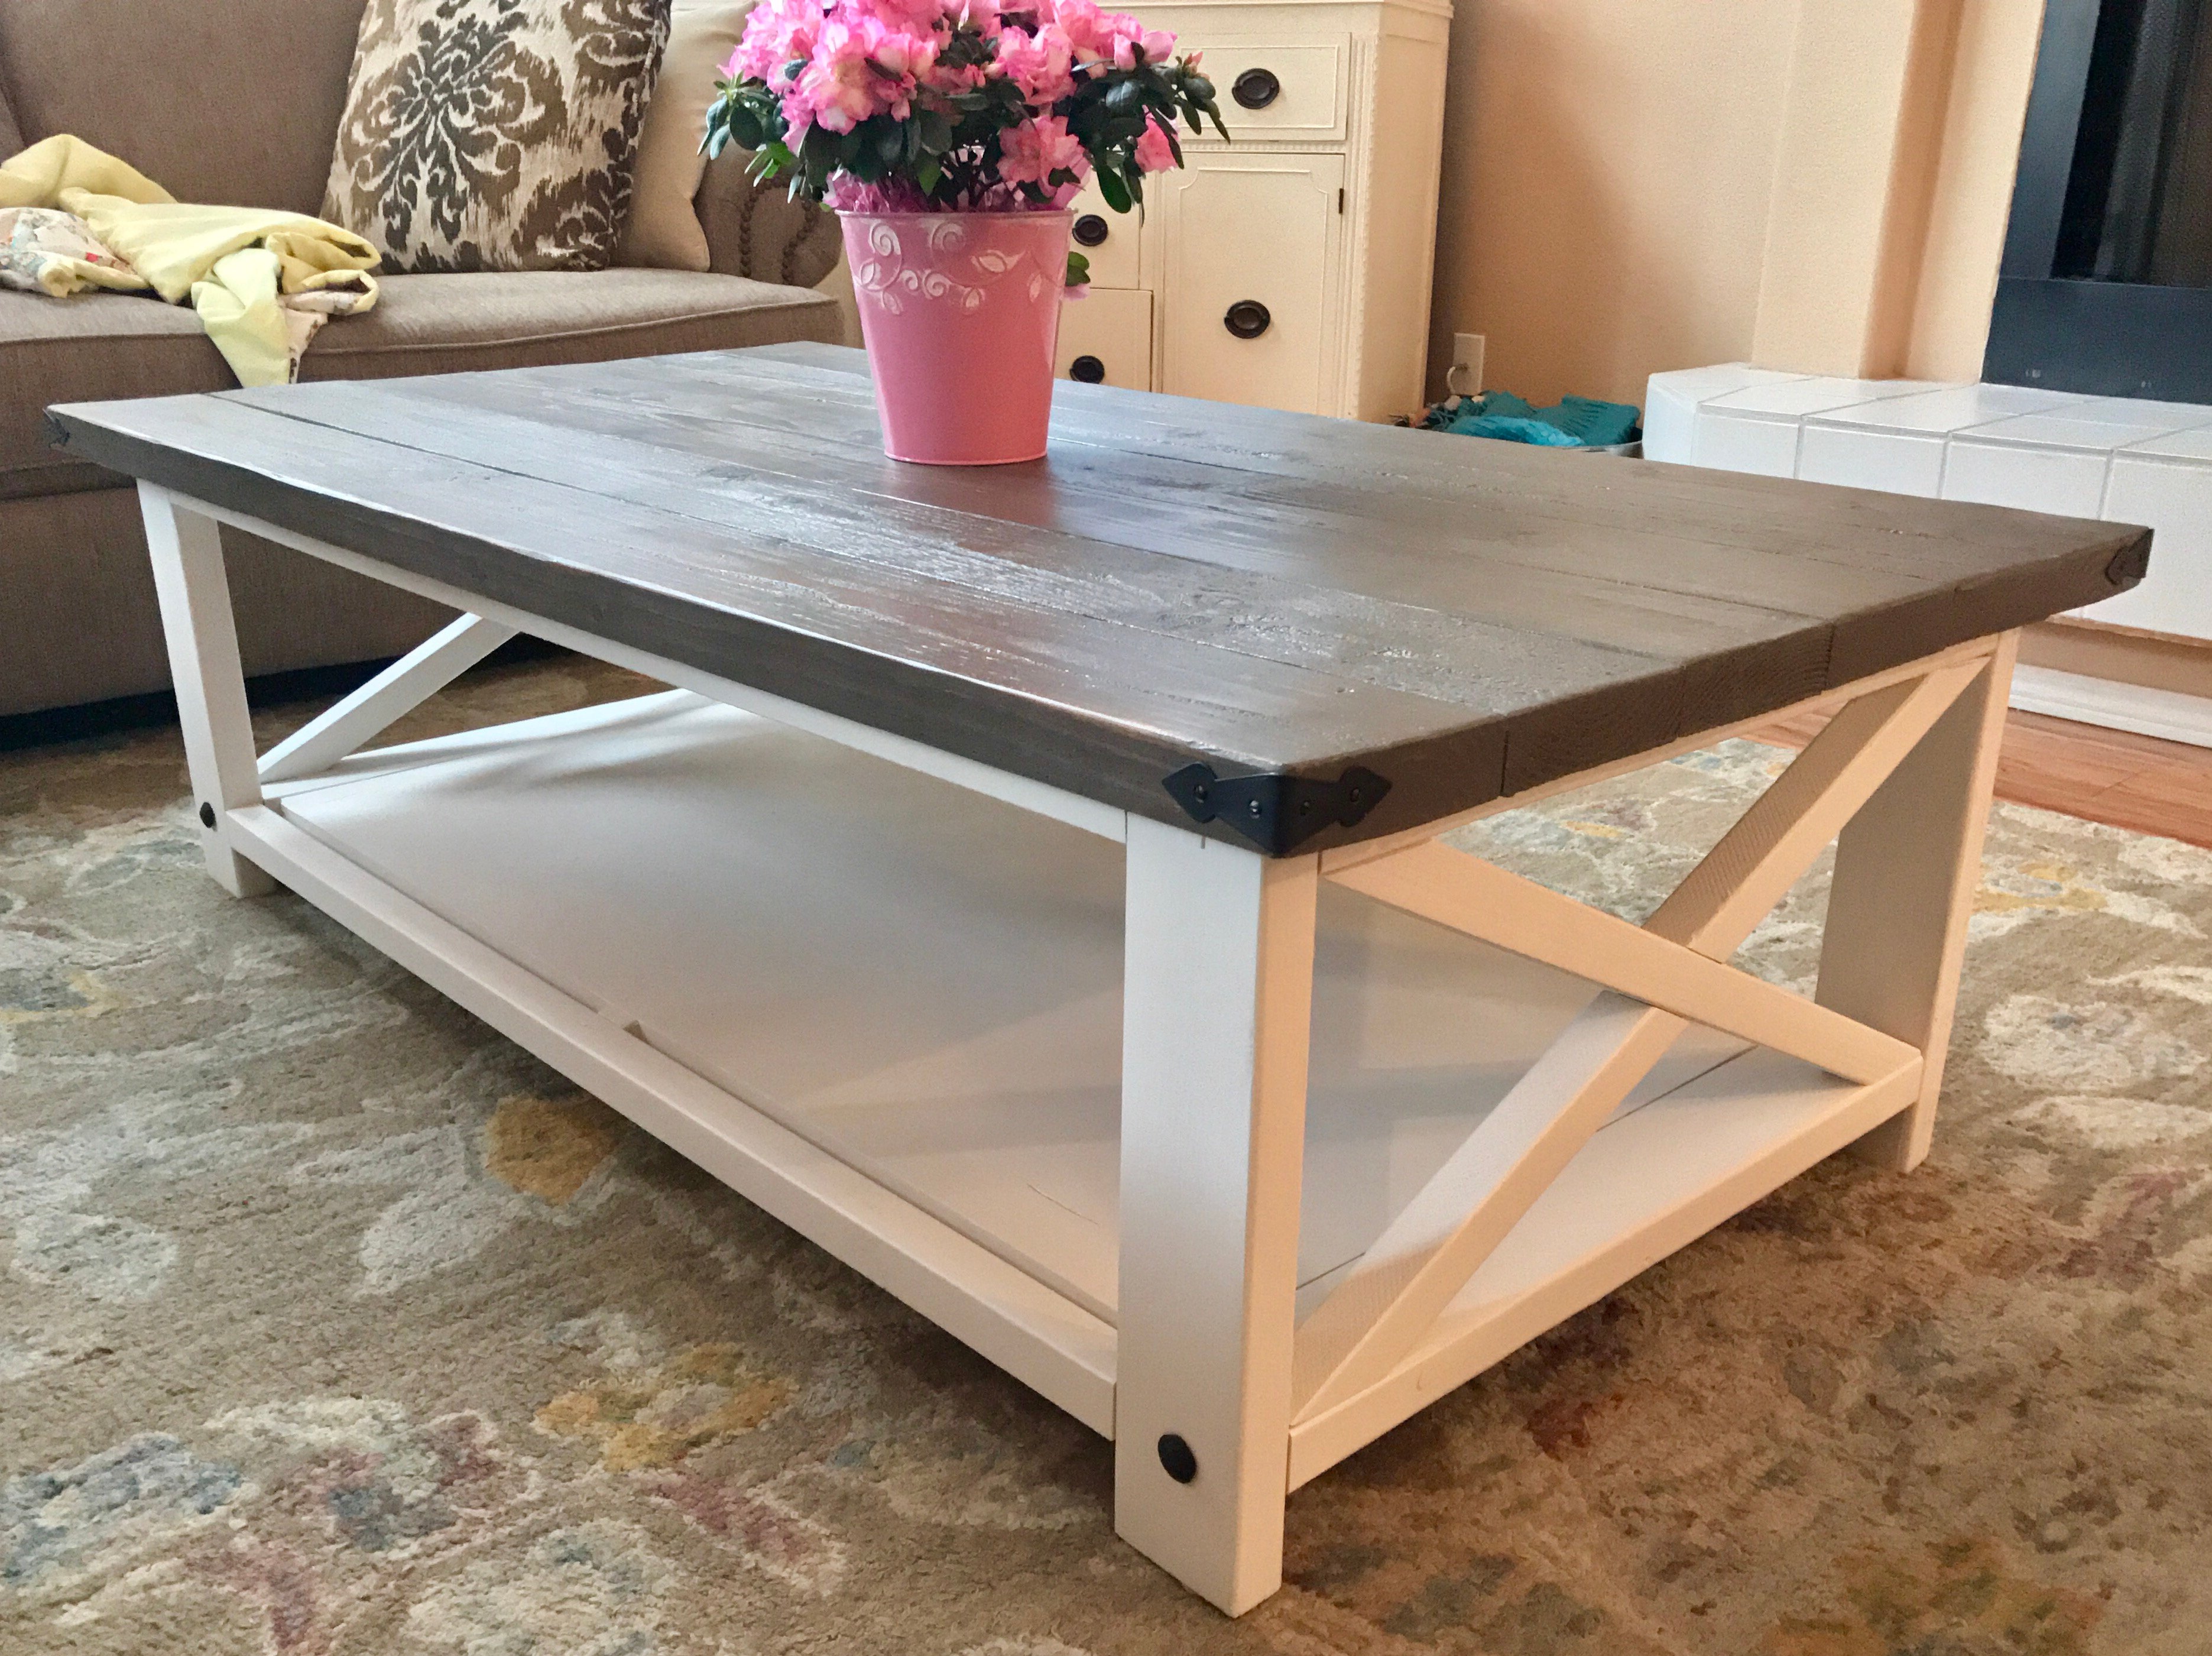
I was looking for a table for my entry way. I like the industrial look, but don't like the industrial prices at stores. The plan on your website was just what I wanted for that space. I substituted Red Cedar for the top simply because it was relatively inexpensive, and the cheaper pine 2x6's were in very poor condition at the store. Since the 2x2's are generally a very rough grade of wood I had to make sure I kept the build as square as possible.
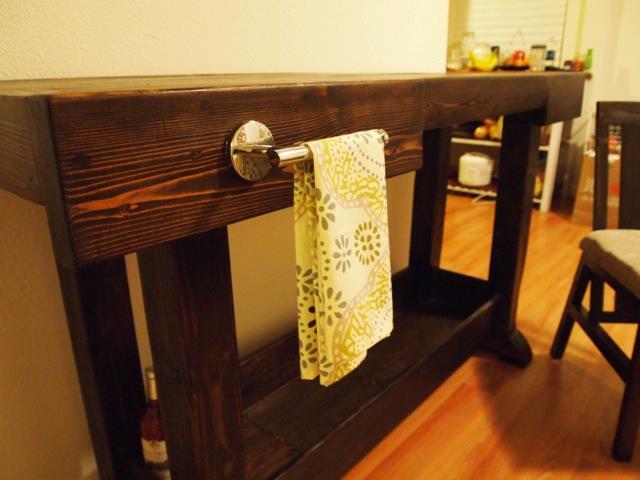
With drying time I spent part of 2 weekends. After dry brushing/ragging stain over the silver painted base it still felt a little tacky after drying. But after using Polyurethane spray over the base the tackiness went away.
I'm really pleased with the outcome. I have very few carpentry tools, but I still feel I can complete some of these projects based on the detailed instruction provided. Thanks for providing this website forum.
So I was complaining to my wife that our one closet in our bedroom was becoming too cluttered. She asked me to build her one. I told her that if she found the one she wanted me to build, then I would build it. She found this one and so I built it for her. Let me just say that she is very happy with it and it came out very great. I did find a couple of shower curtain rods that were brown to used instead of the iron pipe. It made the whole project cost around $80.
Sat, 11/07/2020 - 11:42
So happy that worked out for you and your wife, thanks for sharing:)
I needed a Christmas gift that would give me a lot of bang for my buck. Instead of buying 3 beds for my 3 daughters at $75+ each, I decided to build them! My sister-in-law made unique quilts for each them, and it all added up to a project that they loved.
Wed, 01/09/2013 - 11:13
The time listed is for all 3 beds. I took two afternoons to build the beds, several hours to paint them (the most tedious part) another afternoon to sew the mattresses, and one more to sew the pillows, cases, and sheets. My sister-in-law sewed the quilts.
My first build project. I purchased 35in legs as i wanted a pub height table. I think it turned out great :)
Tue, 11/04/2014 - 18:10
This is really beautiful,I especially love the two tone!!! Thanks so much for sharing!
I upscaled the size of my table to 60" X 36" to match my oversized couches. I then used decorative corner brackets I found on amazon for the corners, and 1" decorative nails for the base of the legs. Fun project!! Next up are matching end tables and entertainment center.
After building myself a Christmas Tree shelf for 2019, friends and family wanted me to build them one for 2020. Three people wanted a smaller tree so I scaled down the plans and used 1x4's ripped to 3 inches. I also included cup hooks (3 or 4) and an aluminum french cleat hanger I found on Amazon for about $5 each when you buy three.
Mon, 11/09/2020 - 10:16
Love all the varieties of sizes and finishes!
Wanted to build a couple chairs to place around the fire pit and enjoy roasting marshmallows on crisp fall evenings.
love this plan!!! Thanks so much!
I used the king farmhouse bed plans and modified to build our new bed. Painted then used briarsmoke stain over paint.
Sun, 11/22/2020 - 14:45
Thank you so much! Thank you for all the plans that make building so easy.
This was my first project and I'm really happy with the result. I didn't even make any mistakes! I love it and my friends always ask me to make one for them too.
This was built mainly as a place to bring our pond plants in for the winter. After looking at various kits we decided this was the best option for us and much cheaper.
The size was increased to 12 X 12 and the walls/ceiling were increased another 15" in height over the original plans. An entryway was added to block the cold wind as our original barnstyle door wasn't tight enough and ended up being too drafty. Also added an RV type autoswitching propane system and blue flame heater for backup. For the winter months we insulated the lower portion of the interior walls with spun fiberglass and 6 mil film stapled over it.
This is a very utilitarian version that serves our needs well. Great original plans and easy to build.
Tue, 11/11/2014 - 14:34
We didn't change the angle from the plans. 22 degrees I believe was the cut.
Tue, 11/11/2014 - 16:04
Wow, this looks awesome! I love the arctic entryway (thats what we call them up here in Alaska) and all the mods! Thanks so much for sharing!
This was my second Ana white project and first complex one.
I learned a lot and look forward to more.
Comments
johnlpowell1
Wed, 10/22/2014 - 08:35
No matter what picture I
No matter what picture I choose the main pic shows up rotated left.
Ana White Admin
Wed, 10/22/2014 - 10:51
Looks Great!
Thanks for sharing your beautiful build, picture is all fixed!