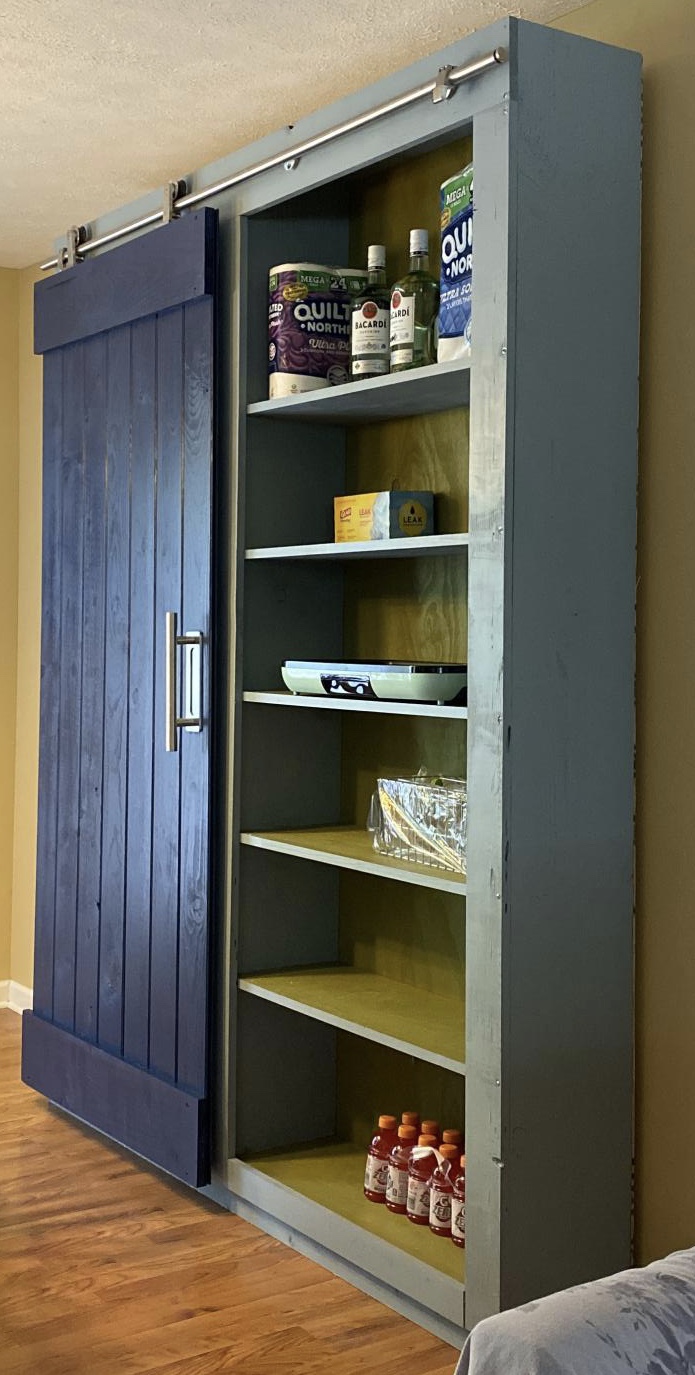
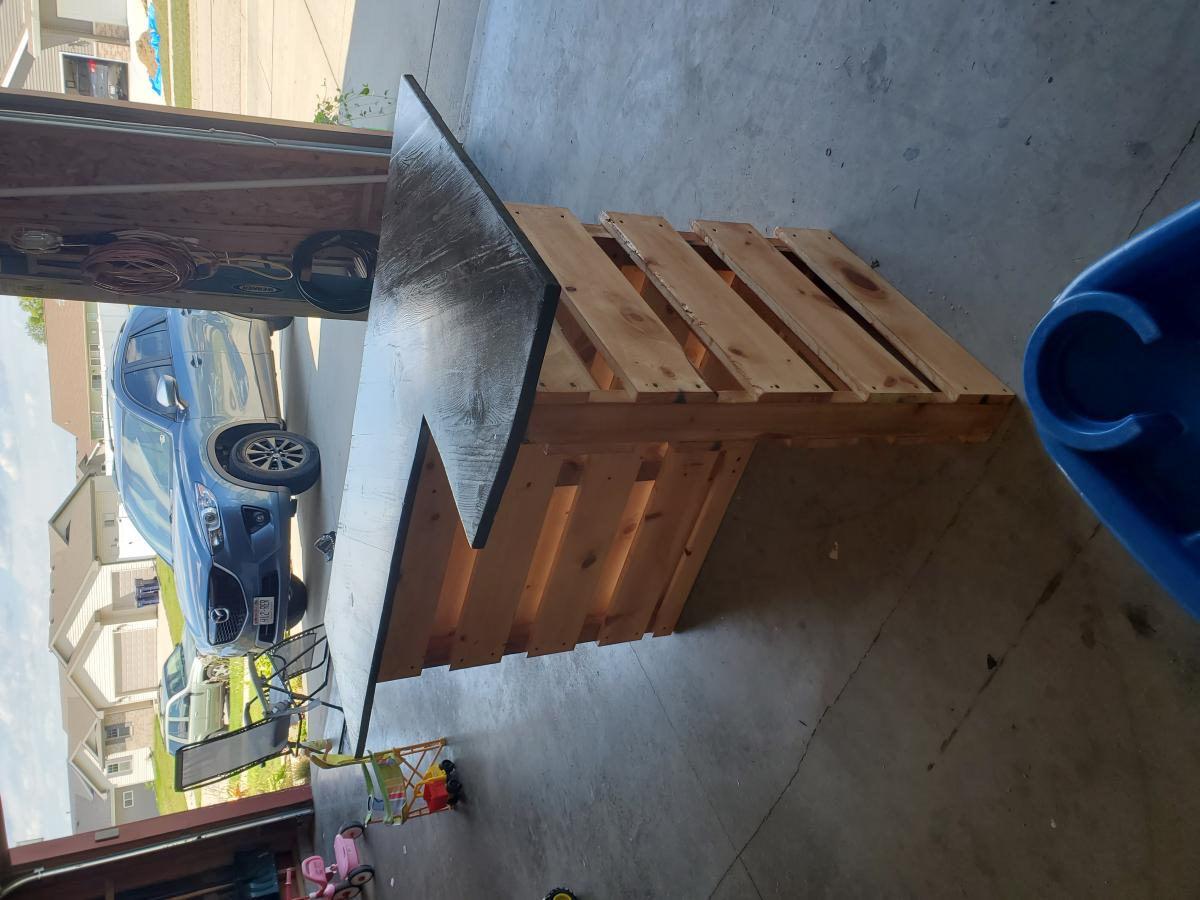
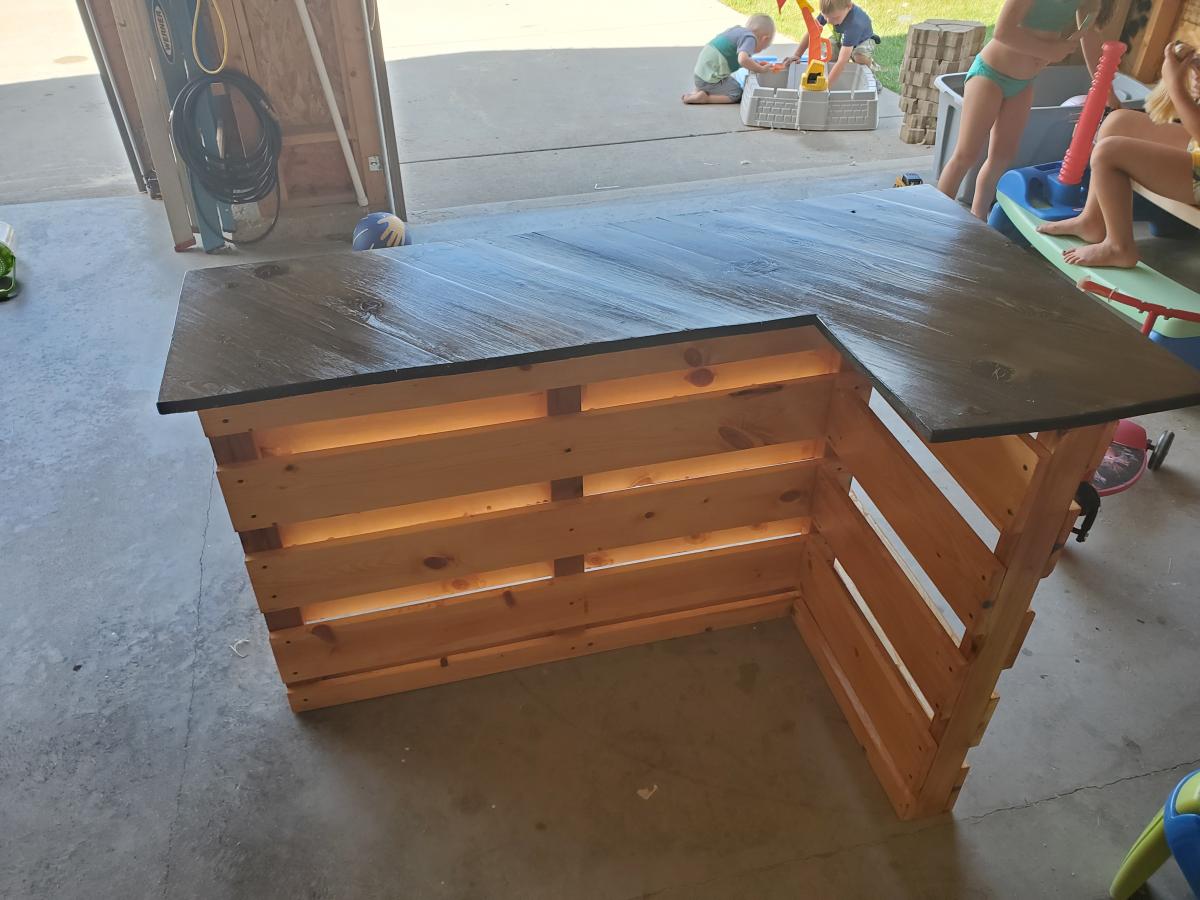
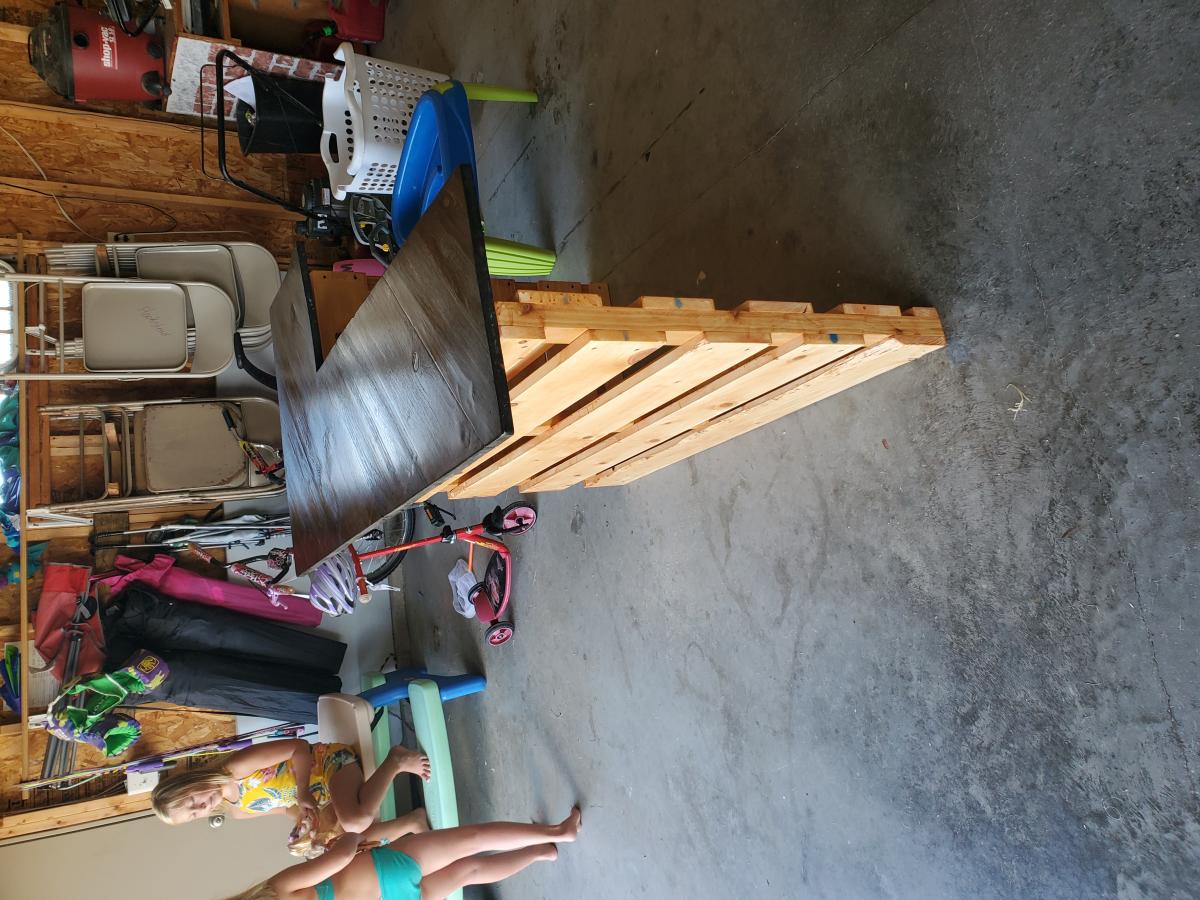
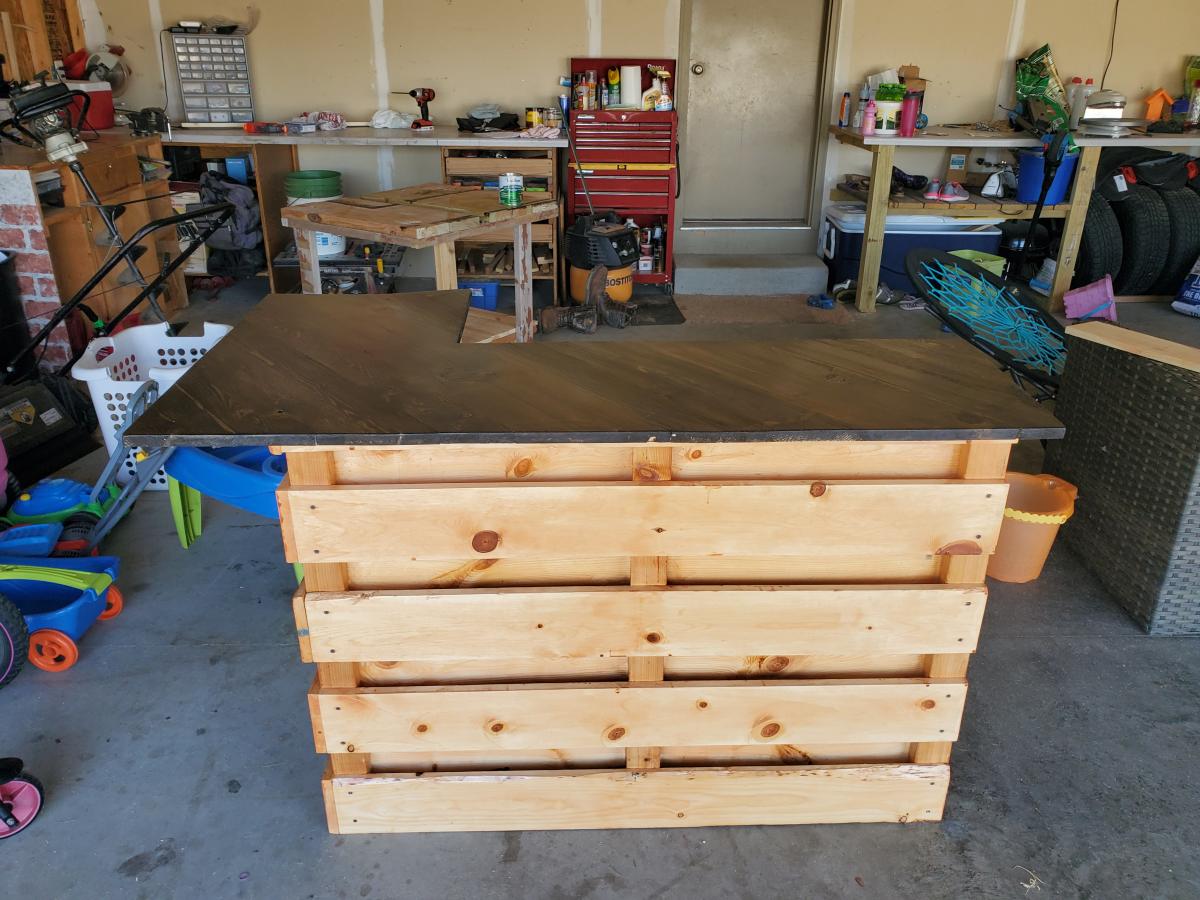
Community Brag Posts

media hutch

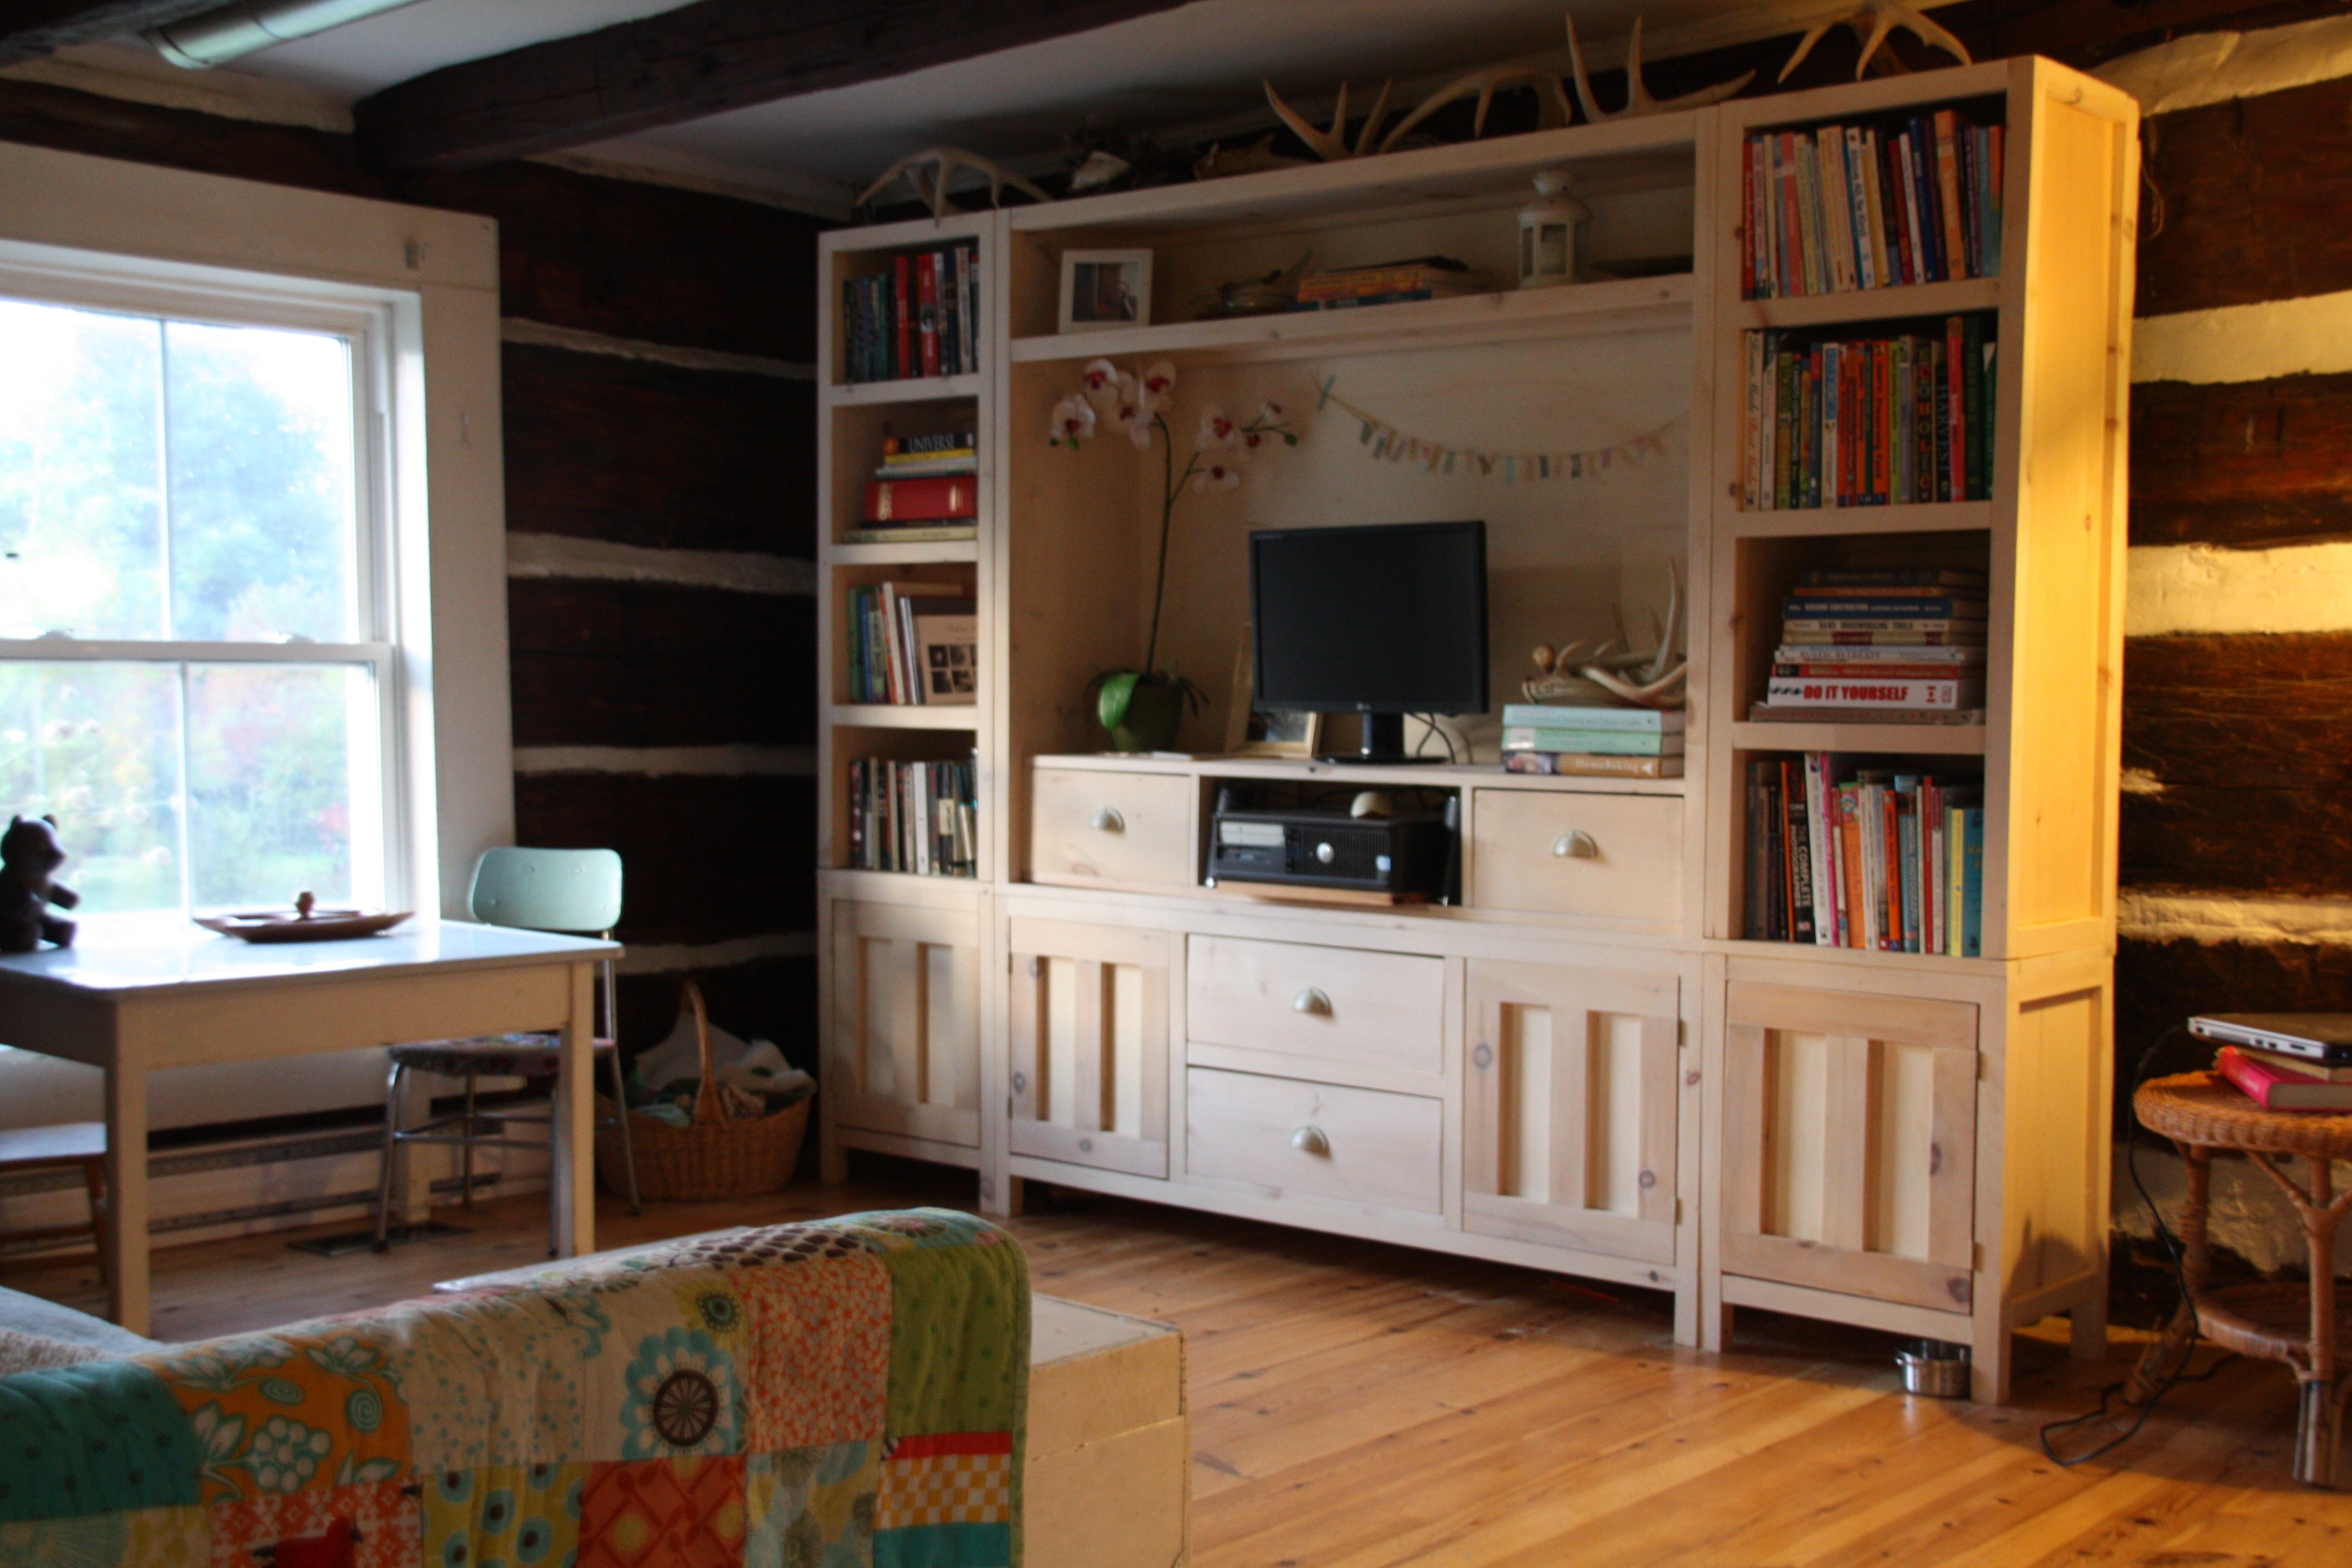
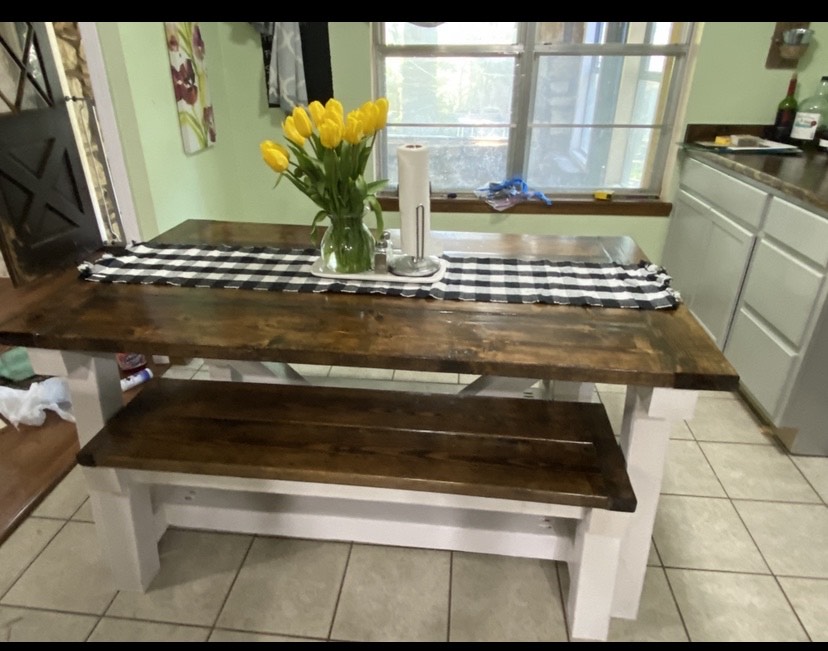
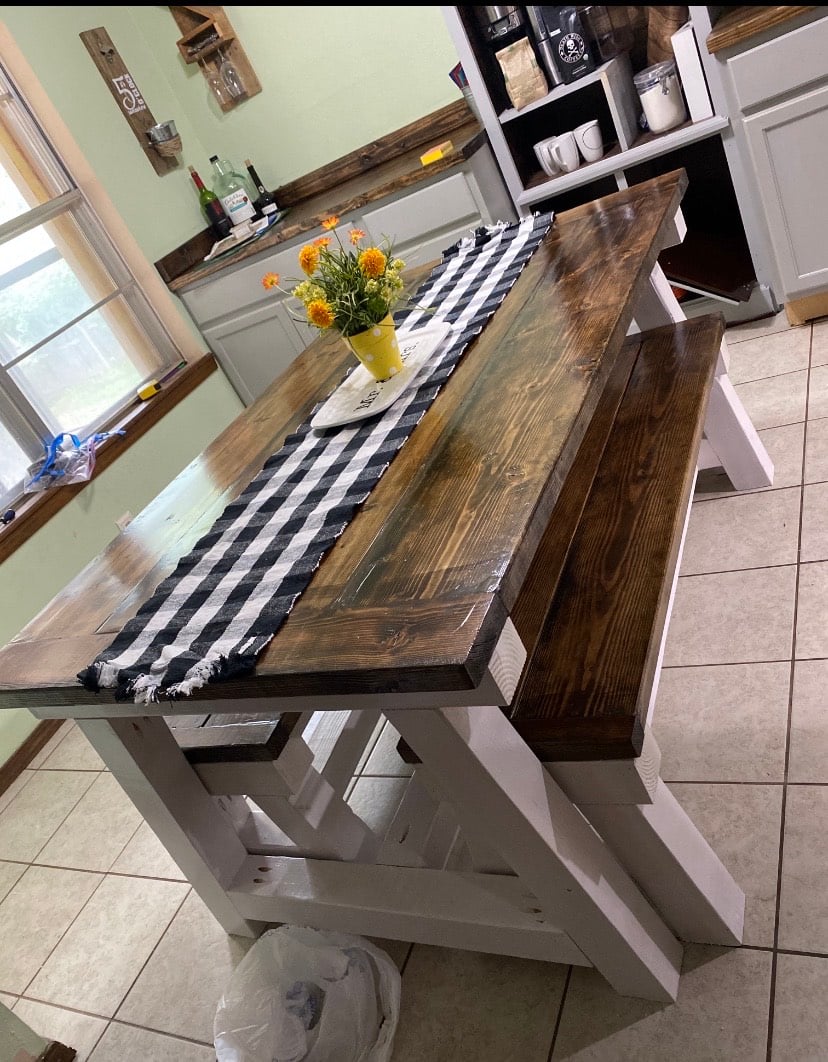
After an entire weekend devoted to work on our entertainment cabinet, it is finally complete.

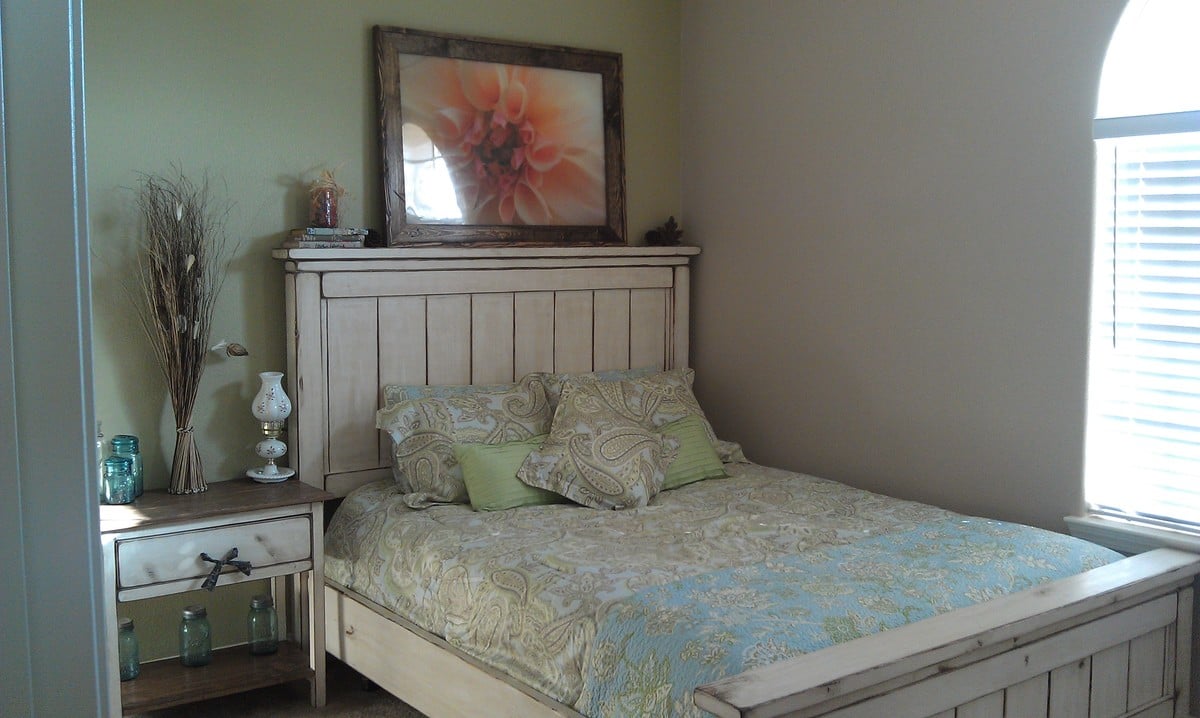
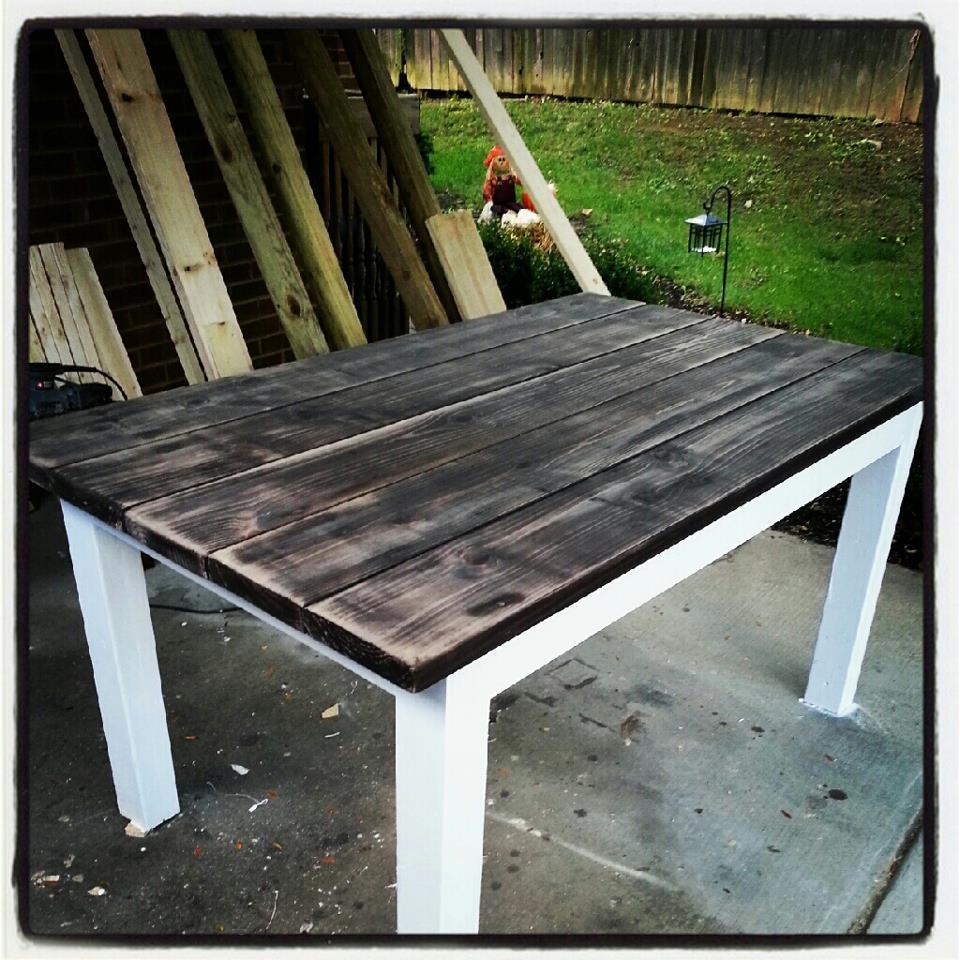
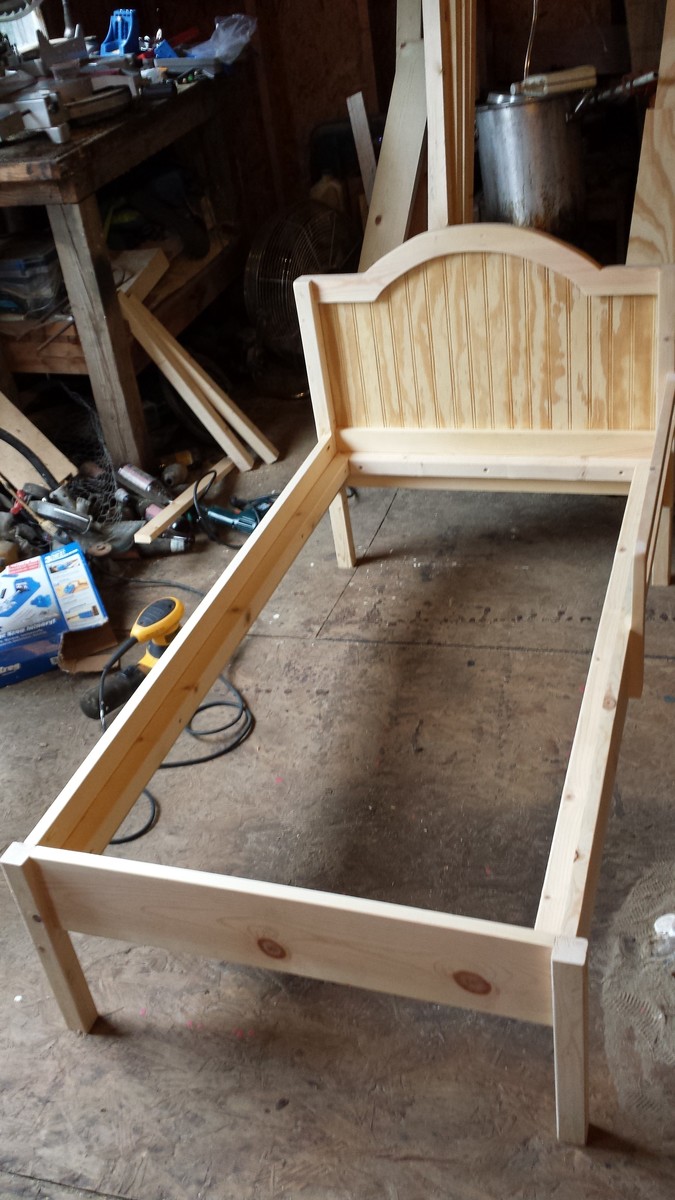
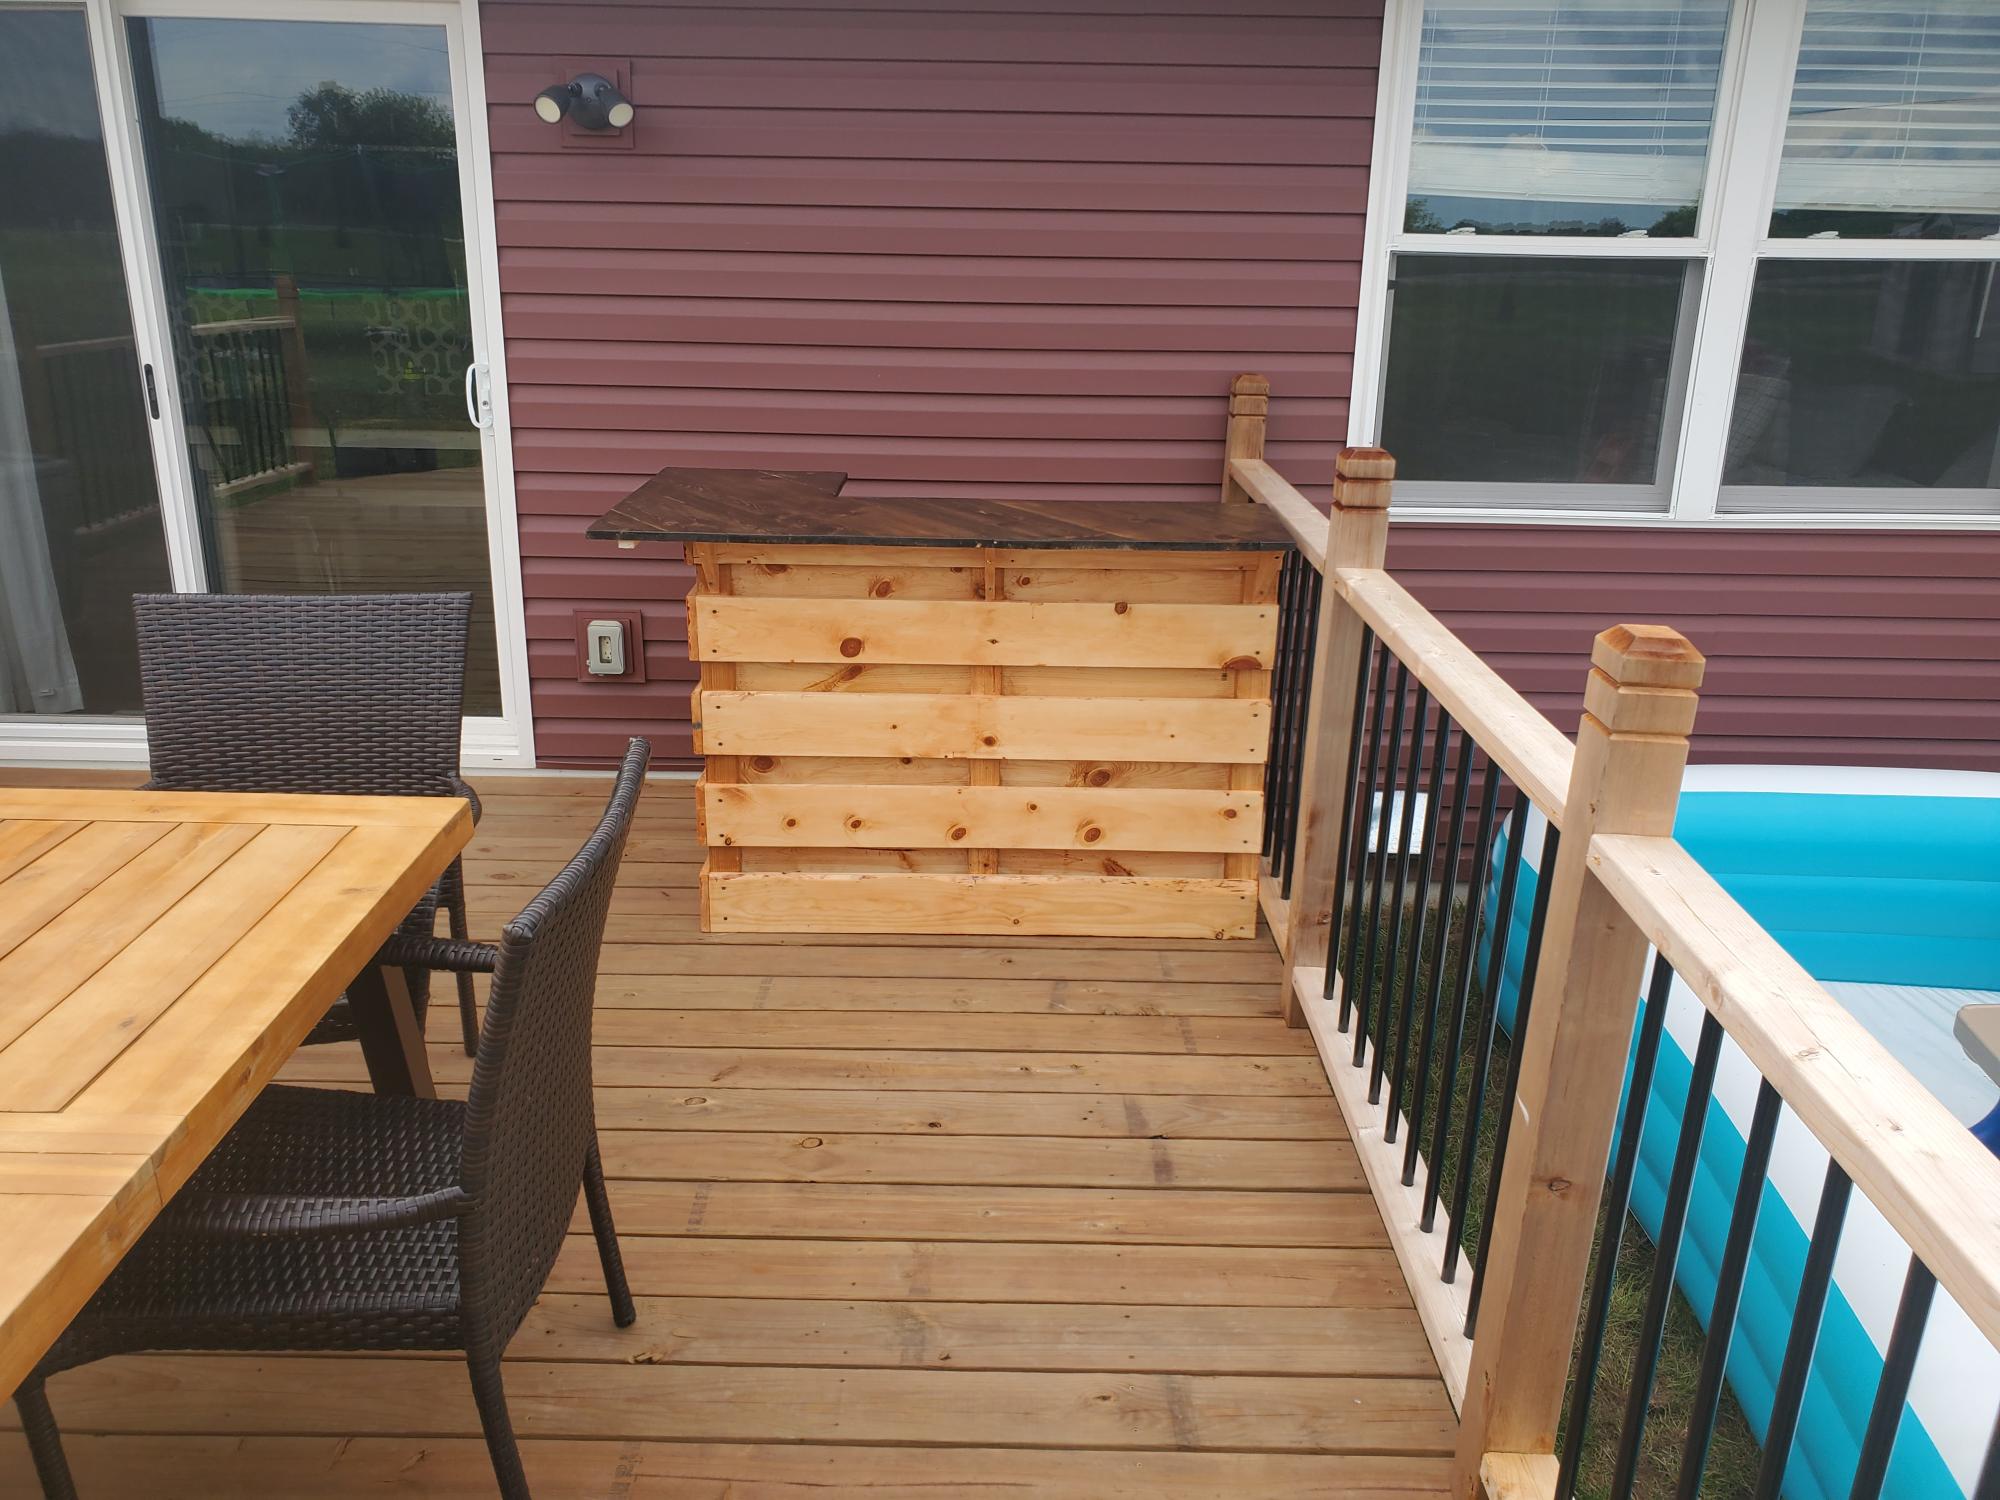
As many of you may have noticed, we live in a 104 year old cabin so much of the wiring could not be hidden in the walls since they are made of giant logs. One wall contains huge tats of wires, panels and plugs. We did our best to place the biggest pieces of furniture and curtains in front of it to both hide and keep the kids out, but it has been a thorn in my side since day one. We originally thought we would pay someone to build a false wall there, then we thought we would build it ourselves, and then we decided to build a very large cabinet that would nearly perfectly cover most of the wall. These plans fit the bill perfectly and since we had such great luck with Ana White’s plans for our harvest table and Poppy’s bed, we jumped right in.

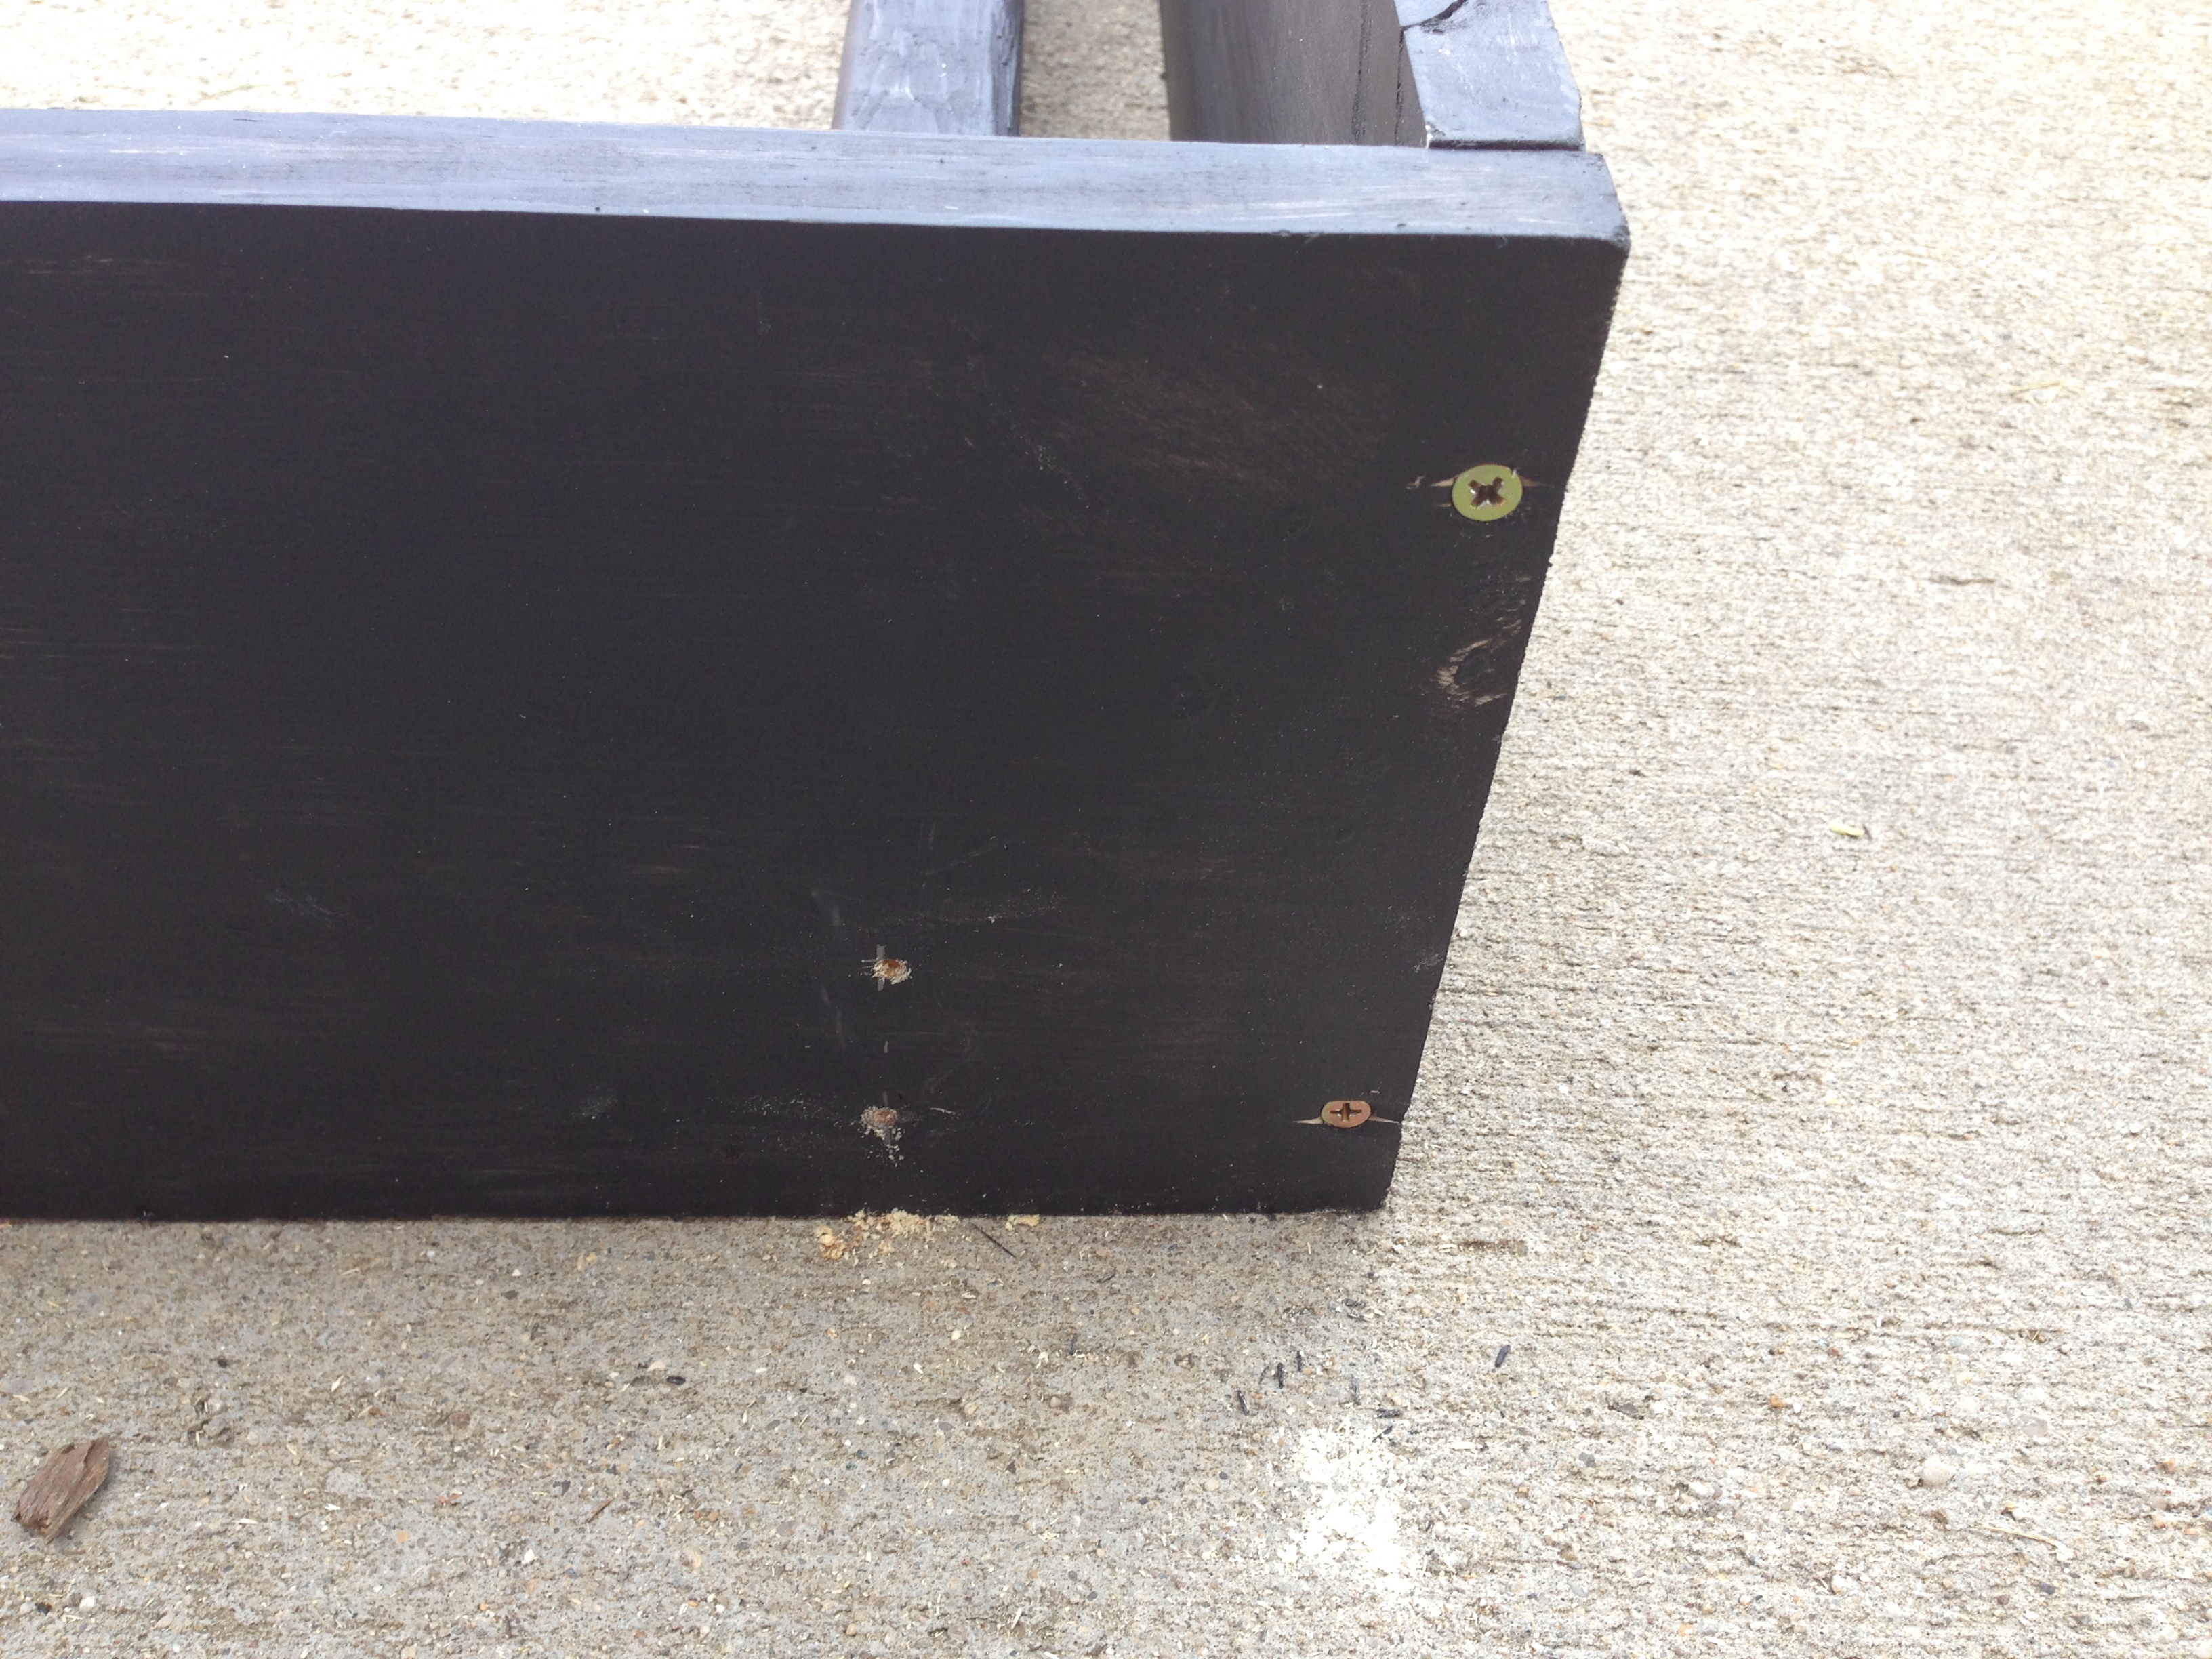
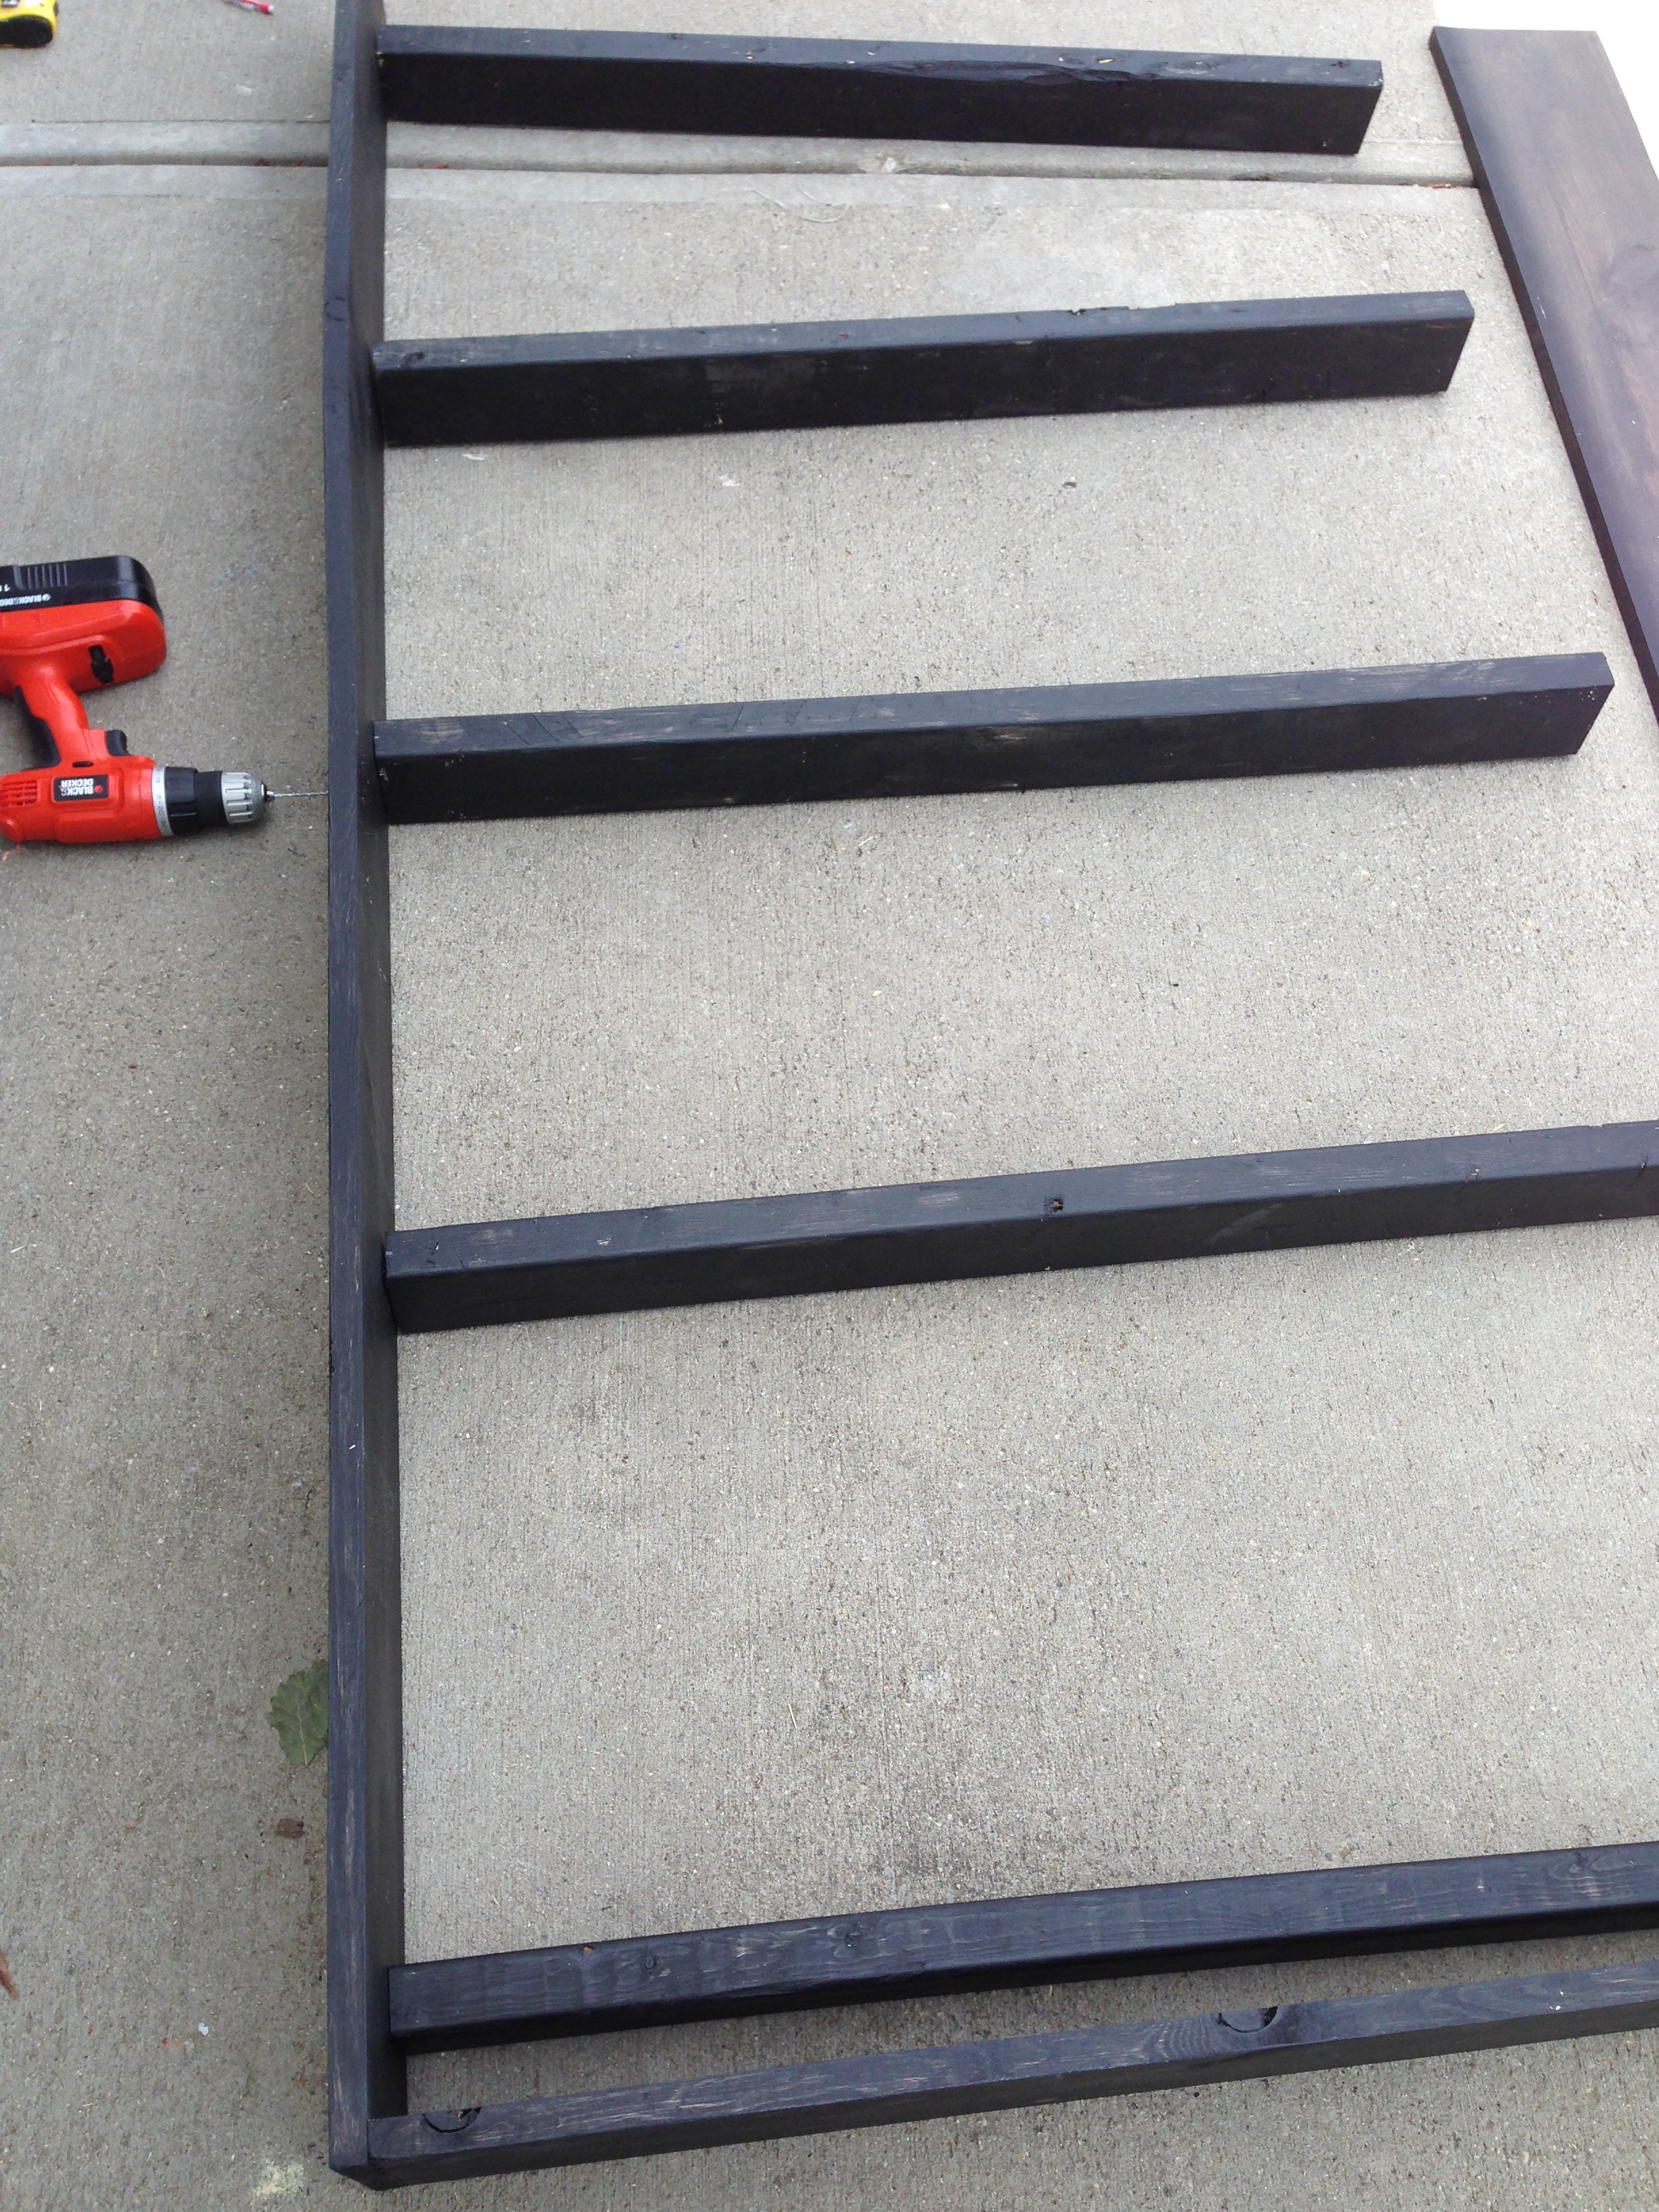
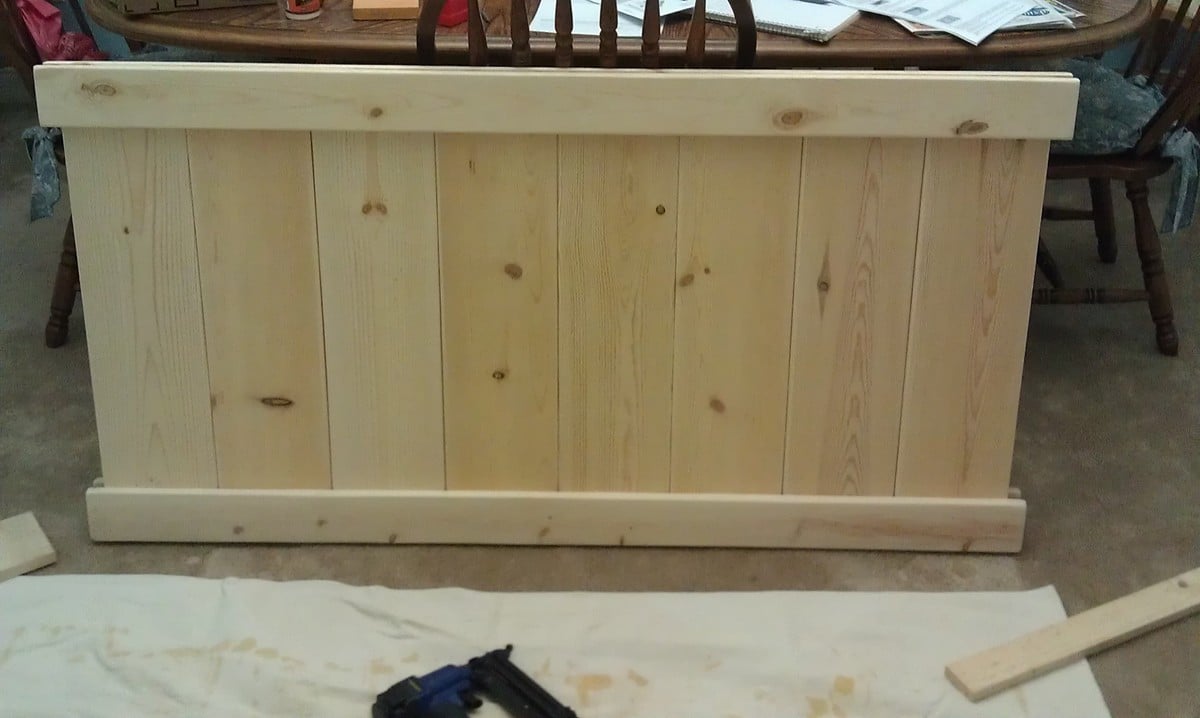
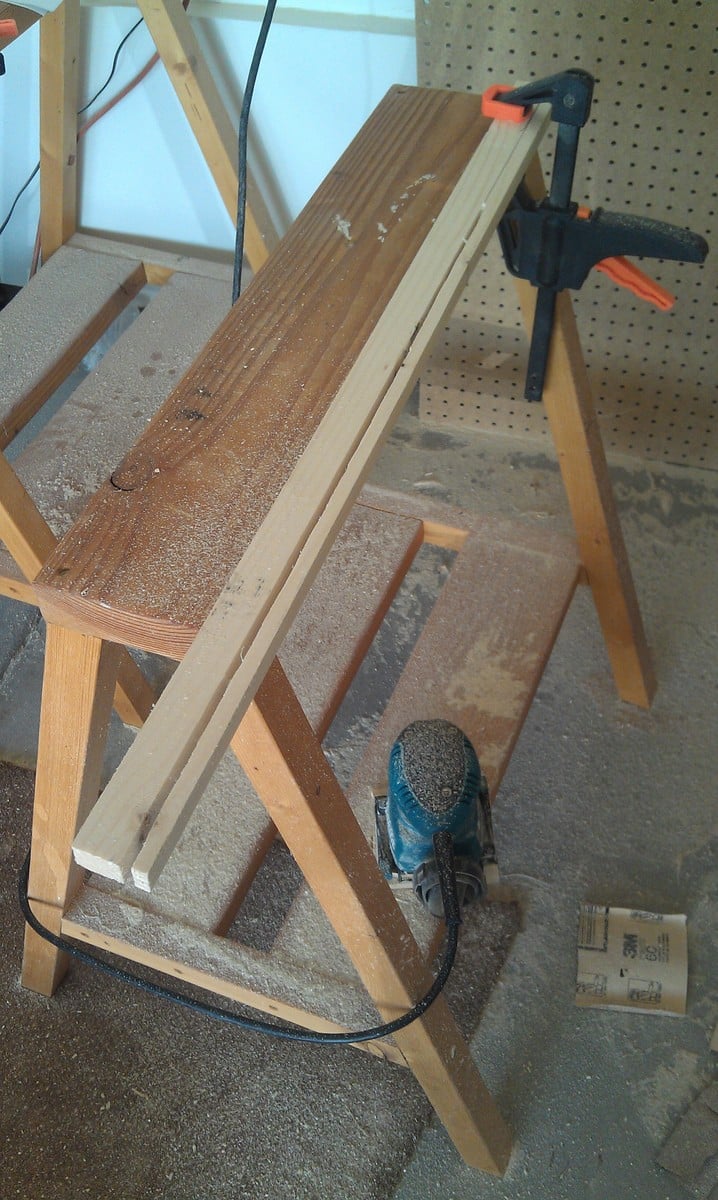
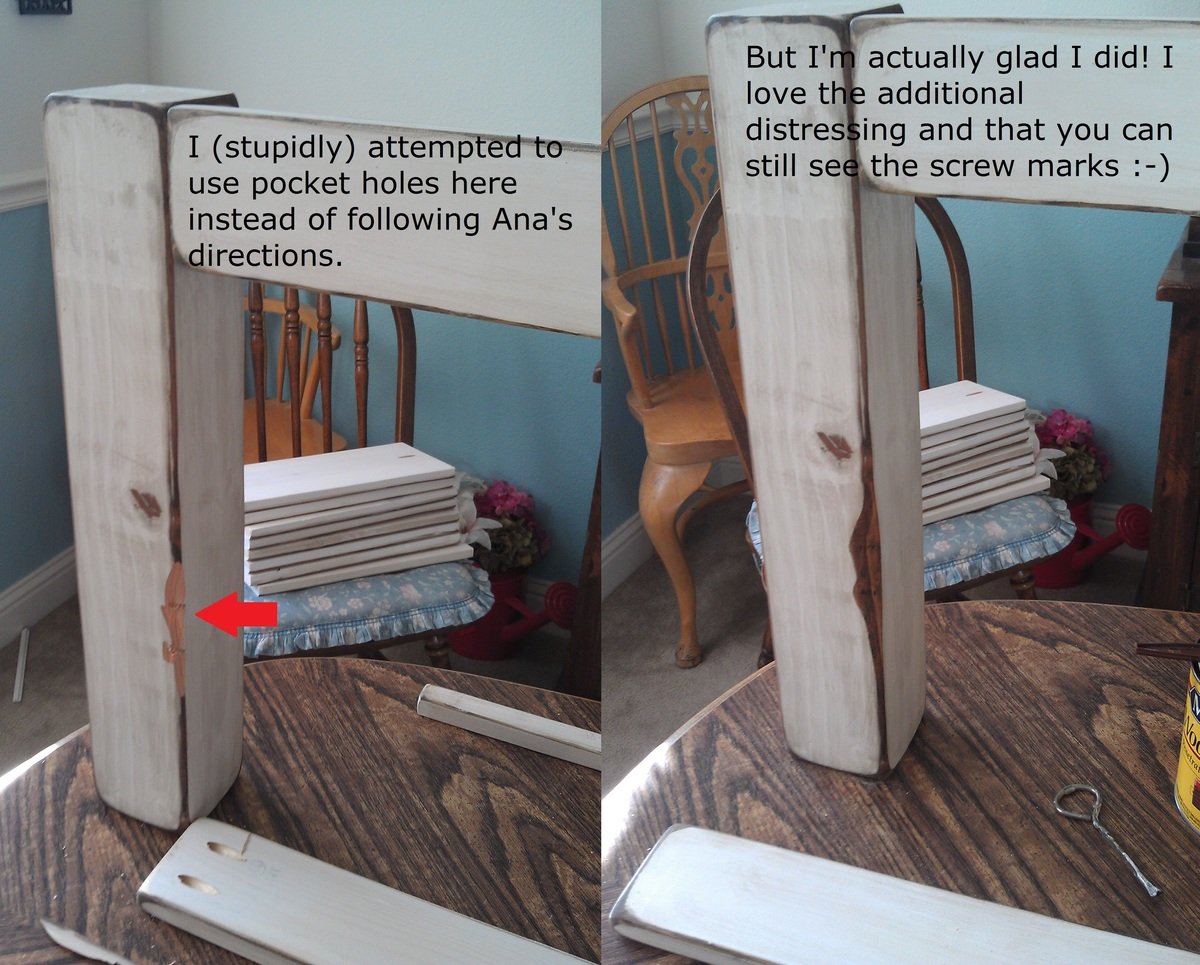
With the addition of a chop saw (an early birthday present from Mike’s dad) and a Kreg Jig the project, though time consuming, was fairly simple for us newbies. That being said I am glad it is done. It contains a lot of blood, sweat, tears and maybe even a little piece of our marriage.

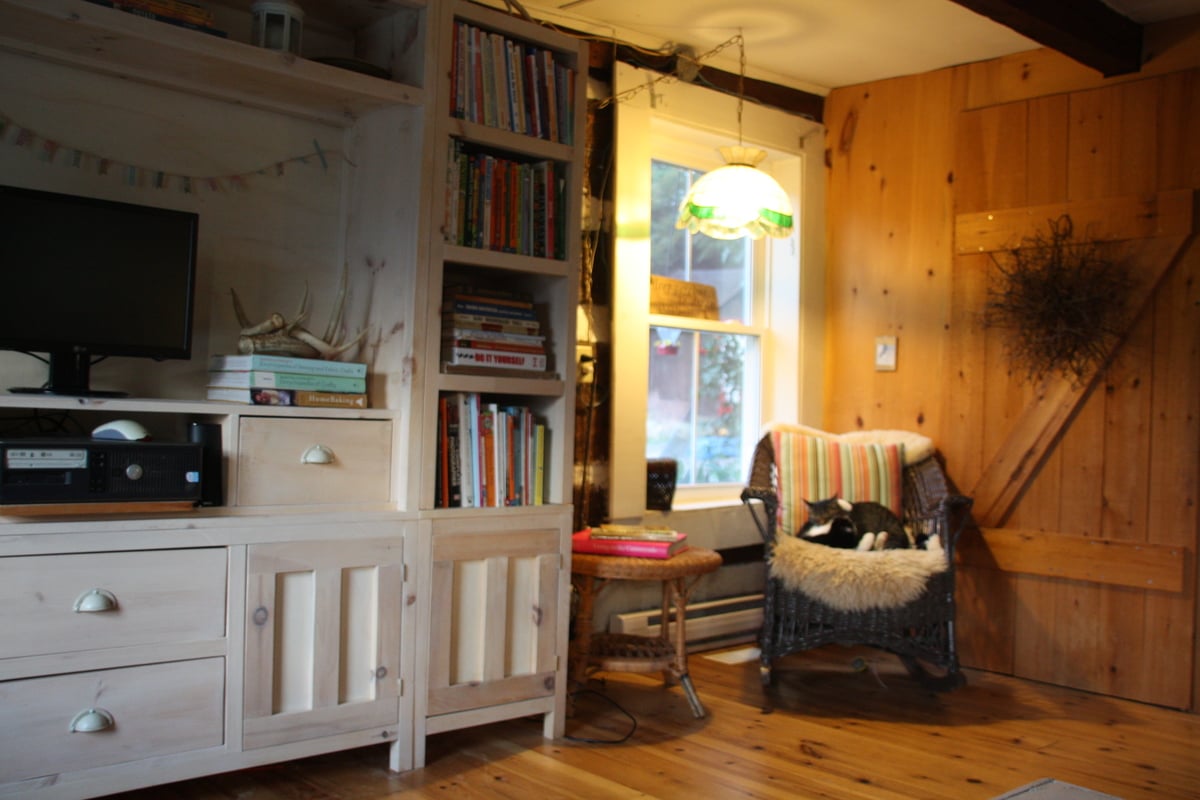
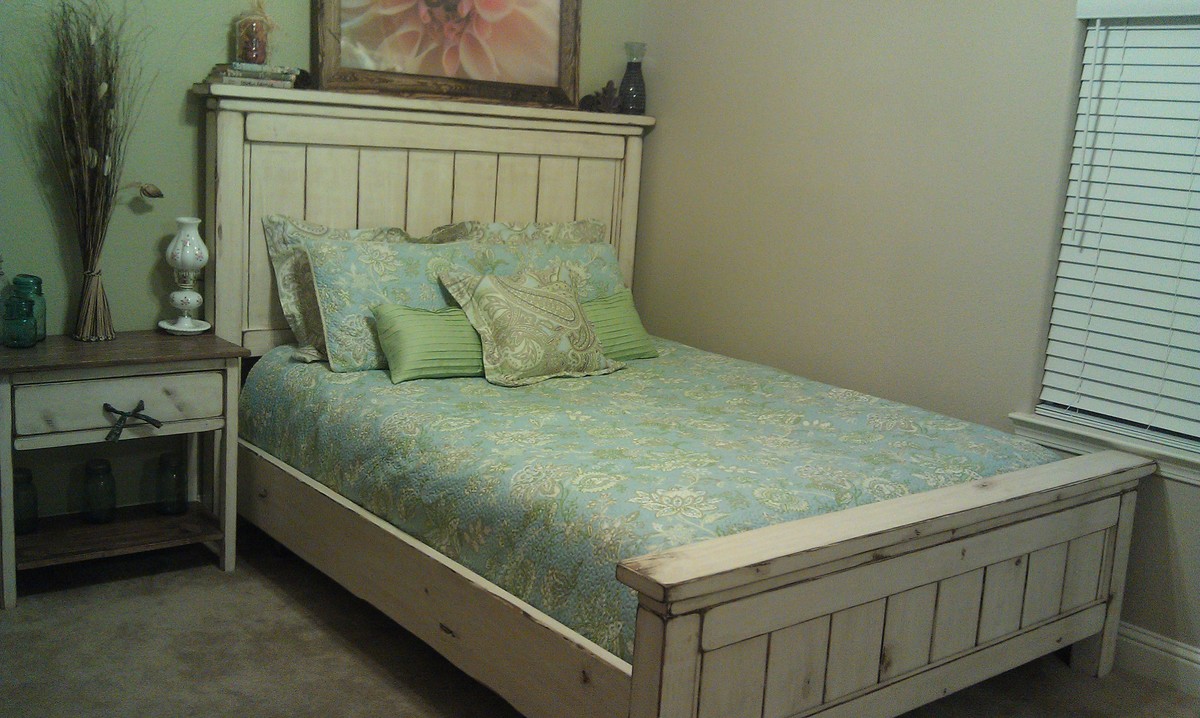
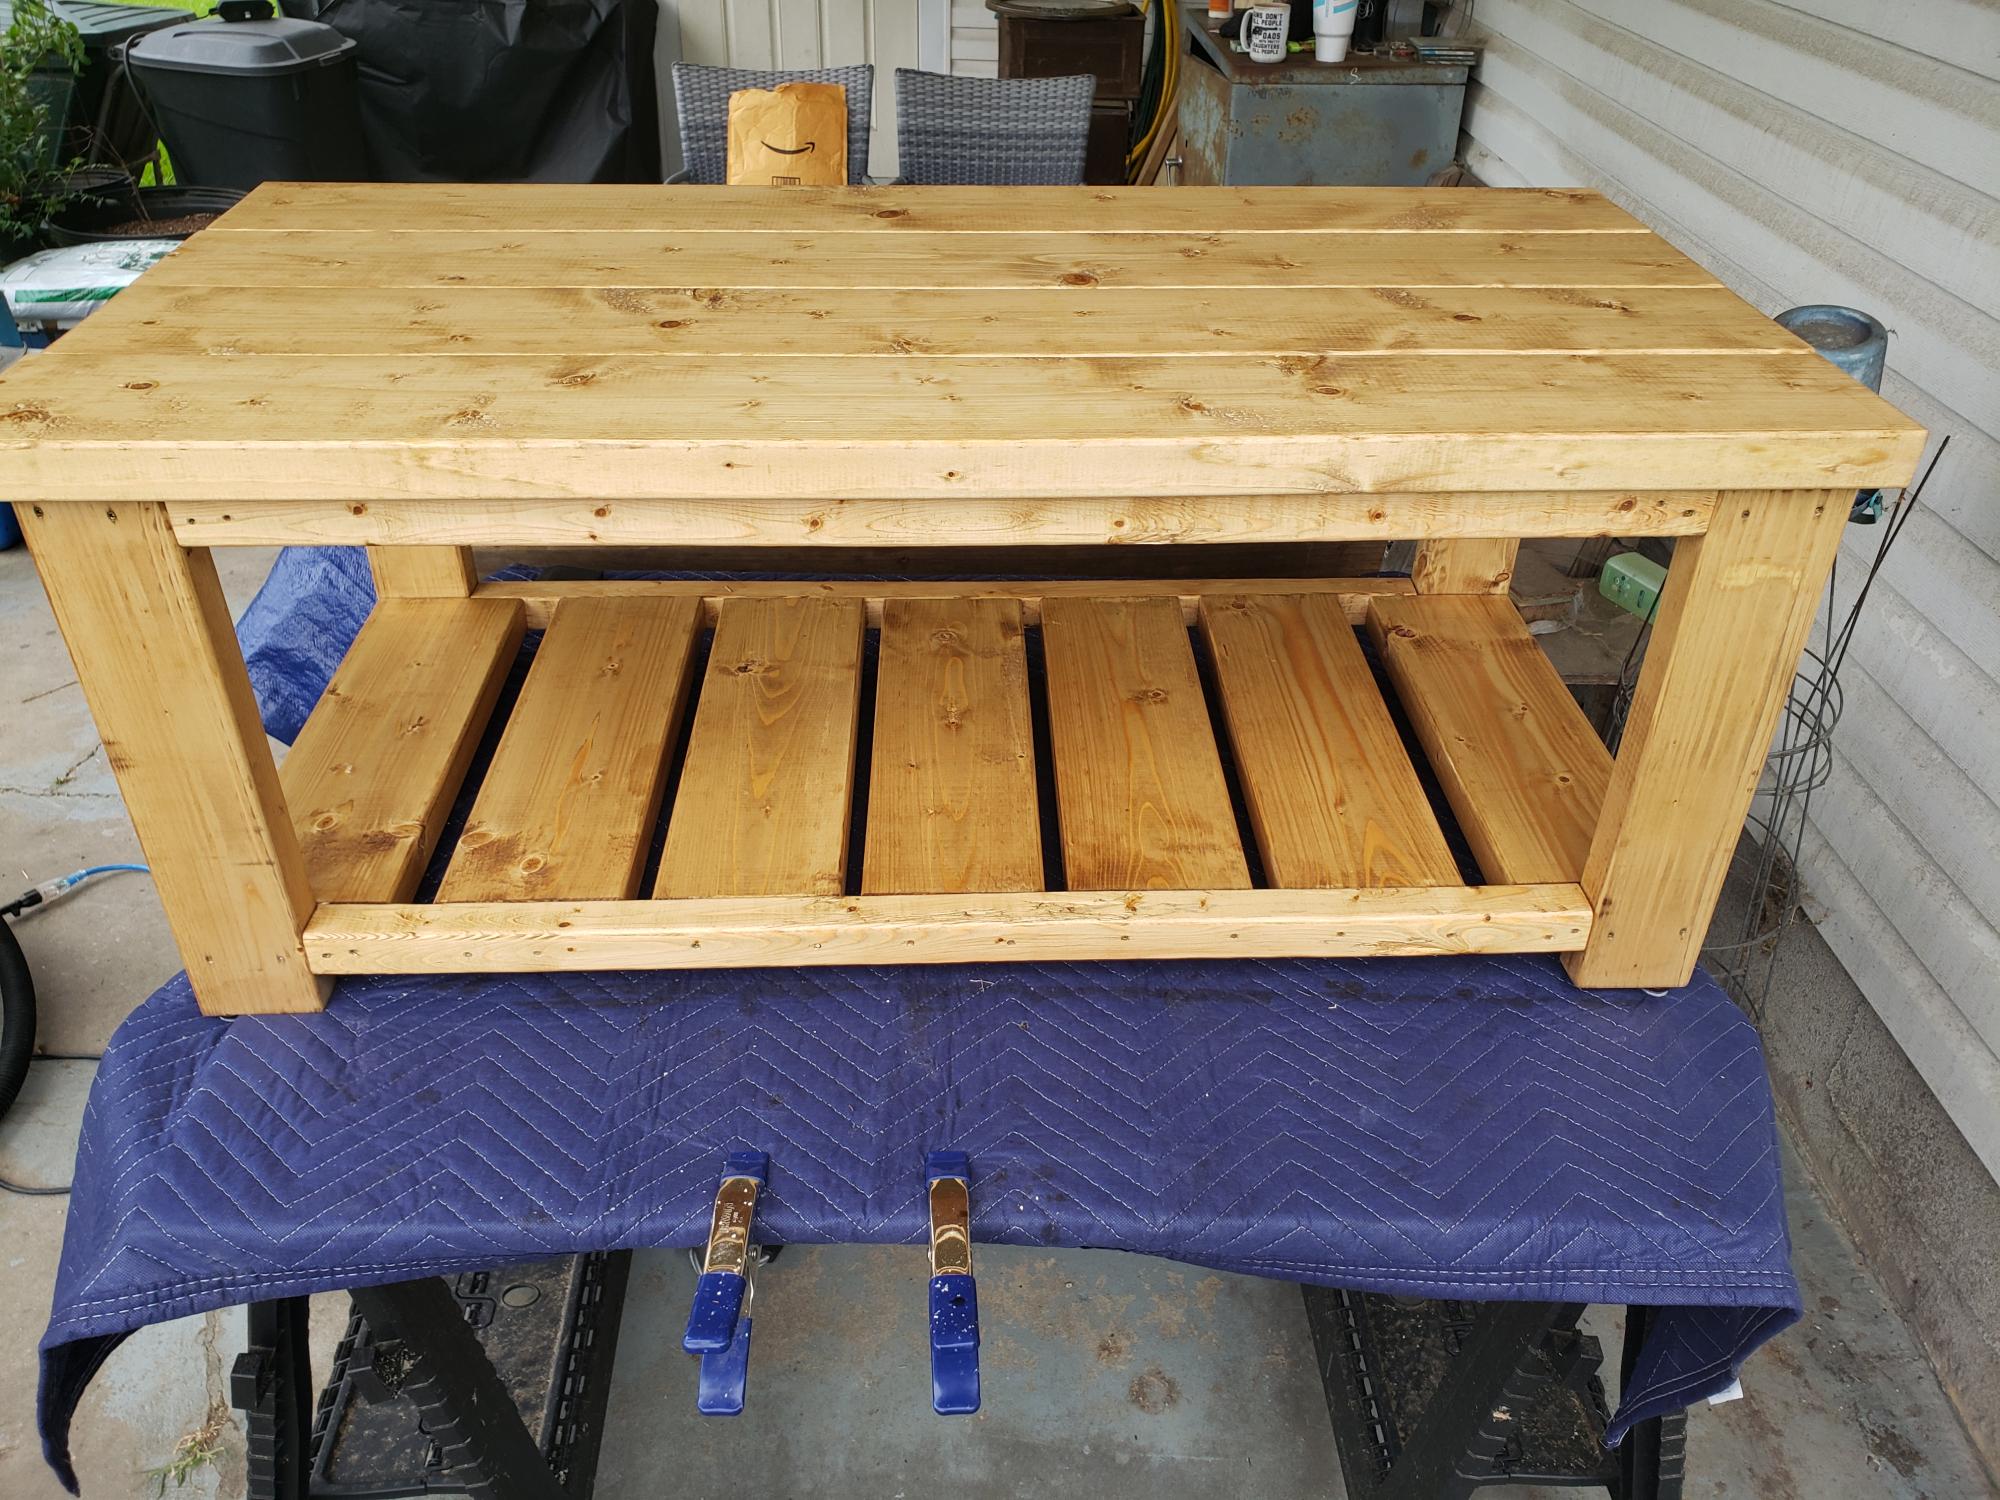
We used pine and finished it with two coats of “White Oak” stain. We placed four drawer pulls and will be making the remaining door knobs from driftwood or cut antlers. Though we don’t have a big television (actually it is just an old computer with a 20 inch monitor) we decided to leave the large opening since we may one day get a real one again. It cost a bit more than we had anticipated, but when you factor in our learning of new skills, the quality and strength of the piece, and the feeling of pride we feel when looking at it, I would do it all over again.

Last night, the living room was put back together and, while I made supper, Mike chopped wood for the wood box. We sat fireside last night and again early this morning.

Fall is no longer a whisper and I couldn’t be gladder.

Visit www.erinellenbergermarch.com to follow our DIY journey from homeschooling to homesteading to furniture making.

go gently + be wonderful

e.

Built from Plan(s)
Estimated Cost
$400 plus
Estimated Time Investment
Week Long Project (20 Hours or More)
Finish Used
White Oak Minwax Stain
Recommended Skill Level
Intermediate

Comments

biz_kid1

Tue, 09/25/2012 - 11:14

I love it and the wood looks great in the cabin! And...no wires!!!

We're working on a built in media cabinet for our media room, too! Good times!

Twin bed frame

We used the plans to create a basic bedframe.  I have used the farmhouse bed plans before and really liked the way this frame went together.  It is cheap, easy, and nicer than a metal frame. 

Estimated Cost
$20
Estimated Time Investment
Afternoon Project (3-6 Hours)
Recommended Skill Level
Starter Project

Window Banquette Bench

Submitted by Anonymous (not verified) on Mon, 06/17/2024 - 09:56

My husband and I used the plans from Ana White’s Banquette bench with a few minor tweaks. We placed our single freestanding(not mounted to the wall)bench in our Carolina room. I also made bench cushions and pillows to make this a comfy place to watch the birds or the golfers out back. It was an easy and fast project to complete.

Outdoor sectional

I changed the plans a bit and added backs to the chairs. I've never used a saw or a drill before, but I am thrilled with how easy this was to do. I love the end result!
I found cushions to go with the furniture at Target.

Estimated Time Investment
Week Long Project (20 Hours or More)
Recommended Skill Level
Beginner

Farmhouse Dining Room Table with Benches!

Submitted by Anonymous (not verified) on Wed, 11/02/2016 - 13:32
Estimated Time Investment
Day Project (6-9 Hours)
Recommended Skill Level
Intermediate

Comments

Barn Door Pantry

We didn’t have much storage space in our little galley kitchen. Imagine how excited I was to find this plan on my favorite site.
This was my first build using my new circular saw. For previous projects, I’d take both the shopping list and cut list to Lowe’s and have them cut the wood. This time, I made all my cuts. I was nervous but love how it turned out.
I anchored it to the wall because with the barn door and the hardware weight, it felt a little front heavy.
We used the same color as our kitchen cabinets (AH13 Salty Dog) and then selected coordinated colors for the body (AH18 Debonair) and shelves (AH15 Rural Green).

Built from Plan(s)
Estimated Cost
500
Estimated Time Investment
Weekend Project (10-20 Hours)
Finish Used
Sherwin Williams paint:
Barn Door (AH13 Salty Dog)
Cabinet (AH18 Debonair)
Shelves & Back (AH15 Rural Green)
Recommended Skill Level
Intermediate

Comments

Farmhouse Bed - Queen

Submitted by Kimbers on Wed, 10/03/2012 - 13:47

I had a lot if fun building this and am so glad I did!

Ana mentioned that she distressed the planks by using a screw driver between them to scrape off some of the paint, I did this on the headboard and, while it did work, it was a pain and added a lot of time. For the foot board I painted and distressed all of the pieces prior to assembly and it worked out a lot better! :-)

My 1x8's were slightly smaller than Ana's so I cut down a 1x2 using my circular saw to fit into the spaces left on both sides.

I attempted to use pocket holes to assemble the bed to minimize visible holes, it actually worked great except one side on the foot board :-( I ended up sanding it down and actually ended up really liking it. it always makes me think of it when I see that spot (and not in a bad way)

I cheated when putting this together. I decided to keep the mattress and box spring in their original frame. I used brackets from Woodcraft to connect the side rails to the headboard & foot board.
http://www.woodcraft.com/product/2003981/9364/hafele-nomortise-bed-rail…

Built from Plan(s)
Estimated Cost
I spend $109.75 (after tax) for all the wood and the rail brackets
Estimated Time Investment
Week Long Project (20 Hours or More)
Finish Used
I used Kilz 2 Primer then painted with Behr Silk Pillow. I sanded down all the edges then wiped on a coat of Minwax English Chestnut and sprayed with krylon matte clear sealer.

I stole the finish idea from boxermum here http://ana-white.com/2011/04/king-farmhouse-bed-1 but I did a lot more distressing and my stain turned out a lot darker.
Recommended Skill Level
Intermediate

Comments

Restoration Hardware Table for LESS

Flashback to last year when I found this way chic table at Restoration Hardware.
But the price tag is a bit steep for moi.

I have, like, a million kids, so… as I am a huge fan of Ana White and her amazing skills – I looked for a similar plan AND found one!

Well, you have to remember I have a million kids and I usually hangout with other families with their millions kids and there is never enough room, a 28″ x 58″ table is crazy small for my type of entertaining. Go big or go home, right?

So I drafted modifications for these plans – I am a seamstress and can draft sewing patterns, TOTALLY the same thing, right?

I am kidding, I really wouldn’t know, but so far so good.

Anyways, I bought the wood and got to work and here's how it turned out!!

I would LOOOOVE to hear how you like it! :)

Built from Plan(s)
Estimated Time Investment
Week Long Project (20 Hours or More)
Finish Used
Rust-oleum stains, Traditional Cherry and Kona.
Recommended Skill Level
Intermediate

Comments

Rustic Mountain Style Bed Frame

Submitted by Anonymous (not verified) on Mon, 07/01/2024 - 09:40

Here is a bed I recently made. My inspiration was a bed we saw at a local high end furniture store in the mountains that has price of $4,800. I bought my wood at a local saw mill for $125. I used a wood planer, table saw and miter saw to build the bed. It turned out great.

G Russell

Toddler Farmhouse Bed

I can't believe I built this bed! It's the project I'm most proud of so far and my daughter loves "my big girl bed!" I recently got a jigsaw and tried it out making the arch. It didn't turn out perfect but I'm probably the only one who notices it. I built the rails using 1x2's from the "Traditional Wood Toddler Bed" plans on this site and altered them to fit this design. I added a third rail to it because there was too much space between the mattress and rail when my daughter lies on the bed.

I found a bunch of free wood on Freecycle from someone local so I didn't have to spend a ton of money on this.

Thanks for the plans, Ana!!!

Built from Plan(s)
Estimated Cost
$30
Estimated Time Investment
Afternoon Project (3-6 Hours)
Finish Used
White paint.
Recommended Skill Level
Beginner

Comments

reclaimed wood headboard boat wood style

Submitted by gvandy on Tue, 07/29/2014 - 05:20

I copied the boat wood painting technique using the colors of my daughters room and it turned out wonderful. It really is as easy as it looks on the tutorial! You can see more of my stuff on anexceptionalife.com

Estimated Cost
$85
Estimated Time Investment
Weekend Project (10-20 Hours)
Finish Used
We stained the entire headboards with Early American minwax, and then used 5 colors to layer the paint using a block of wood and letting each color dry between coats. We did what we liked and covered any mistakes with another color. Super easy. we finished with helmsman clear poly in satin and did 2 coats with no sanding in between.
Recommended Skill Level
Beginner

Twin Cabin Daybeds

Hello!  Sloped ceilings won't allow bunk beds at our house. Decided to go with these beds for the built in toy-box feature.  The hinges were a bit tricky.  I added magnets to the doors.  All in all, I am pleased!

Estimated Cost
$150 plus mattresses
Estimated Time Investment
Weekend Project (10-20 Hours)
Finish Used
Off the shelf white paint. I let the boys help- Yikes! Early American stain for the top trim.
Recommended Skill Level
Beginner

Comments

Farmhouse table

Submitted by Boles on Thu, 07/30/2020 - 10:52

This was our first project off of here. Made this to go along with our complete kitchen remodel.

Estimated Time Investment
Weekend Project (10-20 Hours)
Finish Used
semi gloss white for the bottoms and dark walnut stain and clear coat for the top

Sister's distressed table

Submitted by SamWiseMan on Mon, 10/08/2012 - 17:46

After I built my table (the farmhouse/tryde), my sister wanted a table for her new home. She had looked online and found a table that someone had refurbished from an old table, and put a new top on it..

So once she described it to me, I got started. I again used 2x4s glued/screwed together for the legs. Then I got 2x8 and start putting them down. Since these are such big boards, you have to be extremely careful not to get ones that aren't straight. If they are warped, they will make your table wobbly once you screw them down. After I finally got past that, I began staining.

For the distressed-ish look, I used Rustoleum's water-based Kona stain. I stained each board and then use a wire brush to "scruff" the boards up a bit. From there, I sanded the tops with a combination of 60 grit and 220 grit. I used Rustoleum's matte-finish poly to give it a very soft feel and look.

This table compares best with the farmhouse.

Estimated Cost
$65
Estimated Time Investment
Afternoon Project (3-6 Hours)
Finish Used
Rustoleum's water-based Kona stain and ultimate-matte finish poly.
Recommended Skill Level
Beginner

Comments

SamWiseMan

Mon, 10/15/2012 - 14:48

I'm sure you can build it to come apart. This particular one, no. I made another where the top will come off as a one solid piece, but this top is screwed in each individual piece.

Now you could unscrew everything and screw it all back together, but then you would have to make touchups to the paint and stuff. I use white caulk to fill the seams from the base of the table to the table top, and to the legs to the base.

The Traditional Wood Toddler Bed

Submitted by jputz2014 on Fri, 08/01/2014 - 05:39

This is The Traditional Wood Toddler Bed. Built straight from the plans. Worked out great and my daughter loved it!

Built from Plan(s)
Estimated Time Investment
Afternoon Project (3-6 Hours)
Finish Used
Unfinished for now. Daughter cant decide on a color.
Recommended Skill Level
Beginner

Mini Rustic X End Table

Submitted by Anonymous (not verified) on Mon, 11/14/2016 - 08:07

Made a miniature rustix x end table. You can find the video of me making it here: https://www.youtube.com/watch?v=GPL-mh5rWJ4

Built from Plan(s)
Estimated Time Investment
An Hour or Two (0-2 Hours)
Recommended Skill Level
Beginner

Comments

First build

First build to sell. Has a few faults of my own doing. But, sold it in 24hrs. 😁

Estimated Cost
$60
Estimated Time Investment
Afternoon Project (3-6 Hours)
Finish Used
Watco Danish Oil. Medium Walnut. Sanded with 120 grit.
Recommended Skill Level
Beginner

Media console

Submitted by landseer on Fri, 10/12/2012 - 08:18

I needed a media console for my tv and this was perfect. The only thing I changed was to put a shelf instead of drawers so I can put cable box and DVD player. My wife liked it so much I had to make another one for her.

Estimated Cost
$100
Estimated Time Investment
Day Project (6-9 Hours)
Finish Used
Bottom dutch boy duraclean semigloss. Top minwax red oak stain plus clear coat.
Recommended Skill Level
Intermediate

Comments

Jesi (not verified)

Fri, 10/12/2012 - 12:02

This is amazing! Great job!

followed the basic plan shortened the foldout arms a bit

Submitted by Jon Barnes on Mon, 08/04/2014 - 11:40

I followed the basic outline in the original plan for the main part of the project. I did secure more with some 2x4 I had. I had plenty of 2x4 laying around and felt this would be a good time to use some of it. I shorted the arms a bit. I think mine are 23 1/2in on each side. Still plenty long enough for most projects. I added a small shelf in the middle. I am not thrilled with exactly where I have it. But I have it just floating on the rail so If I want/need to take the shelf out , it is just real easy to do so. I would say just because I was being extra carful with the cuts that it took me about 6 hours in total to complete it.

Built from Plan(s)
Estimated Time Investment
Afternoon Project (3-6 Hours)
Recommended Skill Level
Beginner

Simple Outdoor Dining Table

With a few modification in mind, I set out to build an outdoor table using cedar wood with the ability to remove the legs and move it indoors. With a few simple modification to the original plan, I was able to come up with this cool table for a ground level deck. I went with a B and better grade for the table tops because I wanted a clean and modern feel but brought in a little rustic element with the knotty 4x4 legs (also cheaper :)).


Tips @ charitybuils

Built from Plan(s)
Estimated Cost
$300
Estimated Time Investment
Weekend Project (10-20 Hours)
Finish Used
Sikkens Cetol 1 Natural
Recommended Skill Level
Beginner

Back Deck Bar

i have aqesome neighbors that just built a deck but was missing something. She like the pallet look bars but did not have any pallets. I did have a bunch of 1 x so made my own pallets.

Estimated Cost
30
Estimated Time Investment
Week Long Project (20 Hours or More)
Recommended Skill Level
Beginner
Back