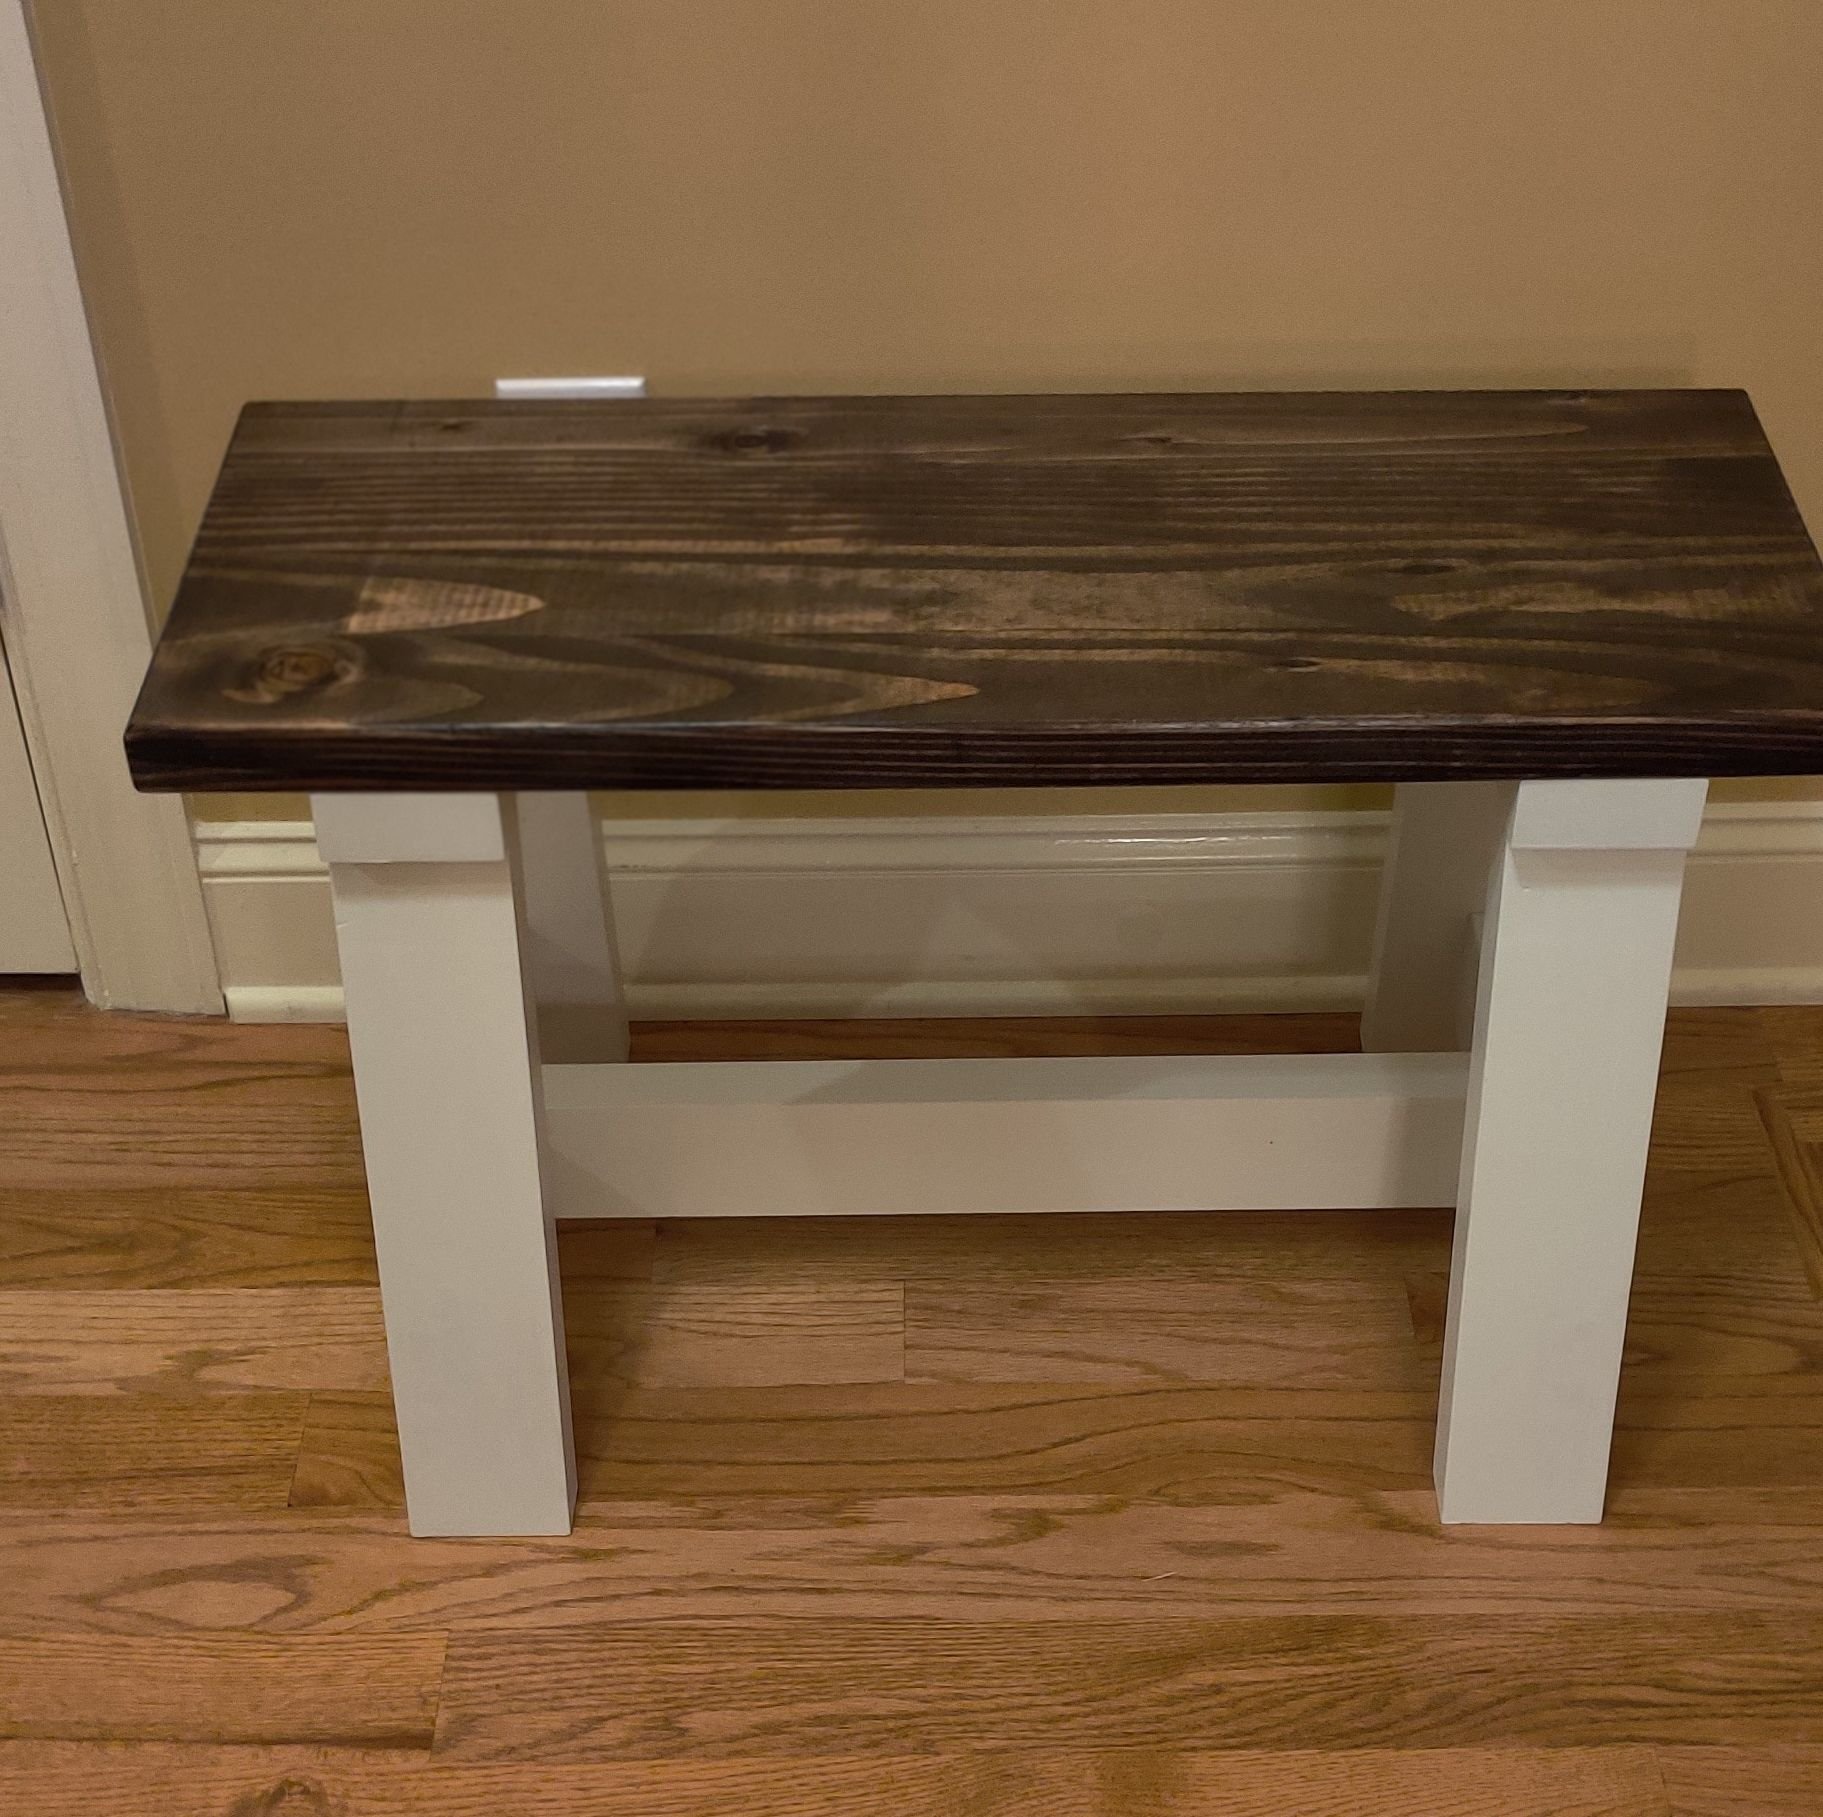
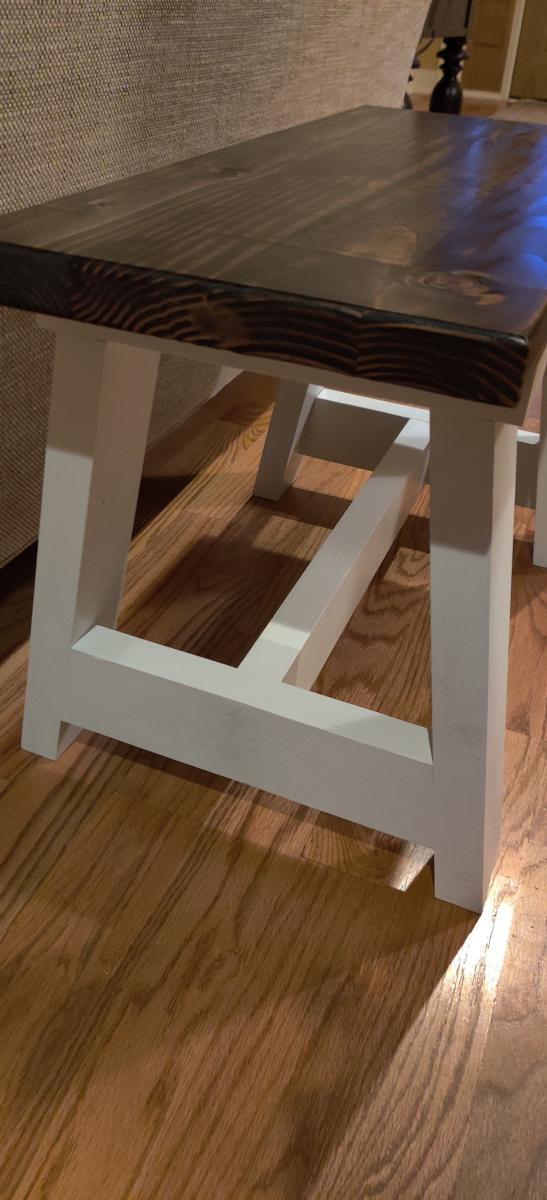
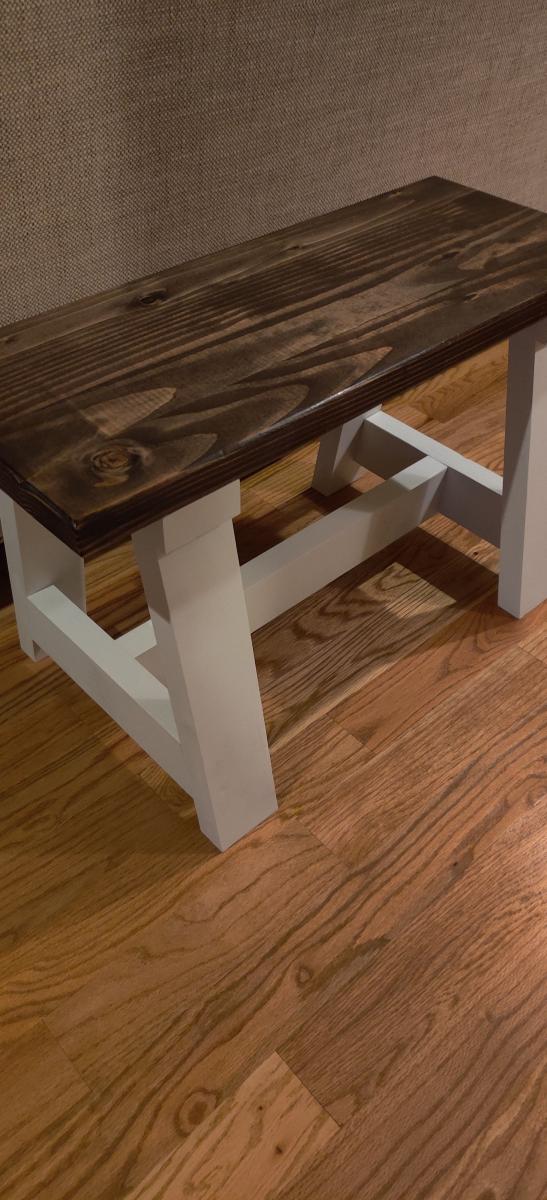
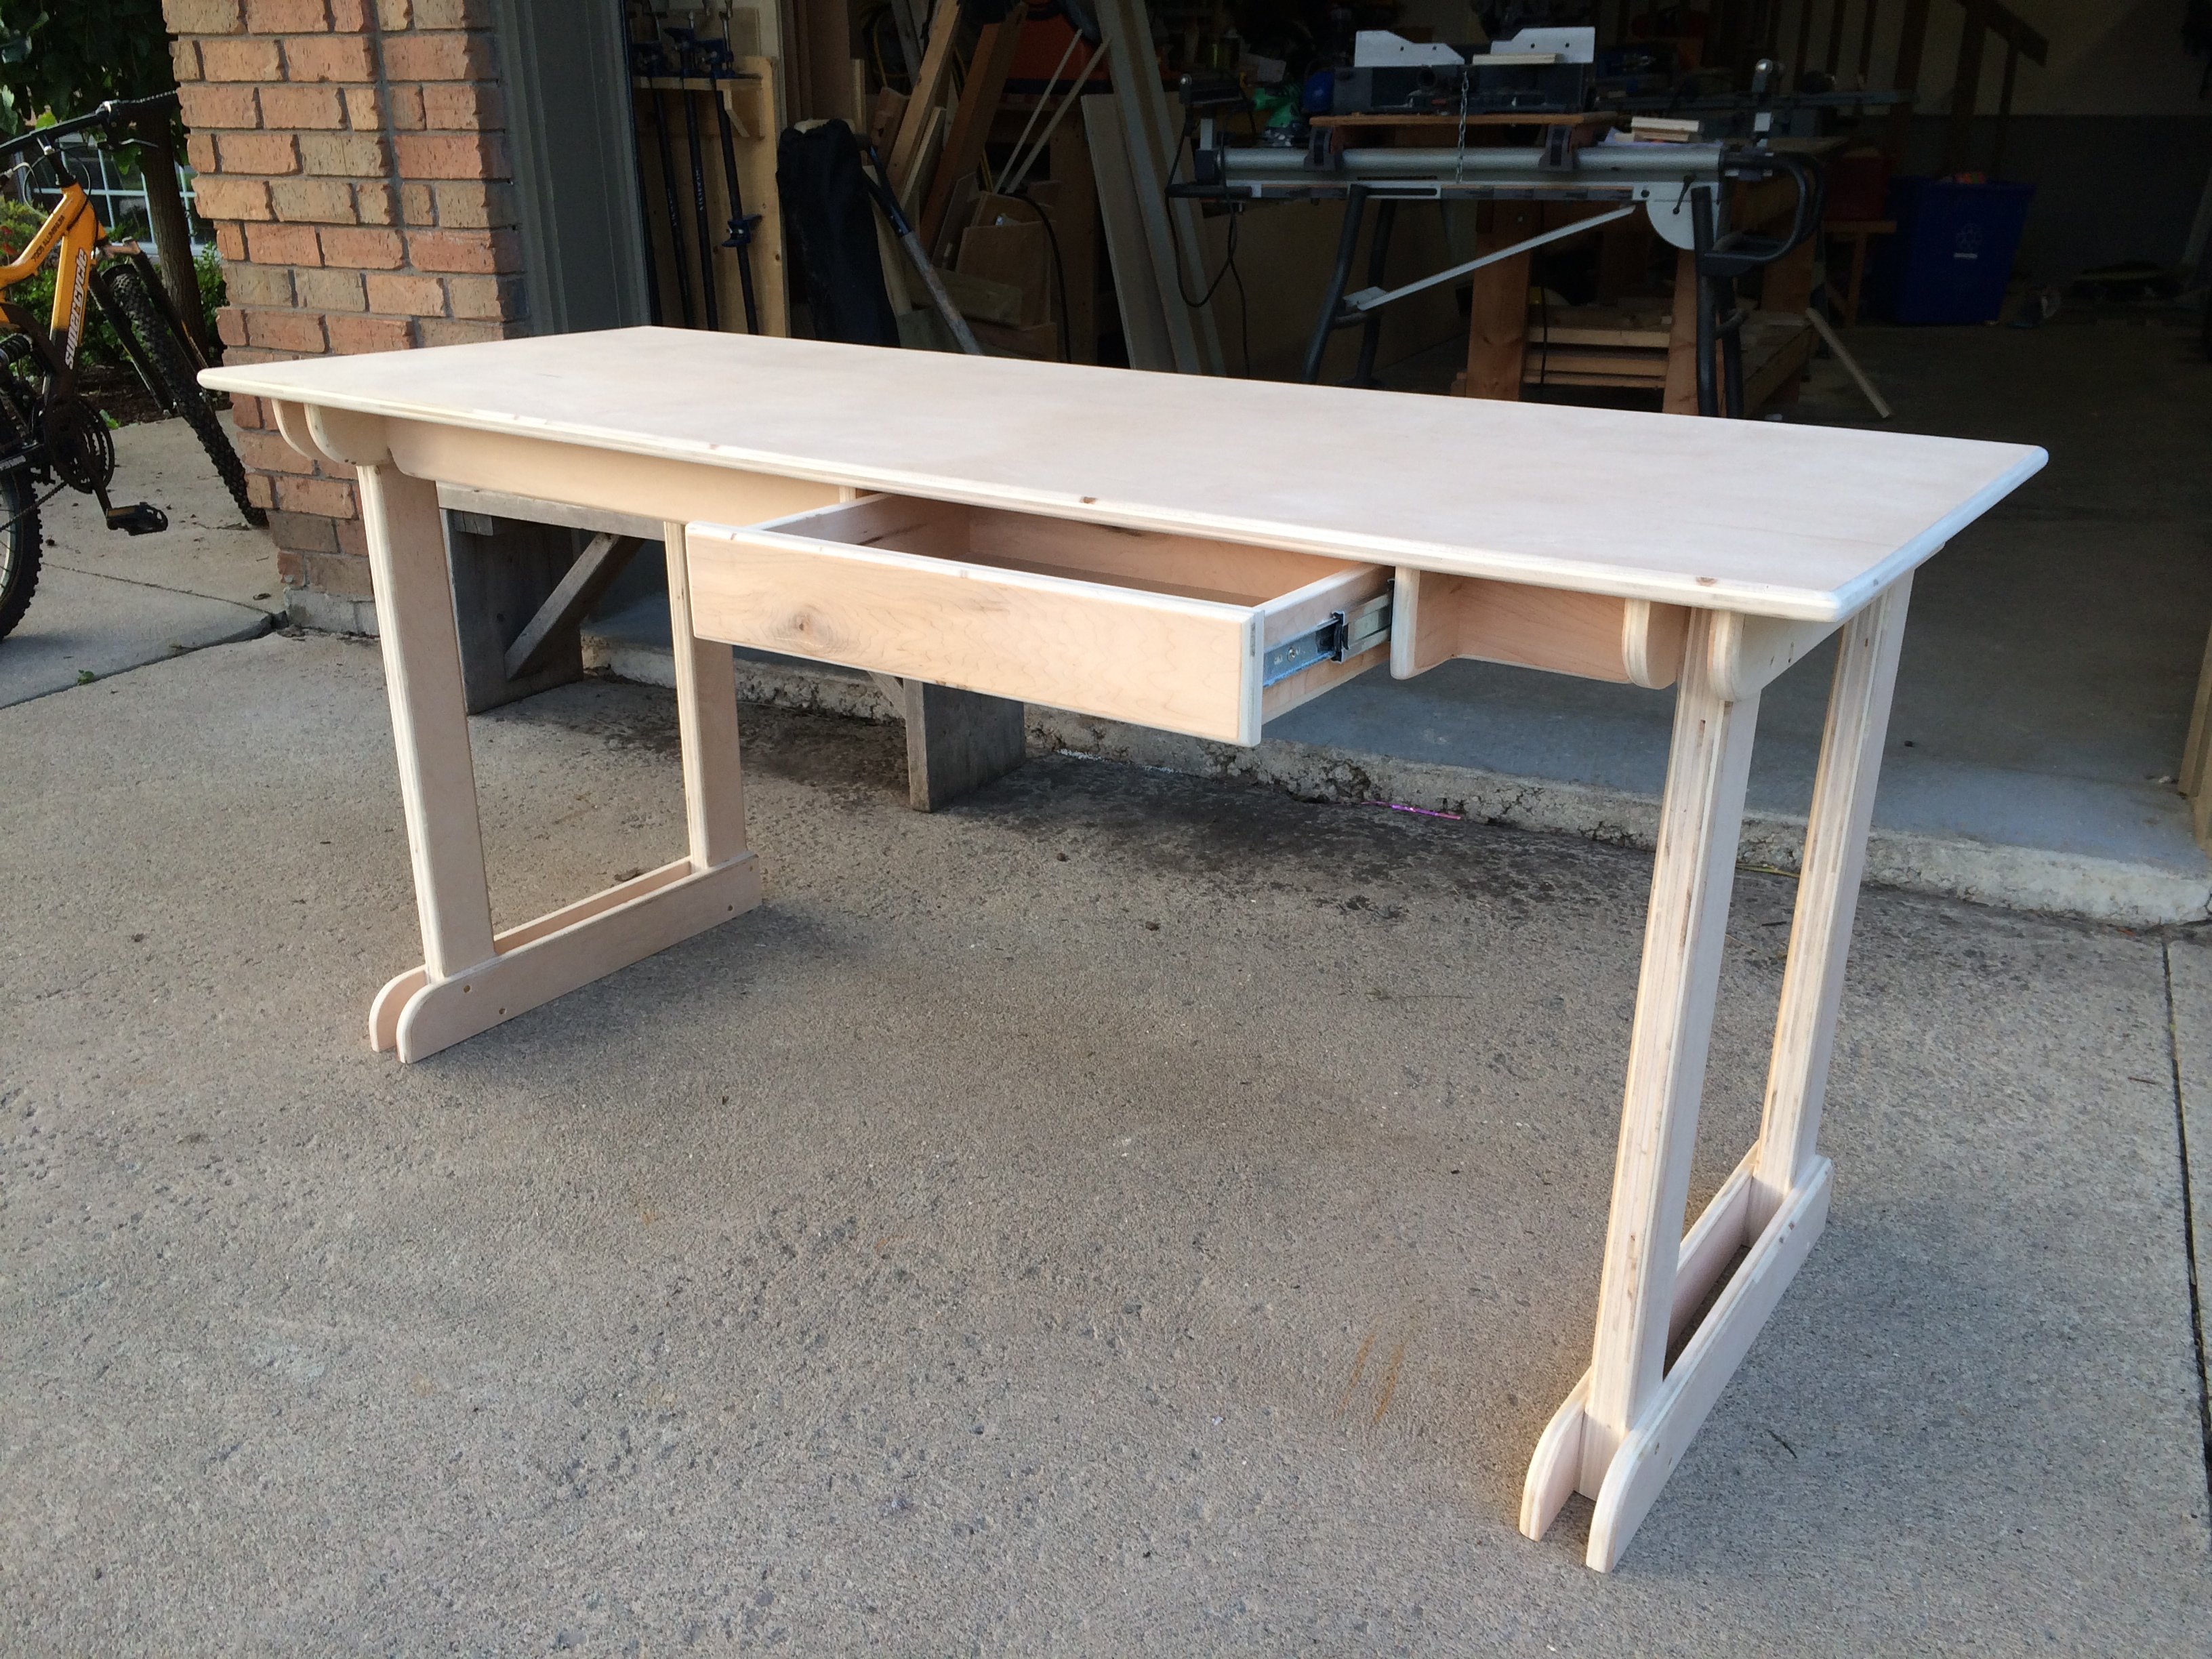
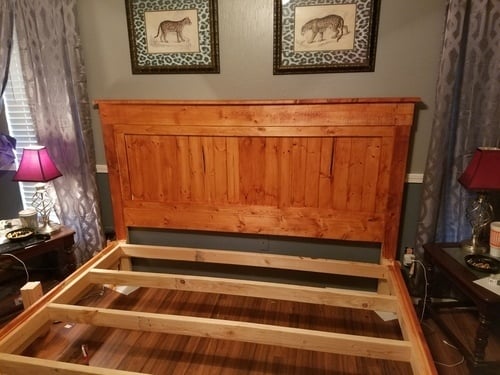
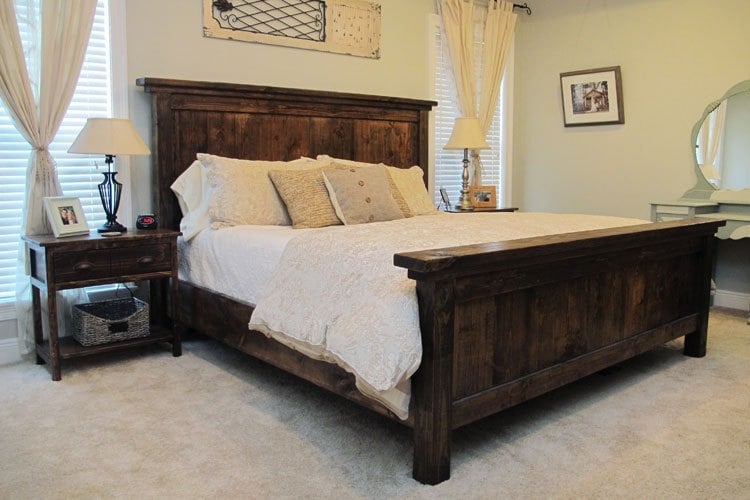
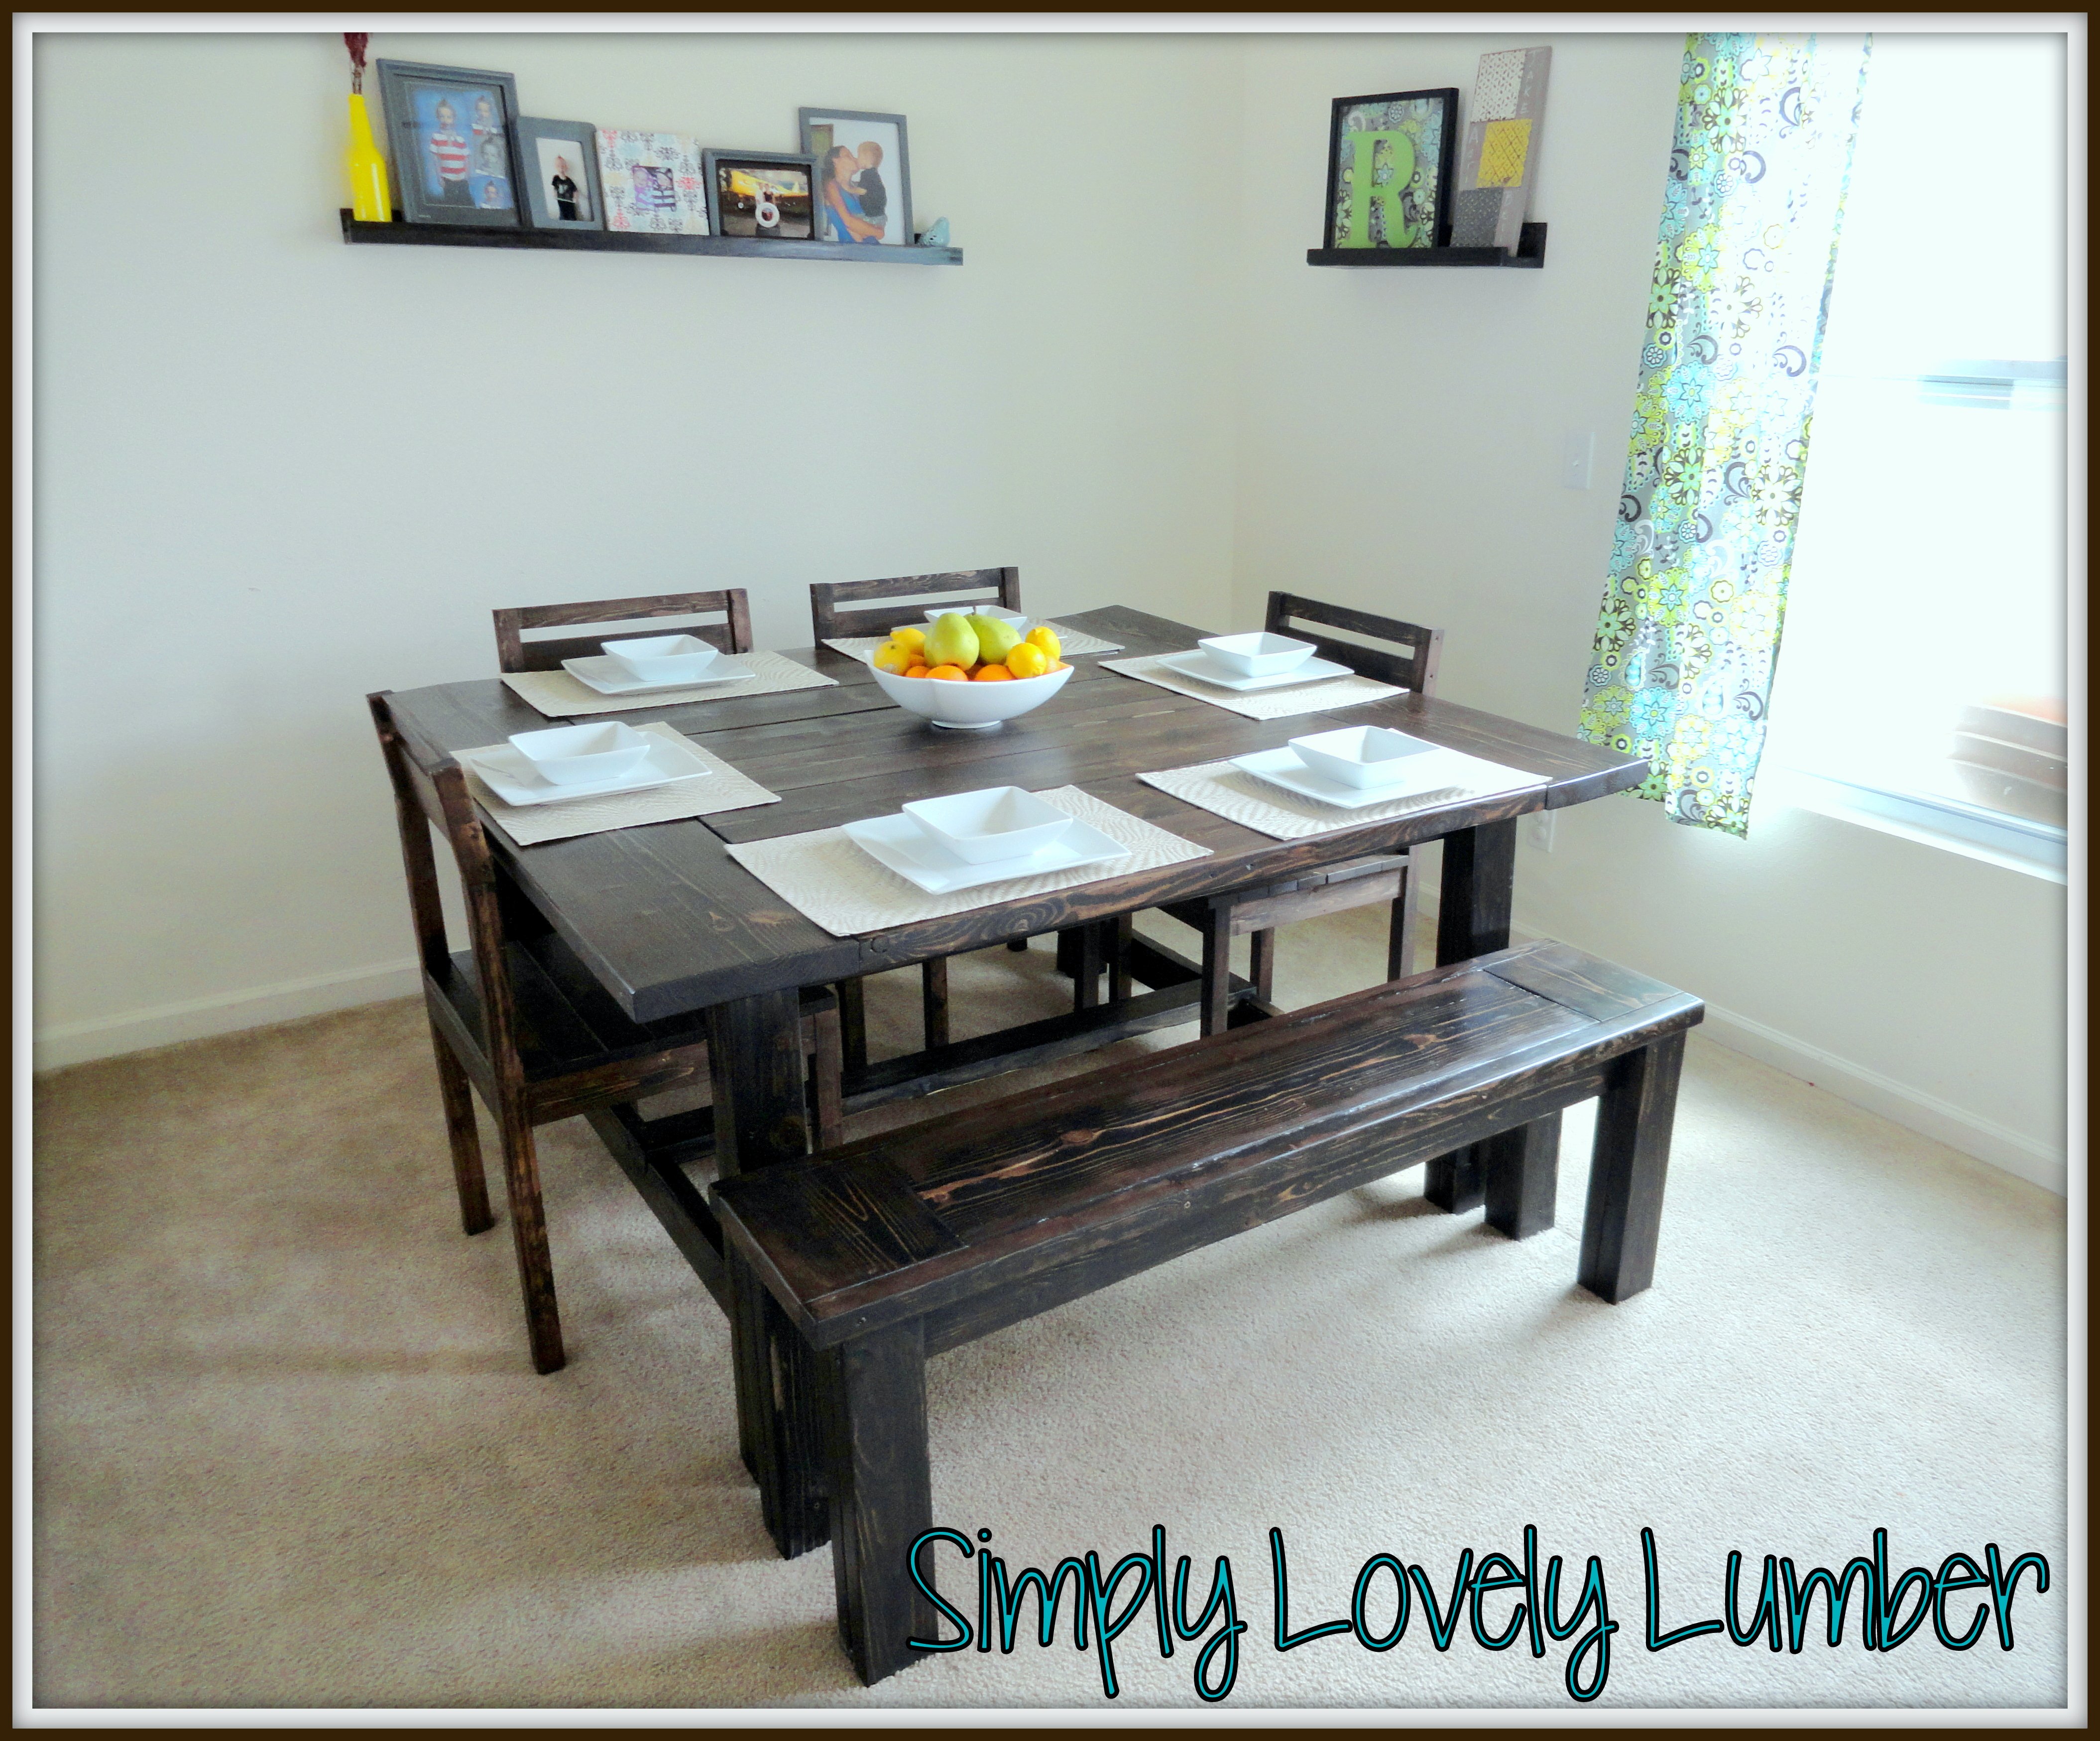
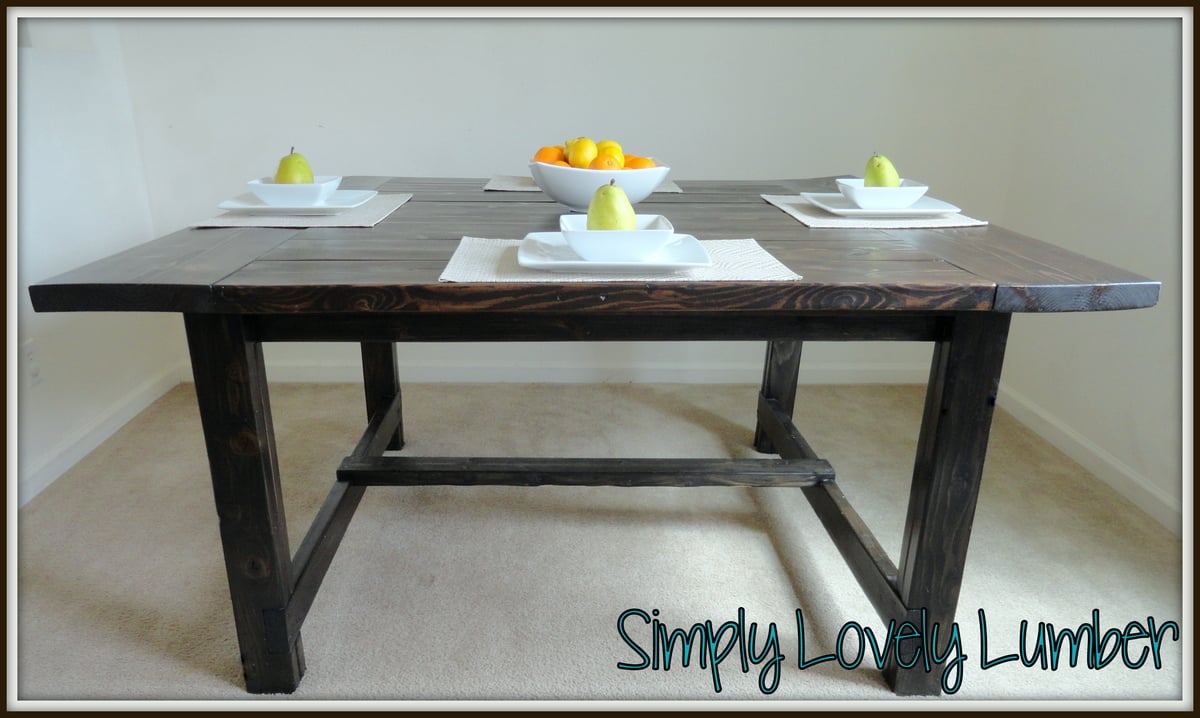
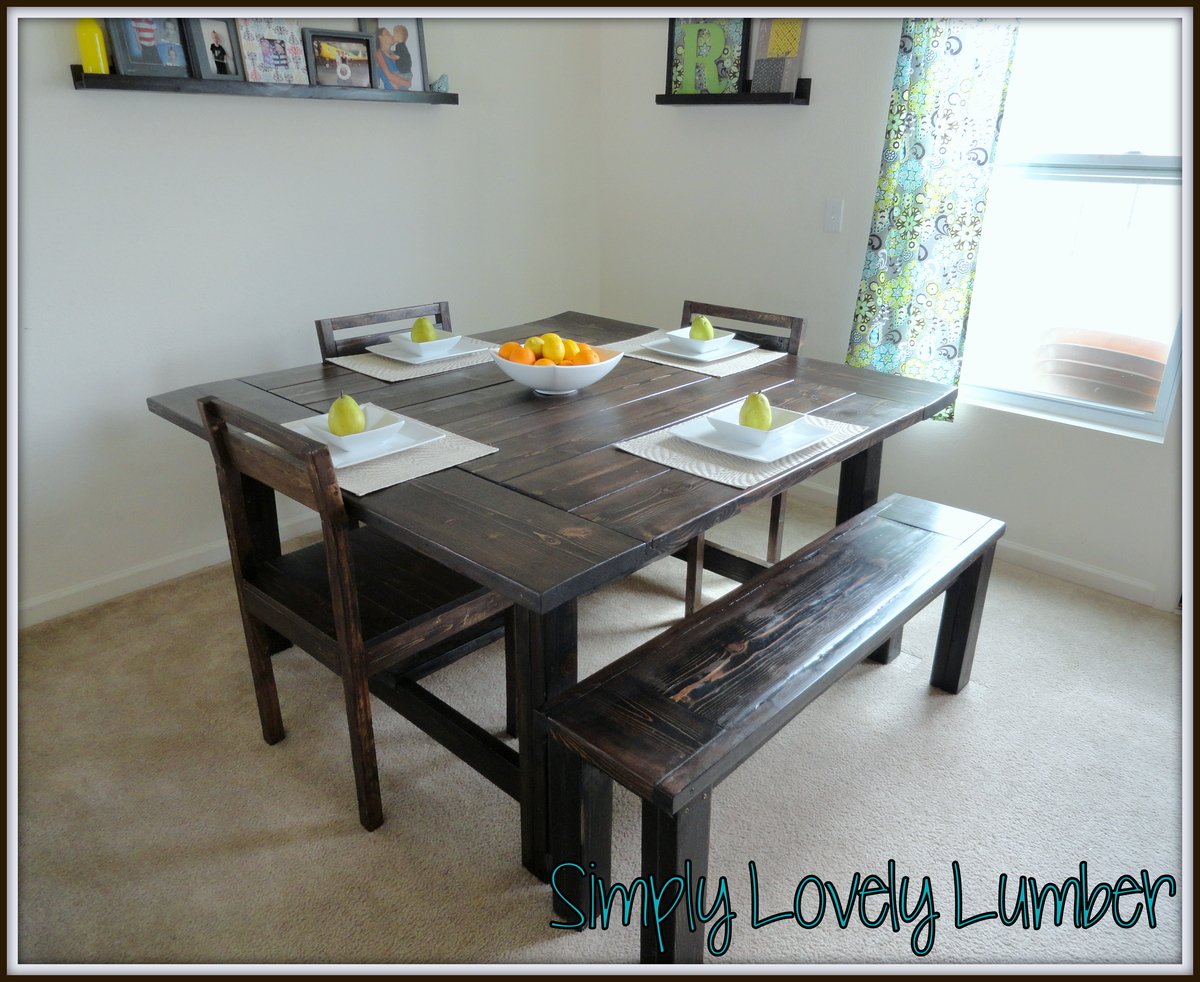
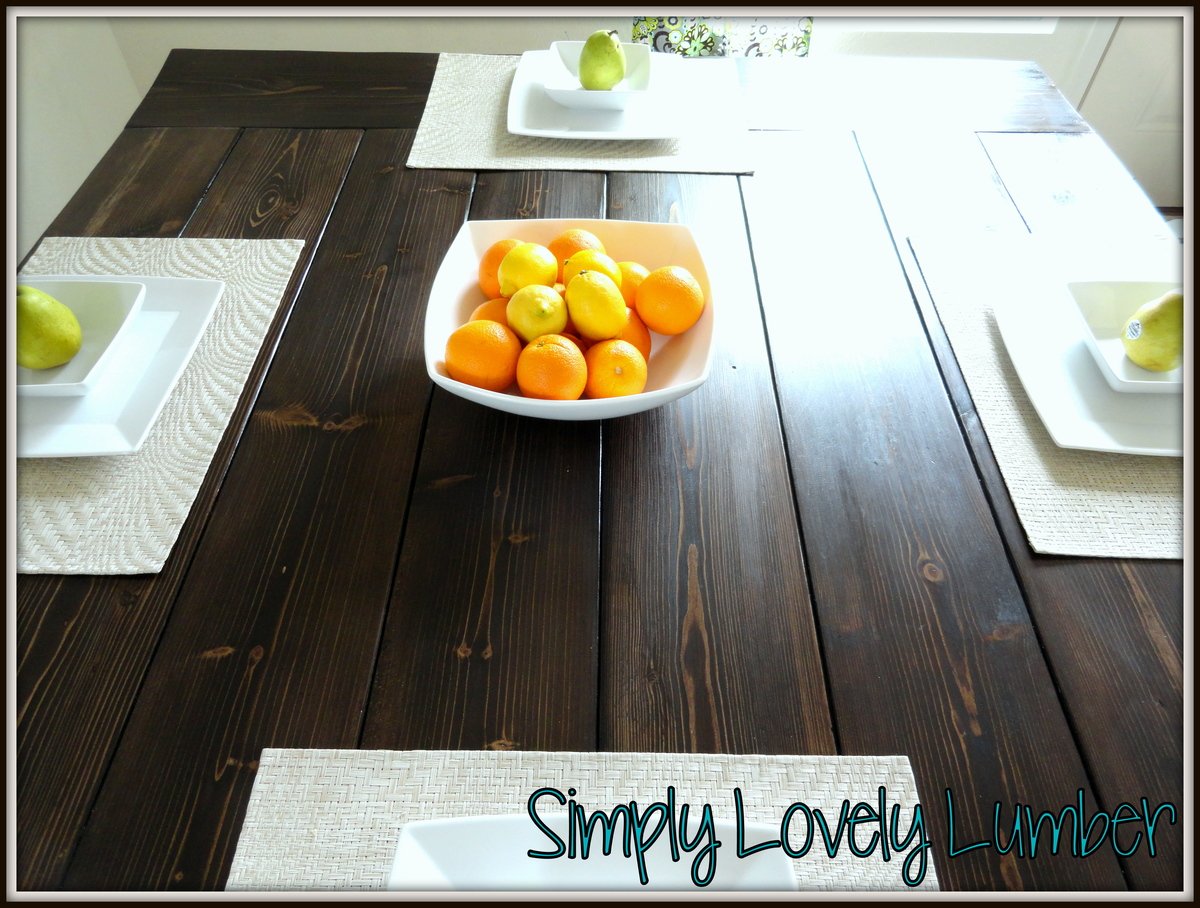
Rustic farmhouse table w/mirror shine
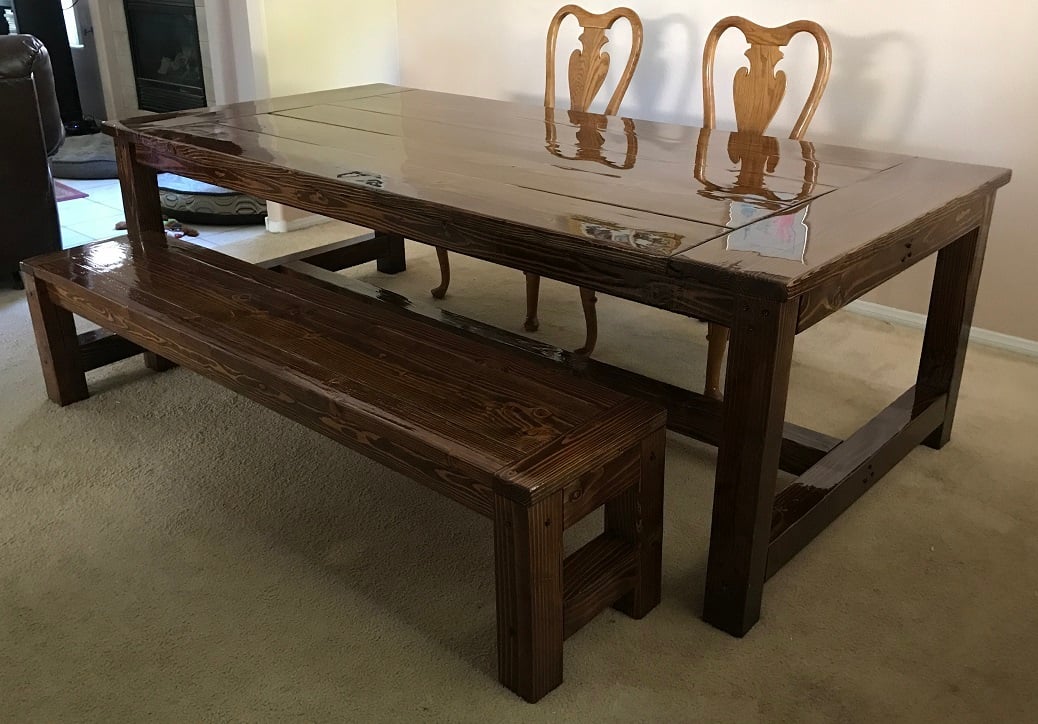
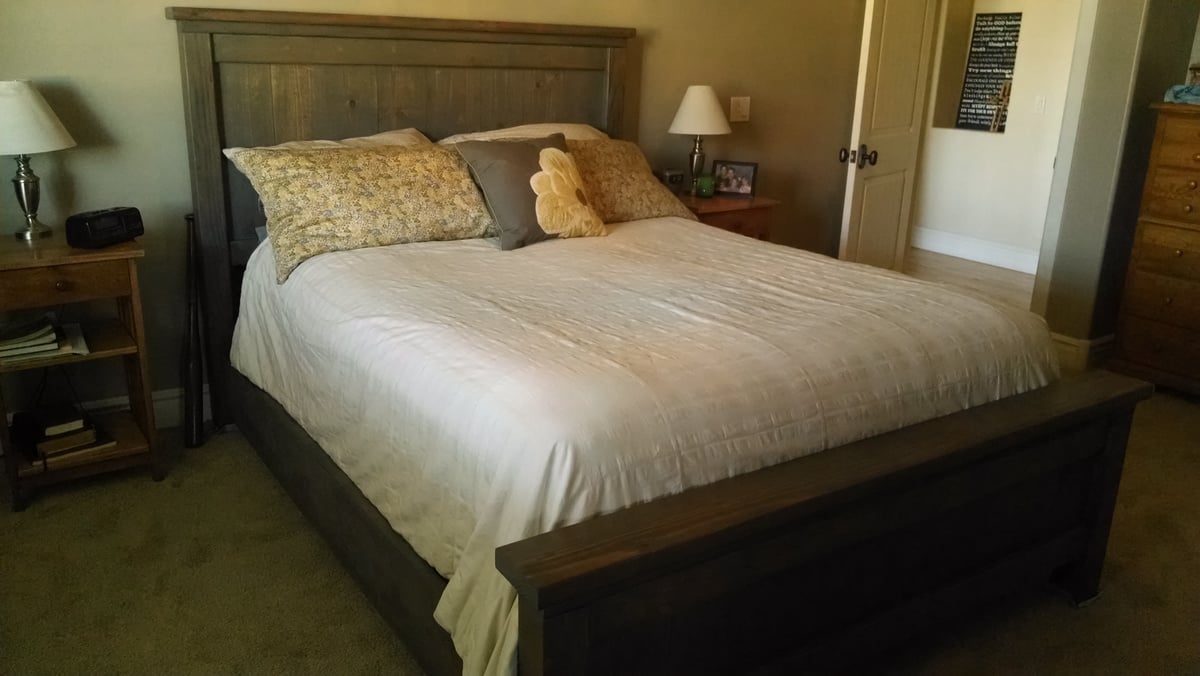
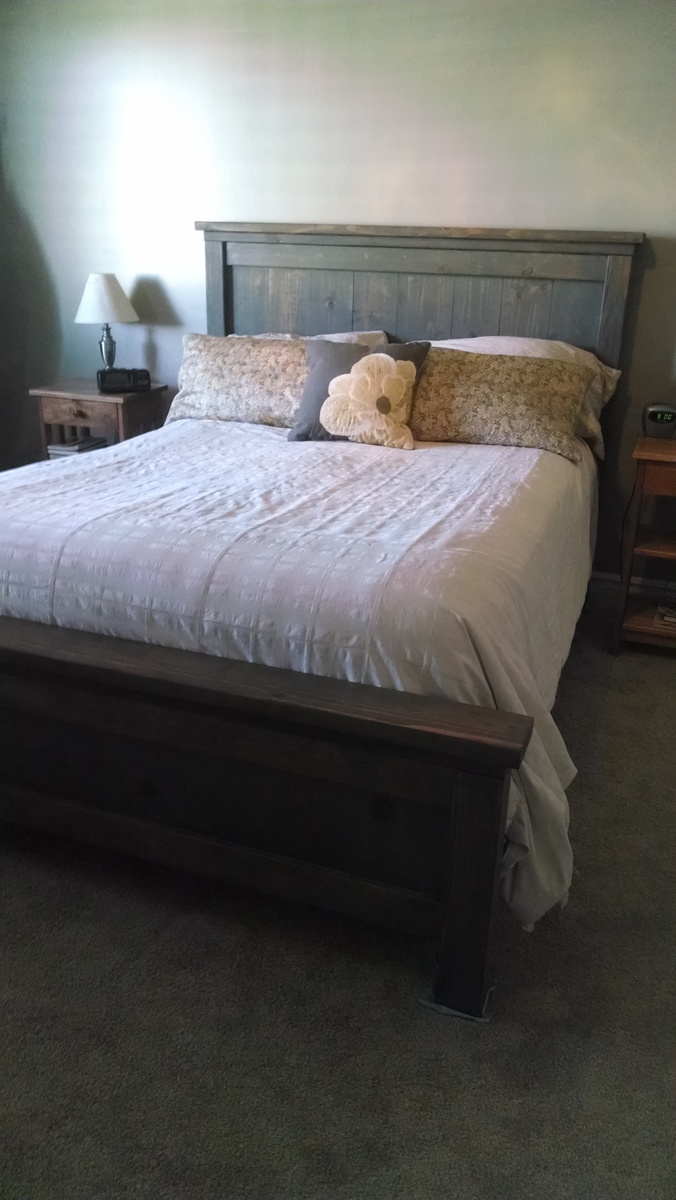
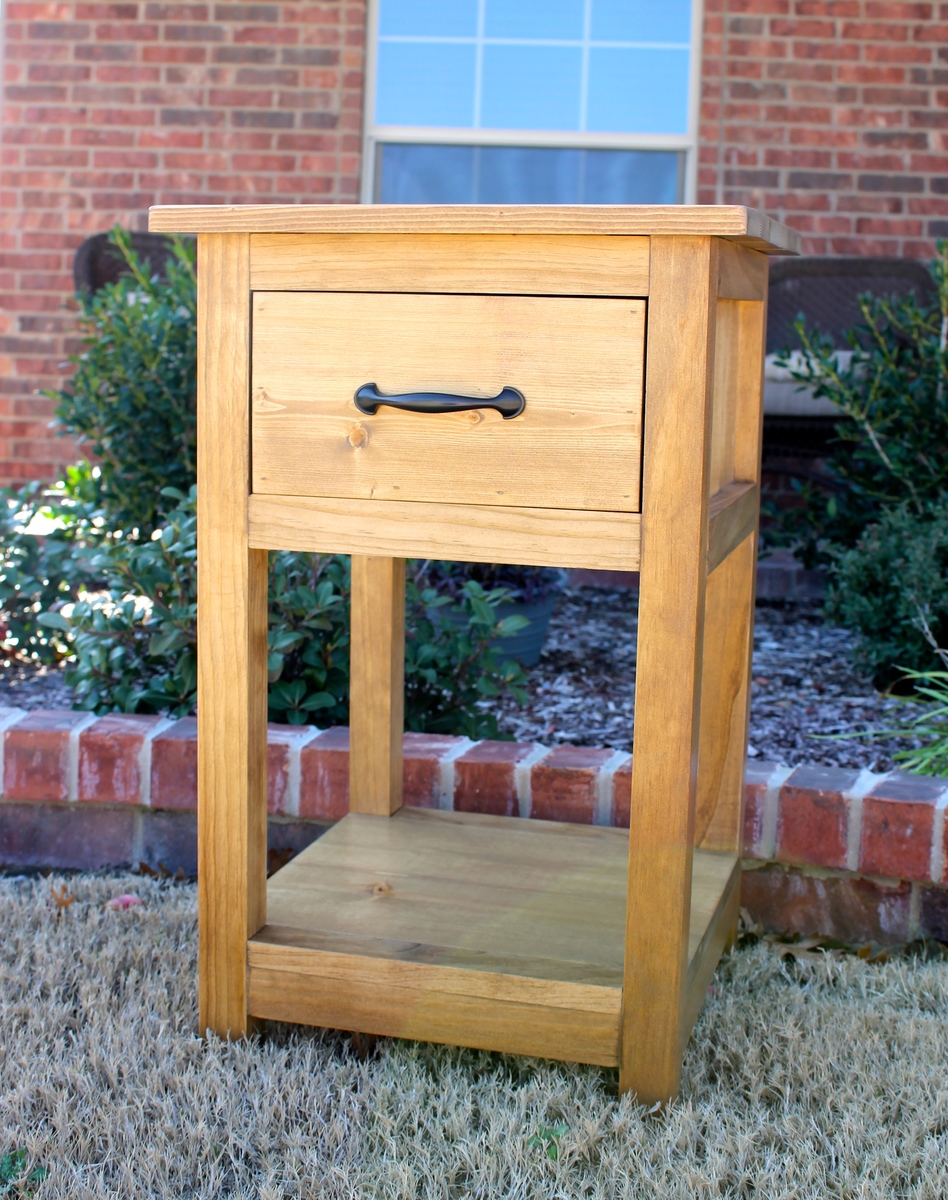
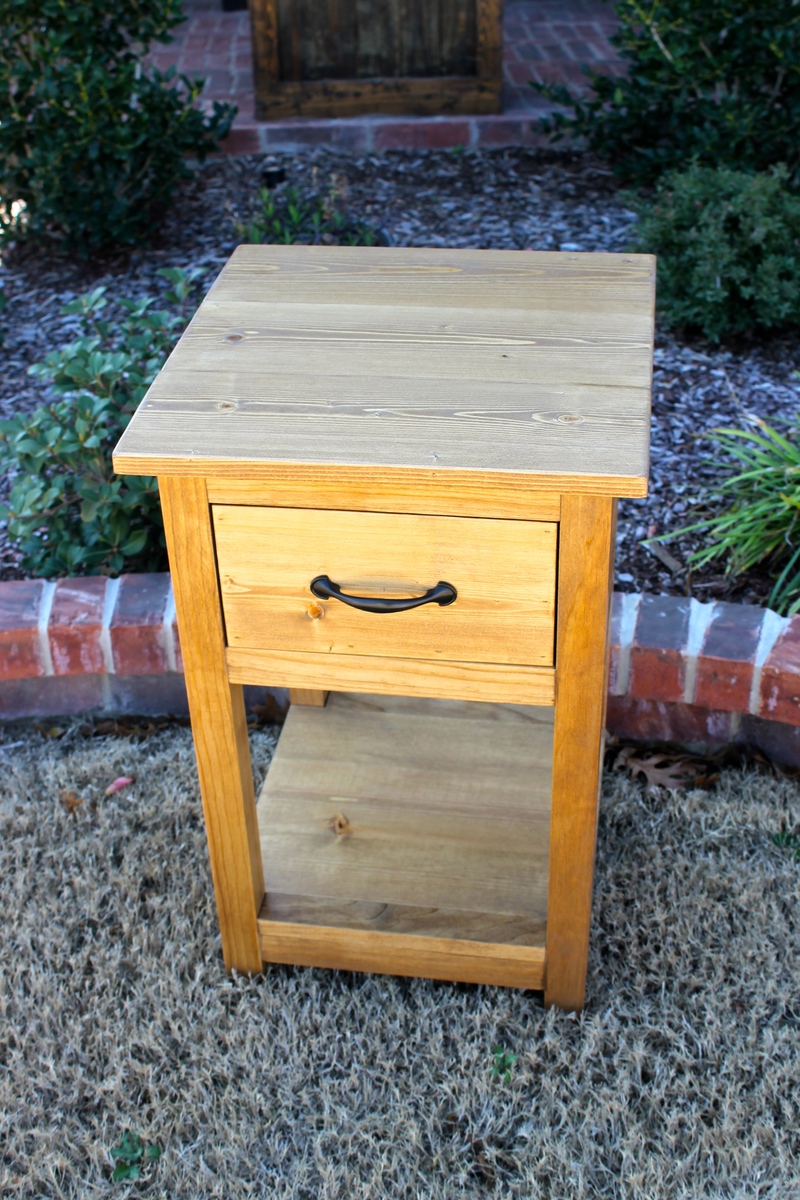
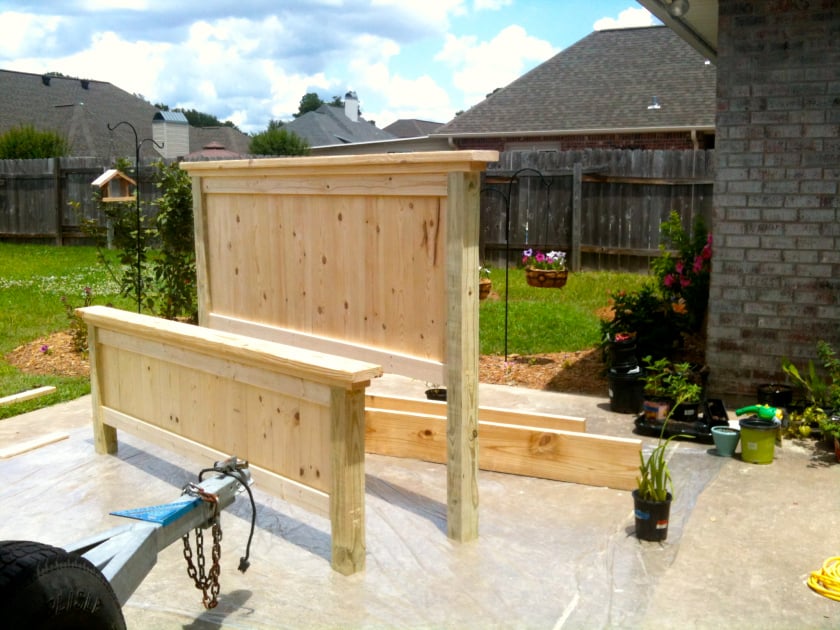
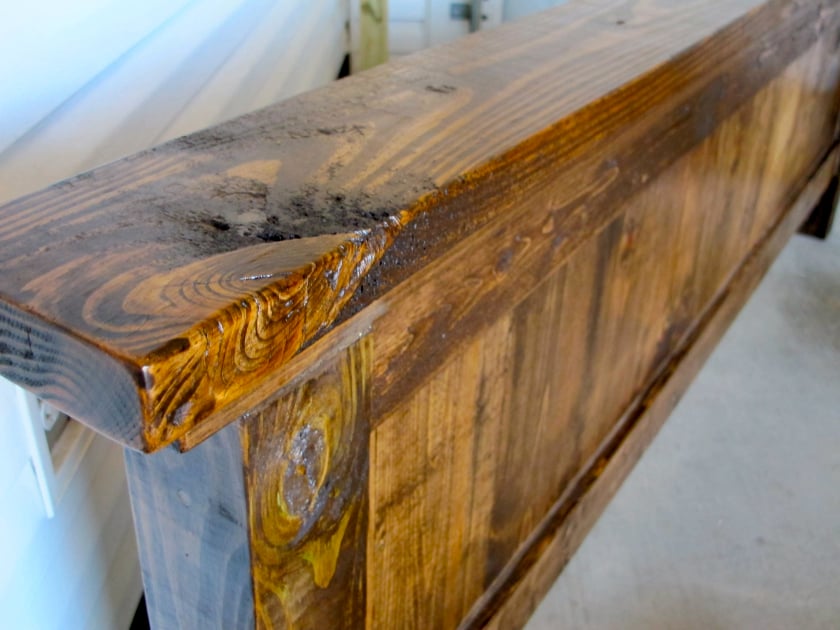
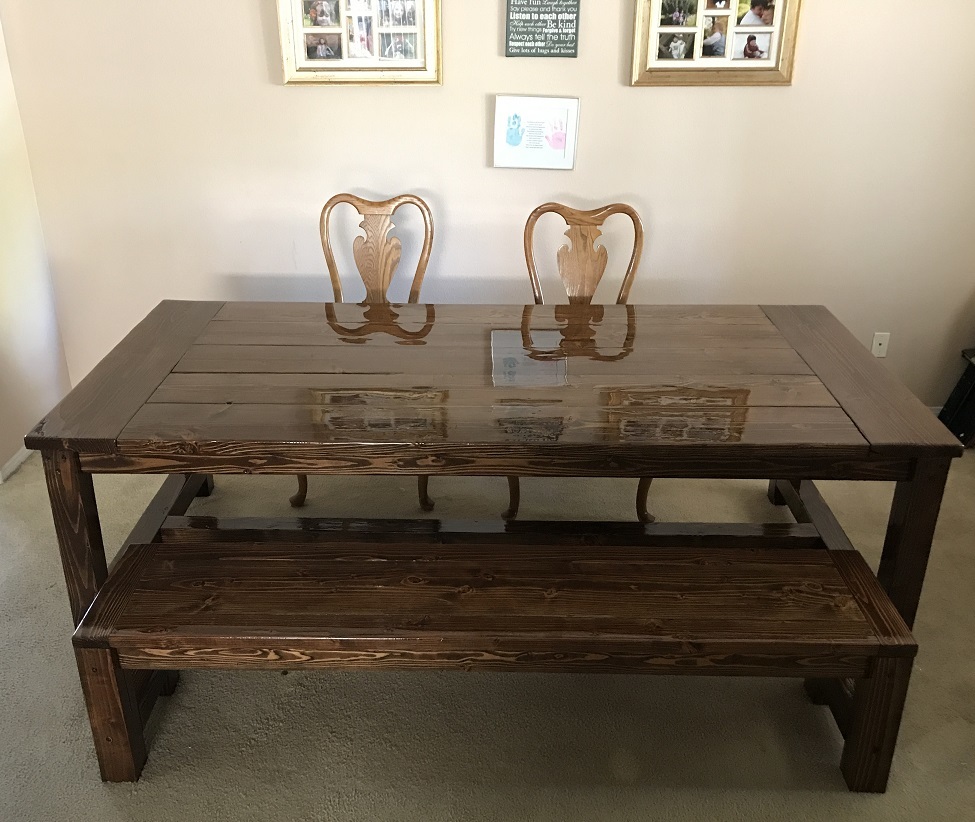
My wife came to me with a request to build her a rustic, farmhouse style table and bench. She had researched a bit and found your site. Just completed today. 8x47. We have a large family so I changed the dimensions a bit. I also added an epoxy resin finish for durability and mirror bright shine. All we have to do now is buy chairs. Now she wants a matching "server". Happy wife, happy life. :-)
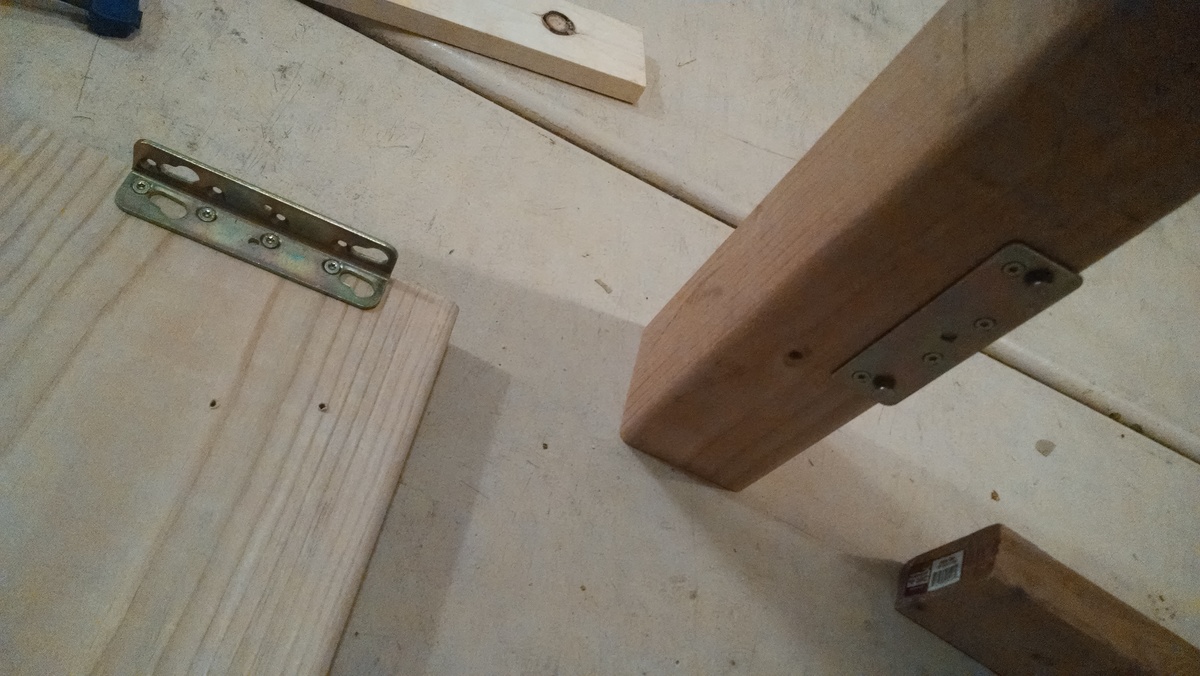
The table is make of 2x10 heavy pine, 4x4's and 2x4's. I used 6 inch and 4 inch tru lock screws as well as 3.5 inch Kreg pocket screws
Estimated Cost
Rough estimate, including the epoxy resin, $500
Estimated Time Investment
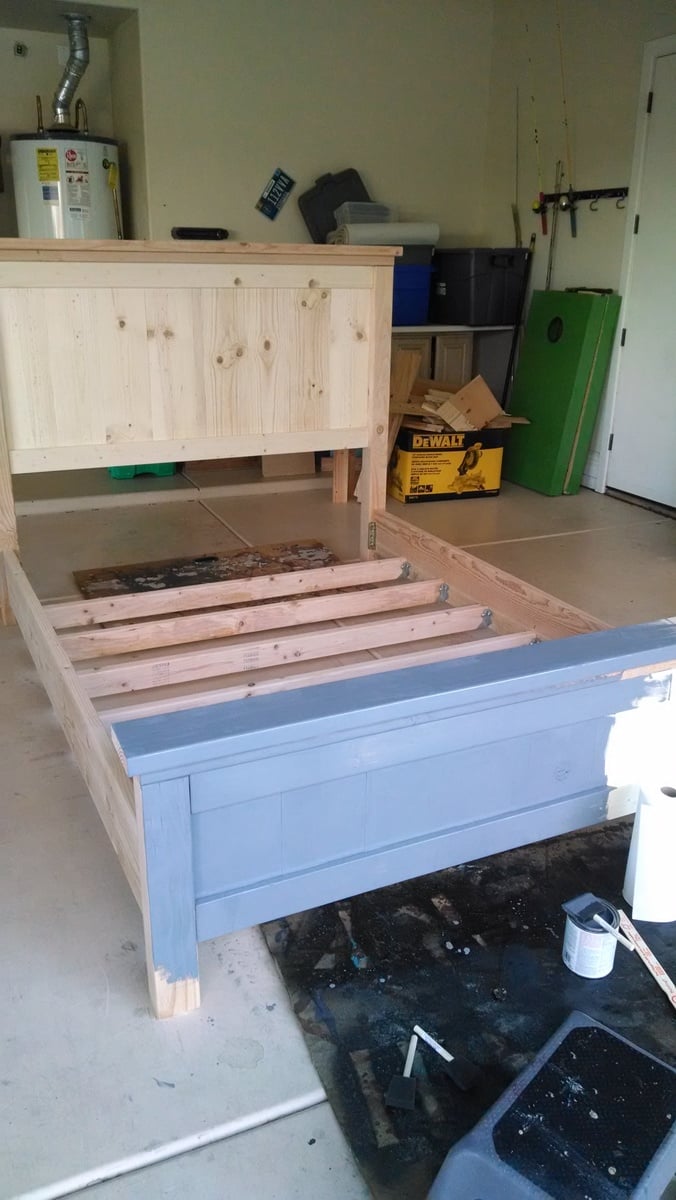
Week Long Project (20 Hours or More)
Finish Used
Minwax Special Walnut Stain & Epoxy Resin finish
Recommended Skill Level
Intermediate