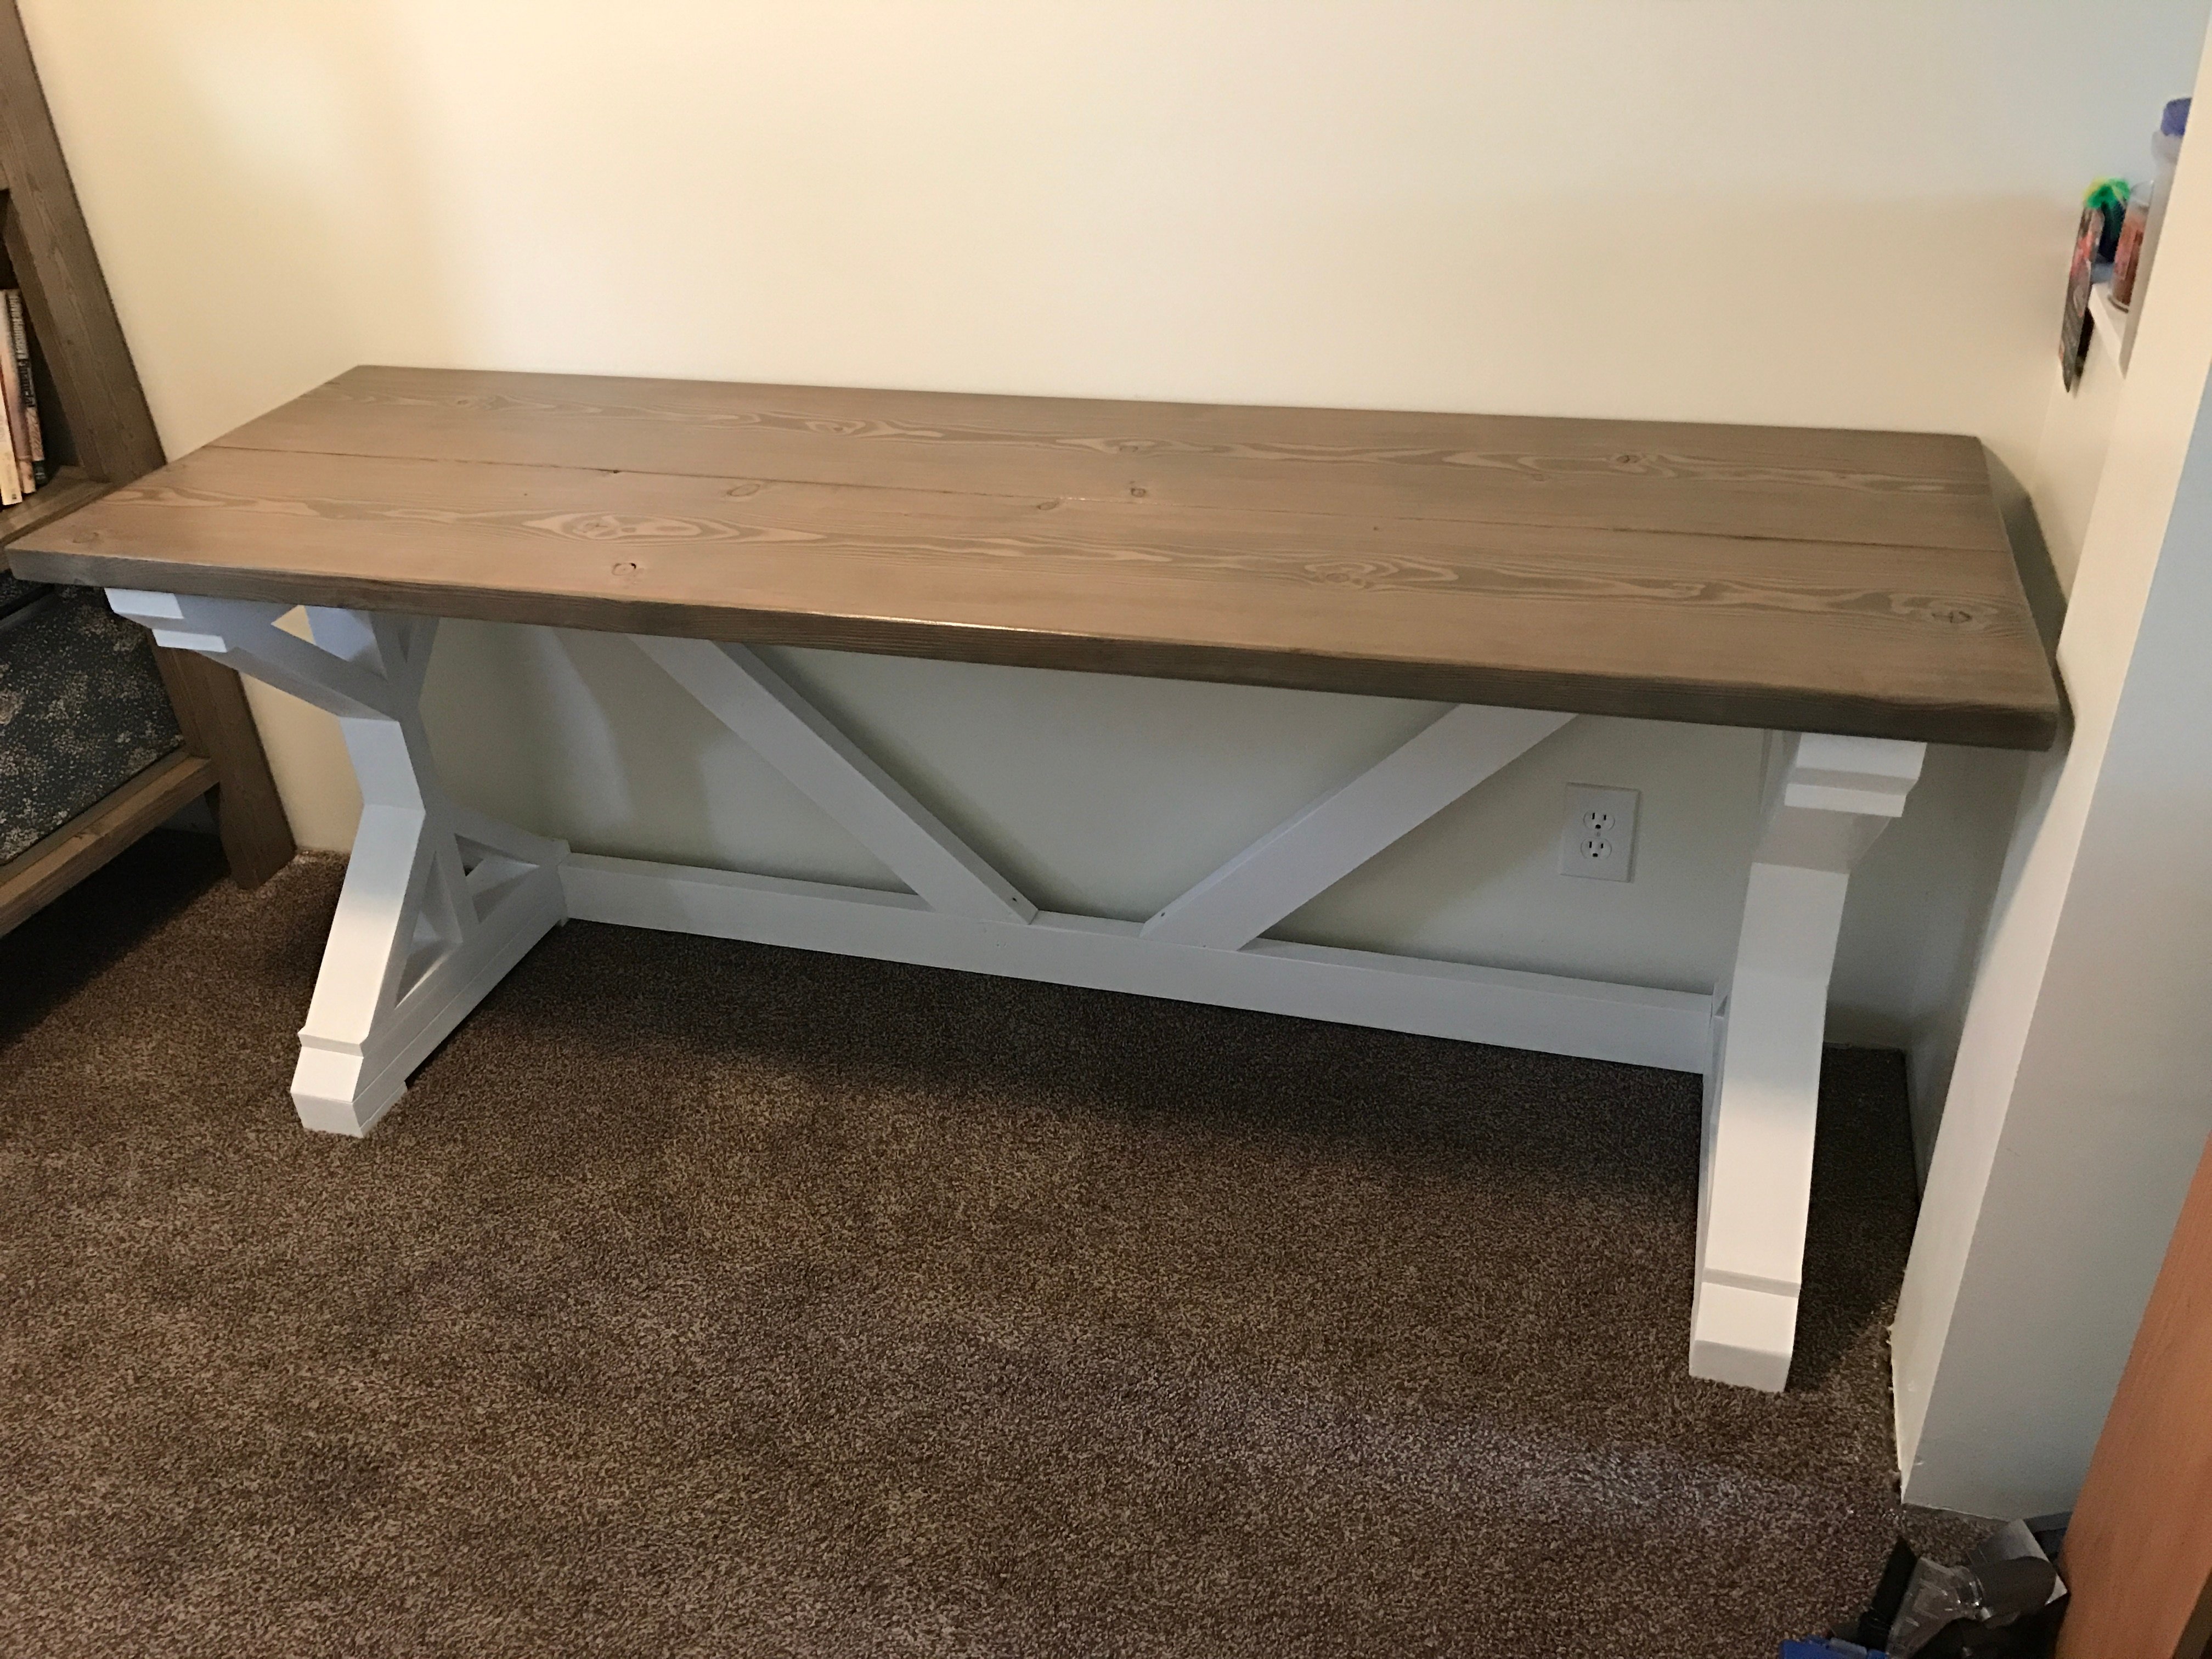
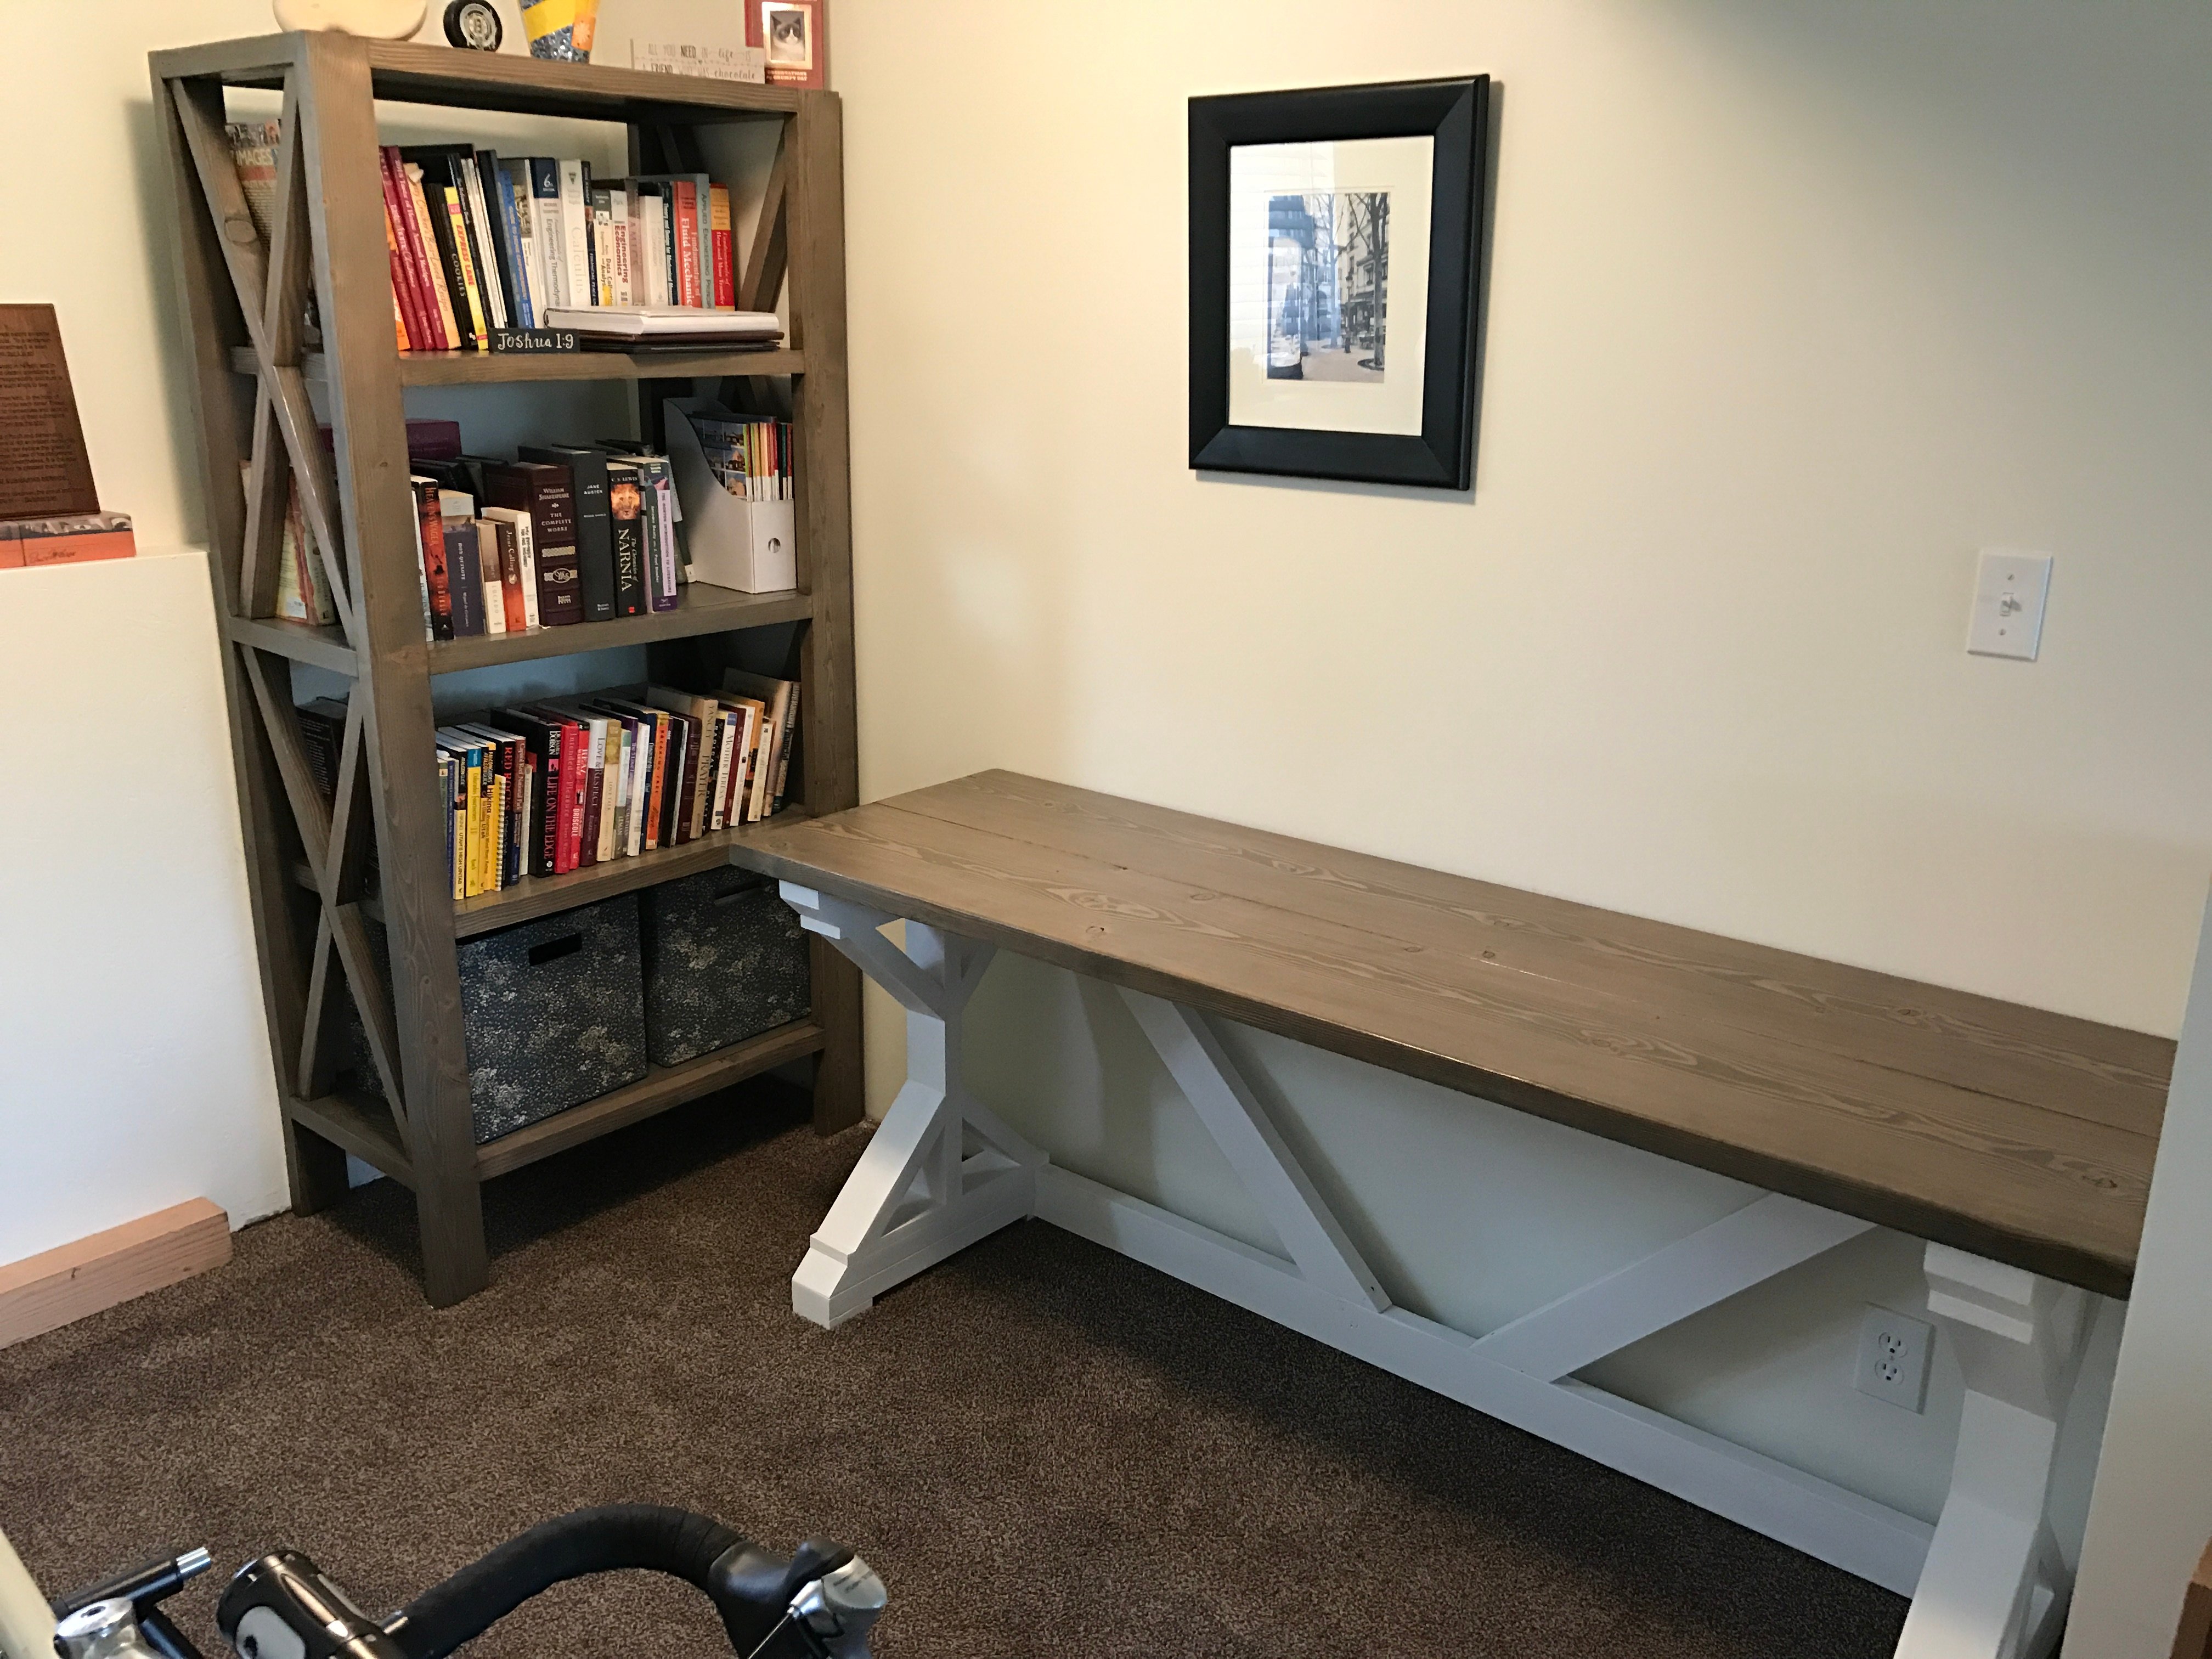
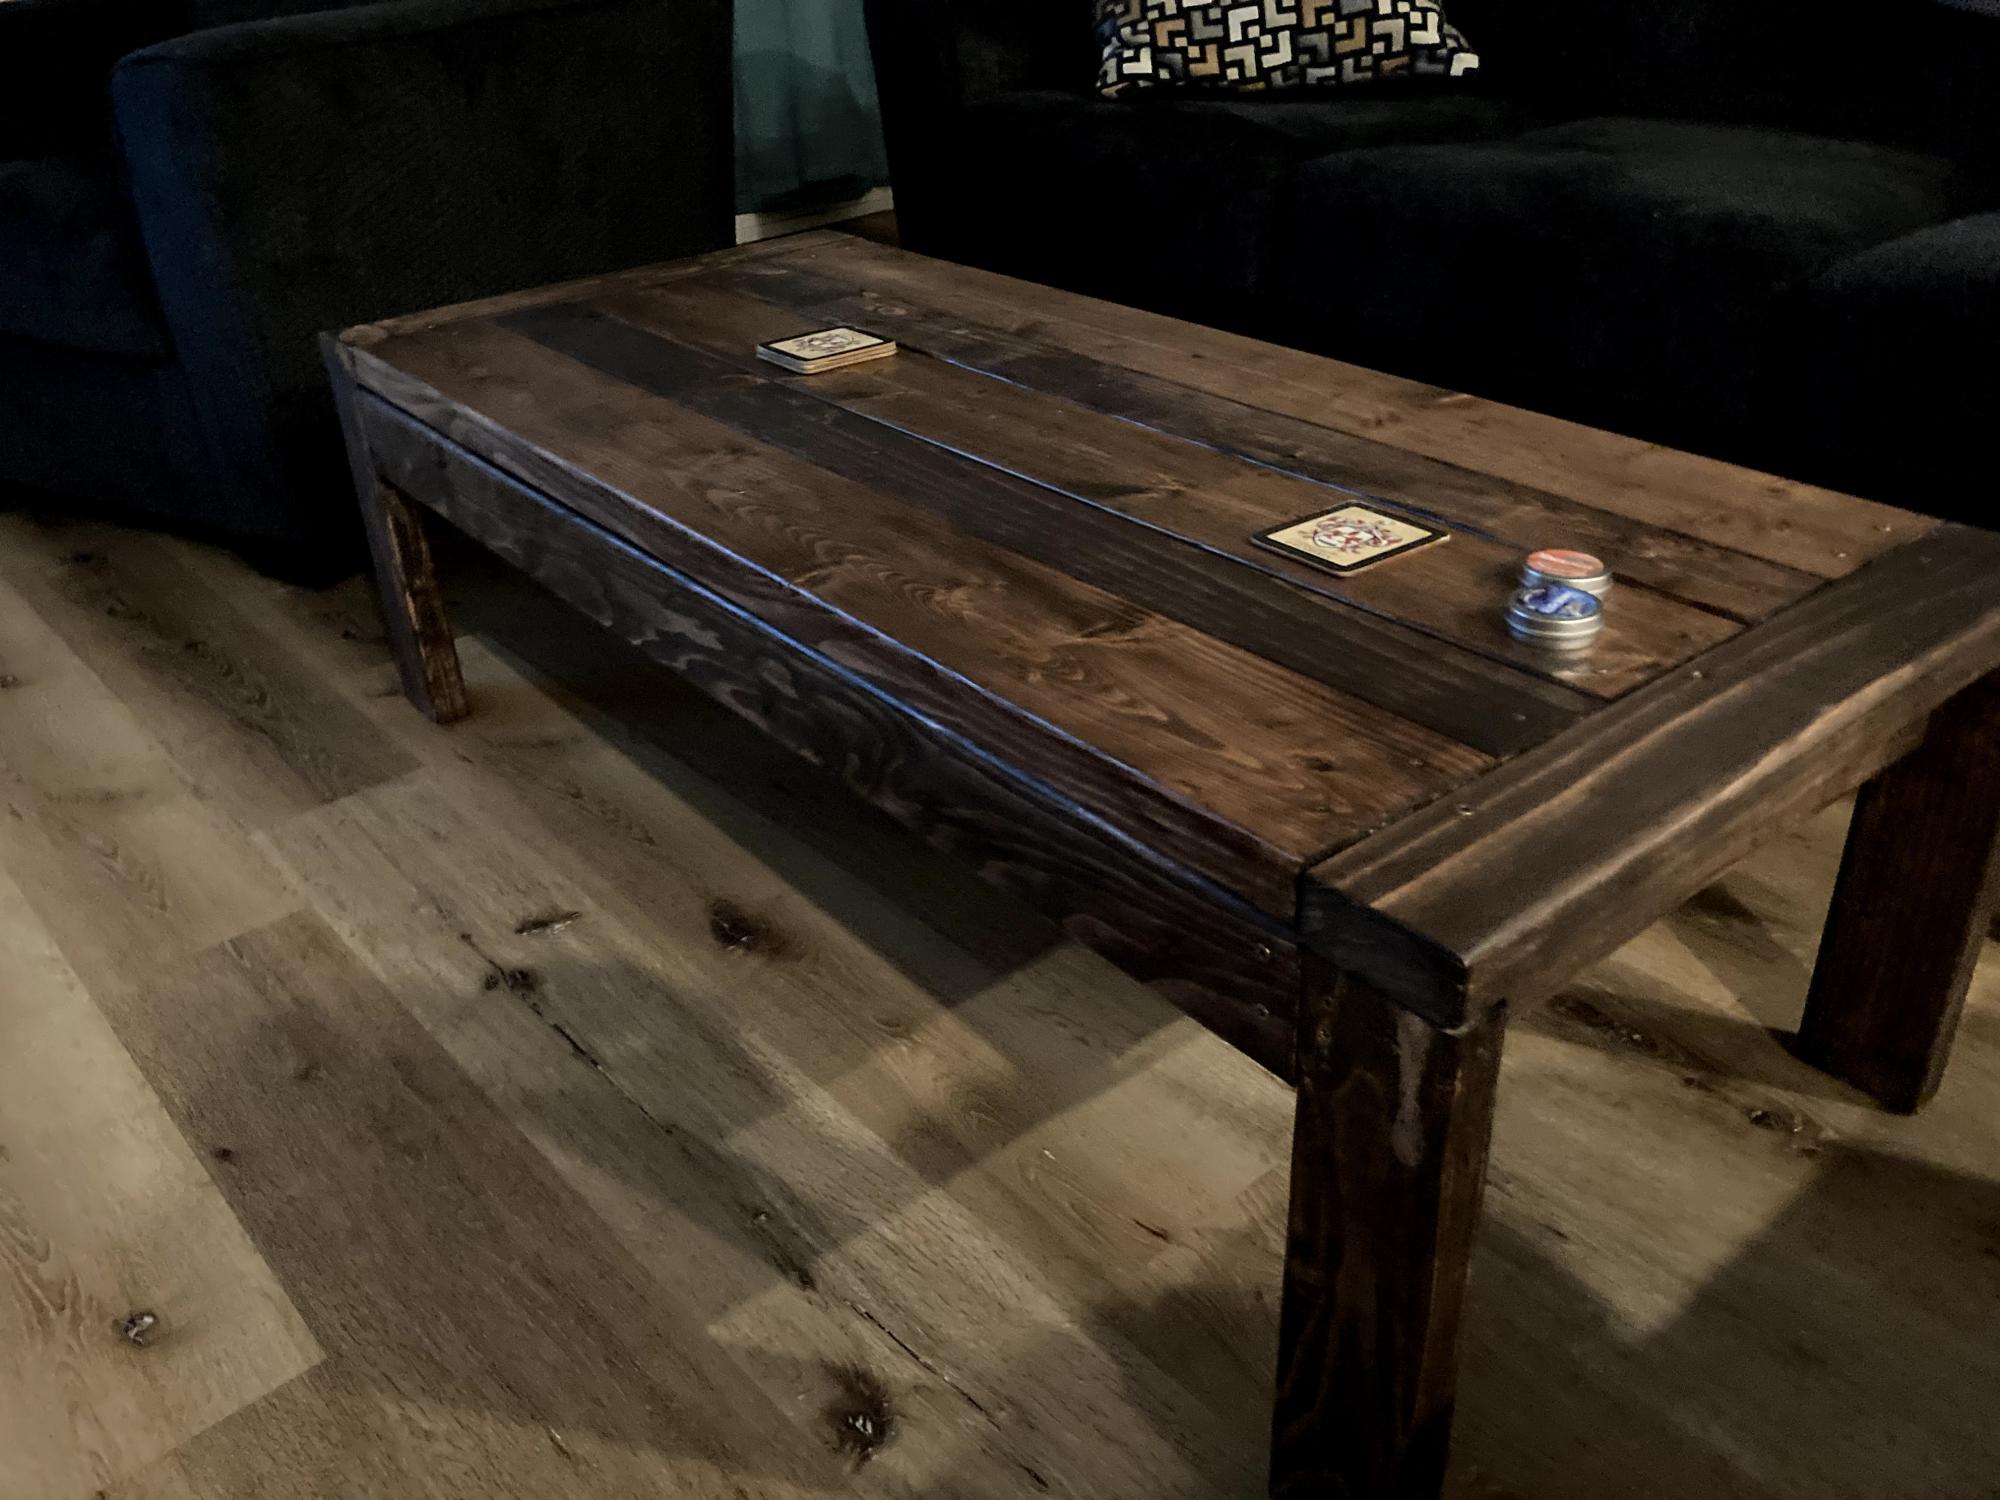
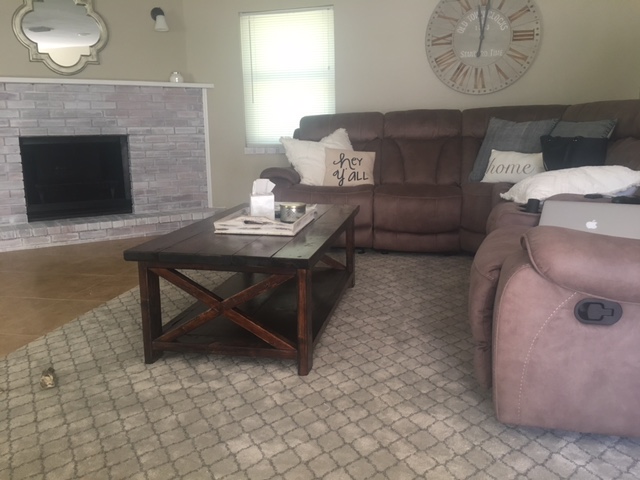
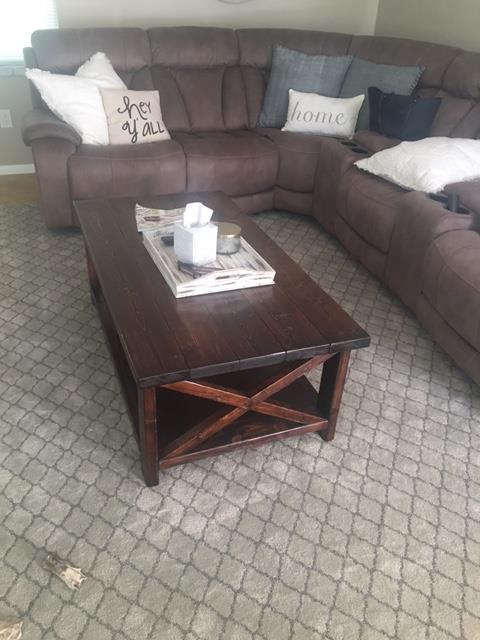
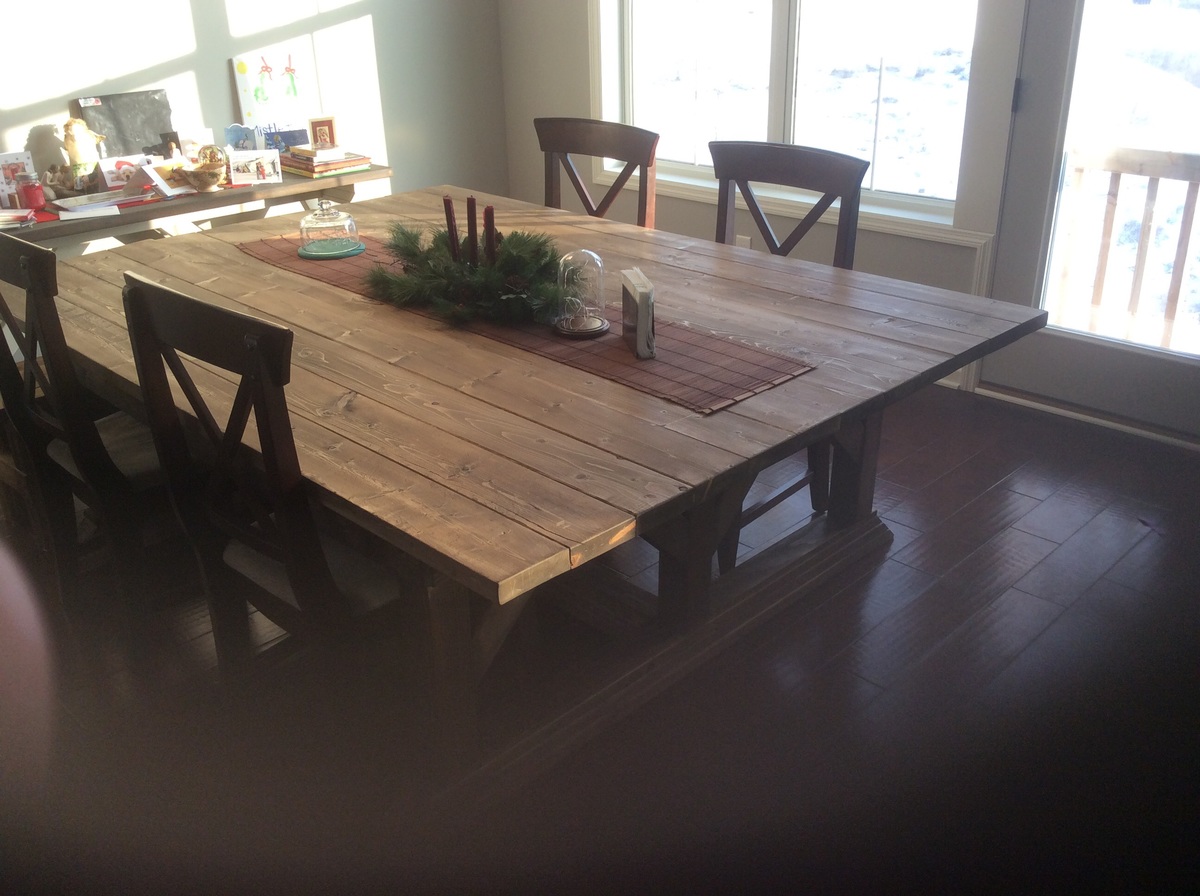
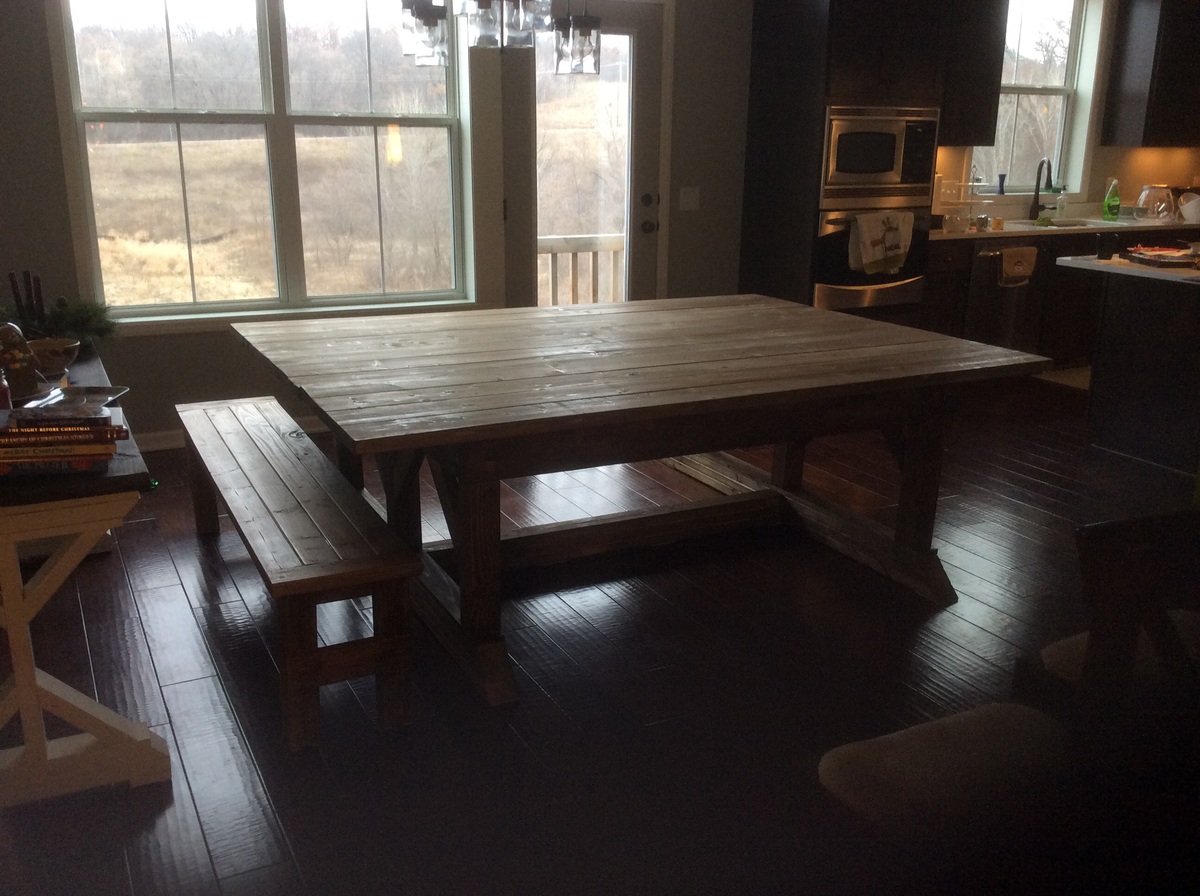
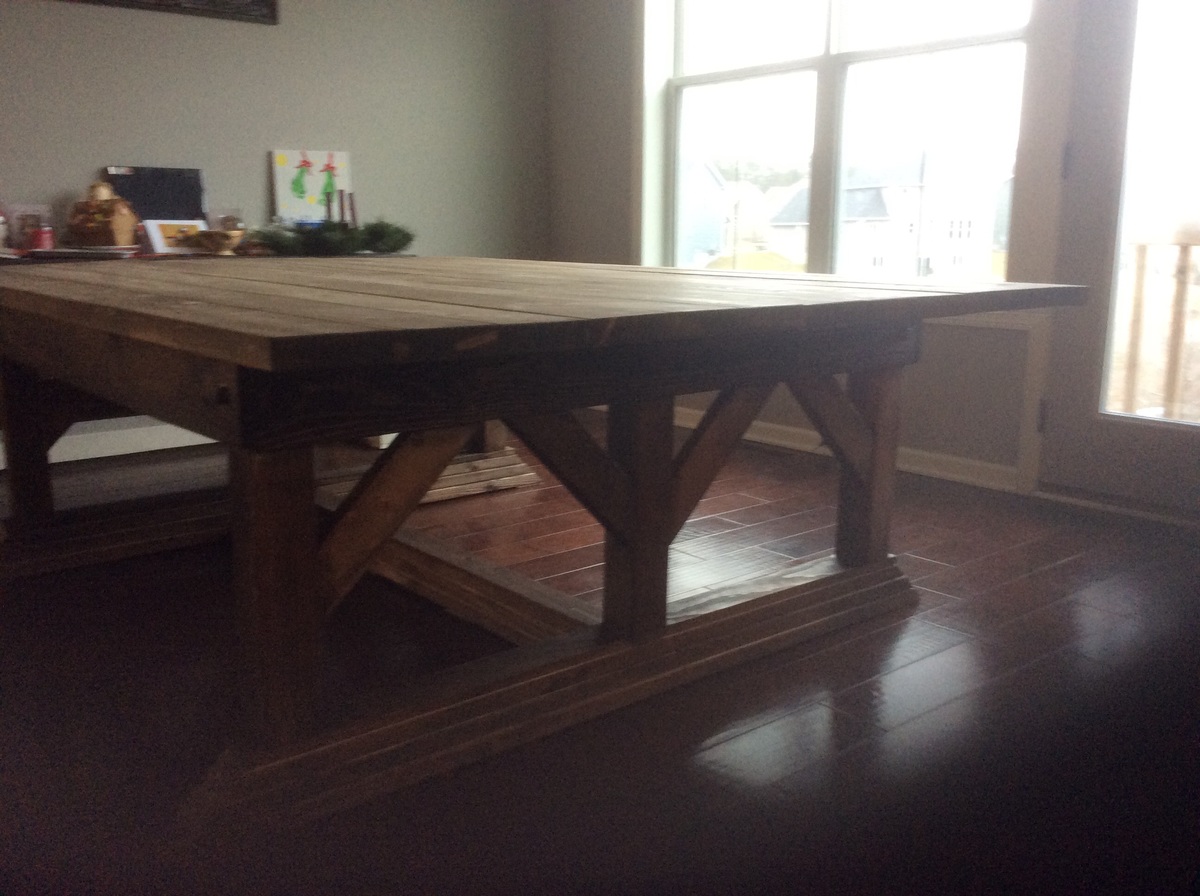
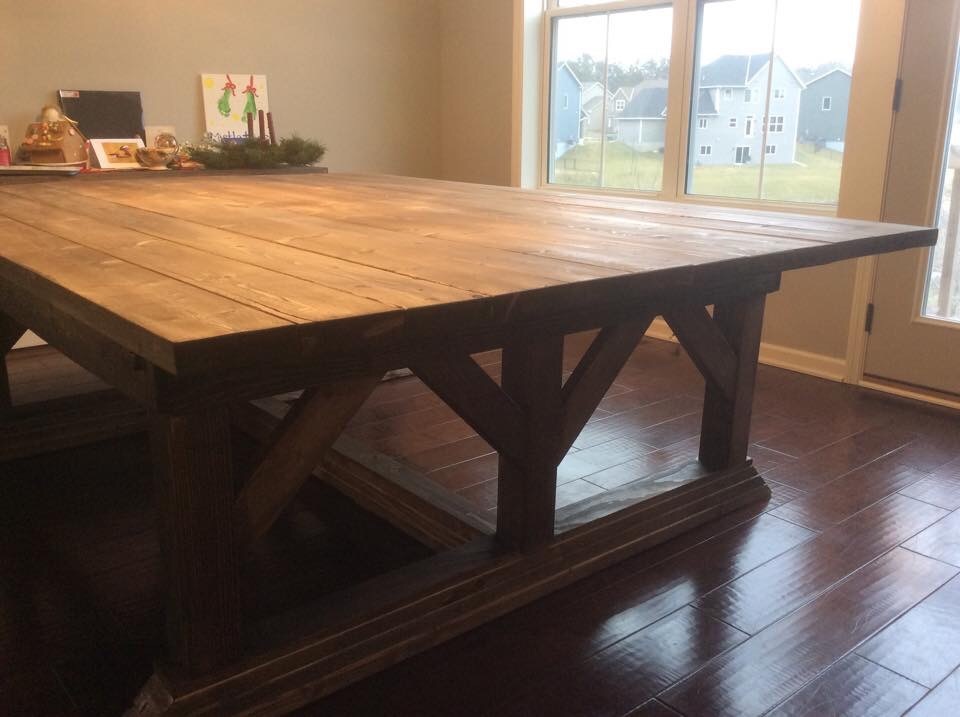
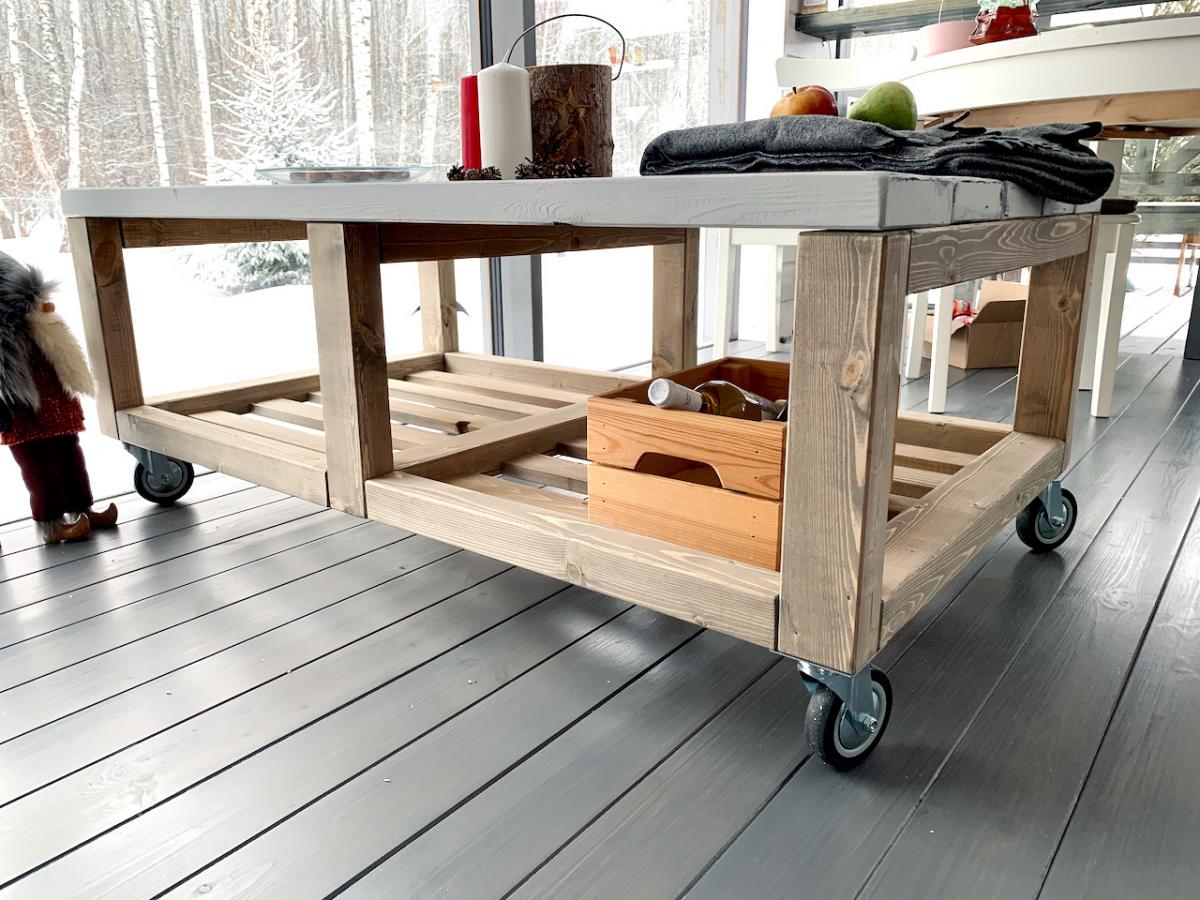
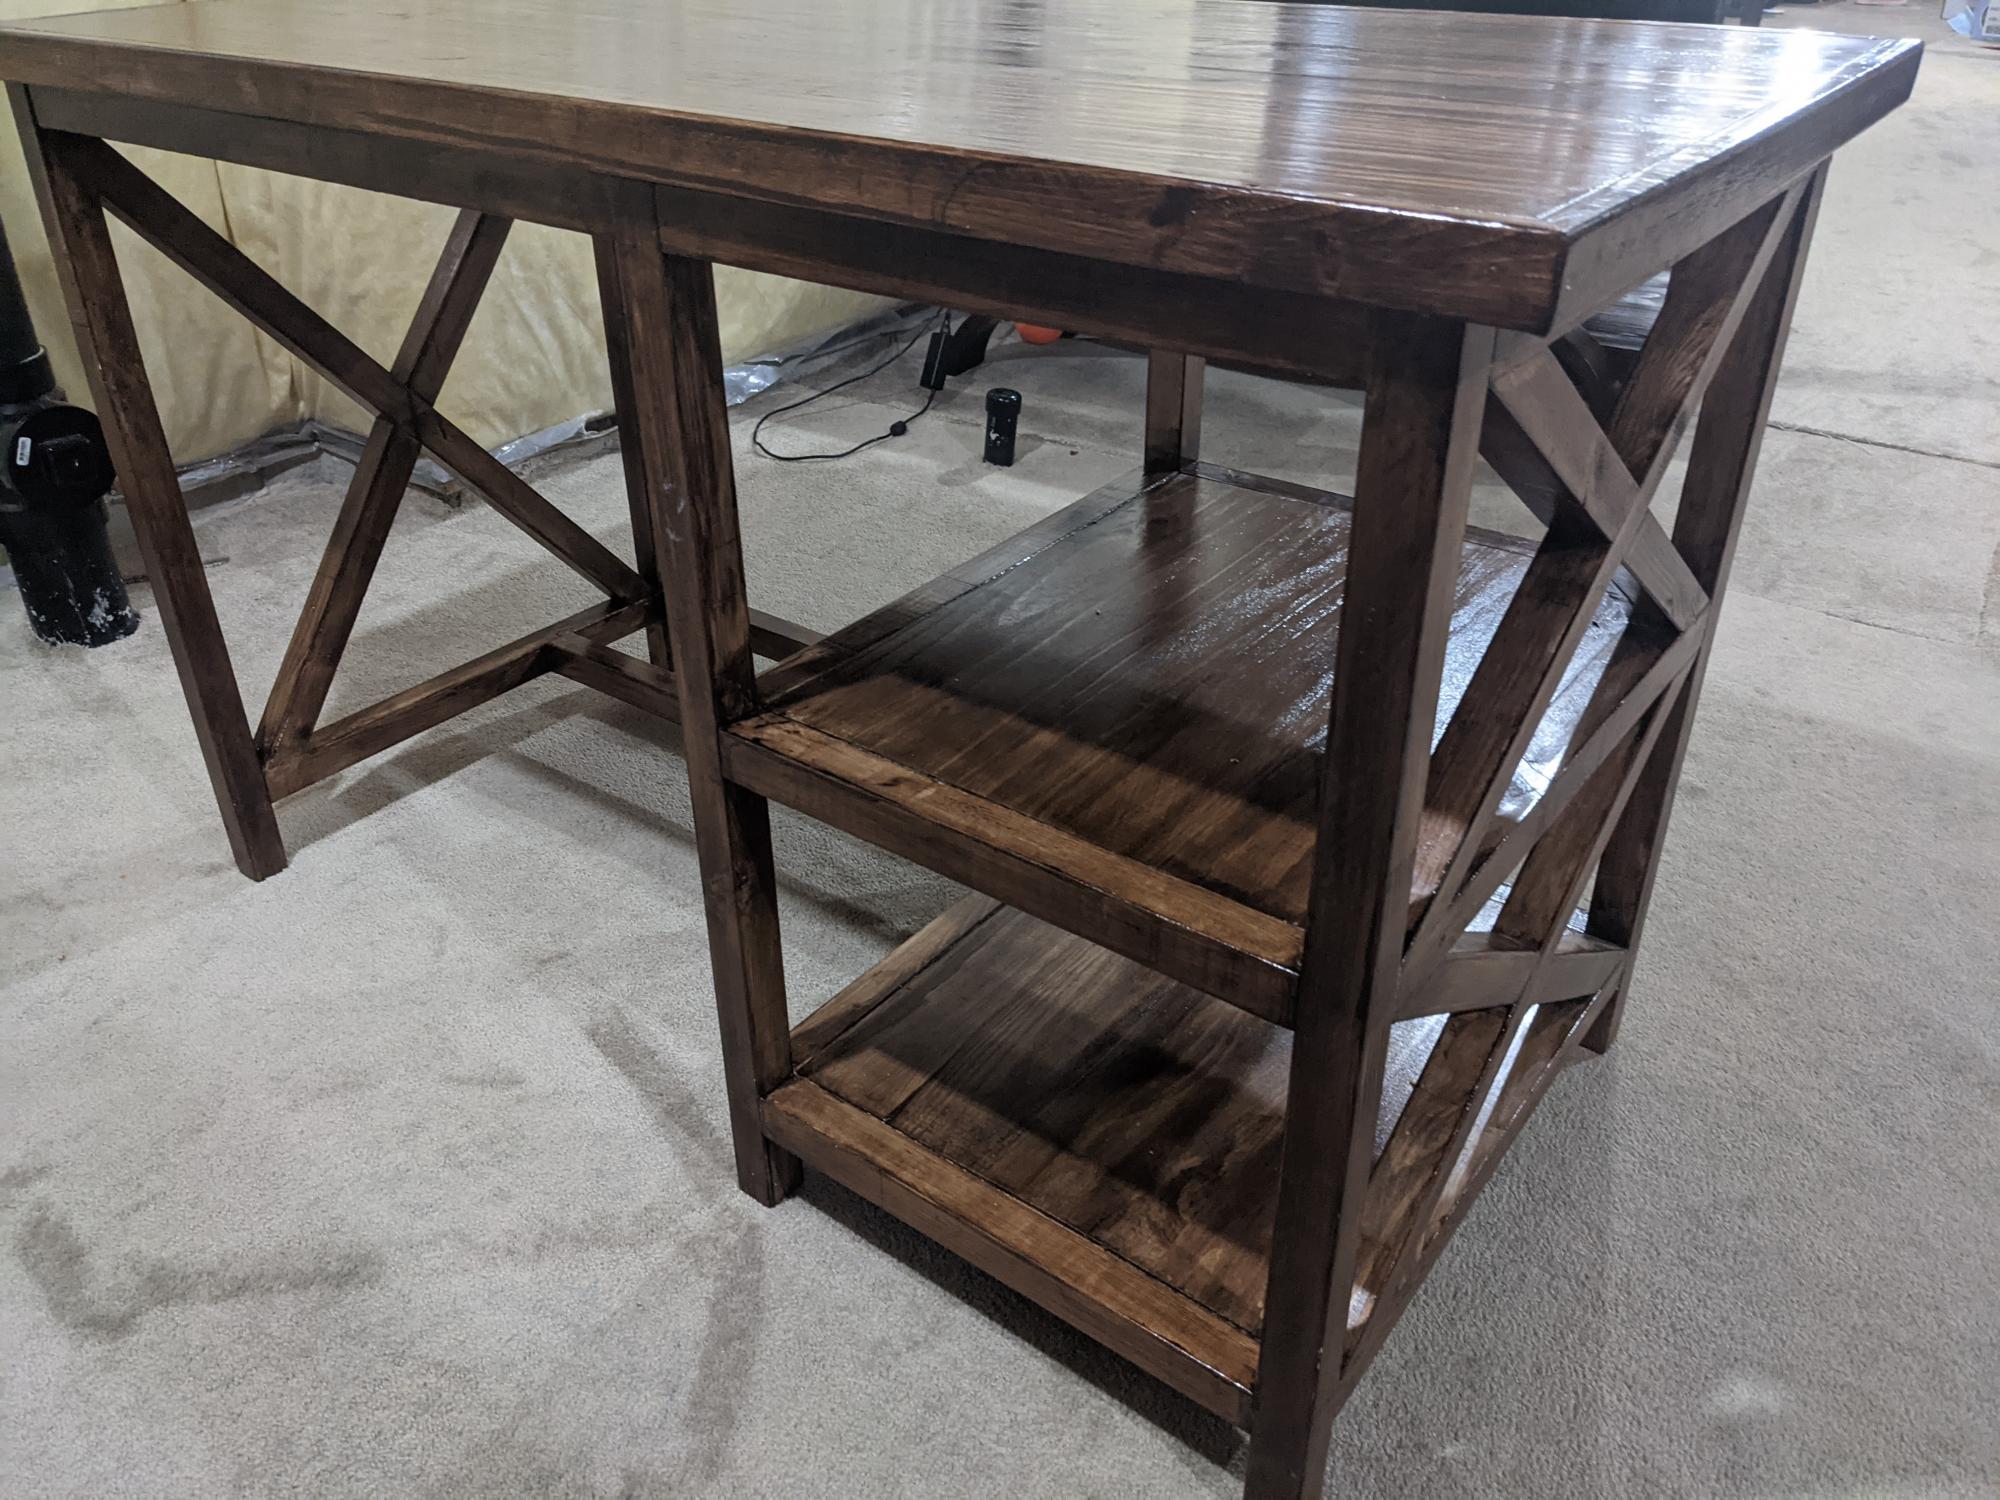
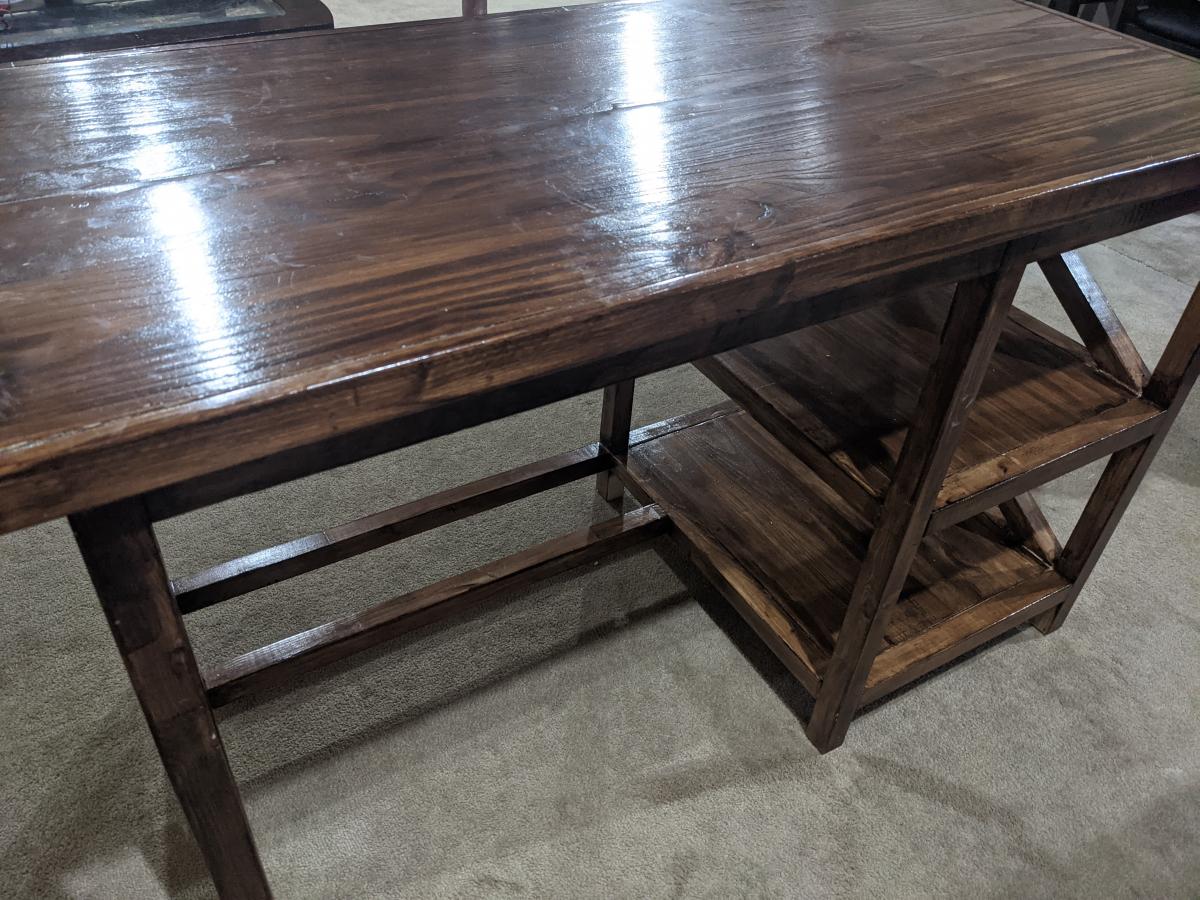
Farmhouse Trestle Table
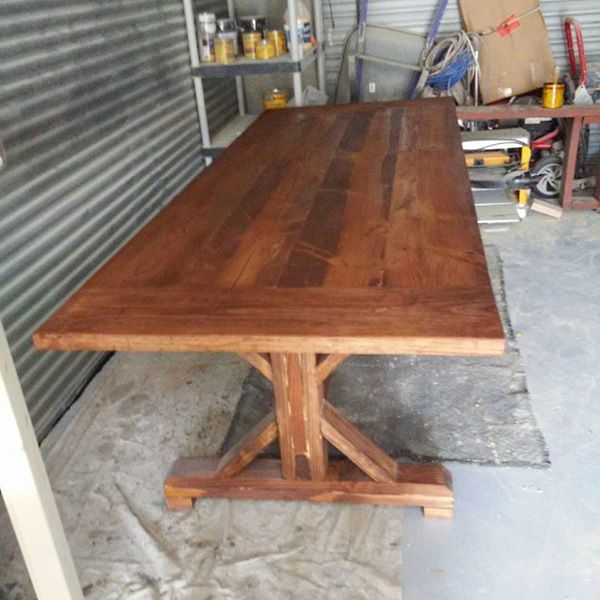
![](/sites/default/files/16729508_785630331591073_6744605720595196875_n.jpg)
Farmhouse Table
Few Modifications, Tools use Miter Sae, Table Saw and Planer
Check My Work At https://www.facebook.com/Custom-Patio-Retreats-1764656797122875/
Farmhouse Table
Few Modifications, Tools use Miter Sae, Table Saw and Planer
Check My Work At https://www.facebook.com/Custom-Patio-Retreats-1764656797122875/
There is no seating in our small kitchen and this spa bench was the perfect solution. Adds just the right amount of space for someone to keep a chef company while cooking or baking.
This is the first project I have created from a plan from this website . It is not perfect but I love how it turned out. The only modification I made is the words on the back board and some assembly modifications as far as the joining the front and back to the storage box, I have not added stain or paint yet because I have this up for sale
Tue, 02/12/2013 - 17:45
on craigslist and on Facebook in online garage sales
My wife always wanted a mantle to hang our stockings on for the holidays and when this plan was posted I showed it to her. She immediately said she loved it and asked me to build it. It fits perfectly in our house along with all of the other projects I have build from Ana's plans. The center part was done with vinyl tiles cut to look like rocks and then grouted to fill in the gaps. We are both very happy with how this project turned out. Definitely one of our favorites.
Tue, 12/16/2014 - 11:22
WOW! I love this and the faux rock looks great! Thanks for sharing!
Tue, 12/16/2014 - 15:39
The faux rock is an awesome idea. Your project turned out wonderful!
I started to build my outdoor seating with plans from Simple Modern Outdoor Sectional but realized after two chairs I wanted the bench to match the prior storage/table bench i made..
This is a great desk and will be large enough for my two monitors as well as a small sewing section. I'm really excited to pair this with the X bookshelf we also made. This desk is very sturdy and will last for years with the classic style.
Used coffee table plan from Ana...turned out great. Used the stain/poly combo again, but this time opted to wipe it off. Turned out lighter than I wanted. But still looks great. Chose to do a different pattern for the top.
This is the Farmhouse King Bed. I modified this from the plans on this website to accomidate a King mattress in the normal dimensions. I used 2 X 4's 12in on center and then used masonite set on top and screwed on each end. I used joist hangers and the 2 X 4's just sit in the hanger no screws needed. I used 2 X 10's for the rails and got bed brackets from woodcraft.com. Used Minwax wood conditioner, Minwax English Chestnut Oil based stain, and 3 total coats of Poly satin.
Largest Build I have done up to date. It took a bit longer but it was so worth it. Wanted something different than all the entertainment centers I saw so I created a herringbone back. I love how it turned out.
-@theorthhome/instagram
We have been stalking ana-white.com for awhile and making a few projects here and there. we made the $10 ledges to fit over our entertainment center. When we found the plan for the cedar planters we thought they would be a great little storage area for all of the little junk around the house. We made 6 of these planters out of 3 cedar planks and modified them to fit on the $10 ledges (which are actually made with a 1x6 to allow for more things to be able to fit) so they wound up more rectangular than square.
Sorry for the crappy I-phone pics!
Built from your corner cupboard plans. Added a few of my touch and ready for staining. Thank you Ana.
Restoration hardware Callum bunk plan. Stylish and sturdy bunk for our daughter.
My husband and I completed this project using Ana's amazing plans. It took us about 3 hours total to make. It was a great project. We altered the plans just a tad, but followed hers for the most part. This will be going in the foyer as an entry way bench!
Thanks for the great plans Ana.
We have an open floor plan and a large dining room area, I wanted a table that would do the space justice and provide a place where my boys could do art projects and play games, etc. This table works perfect in the space!
Super table i like it so much. Cant wait for summer to use it outside.
I'm not 100% happy with this but it is only my 2nd project. I actually built 2 because the 1st one was really bad (still learning how to cut wood). I'm using the 1st one for all my scrap wood in the garage. The 2nd one (pictured) is going to go in my sons room along with the Kentwood nightstands and simple bed with a modified headboard.
Fri, 02/22/2013 - 08:49
I can't tell you how many pieces of furniture I've built... You know how many have come out perfect?
Zero.
And you know what?
I'm still happy with all of them! If we wanted "perfect," we'd buy the laminated particle board from the big companies...
That looks great. :-)
Fri, 02/22/2013 - 09:10
I do love it and can't believe I made it. I would have never thought I could even come close to something like this before I started.
Thank you!
Thu, 05/14/2015 - 13:17
I just stumbled upon your brag post. We're much harder on ourselves then we need to be. Agreed, if I built it I know all the imperfections but in the big picture.. you did great work and should be proud! :) I spent 9 months of a class building a desk out of hardwood, spent about $1,000 on just materials (not to mention another $900 for the classes) and really took my time in making sure everything fit perfect. You know what? It's ALMOST perfect but there are still things that aren't... even though I was careful as heck, ha! I've learned that woodworking takes many many many years to perfect and learn all the tricks. It's so rewarding to build something out of a pile of wood! :)
Made this farmhouse desk from the plans. It came out very well.
I recently painted my kitchen cabinets with a Rust-Oleum Cabinet Transformations kit, and I wanted to add some matching shelves for items I could store above the stove and coffee maker.