Community Brag Posts

Adirondack Set

Submitted by JamieLynn on Mon, 06/24/2019 - 11:48

These were a labor of love!  I bought my first miter saw and decided this would be the project to try angles.  It wasn't easy but I figured it out.  

These were pretty easy otherwise to put together once you get past the stringers.  They aren't perfect but they are very sturdy.  I've had a few people ask me to make them one too!

Estimated Cost
$60 each
Scraps for the small table
Estimated Time Investment
Weekend Project (10-20 Hours)
Finish Used
Rustoleum Door Paint
Recommended Skill Level
Beginner

Tall corner media cabinet

Submitted by Mjgrasley on Thu, 11/07/2013 - 13:32

I wanted to rearrange the livingroom but needed a corner cabinet since the t,v sits on the fireplace mantle. I loved this plan except it didn't have any drawers for the DVD's so I just did the top portion on the bottom. I made the bottom slots wider and made drawers for them....perfect solution for my needs...

Built from Plan(s)
Estimated Cost
160.00 including hardware and stains
Estimated Time Investment
Week Long Project (20 Hours or More)
Finish Used
Minwax Cherry with polyurethane first then Mission walnut with polyurethane
Recommended Skill Level
Intermediate

Work Bench

Submitted by kyounghome on Sun, 07/07/2019 - 08:36

Got tired of working on the floor so built this.  Took me about 6 hours.  Was in no hurry.  Happy it is done and all my tools are organized.

Estimated Cost
Cost approximately $120.00
Estimated Time Investment
Afternoon Project (3-6 Hours)
Recommended Skill Level
Beginner

Comments

porcupine

Sat, 03/20/2021 - 12:38

I love this with the shelves at the back. I want something like this I can attach my hand crank flour mill to as well as have a place to store all my jarred grains and flour. Do you have plans for this?

Simple Bed Bunks

Ok, to start off with I am a guy and I love to build things, but I'm not some techincally savvy dude. I need simple plans and this was an awesome build! I love it, my kids love it, and most importantly my wife loves it. As others have said, It is BIG. but small things I did saved some space. For instance I cut the 3" off of the tops of the headboards to save 6" of linear space. Little things went wrong along the way, but they always do... finished in about 4 days workings sporadically. I've got about 350$ in it, and couldnt be more pleased. I will definately build more things from your plans. IF anyone is thinking of building it DO IT! Definatley need the KREG Jig. I should have bought that thing a long time ago. would have made several projects easier.

Farmhouse Night Stand

Submitted by danie386 on Mon, 12/19/2011 - 19:40

My husband and I re-created the farmhouse bed night stand from Ana White!! I tried to stain it first but didn't have much luck and decided to paint it to match our farmhouse bed.

We didn't follow the plans exactly. Since our bed was higher we made our own measurements for this project.

Built from Plan(s)
Estimated Cost
100
Estimated Time Investment
Weekend Project (10-20 Hours)
Finish Used
Behr Ultra Premium White
Recommended Skill Level
Beginner

Redwood Step Stool

Submitted by klshively on Sun, 11/10/2013 - 14:57

I gave these plans to our neighbor and he made this beautiful step stool for my boys. It is the perfect size and I love the beautiful grain and color of the redwood. Because he used redwood it is quite heavy, but also very sturdy! We plan on having in the family for a very long time.

Built from Plan(s)
Estimated Cost
$28 for the wood
Recommended Skill Level
Beginner

Comments

Castle for my Niece

Submitted by Anonymous (not verified) on Tue, 01/26/2016 - 13:29

My sisters family was coming for a visit, all the way from england. I wanted to make it special for my niece so I built this bed from your plans. I made a few minor modifications, like adding an extra step (as she's quite small) and rather than making a wood slide, I found a plastic slide at my local hardware store and used that instead. I think that simplified the project, at least for myself. Thanks for the great idea and plans.

Estimated Time Investment
Week Long Project (20 Hours or More)
Recommended Skill Level
Intermediate

Rustic X Coffee and End Tables

Really enjoyed building these tables. The plans are great and easy to follow! I aged the wood before staining it, then finished them with 3 coats of poly! Best thing is my wife loves her new “Pottery Barn” like tables!

Estimated Cost
$250 for coffee table and 2 end tables
Estimated Time Investment
Weekend Project (10-20 Hours)
Recommended Skill Level
Beginner

Floating Shelves

Submitted by sraper2 on Tue, 11/12/2013 - 09:47

I built two of the floating shelves and they came out great! I will be building some more of these hopefully soon! I put some of my step by step photos on my blog. Thanks again for the amazing plans!

Built from Plan(s)
Estimated Time Investment
An Hour or Two (0-2 Hours)
Recommended Skill Level
Beginner

Adirondack Chair

Submitted by HeidiT on Sat, 01/30/2016 - 04:42

The directions were SO easy to follow! I made one chair for my husband for Father's Day, and ended up making two more. My plan to to have four total. The only mod I made was to use 1x5's for the arm rests instead of 1x4's. Painted with Sherwin Williams Duration Satin in Ethereal Mood.

Estimated Cost
~$50 with paint
Estimated Time Investment
Afternoon Project (3-6 Hours)
Finish Used
Sherwin Williams Duration Satin in Ethereal Mood
Recommended Skill Level
Beginner

Coffee Bar

Submitted by Anonymous (not verified) on Fri, 04/21/2023 - 10:41

Our wine fridge died, and we didn't really need to replace it. Since we can always use more storage space in the kitchen, the hubby made me this coffee bar as adapted from a coffee bar brag post that was adapted from Michela's Kitchen Island plan. He was able to make it with all 2x4s and created the 4x4 legs by gluing 2 boards together. Put it on some caster wheels and we have a perfect coffee bar!!

Built from Plan(s)

Comments

Laundry Pedestal

Submitted by jerfer on Mon, 12/26/2011 - 18:00

I modified Sausha's design, taking out the bottom shelf, adding a back brace, and putting fascia boards on. I also put in a 2x4 between the underframe and each back leg at a forty-five degree angle as braces. My legs are a bit different too. I used three 2x4's. The first leg piece goes from the plywood top to the ground. I put four screws between it and the frame. Then I took two 2x4's and placed them butted at a ninety degree angle around it flush with the frame above.

Estimated Time Investment
Weekend Project (10-20 Hours)
Finish Used
Mini-wax Bombay Mahogany
Recommended Skill Level
Beginner

Comments

moonhopping

Mon, 01/23/2012 - 13:08

I have been drooling over the original pedestal plans since they posted. When I showed them to my dad the first thing has said we could have more clearance without the bottom plat form. I am going to copy your plans this week end thank you very much.
I did want to ask do you have any vibration issue without the bottom plat form?

Thank you for sharing, great sketch –up!

Dave C (not verified)

Wed, 03/21/2012 - 14:00

Did you have any issues with machine vibration?

Queen Size Farmhouse Bed with Storage

Submitted by Anonymous (not verified) on Tue, 02/02/2016 - 10:42

Using Ana's original plans, I made this farmhouse storage bed with almost no modifications. It was a Christmas gift to my fiancée. To give the board on top of the footboard/headboard just a little bit of an upgrade, I used my router with a cove bit along the edges. The drawers weren't that hard to make, they just took some time and ensuring that they were square. I used plywood and MDF for the drawers as opposed to solid wood planks to save money. There is one drawer that has trouble opening and closing. I think it might be just a hair too wide for the opening ... someday I'll fix it! I also added a few blocks (leftover from my 4x4 posts) underneath the bed to support it; otherwise, it was lifted only by screws. I tried using lag bolts to connect the boxes to the posts, but then realized the bolts would stick out and hit the drawers when I slid them back in, so I just used regular screws to attach. This thing is heavyyyyy, but solid as a rock! Love having additional storage in our 1930s house.

Estimated Cost
$250
Estimated Time Investment
Week Long Project (20 Hours or More)
Finish Used
primer, white paint, weathered oak stain;

I primed and painted the entire bed first, then sanded by hand to get the distressed look. After that, I wiped the stain on the exposed wood to darken it, as well as over parts of the paint to darken parts of the white paint.

If I had to do it over again, I probably would have painted the wood a darker color first and then the white over that. I think it would have made the distressing process a little easier, and allowed the other color to show through better. All in all, I still like how it turned out!
Recommended Skill Level
Intermediate

Another Ana White project complete!

Submitted by AKMan279 on Tue, 07/23/2019 - 21:14

This was an easy weekend project building the night stand to go with the Ana White bed that we built.  Looks great.  I used a round over bit on my router and rounded the top.  Additionally, I think if I were to build another one, I would simply attach the top to the base using pocket holes and screwing in from underneath rather than using 1 1/4” brad nails through the top.  Very hard to blend in wood filler when staining a lighter color stain.

Estimated Time Investment
Weekend Project (10-20 Hours)
Finish Used
Minwax poly/stain
Recommended Skill Level
Intermediate

Comments

Sunroom chair

Submitted by Anonymous (not verified) on Fri, 04/28/2023 - 01:44

I saw your outdoor chairs so decided made 2 out of 2x4 from your plans. I put the 1 that is finished in my sun/ coffee room. I love it and ha e had many brags so I give them your info and a couple of friends are making them. Thank you

Comments

Cute Ladder Plant Stand

Submitted by Cheryl on Fri, 12/30/2011 - 20:37

This is my first project from Ana's plans. I found a big pile of old wood left by the previous home owner. It looked like it was from old fencing. We used some for fire wood, some for fence repairs and still had a big pile. I was looking at it one day after finding Ana and thought it would make a really cute plant stand for my yard. My first project turned out great!

Estimated Time Investment
An Hour or Two (0-2 Hours)
Recommended Skill Level
Beginner

Comments

Carmen O (not verified)

Mon, 06/04/2012 - 05:37

I went to Lowes to get some plant stands and thought to myself, I am not paying $25 for that!!! I came across this blog while looking for ideas for diy plant stands and so glad I did! We made this stand yesterday and it turned out great! my husband had a ton of wood left over from prior house projects and we got pretty oops paint from Lowes for $3 dollars. Can't bit that! I am hoping to make another two before the week ends. Thank you!

Rustic X Console Table

Submitted by Celeste808 on Mon, 11/18/2013 - 17:22

easy plan to follow and build. Love how it turned out. Only cost $58 in wood!

Built from Plan(s)
Estimated Time Investment
Afternoon Project (3-6 Hours)
Finish Used
Top: Minwax Ebony and Minwax Driftwood Stain
Bottom: White Semigloss Paint
Recommended Skill Level
Beginner

Comments

spiceylg

Mon, 11/18/2013 - 18:08

Love your builds! Nice curtains, too. Mind telling me where you got them?

Celeste808

Tue, 11/19/2013 - 04:11

The curtains are actually Ikea Vivian Curtains in white. I stenciled the pattern on them.

Truss End Table

Custom height and width from the plans. White washed to achieve the grey look.

Built from Plan(s)
Estimated Cost
$40
Estimated Time Investment
Day Project (6-9 Hours)
Recommended Skill Level
Intermediate

Barnwood Frame with Glass and Removable Backing

Submitted by Kimbers on Tue, 01/03/2012 - 13:35

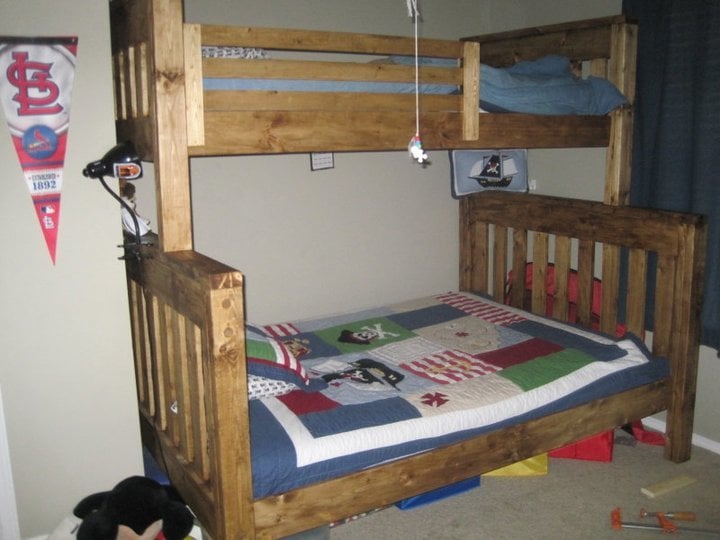
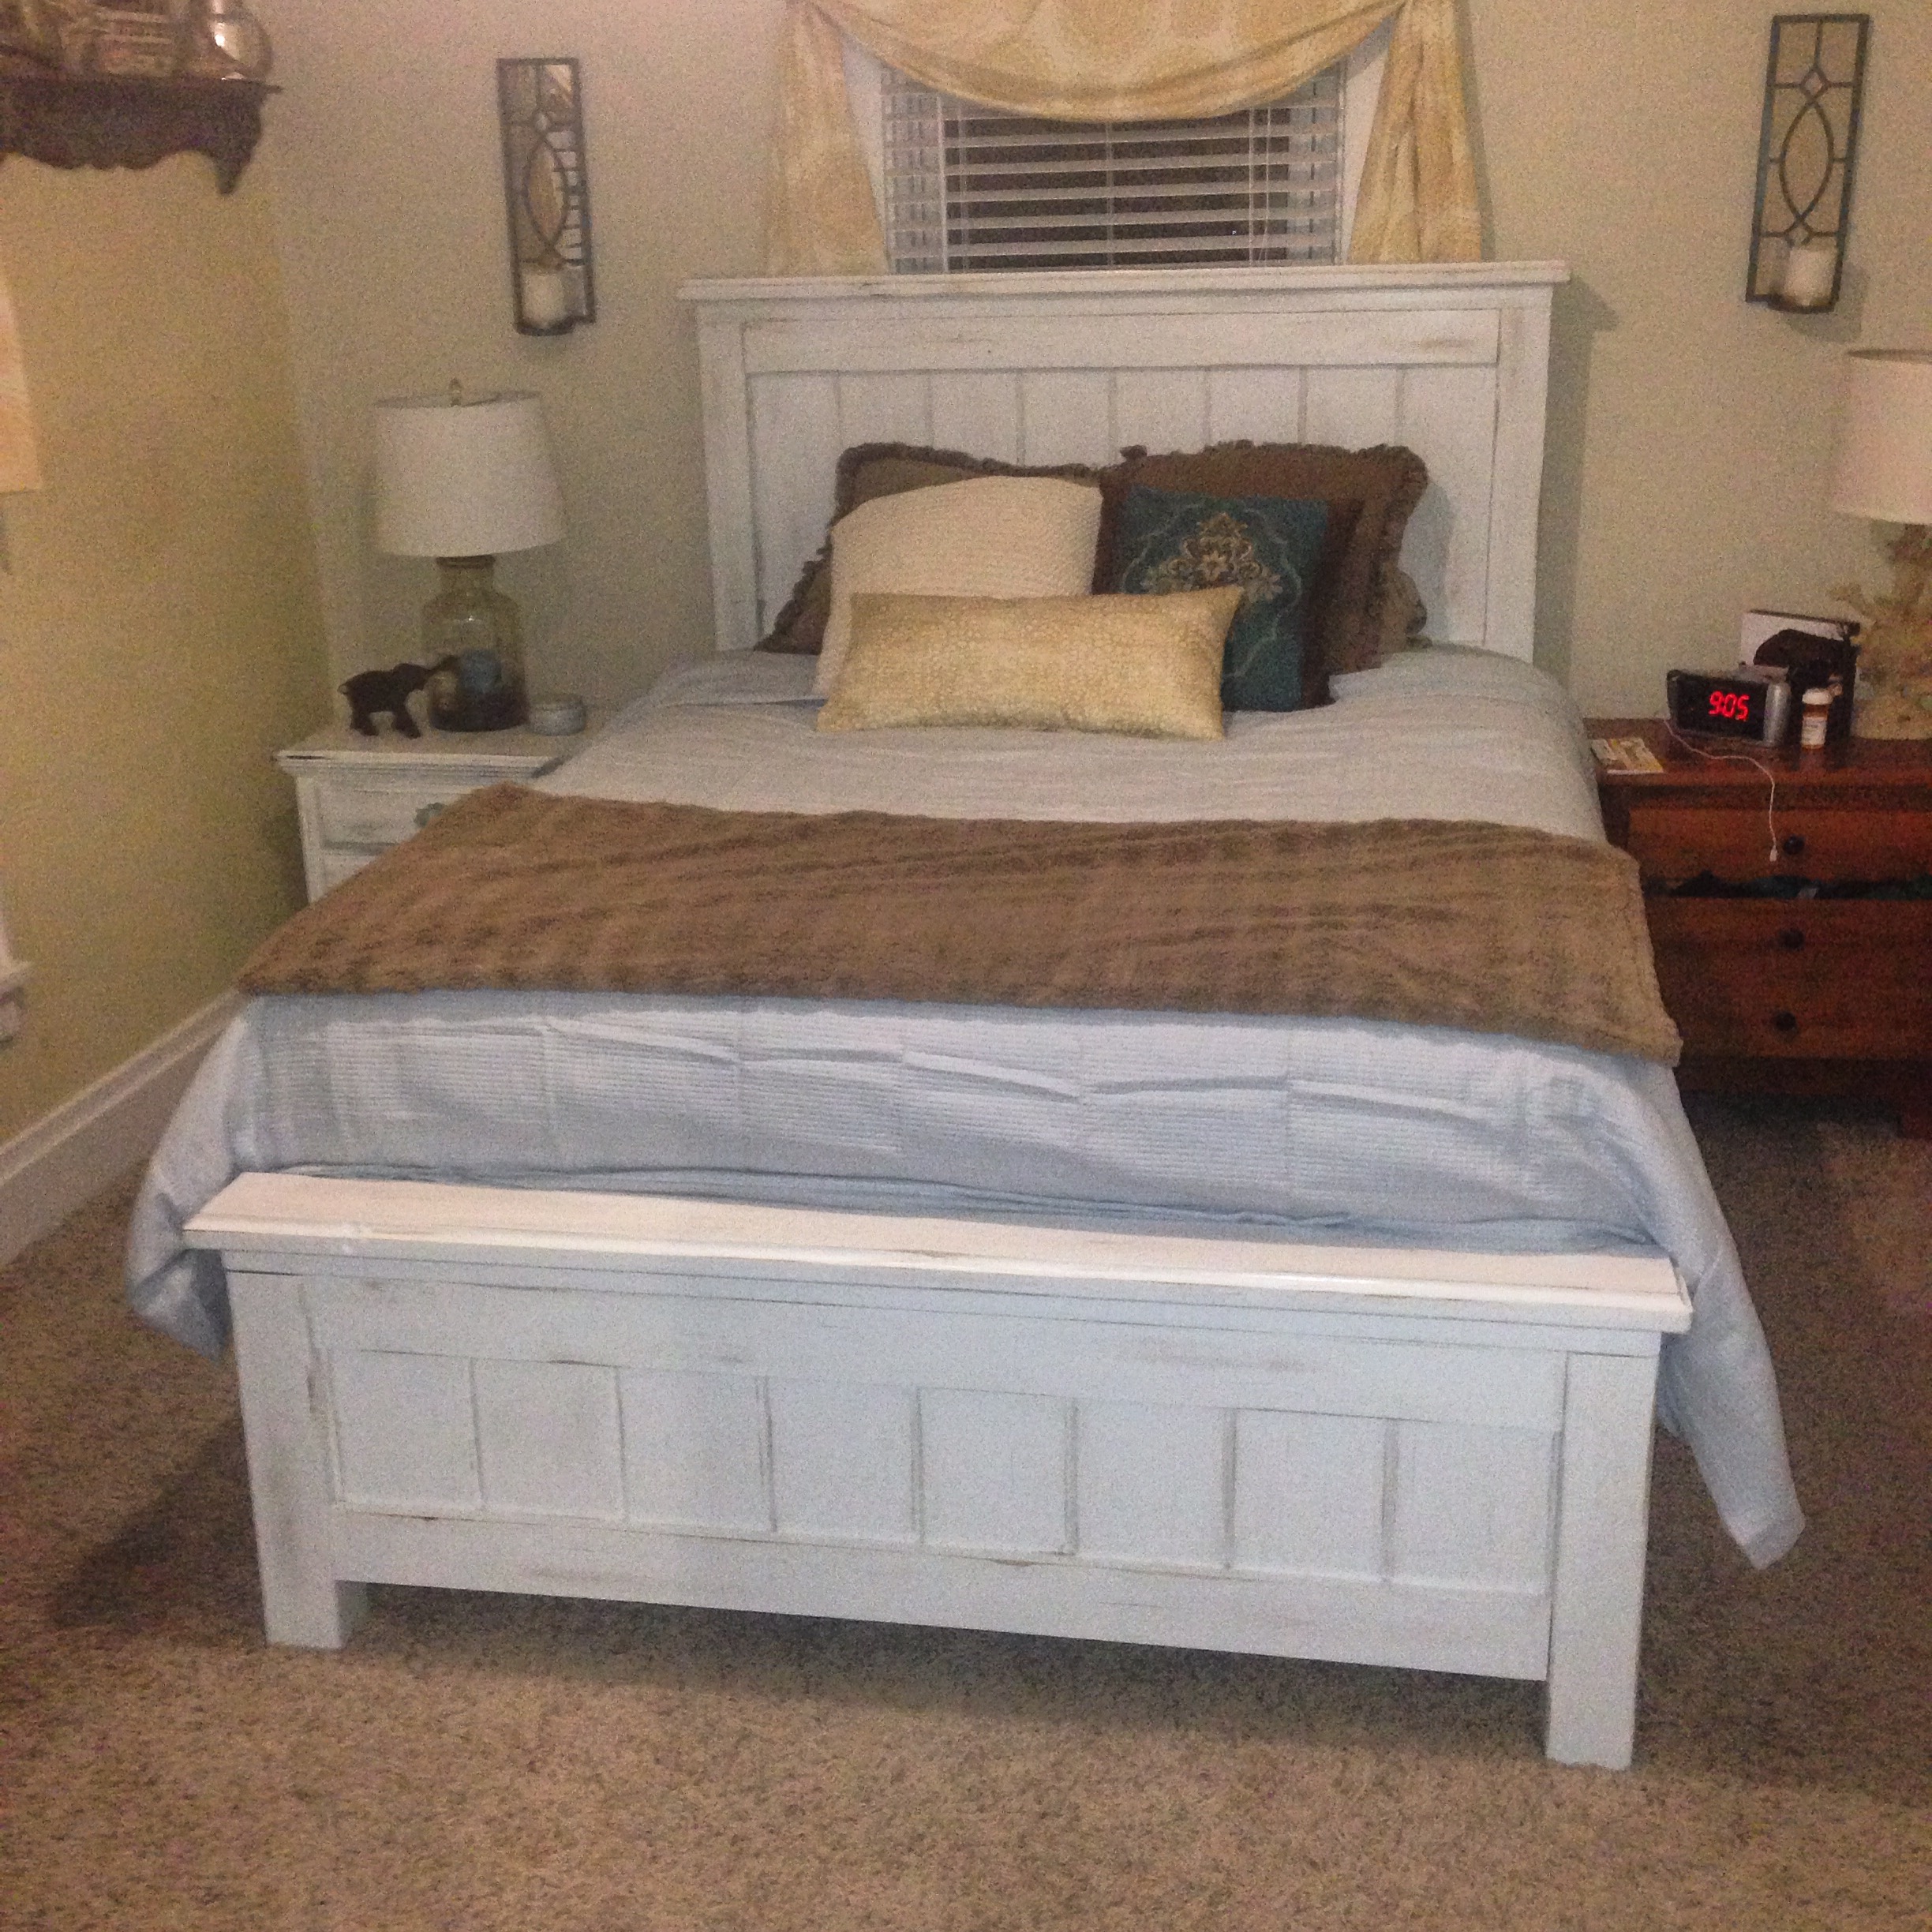
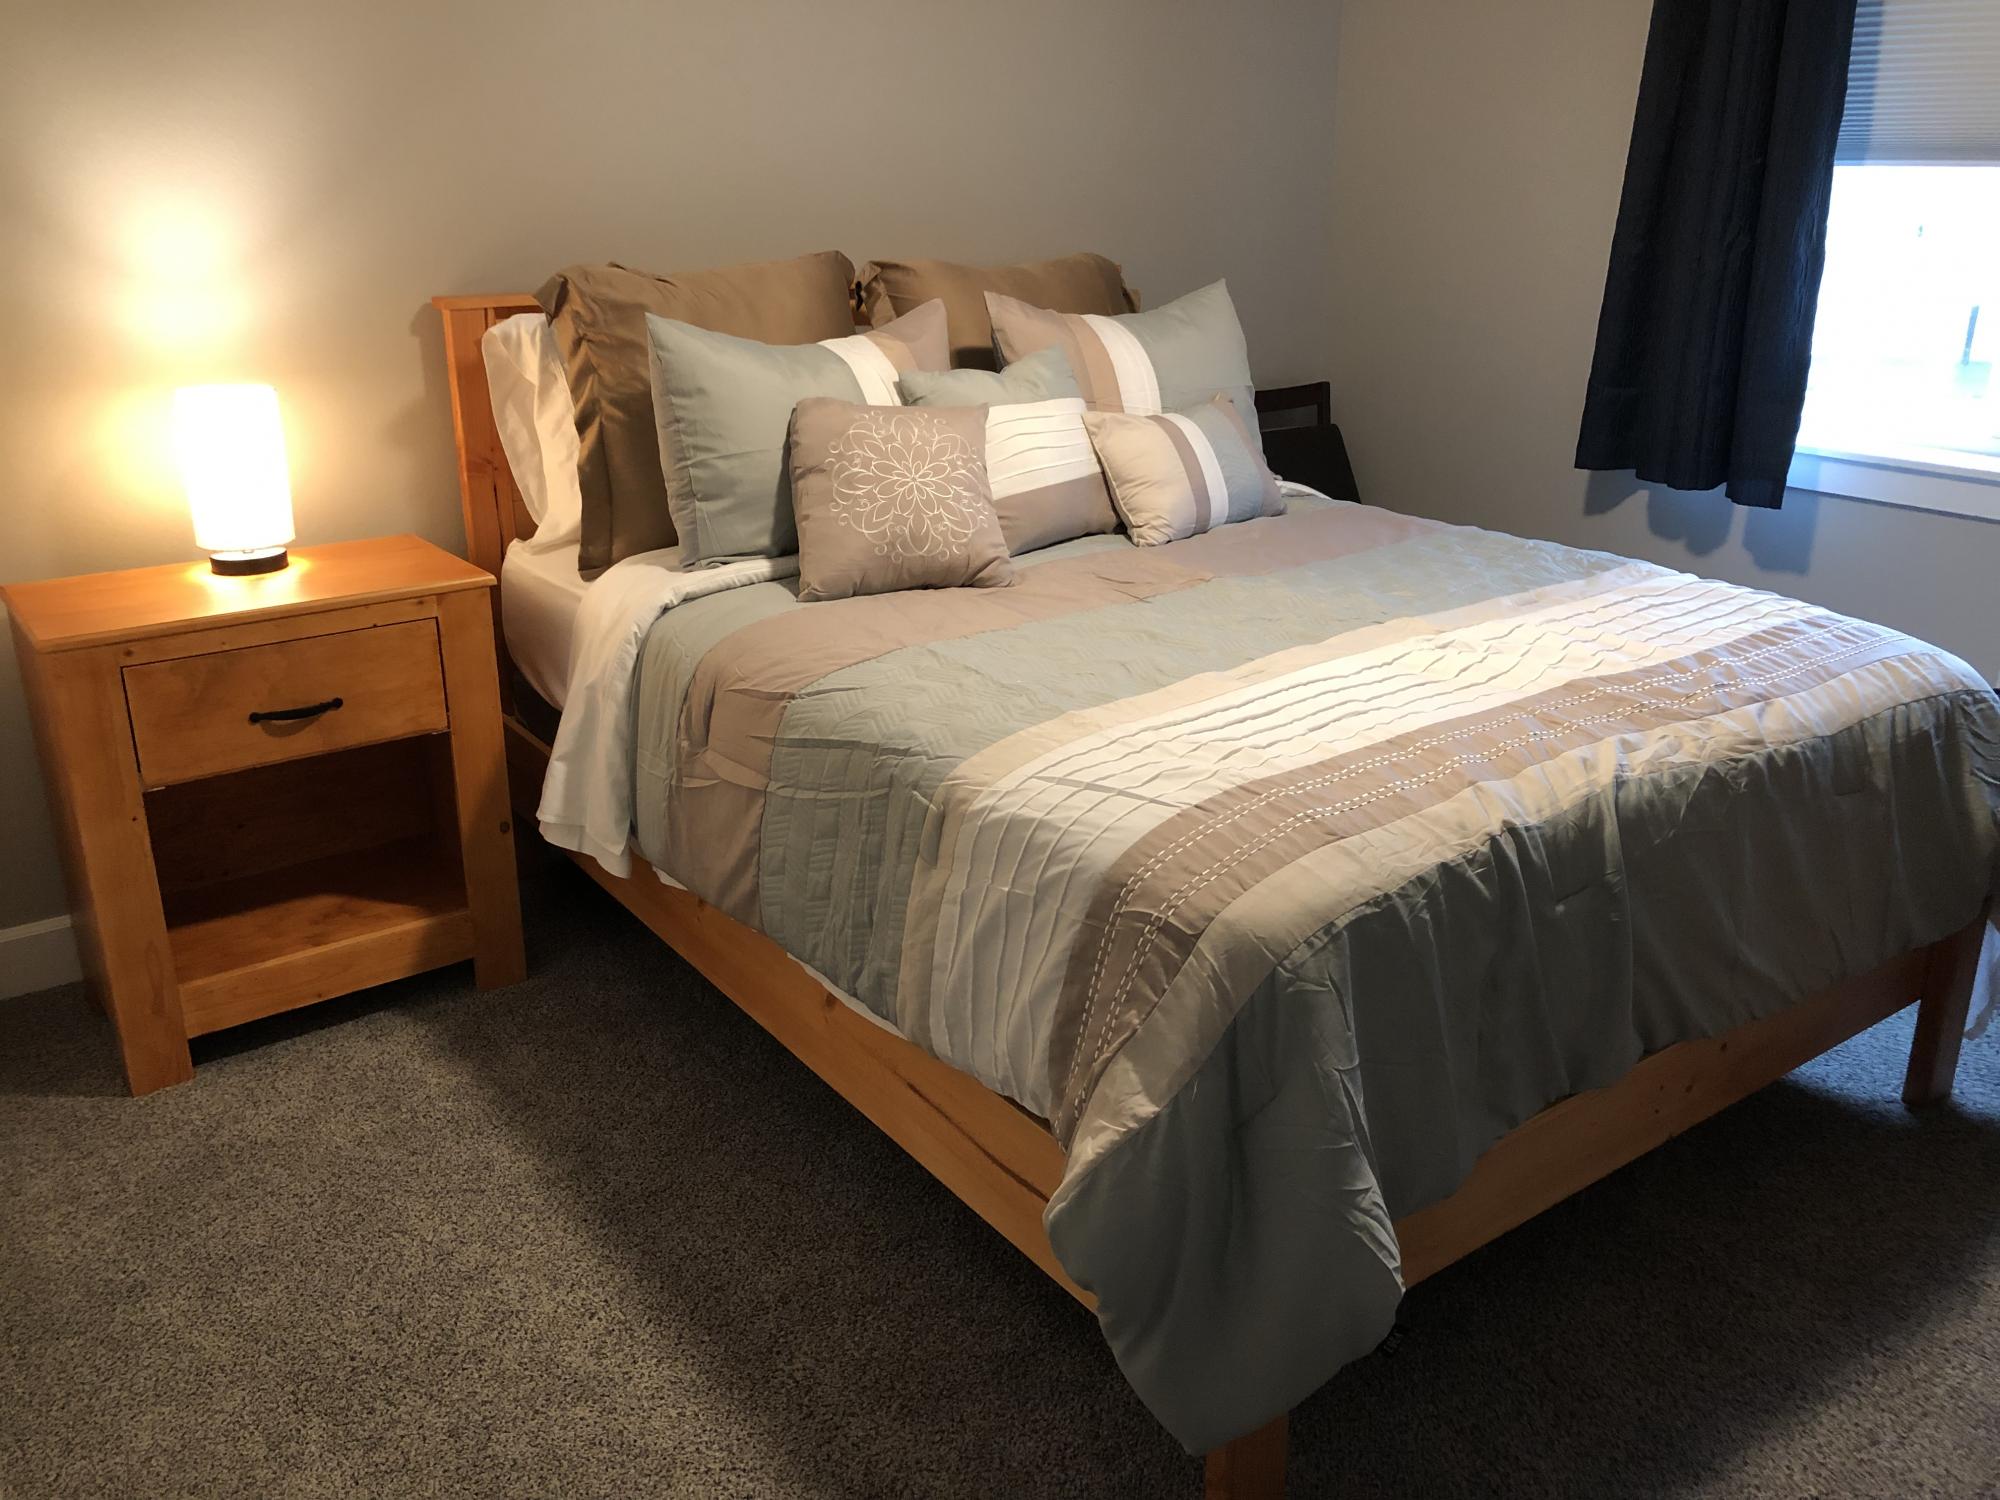
I'm building the farmhouse bed for my guest room and have a picture I wanted to put above the bed. The black frame it was in originally totally clashed with the new decor so I decided to make a frame that somewhat matched the finish on the bed.

I used a 1x3 for the inside pieces and 1x2 for the outside boarder. I used Minwax English Chestnut on the frame to match the distressed part of the bed and finished it with Minwax finishing wax.

The picture I framed is 24X36. I wanted to use glass and have the frame function like a normal frame so I made the inside dimensions of the frame roughly ½-¾ of an inch smaller than the picture. (this was after completely assembling it and realizing the glass and picture fell right through the opening, OOPS!)

I had some leftover scrap that I had to cut off of a 1x2 for my headboard (If you notice the small slats on either end of the bed, these had to be trimmed slightly to fit) that I nailed to the back of the frame to surround the picture, I used the glass as a template for where to nail these in to allow the picture to fit.

The “glass” and backing I used were from a cheap old poster frame that I am no longer using.

I wanted the back to be removable so I took a 1x2 and cut 10 slivers off of it to be the movable tabs on the back that hold it all in. It was great fun looking for these after I cut them as they will fly all over the place when you cut them! I screwed them on so that you can turn them like on a store bought frame to change out the picture.

Estimated Cost
Under $10
Estimated Time Investment
An Hour or Two (0-2 Hours)
Finish Used
Minwax English Chestnut and Minwax Finishing Wax
Recommended Skill Level
Starter Project

Comments

Belinda (not verified)

Mon, 10/22/2012 - 09:35

that is so nice. the price for construction much lighter on the pocket than Pottery Barn and the pride and satisfaction invaluable.

DIY Benchwright Table and Bench

My husband says I have impeccable timing with all of my projects – I say there’s never a bad time to start a project! Case in point – my farmhouse table. I was five months pregnant visiting my parents in Idaho (I live in Arizona) and I decided that it was a good time to finally build the table I had talked of for two years. There’s no time like the present, right? My dad questioned my ability to get the table back to AZ safely, but I threw caution to the wind and would figure it out later! I built the table and matching bench out of hard maple and followed plans based on the Pottery Barn Benchwright series. I had never worked with hardwood before and there was definitely a learning curve. Luckily my dad had some experience with hardwood and he was able to lead me in the right direction. I pieced together the table top and bench top, and then assembled the legs, but kept them unattached from the table top. I built a wooden frame to transport the table to Arizona and attached it to the top of my car. In the heat of an Arizona summer, I proceeded to finish the table by staining it with an espresso stain from Minwax and then attaching the legs. Finishing projects like this always take more time than I anticipate and this table was no exception. After days and days of staining and days and days of drying, I sealed it with a wipe on poly. I lost count of how many coats I applied, but I know it was more than 15. Yes, 15. Wiping it on doesn’t apply a thick layer, so I did a lot of layers. I had to protect it from my 4 kids! I finished just a few weeks before I had the baby. Timing is everything. :) To see more details on the project check out my blog at lifewithfingerprints.com

Estimated Cost
$600
Estimated Time Investment
Week Long Project (20 Hours or More)
Finish Used
Minwax espresso stain with satin wipe-on poly
Recommended Skill Level
Advanced

Comments

Seasonal And Holiday