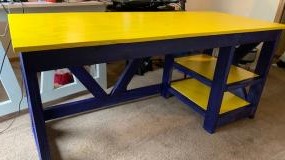
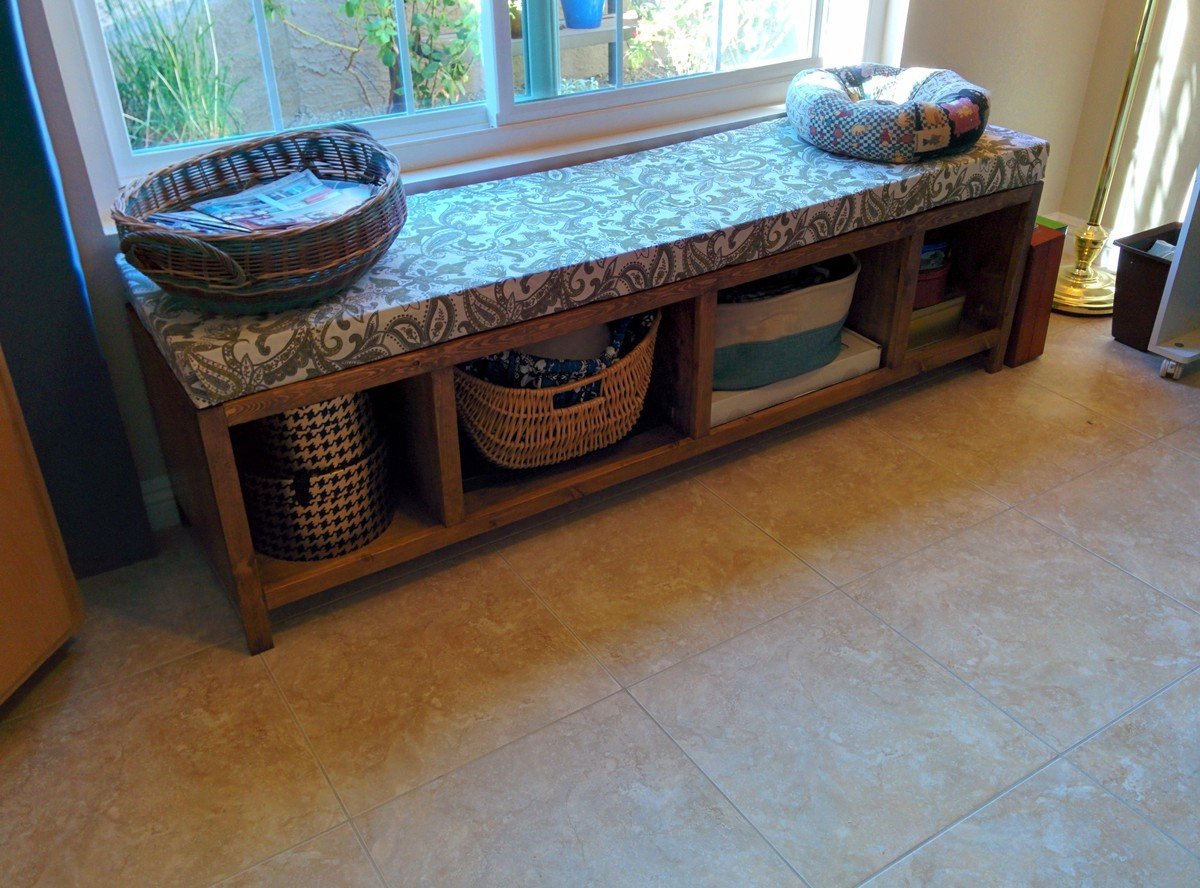
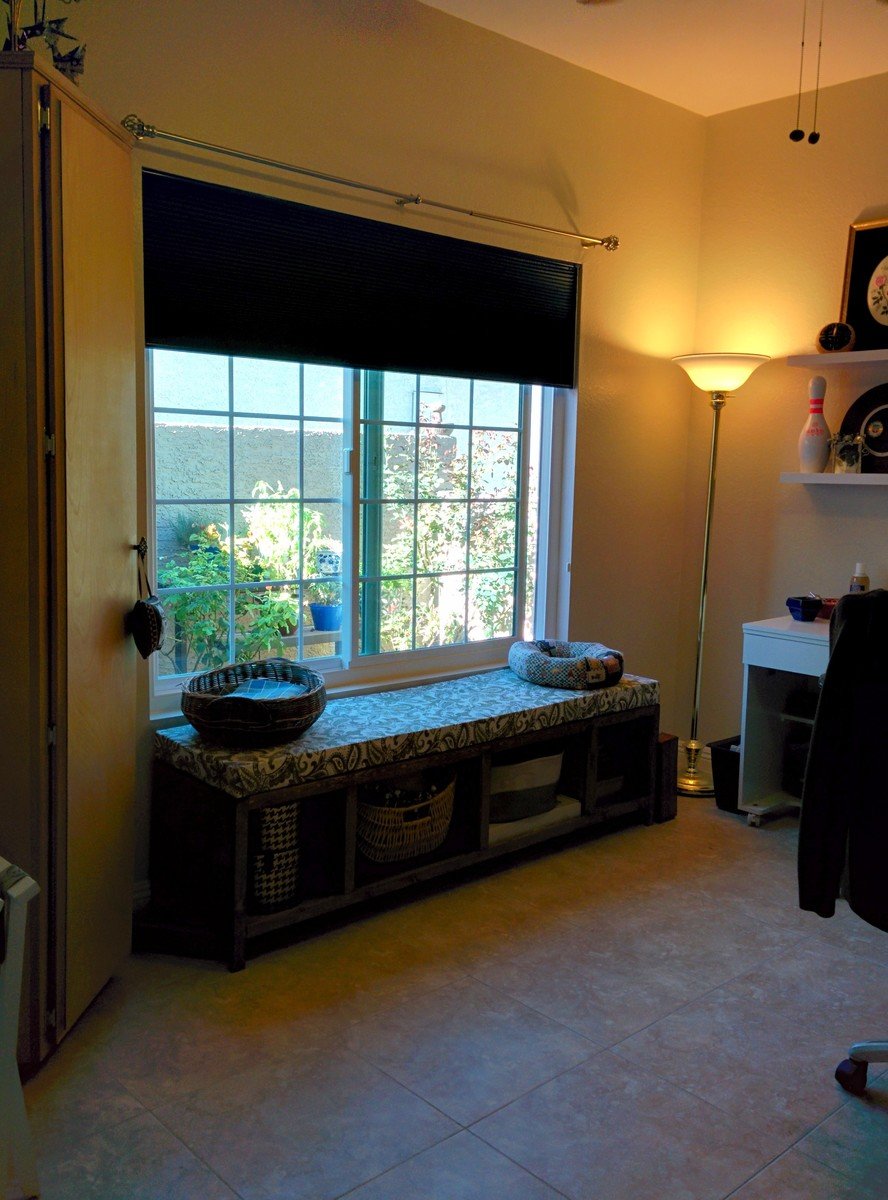
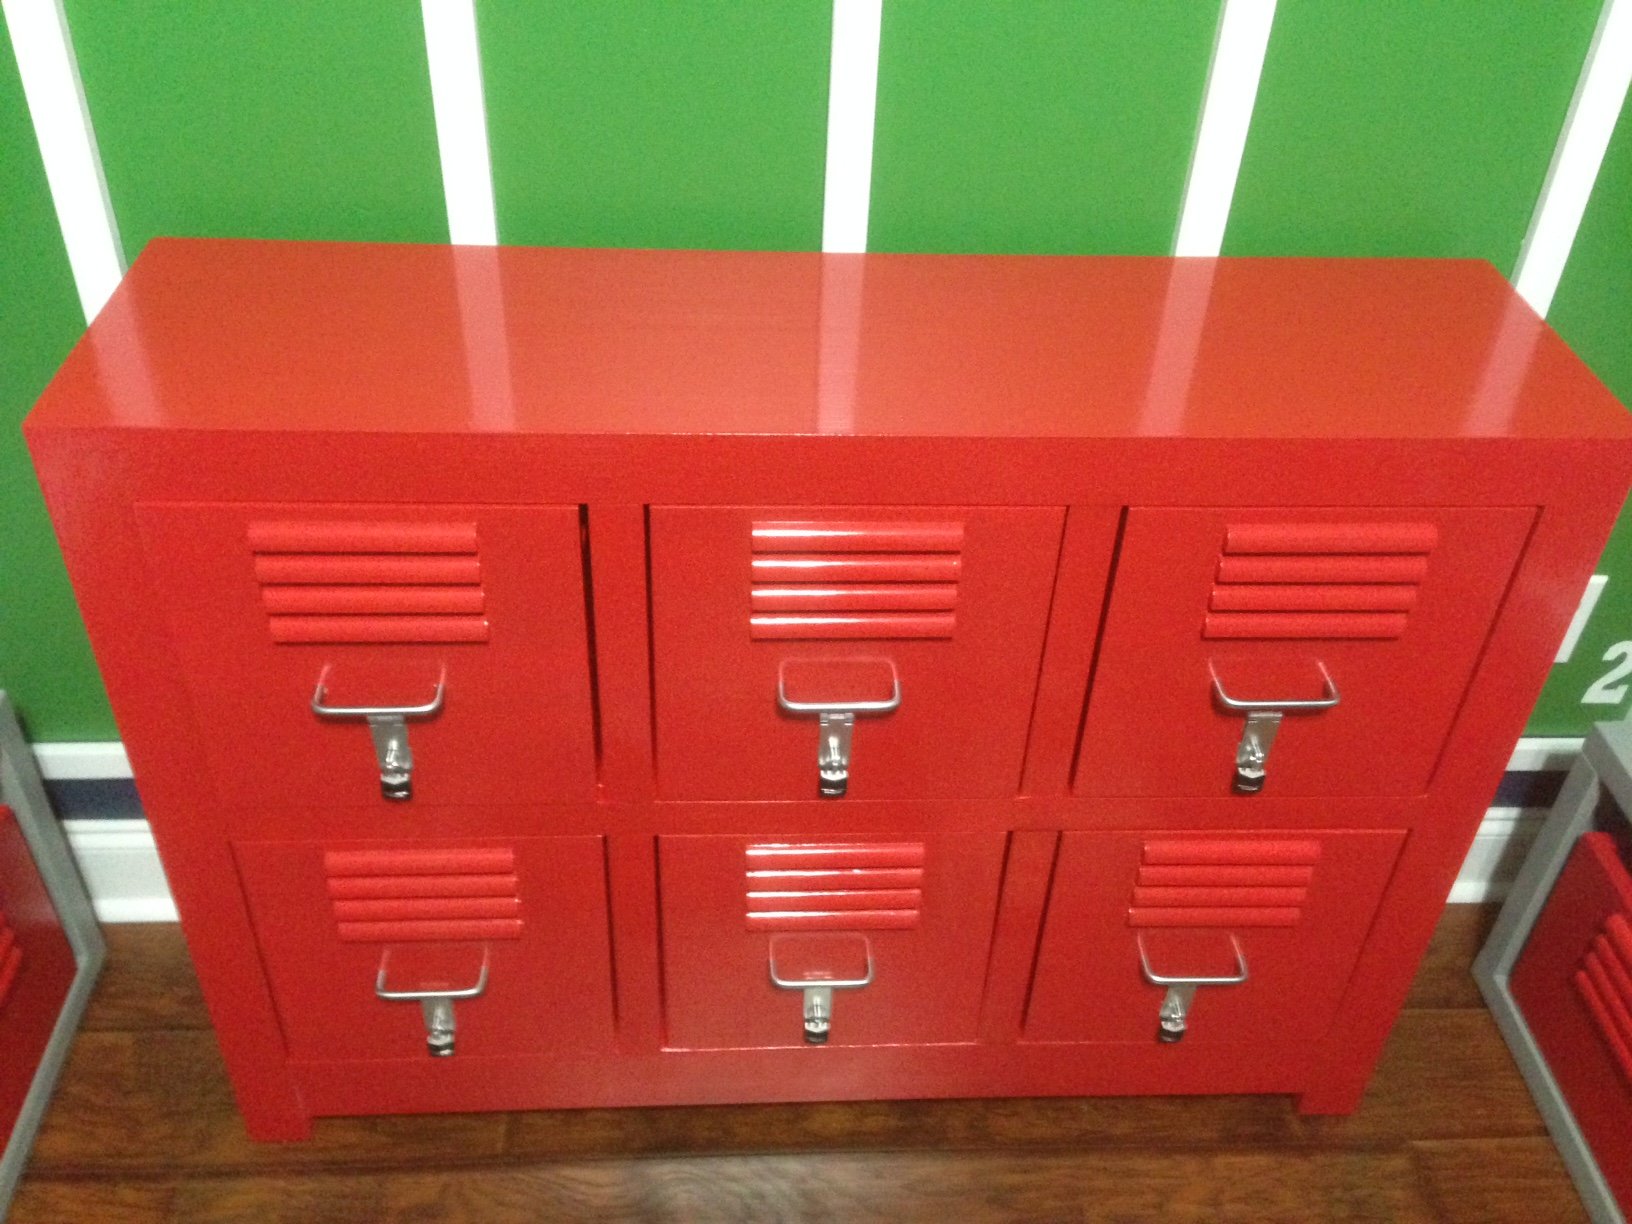
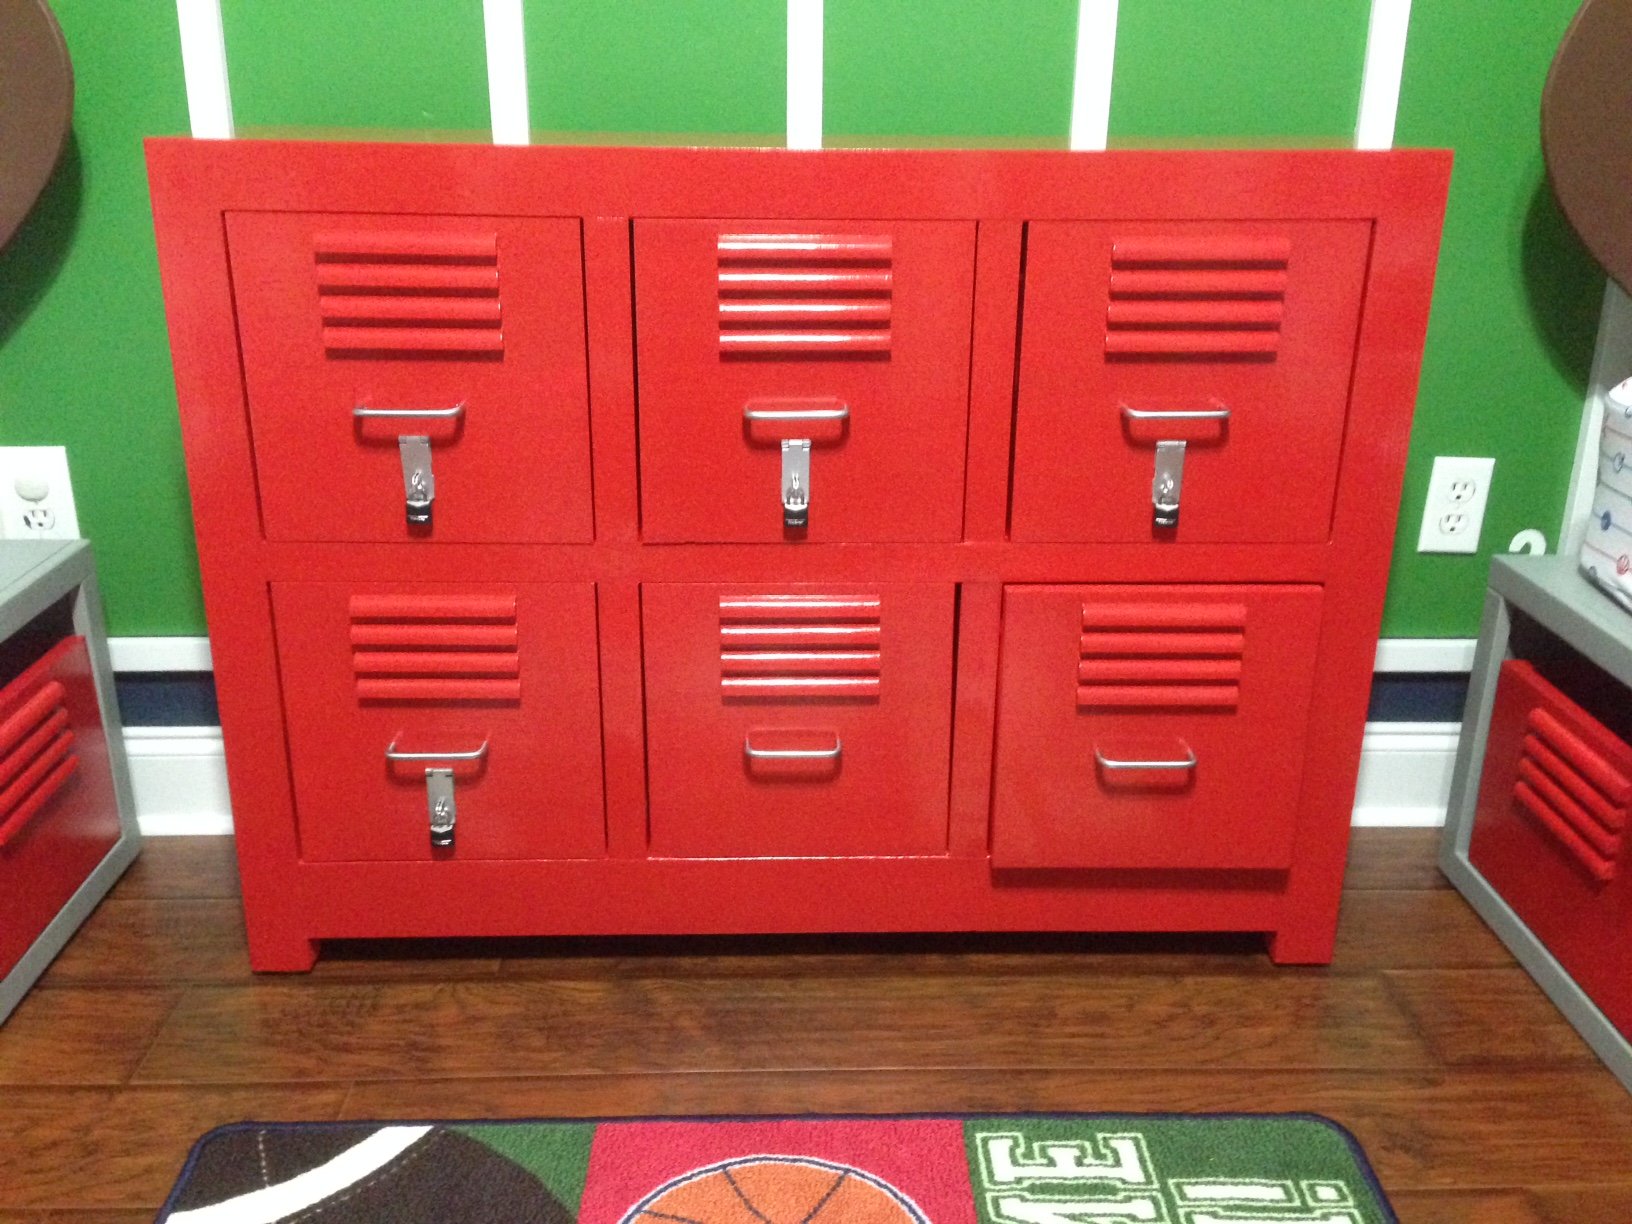
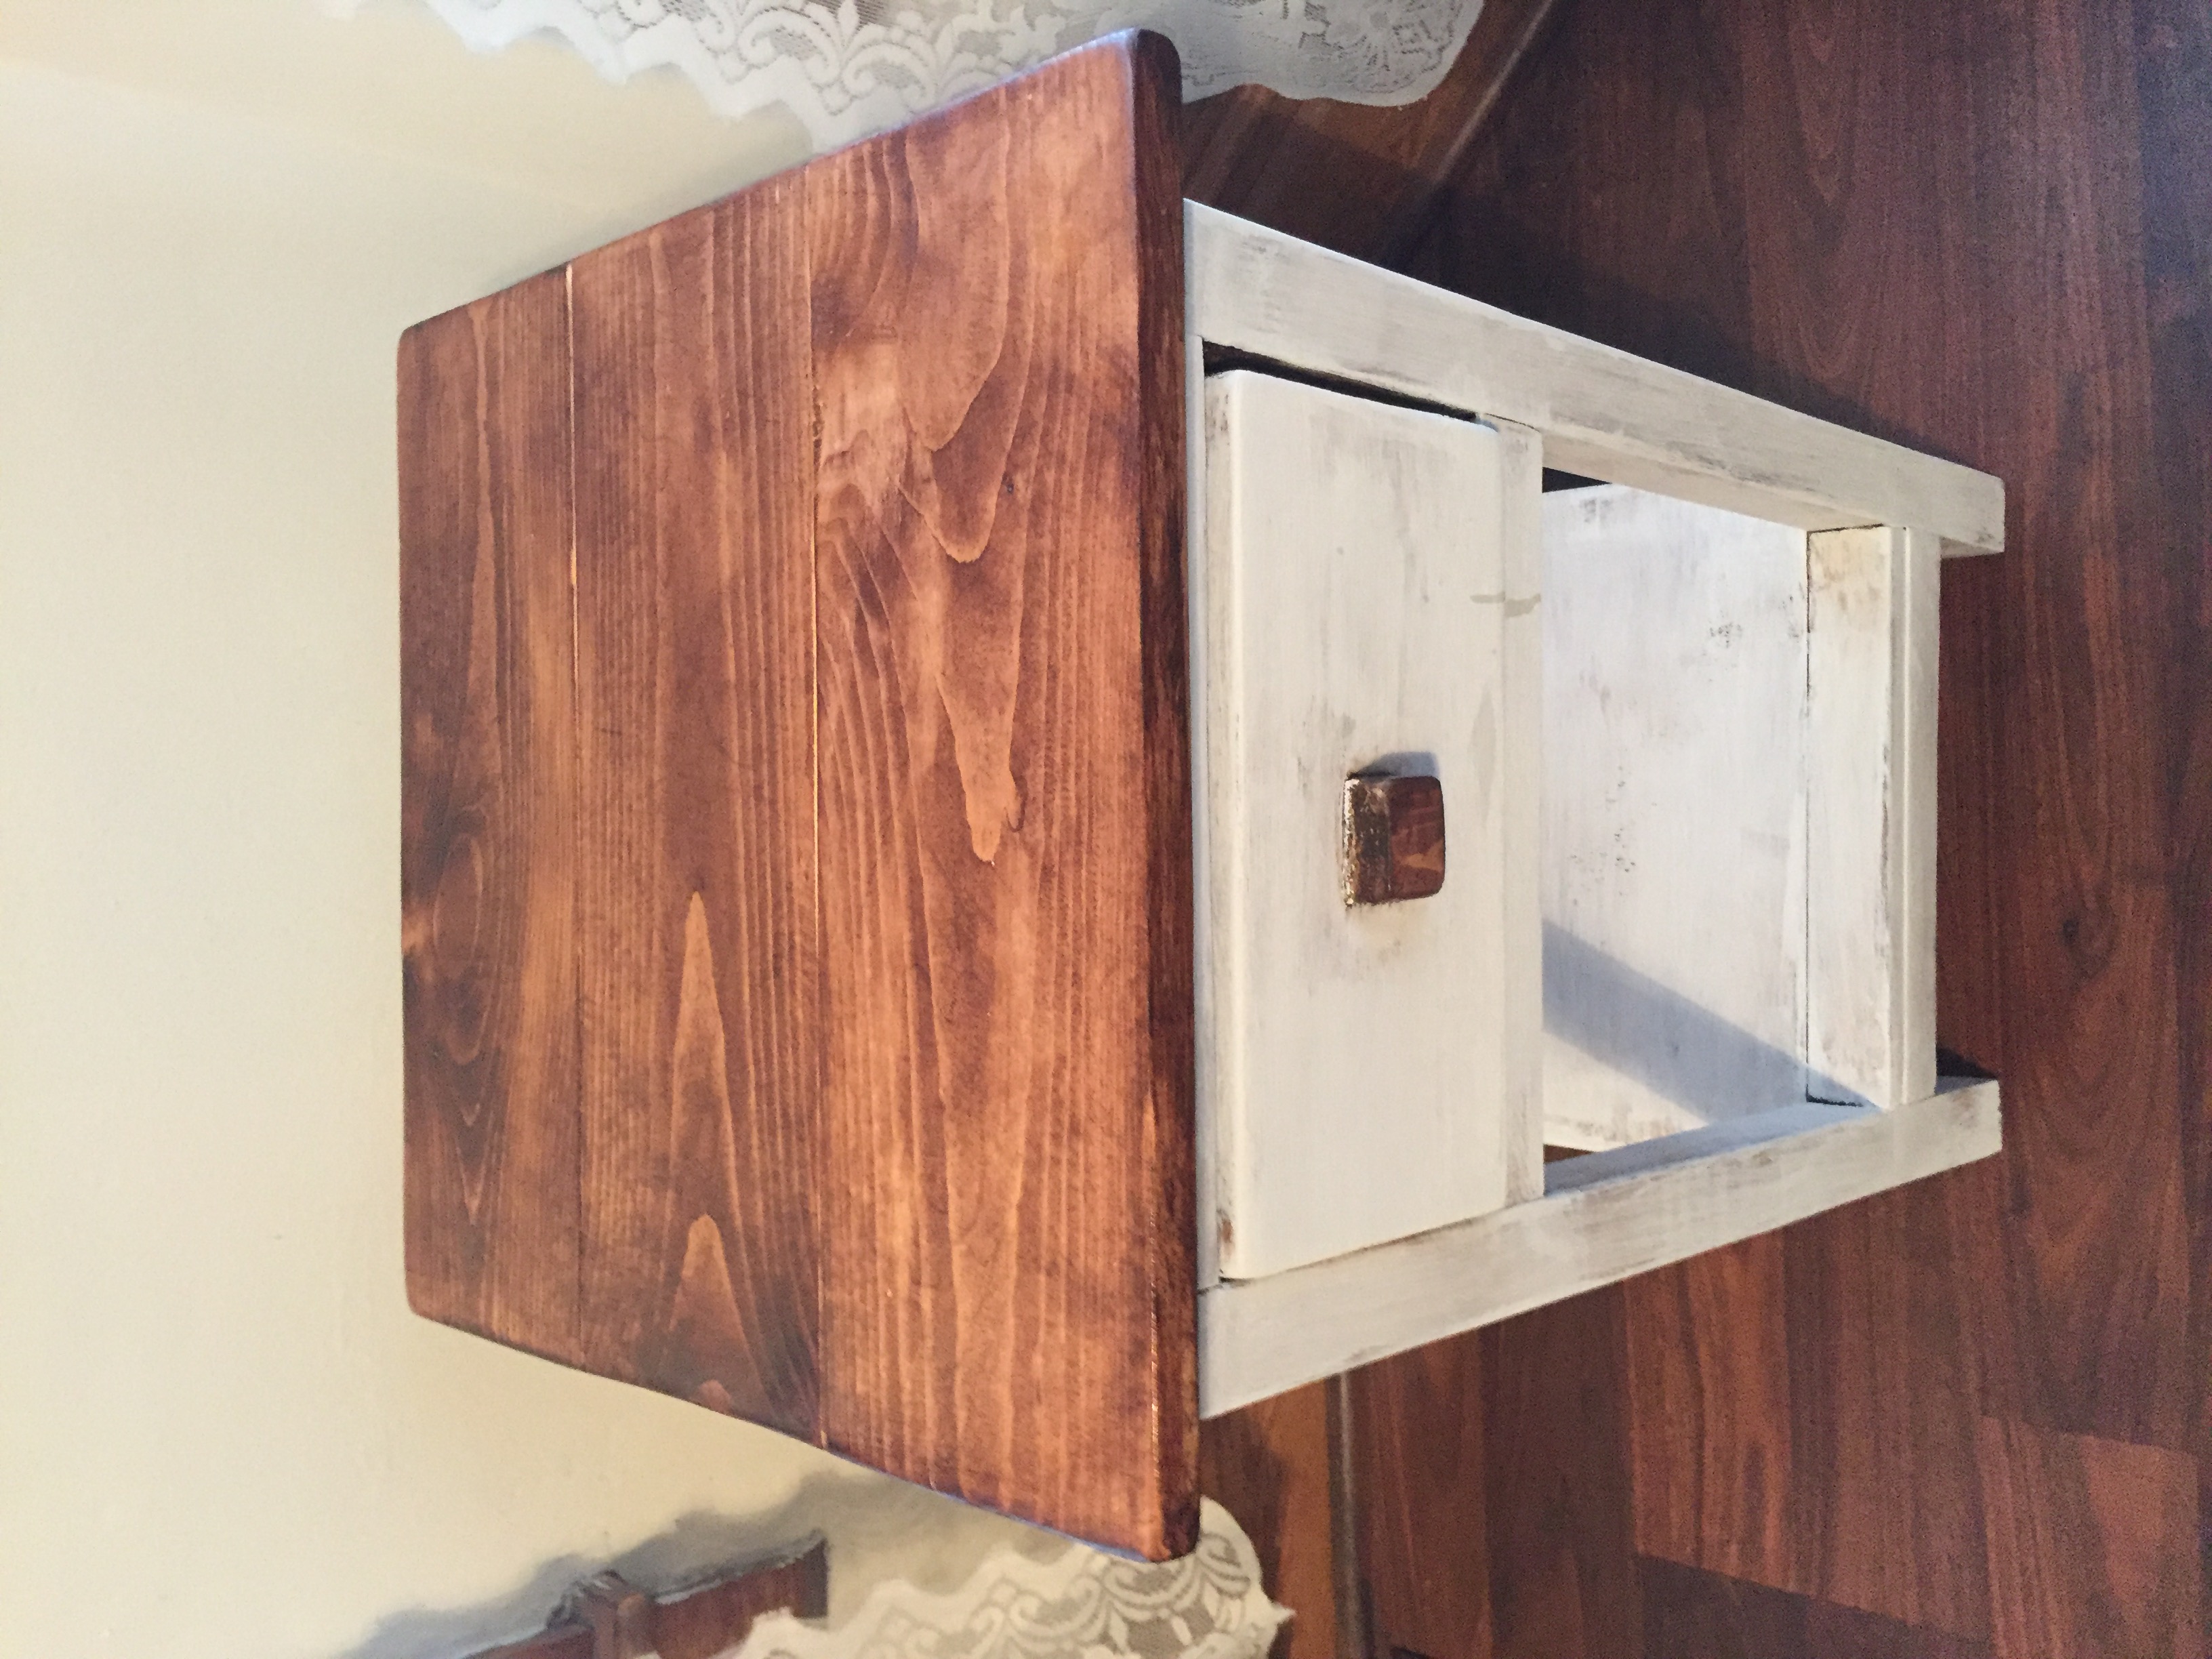
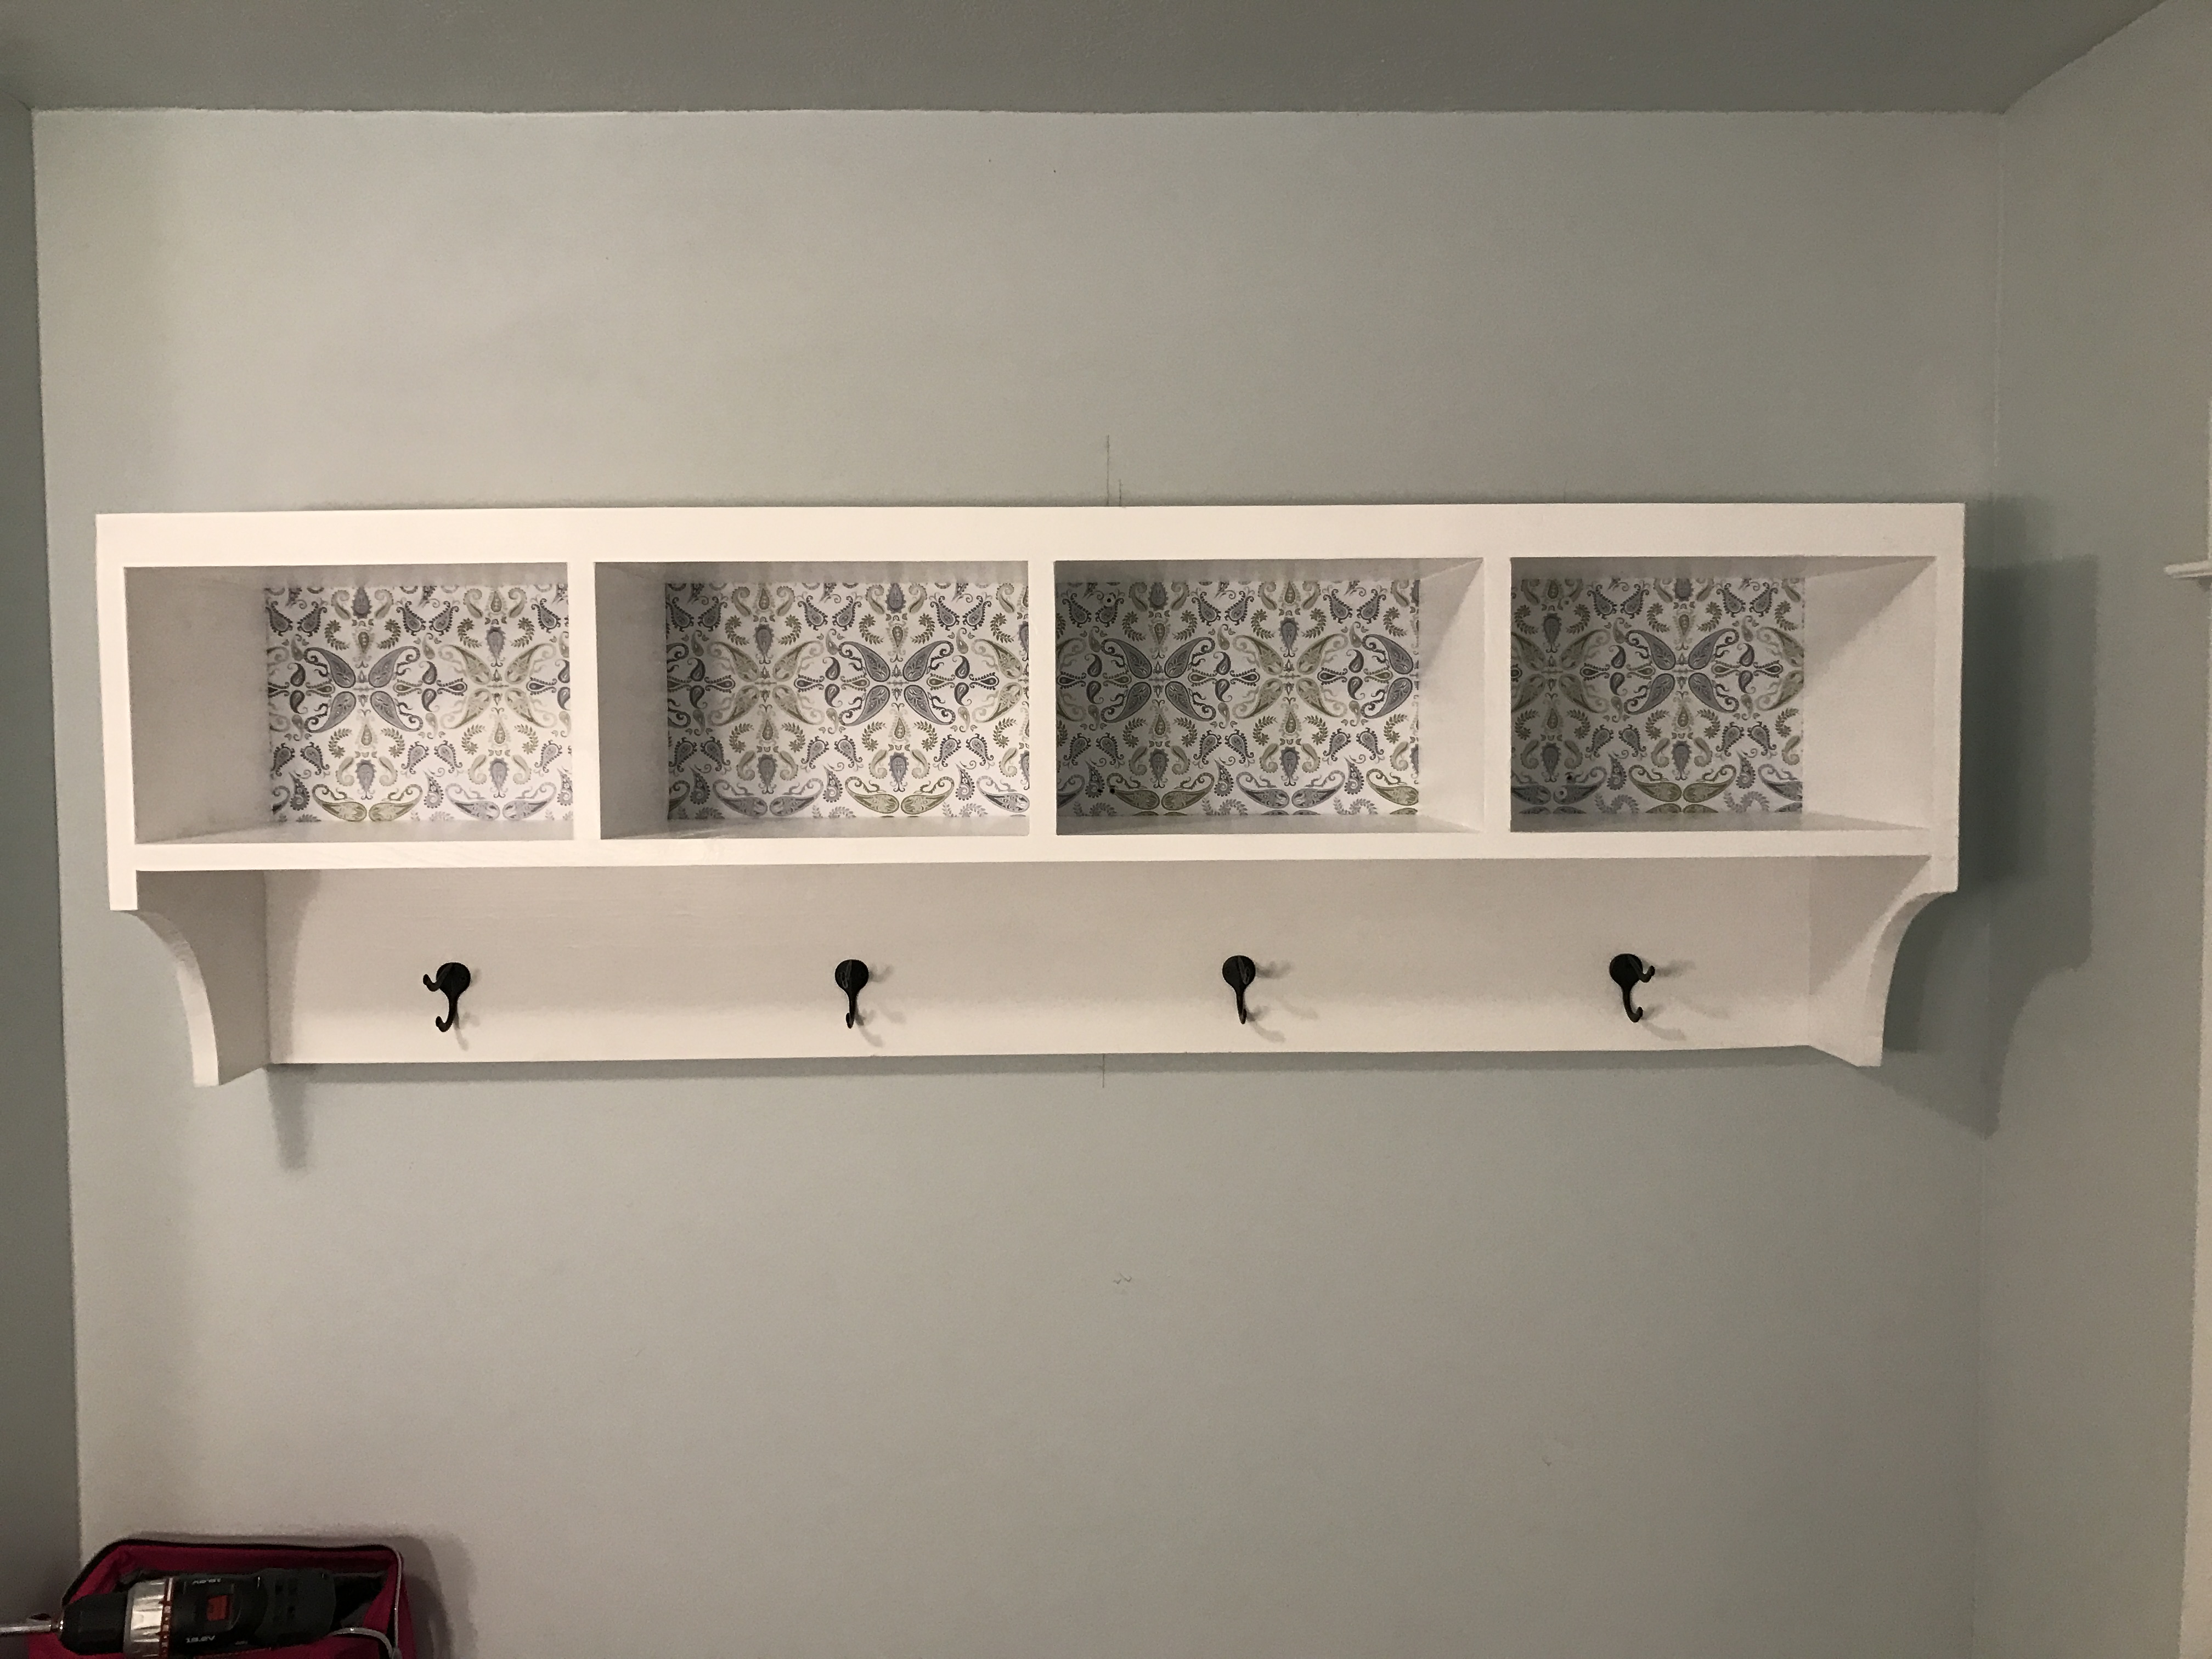
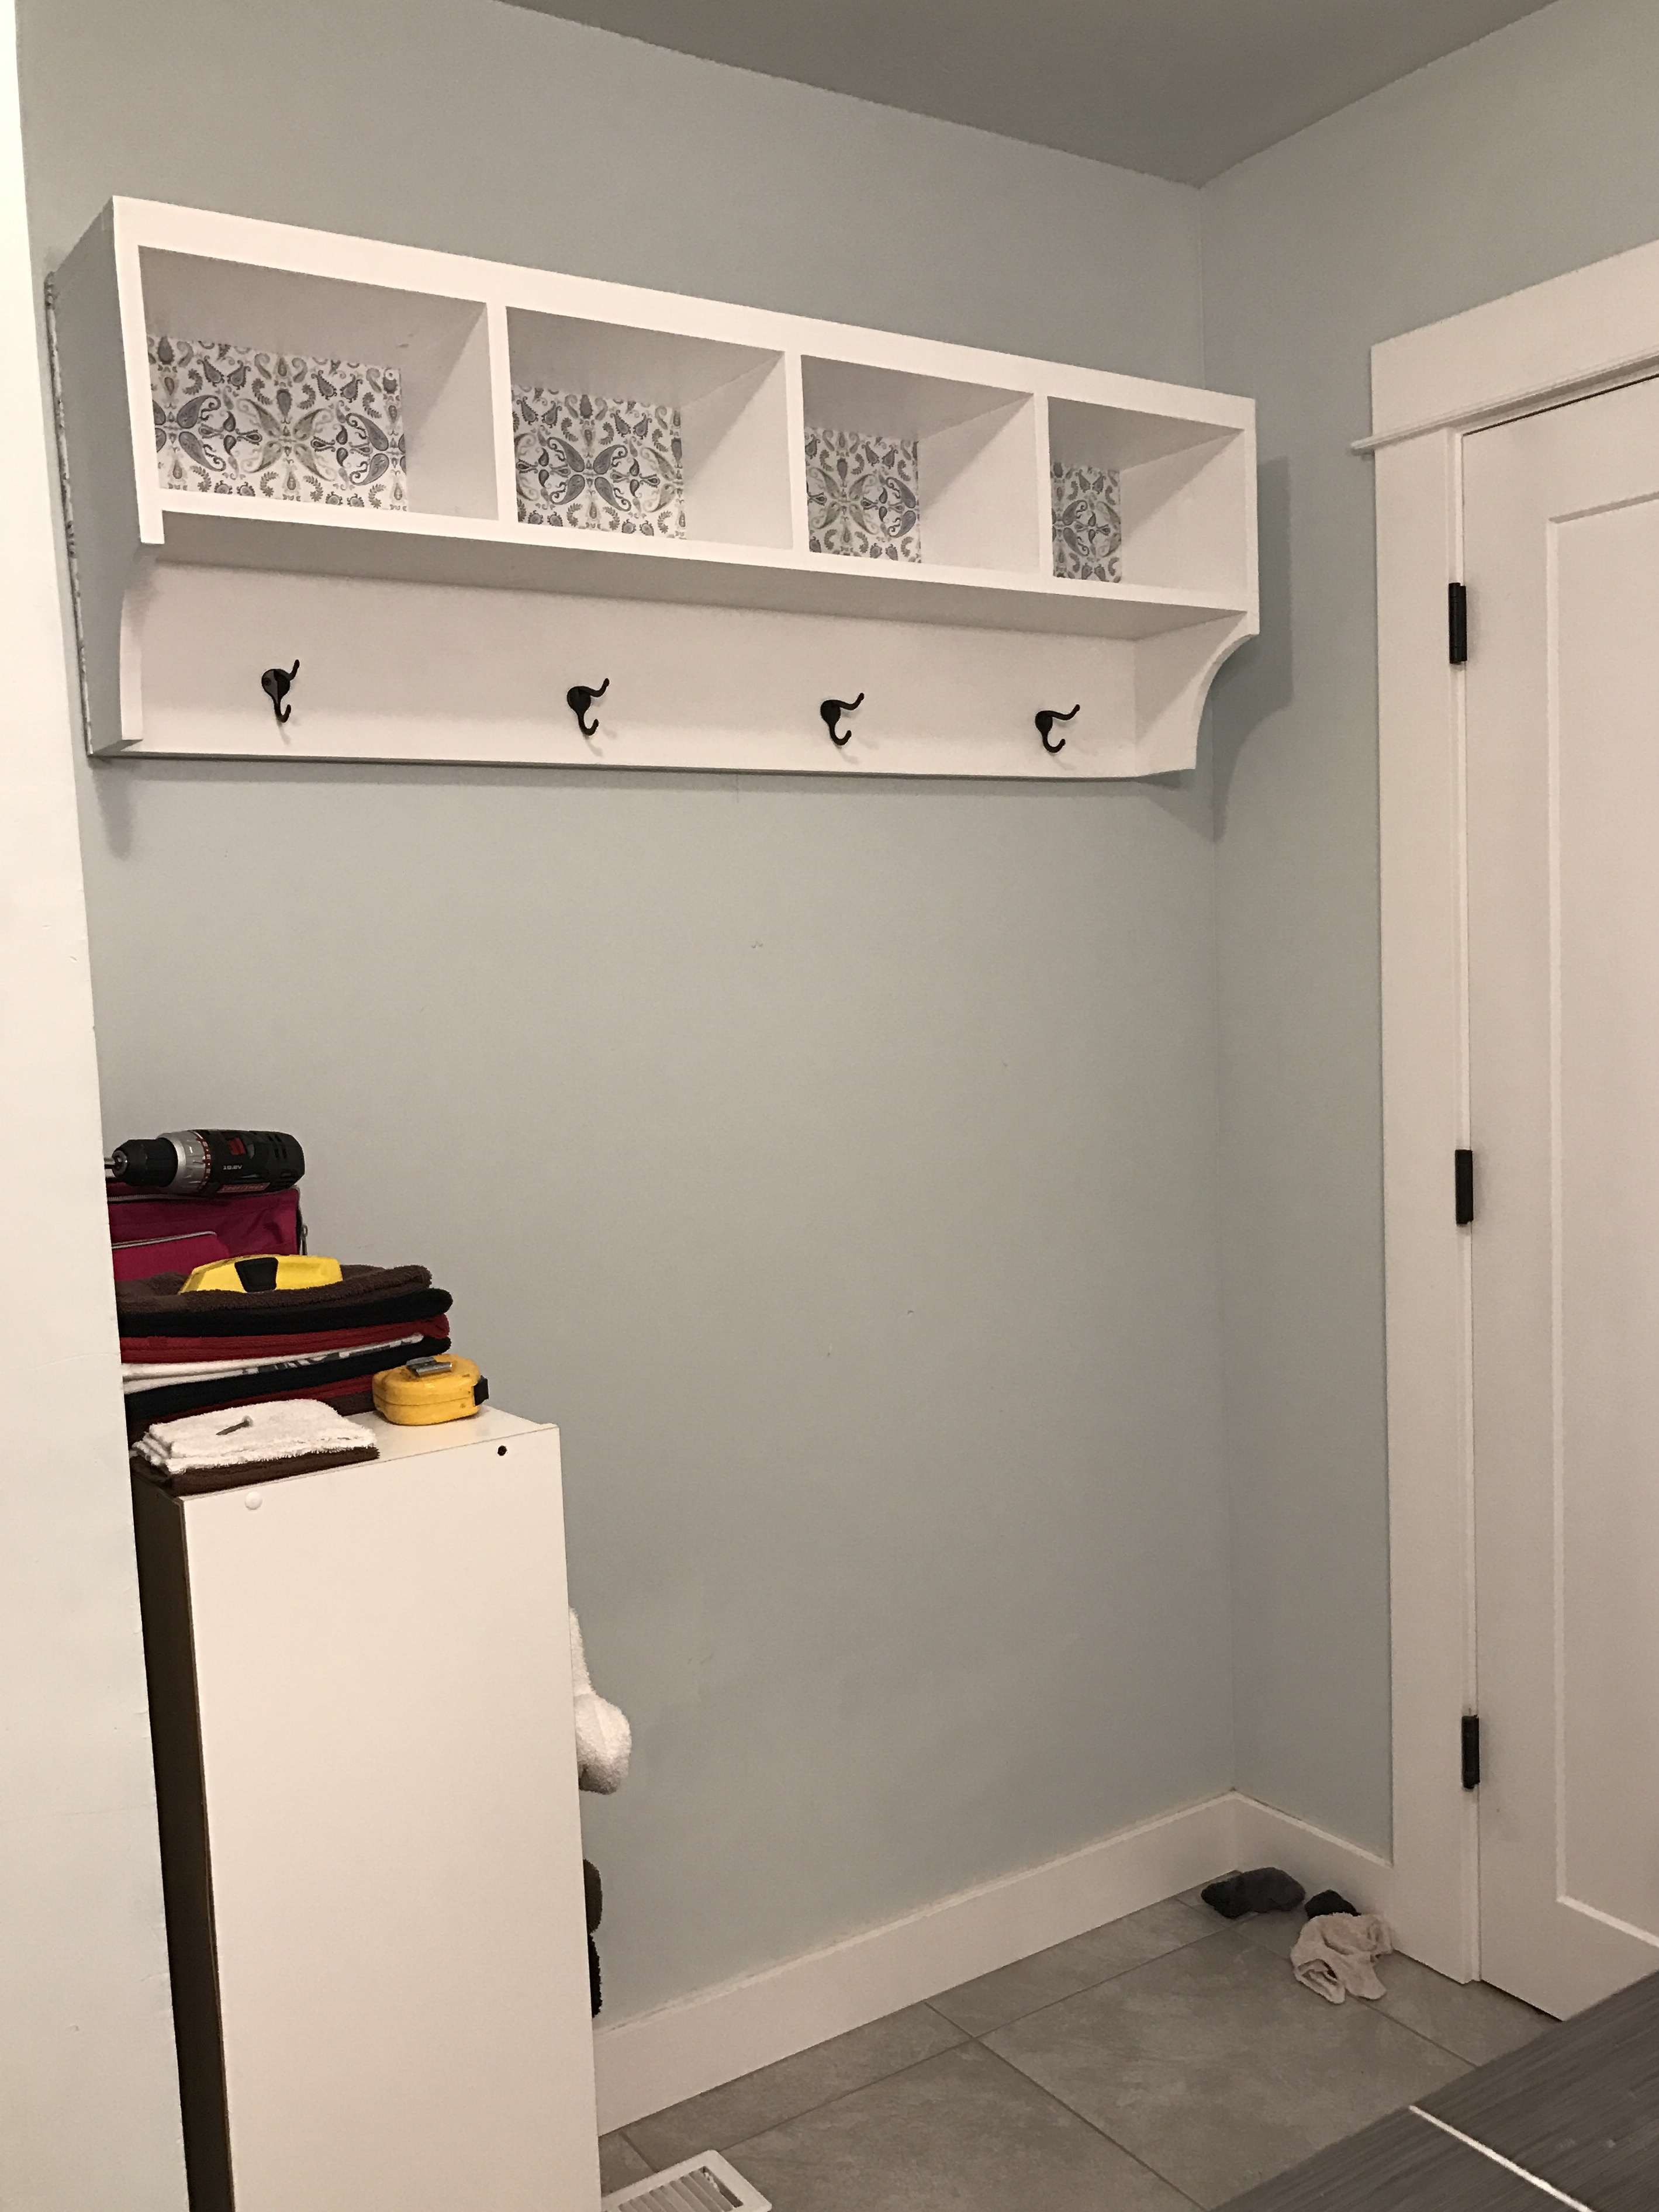
Community Brag Posts

Mudroom Storage

Submitted by TamarasJoy on Thu, 02/02/2017 - 19:13

Full Tutorial of my DIY Mitten Storage HERE!

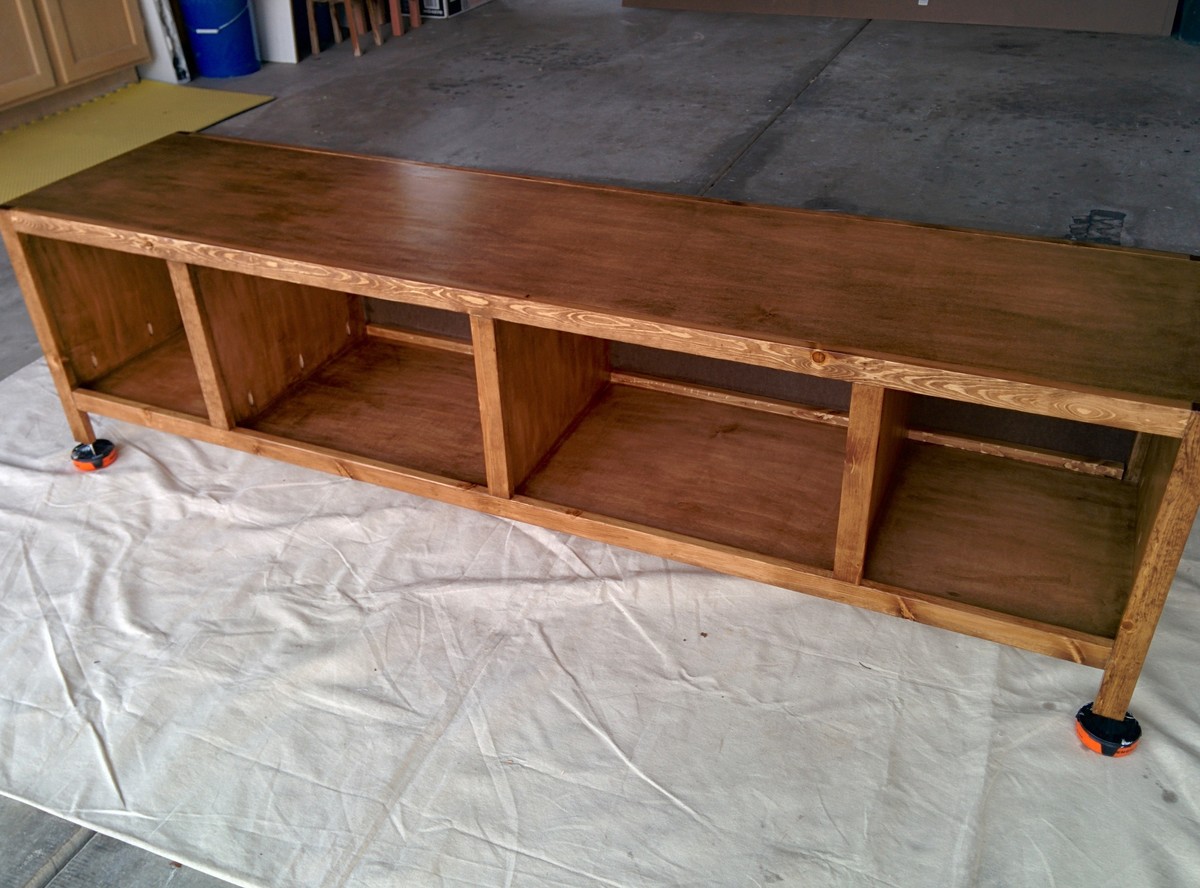
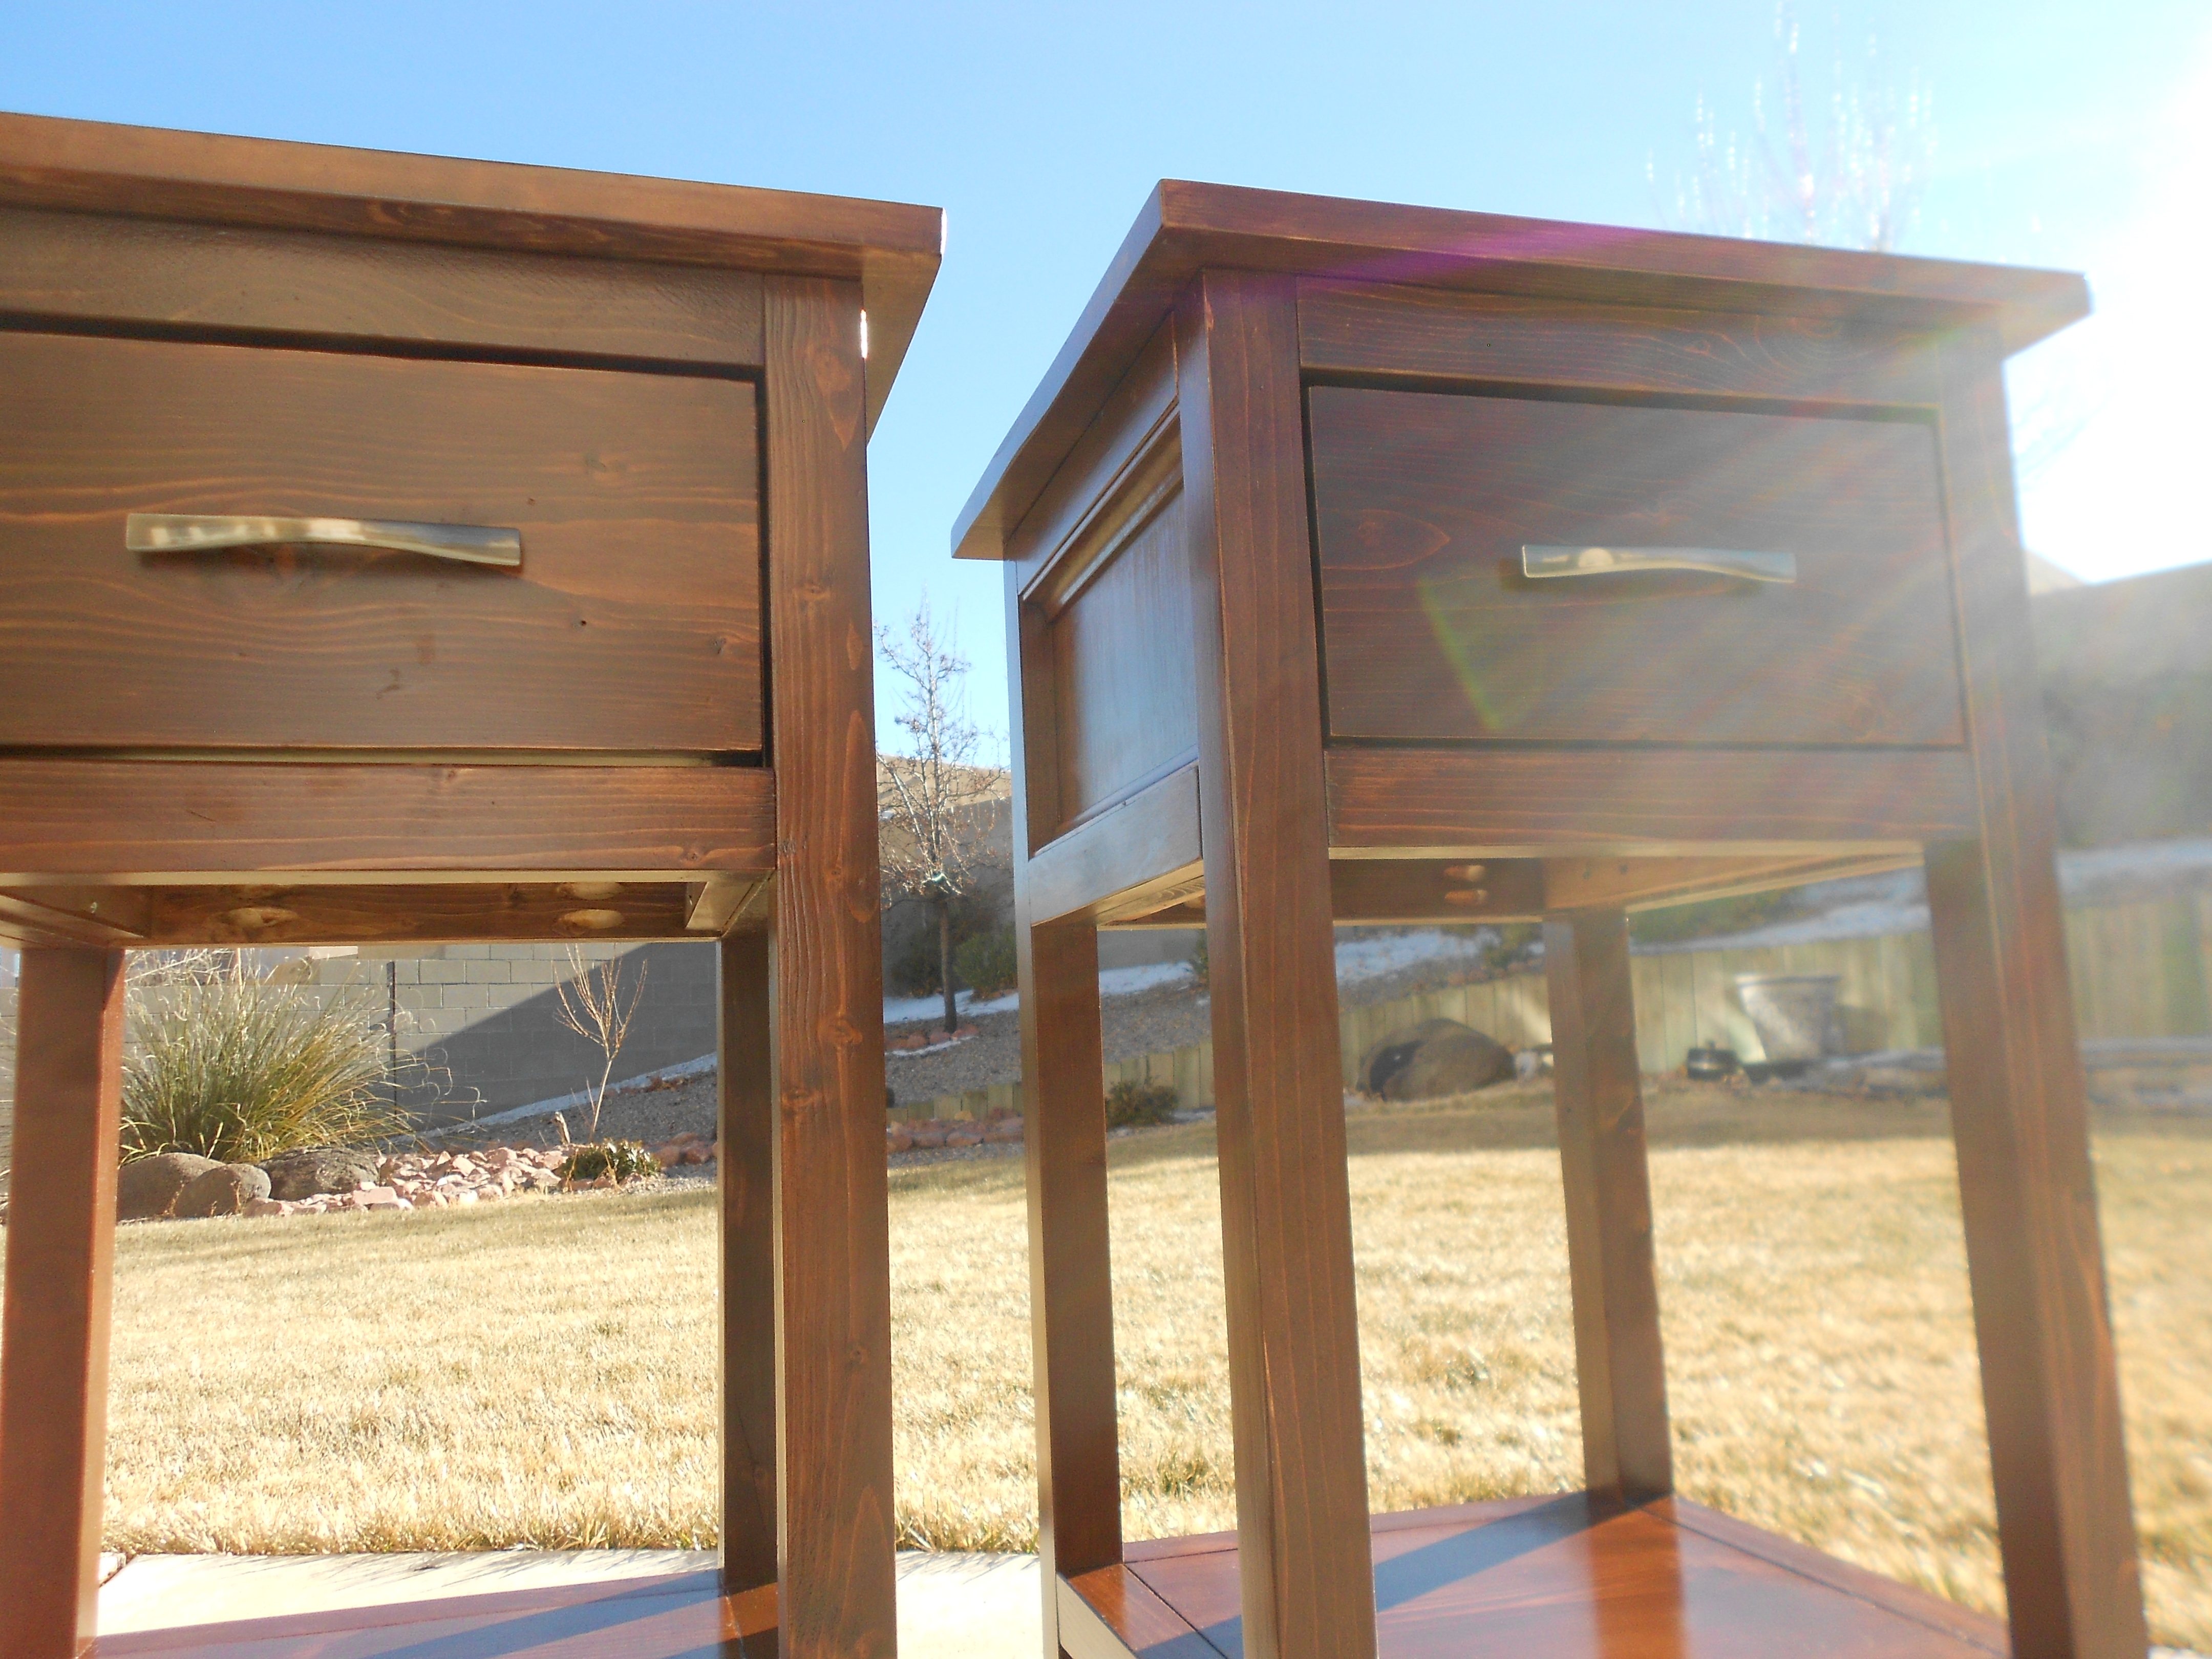
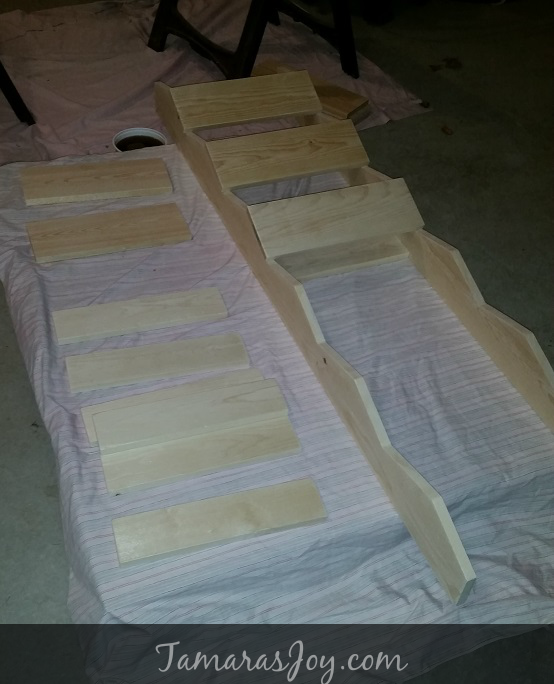
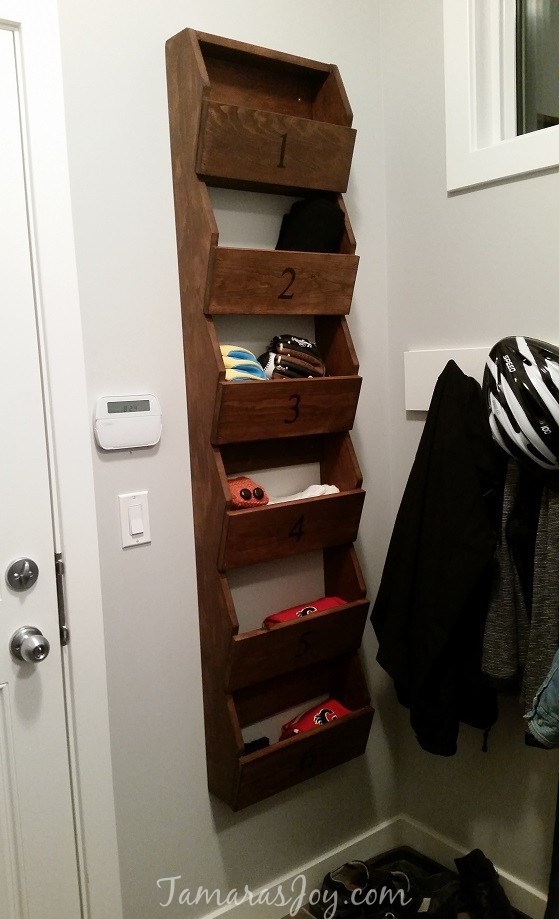
This was the first pic I took of my mitten storage slowly coming together.

EEEEEKK! I can’t wait to have my mudroom organized!!!

Estimated Cost
$20

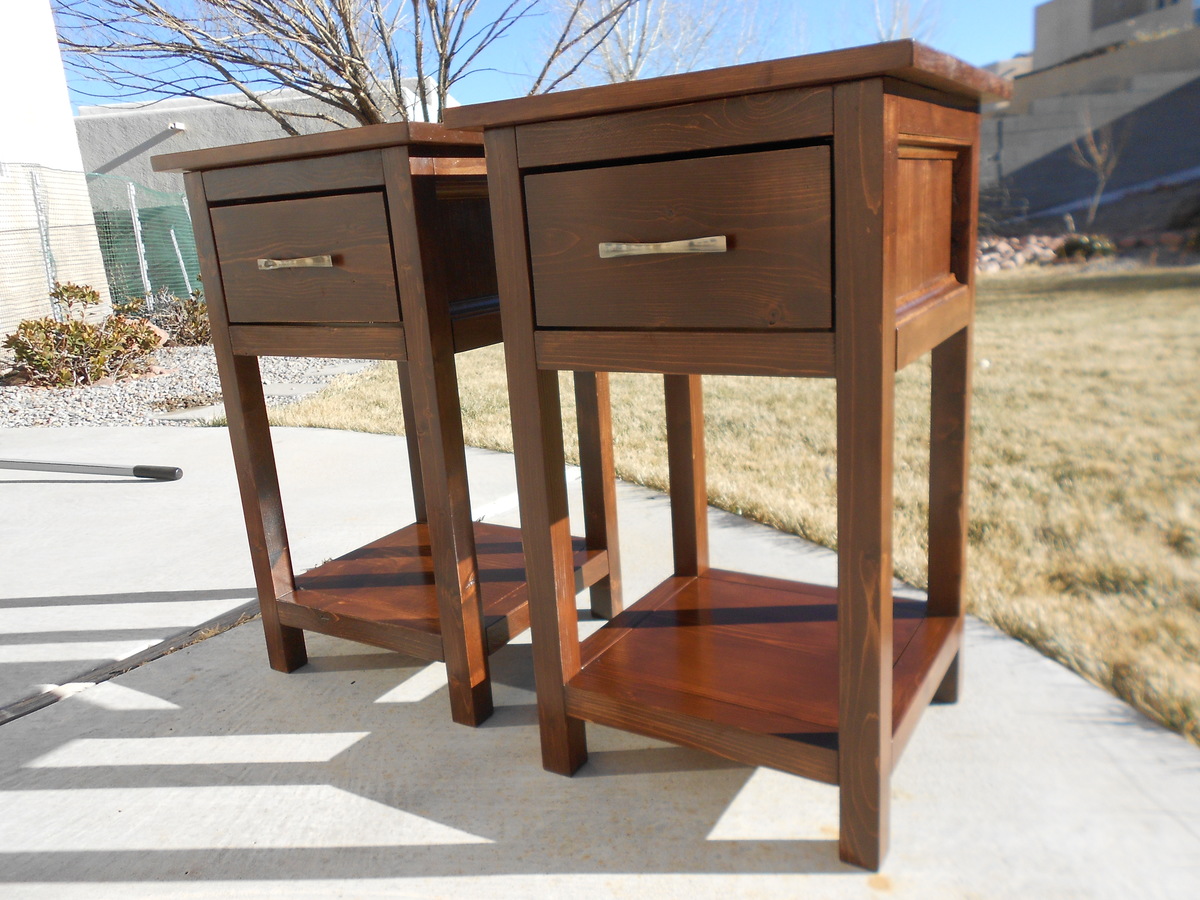
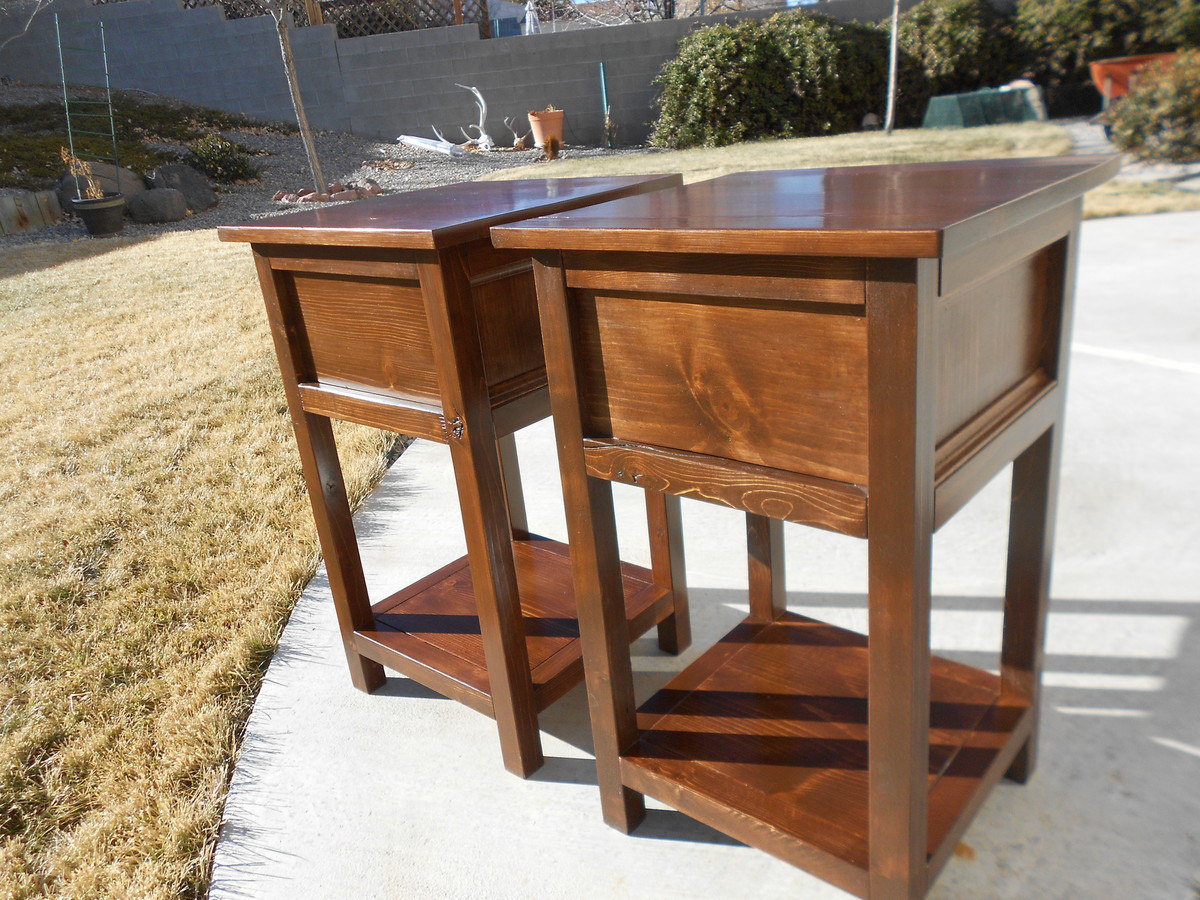
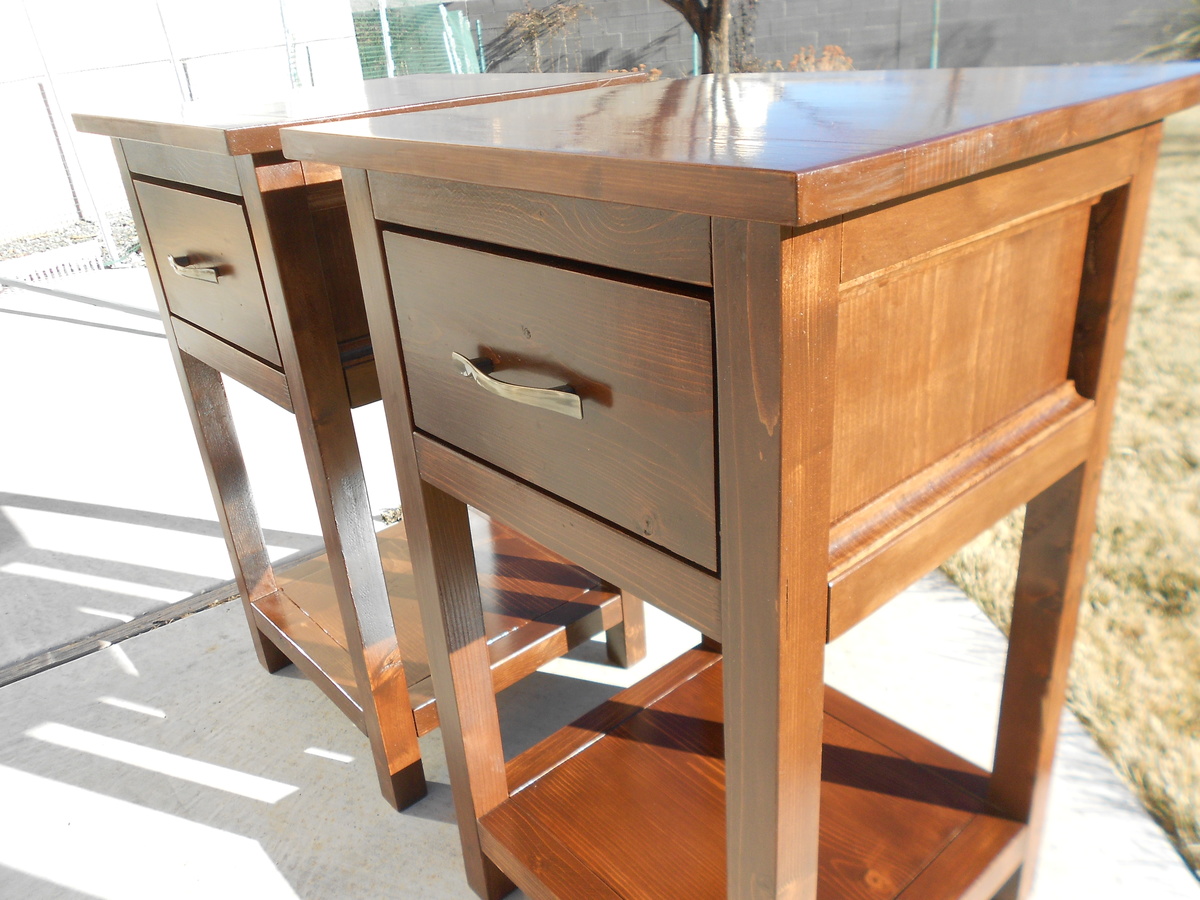
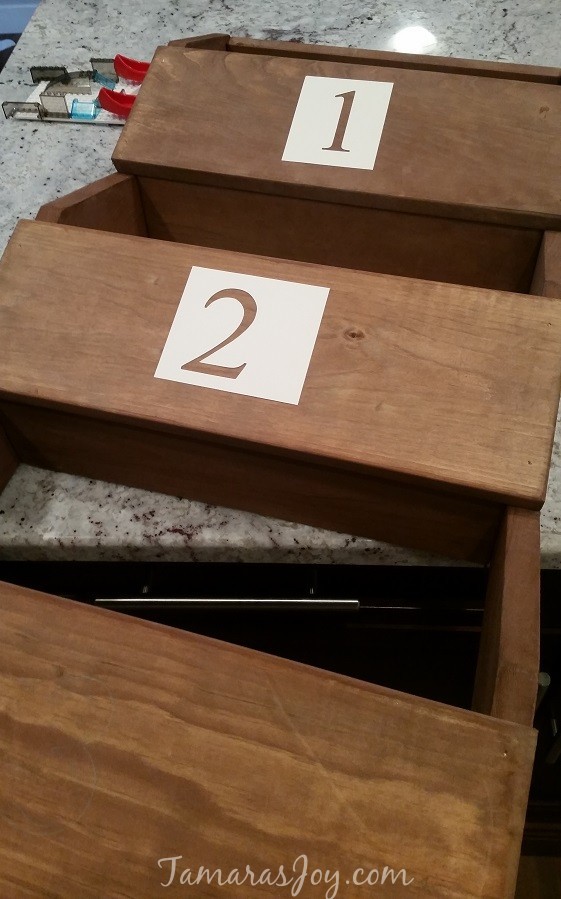
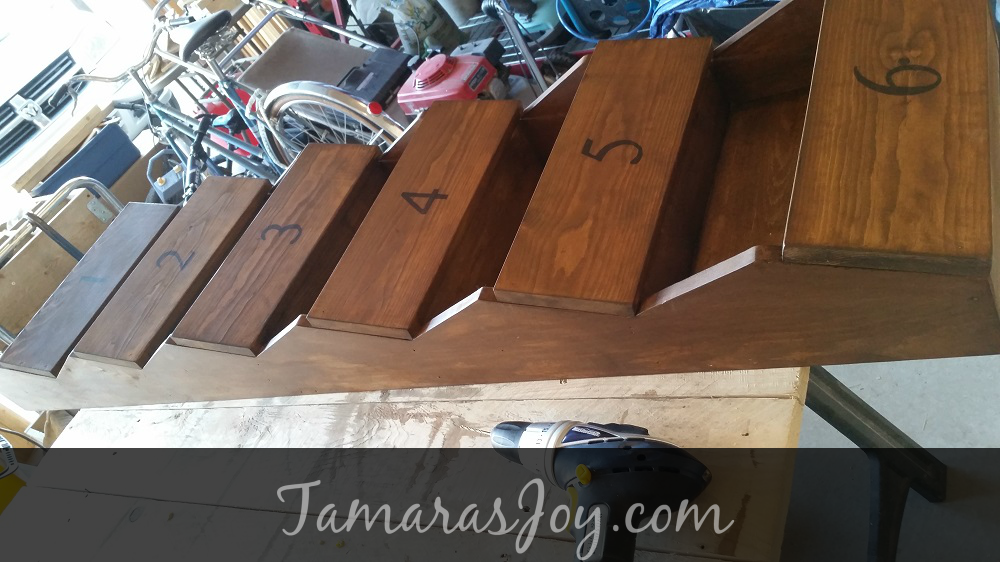
All you need is three boards of pine & some stain.
Estimated Time Investment
Afternoon Project (3-6 Hours)
Finish Used
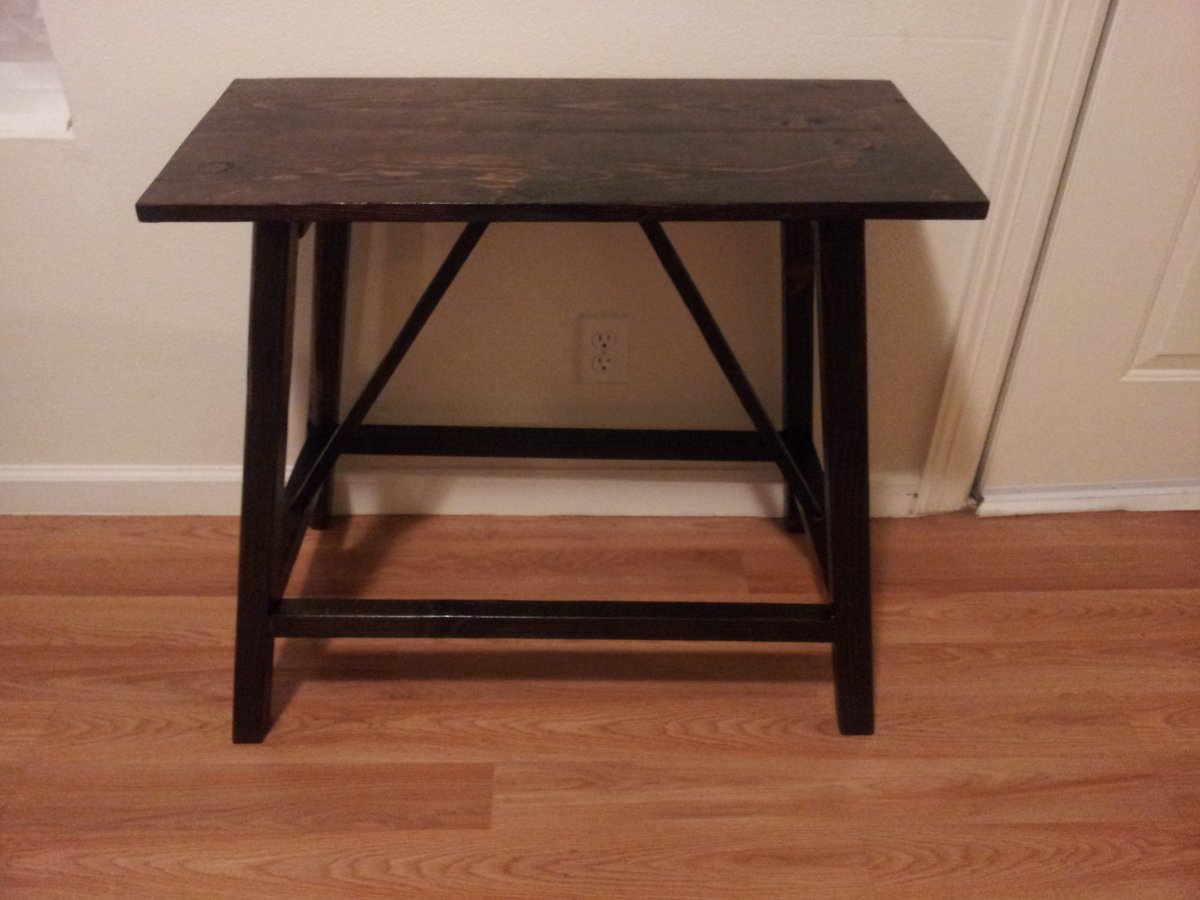
I made a homemade stain from steal wool & vinegar. Didn't like it so then I used a Bri Wax that had some stain in it.
Recommended Skill Level
Starter Project

Caribbean Farmhouse X Desk

A little taste of the Caribbean in Ohio . Inspire on the concept of Farmhouses and been a Caribbean working from home I decided to have both culture mixed together. Is like home away from home for me. I'm a Buckeye fan and not a Michigan, the colors was a coincidence .

Our Mantel Moulding Headboard with a Unique Twist

Submitted by jwwilson24 on Sun, 01/06/2013 - 12:15

The charming Mantel Moulding Headboard with a unique accent feature where the "fire" would normally be. We created a tufted cushion for this open space to create a unique twist.

My wife and I completed this project over 4 days, but still under 20 hours not including wait time for wood filler and paint to dry.

Built from Plan(s)
Estimated Cost
$165
Estimated Time Investment
Weekend Project (10-20 Hours)
Finish Used
After sanding down the wood with a medium grit sandpaper, we brushed on an initial coat of primer. After the primer dried we applied between 2-3 coats of Valspar Radience Paint and Primer (spray paint) Gloss Azure Snow. This awesome color gives you the classic white with hints of grey and blue.

If you go the paint and primer combo you do not necessarily need to brush on the primer first. For a more smooth and glossy look of the wood accents more counts may be needed but please wait until the first coats are mostly dry.
Recommended Skill Level
Beginner

Comments

Window Seat & Storage Bench

Submitted by CSaintD on Tue, 10/28/2014 - 13:50

I used the Hailey Storage Bed (twin) as my inspiration for this window seat.  Built just one of the benches fitted to match the exact width of my window.   I also added trim to the cubbies to make it look more finished.   I bought the foam from Home Depot and covered it with a table cloth I loved but never really used on my table.  I had the baskets and boxes laying around and they give it a nice touch.  I was going to put doors in the center when I started, but liked the look of the open storage, so just trimmed out the cubbies.  

This is my fourth build from Ana's plans and I'm so pleased with how it came out.

A note on finishing - to me the hardest part of any project!  I stained it with minwax Early American and used 2 coats of Spar Varnish over that.   I was very nervous after I put the first coat of stain on as it wasn't the color I thought it would turn out to be.  I toyed with the idea of adding another color over the top, but decided just to leave it overnight and relook at it in the morning.  I'm so glad I did.  It had mellowed significantly overnight and was just the right color.  I added a second coat to try and cover up any of the streakiness, then added the spar varnish (satin finish) and it made it gleam.  

 smiley

Built from Plan(s)
Estimated Cost
Maple Plywood $50
1x2's, stain, etc about $10
Foam from HD $25
Total = $85
Estimated Time Investment
Week Long Project (20 Hours or More)
Finish Used
minwax Early American (2 coats) and Spar Varnish (satin, 2 coats)
Recommended Skill Level
Beginner

Comments

Board game cabinet / charging station

Submitted by Anonymous (not verified) on Mon, 02/06/2017 - 11:44

After Xmas I decided we needed a better place to keep our growing collection of board games. I made mine a bit deeper to fit our longer board games. Also, put a 3rd door on it. We also needed a central place to charge our phones and tablets. Paired with the top of the bedside charging table this cabinet is the perfect solution. Thank you!

Estimated Time Investment
Week Long Project (20 Hours or More)
Finish Used
Valspar Satin Paint
Recommended Skill Level
Intermediate

Truss End Table

Submitted by Liz325 on Mon, 01/07/2013 - 22:16

Reclaimed wood Truss end table. Modified legs and top with what I could find. Picture doesn't show the angles well but I think this is one of my favorite projects. My first time using angles but it was a great project to learn on. So simple but looks great. It's a little big for an end table so I usually use it as an entryway table.

Built from Plan(s)
Estimated Cost
$5
Estimated Time Investment
Weekend Project (10-20 Hours)
Finish Used
Miniwax Jacobean and 2 coats poly
Recommended Skill Level
Beginner

Full Size Farmhouse Canopy Bed With Storage

Submitted by Chantal V. on Sun, 11/02/2014 - 00:04

Believe it or not, this is my very first furniture project.  Inspired by my 8 yrs old son special needs to be able to draw his curtains close whenever he felt the need, I happily took on the challenge to build this for his pirate themed bedroom.  I have not filled the holes yet nor have I stained it in the walnut finish we have chosen.  The weather is just too cold for my taste (will wait until spring).  Currently, I will work on hemming the curtains.  I am just so proud that I could not wait until next year to share it with you all. I carefully changed the dimensions to a full size bed, changed the storage shelves sizes to accommodate 8 cube bins and 2 book shelves, added the canopy and some multi-coloured adjustable LED lights. Feeling so proud and have one really thrilled little boy!  Thanks Ana!!!


Estimated Cost
Roughly $500 but have lots of extra wood for a side table perhaps.
Estimated Time Investment
Weekend Project (10-20 Hours)
Finish Used
None as of yet.
Recommended Skill Level
Intermediate

Comments

JoanneS

Mon, 11/03/2014 - 14:21

Great build!  Love the added curtains.  Congratulations on an awesome first furniture build!

Chantal V.

Mon, 11/03/2014 - 20:00

Thank you very much!  I had so much fun building it.  Besides, there is nothing more gratifying than getting a great big hug from my son with a heartfelt thank you.  Priceless!

Now my other two children have me planning their beds. :)  Mixing things up a bit using two totally different type of plans.  Can't wait to see the results.

Sweet Pea Bunk Bed

Submitted by Anonymous (not verified) on Thu, 02/09/2017 - 11:46

Sweet Pea bunk bed! I ended up making the lower half a playhouse since we had a play kitchen that fit perfectly inside.

Estimated Cost
350.00
Estimated Time Investment
Week Long Project (20 Hours or More)
Finish Used
Acrylic primer and semigloss paint
Recommended Skill Level
Intermediate

Comments

Rustic corner desk

Submitted by pmgb614 on Thu, 11/05/2020 - 06:18

I bought the plan for this desk. Took me a day to put together and I think it came out decently. This is my second project from Anna's website. Very fun. The first went pretty well too...with some hiccups. Gaining more confidence every time I do something myself!

Estimated Cost
$170
Estimated Time Investment
Day Project (6-9 Hours)
Finish Used
I used Varathane aging accelerator
Recommended Skill Level
Beginner

Comments

Tufted Upholstered Benches

Submitted by efmolly on Wed, 01/09/2013 - 10:13

I built 2 of these benches using different sets of reclaimed legs, but the process of building them was the same. I used my Kreg jig to join all the pieces. I basically built a coffee table base, using 1x4's for the aprons. I added a 1x4 stretcher bar between the front and back to give added support and diagonal blocks in the corners to keep it square. I added some strips of shoe molding the the bottom of the aprons using glue and 3/4 in finish nails. I then flipped the base onto a piece of 1/2 in OSB and traced the shape for the seat. Using a circular saw, I cut out the seat.

I pre-drilled holes for my tufting and then attached my foam. Using batting and upholstry fabric and staples, I covered the foam. For the tufting, I used a 7i n needle, covered buttons, and upholstery thread. Once I feed my needle through the pre-drilled holes, I pulled the thread very tightly, and secured the the back of the OSB, in a zig-zag pattern, using staples. I pocket holed my aprons and attached the seat.

I feature other projects like this on my blog http://pneumaticaddict.blogspot.com .

Estimated Time Investment
Day Project (6-9 Hours)
Finish Used
I used creamy white and black latex paint, sealed with 2 coats of Polyacrylic in Satin.
Recommended Skill Level
Intermediate

Comments

efmolly

Fri, 01/11/2013 - 20:52

Thank you Pam. The legs I pull off of tables I find on craigslist. I usually don't pay more than $10 or $15 for the set. WAY cheaper than buying new!

Modified Dumpster Dresser

Submitted by DIY JEFF on Tue, 11/04/2014 - 12:44

modified this plan to fit space in room used 1x12 for top and sides, 2x2's for most of the frame, 2x4 at the bottom of frame.

Built from Plan(s)
Estimated Cost
about 200.00 including all lumber, paint, the locks and the clasp for the locks
Estimated Time Investment
Weekend Project (10-20 Hours)
Finish Used
Bear gloss trim paint. custom matched color
Recommended Skill Level
Intermediate

Comments

Dvedcft

Thu, 11/06/2014 - 07:35

I love the way that you used your own personal touch.

It shows with a little imagination and work you can a great idea into something more personal, and adjust it to fit a certian area.

Great Job

Vickie B

DIY JEFF

Thu, 11/06/2014 - 10:32

Thank you for submitting such a cool plan, I have been trying to come up with a storage idea to go along with my sons themed room and then I saw this plan and thought perfect if I can modifiy it a bit, it should work just fine.  Thanks to you and Ana both.

srodge1

Tue, 11/23/2021 - 13:10

I LOVE this ... what great creativity!! What is the hardware that you used? It looks like where you would lock it, but I can't tell. TIA

Rope Puzzle

Submitted by mtairymd on Sat, 02/11/2017 - 13:50

This is a fun and easy little project to make. I made the main pieces with scrap wood and an old piece of rope. I purchased the wood beads from a craft store but these could have been made from scrap wood blocks as well. The solution is not intuitive so it might be a challenge for your friends and family. See video for solution.

https://youtu.be/GjAaKq9jkXU

Build Instructions: https://www.instructables.com/id/Rope-Puzzle/

Estimated Time Investment
An Hour or Two (0-2 Hours)
Finish Used
None
Recommended Skill Level
Starter Project

Toy box

Submitted by erin_0905 on Fri, 01/11/2013 - 08:42

I changed a few things in the plans. First of all, I used pre-cut pine project boards I got from Lowes. I had to cut them length down of course, but the width was 16". Therefore, the cut list did change. I also just installed the baseboard as one would normally. I didn't want to do the cut-out and have it supporting the structure. We also mitered the baseboards and the cove molding. It didn't say in the plans how to attach the moldings, so we used 3/4" brads on the cove molding and at the top of the baseboard. We also used the 1 1/4" brads at the bottom of the baseboards. Other than that, we followed the plans and it turned out great! I used the Minwax Express Color in Indigo...and I love it. I managed to use just 1 tube on the entire piece (minus the bottom)...I had to do some minor surgery to the tube to get more out....but nonetheless, I did it! I also put some felt pads on the bottom so the floors wouldn't get scratched...which is why it sits off the floor a little bit.

We chose to use the solid pine project boards to make sure it lasts for as long as we keep it around. We didn't use any plywood on the project at all. It is 100% solid wood.

Built from Plan(s)
Estimated Cost
$75
Estimated Time Investment
Afternoon Project (3-6 Hours)
Recommended Skill Level
Starter Project

Farm style nightstand

Built in an afternoon for a friend 

Estimated Cost
$30
Estimated Time Investment
Afternoon Project (3-6 Hours)
Recommended Skill Level
Beginner

Customized TV table

Submitted by dtmak on Wed, 11/11/2020 - 19:23

I started with the Farmhouse Bedside Table stand to get the general dimensions and materials list. I adjusted the plan to get the height I wanted for a TV stand and left out the drawer where I could place the cable box or other AV equipment. It worked out really well. I used a router on the top to approximate the other furniture in the room. I finished it off with some adjustable height screw in feet for carpeting.

I added a lazy susan TV stand to allow the TV to adjust to different viewing angles.

Cutting and assembly was only a weekend's work. The painting and finish - to make it suitable for indoor furniture - required more time with multiple coats of paint, sanding, and polyurethane.

Thank you for sharing your plan!

Estimated Cost
$100
Estimated Time Investment
Week Long Project (20 Hours or More)
Finish Used
Rustoleum 2X spray paint and water-based polyurethane semi-gloss finish.
Recommended Skill Level
Beginner

Coffee Sack Lampshade

Several years ago I found a lamp in the Restoration Hardware trash in the parking lot of the shopping mall. It was in great shape. The price tag was still on…$200! Huge score. They had cut the plug off, but that was an easy fix. Four years later it was in need of a new look.

Estimated Cost
$15
Estimated Time Investment
An Hour or Two (0-2 Hours)
Finish Used
Rustoleum Dark Walnut
3M Spray Adhesive
Recommended Skill Level
Starter Project

Coffee Table

Submitted by AndyH on Sun, 11/09/2014 - 18:05

Coffee Table made from own plan.  Finished in Minwax English Chestnut and sanded back to show some wood through.  Satin Poly and two coats of finishing wax to hopefully protect it from knocks!

Estimated Cost
$200 total. Most expensive part was the legs from OsborneWood.com which cost $135 total inc shipping.
Estimated Time Investment
Weekend Project (10-20 Hours)
Finish Used
Minwax English Chestnut (sanded back), Minwax Satin Poly, Minwa Finishing Wax.
Recommended Skill Level
Beginner

Comments

Entry shelf modified to a bathroom shelf

Submitted by Anonymous (not verified) on Wed, 02/15/2017 - 19:10

This was so fun, used contact paper on the back plywood and it turned out really well.

Estimated Cost
Less than $75
Estimated Time Investment
Weekend Project (10-20 Hours)
Finish Used
White satin paint from behr
I sanded between coats and used a fine bristle brush.
Recommended Skill Level
Beginner

Rustic X Desk

Submitted by CarolinaL on Wed, 11/18/2020 - 14:48

I finally got tired of my computer set up being on my sewing table. I will be working from home for quite some time and I'm so glad I finally have a designated desk for work.

This desk came out perfect. It's not too difficult but the X did take some time to get right. Used Ana's video instructions.

Built from Plan(s)
Estimated Cost
$60
Estimated Time Investment
Weekend Project (10-20 Hours)
Finish Used
Minwax Provincial for the top
White satin paint for the base.
Recommended Skill Level
Intermediate

Comments

Mini Farmhouse Bedside Tables

Submitted by moosmani on Thu, 01/17/2013 - 17:44

My first time making drawers! It wasn't as hard as I thought it would be!

Built from Plan(s)
Estimated Time Investment
Week Long Project (20 Hours or More)
Recommended Skill Level
Beginner

Comments

KinneyD. (not verified)

Fri, 01/18/2013 - 07:04

Great Job! I just finished building two of the same to go with custom bed and headboard. Really like the small changes you made like the extra trim pieces and the back!