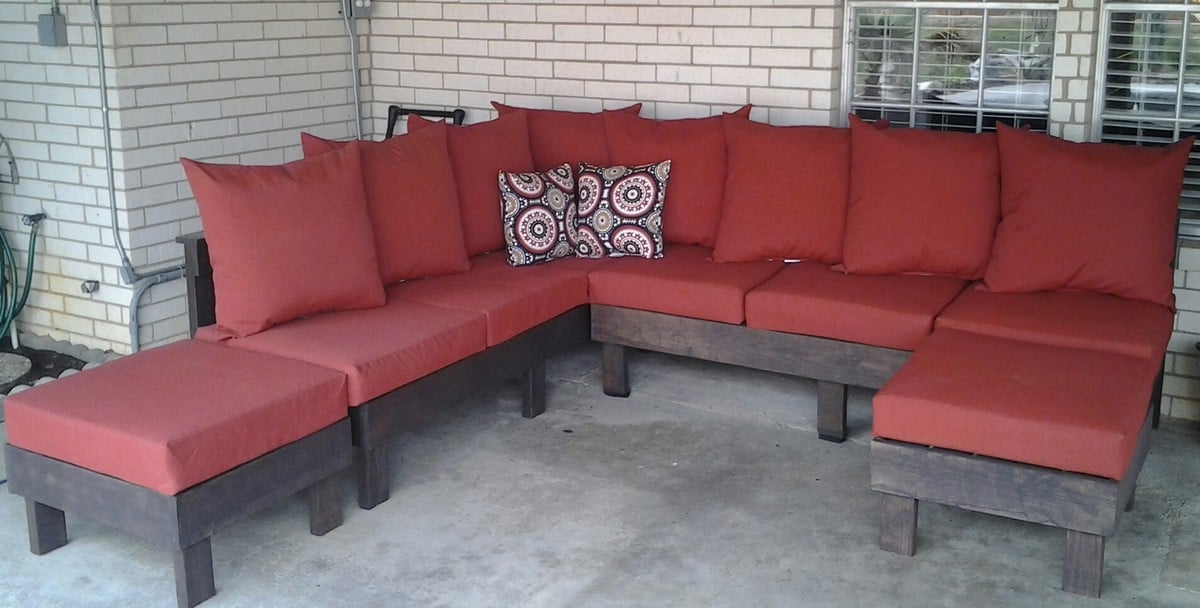
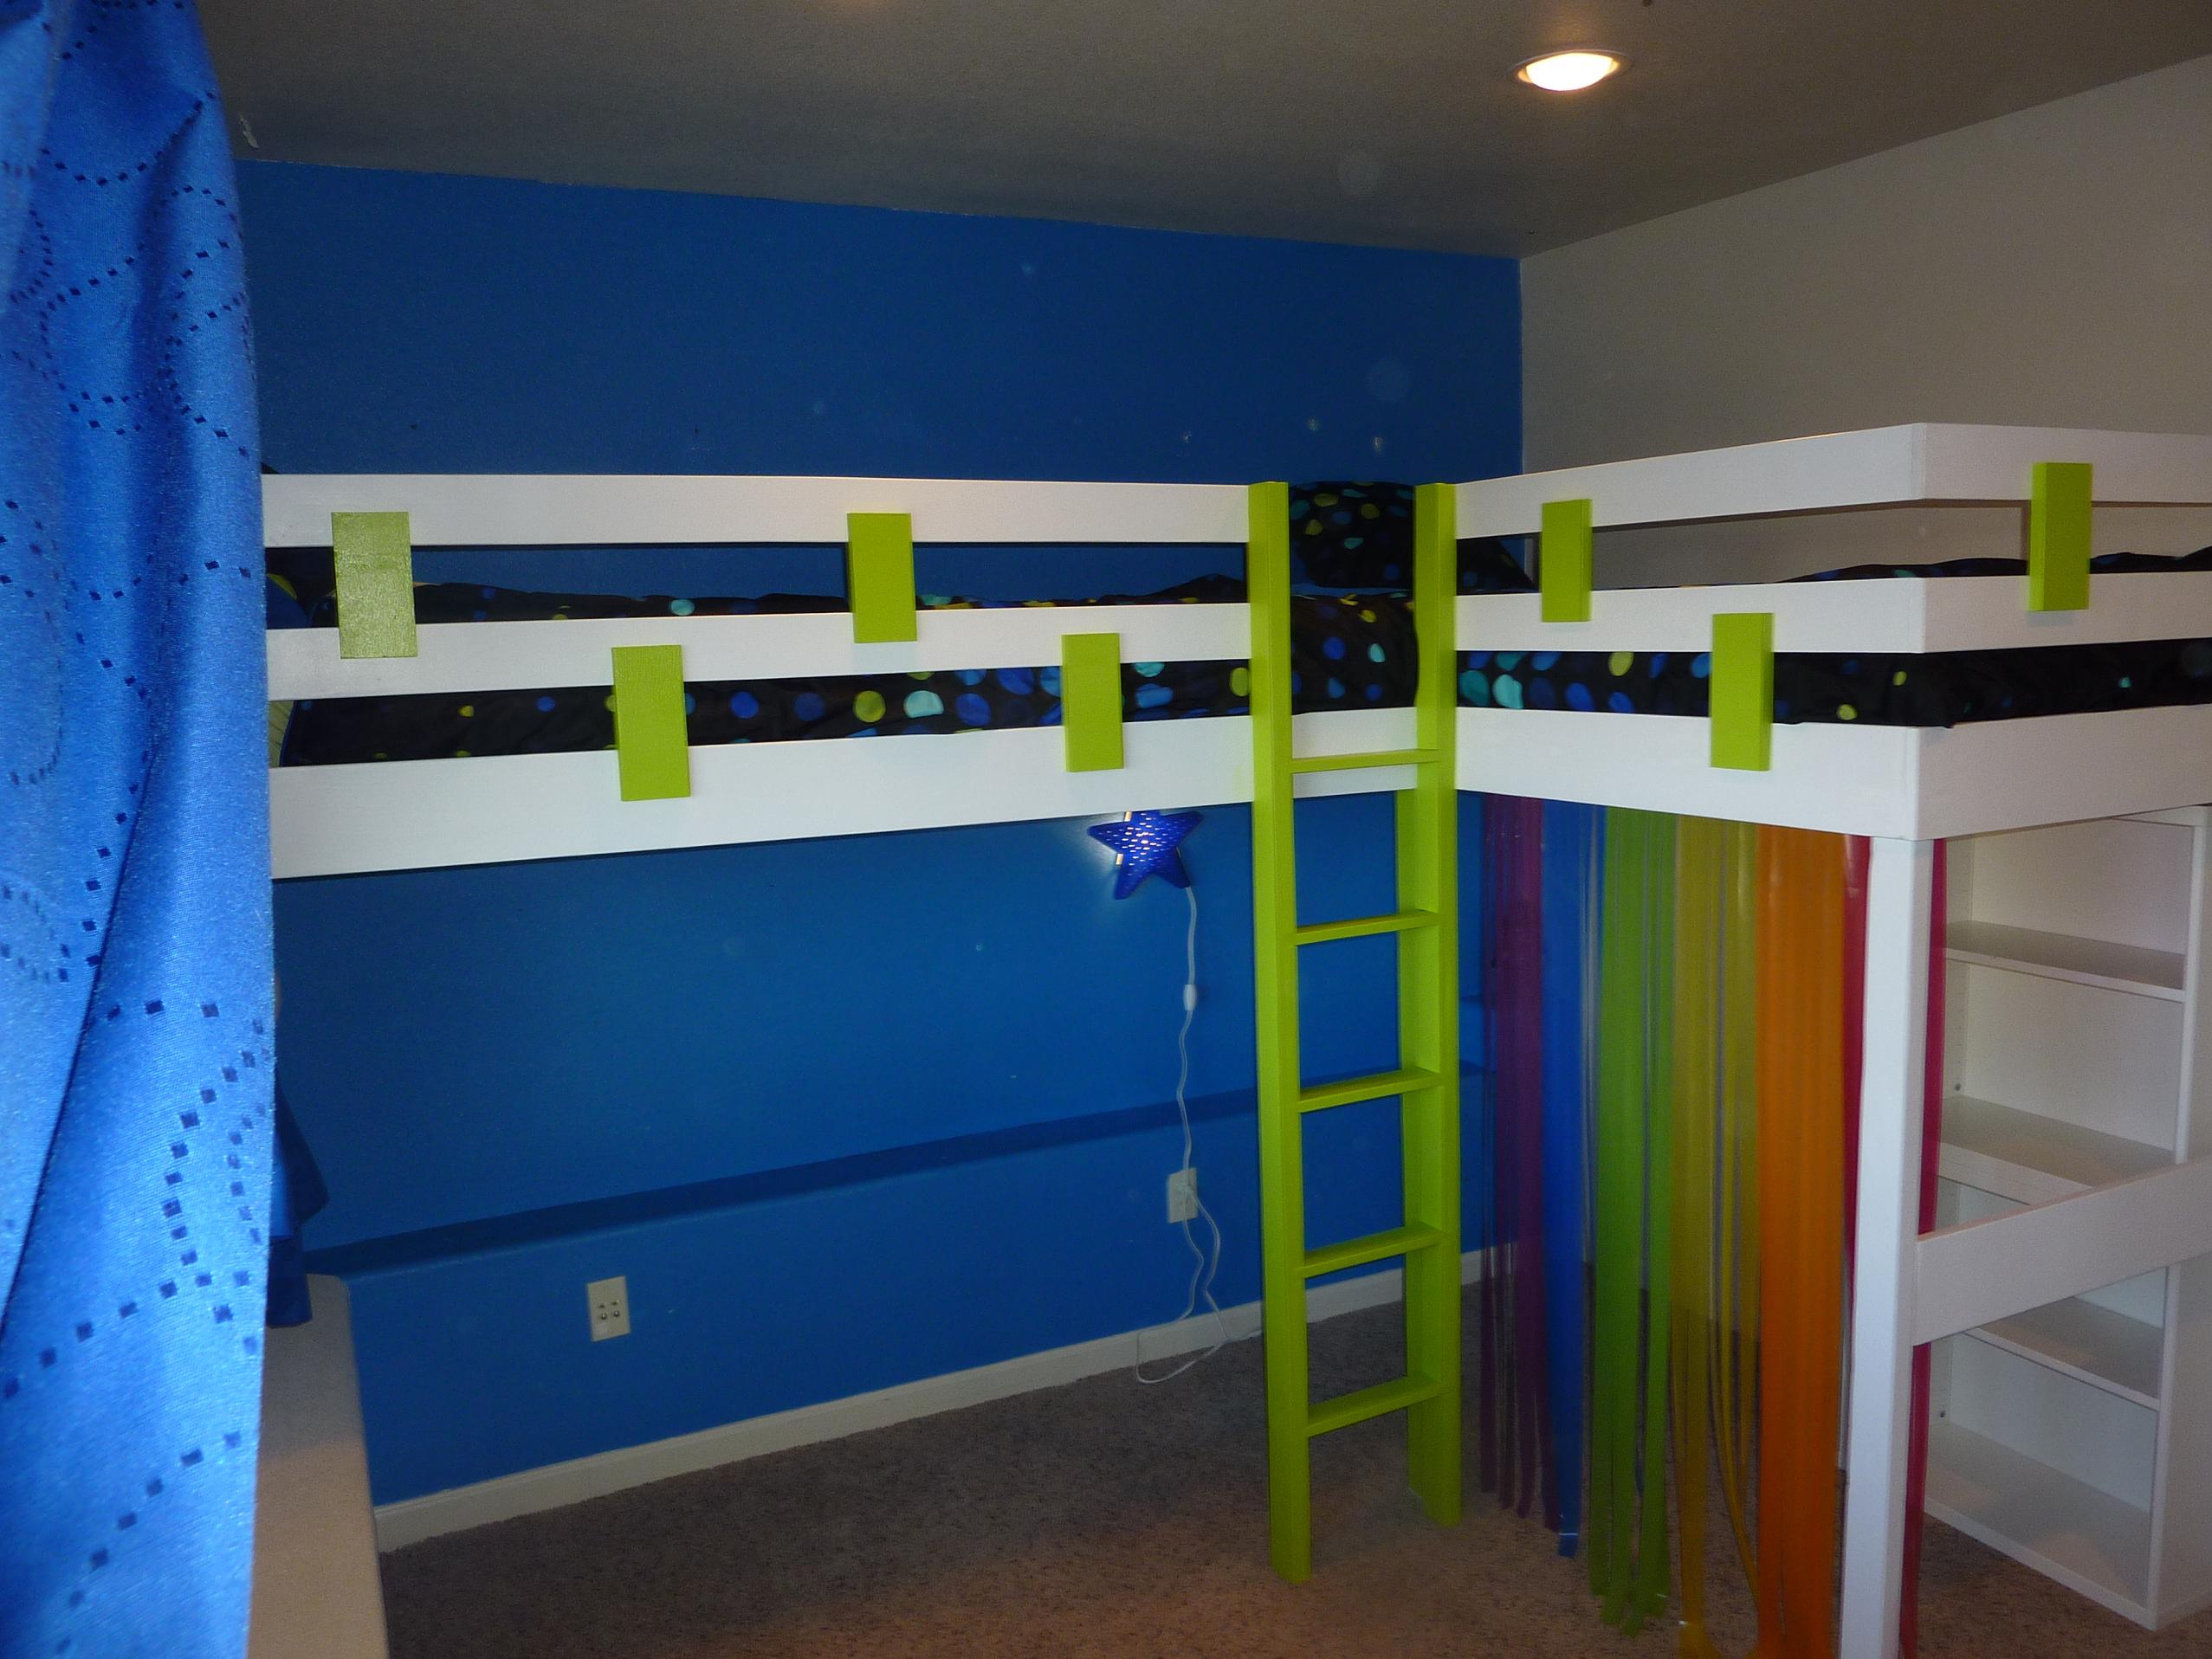
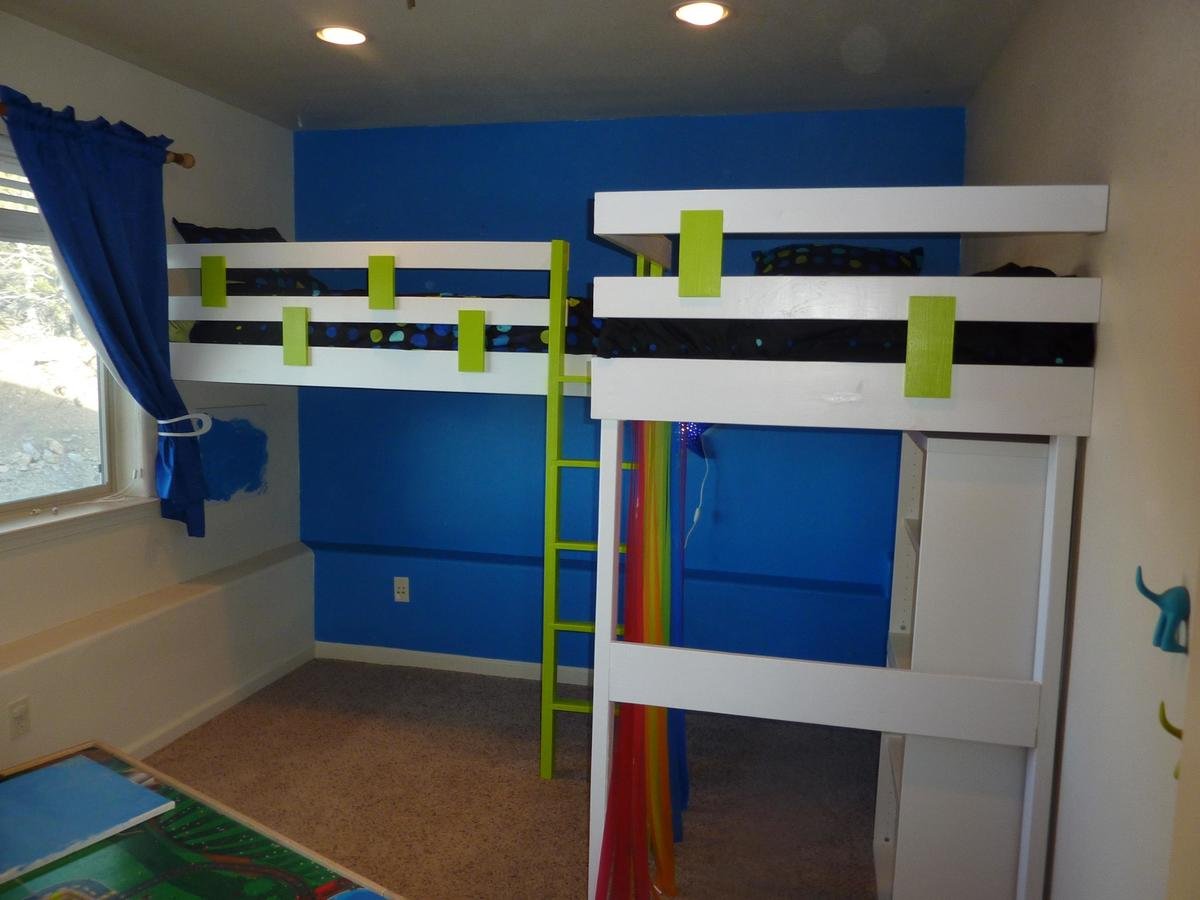
Our Daughter's 7th Birthday Gift
![](/sites/default/files/6a5c7f74-8e18-4760-a3c5-b2b0a967df3d.jpg)
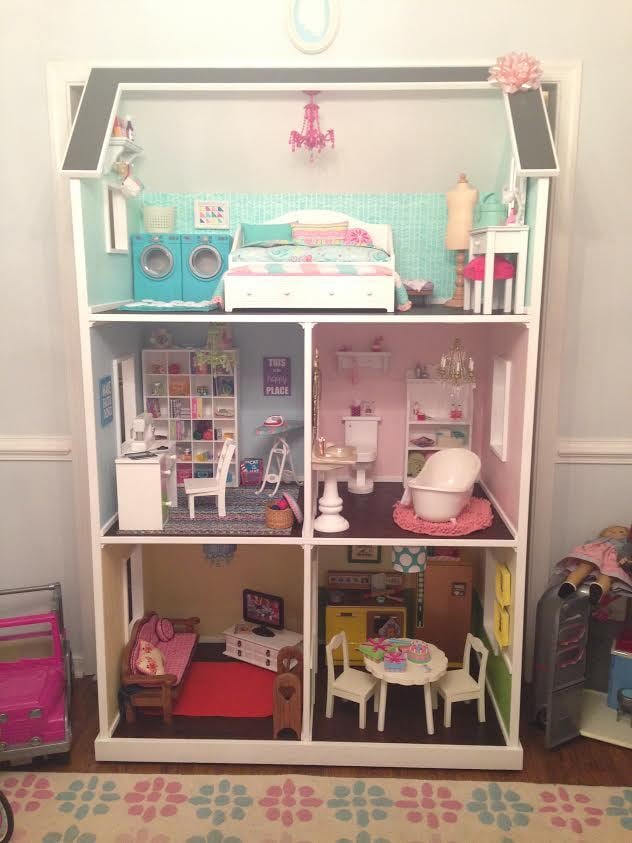
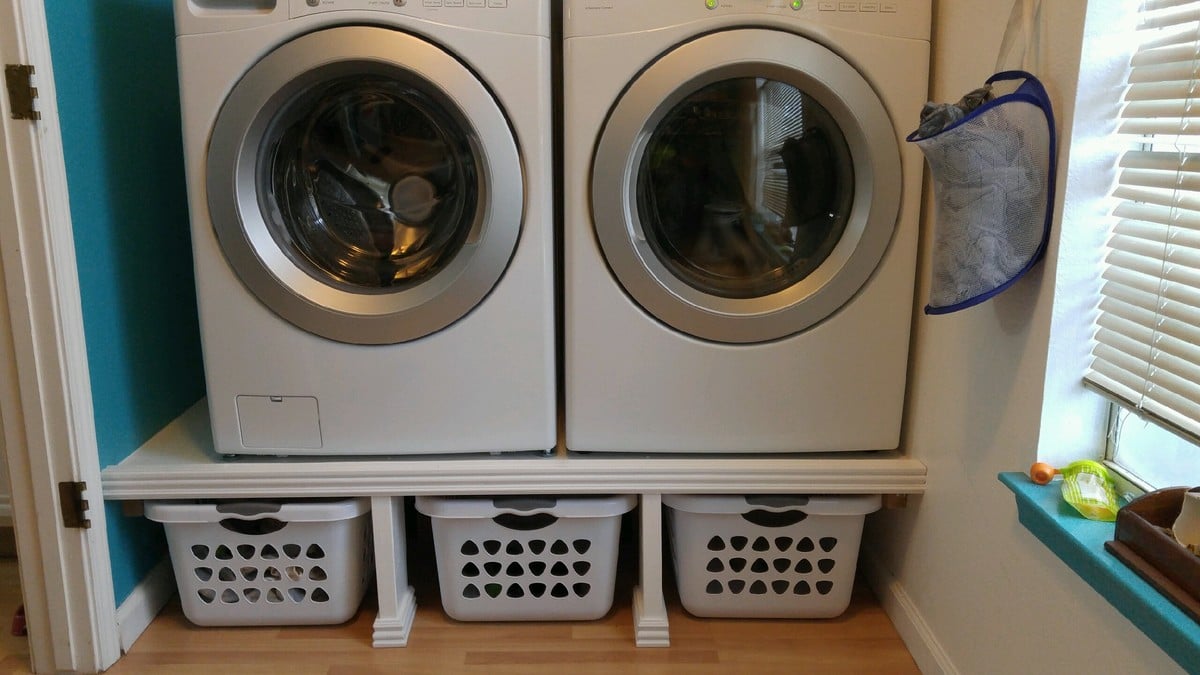
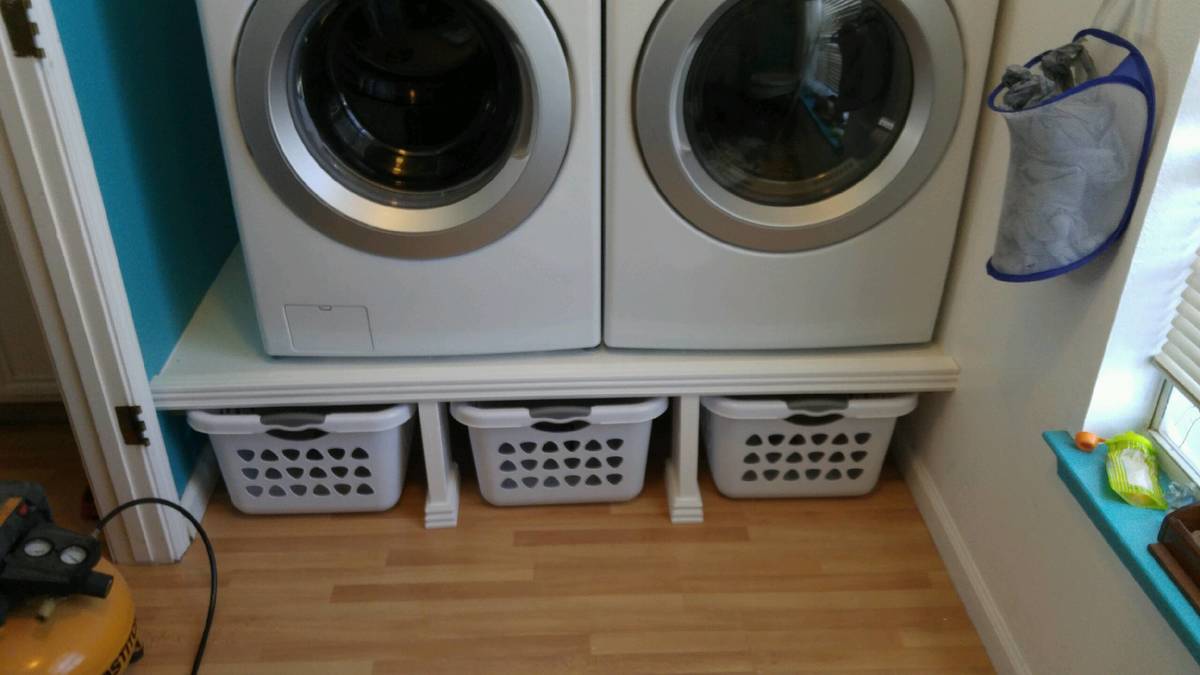
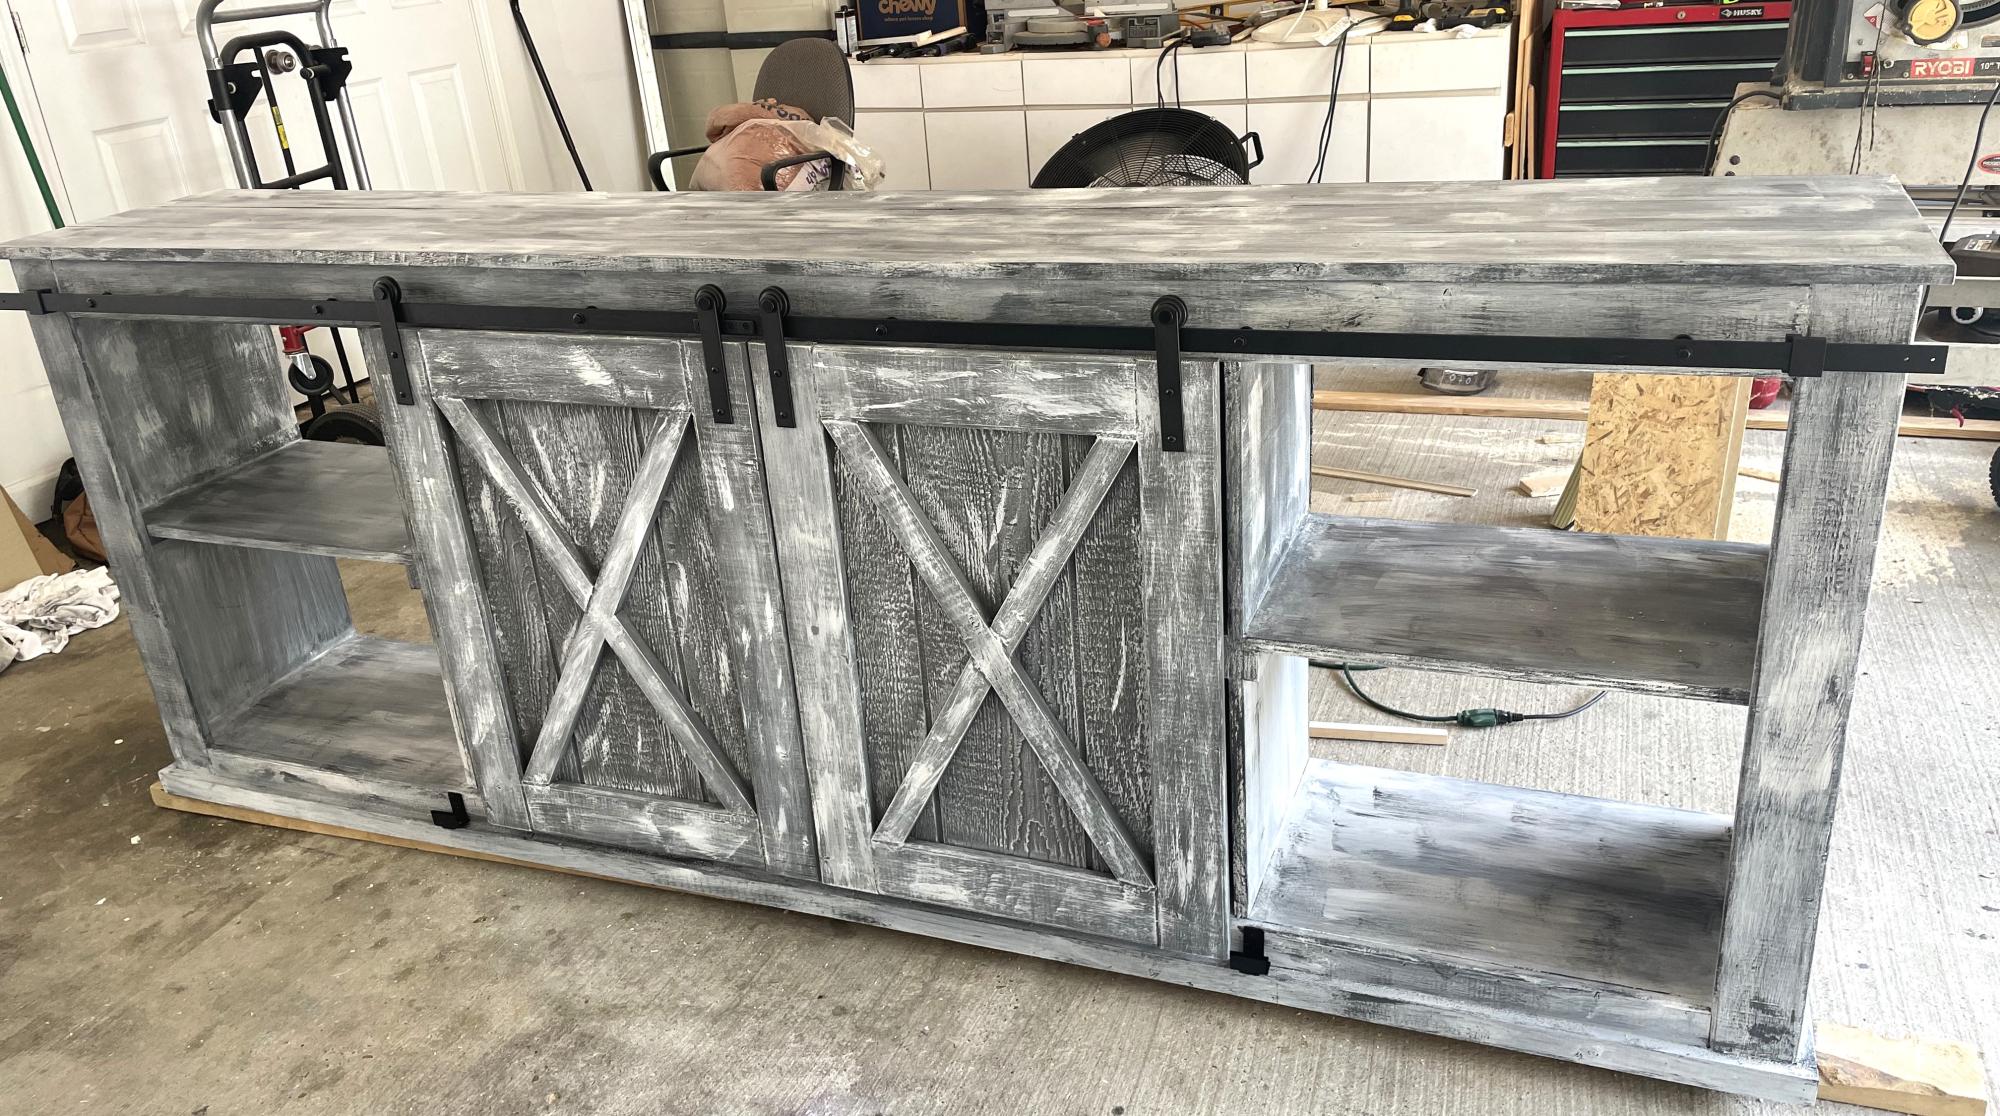
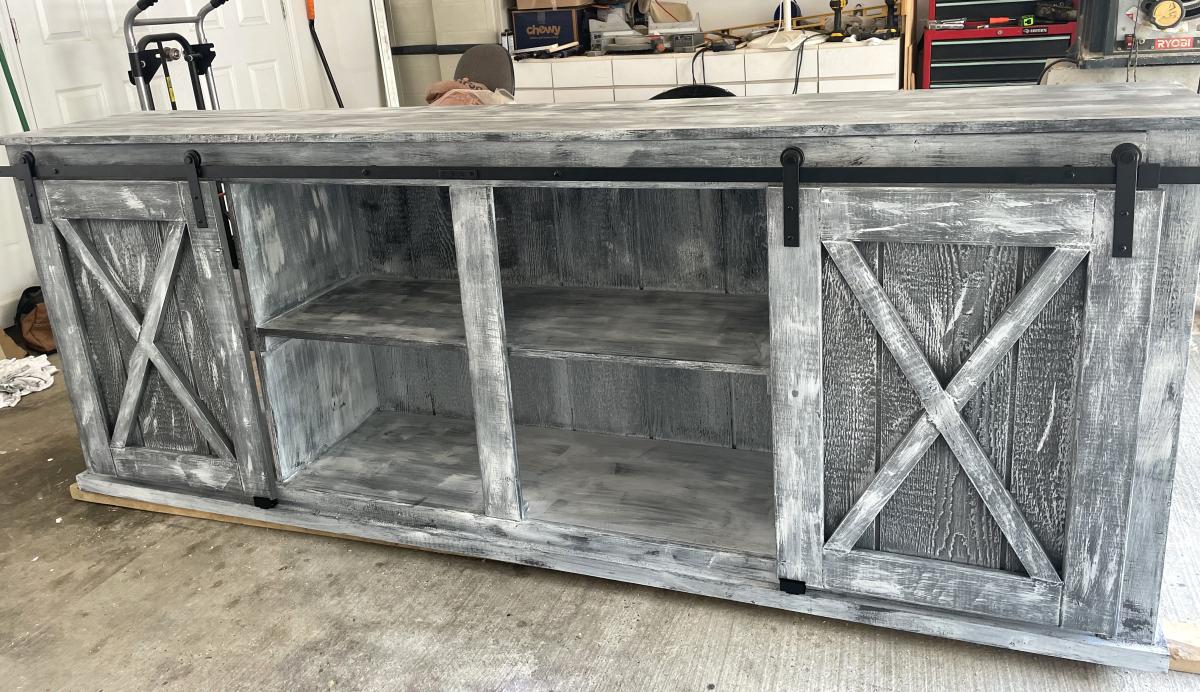
We used the site plans and then added on more trim (front, around the roof and the corner pieces - plus "crown", "baseboard" and "chair rail".
This is a room that we redid so that our two boys that shared the room could have a room that felt more age appropriate and allowed for better function. They have always had to share a room but have never had the space to have desks or much seating. So we hung both their beds from the wall and the ceiling allowing them to have some space under the beds for storage and a small desk. Having the beds up high keeps the area under the bed much cleaner. We also built a window seat for storage and used pallet wood to create a feature wall. The stairs between the beds also have storage accessible from both sides for books and toys. We did the same basic thing in the other boys room but had to do two sets of stairs because of the layout of the room. The stairs were built from a modified version of the Sweet Pea Garden Bunk Bed Stairs. http://ana-white.com/woodworking-projects/sweet-pea-bunk-bed. The beds we just basically took the legs off the beds we had and added braces in the corners.
Loved how easy, Inexpensive and fast this method of customized drawer organizers was to make.
Joan Johansson
I built this bench to practice making base cabinets. Made the cabinets rather large (24 inches wide and deep). Provides a large, sturdy work area.
Utilicé pino y la madera de dos pallets. Modifiqué el plano original para que entrara en el espacio con el que contaba.
It turned out so pretty!!
Hi Ana
My granddaughter is starting first grade in the Fall. She needs a desk so I checked out your site and found this simple yet functional project. It worked up in no time. Now Gianna just needs to pick a paint color.
I also found a slight boo boo in the plans. See the marked up cut list.
Thanks for all you do.
David Grilli
We loved the idea of an outoor sectional but was wanting it to be in just two pieces. I modified the plan so we had only two seats and two ottomans.
The cushions are from the big orange store and most of the wood is from their discount rack. (.51 for each board) this saved me quite a bit of money :)
It fits perfect under our covered patio and will get lotsof use when it warms up enough to have pool parties and cook outs.
Thanks Ana for helping make our homes US!
Fri, 04/06/2012 - 10:27
Looks great! Love how you modified to make it less pieces. I am finally going to try it this weekend. Hope it turns out as awesome as yours!
In reply to Looks great! Love how you by Guest (not verified)
Sun, 04/08/2012 - 08:22
Thank you! I had a lot of fun building it.
FYI If you have a Garden Ridge store close to you, they have the largest selection of outdoor cushions at a pretty good price.
Have fun building, can't wait to see the pictures!
Fri, 02/22/2013 - 05:53
Hi there I have recently found this site and have absolutely fallen in love. I just thought I'd ask I love how you modified the original plans to make 2 pieces plus the ottomans instead of creating singles. Are you willin to provide me with details on how you modified the dimensions and measurements please? I would greatly appreciate it.
I did not follow any plans for this project. I literally just sketched out a few ideas and went with one of them based on the size I wanted. I used some pine project boards 3/4in that were already ripped to 16 inches. I cut them with my circular saw to size and connected everything with some wood glue and a kreg jig. I bought the $20 kreg jig and it worked perfectly I also bought the driver, clamp and kreg 1 1/2 inch wood screws. I used polyshades dark oak i think for the finish. I made it a little darker than I wanted but overall I am very happy considering I had an old computer desk sitting there before. I plan to make a farmhouse table in the future. I love this site thank you for the inspiration everyone!
I tailored my pedestal to work with the limited space that I had to work with. I began by "cleating" a 2x4 board to the studs on the back and side walls using 1/4" lag bolts. I then laid a sheet of 3/4" MDF on top and screwed that down to the cleats. Afterwards I built the supporting 2x6 legs underneath and screwed those to the top MDF board. We put a strip of 1x2 across the top-front side to keep the machines from ever "walking off" the pedestal. We then painted and trimmed out the front face and the legs. The wife is very pleased with the project, and loves the added space in our laundry room because we can now store the dirty clothes underneath the machines.
8ft barn door console . Thanks Ana White for you free plans.
David
I decided to make this for our dining room table. I was going to use reclaimed wood but it's a hot commodity a round here these days, so I decided to use pine and let the wife paint and distress it.
Built this bed for our 2-year old daughter - cost was $144 for lumber. Wrote up the whole process on our blog! One note if you are building this: for a regular twin-size mattress, this fits very tight. Making the bed is kind of a pain in the behind. If we were to do the whole thing over again, we would have made the boards on the sides at least 3" longer to make changing the bed a lot easier.
4x4 Truss table and benches
Master bedroom makeover ❤️ bed plans are from Ana White
This was one of the easiest projects that I have EVER done. Piece of cake! And the best thing, my wife loves it!
This took about a day to do. It is the perfect height and width for the pottery barn basic square sofas! I plan to make the coffee table as well, but am planning to modify it to make it larger. Ana posted an outdoor couch a while back, I am not sure the name of it, but it also has the x style to it. I built that as well. I just can't get enough Rustic X:)
I love this table so much so that I've built 3 of them total. It is extremely sturdy and a little oversized for a coffee table. Thank you for the plans Ana.
used the Grandy Barn Door Console plan to make this buffet-server-storage for my kitchen. I added some additional support to the top shelf, on the back portion, as I want to be able to put heavy dishes in it without the shelf bowing. Just need to add my doors. Burnt the wood on the top for some nice dimension.
This is my extremely altered double loft bed. My sister needed a custom sized double loft bed, I figured I could use this plan and make two beds in an L shape, but the space I had to work with was smaller than these plans so I had to re-design most of the bed all together, I ended up attaching two sides of each bed to the wall with legs only on the outer pieces. She wanted a "fun" looking bed so I added a splash of color, just simple enough for me to make.
Sun, 05/31/2020 - 22:56
would love to see these plans. My twins room is small and this would be perfect.
Thank you
Wed, 07/29/2020 - 12:27
Is there a link to printable Instructions for this? Or a PDF you can possibly send me? [email protected] :) I have to make this for my girls! Lol the covid life now has them all doing school from home so... We need space 😁💪
Comments
Goose1078
Sun, 11/20/2016 - 17:26
Trim
Hi, the house looks great!! What did you use for the crown and base?
Thx,
Frank