Community Brag Posts
Octagonal Table
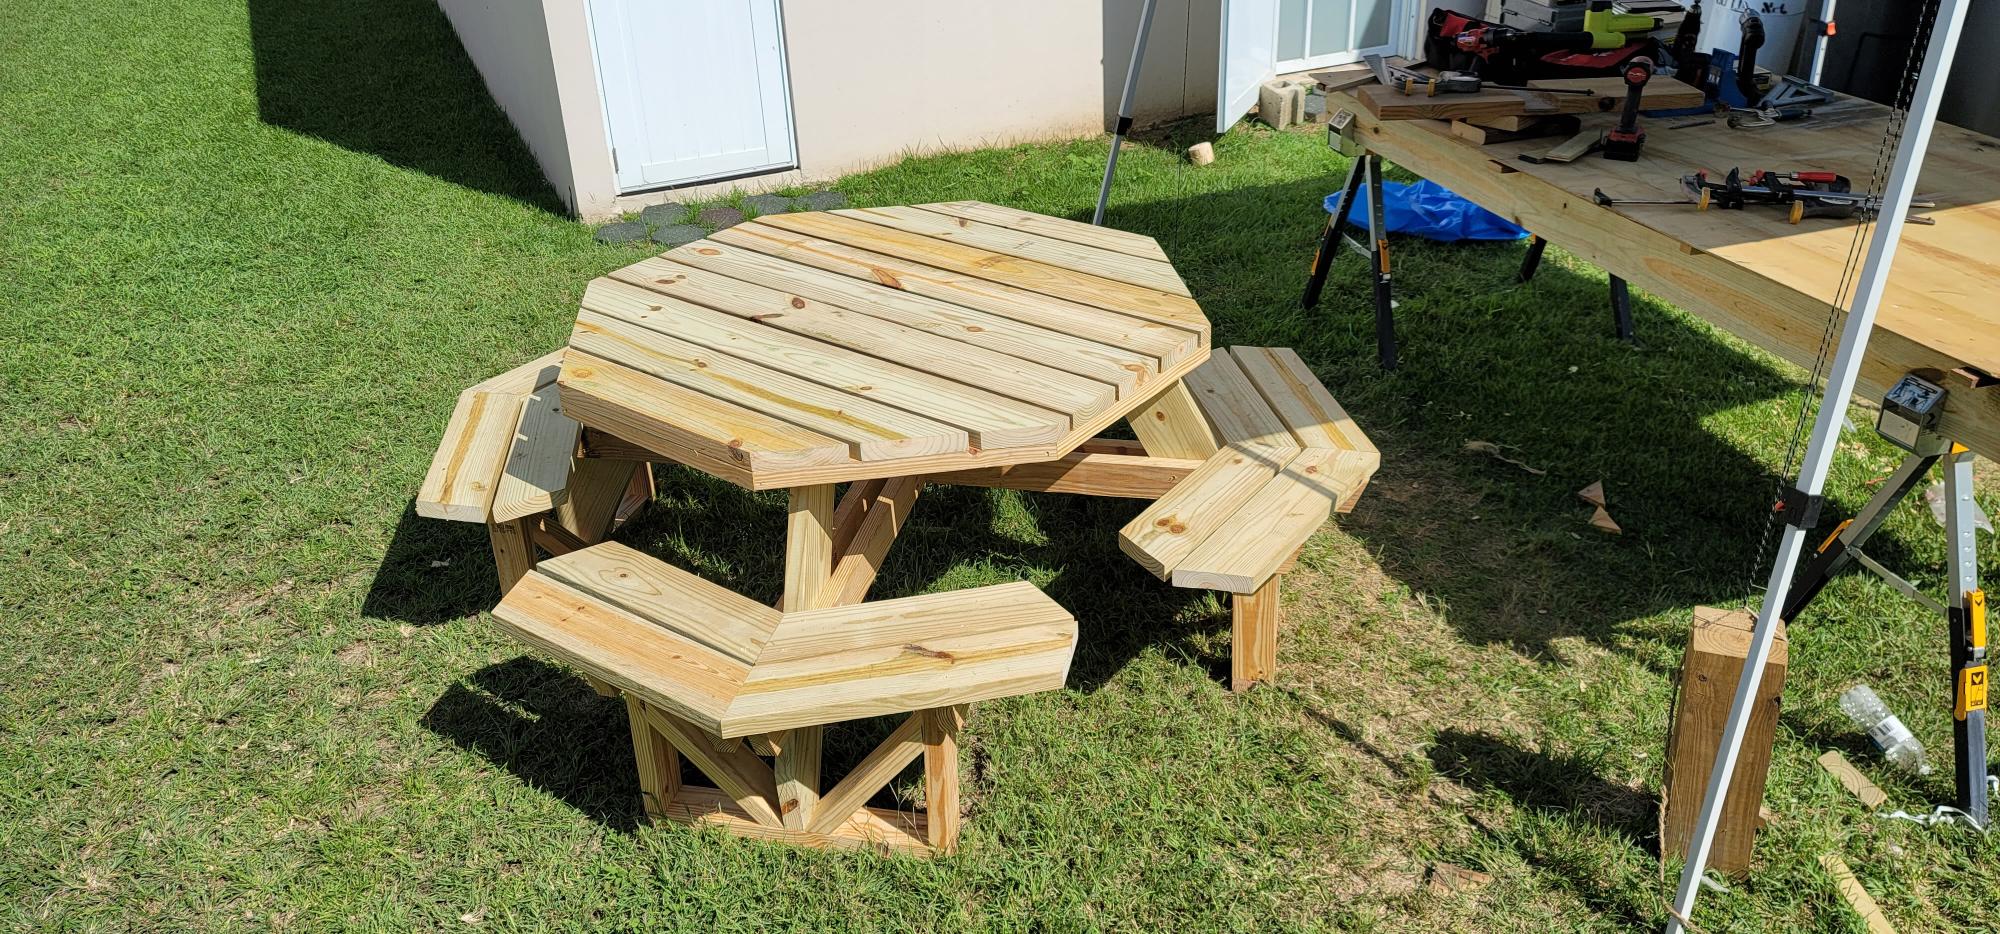
The easiest way to build the best octagonal table, Thanks for Your detail plans, and Greetings from Puerto Rico
Built from Plan(s)
Comments
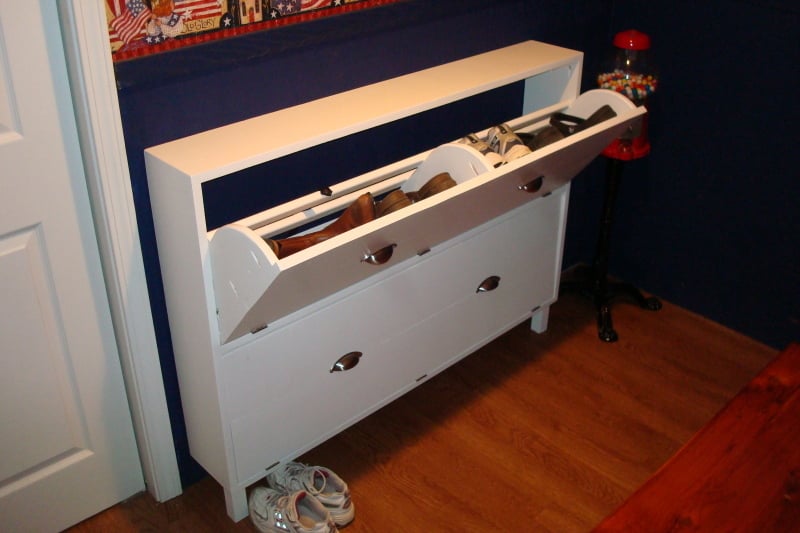
Shoe Dresser
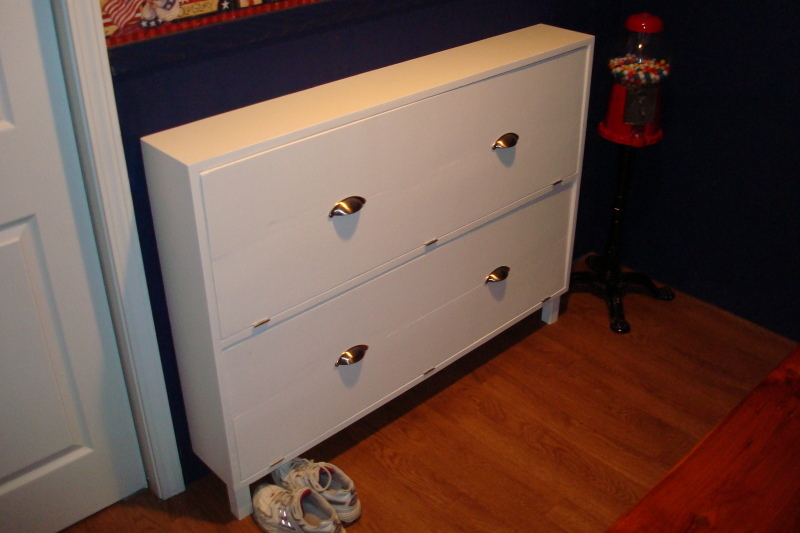
We needed away to organize the pile of shoes that occurs in the mudroom.
I built it in a little over a day, but priming and painting added several days to the project.


Built from Plan(s)
Estimated Time Investment
Day Project (6-9 Hours)
Finish Used
Valspar Kitchen and Bath Enamel, White
Recommended Skill Level
Intermediate
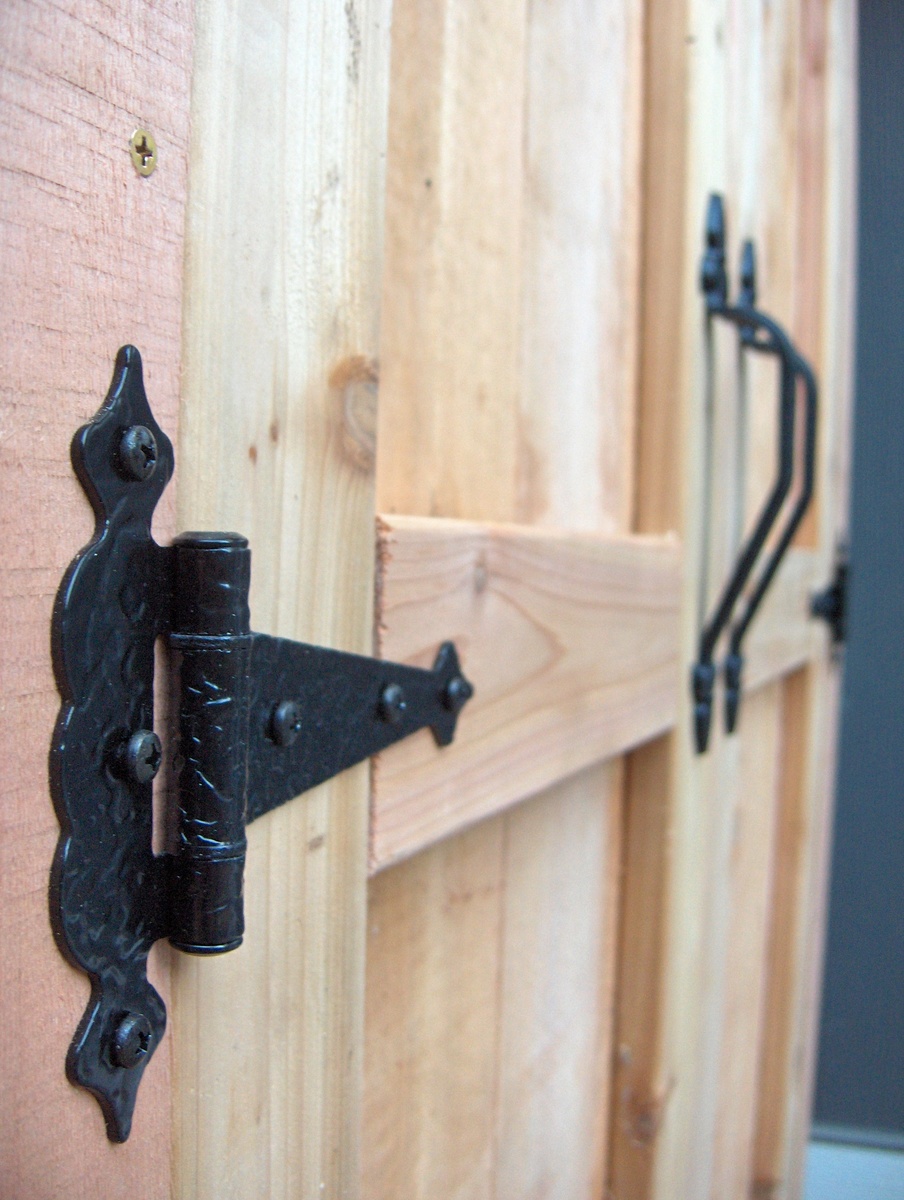
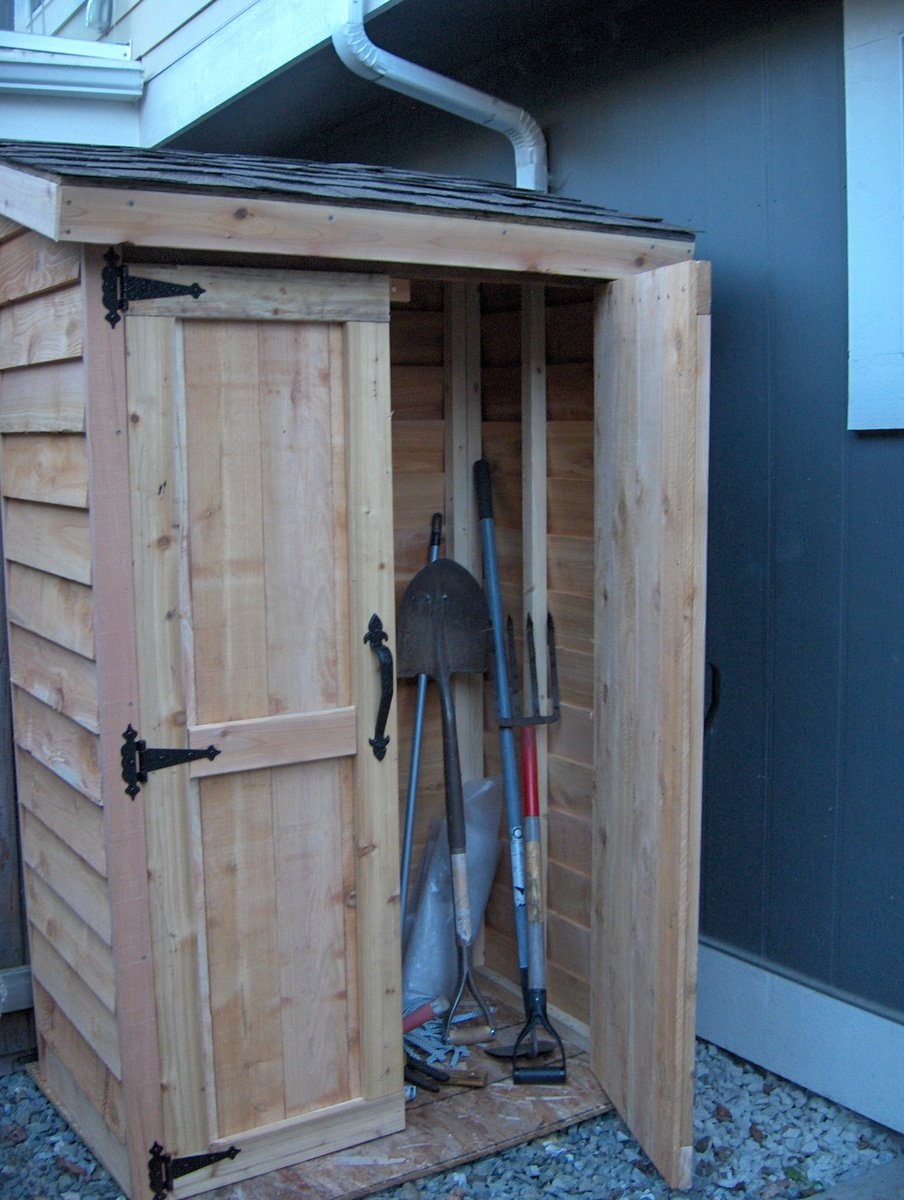
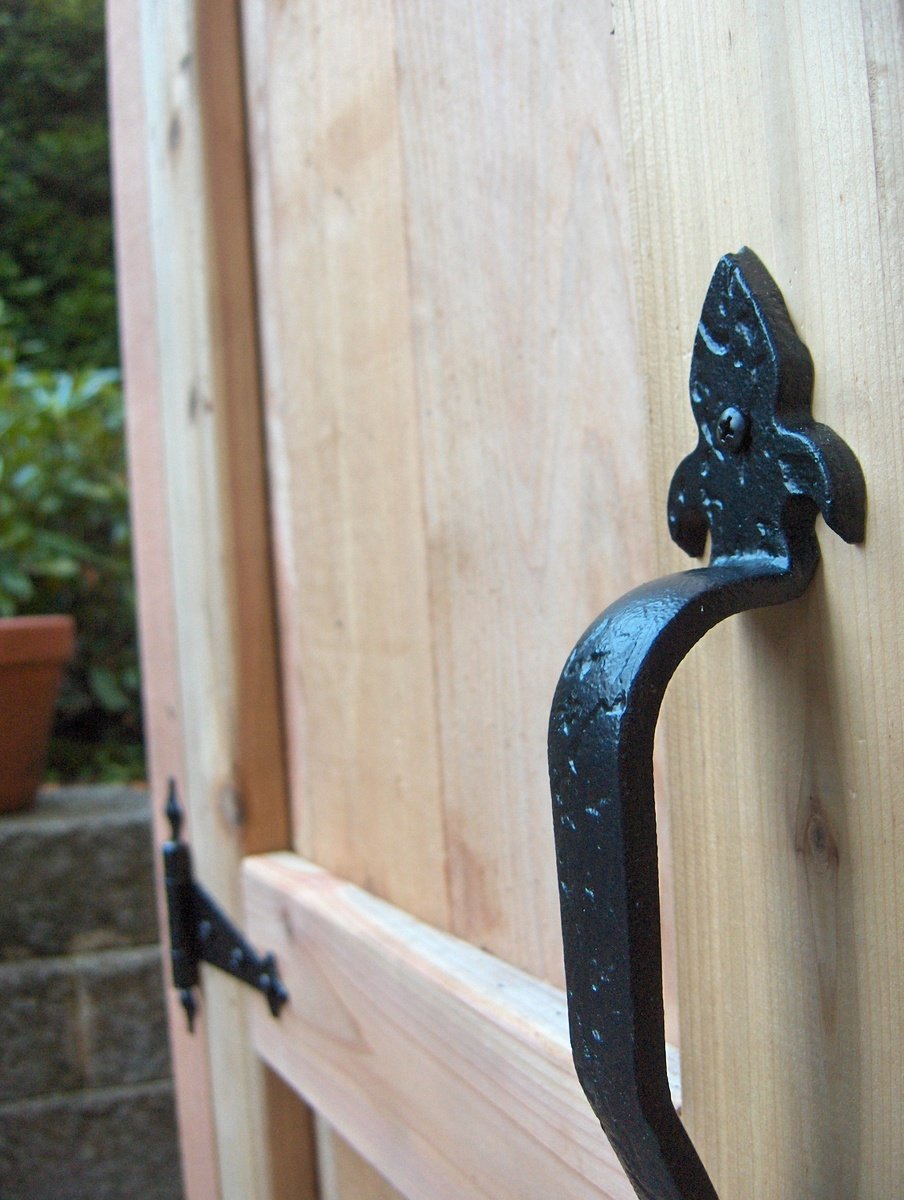
Mini Cedar Storage Shed
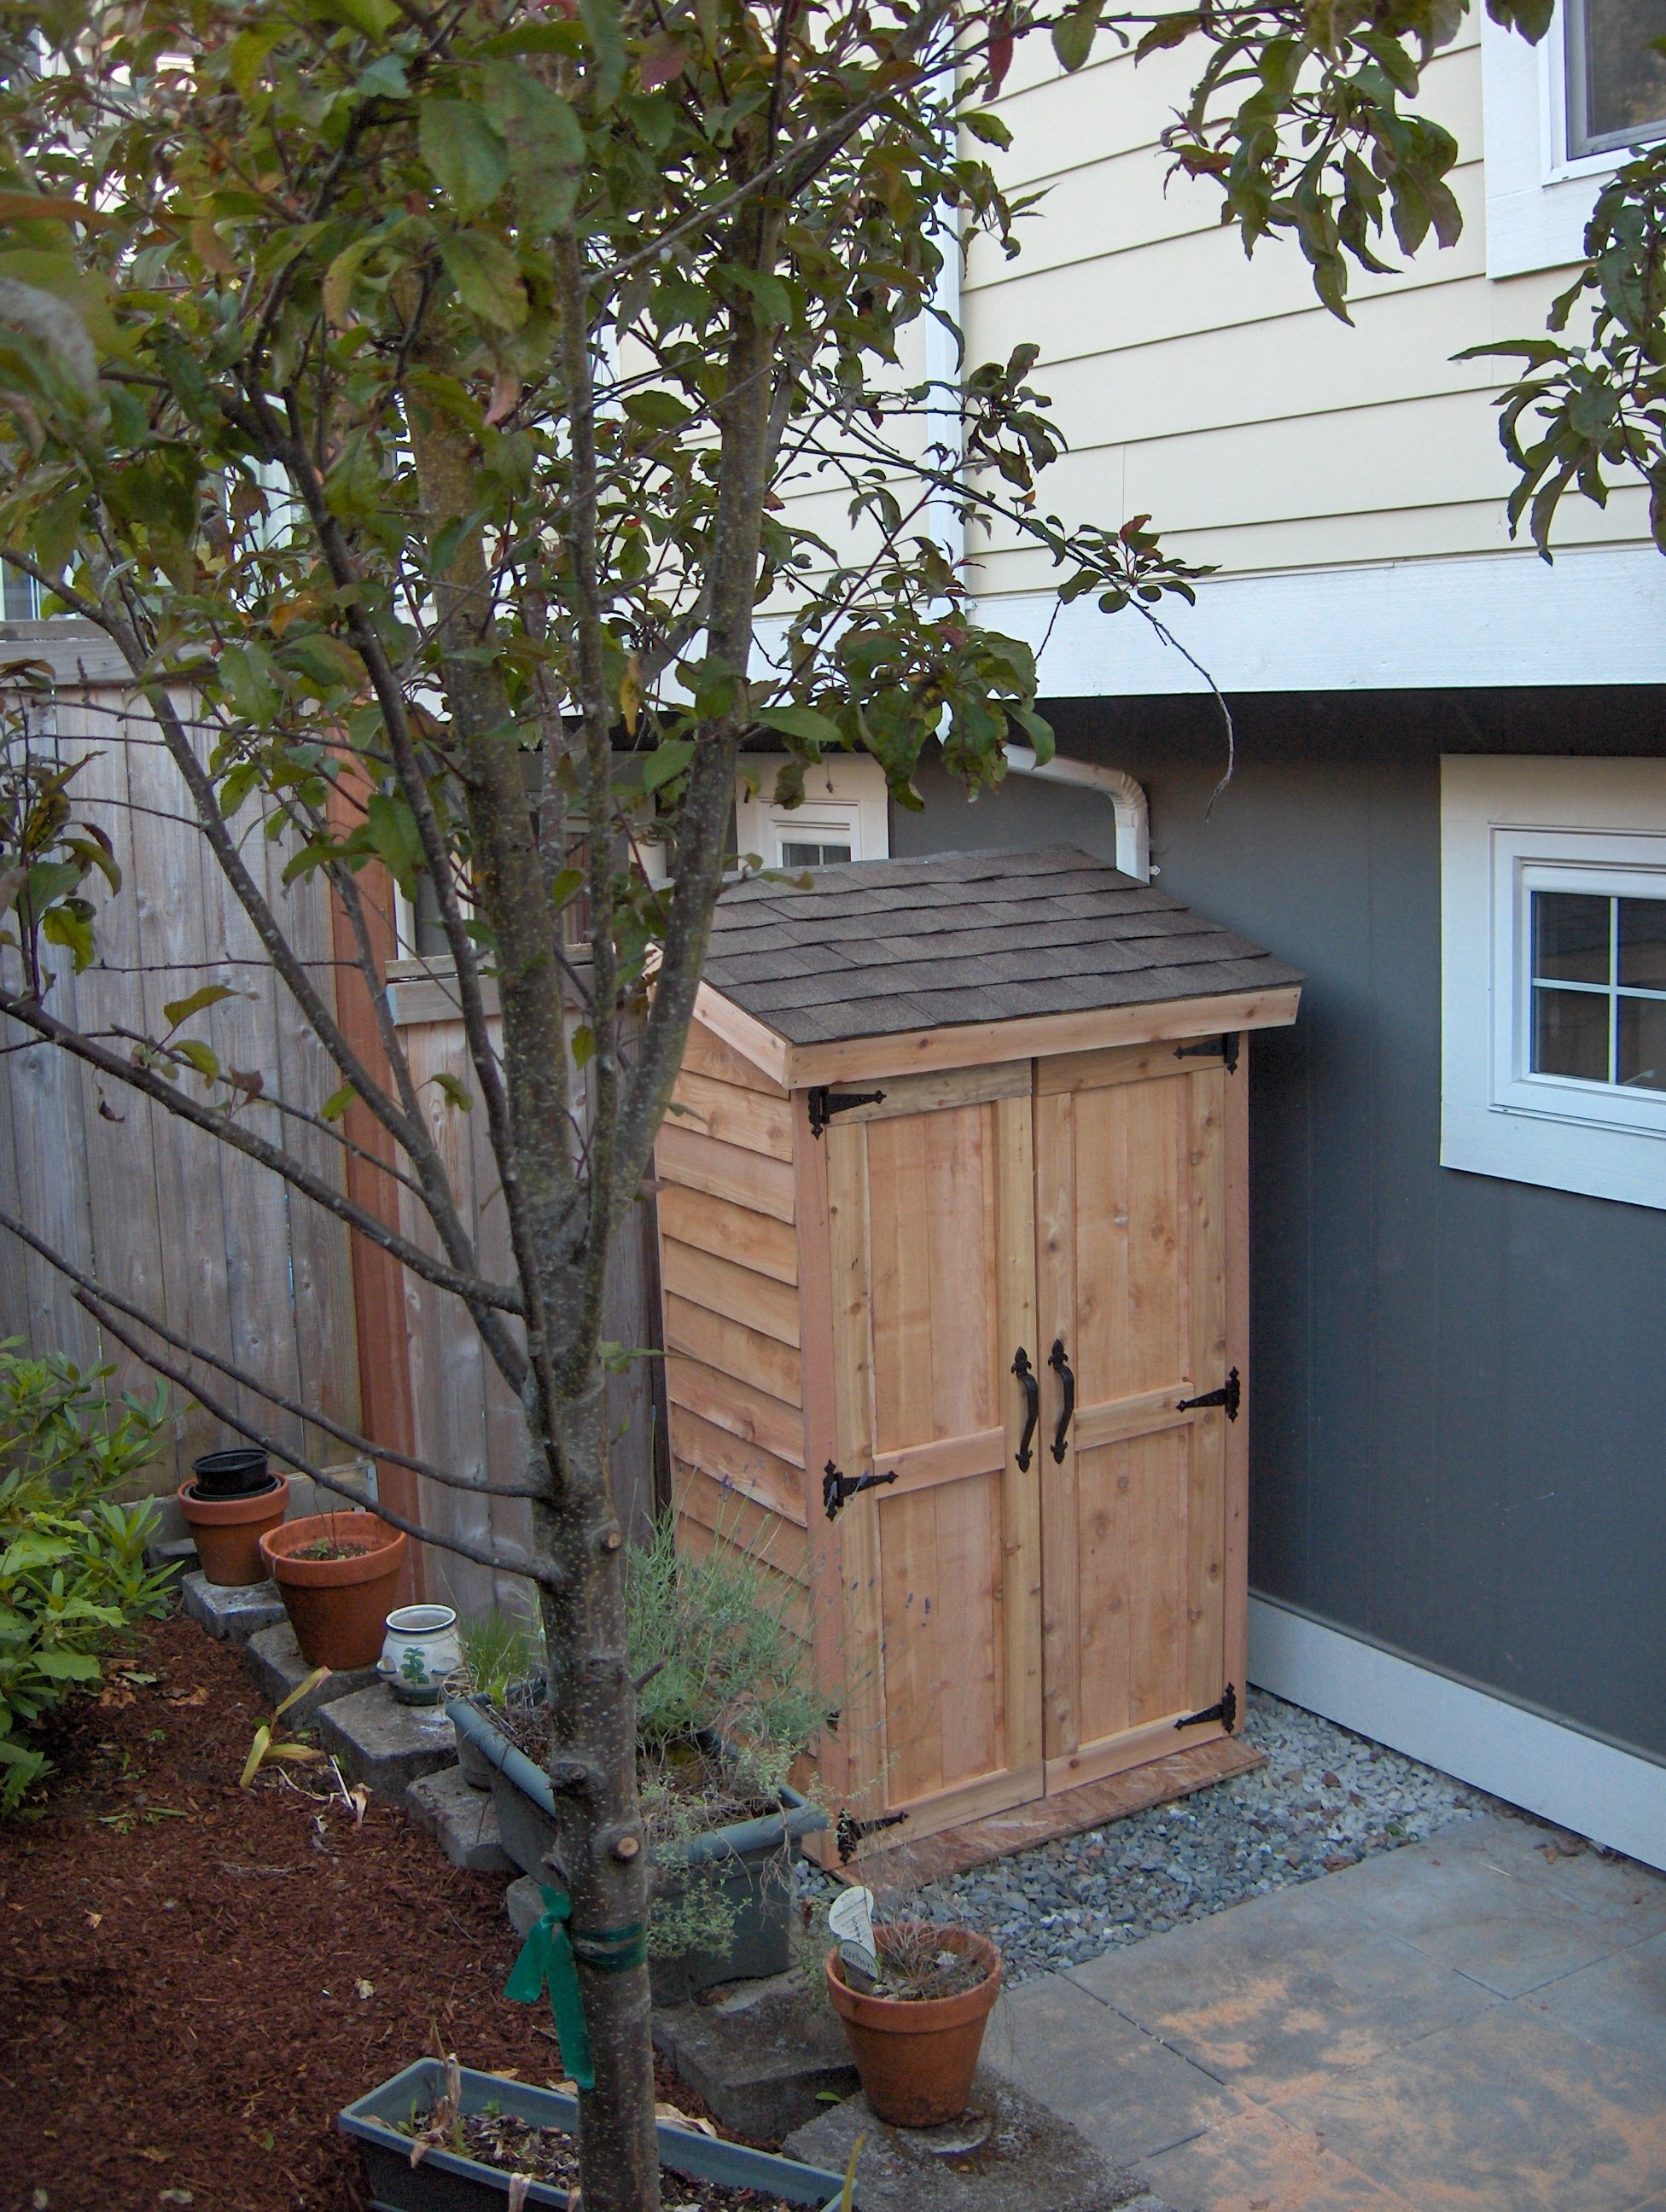
I loved the idea of re-purposing fence pickets as siding for a cedar shed, but the plans on the website were much too big for the space I have. I ended up modifying the design to make a smaller shed, with approximately a 4 foot by 2 foot footprint. It turned out beautifully! Cedar is expensive, but I was able to save money on the project by buying much of the material at local salvage and second-hand stores.
Built from Plan(s)
Estimated Cost
$140
Estimated Time Investment
Weekend Project (10-20 Hours)
Recommended Skill Level
Intermediate
Comments

Sun, 03/29/2020 - 09:59
I'd also love to know what…
I'd also love to know what modifications you made to create the mini version. Did you just take out one of the sections of the back frame and adjust the side widths? Thanks!
Khun Phaen (Klotski) Puzzle

This is my take on the classic Khun-Phaen puzzle.
Build Instructions: https://www.instructables.com/id/Knun-Phaen-Klotski-Puzzle/
In Motion: https://youtu.be/GYYeDpGqkjU
Solution: https://youtu.be/gEBZHhcm0o0

Estimated Time Investment
Day Project (6-9 Hours)
Finish Used
Dark Cherry
Recommended Skill Level
Beginner
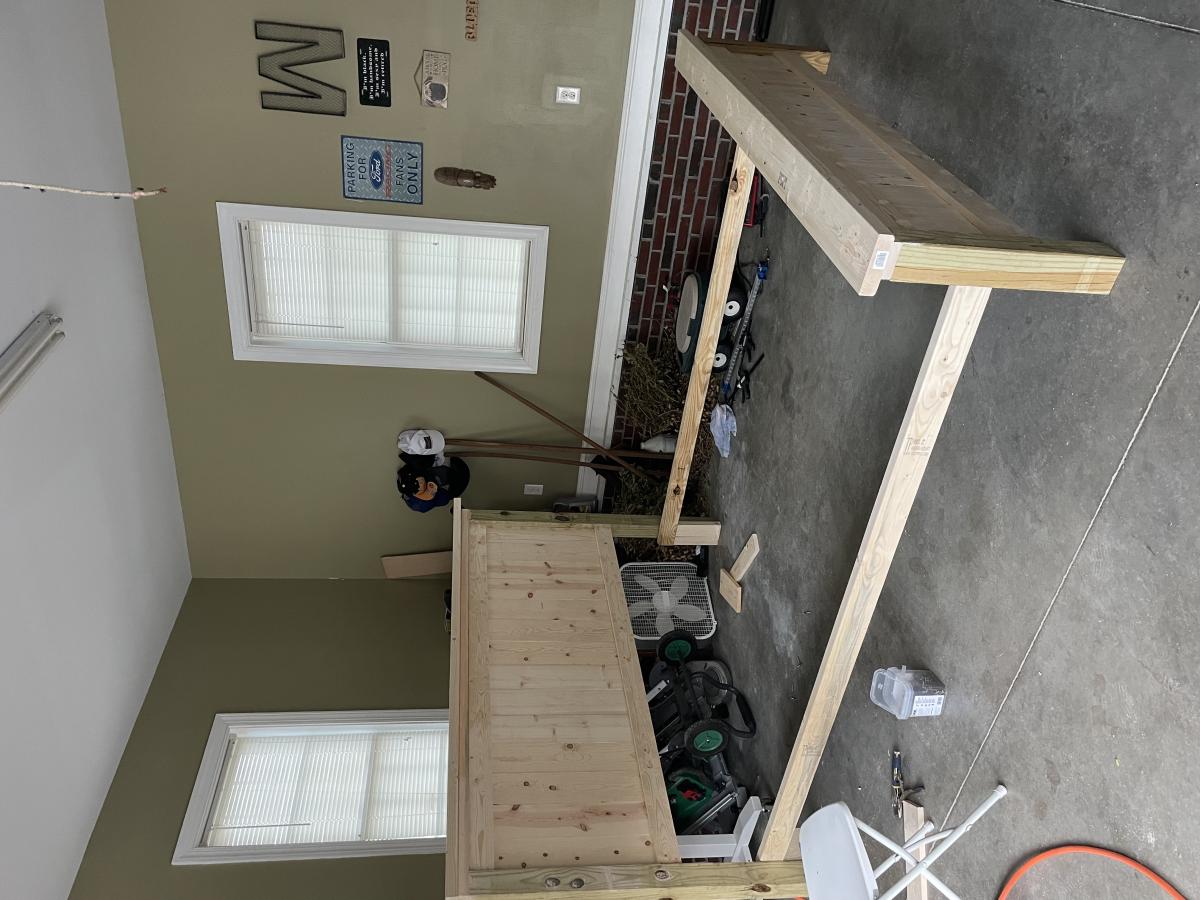
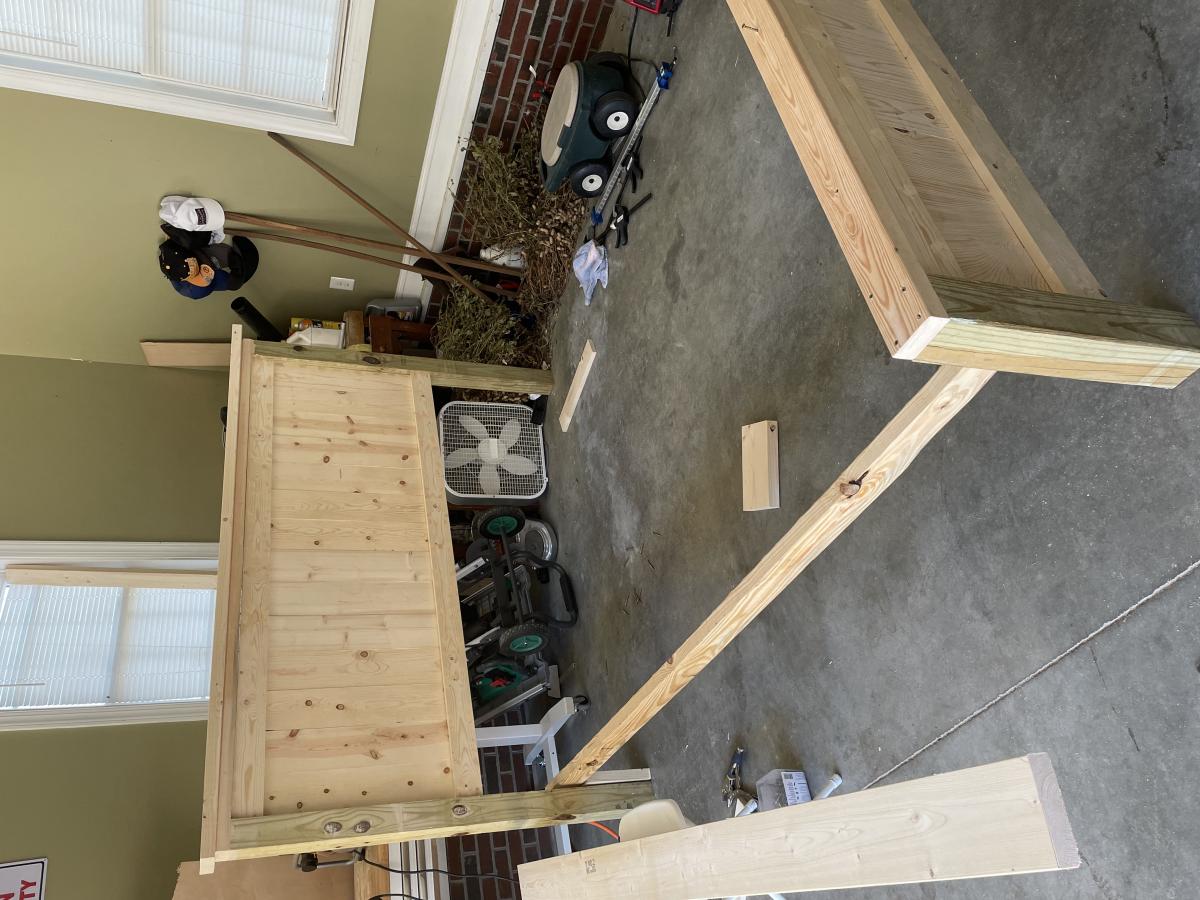
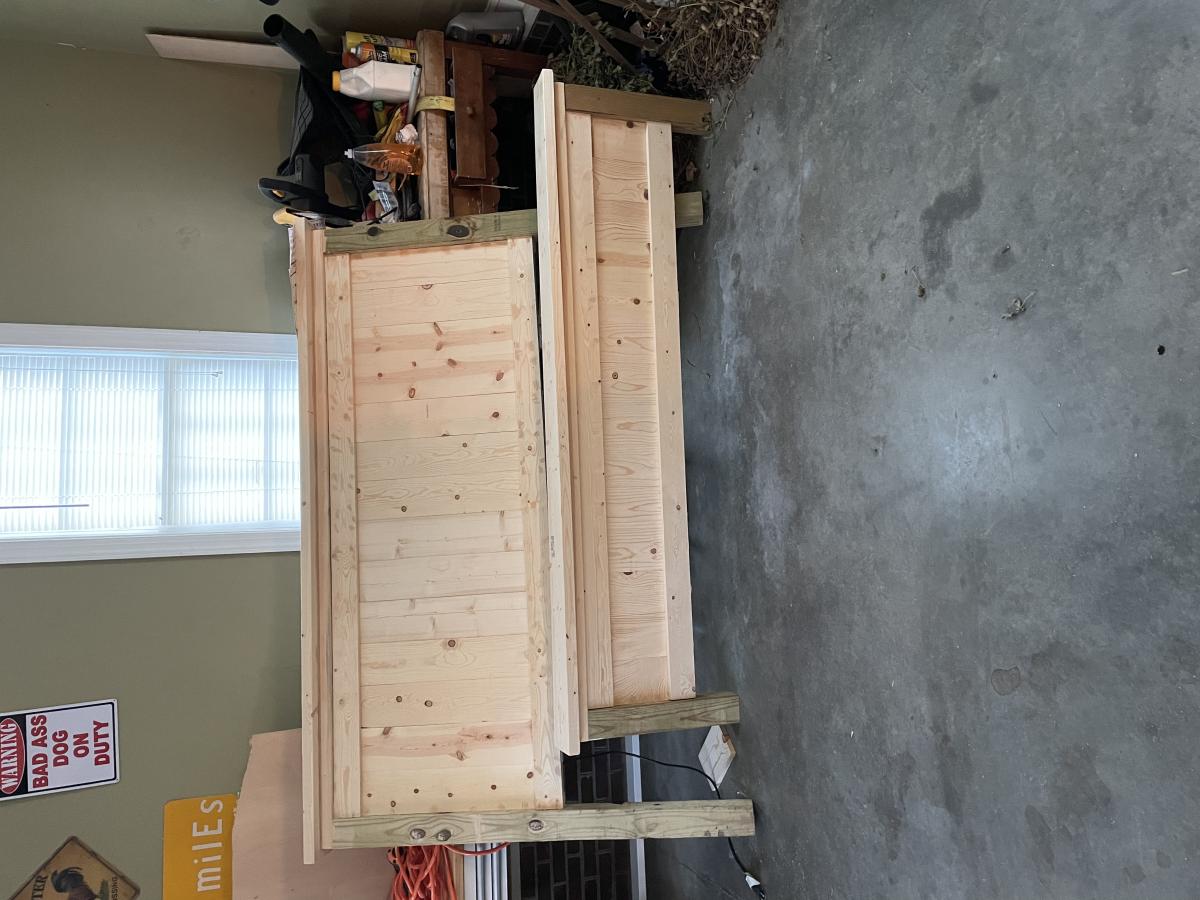
King Sized Farmhouse Bed
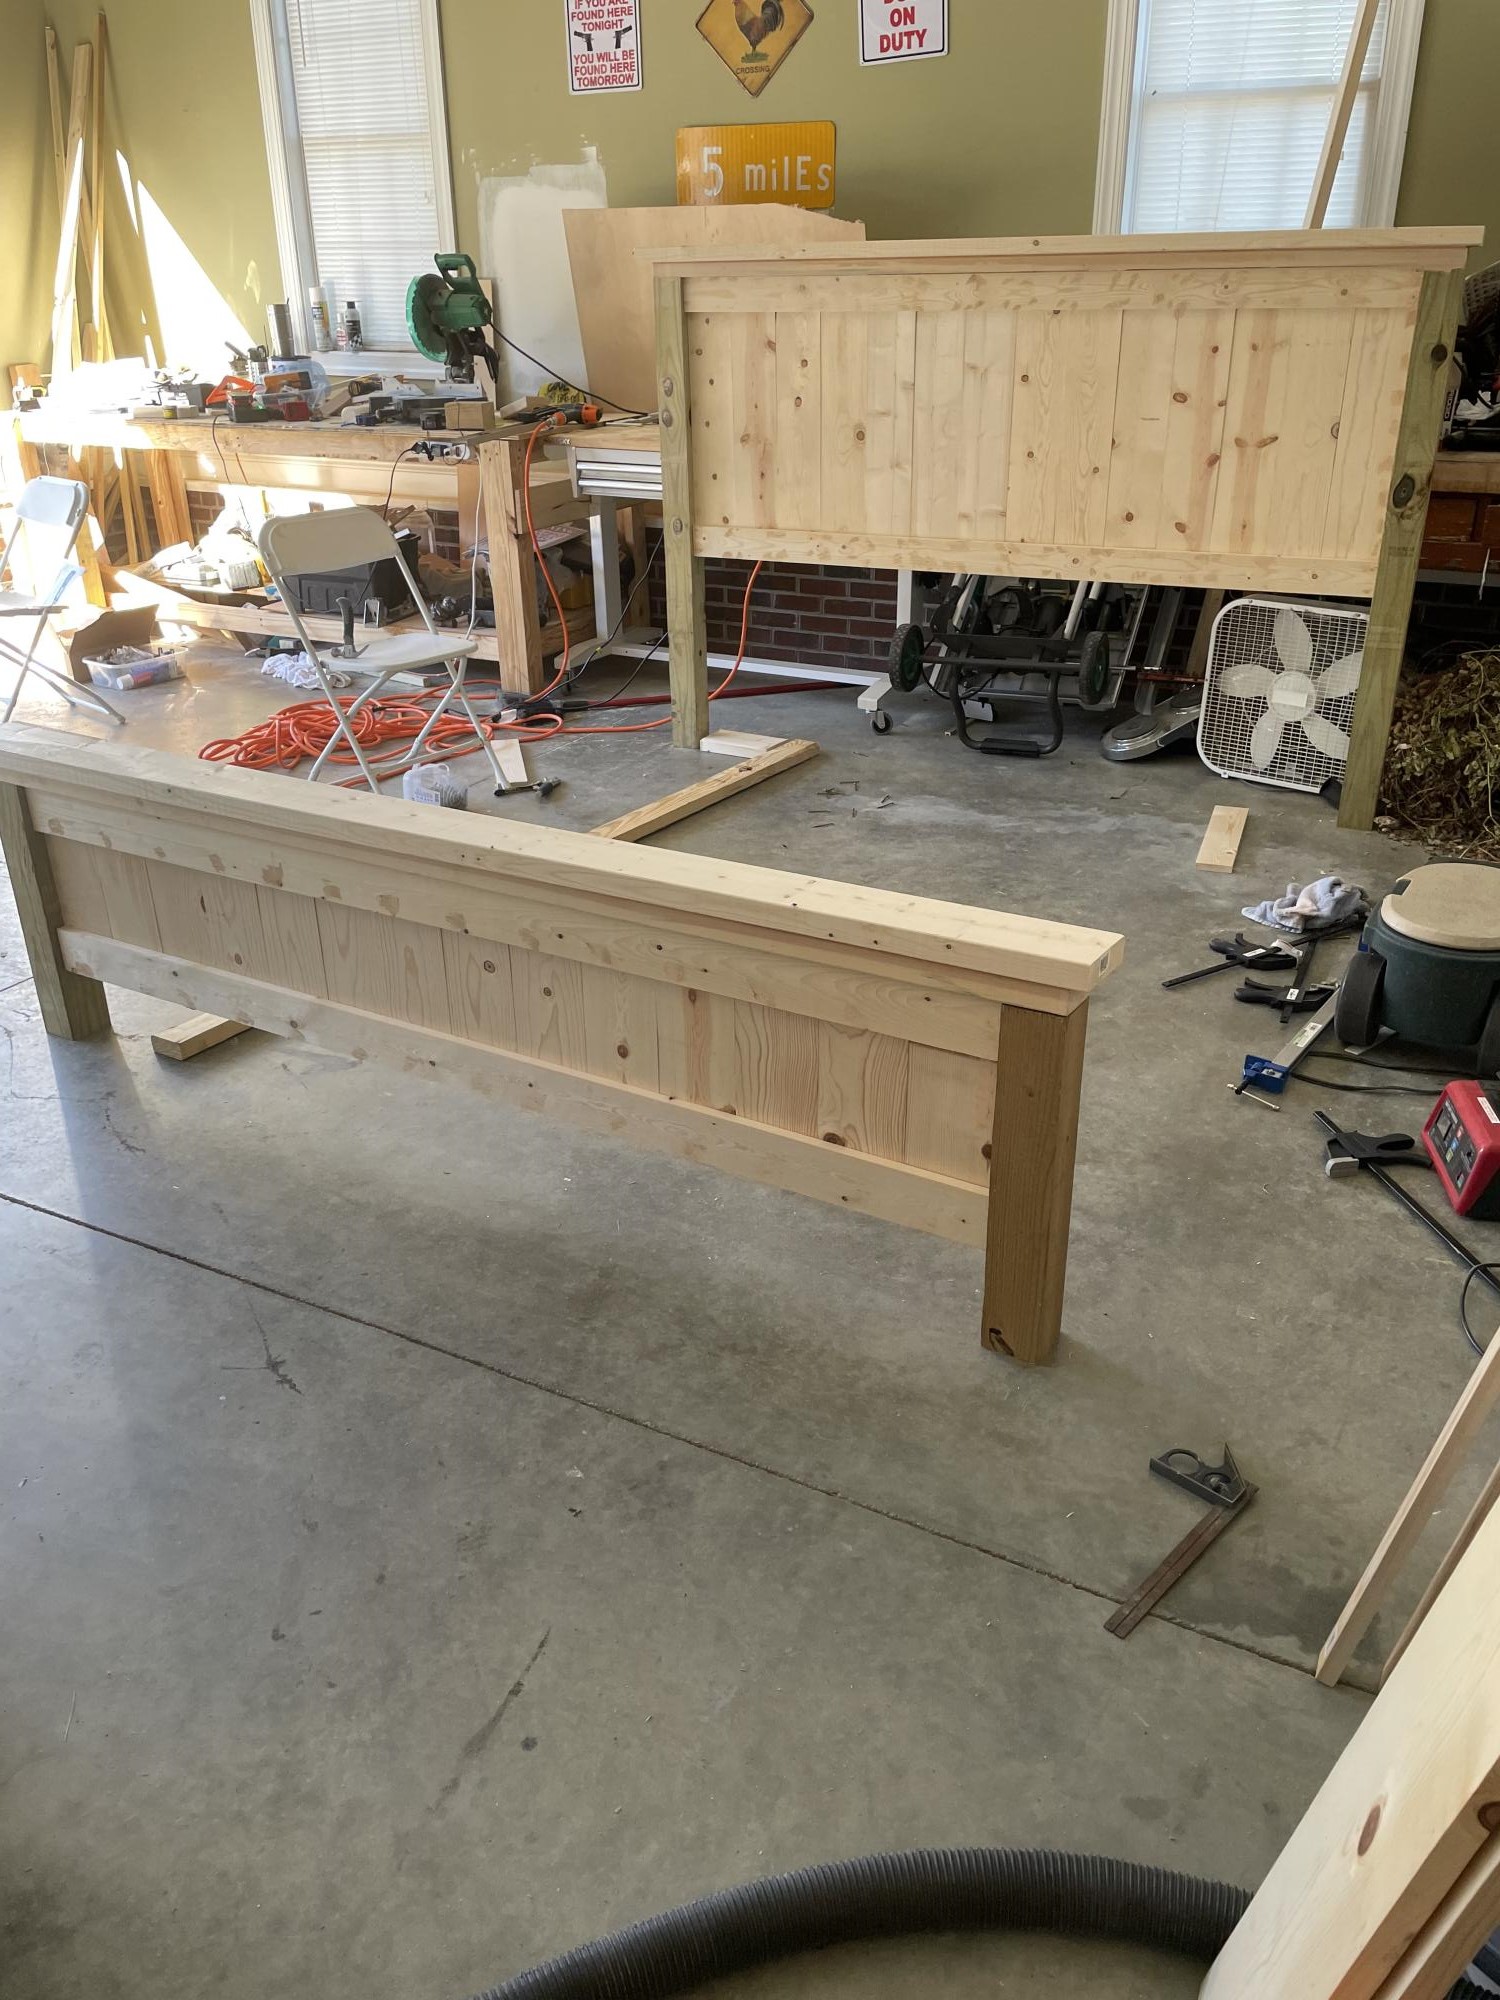
I built this bed for my son’s room. This is it in raw form. I still have to stain and paint it black before assembling inside. This is my 4th build so far. The plan is easy to follow just read in full and the reread before proceeding to next steps. Sometimes I get ahead of myself and have to undo and redo.
Built from Plan(s)
Comments
Sat, 11/06/2021 - 17:39
Great Bed!
That is a wonderful build, can't wait to see it all finished and in the room! Thanks for sharing:)
Doggie Step Stool
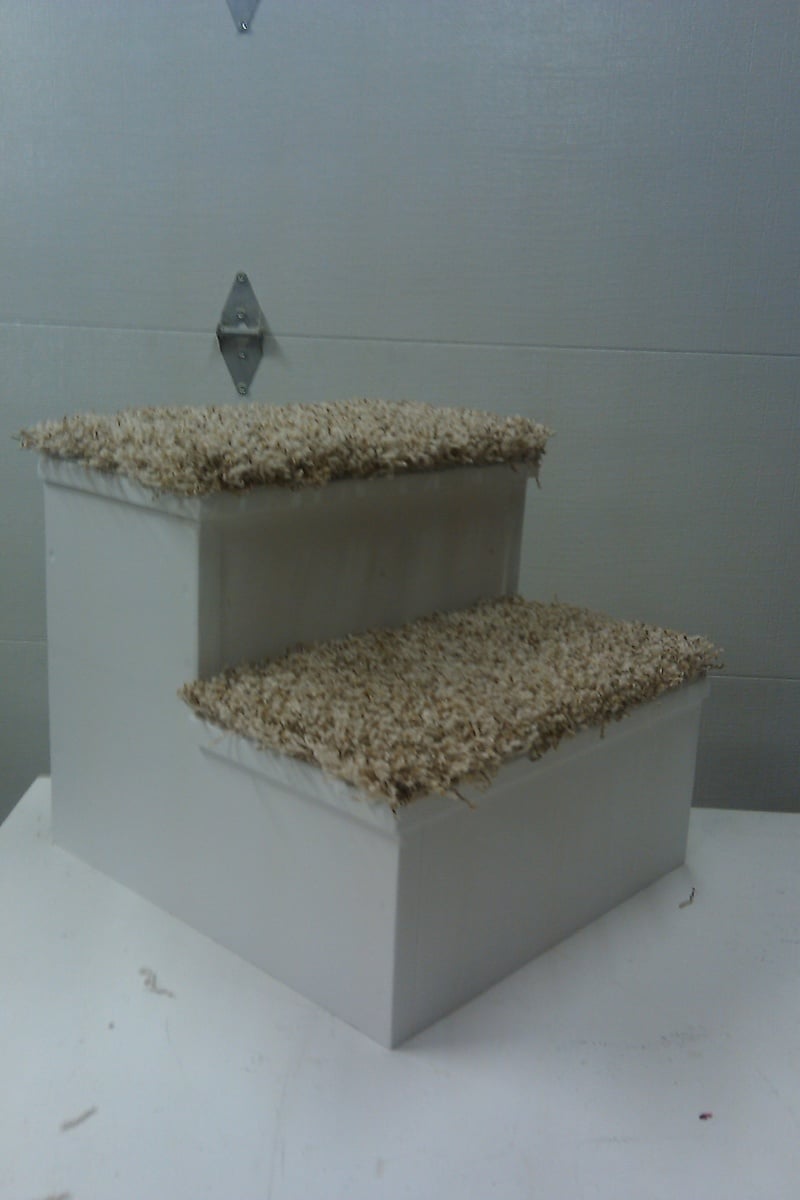
This was a quick project but I am happy how it turned out.
Built from Plan(s)
Estimated Time Investment
Afternoon Project (3-6 Hours)
Finish Used
Primer, White Paint and a few pieces of carpet for the steps.
Recommended Skill Level
Beginner
dresser/console
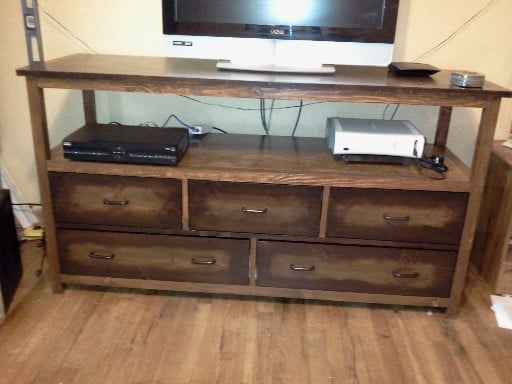
I modified the pottery barn inspired dresser to move the drawers to the bottom and the open shelf to the top so I could use this as a TV and game system console. I used all construction grade SPF, not a usual habit of mine but it turned out well. Wanted something that looked a bit rough around the edges. Stained it with Varathane stain, using Early American and Kona. The pic doesn't really do the drawers justice, the stain is a gradient with the Kona fading into the early american. The gradient really doesn't show up in the pic.
The piece compliments the Haley bed I built from Ana's plans and stained in a similar fashion
Built from Plan(s)
Estimated Time Investment
Weekend Project (10-20 Hours)
Finish Used
Varathane Wood Stain in Early American and Kona. Topped off with lacquer I sprayed on
Recommended Skill Level
Intermediate
Lego display shelf
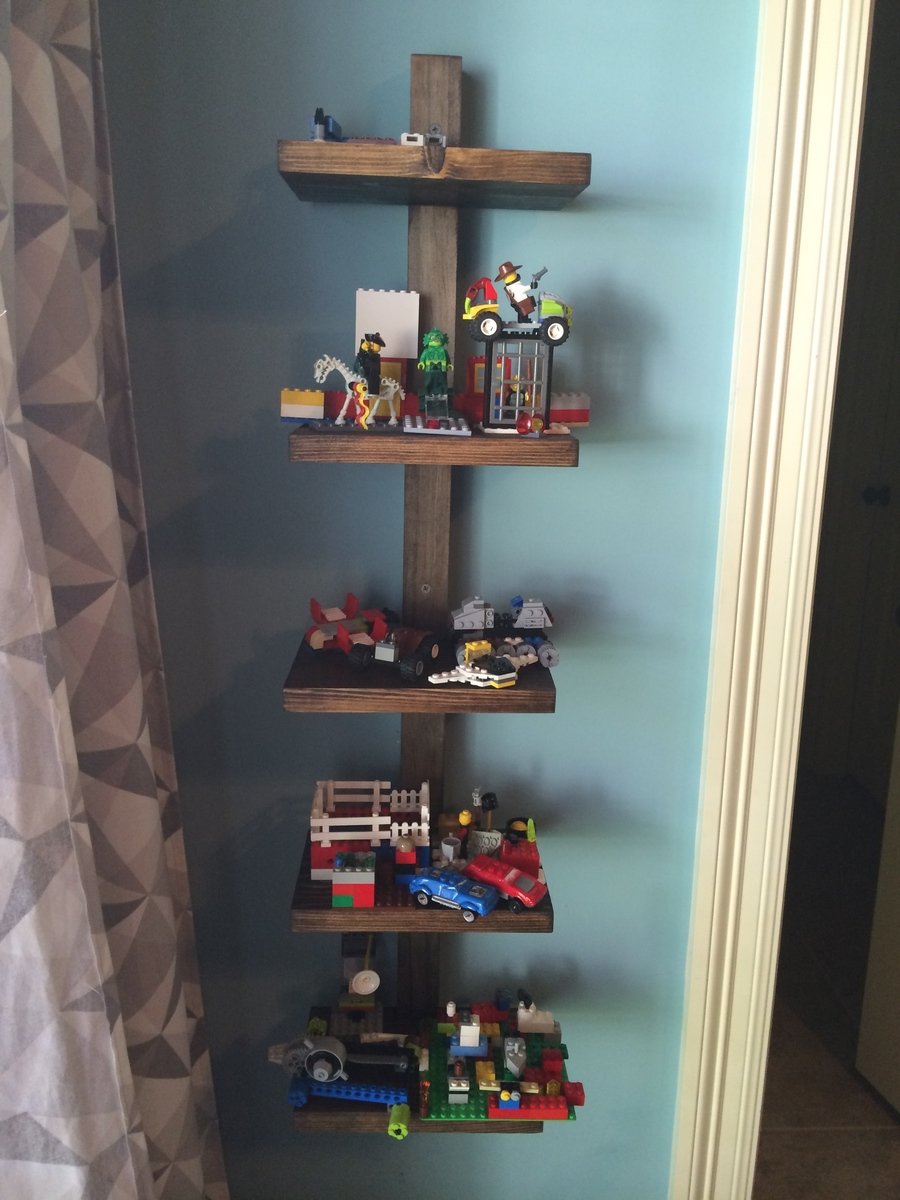
This was my first project that I built completely alone! My sweet husband has built a couple things from the site but I didn't have any help with this one. Nice to have a cleanish room and carpet now that all my son's legos are up on display. He loves it!

Built from Plan(s)
Estimated Cost
$5, used mostly wood we had laying around
Estimated Time Investment
An Hour or Two (0-2 Hours)
Finish Used
Miniwax Dark Walnut stain
Recommended Skill Level
Starter Project
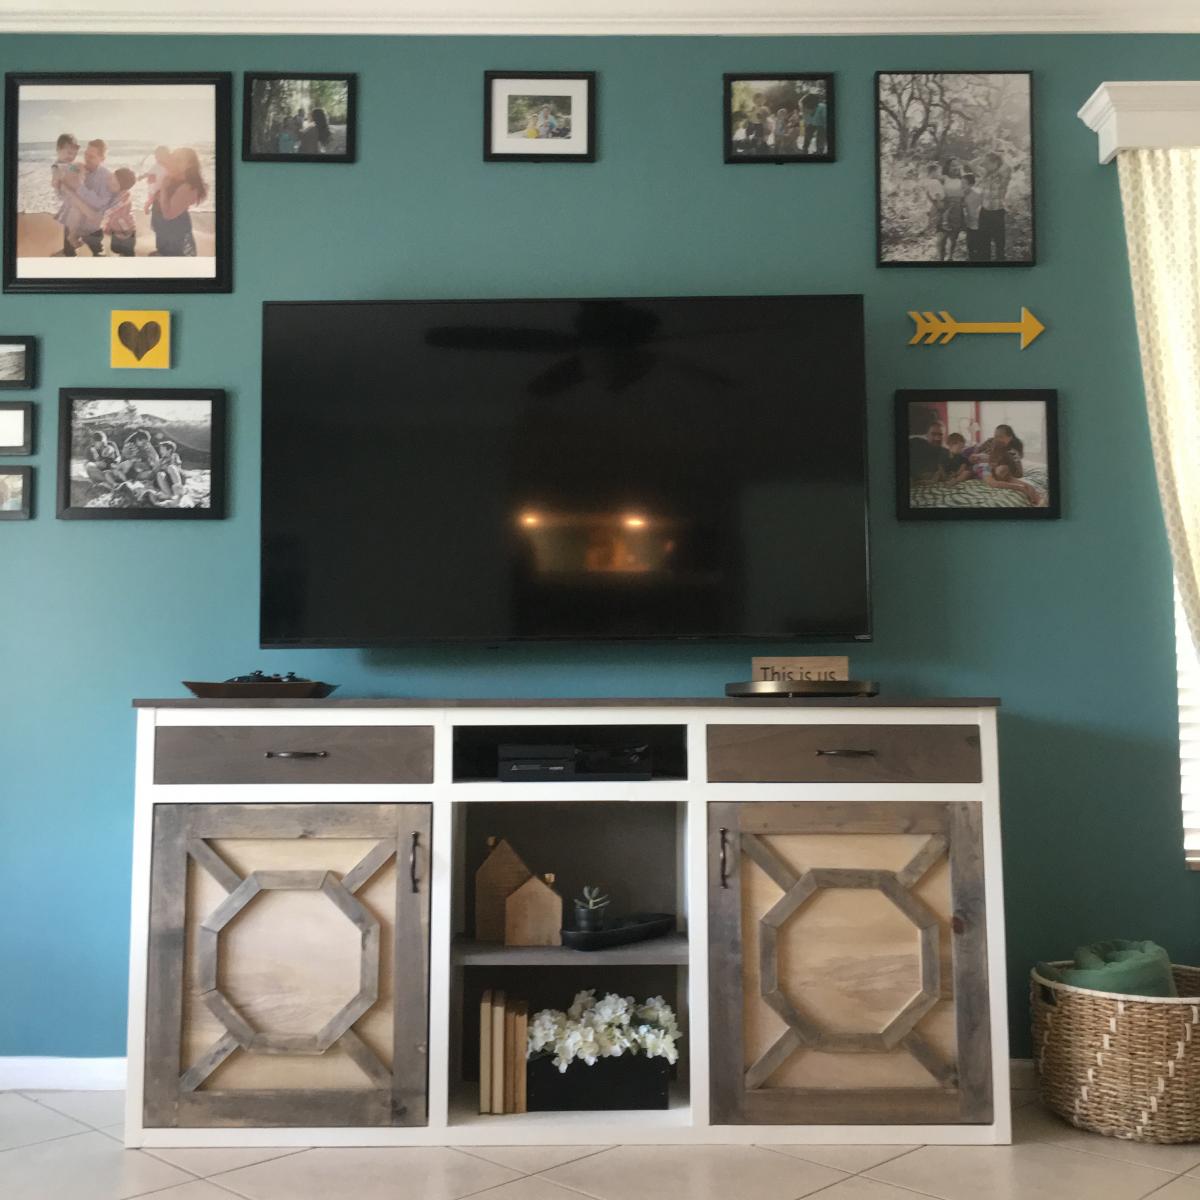
Farmhouse Media Cabinet
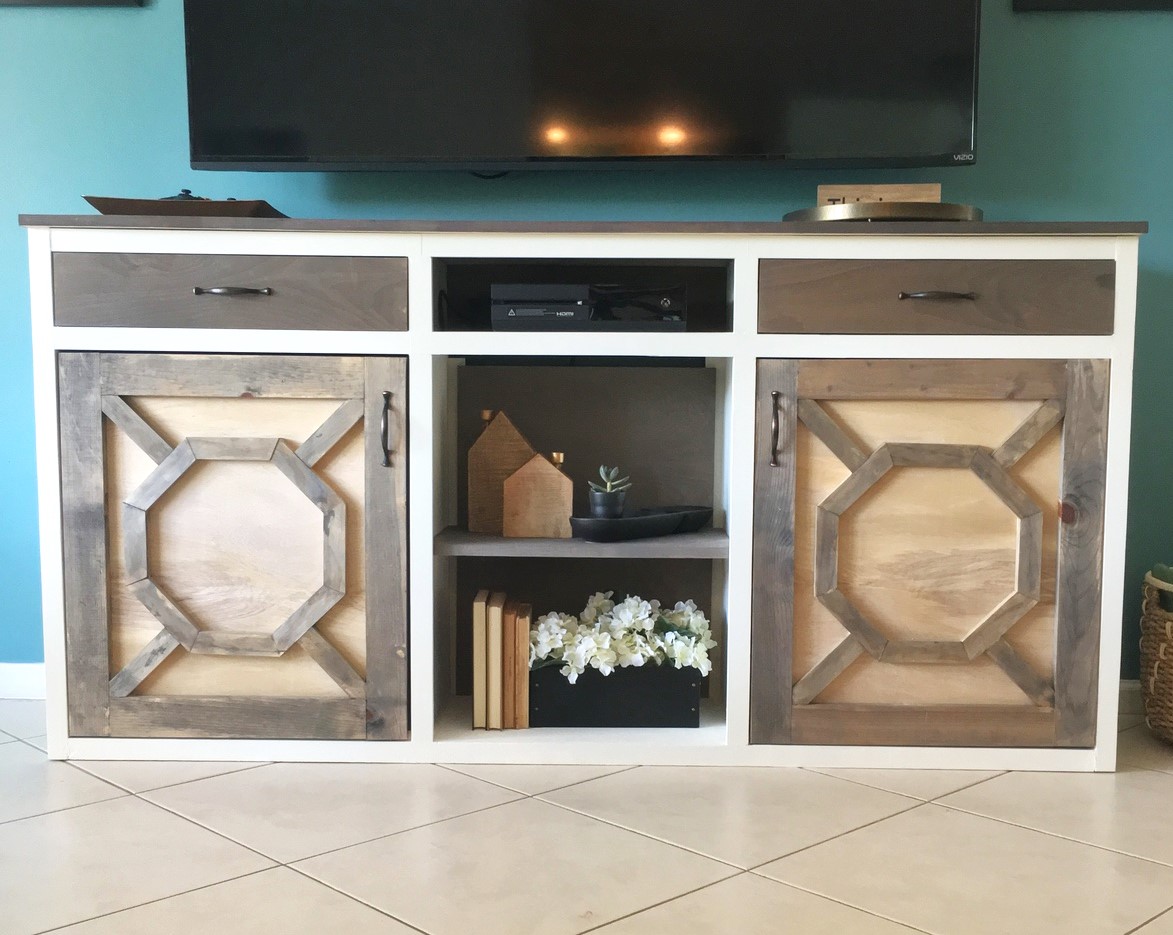
Media console made using pine and plywood.
1x2s are using for faceframe
Plywood top with edge banding
1/4" plywood for backing.
Built from building plans provided by Jen Woodhouse for an Instagram Builders Challange.
Sorry, no idea how to change the orientation of the photographs.


Estimated Cost
$175
Estimated Time Investment
Week Long Project (20 Hours or More)
Finish Used
Stained using Weather Wash Stains and painted in Ben Moore Simply White.
Recommended Skill Level
Intermediate
Sawhorse legs with simple desktop

I had a stack of hardwood slats I reclaimed from an old futon frame that I used to make the sawhorse legs. I used dowels and glue for the joints, and didn't alter the finish that was already on the wood. For the desktop I used a 2' by 6' finger-jointed pine board from the home improvement store and gave it a stain and poly finish. I glued a slightly smaller piece of 1/2 inch plywood to the underside to add strength. I made a cutout to fit my clamp-on sit-stand keyboard/monitor mount. The desktop isn't attached to the legs, so its easy to move. I plan to replace the plywood shelves with pine boards that match the desktop. I'm very happy with the results, it's a nice upgrade from the actual sawhorses and planks I had been using for a desk.


Built from Plan(s)
Comments
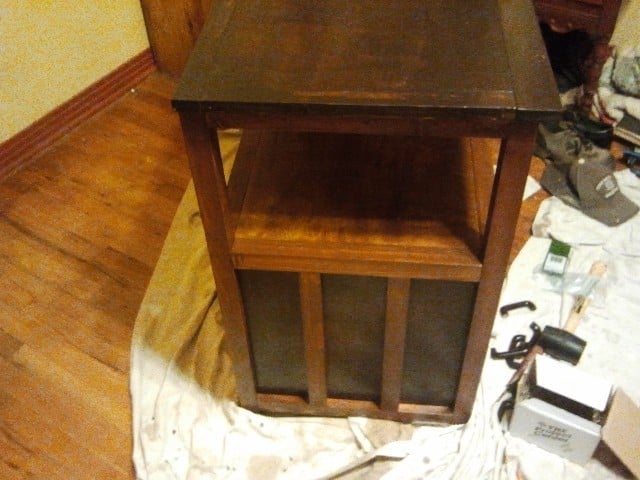
Entryway table

I took inspiration from the Library Catalog Play Table and modified it to fit my needs for an entryway table that would not obstruct the radiator.
Built from Plan(s)
Estimated Cost
25 USD
Estimated Time Investment
Weekend Project (10-20 Hours)
Finish Used
walnut glaze and yacht lacquer on the top of the table for extra shine , drawers with white water based paint
Recommended Skill Level
Intermediate
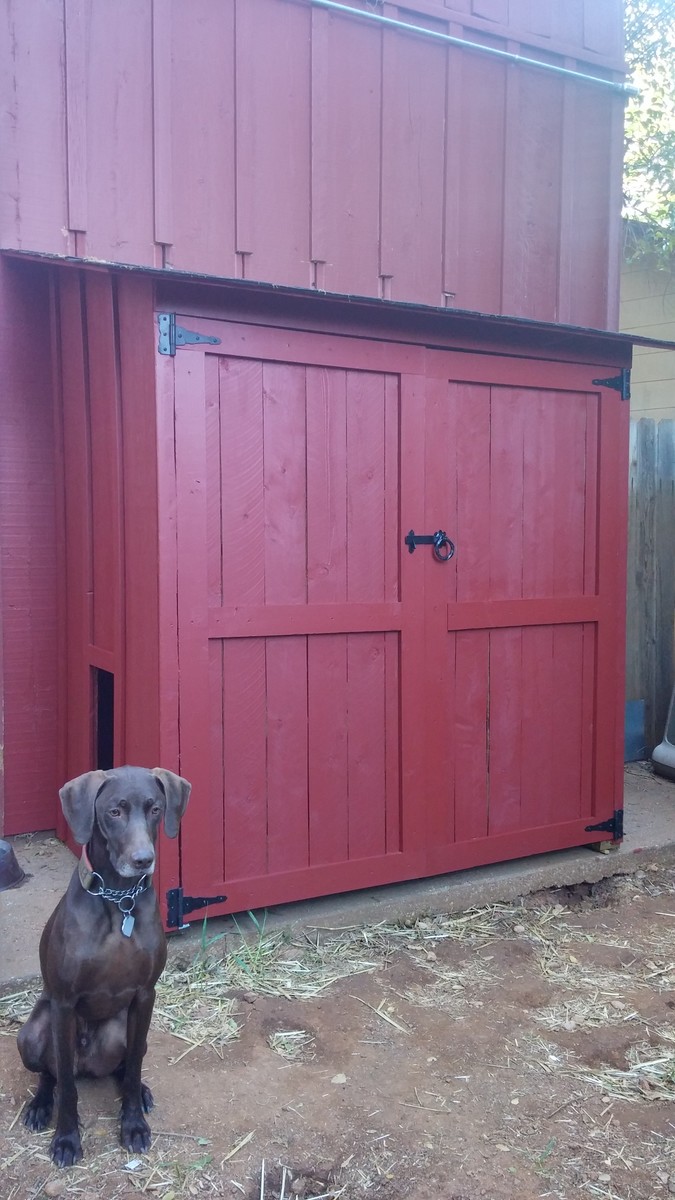
Modified garden shed for a combo dog house
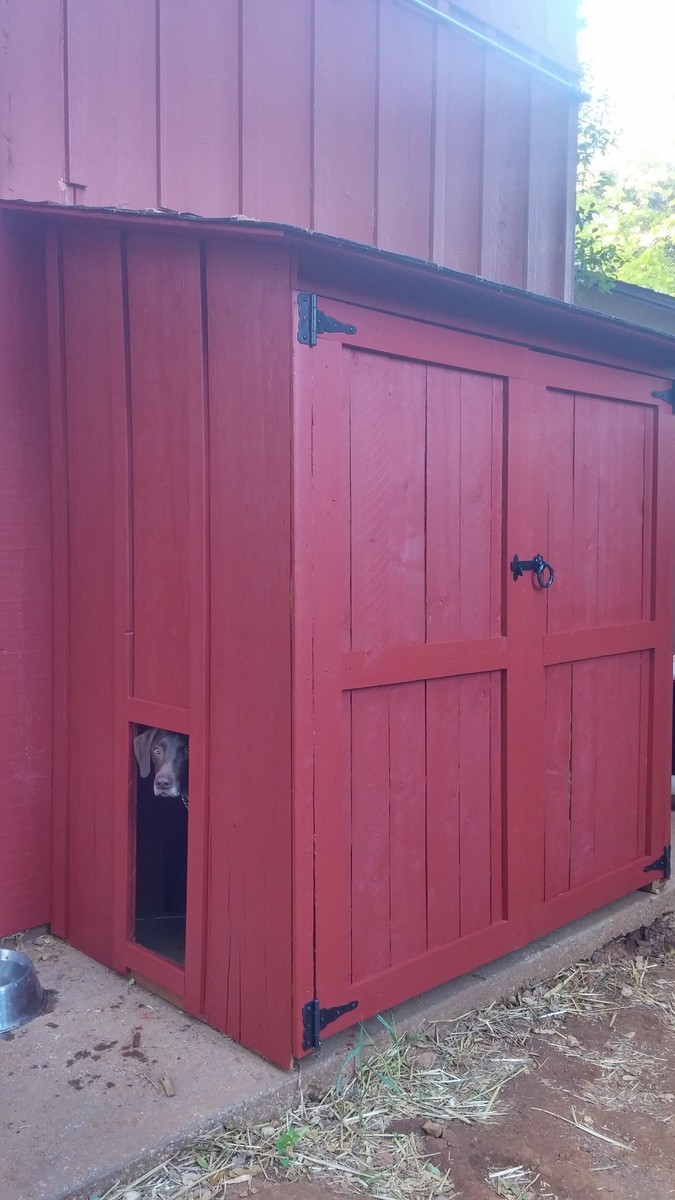
I needed a garden shed (for potting supplies) and a dog house, but I wanted it to look good. I started with Ana's plans, but screwed up a cut and was too lazy to go to the store, so I modified the plan a bit - also we didn't want a lot of venting off the roof.
OUR MODIFICATIONS:
NO BACK WALL - I did not build a back wall, as we pushed it all the way up to the house. (You need to check your codes for this if it's allowed. The way I'm integrating mine w/o breaking the exterior waterproofing of the house and it's unconditioned made mine OK)
DOG HOUSE- I cut away a hole for our dog between the battens. And as you can see - he loves it. He's got his Coolaroo dog bed inside. We also added a 'ceiling' to the lower dog house half, that divides the gardening storage from dog house. The large shelf inside that acts as a dog house ceiling, and above are my un-used pots, hand tools etc. (no worries no chemicals with the puppy)
PAINTED EXTERIOR- I painted it red to match the house, and will also be putting garden pavers in front of the doors.
ROOF- We did put an underlayment down on the roof before the asphalt shingles.
LESSON LEARNED- If your dog is a Mama's boy like mine, he may try to climb a ladder to remove you from a roof which he has determined is not OK for you to be up there.
*One concern is - most sidewalks slope away from the house, so we had to shim the sill plate so front of the shed doesn't lean outward causing the doors to pull open constantly. As you can see from the photo I still need to flash at the roof where we cut back our houses' battens.
COST- We live in CA - and this project was more expensive than anticipated, our lumber/roof shingle costs were around $270 alone, and keep in mind we didn't build a back panel. I have very little scrap left over too. When I was nearly done the hinges were an additional $15 a piece, $10 for the latch. And we had the primer and paint in the garage. Underlayment for roof, I already had in the garage too.
TIM-: I started this project on a weekend, but it ended up taking longer; probably because I didn't block out the weekend just for this project. I spread it over the course of a month, so hours wise it probably wasn't as bad as it felt... You do need two people though, and that's where I ran into some trouble, I kept trying to work on it when my husband wasn't home. Probably 24hrs, 3 easy going days. Could probably be done in a weekend if you were dedicated and didn't get distracted (or screw up a cut like I did, which sent me to the drawing board to fix my mistake)
Built from Plan(s)
Estimated Cost
$350
Estimated Time Investment
Week Long Project (20 Hours or More)
Finish Used
Exterior house primer and paint
Recommended Skill Level
Intermediate
Comments

Rustic X Console
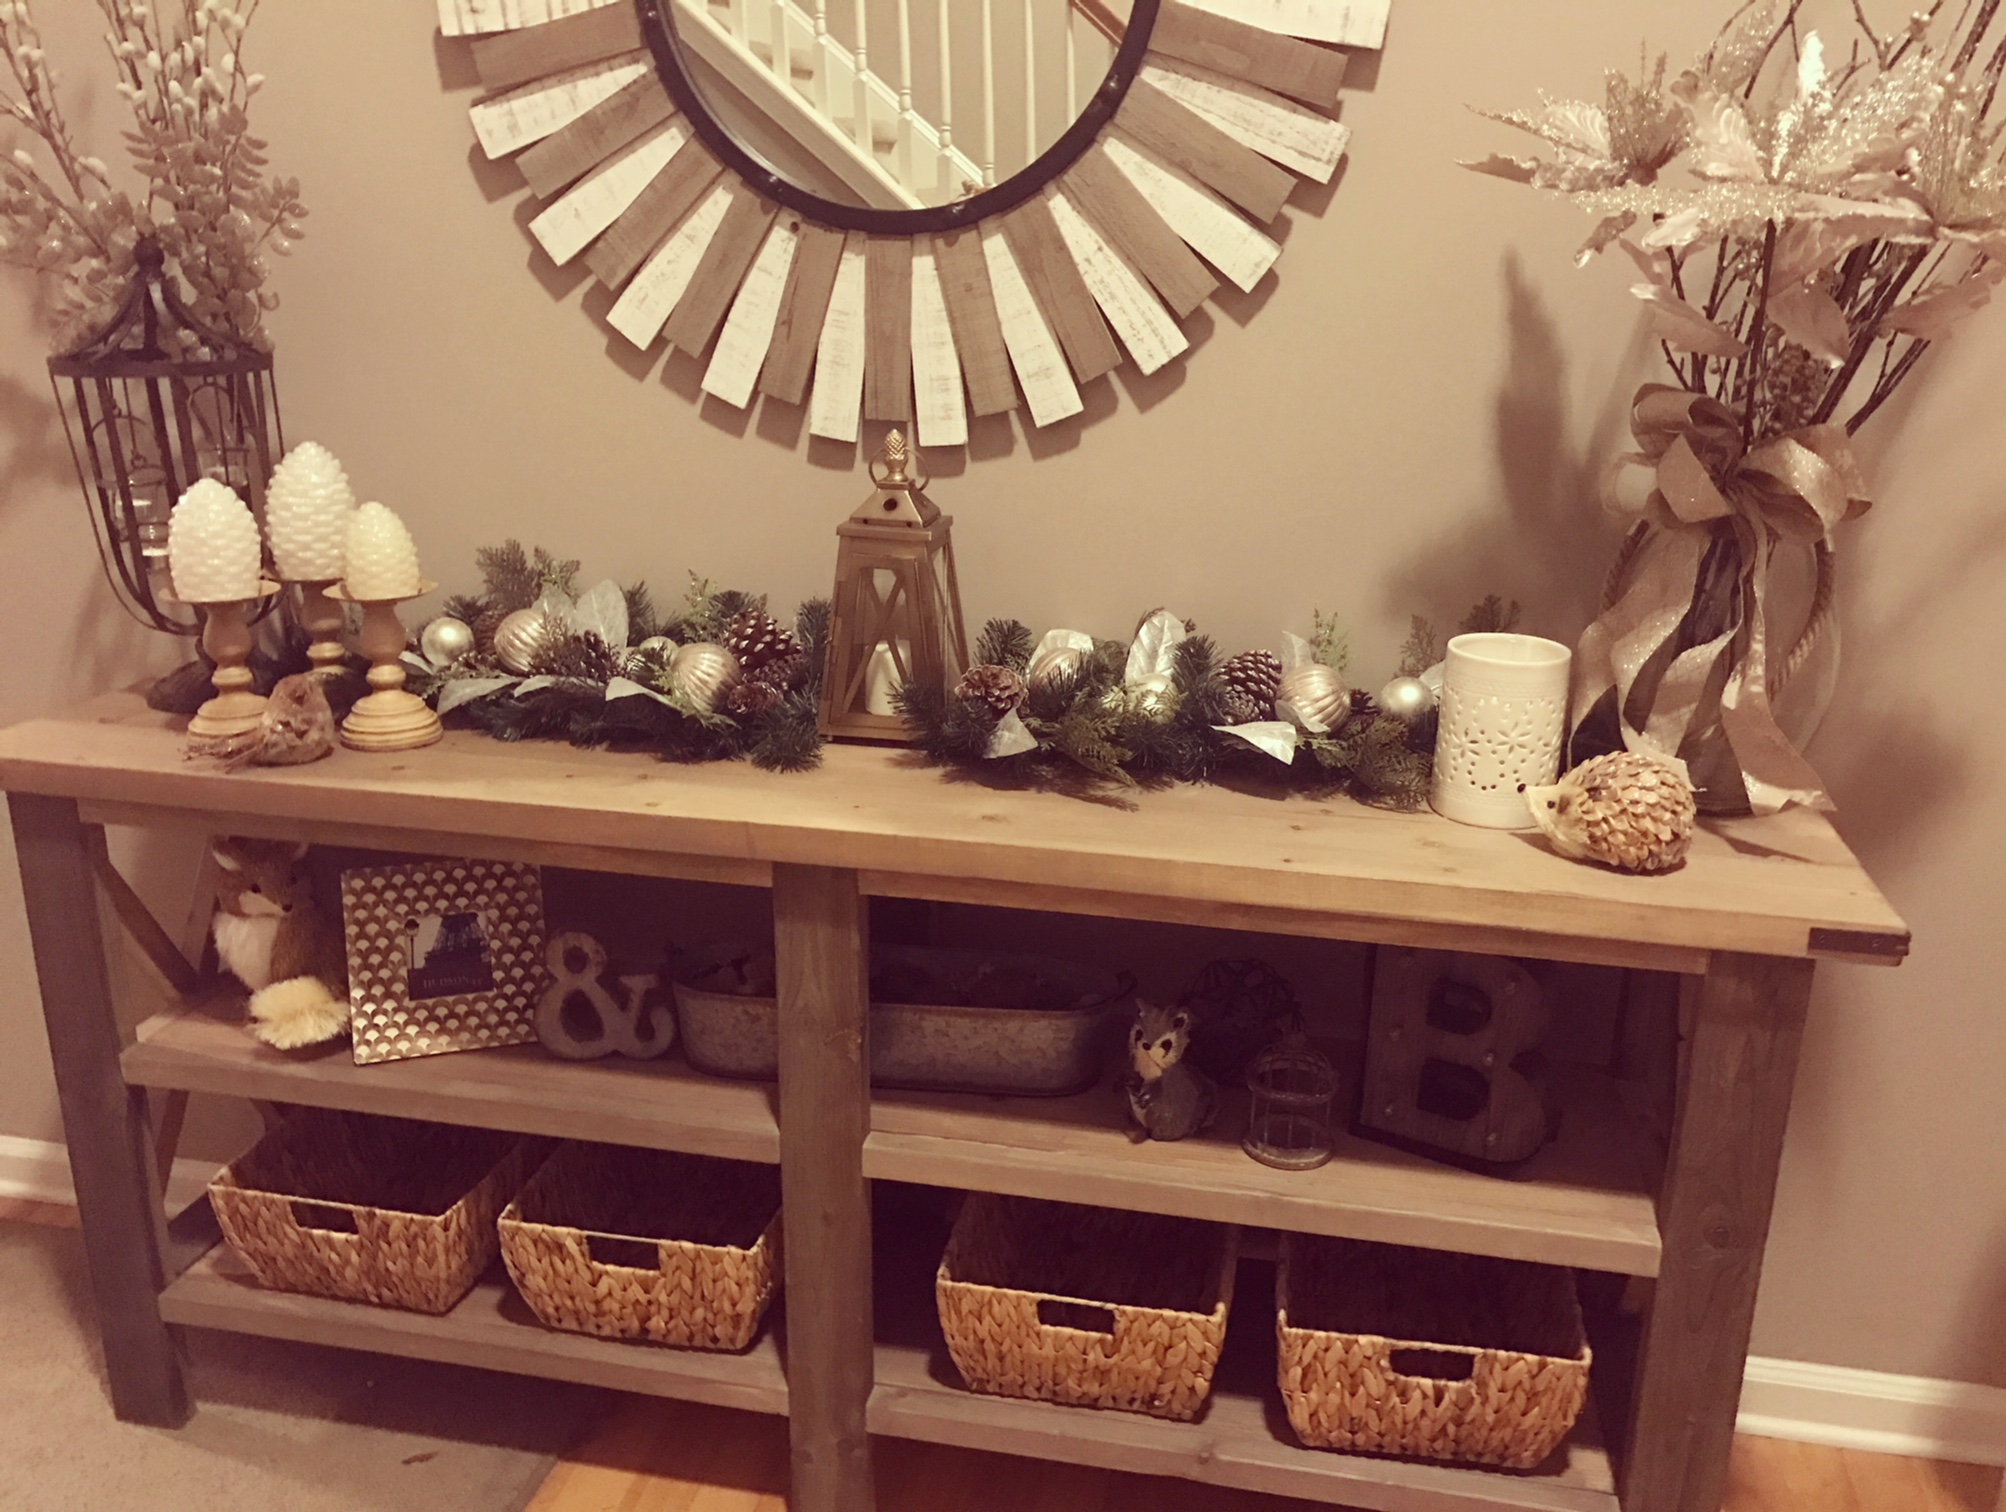
Turned out awesome! Great peice for my large 2 story foyer. Took longer than expected. The angles for the X proved a little tricky. Everyone loves it and thinks it's a $800 peice! ;)
Built from Plan(s)
Estimated Cost
$150 We had to buy a a Kreg Jig too
Estimated Time Investment
Weekend Project (10-20 Hours)
Finish Used
Homemade weathering stain made by dissolving steel wool in vinegar for 3 days. Something like this http://keepingitcozy.blogspot.com/2014/09/weathering-wood-with-steel-wool-vinegar.html. Then sealed it with a clear matte furniture wax. Since my piece won't be in the sun or have liquids placed on it. *Note with the homemade stain: different types of wood will absorb the stain differently. Notice my 2x4 legs turned out much darker than the top. I think that's cool though. Also, the longer the steel wool/vinegar mixture sits...the darker it will get. I suggest testing stain on the scrap pieces of wood you used to build the piece.
Recommended Skill Level
Intermediate
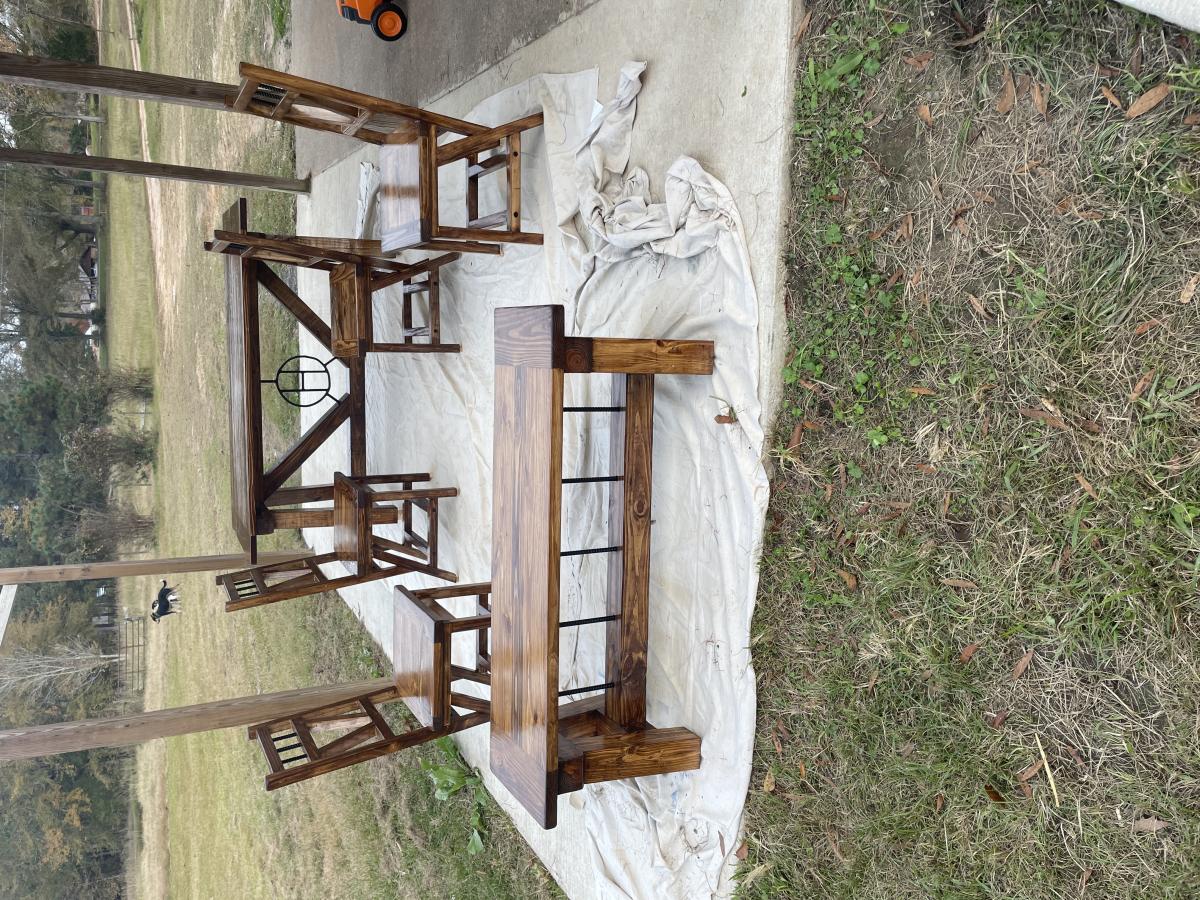
4x4 Truss Beam Table
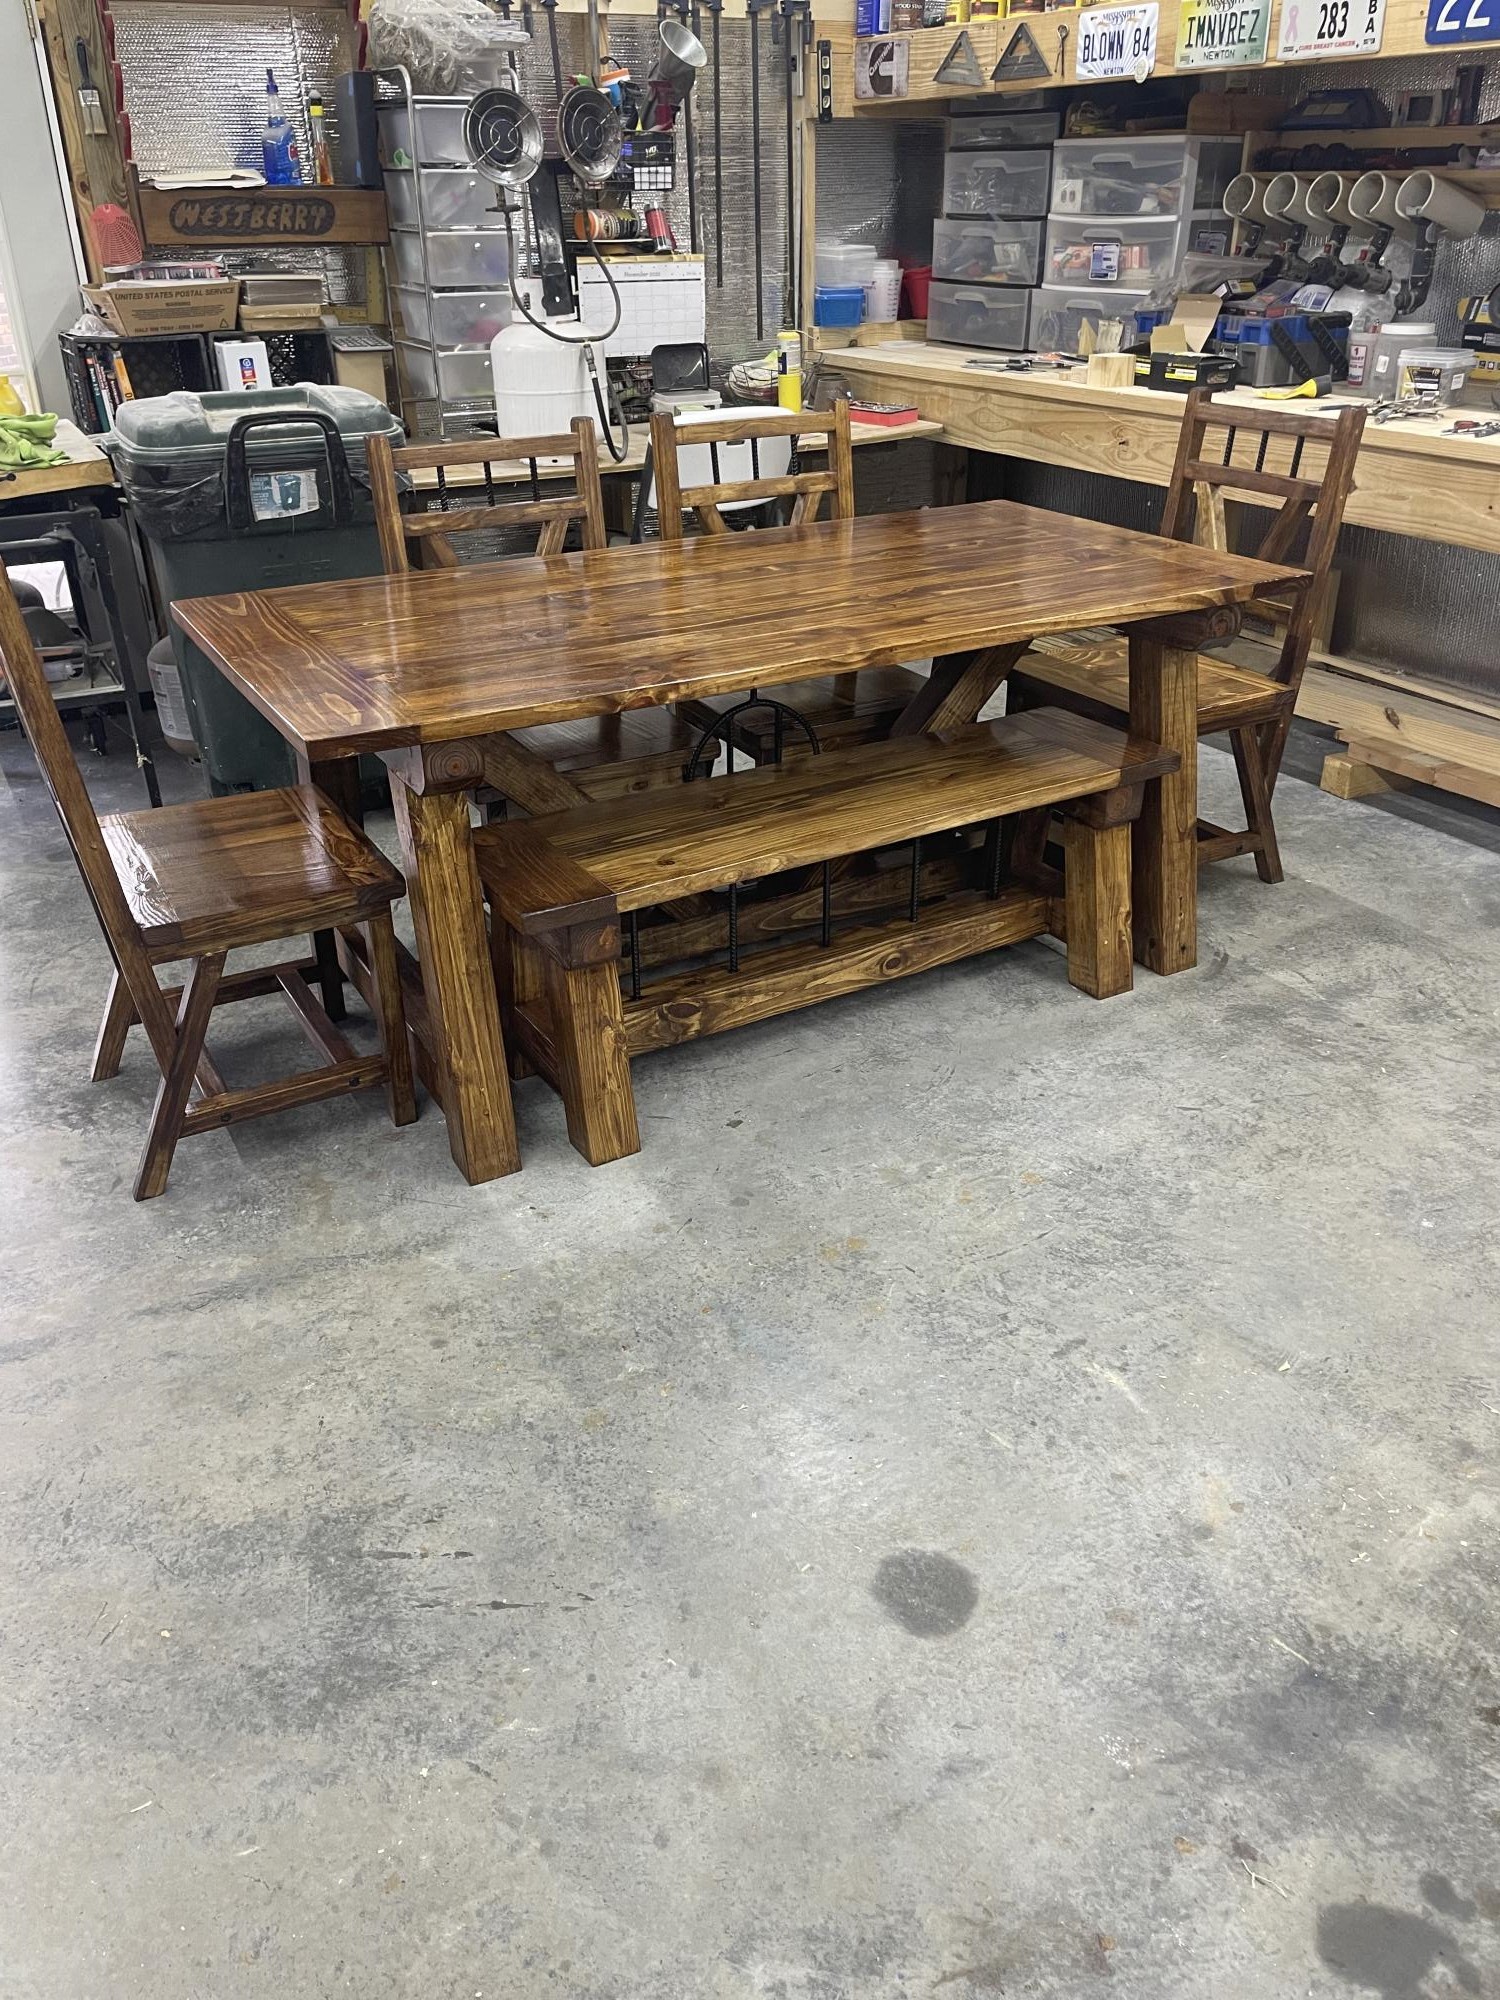
Truss beam table with bench and 4 chairs
Built from Plan(s)
Comments
Sat, 11/27/2021 - 15:23
Beautiful! Chair plans?
Very nice work! Love this set. May I ask if the are plans for the chairs? Would you be willing to share them?
Tue, 11/30/2021 - 18:29
the chairs i just drew up on…
the chairs i just drew up on a piece of paper and just got out in the shop and made them.....i have to build some more so i will kind sketch some plans down if you are interested in that
Simple Pallet Storage Crate on wheels
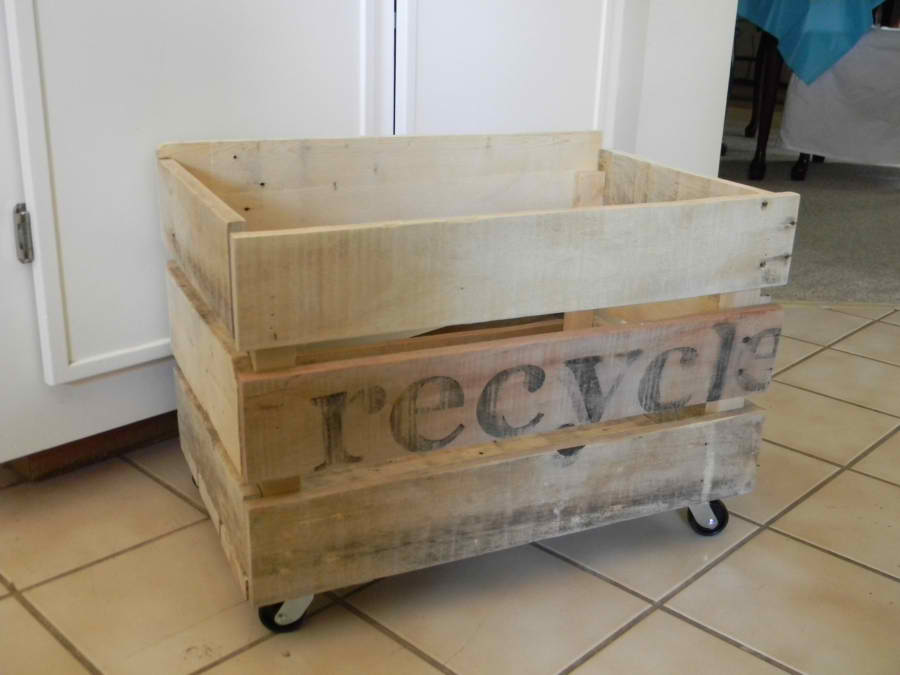
Pallet Crate on Wheels
I had some leftover pallet boards and wanted something for storage to put under my new pallet sofa table and found this plan on Ana whites plans. I changed it up a bit with the side of the crate being different only because I had to use what I already had on hand....if you want to read more and see how I built it, come check it out at my website...http://www.mysimplehomelife.com/2011/04/pallet-crate-on-wheels.html
Built from Plan(s)
Estimated Time Investment
An Hour or Two (0-2 Hours)
Finish Used
I did not use a finish, just chalkboard paint for the stencil. I wanted to keep it rustic.
Recommended Skill Level
Beginner
Husky Farmhouse Table
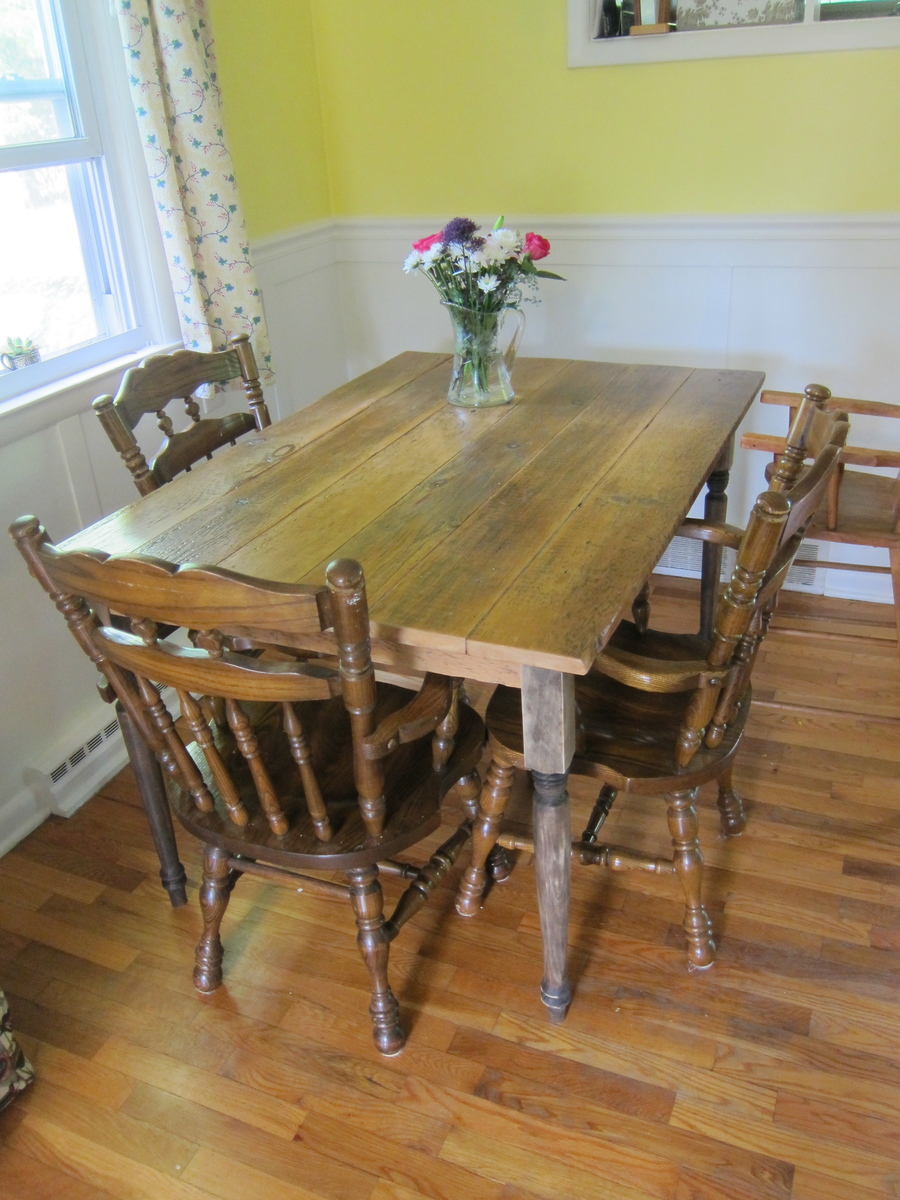
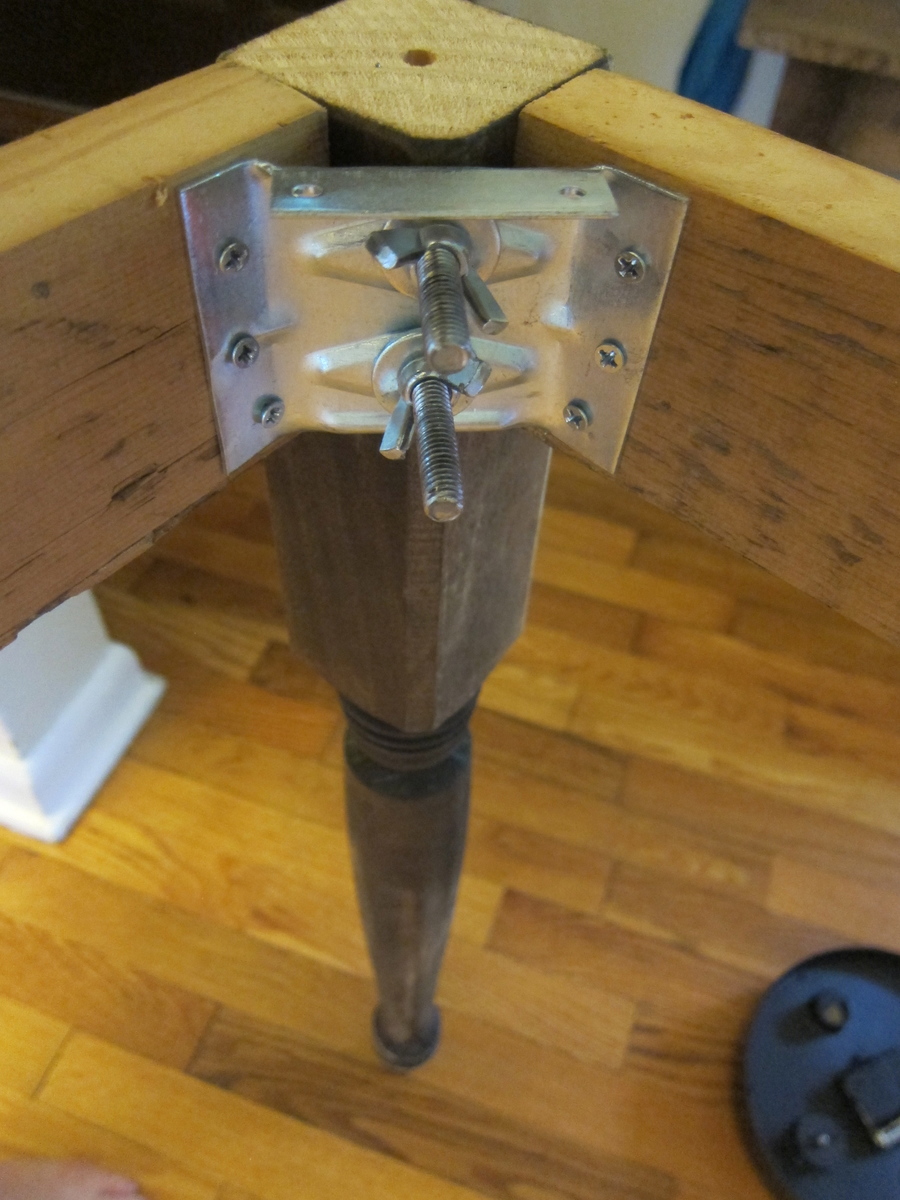
I've been wanting to build a "plank" style farmhouse table for a long time. I used metal corner brackets to allow for easy removal of legs of the table. However, I found the corner brackets quite hard to work with. I think they're probably sturdier than just pocket holes, so I guess that's good.
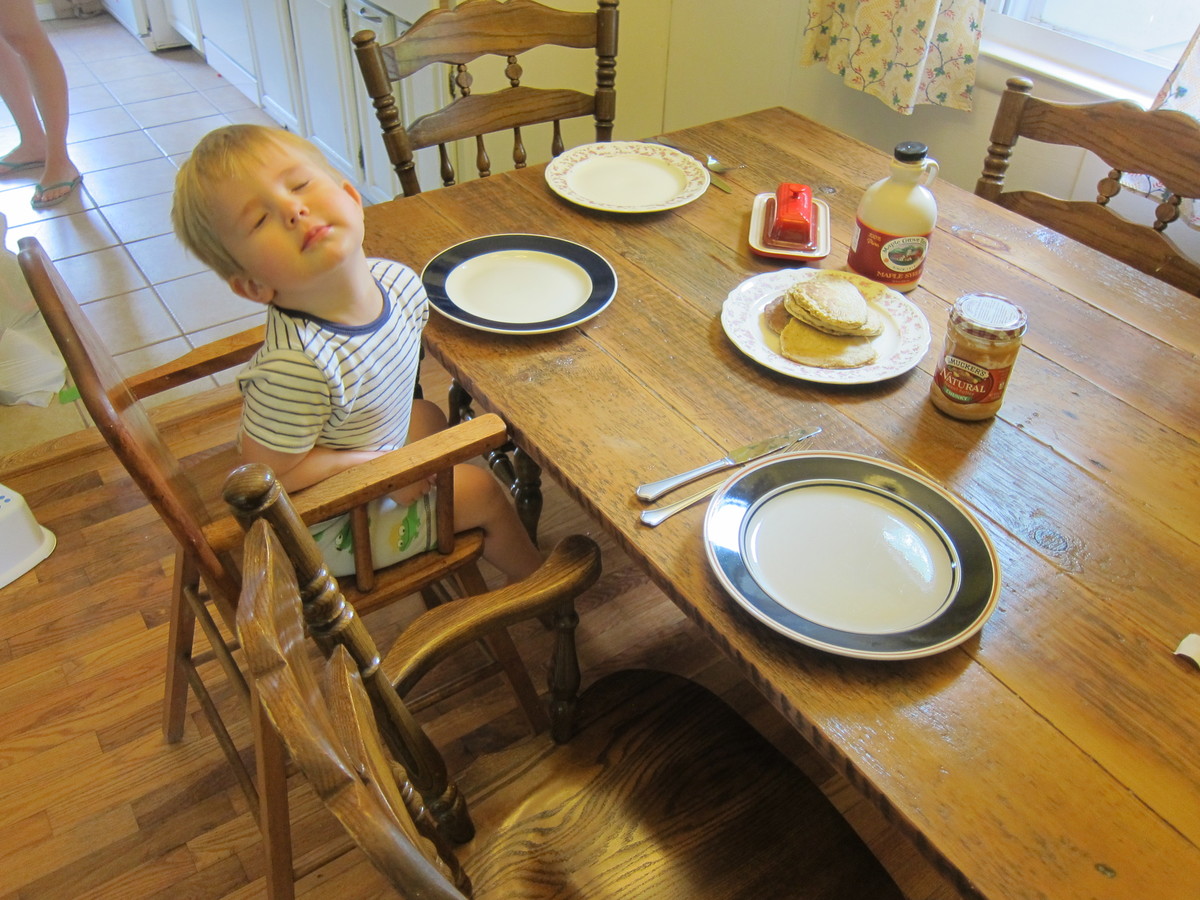
I used 100-year old barn wood and it looked so beautiful. BUT...I have a two year old and I'm expecting another child soon, so I wanted to plug up some of the gaps in the wood (like old nail holes that went the entire way through the boards) and put something down to preserve the quality of the wood.
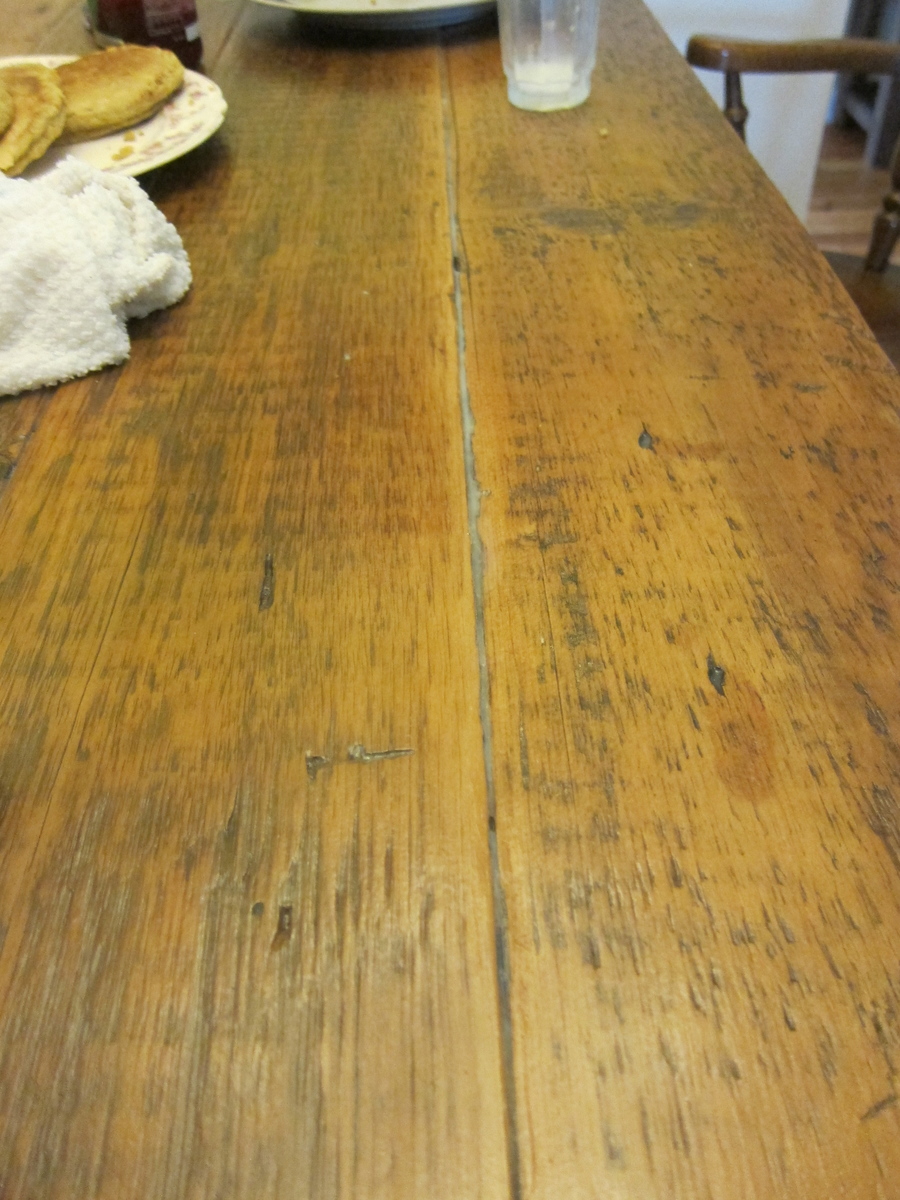
After researching a lot of ways to fill in the gaps in wood tables, I tried a few things.
First I tried clear silicone. I think this would have been a great option if the holes were just a little bit smaller. It ended up just looking like plastic in the spaces, though. So I scooped that out and then tried wood filler. The wood filler looked terrible under polyurethane, though, and no matter how much I tried to get them to match, it just looked like a different color. Finally, I ended up using painter's tape on the bottom of the table under slats and holes and filling them slowly with polyurethane (I used an eyedropper for this task!). It worked really well. I should also say that I sanded the already planed boards as much as possible to reduce the gaps between boards.
I'm really pleased with my new table!
I used only poly on the top. The wood is its natural color.
Thanks for the idea, Ana!

Built from Plan(s)
Estimated Cost
Maybe $100 (wood, brackets, legs, poly)
Estimated Time Investment
Weekend Project (10-20 Hours)
Finish Used
Clear, water-based polyurethane.
Recommended Skill Level
Beginner
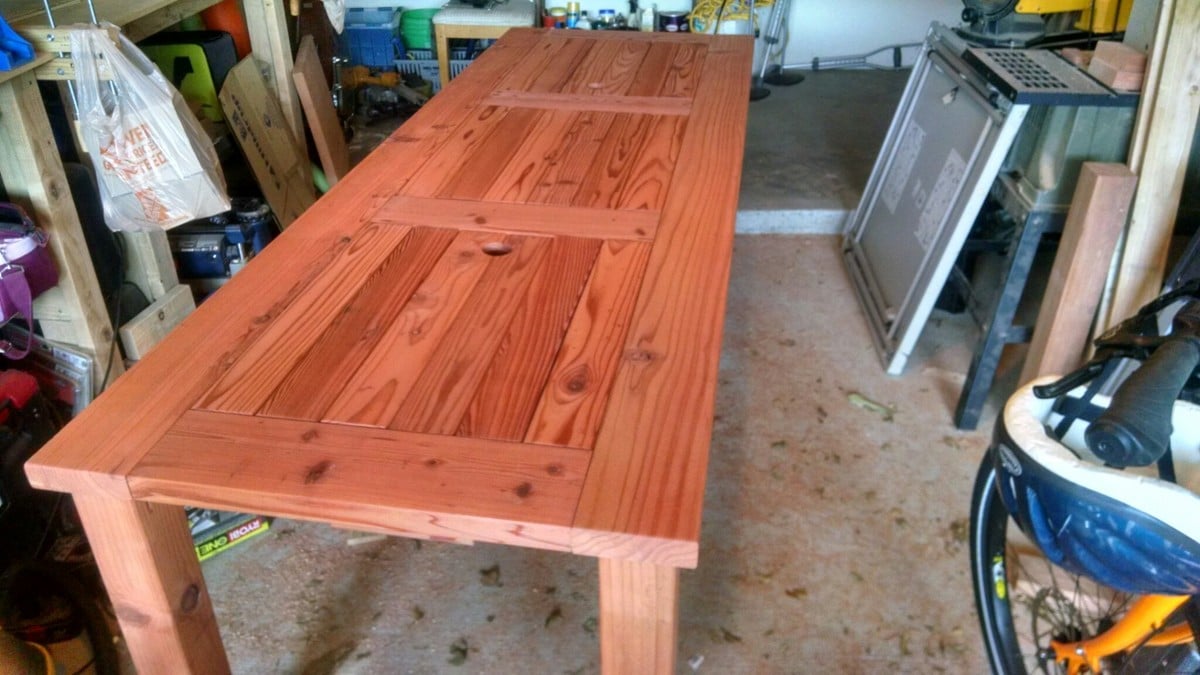
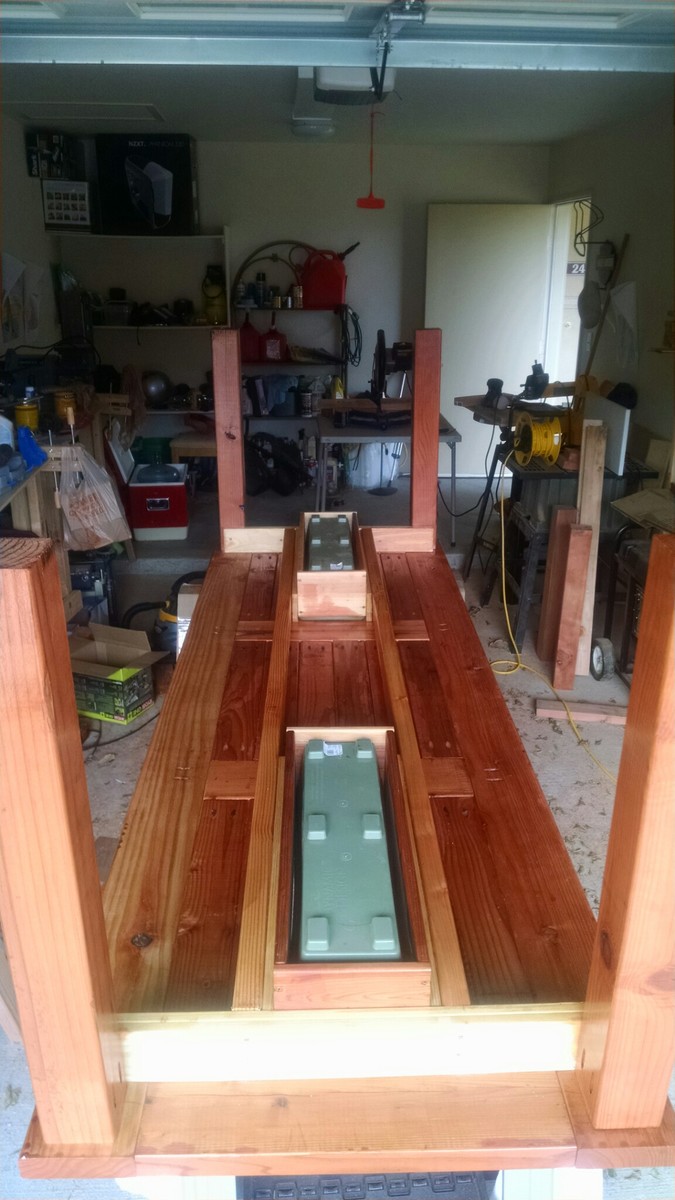
A little Longer
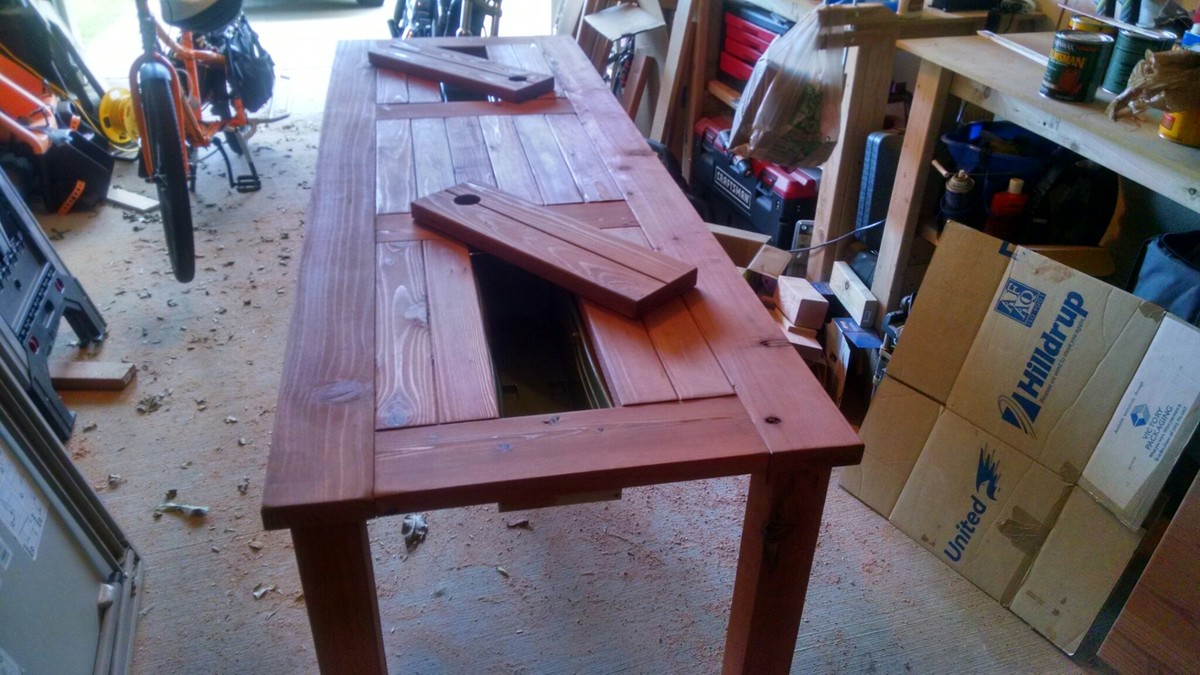
This is not only my first Table, but my first finished project with stain and all. I had a blast with it, but I'll want feedback on what to do different.
The Home Depot here on Hawai'i does not have 2x8's and 2x6's in those places made the table way to short, so I decided to make 3 sections of the 2x4 top. After completing it I thought that it might be to week in the middle so I mounted two 2x4's on the bottom to run along the planter boxes.
Look over it and tell me what you think!

Built from Plan(s)
Estimated Time Investment
Weekend Project (10-20 Hours)
Finish Used
Colonial Maple
Recommended Skill Level
Beginner
Comments
First coffee table

Made this for my son's new basementsuite.
Built from Plan(s)
Estimated Cost
$85.00
Estimated Time Investment
Weekend Project (10-20 Hours)
Finish Used
Minwax Polyshades
Recommended Skill Level
Intermediate
Bench
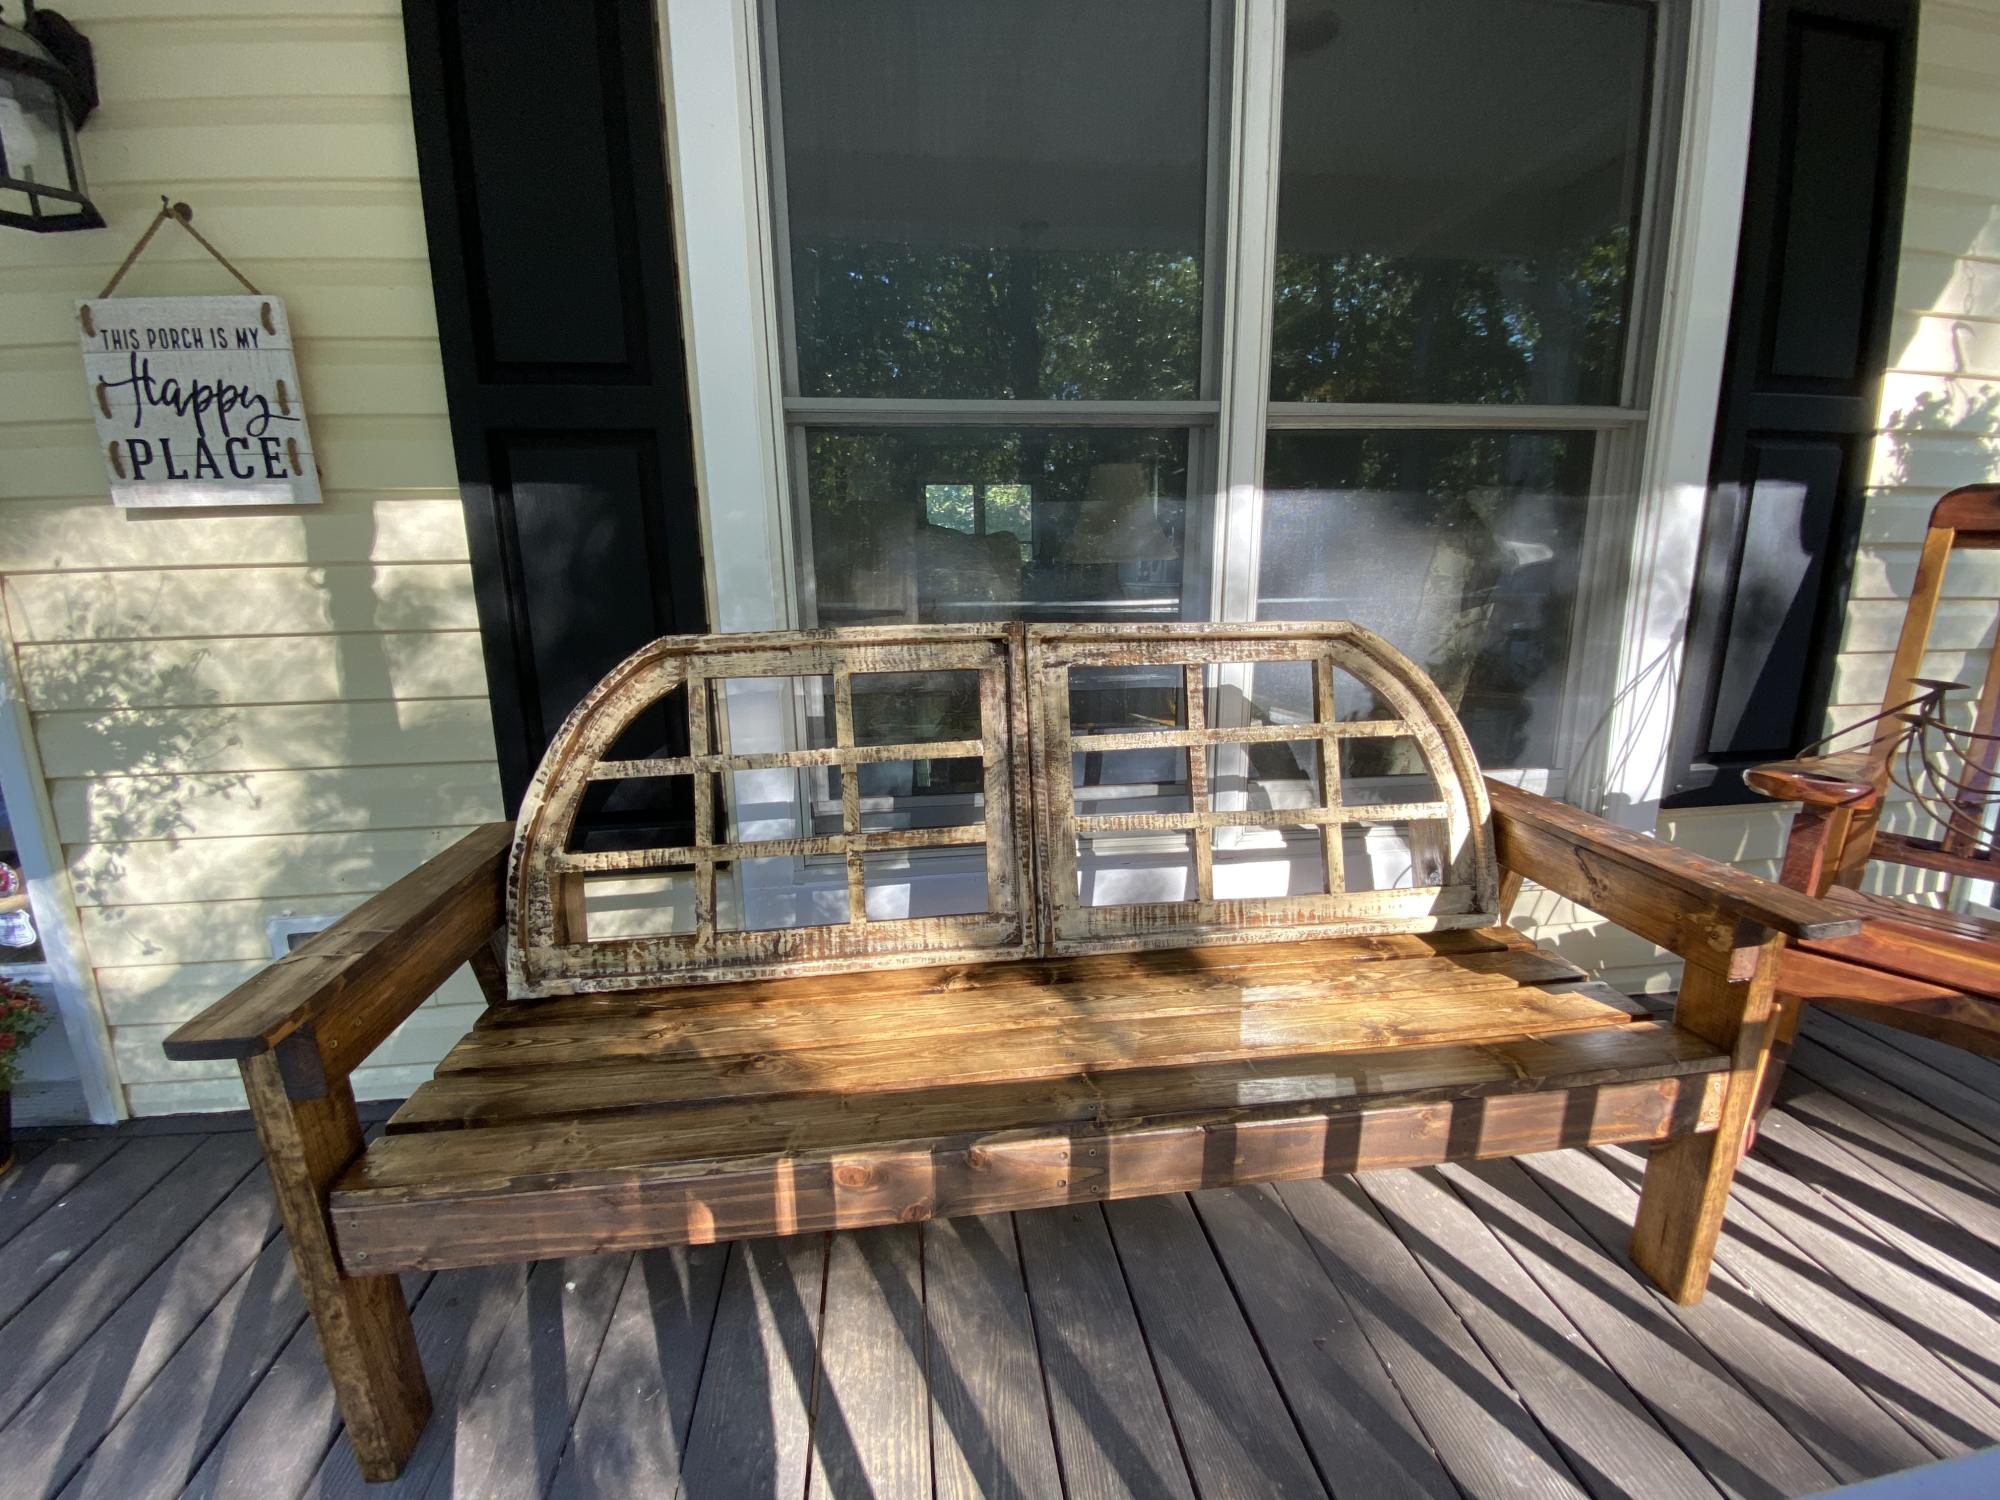
Found the old window frames used for the back at resale store.
Made the bench for daughter’s birthday.
Now Sitting in Virginia overlooking the Blue Ridge Mountains.
She has added pillows
Comments
Sweet T's Easy Console Table

My first build! Added a shelf to the bottom. Think it came out great :) Super excited to tackle my next project!!
Built from Plan(s)
Estimated Cost
$30 -$40
Estimated Time Investment
Afternoon Project (3-6 Hours)
Finish Used
Rustoleum - Universal Hammered Brown
Added the bottom shelf. Did not cut the breadboards, but made a solid top. Also, added hardware for a faux drawer look.
Needed to adjust the cuts for the width to 9 3/4, because the 1 x 12 were only 11 1/4 inches.
Added the bottom shelf. Did not cut the breadboards, but made a solid top. Also, added hardware for a faux drawer look.
Needed to adjust the cuts for the width to 9 3/4, because the 1 x 12 were only 11 1/4 inches.
Recommended Skill Level
Starter Project