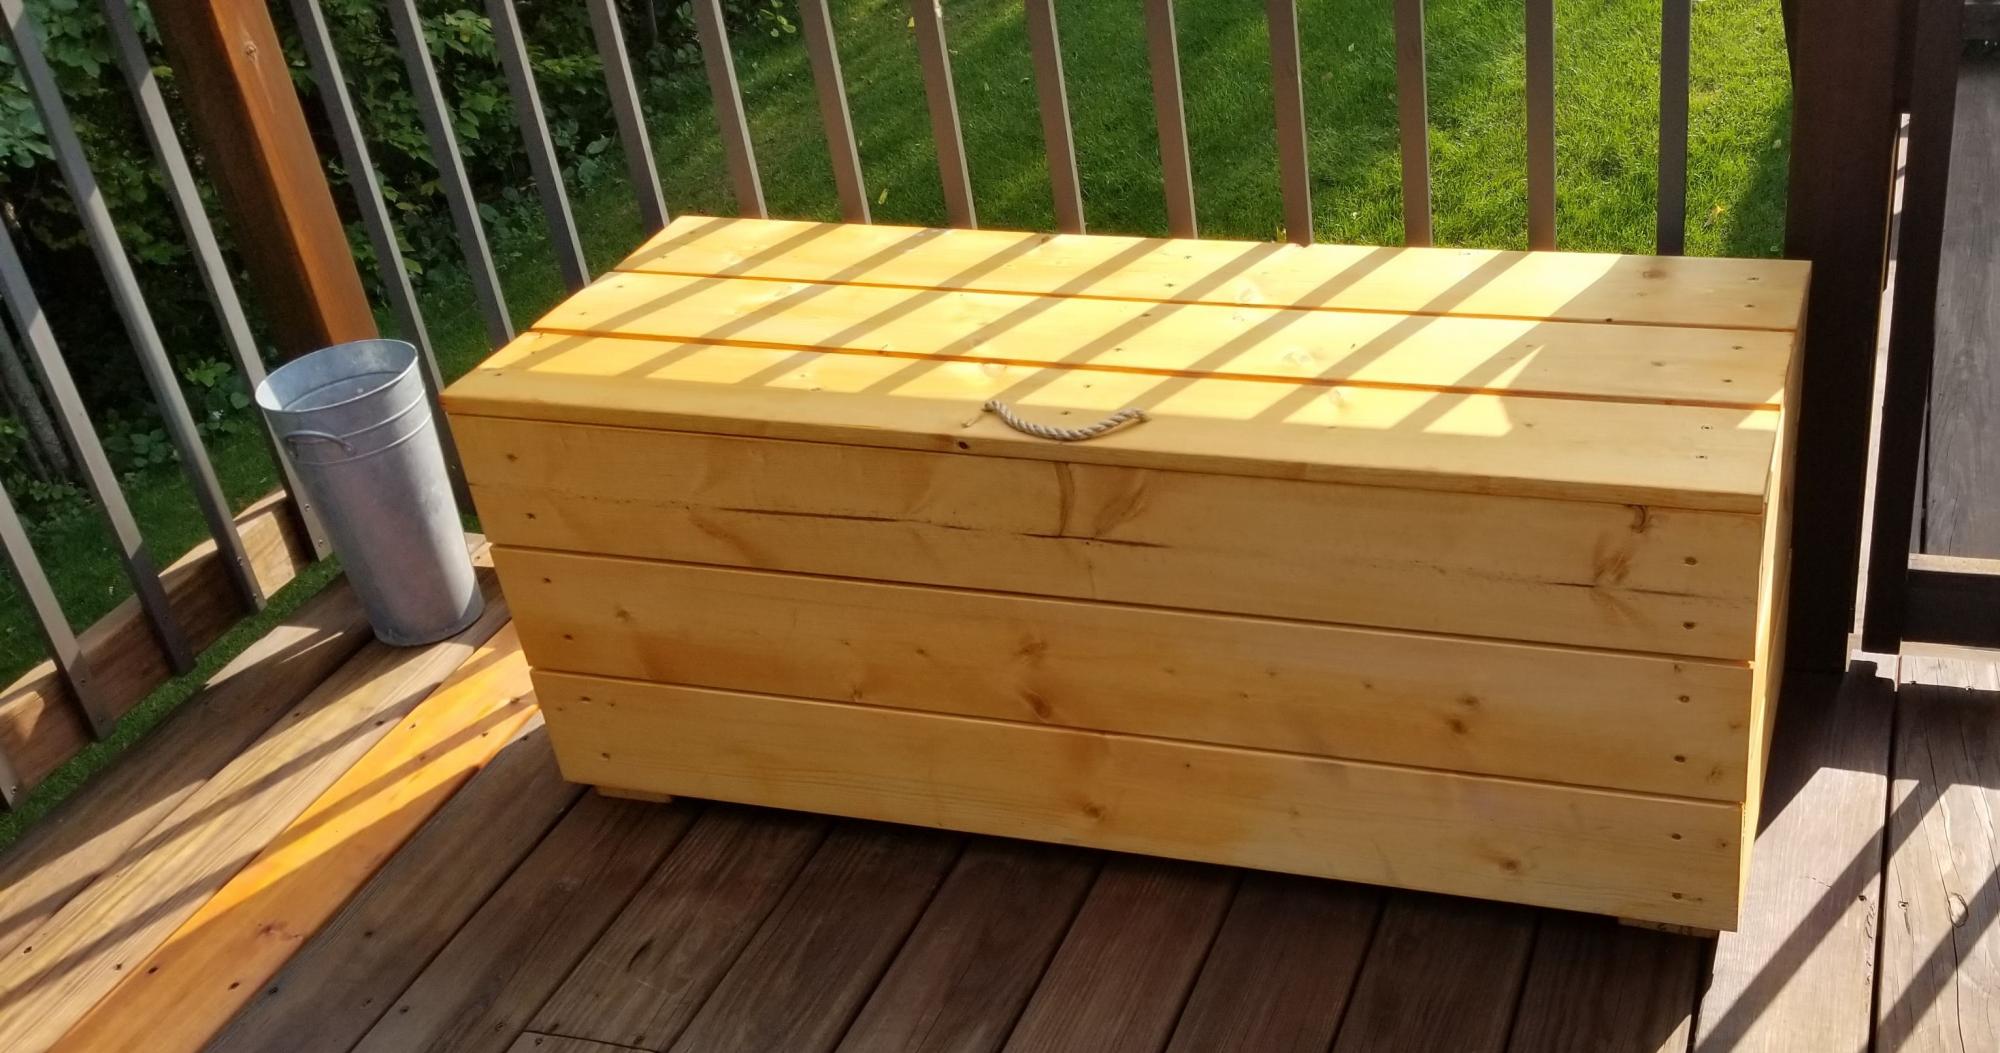
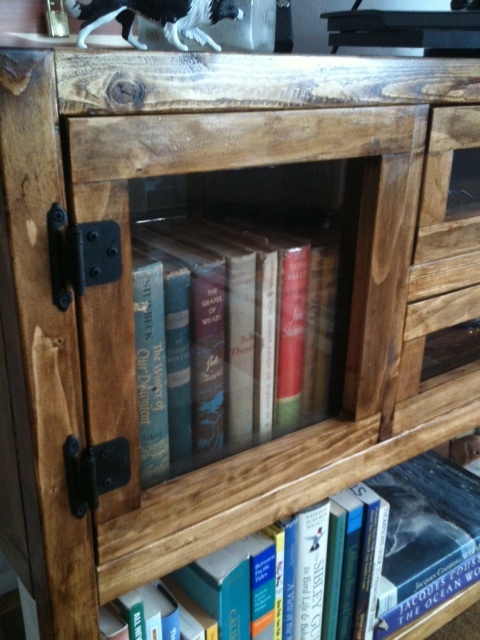
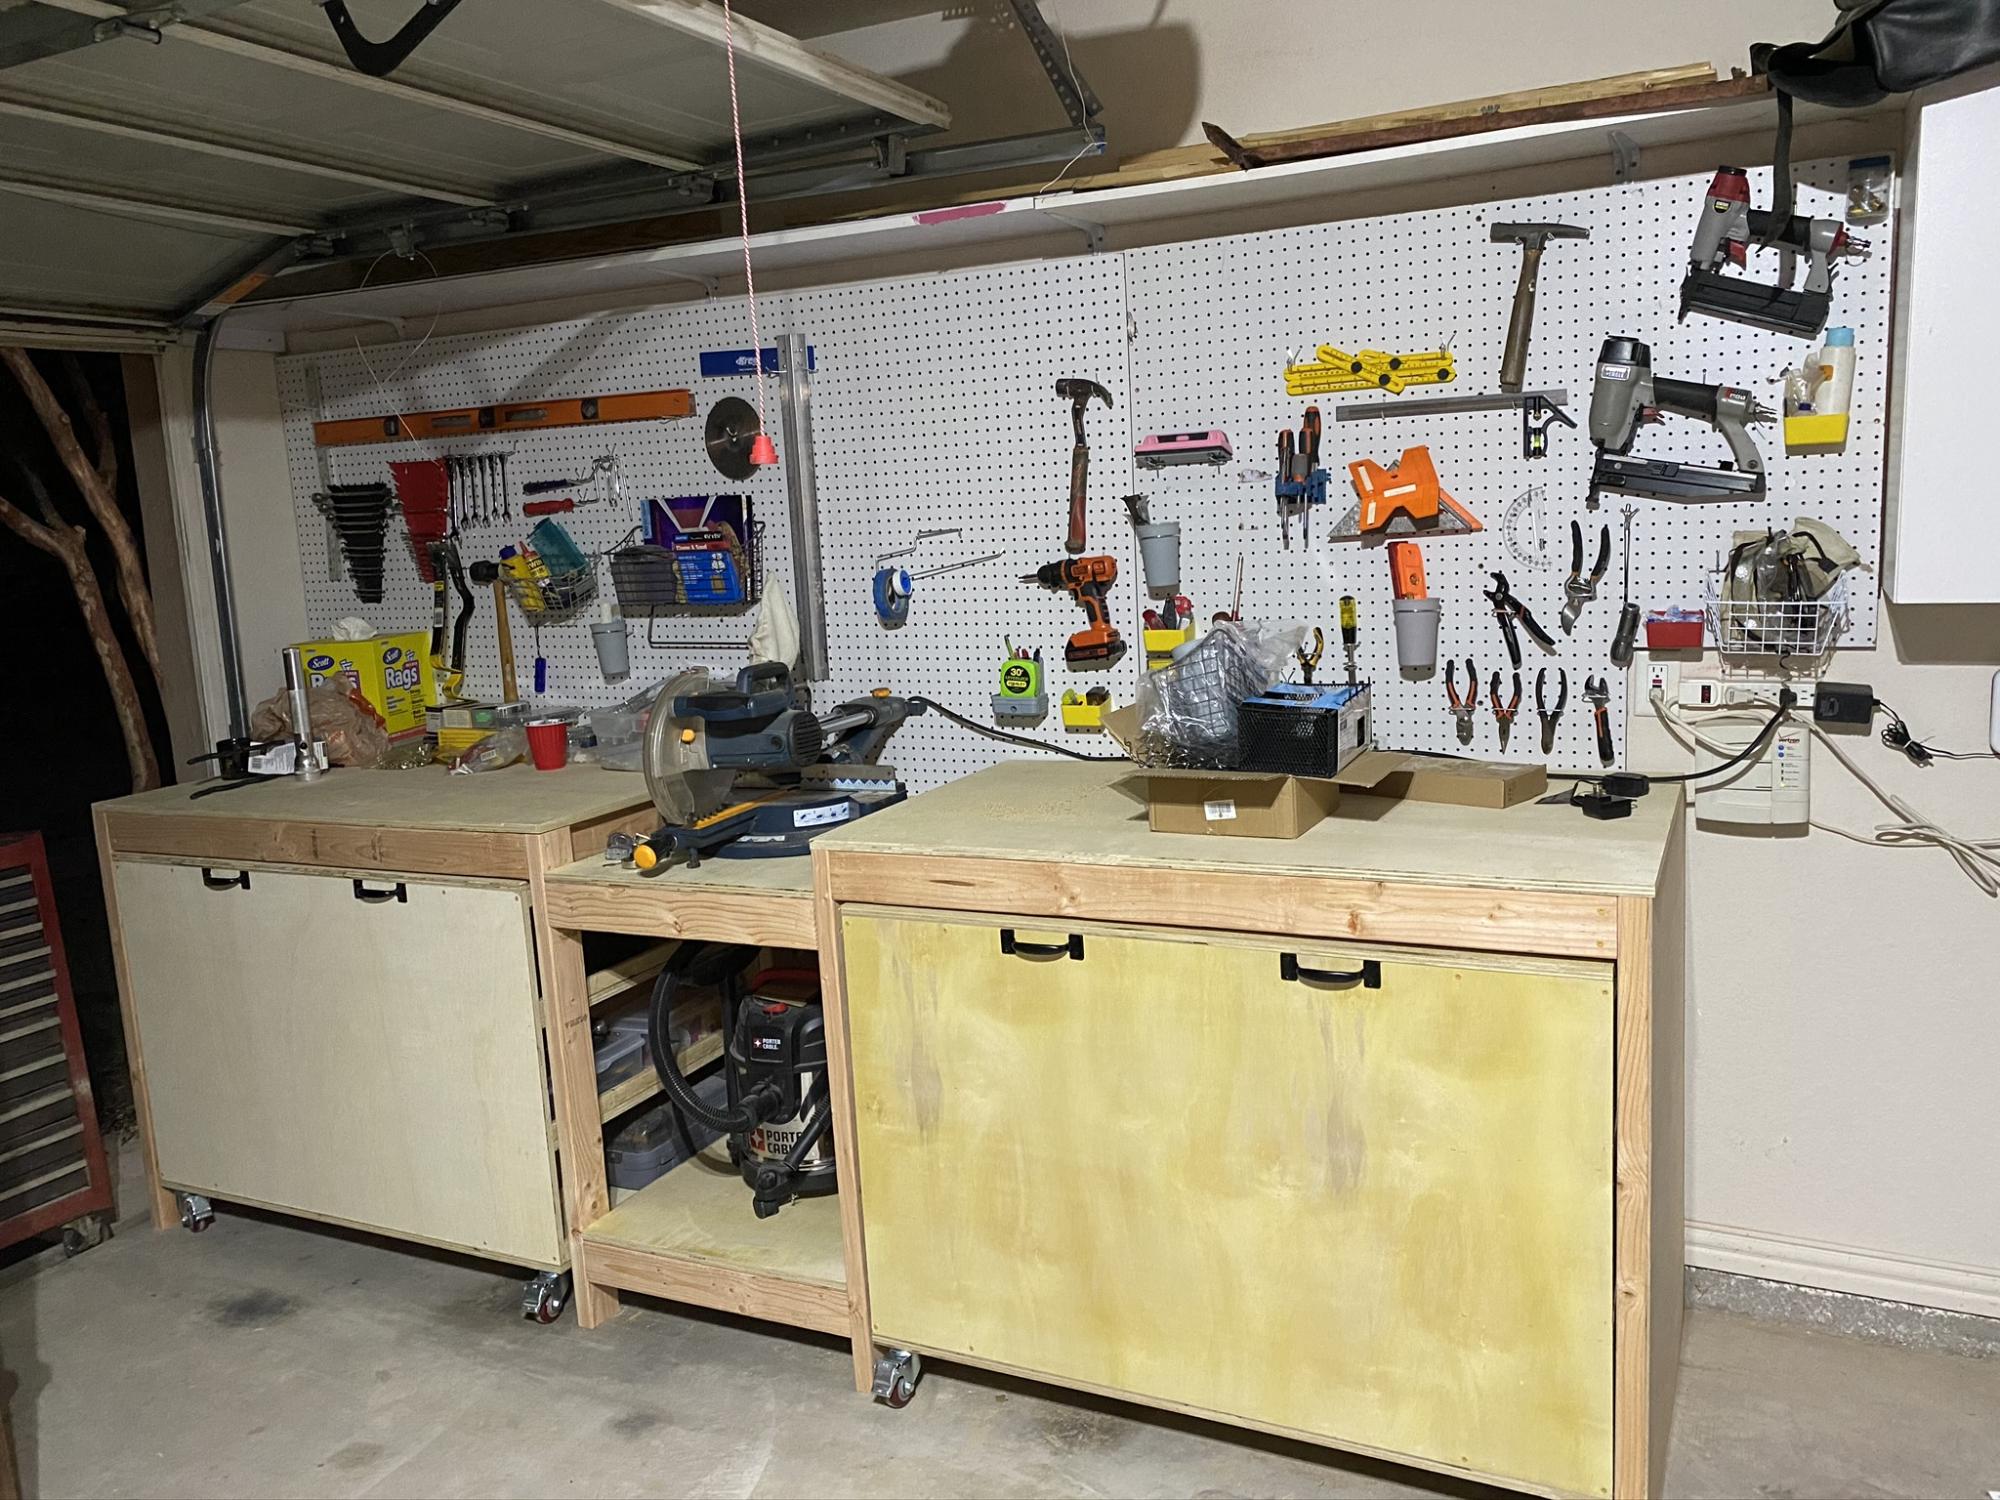
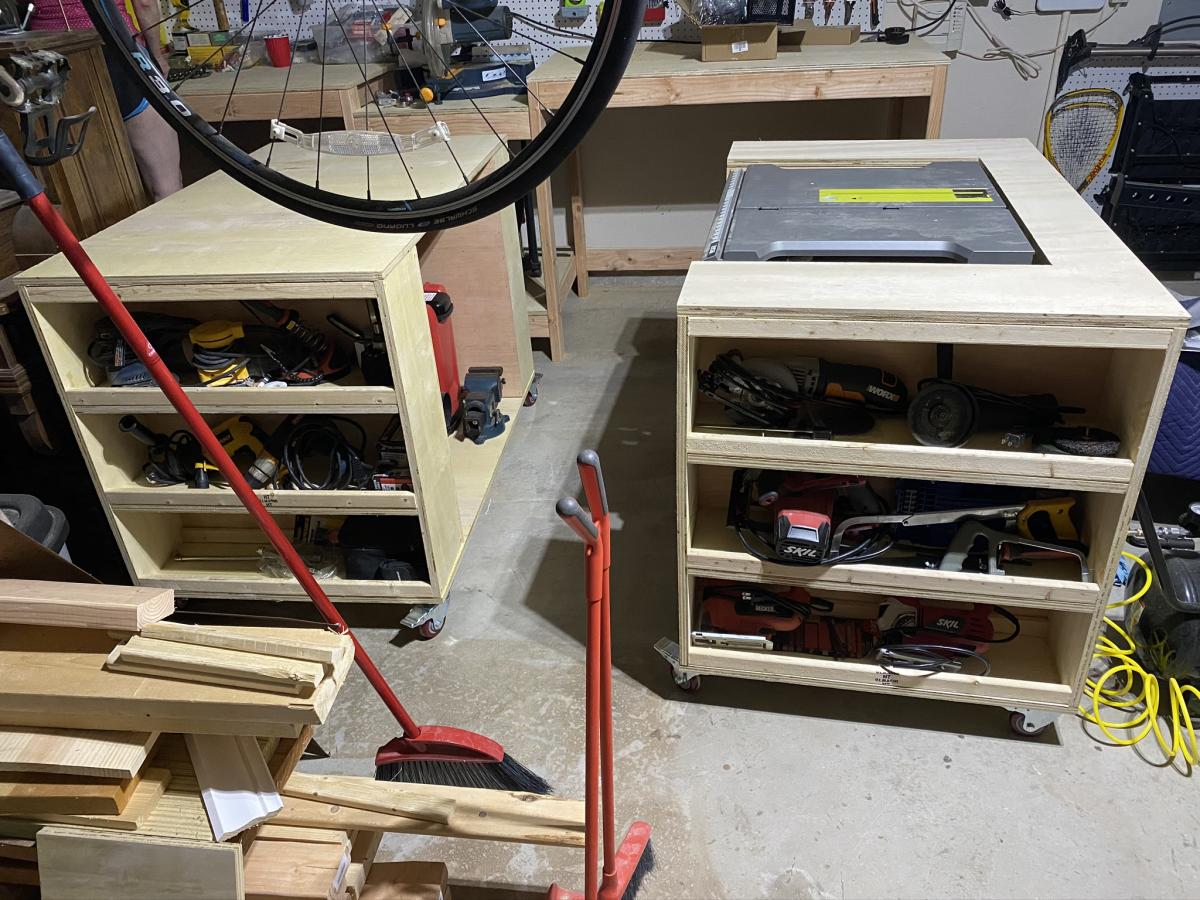
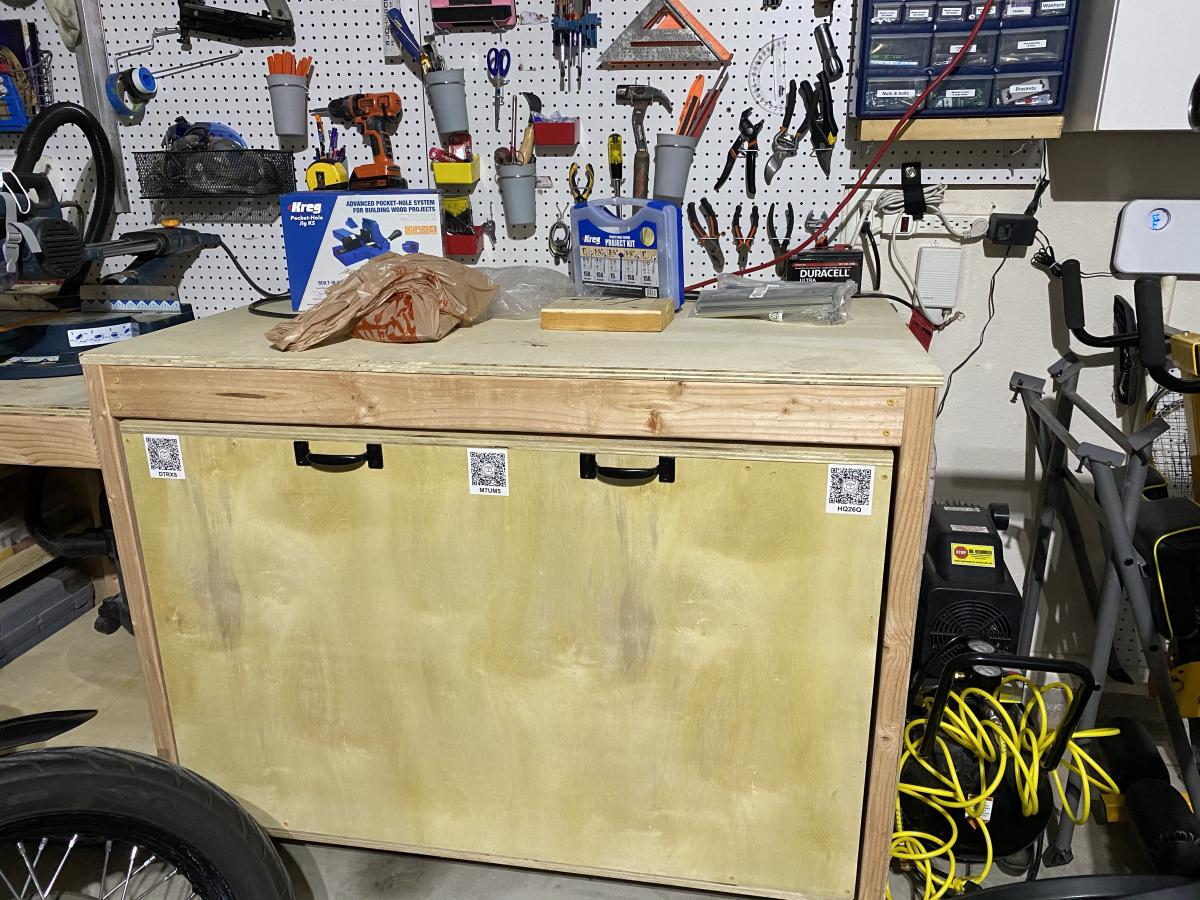
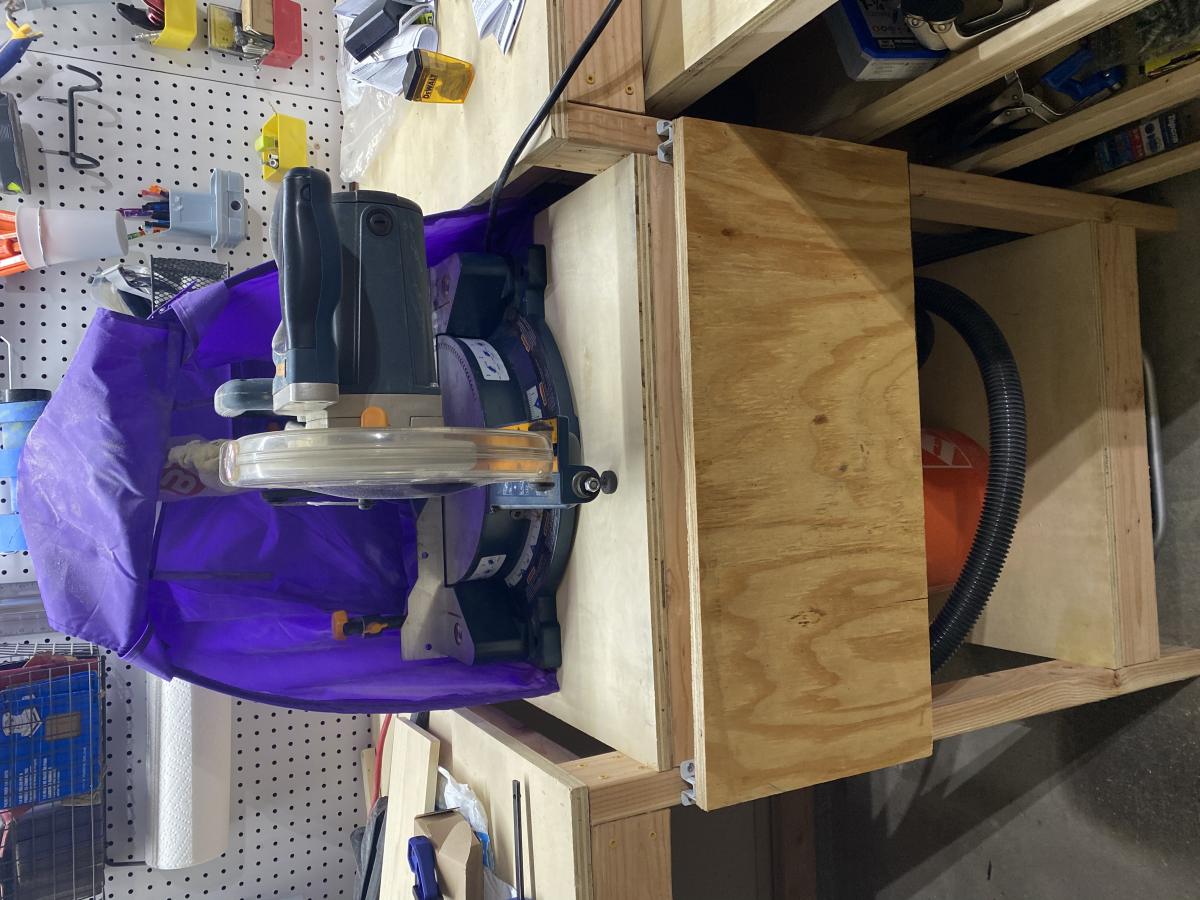
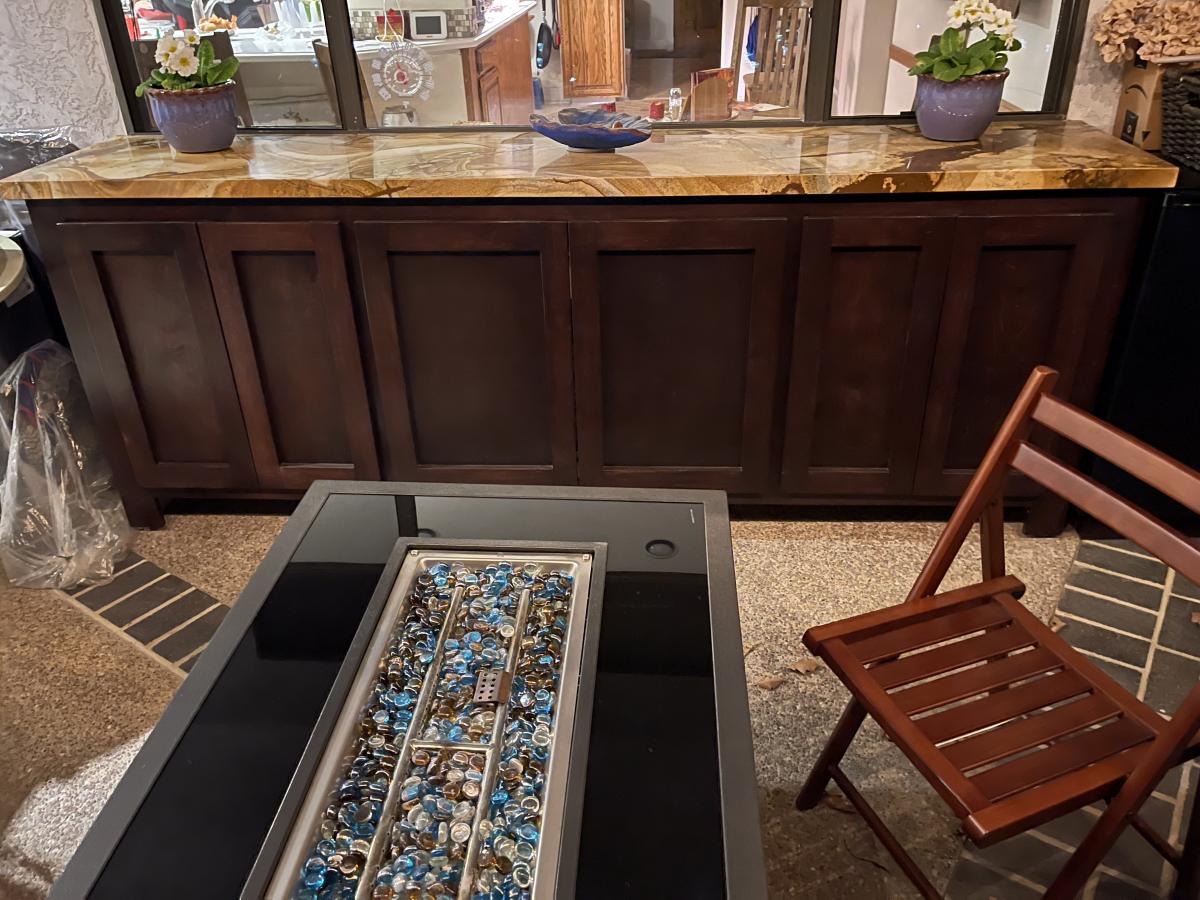
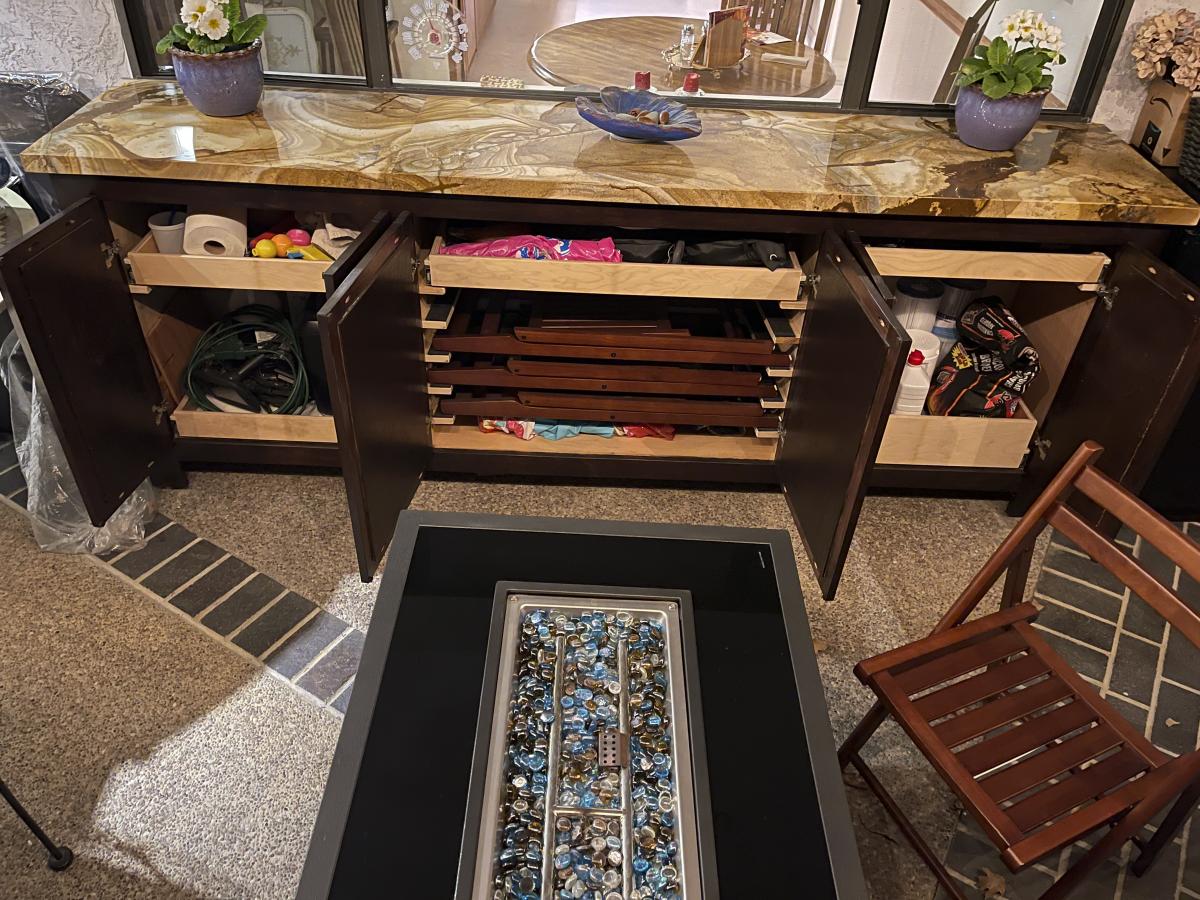
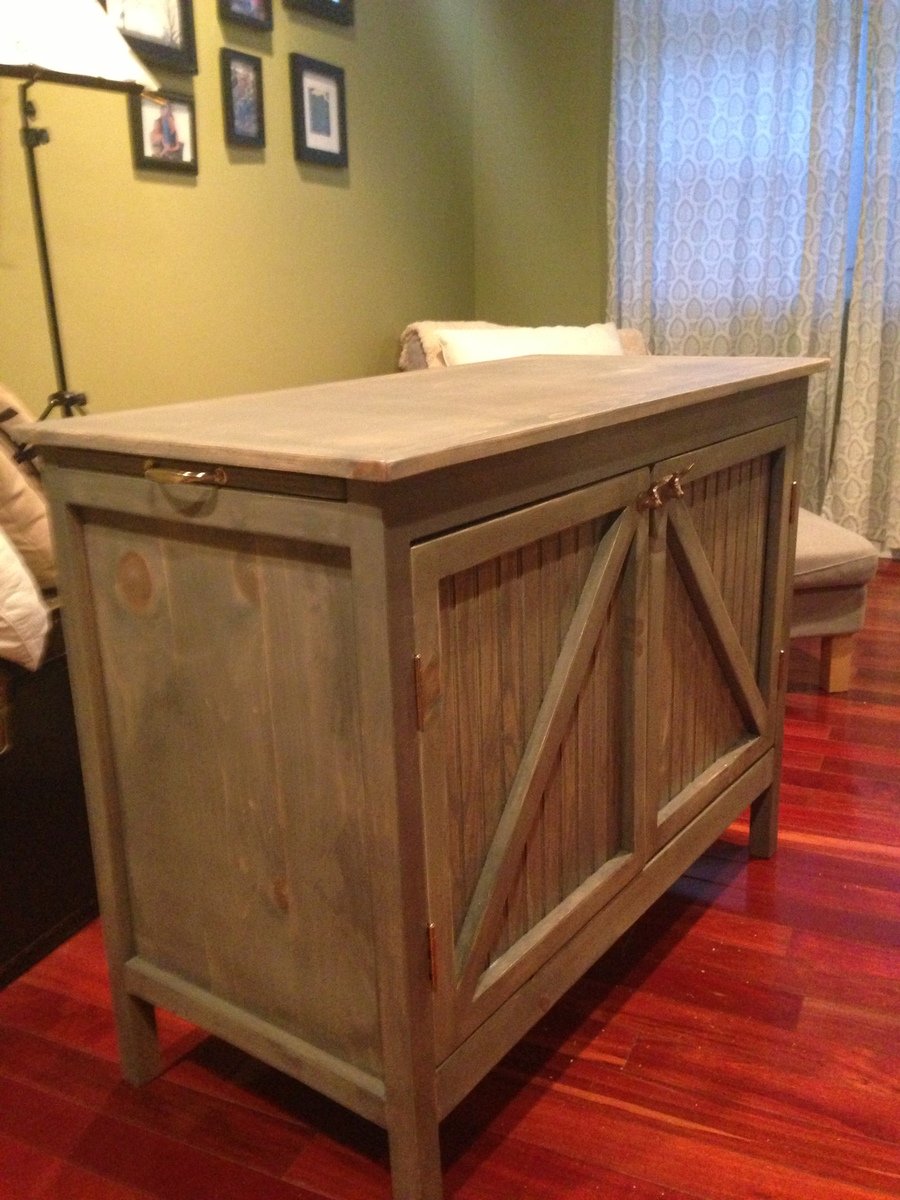
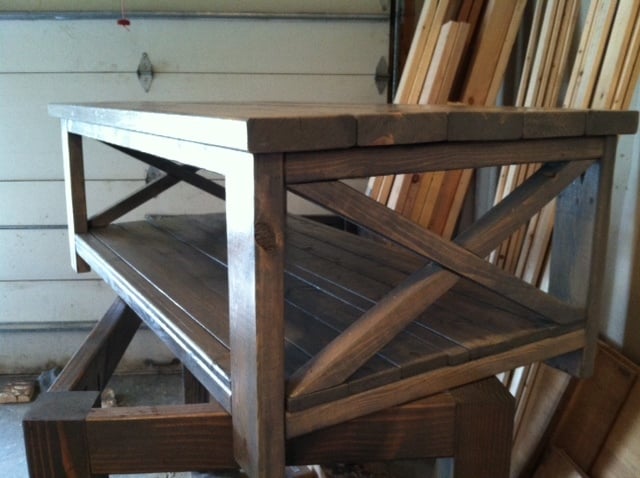
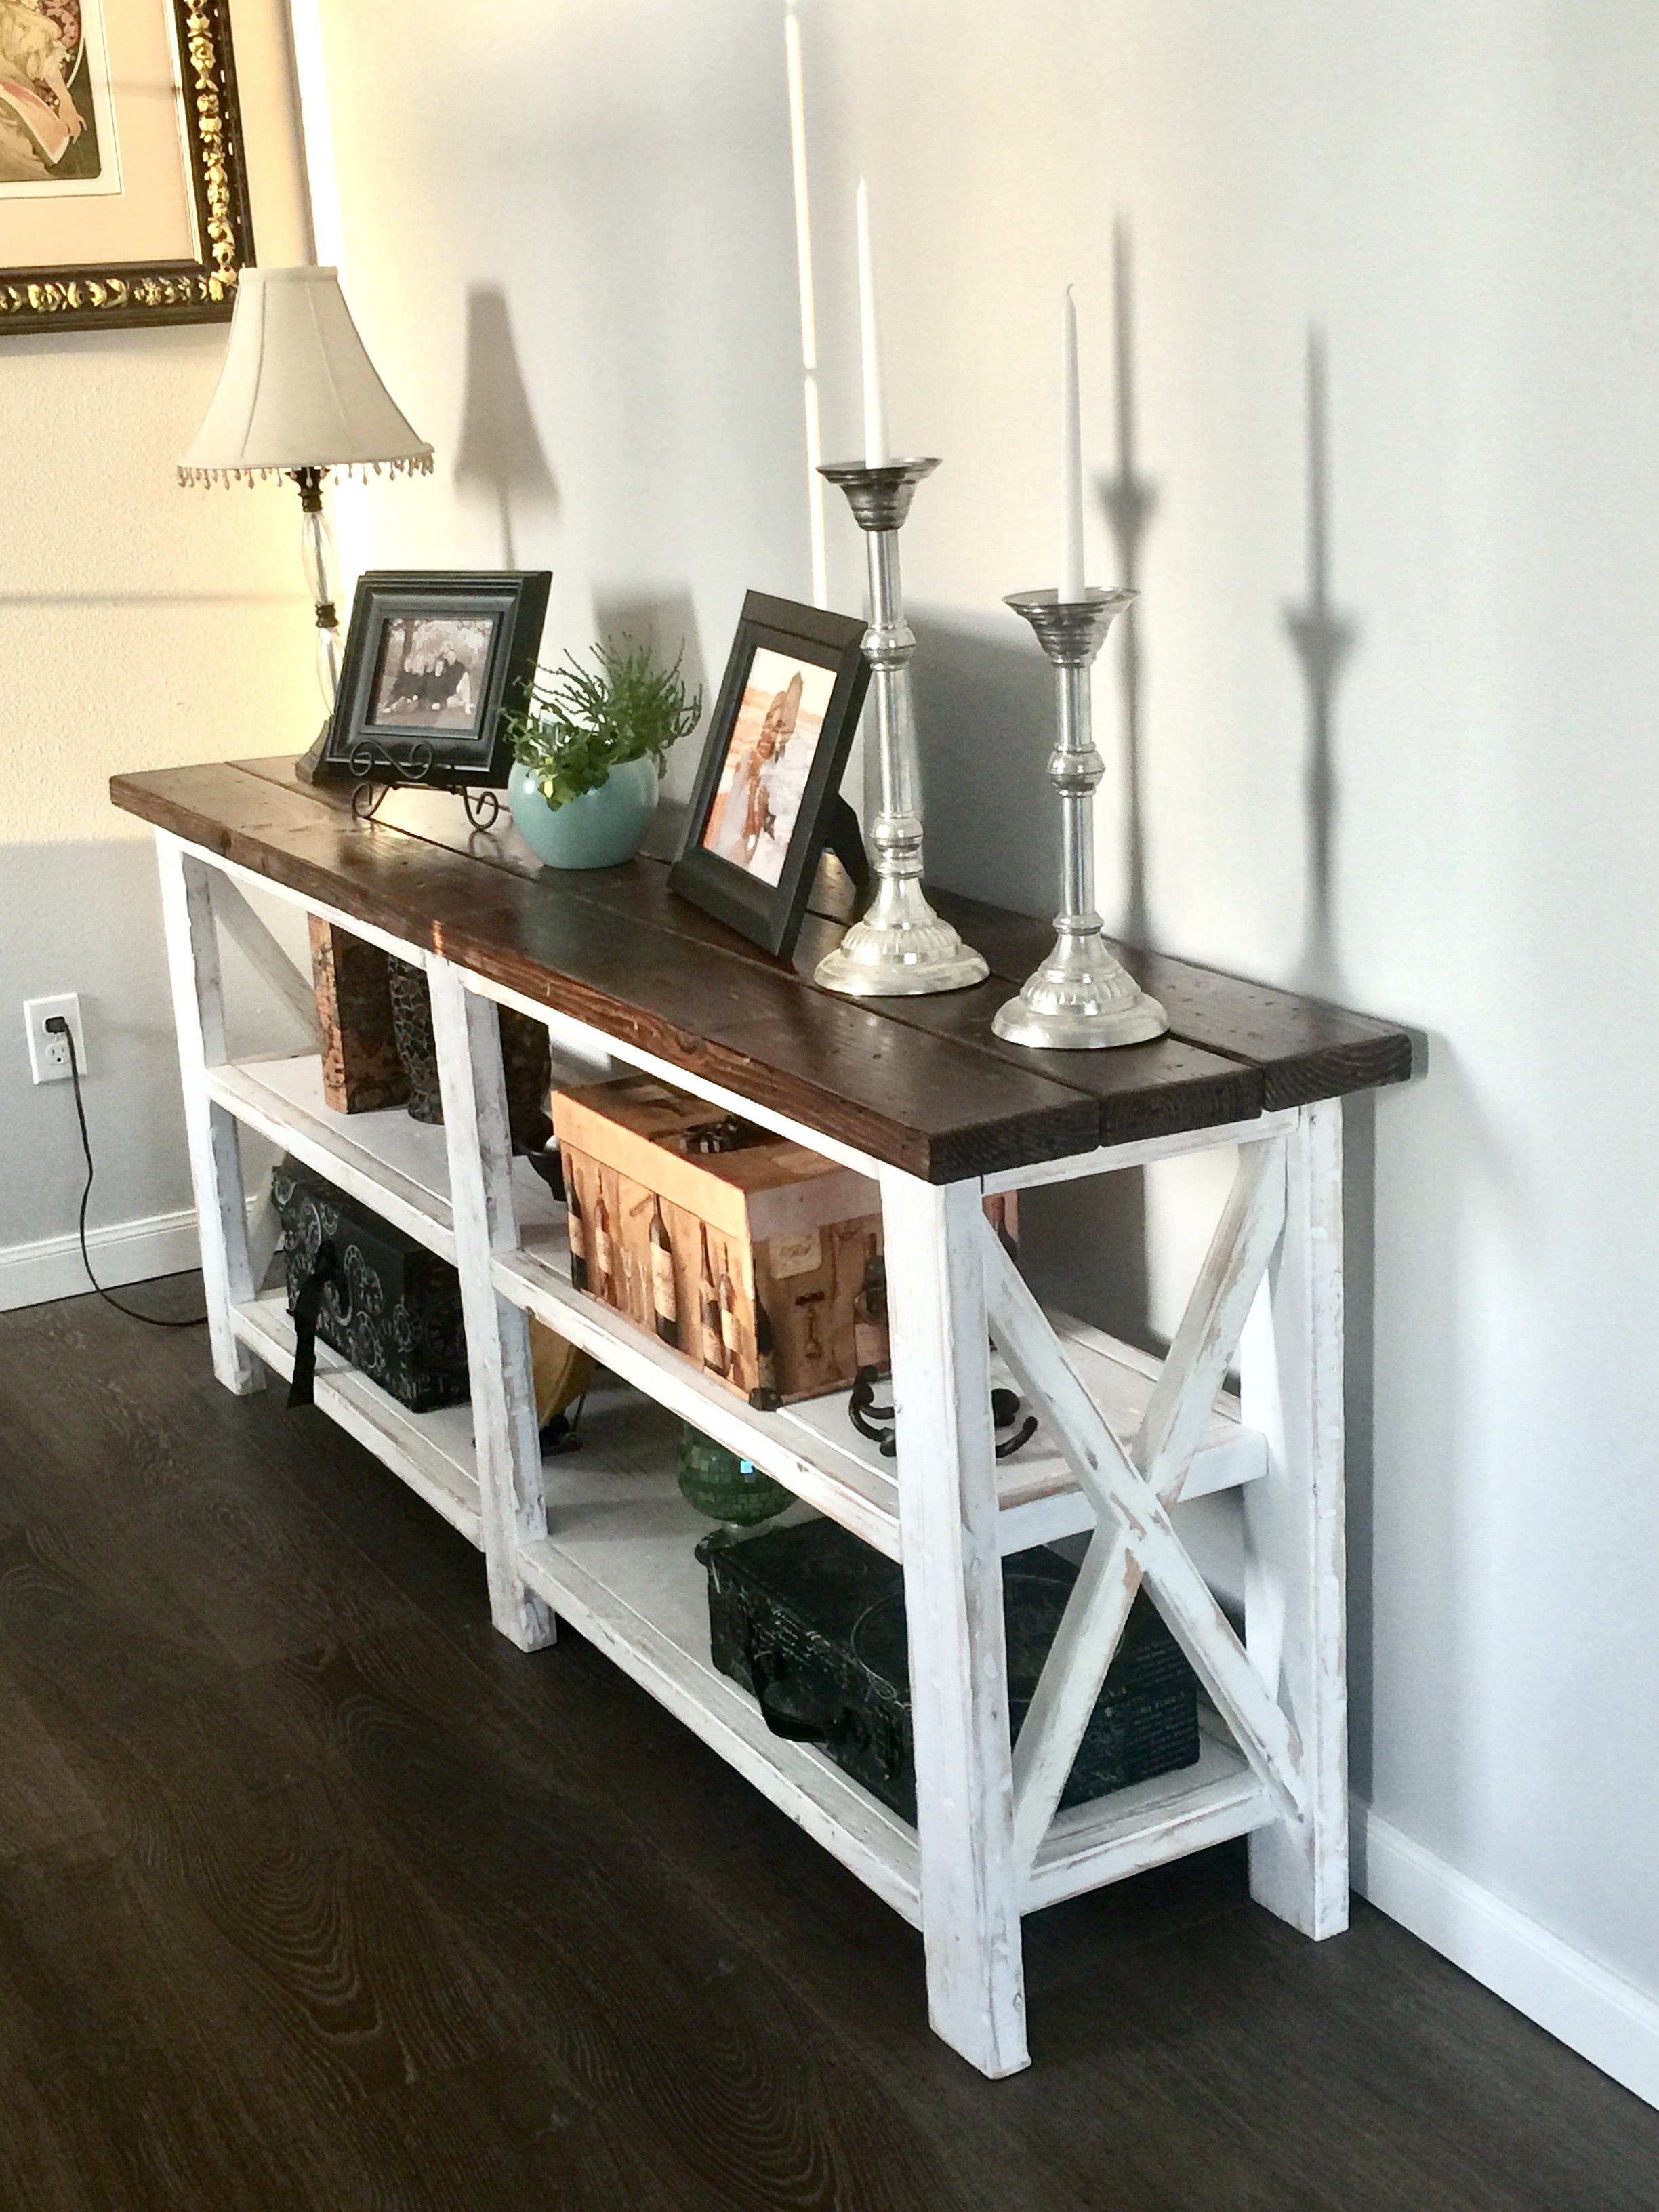
I'm a total beginner and this is one of my first freestyle projects. I built this out of a palette that came with the trampoline I ordered my kids for Christmas. I was taking it apart to throw away then started to envision shelves for the man cave I am putting together. I used some other scrap wood and put it all together for nothing. The only thing I spent money on was the hardware for the cabinets which probably came to around $10.
So it's nothing special, but I like it. It goes well with the old wooden antique crates and boxes I have in the same room. I did not draw up plans or anything, I just jumped in. So it was not based on any specific plans on this site, it was inspired by this site itself and the inspiration I draw from browing.
I did this relatively quick and as a newbie, it feels good to know that I have it in me to make something like this so easily. I'm eager to take on some more complicated projects that require more precision. This was a fun, sloppy project in which I had nothing to lose because it was all scrap.
Estimated Cost
$10 for hardware. All wood from free palette or scrap.
Estimated Time Investment
Day Project (6-9 Hours)
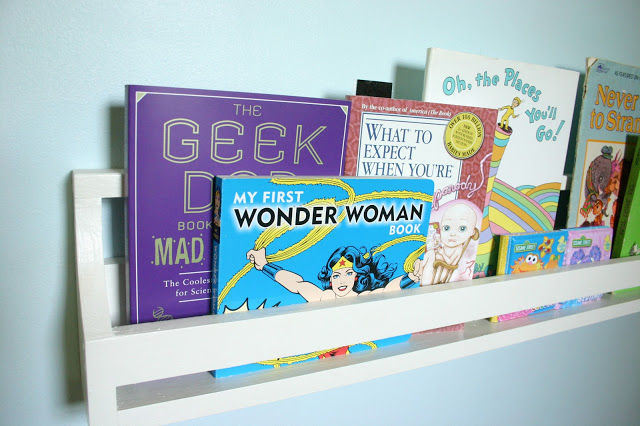
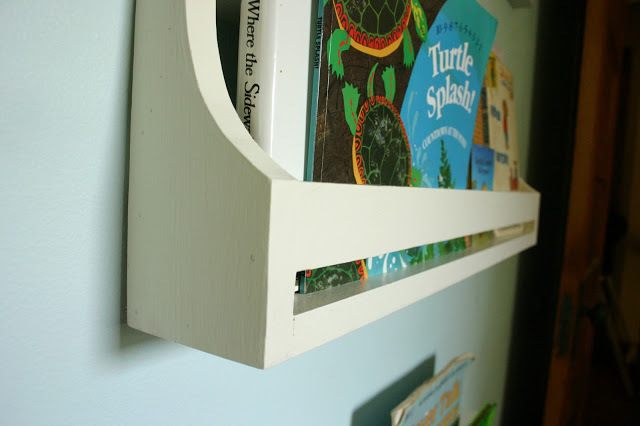
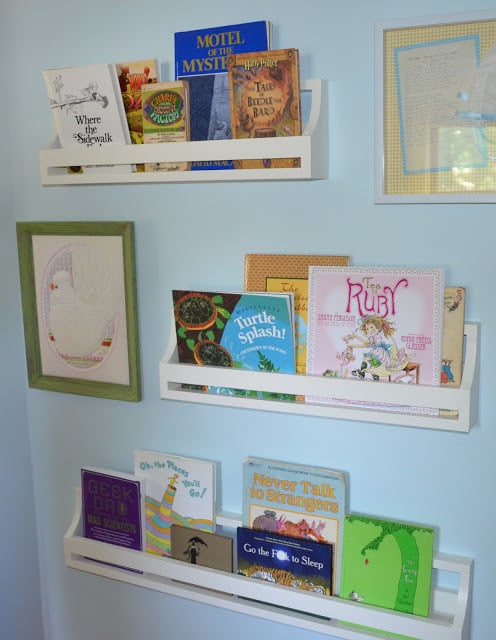
Finish Used
Minwax dark walnut and jacobean on darker pieces.
Minwax ipswich pine on shelf surfaces.
No top coats, no sanding. Stained it in its state of dirty roughness. It was a pretty beat up, rough looking palette and I wanted those battle scars to stay visible.
Recommended Skill Level
Beginner


Comments
Ana White Admin
Mon, 02/22/2021 - 13:08
Great projects!
You've been busy, love the functionality of all of your projects! Thank you for sharing:)