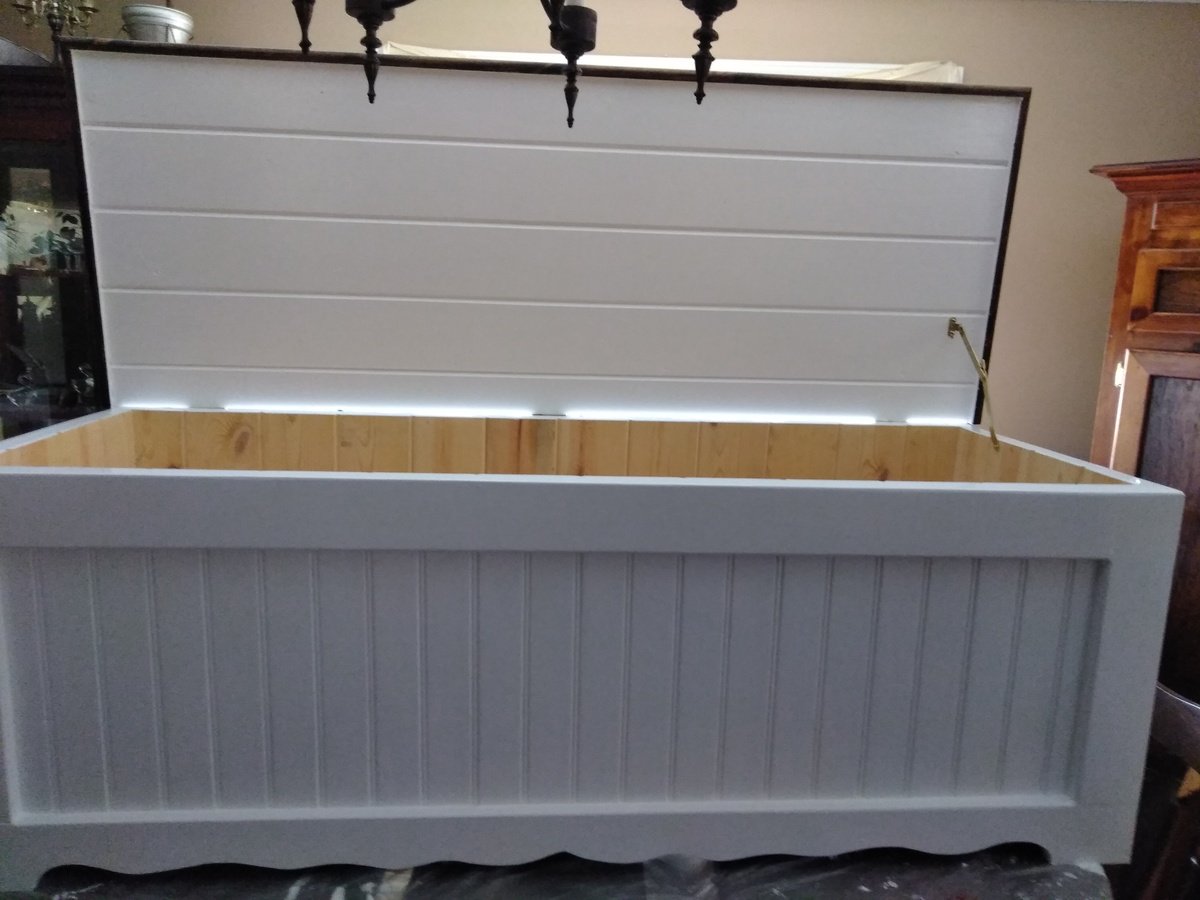
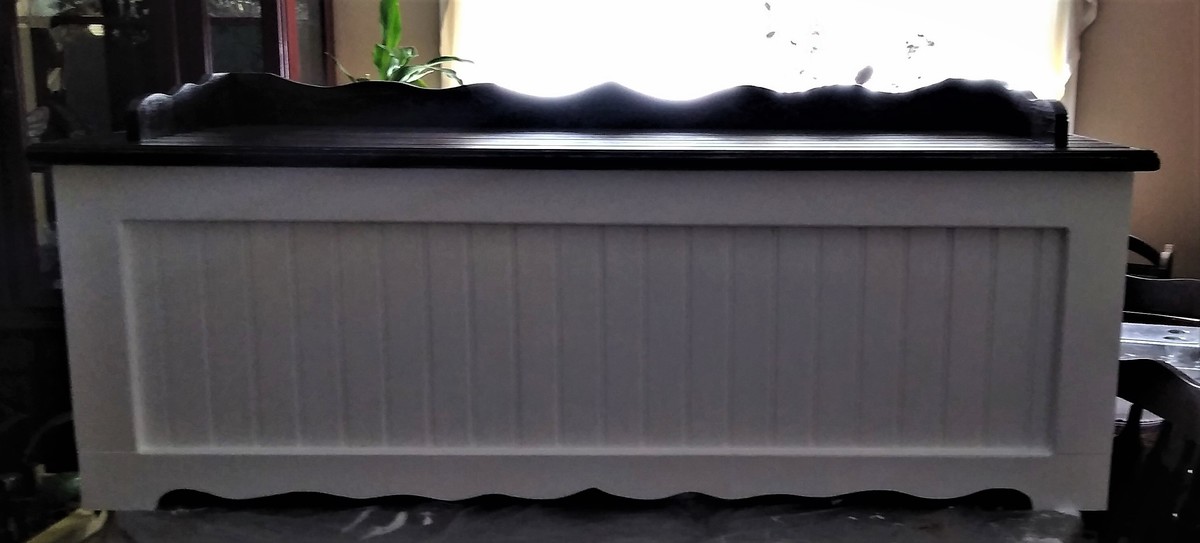
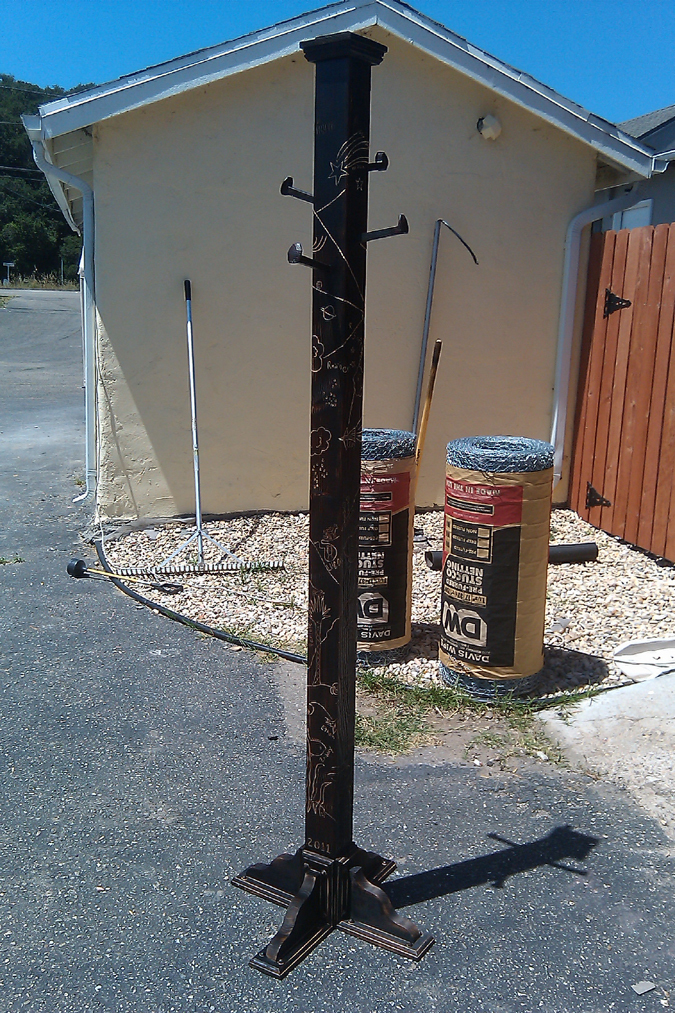
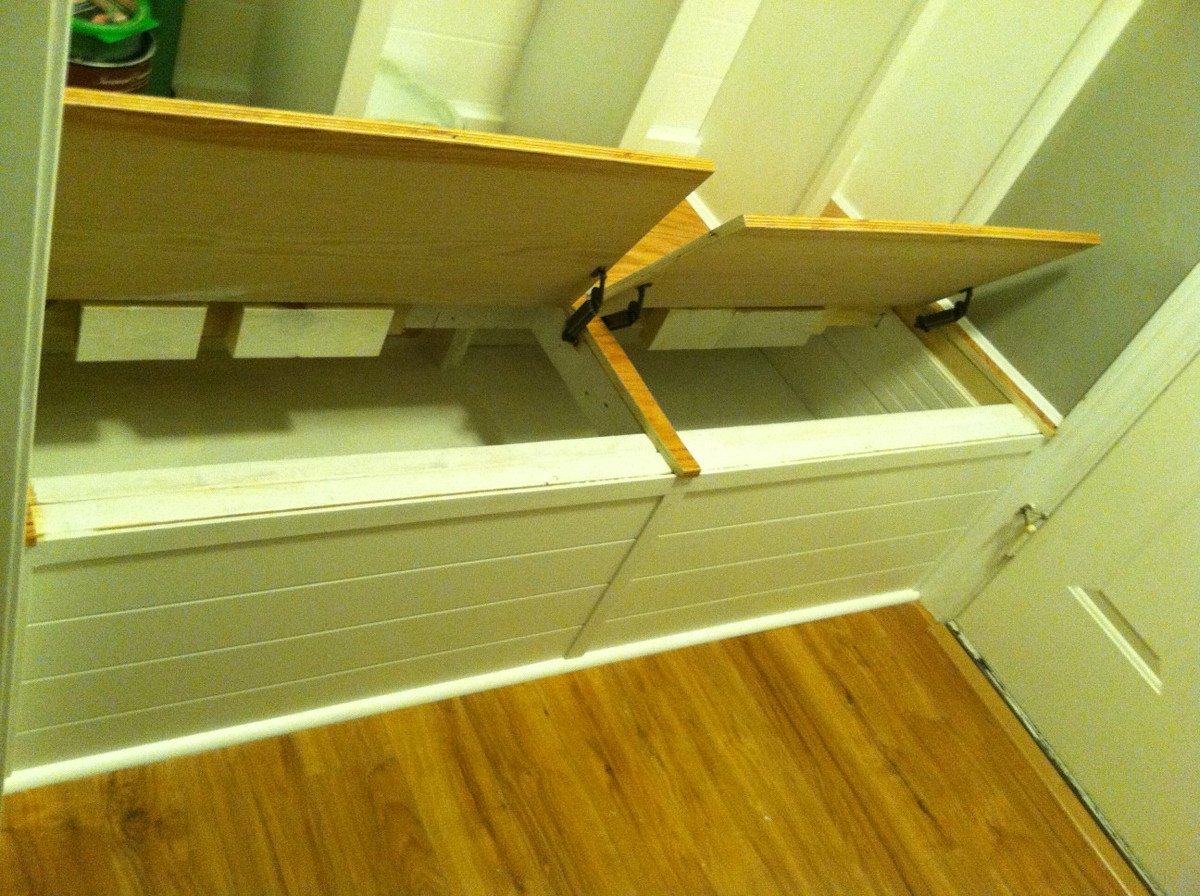
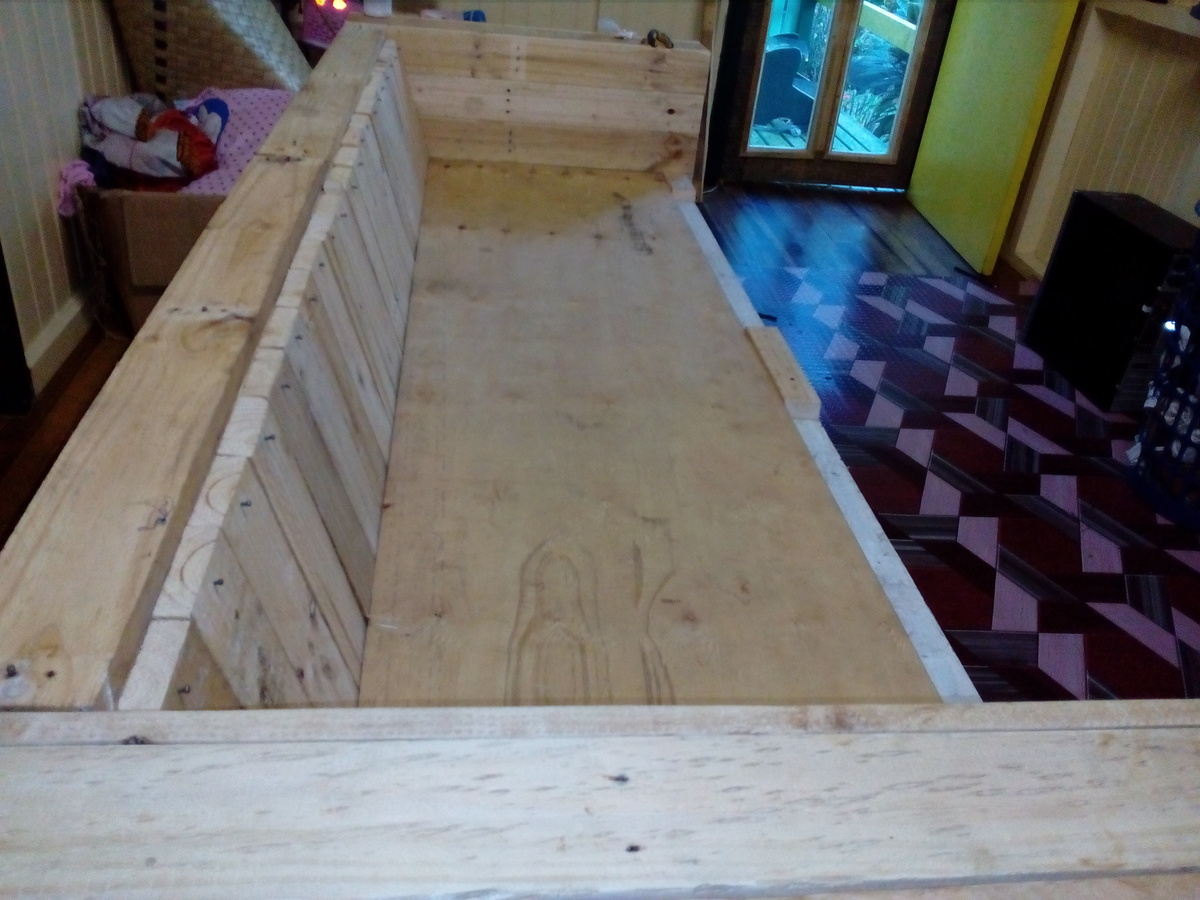
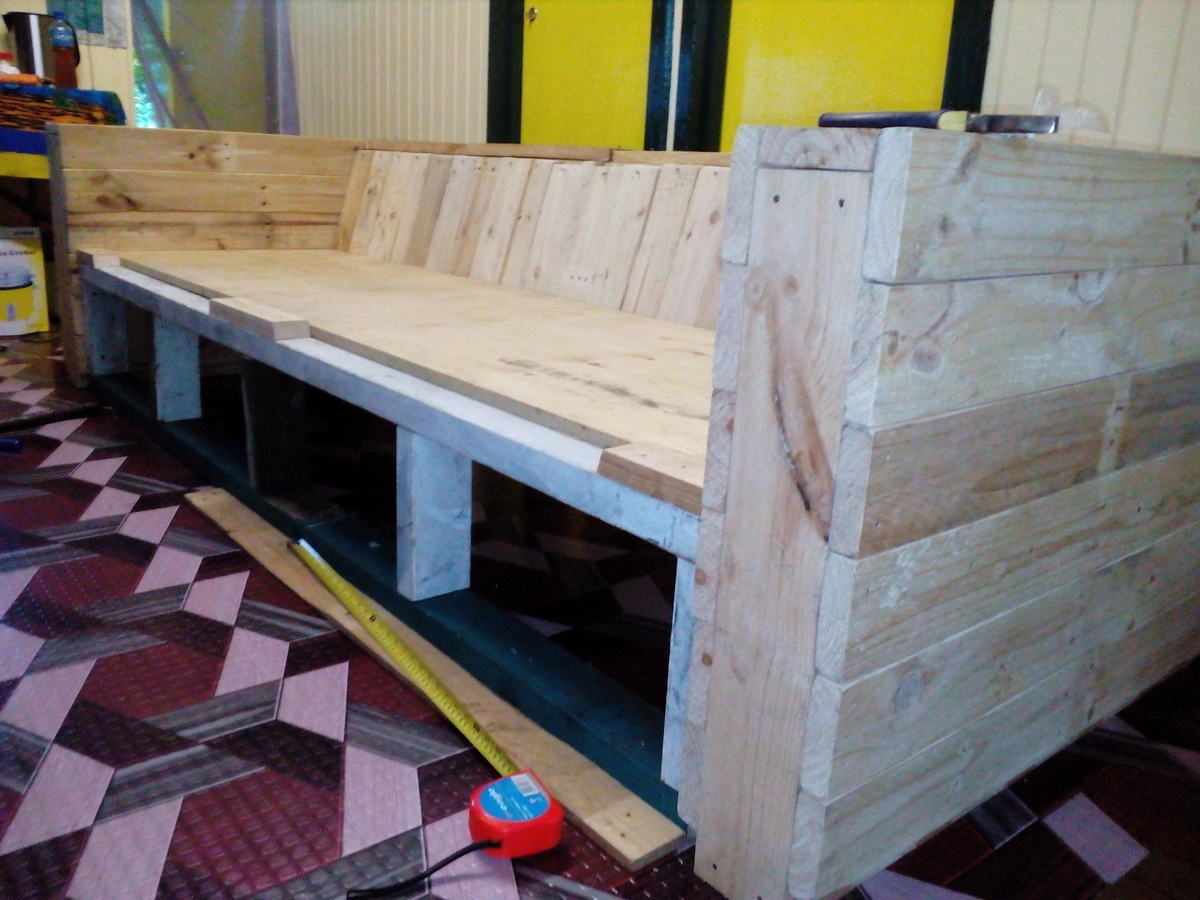
Gift Wrap Organizer
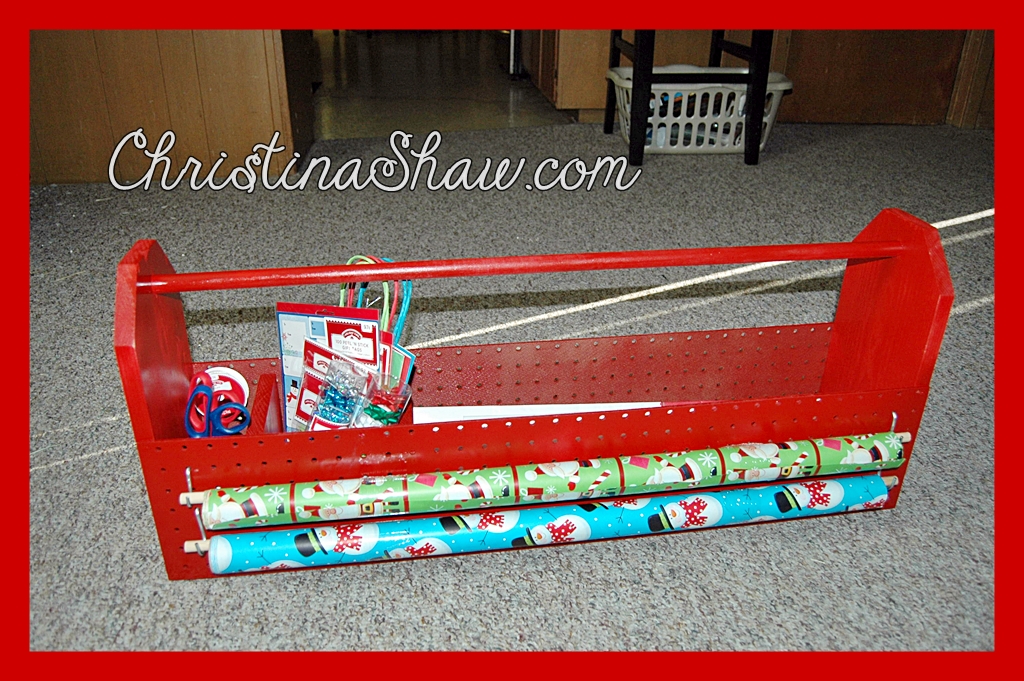
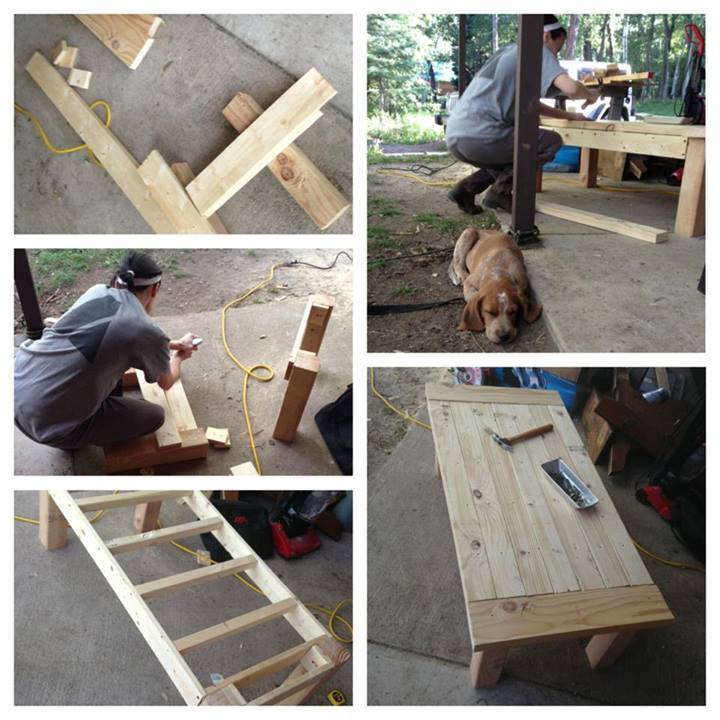
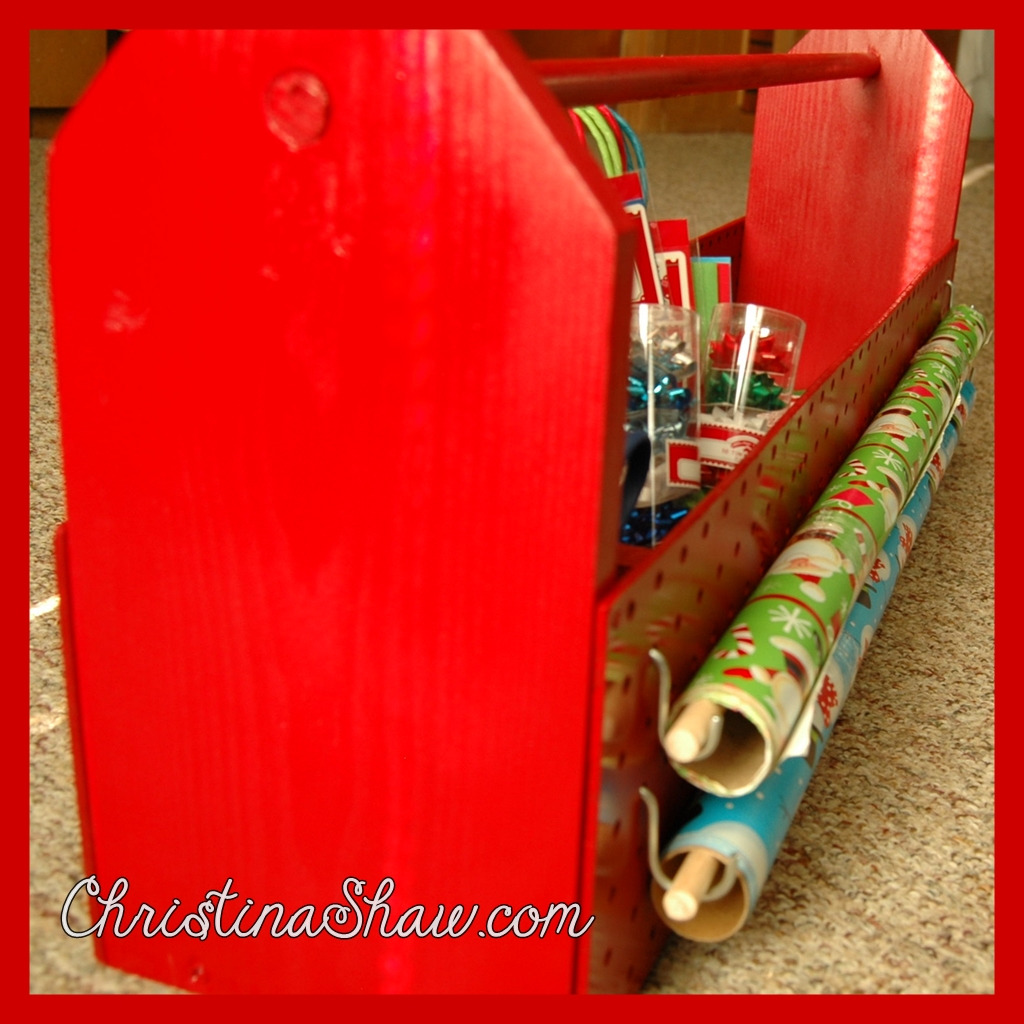
I built this to donate to our church's fall festival's live auction. My peg board didn't line up with the boards for me to completely screw it in, but I just used nails in those spot...no big deal at all!
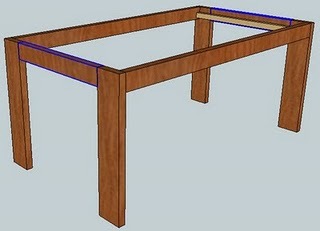
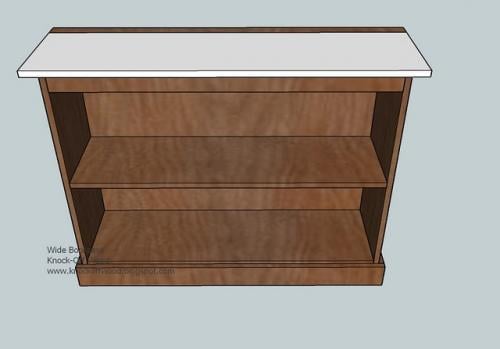
Built from Plan(s)
Estimated Cost
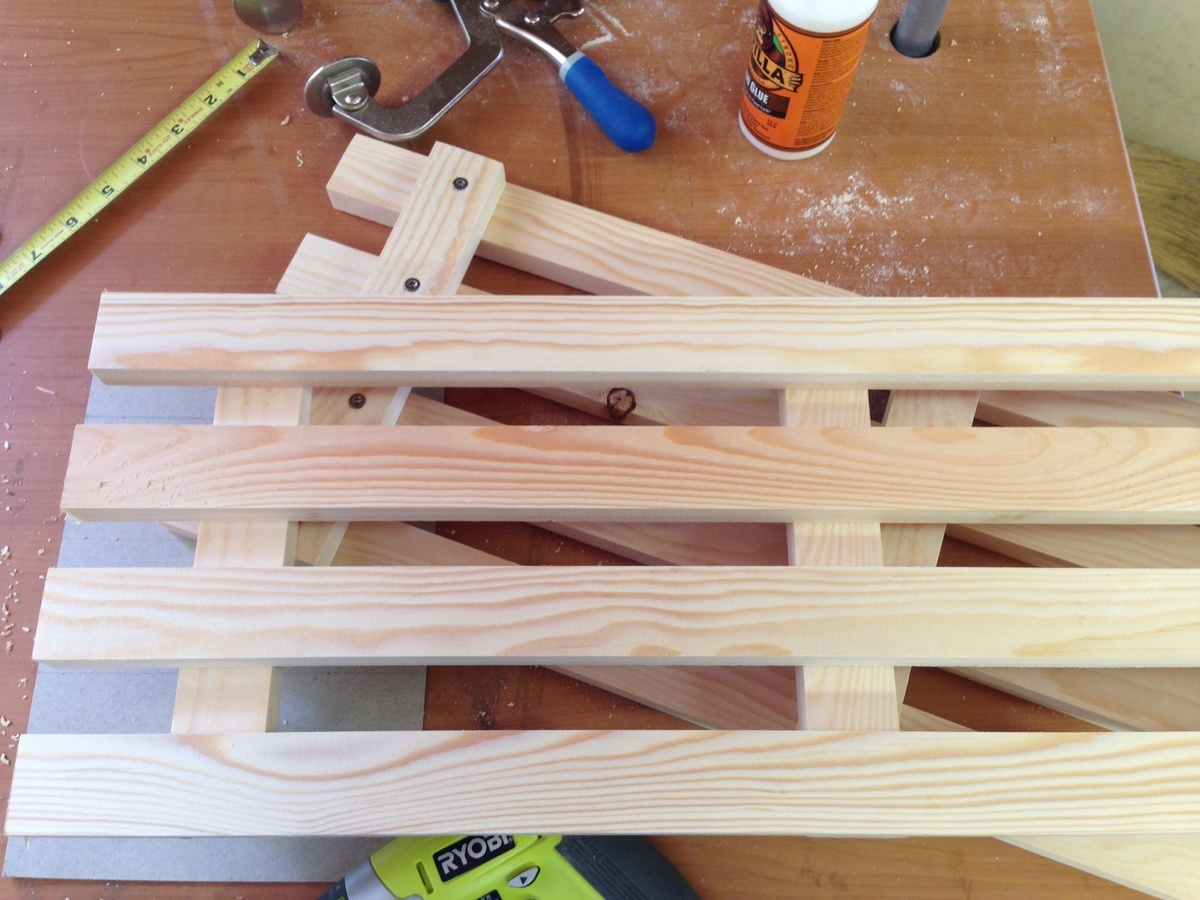
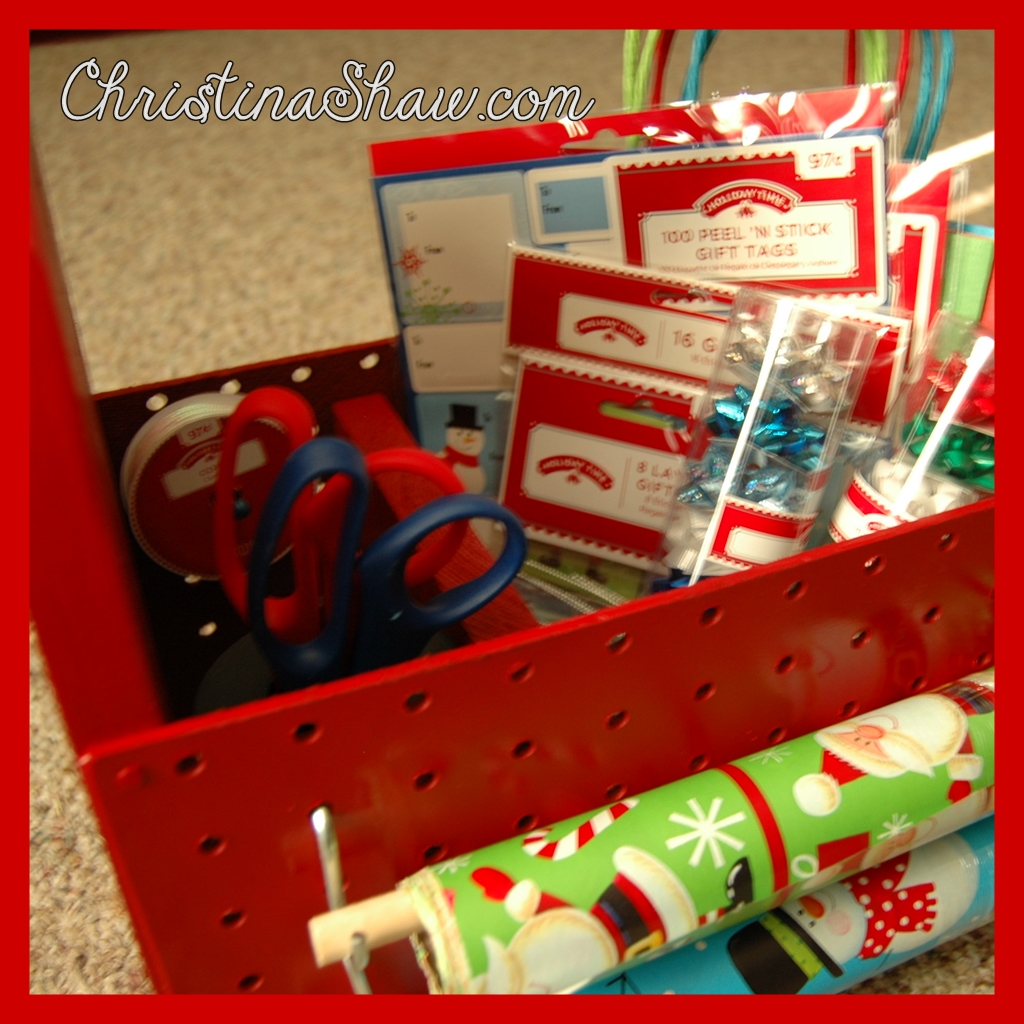
All in all, it took about 8-10 hours (not including paint drying time) and I spent about $50, INCLUDING all the fillers!
Estimated Time Investment
Day Project (6-9 Hours)
Finish Used
Rust-Oleum Spray Paint in Regal Red
Recommended Skill Level
Beginner