Community Brag Posts

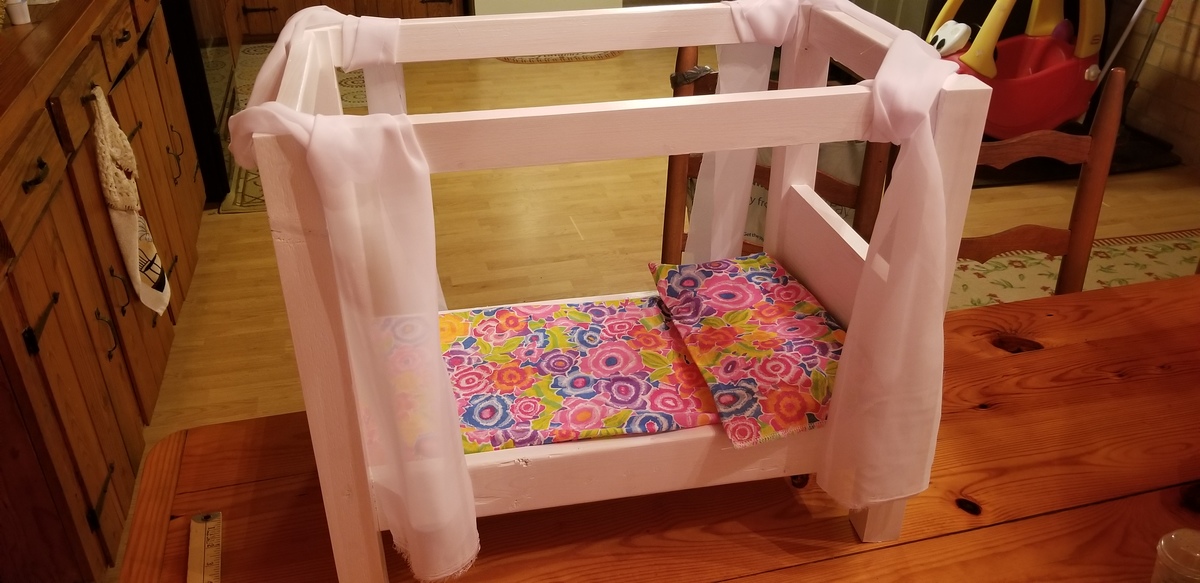
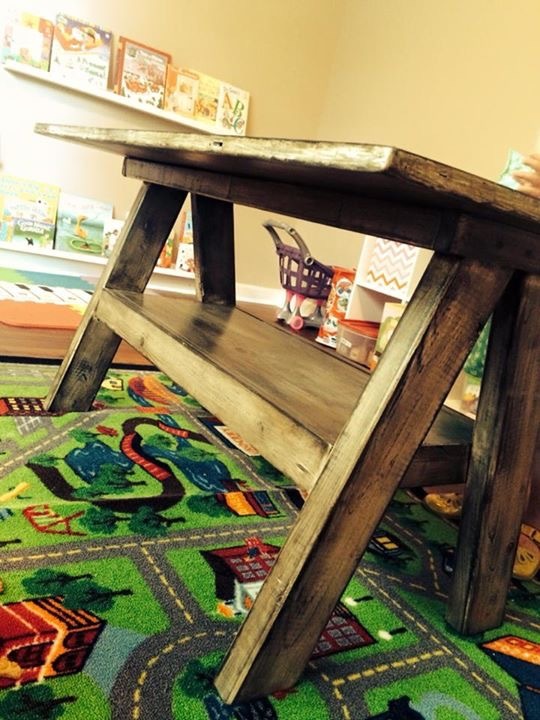
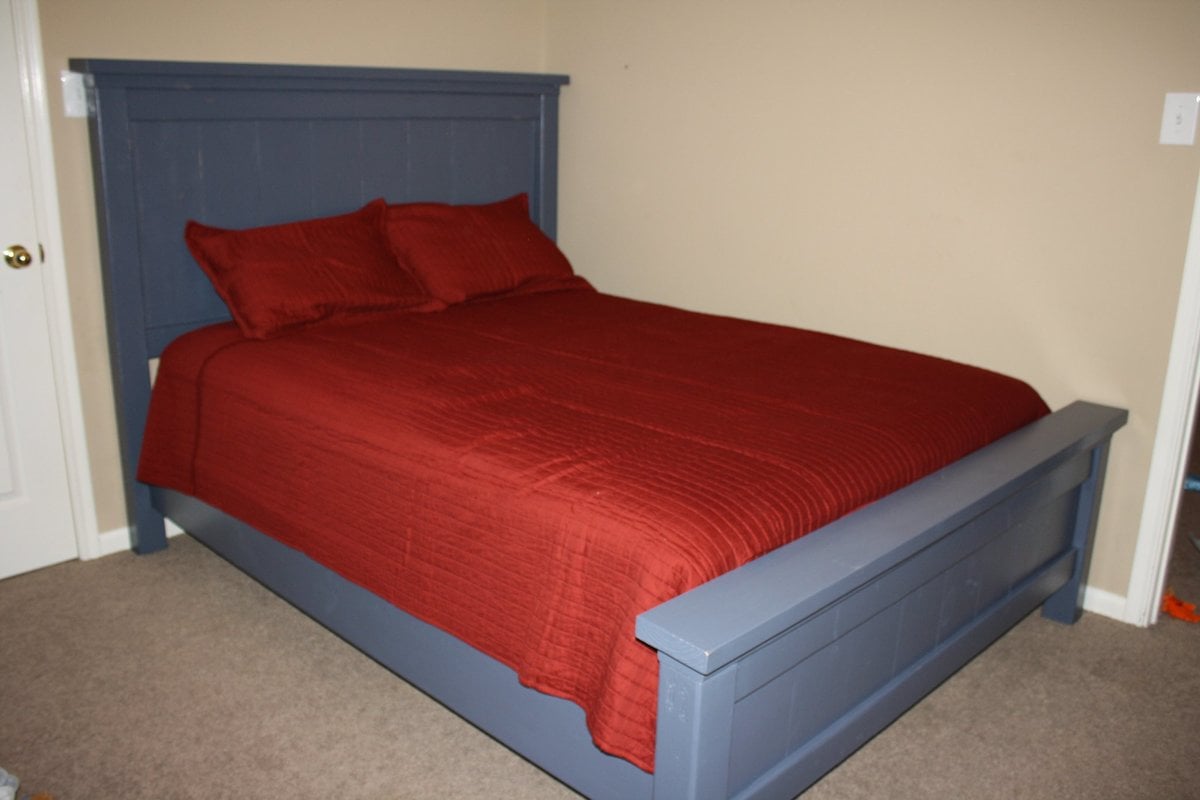
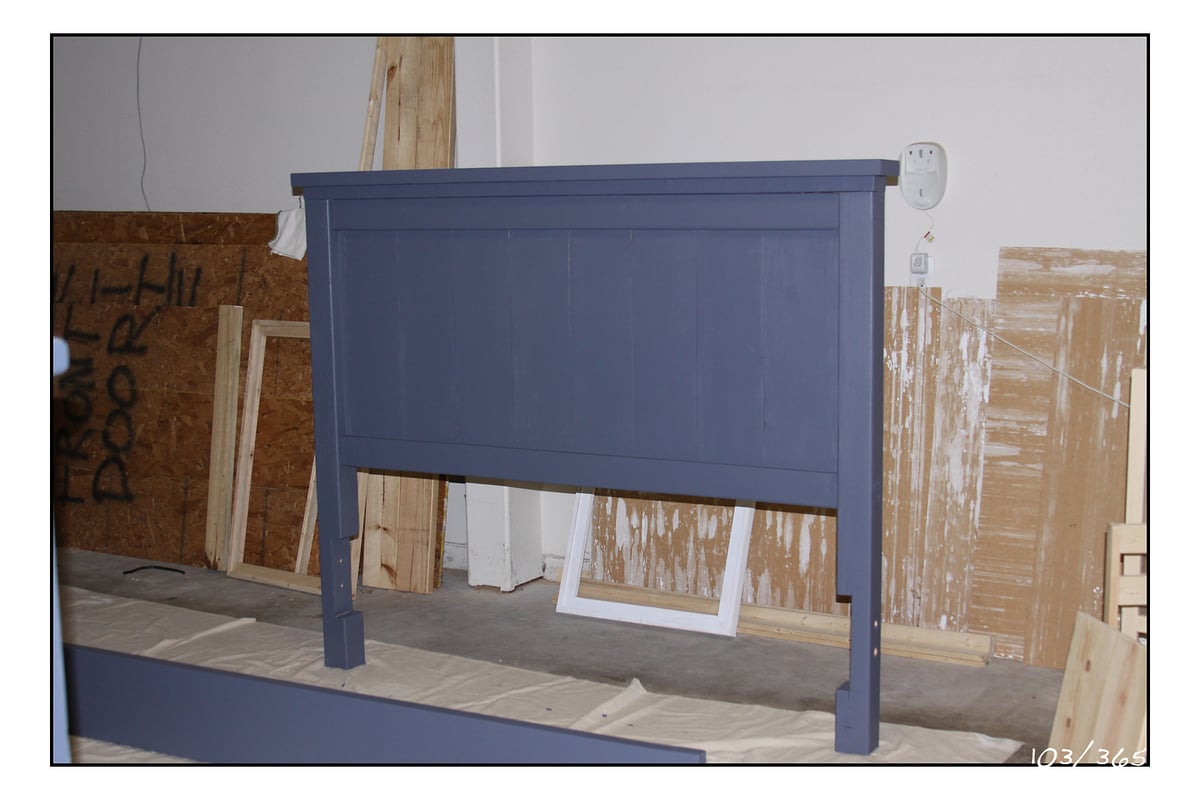
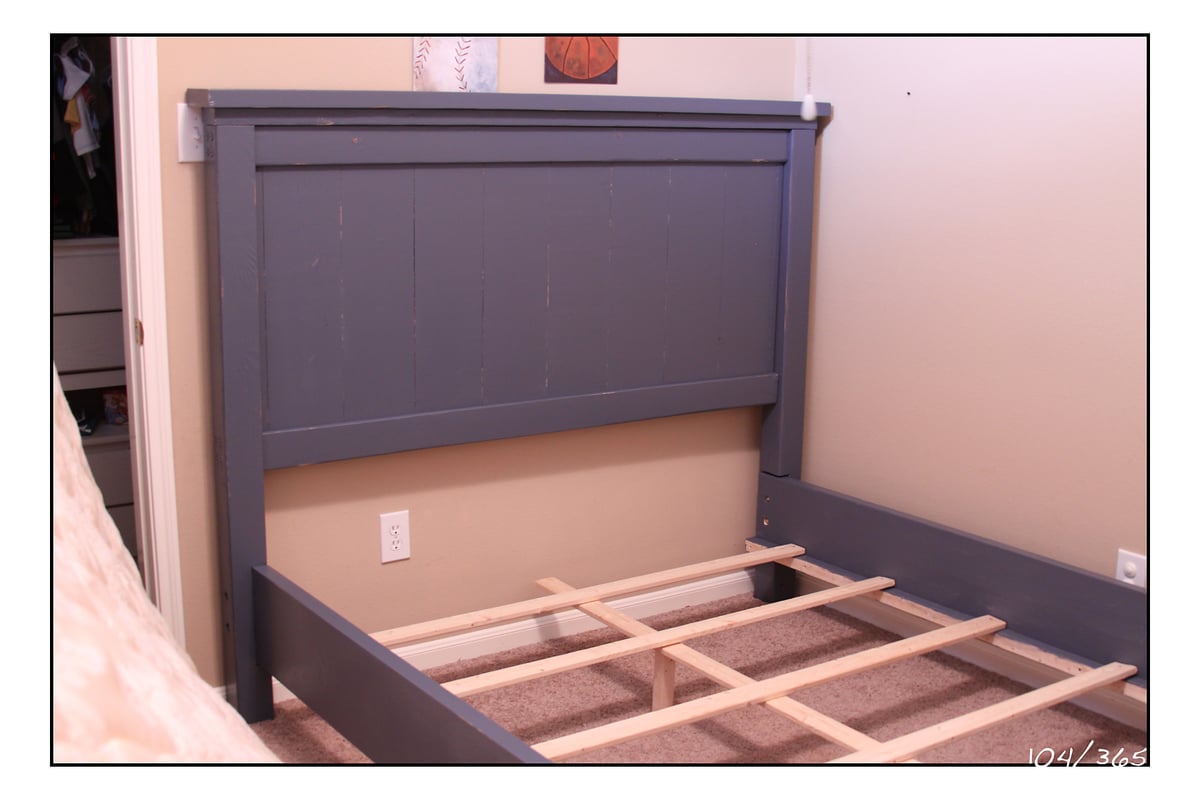
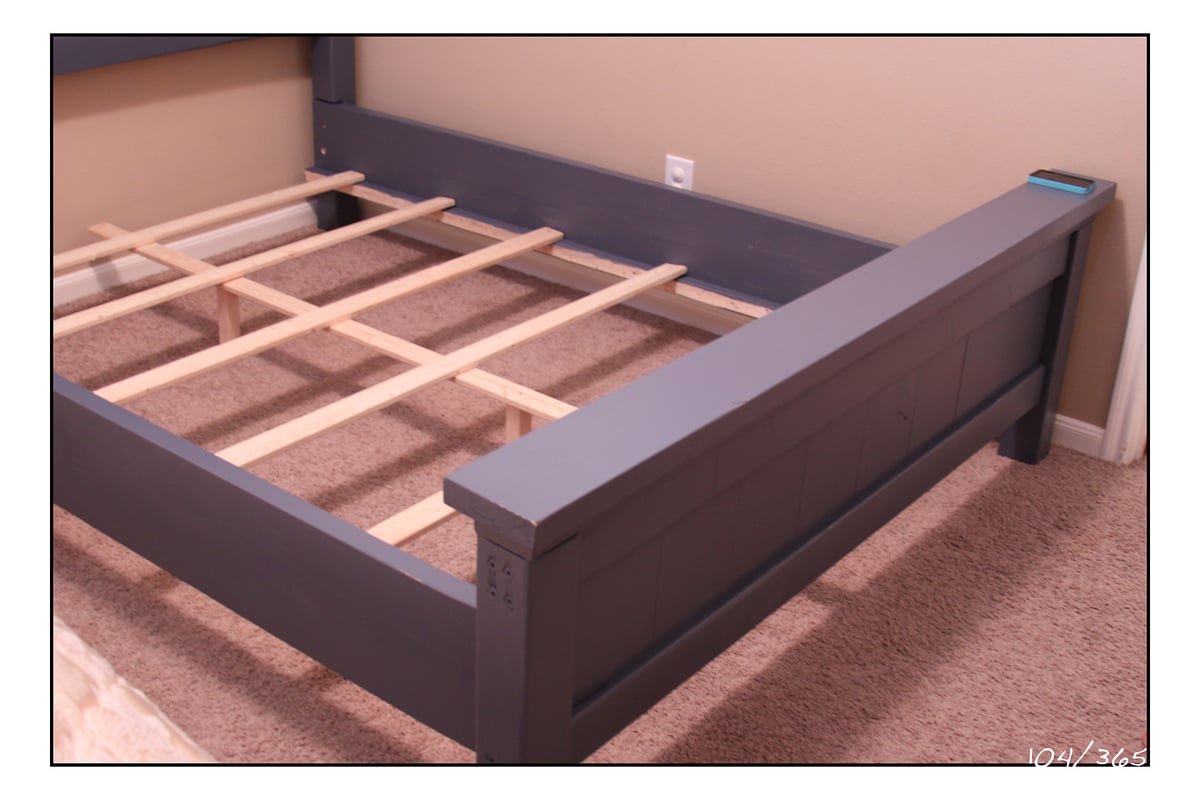
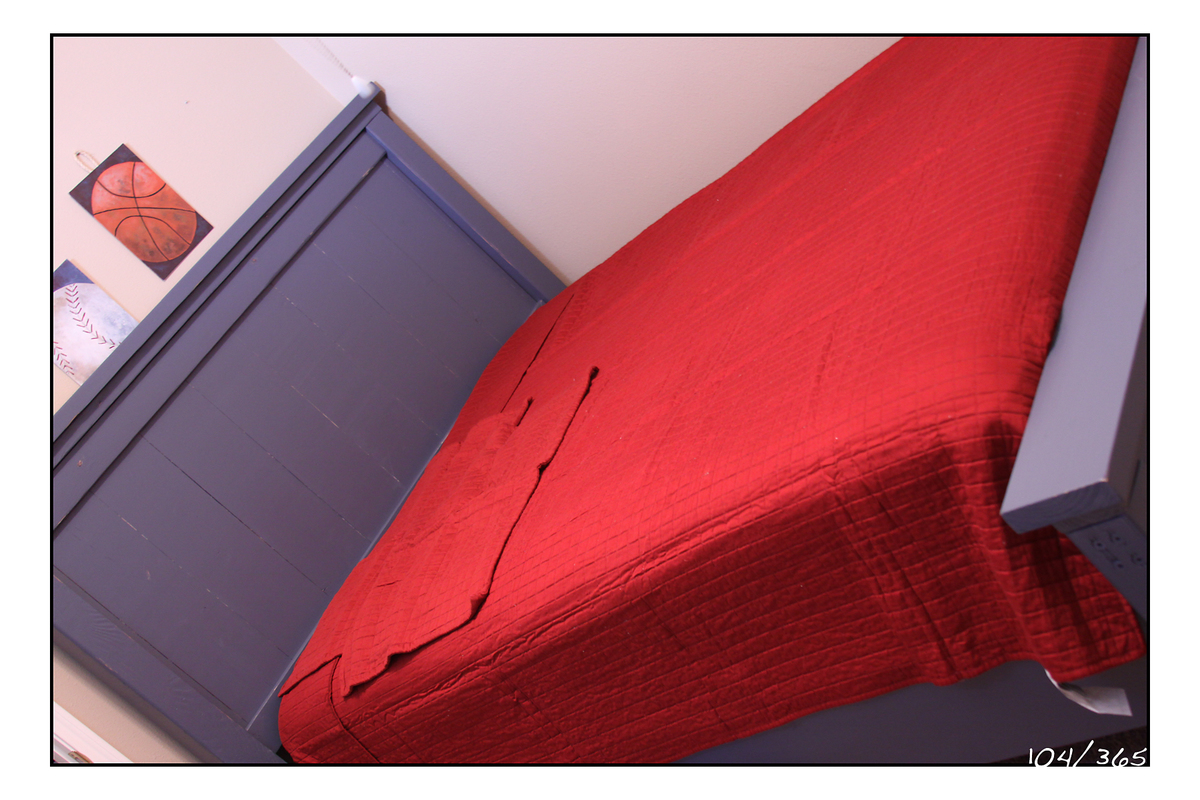
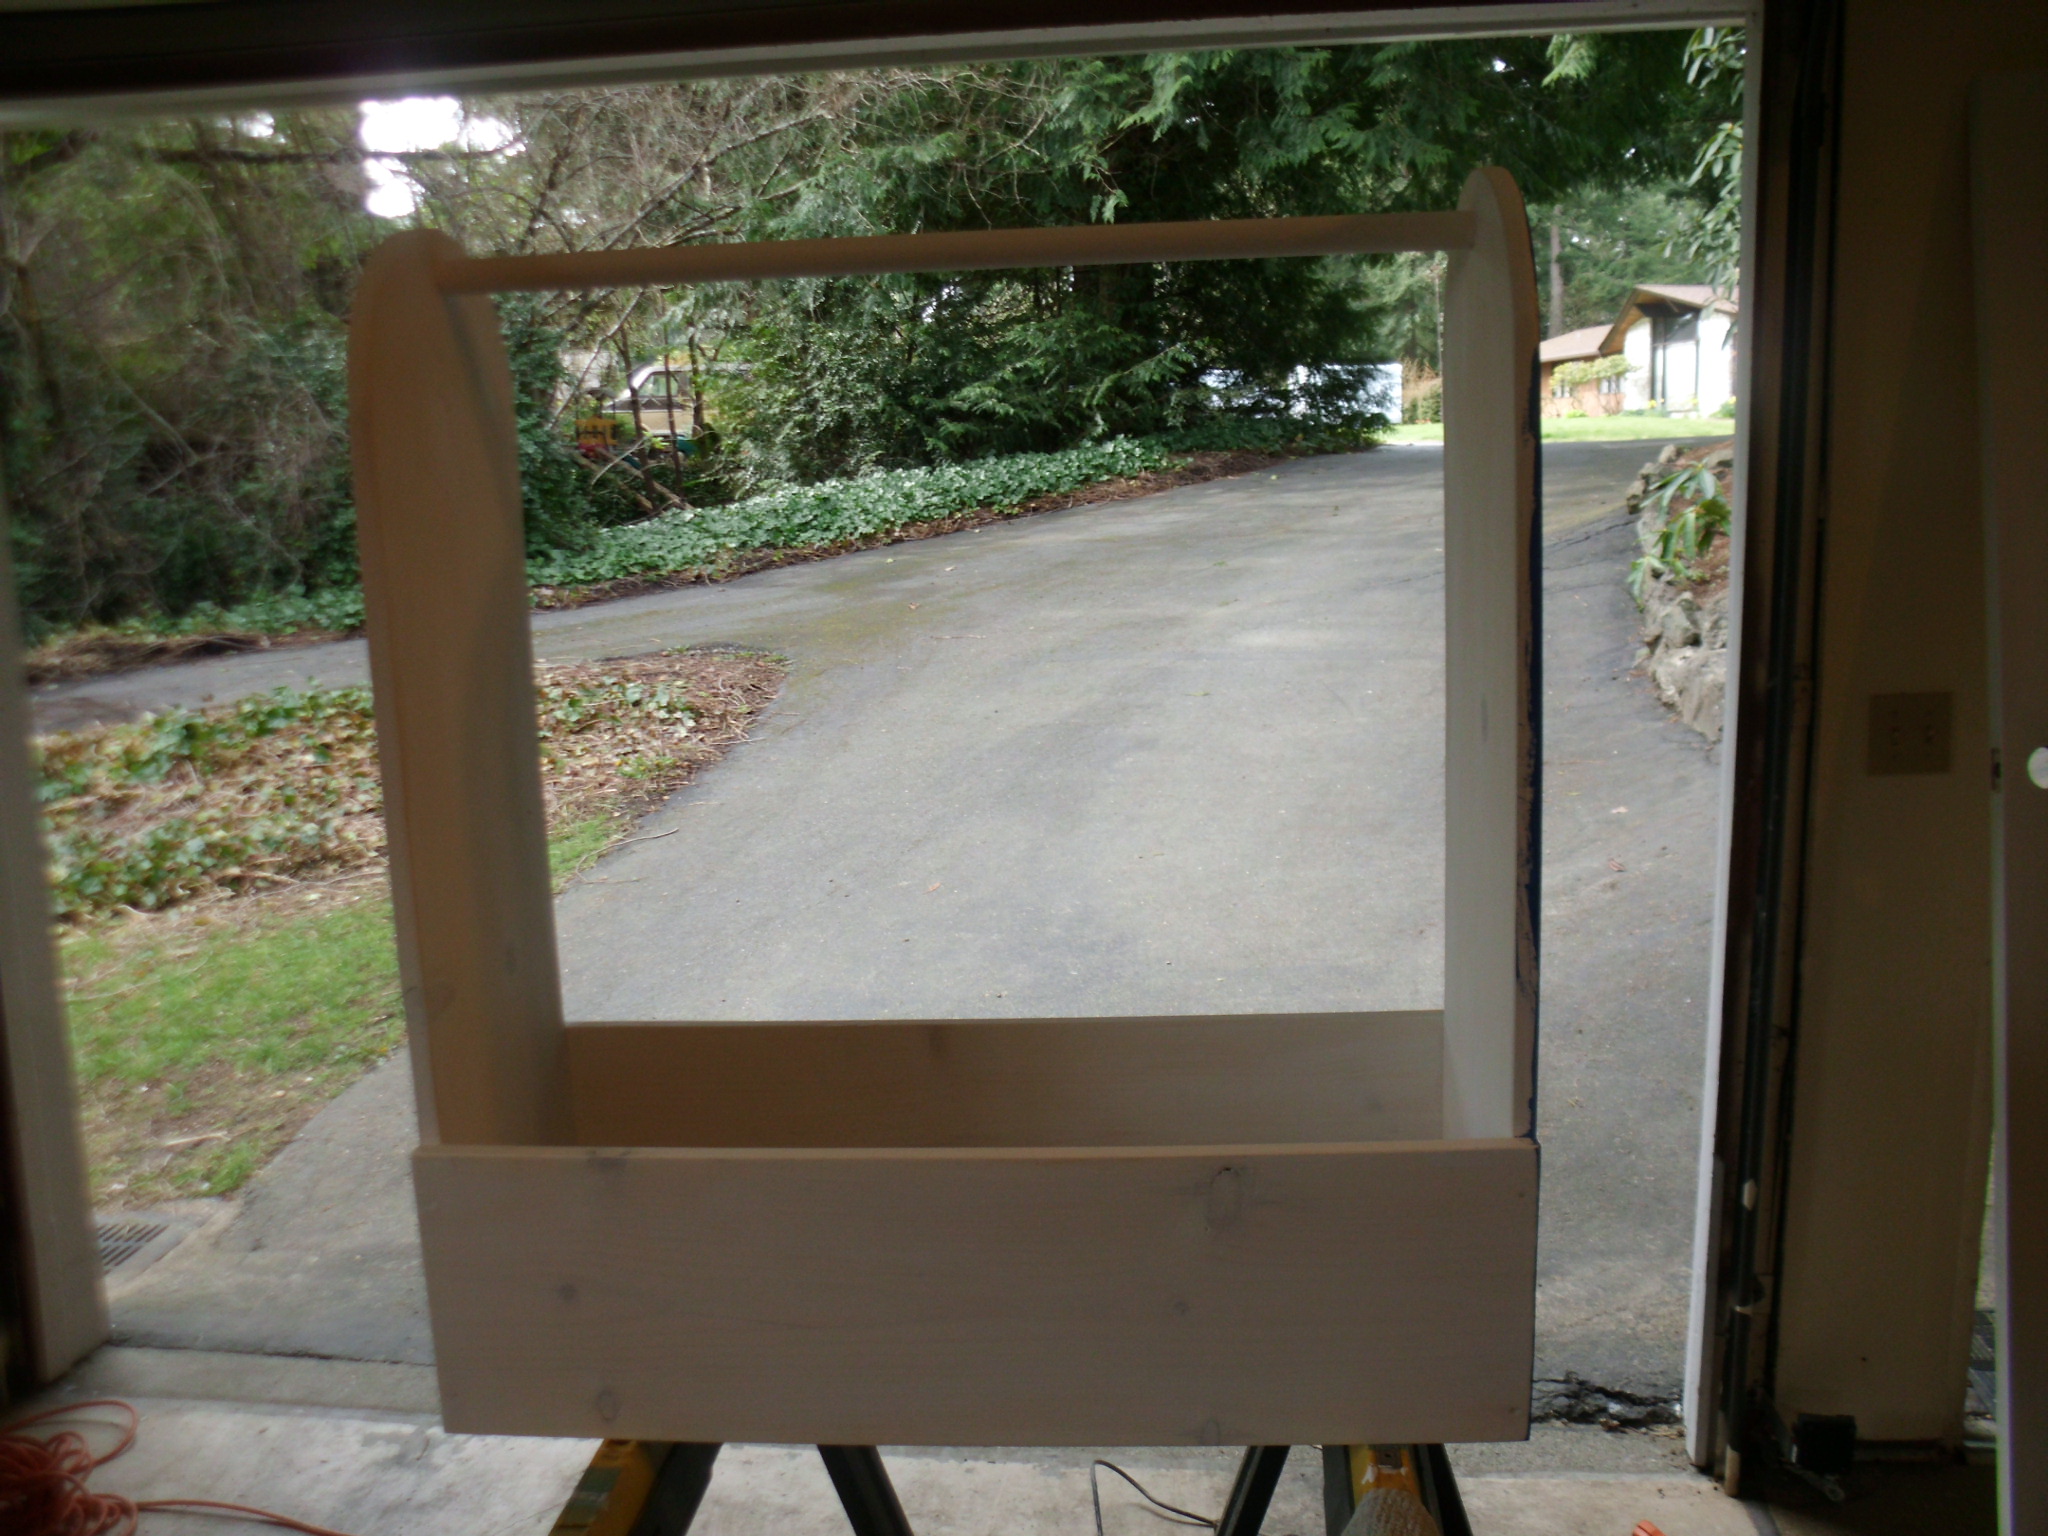
Upholstered Toddler Bed - Little Boy Style

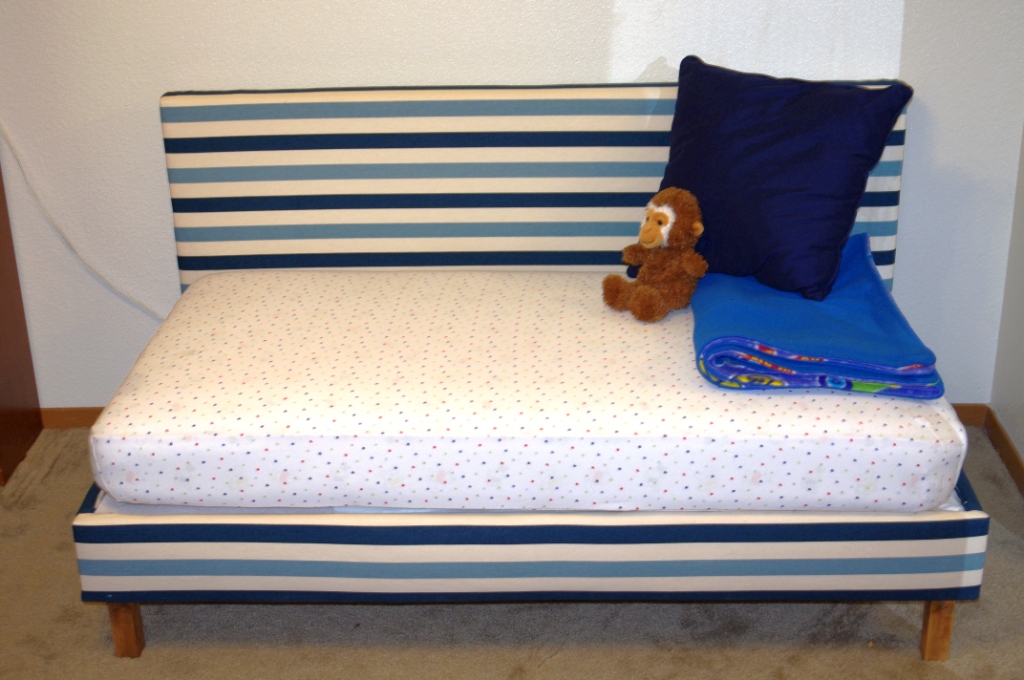
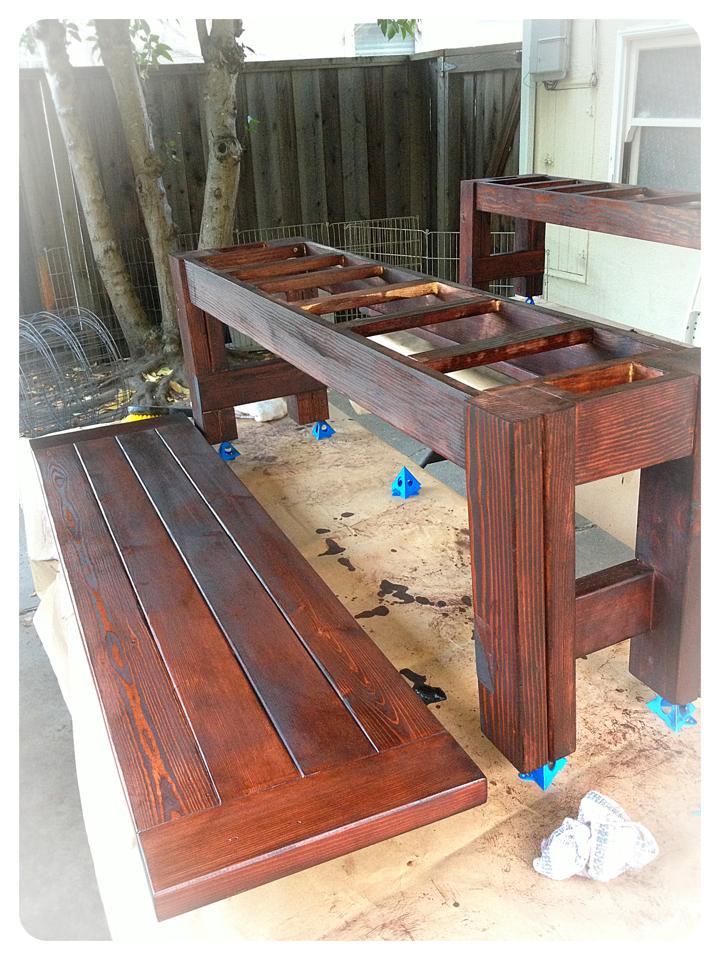
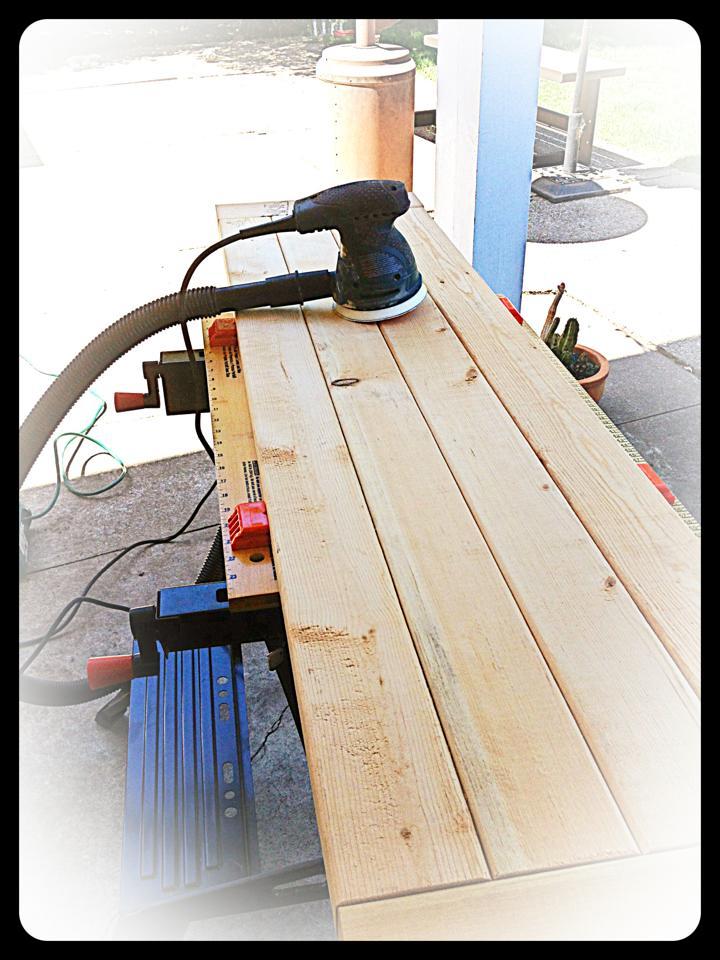
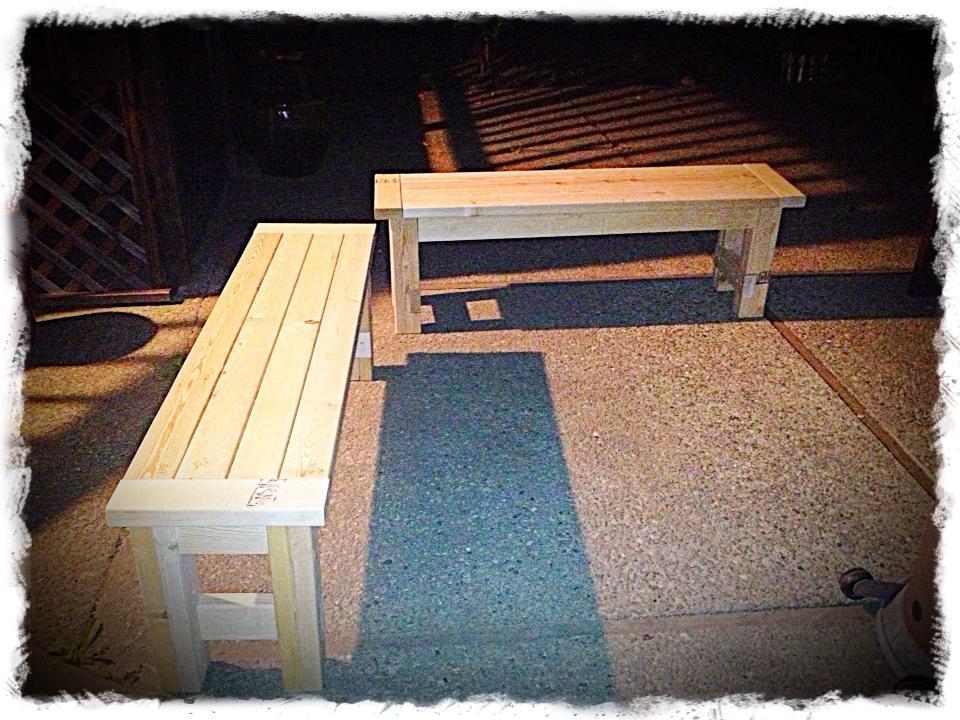
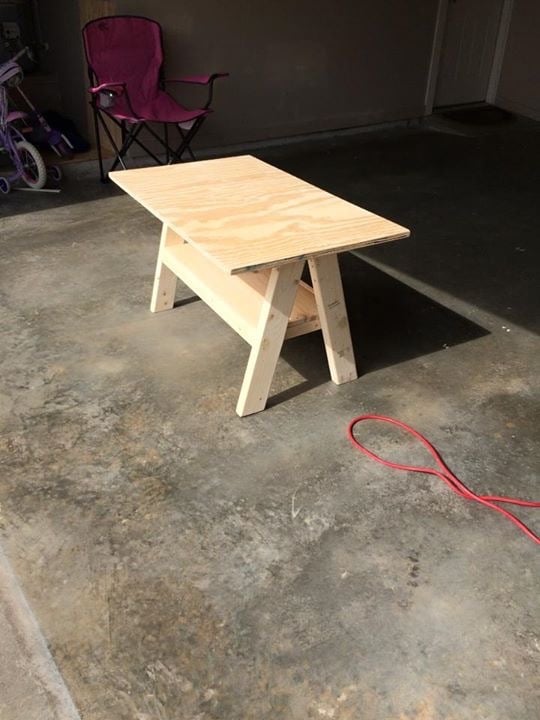
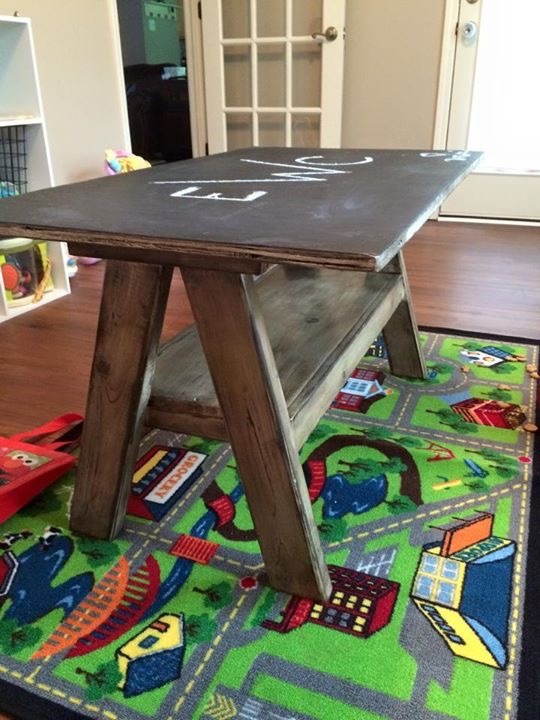
I used as much reclaimed wood as I could to make this project as inexpensive as possible...and since it was going to be covered, you can't tell.  What I couldn't get from scrap or the pallet I tore apart, I bought at Orange...only to discover that they do not sell untreated 2x6s in Hawaii.  So I improvised and screwed a couple 1x6s together, and it worked just fine.  The only real problem I ran into was that reclaimed wood isn't really all that straight...so some of it went together by sheer force of will!  :)  It was my first build completely without my husband...and at 8 months pregnant, I definitely got a workout!

Estimated Cost
$35 - including fabric, but also using some reclaimed wood.
Estimated Time Investment
Day Project (6-9 Hours)
Recommended Skill Level
Beginner

Book Caddy

Submitted by JeneF on Mon, 06/17/2013 - 20:11

This book caddy was just what I needed...a small shelf to store the books that the girls are currently reading, so I am not constantly returning books to the bookshelf. Now we can keep a bunch of books at ready access, without them stacked around the room.

I shortened it to 18", but otherwise followed the plan as written. Some of the spaces/angles were a bit tricky to get into to with my tools, but the concept was straightforward. I did it myself, but a second person would have been handy to help hold the pieces while I fastened.

Built from Plan(s)
Estimated Time Investment
Weekend Project (10-20 Hours)
Finish Used
Valspar paint samples (Satin): Putting Green (6004-8B) and Rushing Stream (5005-10B). Minwax Fast-Drying Polyurethane.
Recommended Skill Level
Beginner

The only thing missing is 8 pies!

Submitted by AlpsJon on Tue, 05/26/2015 - 14:29

This was my first project with doors! Everything worked perfectly, except there seems to be a small mistake on the cut list - the 4 1x3's for the doors should be 14", not 11" each. The picture is correct but the cut list should be revised. Otherwise, instructions were easy to follow. I used a metal grill pattern for the door insets - purchased from Lowes, cut with tin snips and spray painted matte black. This cabinet is a great storage space and an all-around great project. One extra small tip - it may be better to set the top piece back a 1/4 inch more so that it goes over the top edge of the plywood backing on the rear - it would make for a cleaner finish. Thanks Ana - this is my 4th project from your website and I hope to furnish an entire (tiny) house all by hand!

Built from Plan(s)
Estimated Cost
$200 including several new tools and extra supplies
Estimated Time Investment
Weekend Project (10-20 Hours)
Finish Used
Minwax Sangria stain, pre-conditioned and then 2 coats of poly
Recommended Skill Level
Intermediate

Comments

Sliding door entertainment center

Submitted by Steckhome on Wed, 12/20/2017 - 02:17

Used the plans from here and the plans for the sliding door hardware to create this for my wife for Christmas.

Built from Plan(s)
Estimated Cost
$200
Estimated Time Investment
Weekend Project (10-20 Hours)
Finish Used
Clear matte minwax
Recommended Skill Level
Intermediate

Farmtable

Submitted by Anonymous (not verified) on Wed, 12/15/2021 - 12:29

Top is 2x10 KD spuce. Finish is Varathane cherry stain and Varathane semi-gloss poly. This was my first intermediate project. Learned a lot.

Built from Plan(s)

Comments

Turning the Loft Bed into a Bunk Bed

Submitted by mommabutts on Thu, 04/14/2011 - 10:20

We adapted the loft bed plans so we could put our sons' current twin bed underneath it to make "bunk" beds for our boys.  It turned out perfectly!  The loft is very sturdy, even with 2 adults and a child on the top bed.

We made it taller and longer, and added an additional row of 1x8s to increase stability.

Built from Plan(s)
Estimated Time Investment
Day Project (6-9 Hours)
Finish Used
Minwax Polyshades
Recommended Skill Level
Intermediate

Farmer’s. Market Stall

Submitted by Cockroach on Wed, 12/22/2021 - 13:31

I made this for my daughter this year for Christmas. I’m pretty proud of how it turned out.

Built from Plan(s)

Comments

Recycling Center

Submitted by mac226 on Mon, 04/18/2011 - 12:41

We modified Ana's Recycling Center plans to make this piece.  It's made of MDF and painted to match the kitchen cabinets.  I had the pieces cut at the lumber yard so they'd be straight, but didn't have the plans quite correct.  My poor plans resulted in the build being quite fidgety and took ages to complete (and I ended up having a handyman help get it right), but I'm happy with the result.   I used drawer runners for the drawers and made a box inside, cutting out a hole for the plastic liners.  Thanks so much for the help!

Built from Plan(s)
Estimated Cost
$100
Estimated Time Investment
Week Long Project (20 Hours or More)
Finish Used
Cupboard Paint for MDF
Recommended Skill Level
Beginner

Wooden Play Parking Garage

Submitted by DMax2010 on Fri, 06/21/2013 - 14:23

I was looking for a wooden parking garage plan for my little guy, but couldn't find one! I looked a bunch of the dollhouse plans for inspiration and found a wooden toy garage online that I based my plans on. I still need to add the ramps and a few more parking spots, but my son loves it! It has an elevator (need to refine it) and helicopter landing zone!

Estimated Time Investment
Weekend Project (10-20 Hours)
Finish Used
Chalkboard paint for parking levels, regular orange craft paint for the elevator
Recommended Skill Level
Beginner

Comments

DMax2010

Sat, 06/29/2013 - 09:53

My son loves little cars and parking garages, so it was fun to do.

terdickison

Mon, 07/01/2013 - 11:26

I love this! I want one. Better hide this screen before the kid sees it and gets some ideas :)

snoopy369

Tue, 02/25/2014 - 10:05

Hi, curious if you ever finished the project. I'm planning to do something similar next week and would love to see the finished project (and plans if you made them!)

Kids Trestle Table

This was my first attempt at a project from the site here, and I am hooked! this was well thought out and the fact that you have the cut sheet and materials list ensures you get what you need and help to keep cost down. This will not be my last build from this site! Thank you for the great information and how-to you guys have provided.

Estimated Time Investment
Afternoon Project (3-6 Hours)
Finish Used
Common white paint then sanded to expose wood grain. Applied dark stain over that to "age" everything and finished with poly over the top!
Recommended Skill Level
Starter Project

Castle loft bed

Submitted by chazbandy on Wed, 12/27/2017 - 09:34

Took different plans from this site and combined them to make this princess castle for my daughter. 

Estimated Time Investment
Week Long Project (20 Hours or More)
Finish Used
Industrial grade Paint variety
Recommended Skill Level
Intermediate

my brothers hickory blanket chest

Submitted by Anonymous (not verified) on Sun, 12/26/2021 - 12:36

ana here is a picture of a solid hickory blanket chest i made my younger brother the chest is made from 1x8 hickory i used walnut and aromatic cedar trim and for the side trim i used elm the chest features in the top hickory red oak walnut and white oak with walnut side trim and the front of the chest features exotic hard to find mexican bocote lumber i i built the whole chest using plugged kreg screw construction and i used aromatic cedar for the floor and for the finish i used minwax antique oil finish 3 coats this is by far my most 2nd favorite project to come out of my shop over my 20 plus yrs woodworking not bad for simple tools a humble shop and a outdoor rated cord for power hope you enjoy let me know your thoughts n i would be glad to share more pics of my work

Queen Farmhouse Bed

Submitted by ralarid on Thu, 04/21/2011 - 11:28

I just completed the Queen Farmhouse Bed from Ana's plans for a friend of mine. She needed a "big boy bed" for her son that could double as a guest bed when family is in town.
I made a few modifications to the plan for the frame. I realized after the headboard and footboard were completed that I wanted the box springs to sit inside the side rails on slats so I had to notch out the post on the headboard to accommodate the extra width. 
I finished the bed with paint, "Blue grey slate", distressed it a bit, and gave it a coat of polycrylic.
Overall, I am extremely happy with the result. I have made some chairs and frames before but this was my first BIG project. It was a lot of fun for me and I love being able to stand back and see what can be built in your own garage!

Built from Plan(s)
Estimated Cost
$180
Estimated Time Investment
Weekend Project (10-20 Hours)
Finish Used
I gave it a good sanding, then applied Blue Grey Slate paint & primer in one. Two coats of that. Then slightly distressed with a sanding block and a screwdriver between the panels. Last, I gave it a coat of polycrylic to protect it.
Recommended Skill Level
Beginner

Green Adirondack Chairs

These are great chairs! Easy to build, comfy to sit in. Check out my blog post for more info.

Estimated Cost
$32 per chair for lumber, plus finishing and hardware
Estimated Time Investment
Day Project (6-9 Hours)
Finish Used
Exterior latex paint + primer in one, color matched to Sherwin Williams Dill
Recommended Skill Level
Beginner

Comments

WorkShopWendy

Thu, 06/27/2013 - 20:23

Hi Hillary, Great job. These are great chairs aren't they, and sturdy. I work at Home Depot and I hosted the Do it Herself work shop for them. Very easy to build and inexpensive. I really like the color you chose, very cheery.

keribeth

Fri, 06/28/2013 - 15:58

I'll be making four of these this week in turquoise to match the little ones I made for the kids. Yours is an inspiration!

Seasonal And Holiday

Doll Farmhouse bed revisited

Submitted by justqltin on Fri, 06/05/2015 - 10:03

We did another Farmhouse bed for Anna's dollhouse. Modified this version to be "twin" size (used 3 1x3's across instead of 5) Added some painted wood medallions to fit the theme....

Estimated Cost
$6 maybe. Most of the wood we had but had to buy a can of spray paint. Time includes time for glue to dry and paint to dry.
Estimated Time Investment
Weekend Project (10-20 Hours)
Finish Used
Krylon Maxx satin bright white spray paint. Krylon gloss black to do the medalions.
Recommended Skill Level
Beginner

Comments

Farmhouse table

Submitted by Anonymous (not verified) on Sun, 12/26/2021 - 14:23

The directions on all of Ana's projects are great. This farmhouse table is in my sunroom and is a perfect addition.

Comments

Craftiness is not optional Dress up storage

Submitted by 3kidsilove on Mon, 04/25/2011 - 10:56

We made this for my nephew Owen. He loves to play super hero. I painted it "to infinity and beyond blue"! Then just hand painted the letters on from stencils I made out of laminate paper. Super fun project He loved it! (so did his mom)

Estimated Cost
40.00
Estimated Time Investment
Afternoon Project (3-6 Hours)
Recommended Skill Level
Beginner

Chelsea Loft Bed

Submitted by EricJohn12 on Tue, 06/25/2013 - 08:35

Two years ago my college roommate & fraternity brother passed away of cancer. When his wife contacted me and another of my brothers about building a loft bed for his daughter’s 12th birthday - we jumped at the chance. With mom’s input, we decided on the Chelsea bed design with a few modifications: full size, no decorative feet (for stability) & an extra desk portion. (The design was inspired by the Pottery Barn Teens Chelsea Vanity Loft Bed.) We ended up using ¾” thick white shelf boards instead of 1x12s for the panels and shelves & 15” wide shelf board for the extra desk portion as well as plywood on the back of half the selves & desk area. Used 2x3s instead of 2x2s as suggested. We added a few pieces of quarter round & lattice molding to give a nice finishing touch between the bed & bookshelf/desk and a full length mirror on the bookshelf end. We were going to paint everything white, but after seeing the wood trim against the white, the daughter decided she liked that look, so only select pieces of the wood were painted. Most importantly, she loves it. She has a small 10x10 room which made getting a full shot of the bed difficult.

Total cost of lumber, pocket screws, plugs, primer & miscellaneous was about $350. It took a week of evenings pre-cutting and some sub assembly then a Saturday to build and paint.

My roommate was a great friend. If there is one thing his life showed me, is that life is short – some lives shorter than others. If you make a difference for someone else, you will make a difference in yourself and the world becomes a better place. Make the decision to spend time with the ones you love & care for, you won’t regret it.

Estimated Cost
$350
Estimated Time Investment
Week Long Project (20 Hours or More)
Finish Used
Paint & linseed oil.
Recommended Skill Level
Intermediate

Comments

JoanneS

Tue, 06/25/2013 - 16:33

What a wonderful gift! This looks so beautiful, and the story behind it is inspiring! Great job!

Built by Bryan

Submitted by bryanp8269 on Tue, 06/09/2015 - 12:34

I posted this to my Facebook page some friends saw it so i gifted them the bench and they painted it themselves.... Thanks Ana for the plans

Built from Plan(s)
Estimated Cost
$57 dollars plus screws and my time :)
Estimated Time Investment
Day Project (6-9 Hours)
Finish Used
behr redwood
Recommended Skill Level
Starter Project

Comments