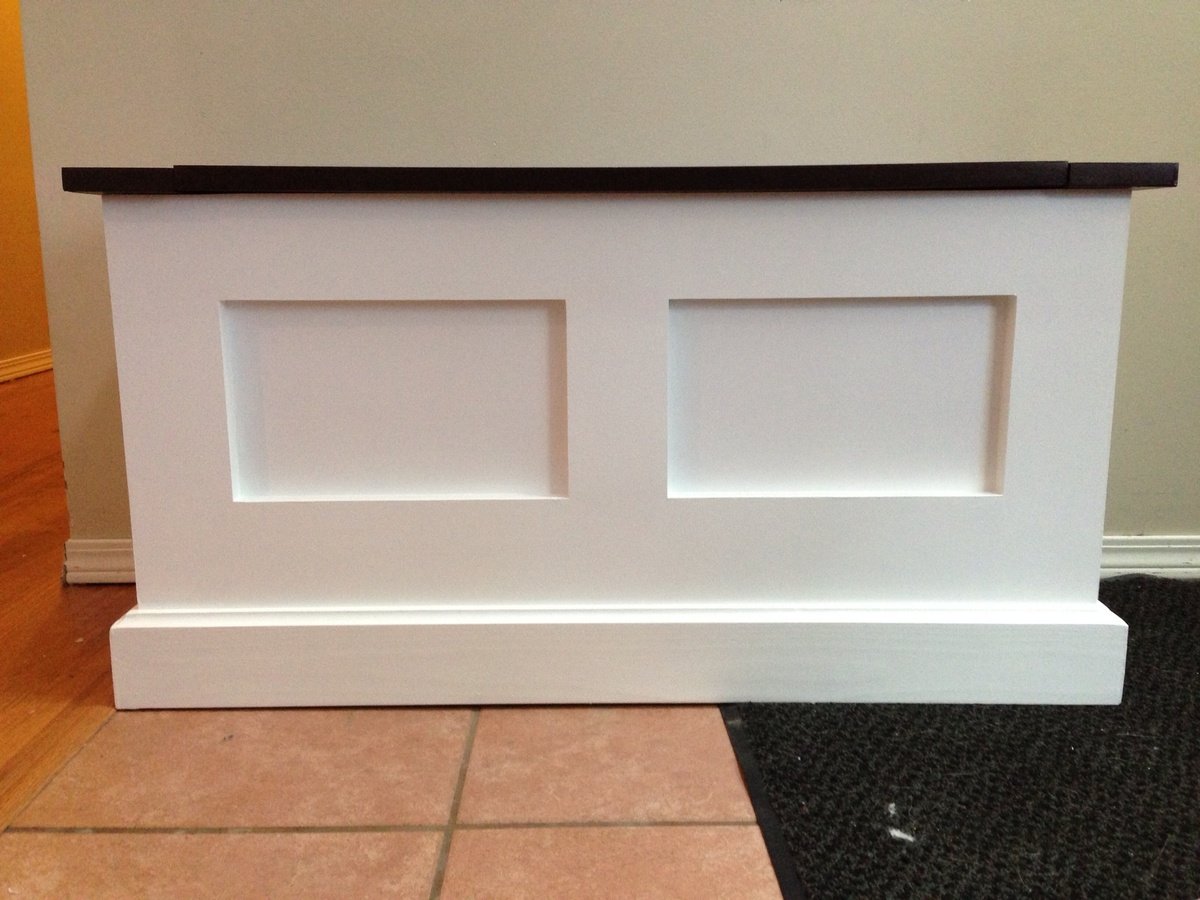
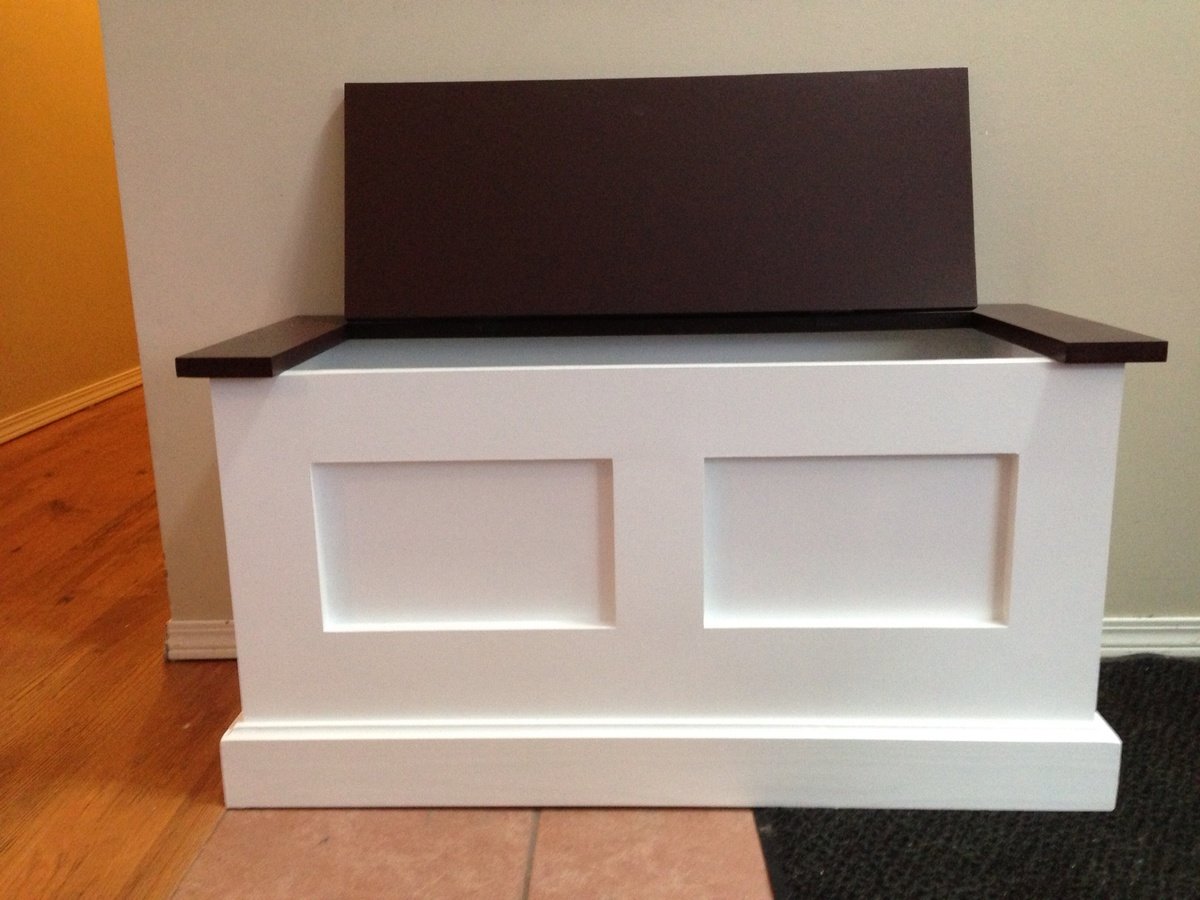
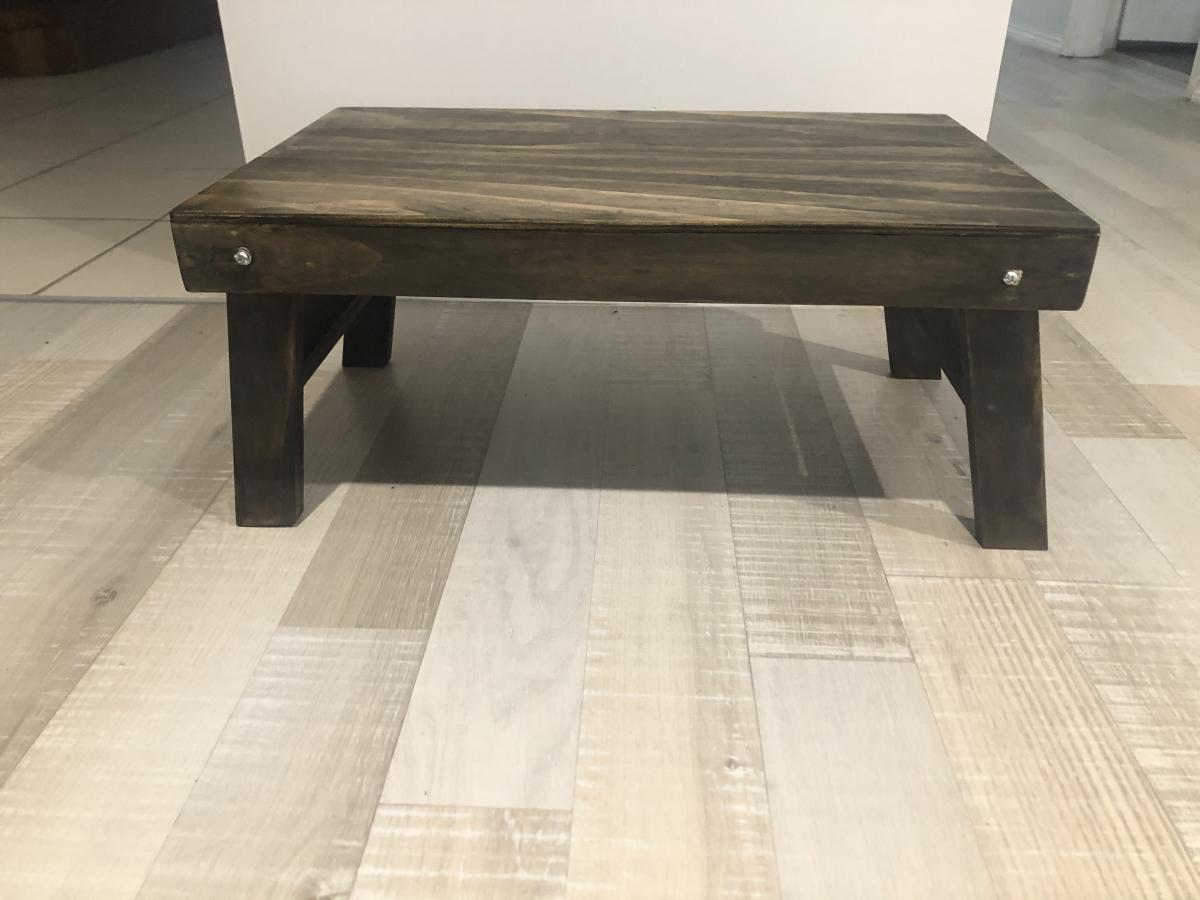
Grammy’s bench
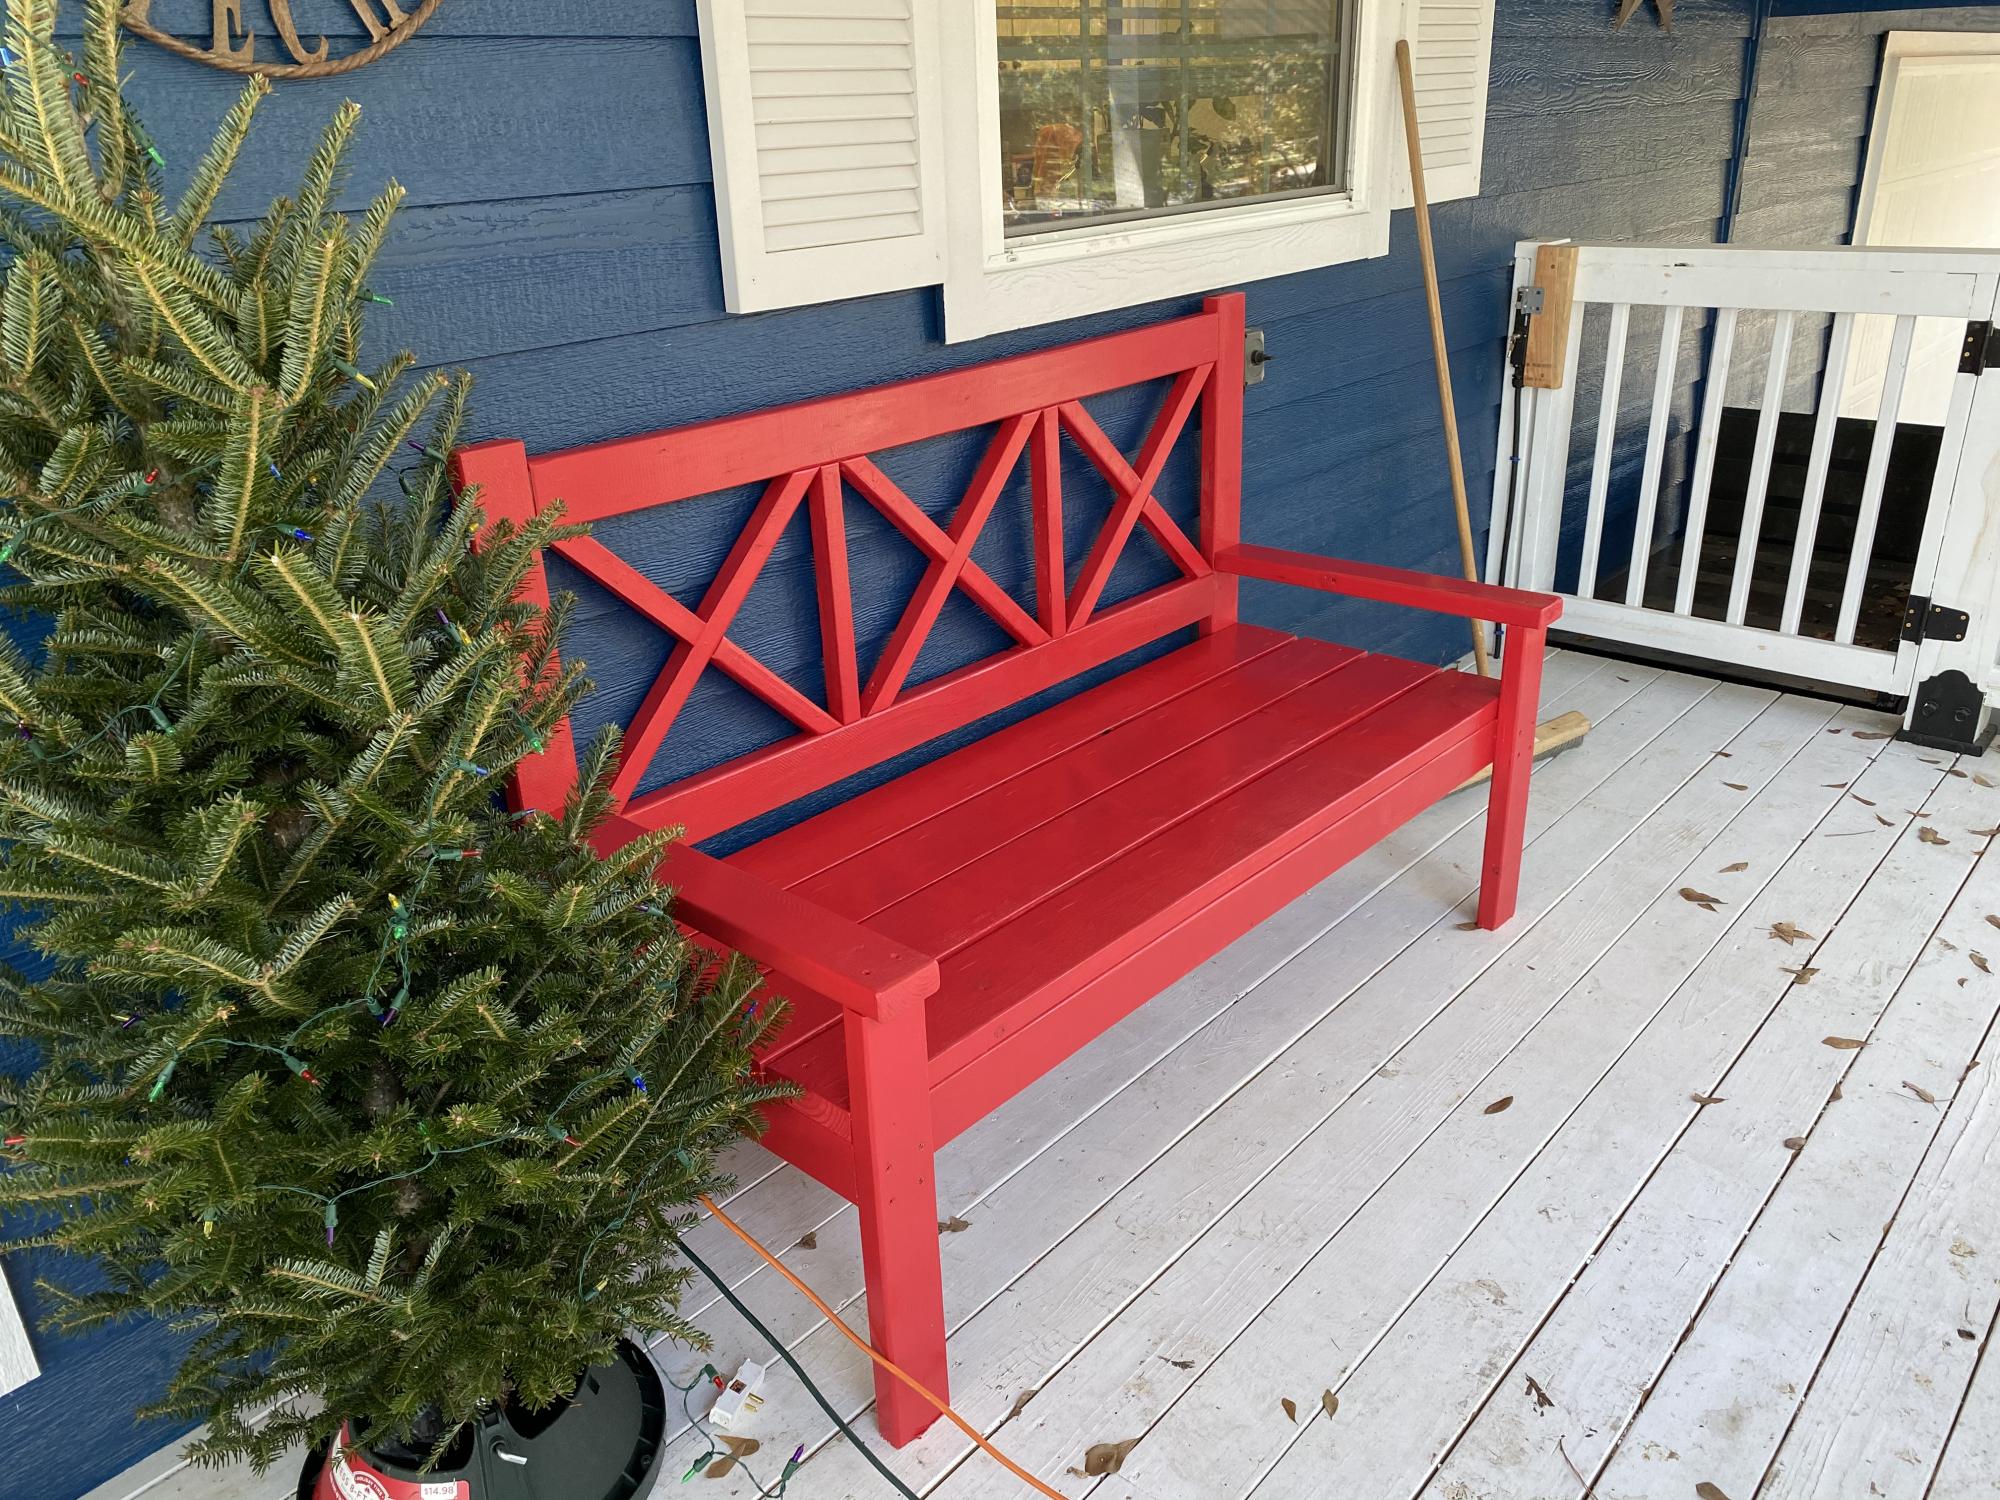
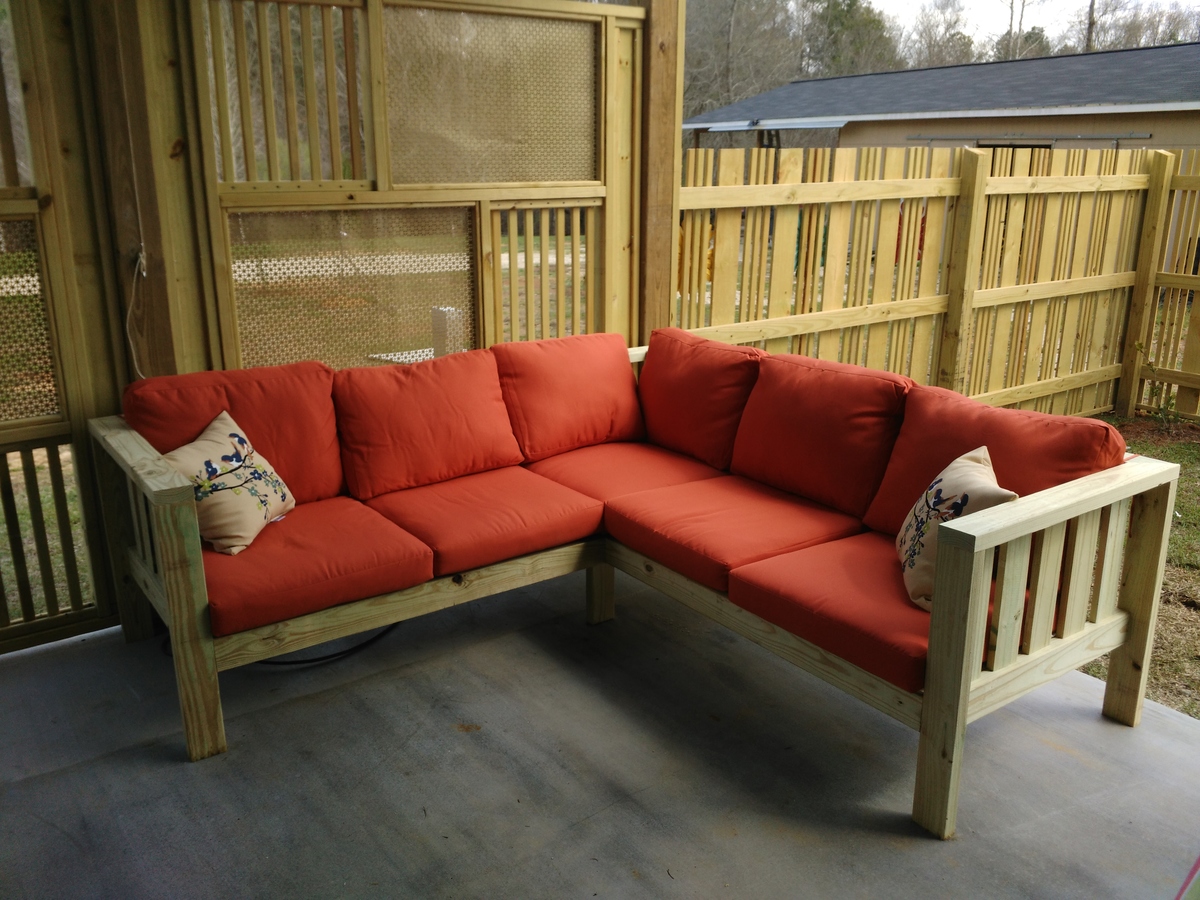
Porch bench for my parents’ new house.
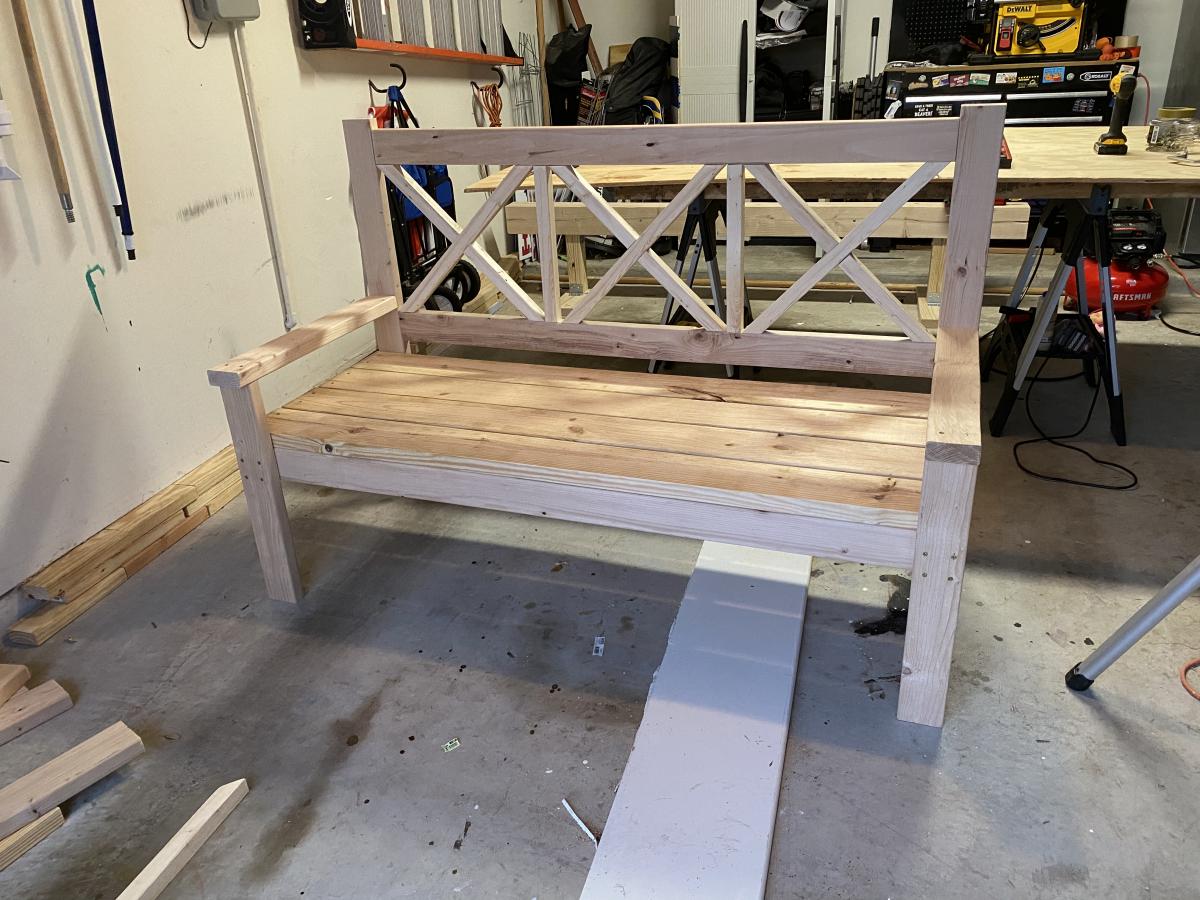

Built from Plan(s)
Estimated Cost
$100
Estimated Time Investment
Day Project (6-9 Hours)
Finish Used
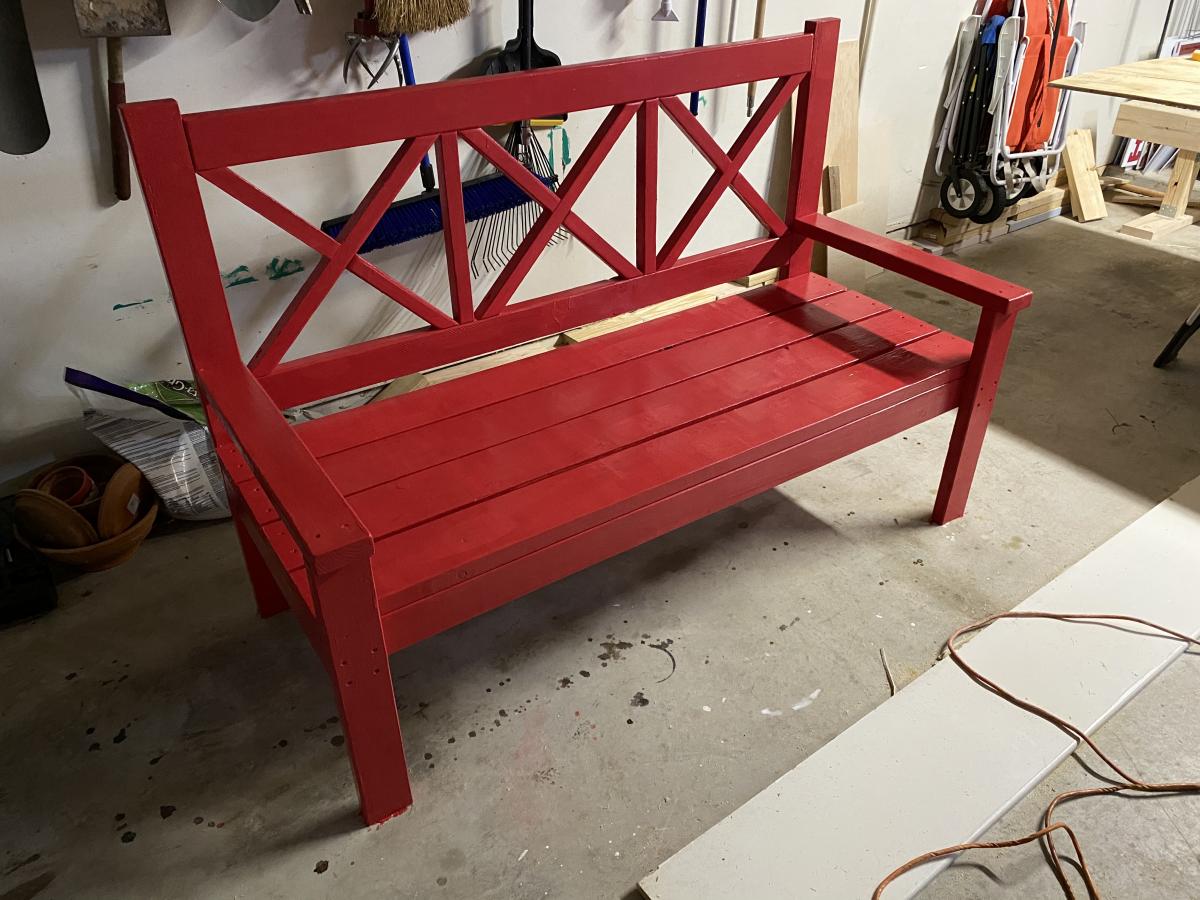
Exterior Valspar - Bright Red
Recommended Skill Level
Intermediate


Comments
Ana White Admin
Sun, 12/06/2020 - 20:18
Great build!
Love the bright cheery color!