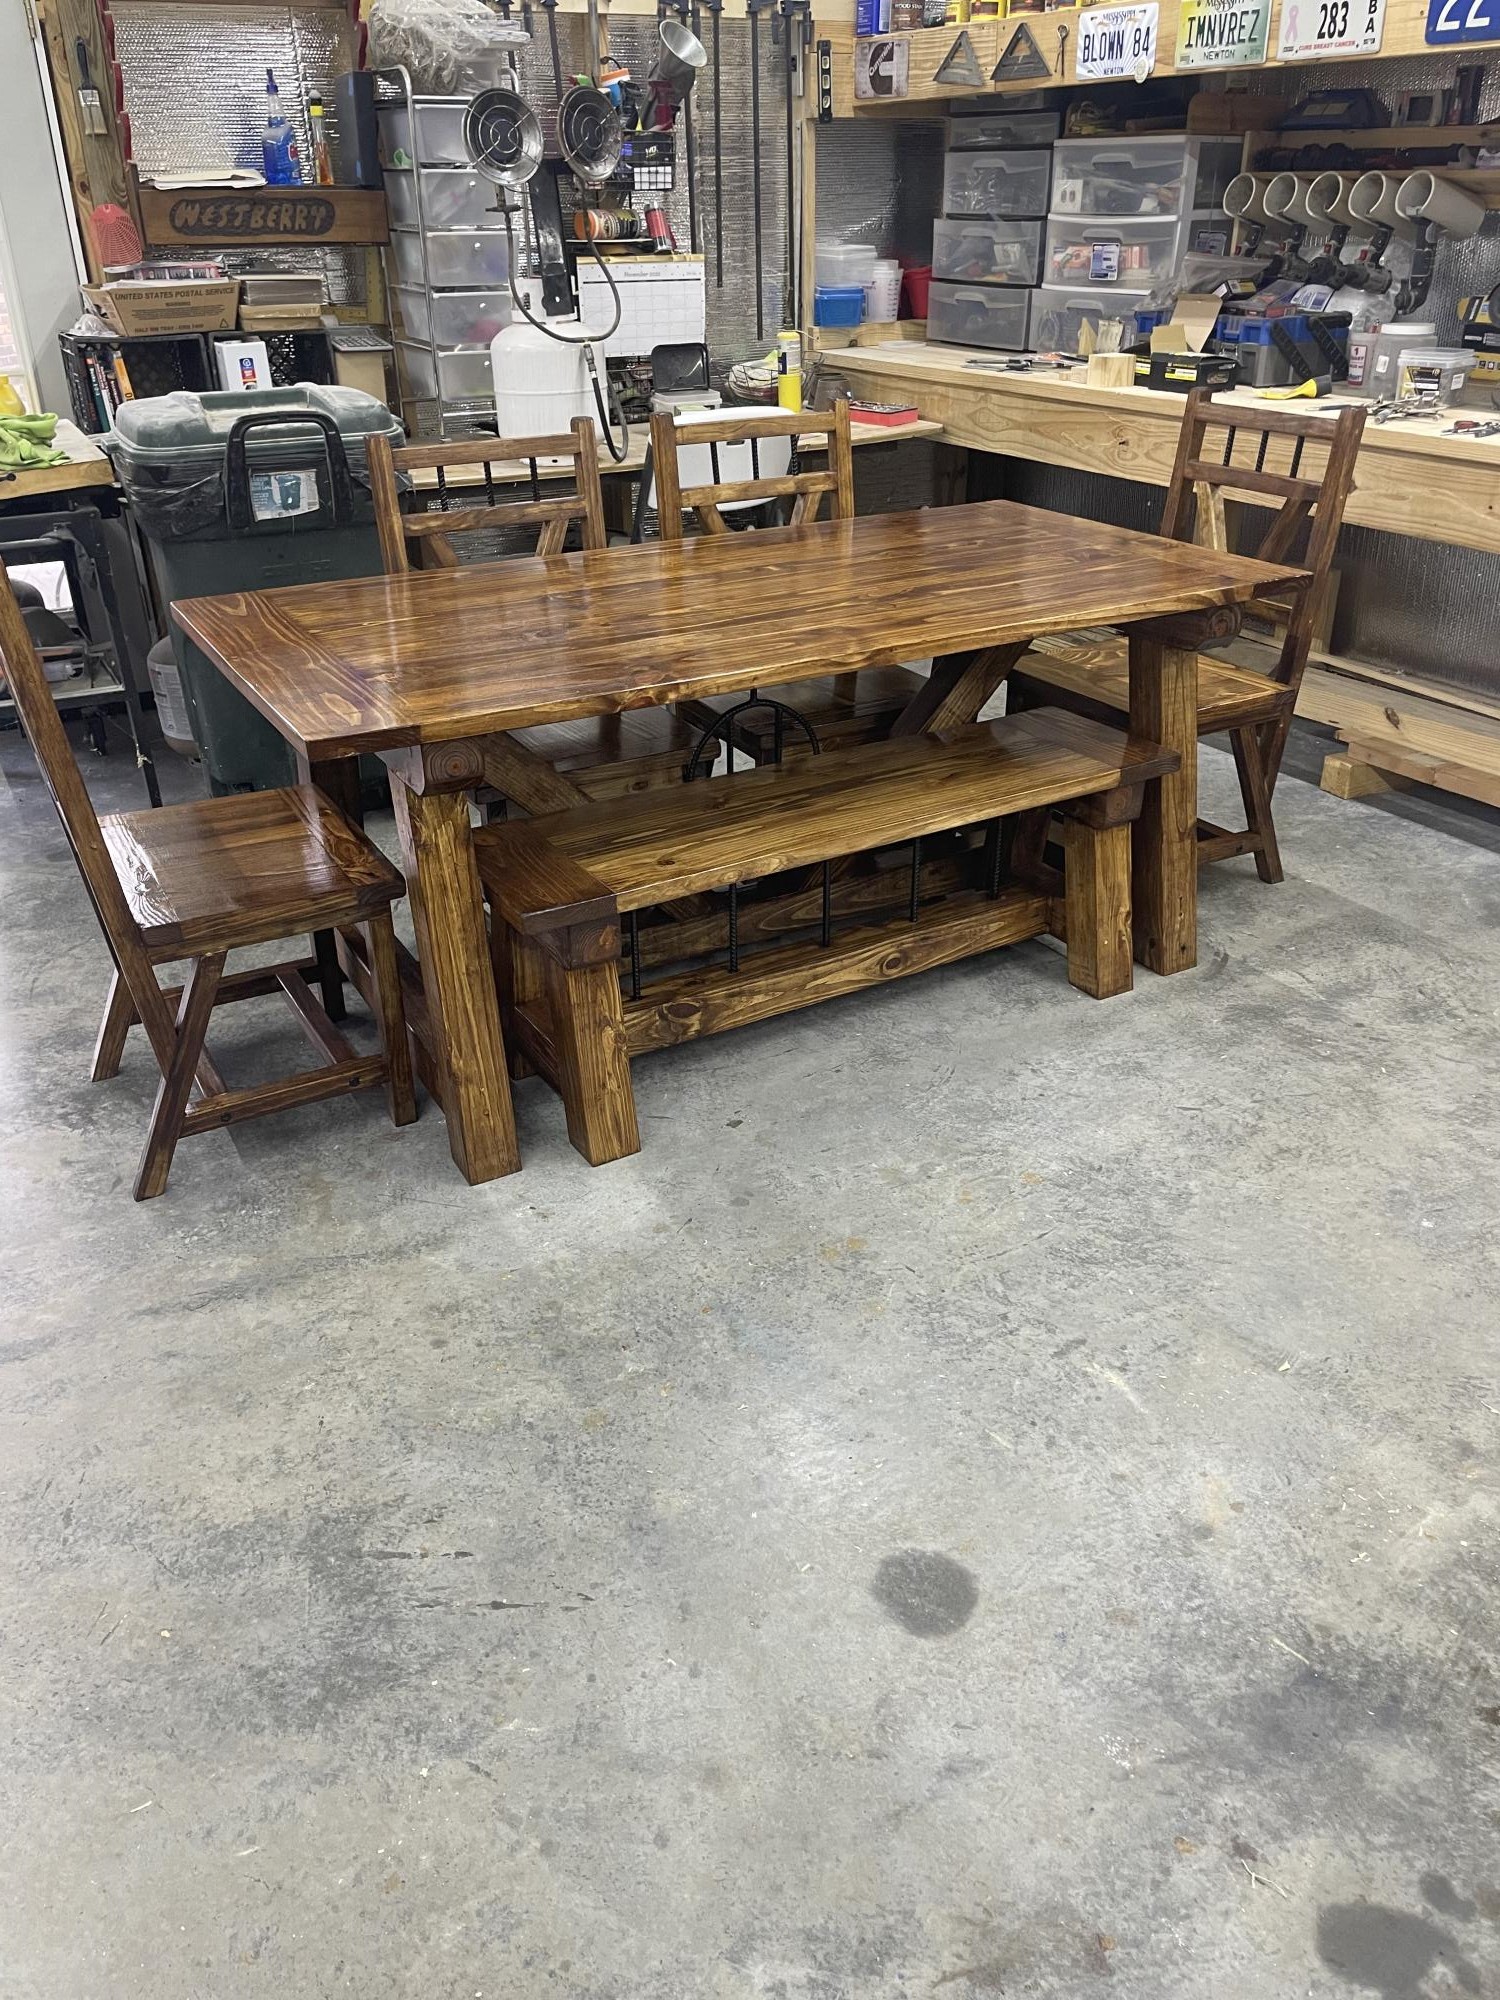
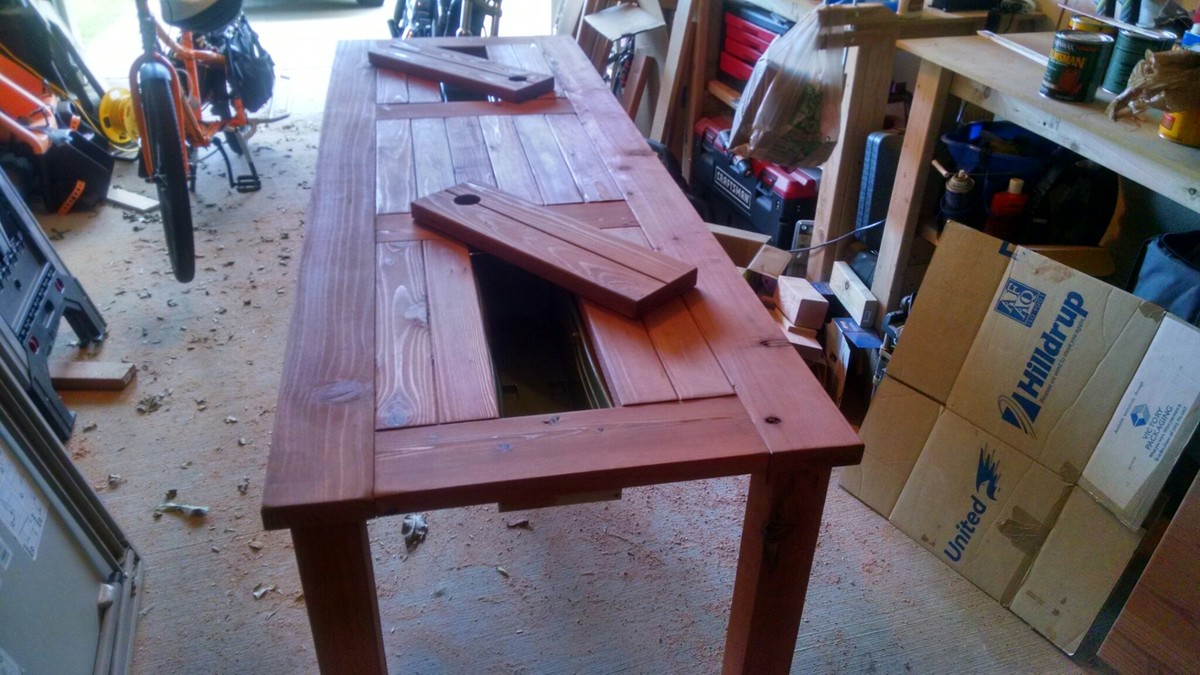
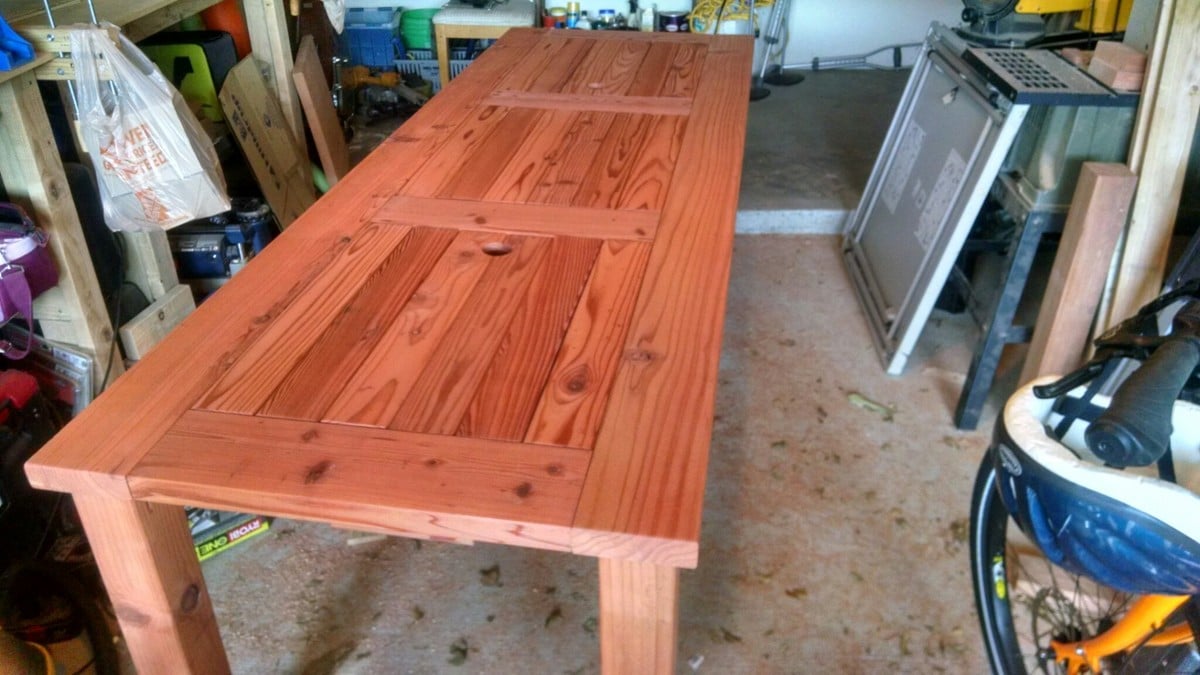
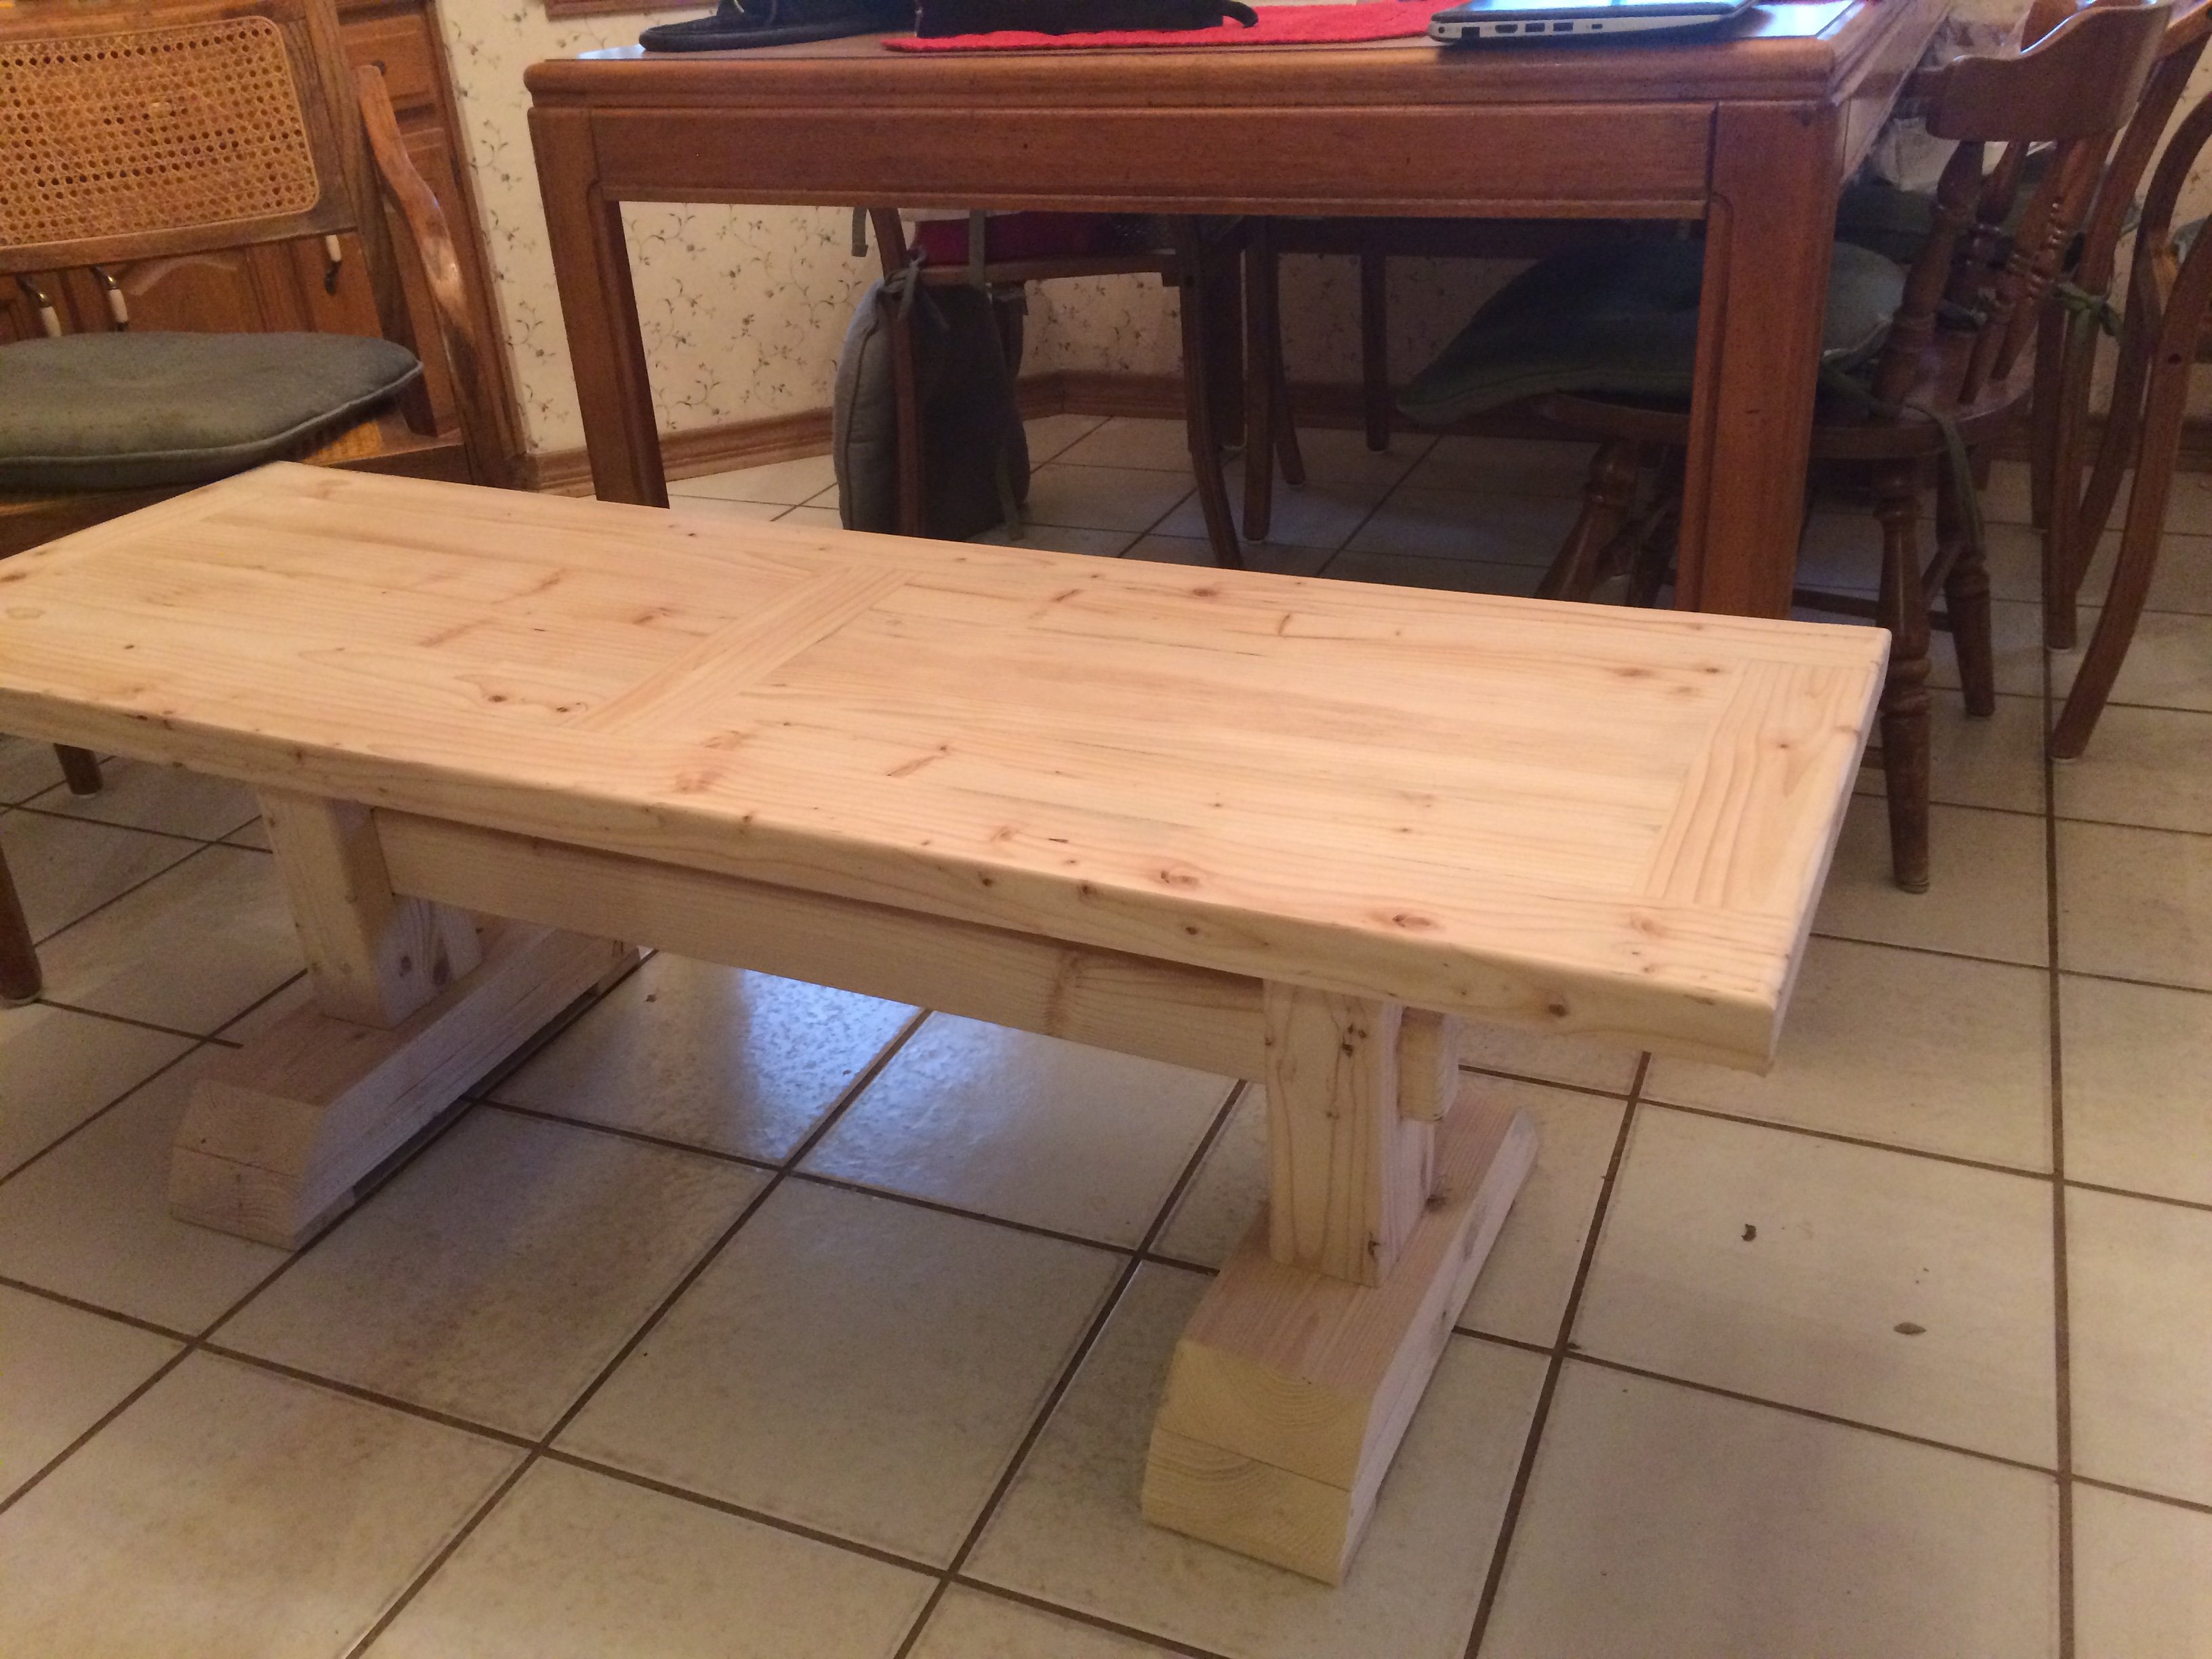
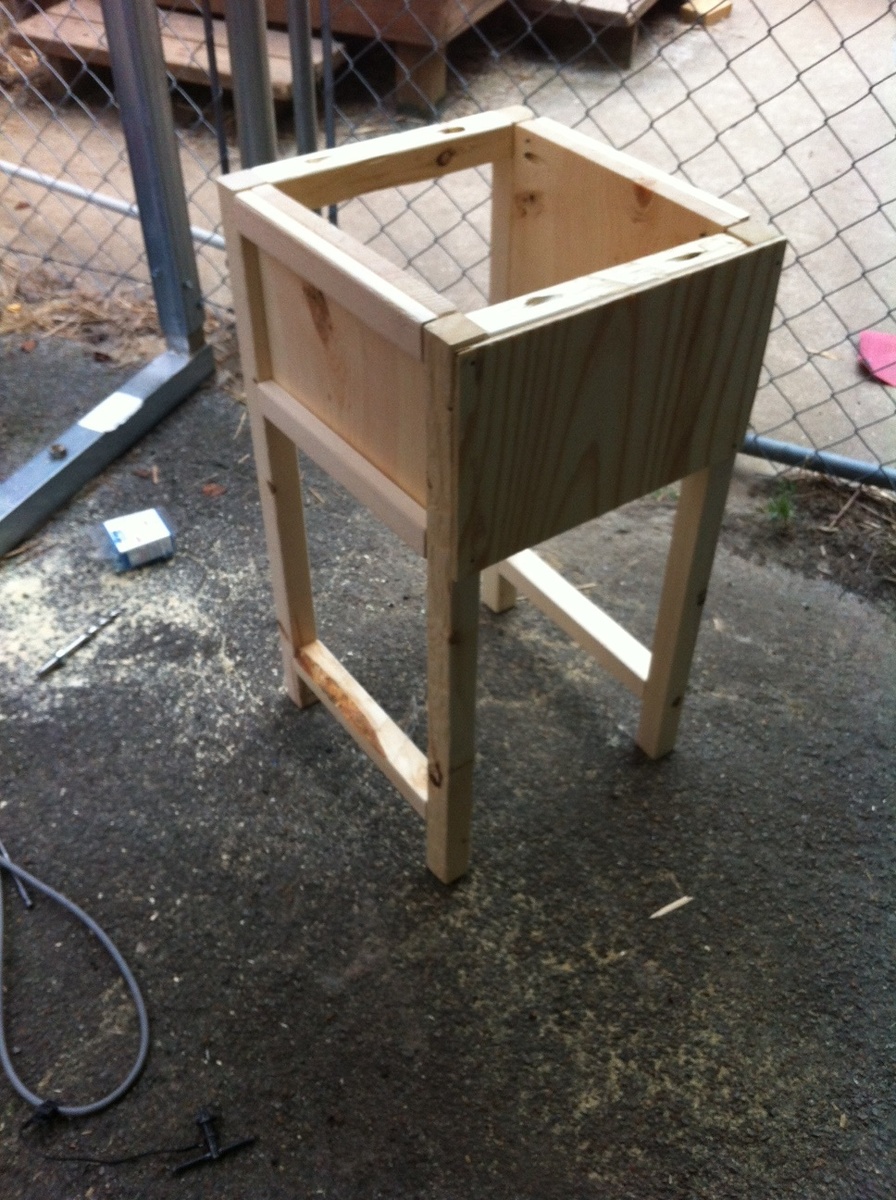
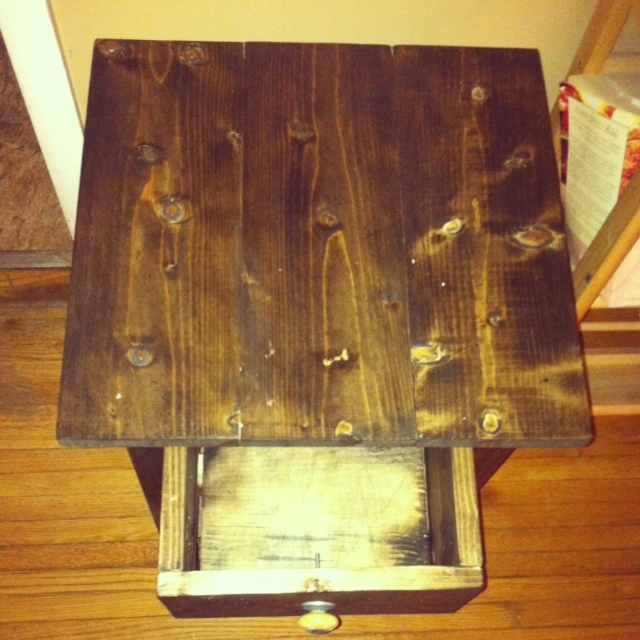
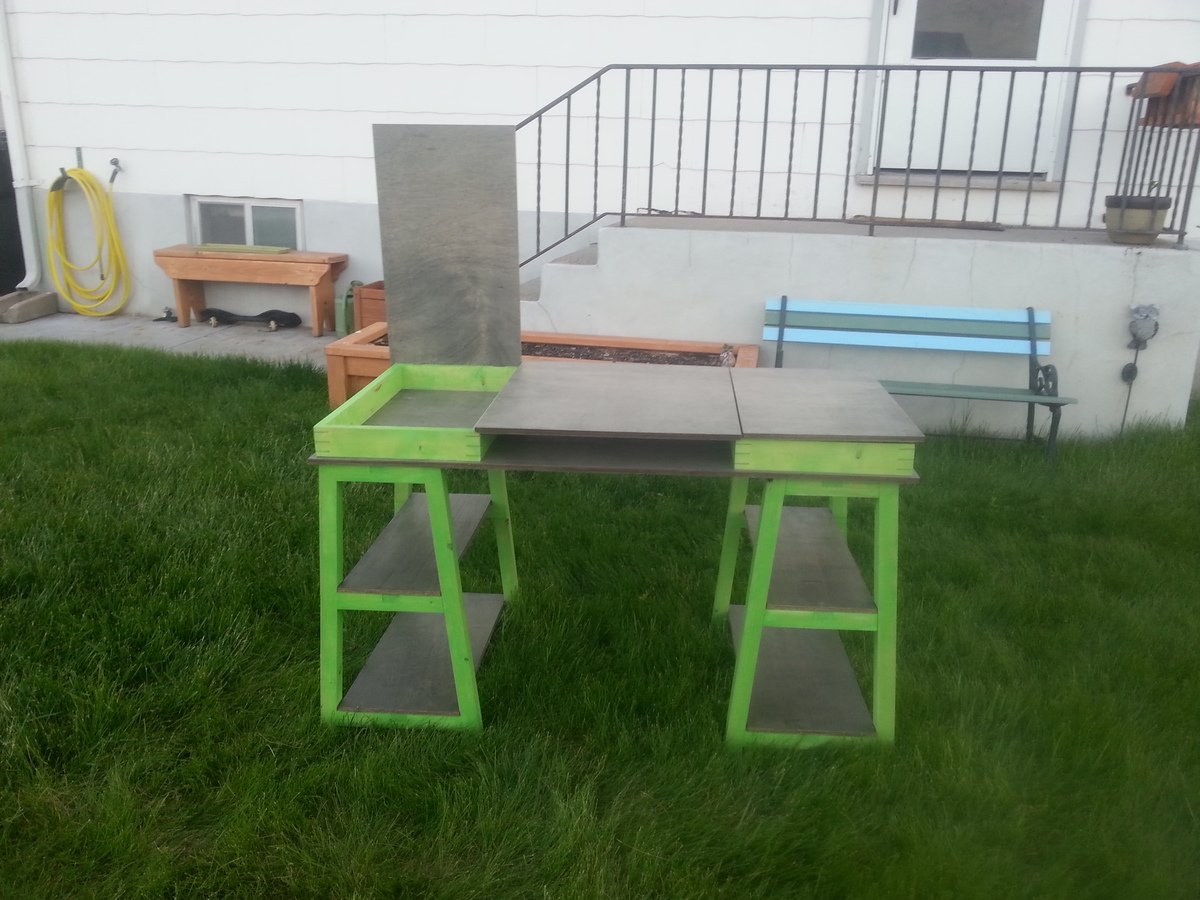
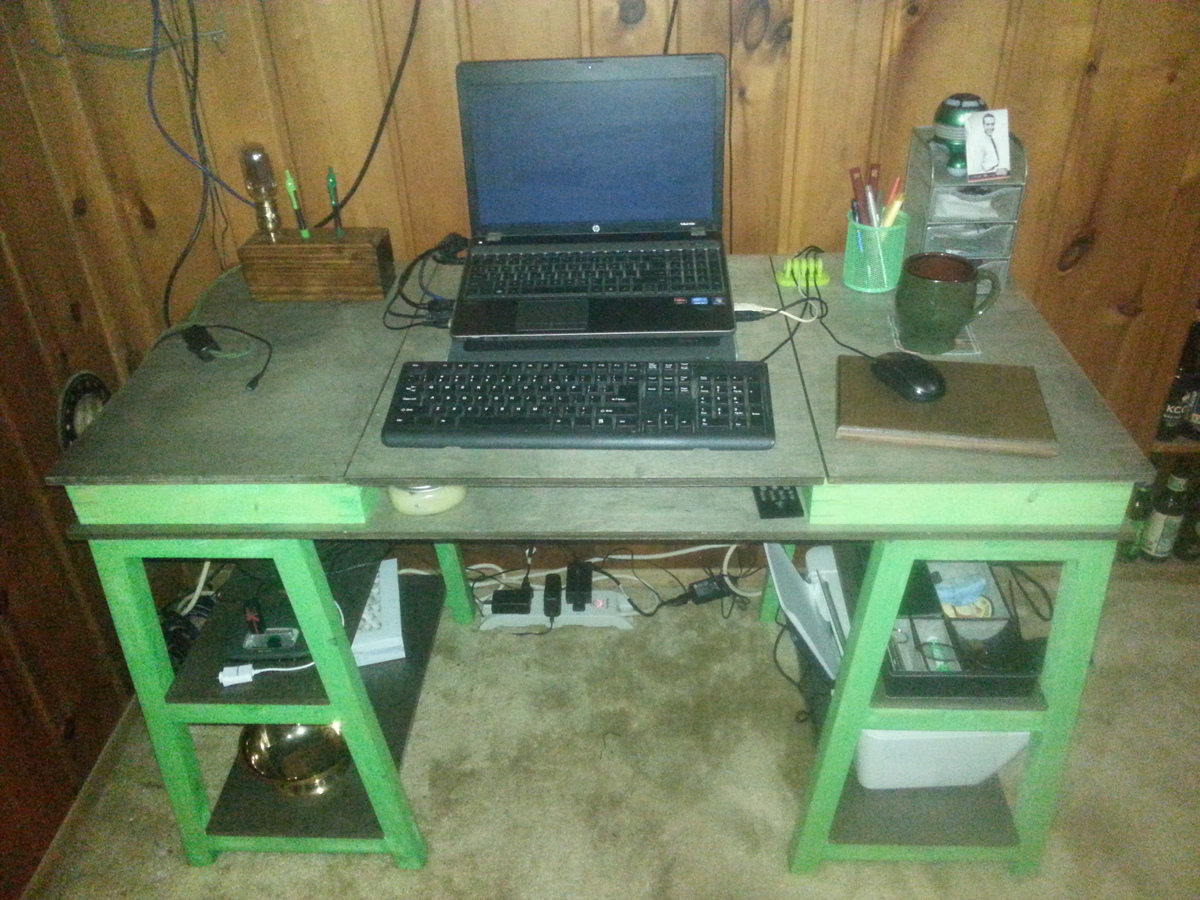
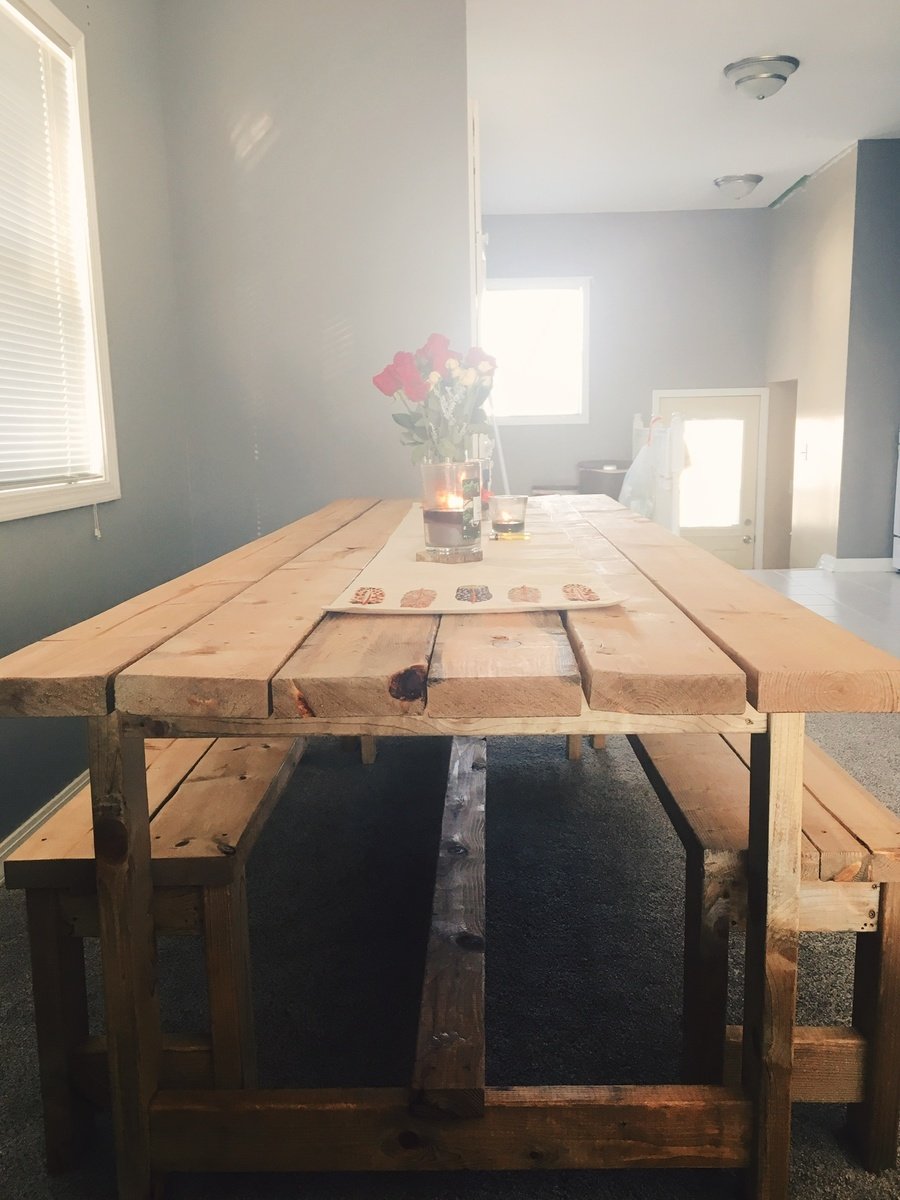
Rustic X Console
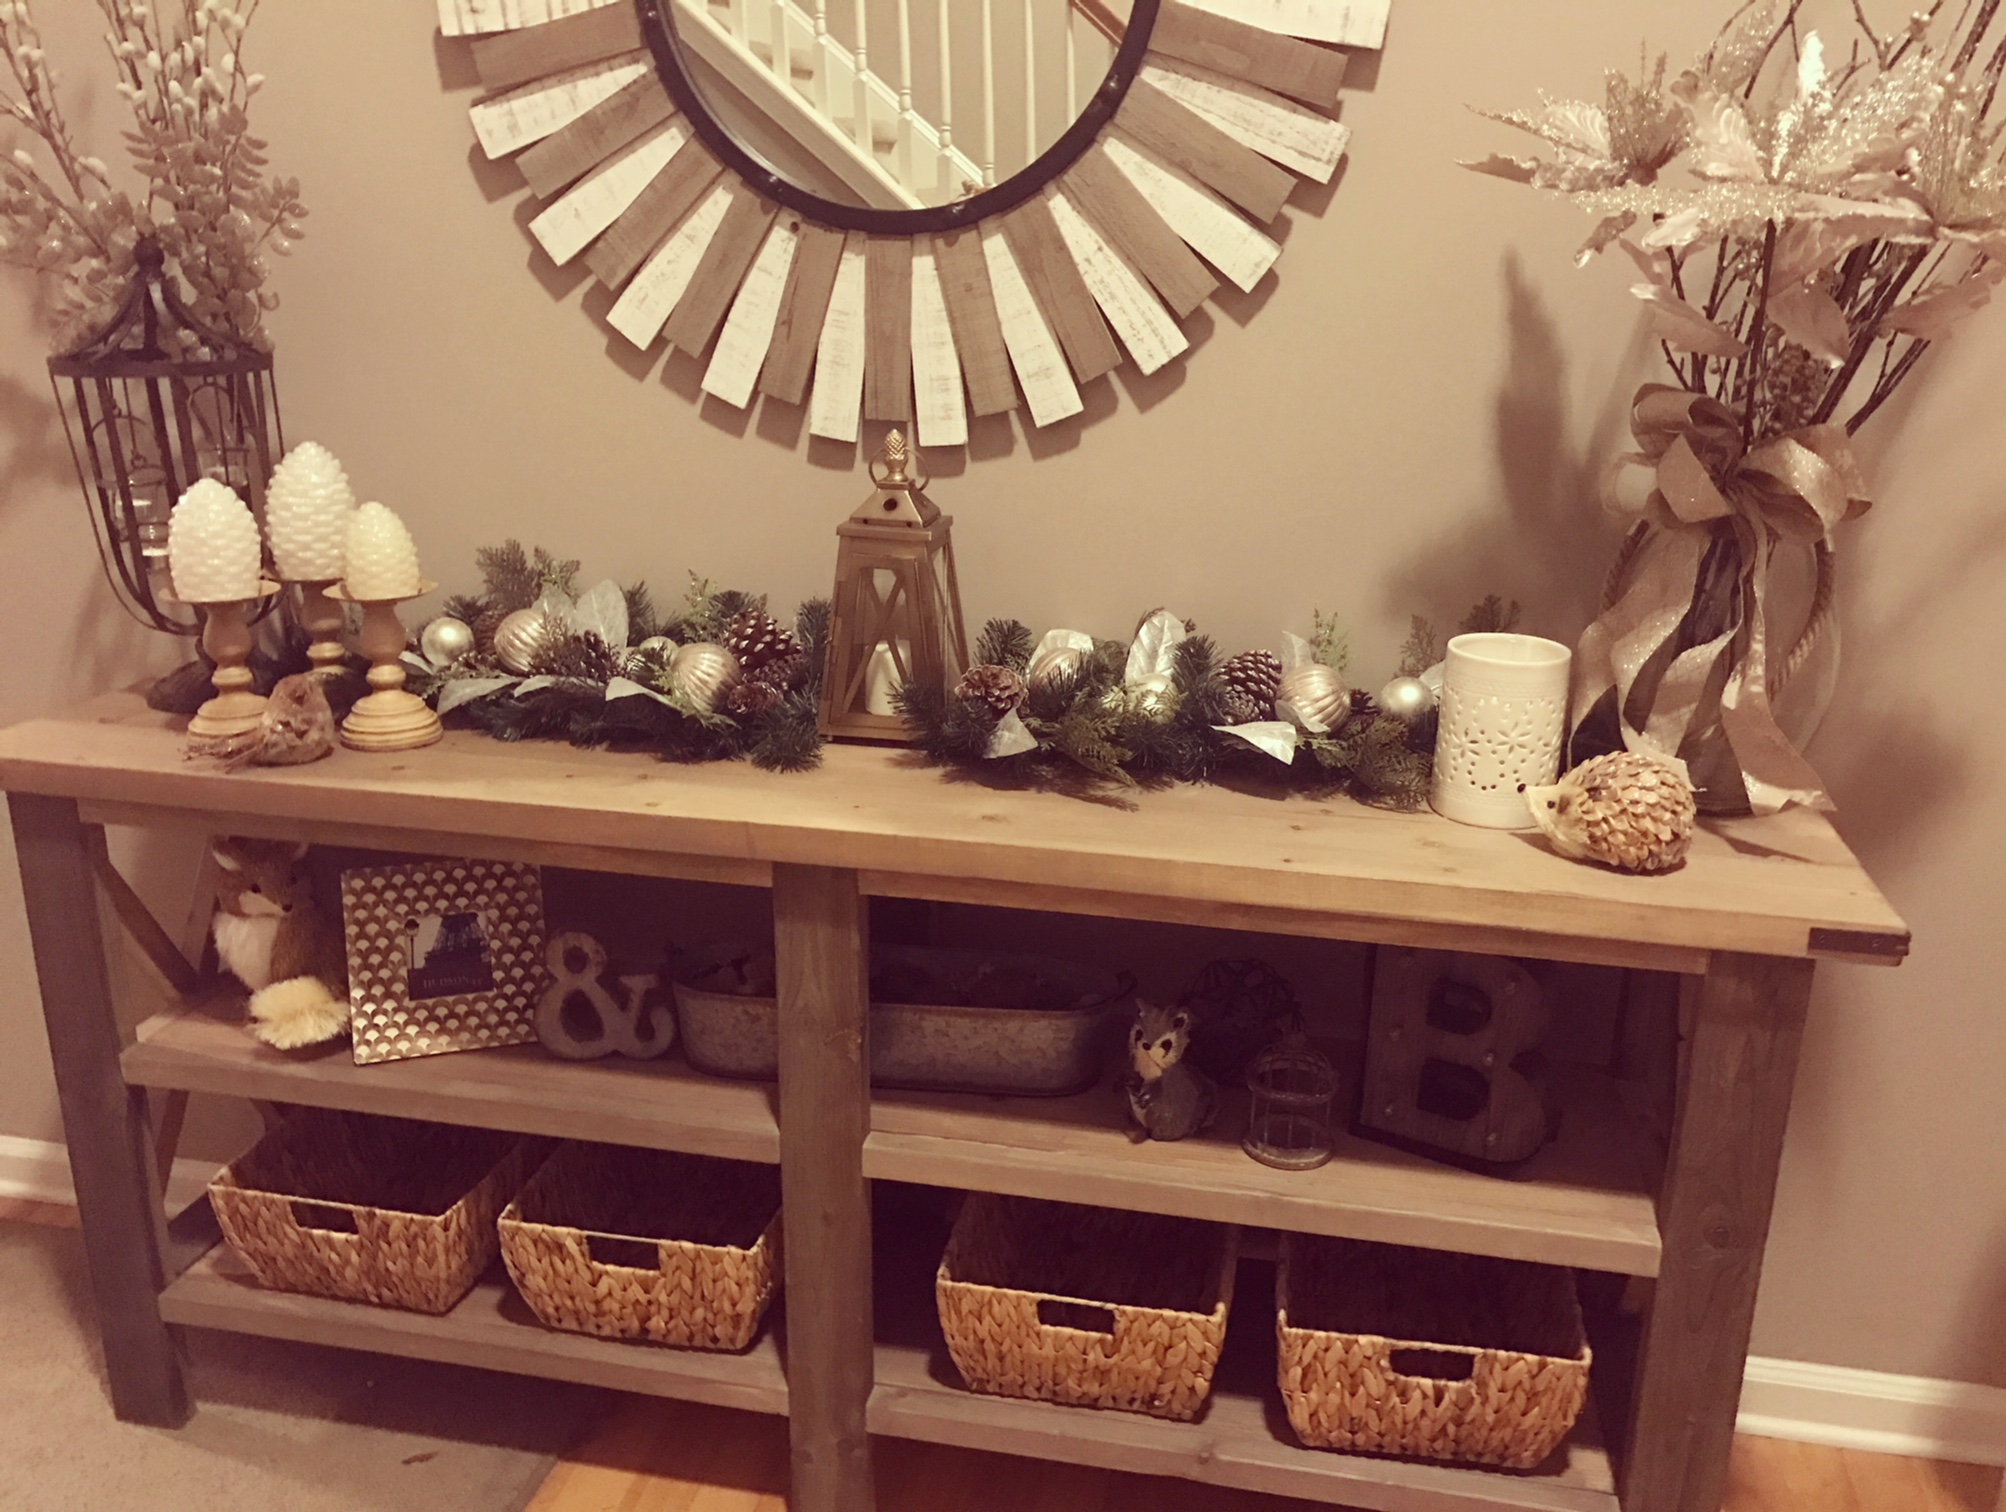
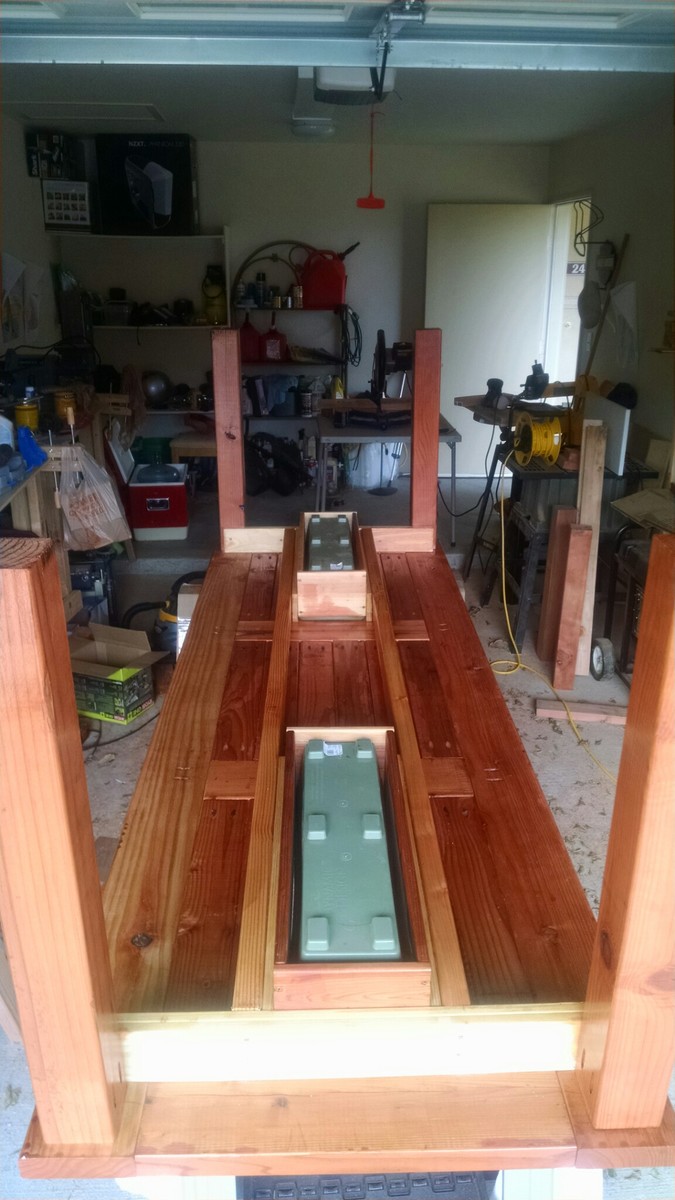
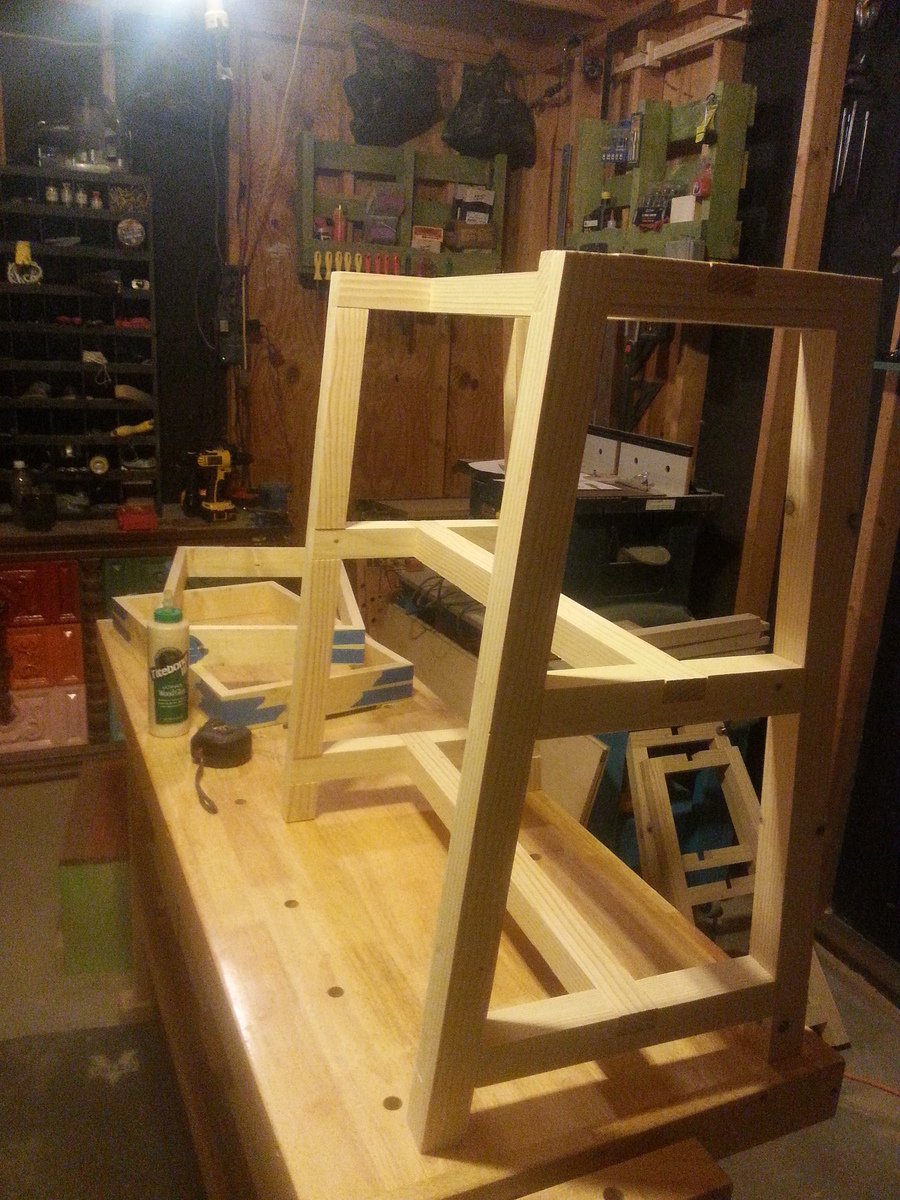
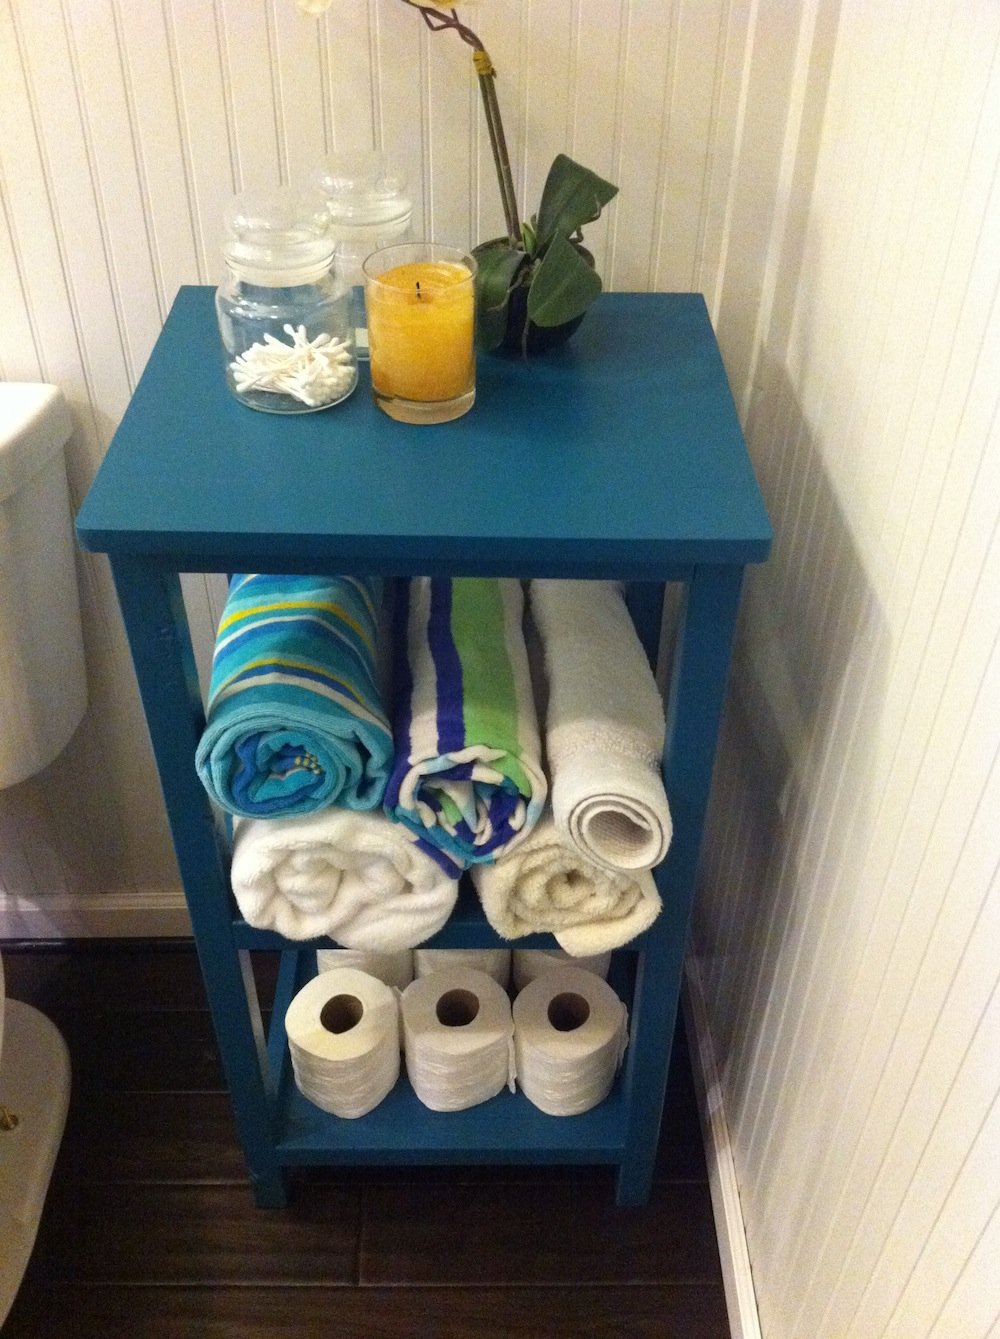
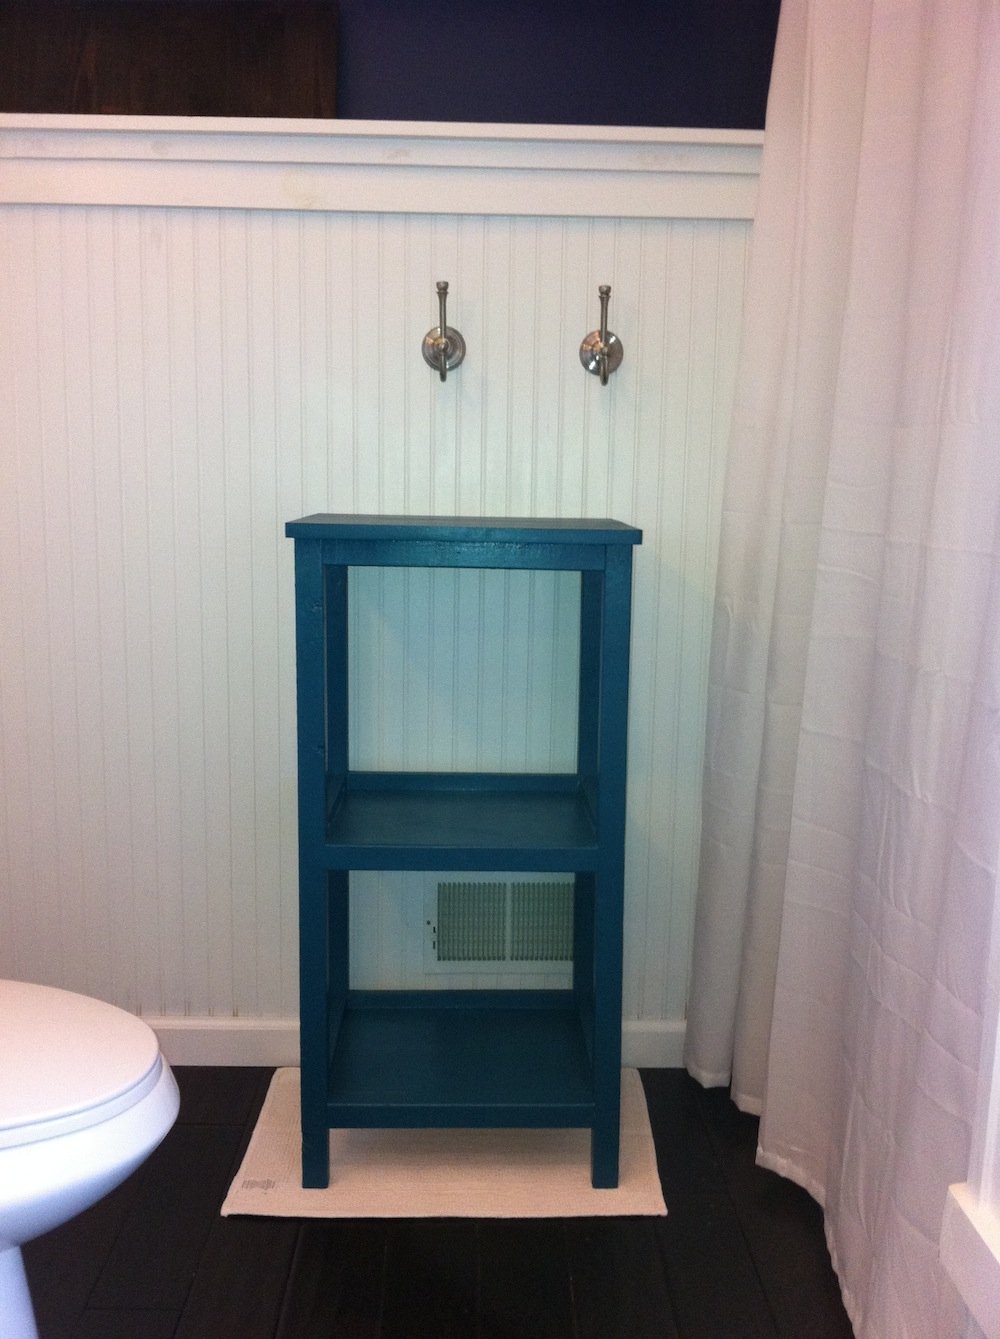
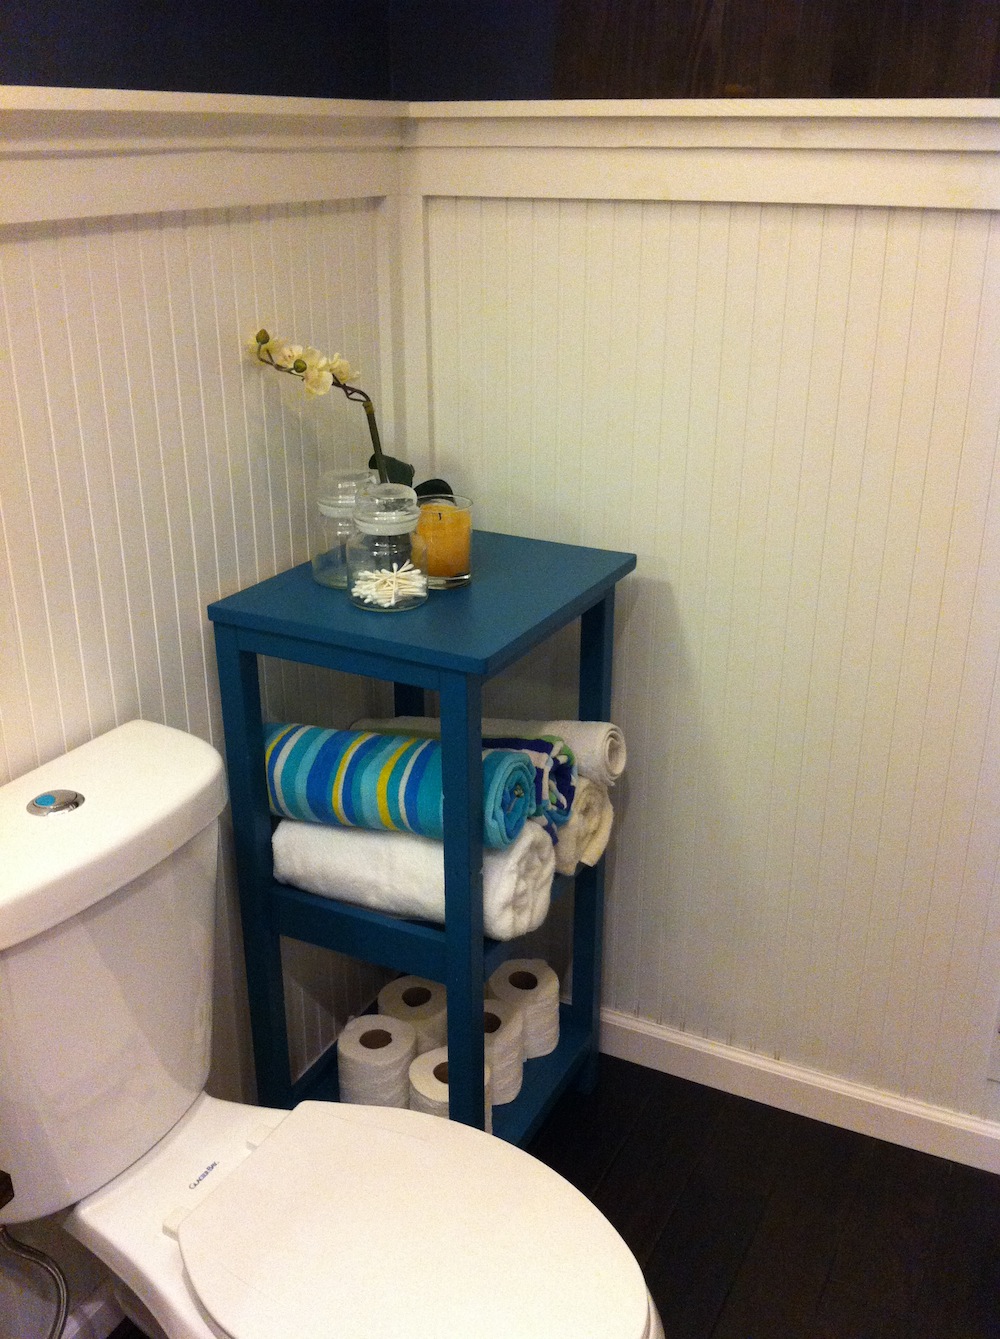
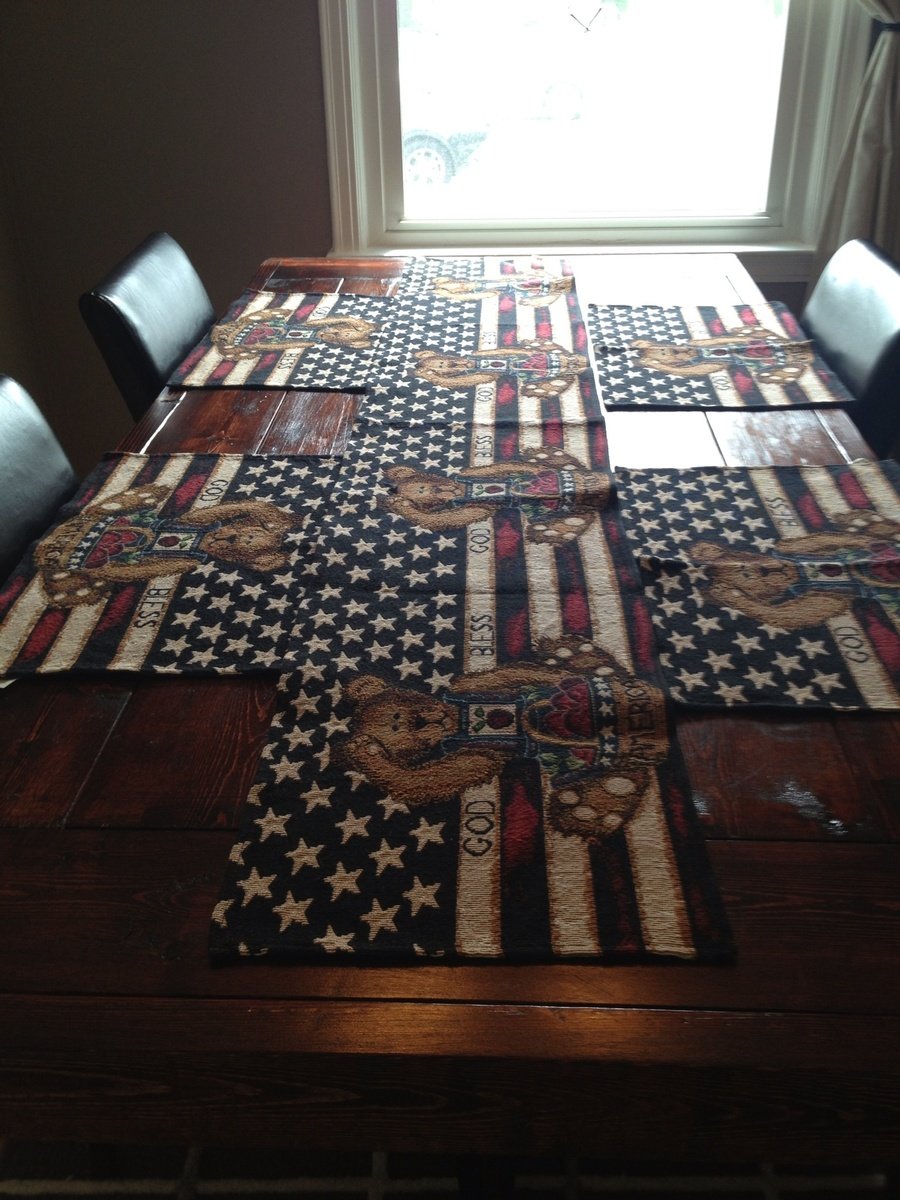
Turned out awesome! Great peice for my large 2 story foyer. Took longer than expected. The angles for the X proved a little tricky. Everyone loves it and thinks it's a $800 peice! ;)
Built from Plan(s)
Estimated Cost
$150 We had to buy a a Kreg Jig too
Estimated Time Investment
Weekend Project (10-20 Hours)
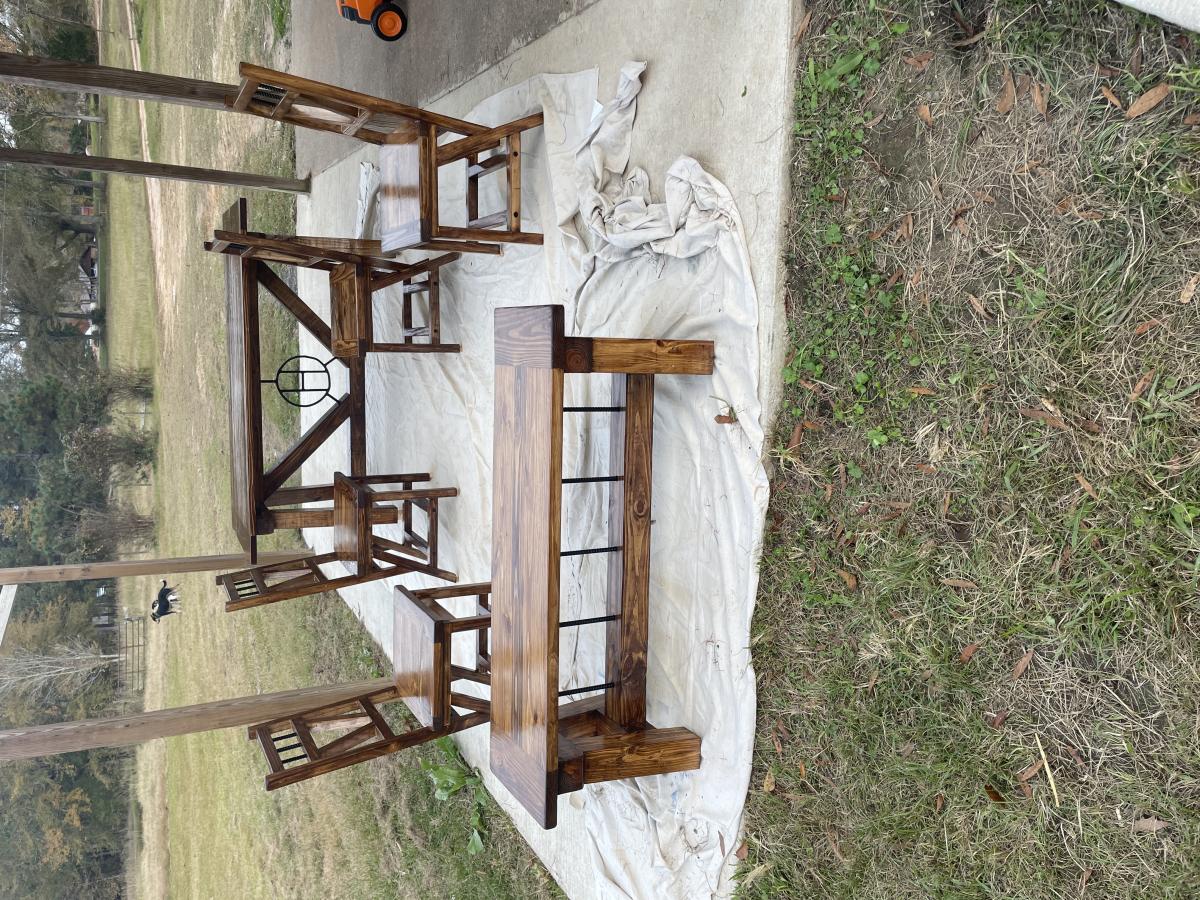
Finish Used
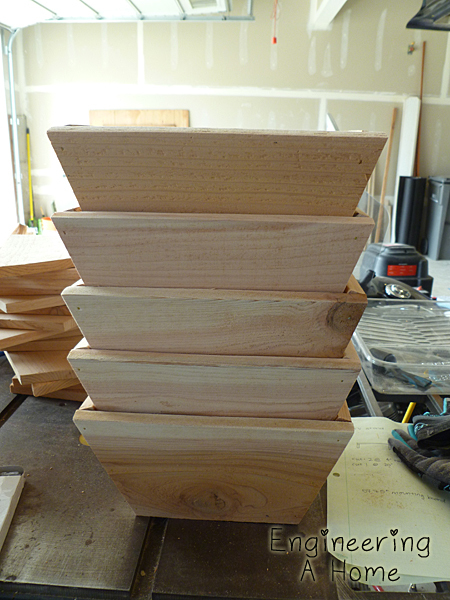
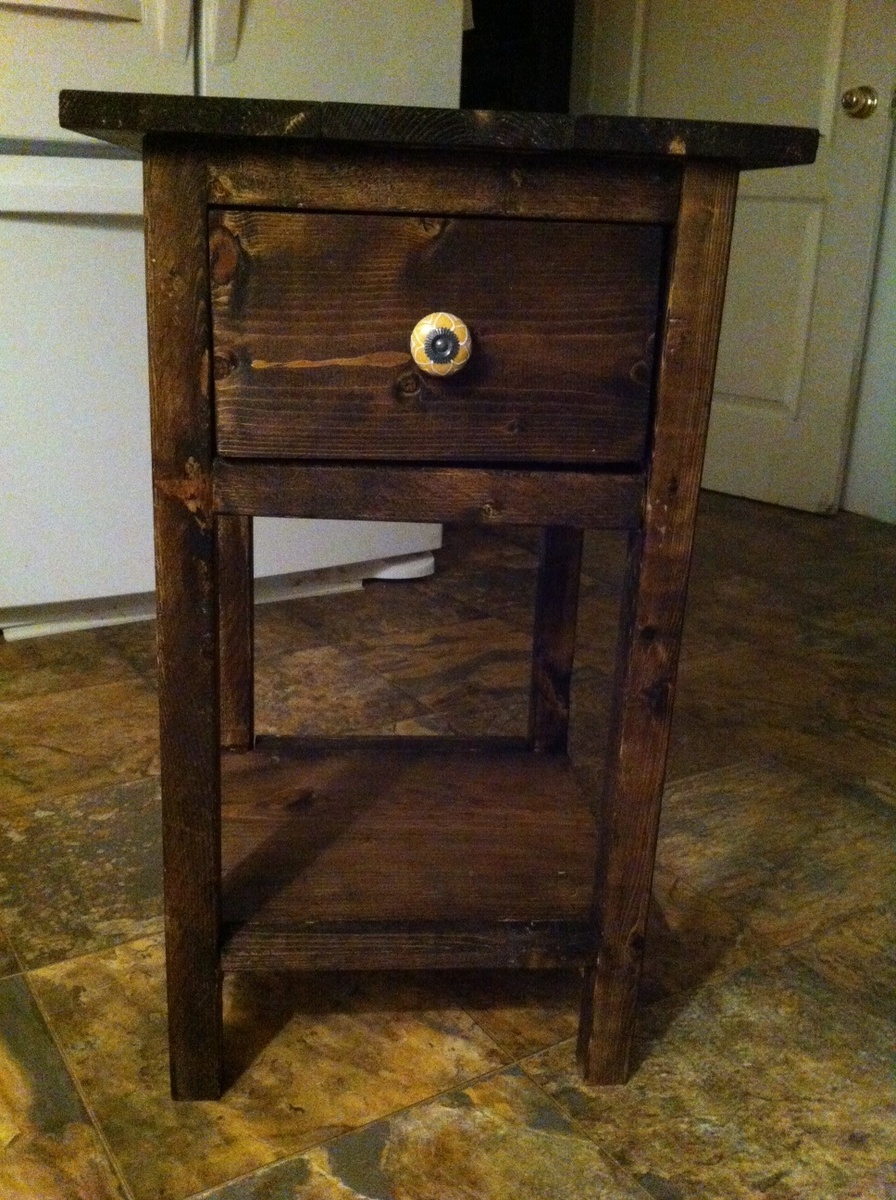
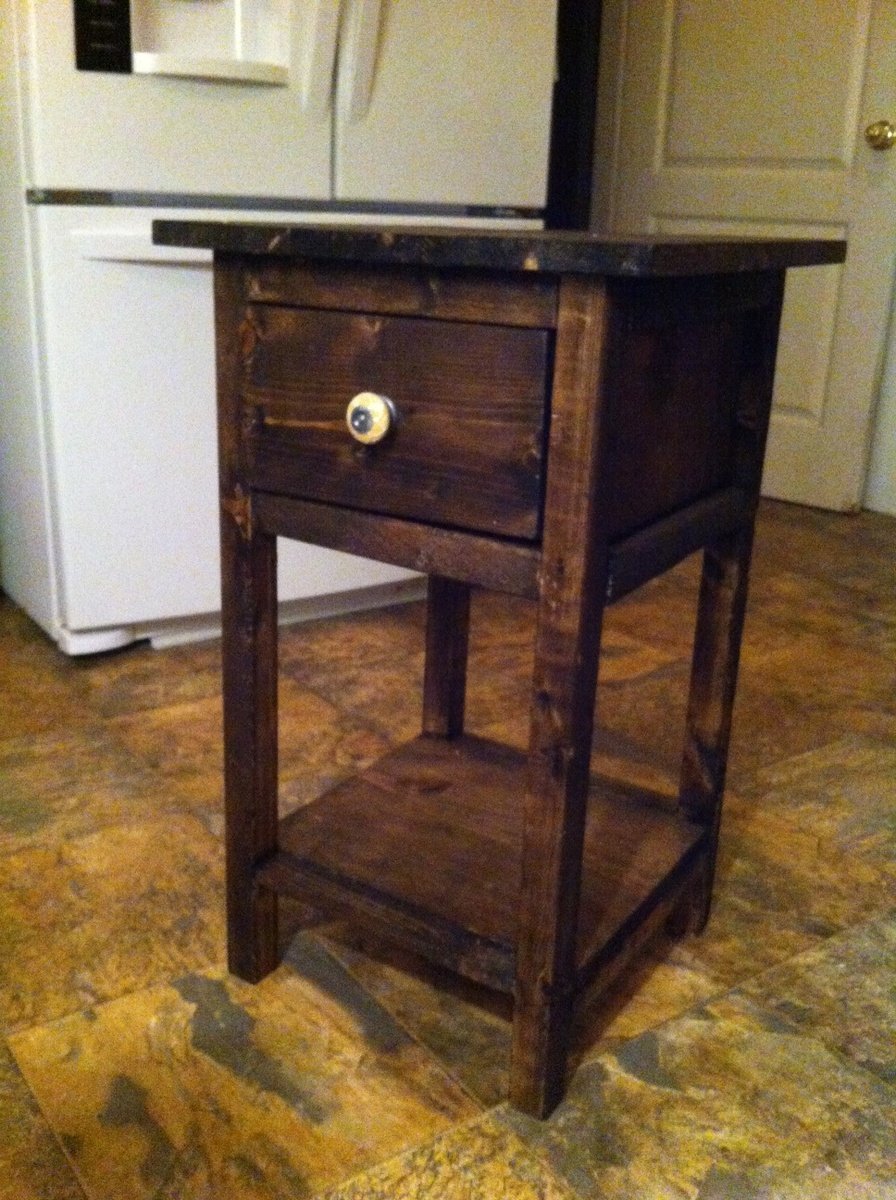
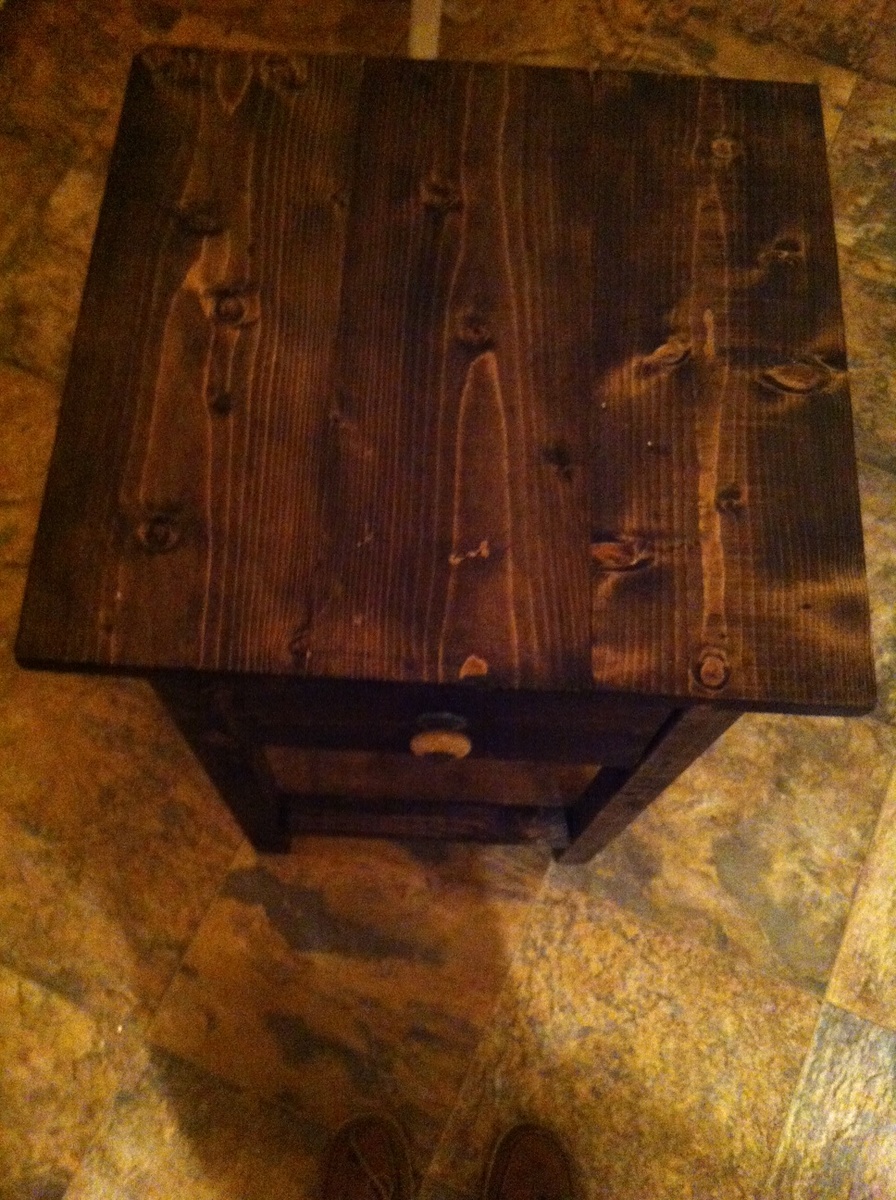
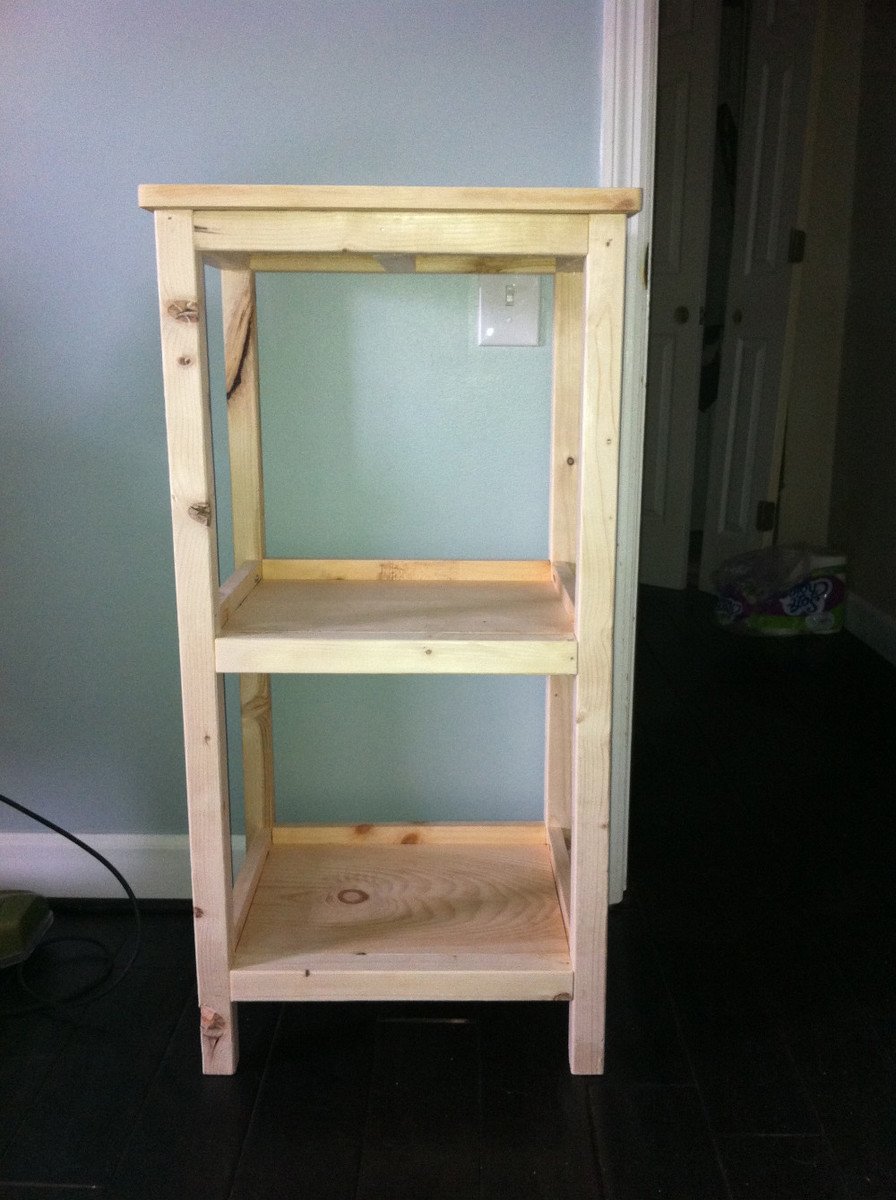
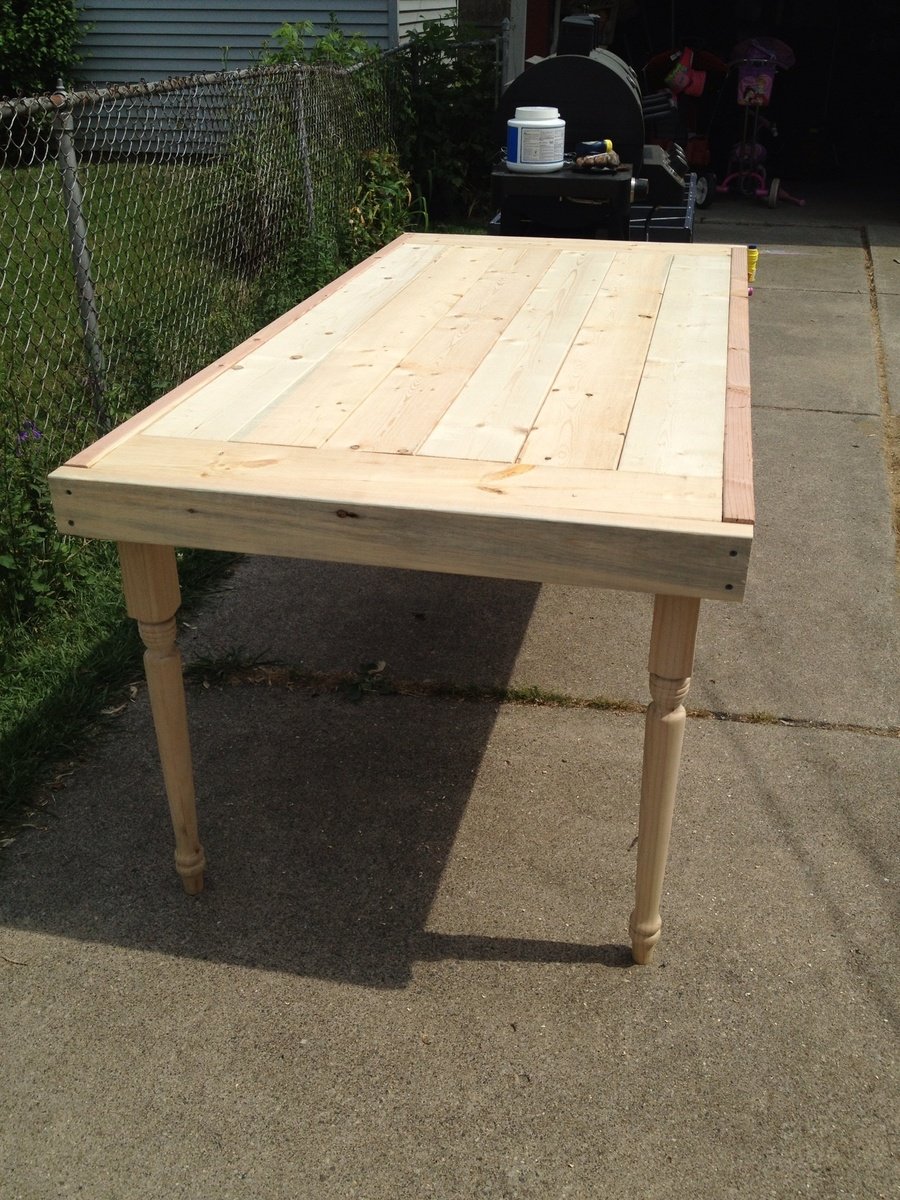
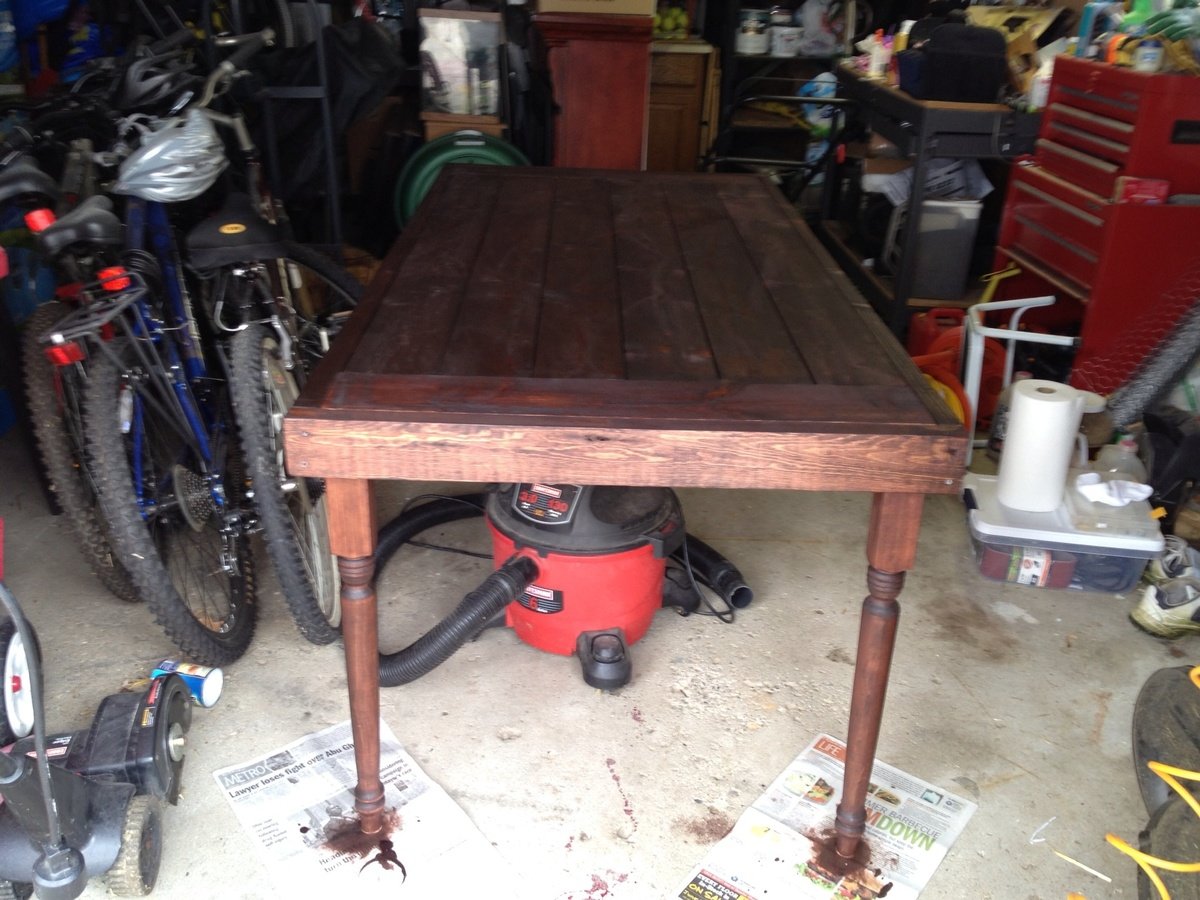
Homemade weathering stain made by dissolving steel wool in vinegar for 3 days. Something like this http://keepingitcozy.blogspot.com/2014/09/weathering-wood-with-steel-wool-vinegar.html. Then sealed it with a clear matte furniture wax. Since my piece won't be in the sun or have liquids placed on it. *Note with the homemade stain: different types of wood will absorb the stain differently. Notice my 2x4 legs turned out much darker than the top. I think that's cool though. Also, the longer the steel wool/vinegar mixture sits...the darker it will get. I suggest testing stain on the scrap pieces of wood you used to build the piece.
Recommended Skill Level
Intermediate