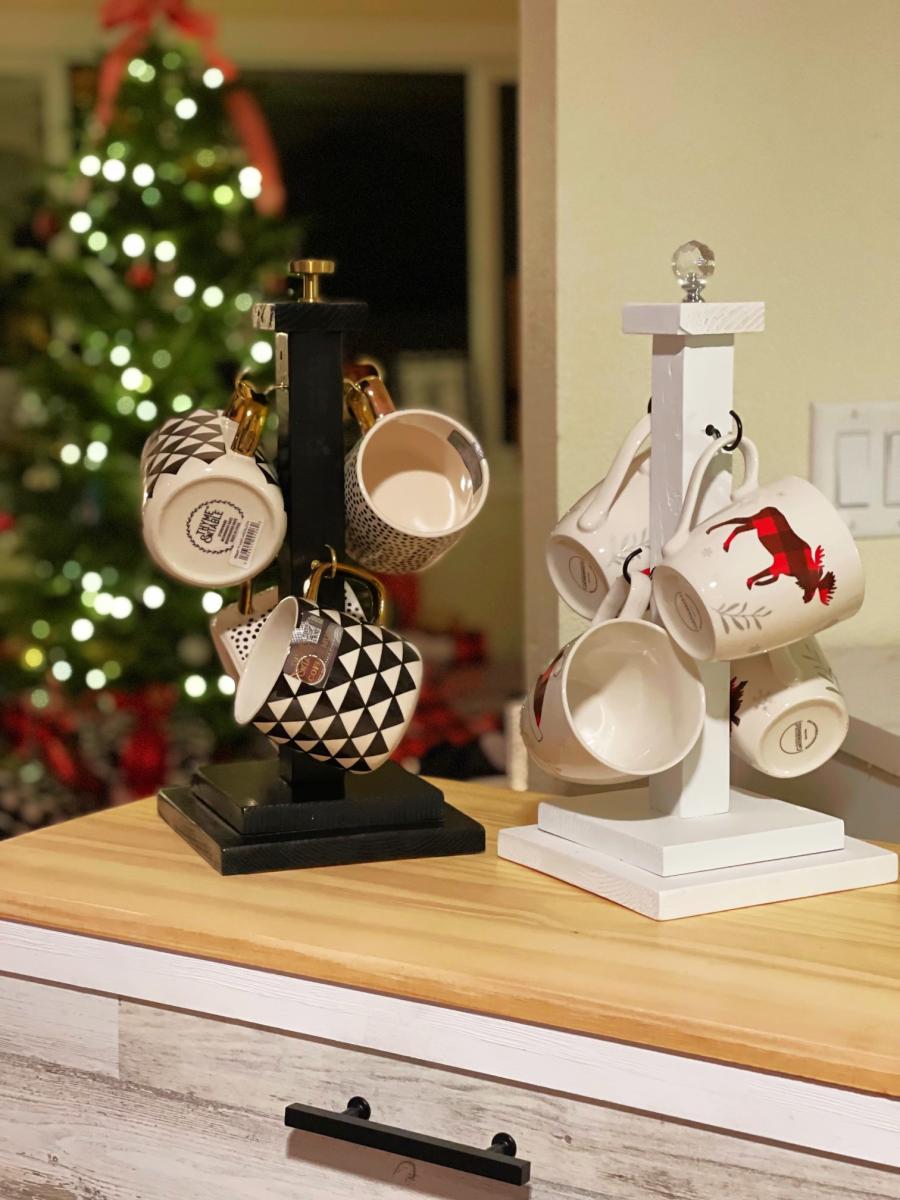
Custom Mug Stands
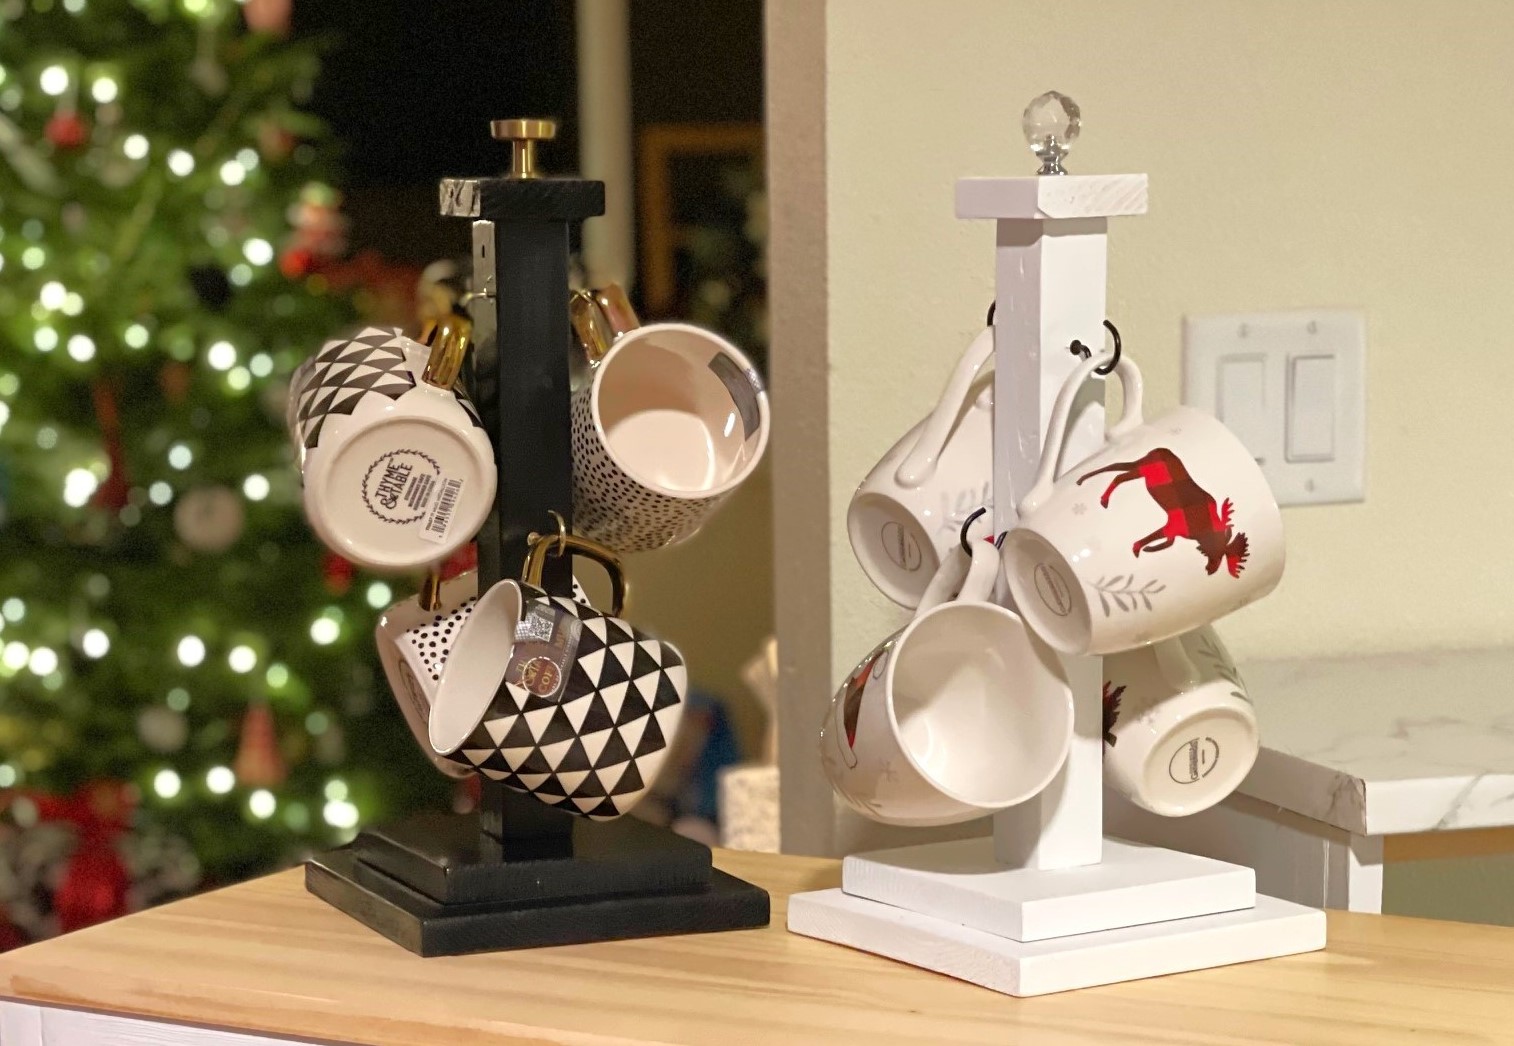
These are fun and easy handmade Christmas gifts. Easy to modify hardware and finish to get different looks depending on the mugs you choose to pair with it!
Built from Plan(s)
Seasonal And Holiday
These are fun and easy handmade Christmas gifts. Easy to modify hardware and finish to get different looks depending on the mugs you choose to pair with it!

This was mine and my husband's very first attempt at making something on our own from wood, and I'm so pleased with the end result! Actually I didn't do much of the actual building - I left that up to my husband. We recently moved into a new home, and I wanted some nice furniture for our front porch that was comfortable to on. I found a lot of nice furniture, but the price was just a little more than I wanted to pay especially since I knew there were other things we needed for the house. So after discovering Ana's site we decided to bite the bullet and buy some tools and the supplies we needed to build this loveseat. The only thing we really had was the drill because our circular saw needed to be replaced. It turned out to be probably more expensive by the time we paid for all of those things, but we knew in the long run it would pay off.
So my husband started his work, and when he finished building I put two coats of primer on it and one coat of white paint. The woodwork itself turned out better than my paint job because there are some drips here and there. I just haven't bothered trying to sand them yet since it's not too bad.
We bought our cushions from Lowe's. They were $55 for each set (cushion bottom and back) so about $110 for the all. It's amazing how much more expensive the cushions were than the actual loveseat! All in all we are very happy with our new loveseat and absolutely thrilled that we found Ana's site! We've already made something else since this project and are working on a third!
Fri, 06/22/2012 - 11:06
Beautiful job Motsy! I agree with Patrick that you're probably hooked now! A little sweat equity can produce the most beautiful things that make us proud!

Decided build this simple cahnging table for my wife and I. I used the "Simple Changing Table" plan, but used 1/4" Hardboard instead of 3/4" ply or MDF. To keep the 1/4" hardbaord in place I cut a groove in each of the 6 end pieces and glued it in, then I put 2 supports (1x2) under the middle of each shelf. I didn't make the top try insert and made it a little narrower. I notched out the legs to help support the cross beams.


My husband and I made this as
an anniversary gift
to one another! Love how it looks.
First project

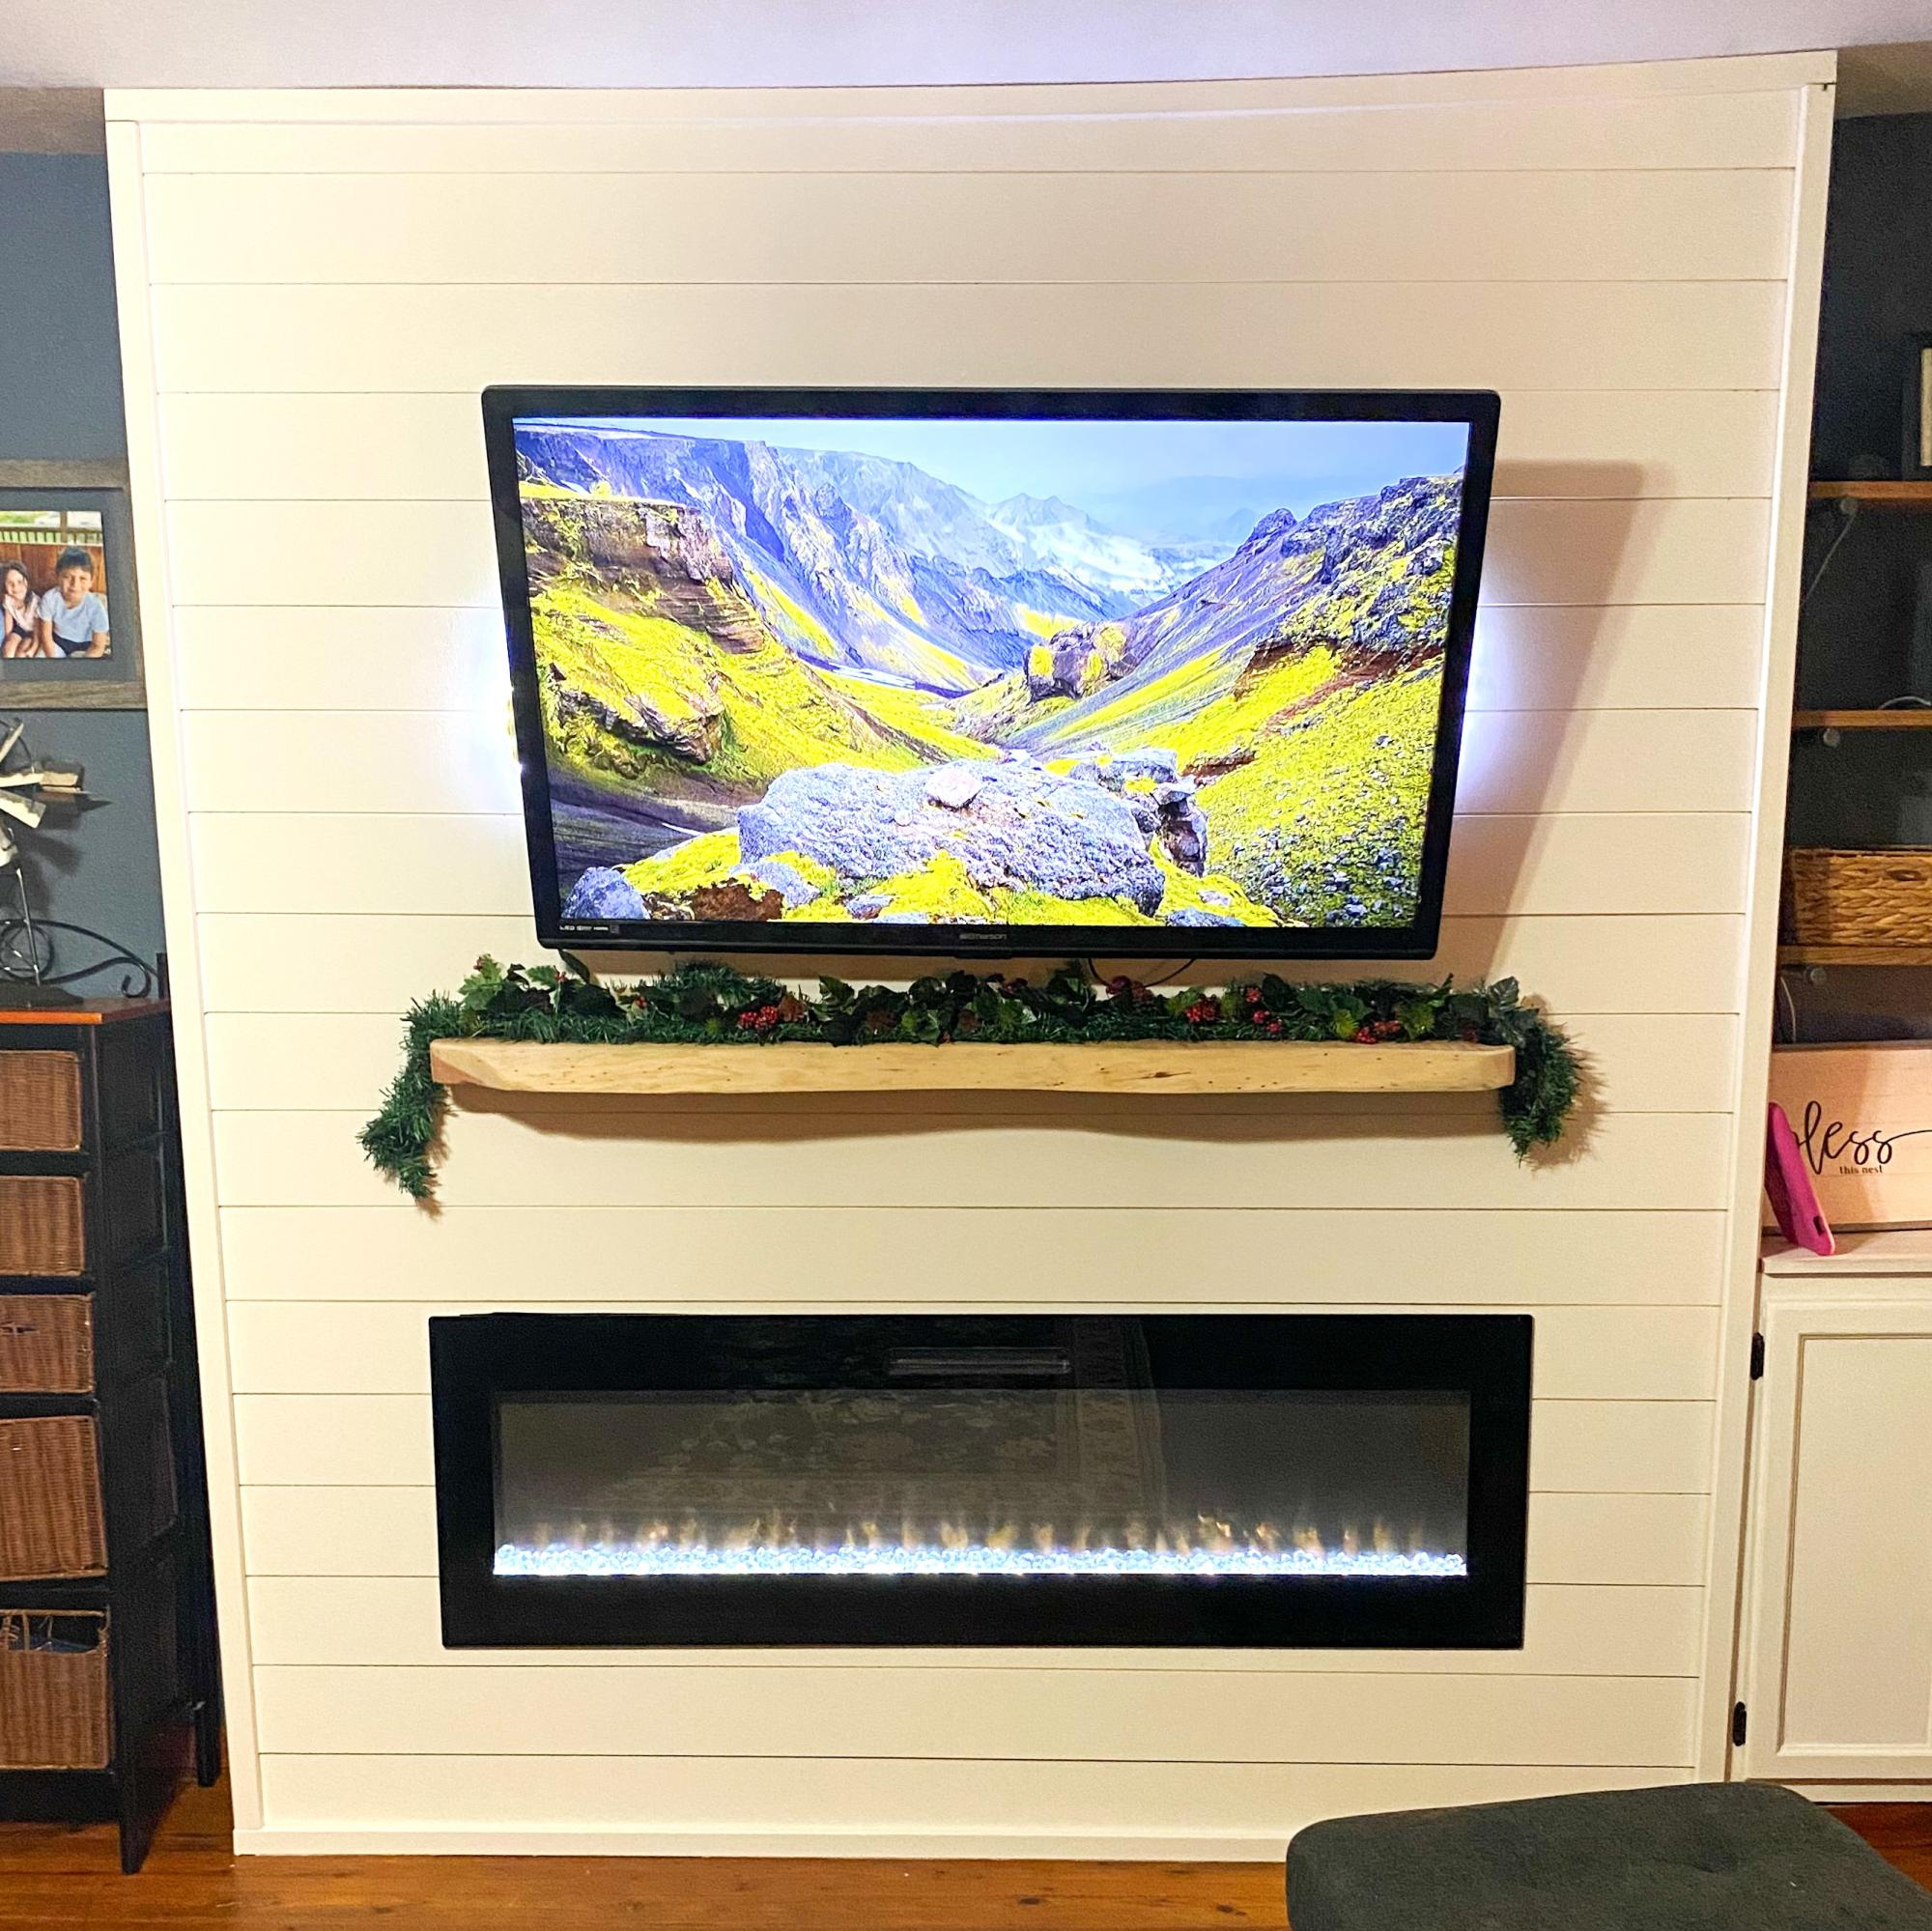
My daughter and I decided 2 weeks before Christmas to try your easy mantle project. Well not so easy for us, lol my husband had to help, but it was fun! I think it came out great! Thanks Ana
Jackie
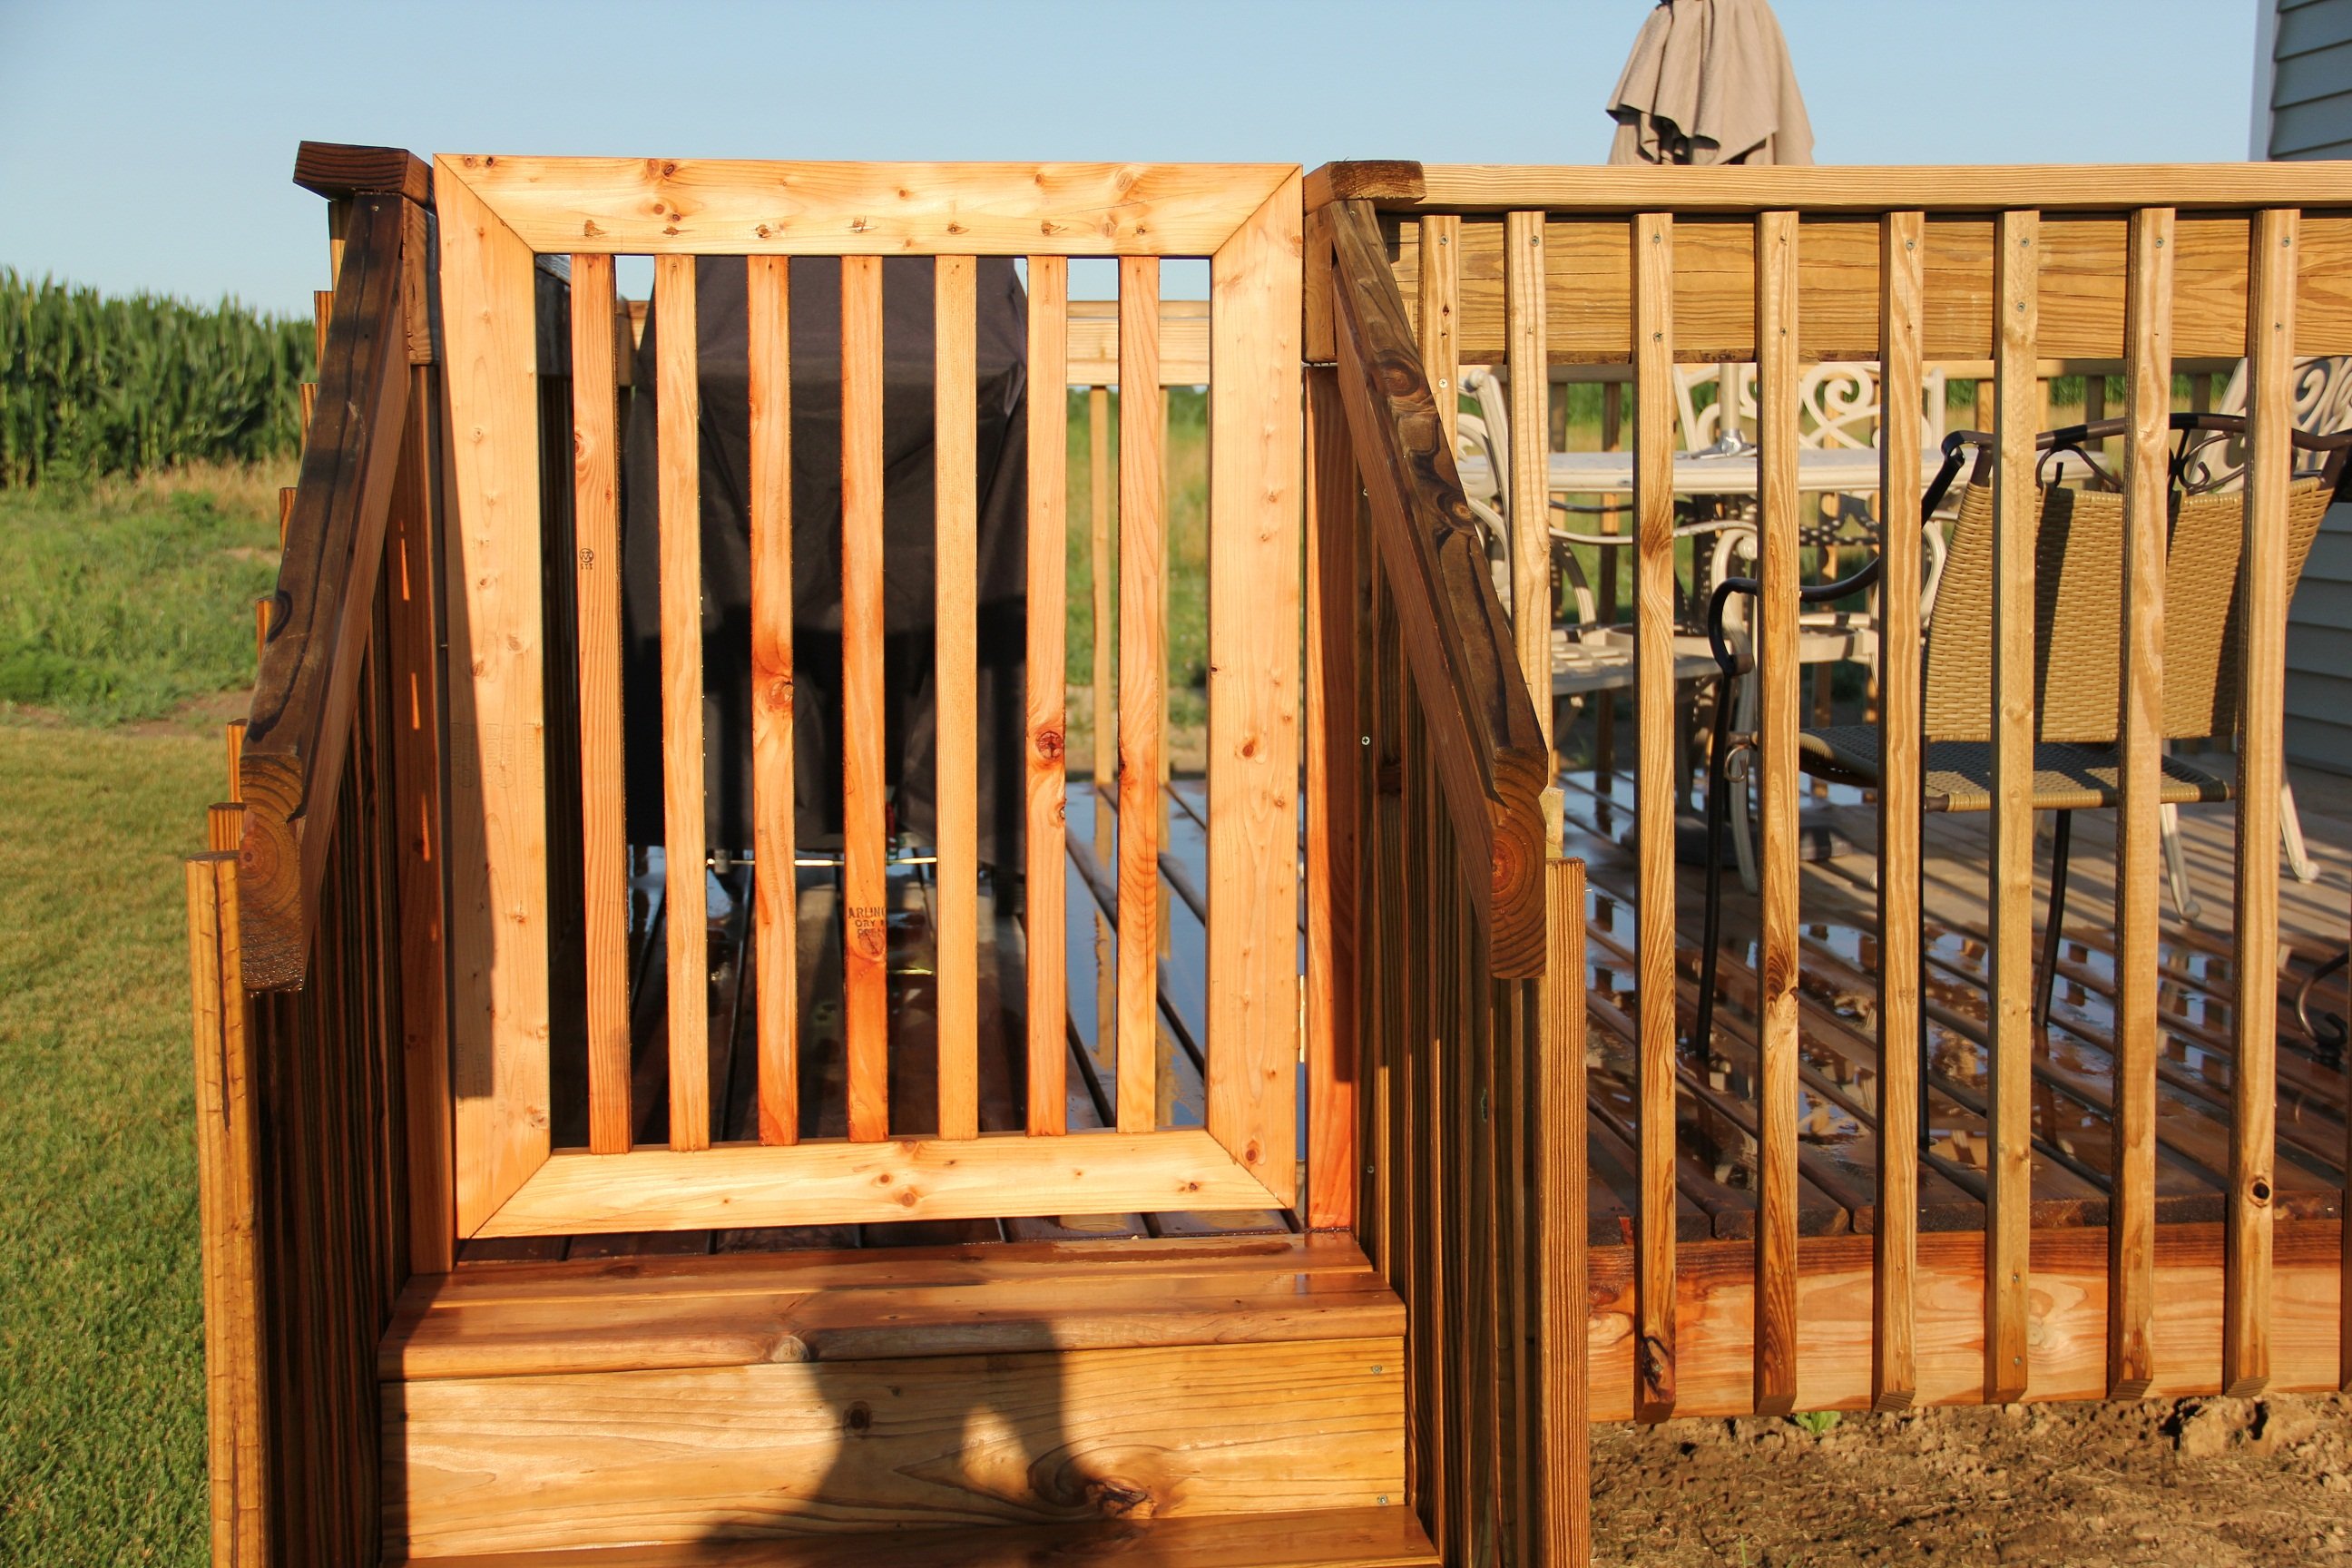
With grandchildren and pets we decided to put a gate on the deck.
The gate is made from 2 X 4's and 2 x 2's. I used brass hinges to prevent rust and smooth operation
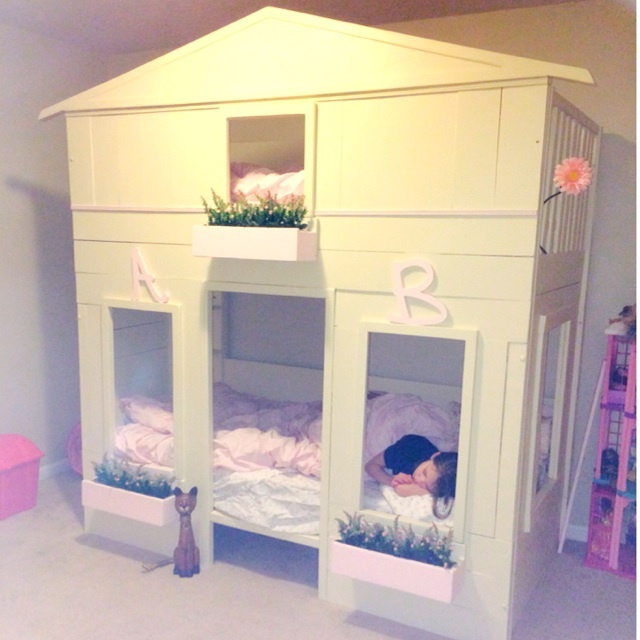
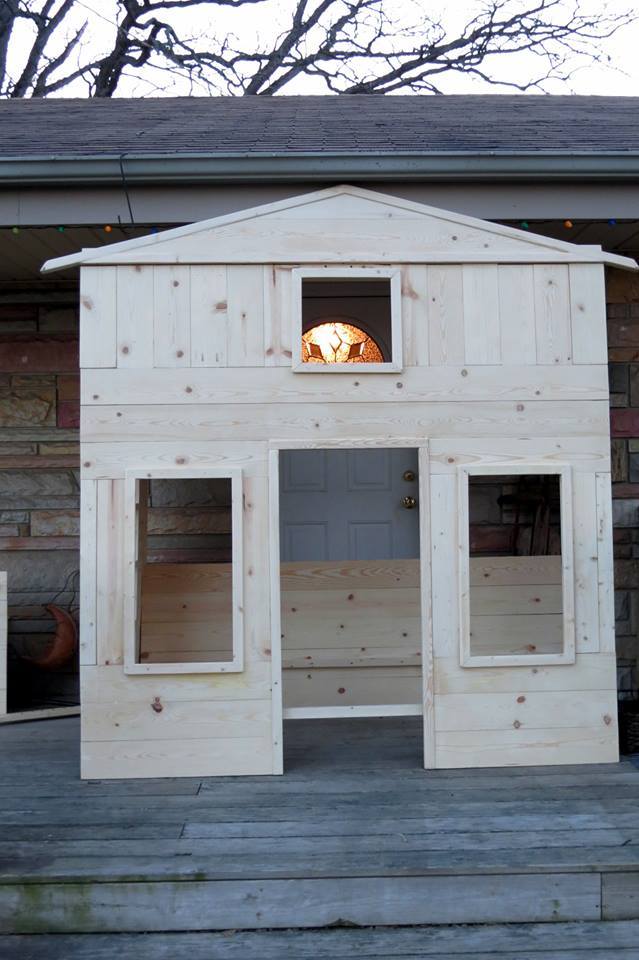
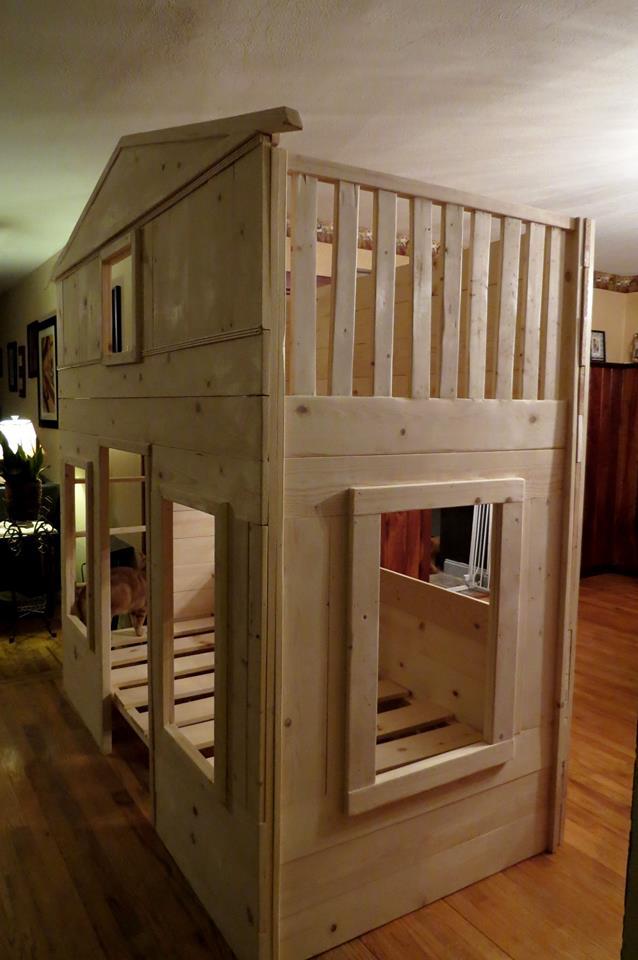
This was Ana's cottage loft. I was asked to make it into a bunk bed. So I changed the backside to include two sets of five 1x6s, and added a 'second floor' so the top bunk child would feel like she was in the house as well. I also added the flower boxes and made the rails 19" high on the top bunk. Next time, I would add a ladder to both sides for easier access to making the bed. The customer painted the bed.
Sat, 08/09/2014 - 09:28
First of all, what an amazing job you did! I love the changes you made!
I'm wondering if you could offer some advice.
I'm building a "Little Cottage Loft Bed" for a friend's daughter. With the few changes that I've made there are approximately 375-400 pocket holes (thank goodness for my trusty kreg jig!).
With previous projects, I've used wood filler to fill and cover the pocket holes but due to the quantity involved in this project, I'm not sure that's the best approach.
What did you do with the pocket holes on your beautiful bunk bed?
Would you recommend using wood filler? Using wood plugs? If so, how do you recommend trimming them flush? I've not used them before because I was unsure of that step. Should I pay an arm and a leg for plastic plugs (I'm in Canada and would have to order from the US)? Or should I simply paint and leave them visible since the vast majority of the pocket holes are on the inside of the lower level playhouse and would not be seen from the outside?
Any advice would be greatly appreciated!

Modified from the Grandy plans to fit in my room. Made from old cedar, new cedar made to look old (vinegar and steel wool) and an old weathered door for the sliding doors. I used a steel rod and 4 pulleies all from Lowe's hardware store. The rods are held with 4 grounding clips made for circuit breaker boxes.


Built this office desk since I needed a space to work on due to the Covid 19 lock down. I enjoyed building this and love the look of the desk.
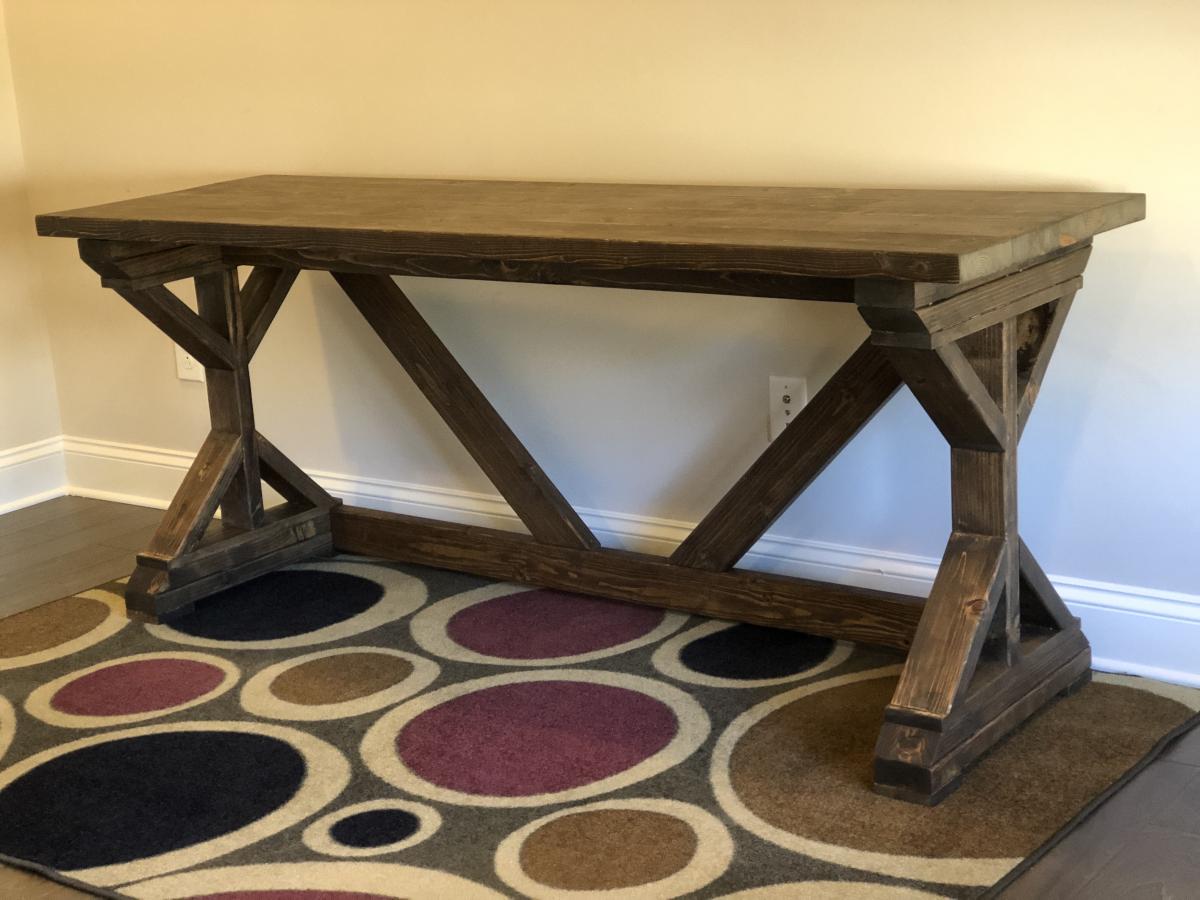
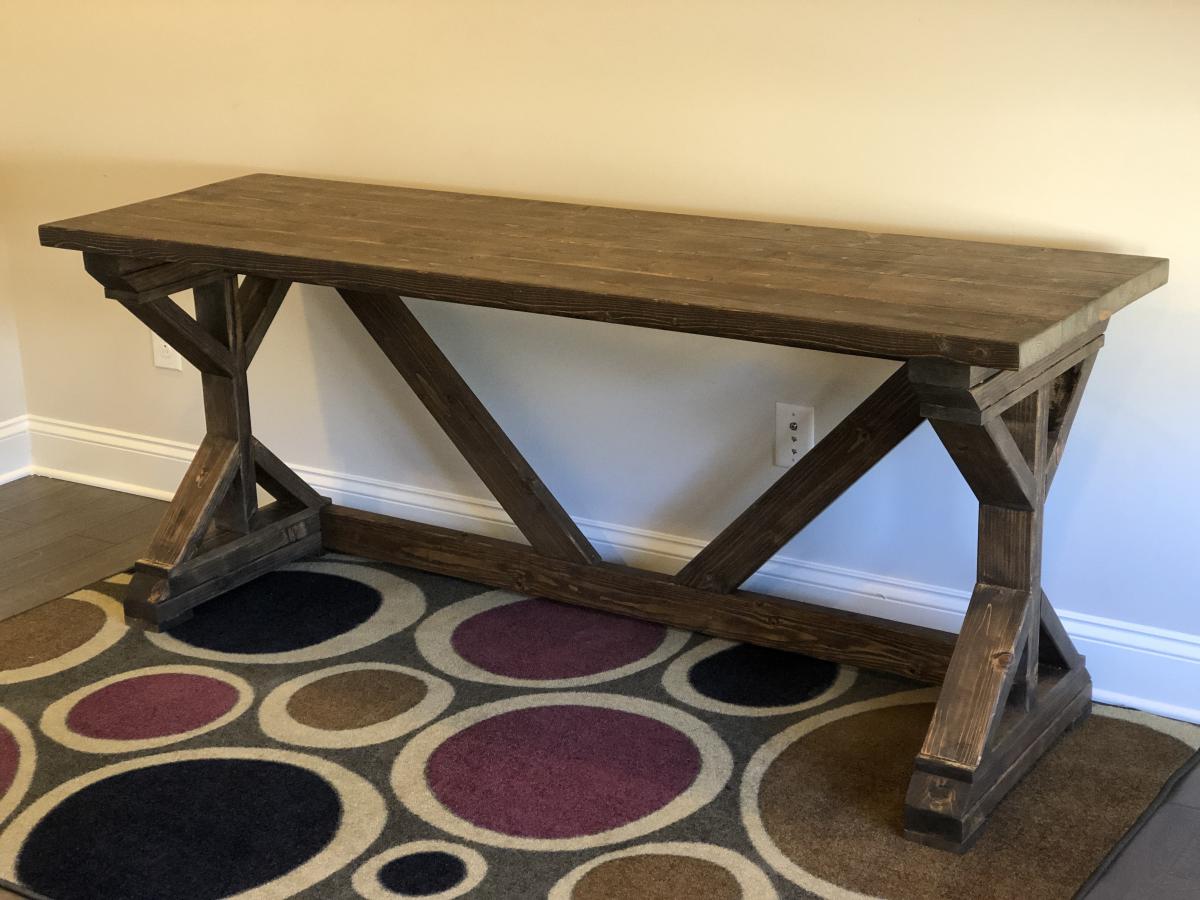
My husband completed this project in three short days.
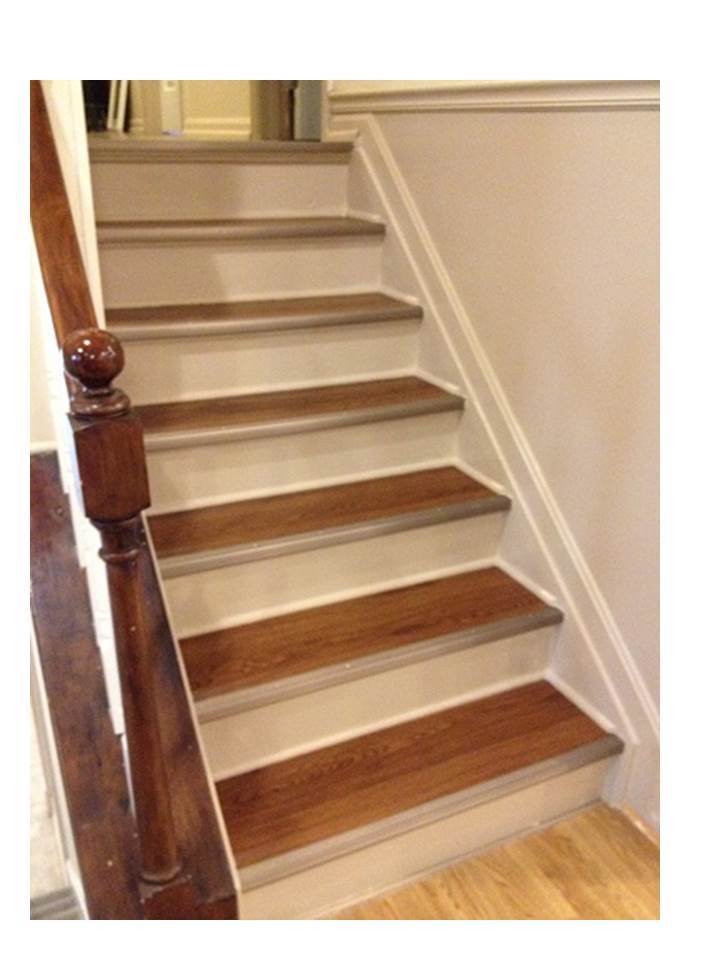
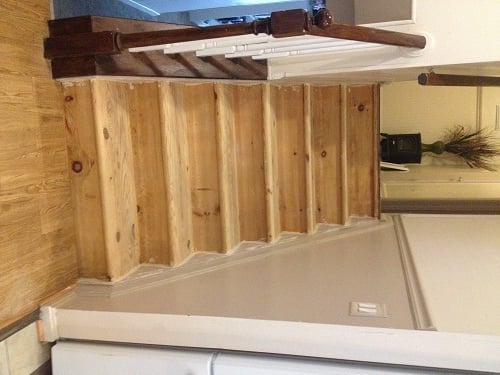
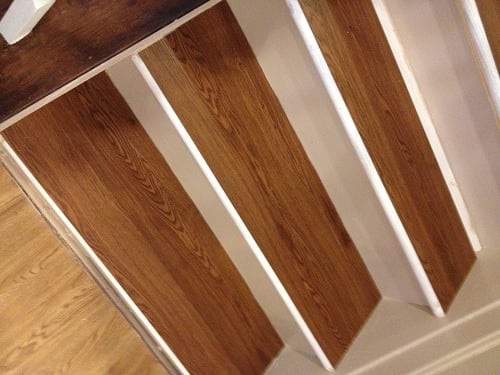
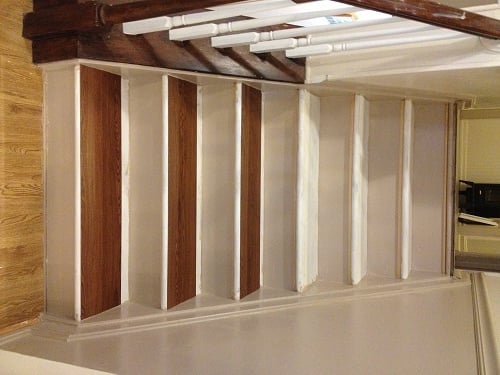
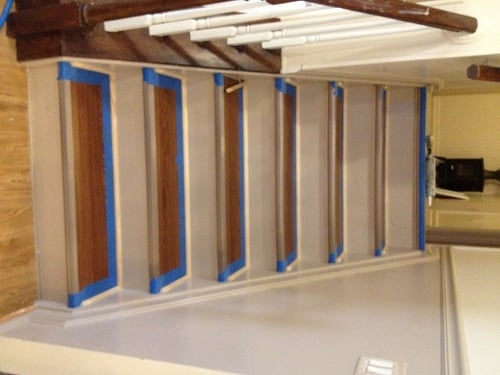
Finally got rid of the yucky worn-out carpet on the stairs. Instead of painting or staining the tread surfaces, I sanded, filled in holes, primed with a high quality primer, and used luxury vinyl flooring planks on the top of the treads, and finished the fronts with pewter stair nose. The risers and skirt boards were sanded, primed, and painted with 2 coats of semi gloss paint. Below the front edges of treads and where the treads meet the risers and skirt boards, added a finishing touch with some trim. This project was time consuming and I had sore muscles all over from crawling up and down those steps, but I think the finished result was worth it. They look much nicer, and we can get dust and dog hair off of the steps with just a Swiffer. Plus, it only cost about $200 to do 2 sets of stairs (6 steps up and 6 steps down).
So, why didn't I stain or paint the tread surfaces? I originally planned to, and did a lot of reading and research on what to use. But, I was worried about slipping on the stairs. Mom (who lives with us) isn't as mobile as she used to be due to a hip replacement and arthritis, and I was worried about her slipping on the smooth tread surfaces. Even if I'd used slip resistant paint, I was still worried about her foot slipping off the round bullnose at the front of the tread (that's happened to me with the carpeted stairs). The vinyl planks have a textured surface. We have these on several of our floors throughout the house and they aren't slippery for her feet. The stair nose has ridges and also is a bit squared, so it doesn't allow your foot to slip off of the front edge.
I know this is non-standard from what most people would expect to see on stairs, and we'll surely have to change it if we ever sell our house, but in the month we've had this project complete, so far it has been great.

Mon, 10/07/2013 - 16:00
How have your stairs held up over the last year? I'm considering doing the same thing. I'm worried about them being too slippery (my planks are not textured) and the fact that the manufactuer says not to use for stairing. Your stairs look great!

Mon, 10/07/2013 - 16:33
Thanks SunnyL! The stairs are holding up great! The stair nose makes it so your foot doesn't slip off the end, and they sweep up beautifully. We have 2 beagles that shed a lot, and it's a cinch to get the dog hair off the stairs ;).
I'm not sure about doing this with a slick surfaced plank, though... One of the reasons I chose to use this particular plank is that it's textured and not slick at all.. These have the adhesive on the back and haven't moved or lifted a bit. This is the one I used, it was a great price and is wearing beautifully.
http://www.lowes.com/pd_33259-84875-WD4011_0__?productId=3032606&Ntt=vi…
Good luck on your project! :)
Joanne

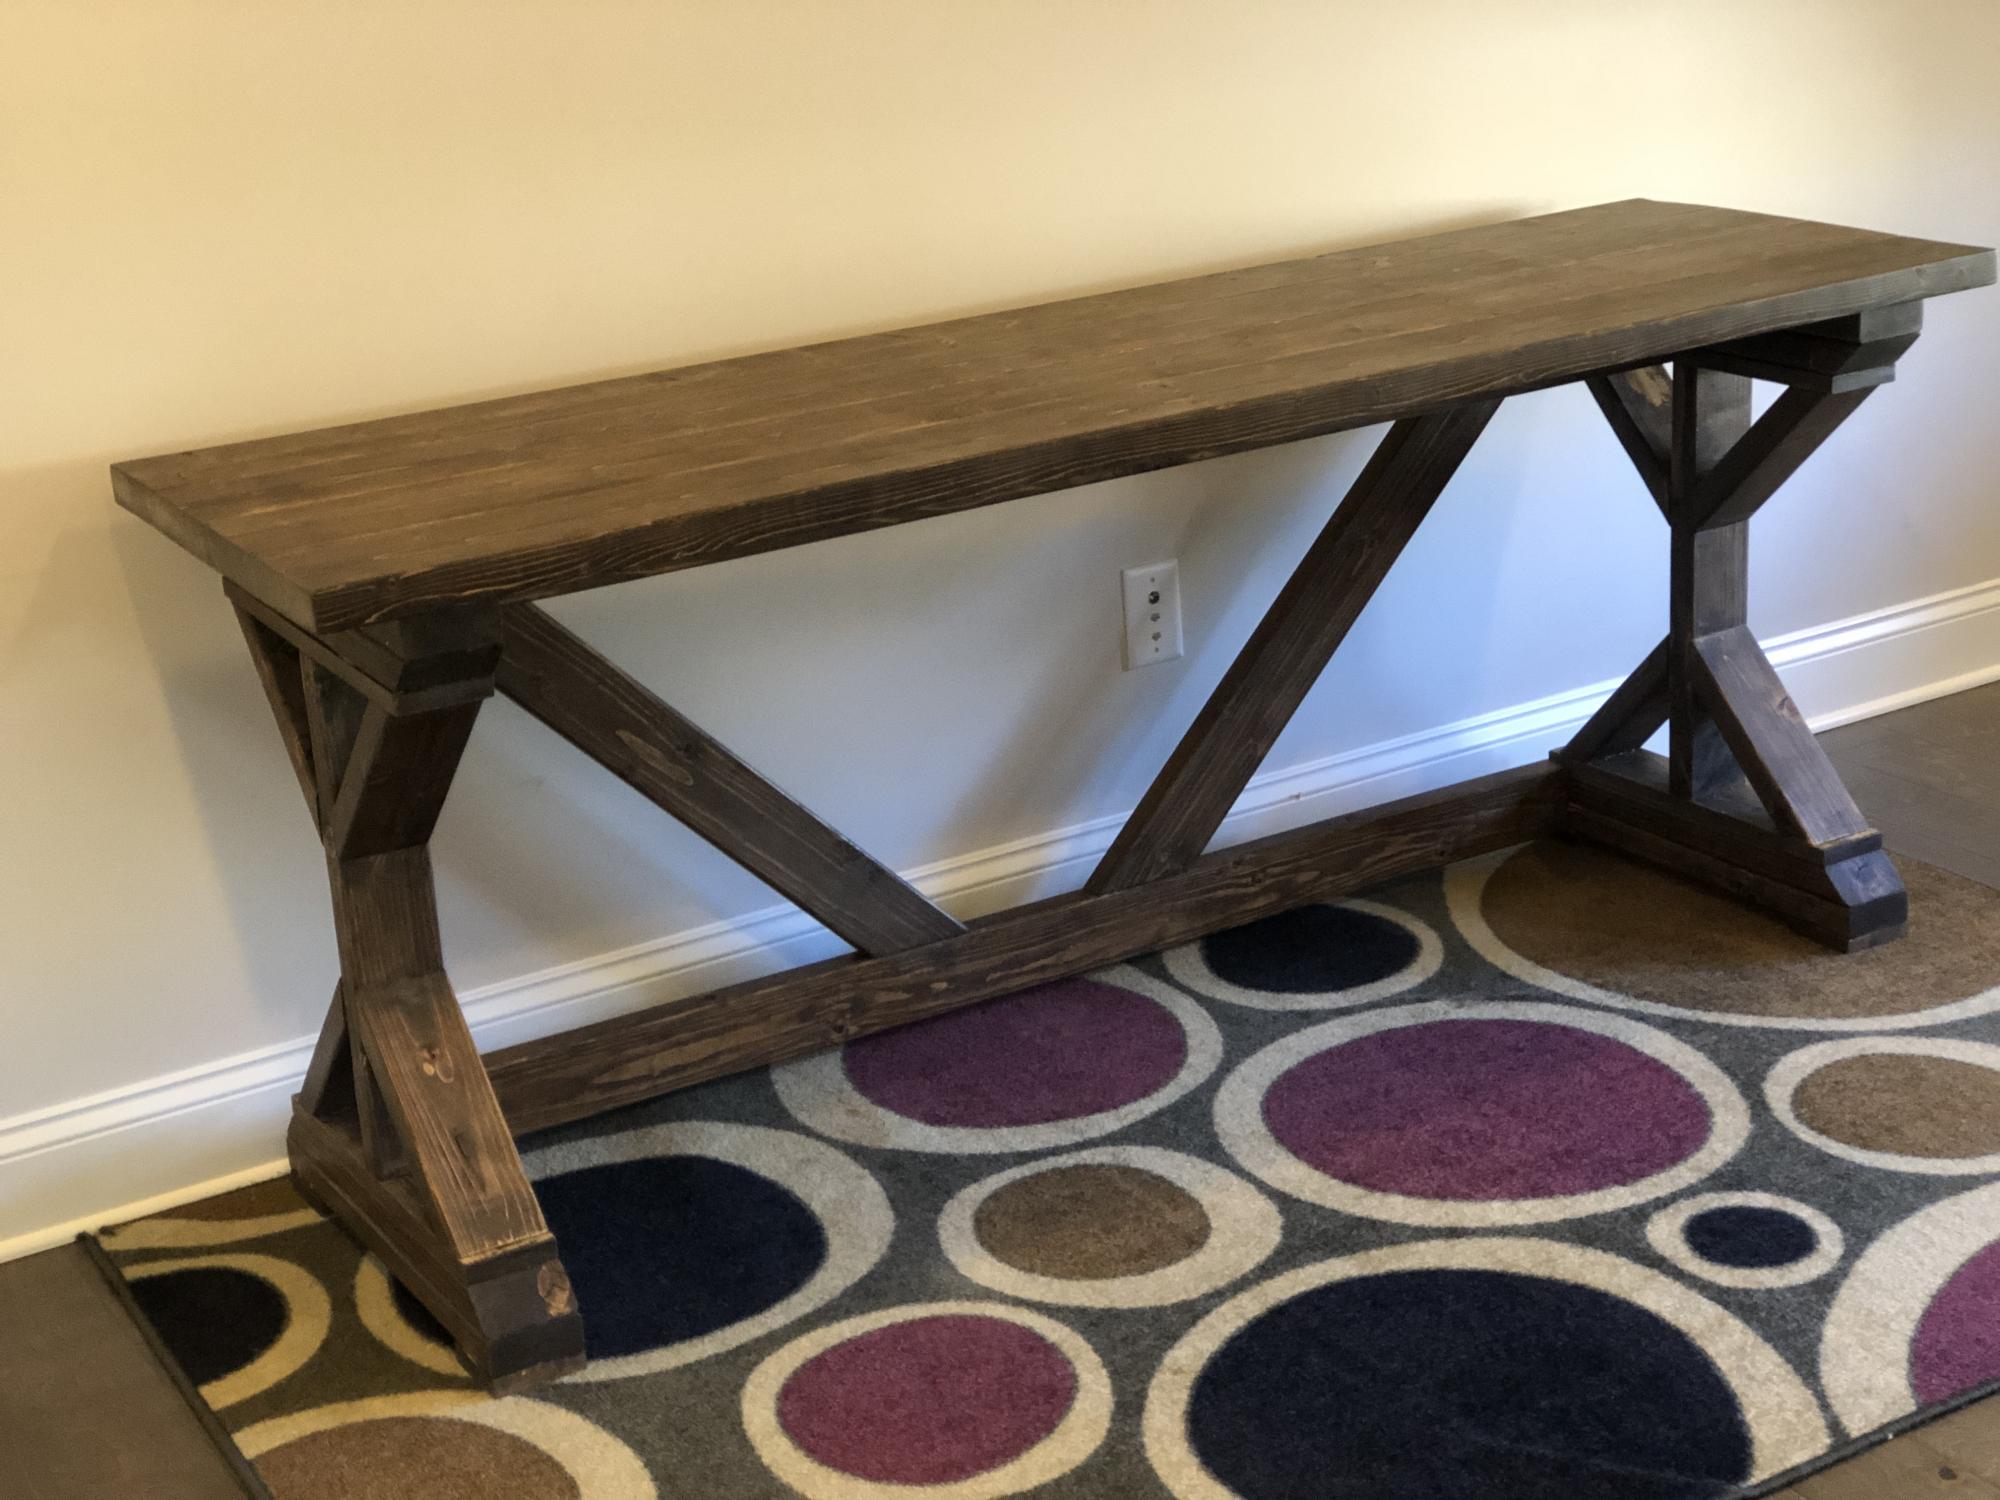
Here's my farmhouse table! This was my 2nd project (the first was a work bench) and it went really smoothly.
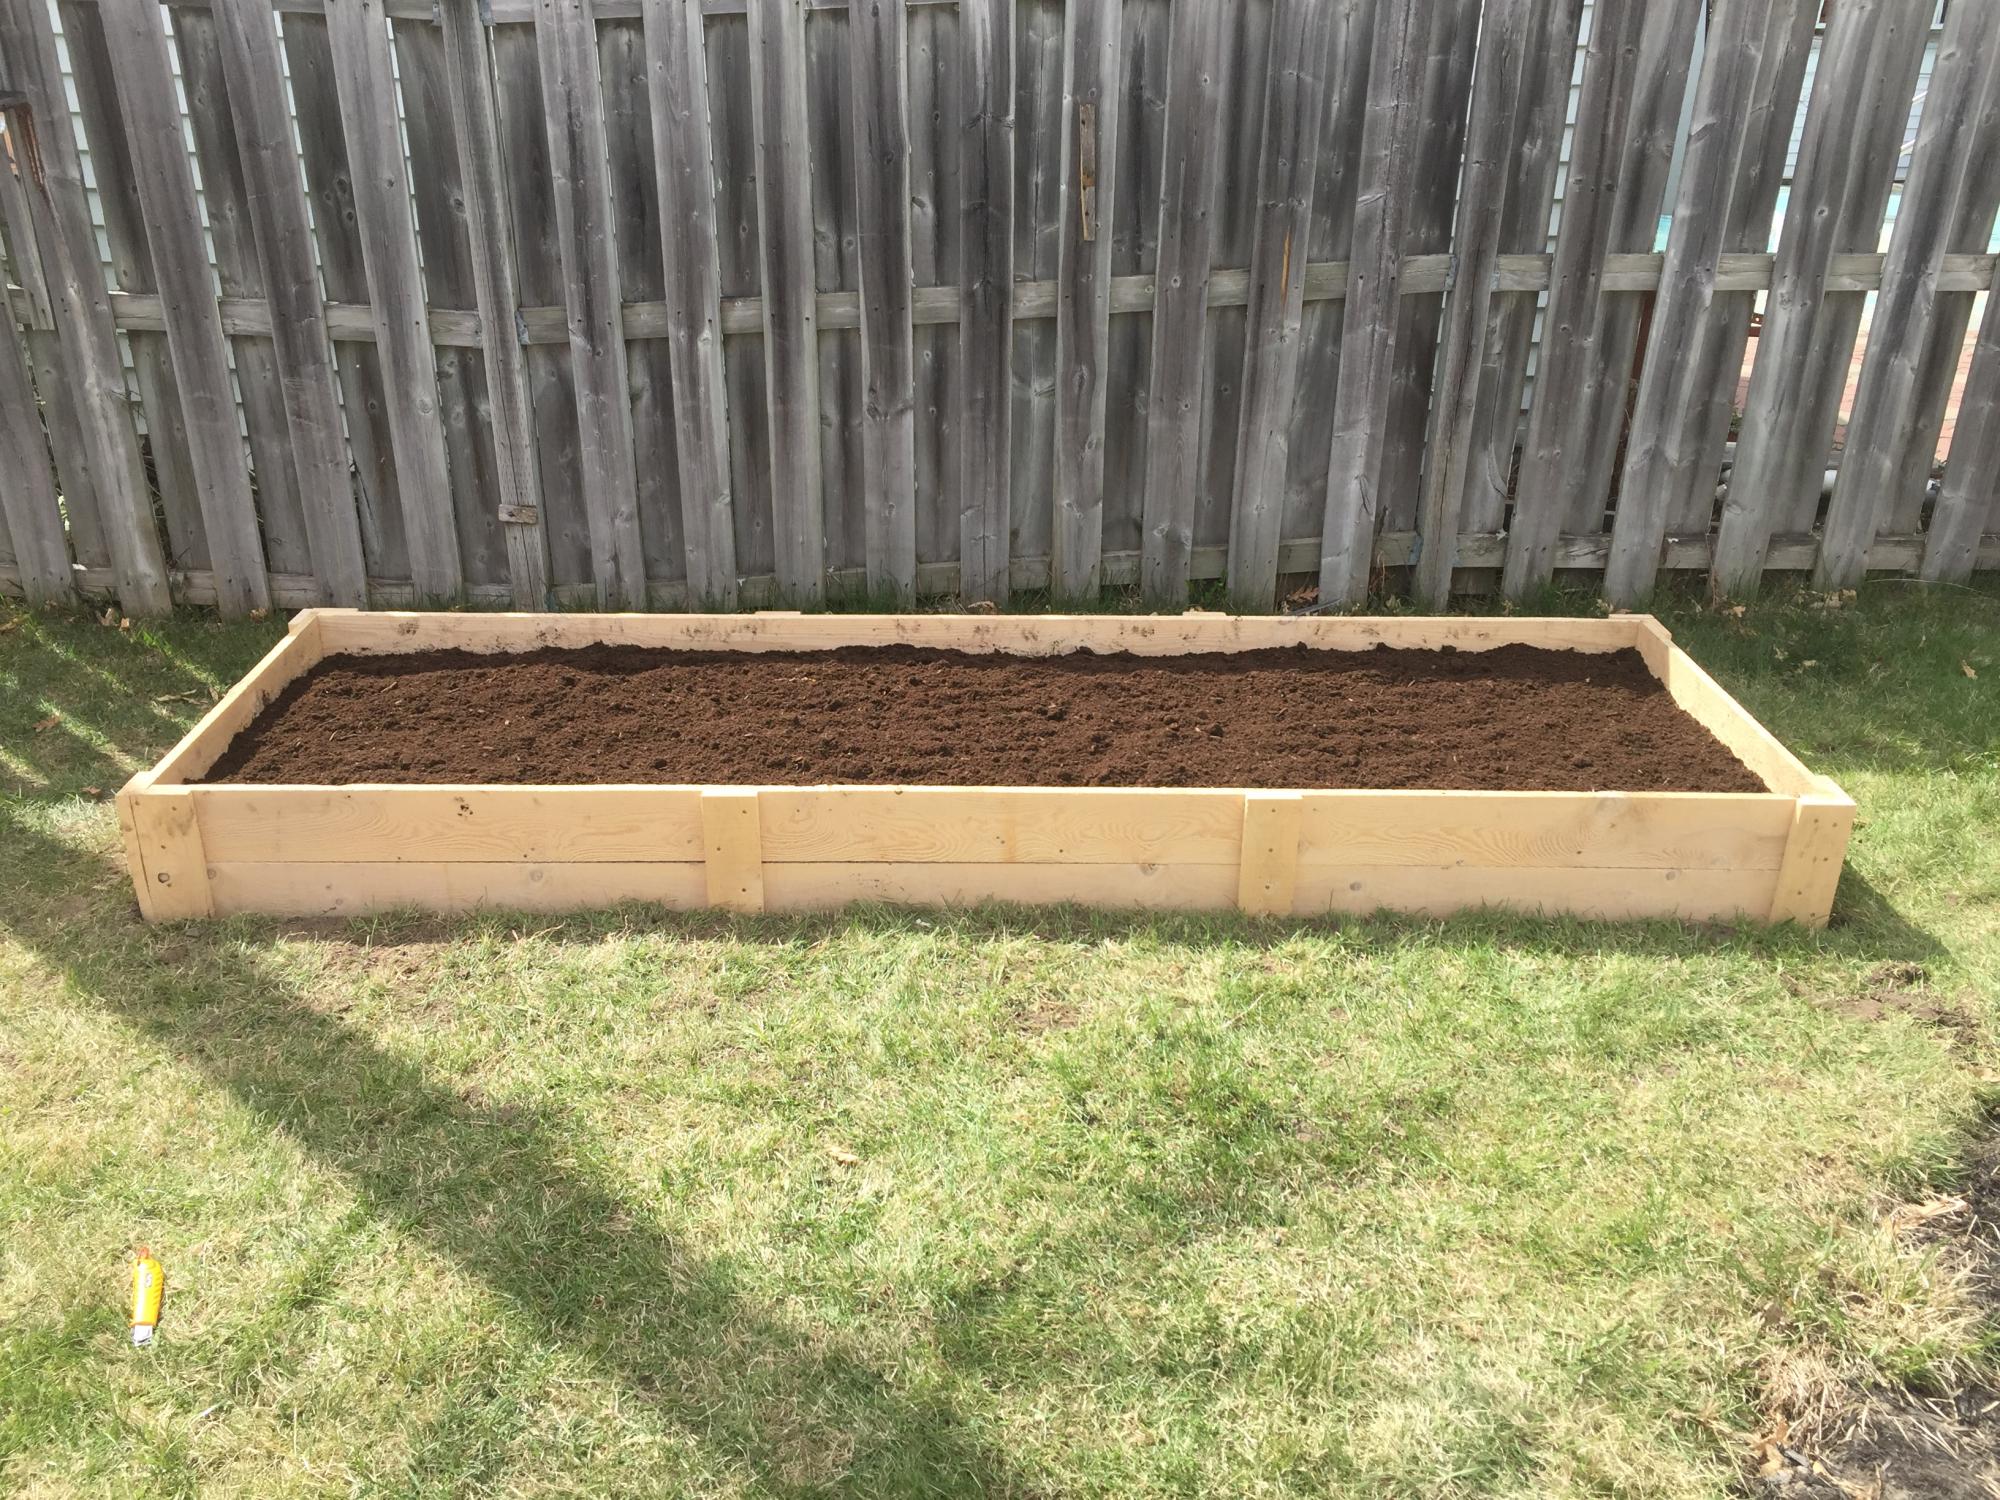
We built this 3x10 feet raised garden bed.
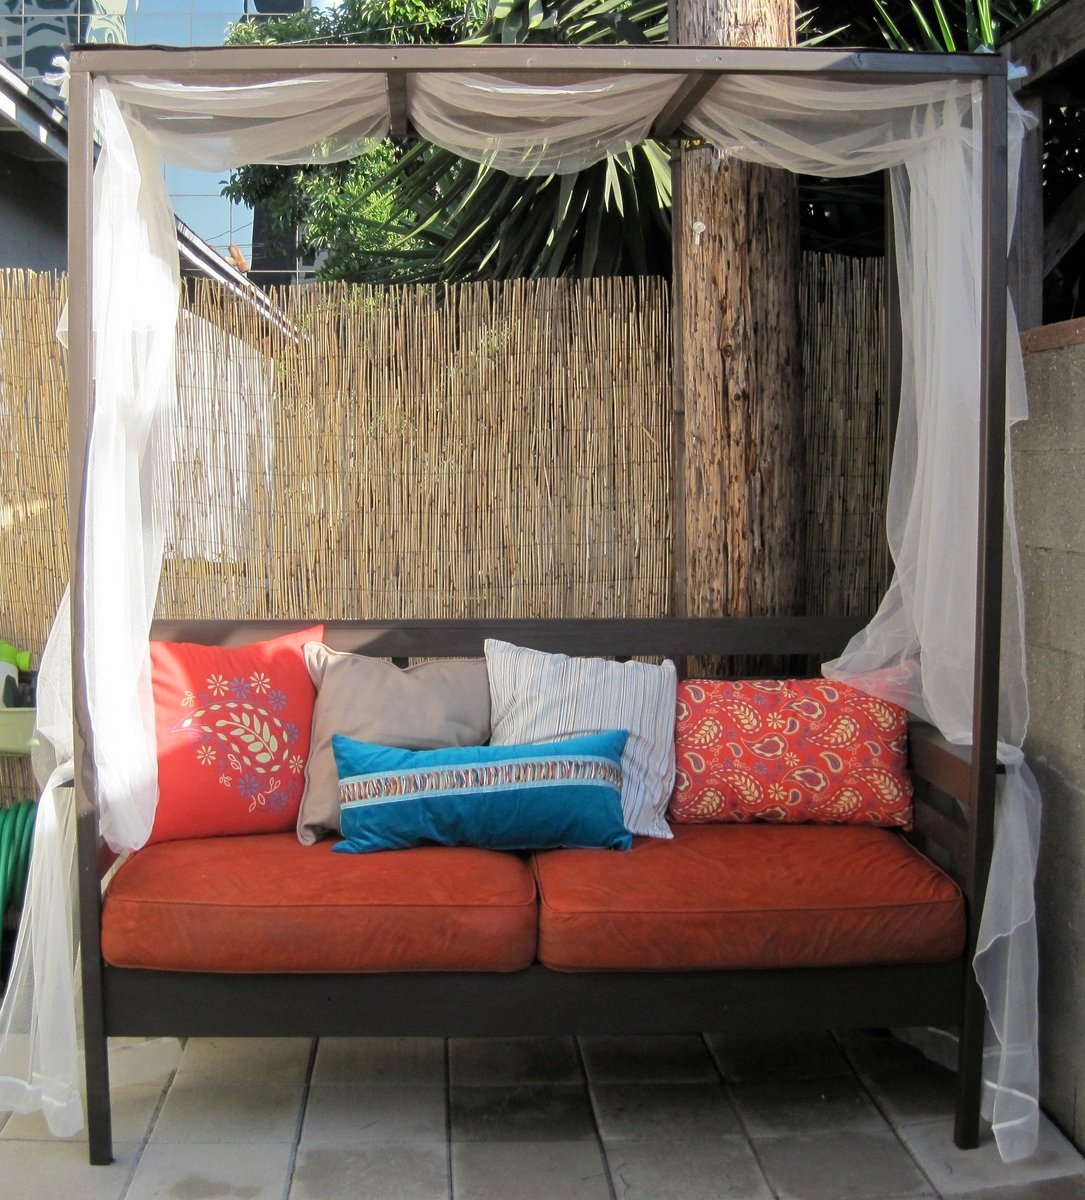
Thank you anawhite.com for this project! It was exactly what I was looking to build for my outdoor space. The outdoor daybeds with this look are WAY too expensive for us to buy and these plans were just what I needed!
My husband and I built (and painted) this project over one weekend. Not included in that time are 2+ hours shopping for materials on the friday night before and extra hours over the next few days to buy pillows, tie on the drapery, and finish the cushions.
We actually changed the plans to make more of a smaller 'daycouch' rather than a 'daybed' because we had some old cushions from a loveseat we just got rid of that I wanted to repurpose. It worked out great for our small space. If you do change the proportions keep in mind that a 1X3, 1X4, etc., are not exactly 3", 4", etc.
This project is totally doable, so go for it! The only things I would recommend are that you have some skills with power tools, know a little about carpentry (the directions are pretty spartan), and paint the pieces beforehand (if you have the patience; it really does cut down time on painting all those slats).
*Important note: the materials list is missing 2 2"X4"X8" (for the 2 cleats) that you need to complete the project.
Fri, 07/13/2012 - 23:26
Thank you! We are pretty happy with the way it turned out. If you do the project please post a pic!
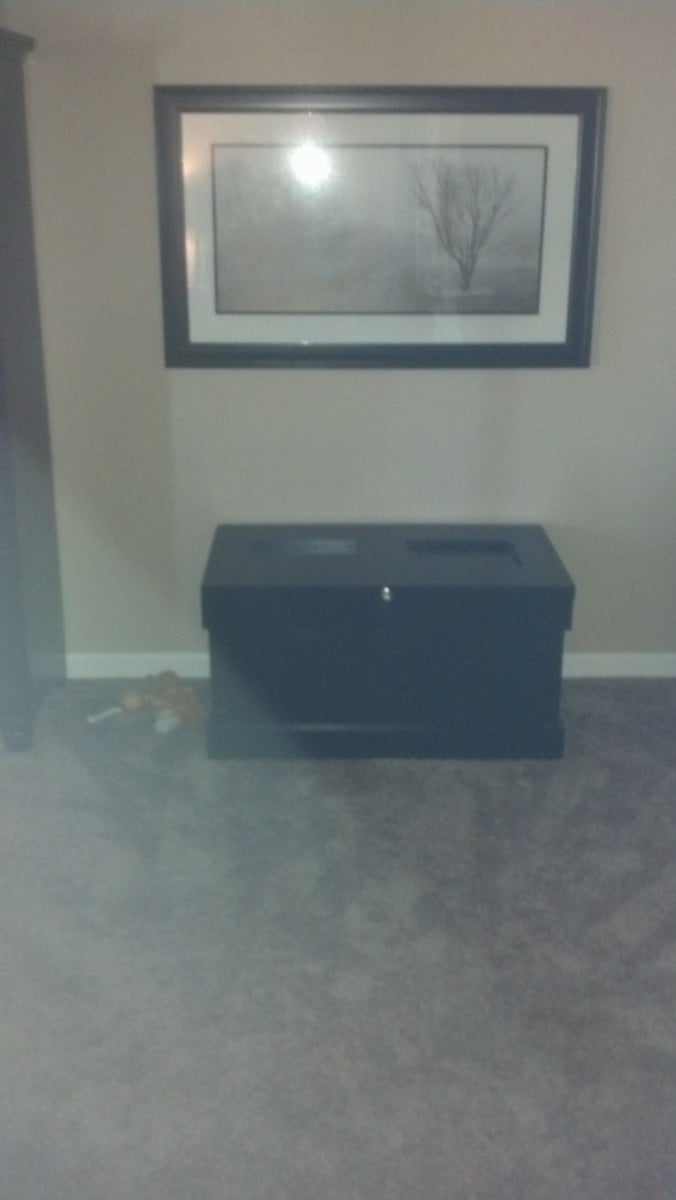
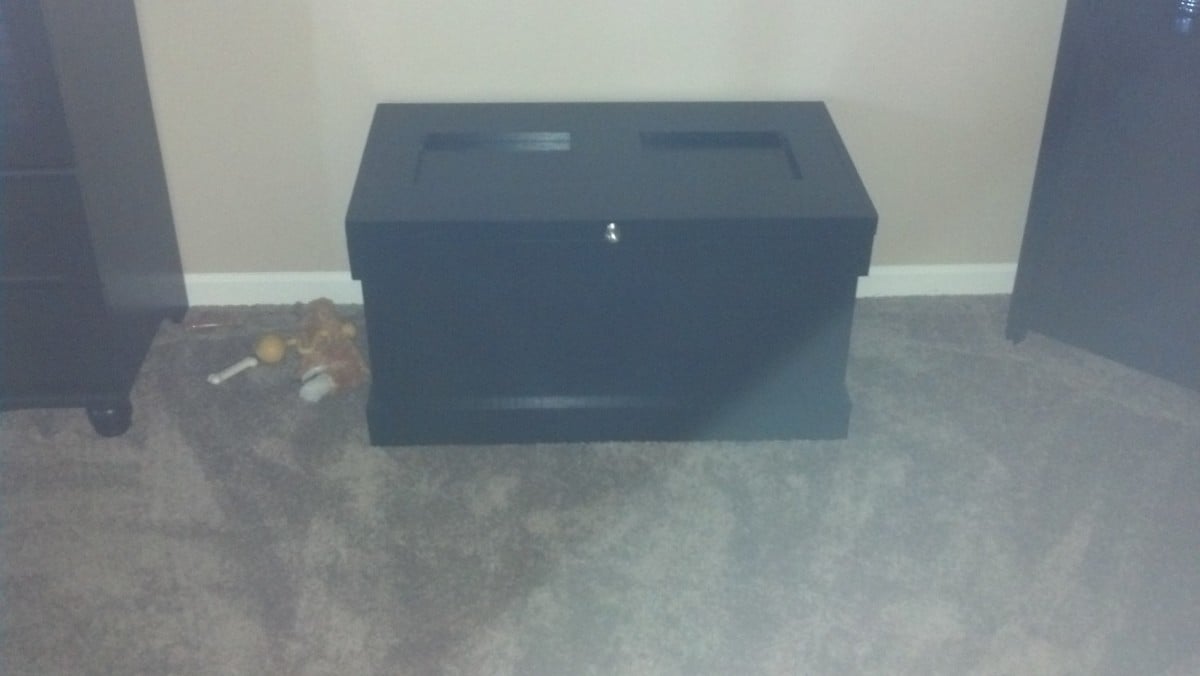
My wife wanted a new chest to store blankets in. I saw the plans for the Becca and thought it would be perfect for what we were after.
I used some regular plywood I had laying around and some select pine for the trim. I liked the look of the top in the plan but wanted some more texture to it, so I used a solid piece of plywood for the top and layer pine for the trim features. I tested my new chisels to recess the hinges to minimize gapping under the lid.
We painted it solid black to match the rest of the basement furniture. A few coats of poly finished it off for durability.
This took about 2 months for me to get around to finishing. That's probably about...12 hours of actual work, plus finishing.

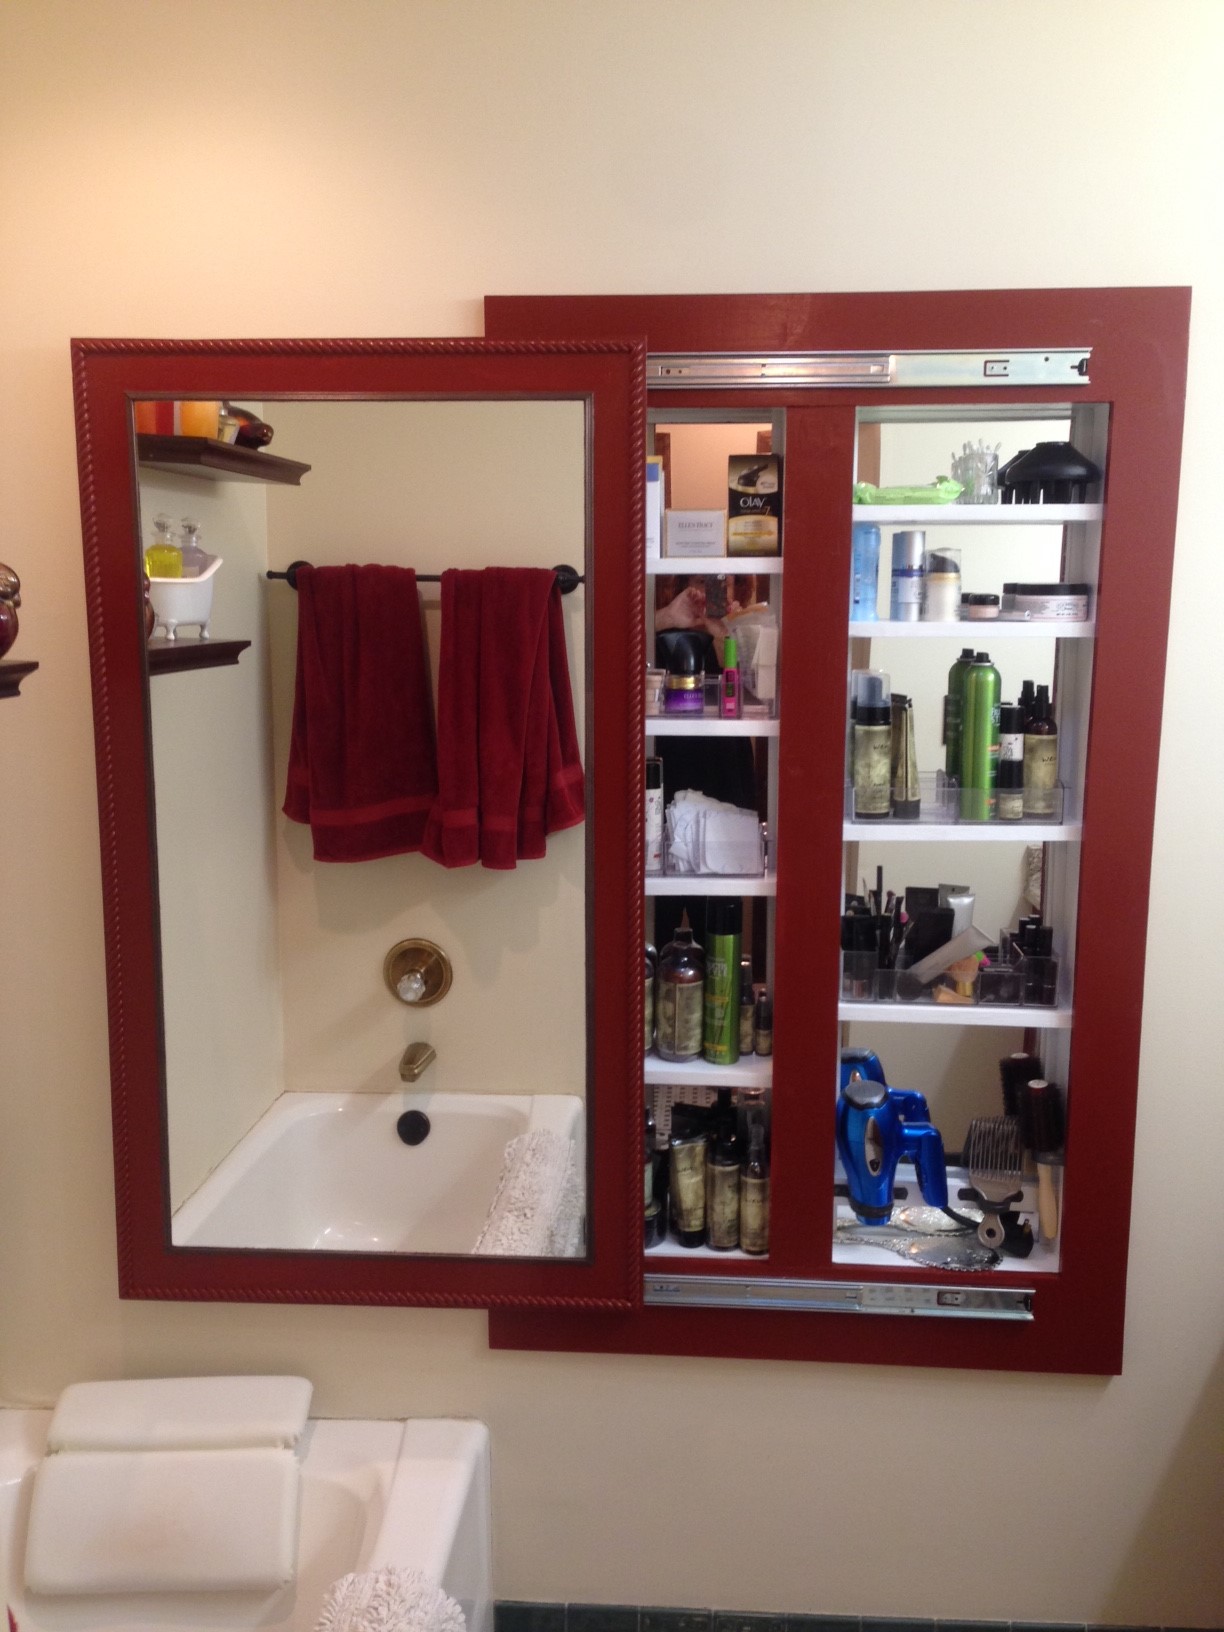
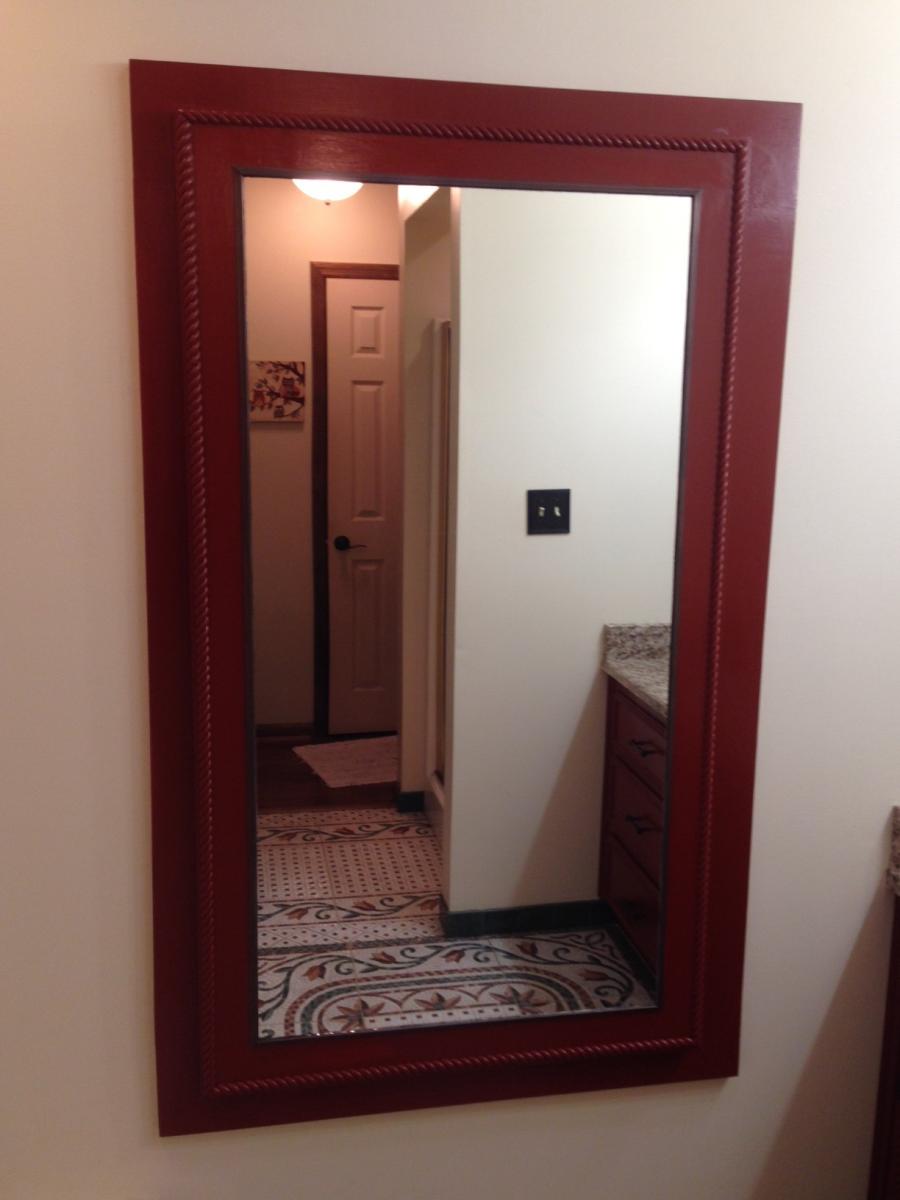
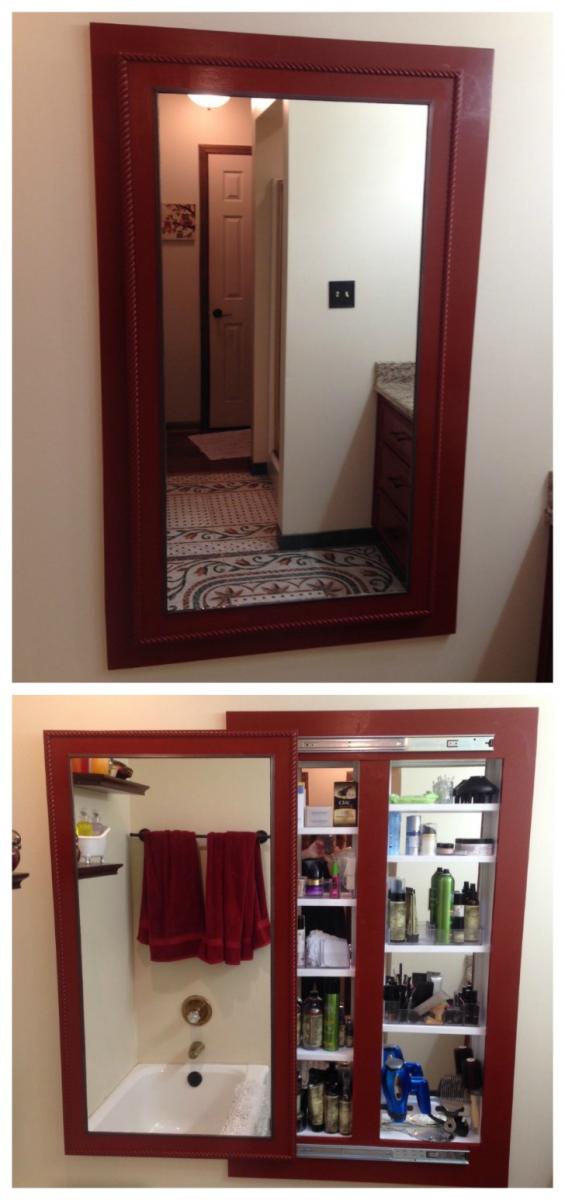
Adapted Ana's full length mirror storage idea. I needed to recess the cabinet into the stud cavity to save needed floor space. Opened two cavities and made the interior the same length as the cheap $6 behind the door mirror. Was able to just sit them on a ledger board and the shelves hold them from falling forward.
The cabinet looks wonderful and holds a TON of things. Thanks Ana for the inspiration!

Thu, 07/25/2019 - 18:20
I love this!! So smart to make it recessed. Thanks so much for sharing the photos!
Sun, 02/27/2022 - 15:58
I am wanting to build a thin or recessed cabinet for an incredibly small area in my bathroom and knew to go right to Ana White! The combination of these two projects is perfect and exactly what I was looking for! Now here’s to praying I can pull it off!! 😬
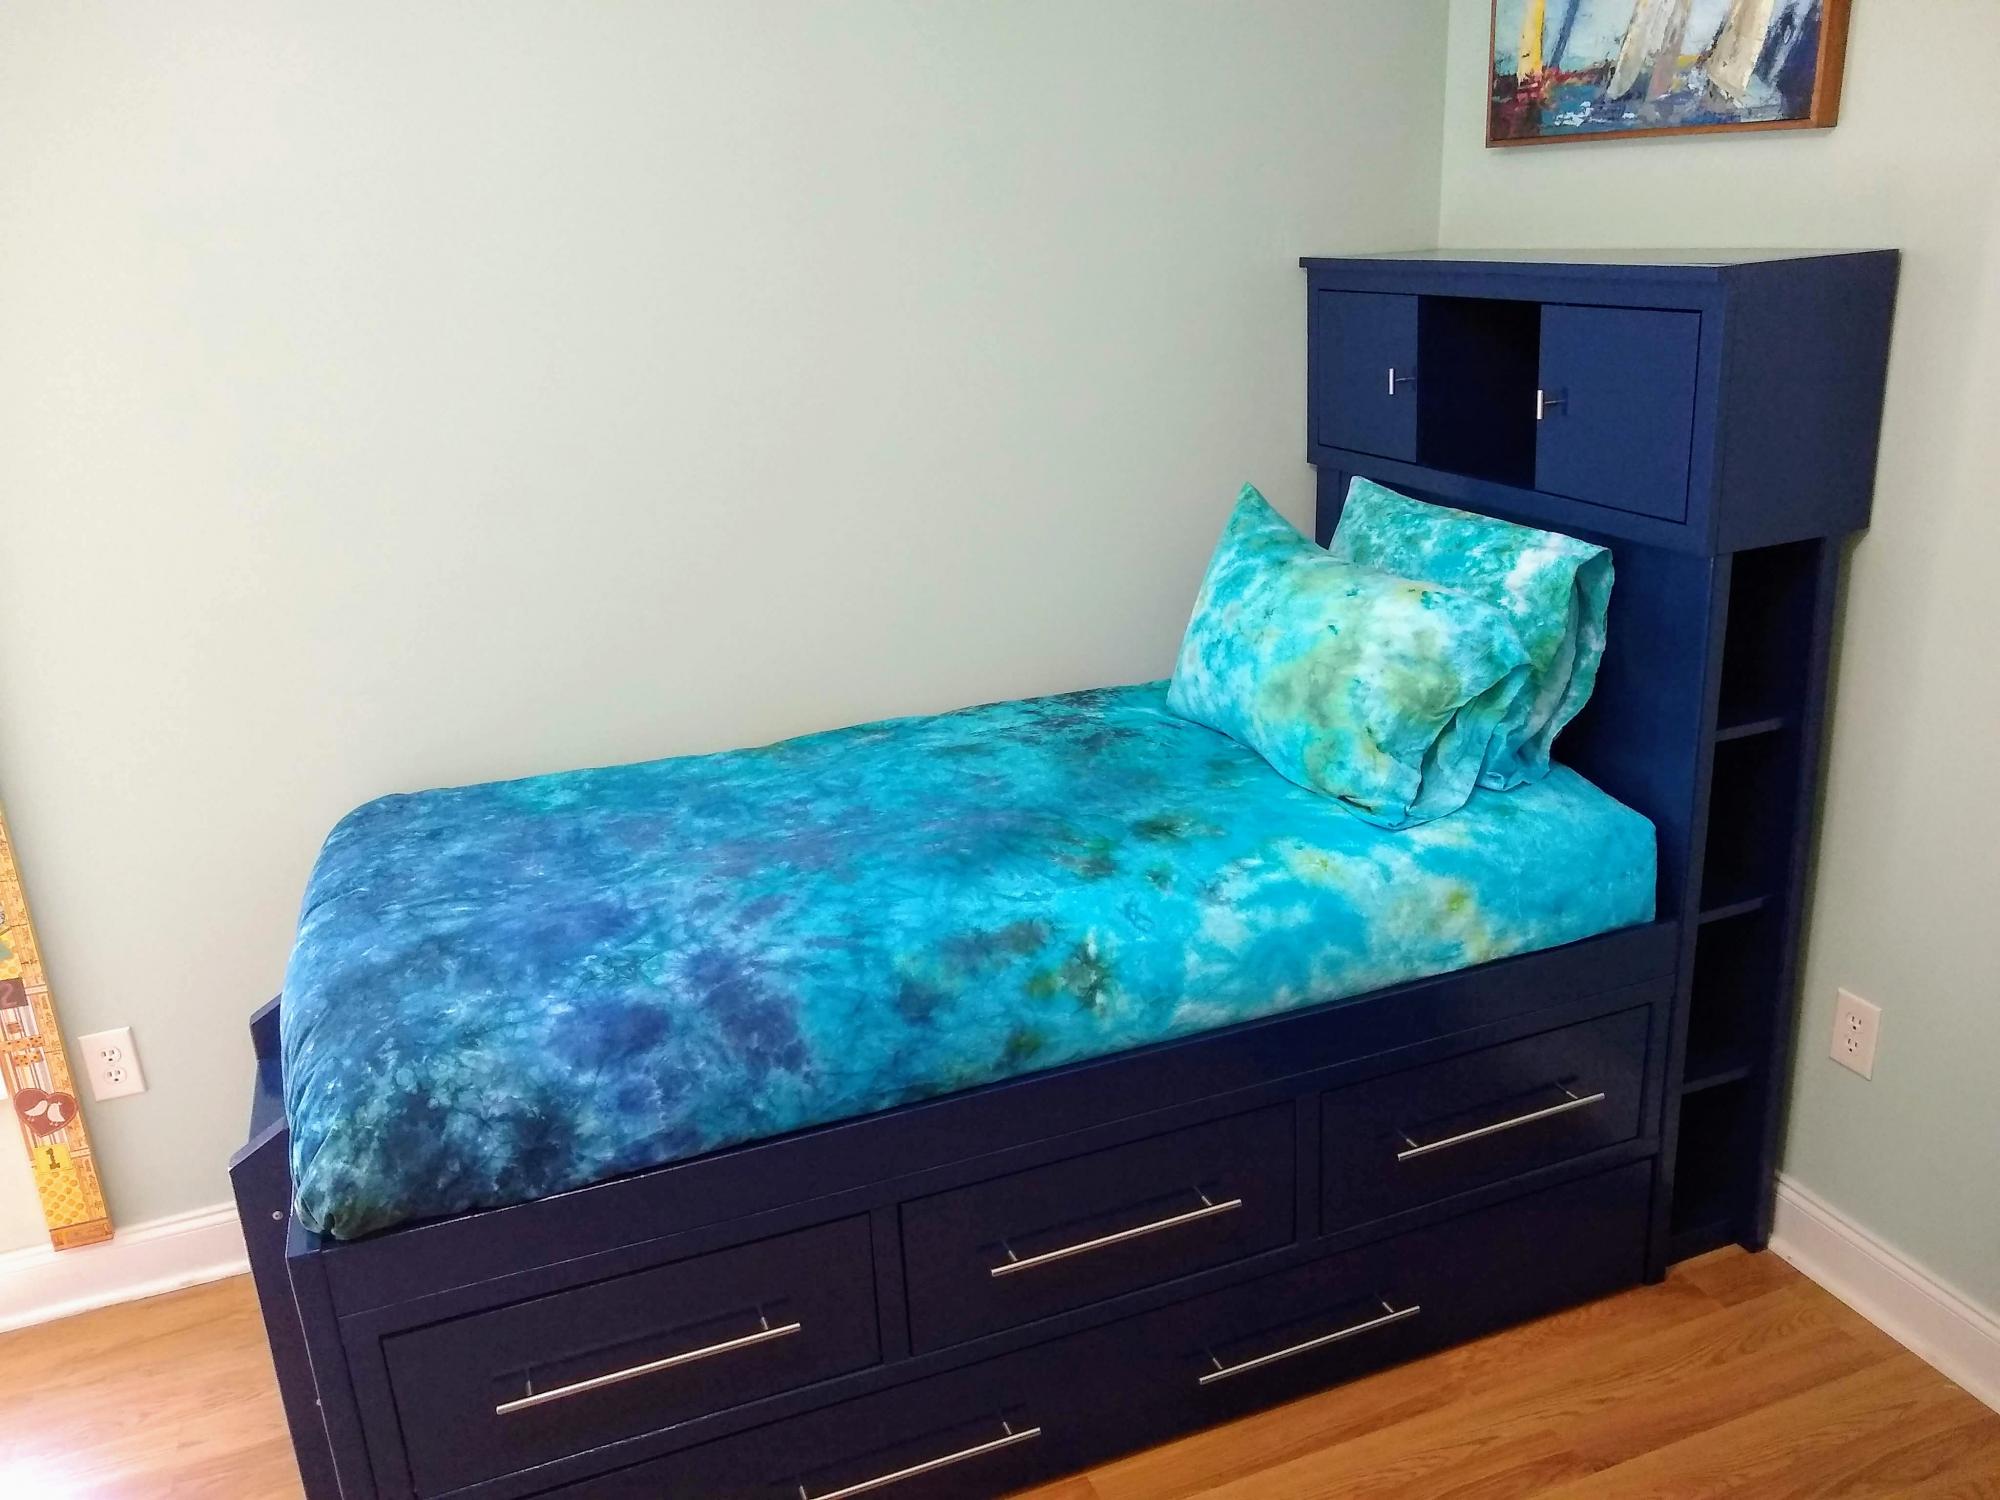
My son needed a bigger-boy bed, moving into his own room from sharing a room with his brother and sleeping in a loft bed. I loved the drawers and trundle bed in this captain's bed, but wanted also a headboard where my son could keep his books, Kleenex box, and alarm clock. I felt that he had aged out of the rails keeping him in bed, as well. I combined three Ana White plans to make this bigger-boy bed.
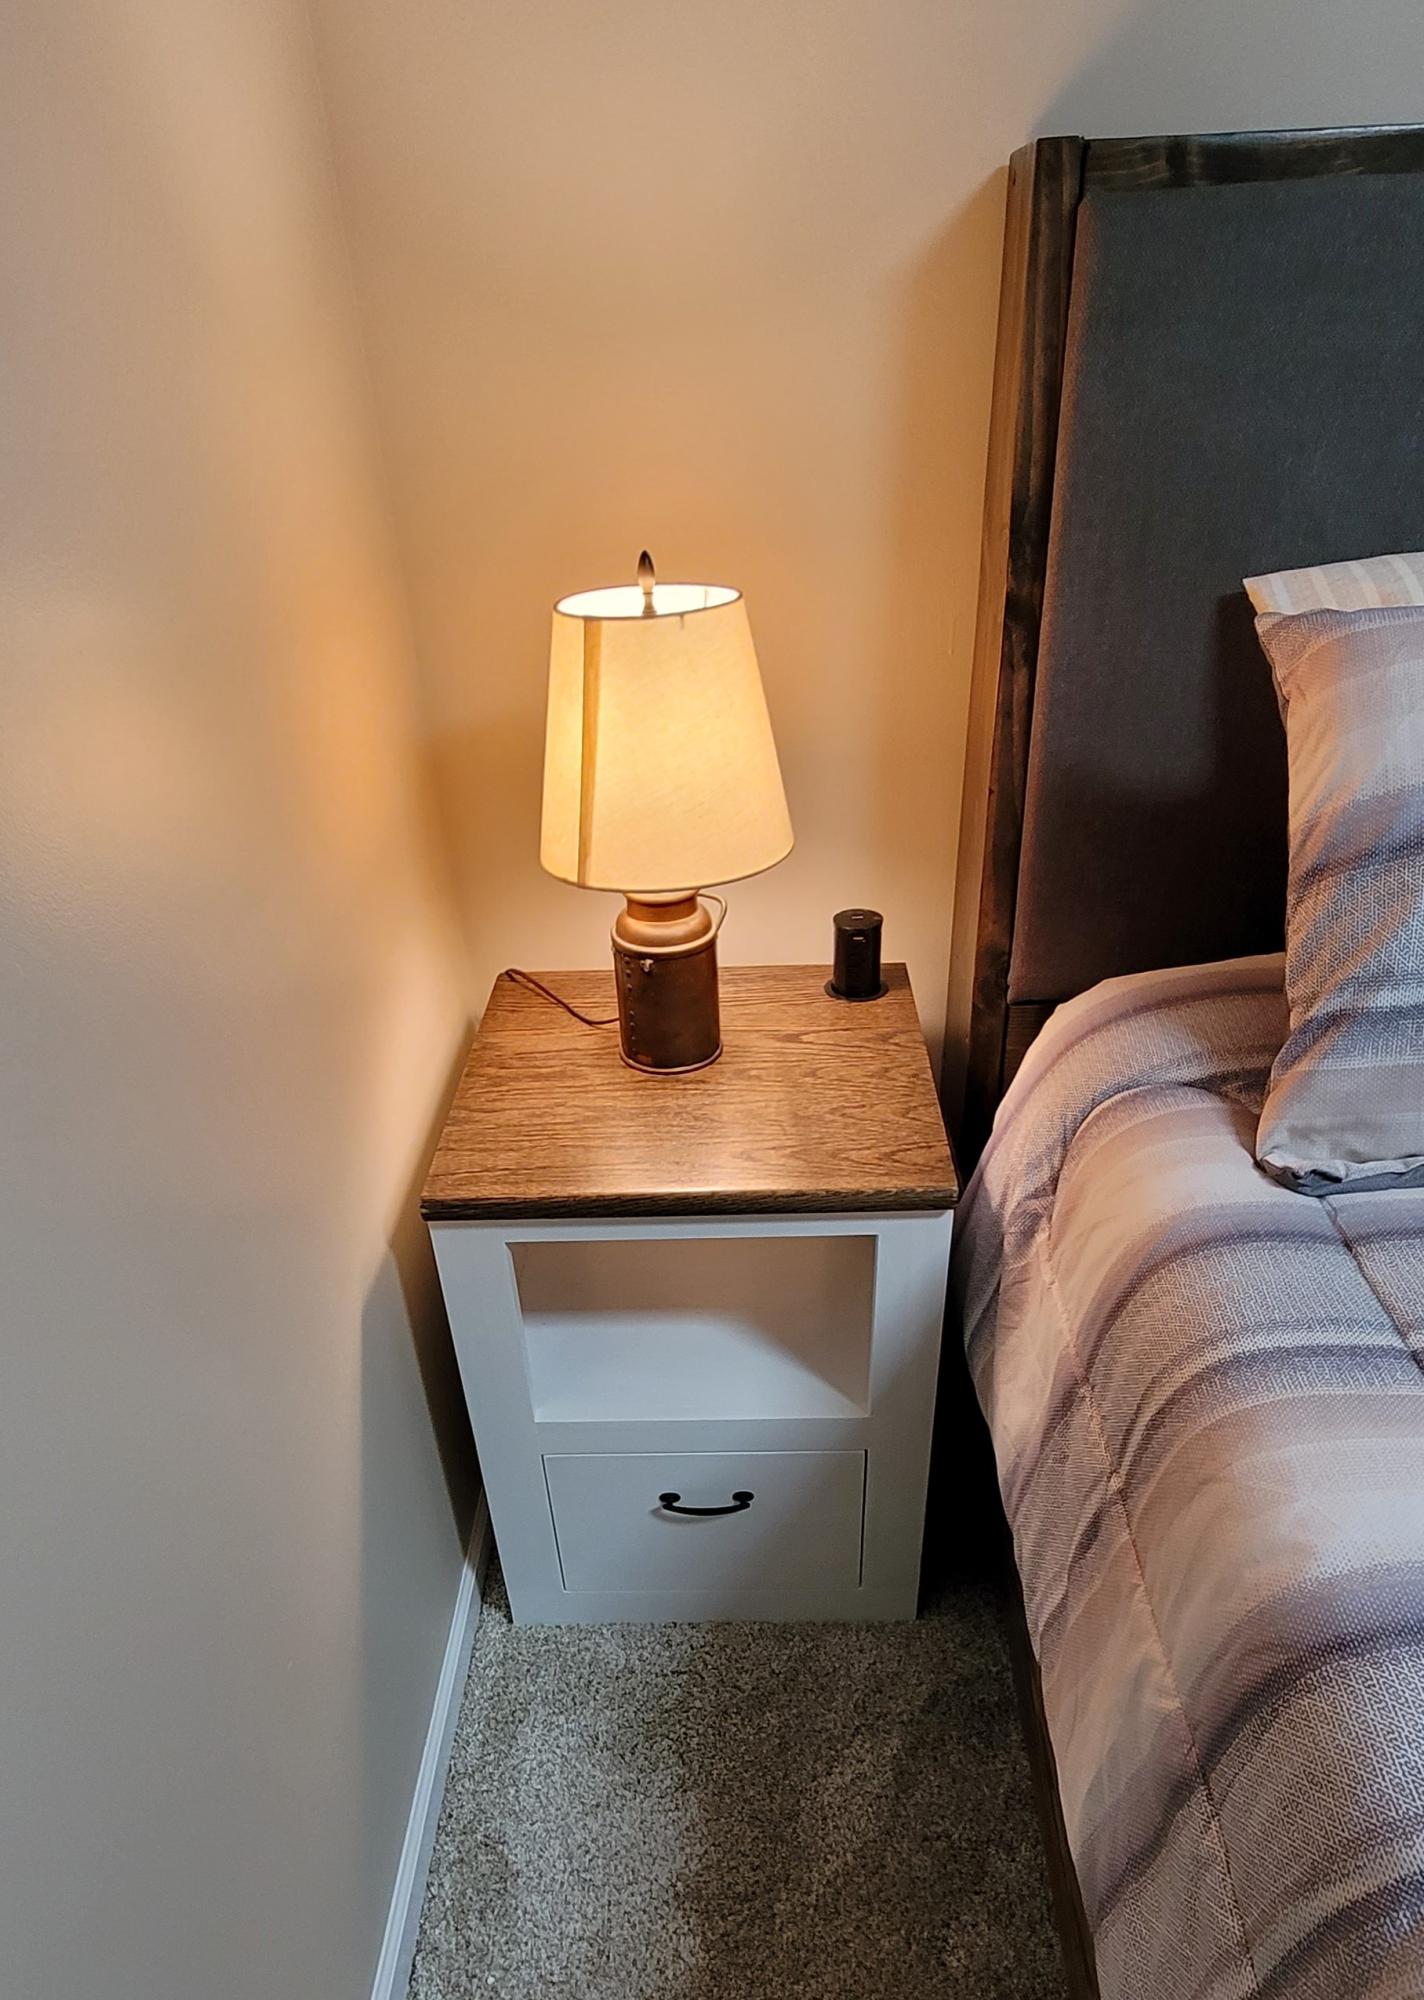
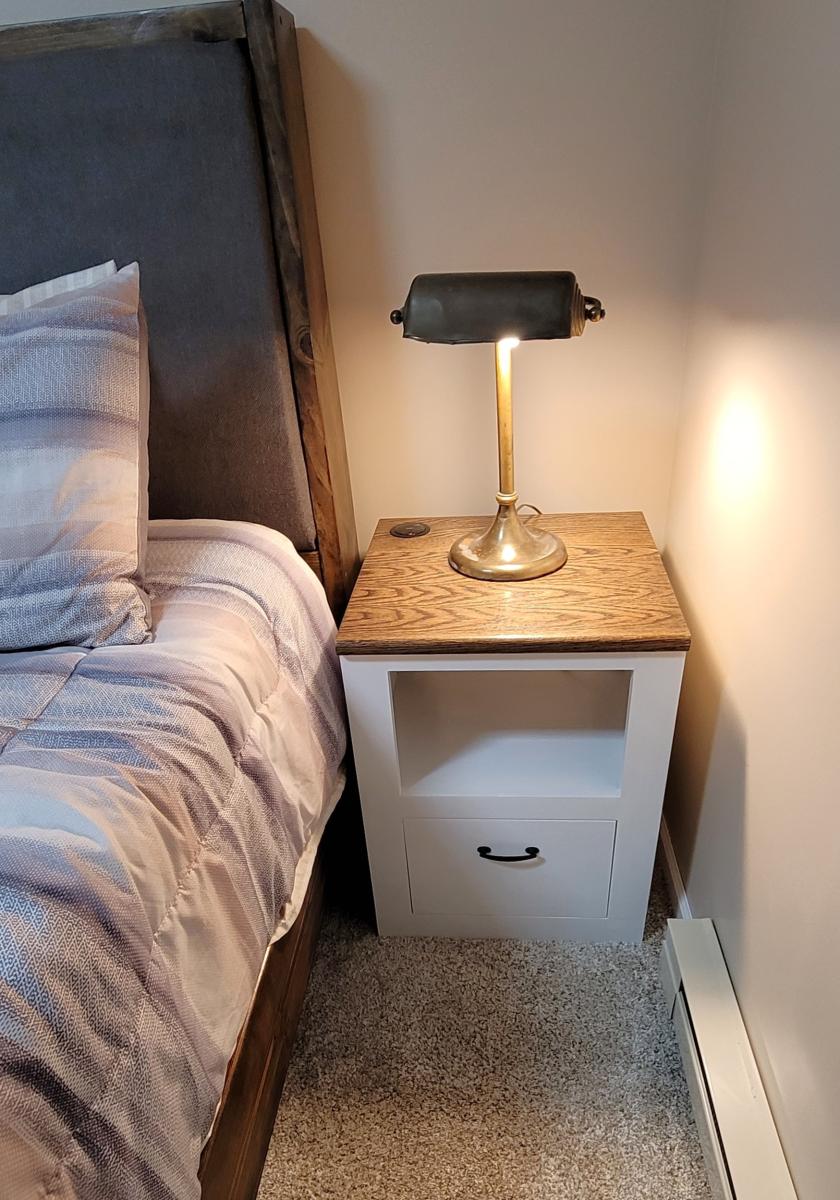
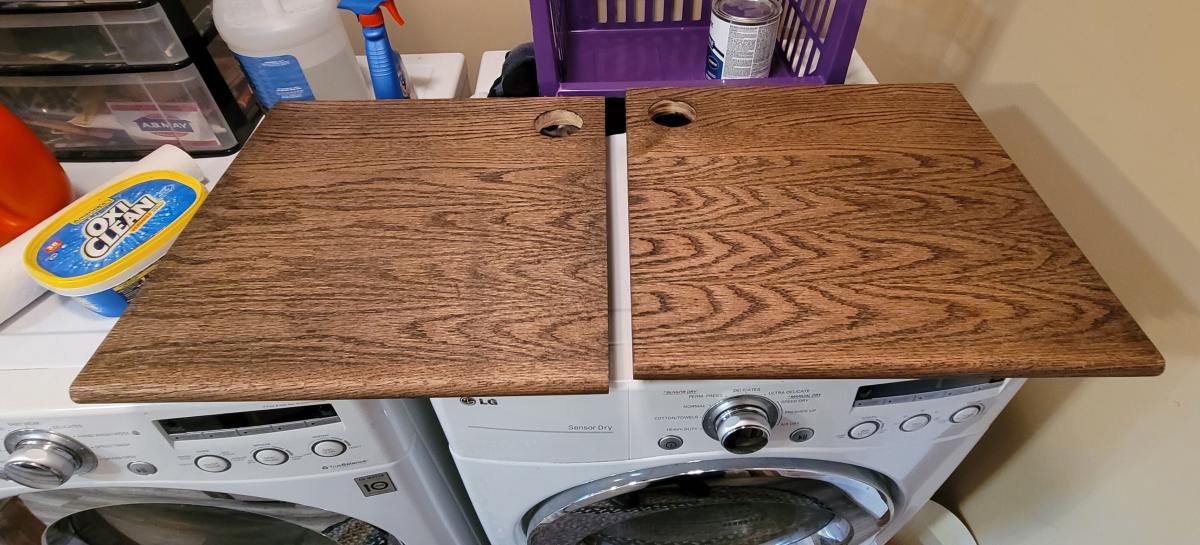
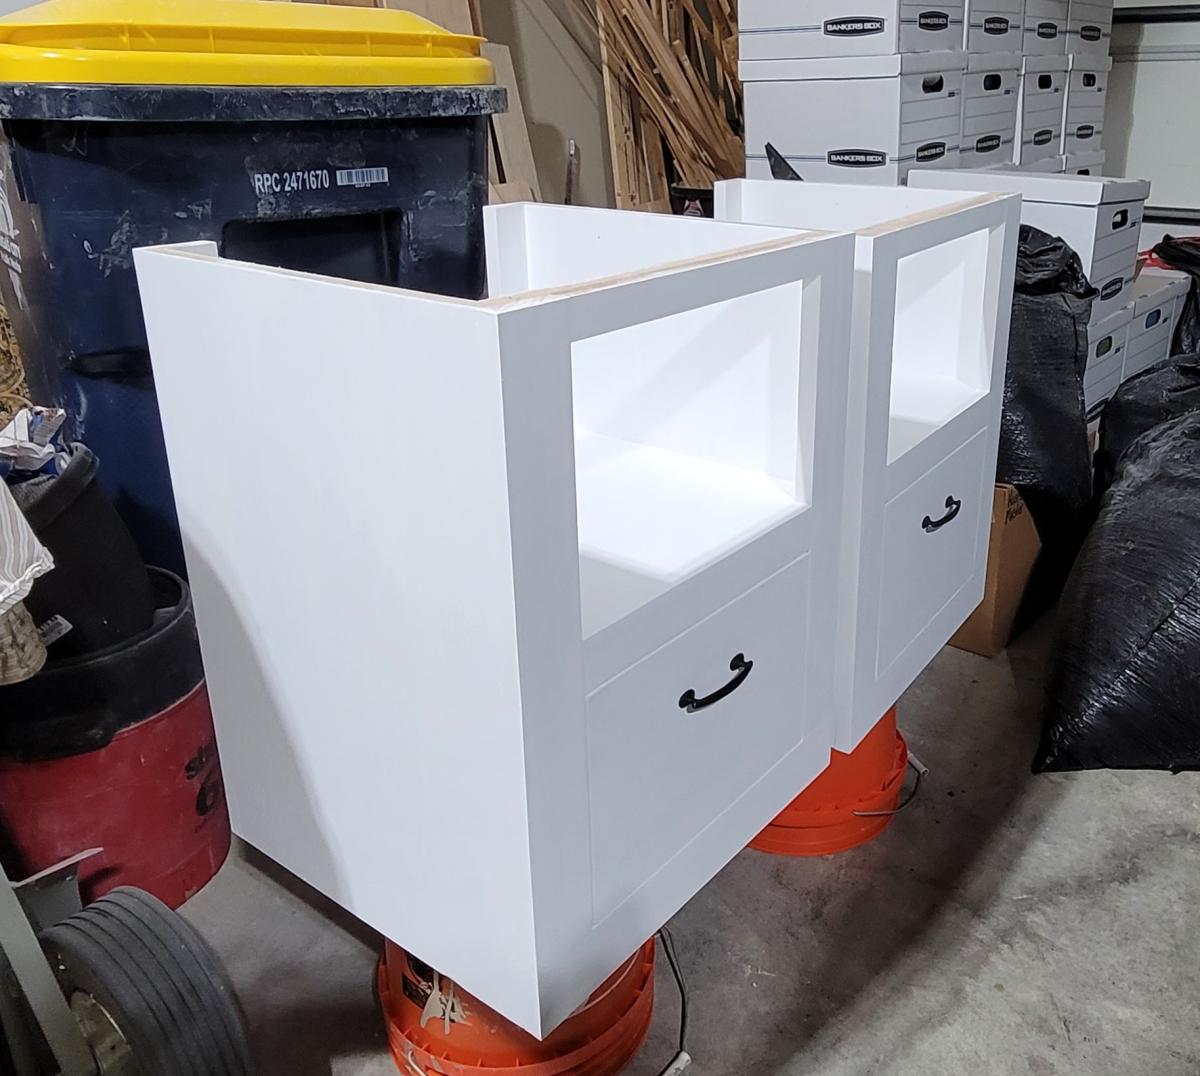
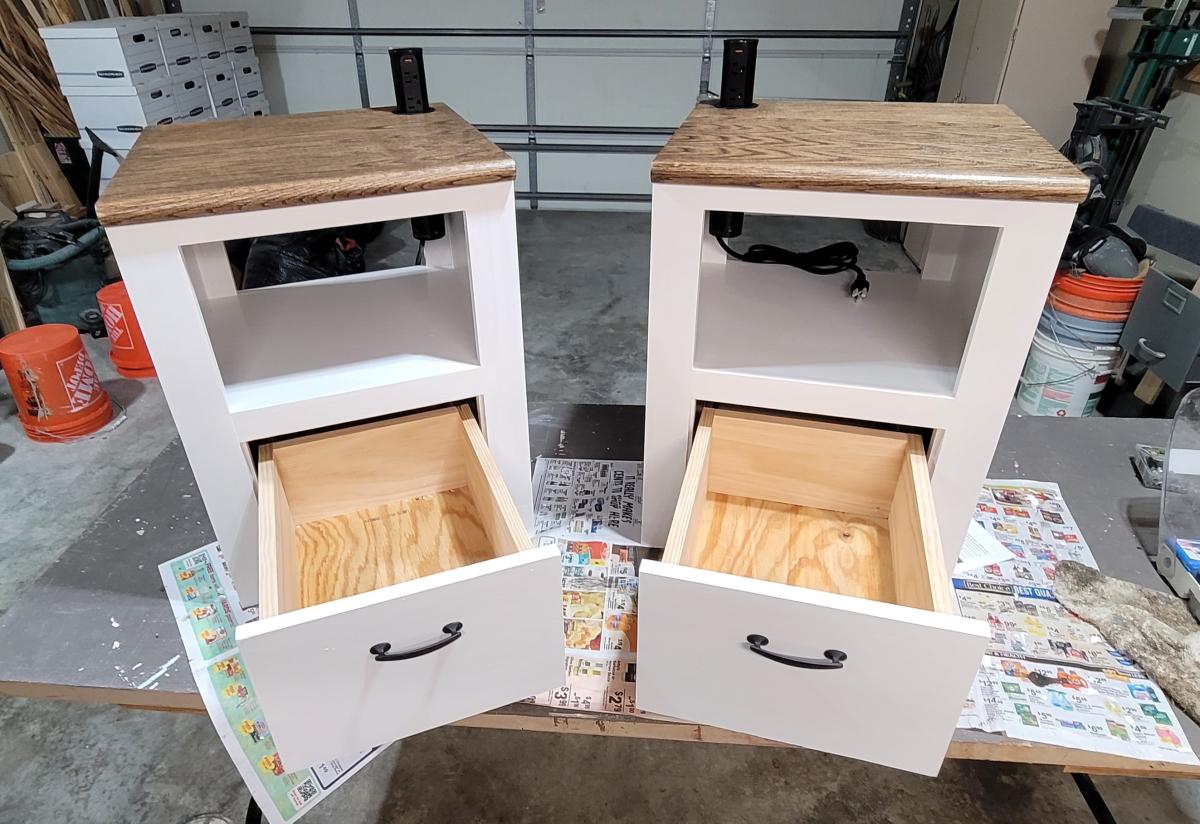
I downloaded th minimalist modern nightstand plans nearly a year ago and just got around to building them last week. Actually I modified them quite a bit because I had a small space to work with and because I wanted them to follow the design theme of some of the other furnishings and features I had made for my basement renovation. In particular I changed the top and made it out of oak stair treads. I also added pop-up electrical/USB sockets as well. I really appreciate the sequencing in the plans. Though I made some dimensional and design plans, I followed the sequencing steps. It made the project much easier to complete-particularly the drawer construction and fitting. If I had done it on my own, I would probably have permanently installed the middle shelf before fitting the drawer which would have made fitting the drawer and drawer front much harder. Thanks for teaching me that.
Craig Holstedt

Tue, 01/09/2024 - 08:31
Thanks for sharing, love your finish choice and the pop up outlets are a great addition!

I made this kitchen island for a friend who wanted it unfinished. I got the plan from Ana's site but it was submitted by Brookifer86. I made no changes to the original plans. I did splurge on a project top from Lowes at $22 and the stair stiles (i think you call them that) for the legs at about $2 each. What a really nice project and so easy to build. Hardest part was the 22 cross members on the bottom shelf. I think I will make another one but try to add a small drawer.
The lady that I made the table for has wanted to start building. So I made one small easily fixed mistake for her to fix. When she gets here to pick the island up I will hand her safety glasses, hearing protection, square, pencil and tape measure and let her go to work. She is also bringing shaker pegs that she can install. Should be fun.


THE TOP OF THE TABLE WAS MADE FROM A PINE TREE I CUT DOWN IN MY BACKYARD, THE LEGS ARE MADE FROM 4X4S I FOUND ON THE SIDE OF THE ROAD

