Outdoor Wood Chair Set
New outdoor chairs!
Built from Plan(s)
New outdoor chairs!
I have too many scraps … and a granddaughter with a 2nd birthday coming up soon … so spent a couple hours cutting the pieces … took extra time since i was trying to make scraps work … but it still came together well. I had trouble making pocket screws work on this project … but the design makes it easy to bury and cover regular screws.
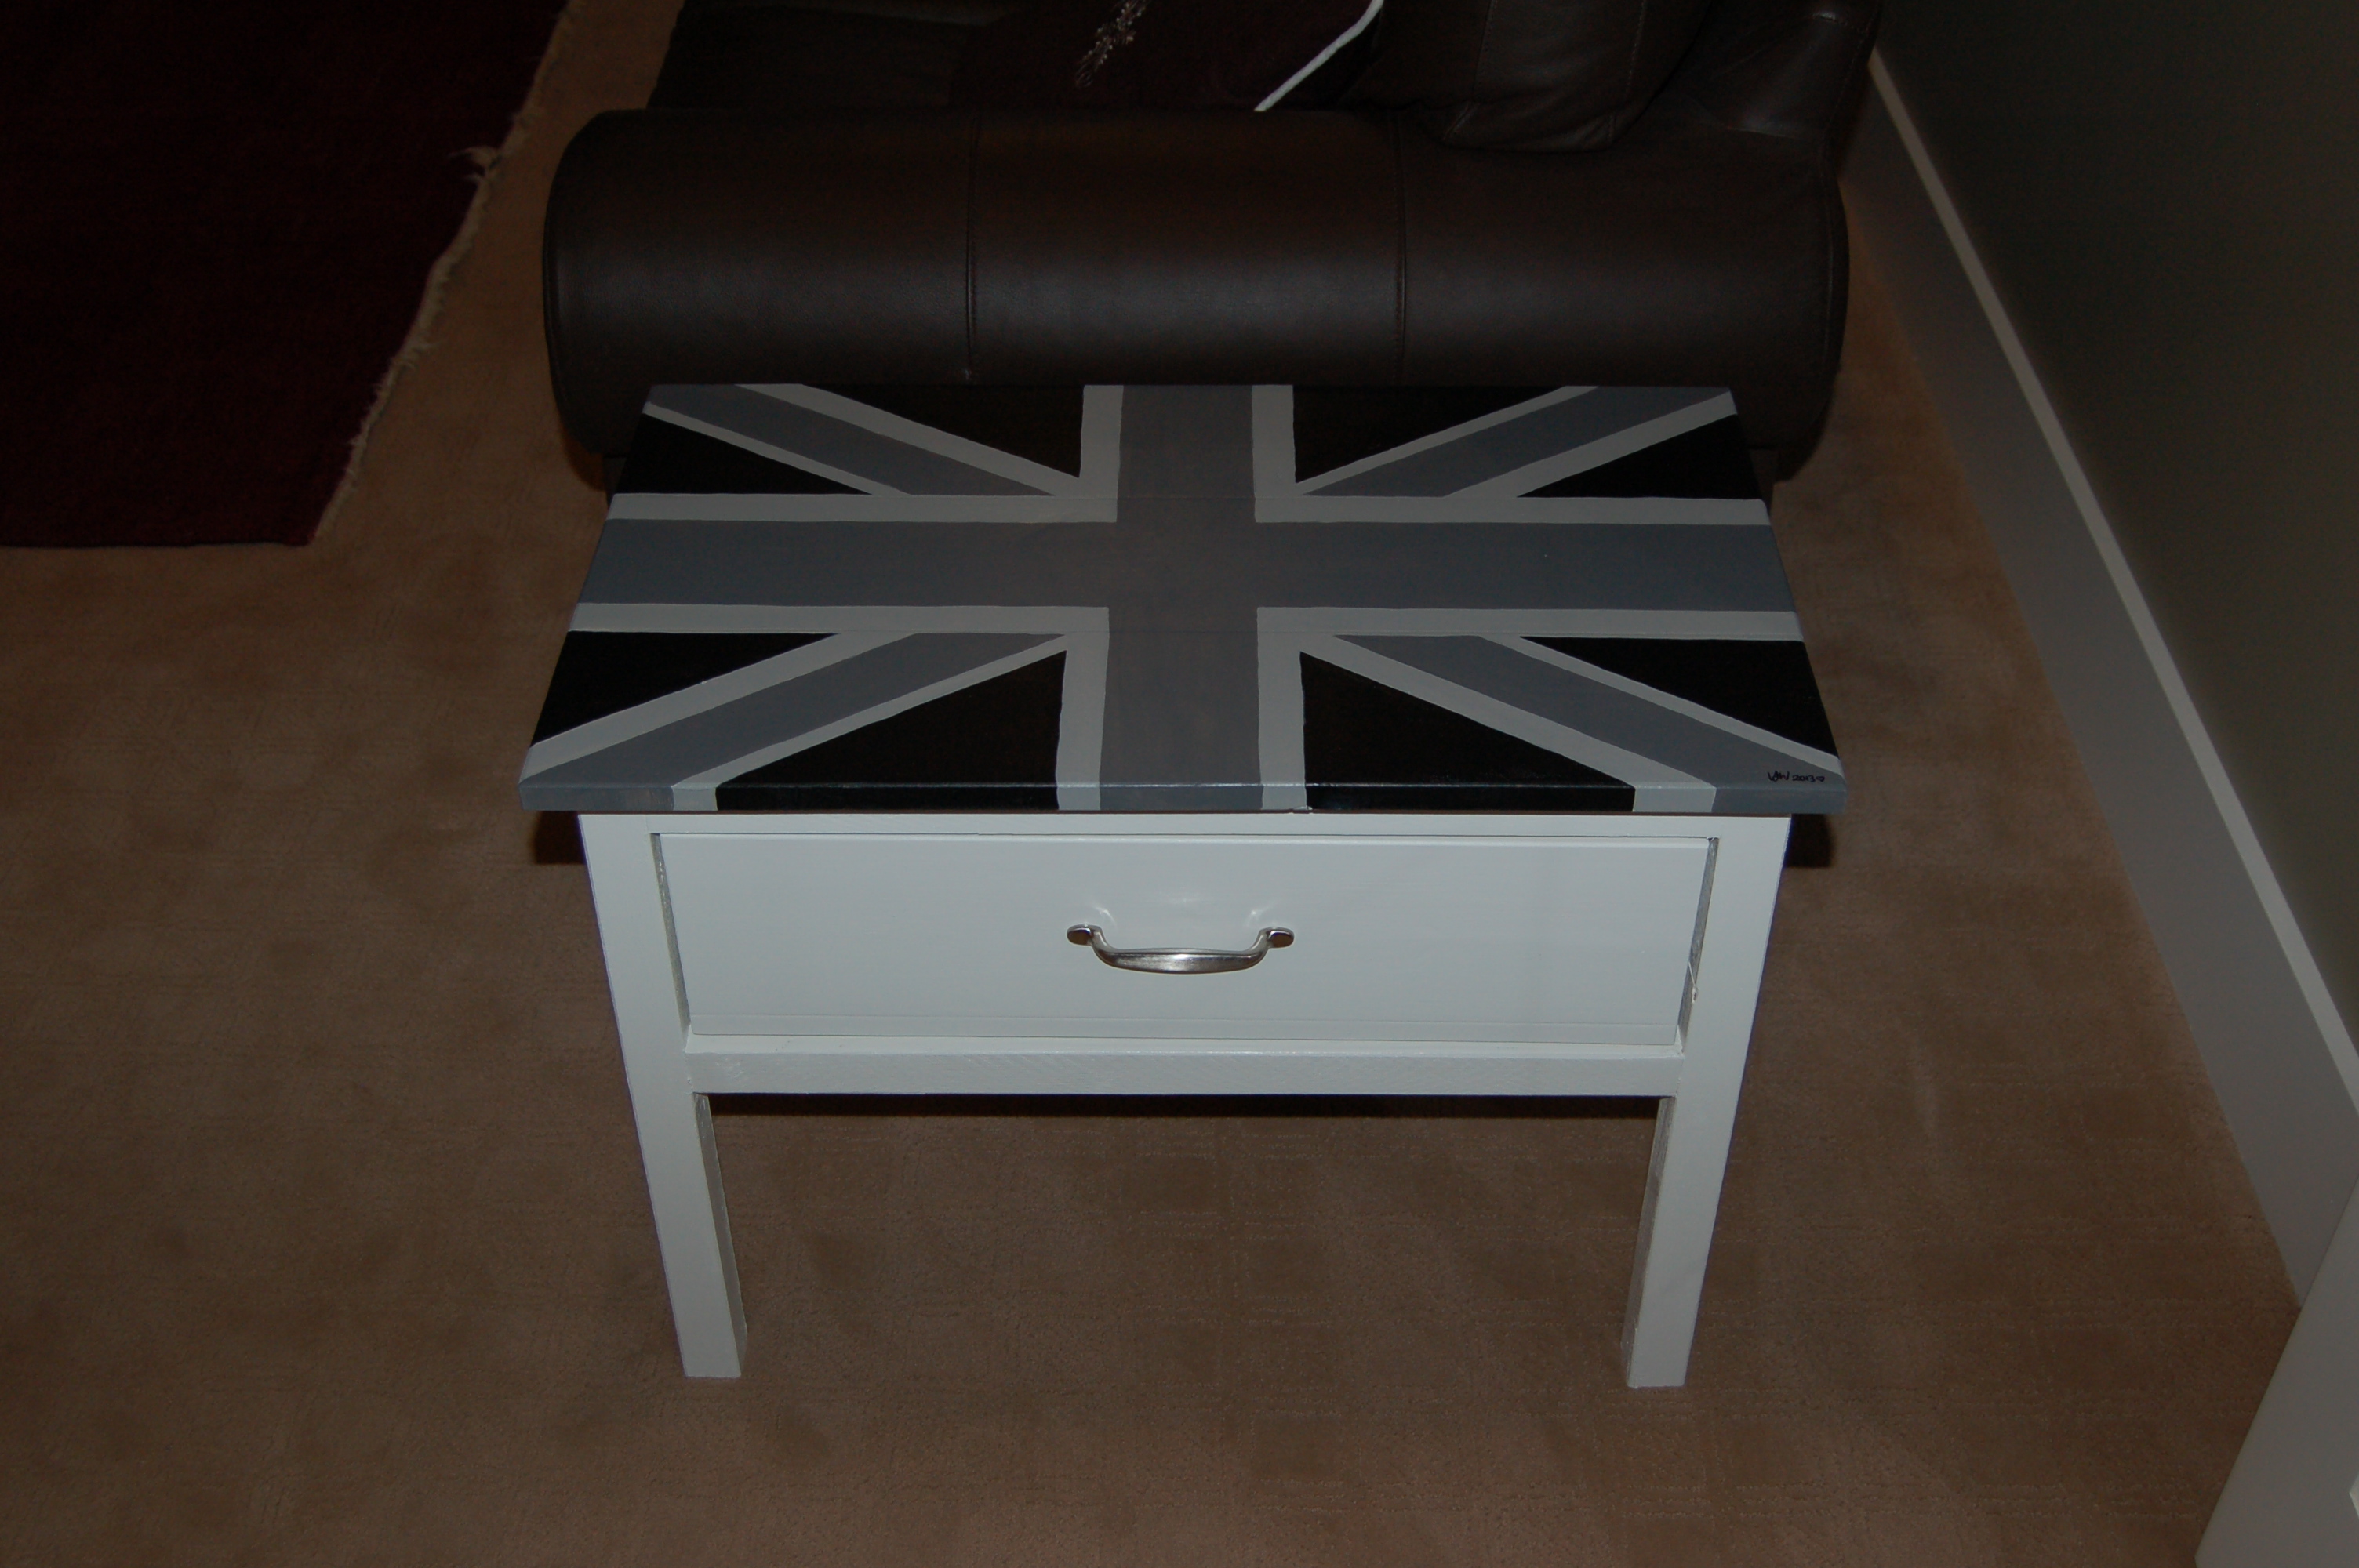
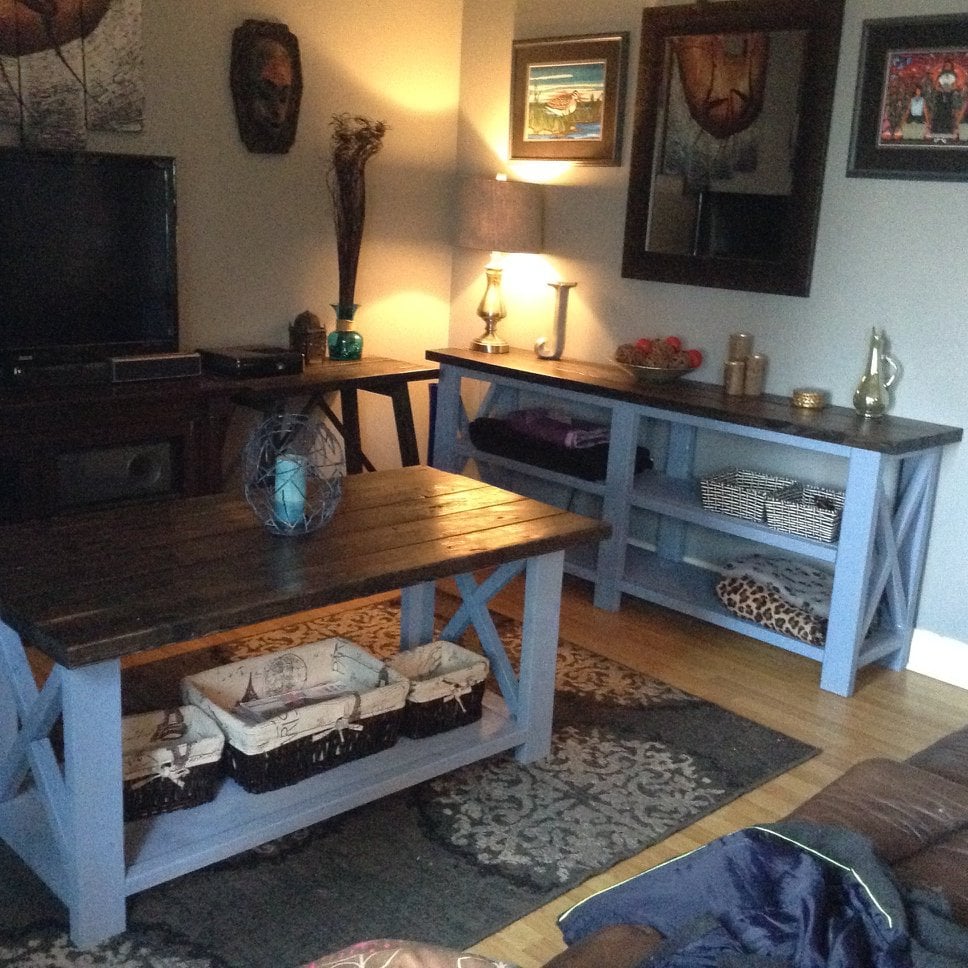
I used the Farmhouse Bedside Table plans as a starting point for this Christmas gift project for my husband. I removed 5" off the legs, omitted the shelf and doubled the width so that it would hold 30 DVDs in the drawer. I wanted something unique for his man cave and coming from England this seemed a great way of introducing our heritage without being overpowering in the room. Great project plan and easy to follow and only took a day to make including the painting time.
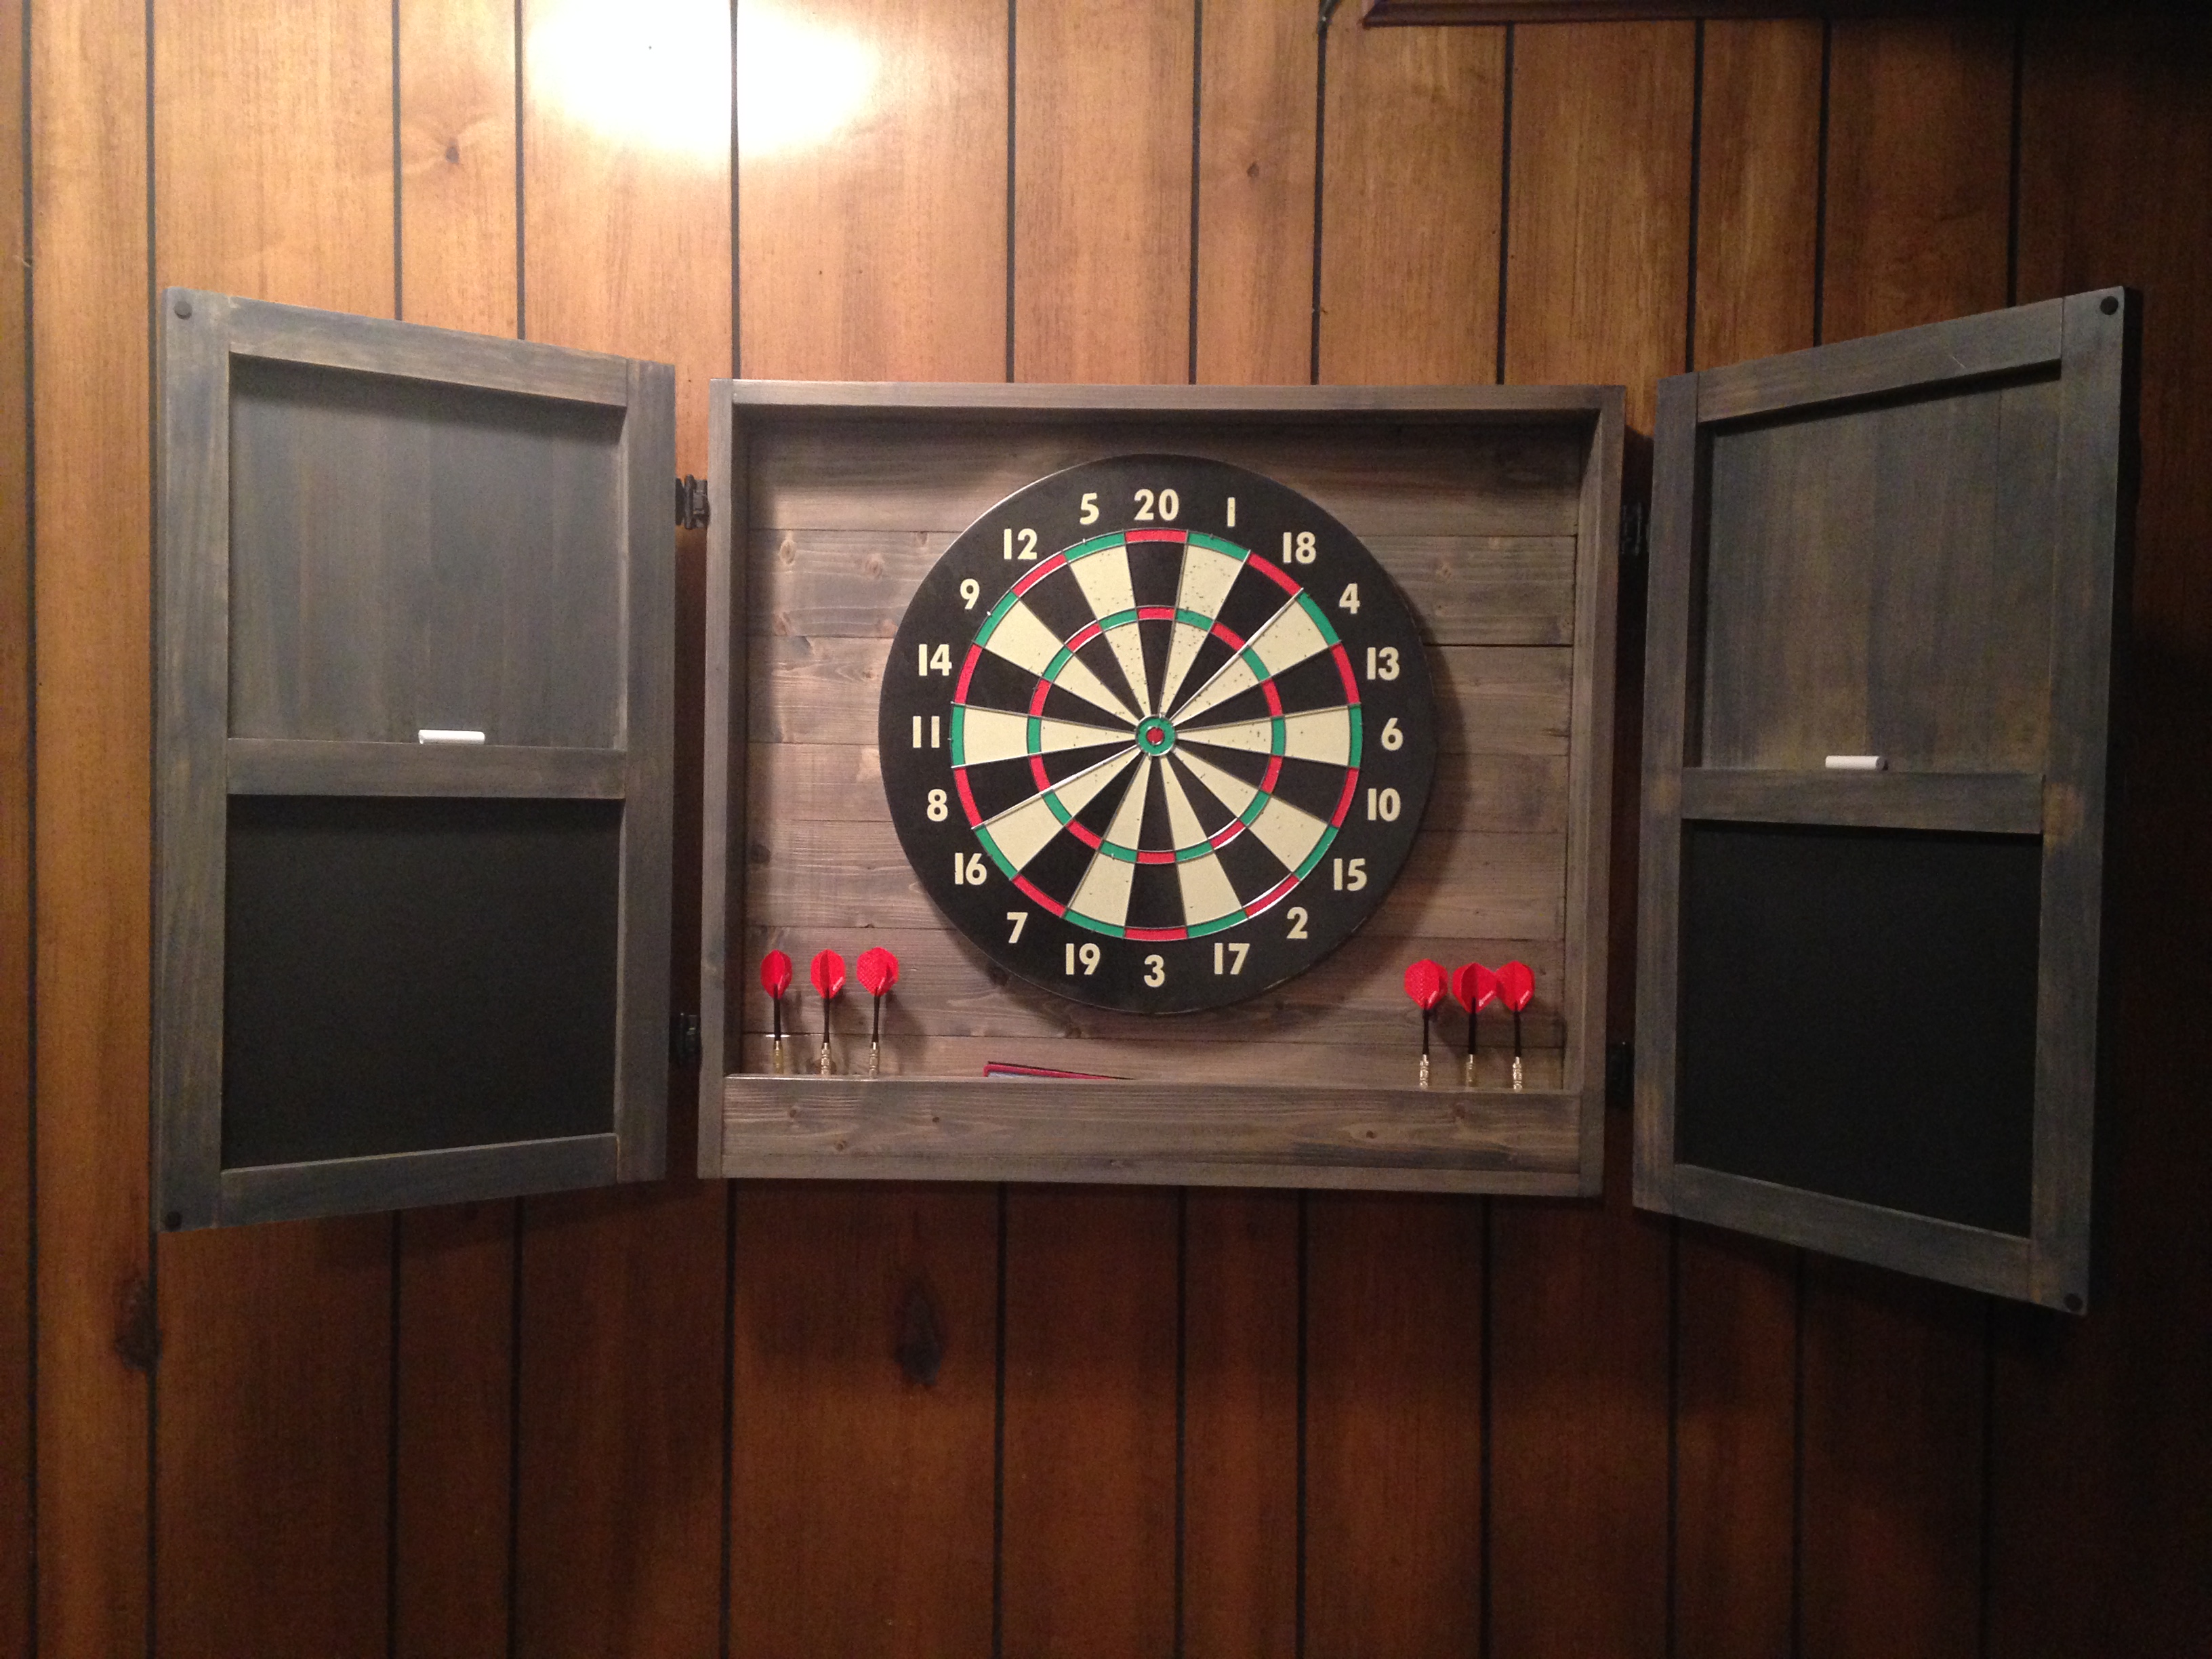
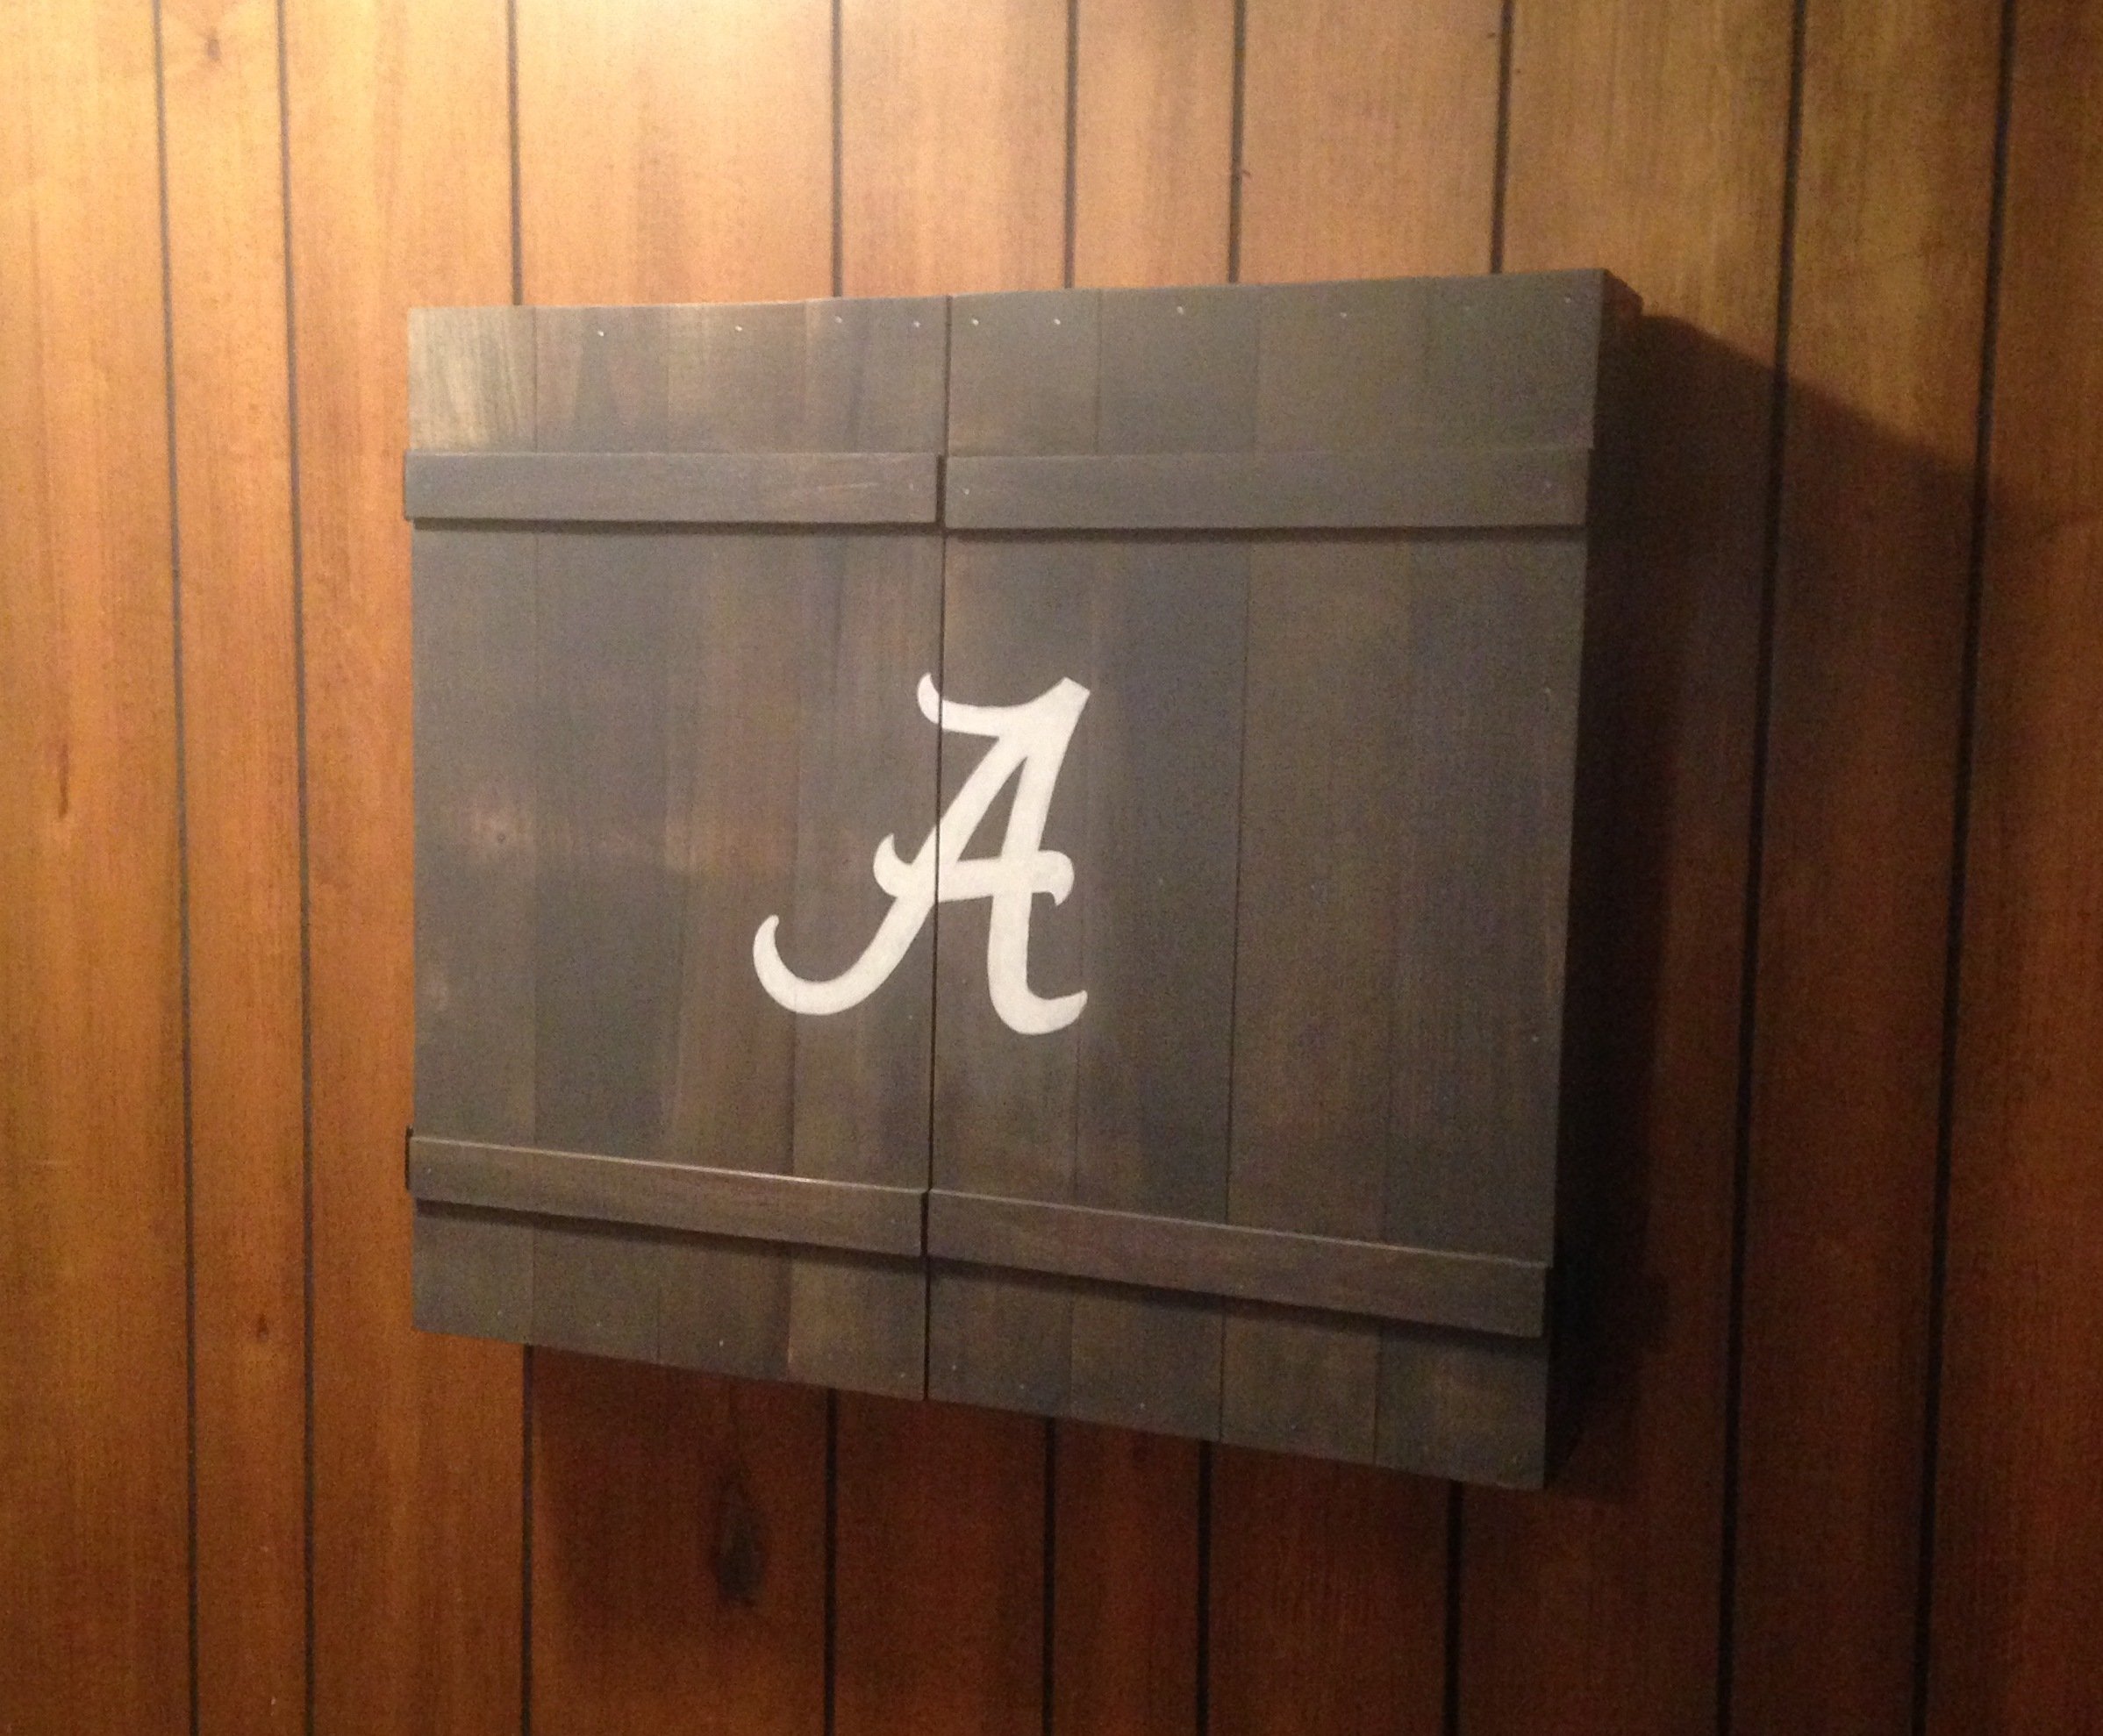
I had a big empty wall in my den/man cave, so I decided to build a dartboard cabinet instead of just hanging a dartboard on the wall. No plans for this, I just made it up as I went. Measured twice, sketched it out and cut as I went.
I use pine 1x4's for the frame and back. 1x3's for the accessory box, 1x2's for the door frame, and poplar strips for the doors and door braces. The darts are held by 6" long 2x2's with holes drilled.
Wood screws, finish nails, and small brads were used to hold everything together.
The chalkboards are simple MDF's cut and sprayed with chalkboard paint. Overlay hinges are used for the doors, and the dartbord is held on with screws from the back so it can be replaced when needed.
The Alabama A is hand-painted.
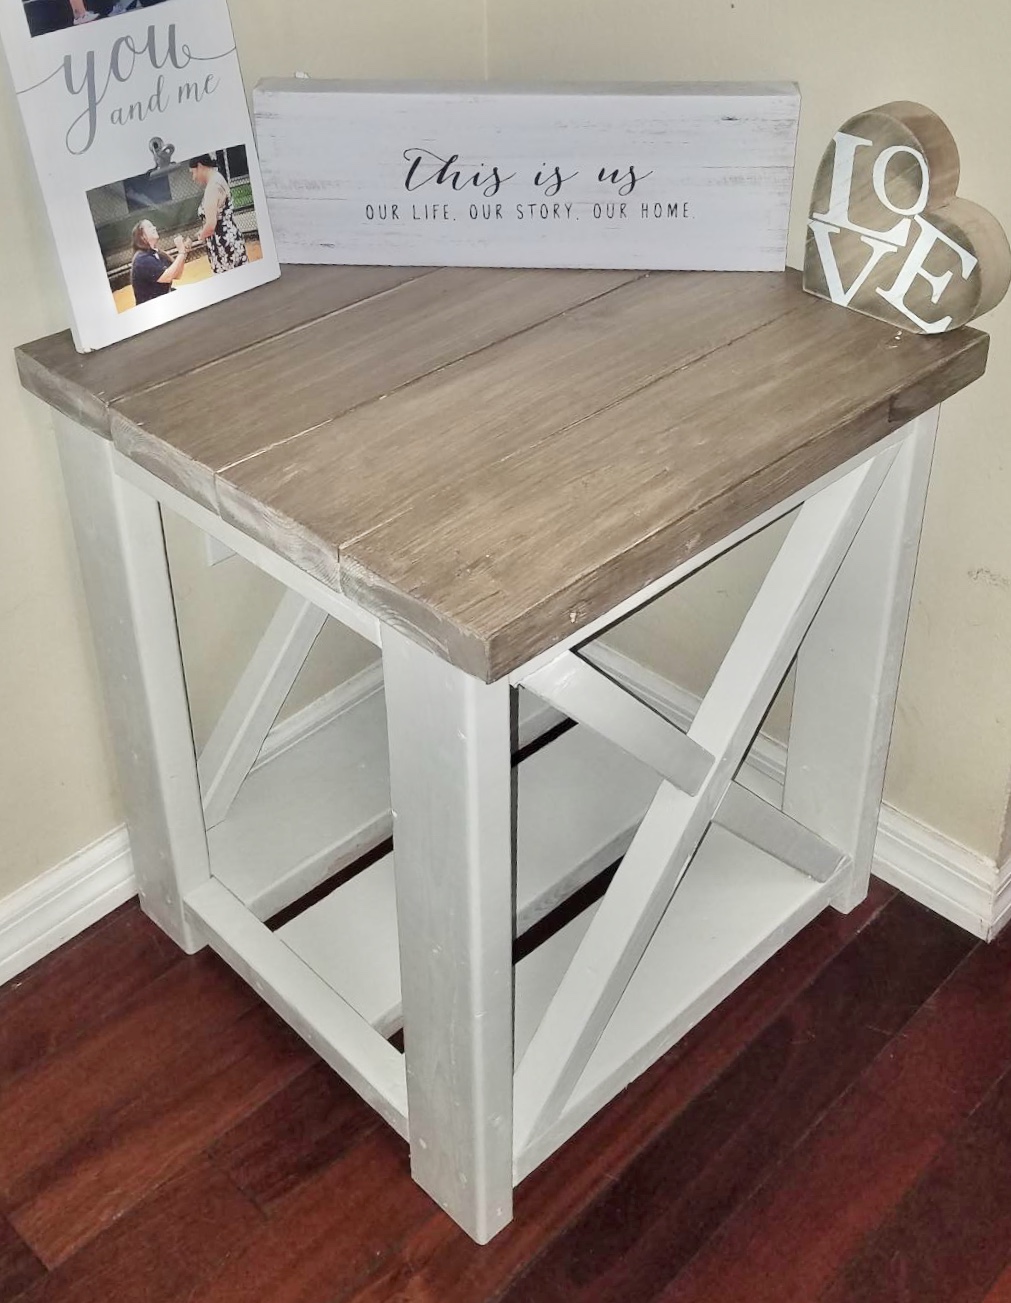
Made exactly as according to Ana Whites plans. Easy to build and very pretty once completed
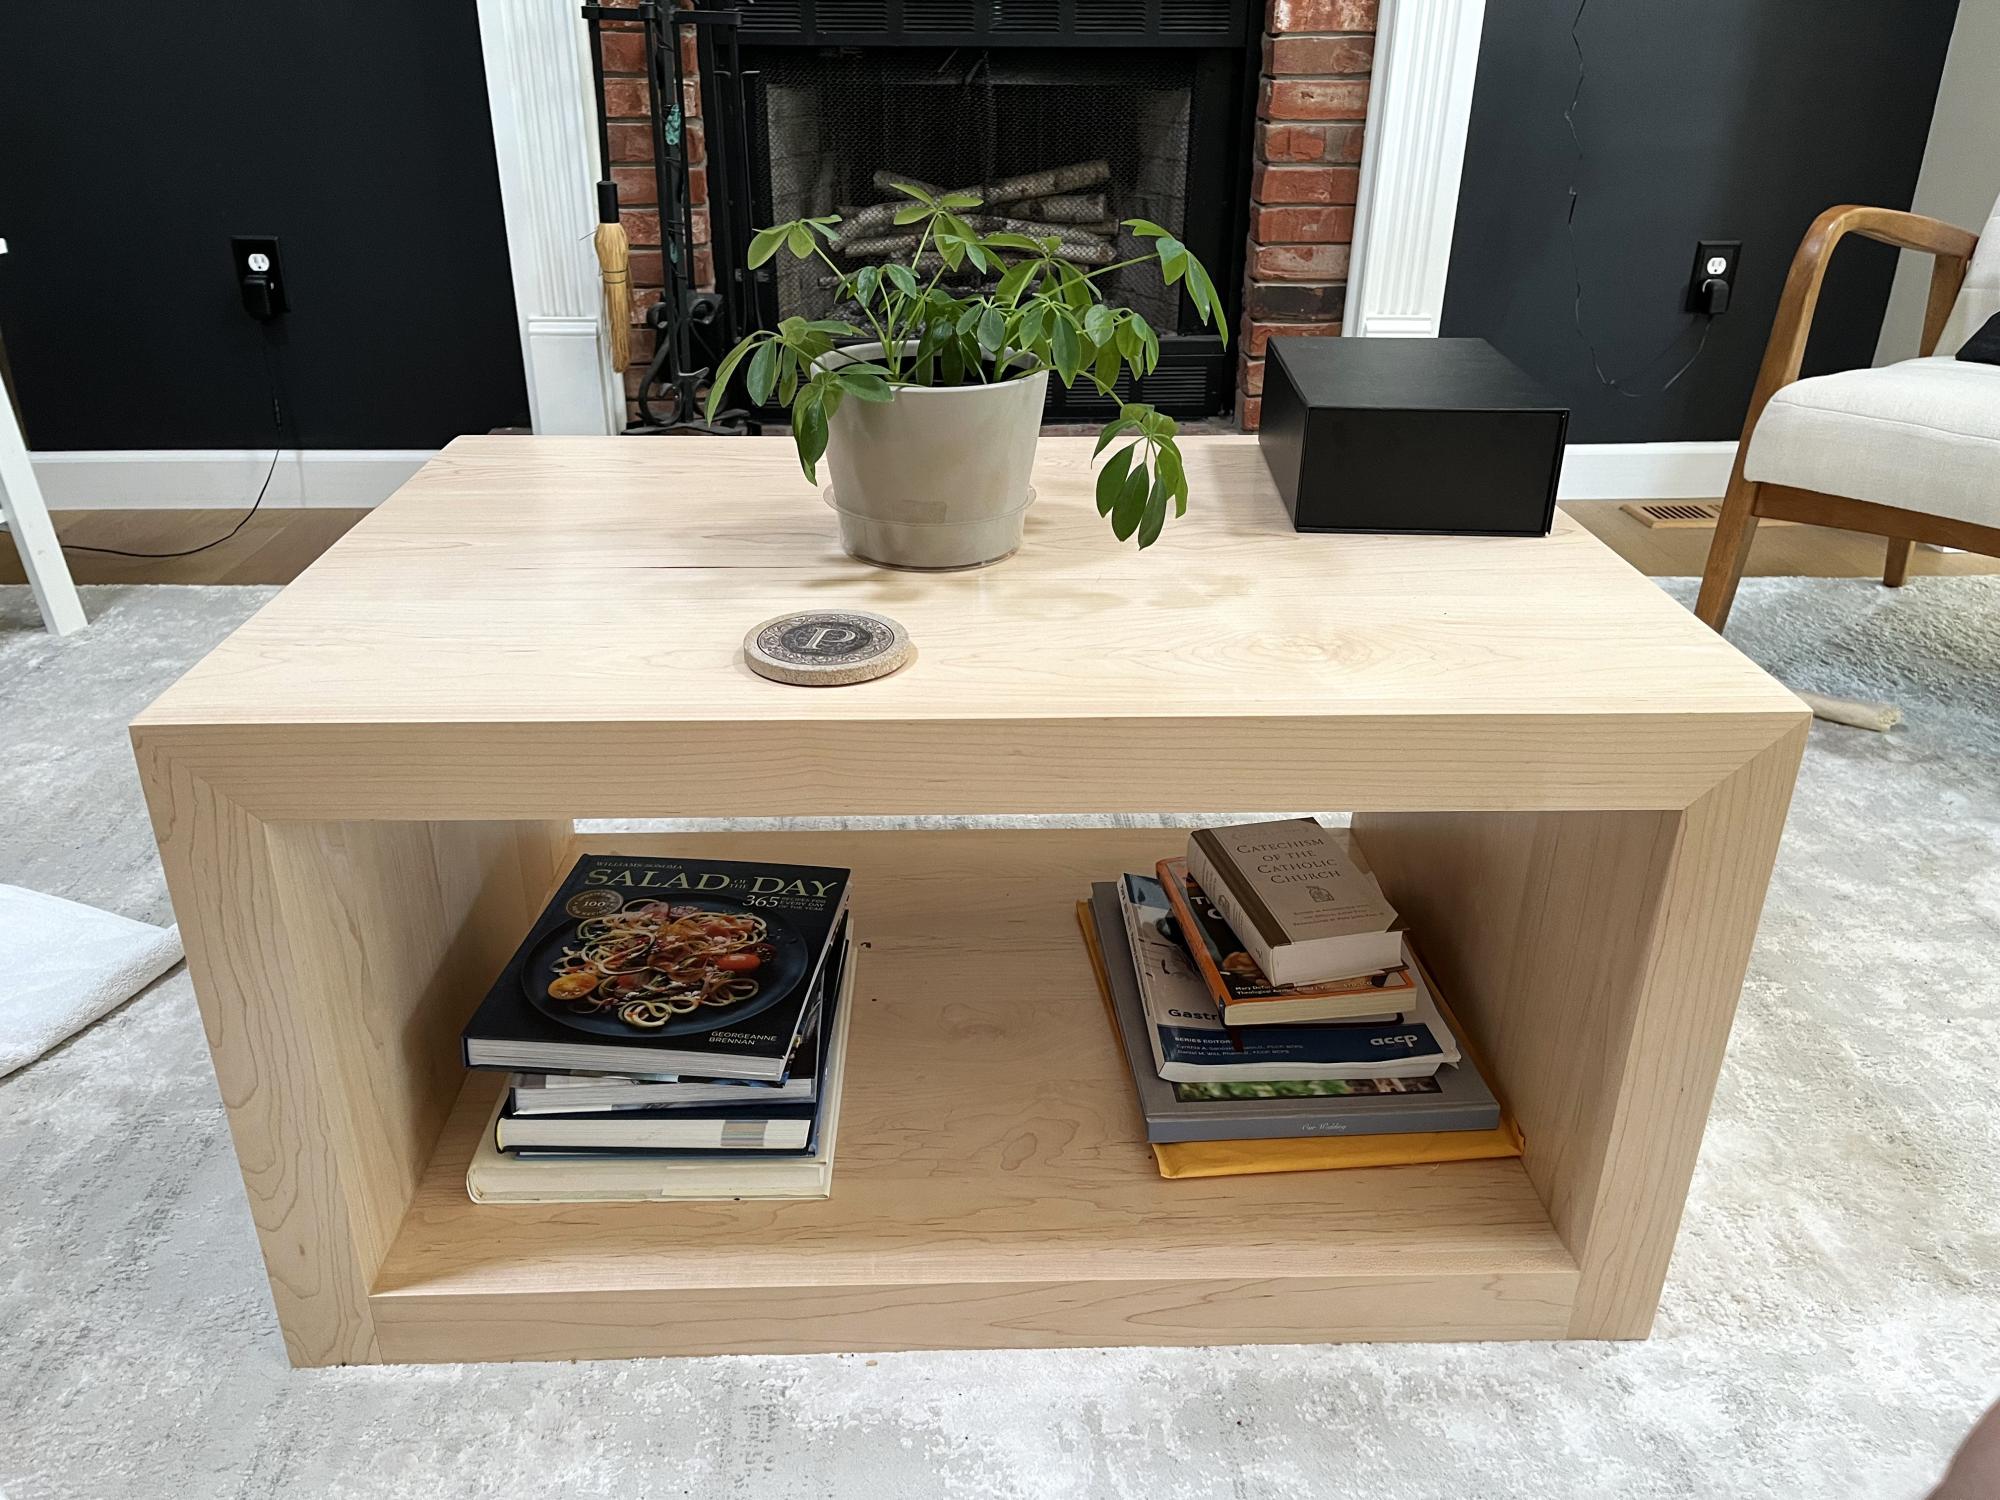
Hard maple waterfall coffee table.
Scott
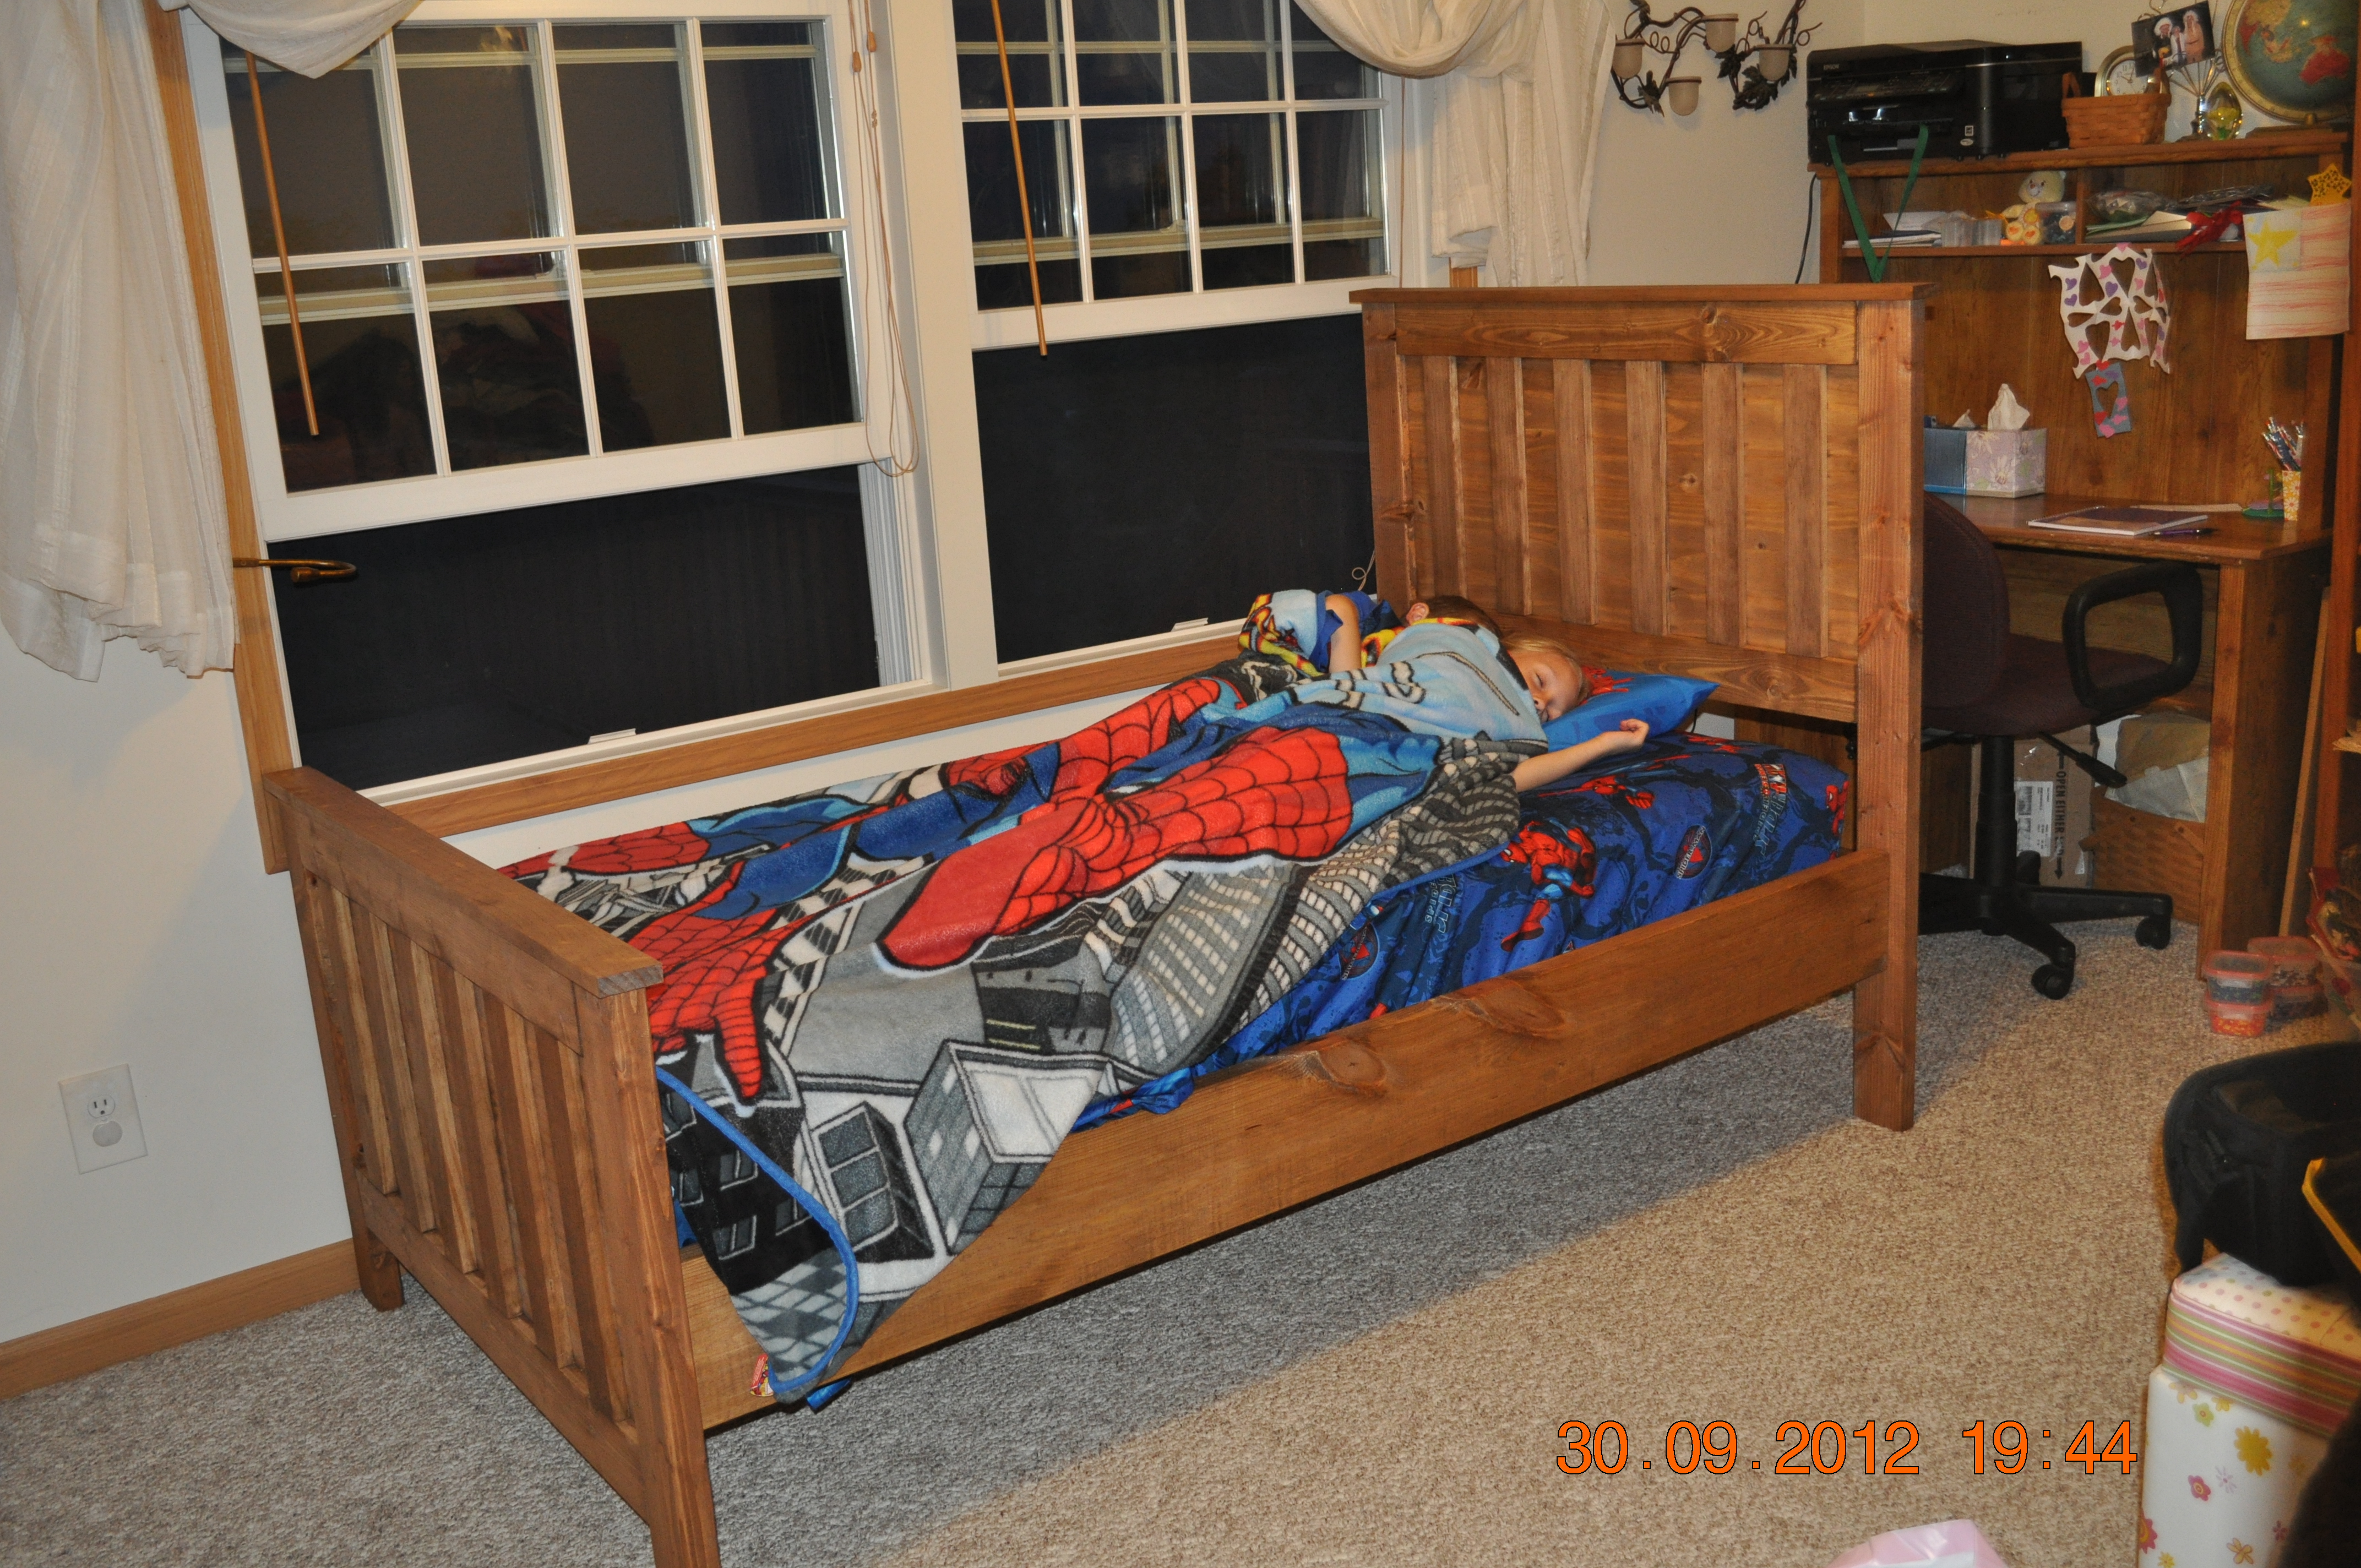
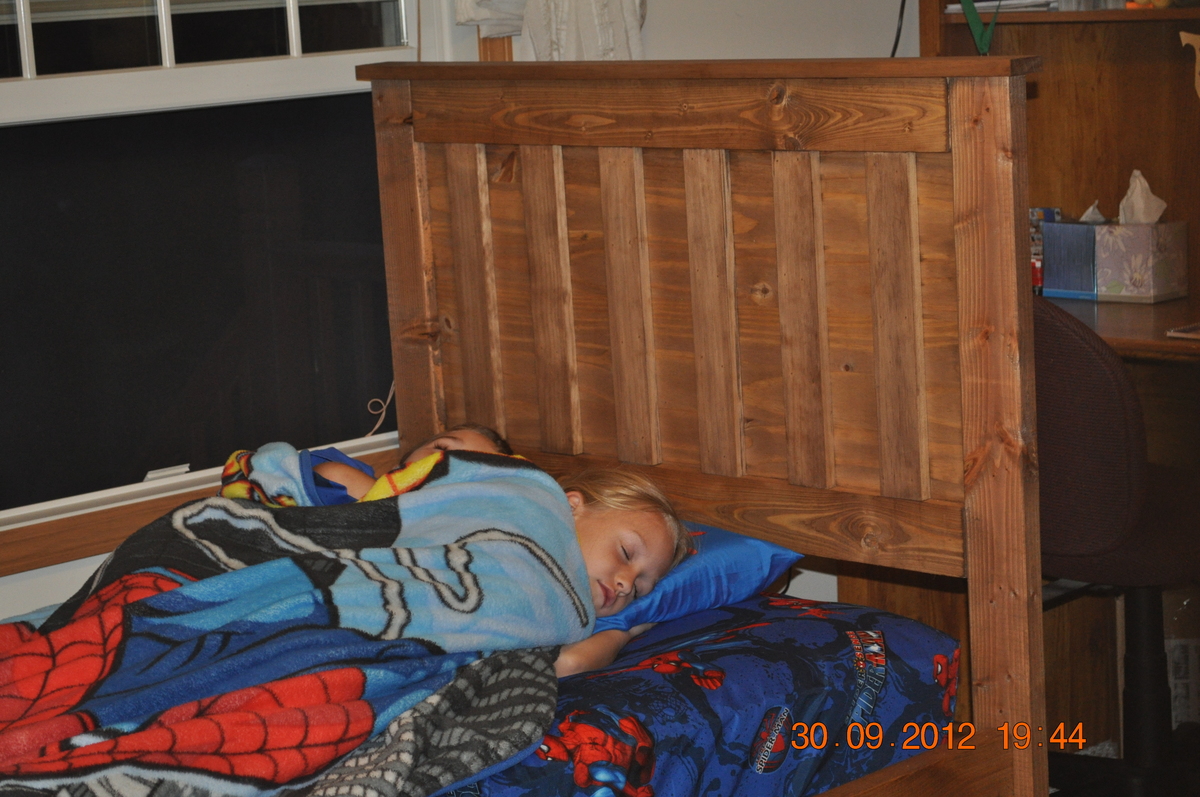
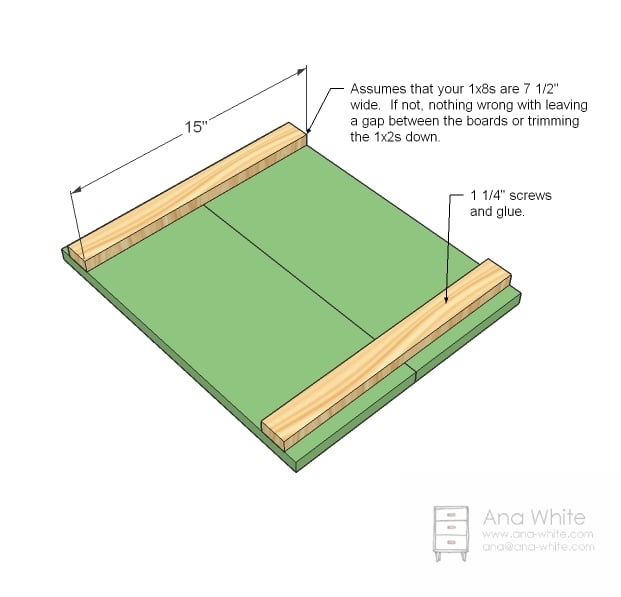
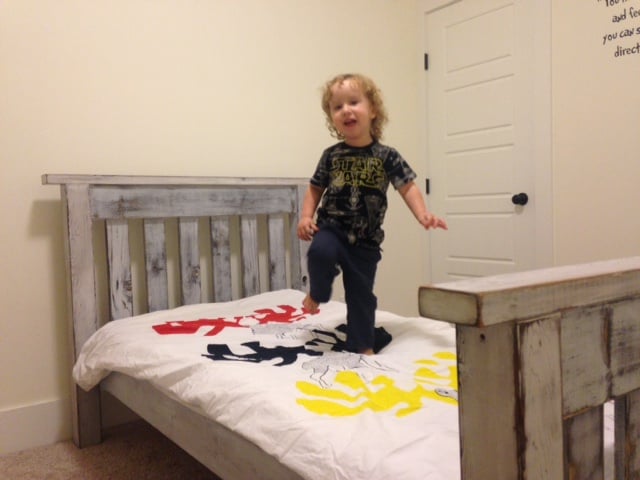
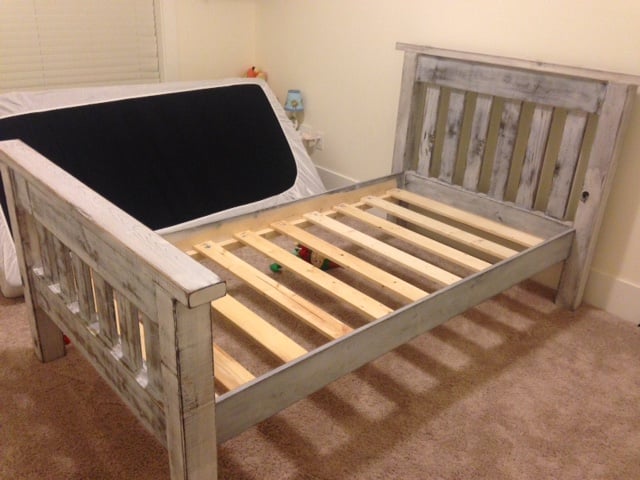
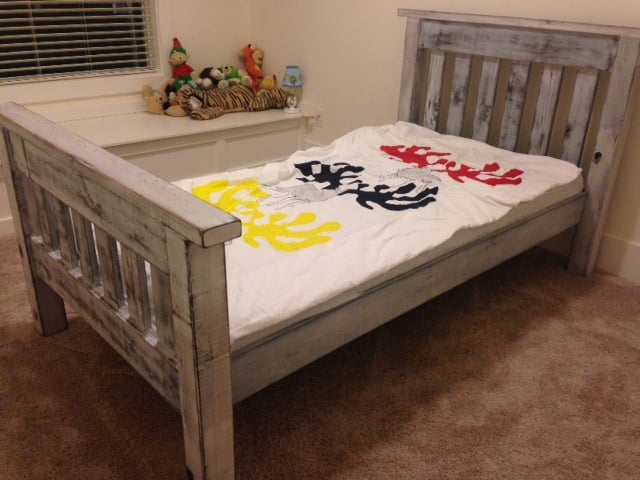
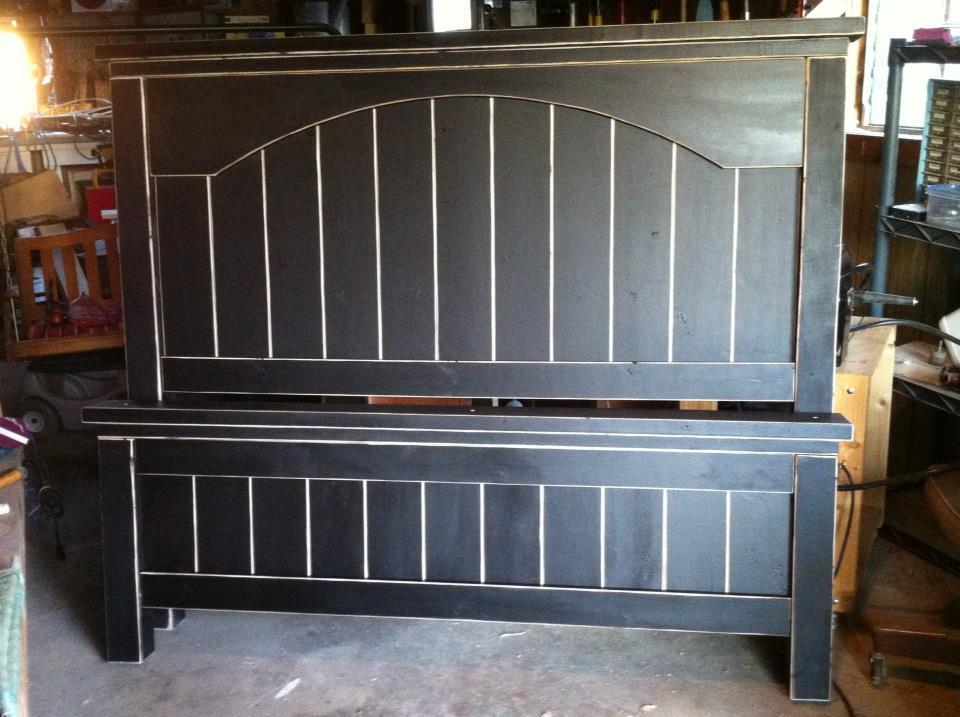
After searching for the perfect bed (quality bed) that didn't cost a fortune and after discovering Ana's site a while back I got the nerve to try to build my sons bed! My husband help me cut the large pieces and figure out how to use a Kreg Jig.It was really easy and fun!!! Thanks for the plans and the inspiration!
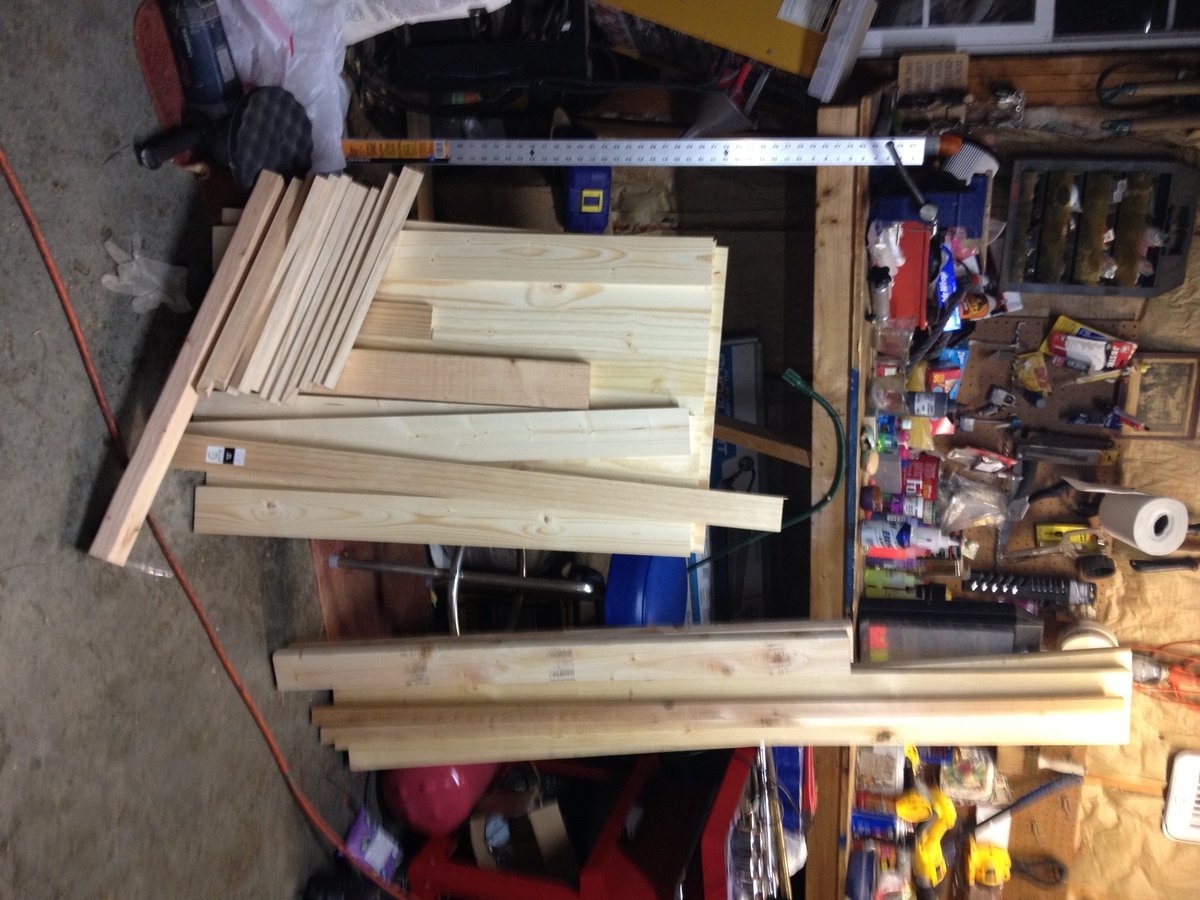
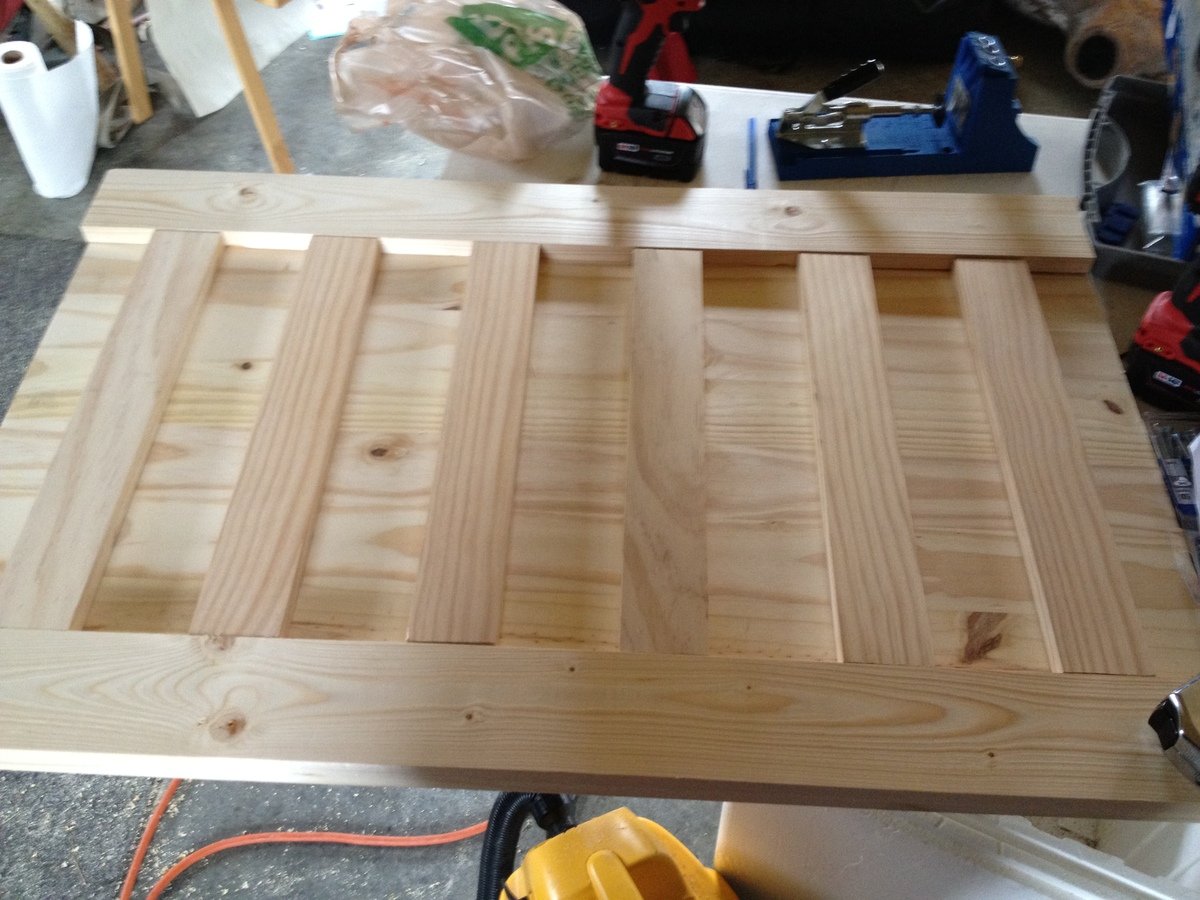
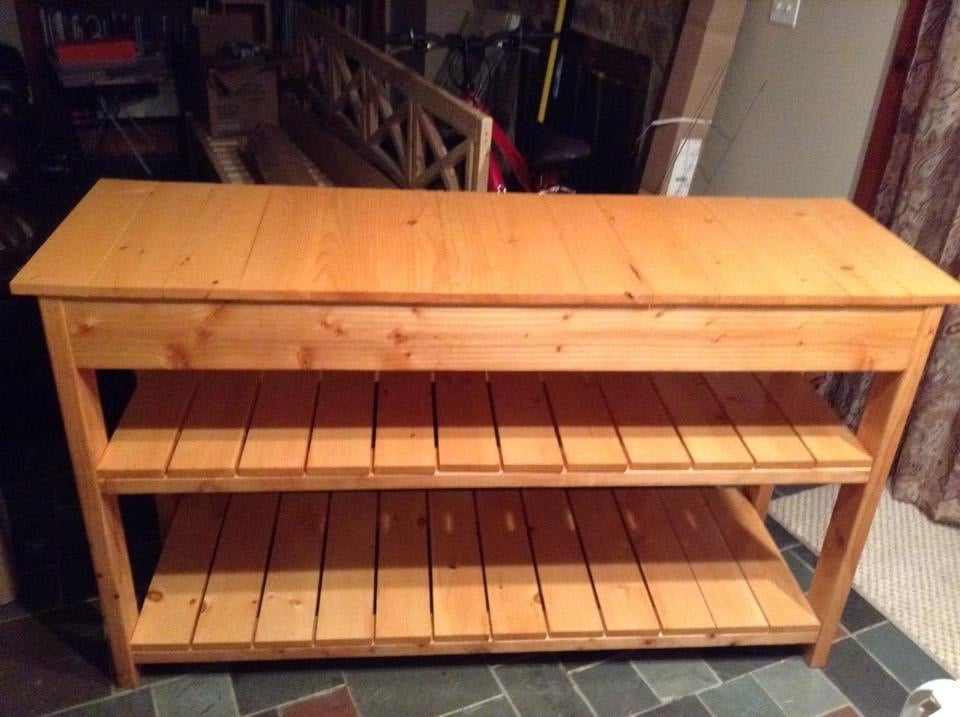
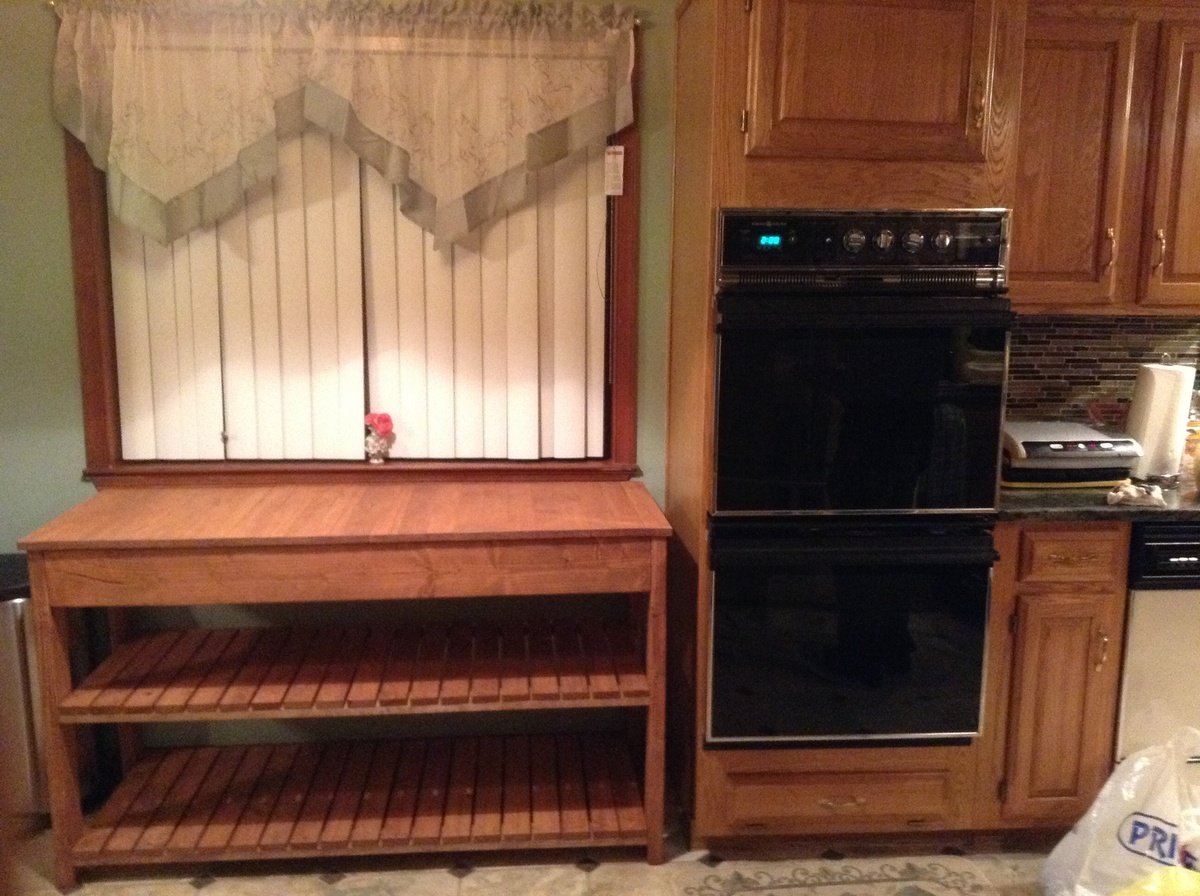
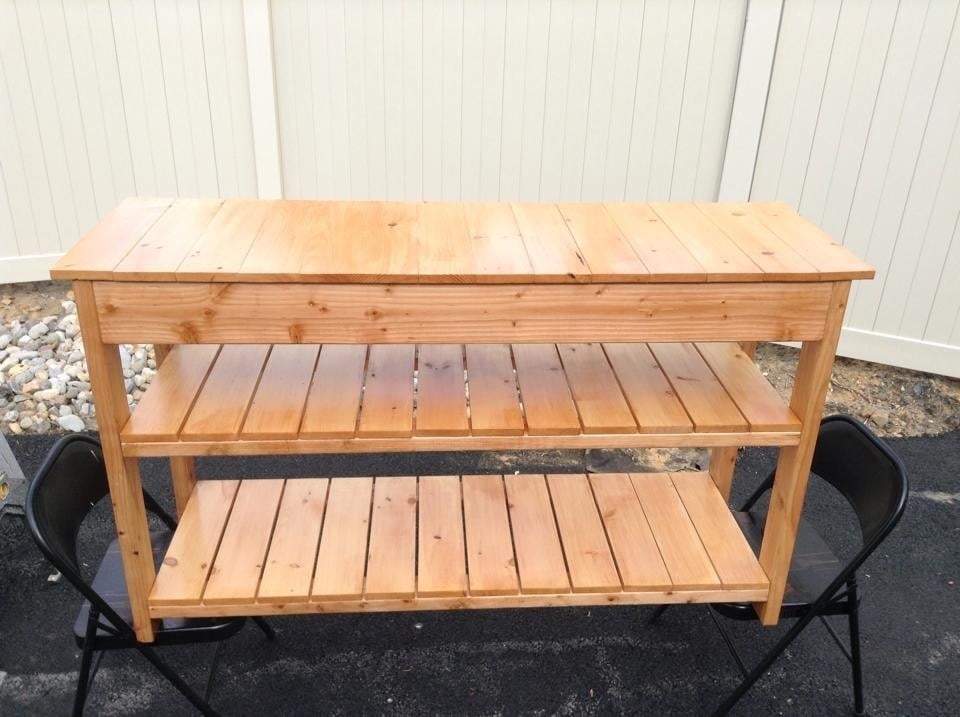
I built the cherry stained easy kitchen island for my own kitchen... After friends and family looked at it, my daughter' smother (of course my ex) asked if I could buiild her one... we love both of our "islands" even though we both have them along walls in our homes... I added a second shelf for extra storage but it's great for what I call a grocery drop off point... Very sturdy and they both compliment our kitchens... I don't have a picture of it in her home (both of these were in my home on different floors of the house) but she says it matches well with her oak cabinets... Hope you like them :)
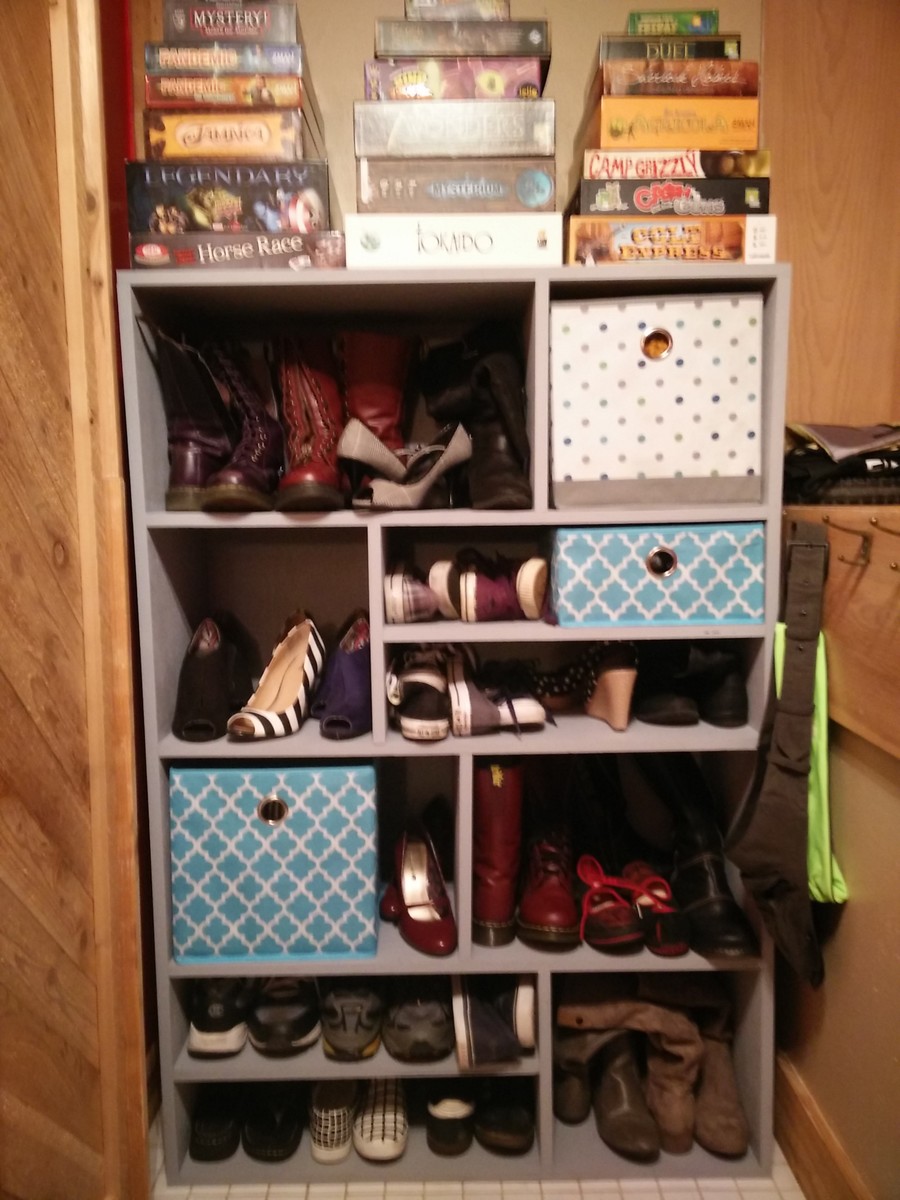
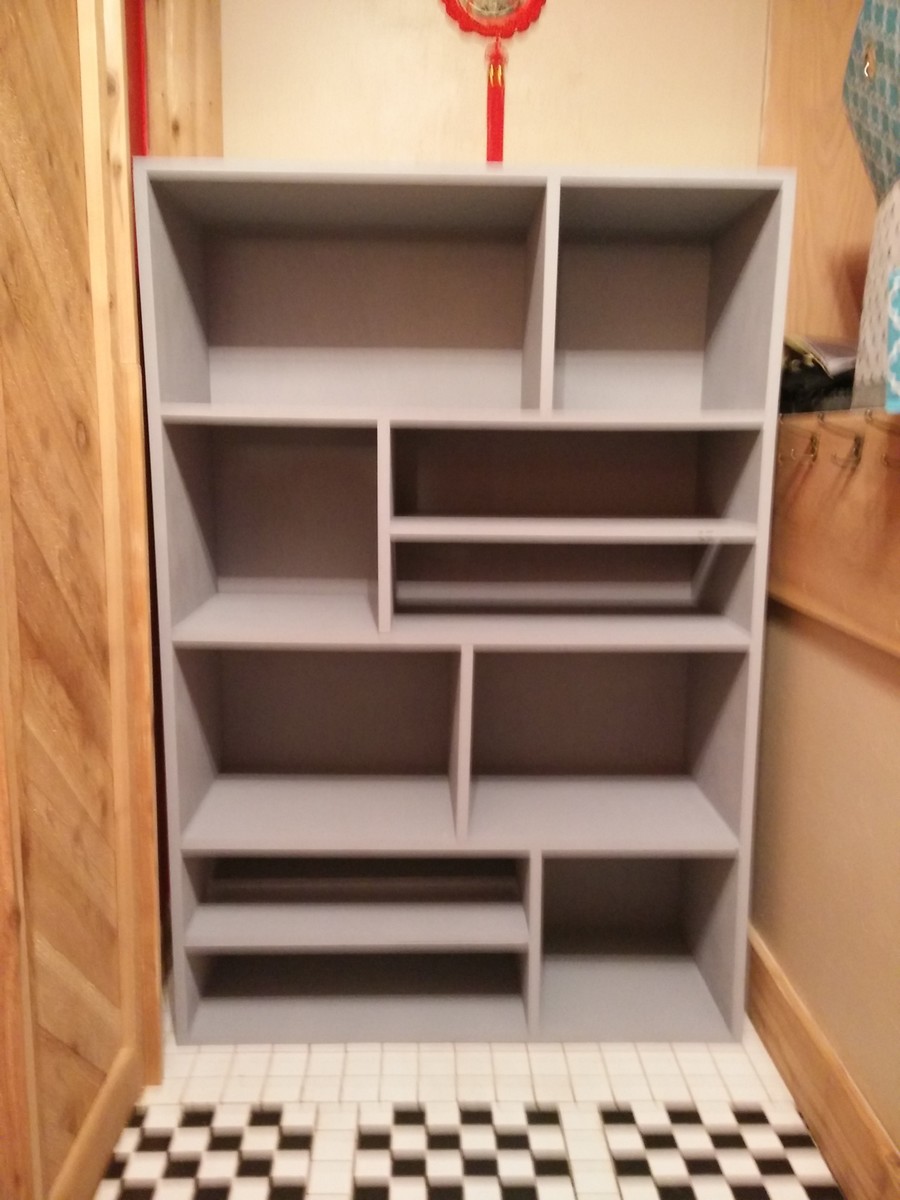
My dad helped me build this. I wanted to make one out of crates similar to another post but we decided on plywood and my dad wanted to play with the portable saw he bought me. We customized it for my space and didn't use any plans. I think it turned out nicely though I may need another for all my other shoes!

Simple and easy

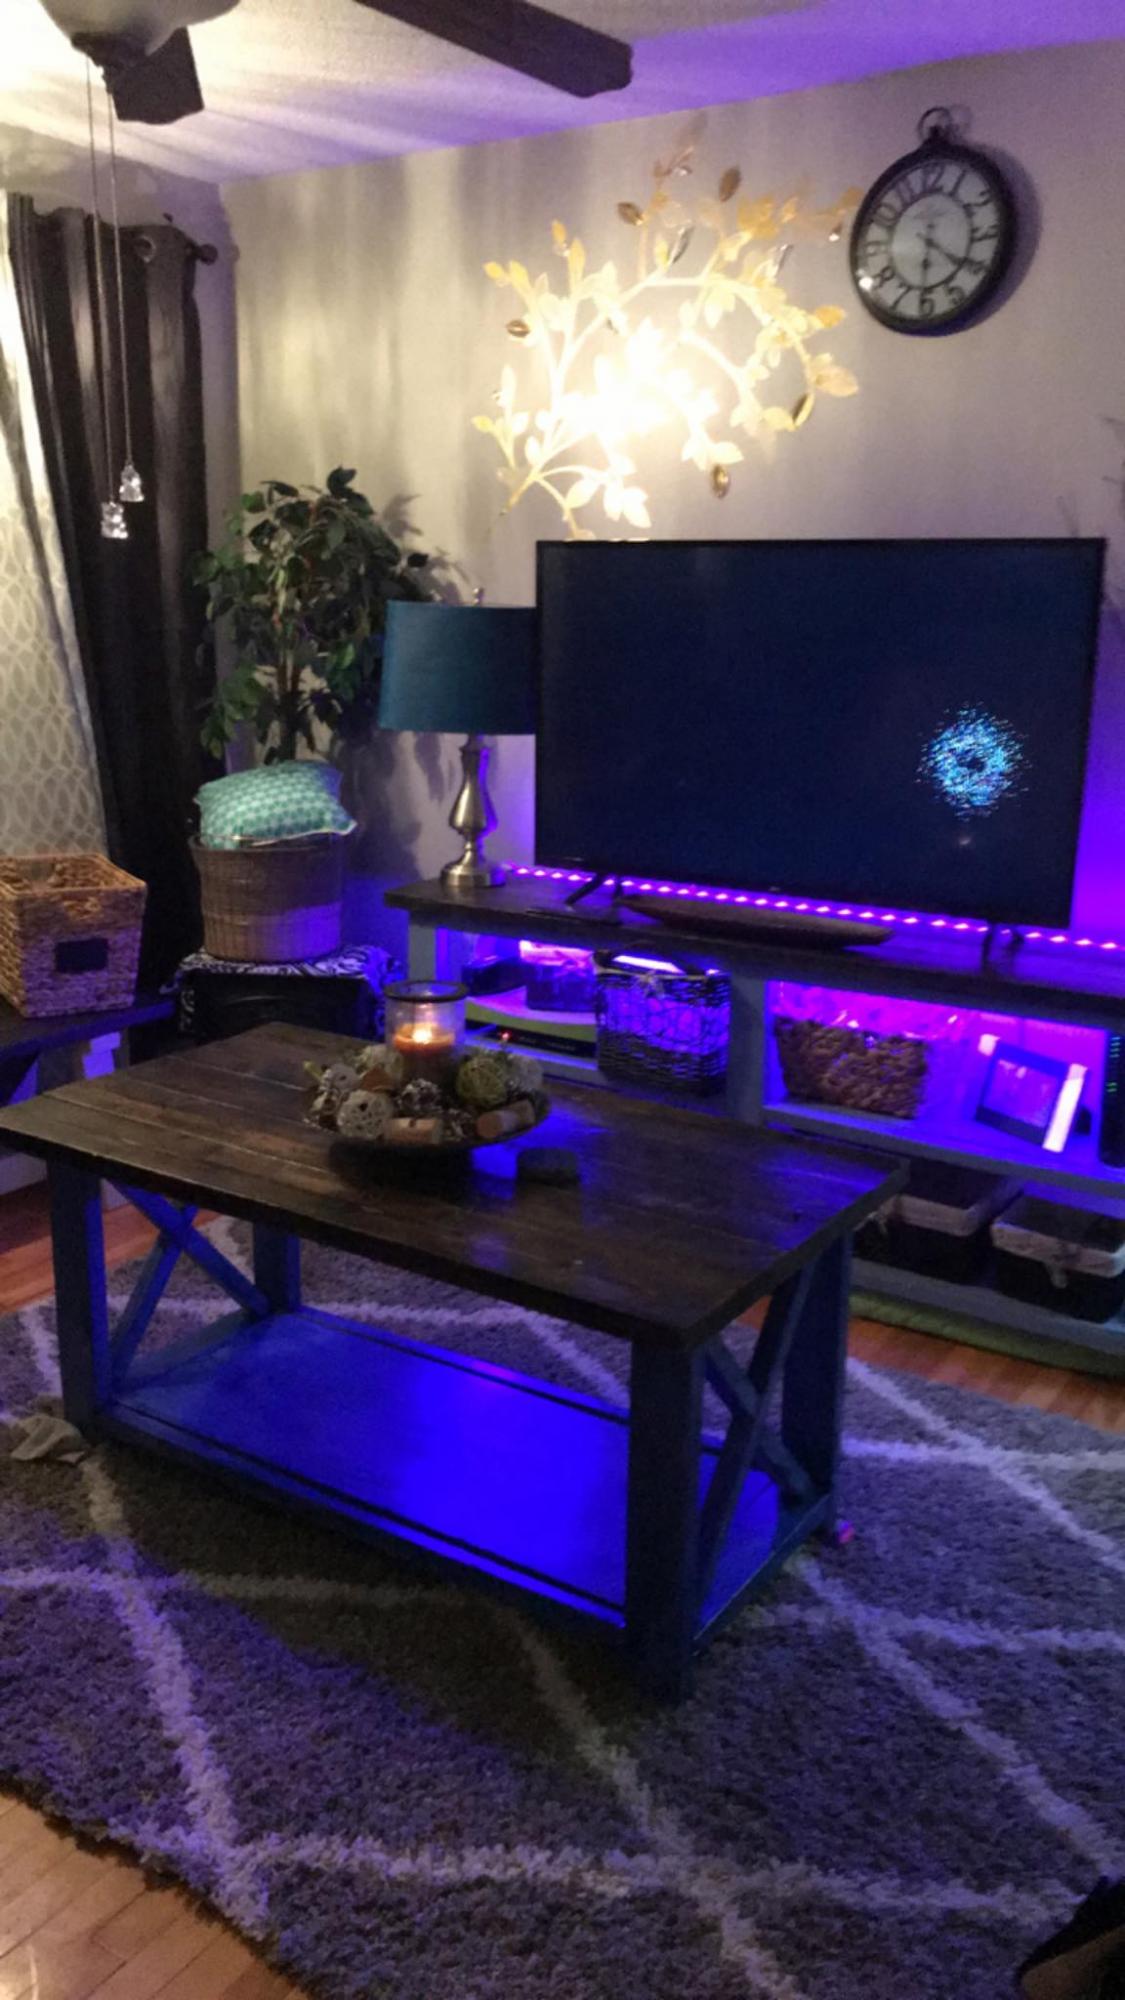
I wanted to make a table for our daughters birthday to put a spread of food on.
I went out in search for pallets and threw a quick sketch together and brought it to life.
Currently it is my computer table, but only for the next week then on to it's purpose.
Start to finish took 3 days
Fri, 10/05/2012 - 10:17
How many coats of the Polyurethane did you use? I just finished with my first build. I have painted, stained, and put 2 coats of the Polyurethane on it. The table is still very ruff and it just overall doesnt feel finished. Im not sure what I should do...
In reply to Finish? by jamielynntaylor06
Wed, 06/05/2013 - 18:35
So I forgot I had my account. My advice might be a little late but we used 3 coats on that table. We normally go through the grits prior to starting the staining process. 150...220...300 after every coat do a very light hand sanding till it is smooth but try and avoid putting too much pressure. Then give it a wipe down with a damp cloth and let dry before applying next coat. 3 is a good amount of coats for something indoors like this one. Again so sorry I did not get back sooner. I use pinterest more for putting up my project images.

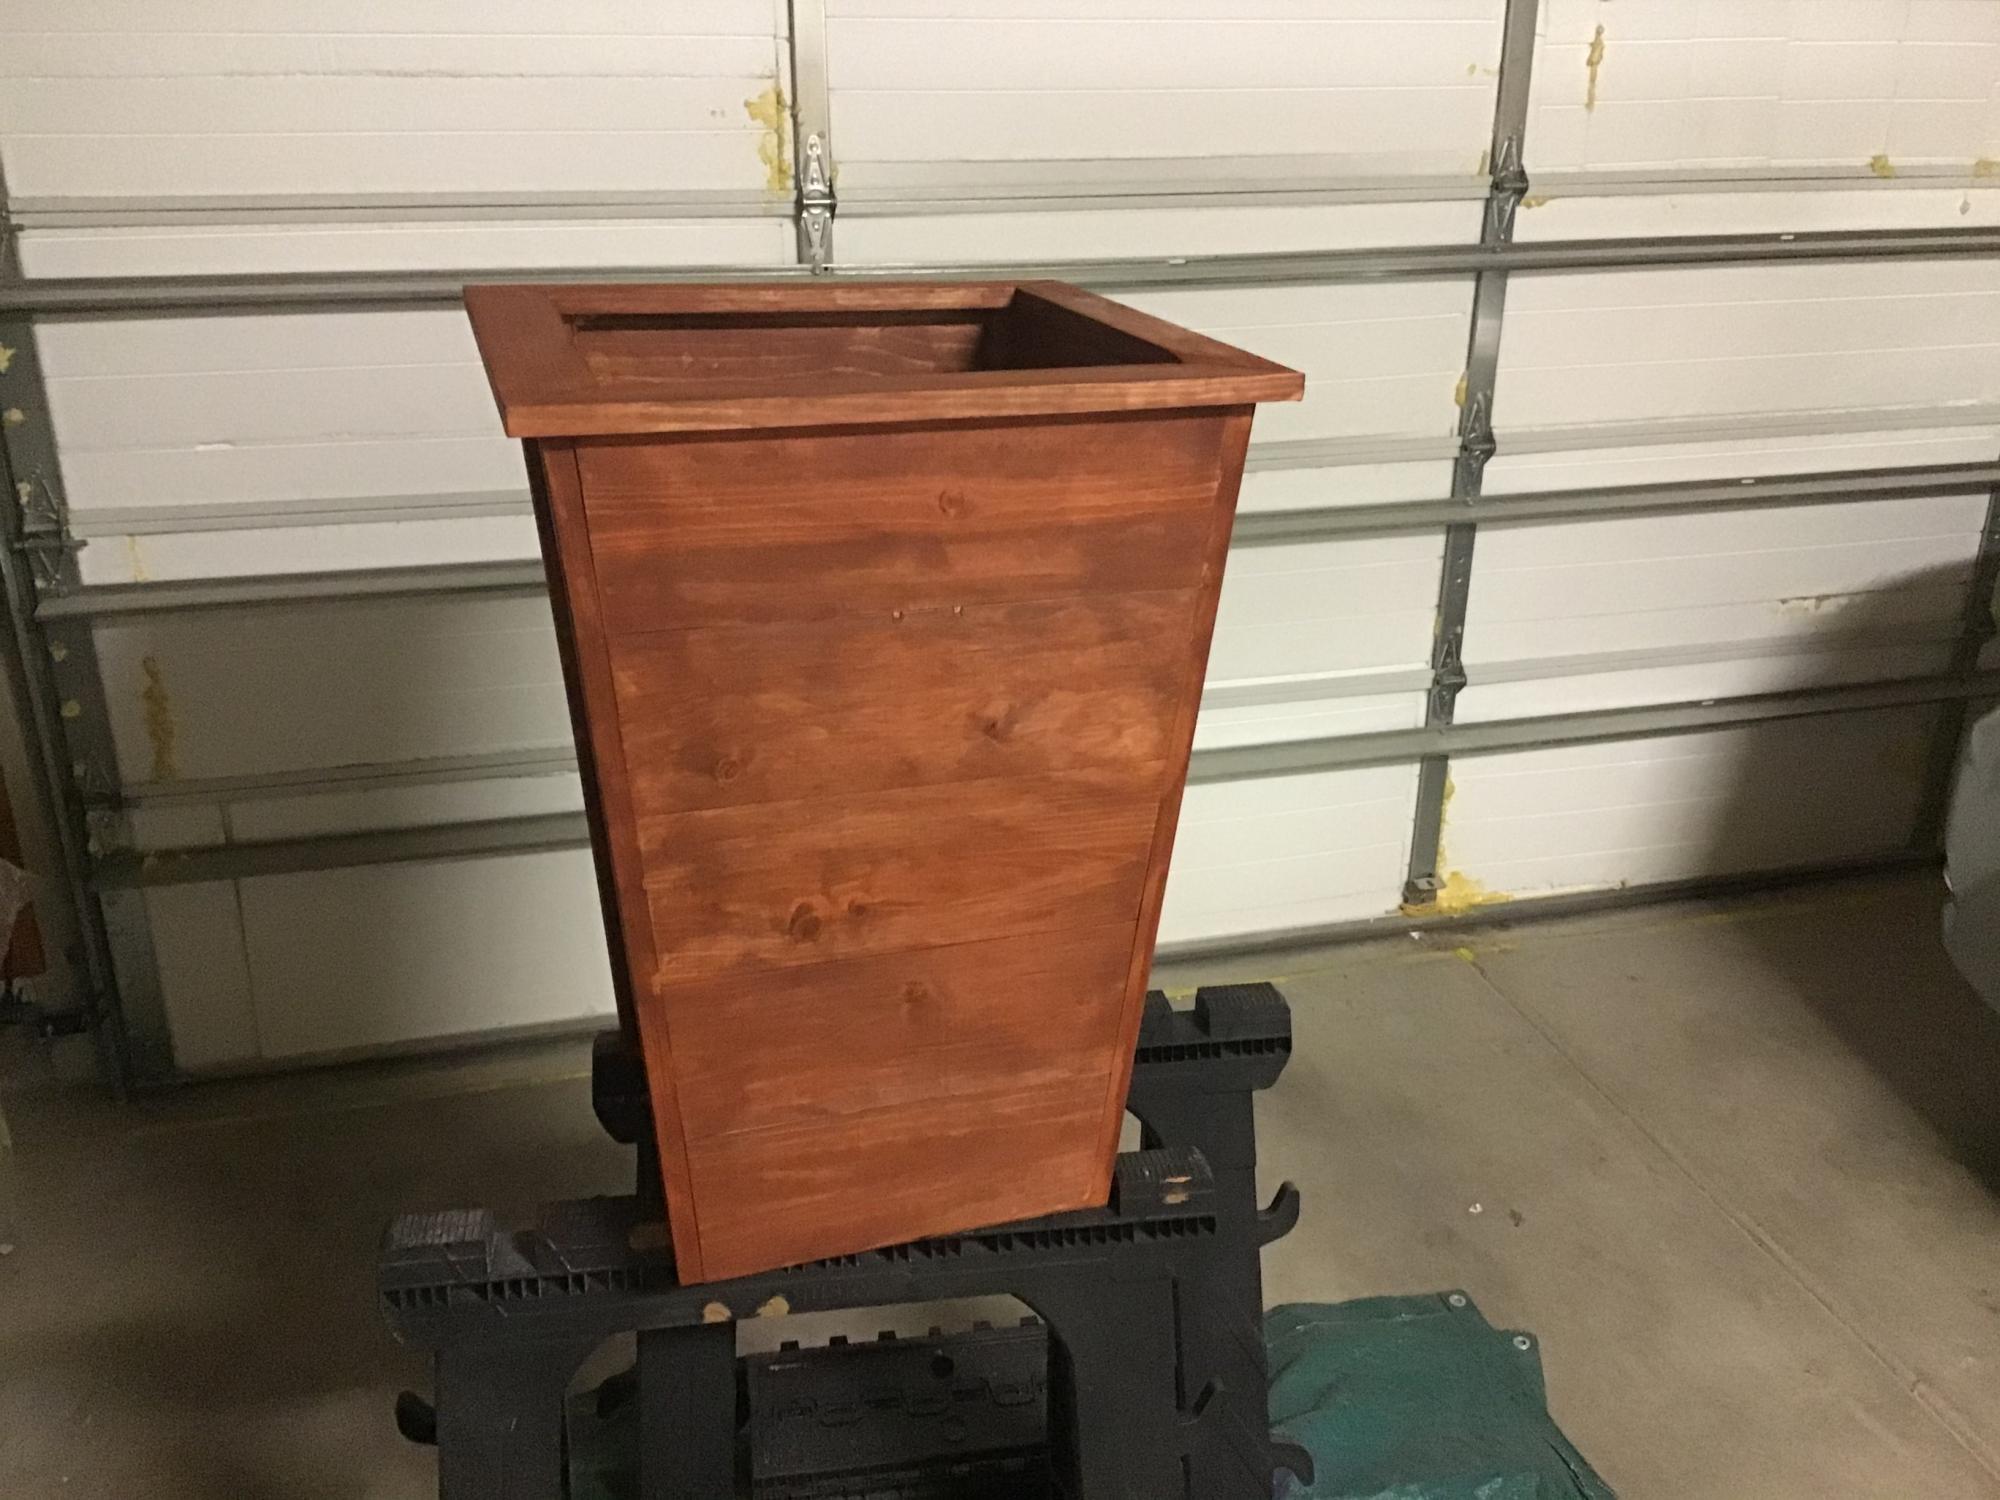
Could not find cedar fence pickets that did not have dog ears. Used 1”x6”s instead. That also helped with strength. Followed your directions and then added a top “shelf” and stained the planter. Lots of fun.
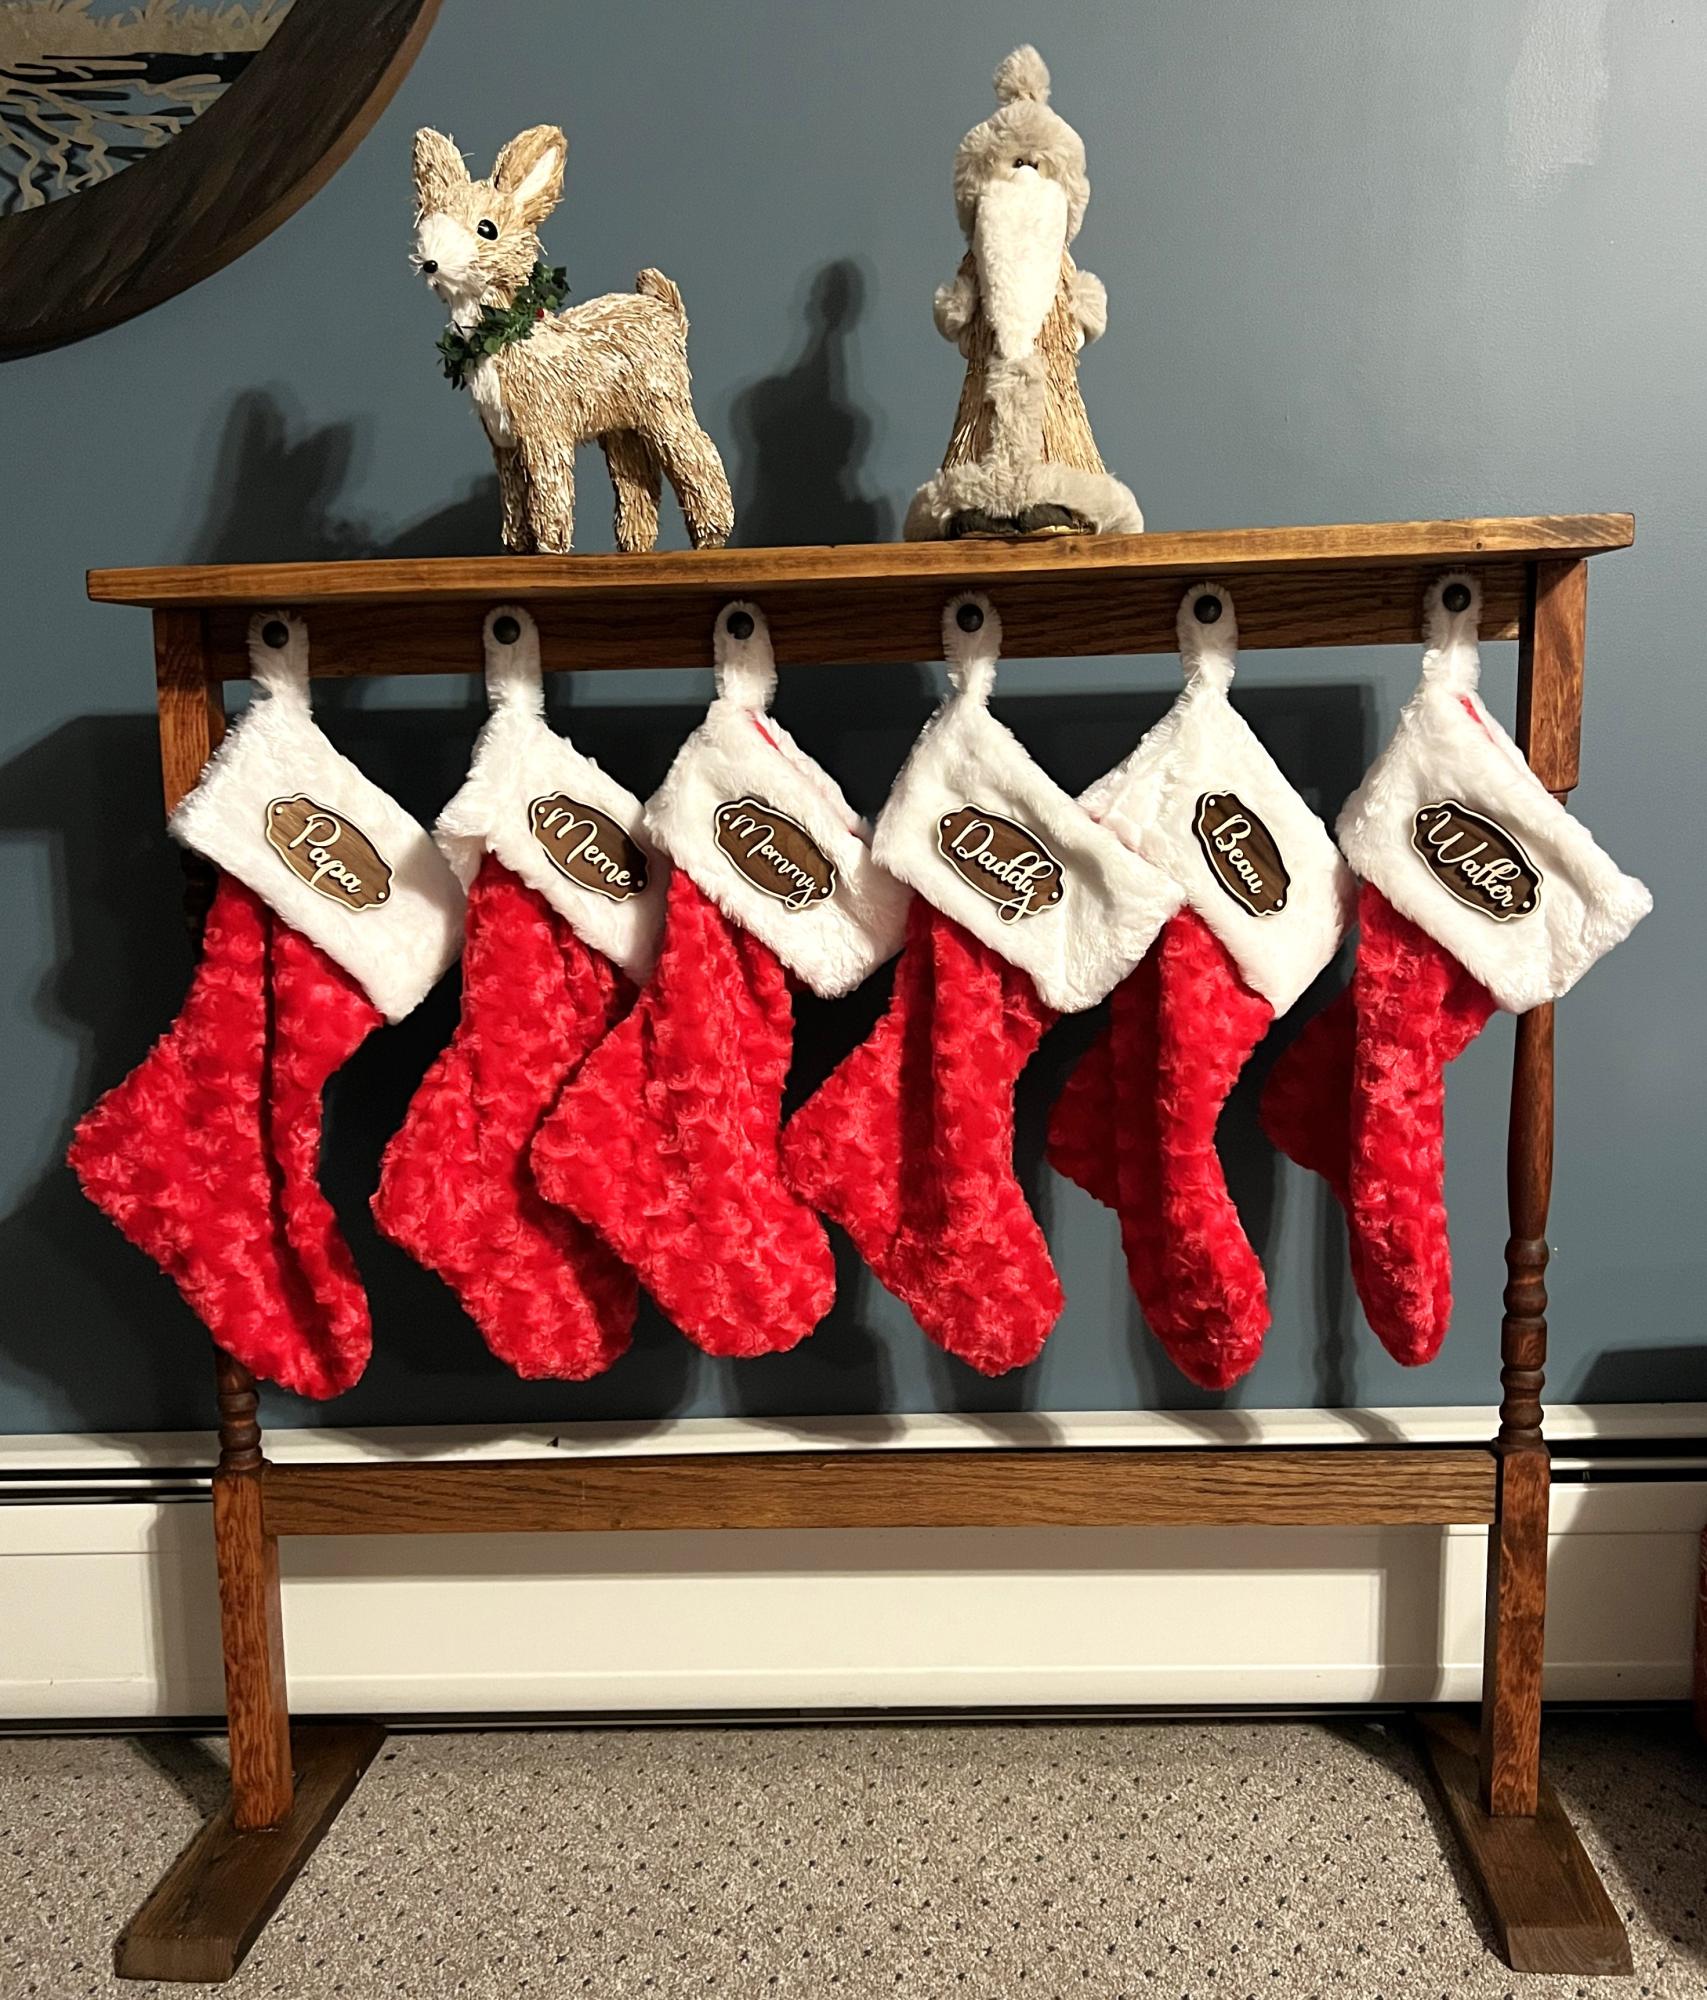
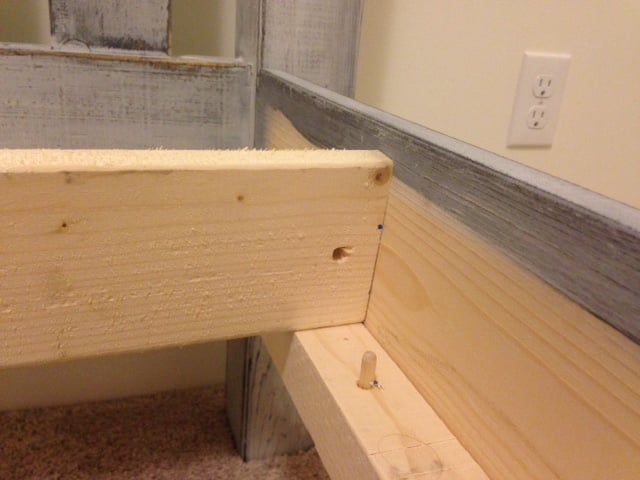
I was inspired by the Christmas stocking holders, so built my own from all scrap wood.
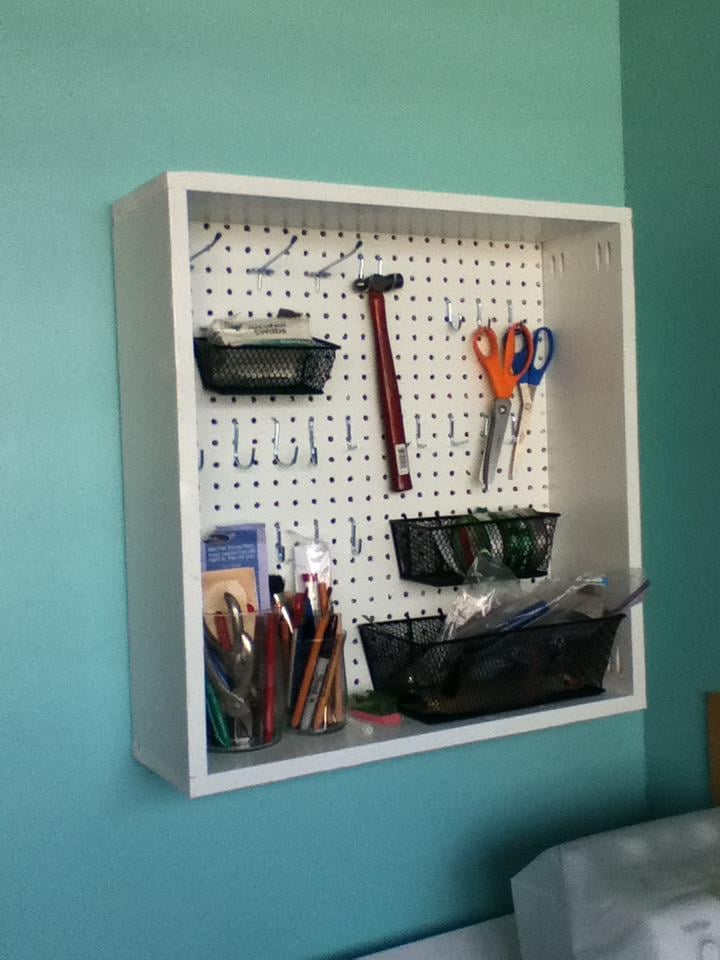
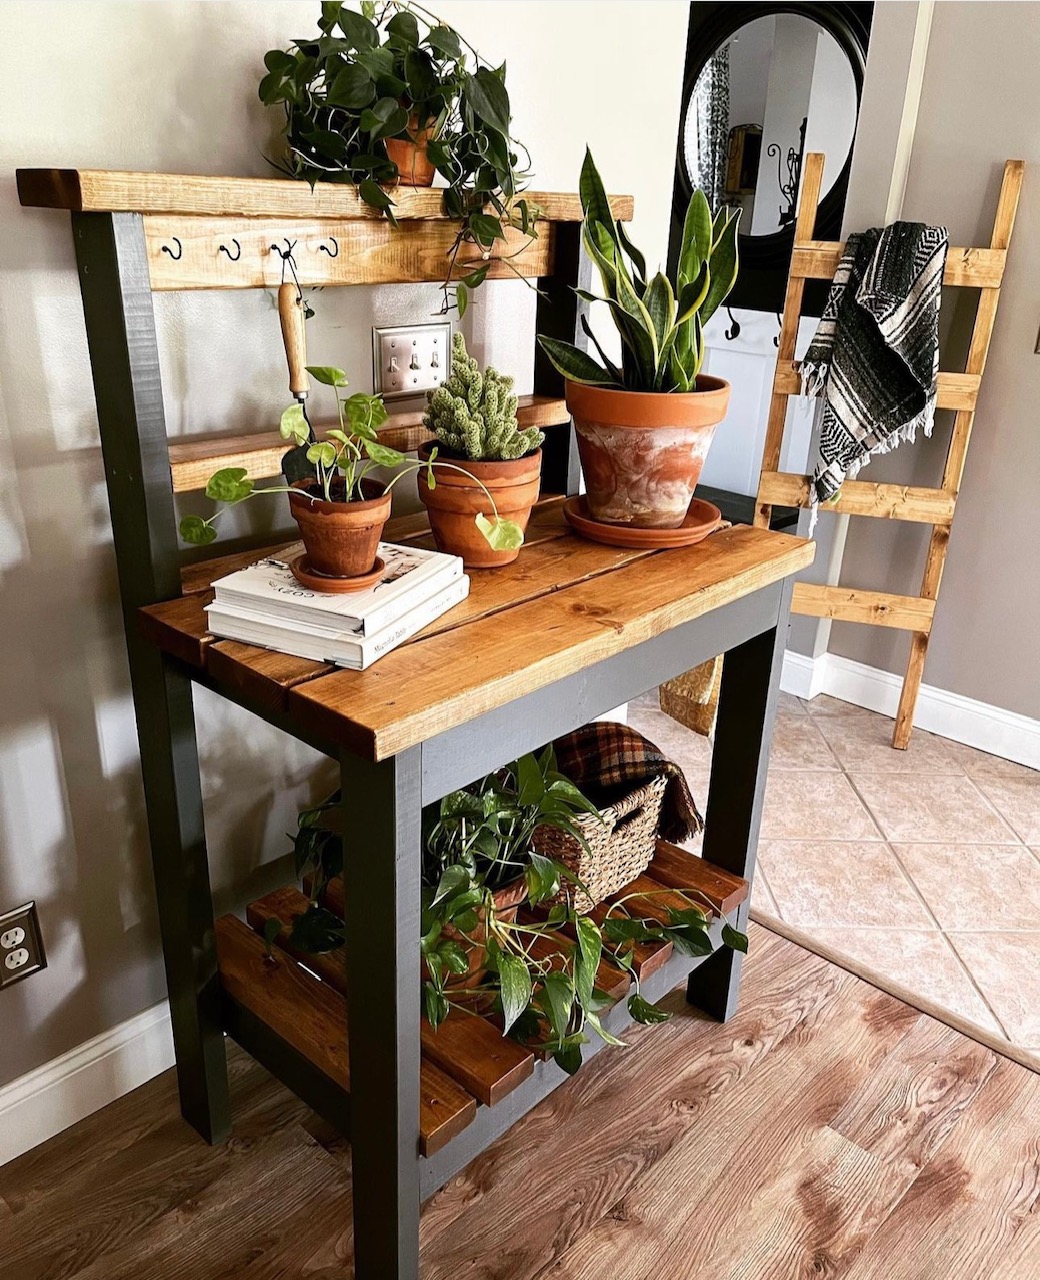
I have been needing to create more storage, while organizing my craft/spare bedroom. I had a piece of pegboard, and got some inspiration while pouring over Pinterest.
I decided to venture out and try something really new to me - routing. Bear in mind I only have a Dremel with the cheap router attachment - not the routing table thing. I'm happy to say it came out great! I have more pictures i'll upload soon of the actual routing. I did craft up a jig of sorts to keep my routing line (or whatever its called) straight. I did run into some math errors, which resulting in me having to cut things down a couple times. But now I know how things work when piecing together routed frames.
I had 2 pieces of 1x12x36. To keep the routing lines as even as possible, I did the the routing before I cut the pieces.
I used my Kreg Jig to join the sides. I assembled by attaching the 2 sides and the bottom. Then slide the pegboard in, and attached the top piece. Then since my routing line was a bit wider that the pegboard, I used caulk in the back to fill it in, keeping the pegboard nice and tight.
I plan to add doors to the cabinet at a later date. Right now it definitely fills my needs!

This was for my 5 year old son and it was much easier than we thought it would be! We didn't have a nailer when we did this and wish we had one! Get a nailer for this project!
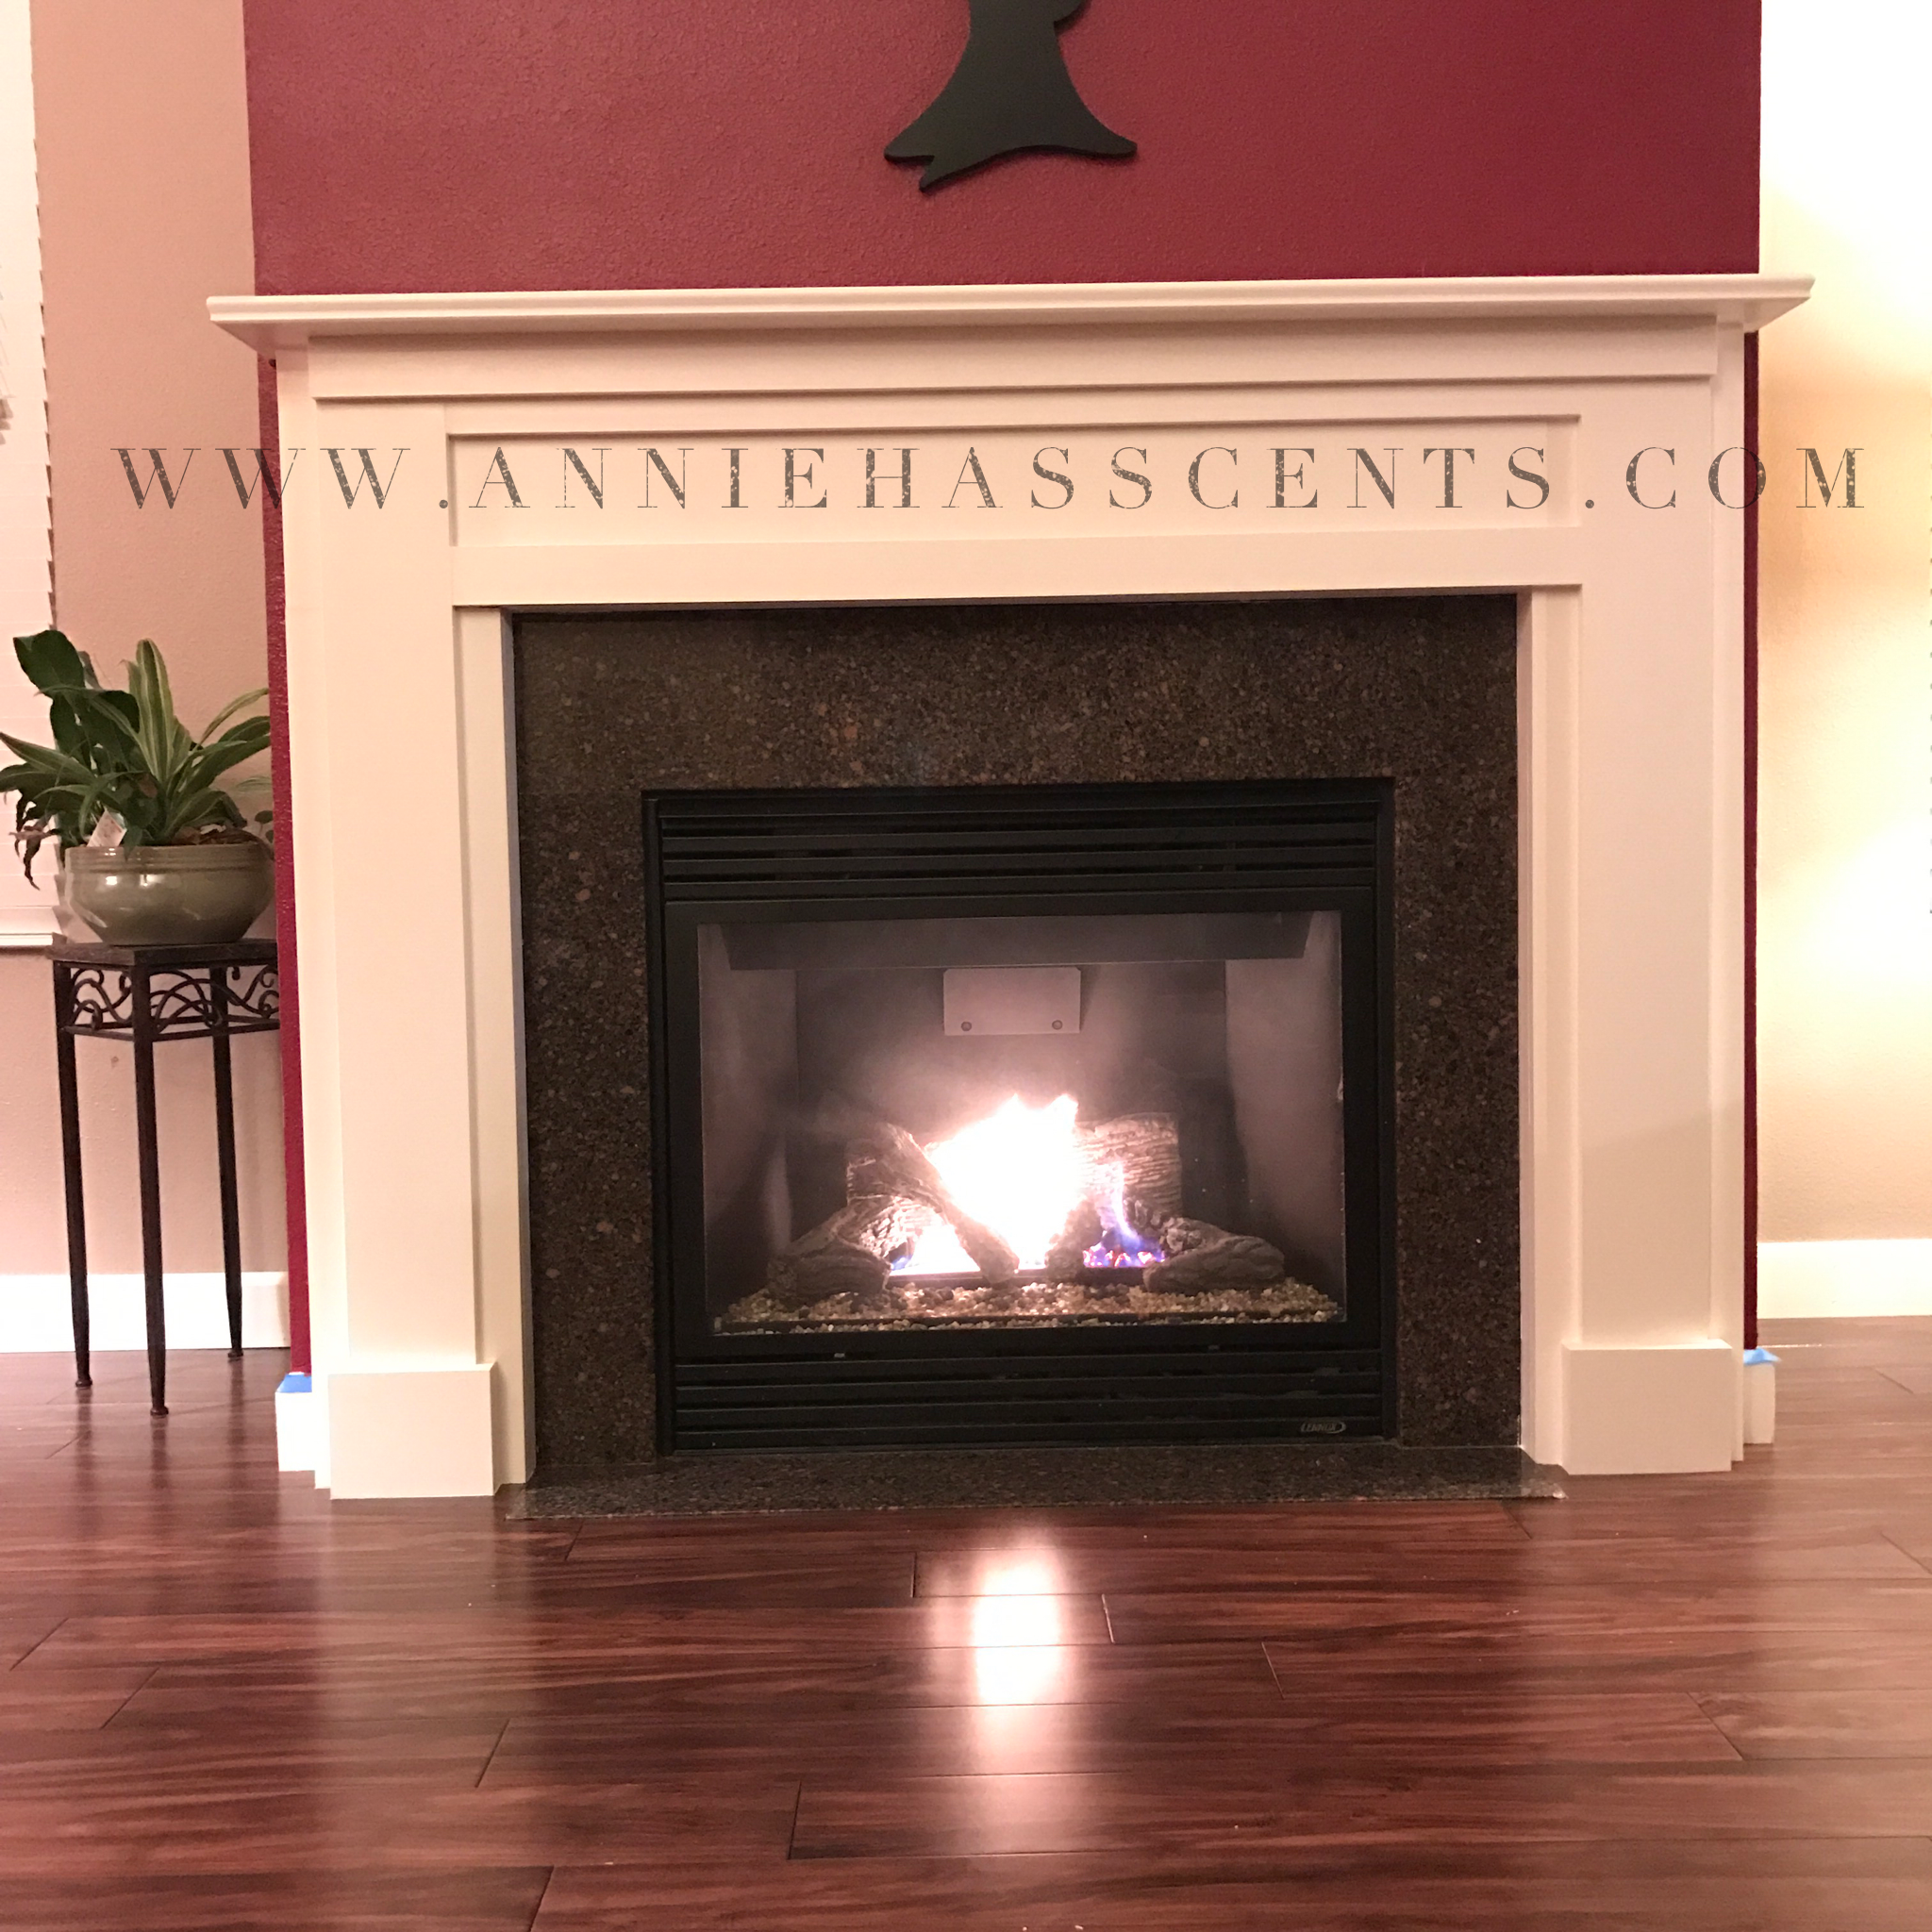
Our fireplace only had a granite surround and was lacking personality. The wall that our fireplace is built into is kind of a strange size and all of the mantle kits won't fit our fireplace. It wasn't until I ran across Ana's plans that I knew this was exactly what I wanted around our fireplace! We adapted the plans a little bit, and created a ladder up the sides of the fireplace to attach the front plate onto. I couldn't be more thrilled with how it turned out

Sat, 11/12/2016 - 22:45
Signed up for an account I didn't realize it posted as a guest!

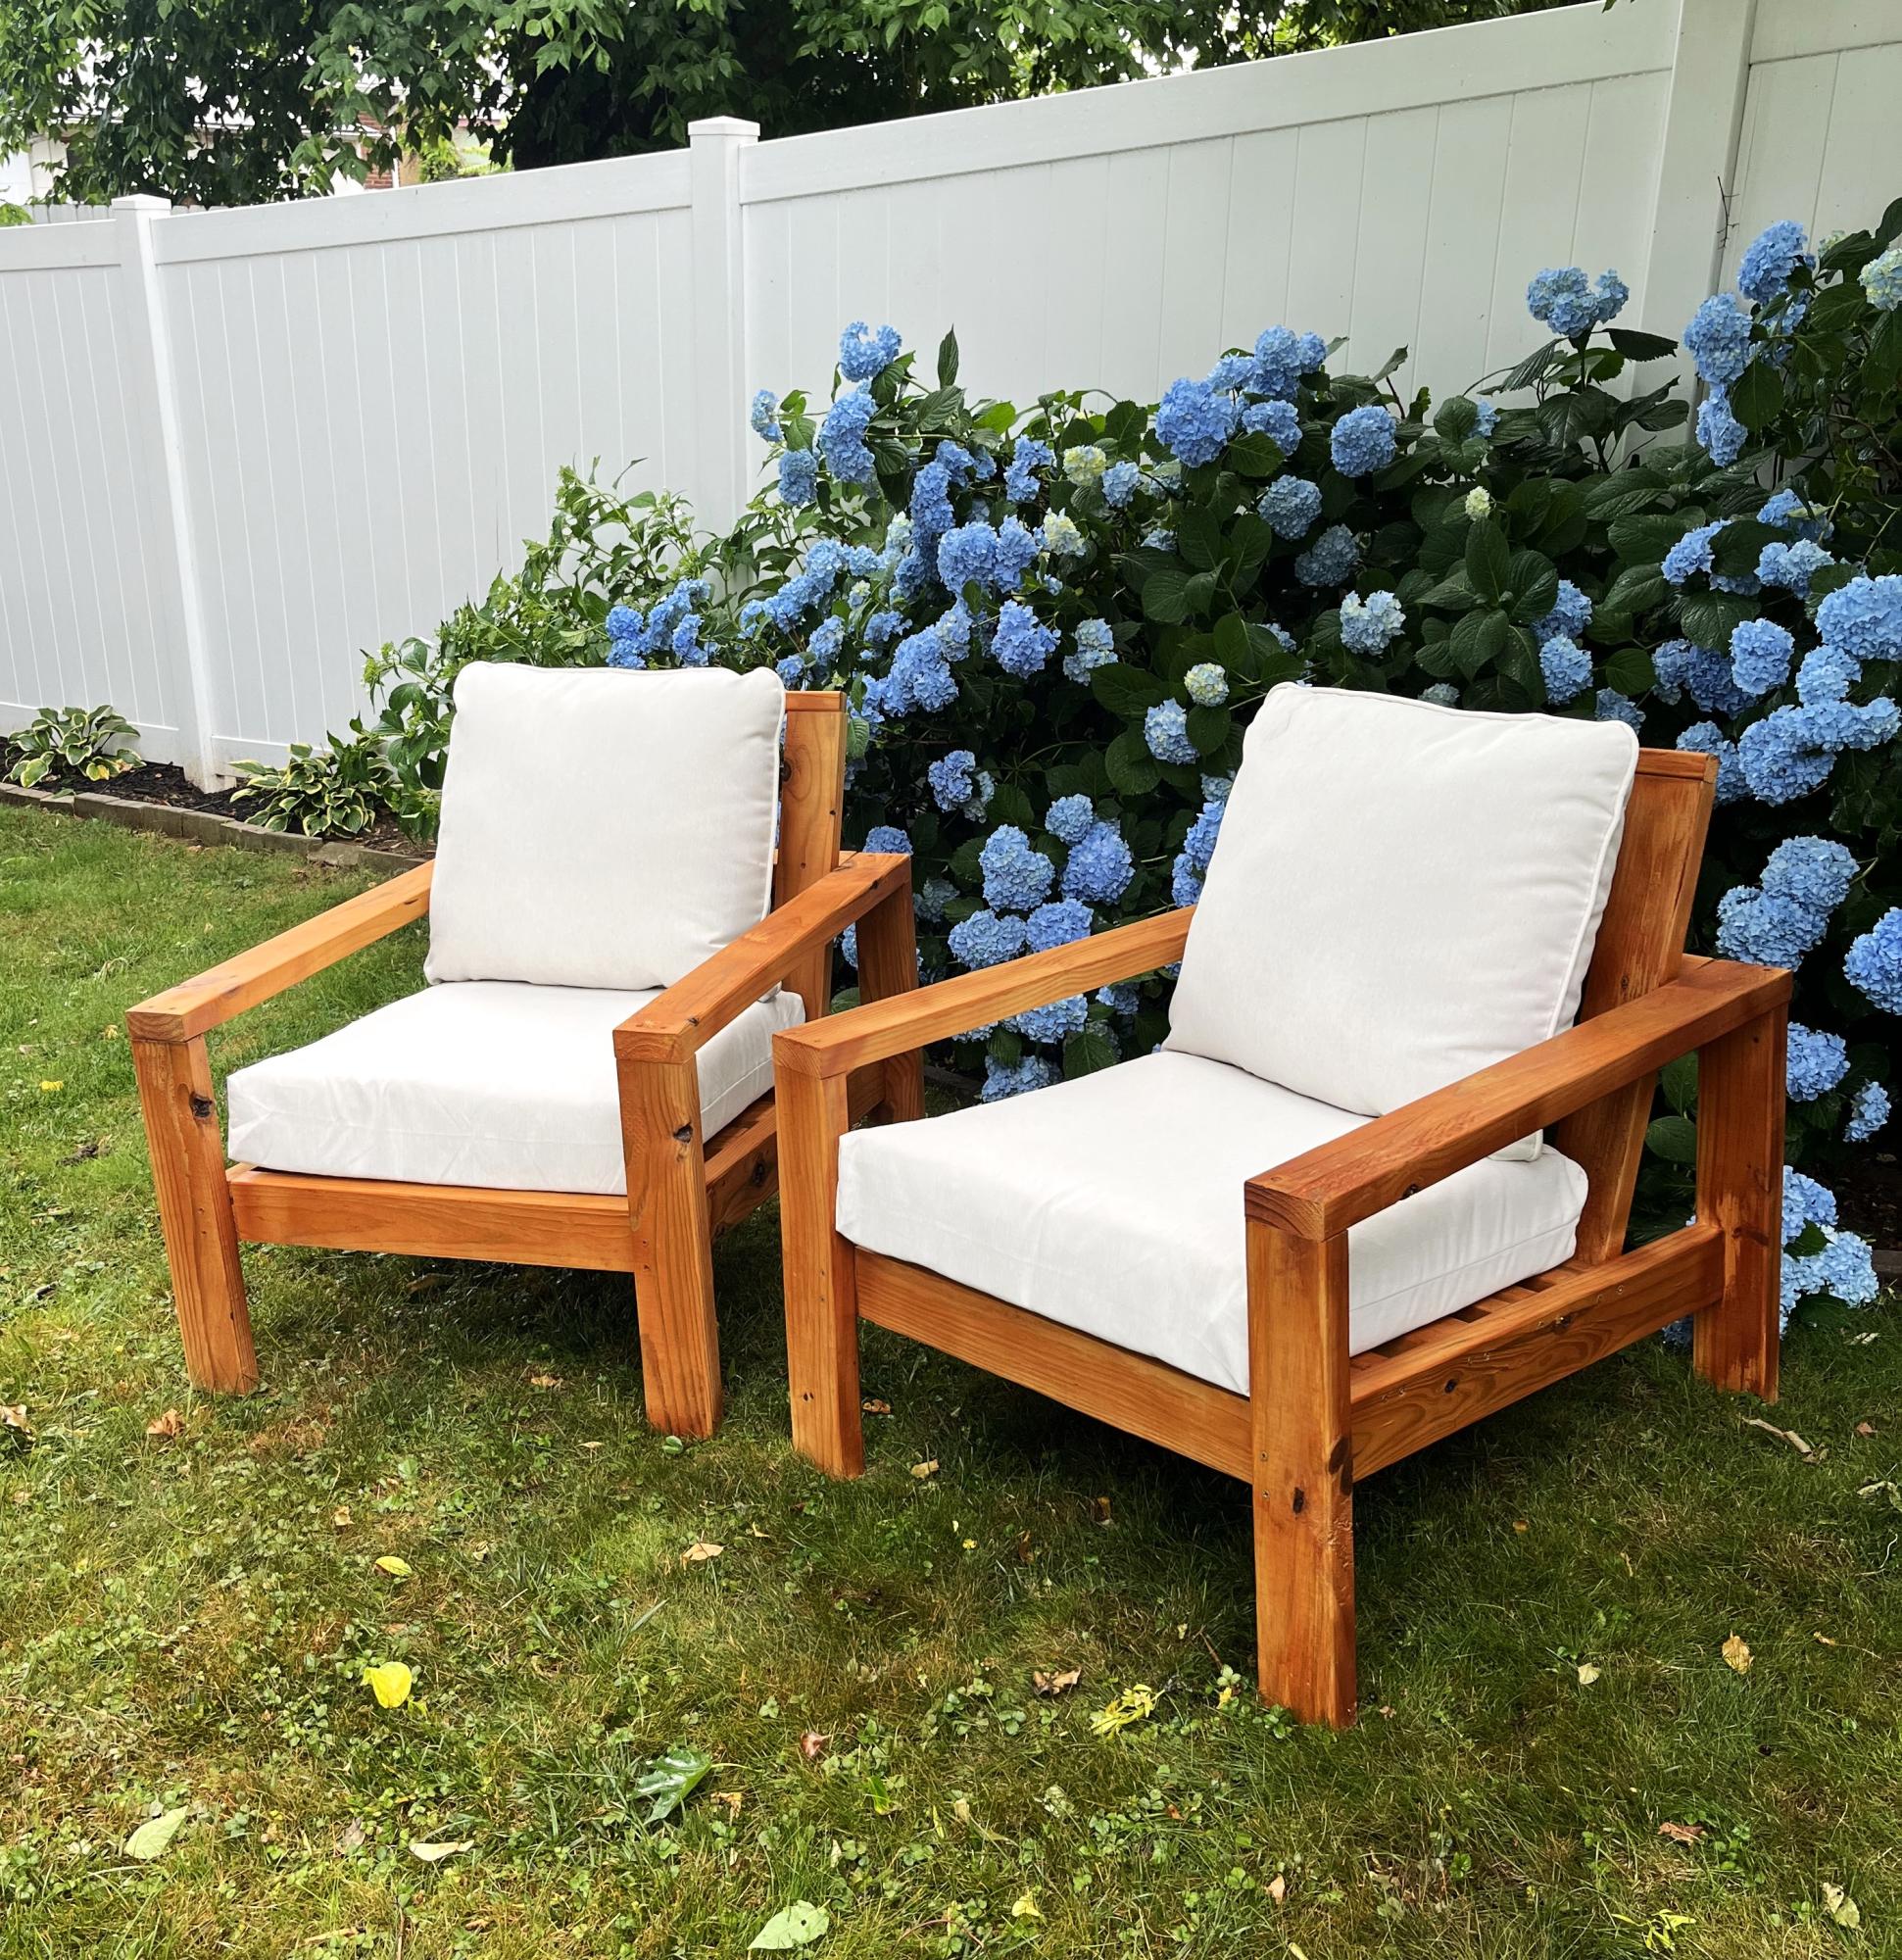
Built this amazing patio set using Ana White’s design. Just added extra back supposed to prevent the cushions from falling over. Very sturdy set!!
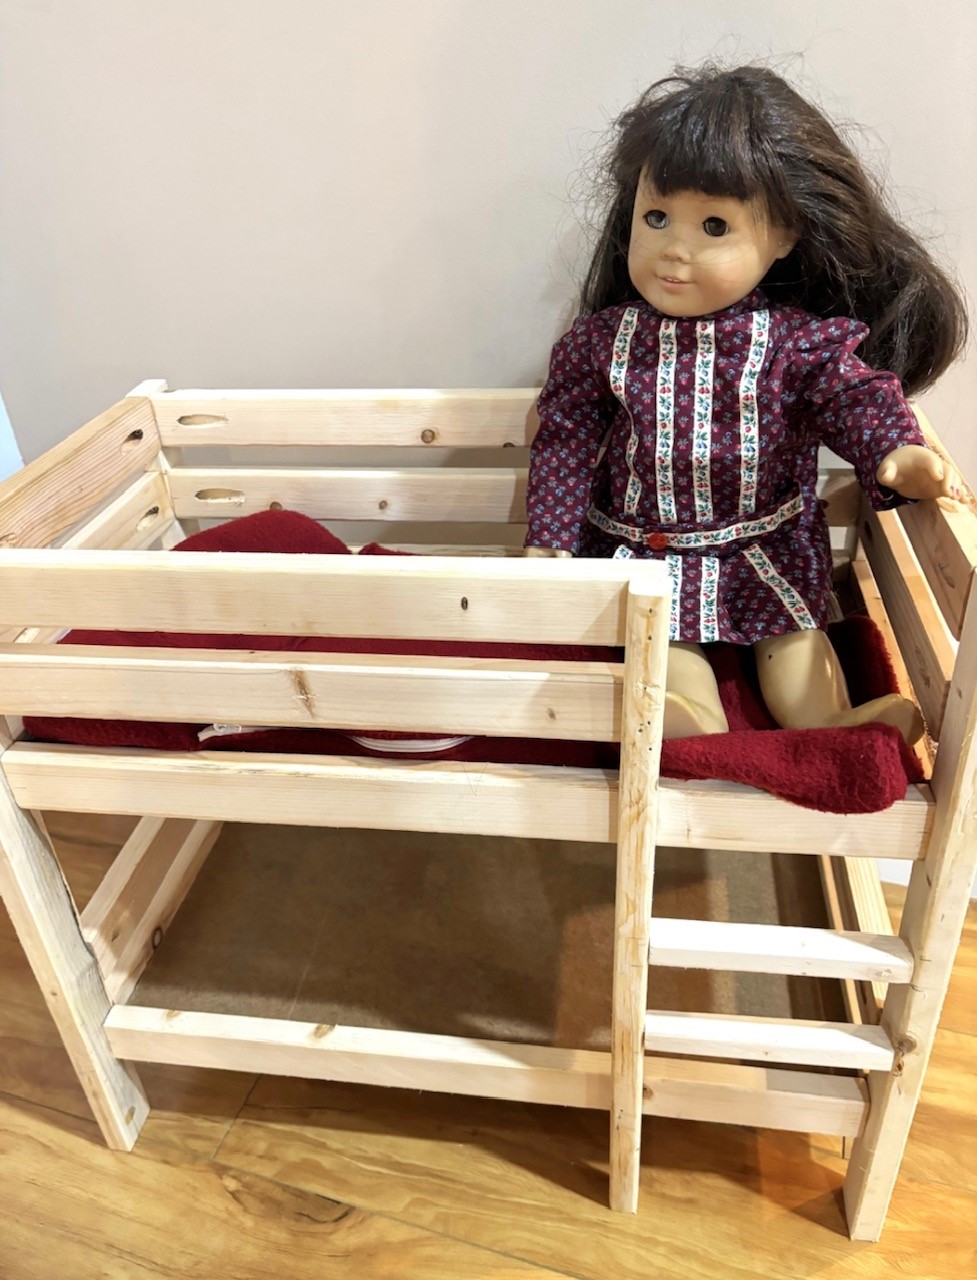
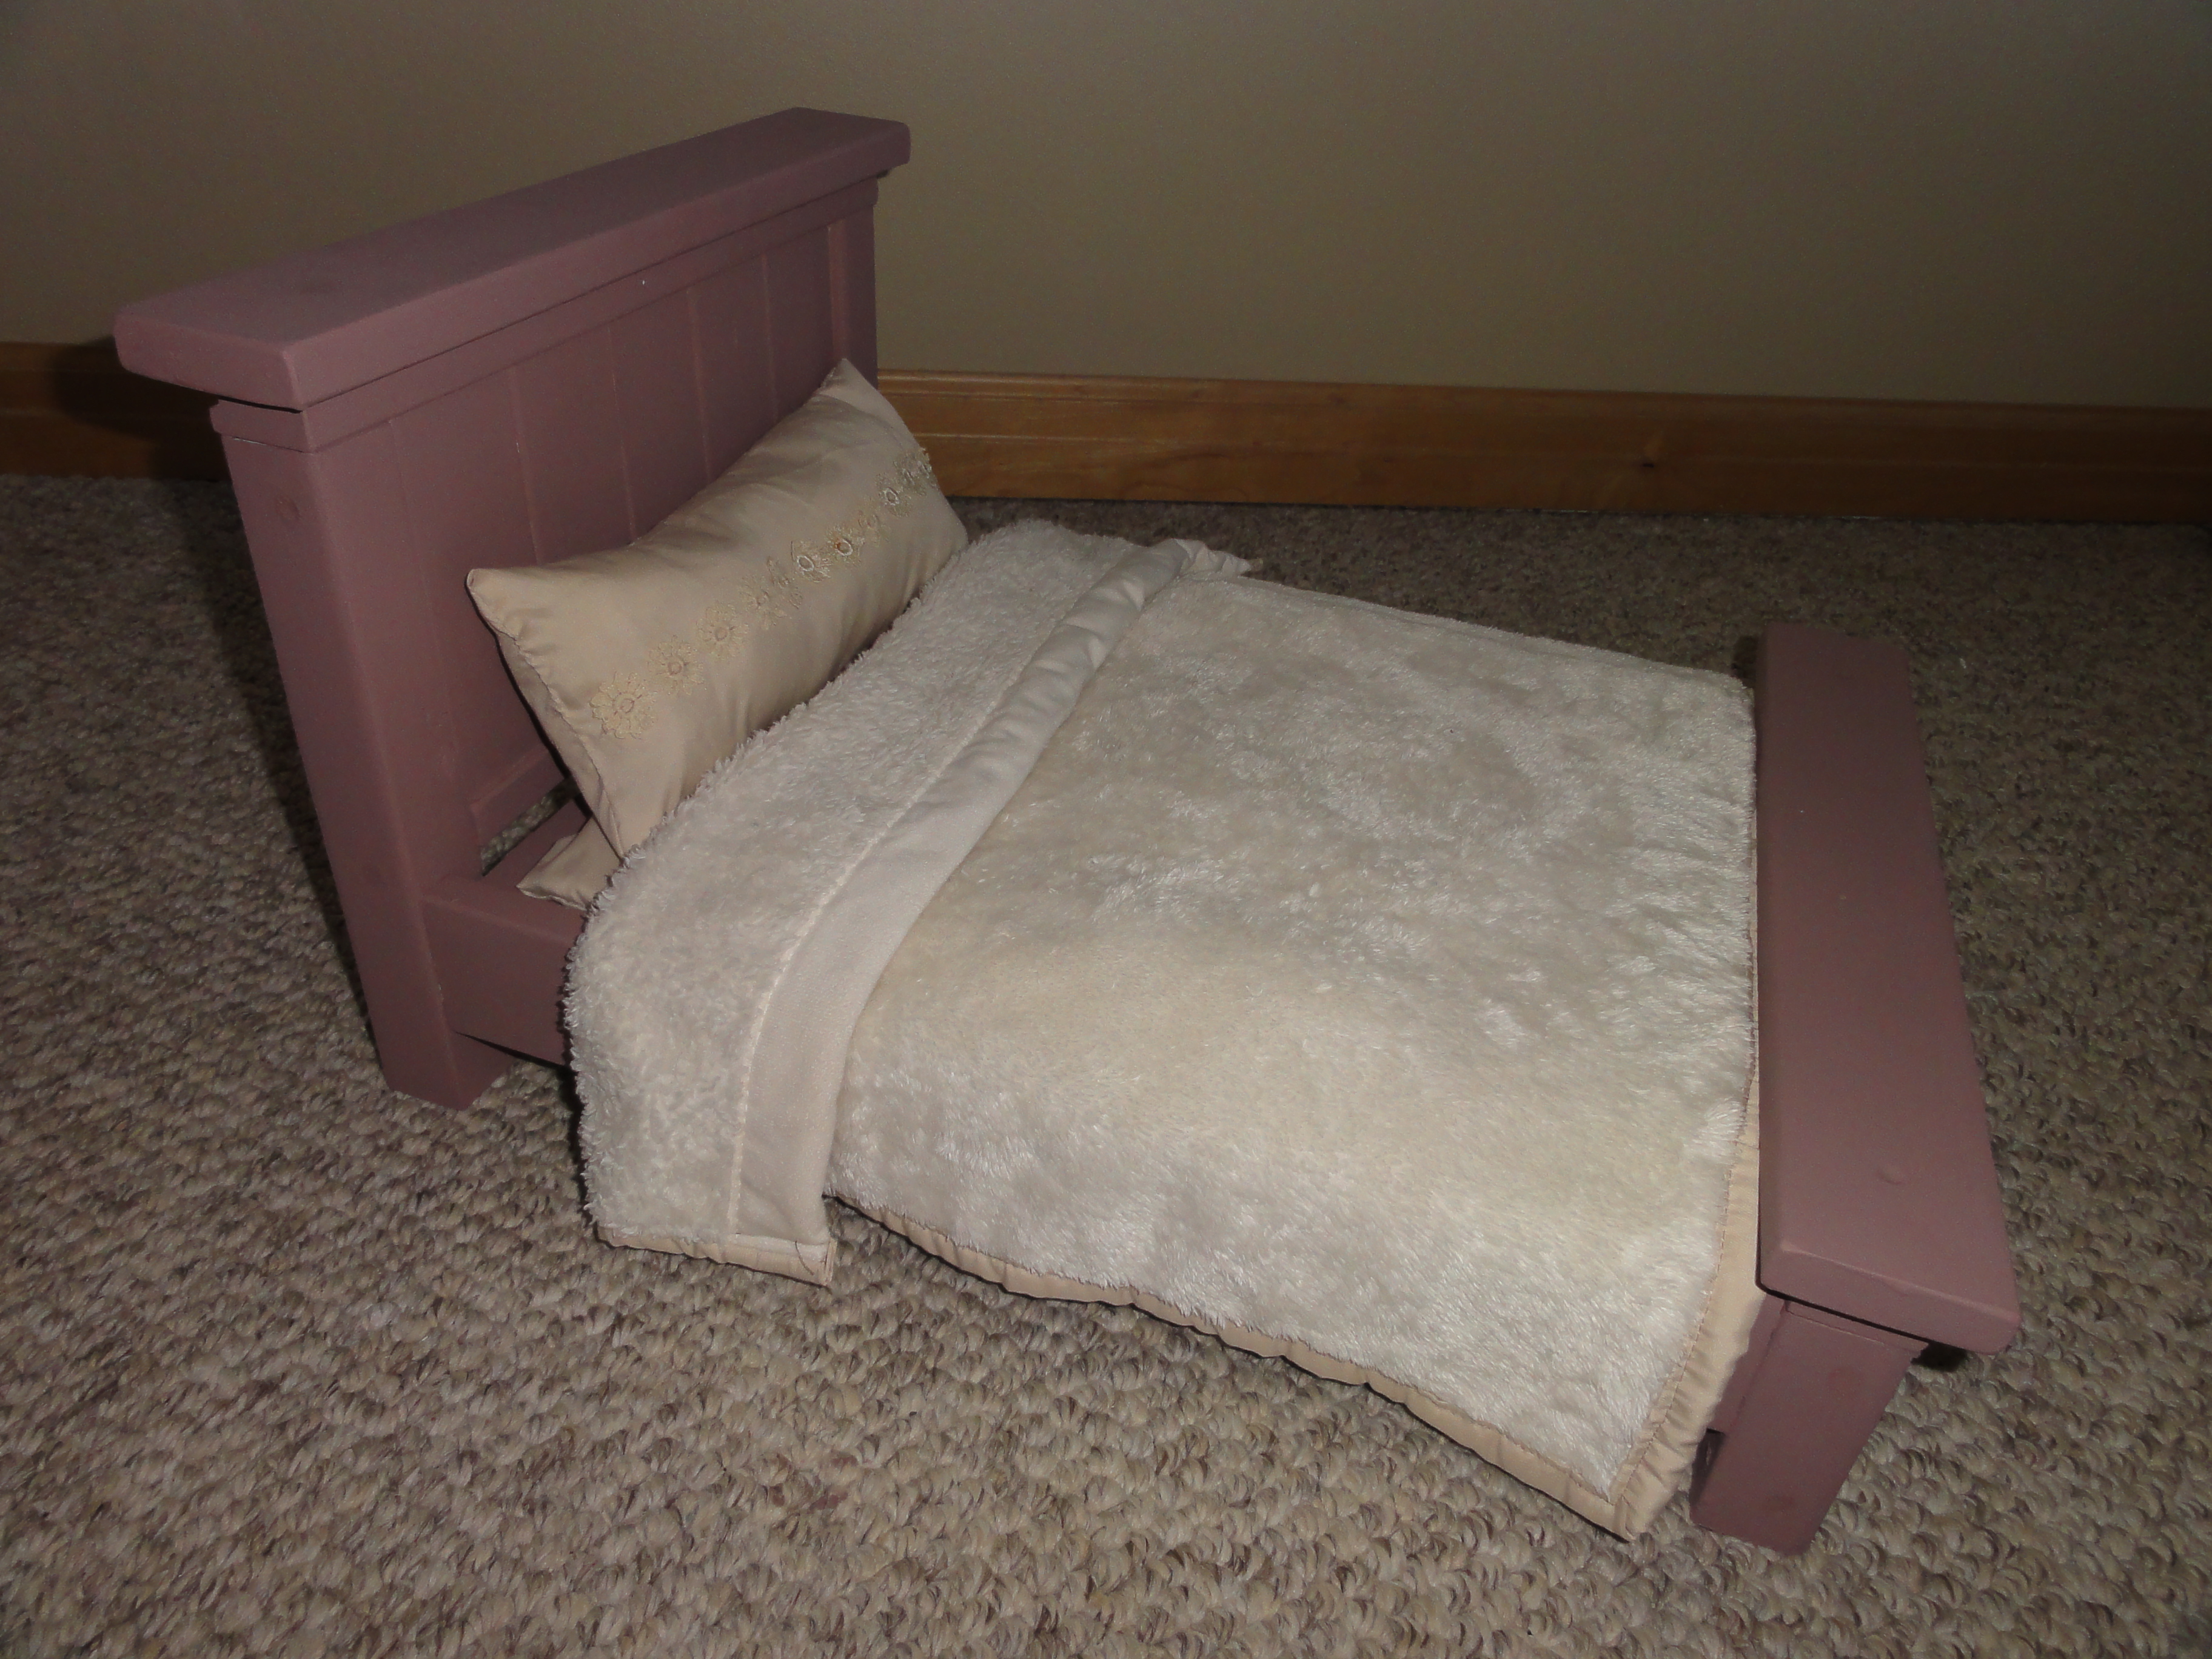
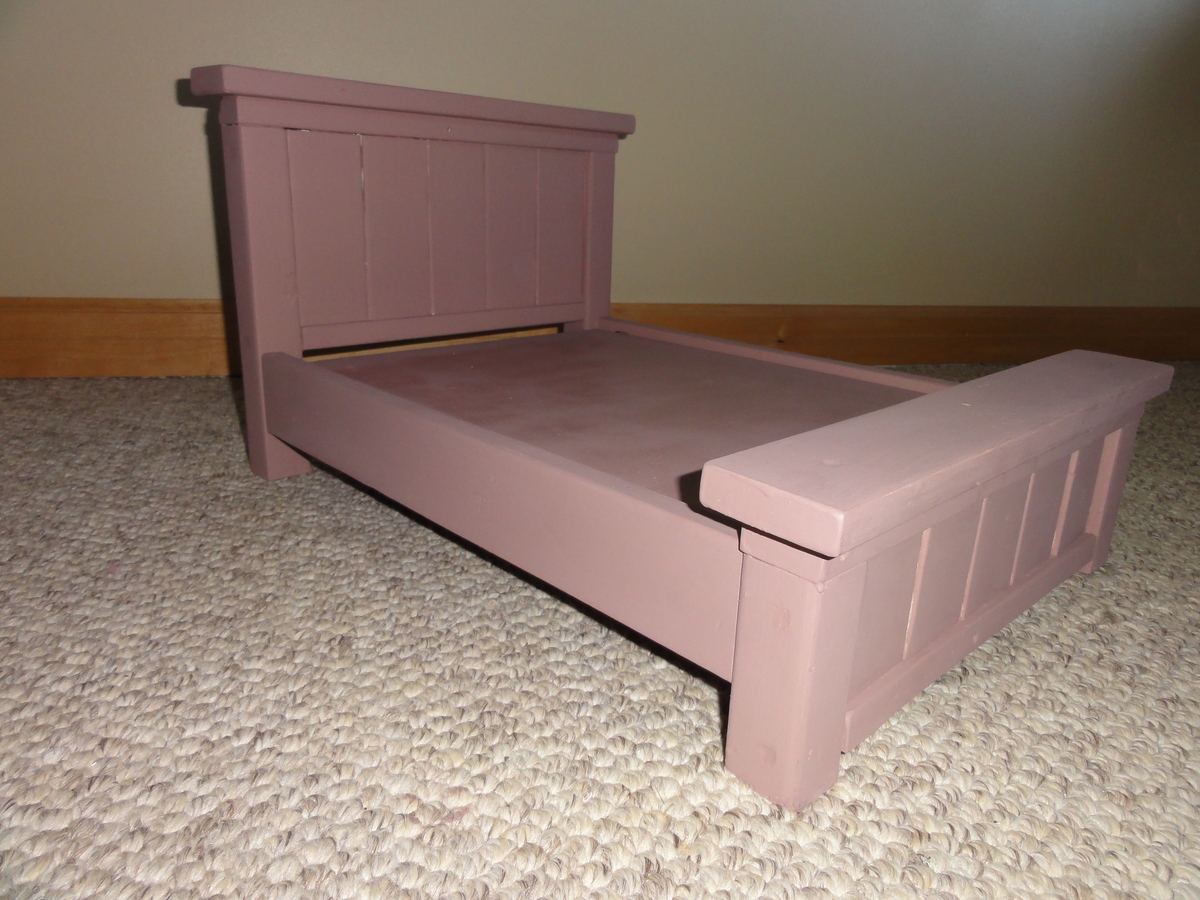
Made this for my granddaughters! They love it!
E Sewitch
I made the farmhouse bed and I love how it turned out.
Sun, 10/14/2012 - 19:20
Thank you. I used Rust-Oleum flat black oil enamel. I have not actually attached it to the bed frame yet. When I do, I will add some more photos.