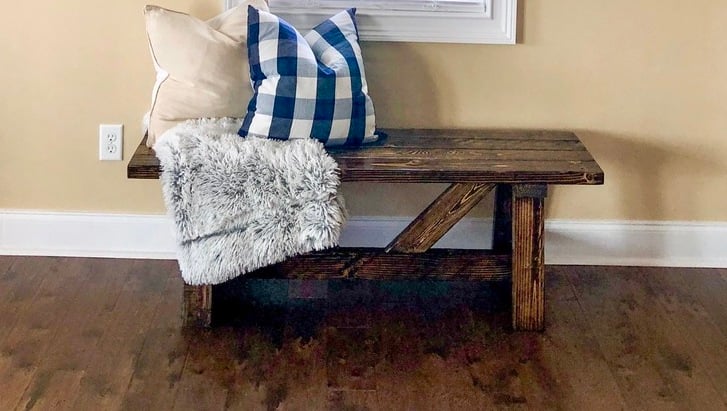
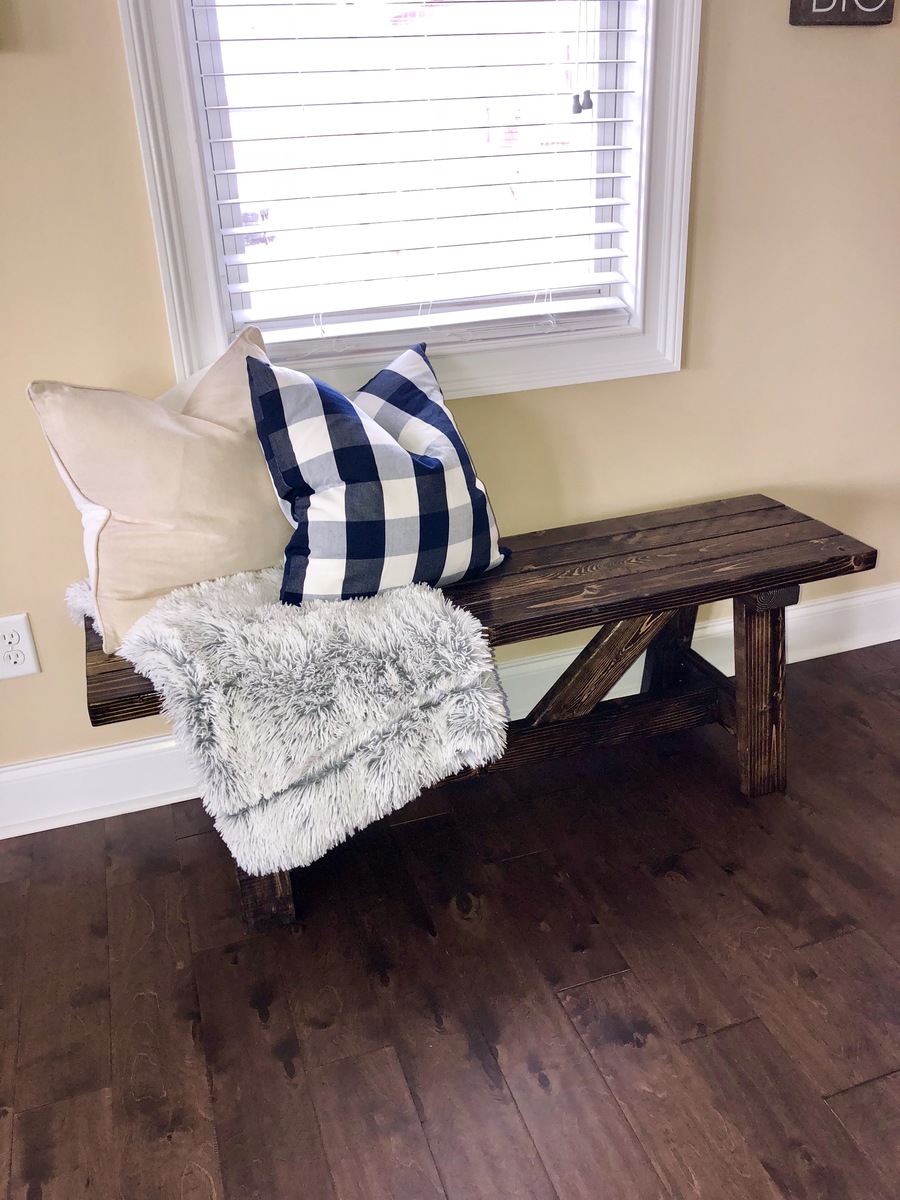
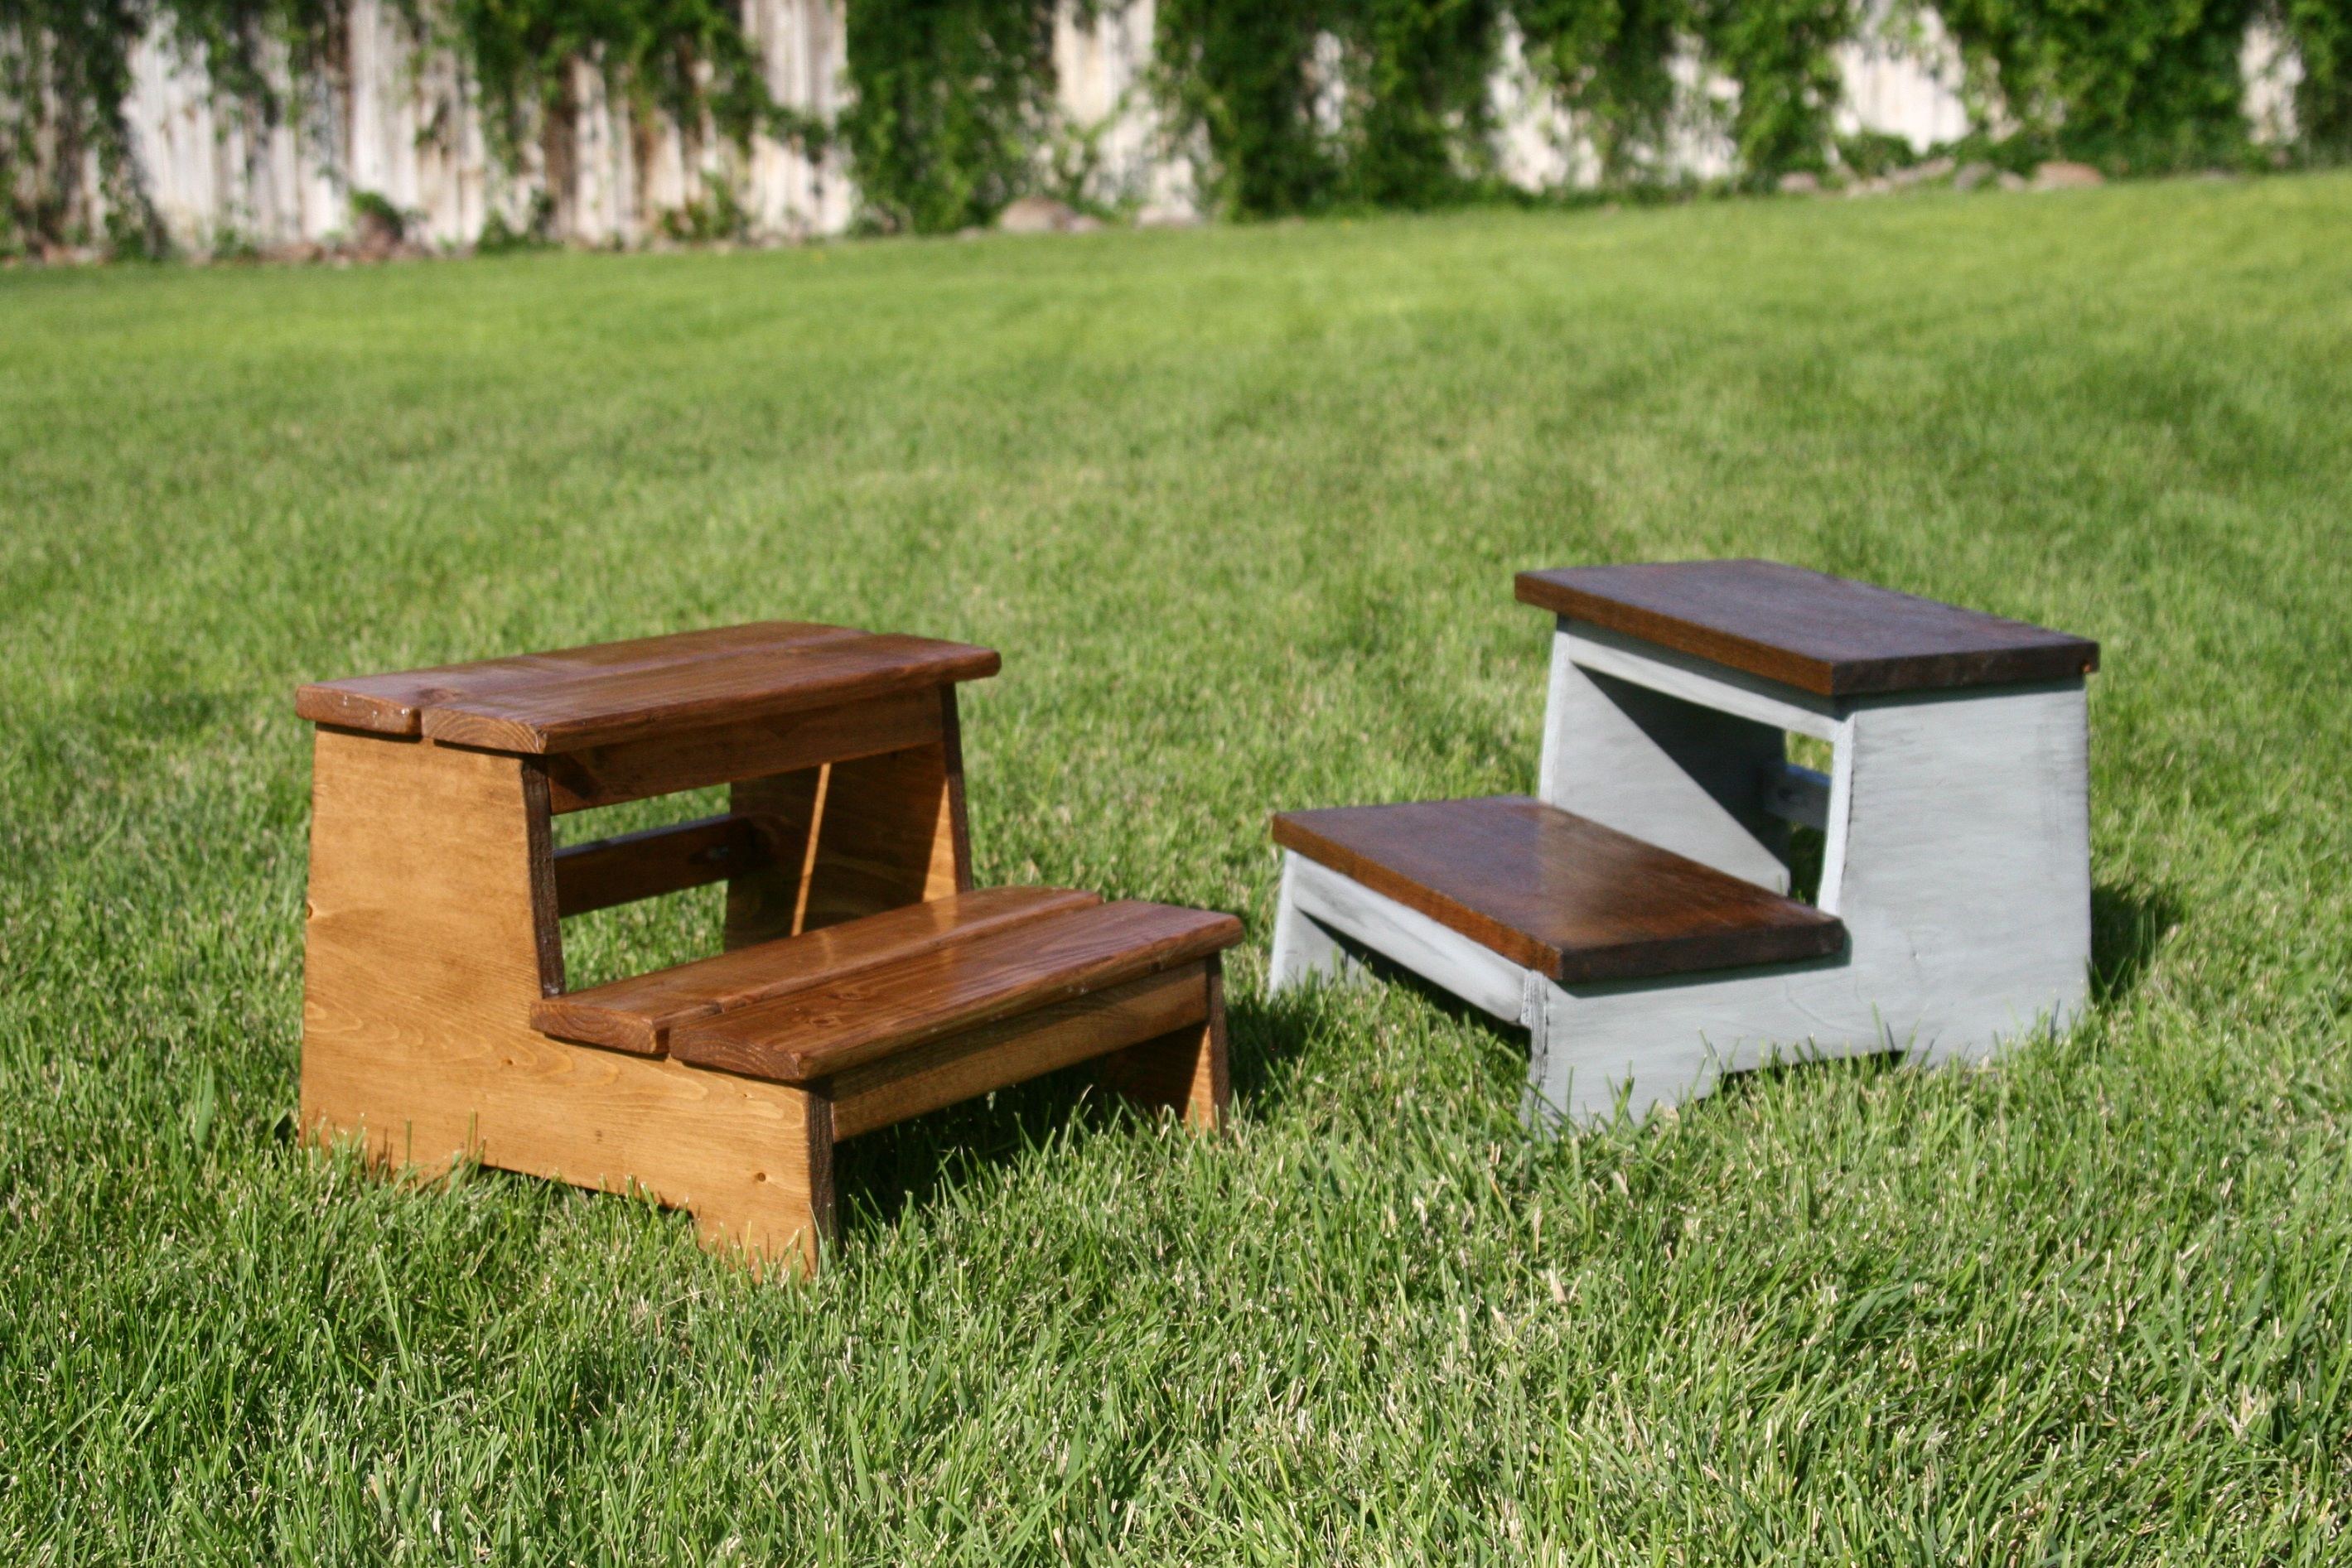
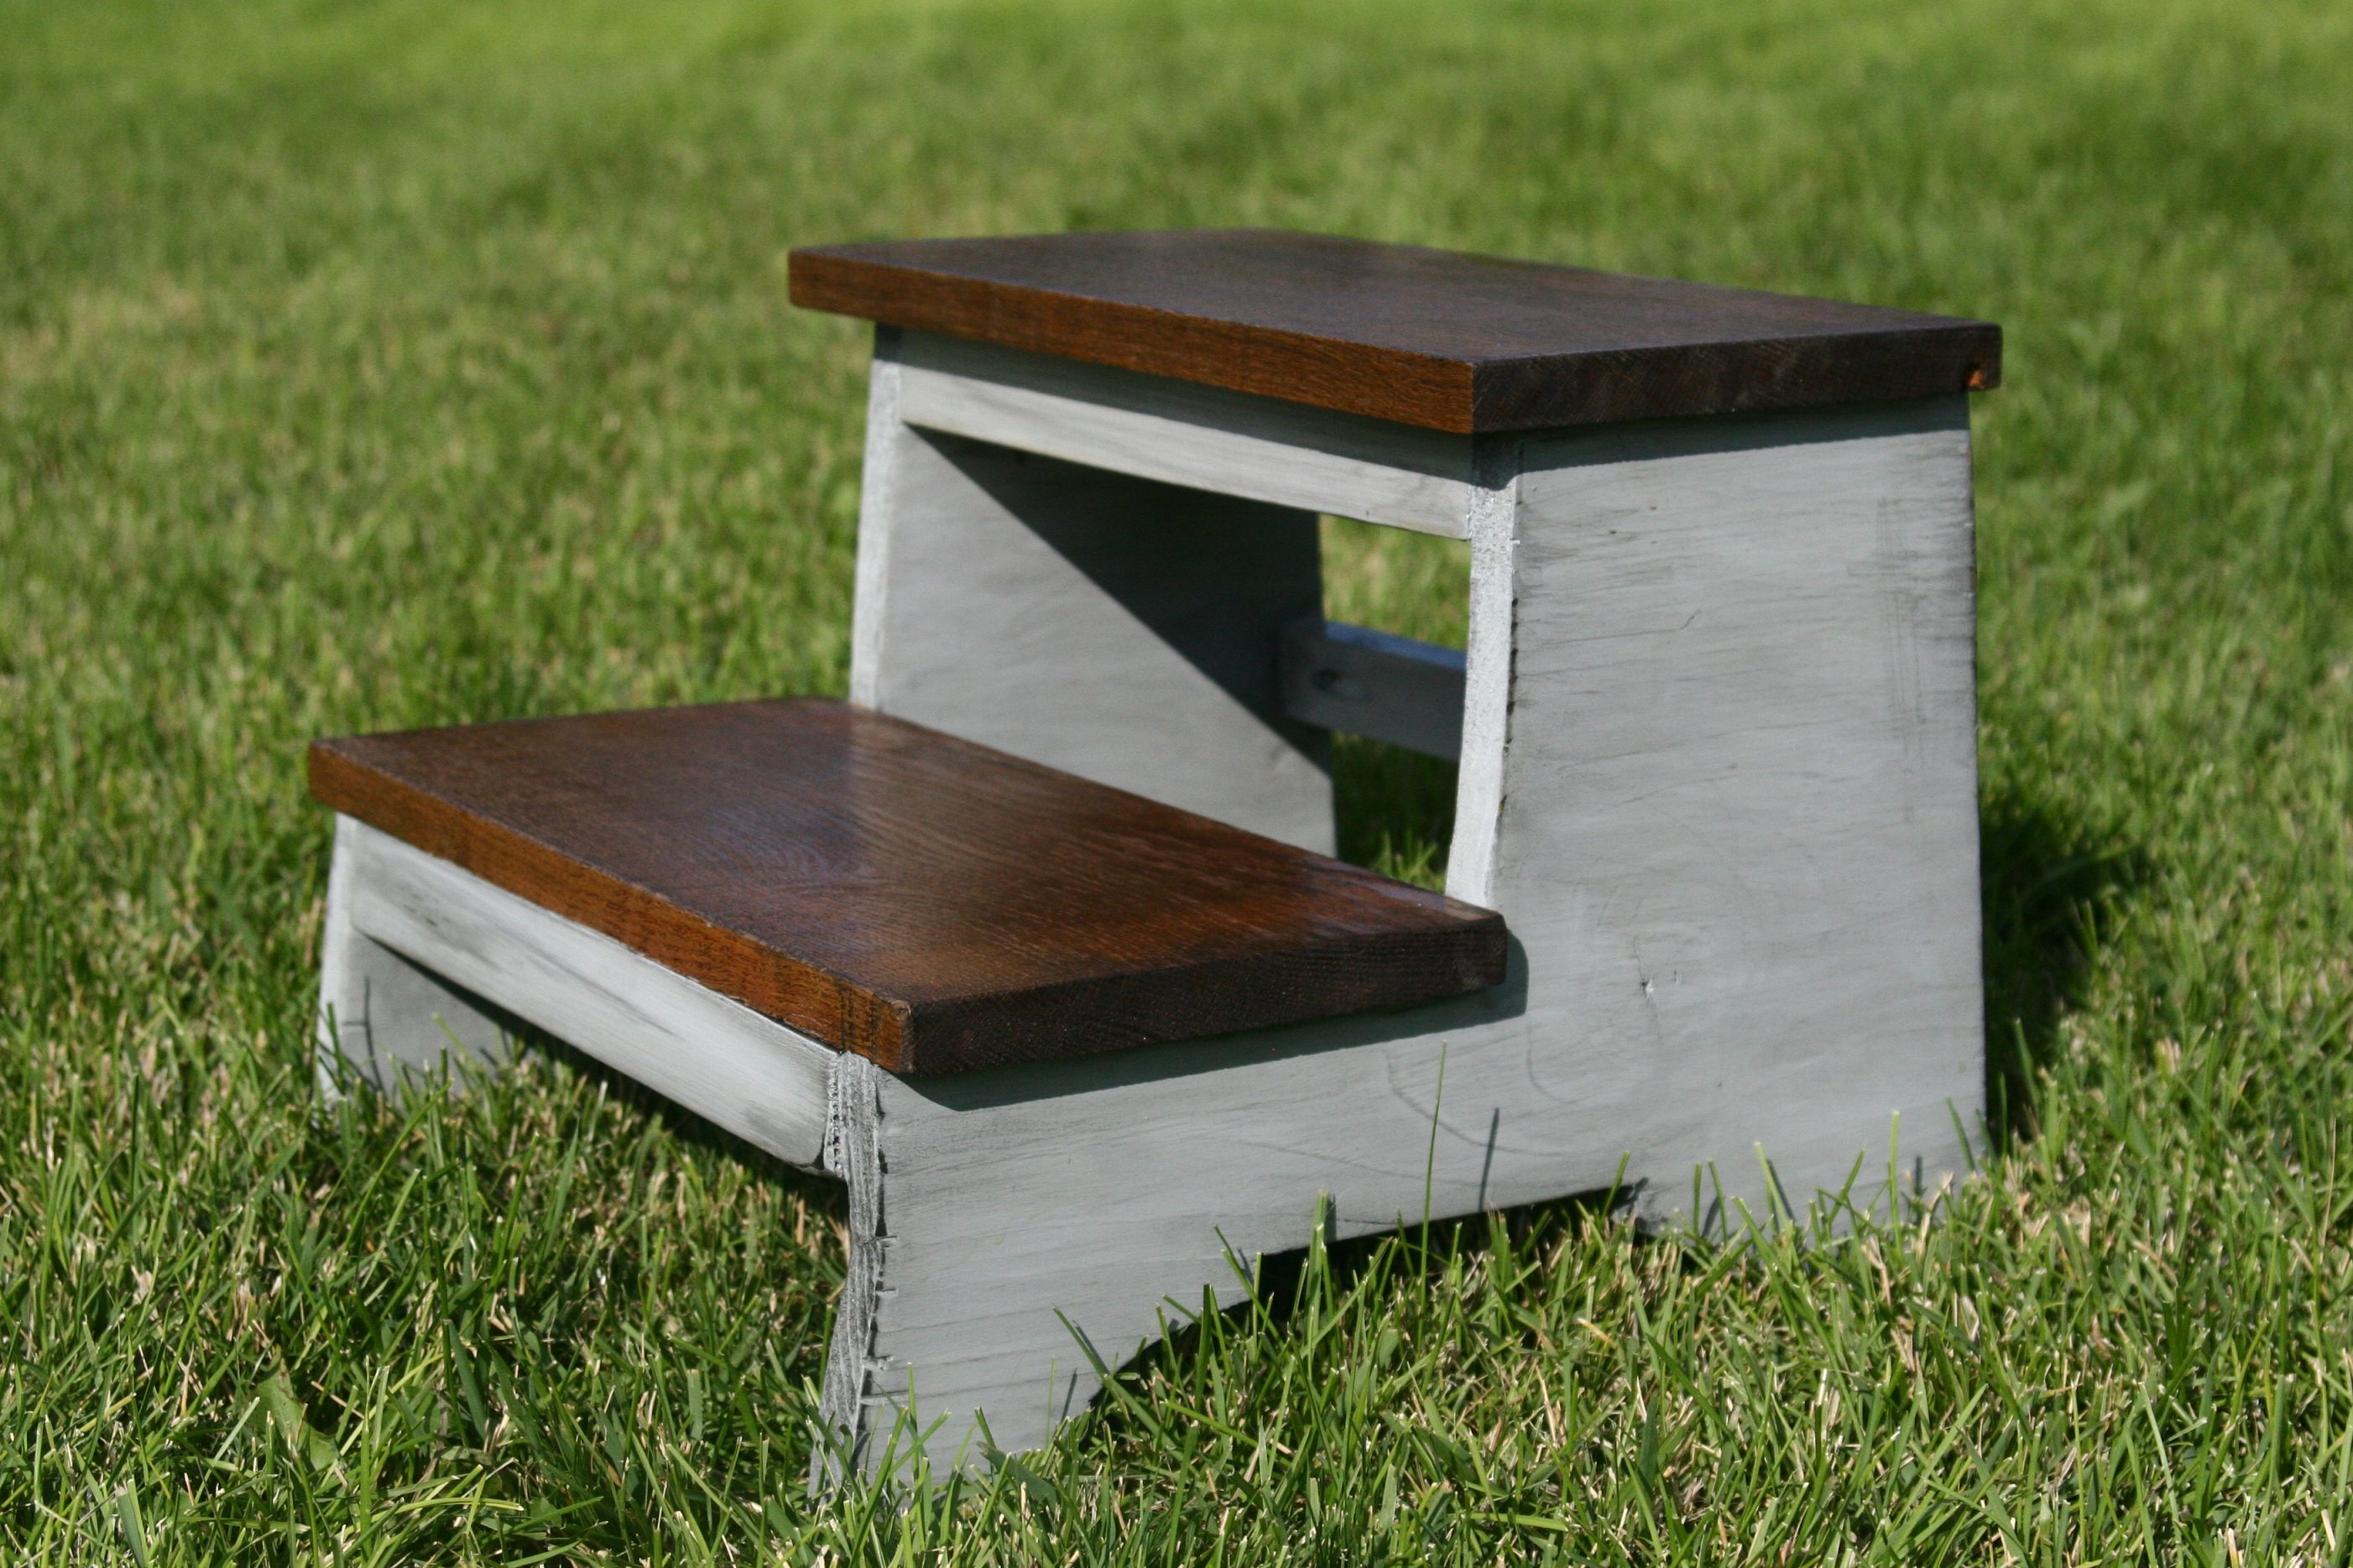
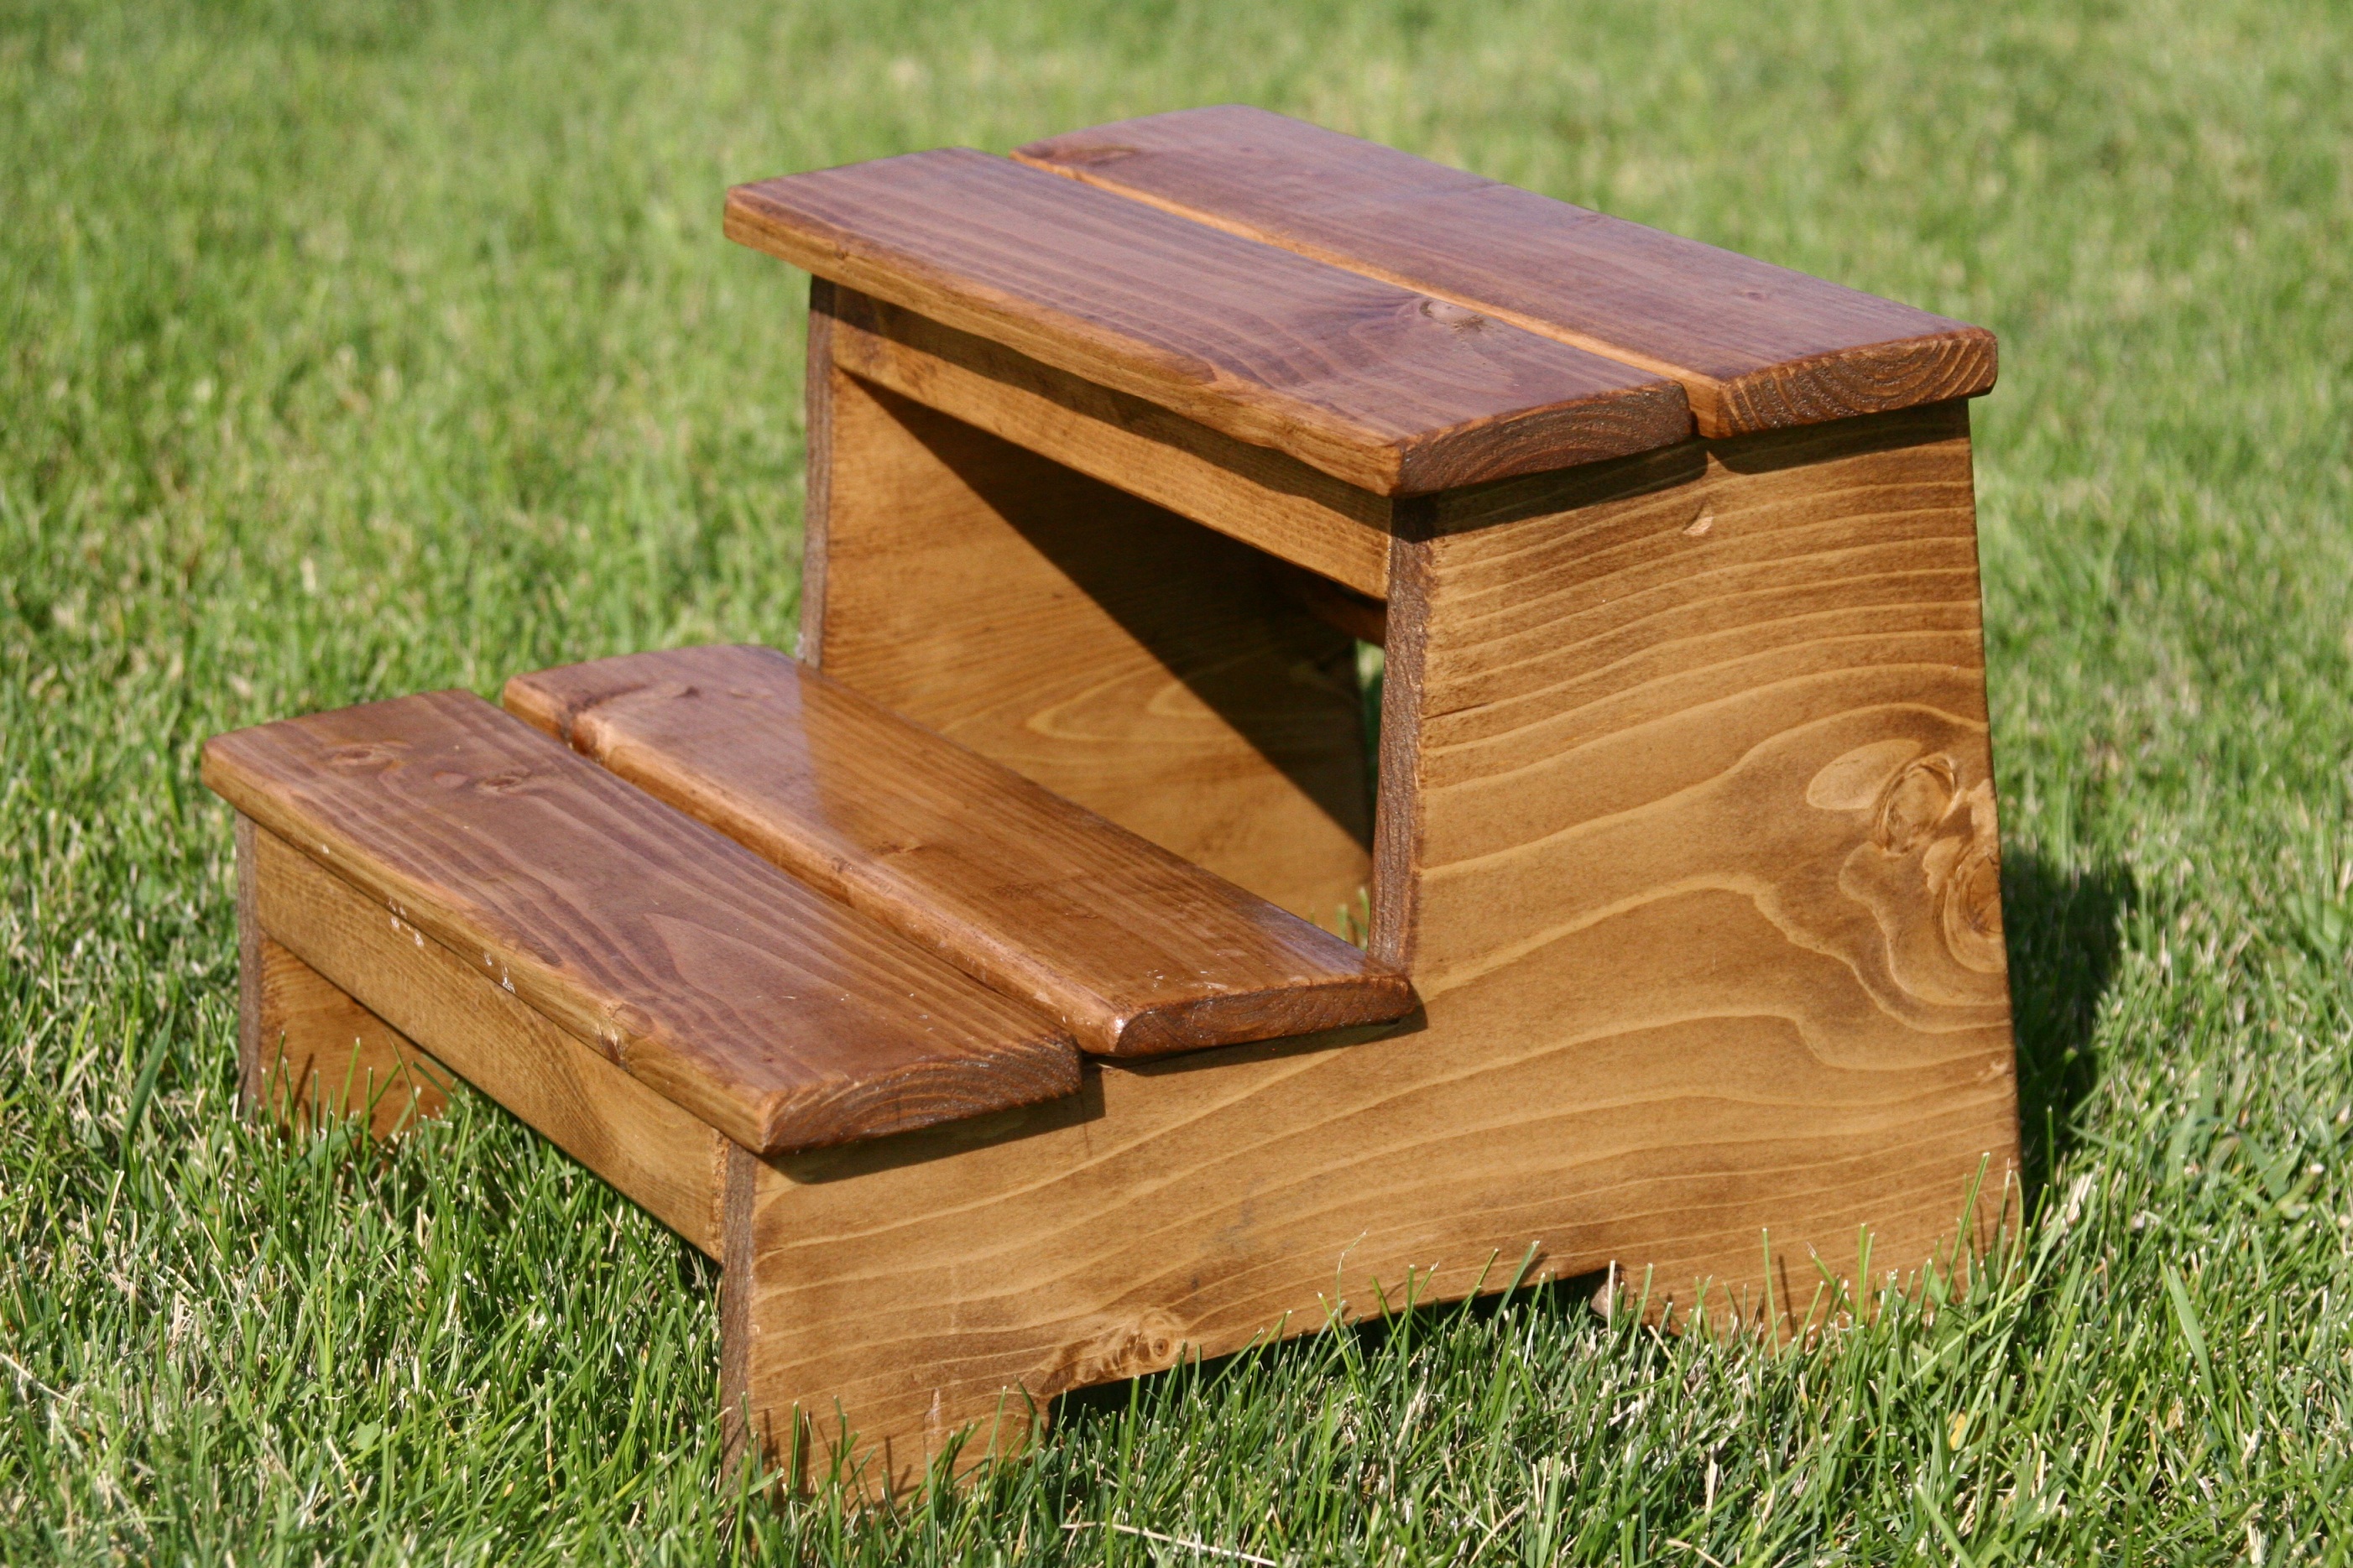
Christmas Farmhouse Doll Bed
![](/sites/default/files/3154824066_1363718458.jpg)
My husband and I built beds for our daughters' american girl dolls for Christmas. It was the first time we'd ever built anything and we learned a lot. So fun!
![](/sites/default/files/3154824067_1363718458.jpg)
![](/sites/default/files/3154824068_1363718458.jpg)
My husband and I built beds for our daughters' american girl dolls for Christmas. It was the first time we'd ever built anything and we learned a lot. So fun!
I used reclaimed fence wood instead of plywood. Just put together three planks to make the side/top/bottom pieces. I adjusted the size a bit since I had limited space for it to fit into. This was my first ever furniture project and my first use of my new kreg jig.
Love, love, love our king bed I build based on an adaptation of Ana's design. I did the slats a little different, and used 1"x 2"'s and cut them in order to make a slot for the slat. i also used non-mortise bed rail fasteners (from Amazon) so the bed could be taken apart easily. This was my first wood working project and now I am hooked! I am also a quilter and made the quilt for it too! I did it on a long weekend by myself. I was probably a bit slower than most folks considering it was my first woodworking project, so I was constantly looking up how to do things on Youtube.
I slightly modified the project to suit my wife's request. One key note: Make sure the main frame pieces mirror each other. I missed that and had two identical pieces outlined in Step 1, versus where the inside aprons actually face each other to allow for the top and bottom rails to be secured to the frame.
Thompson's Clear stain protects the wood; one coat after cutting the pieces and a second one for good measure after assembly.
Made this as an entry table did the drawers out instead of in like the plan. Love how it turned out!
My wife and I saw a large table and chairs at a local antique store priced at $1000...
It was nice and probably worth what they were asking, but after a failed attempt to negotiate the price down to a more reasonable number, I decided to build a table. I was in the thinking stage when it hit. I've been wanting to tear down this random privacy fence in the back yard ever since we moved in a few years ago and so...... a table was born from an old fence..
You cant tell in the pictures but this table seats 12 comfortably. ( 4 on each side and 2 on each end). it is 7' by 4'
Mon, 02/02/2015 - 04:49
4x4 fence post legs notched to hold 2x4 frame topped with a 3/4 in plywood. ( necessary since many boards were cupped or bowed, needed to have something to glue to.)
fence boards werent long enough for length of table so they were staggered as pictured. I had to do alot of planing and run all the fence planks though a table saw to square them as much as I could. ( also not as necessary if you buy wood from your local hardware store.)
The frame has 3 cross braces, and corner braces all the way around. plywood screwed to bracing/frame
planks laid out on plywood and glued plus brad nailed to hold them while glue dried.
routered edges of table top and started sanding, LOts of sanding , belt sanding with 80 grit then orbital sander stepping up to eventual 400 grit. I then cut skirts for the top of the legs 3 and 1/2 in skirts to cover screw holes. and a 1 in skirt to cover the rough edge of the plywood, ( both plywood and table top have a 2 in and 3in overhang respectively. Once everything was sanded to suit. I torched it and hit it with poly..
Mon, 02/02/2015 - 11:07
Love that is was repurposed from an old fence and the finish is amazing! Thanks for sharing!
Tue, 02/03/2015 - 08:34
This table is absolutely beautiful!! I am thinking of doing something similar but on a slightly smaller scale. Would you be able to post your plans? I'd love to see the brace work on the bottom/sides of the piece.
Also, how difficult was it to work the blowtorch? Any tips on what I should do (or not do) when trying it out on my own?
Thanks for the post!
Tue, 02/03/2015 - 15:21
Your project came out great! The wood grain is so prominent. My guess is that torching accentuates the wood grain so that it stands out more. Excellent stuff.
Tue, 02/10/2015 - 21:10
just try torching on a test piece first, it was suprisingly easy to do.
Plans...... I didn't make any. ( booo ) I used a 2x4 frame and 45 degree corner braces with 3 cross members. since most of the wood was extremely weathered, there was a lot of planing and sanding to do. Even then I put down a piece of plywood as an underlay for the planks to glue to. I punched the planks down with brad nails to allow the glue to dry because the planks took some effort to keep them flat. I have since built a matching coffee table 4' by 4' with yellow pine from the lumber yard, Not nearly as much work to put together since all the boards were reasonable straight/flat.
Great project with super clear instructions! Love the look of the sawhorse legs and had just completed a live edge table top, so merged the two for this coffee table.
The craft table was based on the Modern Craft Table plans and heavily modified to be at regular seating height. We also added a pull-out iron table based on plans from Made by Marzipan. The pictures are kinda deceiving, but the ironing table does push all the way back in the table and it only juts out just to show it :) Check out our blog post for more:
http://tonyandkristine.blogspot.com/2013/03/diy-craft-table.html
DIY Craft Desk.
I built this desk for my wife to give her more space to create her crafts. I meshed a couple designs that I had researched to give her a unique design. This project took me 1 week to complete by only working on it in the evenings but it could be done faster if you have more time available than I did!
Materials Needed:
2 - 6 foot 1x4" pine or Poplar wood
1- 8 foot 1x4 pine or Poplar wood
4- 2x2" pine wood 29" long
2- 1x2" pine wood 24" long
1- 12"x48" pine board (pre cut craft wood in Lowe's)
1- 24"x 72" pine board (pre cut craft wood in Lowe's)
Box of 1 1/2" wood screws
Wood glue
Wood stain and/or paint
8- 1" corner braces
1). Cut the 12"x48" craft board in half (2- 12"x24"boards.)This will be your shelves. Sand all of the wood prior to staining.
2.) Stain shelves and desk top. We used two coats of gray stain. Finish with one coat of Polyacrylic. Sand. Then one more coat of polyacrylic.
3.) Cut the 1"x2" trim to 2- 24" long strips.
4.) Attach the 2x2" posts to the 1x2" trim with wood glue and wood screws. You will end up with an upside down U shape. This trim piece will give added support for desk top. Do this twice and then Paint your posts.
5.) Mark where you want your shelves on the posts and screw in your corner braces to hold the shelves up. I placed the shelf inside the posts to give me 12" of width for baskets. Screw your braces onto your shelf and then attach to the posts. I recommend doing the bottom shelf first so it stabilizes the posts.
6.) Do the same thing with the top shelf. Mark where you want them and attach with corner braces.
7.) Moving on to the cross box base.... Build the 4 sides of the box first with the 1"x4" boards. This desk is 24" deep and 29" tall. Use wood glue and wood screws to assemble. I predrilled the holes then, placed glue on then screwed together.
8.) Make sure your top 1x4" is the full depth of the desk so the weight of the desk top is spread evenly on box.
9.) I used this guide for the interior cross pieces. http://sawdustgirl.com/x-leg-office-desk/#aa
10.) Paint your cross base.
11.) Attach desk top to bases with wood glue and wood screws and you are all set!
It was a fun project! - Jen
This is the first Ana White project I have done. They are beautiful! I normally use reclaimed lumber, but made an exception and used dimensional lumber for these.
Mon, 04/26/2021 - 11:47
What a beautiful space you've created, thank you for sharing!
I found the plans for this bed on this site and was sooooo happy. i was looking for a unique bed for my daughter. I had searched beds for girls and cam across castle beds. I found some pretty extravagant beds costing $20,000 by personal designers and then I found beds from $1,000 to $5,000 buy it and put it together and THEN I found this plan. People asked me if I had experience in building anything. The answer was no BUT I CAN do it!. Plus the plans were very easy to read and understand! My daughter is beyond excited! She can hardly contain herself! THANK YOU!
Wed, 03/27/2013 - 16:48
You did an amazing job on the castle! Truly outstanding. Absolutely love the painted details on the castle. And the mural! Wow! Its so great your daughter got to participate too. She'll remember this when she's all grown up. Congrats on a fabulous project! :)
Sat, 03/30/2013 - 15:36
You did a fantastic job! I love the detail you added! I'm so glad the plans were easy to understand :)
Our kids love our new library! We have lots of books but few places to store them (one grandma is a reading teacher and the other works in a library).
Our alcove is 11' wide and the long shelves are 10' long. The short shelves are 2' long. The antique church pew in the center is 5' wide. I put the bottom shelves just below the outlets so we have an iPad charging station.
Hello from London, UK.
Used 120grit sandpaper and stained with Ronseal 10 Year Exterior Satin Woodstain 750ml Natural Oak
Well...this was pretty much all done by me.
I am really not liking how many bad boards there are at the store. It takes forever to find a decent board. I had some of my x12s measuring closer to 11 (yes I know they aren't 12 inches).
The door is a little wonky but if it bothers me too much I will just replace it with a curtain on a tension rod.
I love the yellow and I am very proud of myself :)
I didn't have a Kreg jig (too expensive for us right now) but it would definitely have been helpful...
Sun, 03/31/2013 - 07:44
I run into that problem as well!!! And with two kiddos at my hip it gets more annoying to sift thru 5 boards before a good one comes up. But it's all worth it. I made this as well and and the magnetic closure made all the difference. This is really nice by the way. The color is fab!
On a rainy morning in early January 2015, my wife and I were sipping our coffees and starting to get ready to take on the day. It was a Saturday morning, so we didn't have to go to work. We had moved into our house about a year ago so a few of our rooms were still a little bare and simply acted as play rooms for our daughter.
I walked out of my office, and looked over to the empty dining room which was immediately adjacent. Coming from a large Italian family, most of my childhood took place around a large dining room table at my grandmother's house outside of Philadelphia, PA. This empty room just didn't seem right. I decided to do something about it.
I remembered walking around Restoration Hardware seeing this amazing farmhouse table that was around $2000. Way out of our price range for a simple dinind room table. It also didn't come with any benches or chairs. It would have cost me around $2600 when all was said and it just gave me some severe heartburn.
I stumbled upon Ana's site here and decided to look around a little. Low and behold almost the exact same table was featured here. After getting over a short panic attack about building a piece of furniture that we would be using quite often I headed to Home Depot, got the materials, some new tools and got to work.
Not only do I think it turned out awesome, it was an amazing stress relief. Two weeks later and bought the Kreg Jig and built a matching bench. These pieces are so solid I could drive my car onto them. Thanks, Ana for the confidence to get this done the right way and save me about $2000.
Onto my next project, a jewelry armoire for my wife's valentine's present.
I built this before my son was born to use as a changing table in his room. I used leftover plywood from another project which made it a cheap build. It is super sturdy and has plenty of storage on the top to hold wipes, diapers, and creams. I used shelf lining and bought cute baskets to complete the look.
I used the Ana's Cedar Planter plans and flipped it, placed a bucket with cement inside to support umbrella and made a simple table top for drinks. Hope you like it ✌🏾
I modified this plan to use wood that I had and also a piece of kitchen counter top that was left over from my daughters new house.
We used Anna's outdoor Sofa plans, which were very easy to read. For wood, we kept costs low by using pressure treated wood, and staining it with Minwax Colonial Walnut stain. We did use the lumber cutting service at Home Depot- only $15 for the cuts, and it made the project time very quick. The cushions were from Lowes, and throw pillows were purchased the previous season at Homesense. We are so happy with how it turned out. Thanks, Anna!
I used Shelf Help for the plywood pieces and a mash up of Ana's plans for the rest. I shared a video on my family page for steps used here https://www.youtube.com/watch?v=urFoX5j4J0s