Beavers/San Fransisco giants bunk bed
I’ve made several of these bunk beds now and my oldest was wanting a oregon beavers/San Fransisco giants themed one after we donated his during our move. It’s made out of 2x4’s, 2x6’s and 1x3 pine.
This was a project I took on for my two daughters (5 and 2). I was pretty intense as I used the castle loft bed as my starting point. The drawbridge is fully functional, but I had to remove the black ropes as my kids were running around and tripping (safety hazard). I made the top large enough to house two small mattresses for the kids to sleep on. I made use of the space under the stairs and the slide by cutting out doors. This is a very large structure and is modular (front, towers (2x), stairs, slide, platform). They are all joined with some significant lag bolts and is sturdy enough to have my wife and I and both children up top. I have also mounted LED lights under the platform wired to a switch so that they can see at night. Overall, it has been a hit for my daughters and their friends. Thanks for the plans!
Sun, 04/19/2020 - 18:25
could you possibly give me a rundown of what specific changed you made, what extra material I would need, ect. I'm wanting to build the princess bed- but I'm a little ocd and would much appreciate the symmetry of two identical towers. thanks if you can help.
After being forced to sell my first build by an admirer, I decided to do another and distress it rather than stain it. Turned out really nicely.
This was my version of Ana's chair. I made it just like the plans put bit wider for the of 1x6 back. I made it into a shark chair for my Grand Daughter.
Sun, 12/12/2021 - 13:23
That's awesome, she is going to love it! Thank you for sharing~
Sun, 12/12/2021 - 13:23
That's awesome, she is going to love it! Thank you for sharing~
This was my first build. I was conviced to do this once I saw the Pottery Barn price tag. The plans were so easy to follow.
Dear Ana White: Please stop posting cool - “must do” projects on your website … you’re killing us.
After we saw Ana White’s posting for her pallet wall http://ana-white.com/2015/02/free_plans/pallet-wall-hgtv-saving-alaska , we knew we had to augment our guest bedroom with this concept.
Before we began this project, we really didn’t have any idea how expensive “rustic” was or how complex “random” could be.
Mostly, we used 1 type of reclaimed barn wood and stained it with 3 different colors as well as using the natural un-weathered side to add color contrast. For added variety, we used some leftover reclaimed barn wood from a previous project spattered throughout the design.
This was really a fun project. Barn wood is very forgiving and user – friendly. Each piece of barn wood is unique in itself, very much like a snowflake, from being weathered in the elements.
We finished the room off with closet sans door, picture frame & nightstand.
The GOOD news is that we are now out of reclaimed barn wood and we can’t build anything else.
Thanks, Ana! You have helped us make our guest bedroom a special place for our visitors.
Built this for one of my children for Christmas!
My own take on this build:
https://www.ana-white.com/community-projects/butcher-block-kitchen-isla…
I used a pre-made butcher block top from Home Depot. I did have to cut it down to 2ft by 3ft
Legs were premade from tablelegs.com. I wanted solid legs and didn't want the hassle of shopping fo 3 inch thick lumber.
Drawer is Tiger Maple with plywood bottom, and the rest of it is Hard Maple.
I made a high speed style build video here-
https://youtu.be/iS5wN_CUrEk
This is one of my favorite pieces on Ana's site. I knew the minute I laid eyes on it I had to build it. I hope you guys enjoy it half as much as I do.You can read the full details of the build at my blog here:
Thu, 06/20/2013 - 16:00
Love this! You did a wonderful job, and the finishes are awesome! Also I read your blog post, what a great idea to give a new life to those bedposts and use them for your table legs.
This is from Ana's Squared2 headboard plans. I made it for my Mom and she loves it. I adjusted the width to fit a full size bed by taking a few inches off each side. I found some right angle clamps at an estate sale that were invaluable in putting all this together. It would be very tricky getting everything just square and lined up with just regular clamps. I was worried about it being a little flimsy with all the small pieces, but it seems pretty sturdy.
My wife asked for a homemade votive candle holder for the holidays. Searching online, I found that the general design concept is a board with holes in a straight line. Since the desired design is for a holiday centerpiece on a table, I chose an octagon shape. We think it turned out very nice! My kids even gave it a "that's pretty cool" which is an upgrade over their comments on my previous projects :).
Loved making this instructions were so simple. I love how it shows how much wood and what cuts are needed
This is the lego table my husband & I made. It was a fun project to build & we liked it so much we had to make some end tables to match. We used the same design just scaled everything down for the end tables. Making them was no problem but painting them was a different story. We started out with a latex primer & paint, & found out that was a mistake. The latex paint is just too soft for furniture. So we went out & got some oil base paint and sprayed them. With lots of sanding & repainting we finally got them done.
I was inspired to try this after reading all the comments and being discouraged by the high price and poor quality of commercial sandboxes. We followed the instructions and it was super easy! I'm a complete novice, so if I can do it, anybody can.
After cutting the wood and sanding it, it only took about three hours to assemble the sand box. I then primed and painted it the next day taking about 3-4 hours. We also attached a landscaping barrier to the bottom with a staple gun to prevent weeds from growing through the sand. We used 10 bags (50 lbs) of play sand, but you could get by with less.
So far, it's been a big hit with my three-year-old son.
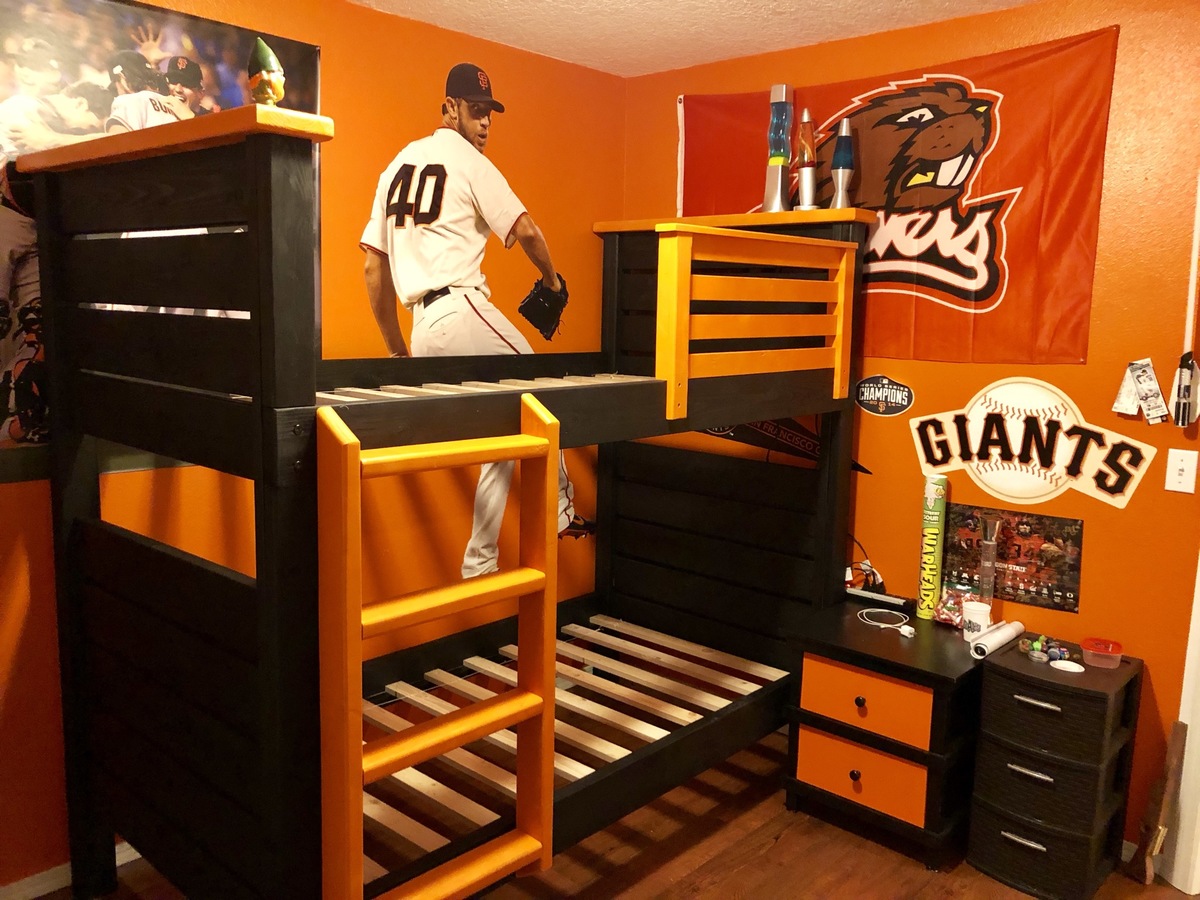
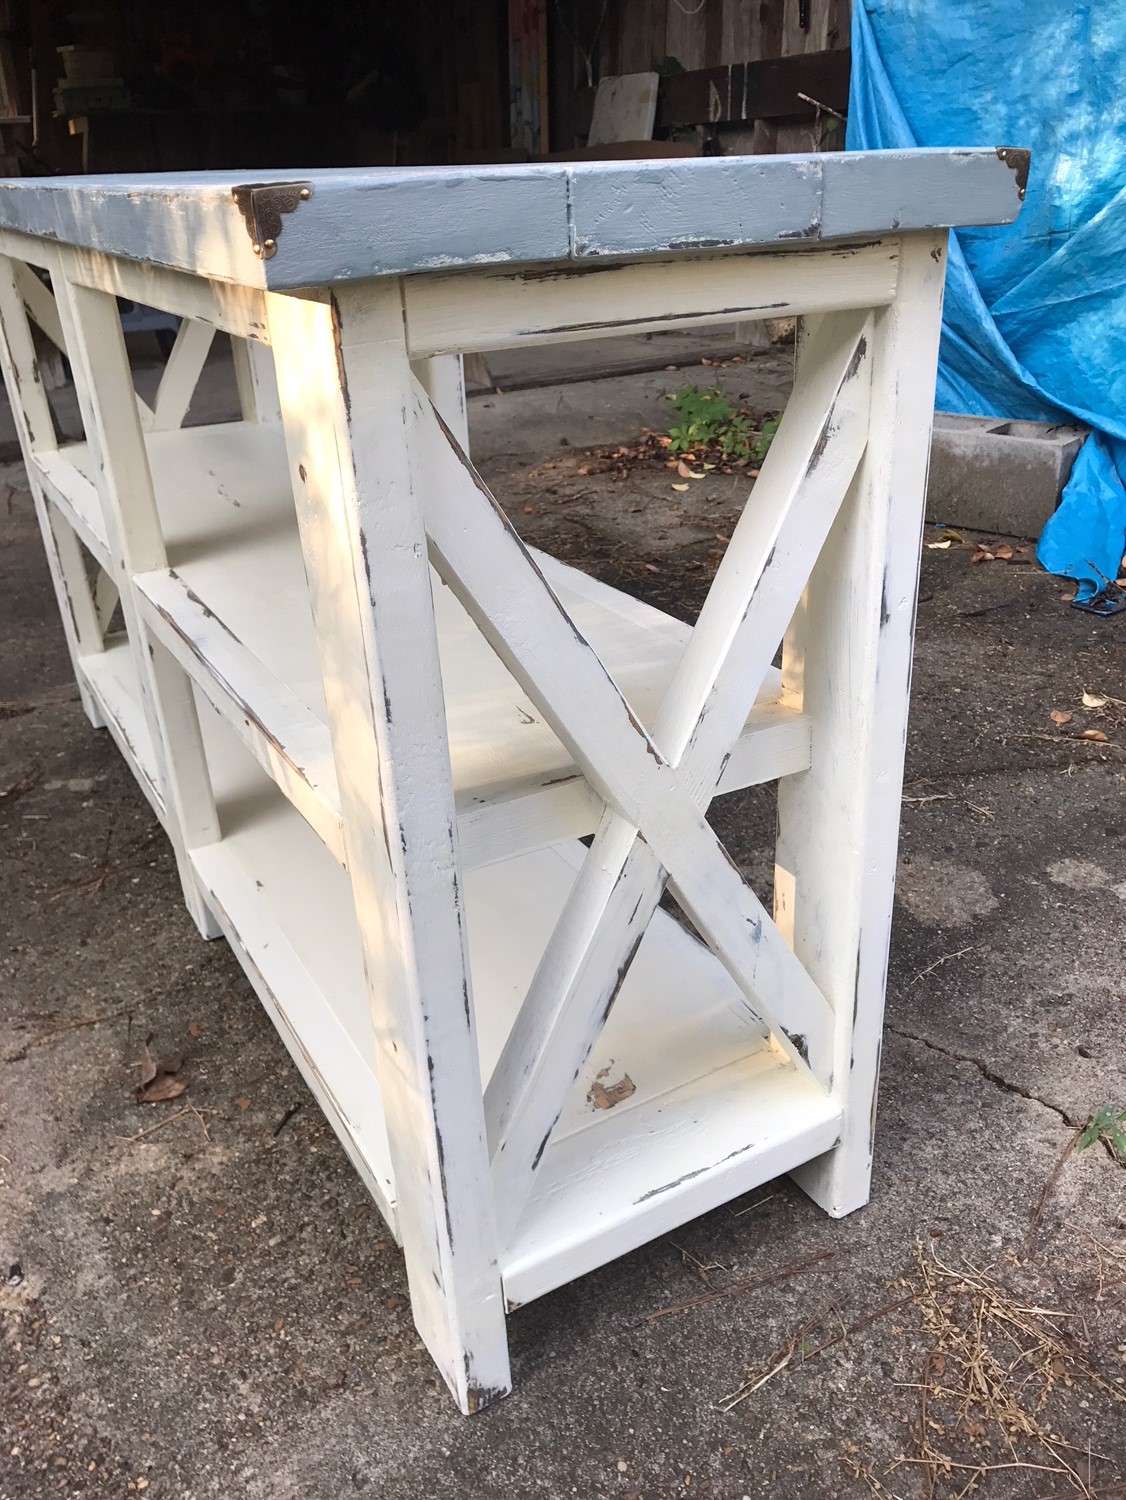
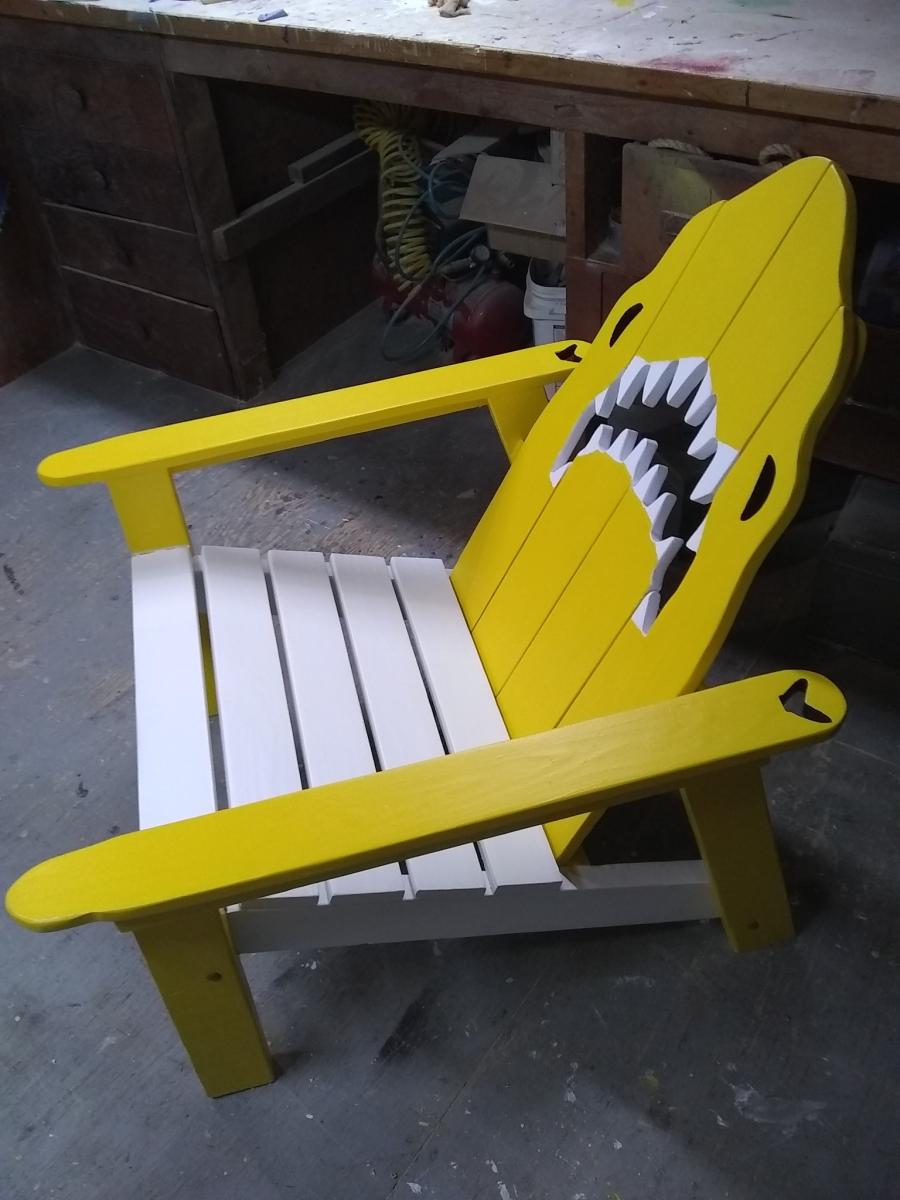
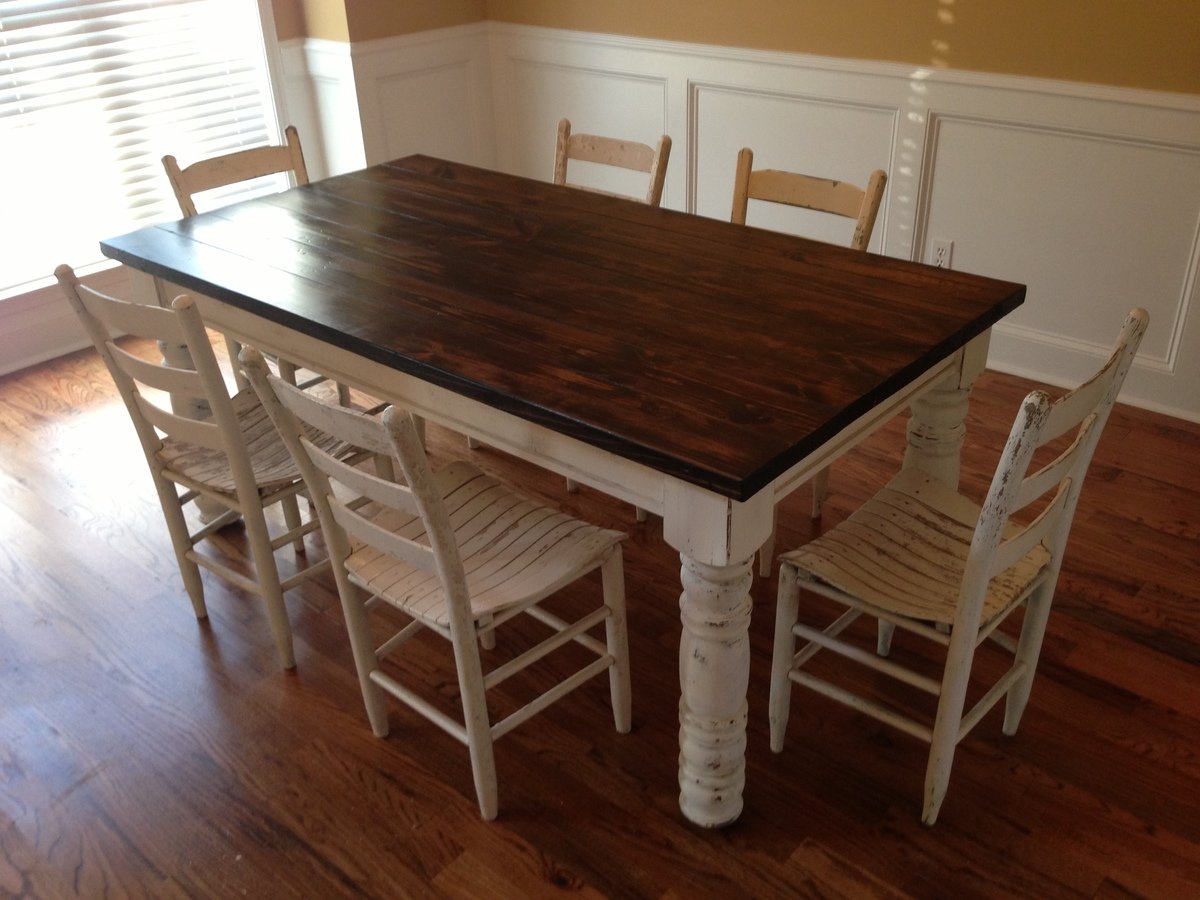
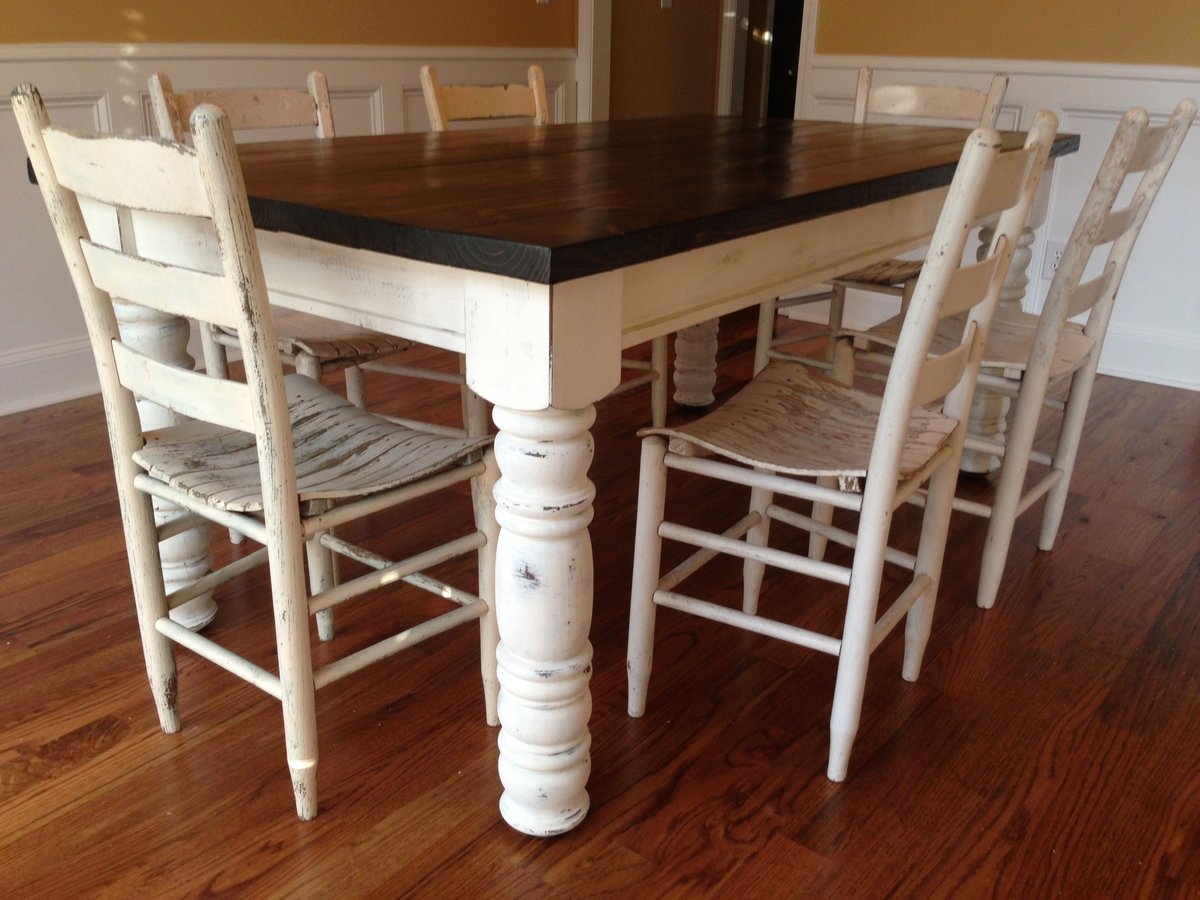
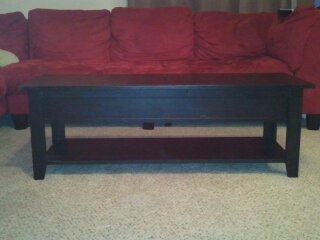
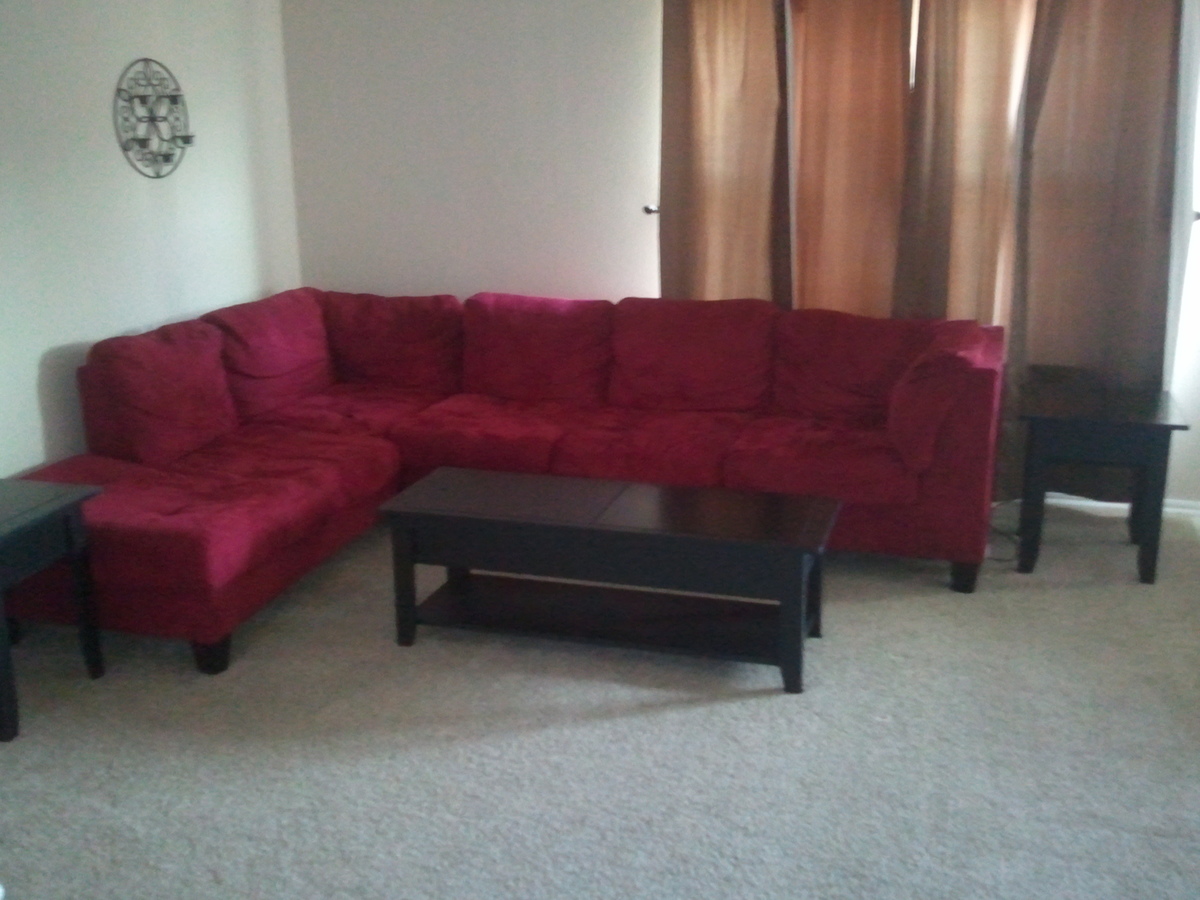
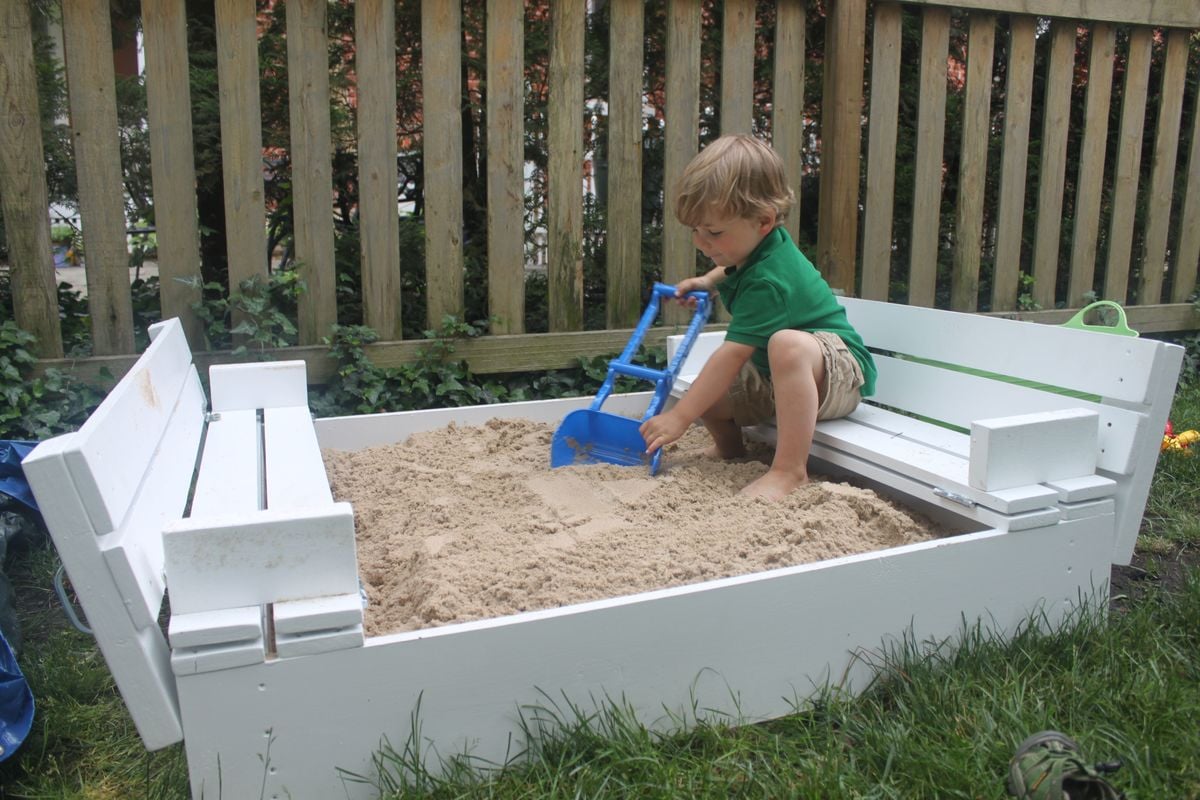
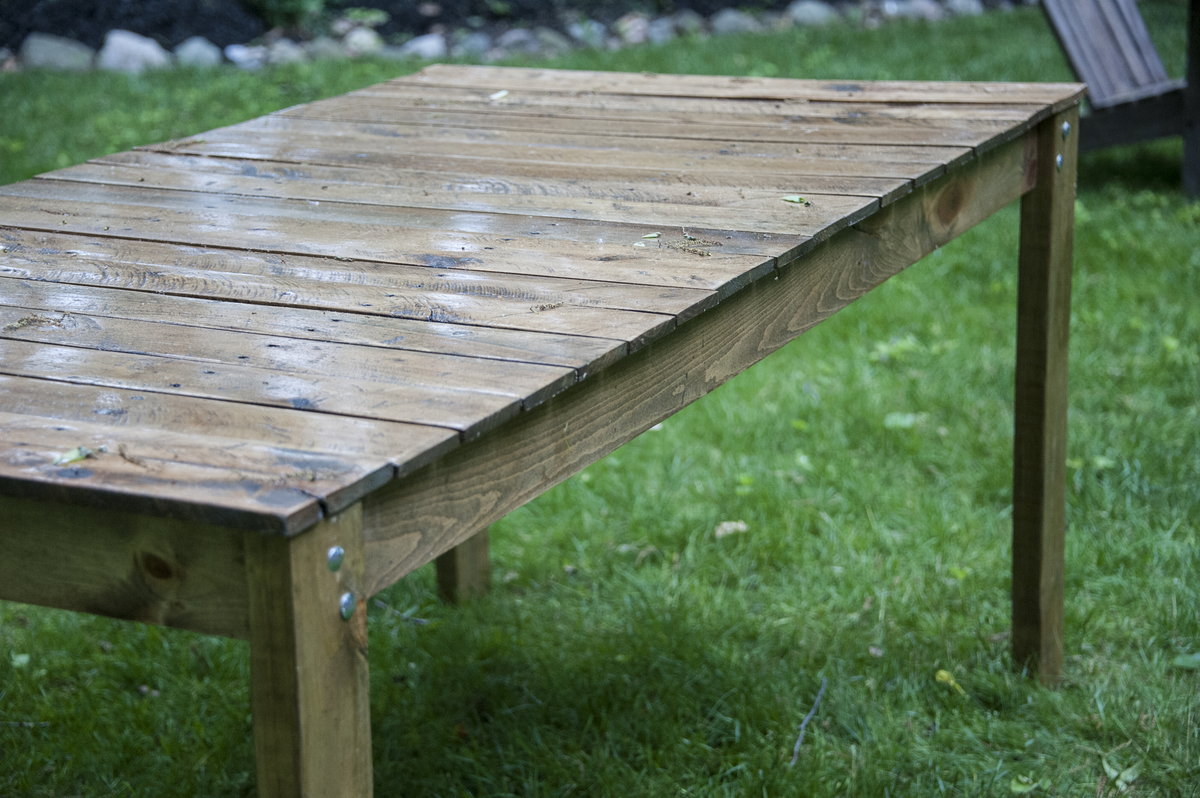
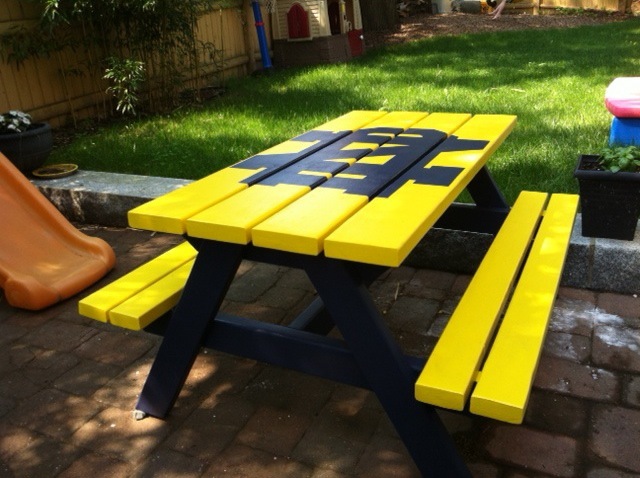
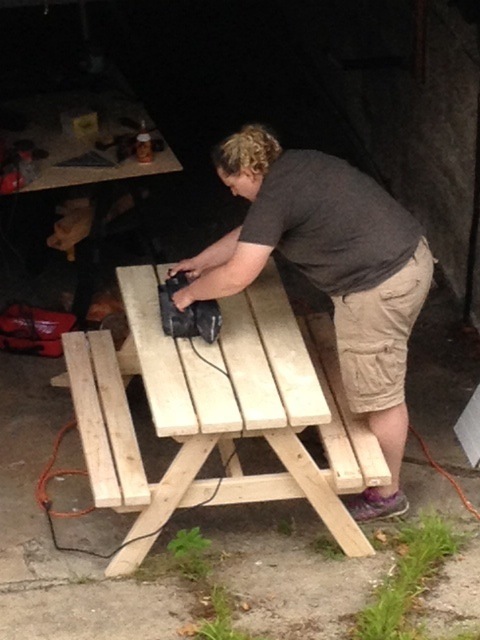
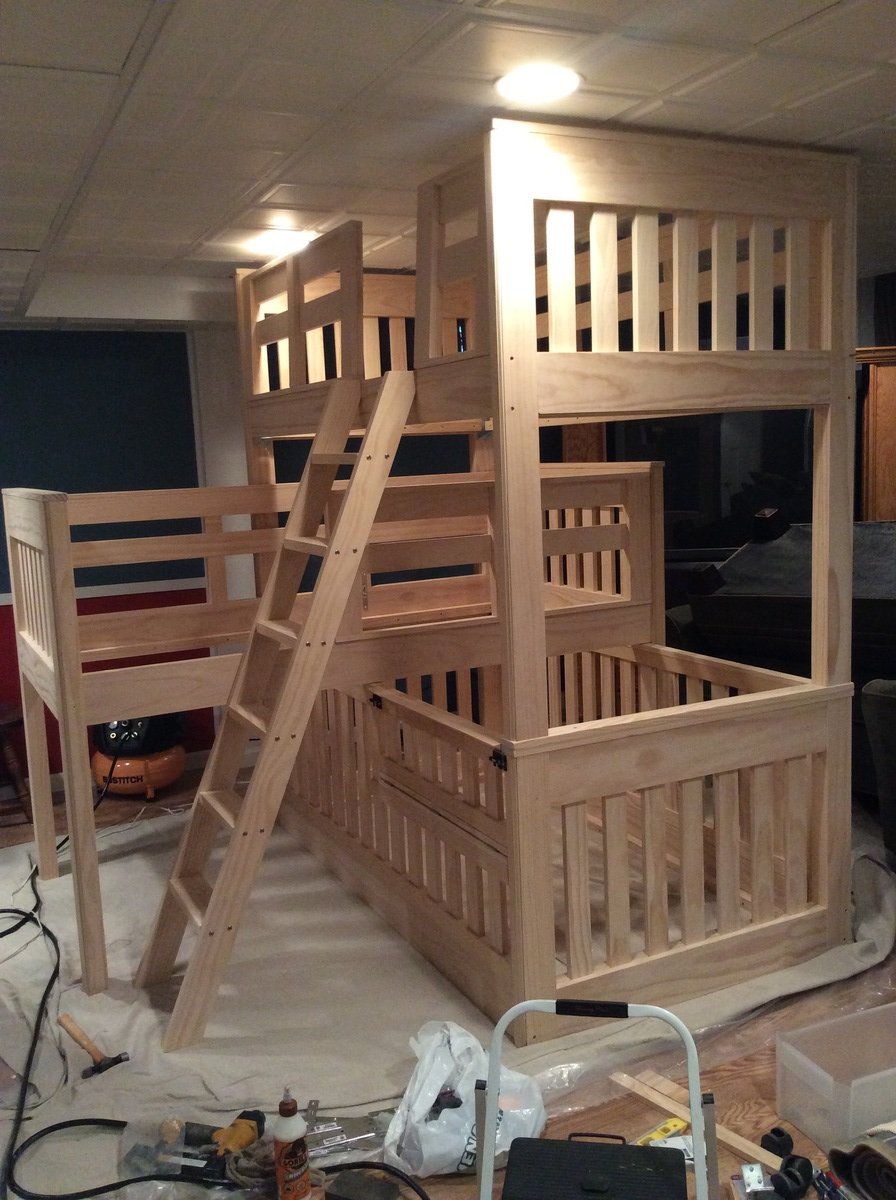
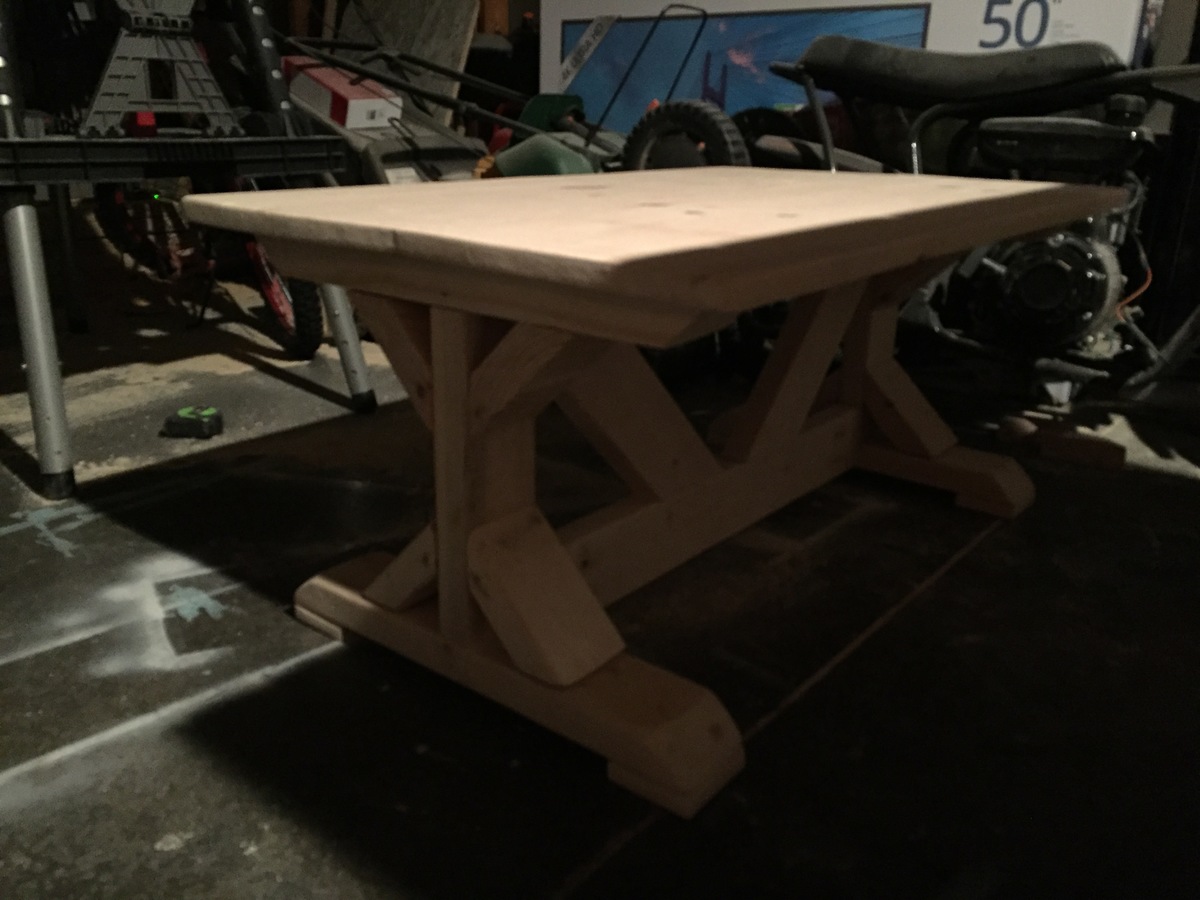
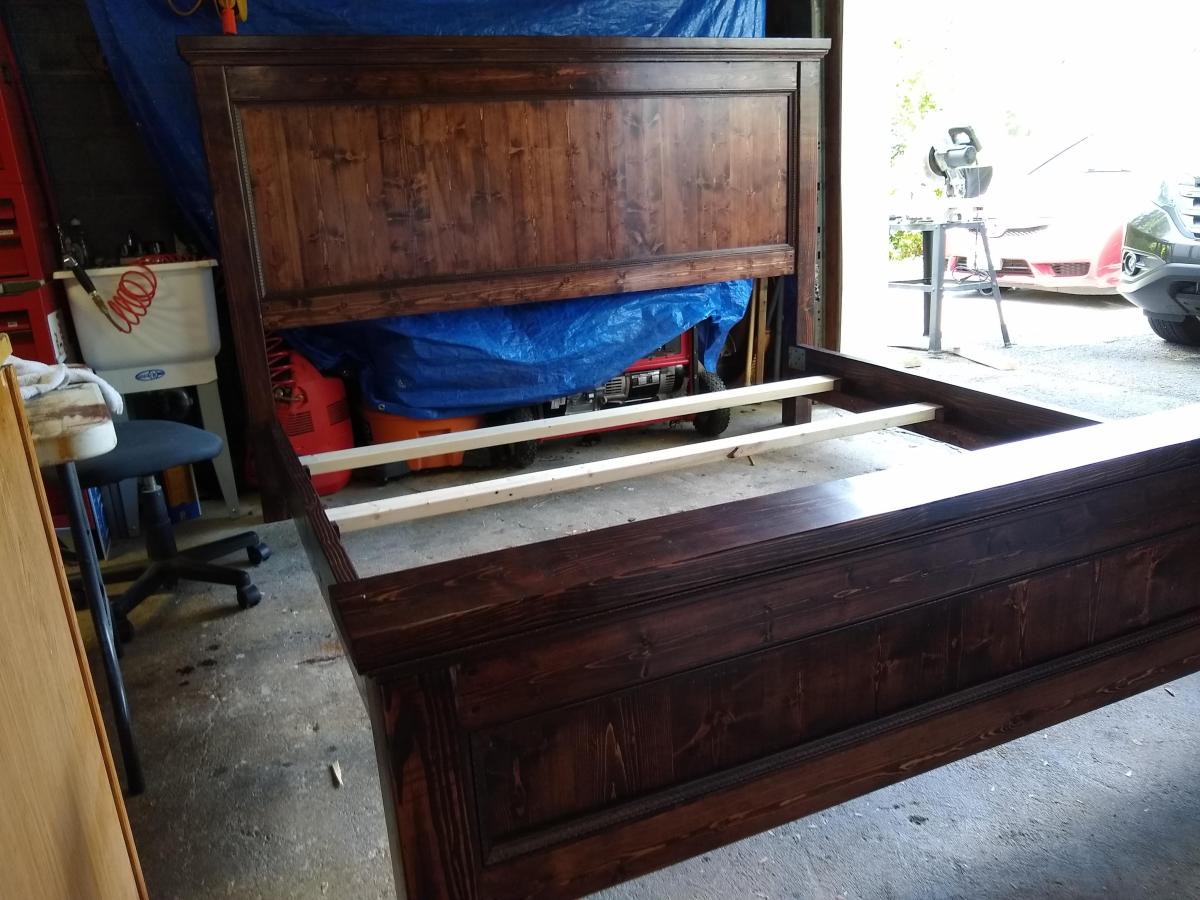
This was my very first project wood building project. I was very pleased with how it turned out. It's not perfect, but I have learned some tricks for my next project.
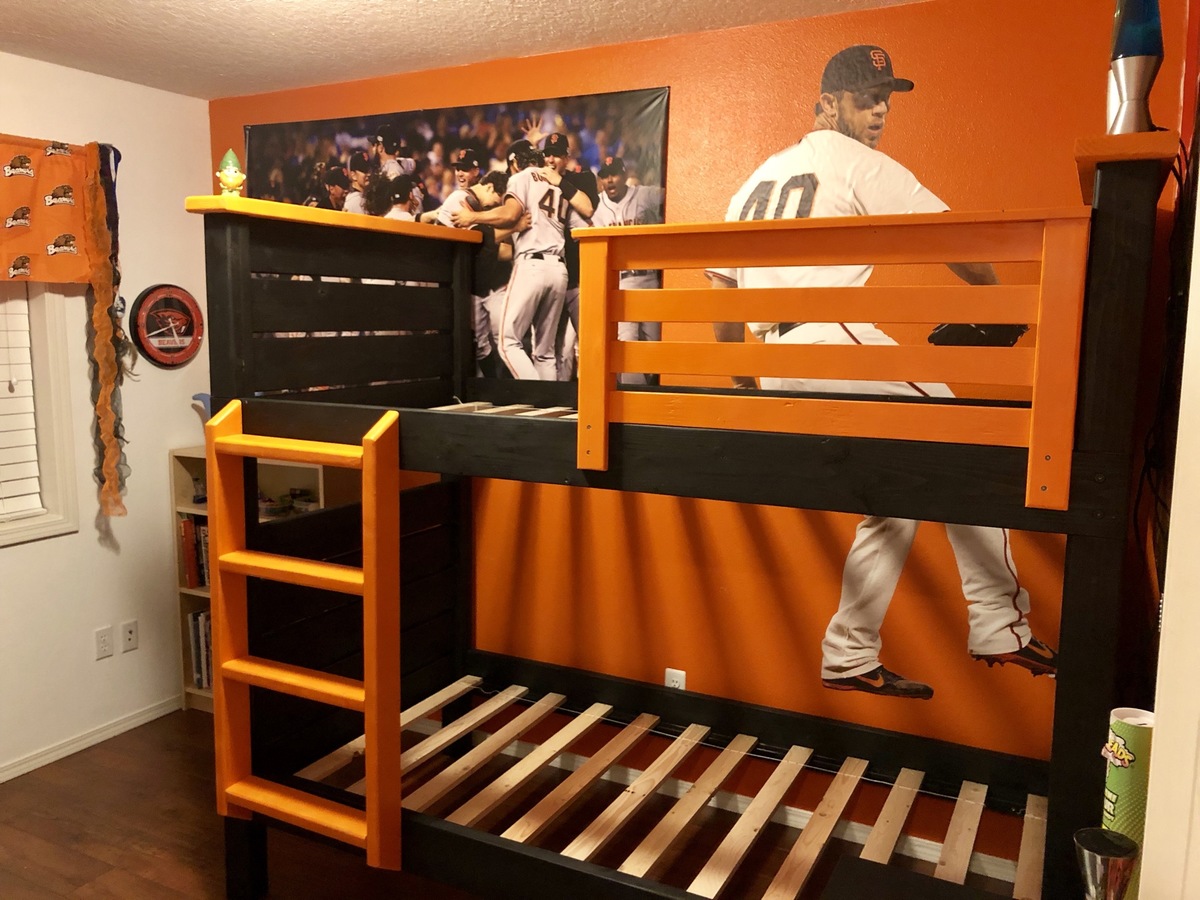
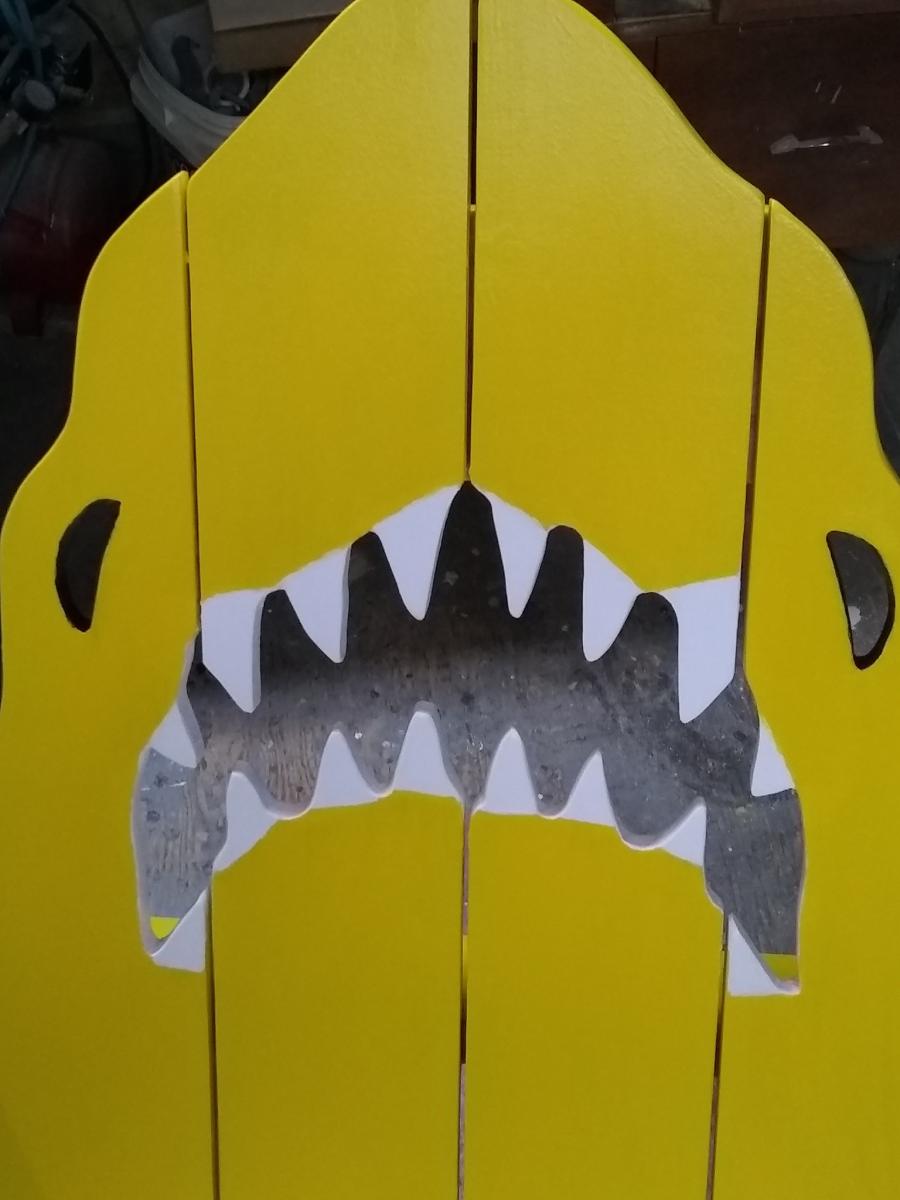
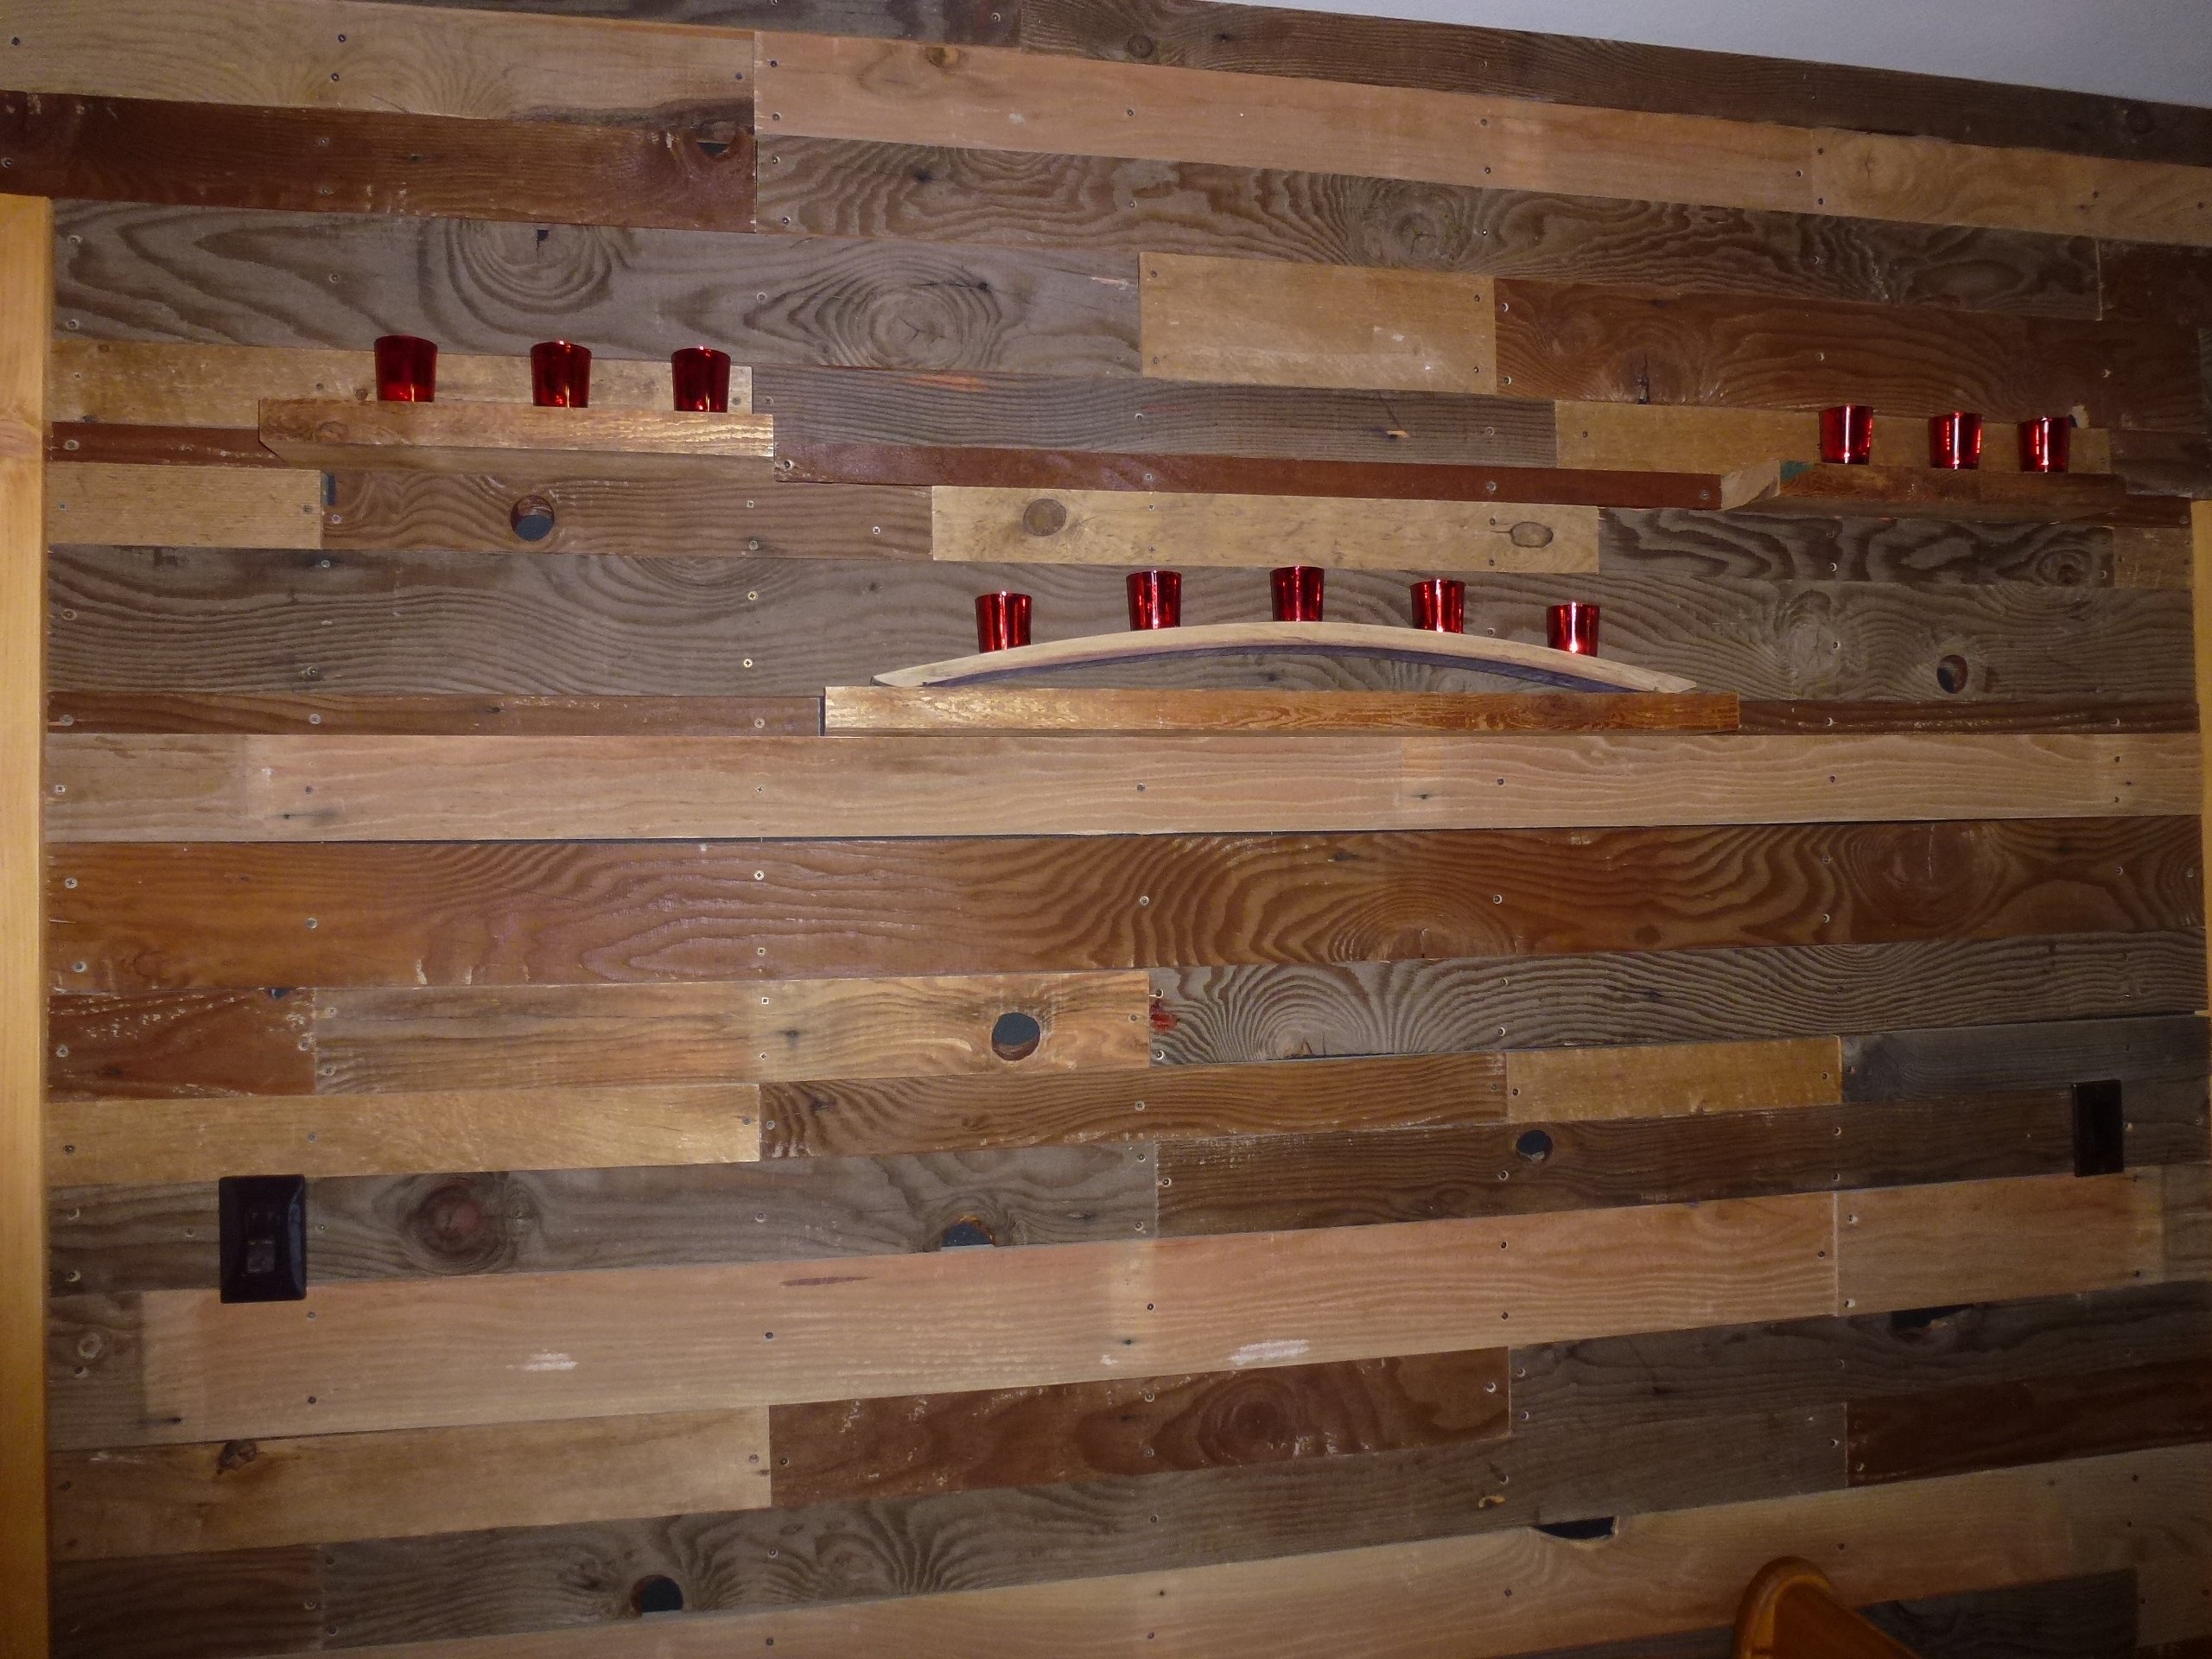
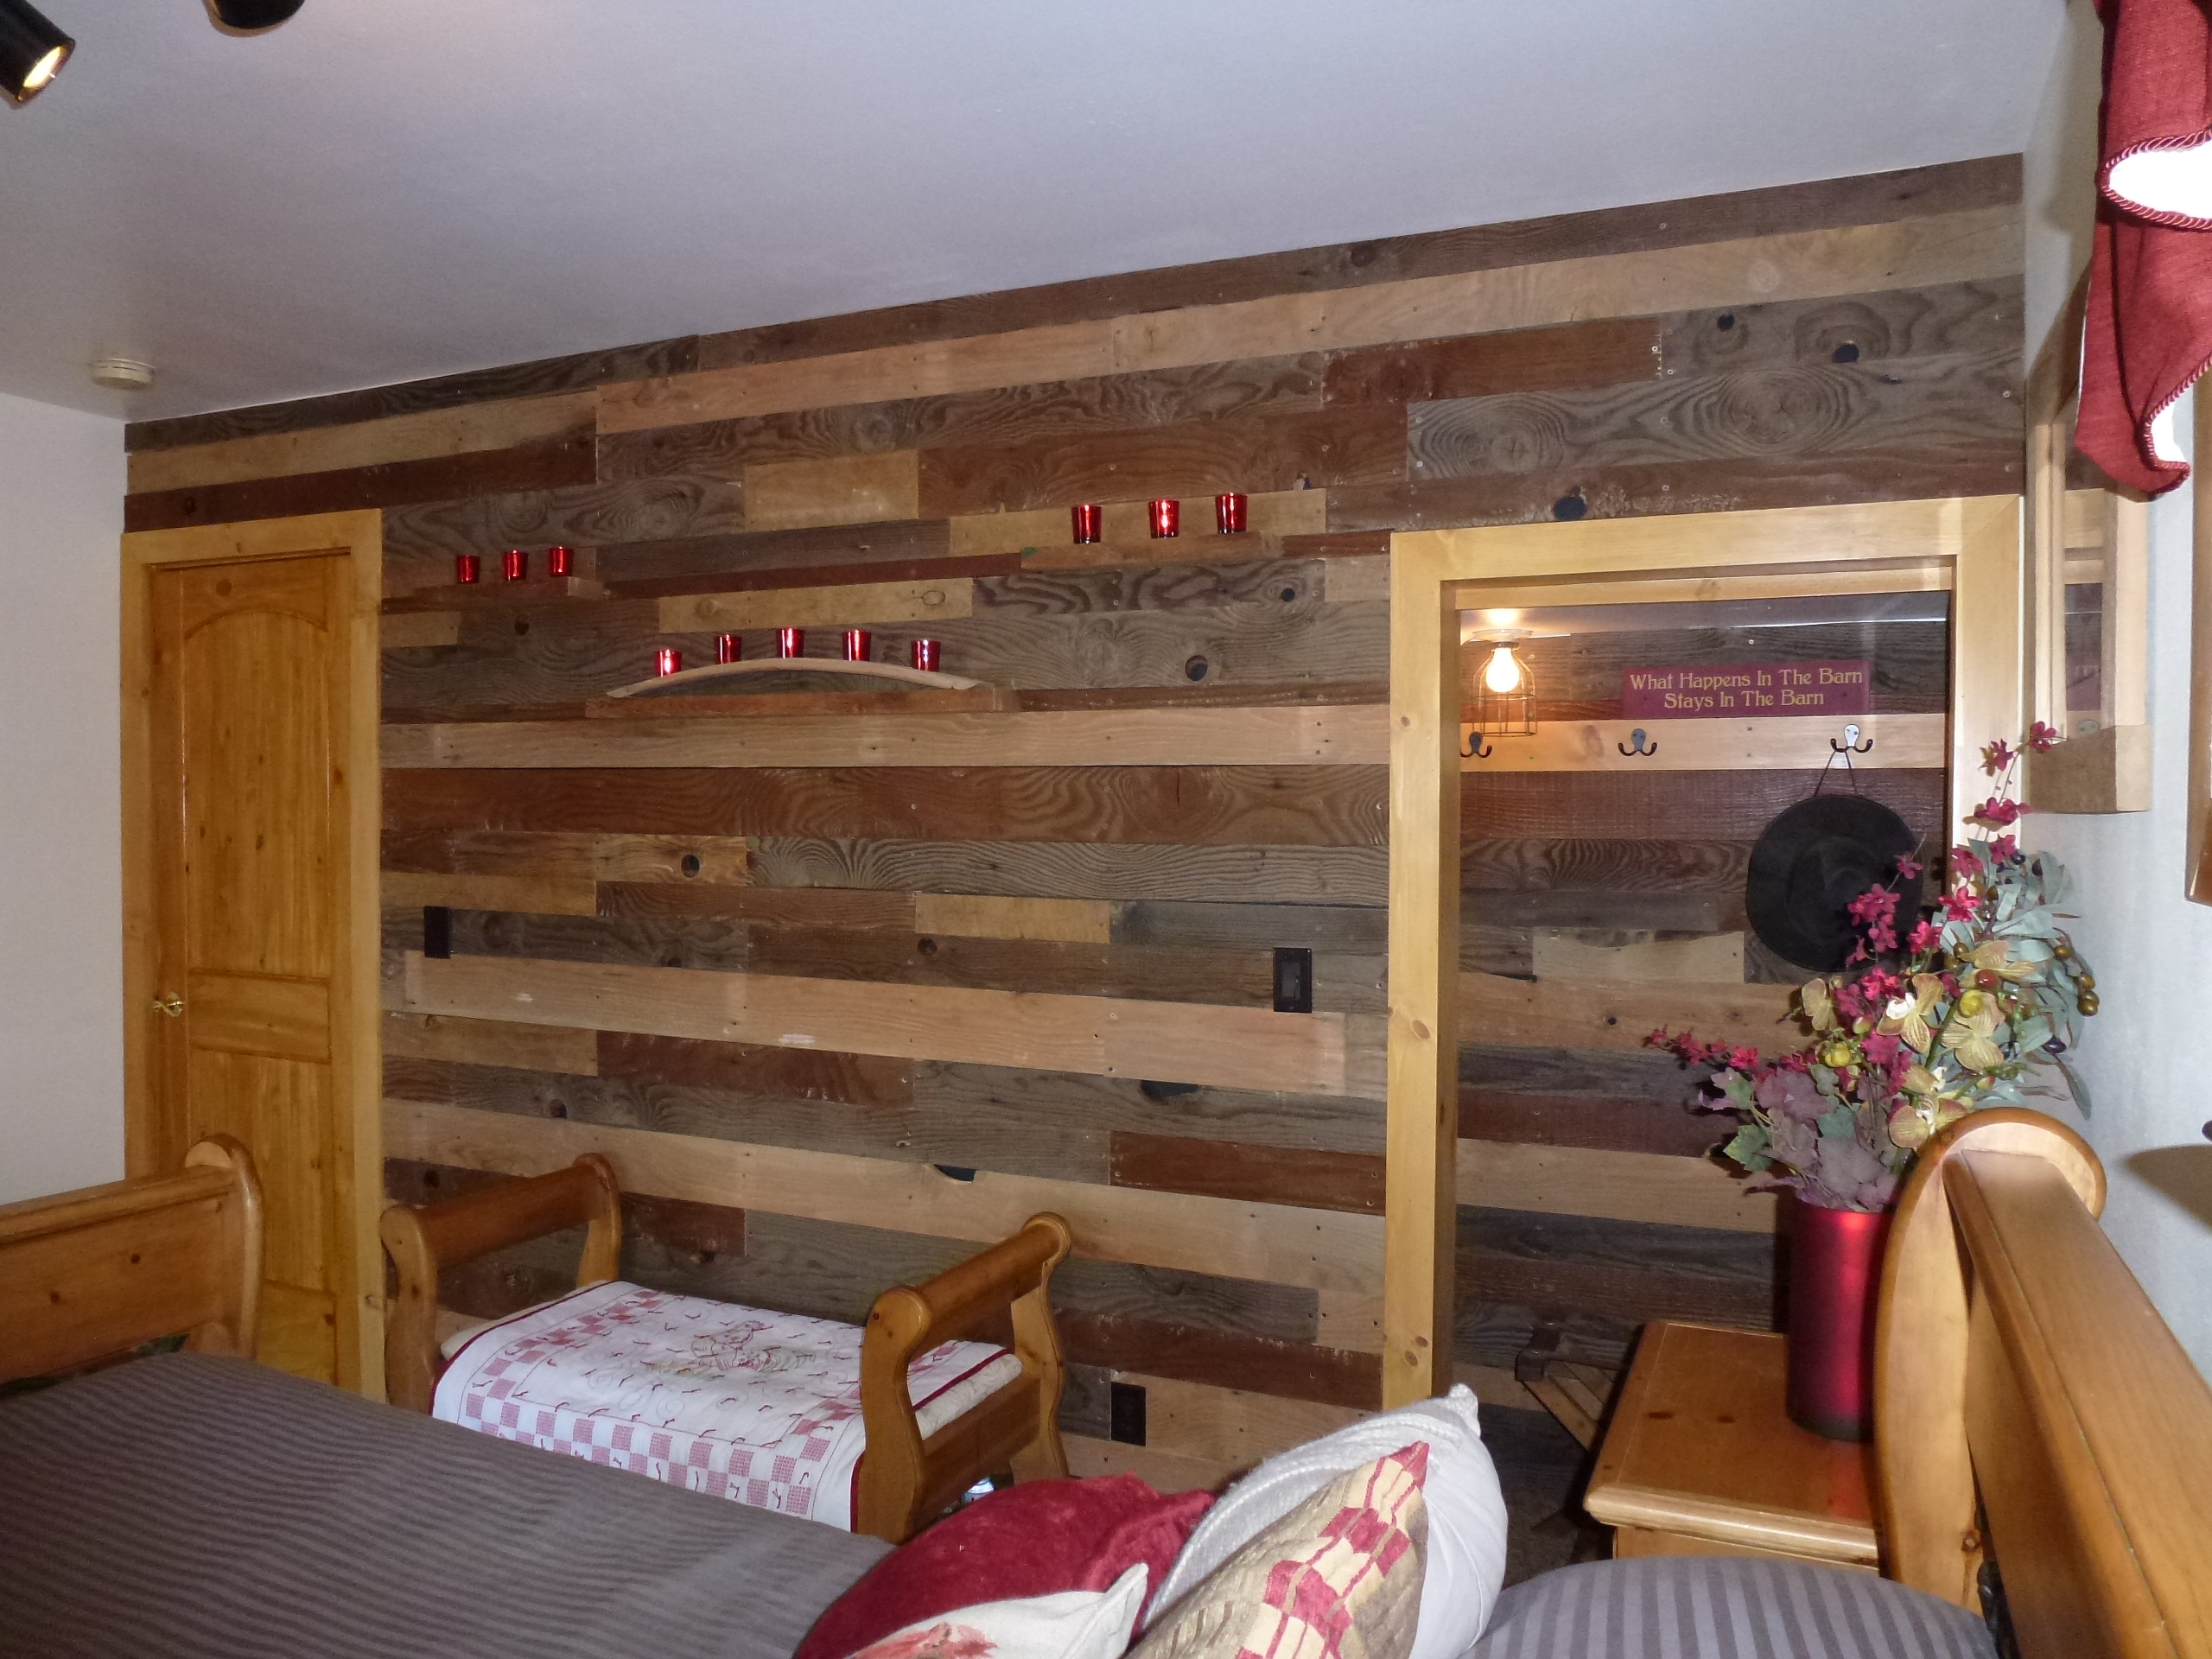
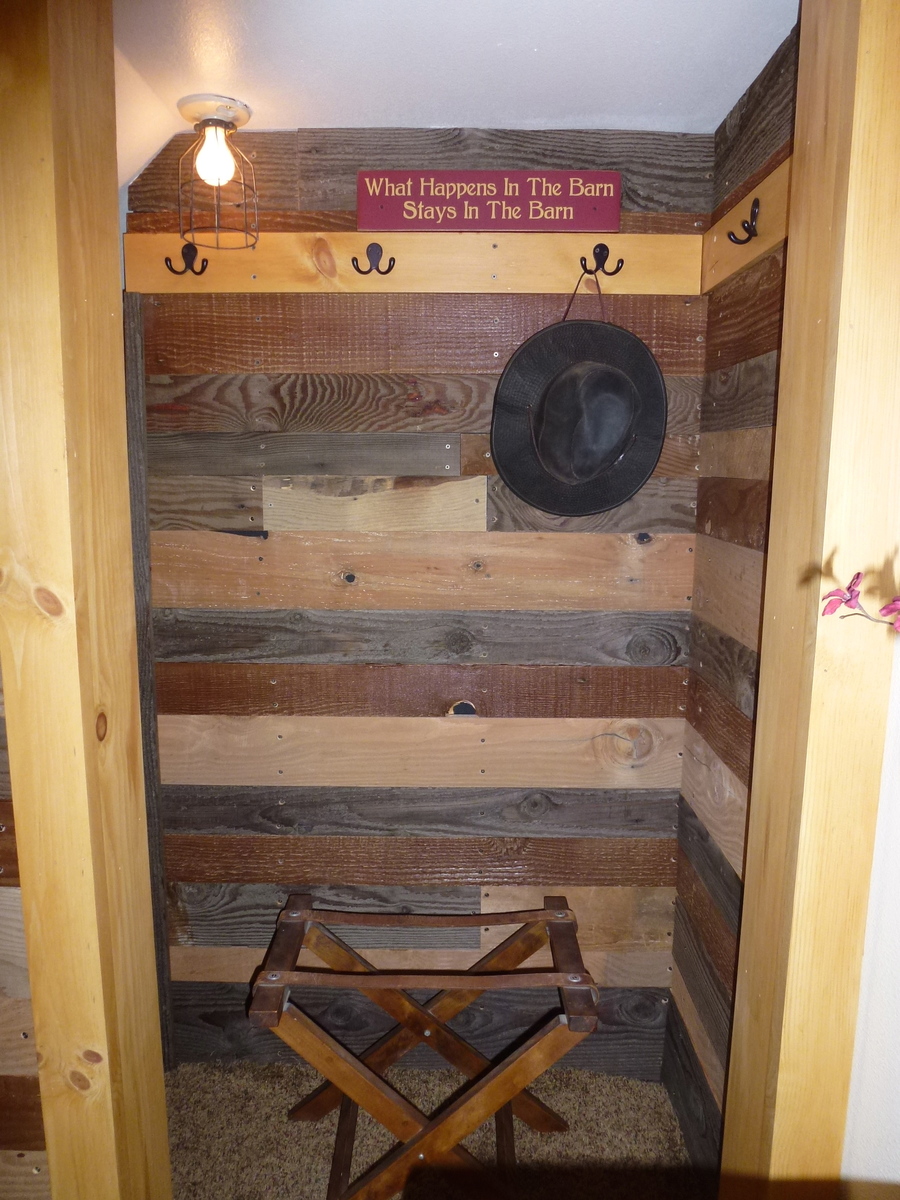
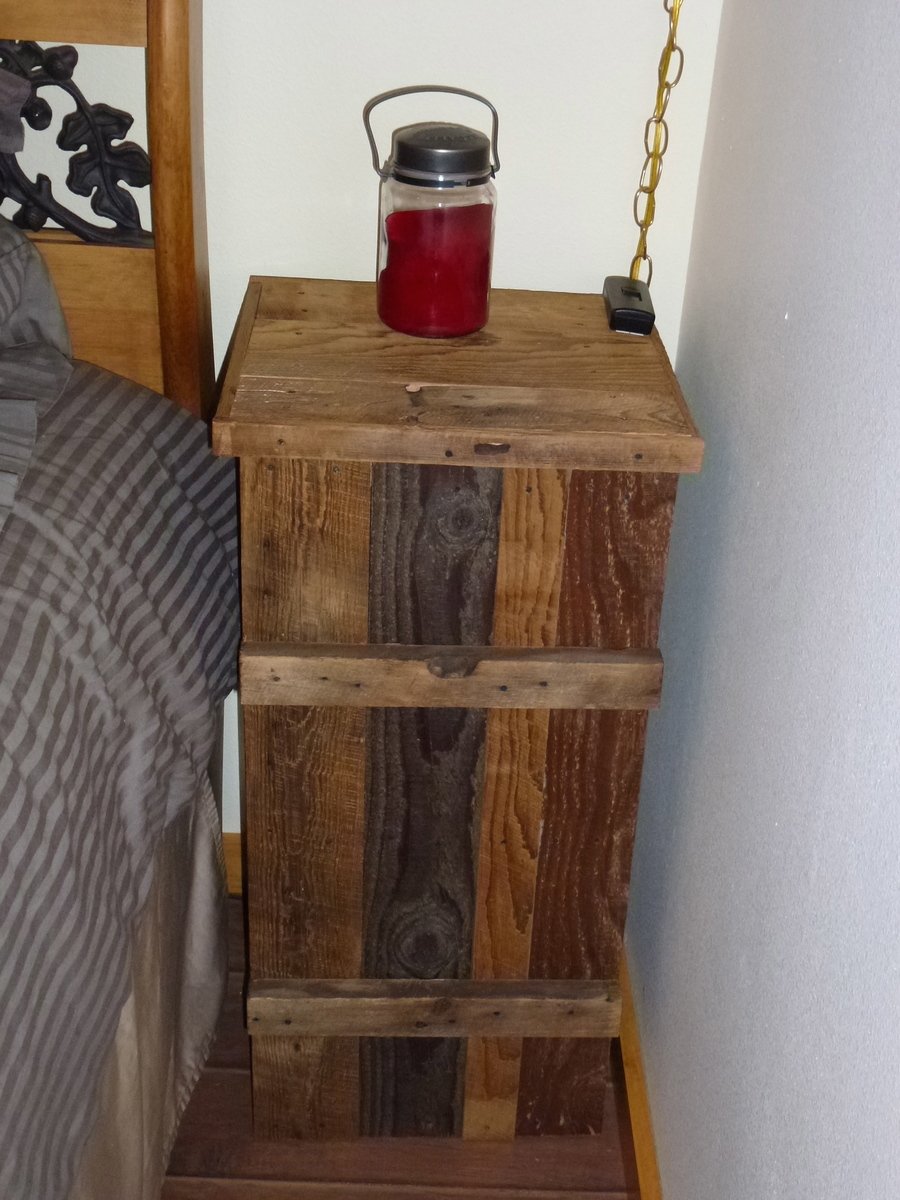
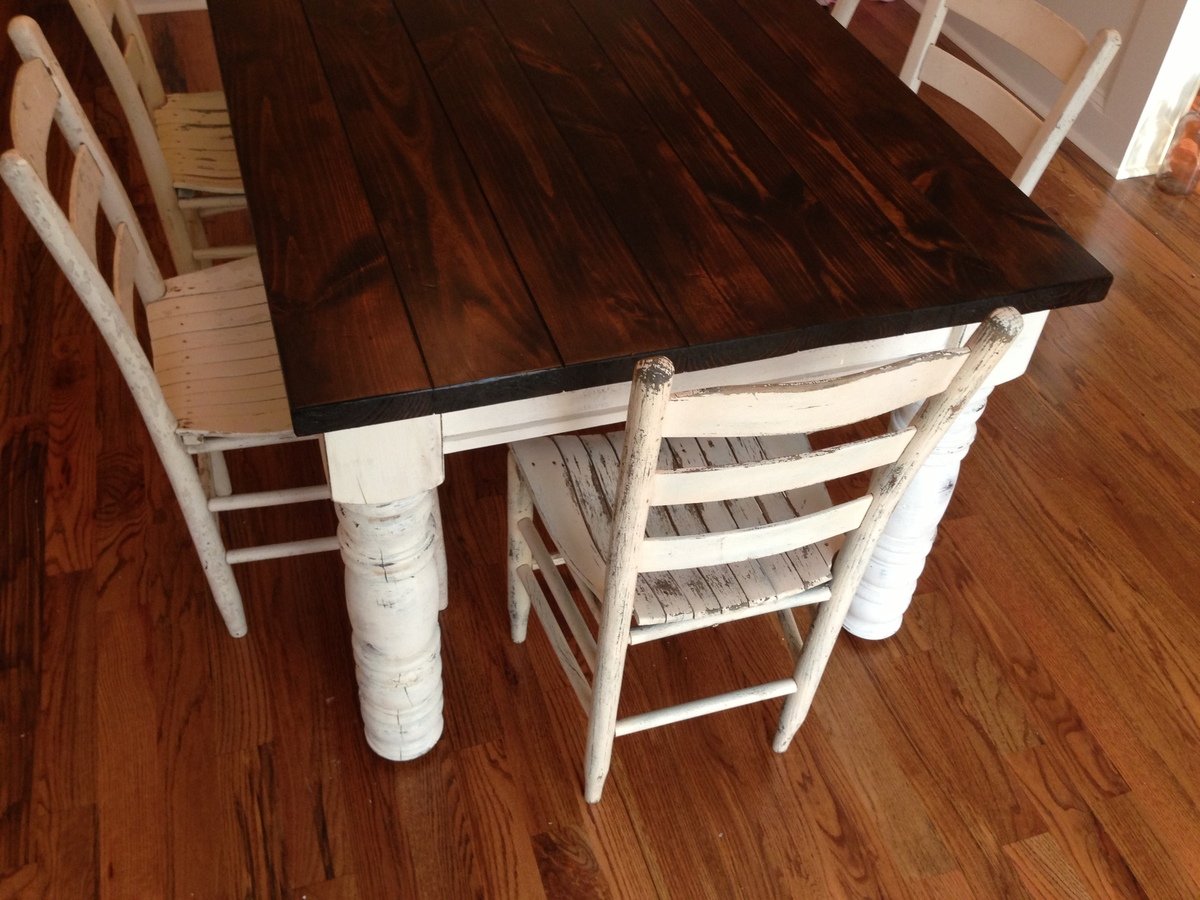
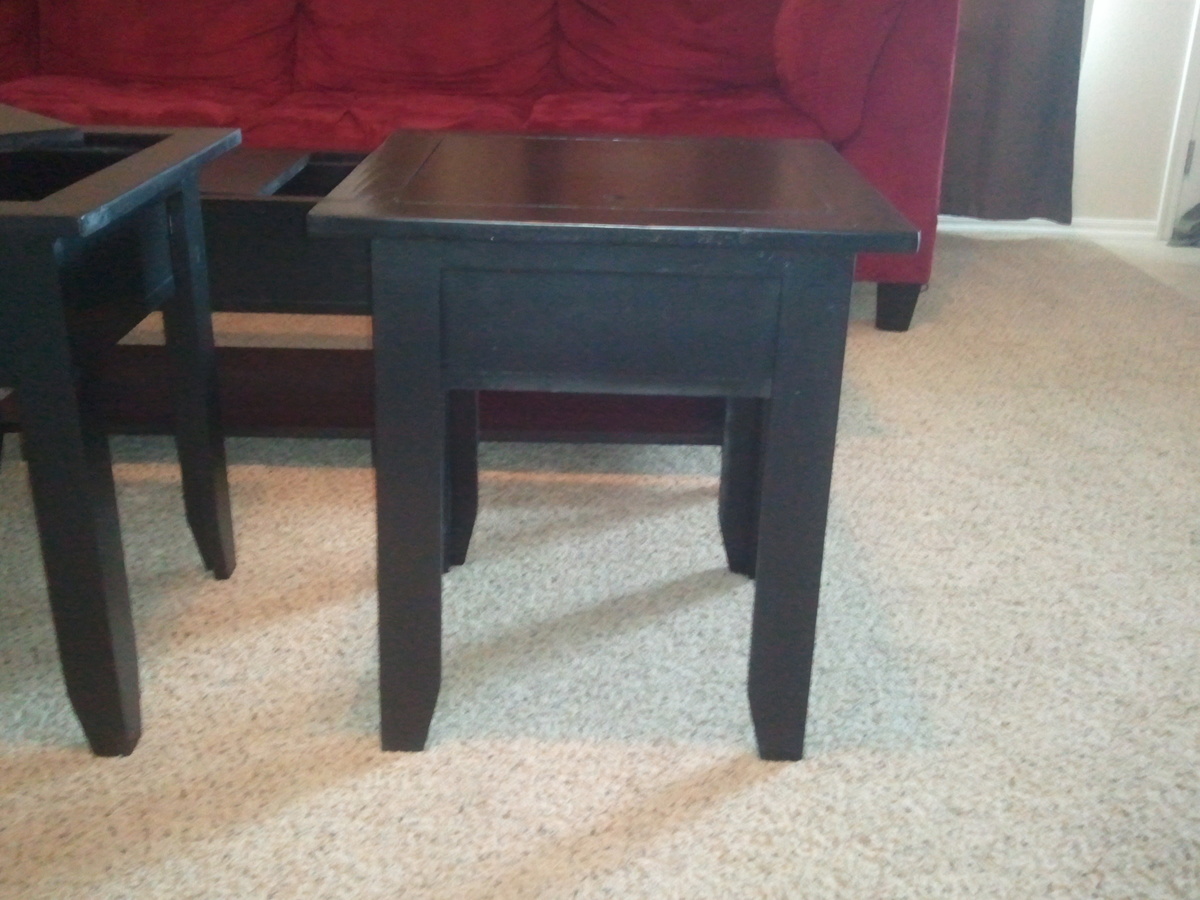
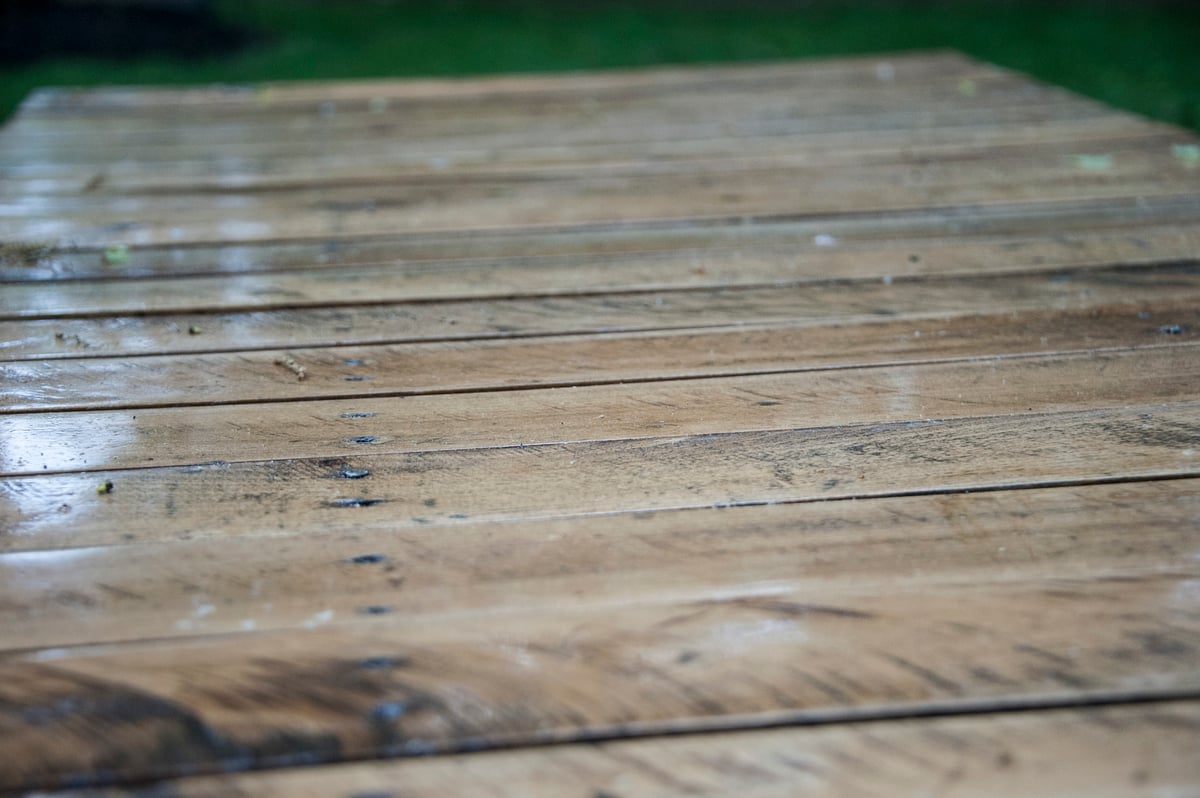
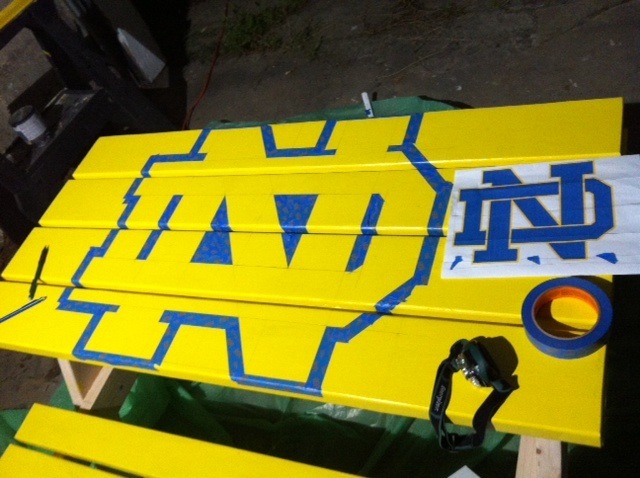
I wanted the older look, so the top planks are all boards cut from pallets (not very easy to take the pallets apart). The rest of the wood was purchased, with the legs cut from treated wood.
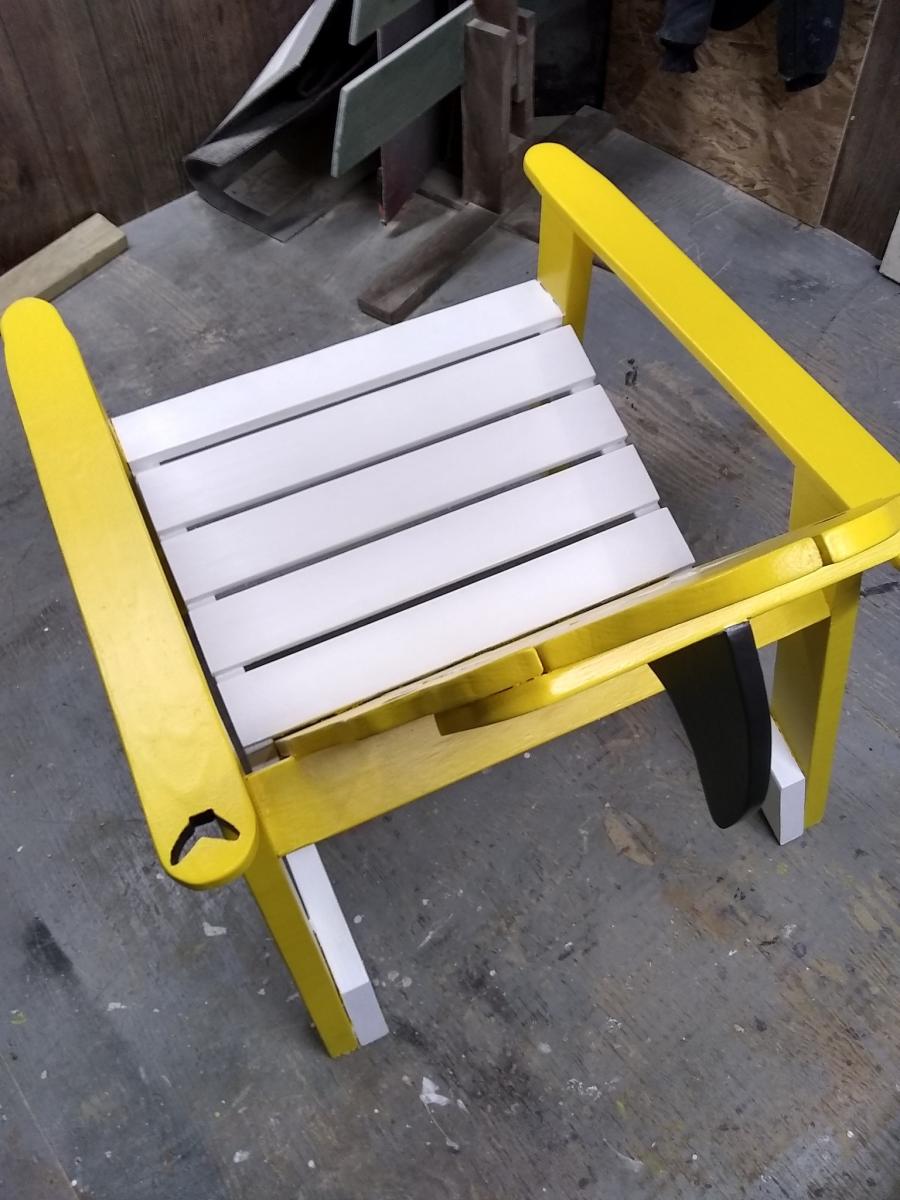
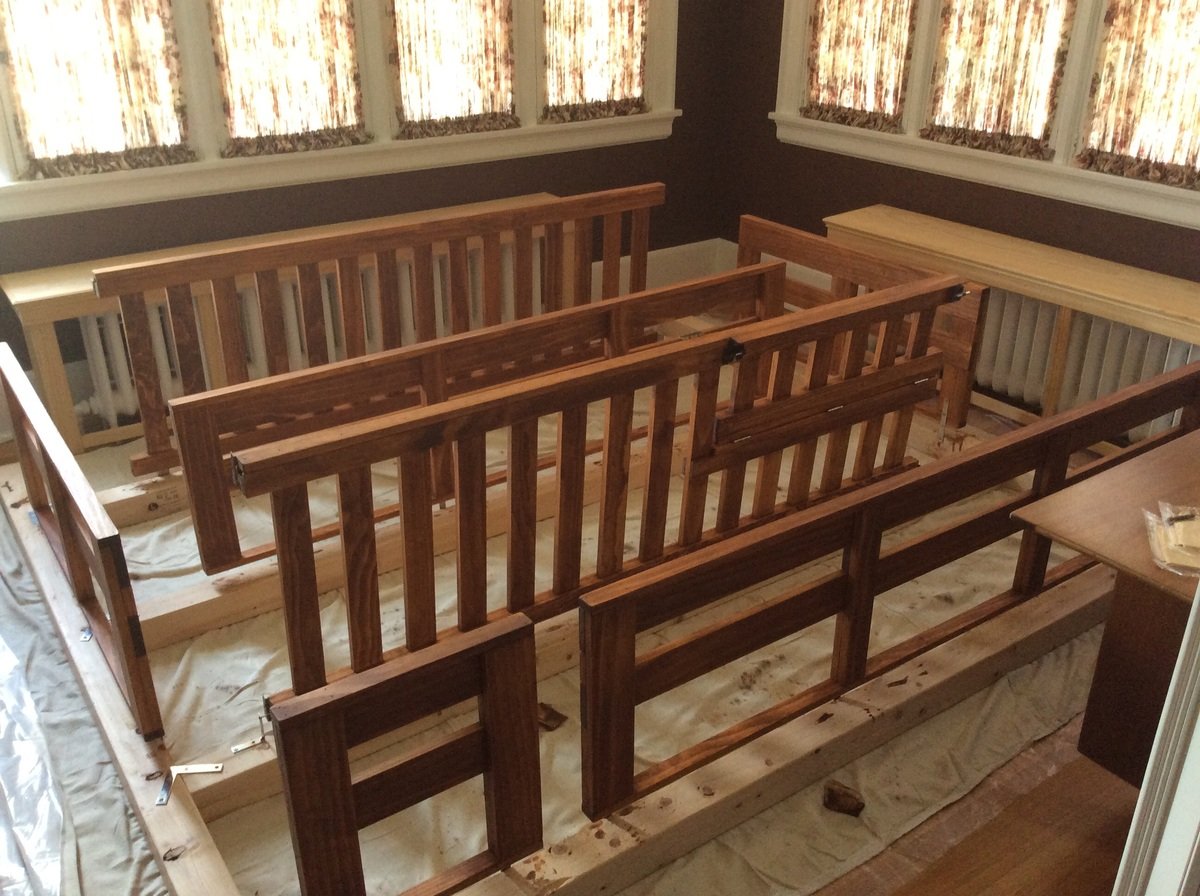
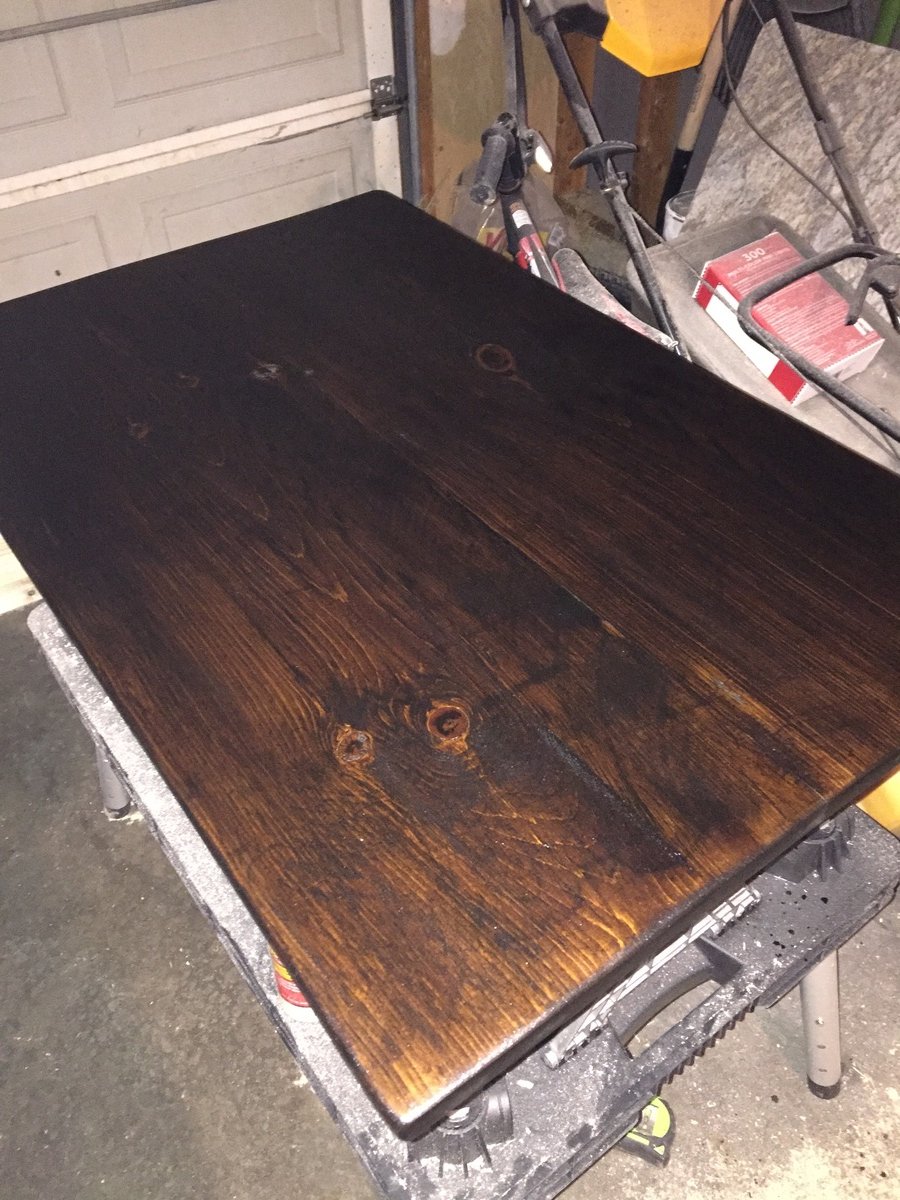
All parts were coated in 2-3 coats of spar varnish.
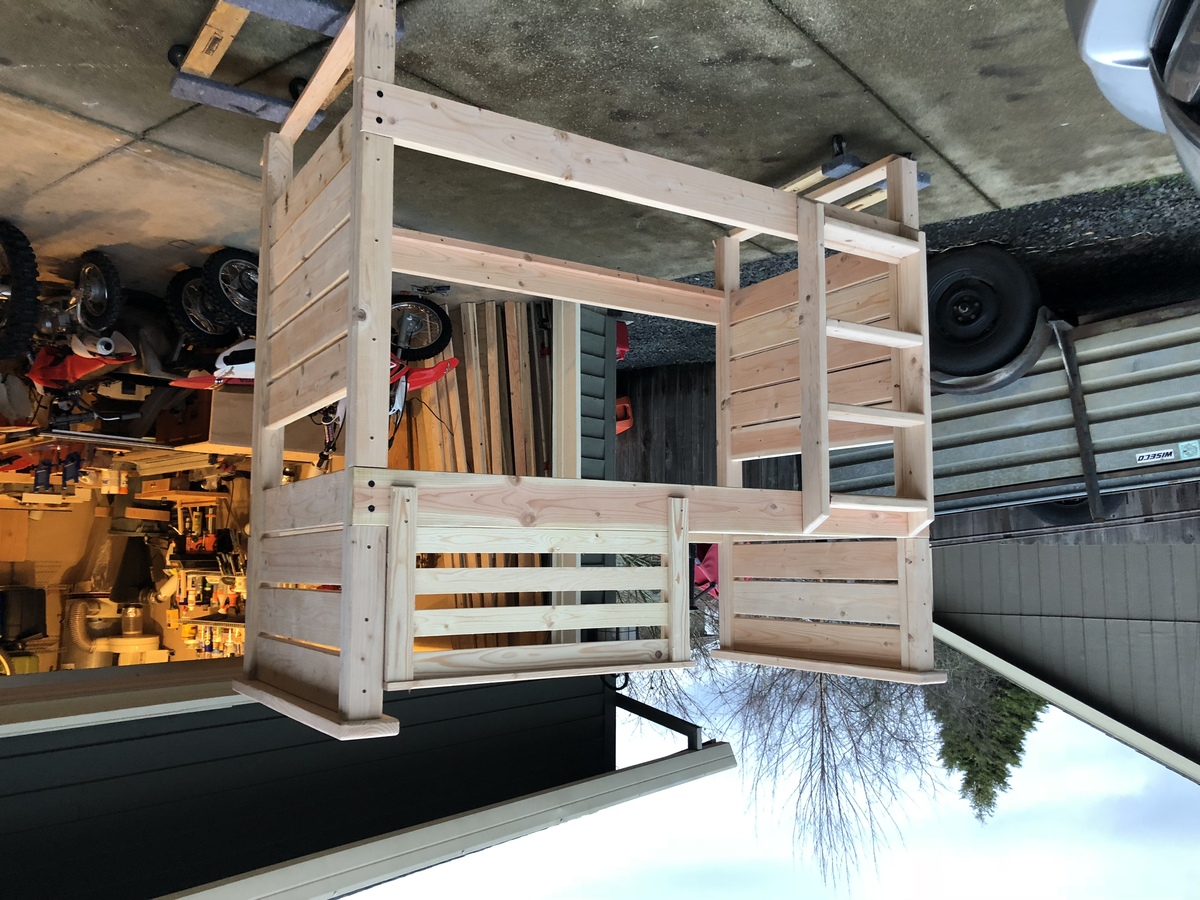
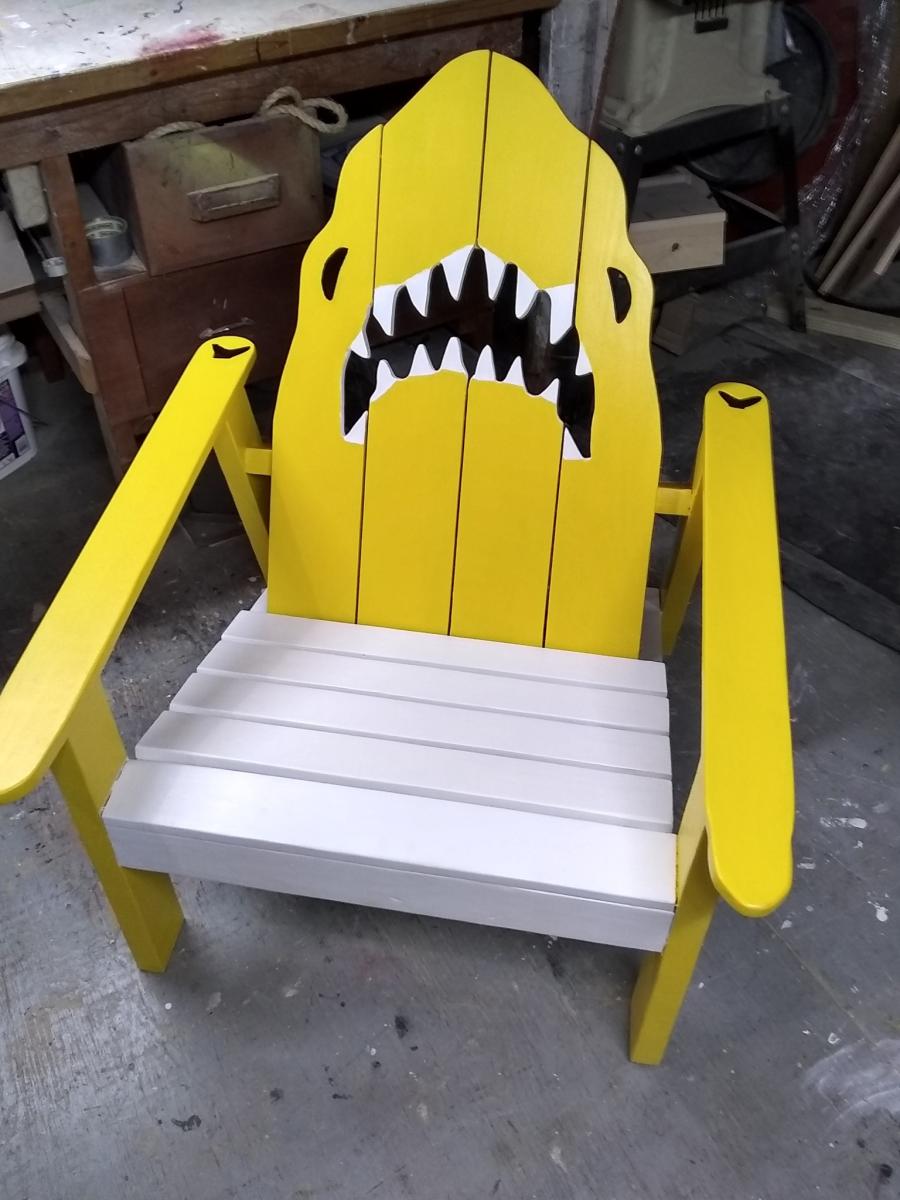
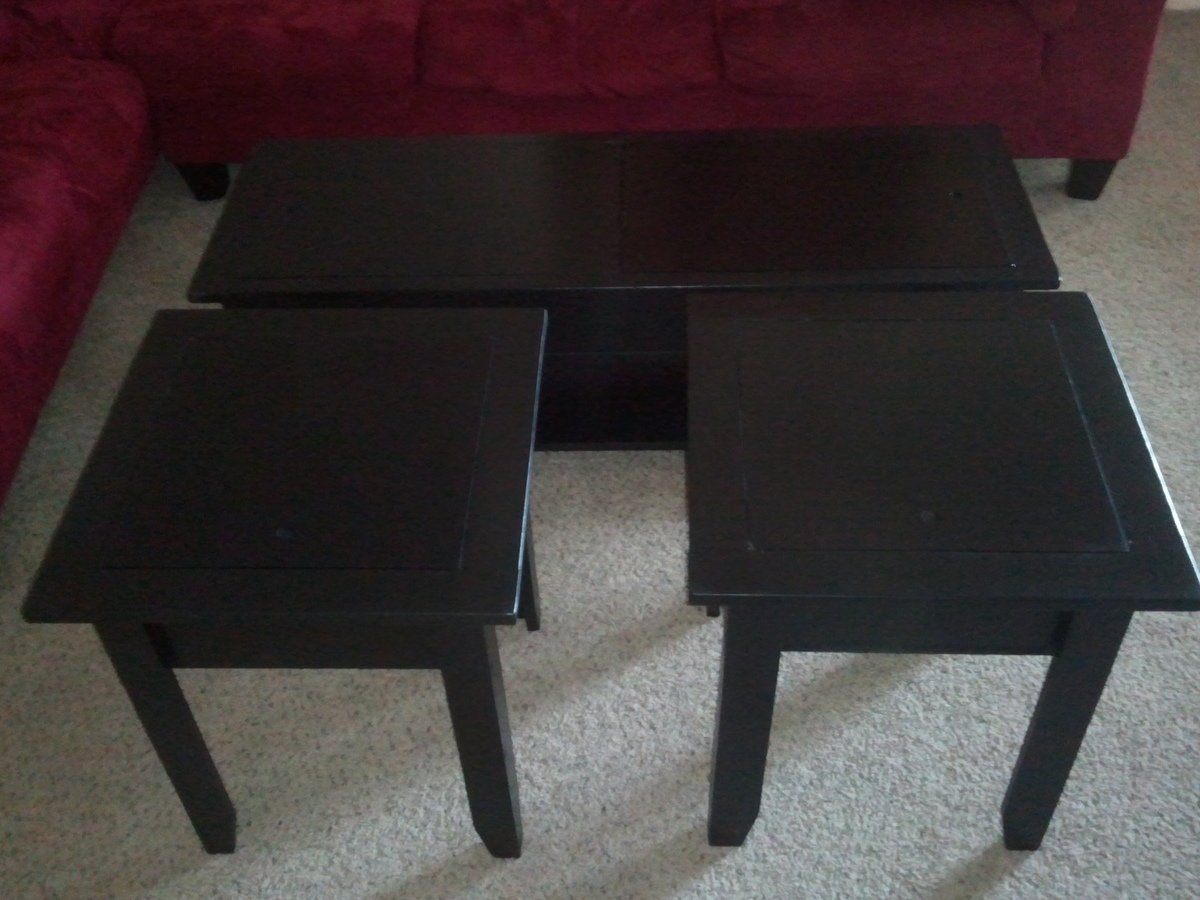
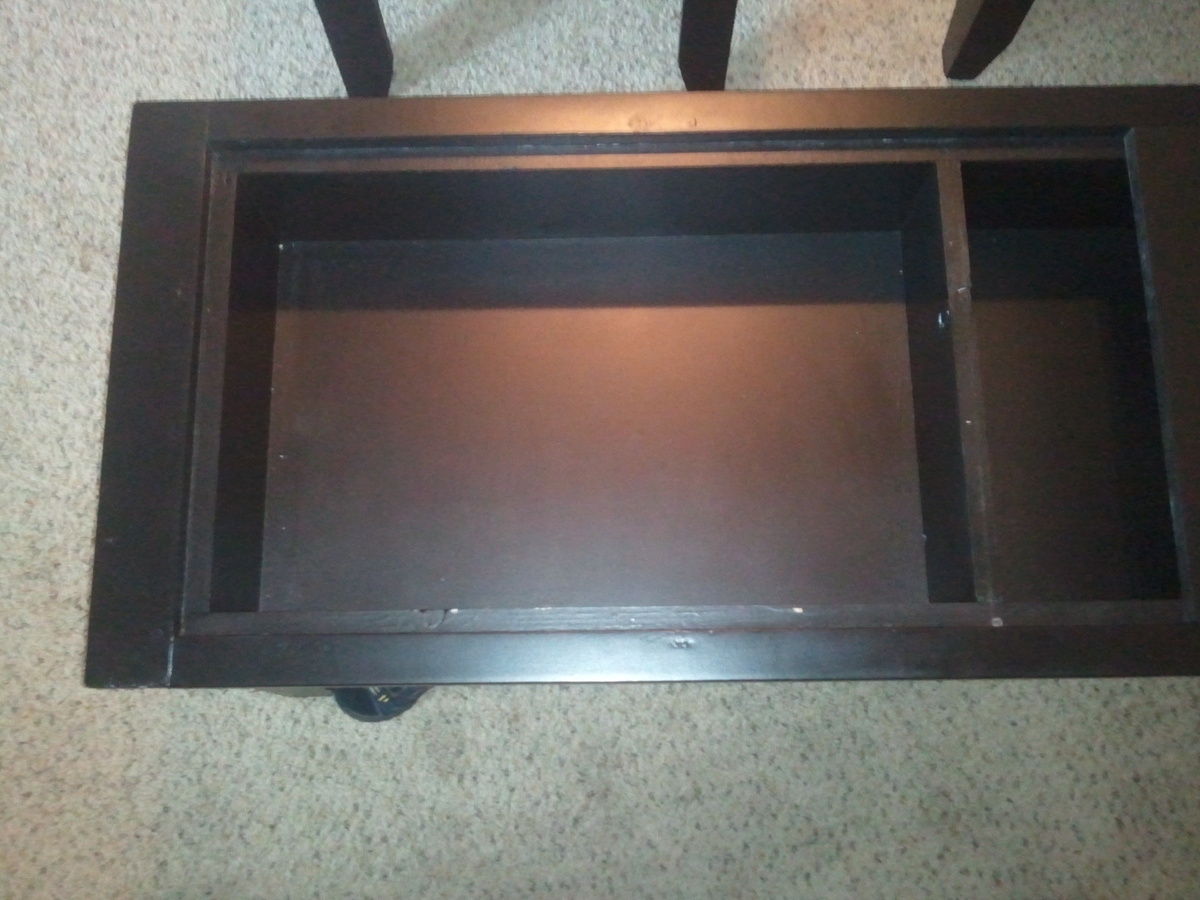
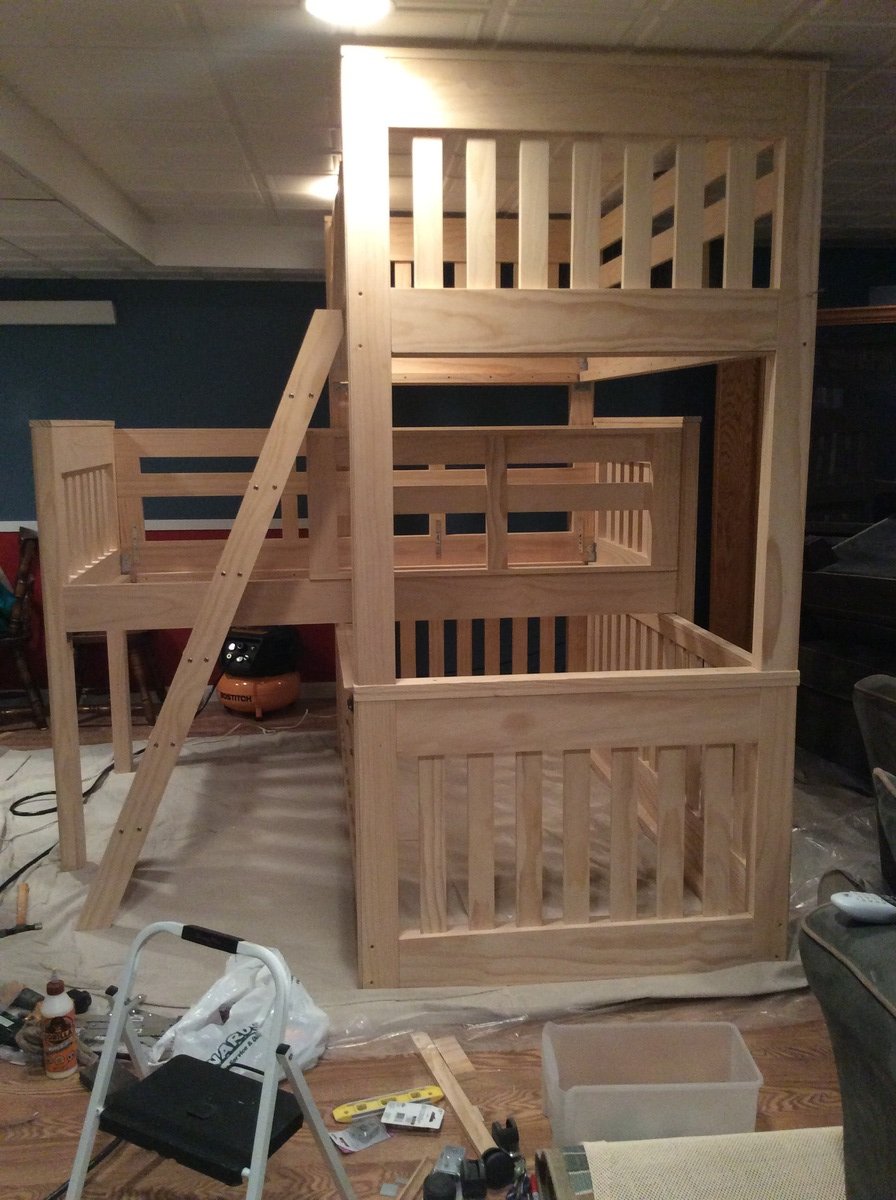
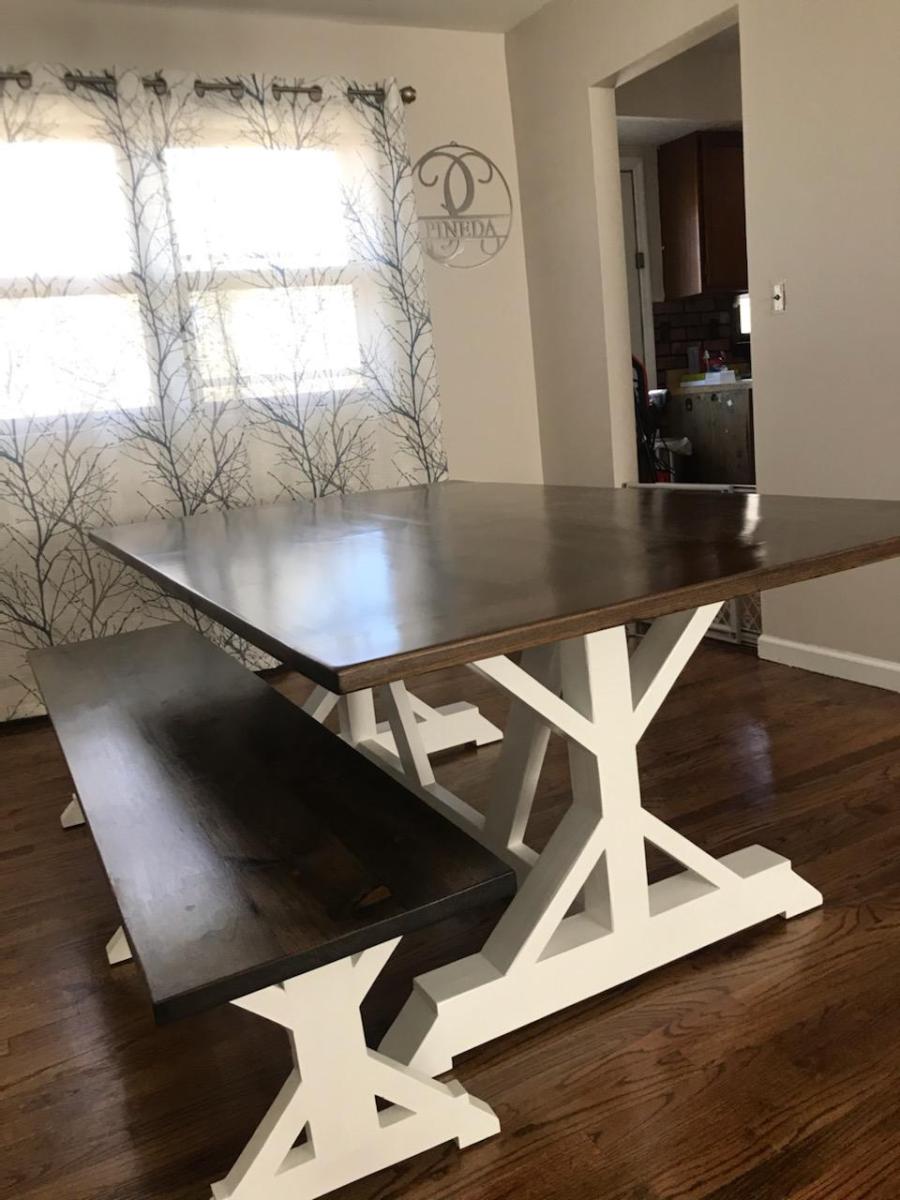
Skill level, I would say is intermediate, with the lining up all of the separate boards and the pocket holes making it a little harder than beginner project, in my mind. BUT, remember that is coming from someone who has never built anything.
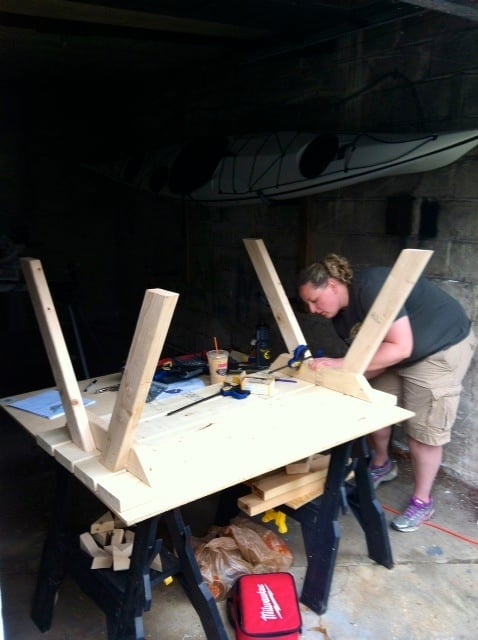
Time was a little longer because of using the wood from the pallets. Removal from the pallets was difficult and time consuming. The boards then required extensive sanding, and then several coats of spar varnish before building to be sure that ALL surfaces were covered, since the wood was not treated.
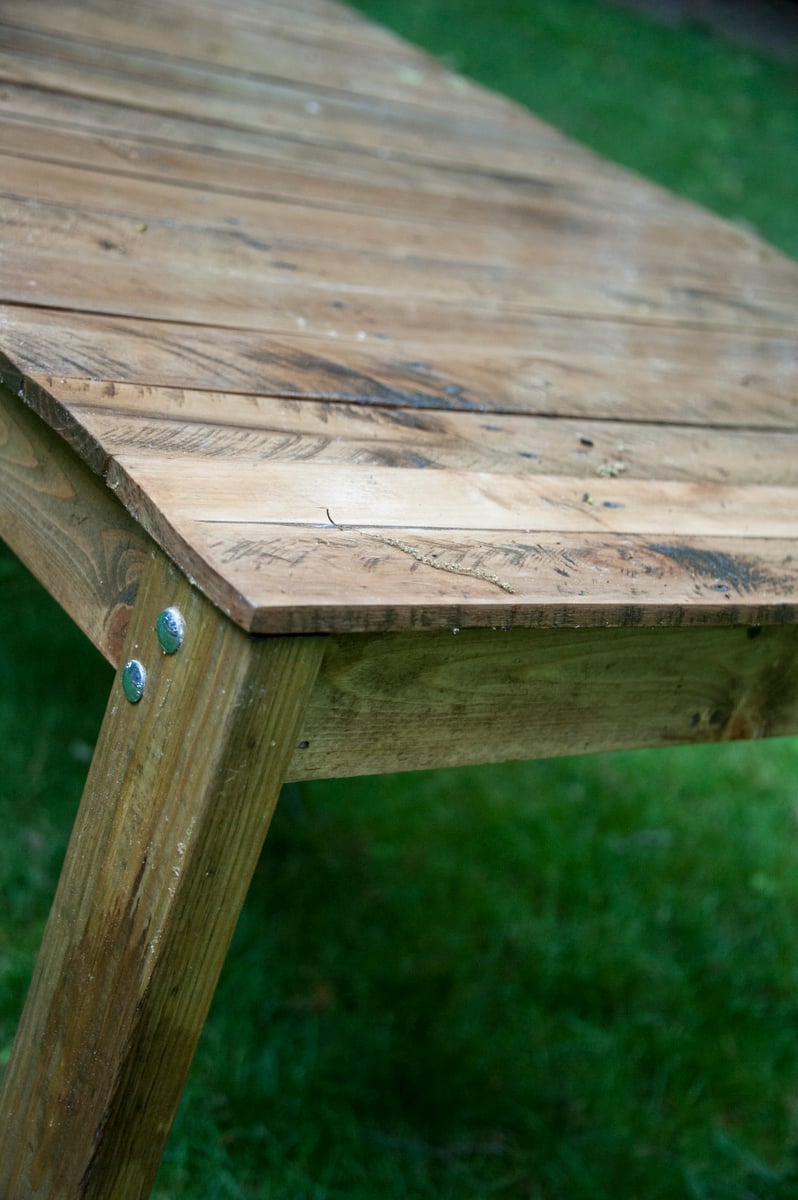
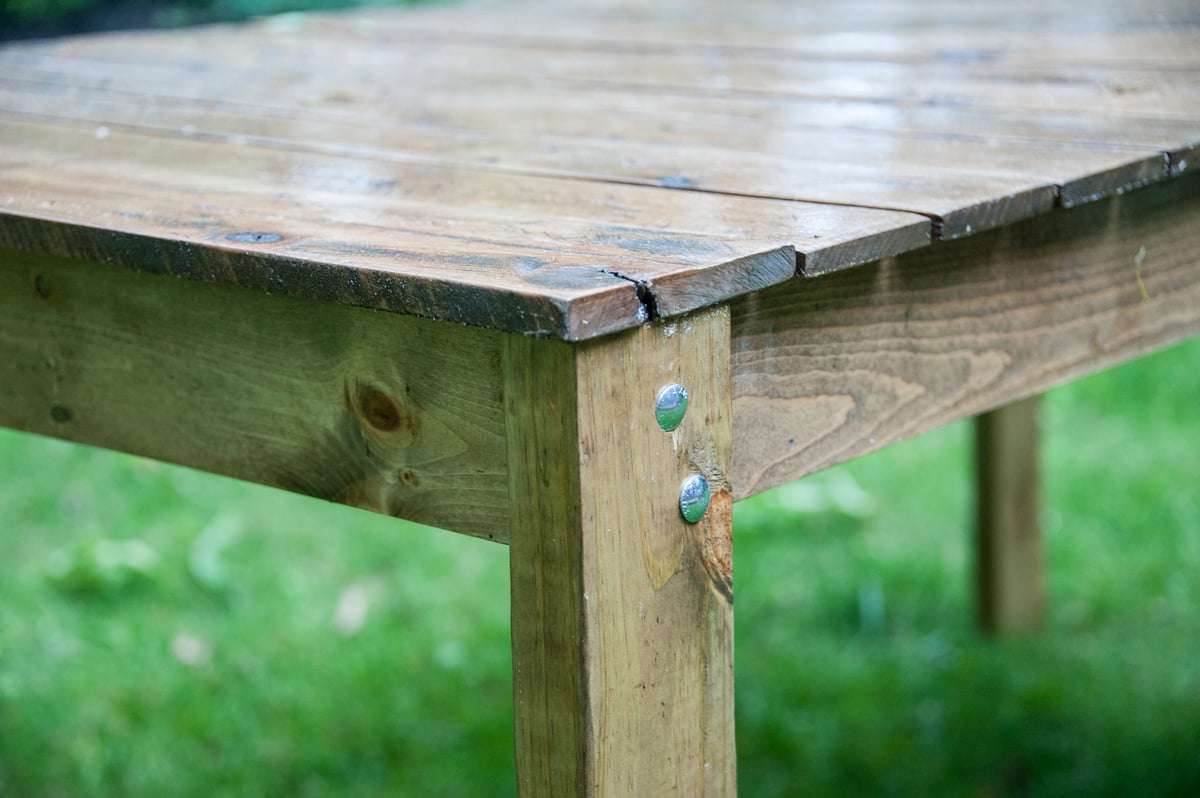
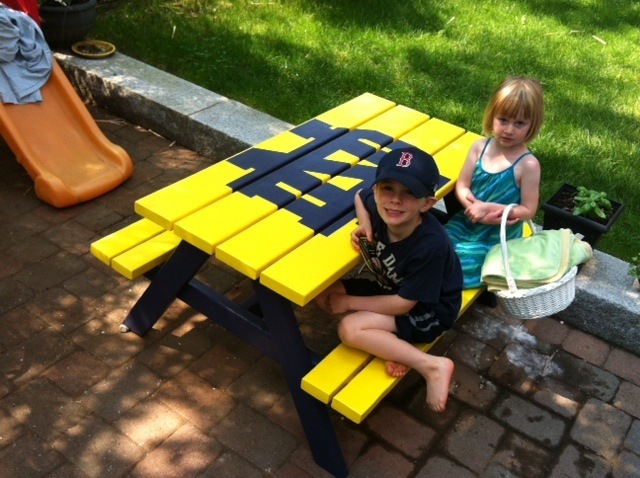
Very glad that I did it. I like the imperfect top (most of it), with the nail heads down the middle (not functional, just kept them from the skids), and the worn top.
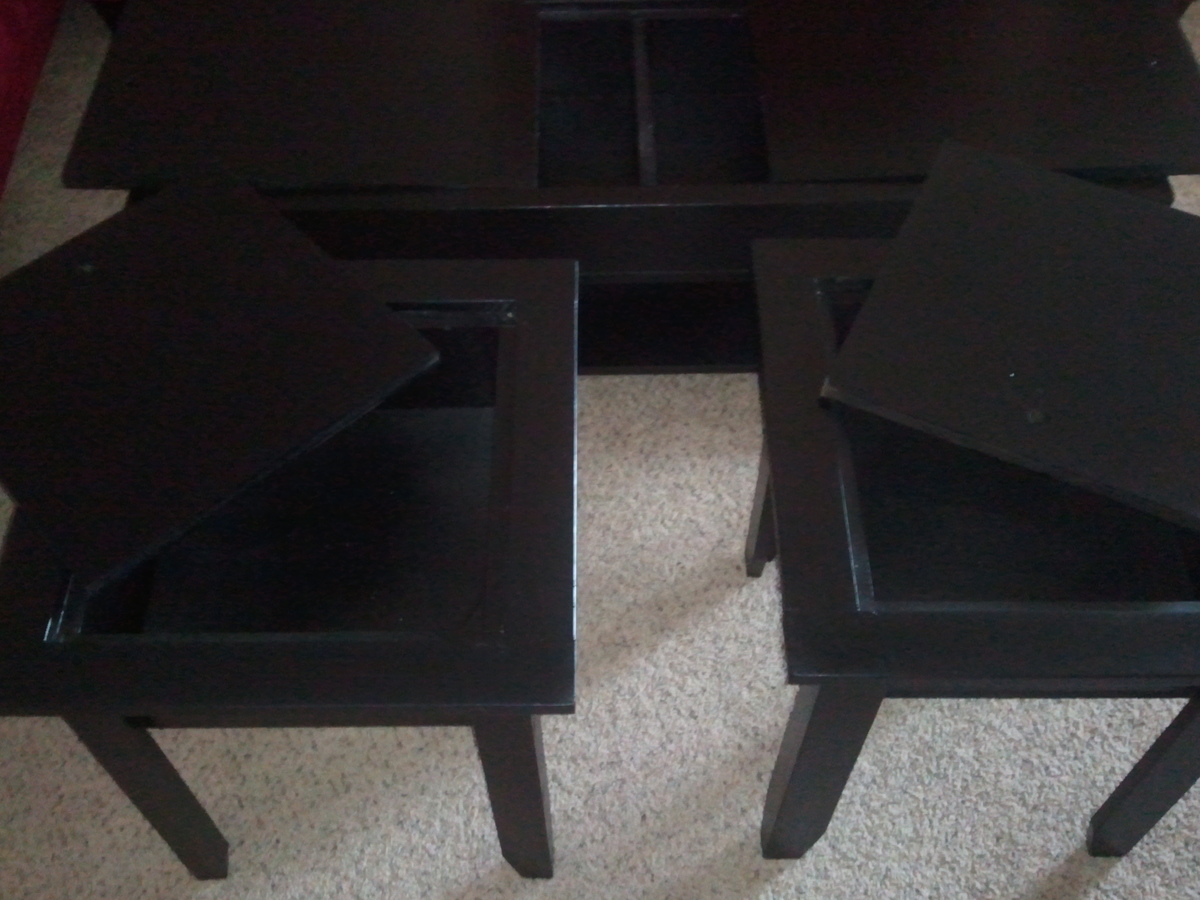
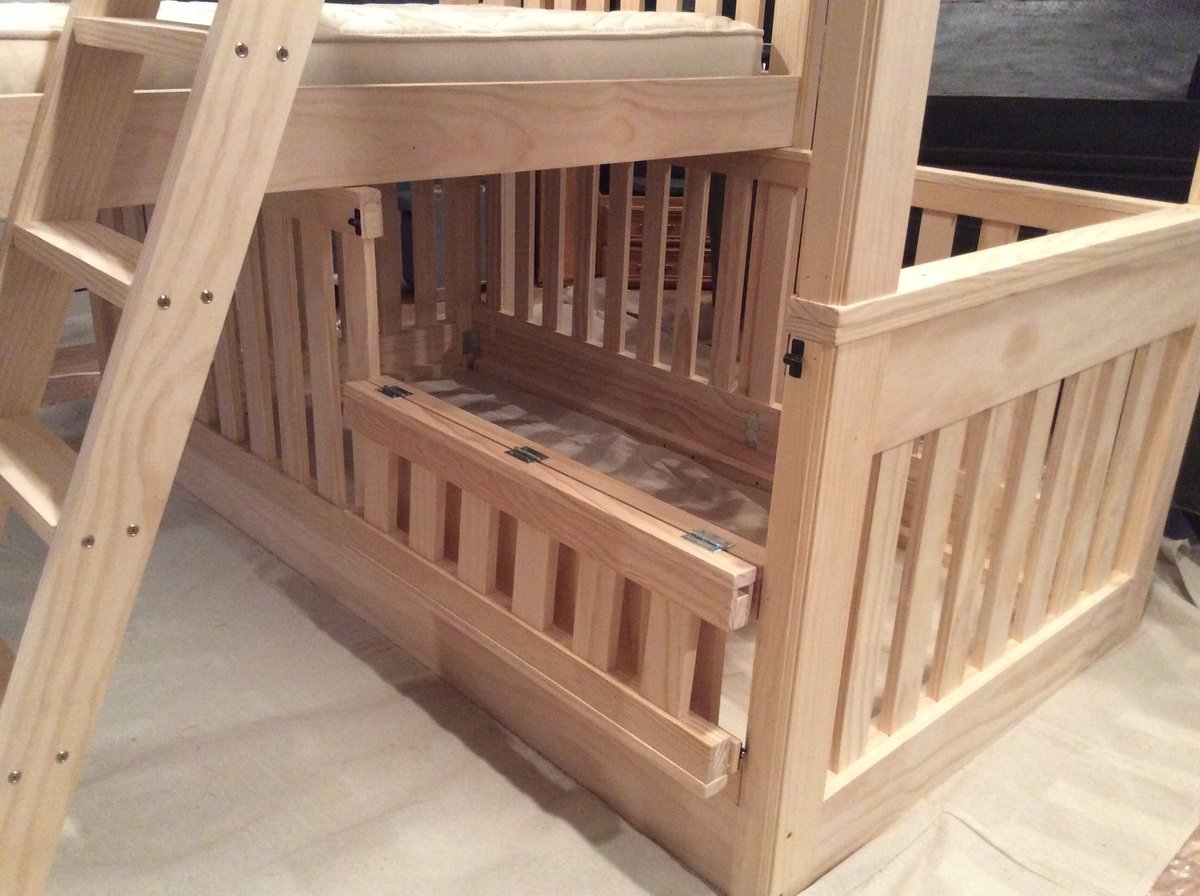
I completed the project myself, with a little help from my dad at the end, putting the legs on. Just using screws didn't sound strong enough, and the bolt locations were a little tricky with the locations of the pocket holes on the inside.
Plan to make a bench, next, but maybe not the matching one. I think a project with fewer cuts and attachments is next in my future.
Fri, 06/05/2015 - 14:17
This looks super! Love the pallet boards on the top, and how you preserved the old wood look. Congrats on your first project!
This was a time intensive gift made for the husband for Christmas. Found a really cool Mars Map that's in print here: https://www.etsy.com/listing/387457074/mars-map-8x8-letterpress-redwhit…
That we saw in store at the amazing Boys Fort in Portland. Decided it might be cool to make a wood wall hanging from it, and woodburn the image.
Traced image onto wood with graphite paper, then took versatool from Michael's and woodburned for the next 20,000 hours : ) It was a ton of work, but in the end, a completely one of a kind, personalized gift that I know he'll love on his office wall. Real conversation piece. Cool stuff!
I built Ana's Full Storage Bed. This was fairly easy to build and it is a perfect bed for a child's room. I LOVE the added storage! You can see the plans for the crates I built to fit at our blog http://www.shanty-2-chic.com/2011/03/crates-for-storage-bed.html
I wanted to make a gift for my friend's kids. I also didn't want to make something they didn't have room for and couldn't really use. The request was a picnic bench for their 3 and 5 year old. I offered to paint it to match the house and they said no, they wanted Notre Dame colors. One of the big box stores has official NCAA colors so it was a perfect match! The wood cost $25 (only 5 2x4 were needed) and the paint, screws, etc. brought the project up to $90. The instructions made it super easy to build and I really took my time making sure everything was square. Also just to build the table is a few hours, maybe not that much. The prep and painting took me a while.
The kids were happy with their table and their Dad, a Notre Dame alum, was thrilled with the design.
We needed beds for 3 children, one of which is 14 months old, in a small bedroom and with the simple bunk bed plan to start with I came up with this. The kids love it, although it took the 14 month old a few tries before she accepted the change from her regular crib in another room to this crib/bed and sharing a room with her siblings. Now it's all good!
The beds can also be used separately. The top bunk and the middle bunk will stand 30 inches off the floor when used as separate beds, so like loft beds with storage space underneath for a dresser, reading nook, toys, etc. All side safety rails can be removed for unstacked beds as I finished them all separate from the beds. The bottom "crib" bed side rails can also be removed for single bed. At this point it would just sit on the floor as a single bed also but I may come up with some sort of feet to get it up off the floor when the time comes. They really wanted this set of bunks to be able to be used separately also. The fold-down portion of the "crib" side rail was designed to give easier access for changing sheets, etc. for the "crib". This "crib" bed also uses a regular twin mattress.
Wed, 11/23/2016 - 08:45
I have three boys (youngest is 10 months right now) and we're getting these built for us this summer. How did the baby take to it? Also, How tall was the bunk. I'm thinking about ceiling height.
Fri, 05/01/2020 - 12:50
Thank you for this idea! We have special needs son who won't stay in bed unless he has a rail. Now that he is 7 this might work. Keep him with his brother in the same room too.
The link for the plans is not the same bunk bed. Is there another set of plans or do I need to just improvise based on the photos?
Thanks again!
It’s not done yet, but I wanted to share my coffee table with y’all. I made it with the same proportions as Ana’s fancy x kitchen table just 3ft wide and 16 inches high. It’s going to be the same finish as Ana’s too. Dark walnut with satin polyurethane.
Merry Christmas Ana, Just a few of my projects inspired by your great work. I have no carpentry experience other than shop class 40 years ago. Love doing wood work thanks to you.
Happy New year Mikw