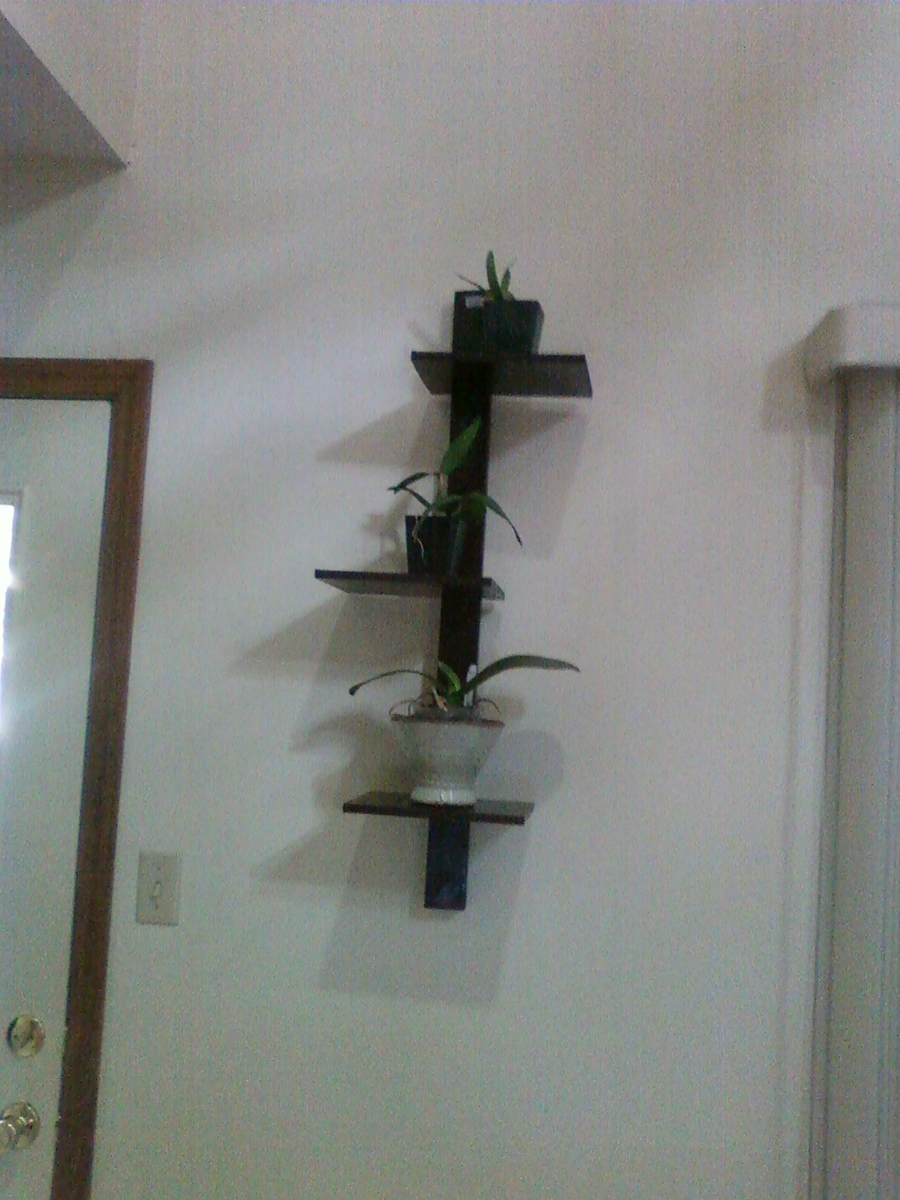
A Home for Some Orchids
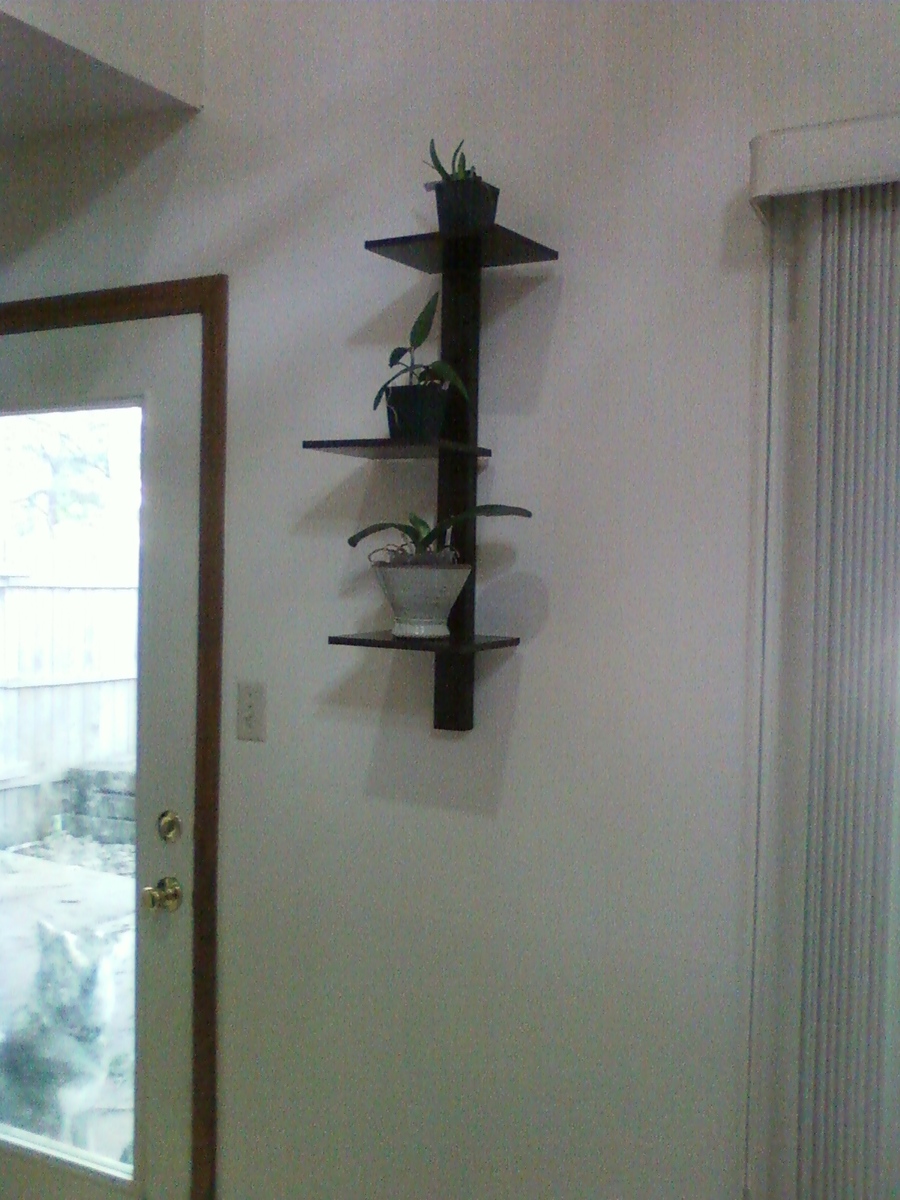
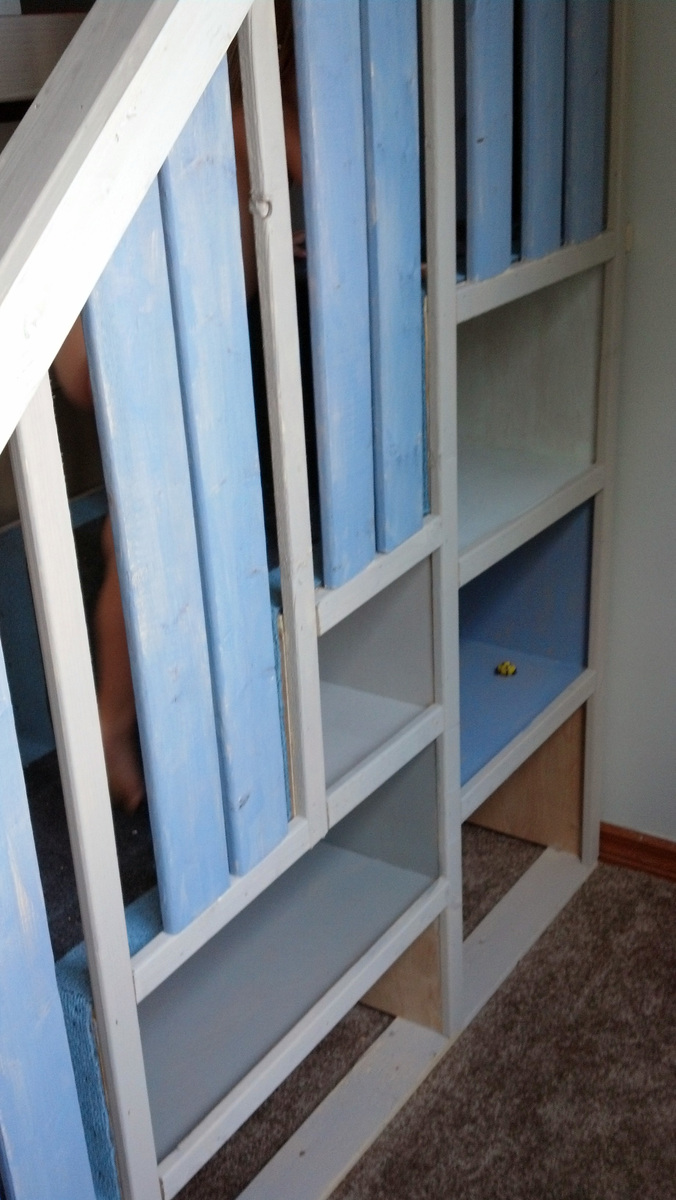
I built this with some scrap mdf, and 1x3's. I offset the shelves, and voila! A modern shelf to go with our eclectic, yet very modern decor. It also gives me a nice display for some of my orchids. I love this shelf!
Built from Plan(s)
Estimated Time Investment
Afternoon Project (3-6 Hours)
Finish Used
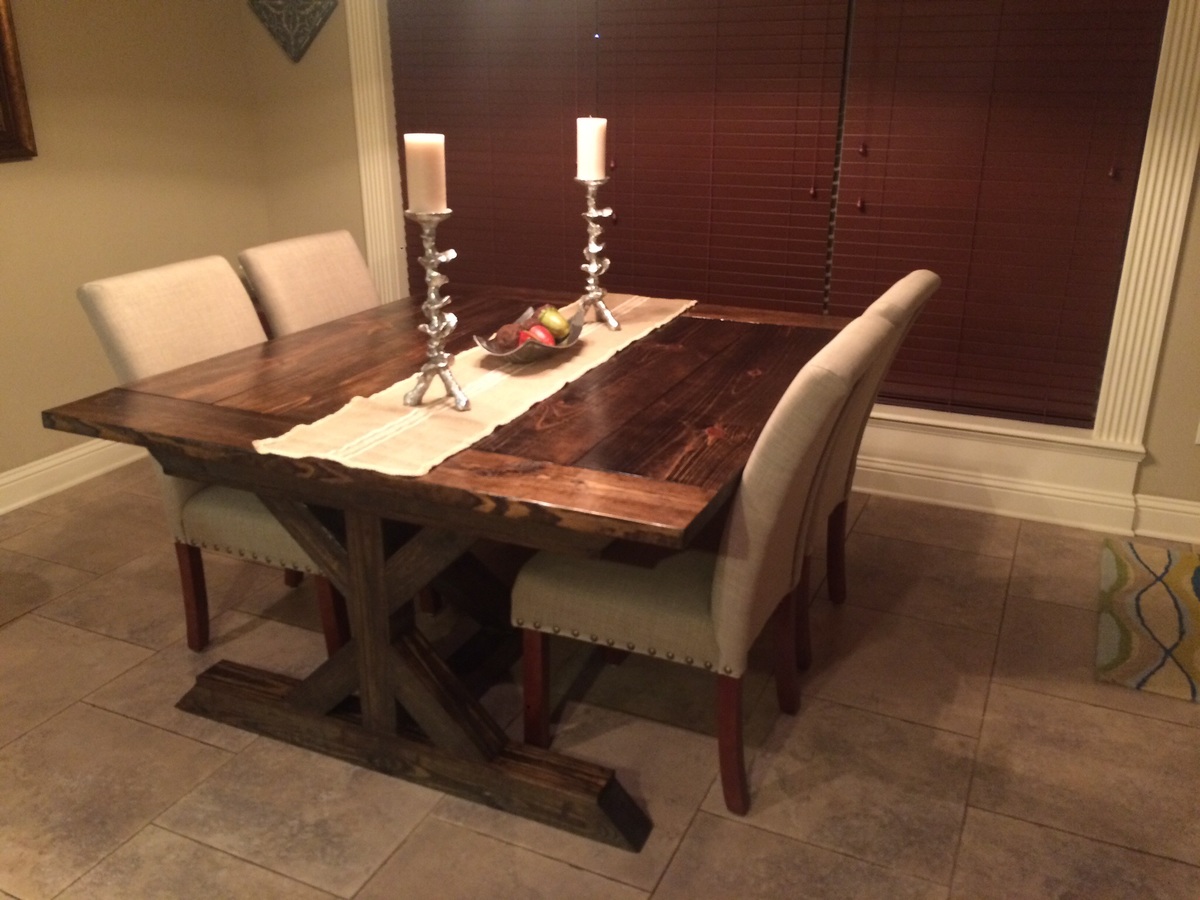
Kona Brown
Recommended Skill Level
Starter Project