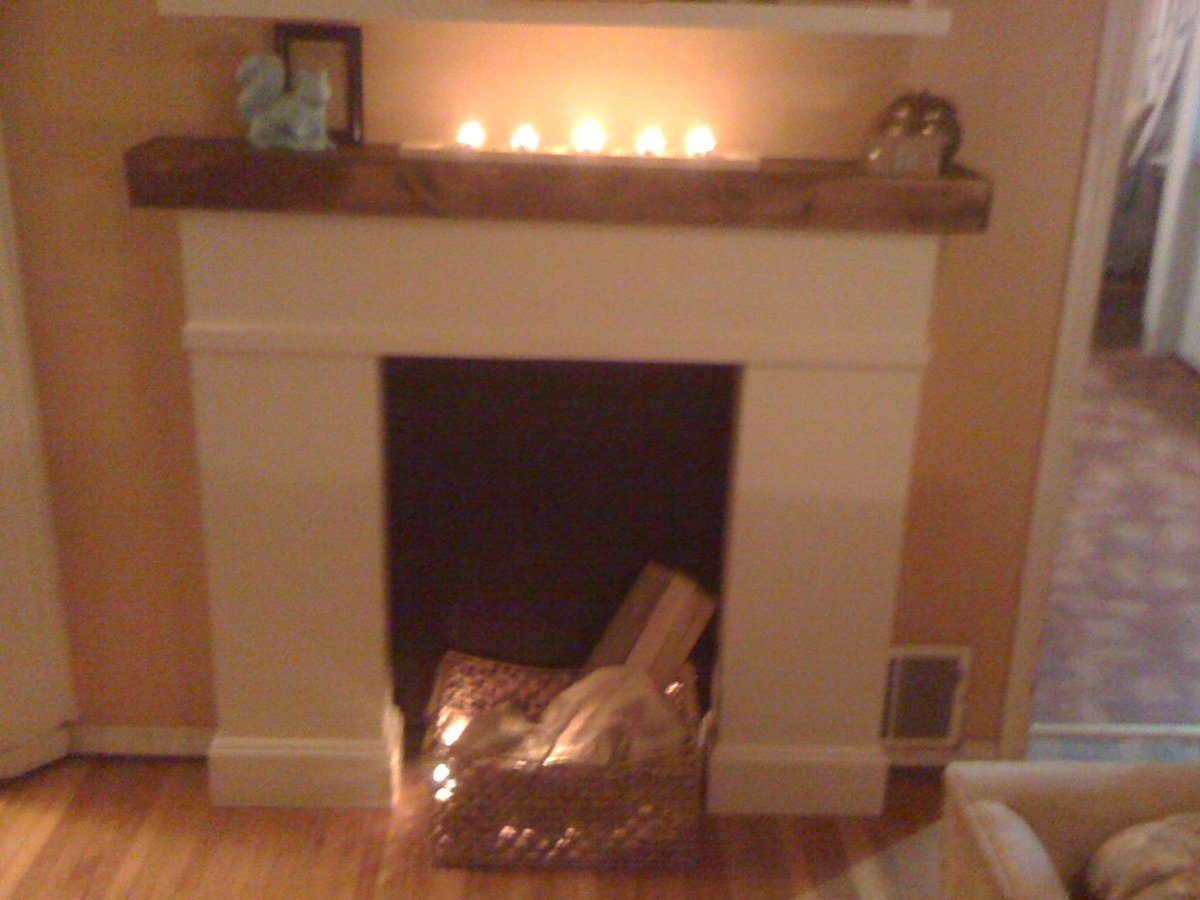
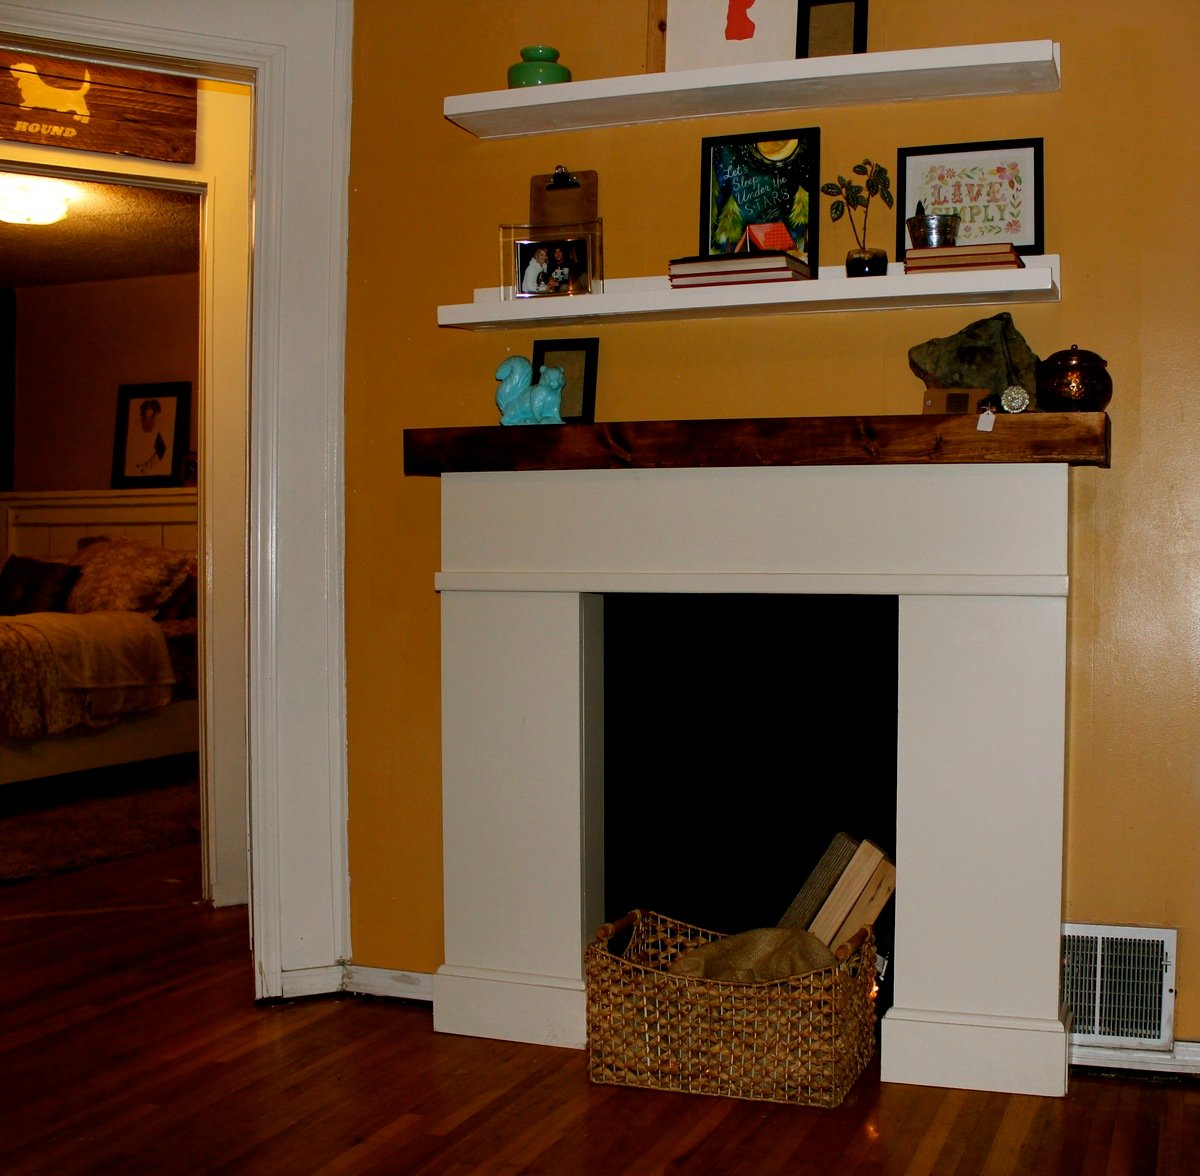
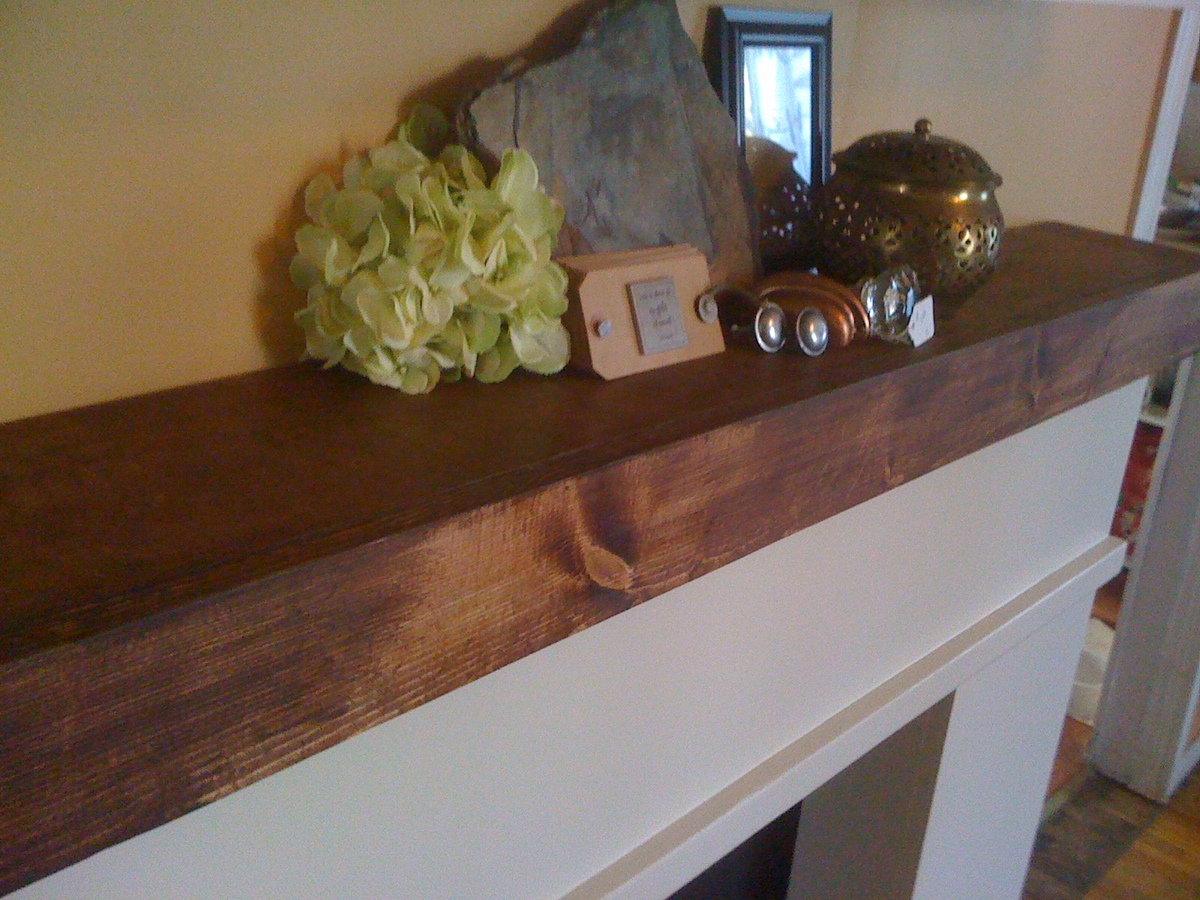
I was drooling over Ana's Faux Fireplace plan and it was perfect! Low profile, beautiful, and I knew I had to have it. We had a bunch of leftover 3/4" MDF and didn't want to spend any money on this project so we constructed the Faux Fireplace out of ripped MDF, a leftover 1x6, 1x2 and some quarter round! We made the faux beam top out of 1x4s as a slip cover that mounts to the wall.
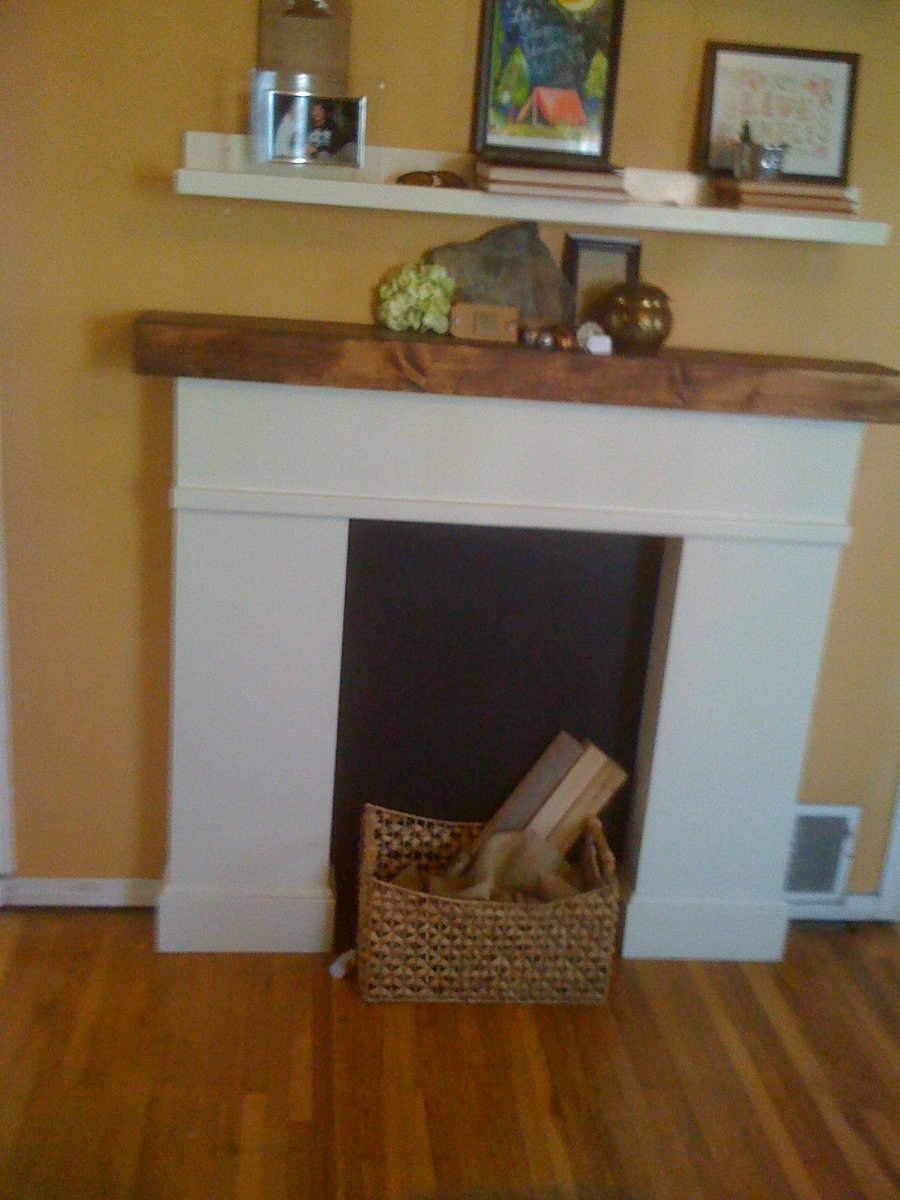
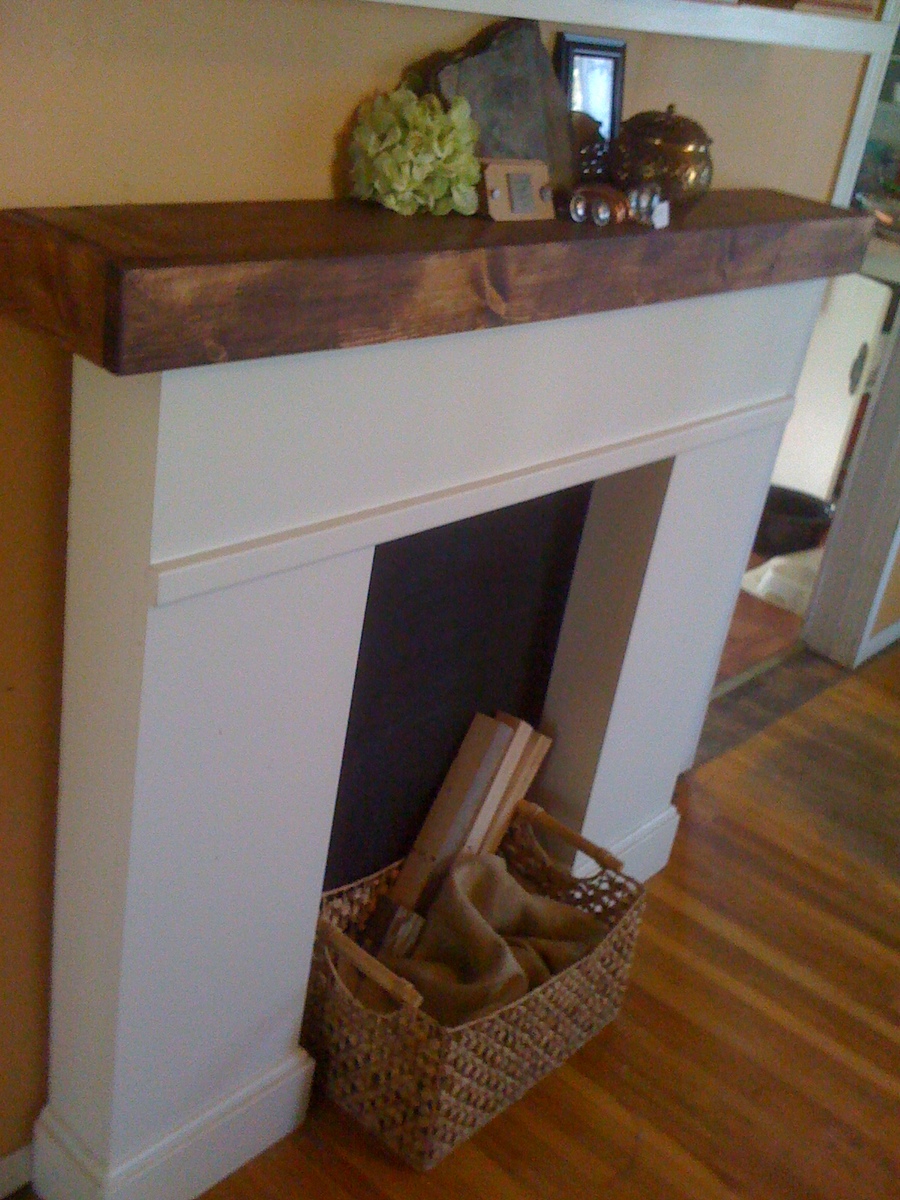
We painted it with the off the shelf antique white paint by valspar that I had leftover and some "American Walnut" stain for the top. I painted the wall behind it in black chalkboard paint. This is the first piece of furniture we've made that pretty much serves NO function but I love it sooo much.
I put a basket in the opening with some christmas lights, burlap and chunks of 2x2s (I want some birch logs in there!) and they look pretty lovely when plugged in.


Comments
Ana White Admin
Fri, 05/05/2023 - 11:43
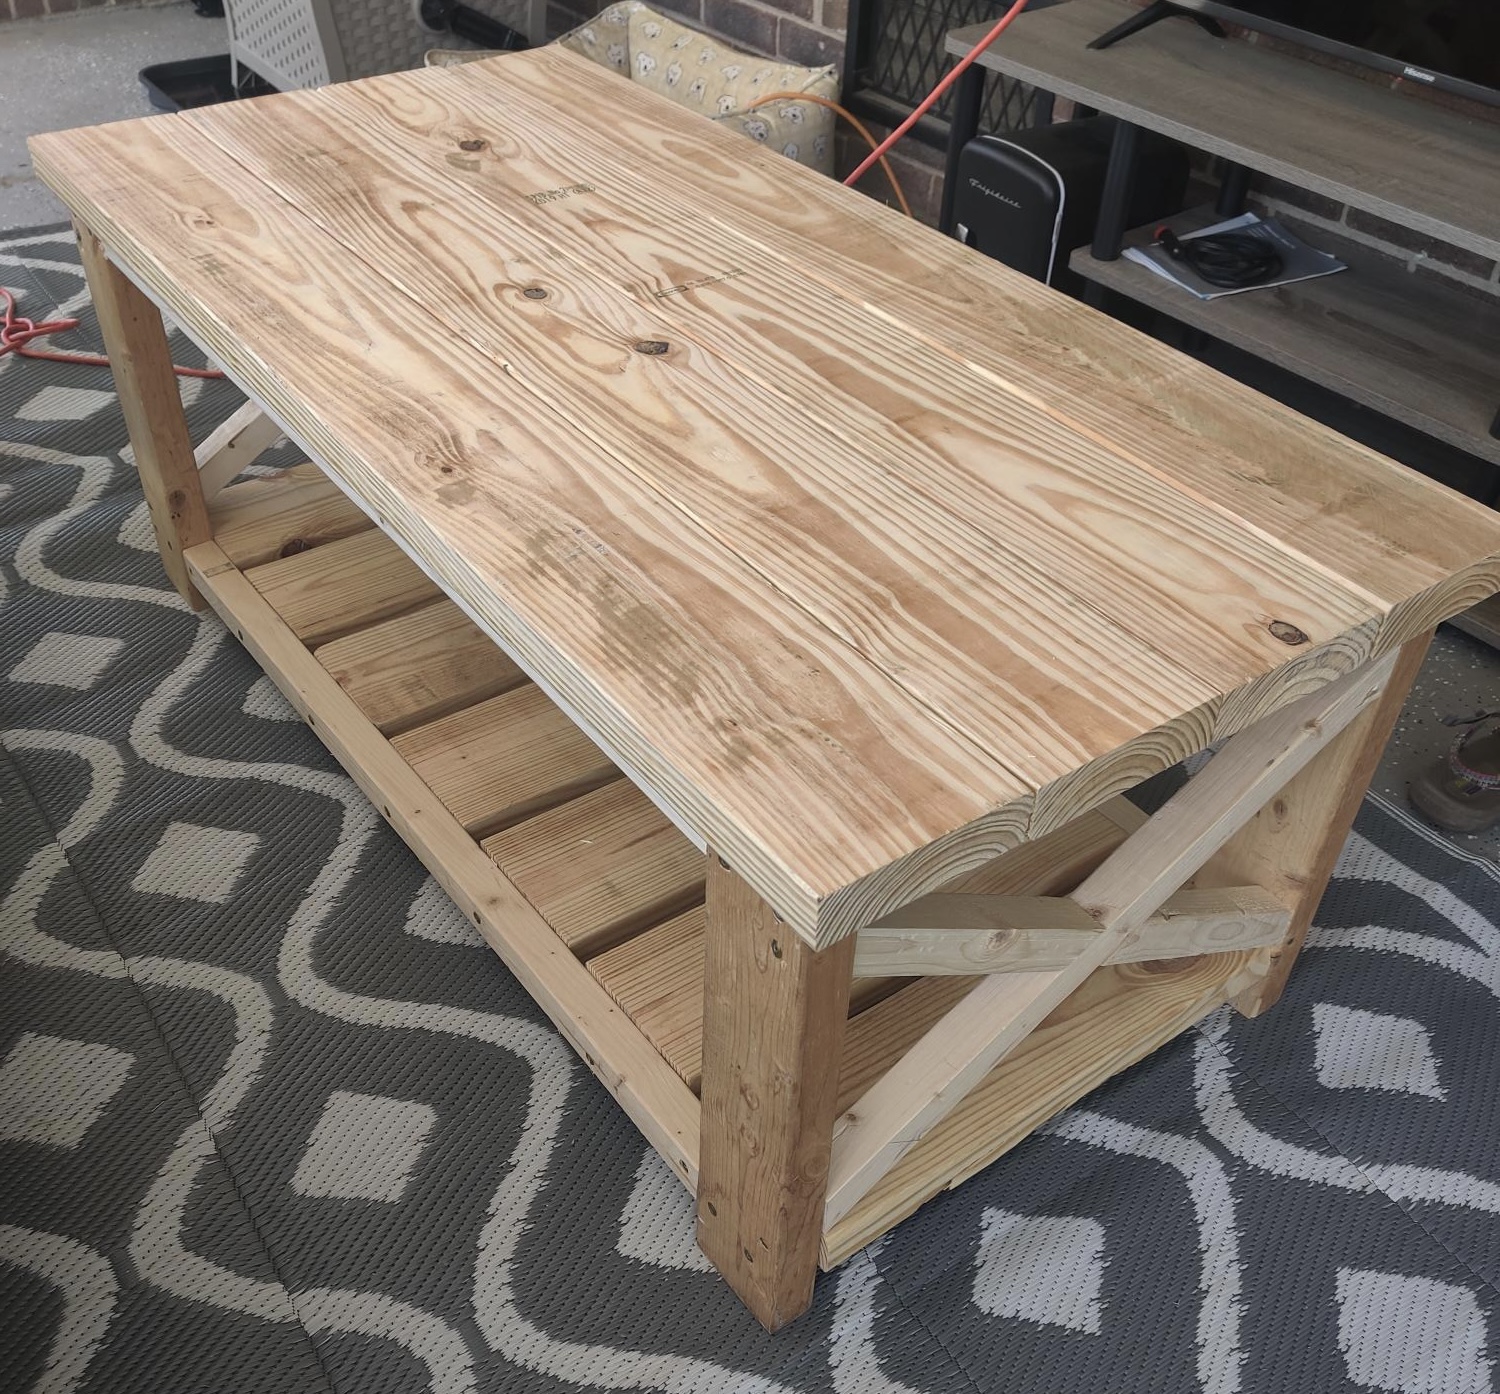
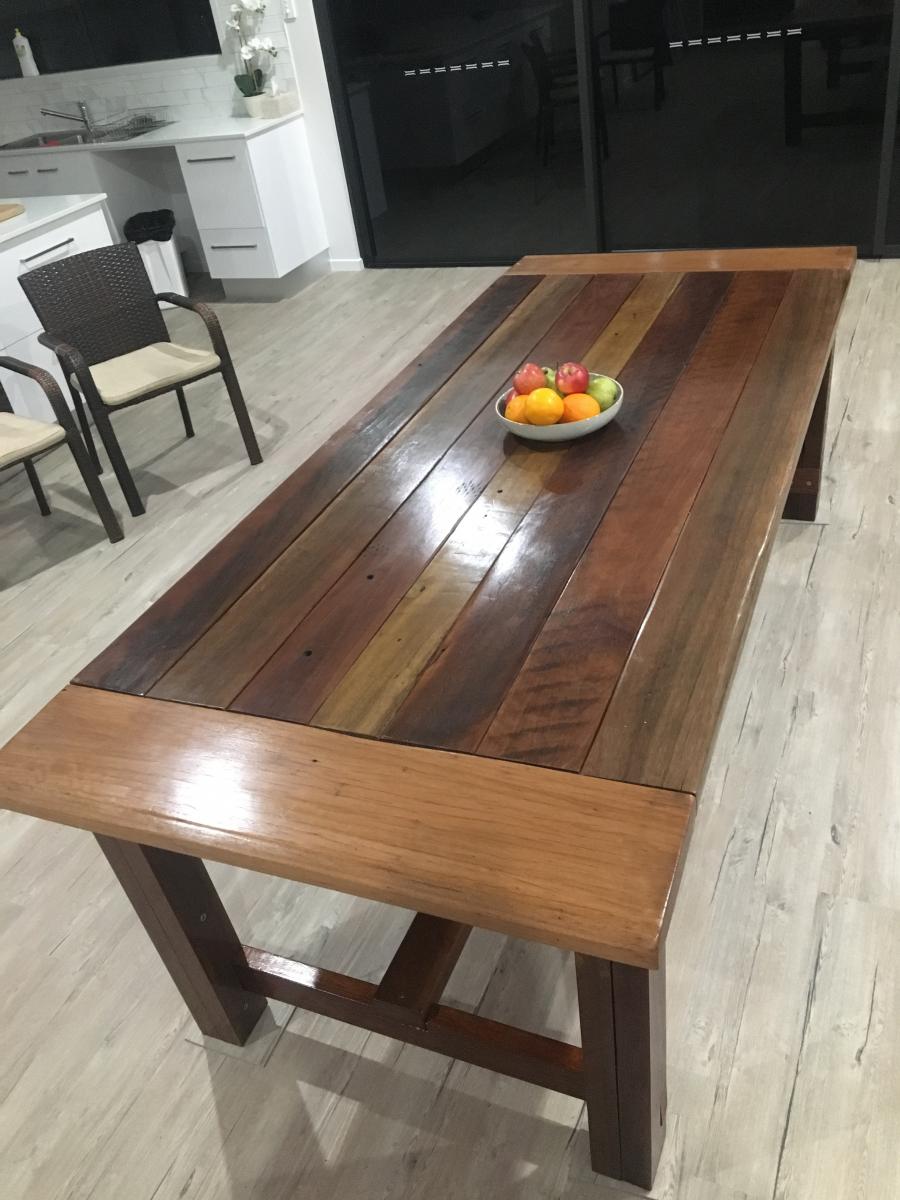
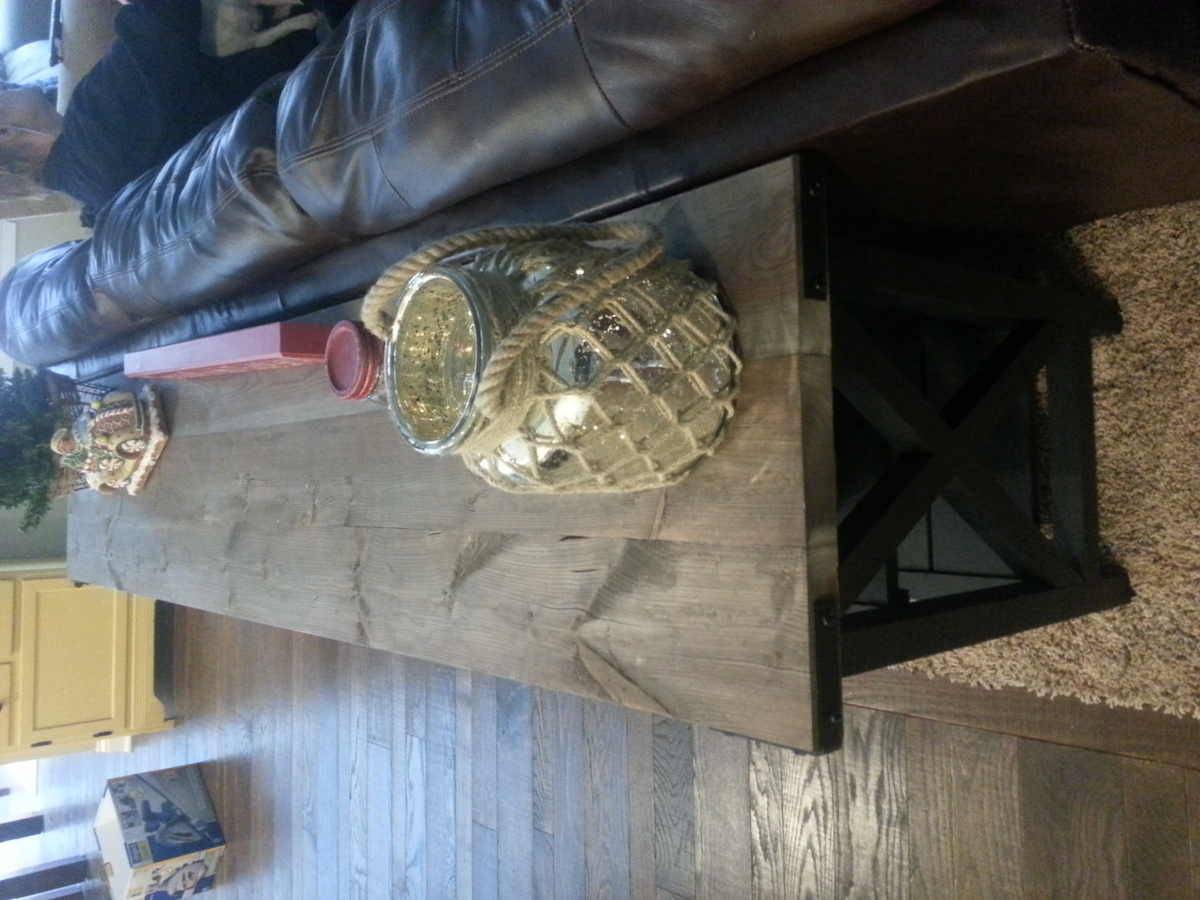
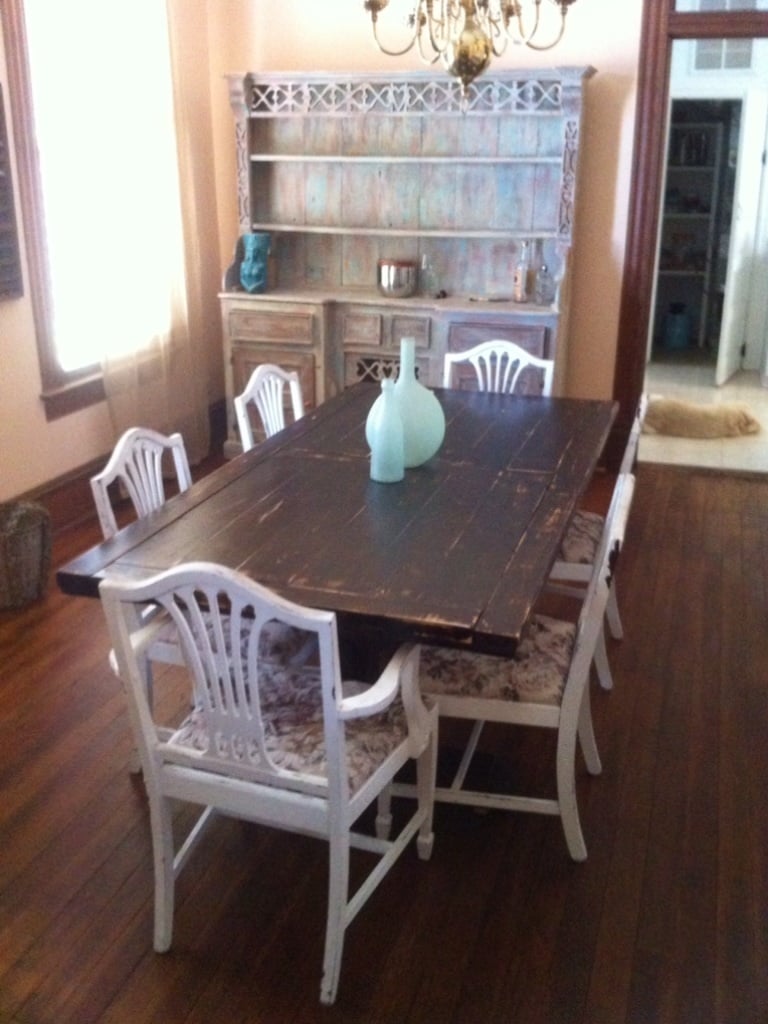
Fabulous table!
It looks really great! Thank you for sharing.