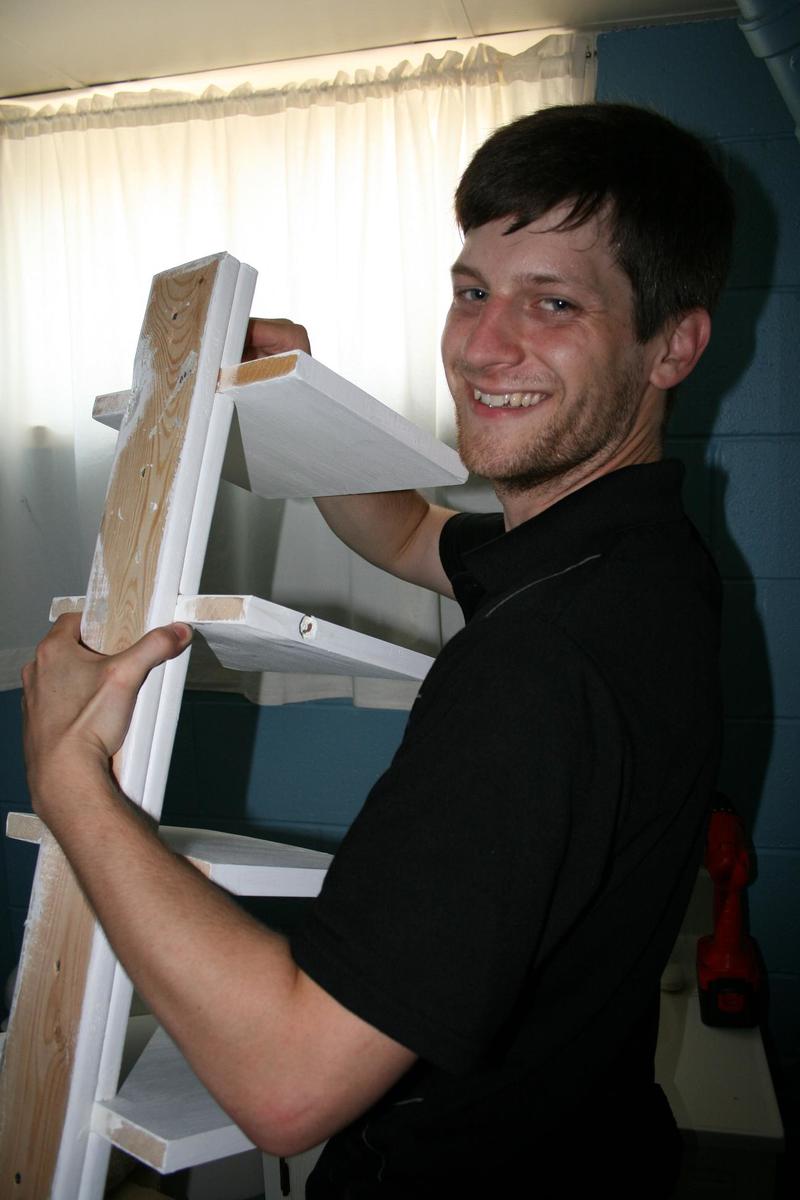
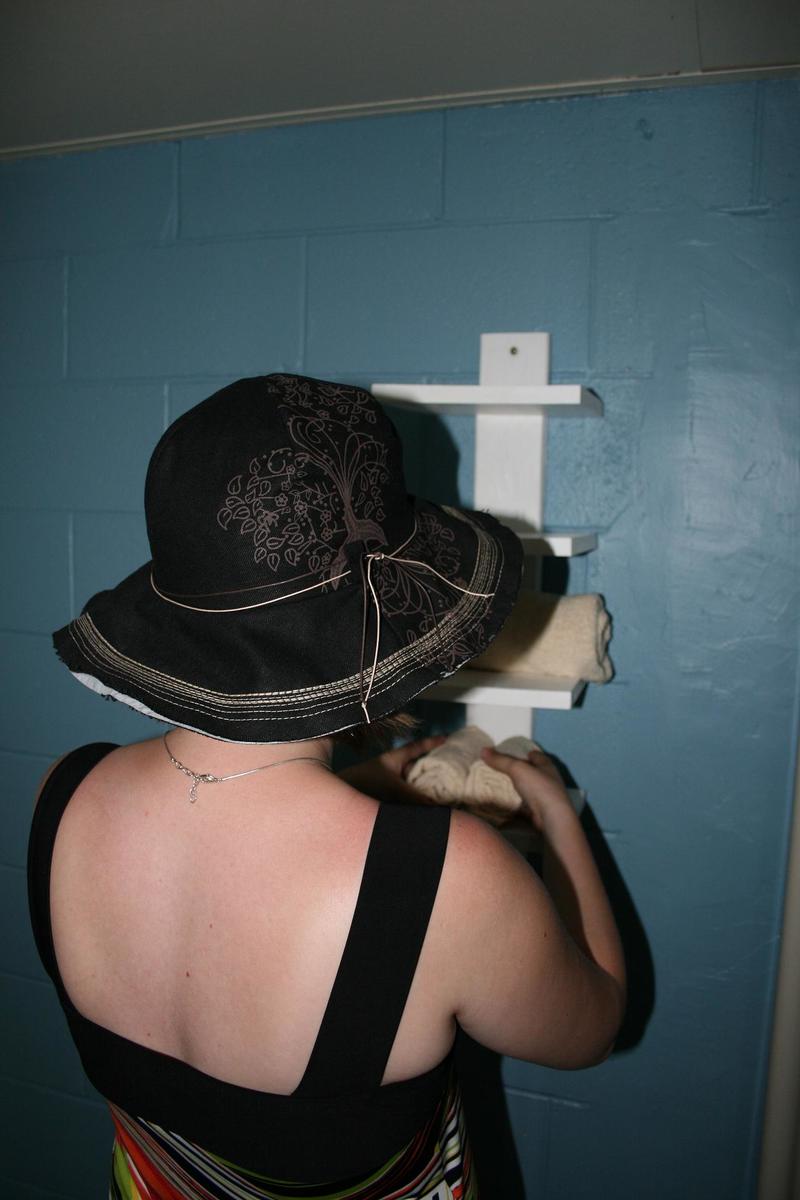
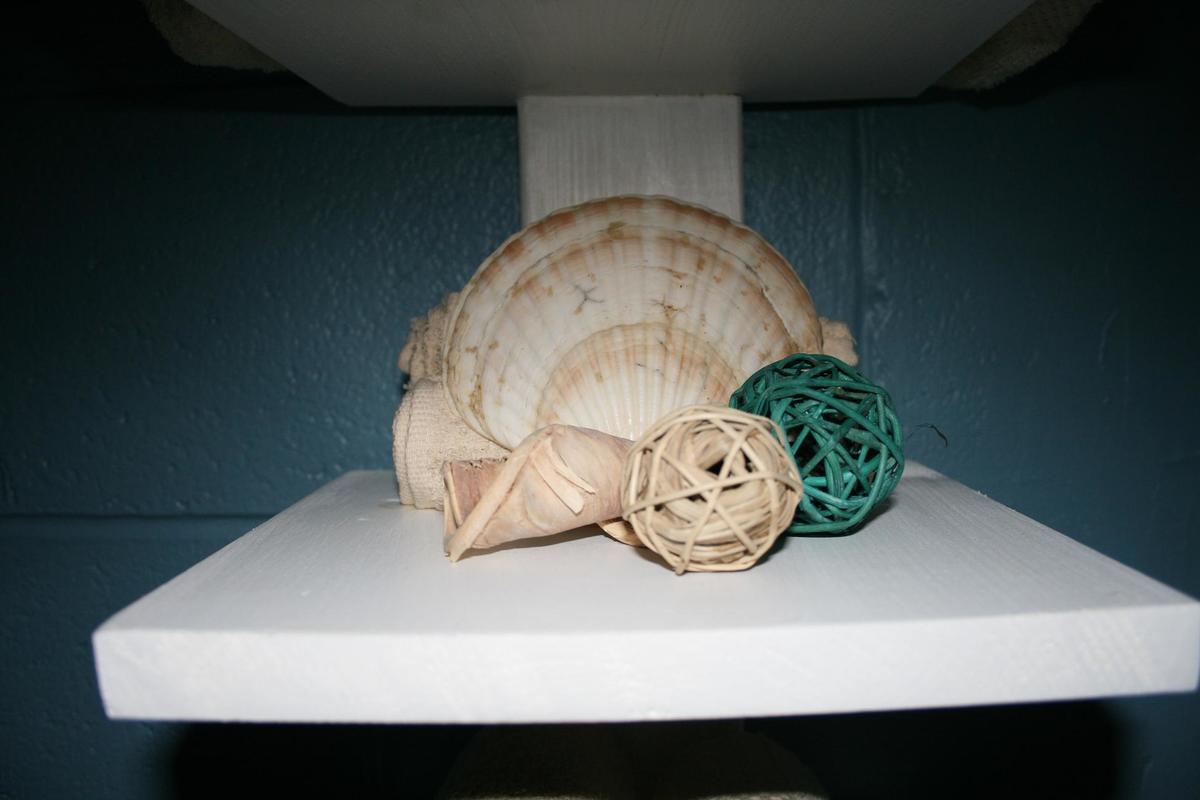
Bathroom Shelf
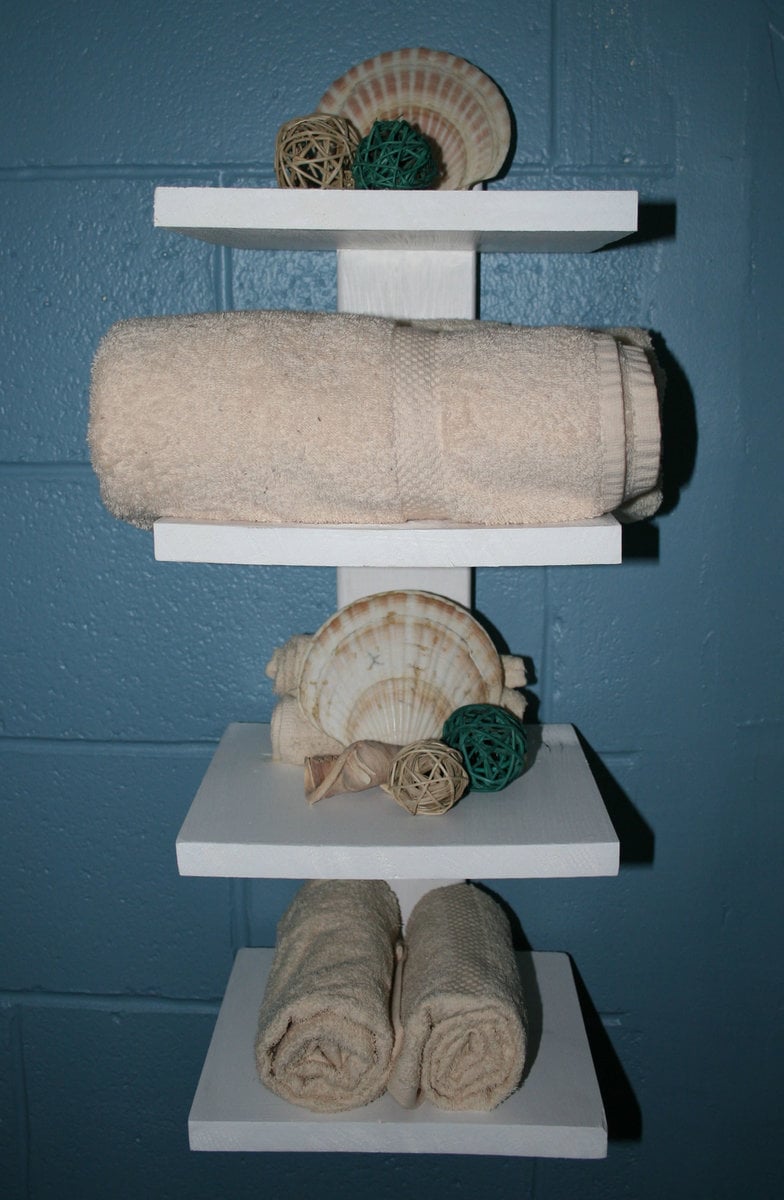
Another perfect shelf to decorate my little basement bathroom. Plans were so easy to follow! A little help from my hubby with this one... We had to drill into concrete to hang it. I love the end result!
I bought two pre-cut 1/4 inch panels and adjusted the dimensions of the trim to fit the panels, using 1x2's and 1x3's. I painted before I assembled, which was where the most time was spent. Thanks Ana for another great project!
Dued to my small kitchen, I used 3x4's instead of 4x4's for the legs. I did away with the drawers, and went with two shelves instead. I lower the first shelf to fit my microwave. This freed up my counter space, which was nice. I stopped by a local stone yard, and picked up a thickest piece of granite they had, and had them cut it 36" x 24". I used Minwax Polyshade White Oak for the stain, and picked up some cast iron hooks from Amazon. All together it came out fairly nice. The only regrets is the wood filler I used wasn't so great, and it didn't stain well.
Our boys share a room and needed new beds. We wanted to keep as much floor open as possible, so these 2 plans came together perfectly!! They have large drawers that store all of their clothes so theres no need for dressers. We put a surge protector inside the hutch so they can easily plug up and charge their electronics. Best beds ever!!!
Hi, Ana.
I am loving your spot! I have not even delved into your recipes yet! I plan on making more than a few projects from your plans!
This narrow cube bookshelf is a very handy addition to my kitchen! I use this shelf to store cookbooks, our iPod speakers, and some other utilitarian odds and ends. I'm particularly a fan of how to facing on the front and back acts as a stopper to keep your items in the bookshelf. It did not specify in the plans but we chose to align the back facing piece flush with the bottom of the shelf and the front facing piece flush with the top of the shelf. You can see what I'm describing in the pictures.
This piece was fast and easy. I think there is a time when finish work is faster to be done once a piece is finished but this not one of those projects. This shelf would benefit from finish before assembly.
Finally, a place to corral all of the stuff on the patio!
What we really needed was a wood rack and buffet/usable surface for the patio, but this potting bench fit the bill perfectly because:
1. It's sturdy enough to hold all that firewood
2. I had all of the supplies already (2x4 scraps, leftover paint, screws, etc)
Free and easy? Yes, please!
Only real change is that I added an apron to the front of the top shelf, and used well-sanded fence slats for the top shelf instead of a regular 1x6 (it's what was in the garage already).
The towel bar is from Ikea. That was also an extra that was already on hand.
Built for our 4 ur old son.. We all love it and had fun together!
Fri, 10/30/2015 - 20:13
I love this bed. (It's definitely on my to build list.)
Made for my wife for a Christmas present. Awesome project.
I love the plan for the King Farmhouse bed. I built it and made a couple of changes that just made it easier to move. I did not want to screw the middle support legs through the footboard and just happened to have six fence brackets in my fastener box, we just moved in a month before this build. I put the fence brackets on the front of the side rail cleats and added a 2x4 that went into those brackets. Then I added fence brackets to the front 2x4 and the back 2x4 that would receive the leg support boards. I also added supports made from two 3" cuts of the scrap 2x2 for the back of the side rails on the headboard legs. This modest support was just to help put it back together in the bedroom. We plan on moving again in a few years and I want the bed to last through many years so I thought this was a good idea. The bed is sturdy and I love it. Thank you for another fantastic plan Ana!
Sun, 09/04/2022 - 12:54
Gorgeous bed and it should last many years! Thank you for sharing.
I just recently decided to try my hand at woodworking. This was my second project, first one from Ana, super easy instructions. I hadn't gotten the straightest 2x2s, since I had done my shopping with a two year old in tow, but I got it to work. After I completed it, my husband tells me it actually looked good--he seemed surprised. Anyway, I built this tower so that our new parakeet will have somewhere to live and I can conceal his food and other supplies in the baskets underneath. Without making any adjustments to Ana's plan with the exception that out 1x12s are only 11 1/4 it is the perfect size for our little bird cage. Thanks Ana for the design and inspiration to do it myself!
I built this table a year ago just never got the chance to post pics. It was an easy build.
Sat, 09/07/2013 - 17:16
Your table looks beautiful! Love the finish, and the way you arranged and photographed it is wonderful, great job!
We had recenty been to Jasper National Park in the Canadian Rockies and saw beautiful red adirondack chairs out on many of the trails, so we built these to remind us of a great family vacation.
At 43, I feel like I finally have the bedroom I have wanted for many years. Lots of thought on creating a bed, but this is the first time it's come to fruition.
Wed, 01/02/2019 - 12:26
Wow, this is absolutely gorgeous! I love the finish color, what is it? It is beautiful! Thank you so much for bragging!
Fun build. We've been going through the scrap bin trying to figure out some ser projects to build. Had a piece of 1x12 that was perfect for this project. It had a little split in it, so we added a cherry bowtie to it.
Minwax weathered oak finish.
Tue, 09/13/2022 - 16:46
Thanks for sharing, great build and love the finish! Always feels nice to use up some scraps:)
I decided to not paint it, but we sanded it REALLY well. I also decided to forgo the caster wheels just so it would fit under an entryway table. Right now I'm using it for dog toys!
Burnt the wood with a torch before staining and used really cheapo pine.
Used a compass to make my star as I wanted the points to be a little taller. 10 pieces of 8" walnut was used. And I used a table saw sled to cut the pieces.
First piece of furniture every built. I added some quarter round and 1x4 blocks. Finished with a grey stain and paste wax. Everyone asks me is where did I buy it and how did I afford it.
Sitting bench with shoe cubbie underneath. Barn boards for backing and shelving above.
I wanted a simple table to highlight this retro sewing machine I inherited from my grandma. I had to modify a few of the dimensions of this table and add a different trim up top, but I really like the results!