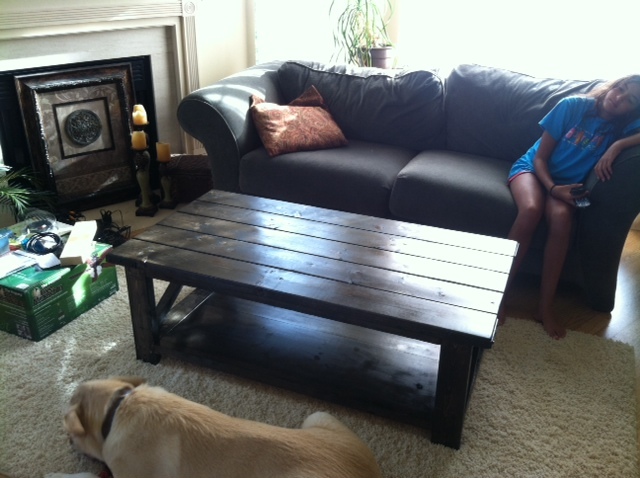
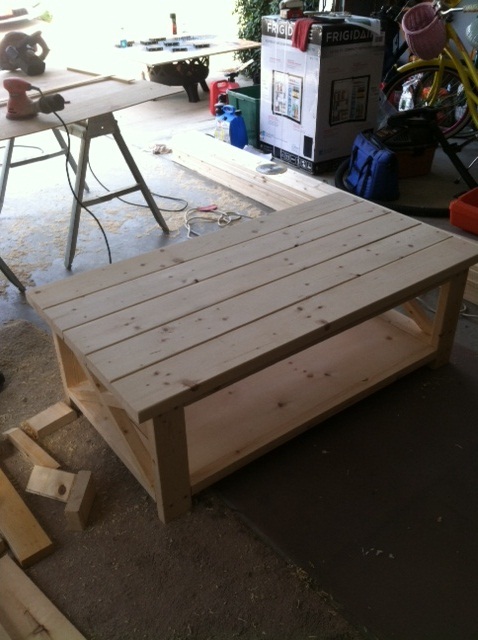
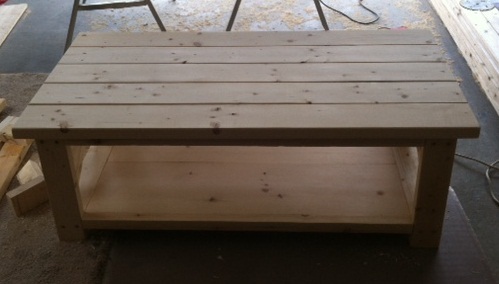
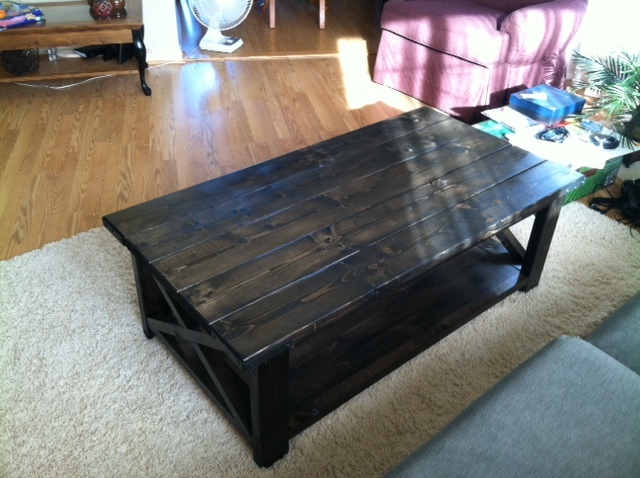
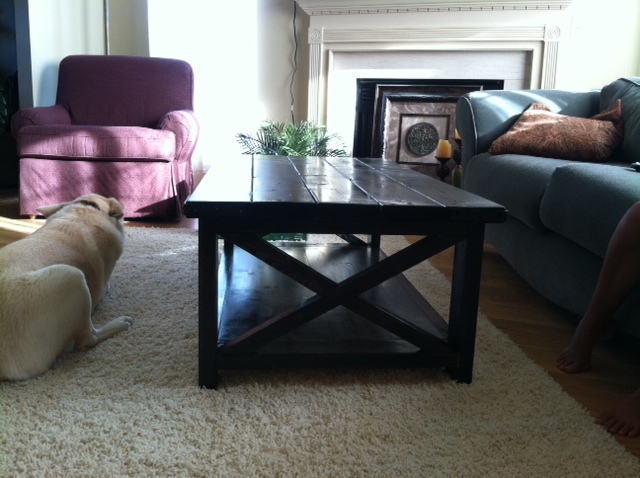
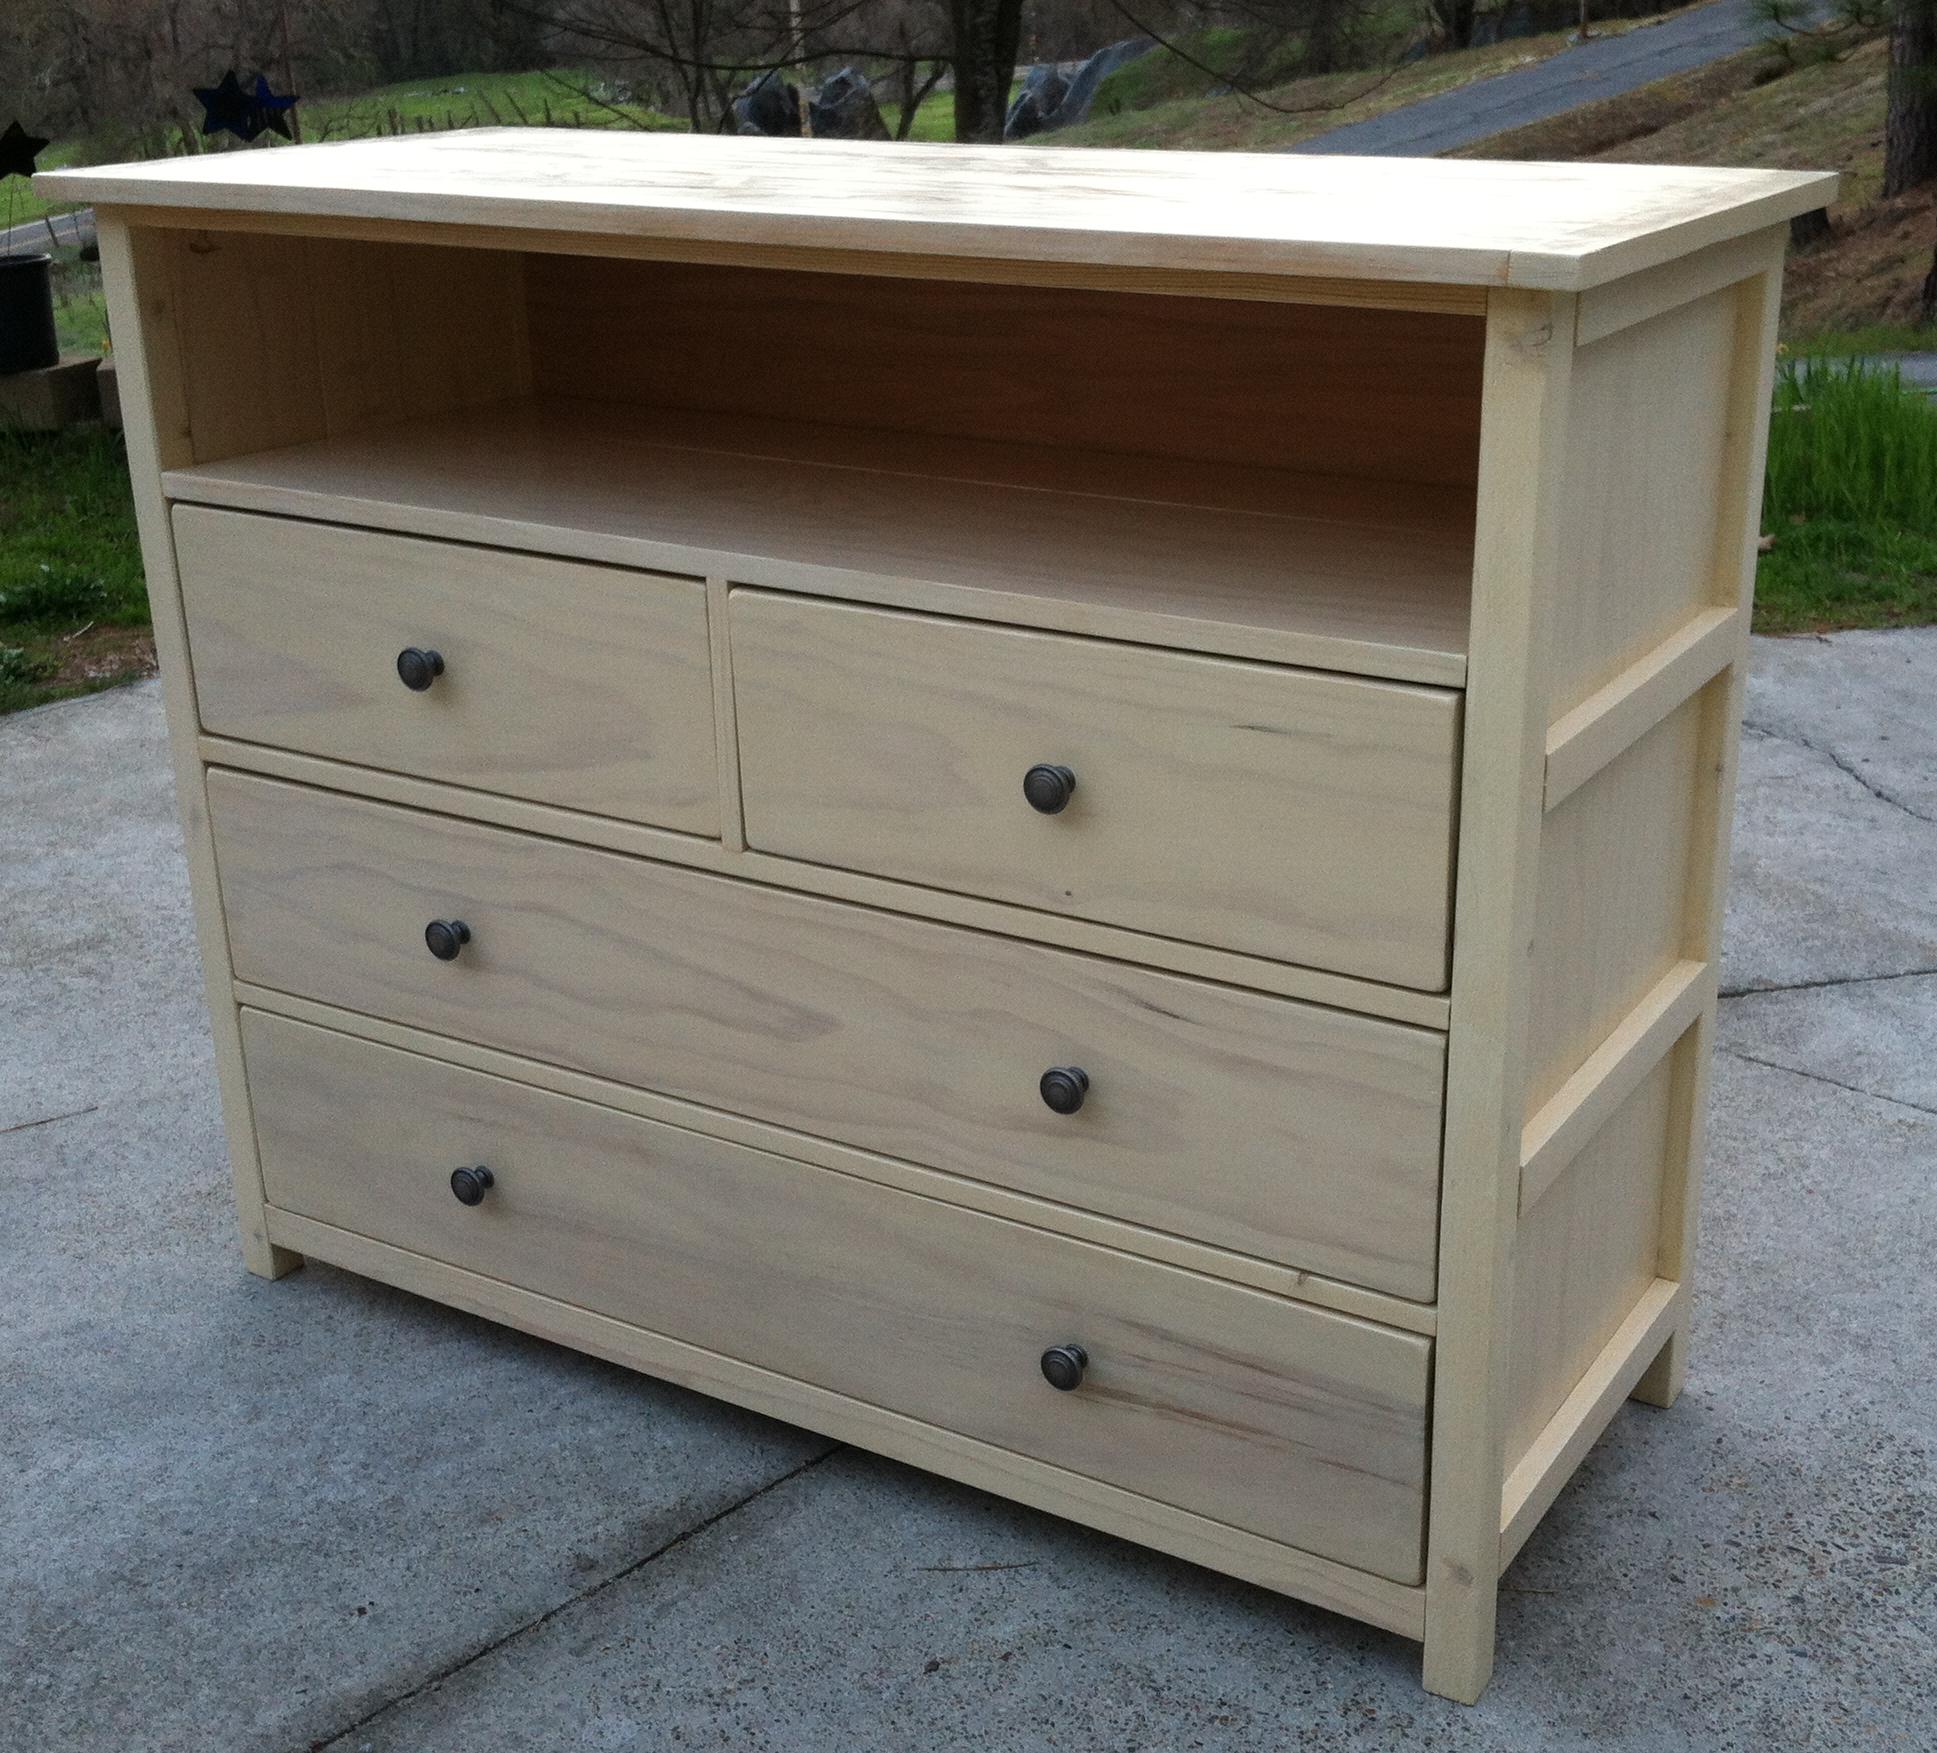
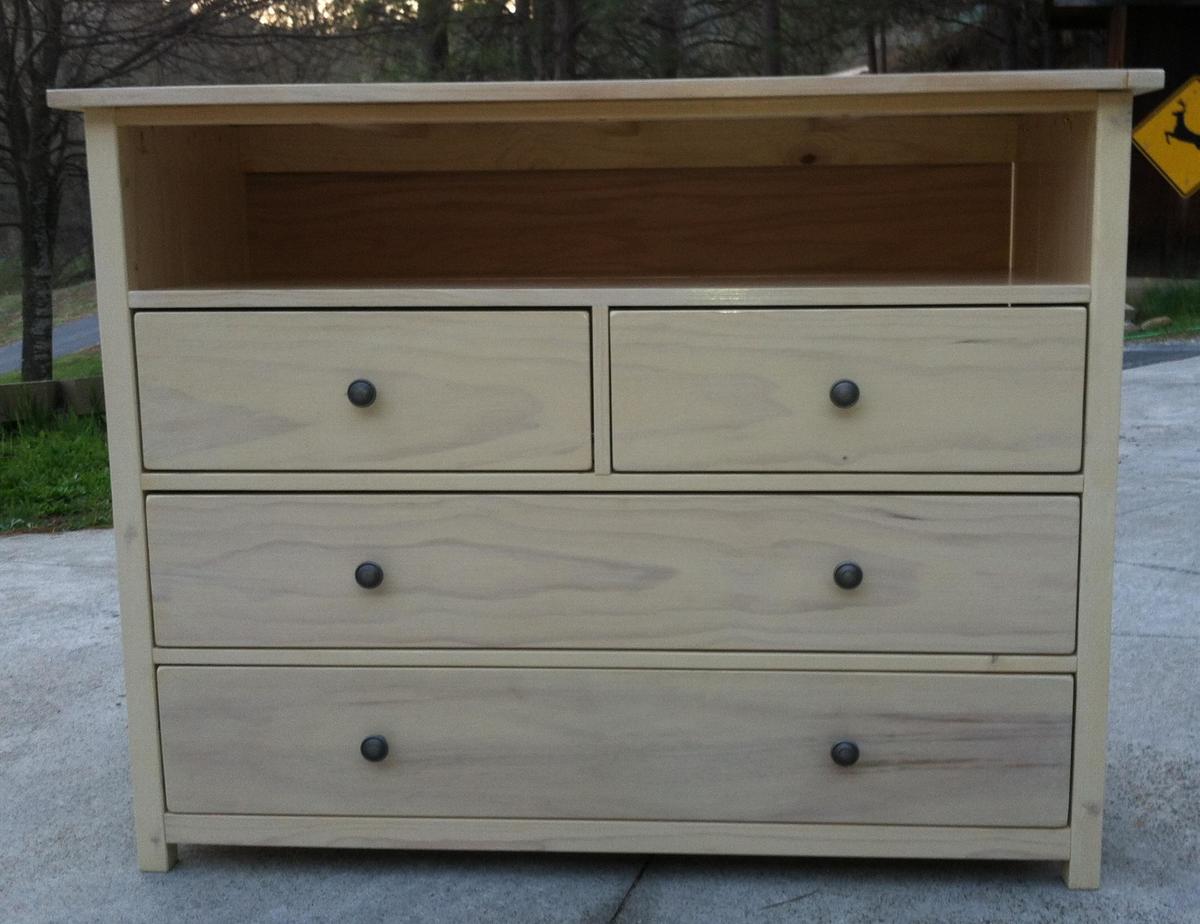
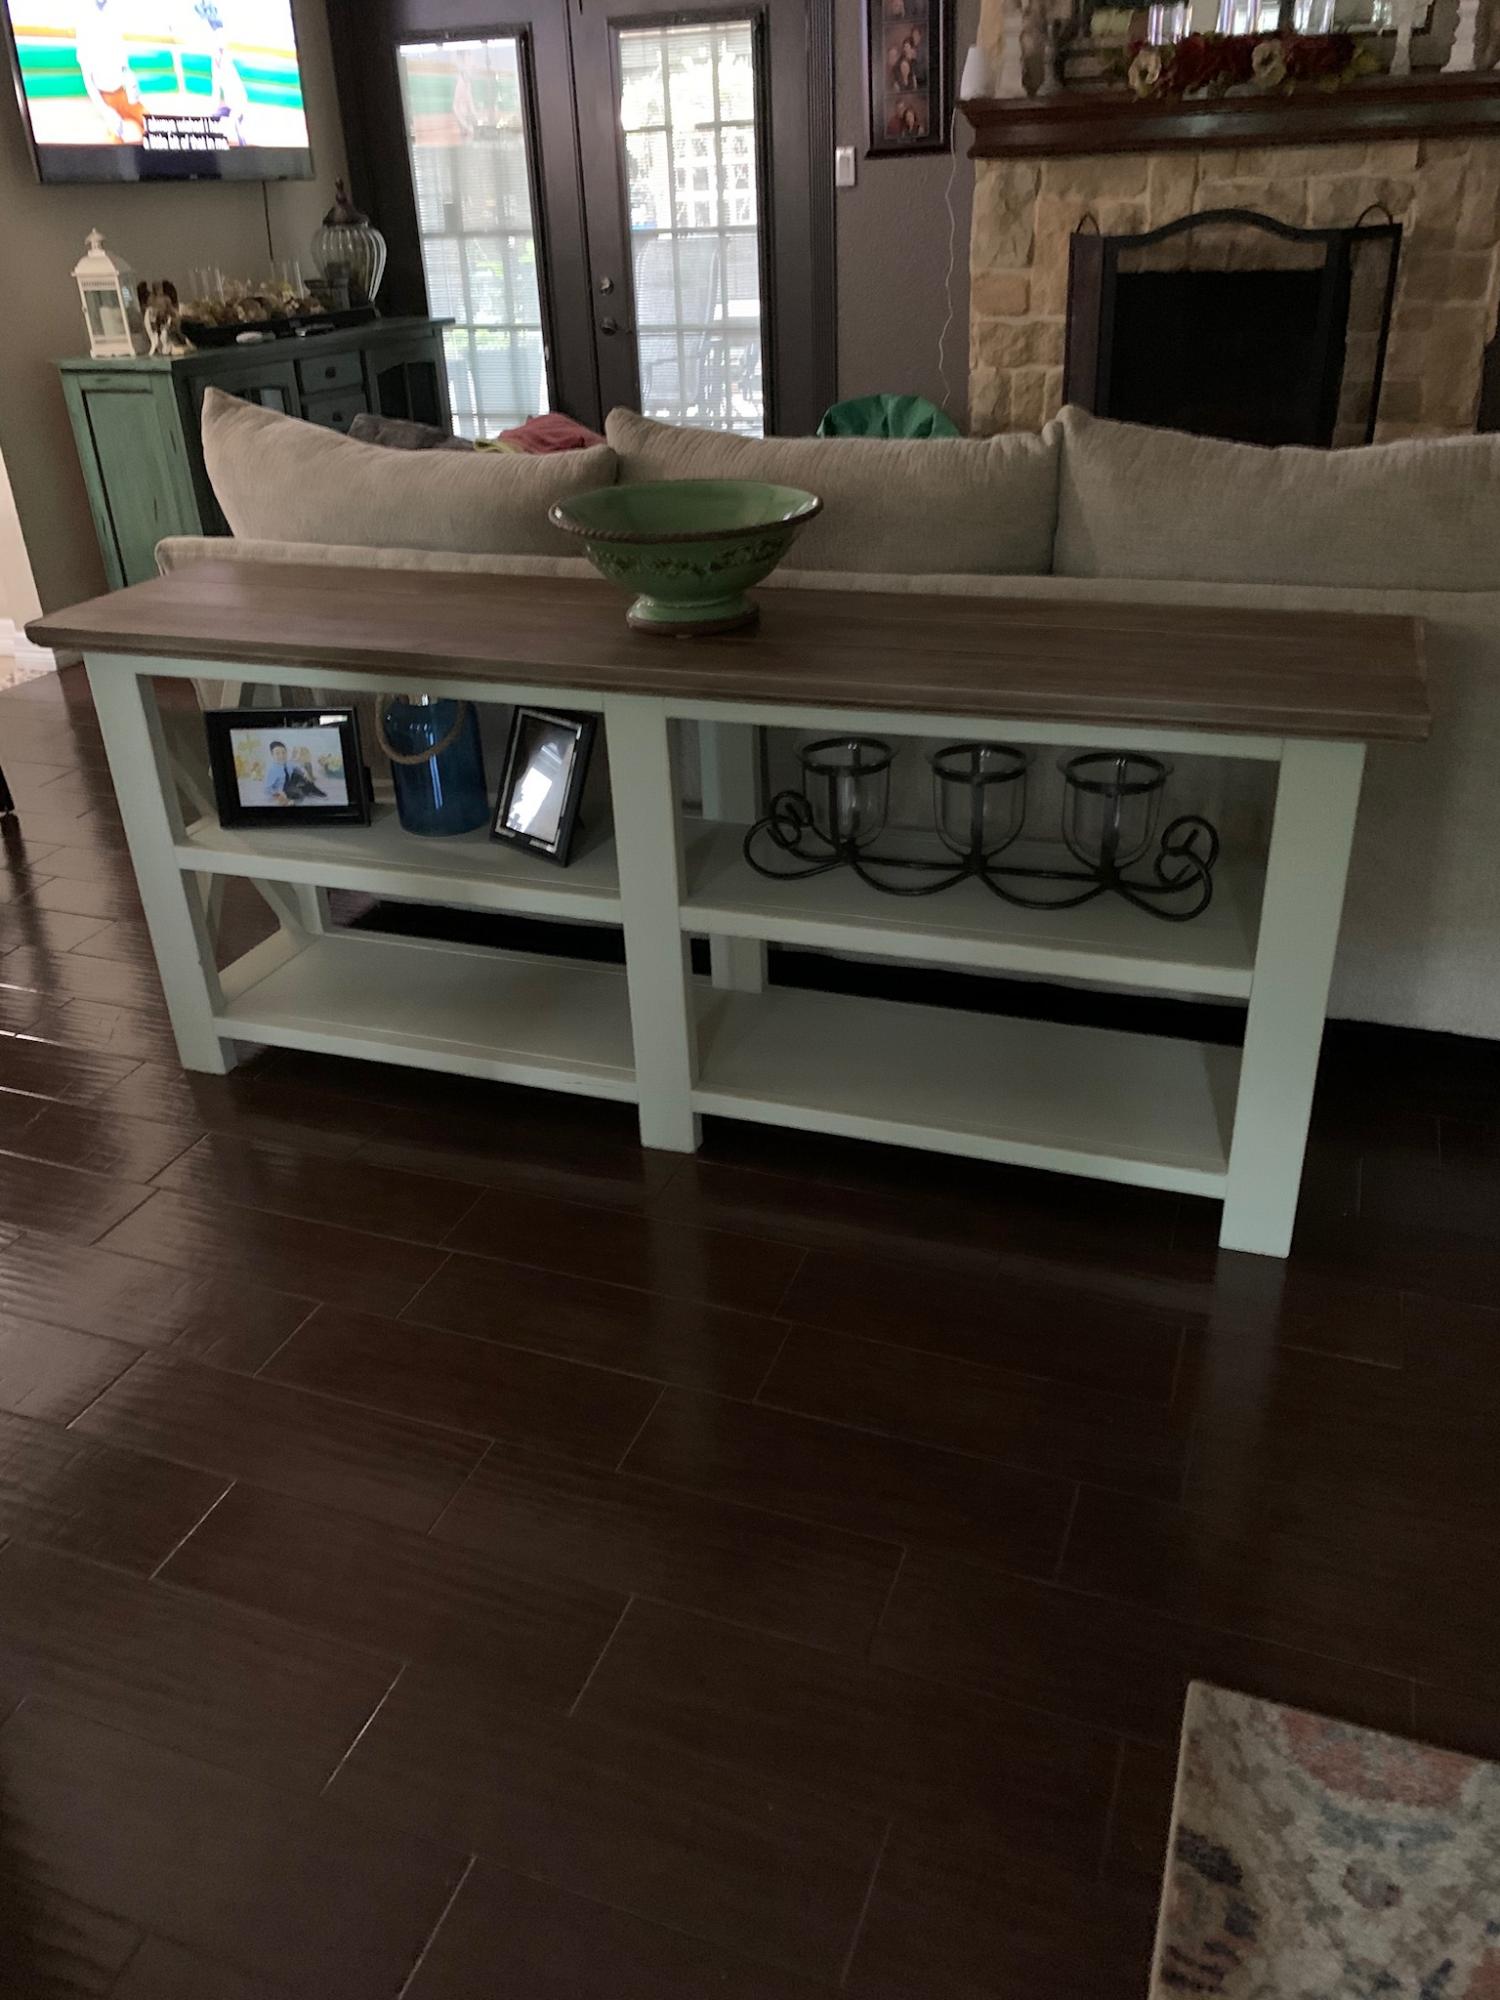
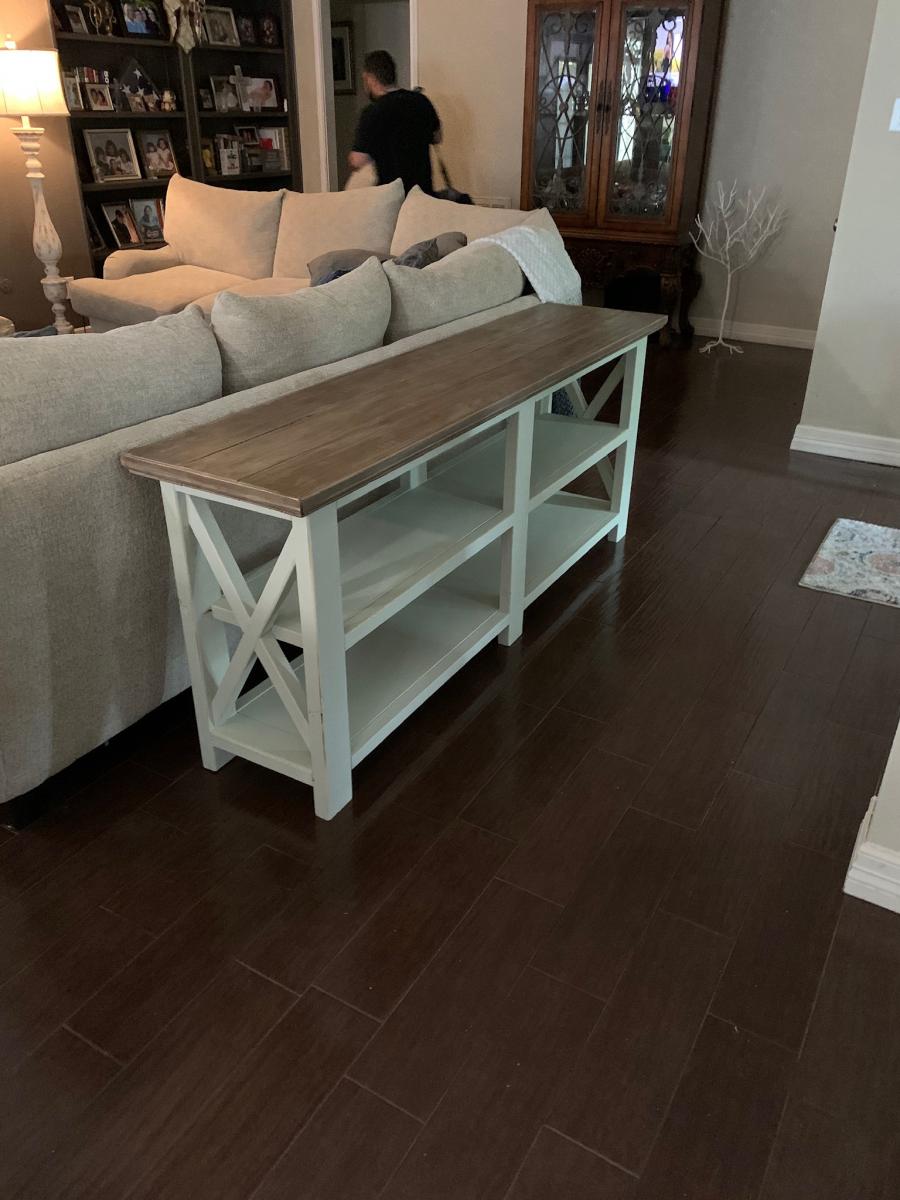
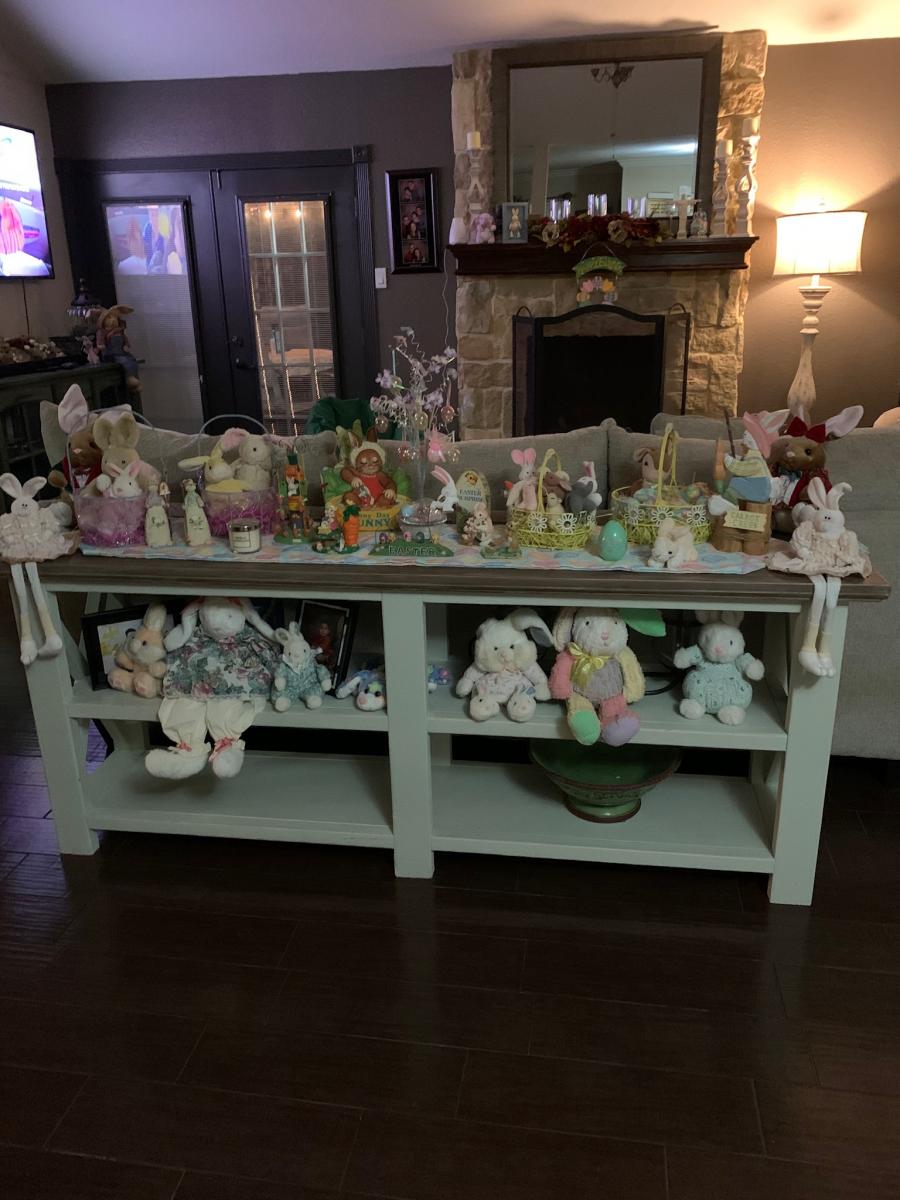
Community Brag Posts

Farmhouse Table

Submitted by jlparis119 on Wed, 04/15/2020 - 11:34

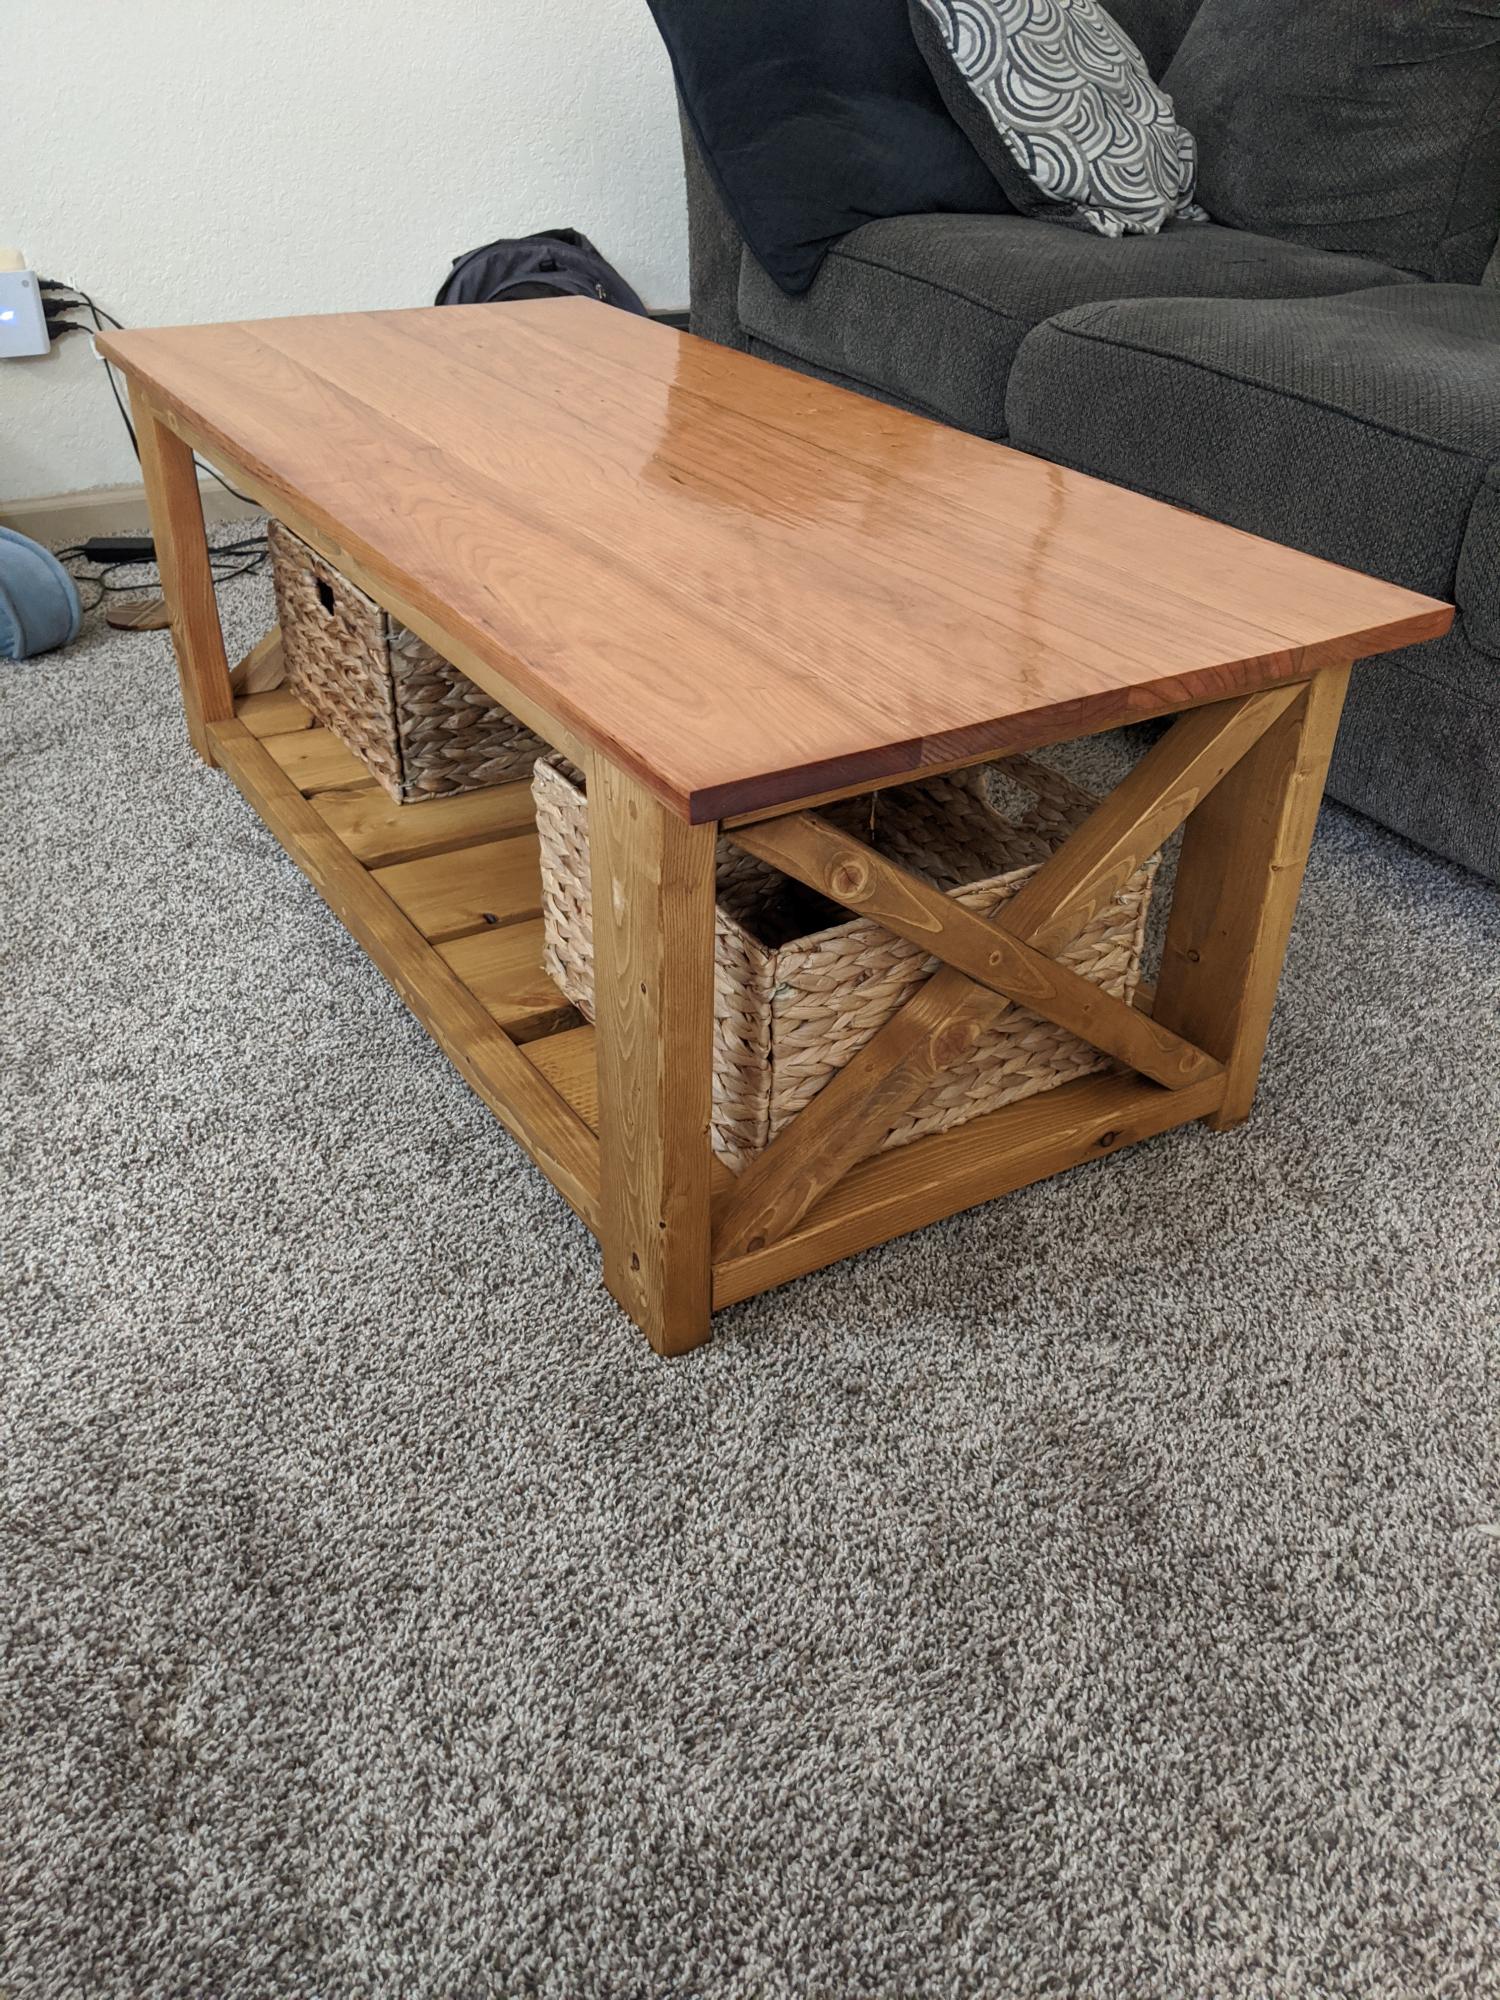
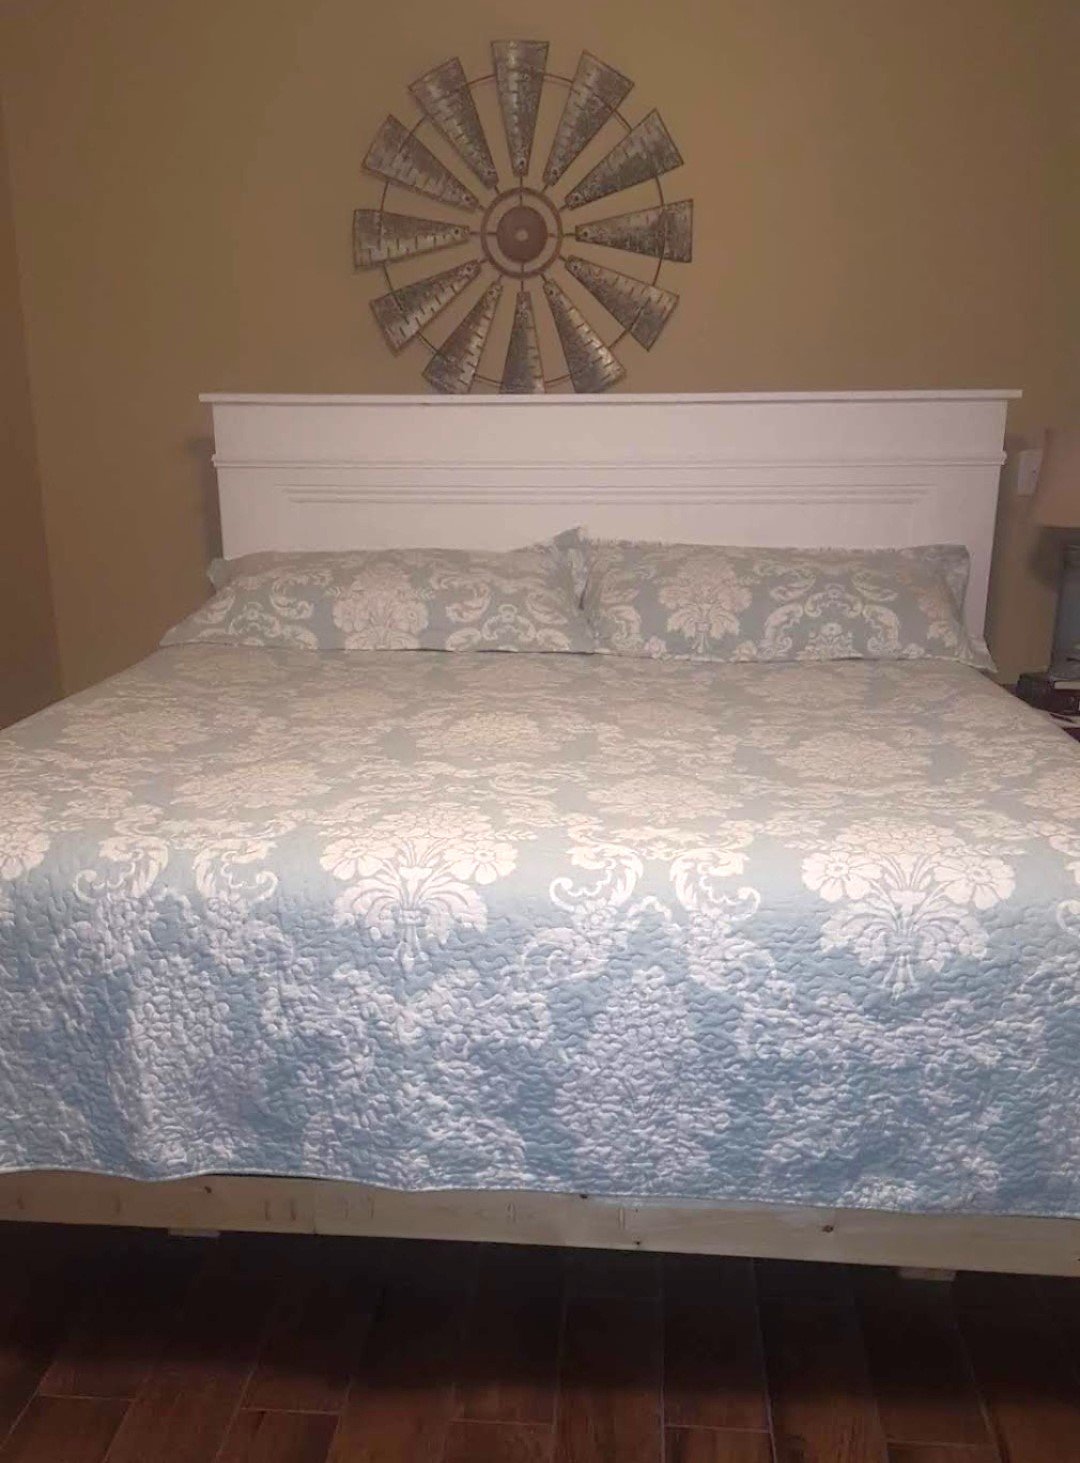
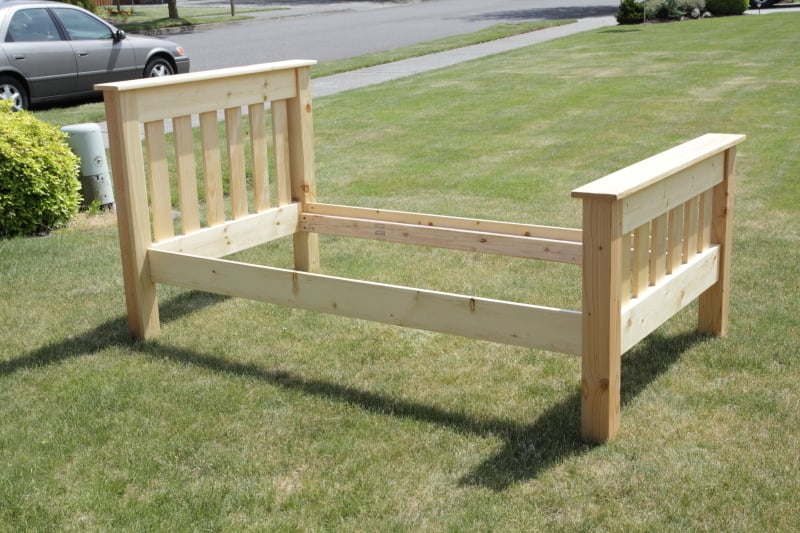
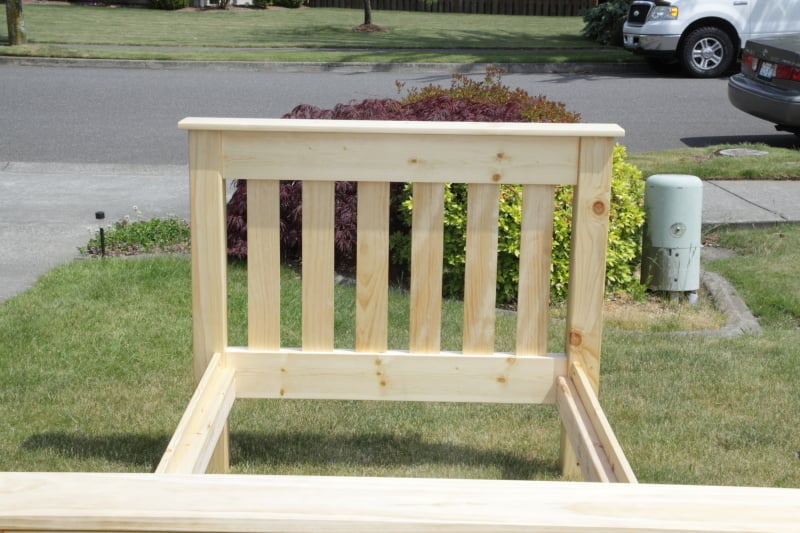
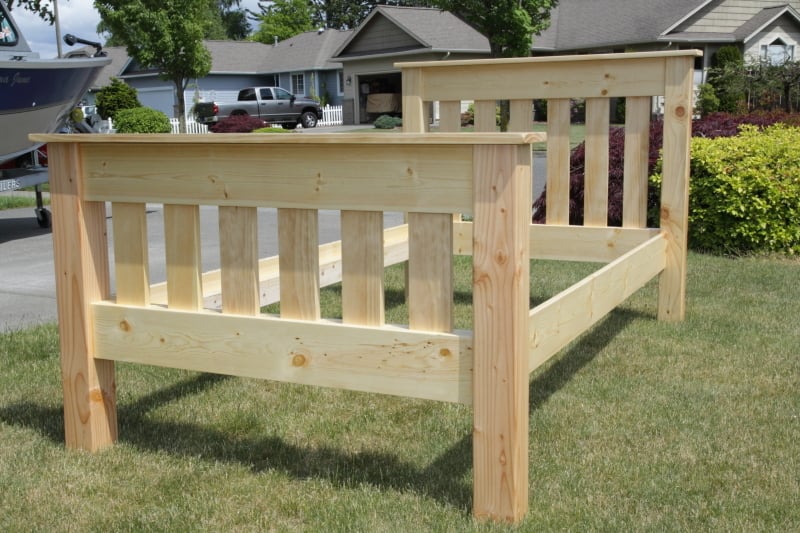
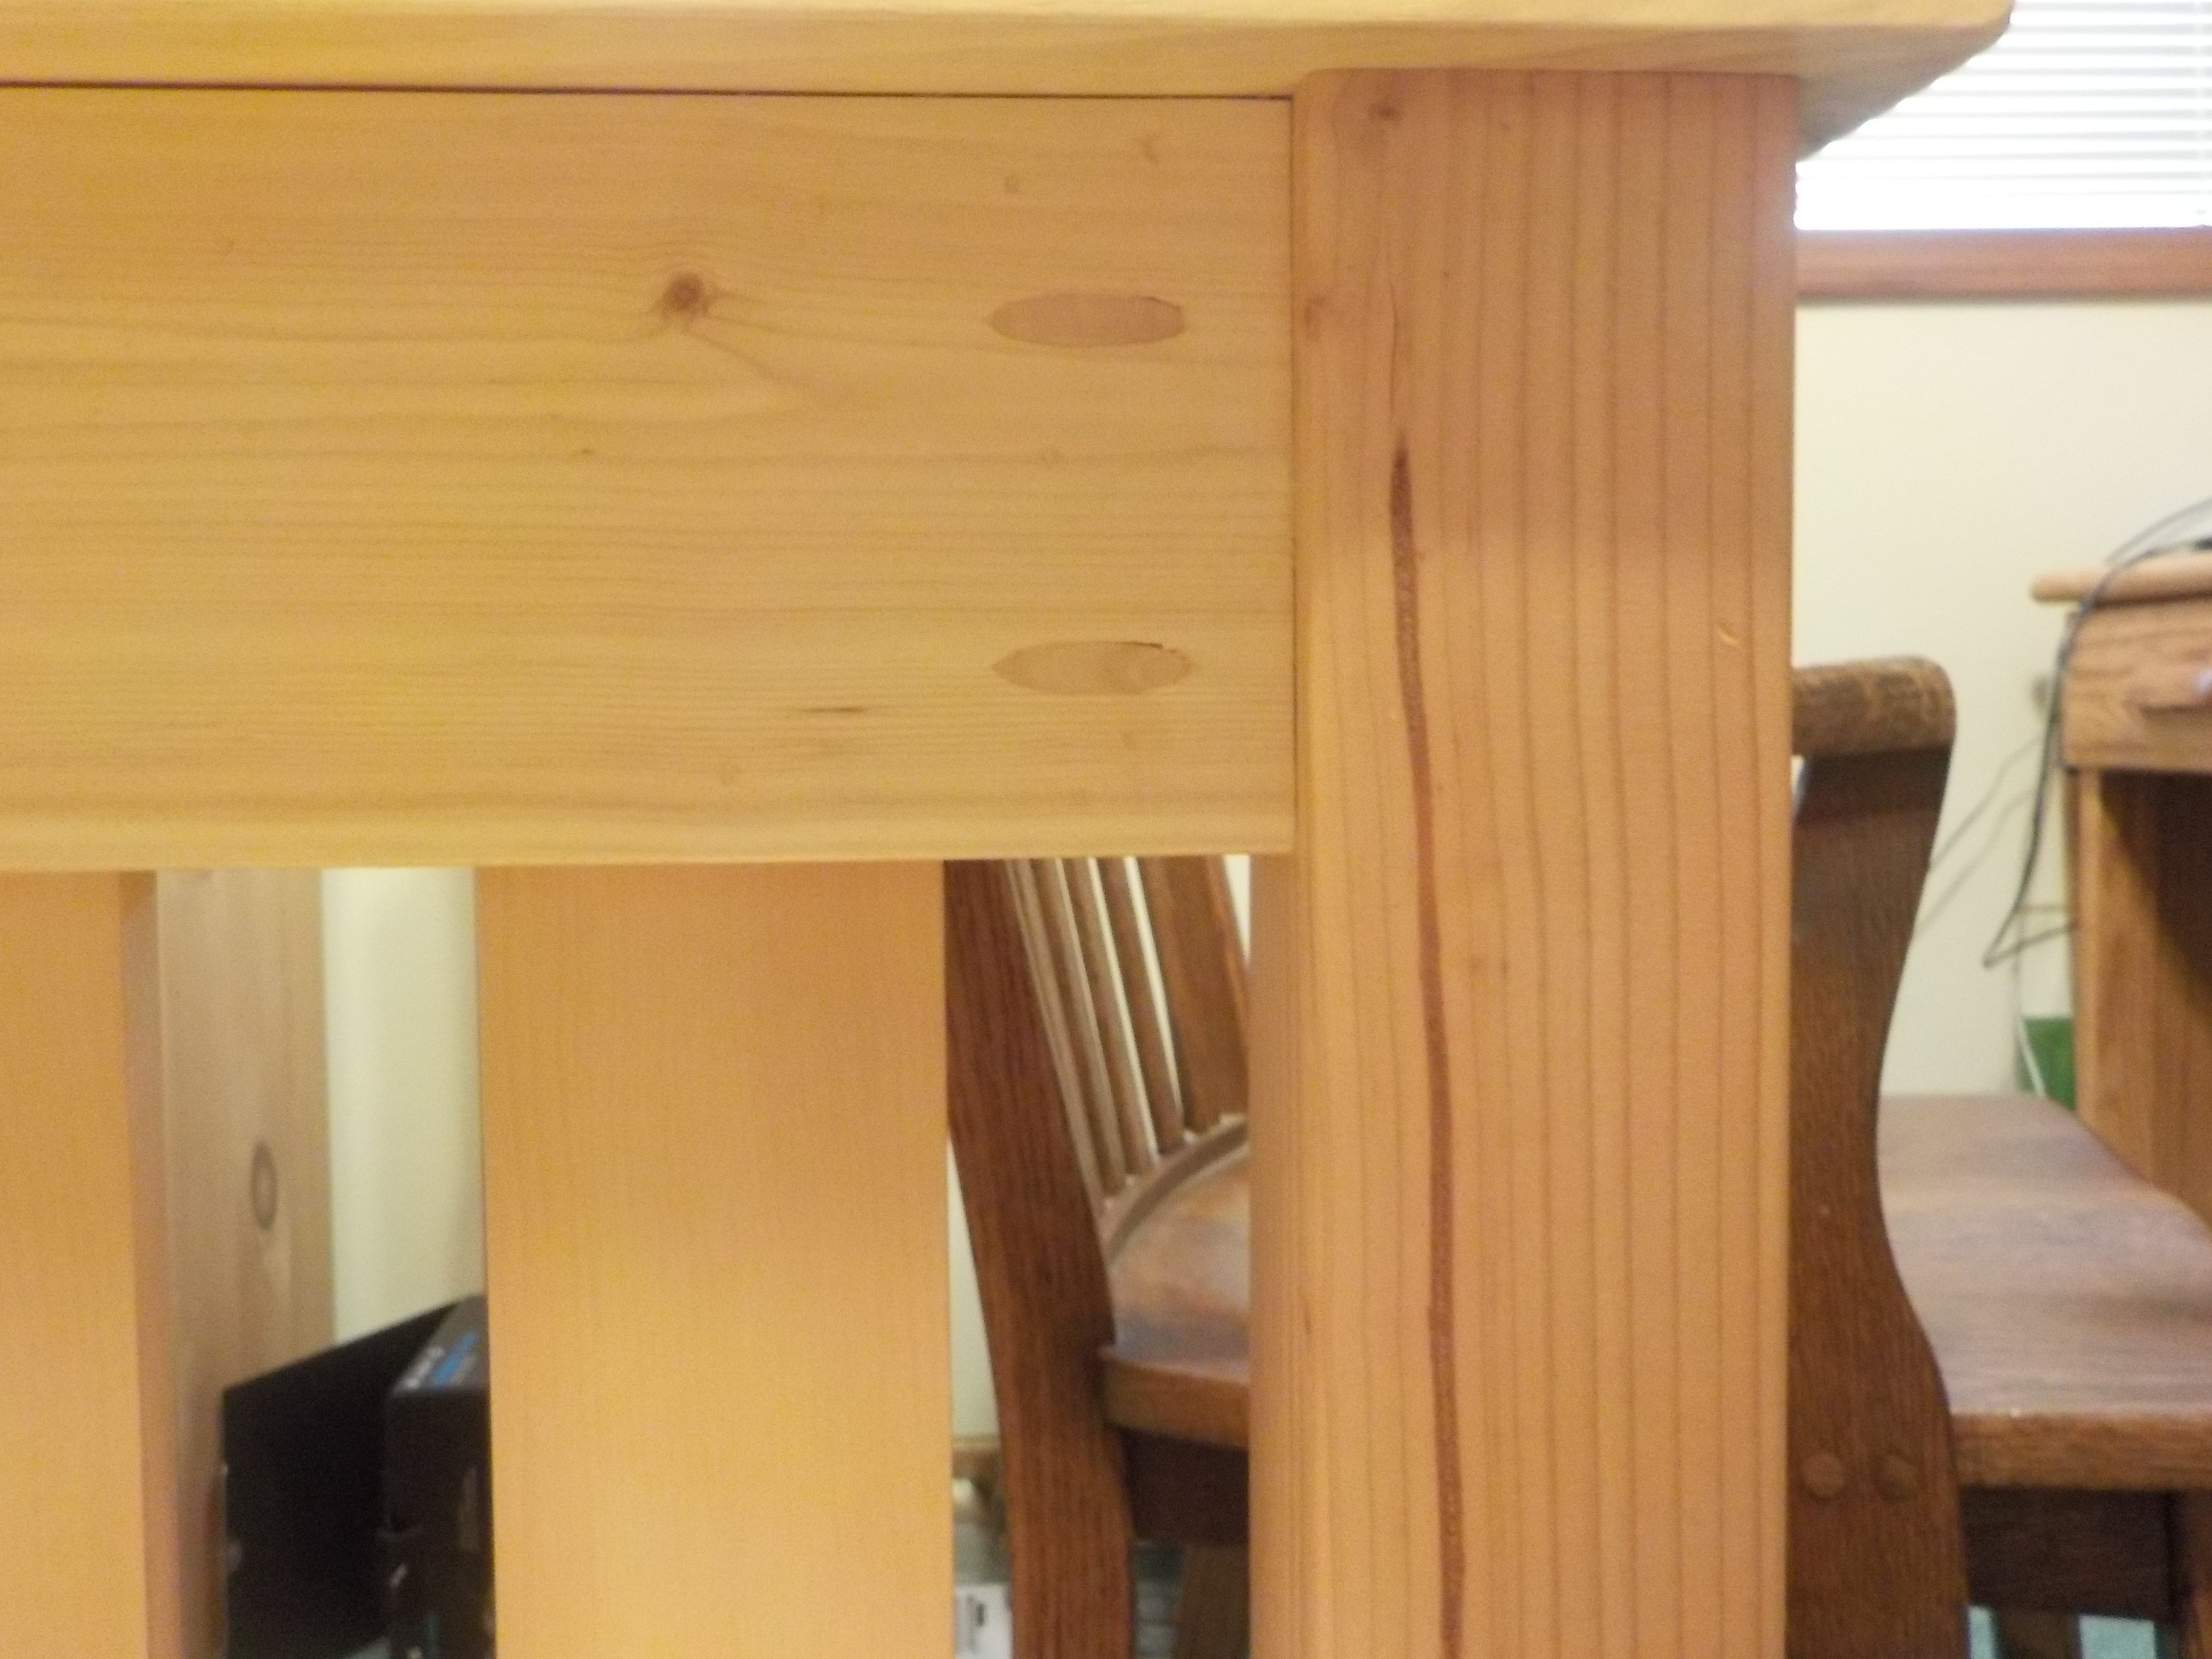
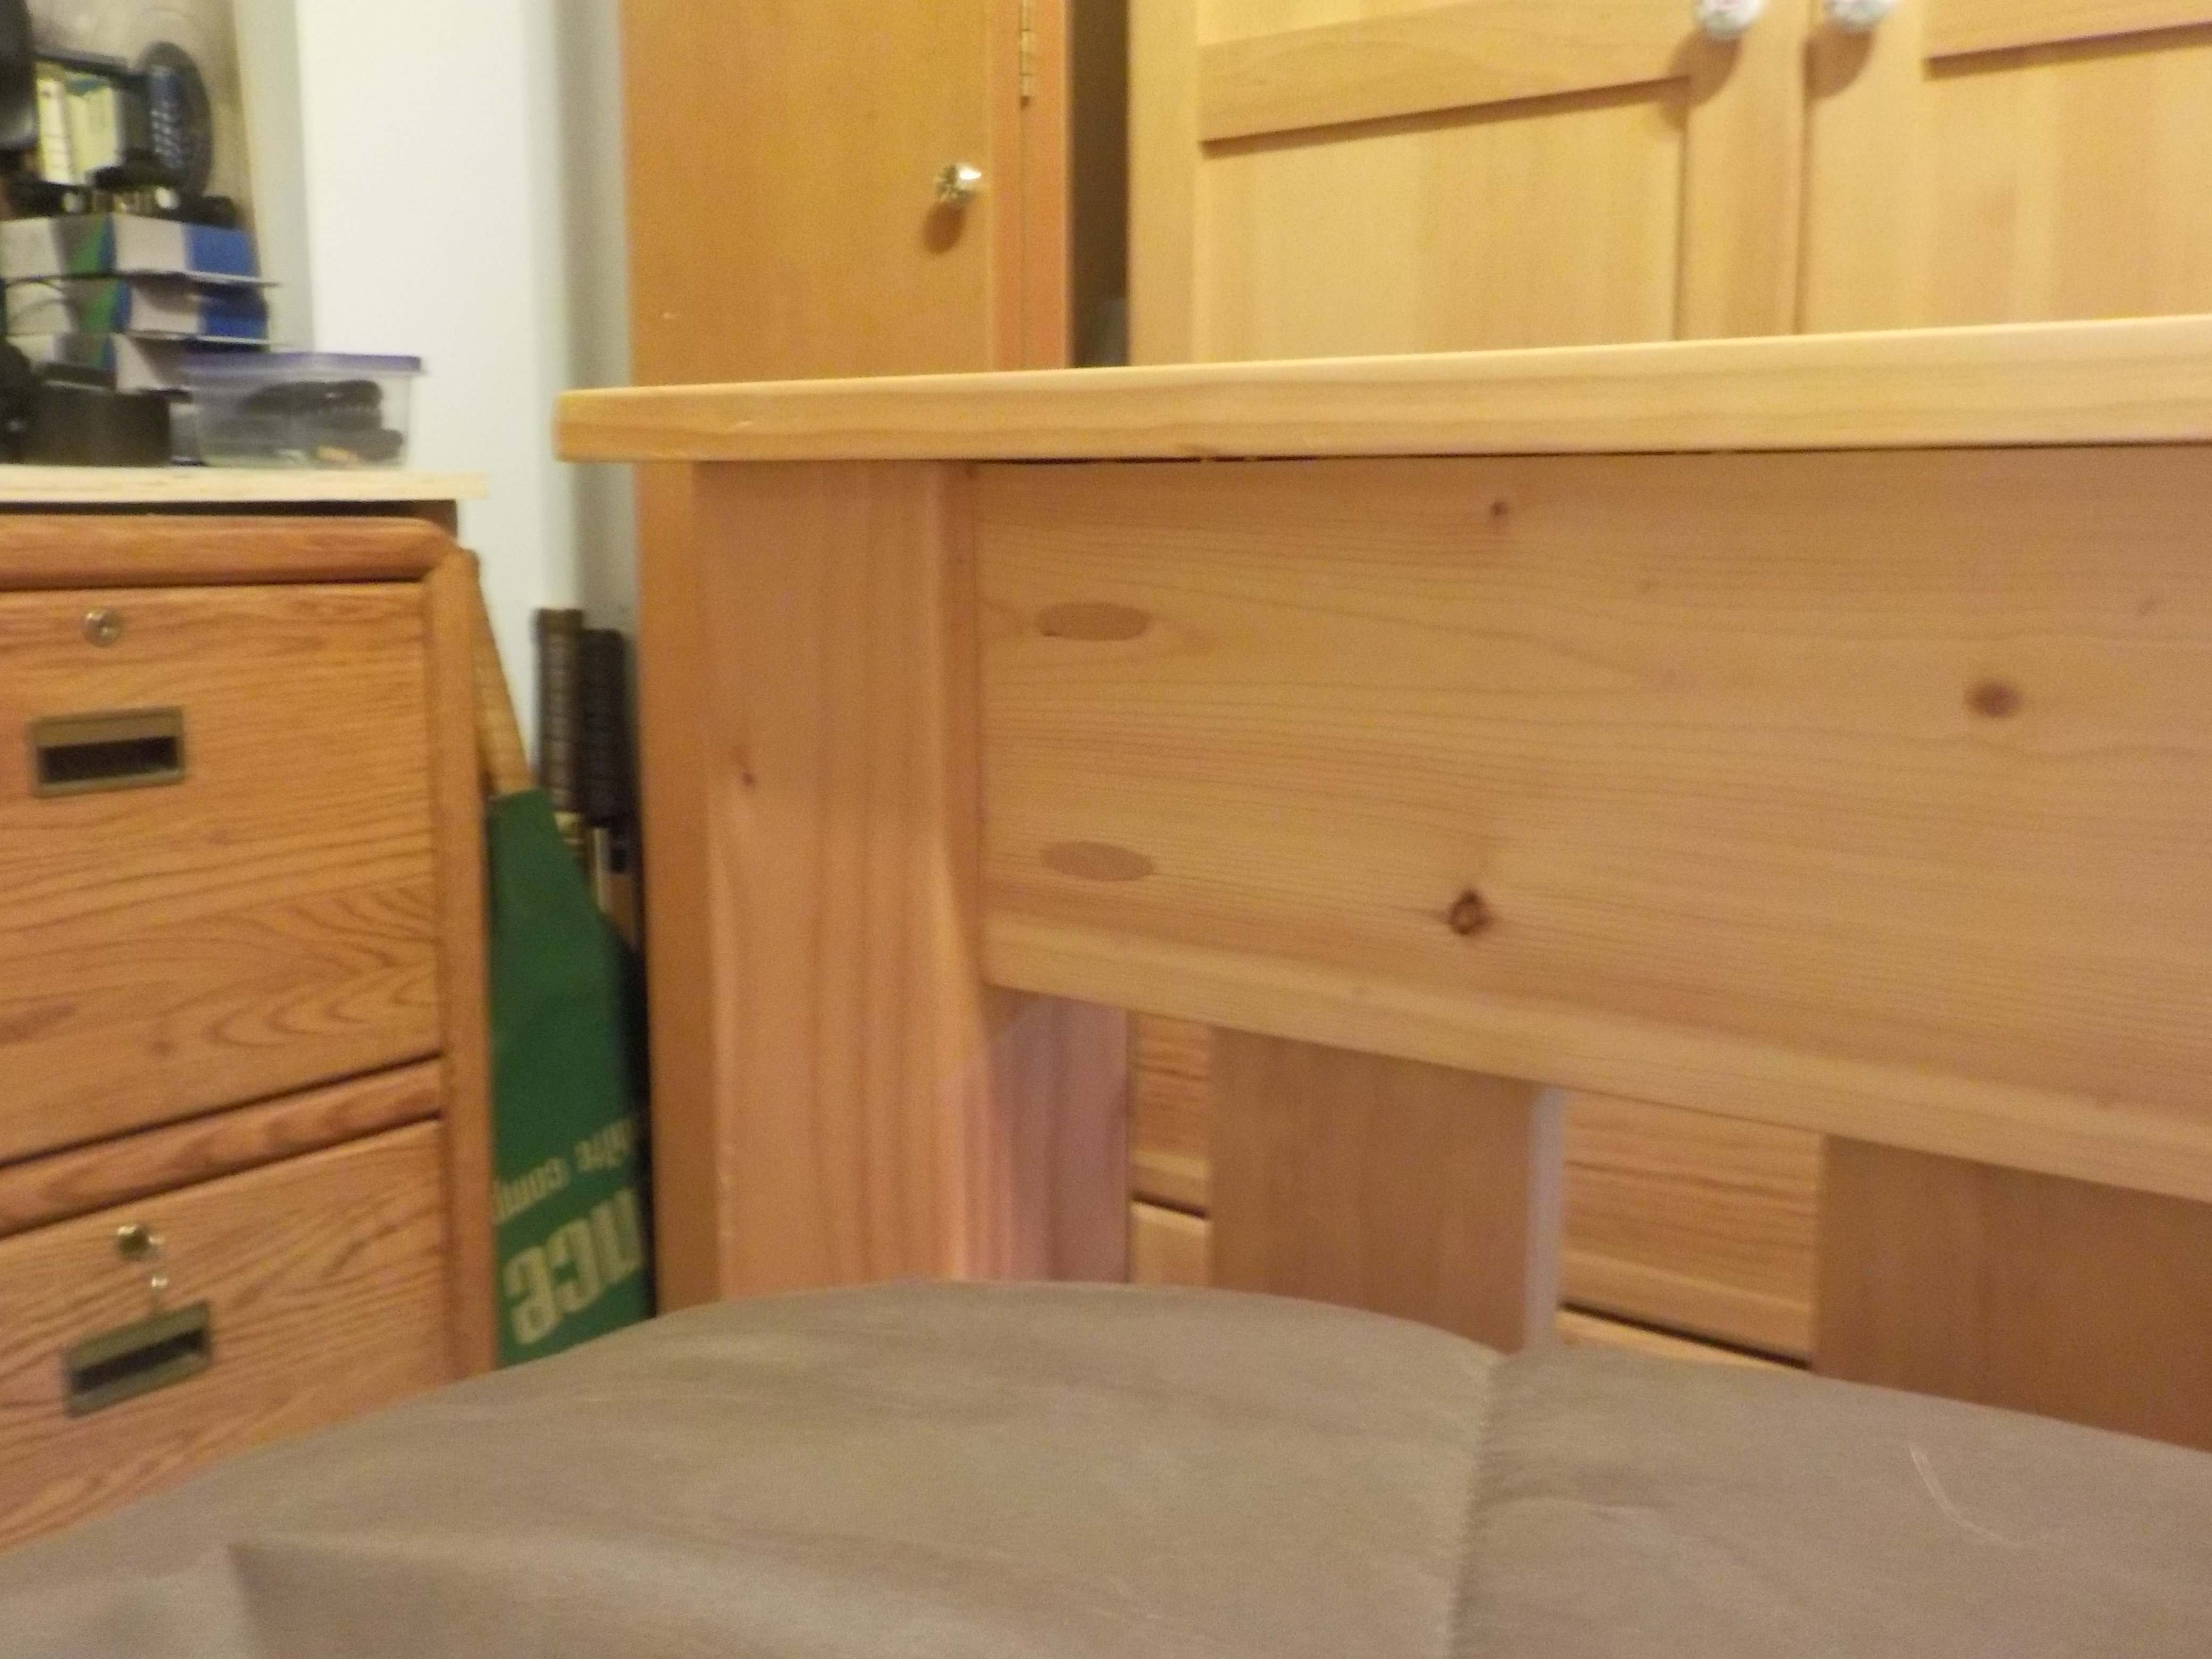
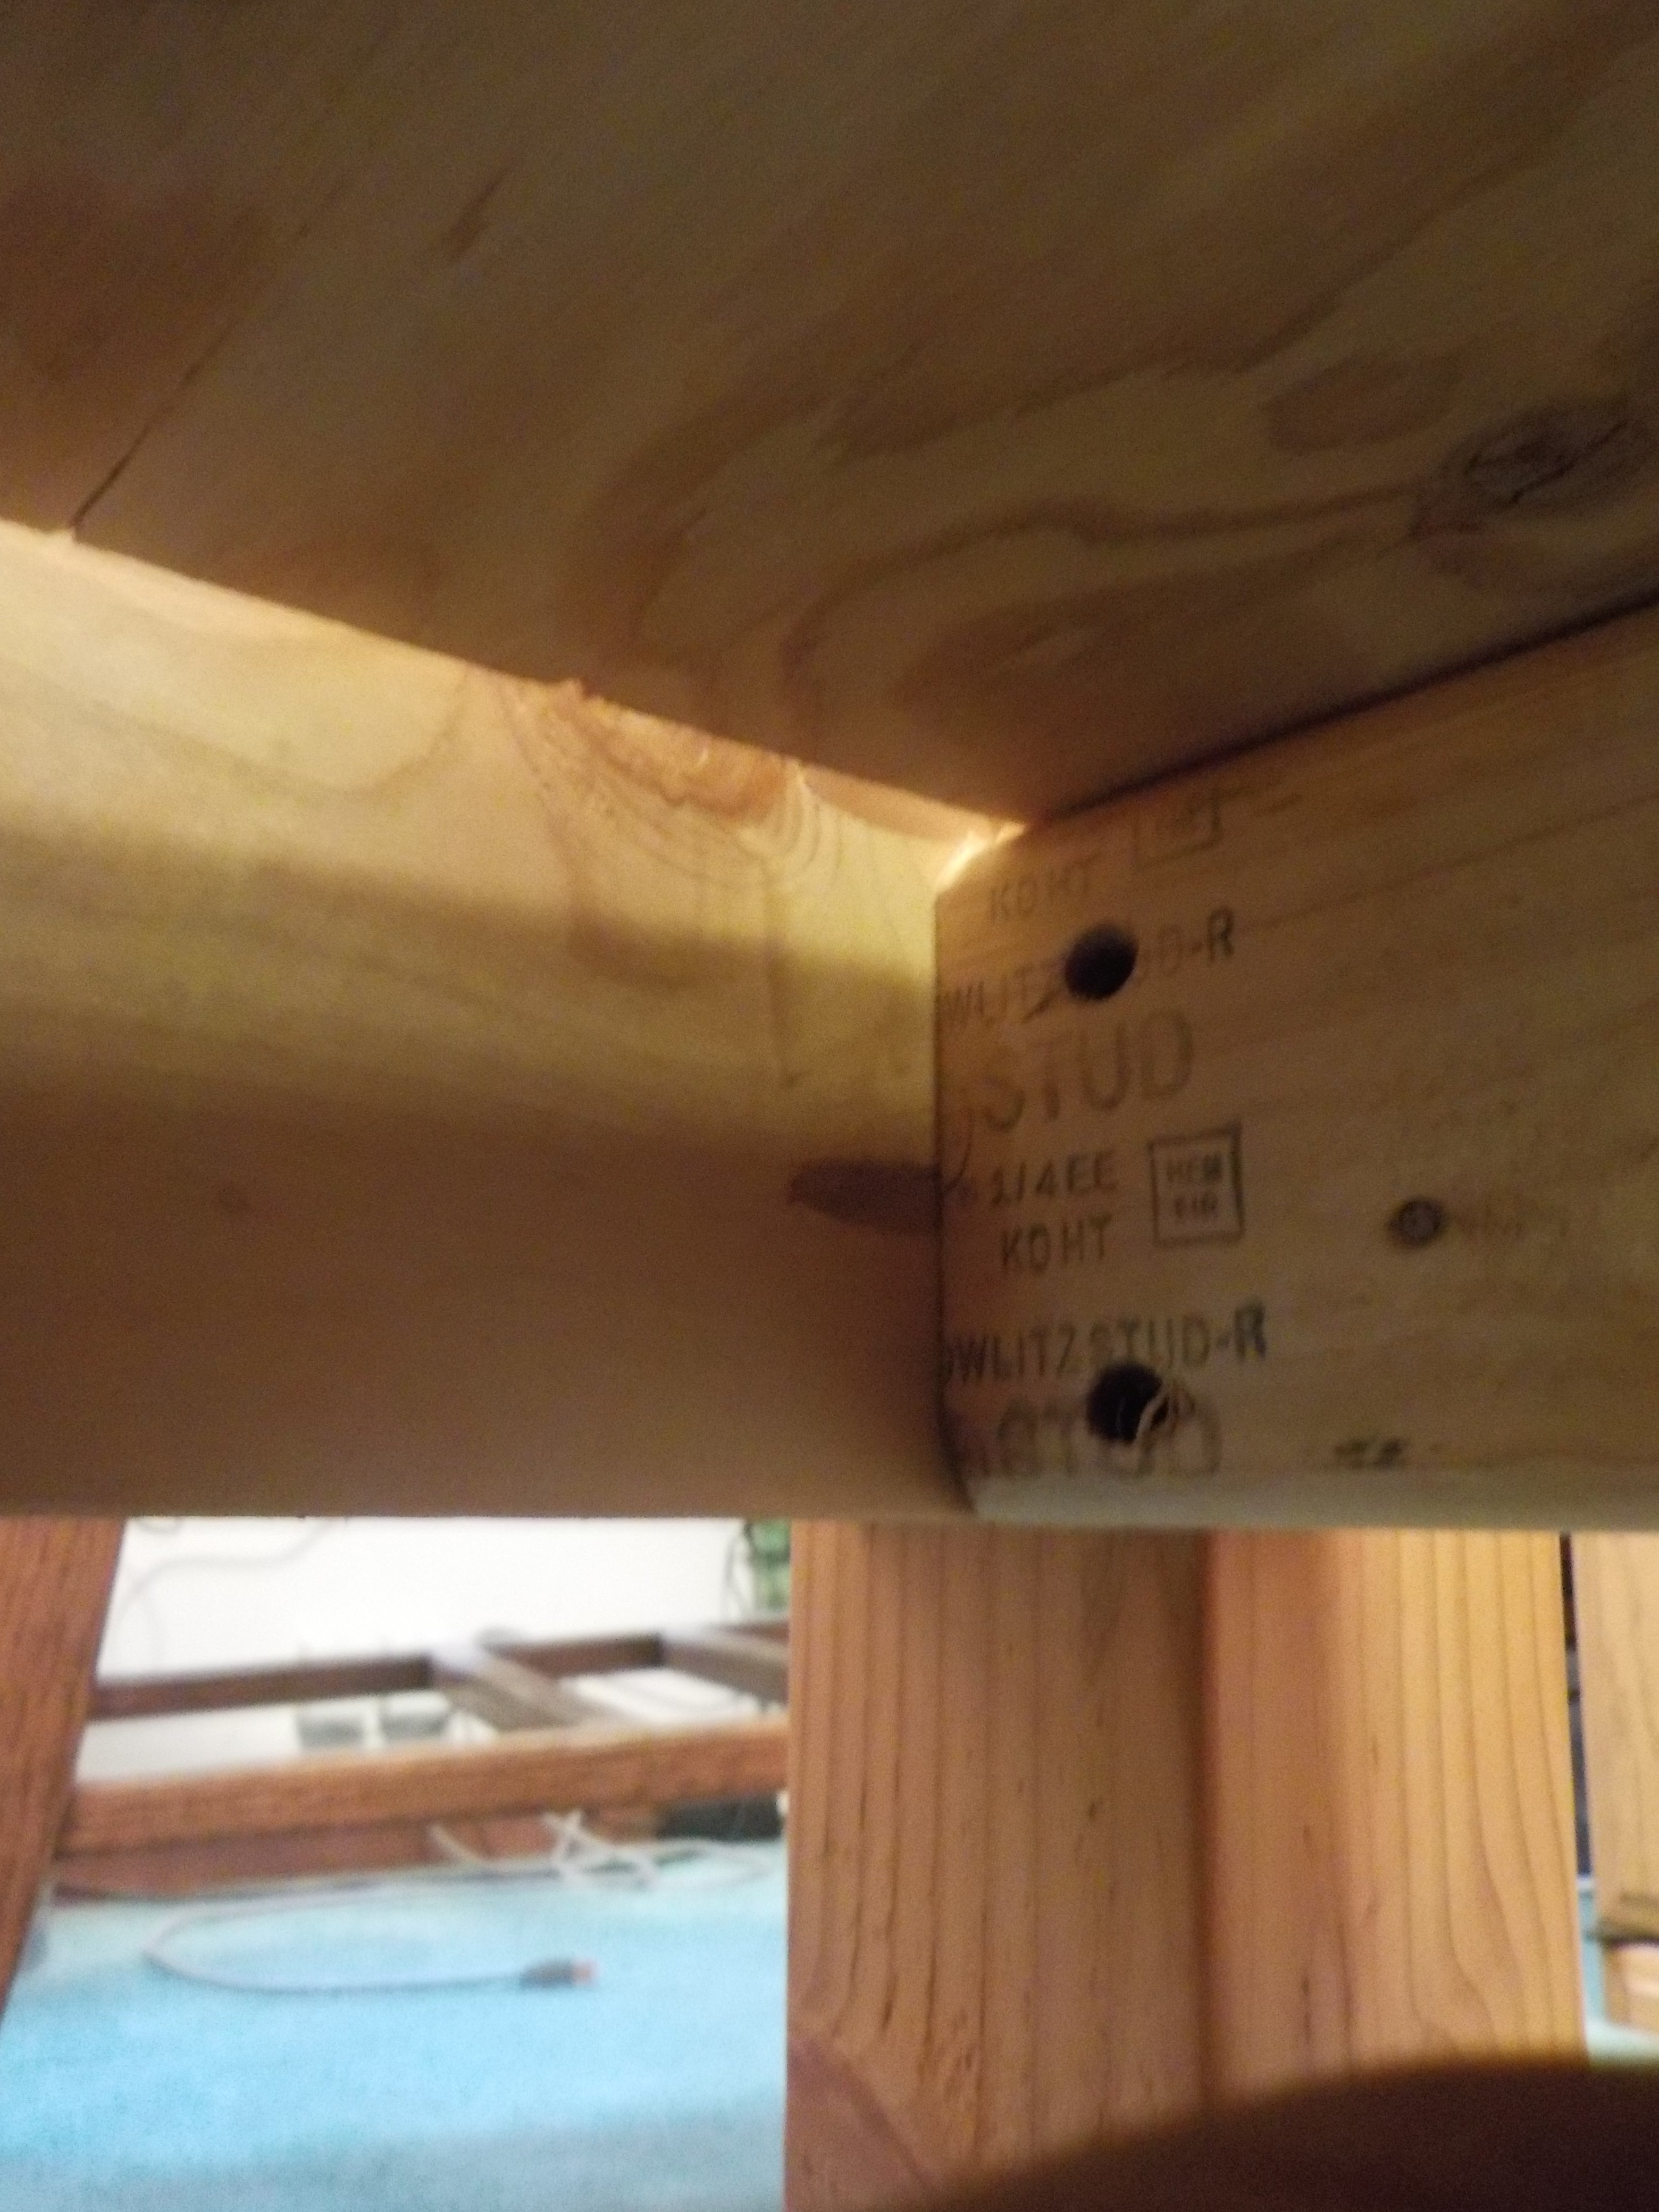
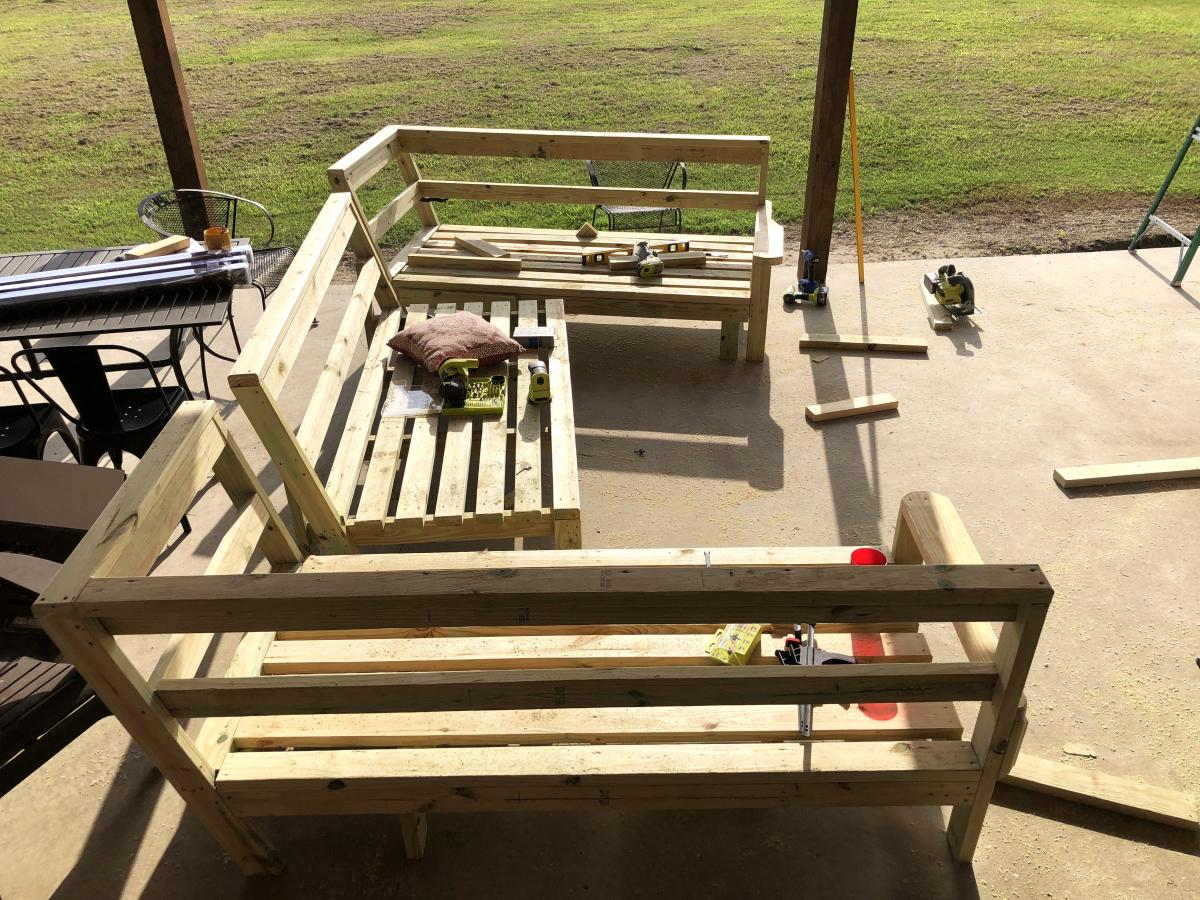
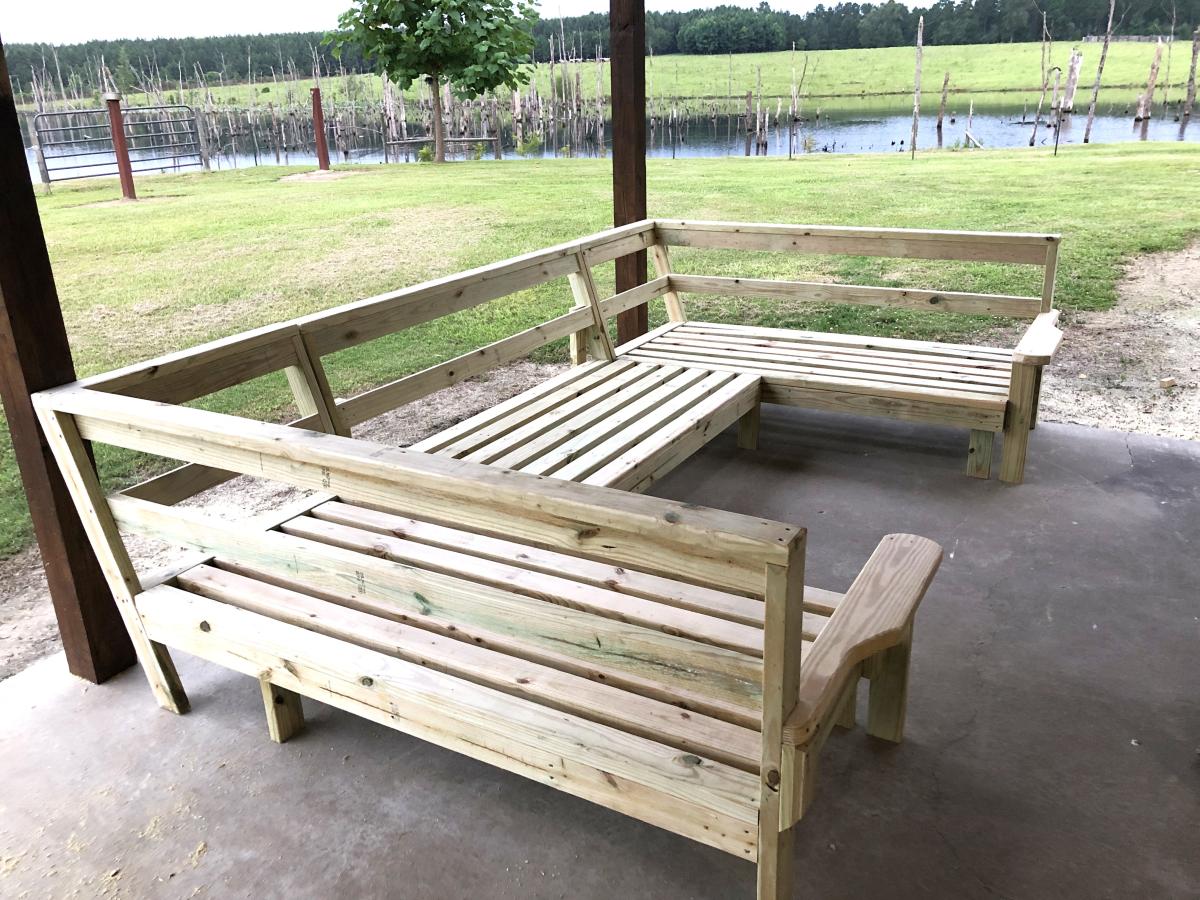
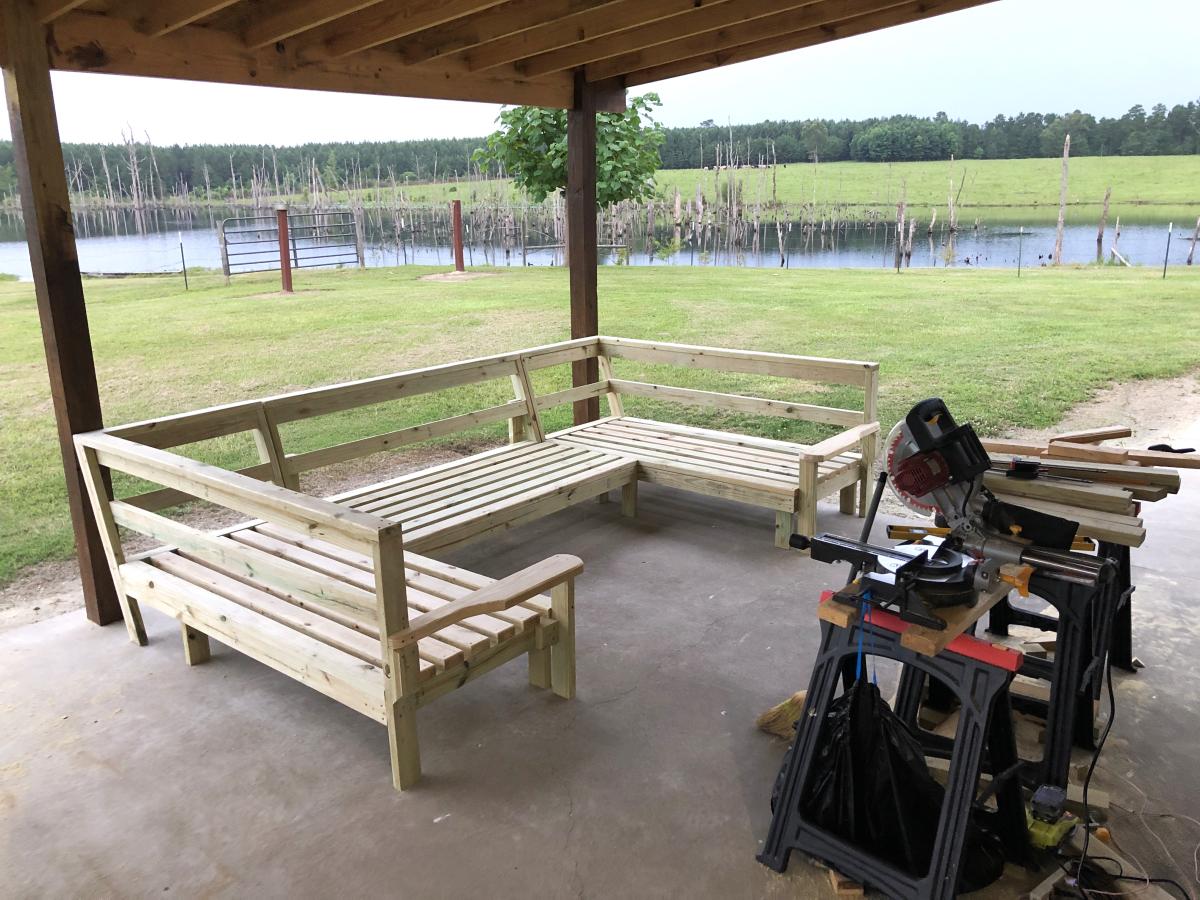
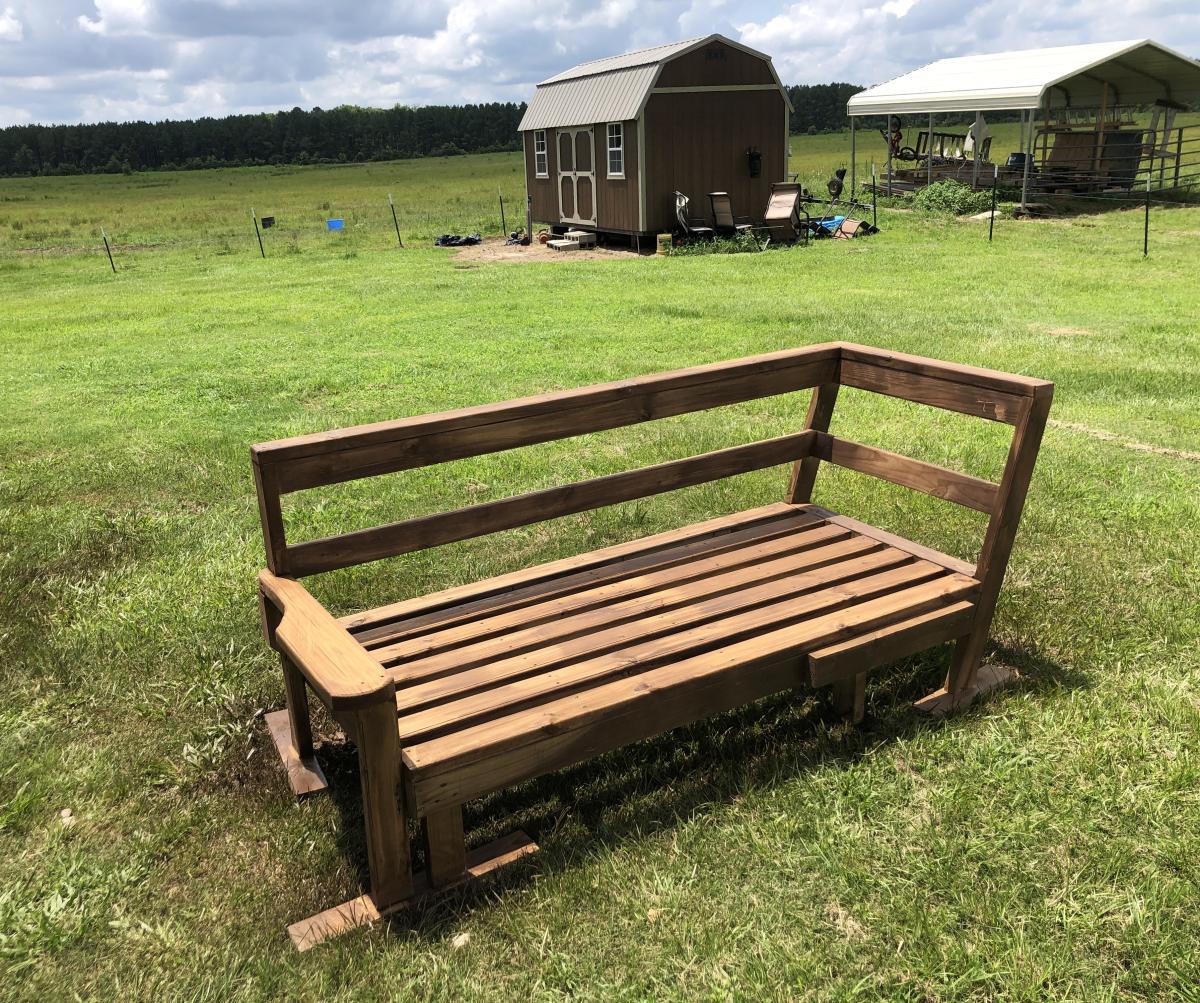
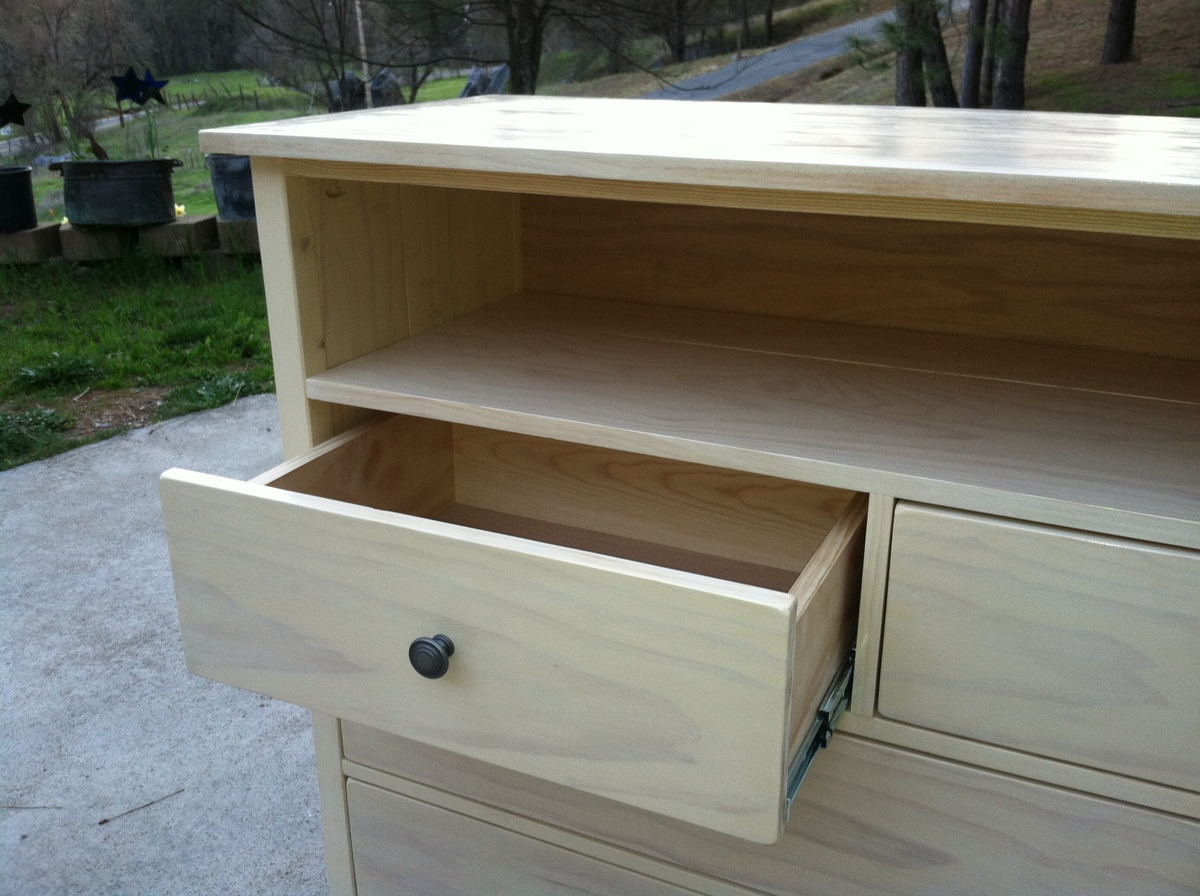
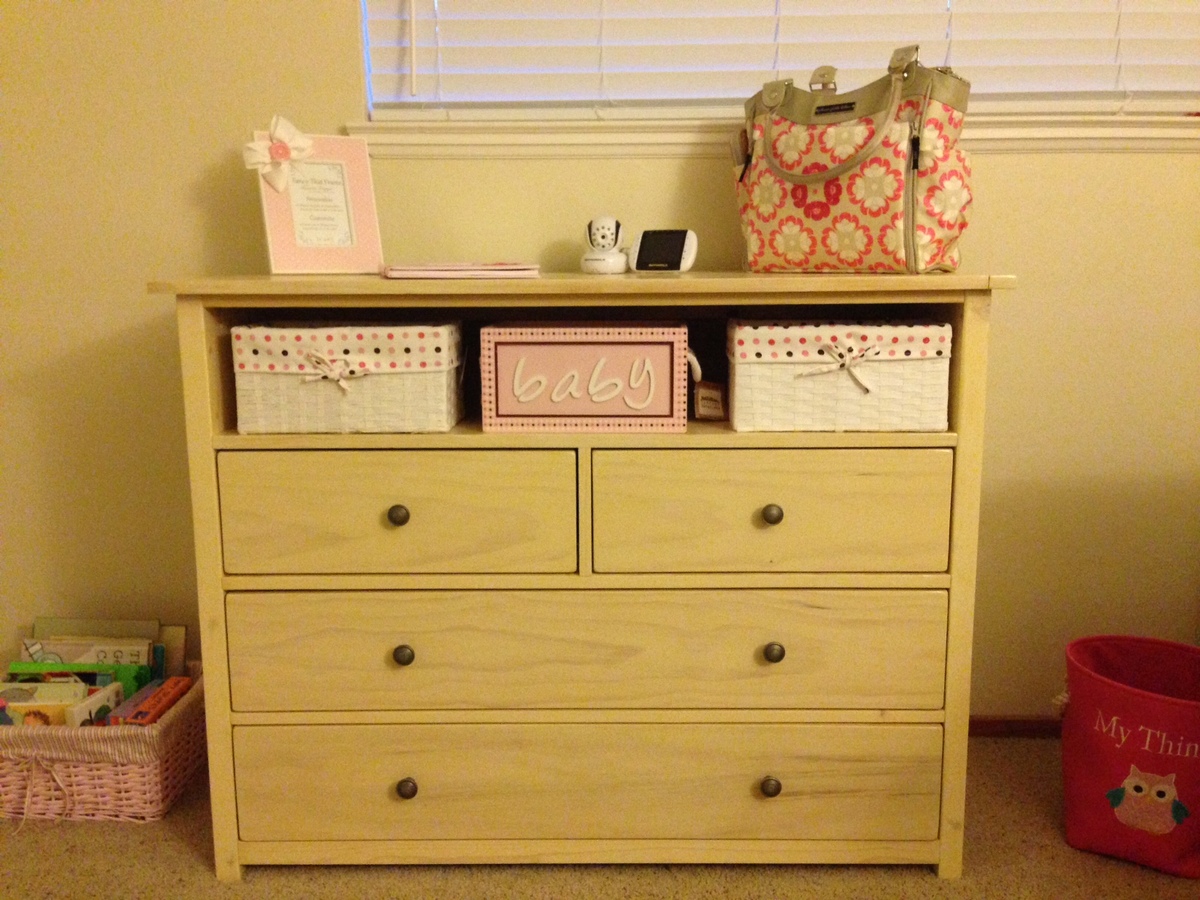
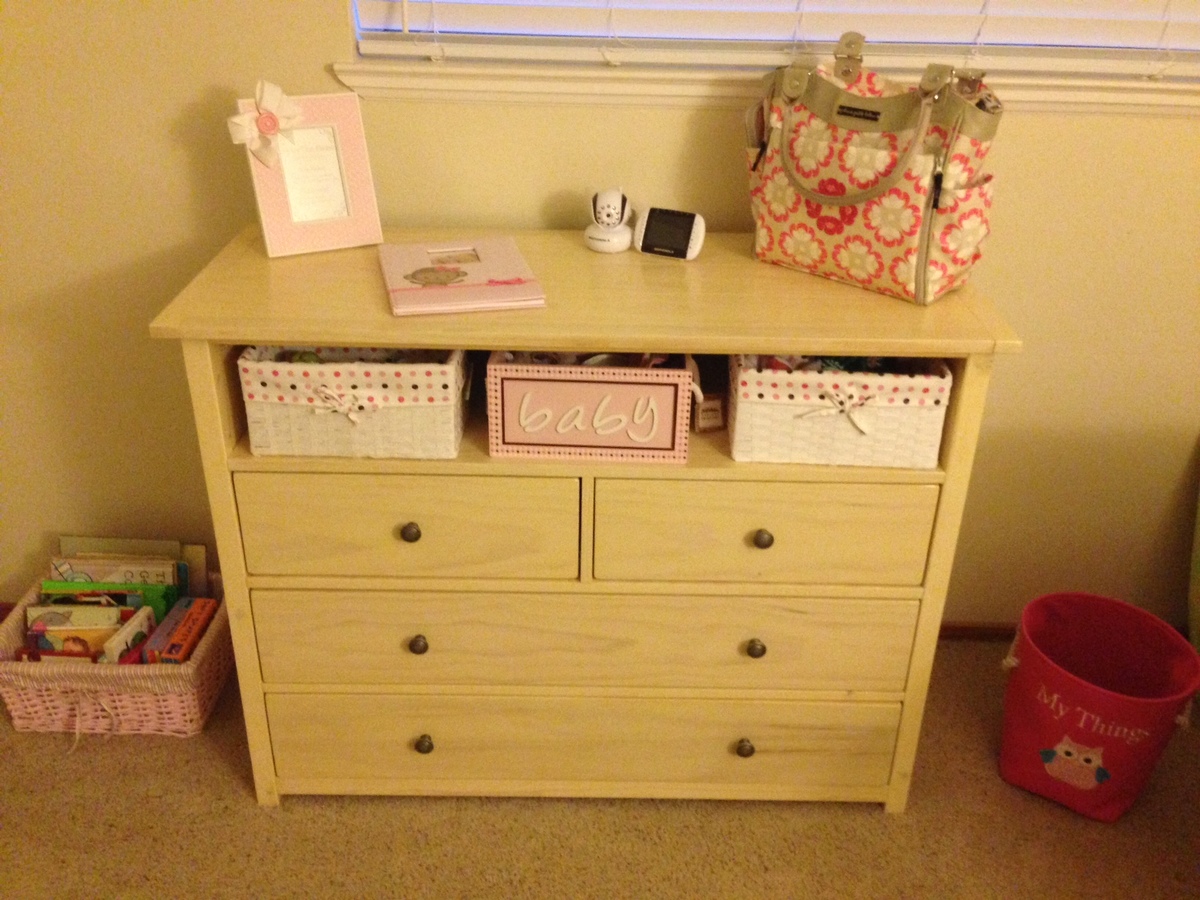
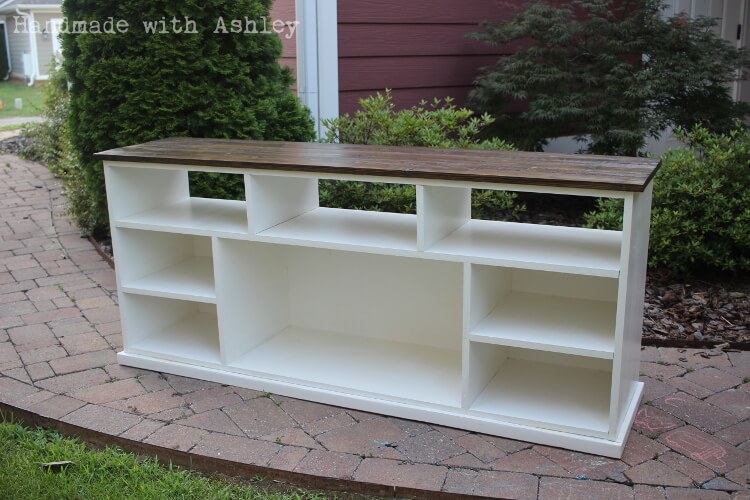
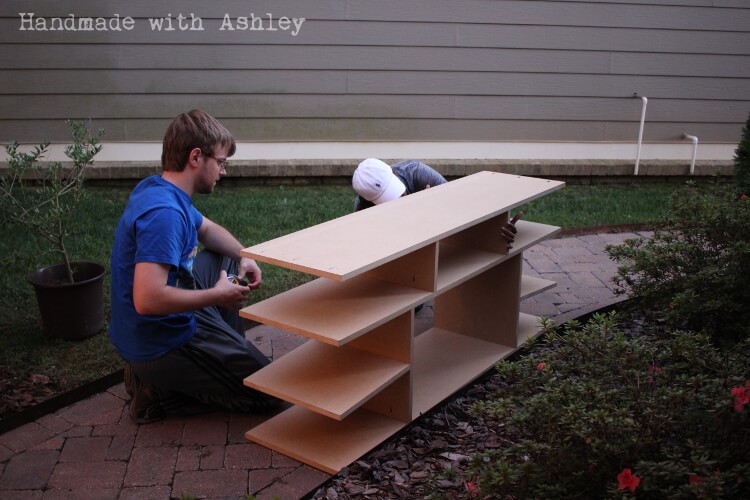
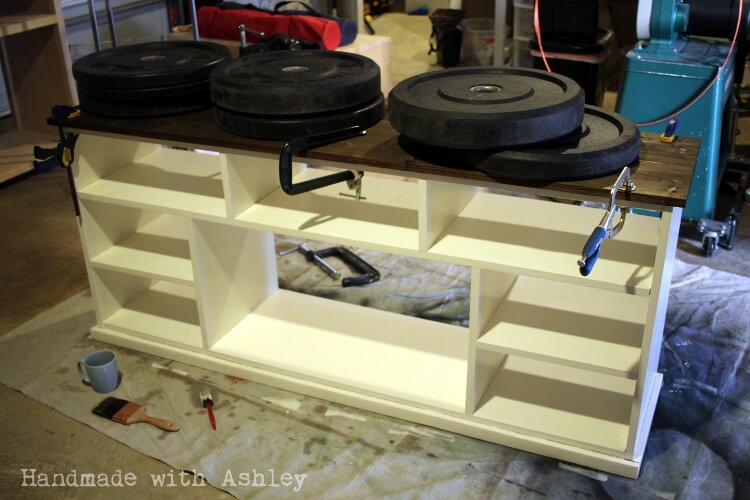
I built this table from the Farmhouse coffee table plans. I did a couple things different from the original plans though. I used Cherry 1x6 planks that I epoxied together for the top and I epoxy finished it as well. For the framing I still used regular construction pine and the golden oak stain. I also pre-drilled all screw holes that would show and plugged them. We also found baskets that look nice for decor and storage. This is the first piece of furniture that I have made and I am very happy with how it turned out! Small disclaimer this project did cost a bit more because of the epoxy and the cherry planks and it also too a considerable more amount of time because off hole plugging and epoxy process/ plank fitting.

Estimated Cost
$150
Estimated Time Investment
Week Long Project (20 Hours or More)
Finish Used
Epoxy on top- Cherry
Golden oak stain on bottom- Pine
Recommended Skill Level
Intermediate

Simple Bed Twin

Submitted by GMWW on Mon, 05/28/2012 - 19:22

Total cost was under $200. The wood was a combination of select pine, Douglas fir. I used Minwax clear finish. Instead of slats I used plywood. This is going into the spare bedroom. We are quite pleased.

Built from Plan(s)
Estimated Cost
$200.
Estimated Time Investment
Weekend Project (10-20 Hours)
Finish Used
Minwax wood conditioner and Minwax clear Polyurethane fast drying.
Recommended Skill Level
Intermediate

Comments

GMWW

Fri, 06/01/2012 - 20:45

Yes it comes apart. A total of four pieces. Headboard, footboard, and the two sides. Also a fith piece if you count the plywood base for the mattress. The sides are screwed in at each of the corners of the head and footboards.

PSUlion01

Mon, 05/12/2014 - 19:01

Thinking of building this for my son as we move from crib to bed. Just curious how sturdy and strong the bed is? From the pictures it doesn't look like there's much wood where the rails attach to the head and footboard. Did you use pocket holes and screws? Any comments on how it's held up, what you might do differently? Also any idea if it'll hold a kid and parent for nightly story time?

Thanks...nice work!

GMWW

Wed, 05/14/2014 - 15:22

It is in our guest room and does not get much use. However, it is screwed in at the corners not with pocket screws because the rails were too close to the edges. I chose to screw them in starting farther back and at a 45 degree angle to send the screw deeper towards the center of the four posts. It is very strong. Another suggestion would to purchase bed hardware. Hardware can be found online or in a hardware stores for attaching rails to bed posts. I've used such hardware for fixing commercial beds I've purchased.

Hope this helps.

ShaunSmith

Sun, 11/02/2014 - 08:26

You did a beautiful job of making that bed. Any chance you could tell me where you put all the screws?  We have a Kreg Jig but are completely stuck on where to put the screws in without seeing them (because we'd like to stain).

GMWW

Tue, 01/20/2015 - 15:25

Sorry it took so long to answer. Where I put the screws depended on how the bed was going to be placed in the room. In our case, the headboard was going to up against a wall. Therefore the screws were on the wall side of the headboard. The footboard of the bed had the screws on the mattress side. Kreg sells pocket hole plugs that work very well. Glue them in after you screw the head and foot boards together and sand them before finishing.

The sides of the bed that are attached to the head and foot boards and screwed in too. I had to screw them in at a sharper angle to get enough sideboard material but deep enough into the head and foot boards in. Use the longest screws possible for strength without going all the way through the four corner posts.

GMWW

Tue, 01/20/2015 - 15:37

Sorry I had to take a look again at the underside of the bed. I actually used the pocket hole screws on the sideboard to attached to the foot and headboards cross pieces if that helps.

GMWW

Tue, 01/20/2015 - 15:50

Either way described above will work. See added photos of plugged finished pocket holes and underside attachment to foot-board.

Corner beds

Submitted by CLDavis on Sat, 03/15/2014 - 12:52

Thanks for the plans! The beds turned out great. I just made everything about 6 inches higher for more storage space.

Built from Plan(s)
Estimated Time Investment
Weekend Project (10-20 Hours)
Recommended Skill Level
Beginner

Outdoor Sofa.............Thank Ana

Submitted by Anonymous (not verified) on Tue, 06/14/2016 - 17:27

Thanks SOOOOOOO much for the Plans. I had fun building this and my Mother will be so happy to have it.

I'm sure she will be spending more time on the deck this summer.


Cheers, from Toronto


Chris,


Estimated Cost
$85
Estimated Time Investment
Afternoon Project (3-6 Hours)
Finish Used
unfinished
Recommended Skill Level
Beginner

Sandbox with Seats

I built this sandbox for my kiddo's because we have cats! It was great. Easy to build, great plans for it.

Built from Plan(s)
Estimated Cost
$50 CAD
Estimated Time Investment
Afternoon Project (3-6 Hours)
Finish Used
Minwax 2-in-1 in Natural
Recommended Skill Level
Beginner

Farmhouse table with bench

Submitted by gmirjah on Thu, 05/31/2012 - 08:38

This was my second project......it came out of necessity. We had a dining room with no furniture. I wanted a table that would stand the test of time. A place where we could eat, do homework and enjoy making memories. We have 4 little ones so a sturdy table was a must! All the tables I looked at were cheaply made or WAY over our budget. I found a wonderful couple in Ann Arbor where I purchased my wood. I had them assemble the top, (8 1x6's) since I do not have the equipment to plane and sand a top that large. The rest I did a little at a time.

I am very pleased with the result!

I modified the plans to fit our needs.......the changes are as follows: I did not make bread board ends, and my width is 44.5 in.

My next phase of this dining room is to build a buffet and hutch......I always juggle about three projects at a time so my realistic goal will be Thanksgiving!

Estimated Cost
$900.00 for both
Estimated Time Investment
Week Long Project (20 Hours or More)
Finish Used
Minwax 3 parts jacobean 1 part ebony Finished with 3 coats of satin poly
Recommended Skill Level
Intermediate

Peanuts Adirondack Chair for Kids

Submitted by Anonymous (not verified) on Sun, 06/19/2016 - 21:08

Had just watched the new Peanuts movie.Kind of liked it.

Built from Plan(s)
Estimated Cost
$100
Estimated Time Investment
Week Long Project (20 Hours or More)
Finish Used
Varathane. Many coats of paint along with a lot of taping. All outdoor water-based from primer to Varathane
Recommended Skill Level
Intermediate

2x4 Outdoor Sectional Sofa

Submitted by lknolan2 on Sat, 04/18/2020 - 20:19

Great Plan! Loved how easy it was to build and how little the cost was.

Estimated Cost
$200
Estimated Time Investment
Afternoon Project (3-6 Hours)
Finish Used
Outdoor deck stain by Valspar in Canyon Brown
Recommended Skill Level
Beginner

Comments

jwood4

Sun, 08/01/2021 - 18:40

Looks amazing! What method did you use (pocket holes, dowels, deck screws, etc) to join the visible portions like the arms?

Seasonal And Holiday

Helper tower

Submitted by krismwc on Sun, 06/03/2012 - 20:29

Very quick and came together nicely! The only change I would make would be to raise the large bars on two of the sides because our daughter likes to stand on it and balance there (I see in some of the brags that some people did exactly that), but that wouldn't be an issue if she were bigger and the platform were lower (and I imagine that will happen soon enough!). You can see her just starting to try to stand on it in this photo. She is only 18 months old, so I'm looking forward to many years of use!

Estimated Cost
$25 + $40 for the jig saw that we were looking for an excuse to buy:)
Estimated Time Investment
Day Project (6-9 Hours)
Finish Used
stain and top coat- this probably would have been an afternoon project had we gone the paint route- sanding and staining and top coating added up in time. I don't regret it, though, it looks great! We used a stain that matches our kitchen cabinents, but since they are different wood, the match isn't perfect- it came out a little darker on the pine. We also already had the stain. Cost would have gone up with purchase of top coat and stain.
Recommended Skill Level
Beginner

Comments

Beach Cottage Dresser

Submitted by stacynabby on Mon, 03/24/2014 - 20:36

My friend, who is expecting a baby, asked me to build a changing table for her. She provided me with a couple of things on her wish-list. 1. to have a big enough top to change a baby (of course) 2. a cubby or cubbies for easy access to baby stuff 3. big enough drawers to house all those cute baby clothes. Well, she was given a couple of changing tables and the project just turned into a dresser. In any case, the Patrick Beach Cottage Dresser was a great design to work off of. This was my first build that I made for someone other than myself or my family. Every build becomes my favorite and this one is my newest favorite.

Estimated Cost
$300 (I used a better grade lumber)
Estimated Time Investment
Weekend Project (10-20 Hours)
Finish Used
Two coats Rust-o-leum wood stain - willow (looks like a whitewash)
Four coats Minwax glossy polyurethane
Recommended Skill Level
Intermediate

Comments

mommyof2cuties

Wed, 03/26/2014 - 23:39

Wow! You did a gorgeous job & you're friend is very lucky to have received such a beautiful gift. Initially, when I saw you're photo, I thought it was a media dresser. The cubbies could also be used for TV components (DVD player, cable box, ect.) I can only hope to make such a great piece someday.

DIY Media Console

Several months ago, my sister approached me with the request of helping her build a media console for her home.   We left off the doors and drawers in favor of having open shelves.  We worked on this project over the course of several weekends and my sister is very happy with the final result!

Built from Plan(s)
Estimated Cost
$150
Estimated Time Investment
Week Long Project (20 Hours or More)
Finish Used
Minwax Jacobean, ECOS Paints WoodShield Satin Varnish
Recommended Skill Level
Intermediate

Console Sofa Table

Submitted by grarob1956 on Mon, 04/20/2020 - 13:13

I built this from the Ana White Console X Table plans and specs. I originally had planned on a rustic style like on your blog, but once my wife saw it she liked it and decided she had the right spot for it providing I painted it.

Built from Plan(s)
Estimated Cost
$150 with my veteran 10% discount from the local box stores.
Estimated Time Investment
Weekend Project (10-20 Hours)
Finish Used
Base : Valspar Chalky - Moonstone Ring and clear seal wax.

Top: Chalky Bonnet Ribbon and dark satin wax
Recommended Skill Level
Intermediate

Comments

Adjustable Bookshelf

Submitted by Booooozle on Tue, 06/05/2012 - 20:13

This was the result of another weird space in our house. Our bedroom is actually the smallest bedroom of all four in the house, it's actually intended to be a nursery or a private office off of the Master Bedroom. When we moved in I just couldn't find a layout that I liked for our bedroom to be in the master bedroom, also there was only a single crank out window in that room & while the house's venting is set up for central air there is no unit attached, so there was no way we were going to be able to stay in that room. So we moved into the smallest bedroom of the house & turned the master into our enormous walk in closet, which I just love & the small bedroom is actually very cozy & easy to keep cool/warm. The only problem is there is an outcropping into the room from the old chimney. Well I filled the space under the window with our storage bench but didn't have shelf to fill the other one so I made one from left over wood from building our bed frame. I also had pegs from some shelves that were lost in a basement flood years before so I just measured out & drilled the holes for adustable shelving!

Estimated Time Investment
Afternoon Project (3-6 Hours)
Recommended Skill Level
Intermediate

Cal King Farm Bed

My shopping list
5 1x8
2 2x6
13 2x4
2 2x10
8 1x4

I ended up not using the 1x3 like in the original plans and instead use an additional 1x8. I finished it with an ebony stain.

Estimated Time Investment
Week Long Project (20 Hours or More)
Finish Used
Rust-Oleum Ultimate Wood Stain Ebony Oil Wood Stain &

Minwax Oil-Modified Gloss Polyurethane
Recommended Skill Level
Intermediate

Outdoor couches

Submitted by Anonymous (not verified) on Sun, 06/26/2016 - 08:12

Started off with the intention of buildings the 2x4 sectional.  Decided on building two couches instead to be able to move around based on needs.  The biggest expense were the cushions ( found the back pillows on clearance).  Plan to stain later.  

Estimated Time Investment
Day Project (6-9 Hours)
Recommended Skill Level
Beginner

Project Table

Submitted by Eddie A on Tue, 04/21/2020 - 22:32

I actually built this back in 2015 and just never got around to posting about it. I guess I was just so excited to get it done and set up for my wife I forgot. Anyhow, I did it all with a worm drive saw and a piece of plywood set on saw horses...would’ve have been so much fun aside with a table saw (still haven’t convinced the vamps that I need one of those 😏)

Built from Plan(s)
Estimated Time Investment
Week Long Project (20 Hours or More)
Recommended Skill Level
Intermediate

DIY Mug Tree

Submitted by Anonymous (not verified) on Mon, 12/04/2023 - 09:23

I made this as a special housewarming gift for a family we are helping out this Christmas. I didn't need to buy anything, but I love how it turned out.

Built from Plan(s)
Back