Community Brag Posts
Dining room table
Diy farmhouse table
Built from Plan(s)
Estimated Cost
85.00
Estimated Time Investment
Weekend Project (10-20 Hours)
Recommended Skill Level
Starter Project
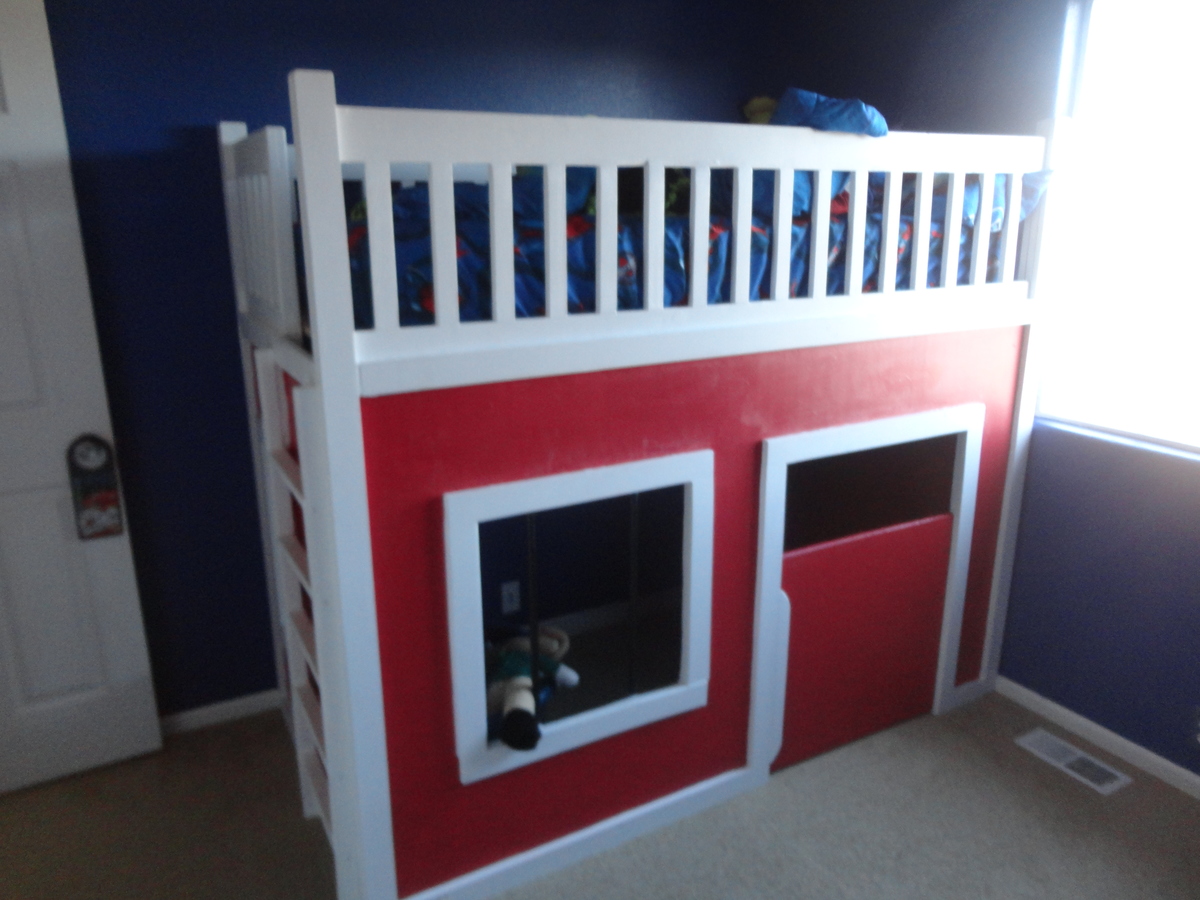
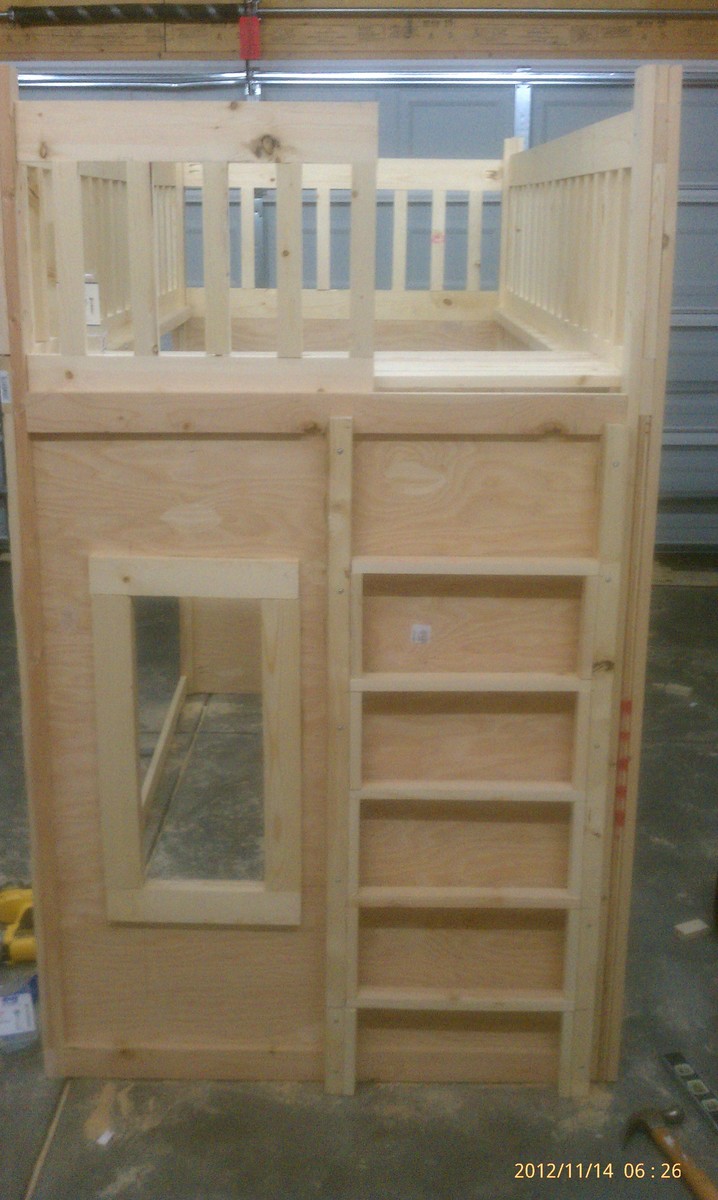
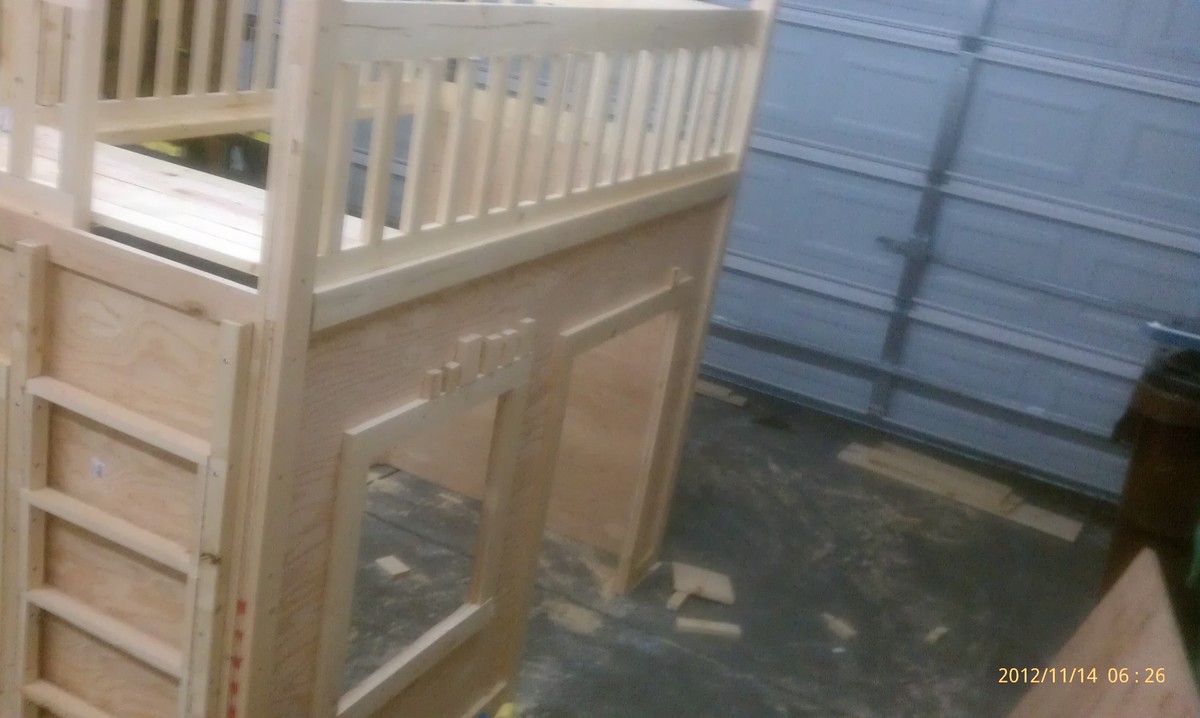
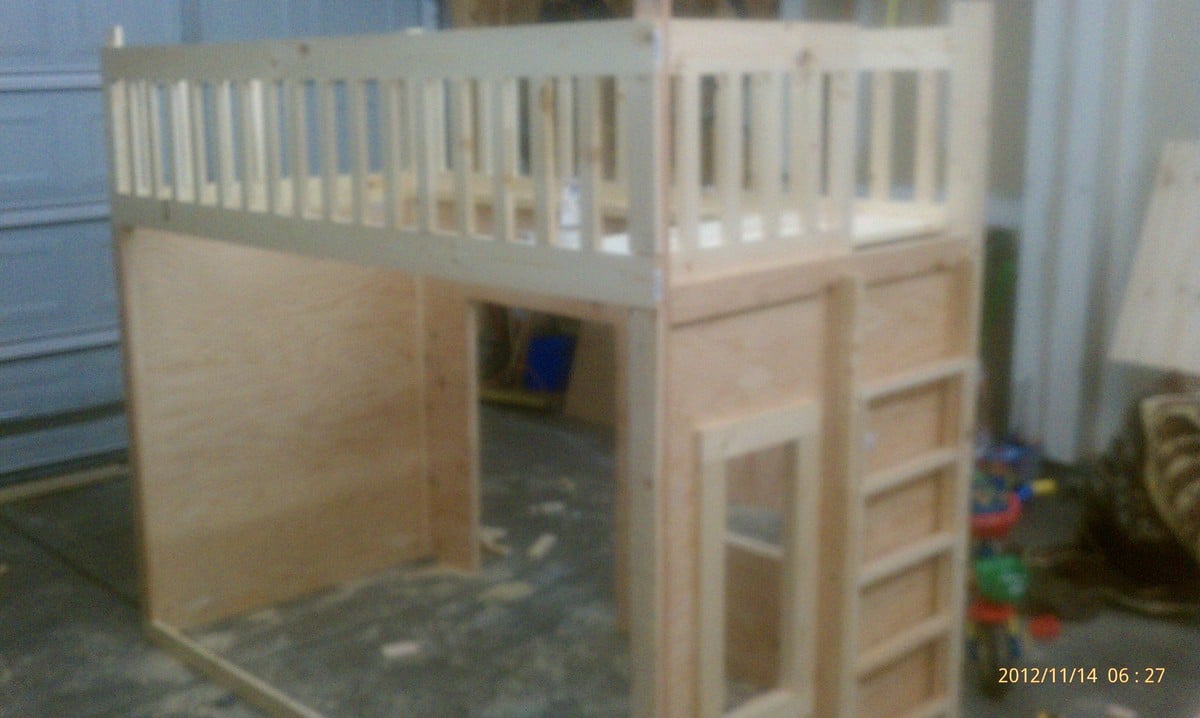
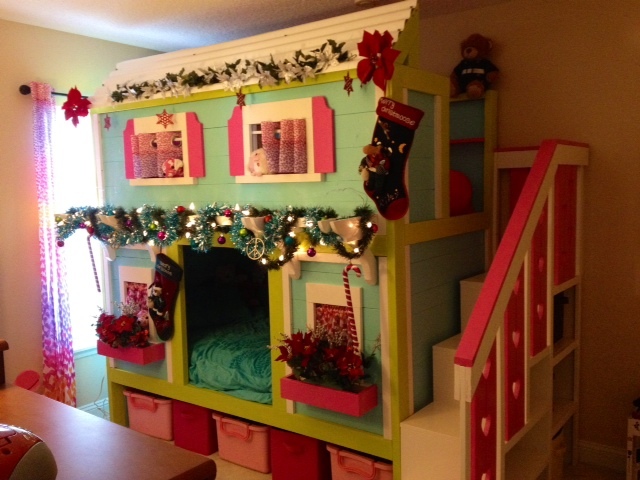
Ayden's Hideout
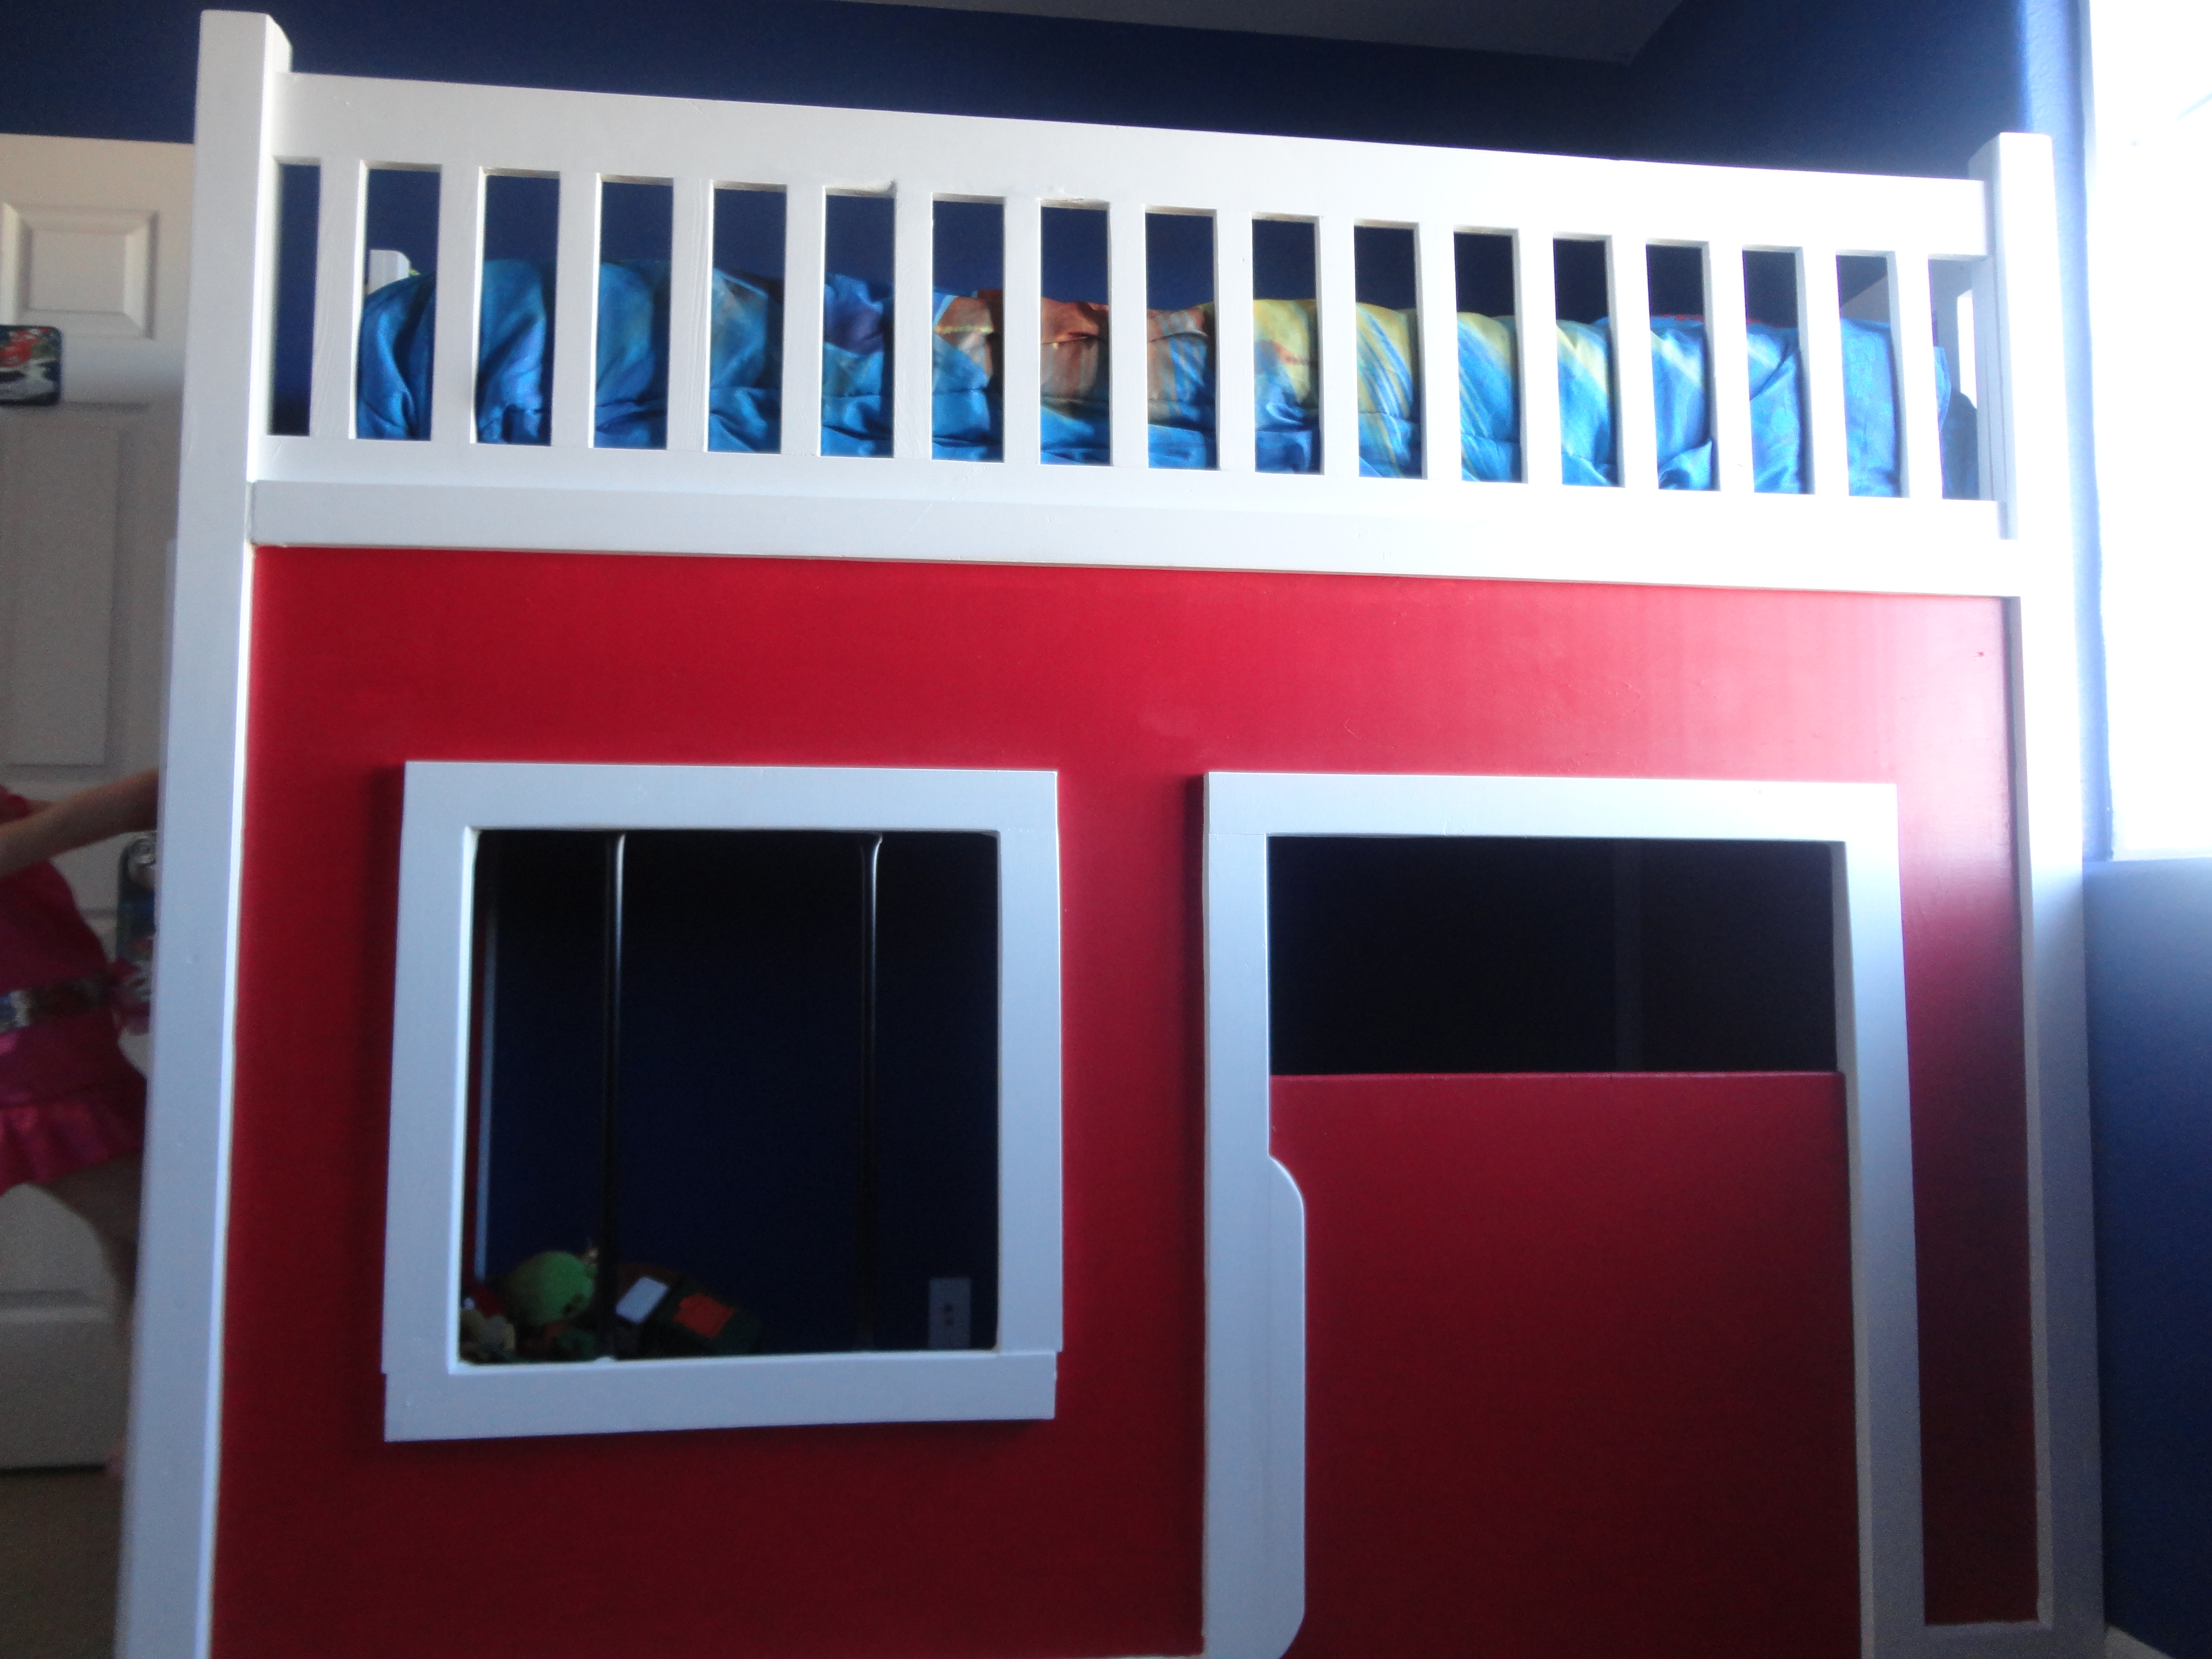
This was my first build using these plans. We found it intuitive and enjoyable. I did all the building and sanding and my wife did all of the painting. Once we completed it, we moved it to our sons room and re-assemblied. When it was up, our two little ones played on and in it all night. Our 3 year old daughter would not sleep in her own bed after seeing this...so we let them spend the night together. My son loves it! What a good time we had. I think this will be the first of many Ana White builds for us.

Estimated Cost
$375
Estimated Time Investment
Week Long Project (20 Hours or More)
Finish Used
Paint
Recommended Skill Level
Beginner
Pantry
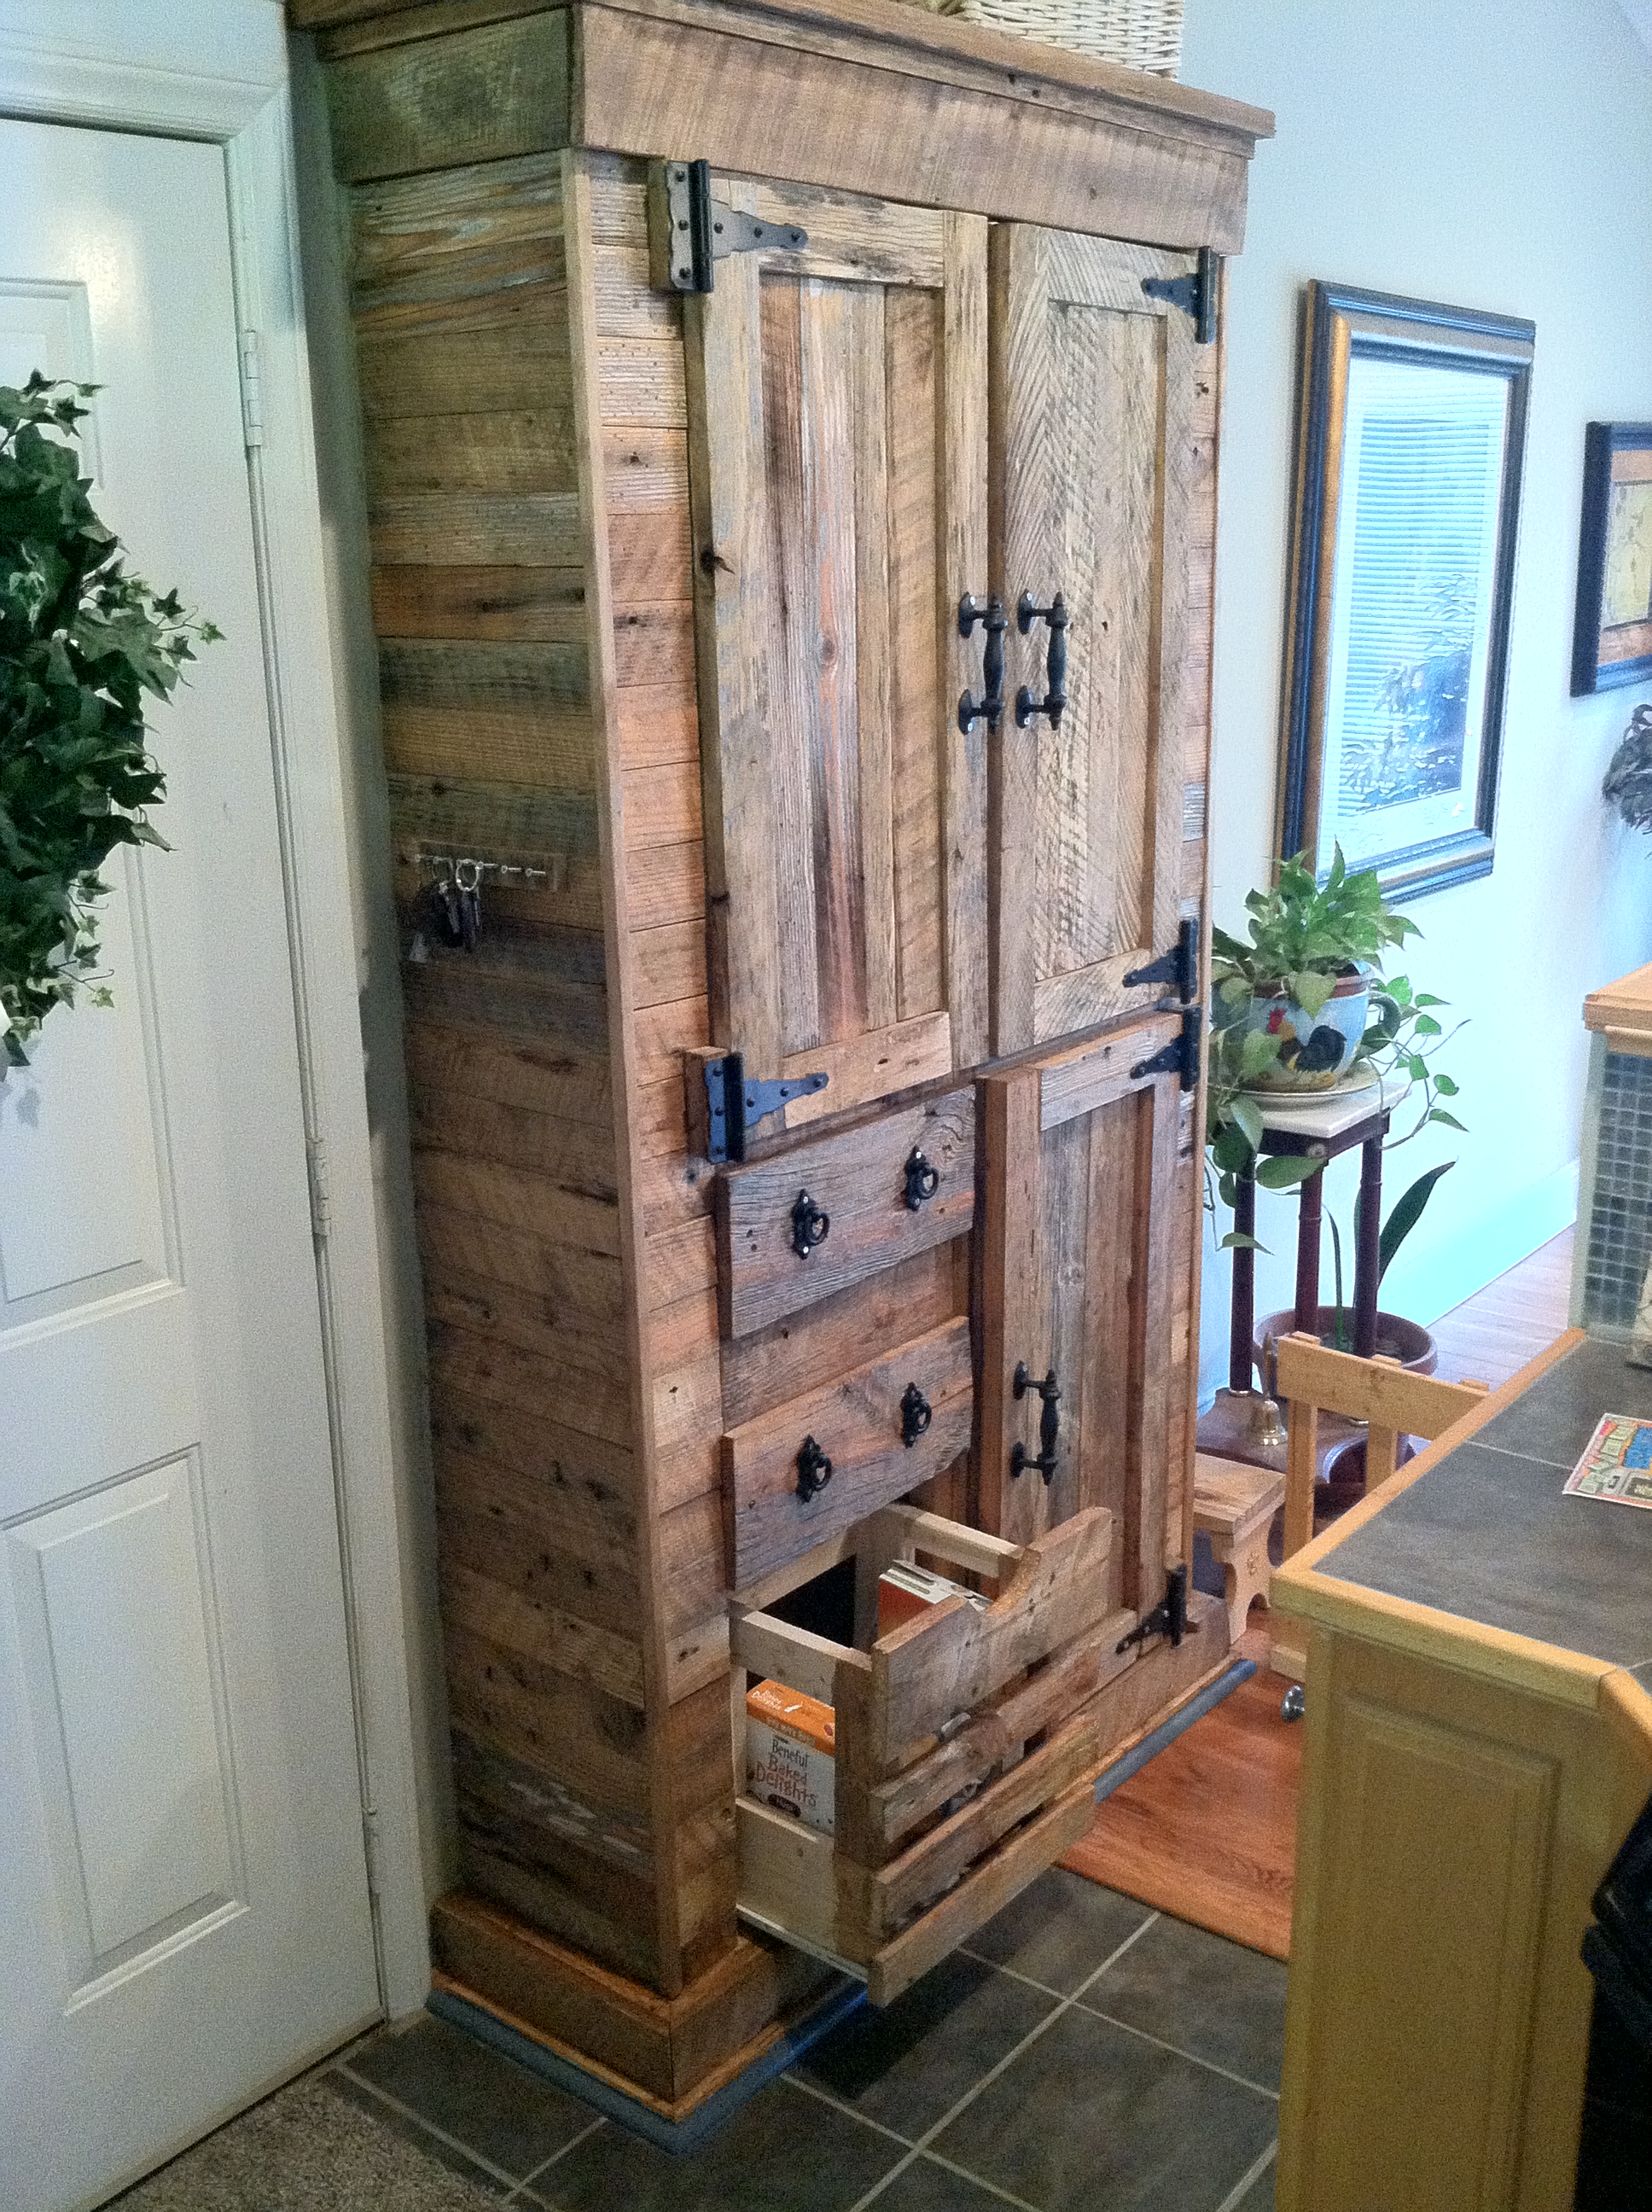
Built this out of old Barnwood Pine !
Recommended Skill Level
Intermediate
Comments
Sun, 11/02/2014 - 18:27
Instructions?
This is beautiful and I just purchased my first home with my fiance and we have an old farm house. This would be amazing in our kitchen as our pantry. I must attempt to make it! Please help me :)
Sun, 11/29/2020 - 15:26
Plans for barn wood pantry
Where can I find the plans for the barn wood pantry? I NEED to make this!!???
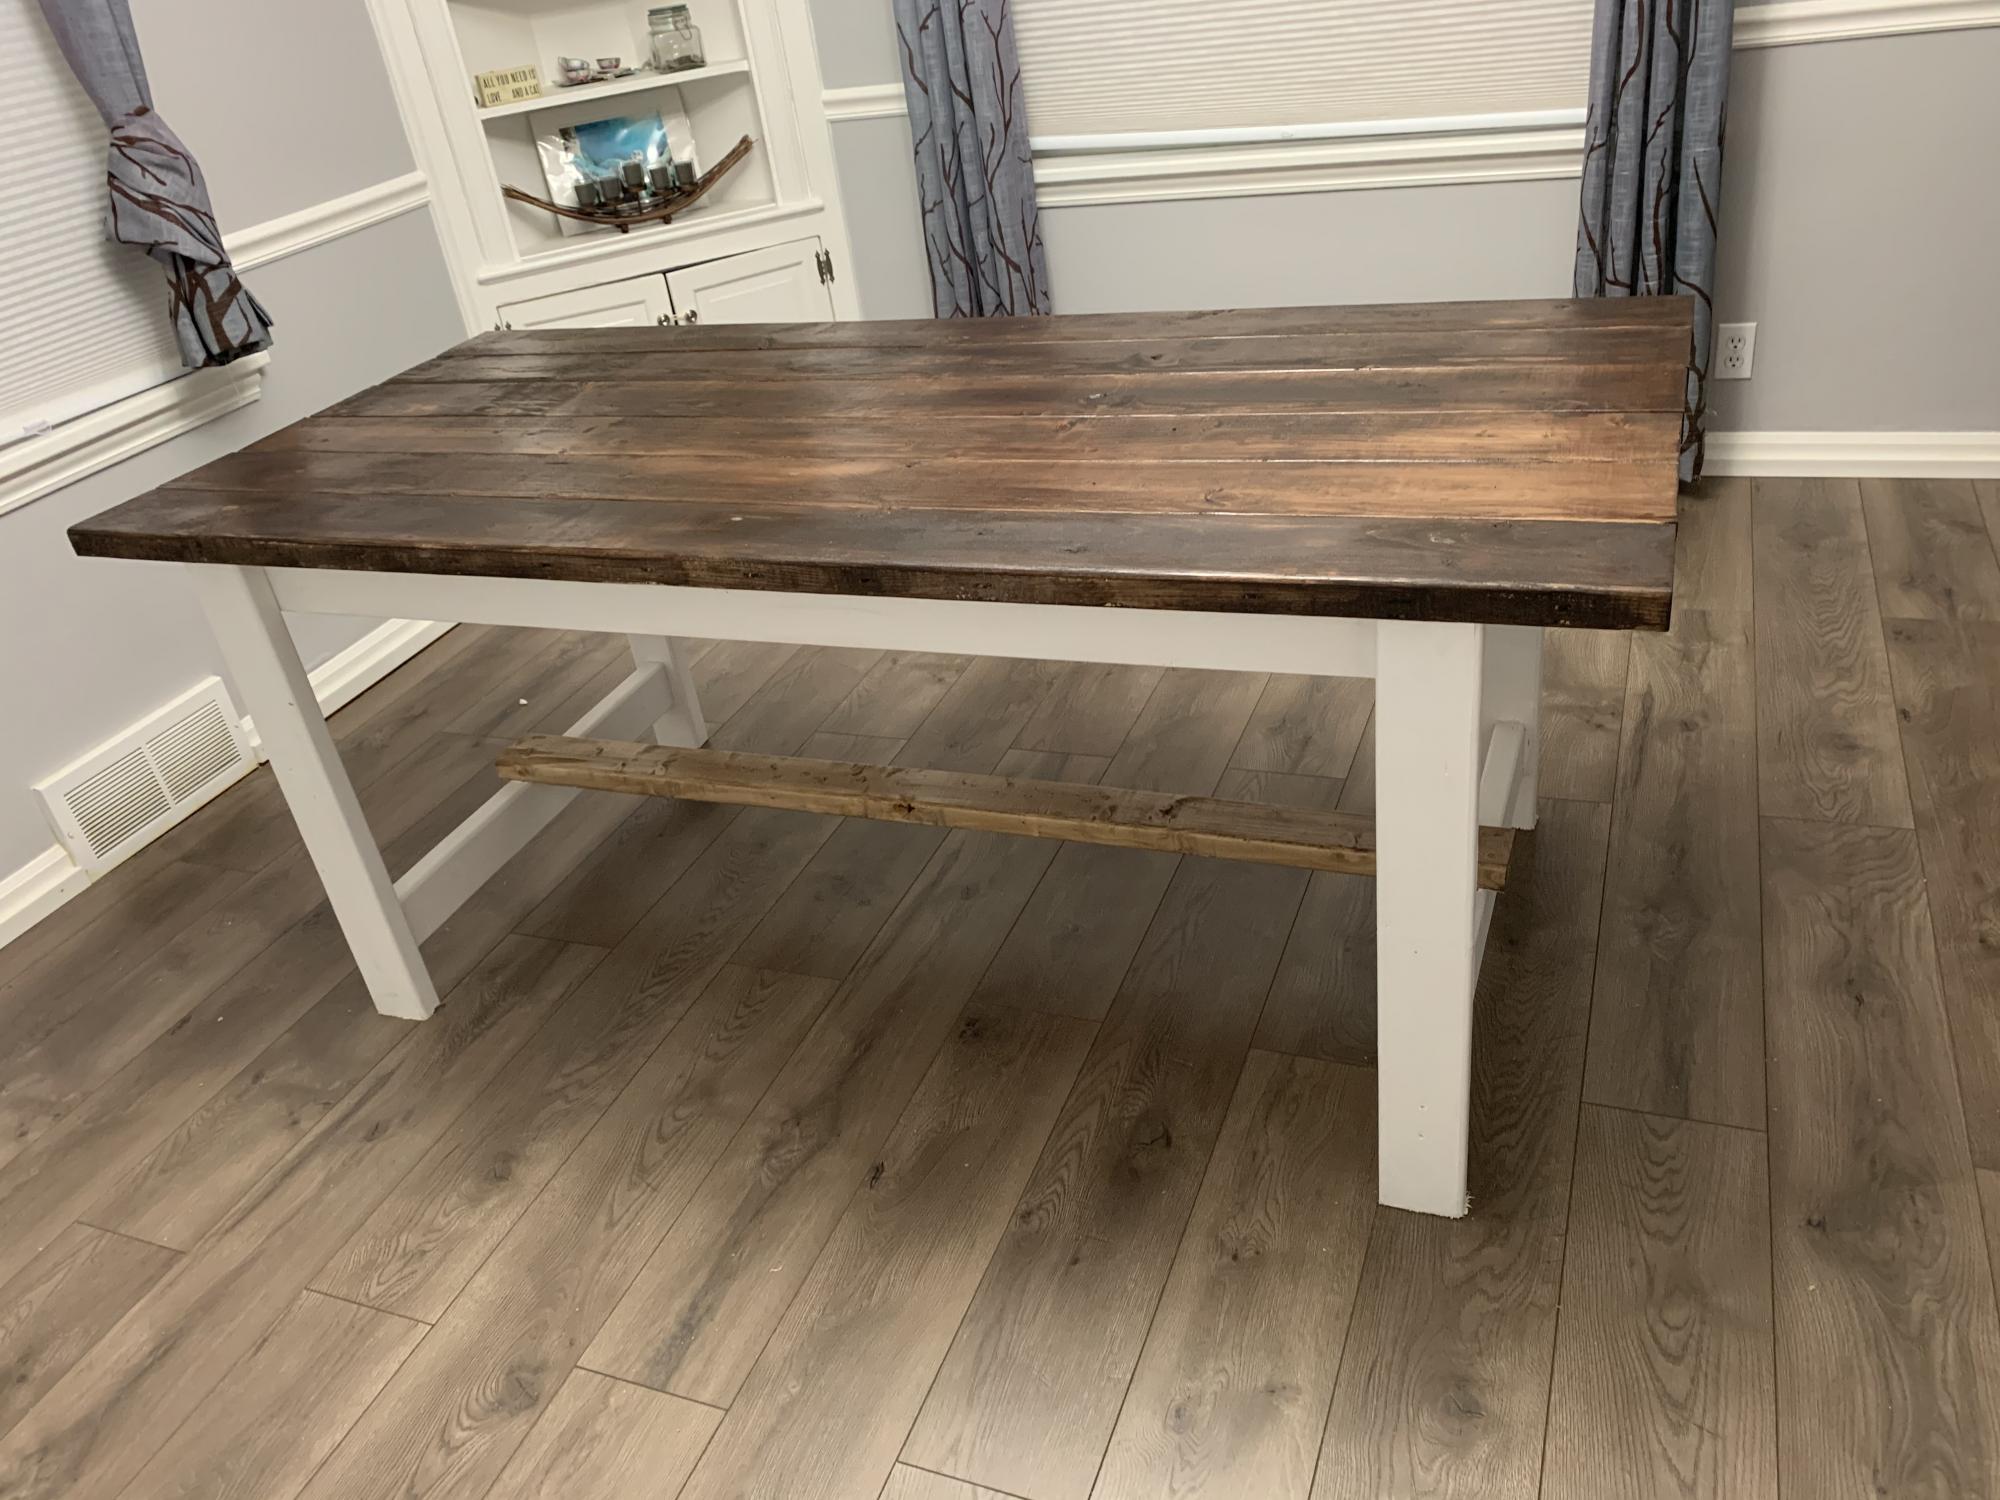
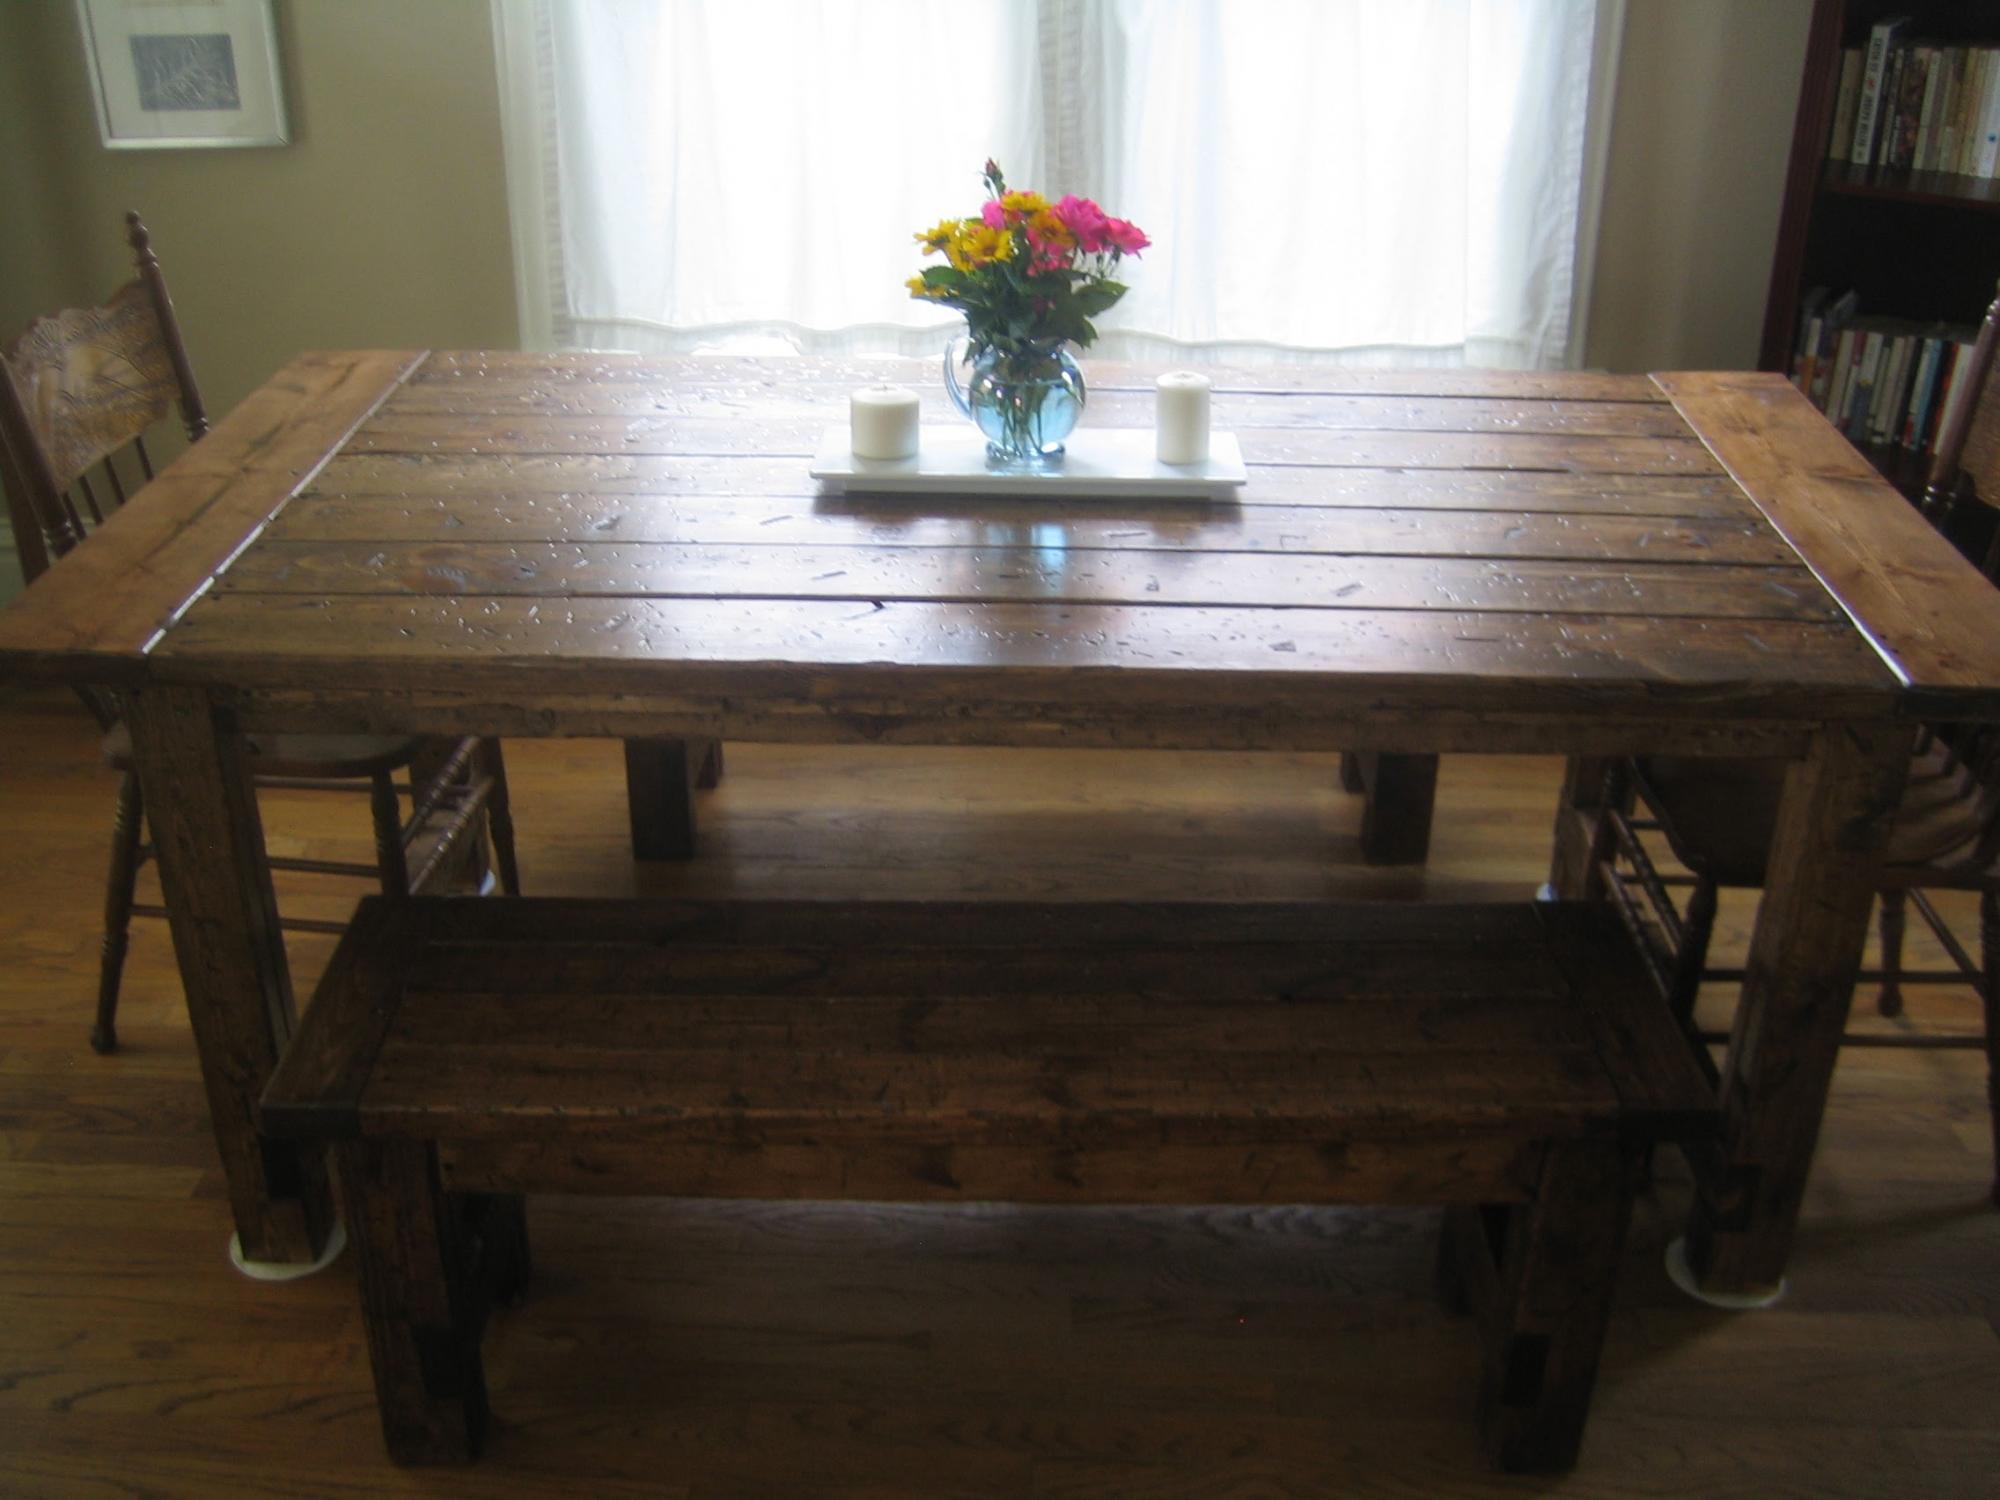
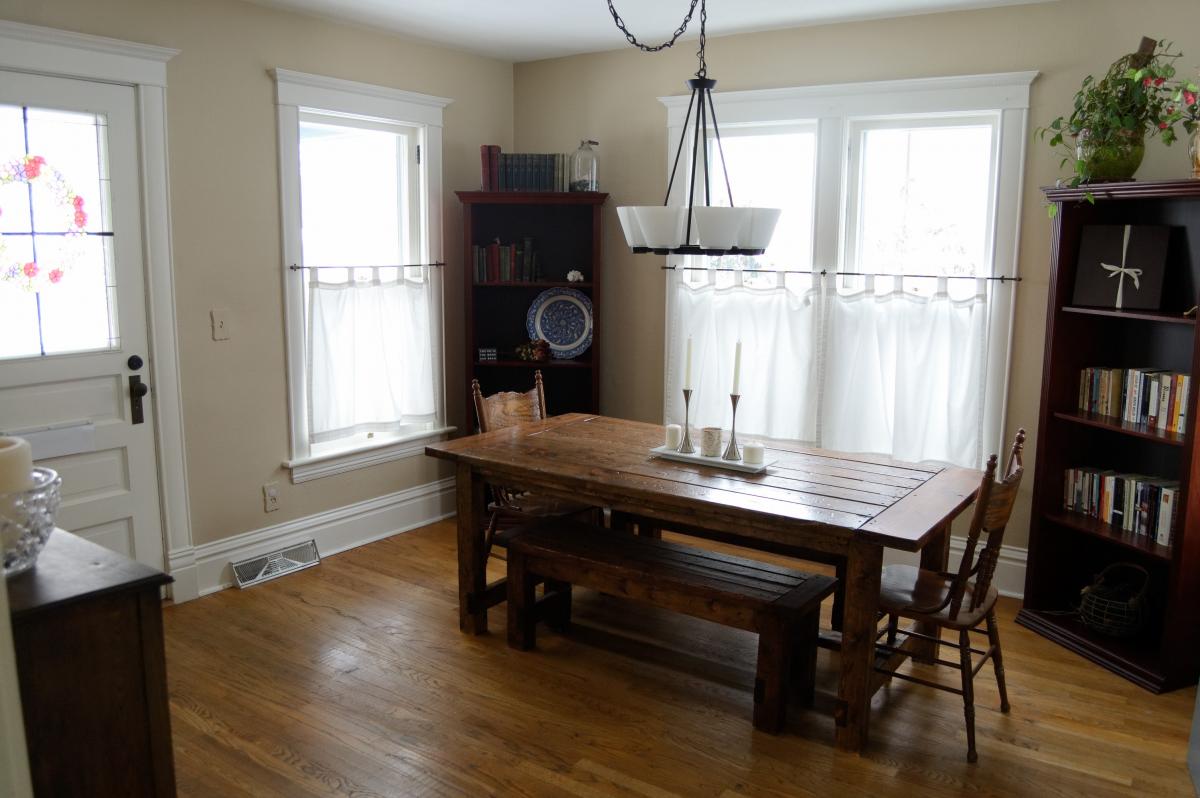
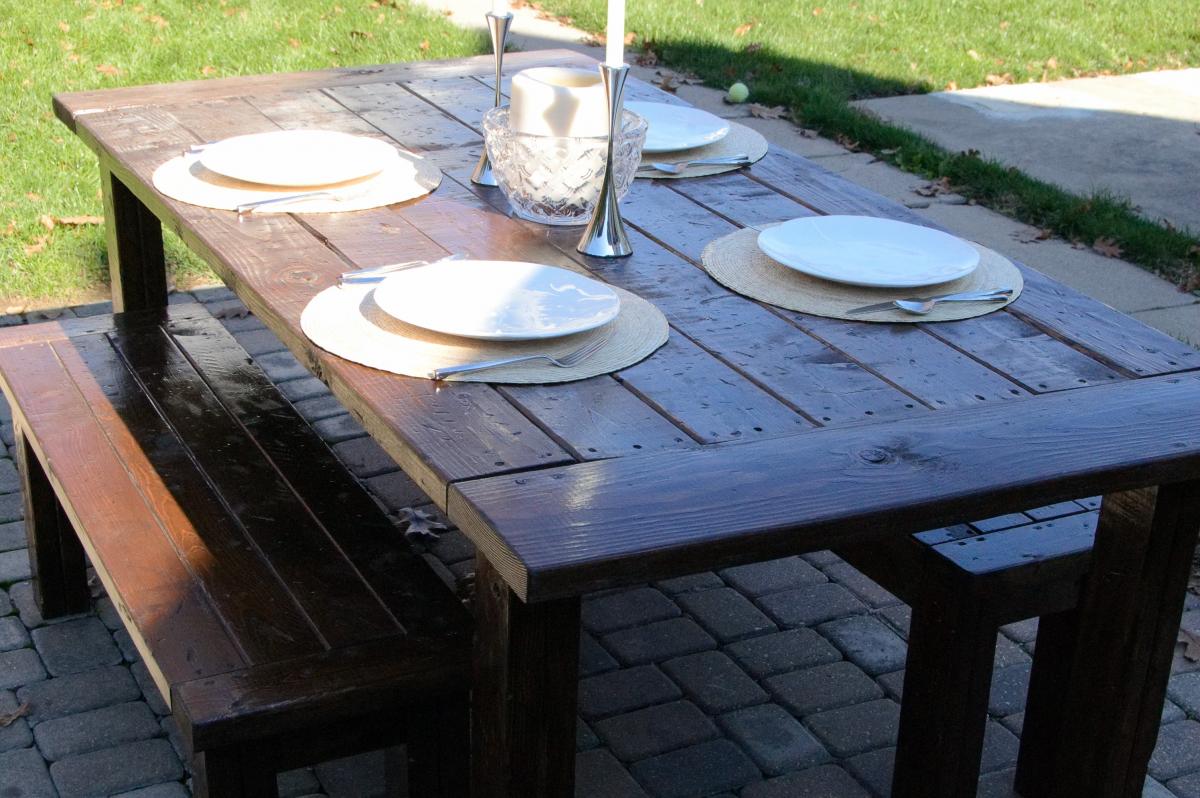
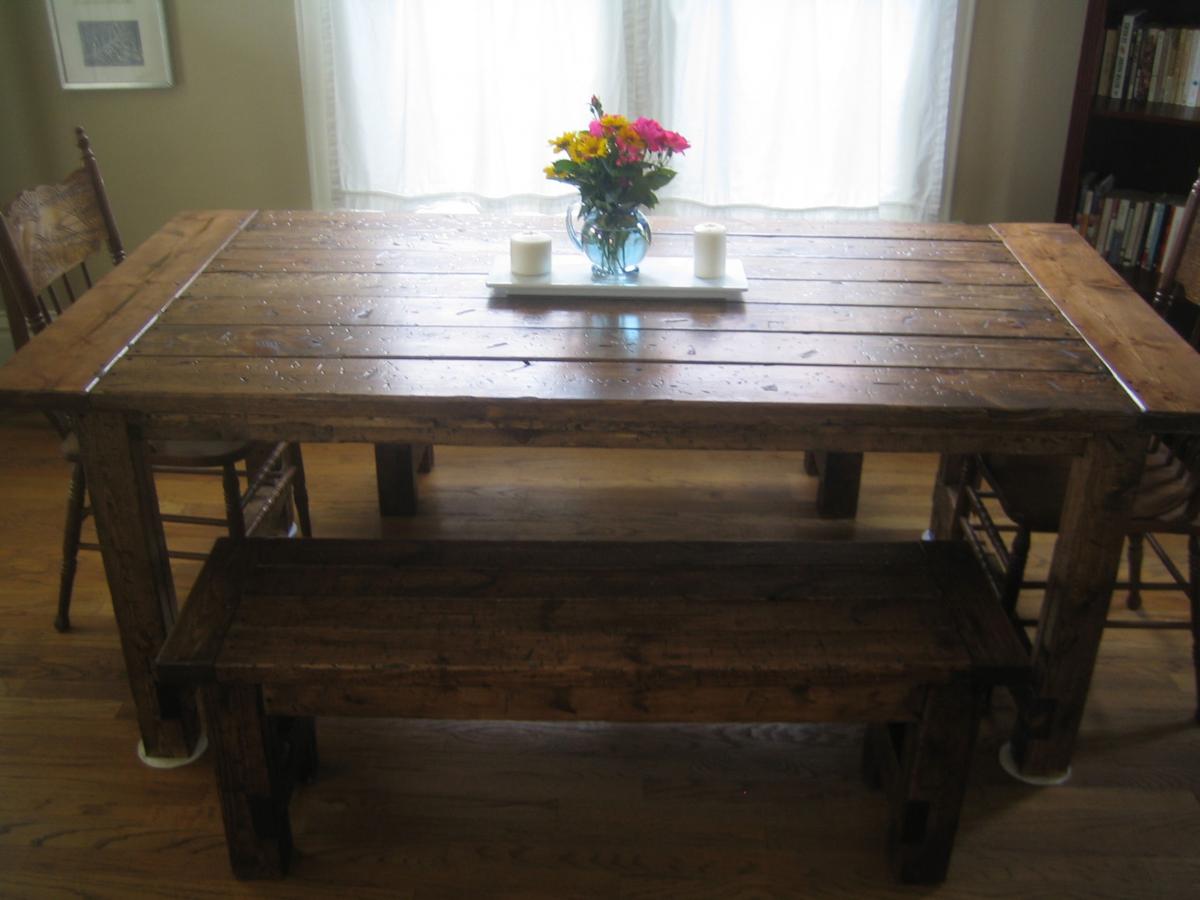
My Table and Bench
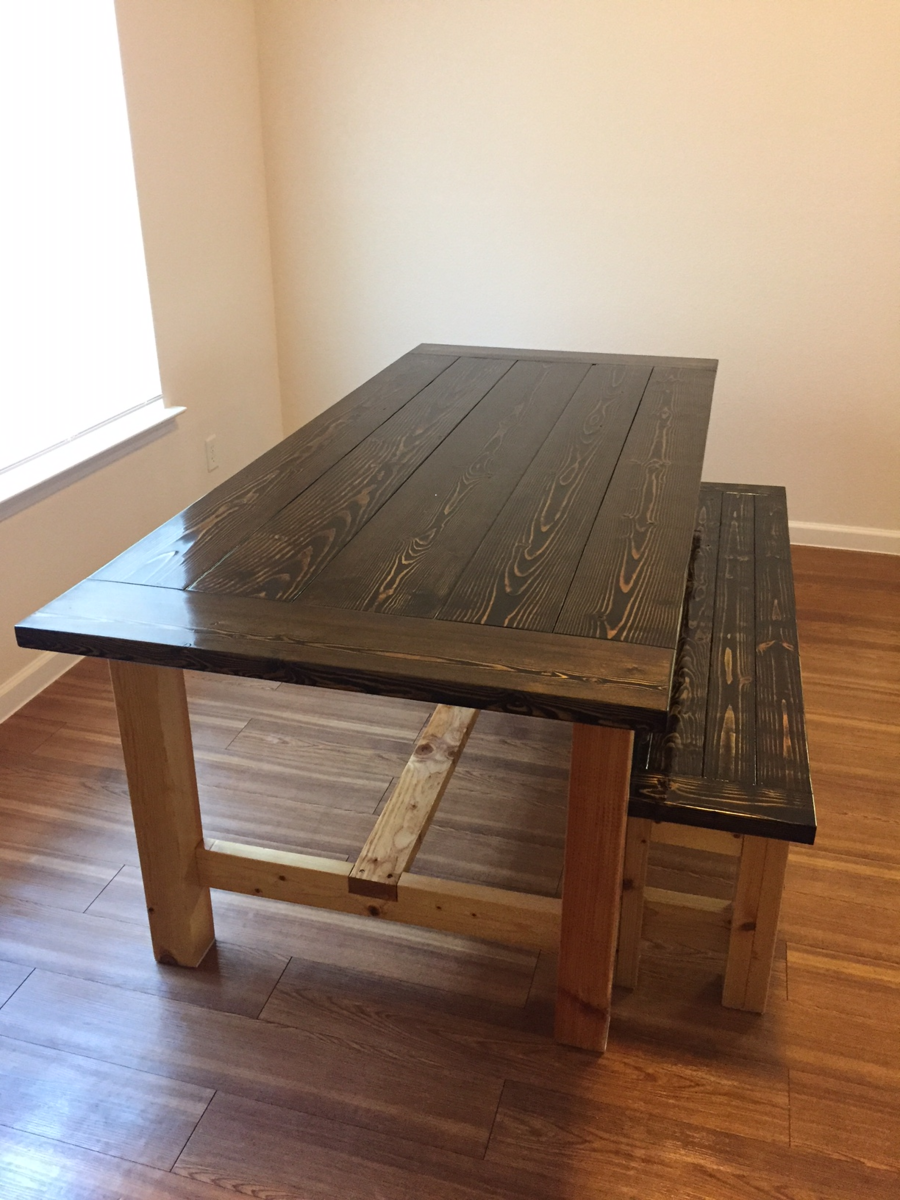
I know this is an older project on this website. However, I only recently happened upon this treasure trove of plans. As such, what better project than a new table and matching bench for the family? I made some adjustments to the bench as a result of the comments section. Essentially, I shortened the bench so it would slide between the legs of the table (65" instead of 72" as the plans call for). I also moved the stretcher supports to the inside of the table legs and shortened the stretcher (70" instead of 74" as the plans call for) to give a few more inches to push chairs in. I had every intention of staining the entire project uniformly. My wife really enjoyed the contrast between the dark and light, you see which idea I kept! The legs are a natural stain with clear coat. The tops are Minwax jacobean stain, I did two coats and a light sanding to expose some of the grain under the darkness of the stain. The cutting and assembly of the table and bench was rather quick. I would estimate 3 hours total of cutting and assembly. However, I spent a good amount of time on the sanding and staining. I would have been able to complete the finish quicker if the weather hadn't turned cold for about a week and slowed my dry times down. Finished the stains with a couple layers of polyurethane satin finish.
Built from Plan(s)
Estimated Cost
I already had the screws, stain, and clear coat. The wood for the table cost me $63.83 before taxes and the wood for the bench cost me $20.24 before taxes
Estimated Time Investment
Weekend Project (10-20 Hours)
Finish Used
Minwax Natural stain for bottoms
Minwax Jacobean stain for tops
Minwax polyurethane satin finish
Minwax Jacobean stain for tops
Minwax polyurethane satin finish
Recommended Skill Level
Beginner
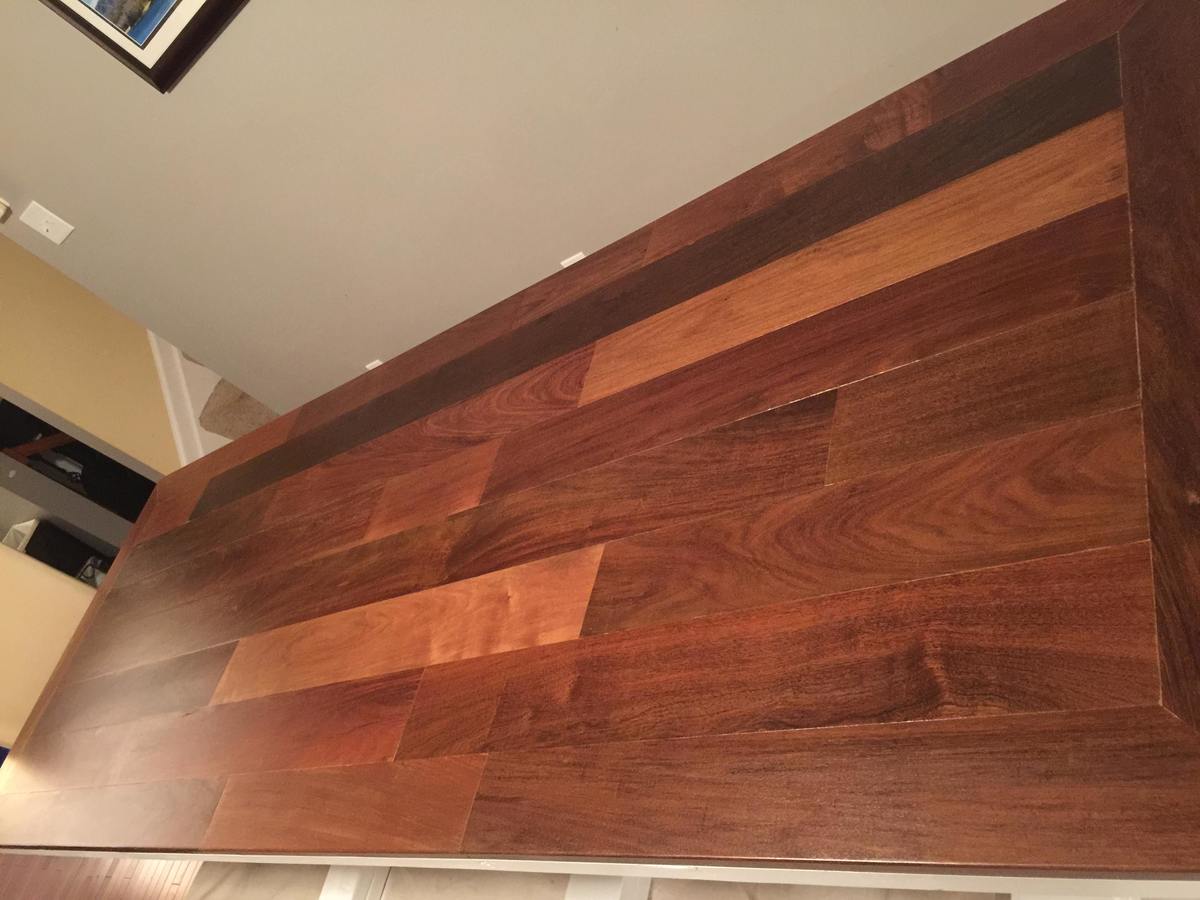
Farm Table
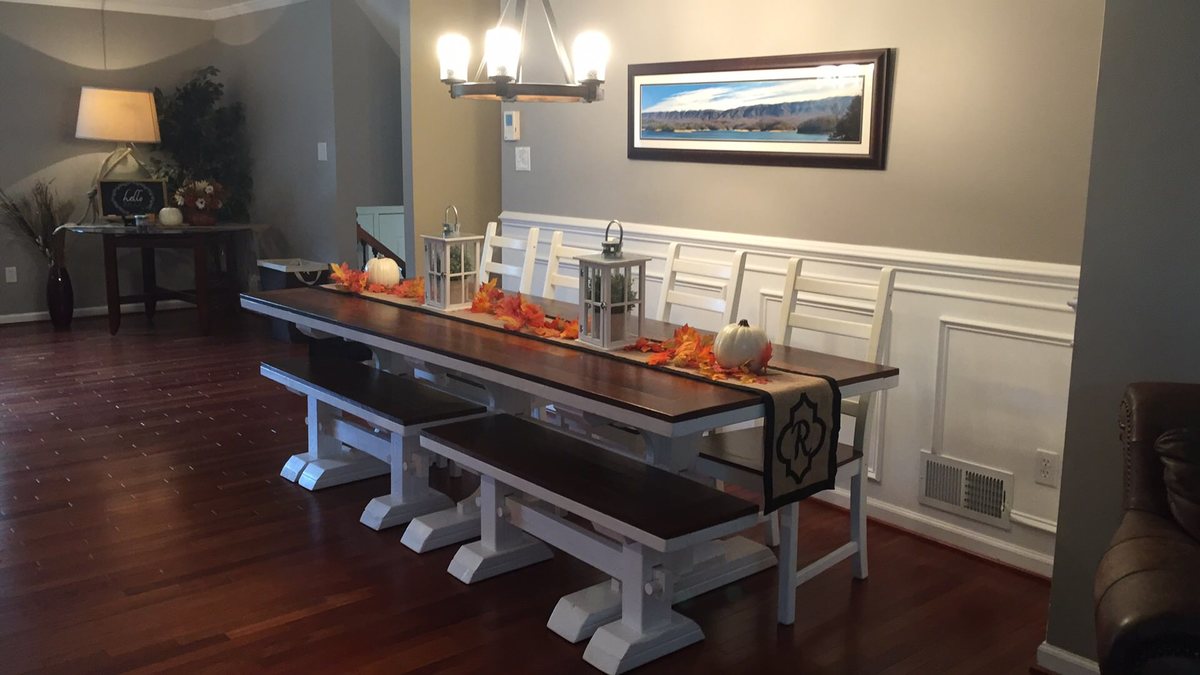
Brazilan Walnut flooring for table top and Pine for feet and supports.
Estimated Cost
$300.00
Estimated Time Investment
Week Long Project (20 Hours or More)
Finish Used
Triple Thick Coat Poly on table top and White semi gloss paint on everything else.
Recommended Skill Level
Intermediate
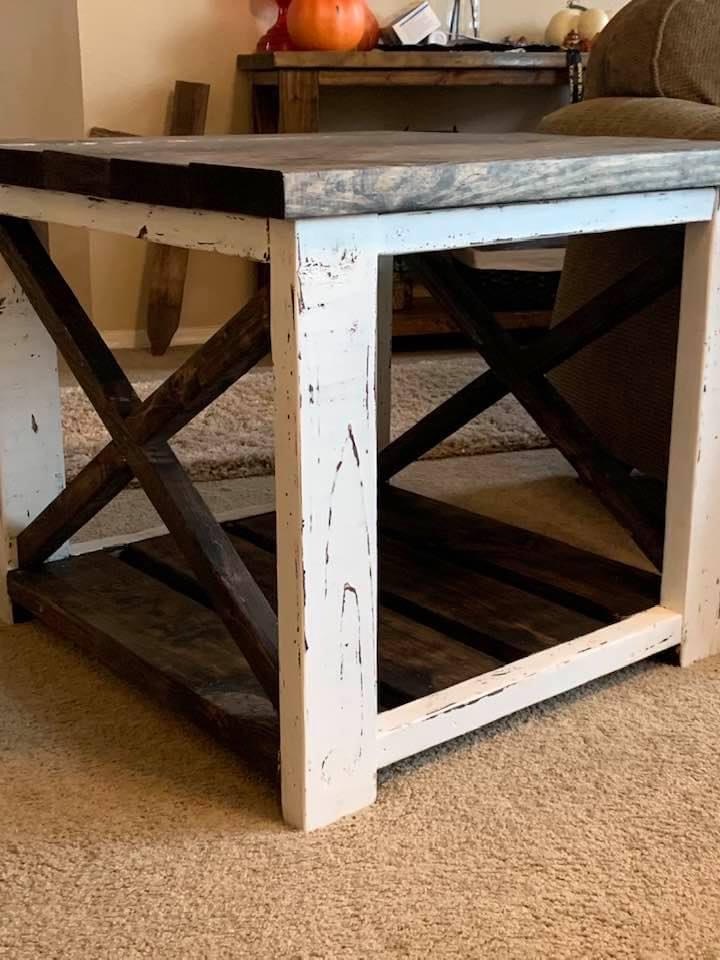
Rustic Farmhouse Dining Room Table w/ Benches
Made a vintage/rustic farmhouse dining room table with matching benches. Fairly easy DIY job. The notches were the most difficult. Quite heavy, so I suggest using less 2x2 for under-table supports. Turned out beautifully and very happy with it.
Built from Plan(s)
Estimated Cost
200
Estimated Time Investment
Weekend Project (10-20 Hours)
Finish Used
Stain and polyurethane
Recommended Skill Level
Starter Project
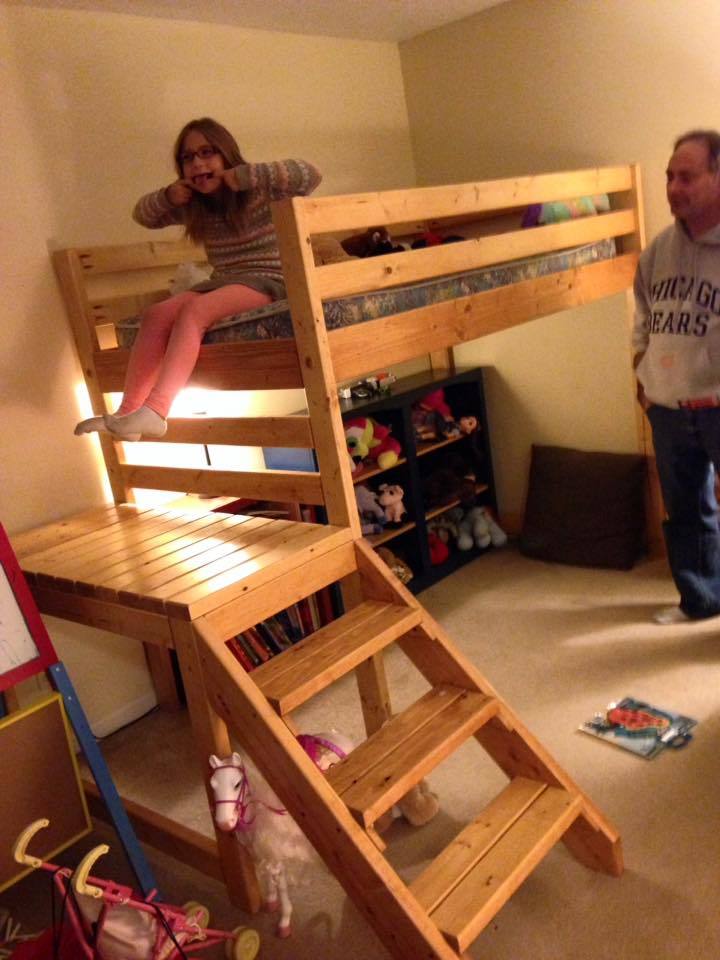
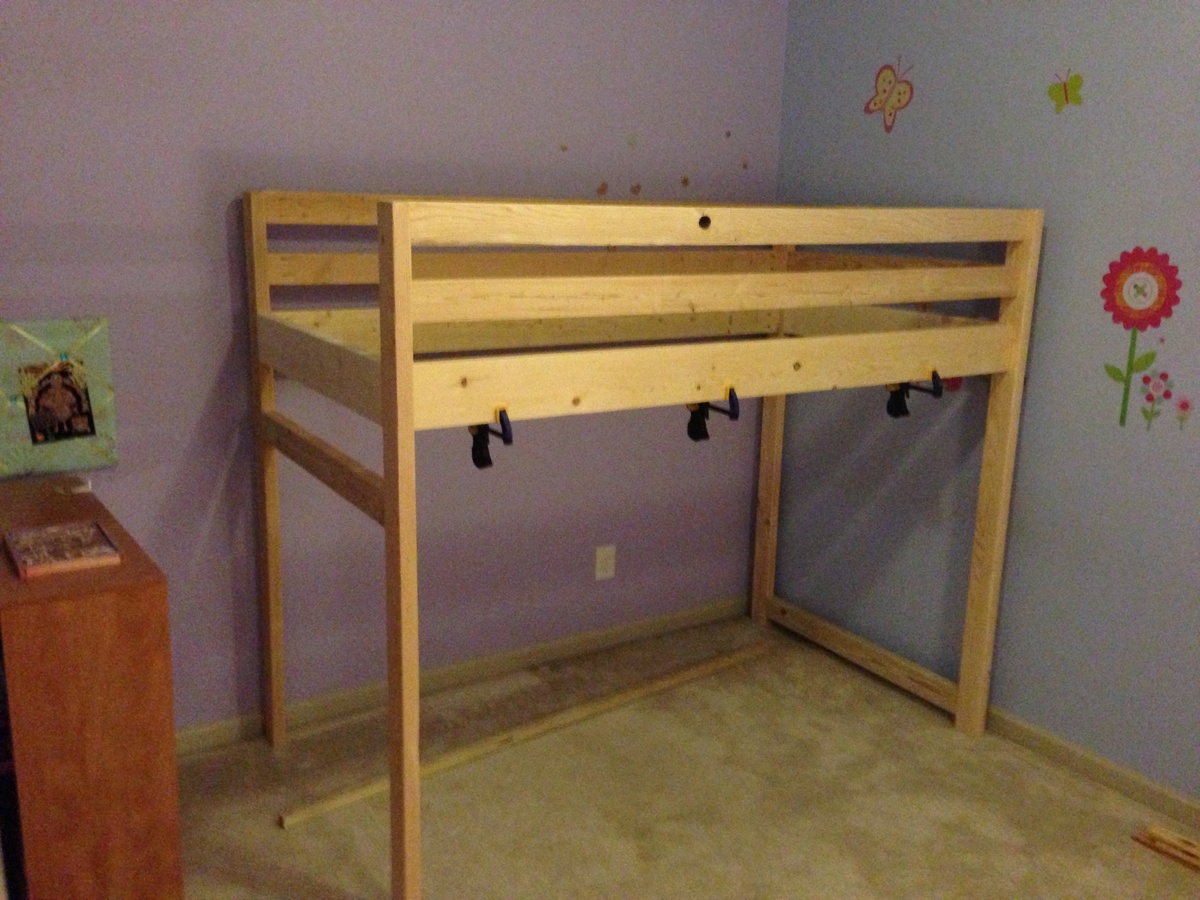
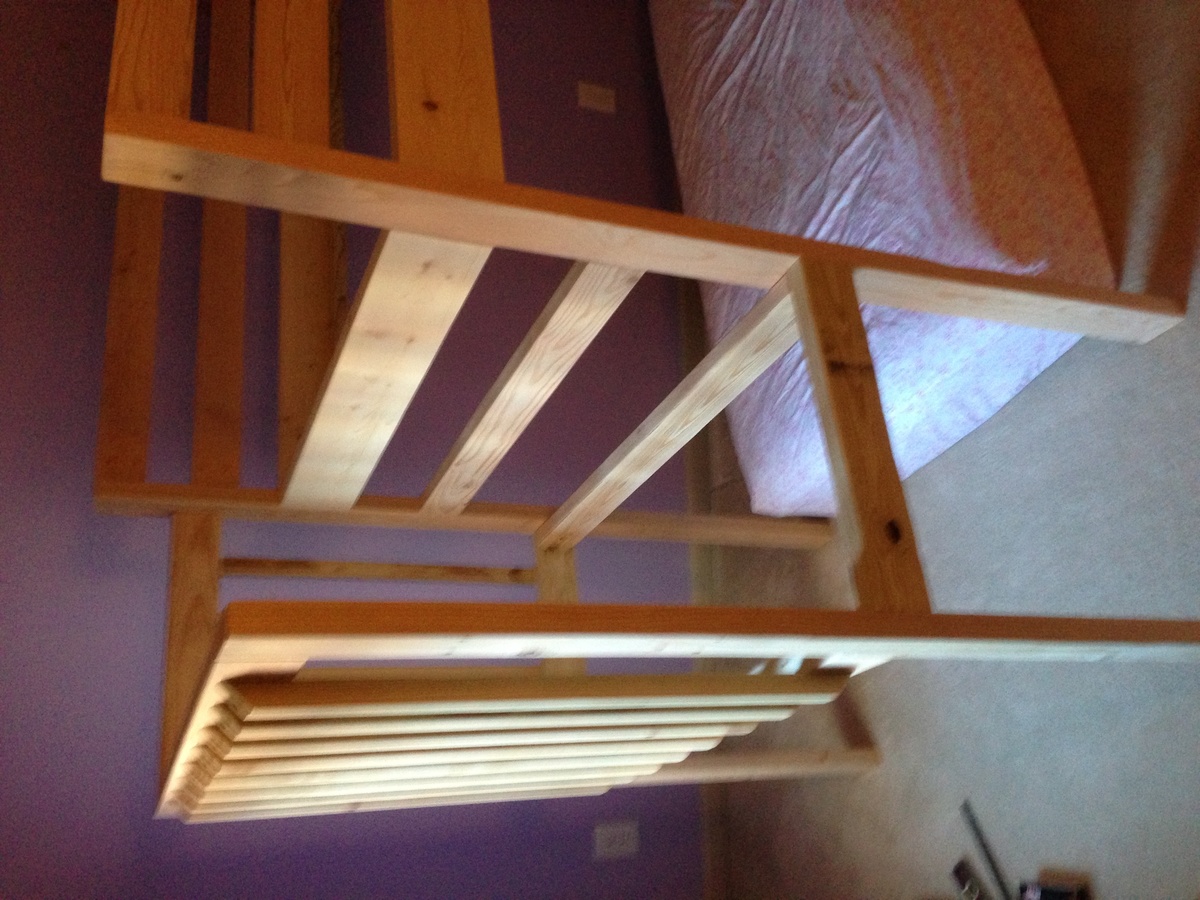
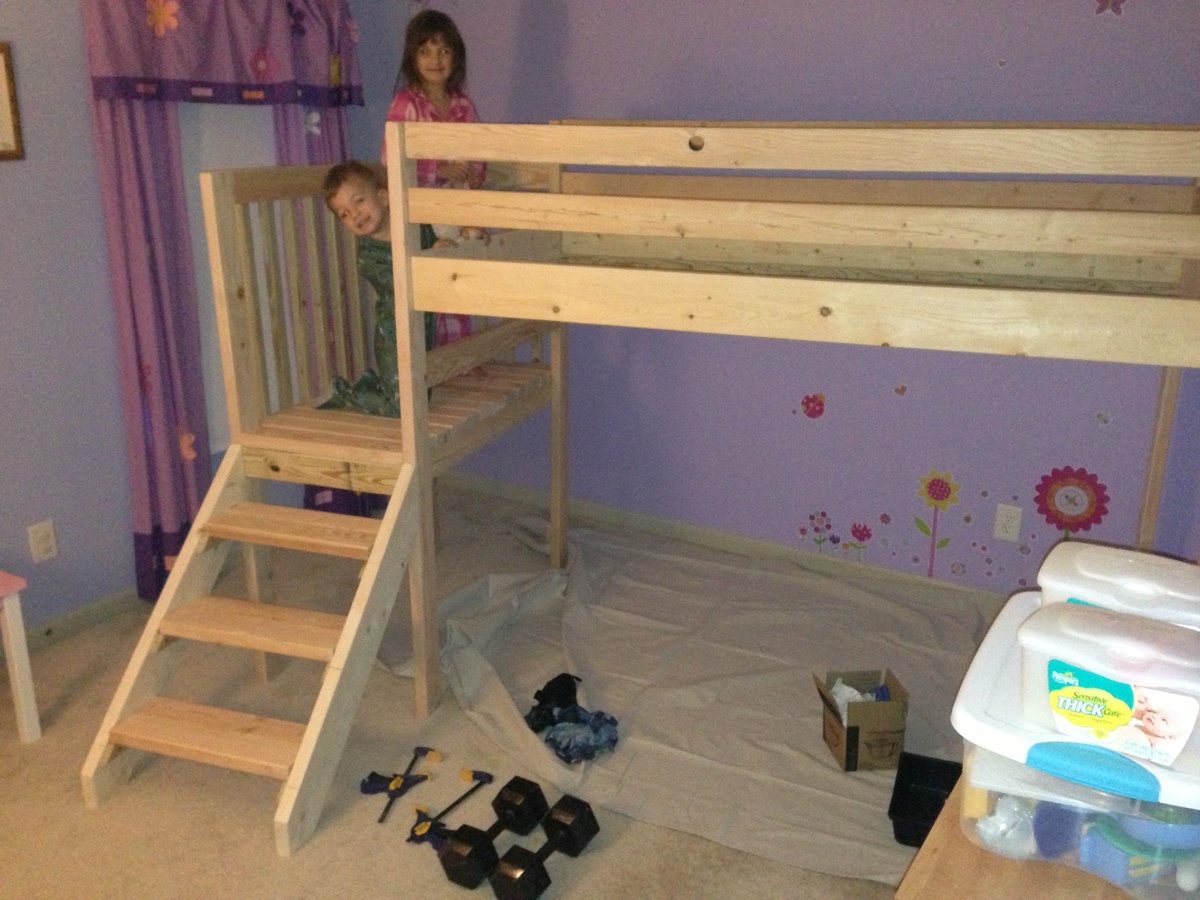
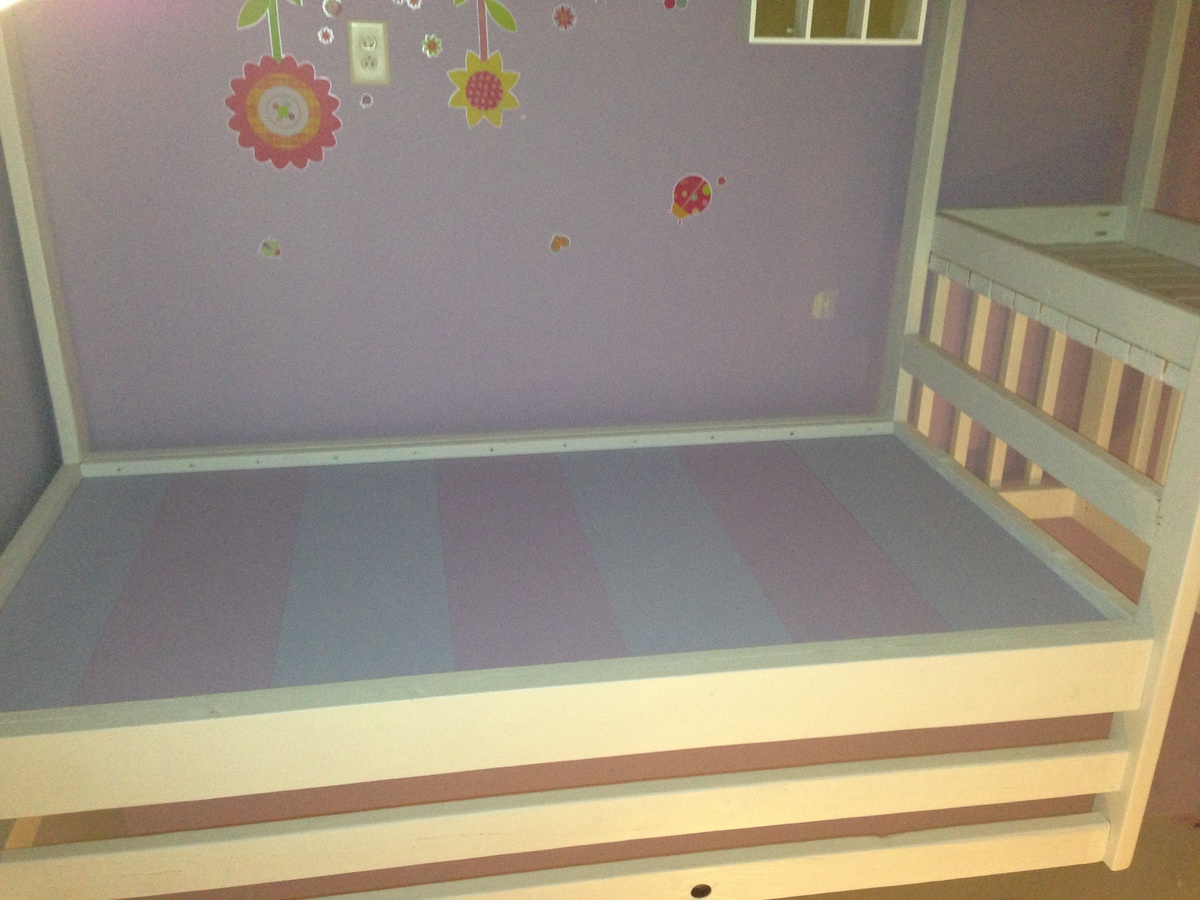
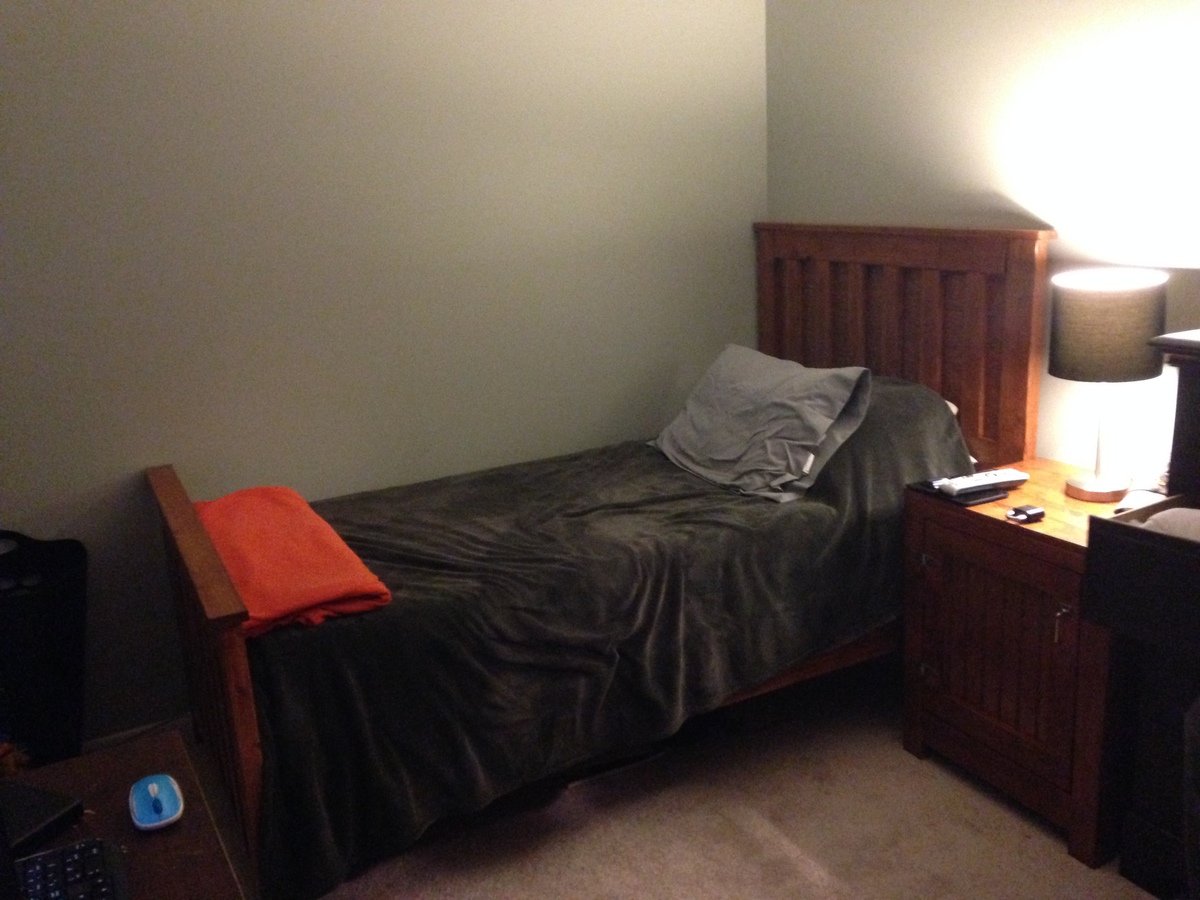
Loft bed
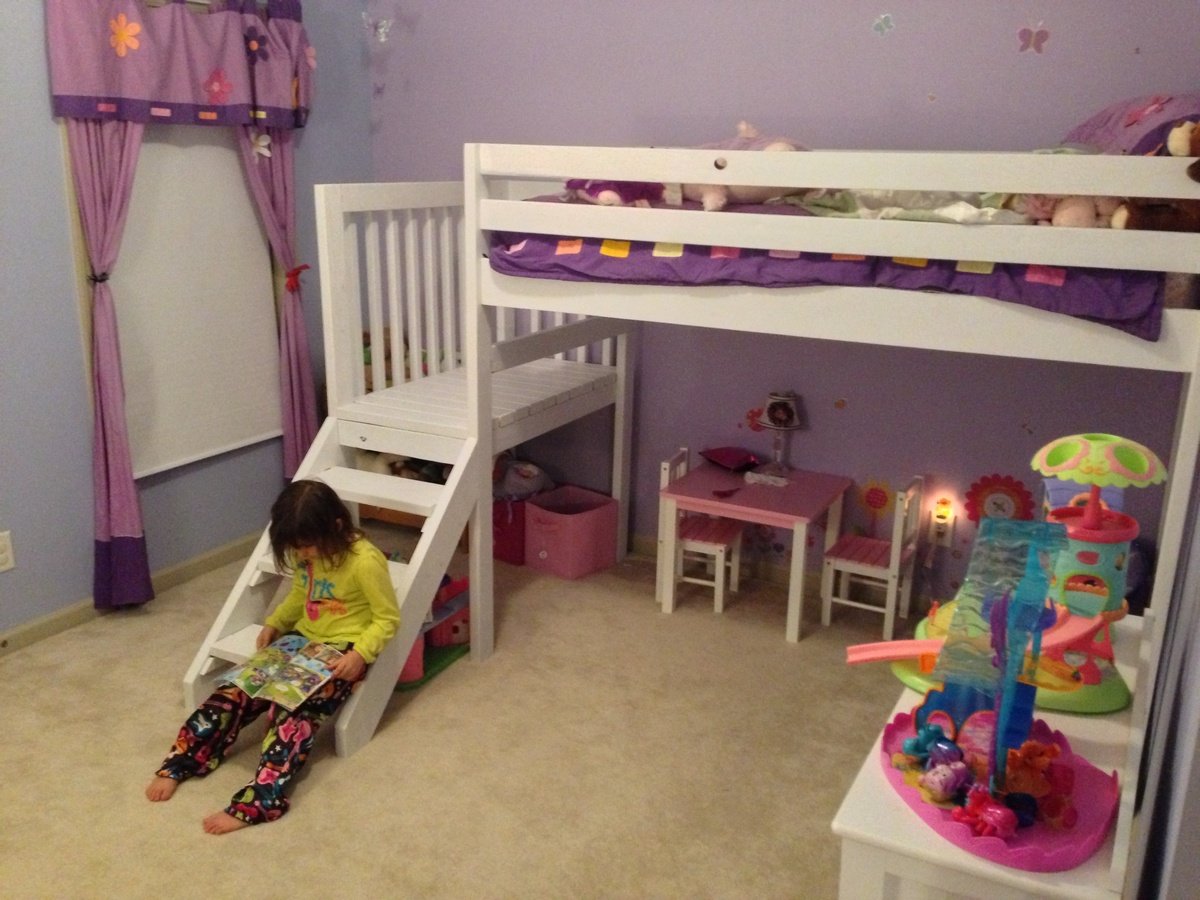
It was time for my son to move to a big bed. So he got his sister's bed and she got a new loft bed. From the pictures on your website, she just loved this bed. I was able to throw it together and get it painted in a weekend and she was sleeping in it by Monday night. I added the rails because we weren't able to set it in a corner, and now that it is Xmas time we strung lights on them. We painted it white. For the mattress support I used 3/4" slats of MDF and used left over paint from her walls to paint the exposed side. Over all it was a pretty simple project, gives her more room and my daughter loves it.

Estimated Cost
$150
Estimated Time Investment
Weekend Project (10-20 Hours)
Finish Used
Glidden paint and primer eggshell, Dove White
Recommended Skill Level
Beginner
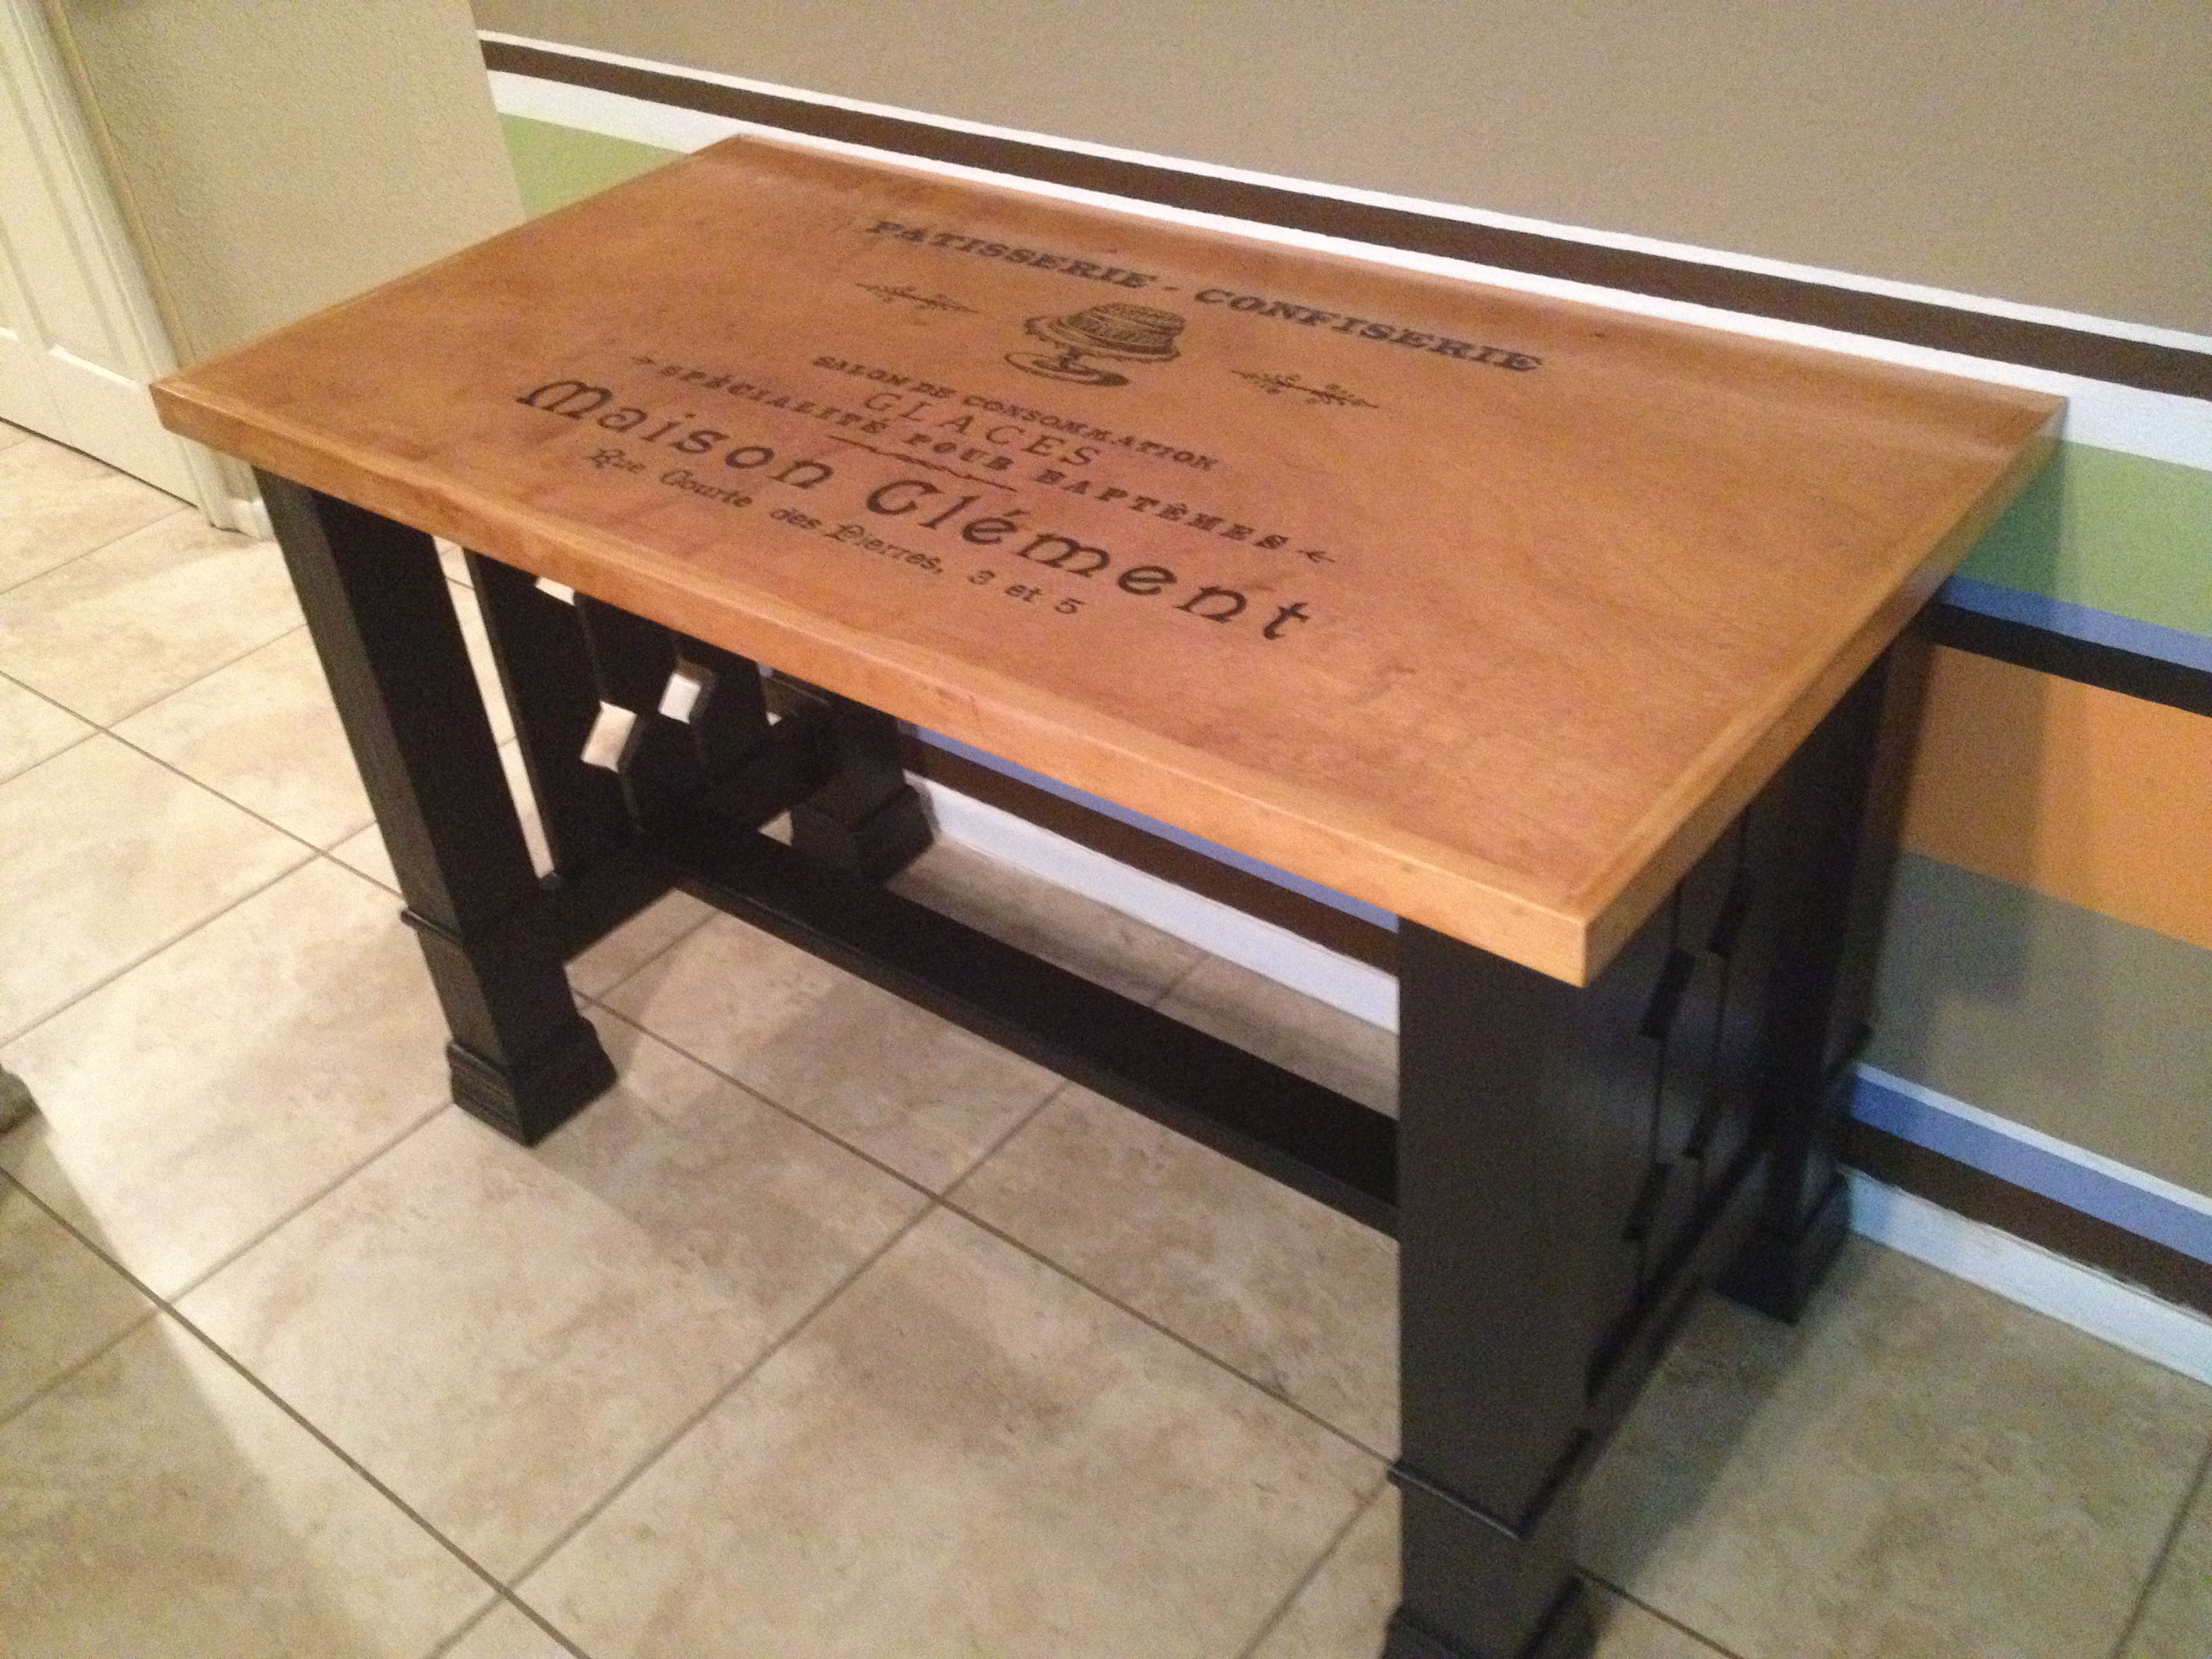
Mission style table with French Typographical
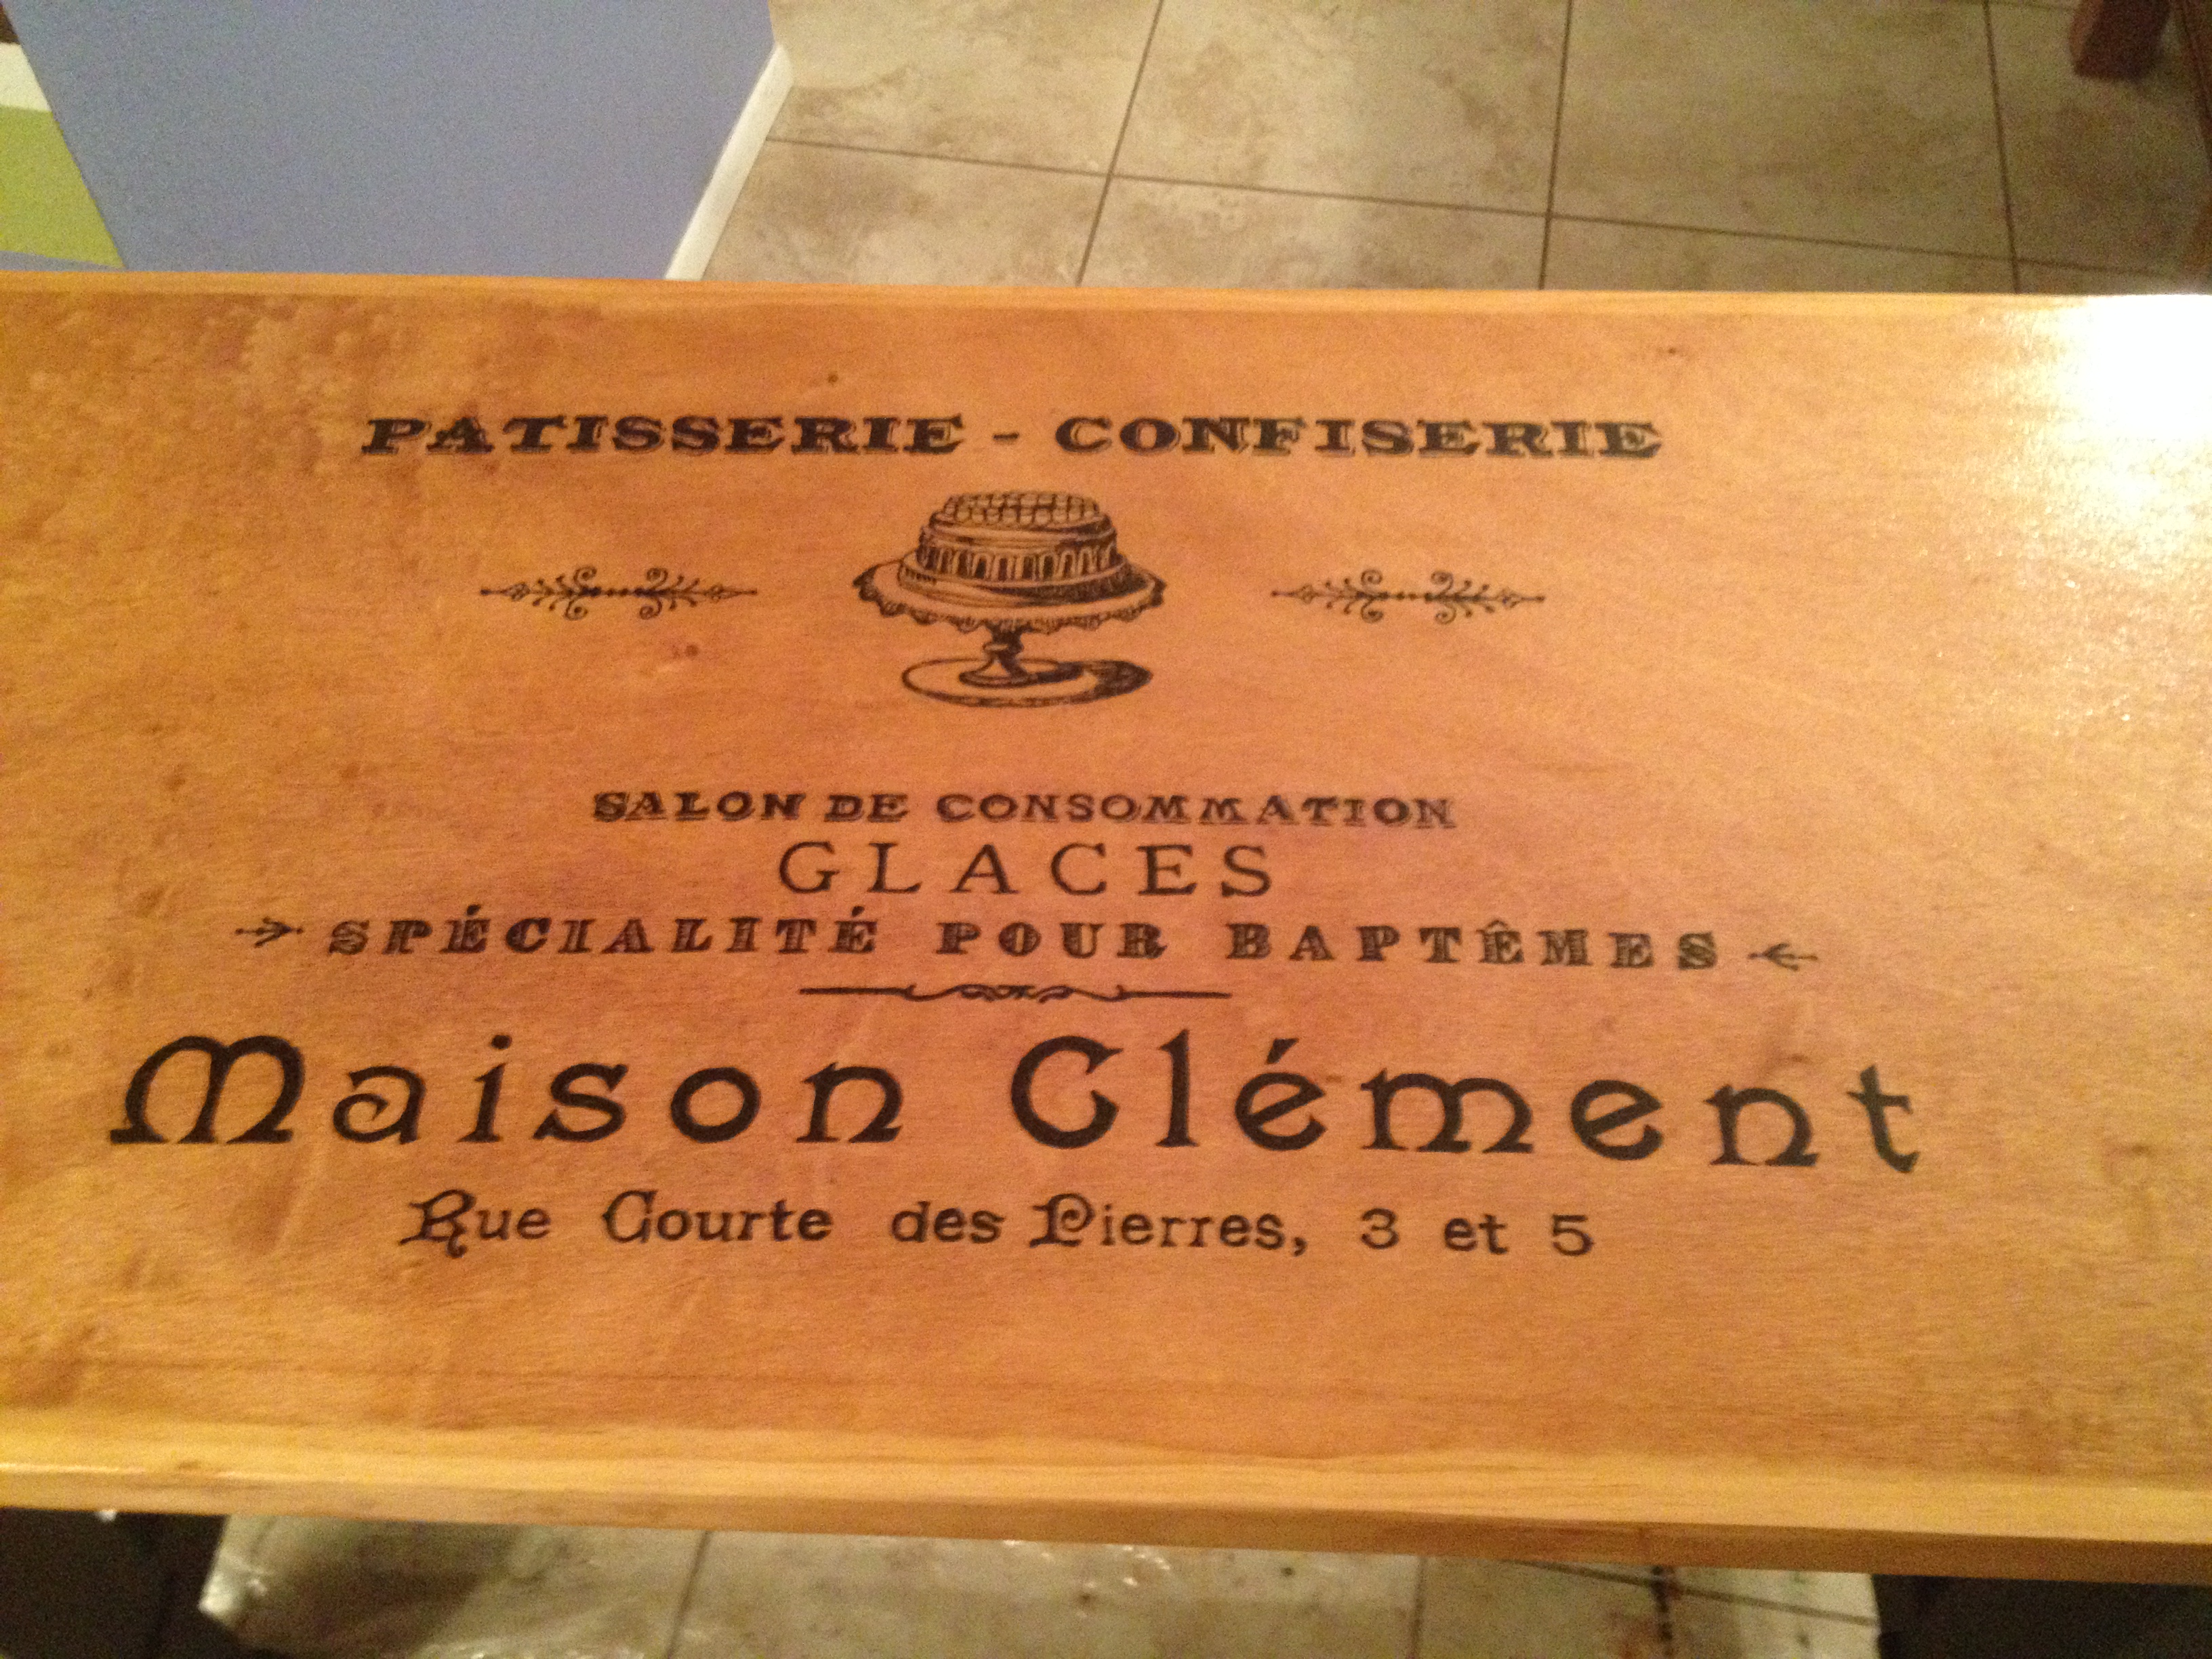
Was a fun project! Took only a few days. I hand painted the typographical using the method mentioned on the graphic fairy's website. Thanks for the post!
Built from Plan(s)
Recommended Skill Level
Intermediate
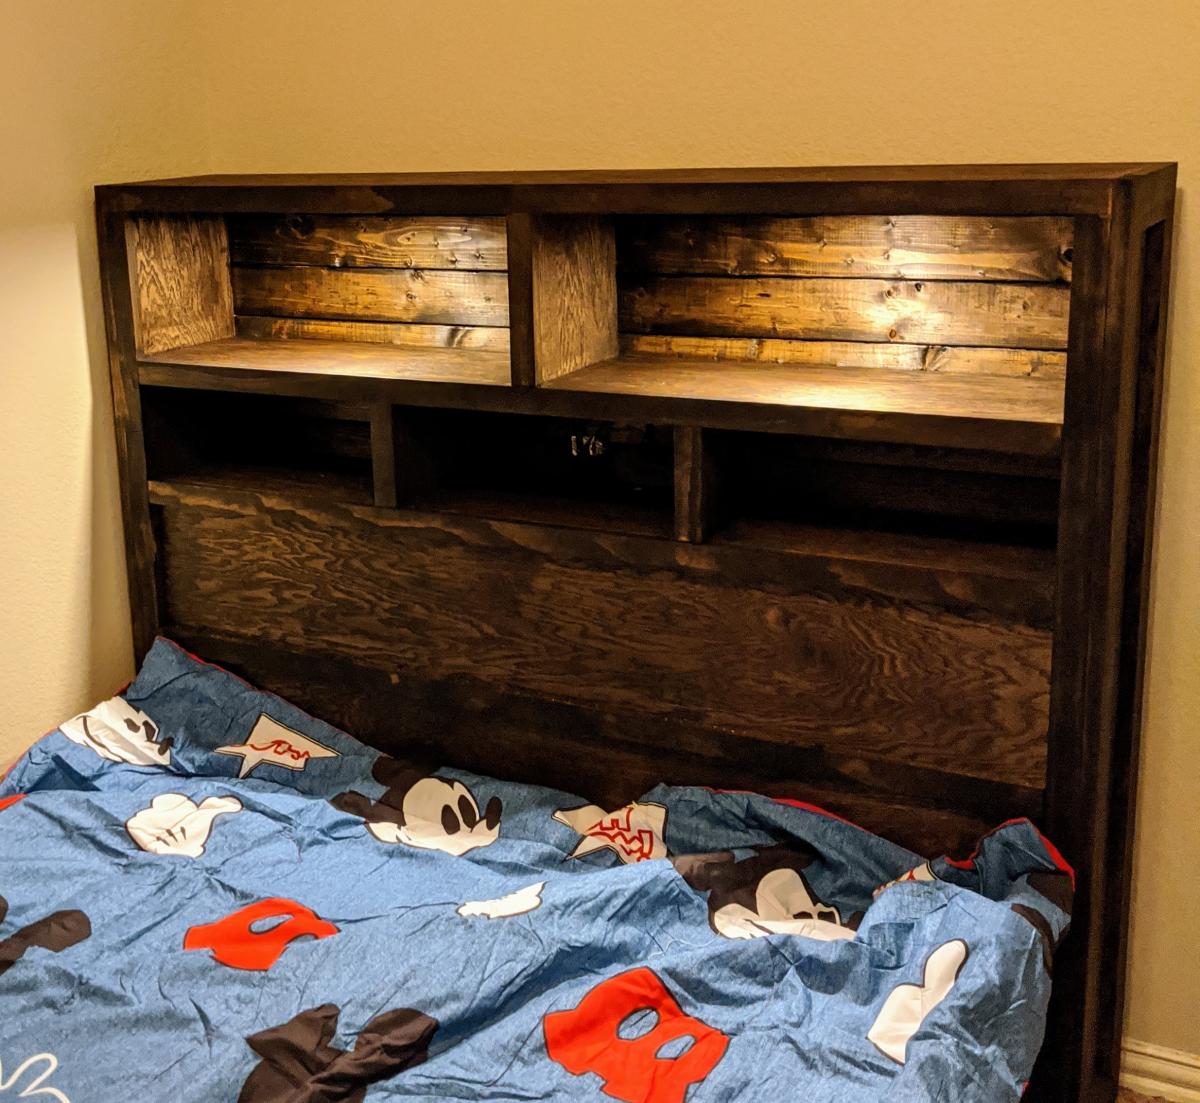
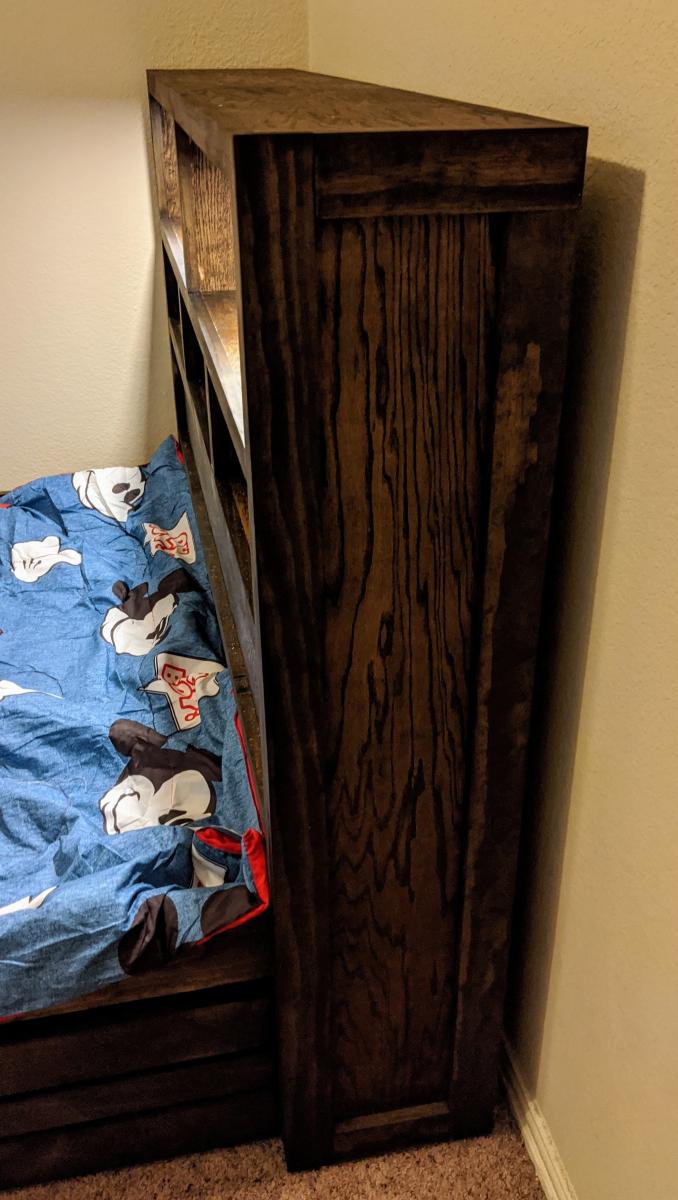
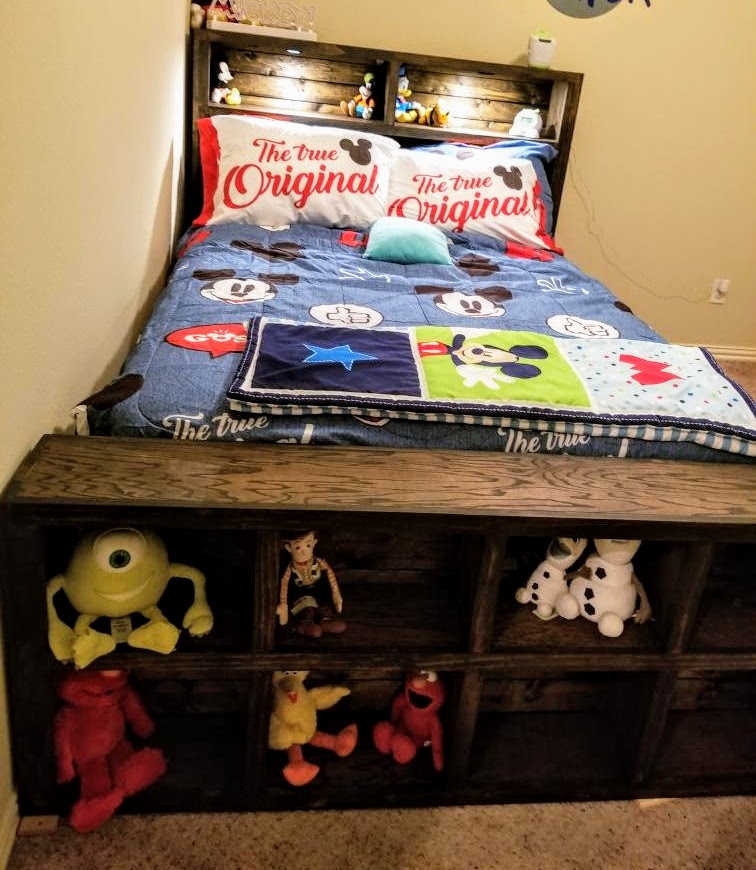
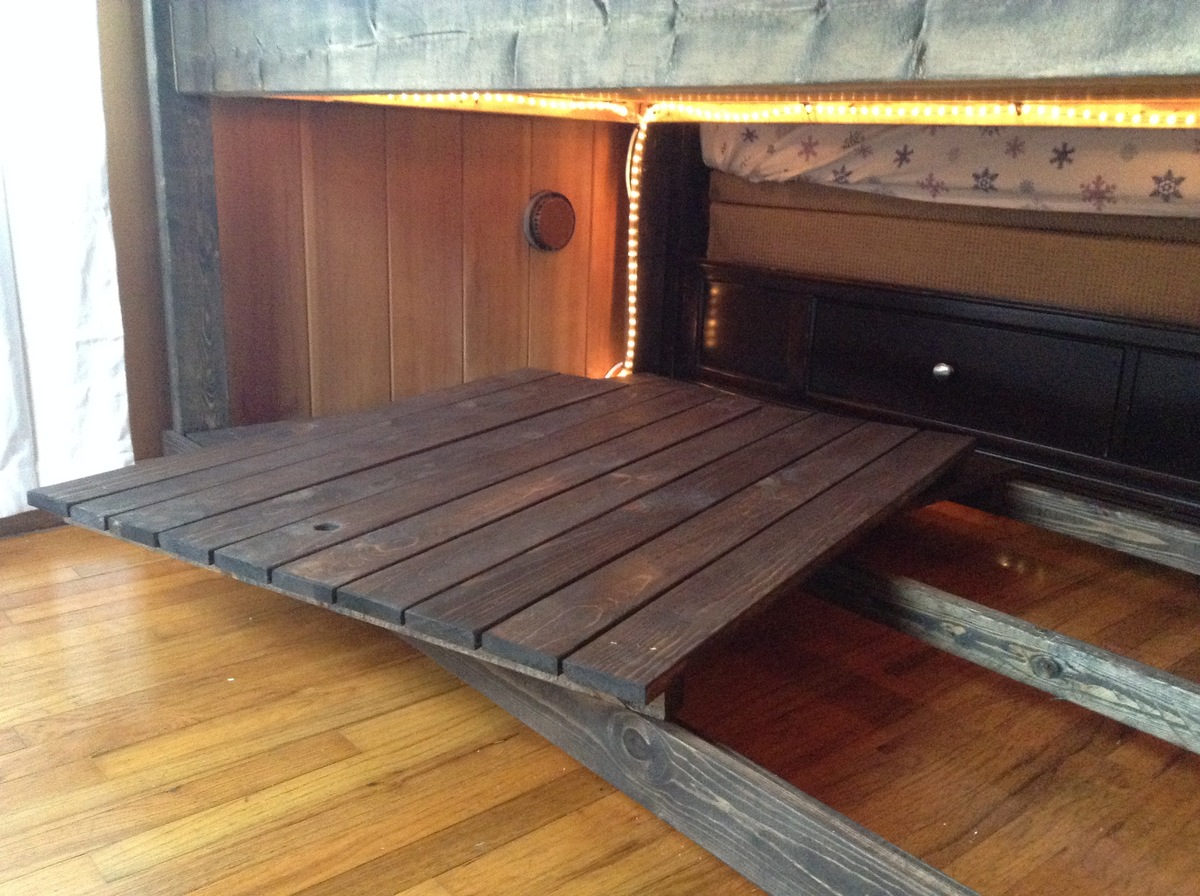
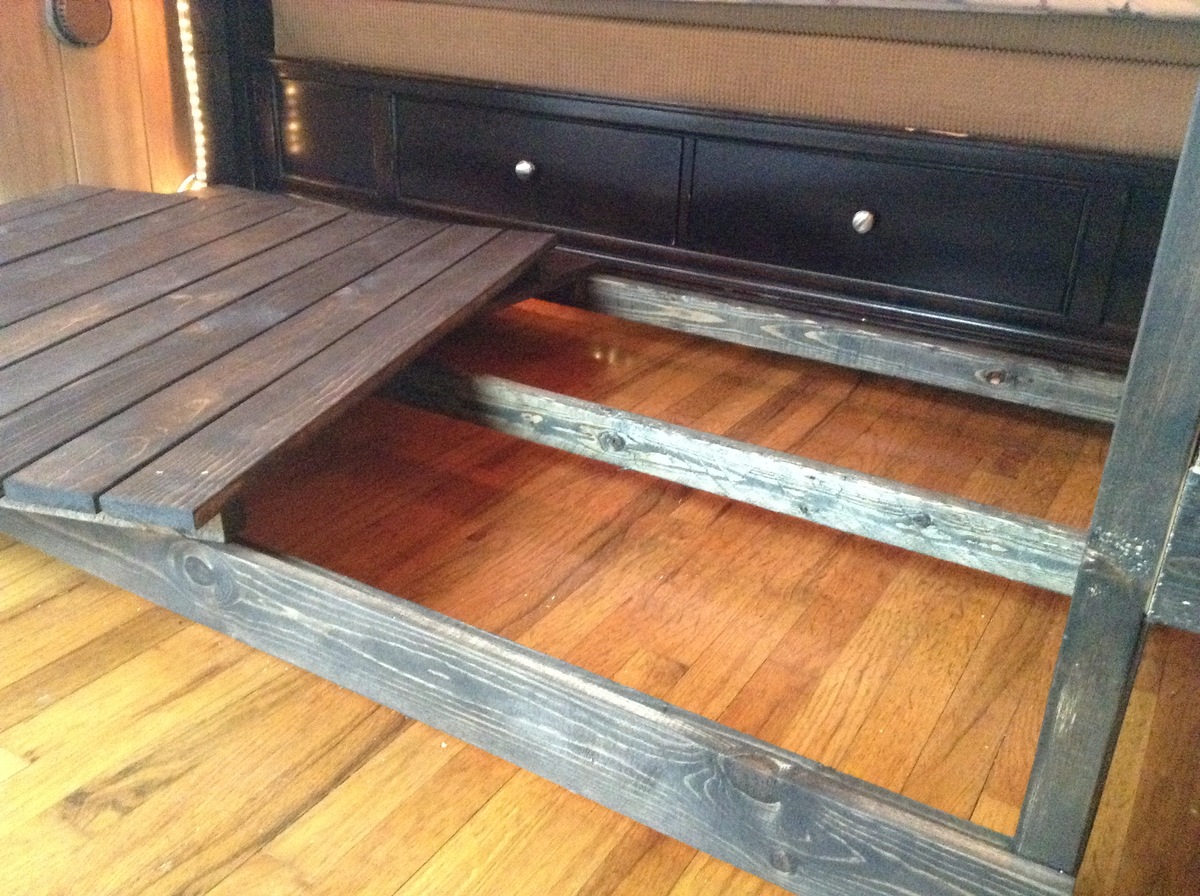
Nephew's Custom Bookshelf and Train Table Bed.

Today Tracie and I had the privilege of delivering a custom bed to my nephew south of Houston. His mom, my sister wanted to combine reading, trains, and of course sleeping. I delivered a bed with their selected color, dark walnut, hidden lights, electrical/USB outlets, a rollout train/play table, and a bed between two sets of bookshelves. Yes, it is all solidly built to be ready to hand down to the next generation. Please know I enjoyed this project while being inspired further to build more. I bragged recently that this would be the perfect bed for English teachers.
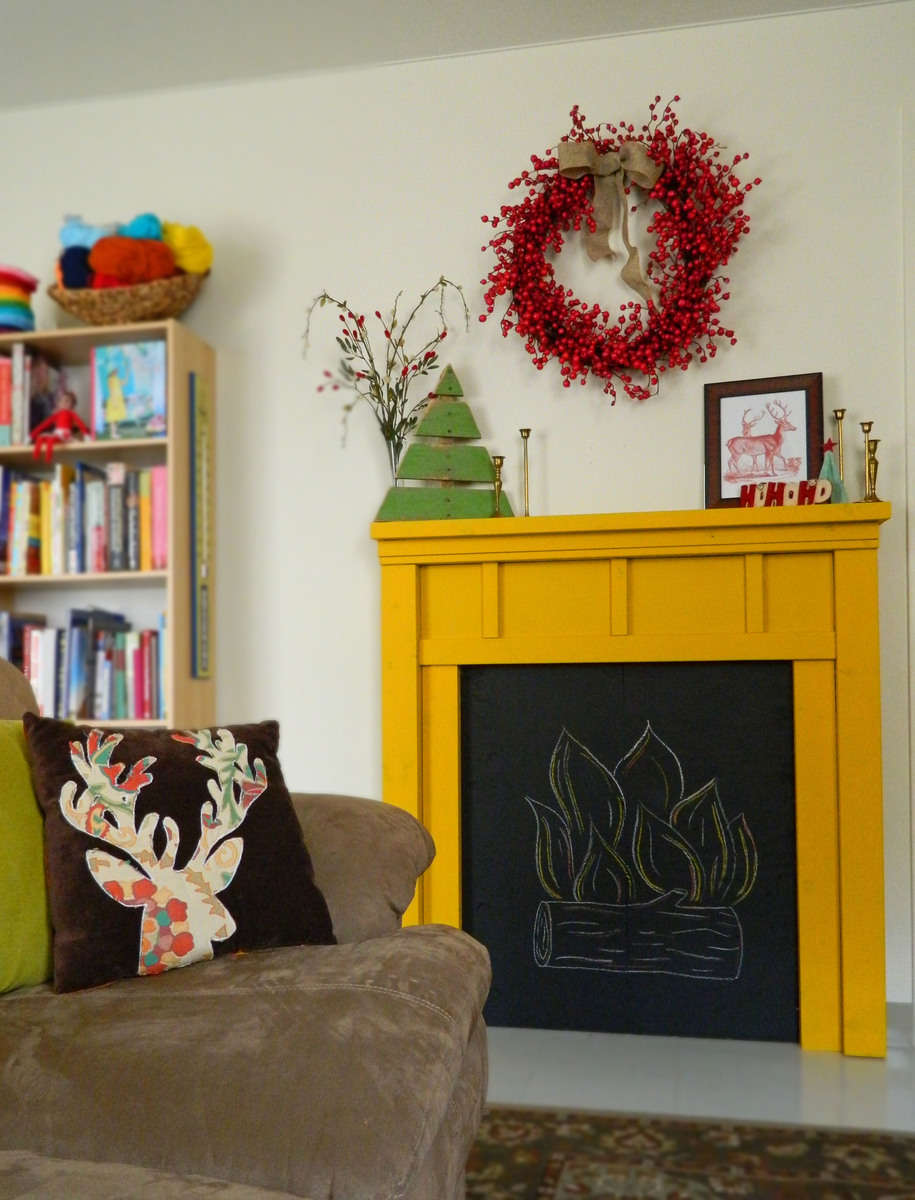
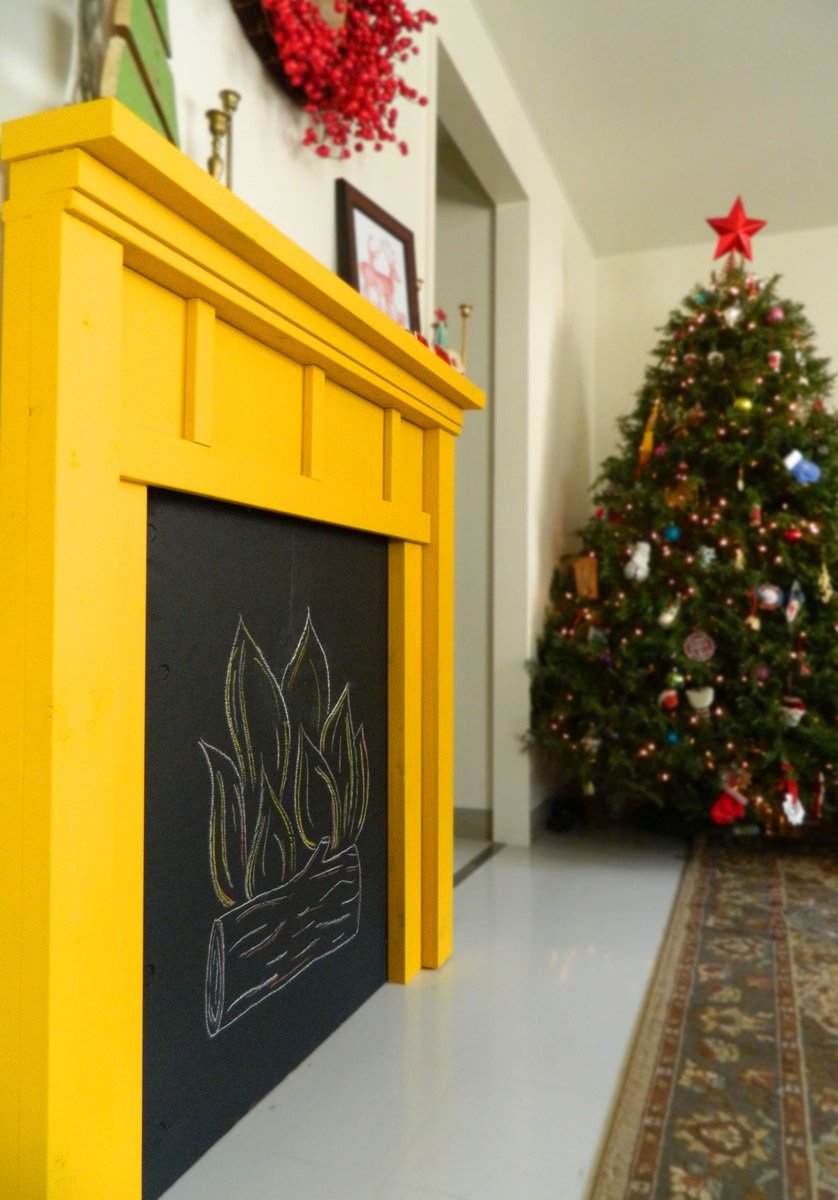
Faux Fireplace
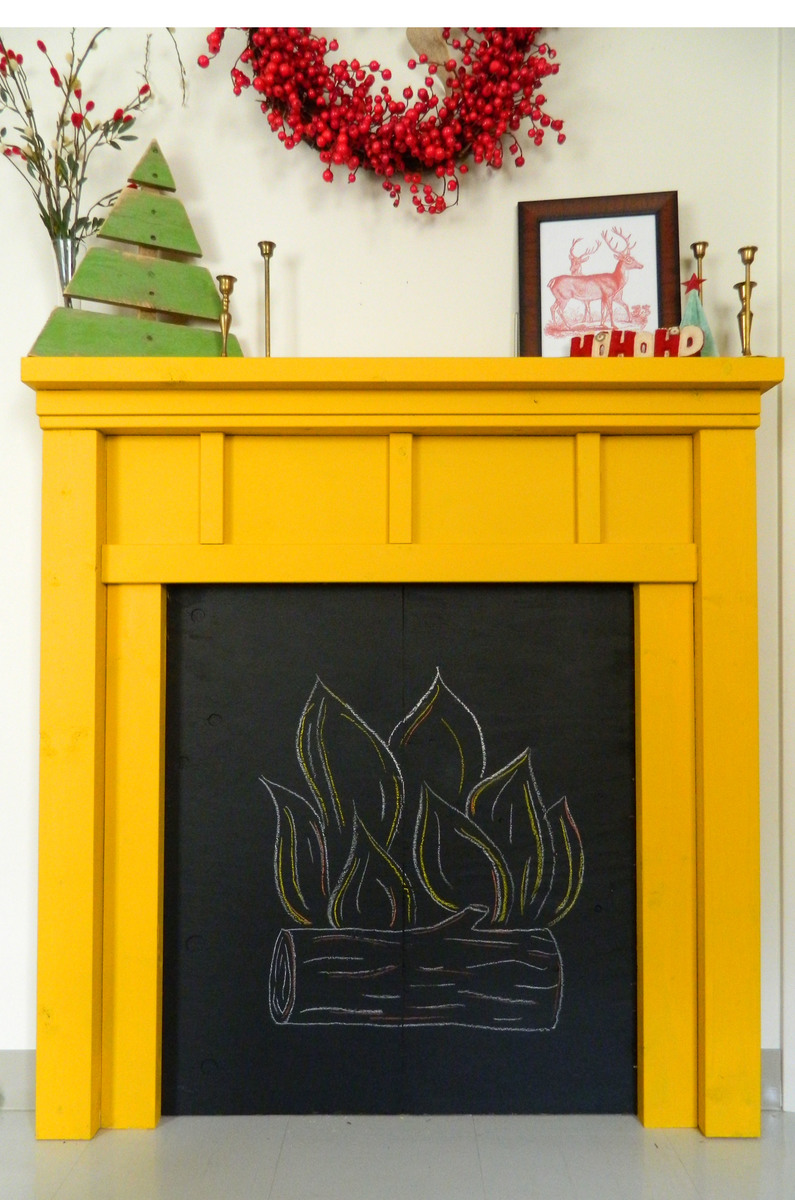
We needed a place to hang our stockings this Christmas, and Ana's Faux Fireplace was the perfect solution. We added the chalkboard paint for a touch of whimsy.
Built from Plan(s)
Estimated Cost
$50.00
Estimated Time Investment
Afternoon Project (3-6 Hours)
Finish Used
Flat yellow paint for mantel, and black chalkboard paint for fire place. The plywood used for the chalkboard was left over from the playhouse loft bed I built a few months ago. Instead of the curved 1X12, we made it straight across using 4 pieces of 1X10 that we pieced together using our pocket hole jig. We then added the 1x2's and 1X4 for a little architectural interest and to cover up the seams on the 1X10.
Recommended Skill Level
Beginner
Comments

Kentwood Bed and night stand
Overall, these plans were easy to follow. It took me a little bit longer to complete, and definitely needed someone to help attach the bed rails to the headboard and footboard. We stained prior to putting the bed together, otherwise we wouldn't have been able to get the bed into the house.
For the night stand, the plans call for 4 boards across the top, but it definitely takes 5 so keep that in mind. I used pocket holes to attach the front and back of the top piece to the night stand, and then did nails to attach the sides of the top to the sides of the night stand.
Built from Plan(s)
Estimated Time Investment
Weekend Project (10-20 Hours)
Finish Used
Antique Walnut by Minwax
Recommended Skill Level
Beginner
1st piece of furniture build
This was my 1st attempt to build a piece of furniture. Plans were easy to use.
Built from Plan(s)
Finish Used
Dark walnut stain, espresso spray paint (base), antique white (top coat)
Farm table
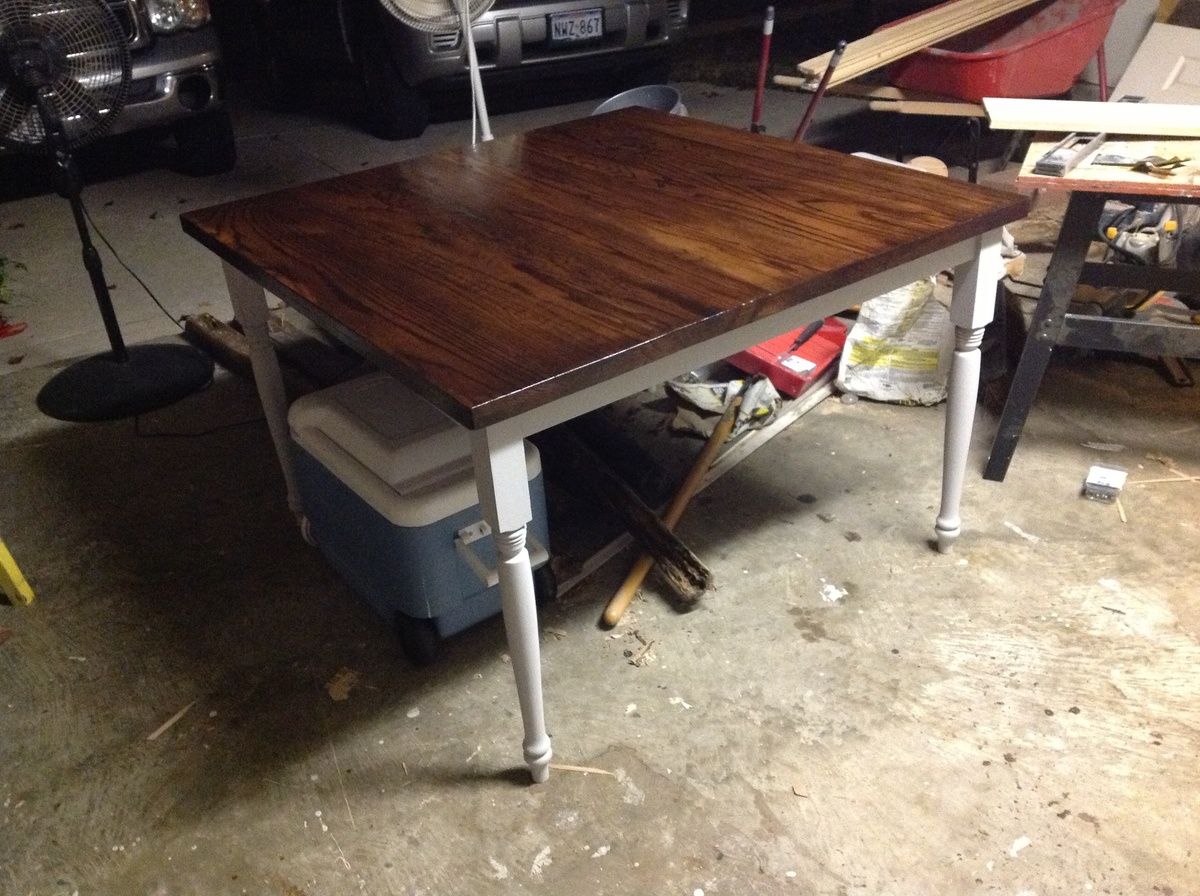
My sister and I built this for her apartment. I was not able to get a pic of it in her apartment so this great pic from my shop will have to do, just ignore the rotten fence posts and cooler and picture it on a nice dinning room. I did down size it to a 4x4 table for space since the apartment is small. One thing I did do different then the vid I watched on here was I used tongue and grove joints to join the boards and alternated board sizes. The. I made a fake second layer to give to table top a thicker look. If you have any questions please let me know the project was not hard but it did take some time waiting for glue to dry.
Recommended Skill Level
Intermediate
Comments

Sun, 07/26/2015 - 20:44
Plans for table?
I'm trying to build a farm table for my apartment. Could you send my the plans for this table? I tried downloading the PDF but plans was not included
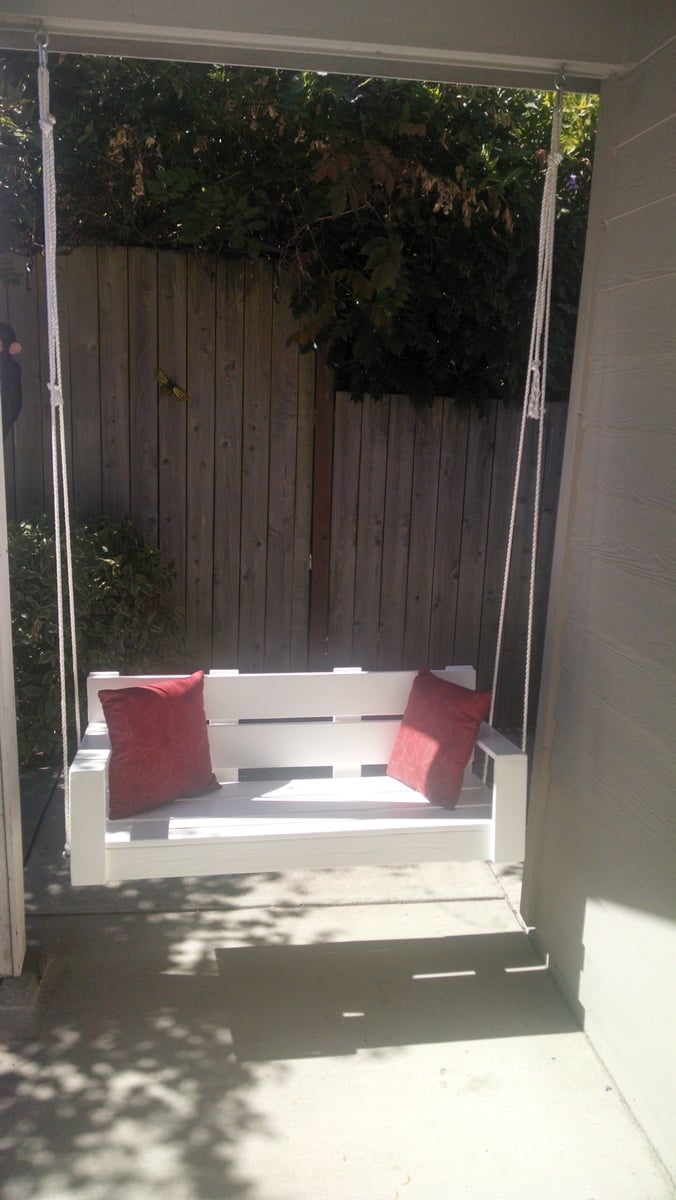
Swinging Bench
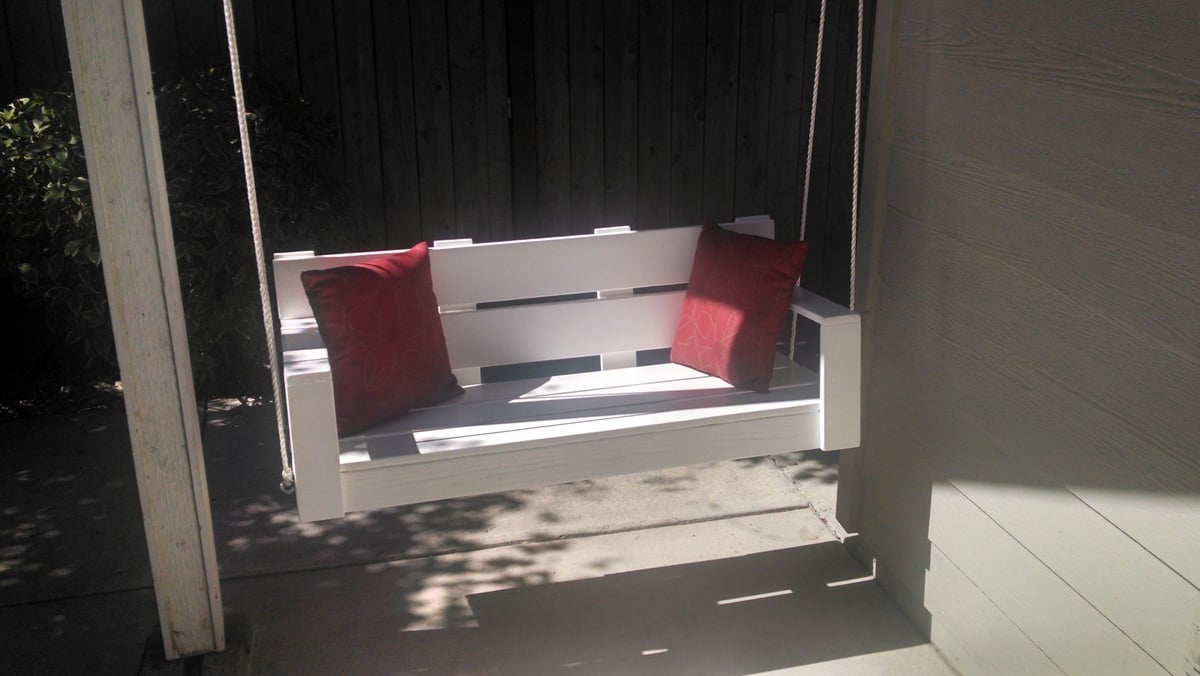
This bench is great! I was surprised how nicely it swings. I used rope with overhand loop knots to secure onto quick link hooks. Made it for my husband for his birthday but my whole family enjoys it daily!
This is my third project from Ana's website. I absolutely love to build and can't wait to do more!
Built from Plan(s)
Estimated Cost
$100.00
Estimated Time Investment
Weekend Project (10-20 Hours)
Finish Used
Exterior semi-gloss white paint.
Recommended Skill Level
Beginner
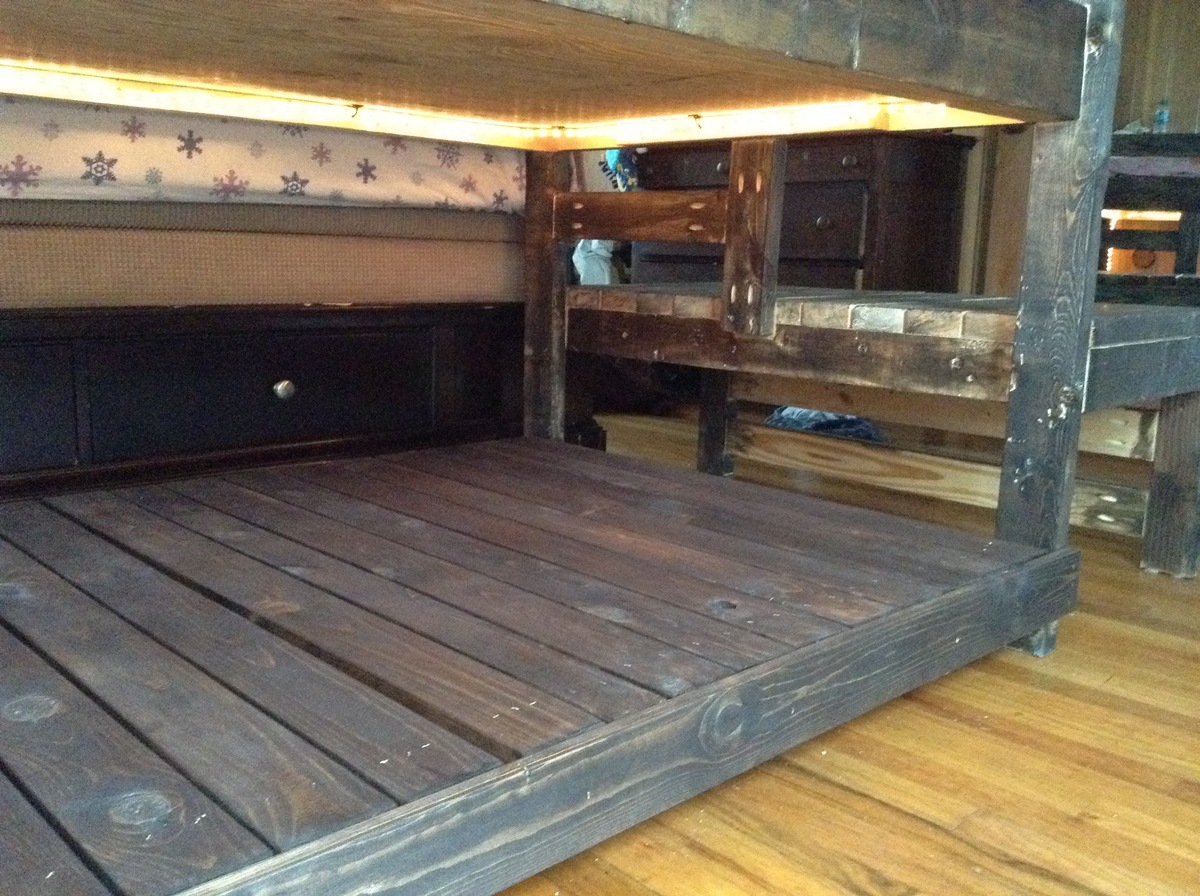
Camp Loft Bed w/ Mods
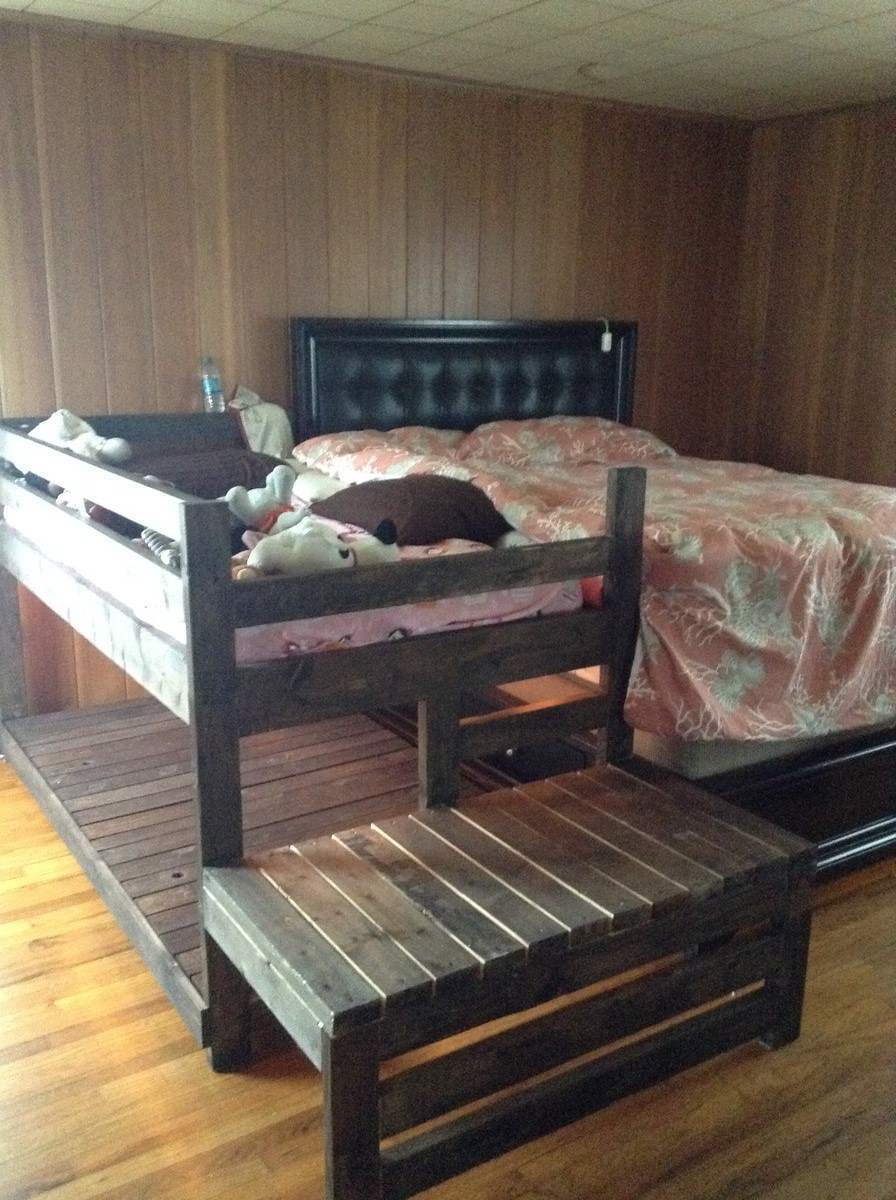
I modified the plans to accommodate a new baby to the family. Height was adjusted to match existing bed. After 4-years I just added a removable floor for stuffed animals and to help with transport and clearing dust bunnies. I added rope lights by extending under bed lighting previously installed.

Built from Plan(s)
Estimated Cost
$125 with lighting
Estimated Time Investment
Weekend Project (10-20 Hours)
Finish Used
Espresso Woodworks
Recommended Skill Level
Intermediate
Leaning desk
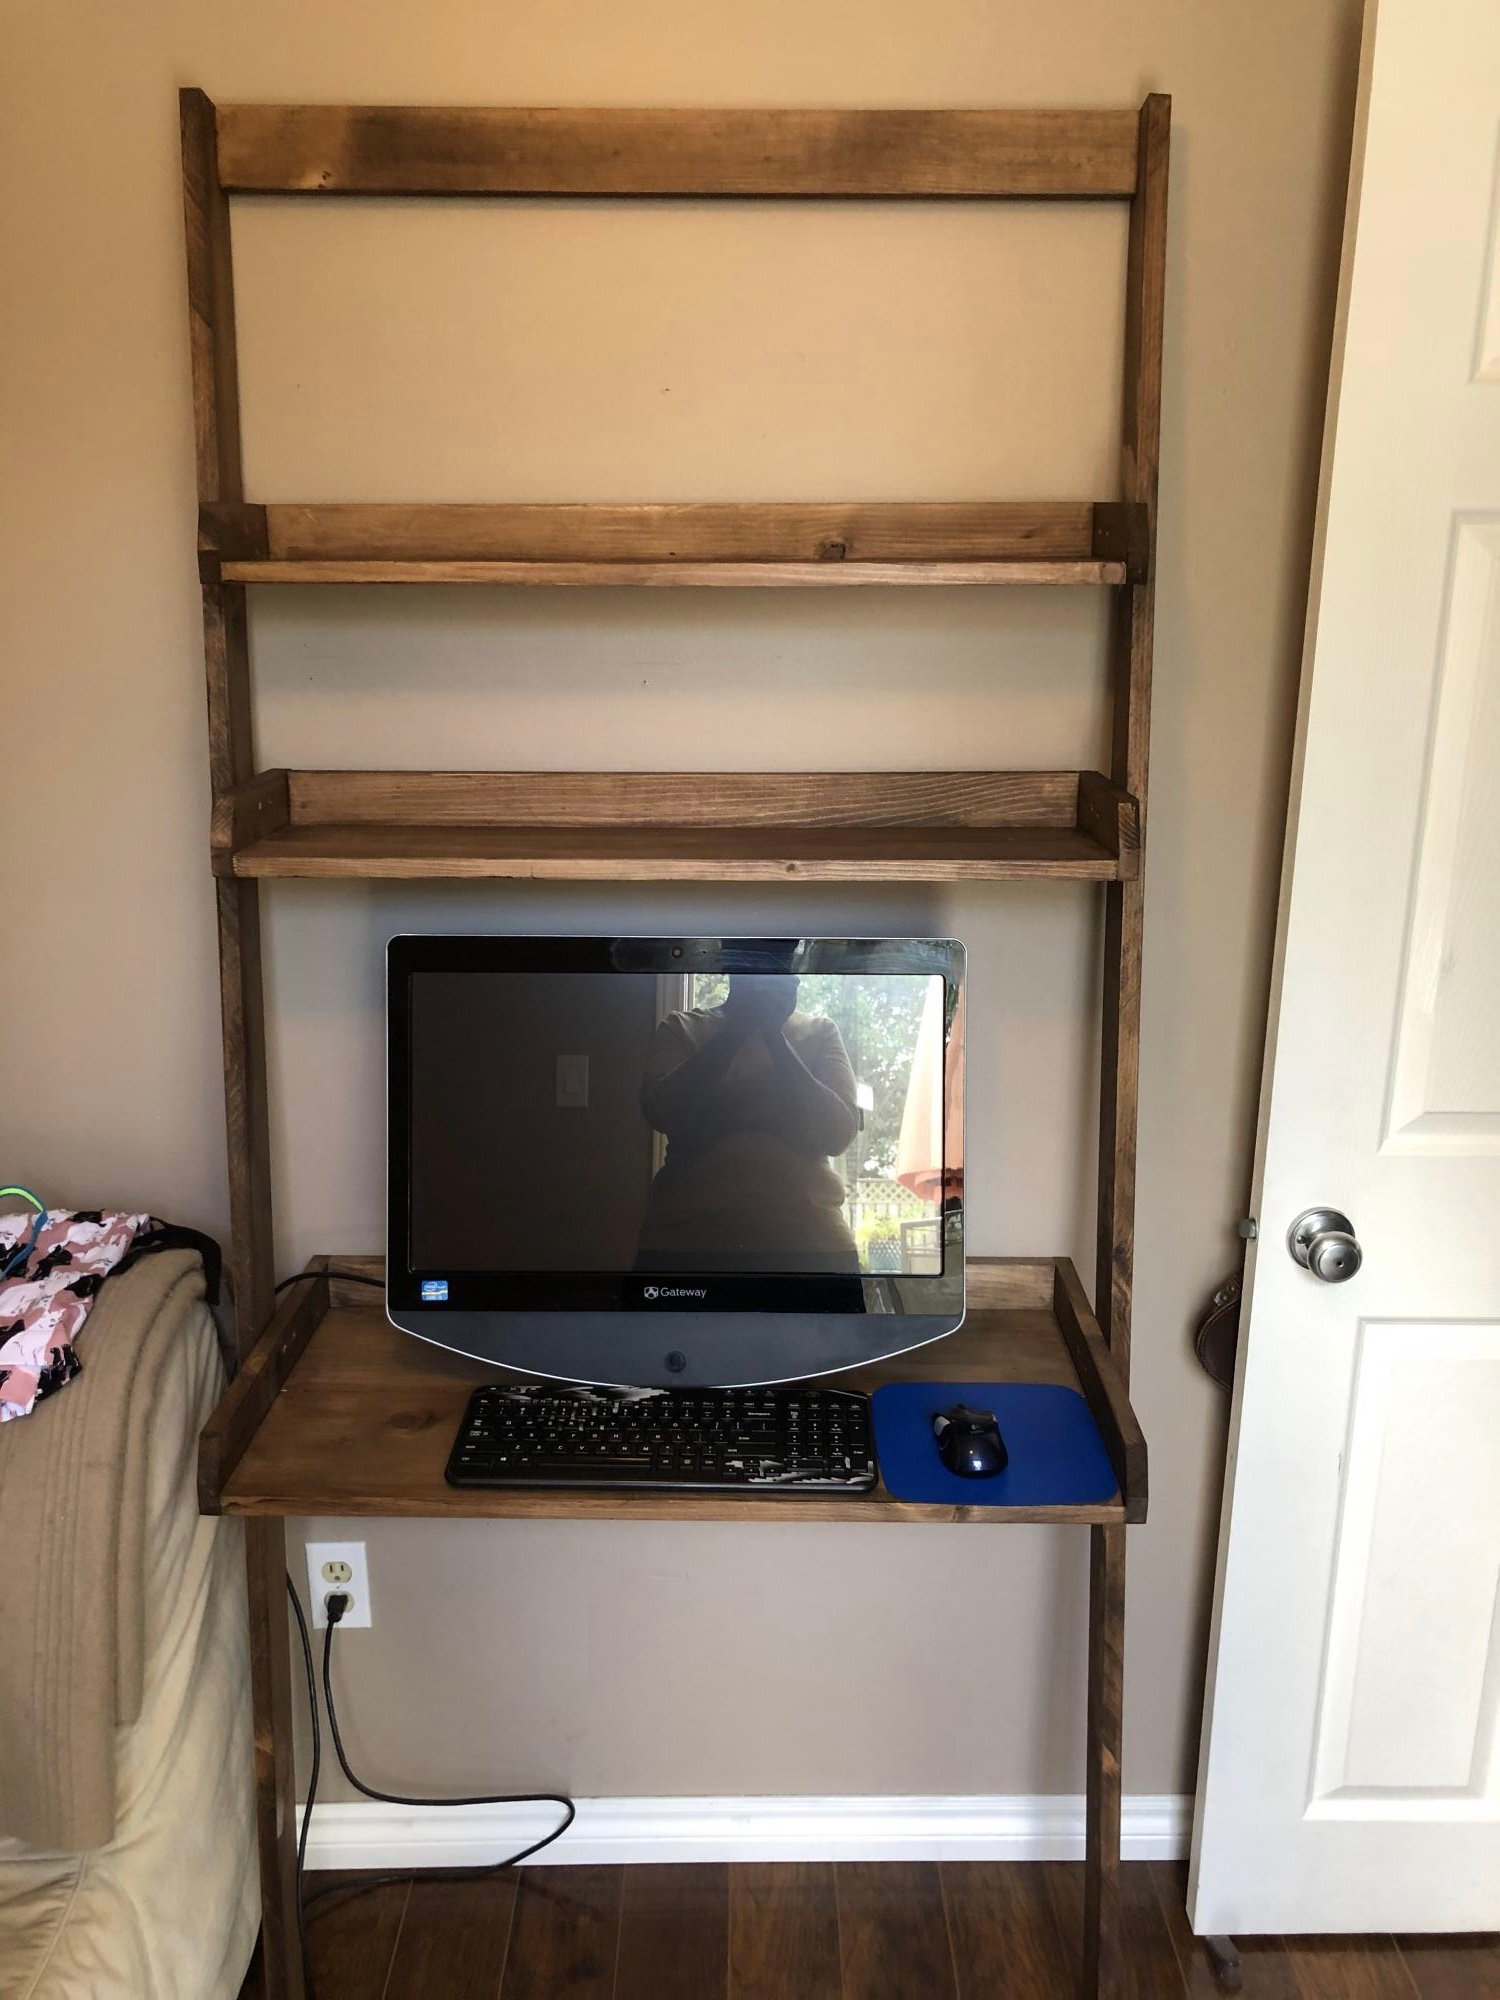
Love this desk and the plans are so easy to follow. Perfect for a small space.
Built from Plan(s)
Estimated Cost
$50
Estimated Time Investment
Weekend Project (10-20 Hours)
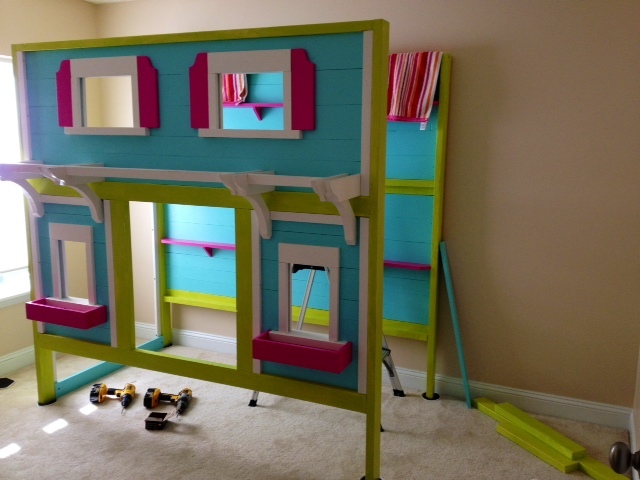
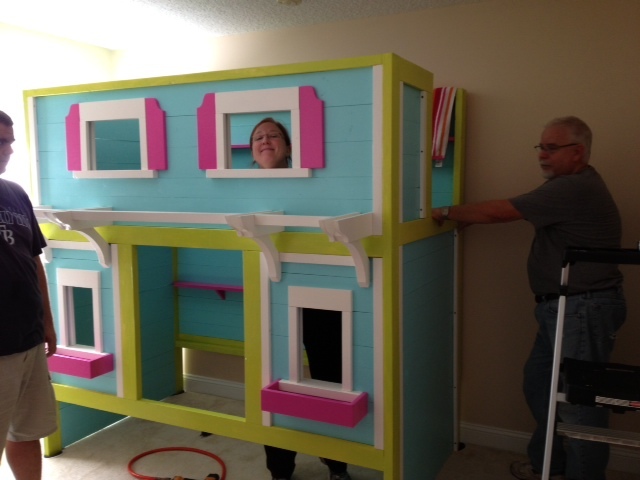
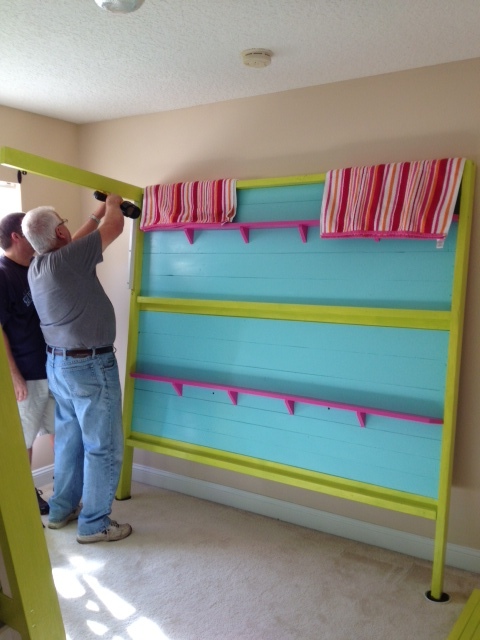
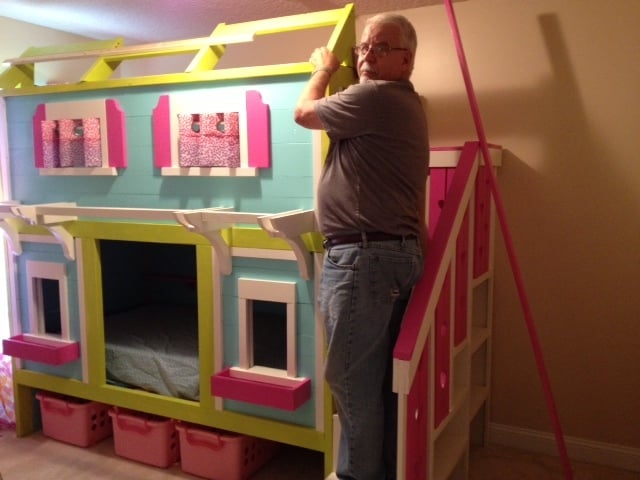
Our Sweet Pea Bunk Beds
I went to my dad and said I wanted to build bunk beds for my girls. I showed him an easy set of plans and he said no problem, he is handy. Then I pulled the switch on him and told him I wanted to build the Sweet Pea Bunk Beds. Ha ha. Three weeks later, only weekend work, we have the final product. I have to say I think they look pretty awesome.
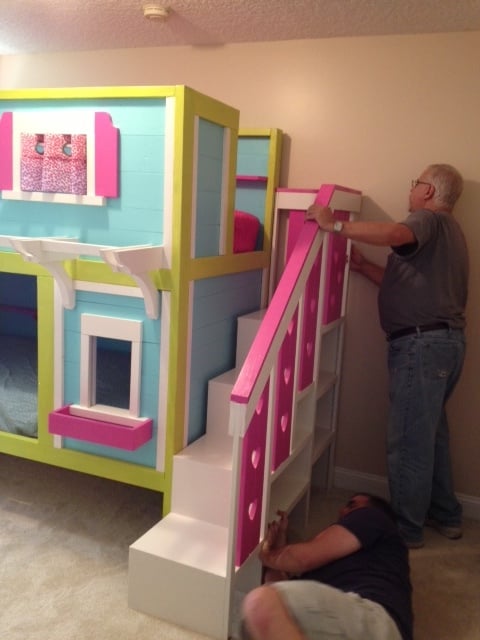
Built from Plan(s)
Estimated Cost
$400-$500
Estimated Time Investment
Week Long Project (20 Hours or More)
Finish Used
Olympic One Paint and Primer Semi-gloss
Recommended Skill Level
Intermediate
Comments

Sat, 12/08/2012 - 22:16
This is so awesome!!
Your Dad did a great job, these beds turned out beautiful. It took me all summer to build them! 3 weeks-unbelievable! Nice work, I hope your children love it!!
Sun, 01/06/2013 - 14:14
Sweet Pea Bed
My husband came home with a pic of this bed..and I fell in love..We started ours on Thurs morning..by mon night it was being set up in the bedroom..It is an amazing bed..Yours looks great too..I like the totes under the bed. We havent done anything under yet I will be getting some totes like that..Thanks for the idea!
Vanity stool Katarina
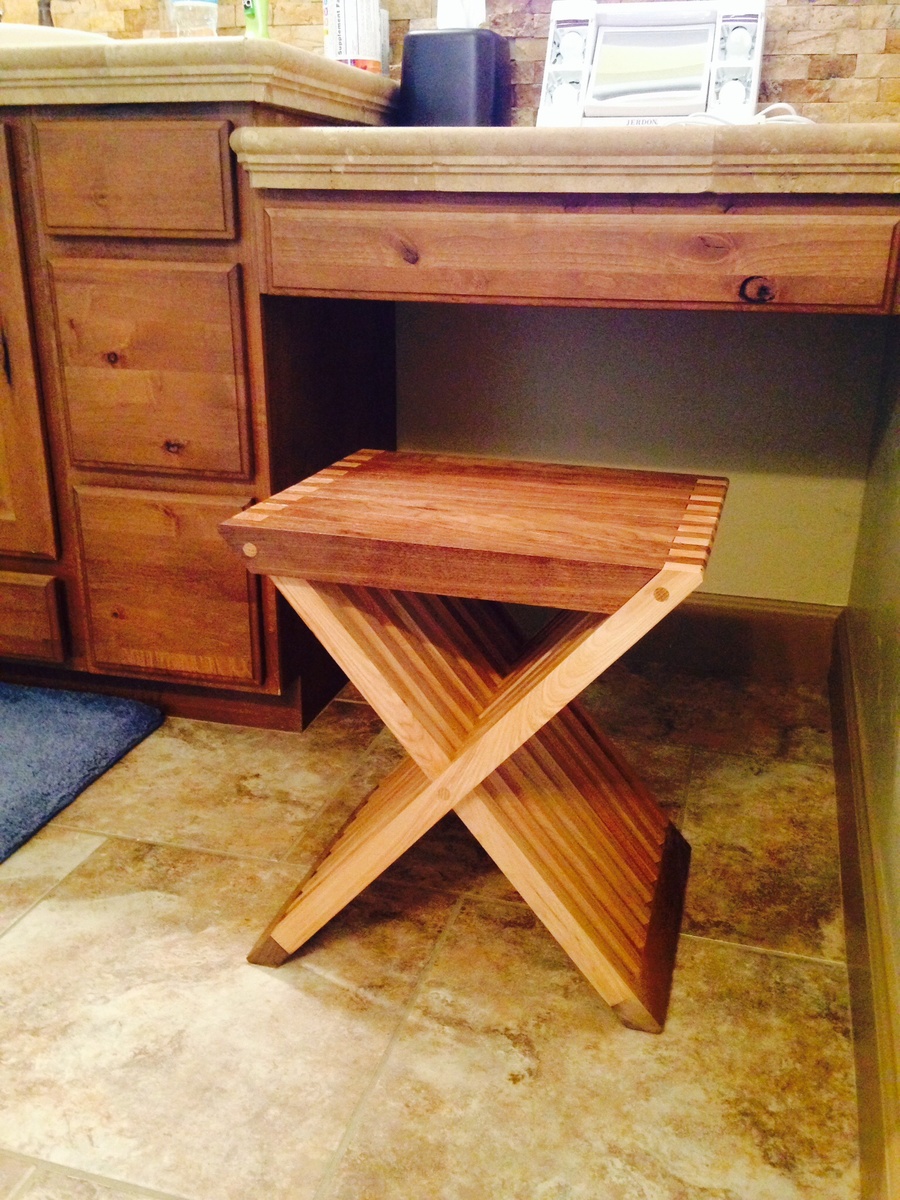
Had plans but no instructions, so involved learning my own techniques which was fun and it came together including size modification. Lots of cutting!!!
Estimated Cost
100 hardwood
Estimated Time Investment
Week Long Project (20 Hours or More)
Finish Used
Clear satin varathane, walnut and oak wood creates color
Recommended Skill Level
Intermediate
Comments
American Girl's Modern Sofa

I made this for an older girl (11) so decided to go for a trendy, modern design rather than a bright playful color. It was very quick, and I made it with scrap 3/4: plywood from another one of Ana's projects. I increased the width of the seat and back from 5 1/2" (a standard 1x6 width) to 6" for the back and 5 3/4" for the seat. This gave it a higher back and made the back side of the sofa completely flush (probably to account for using 3/4" plywood instead of a 1x6). I used Titebond glue, 1 1/4" brad nails, and clamps for assembly. I ironed veneer edging on all the raw plywood edges and sanded, then gave it a thick coat of paint. Instead of seat and back cushions, I included two square throw pillows lightly stuffed so they can be creased (as in the photo) like real throw pillows. Including sewing, the project took me an hour. PS: I photographed it next to an every-day object for rough size comparison. I had initially shown someone who thought I had made an actual couch. LOL, Maybe in my dreams!
Built from Plan(s)
Estimated Cost
$0-$10
Estimated Time Investment
An Hour or Two (0-2 Hours)
Finish Used
Acrylic paint, black.
Recommended Skill Level
Beginner