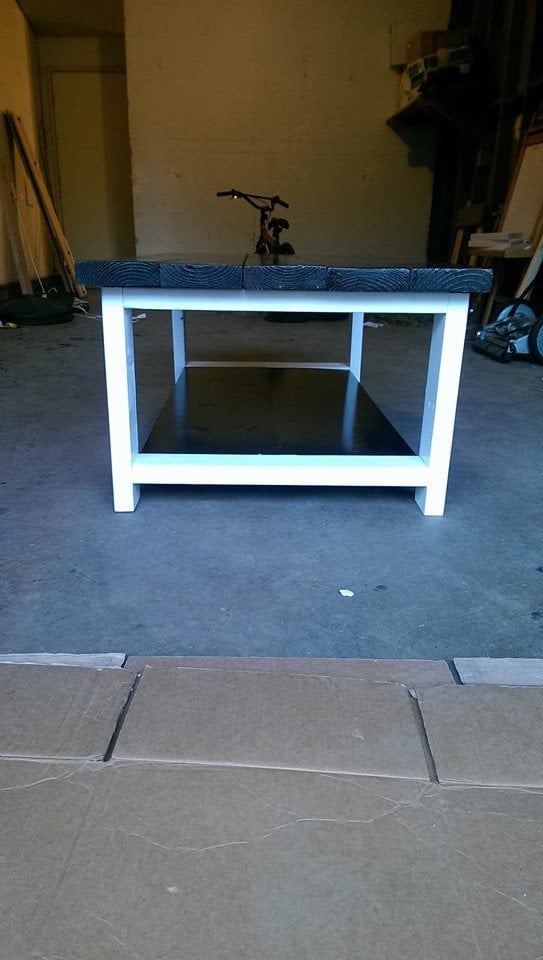
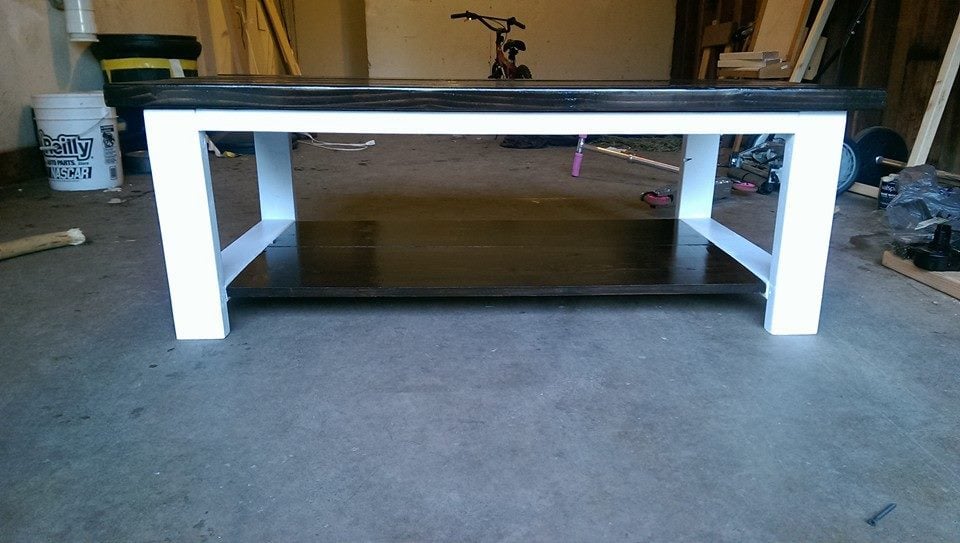
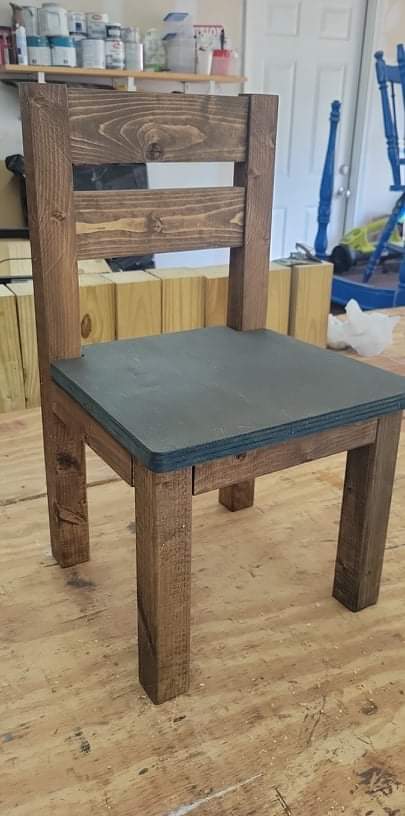
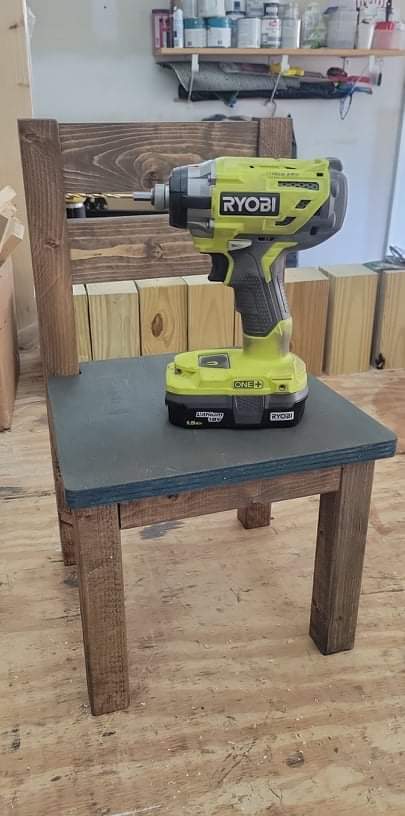
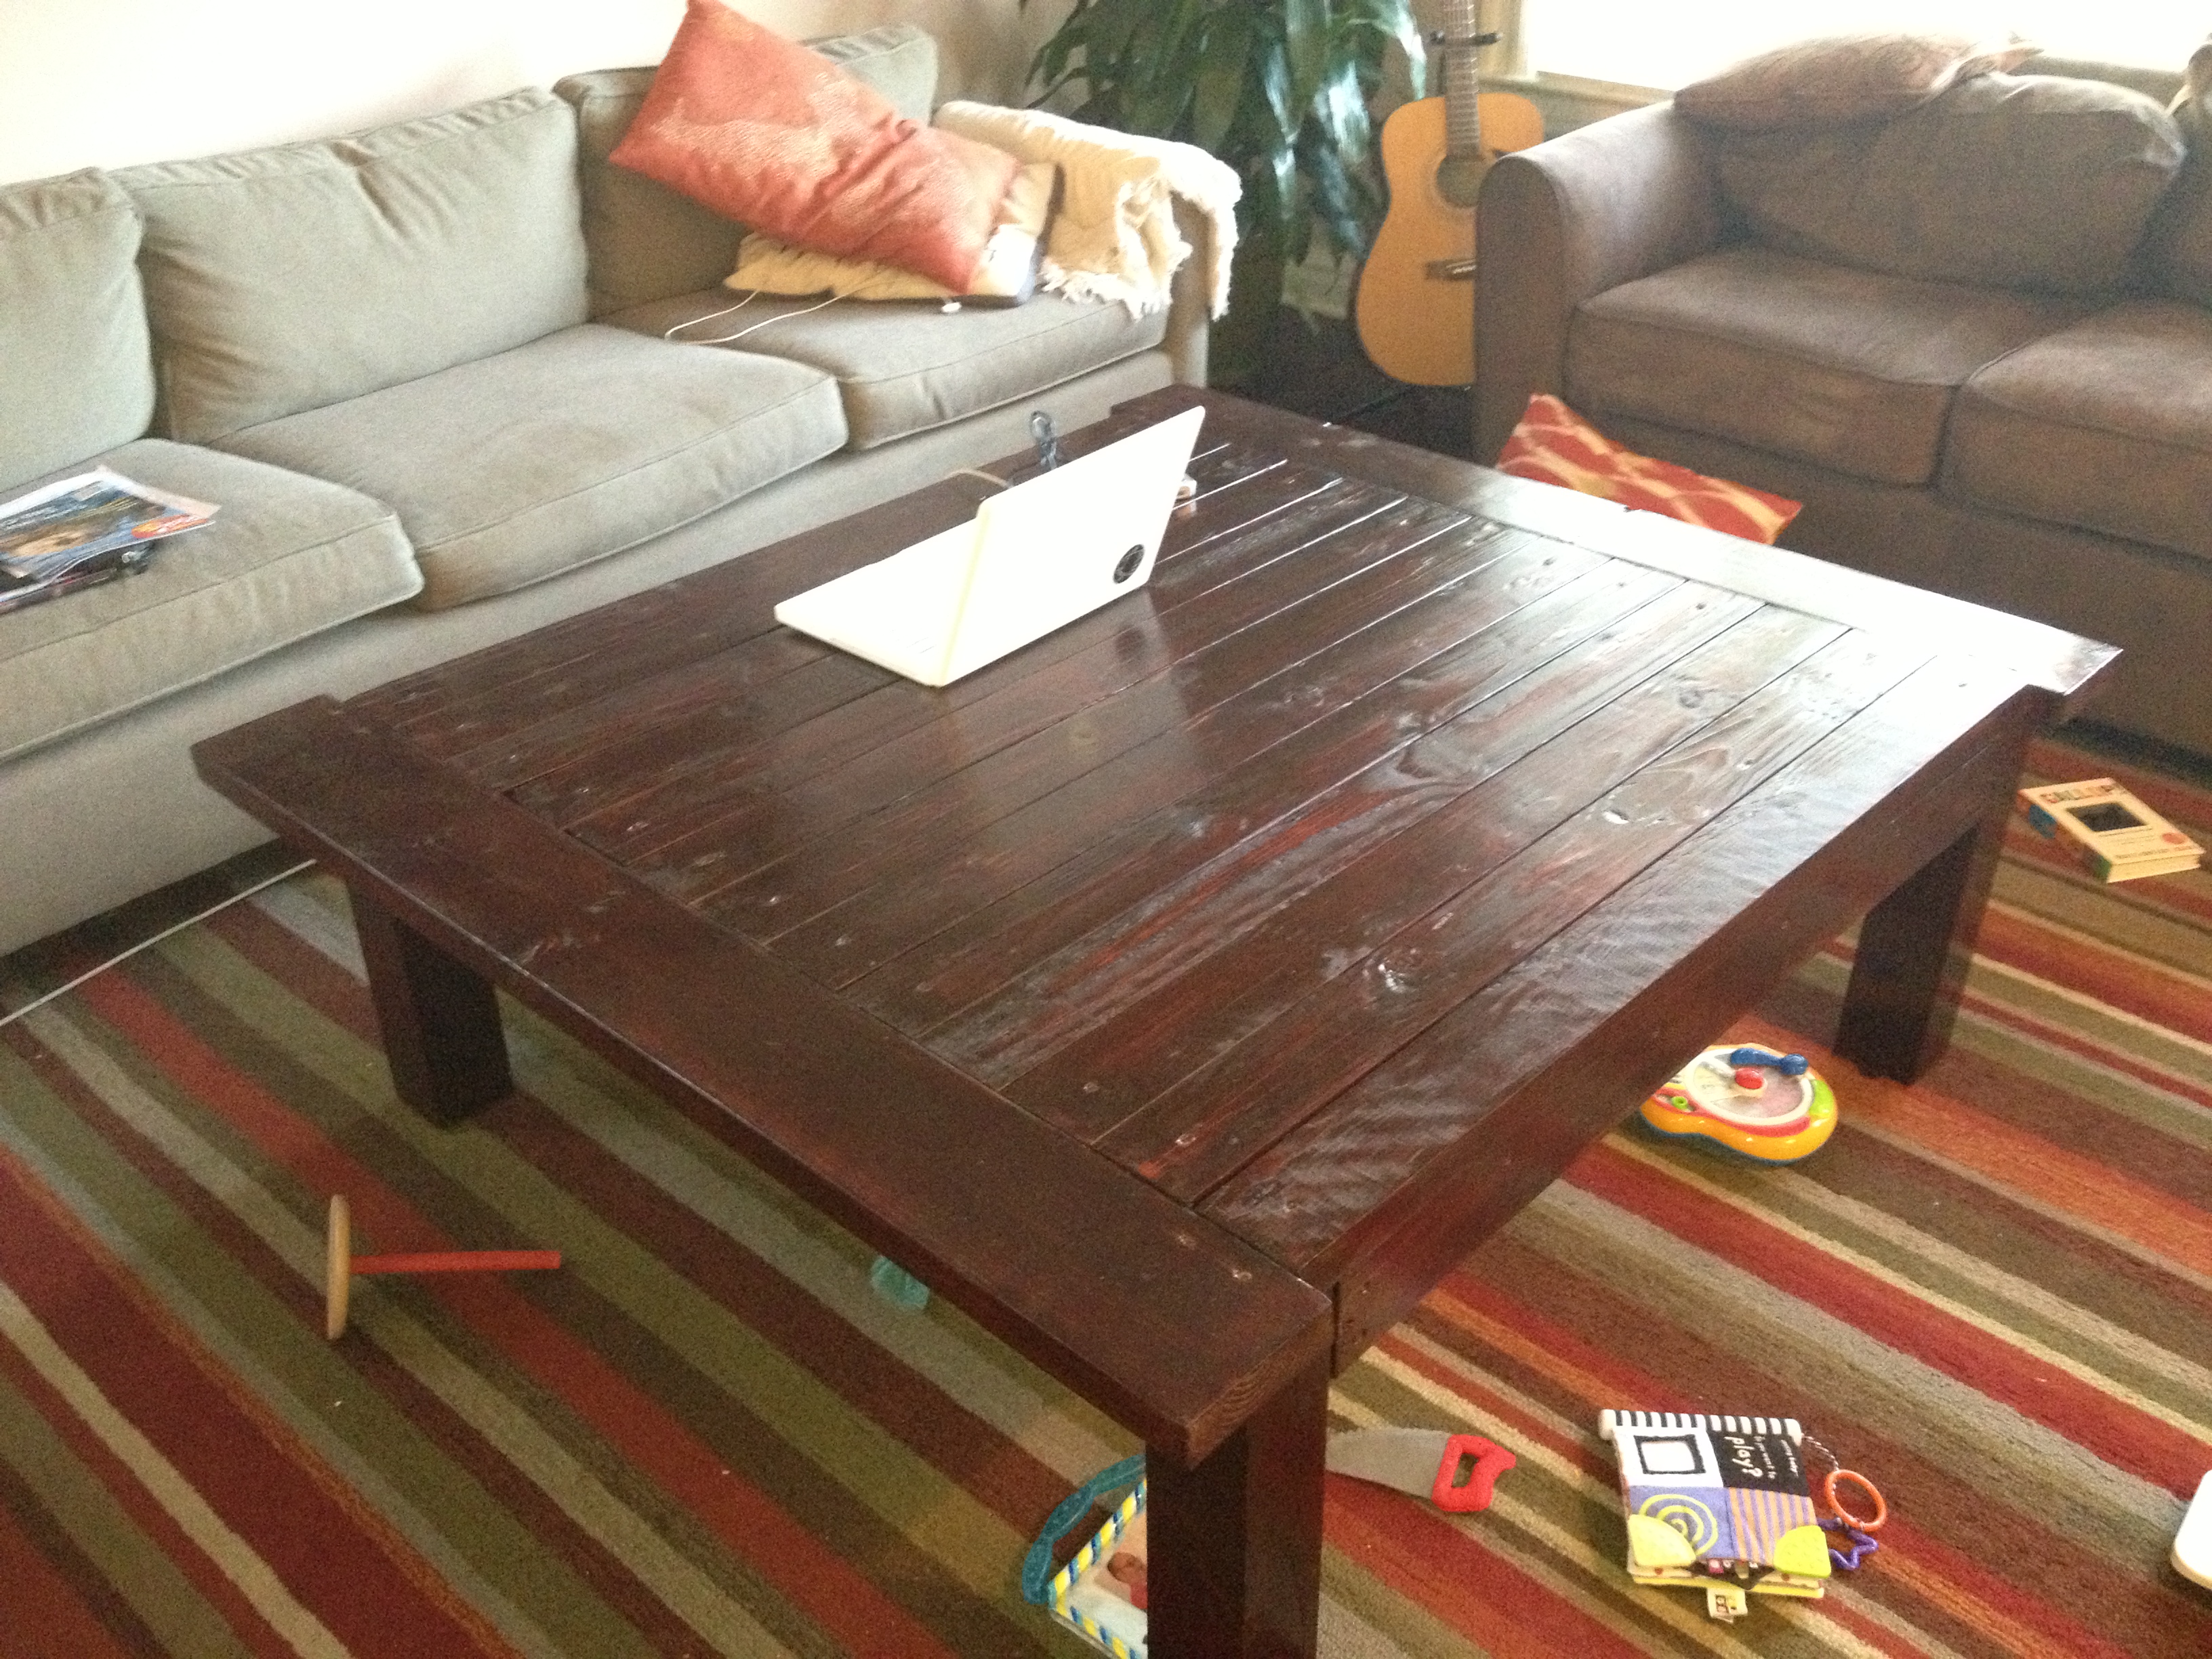
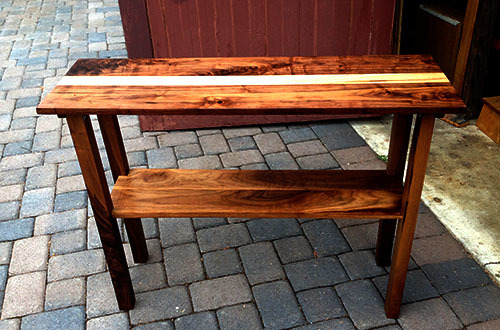
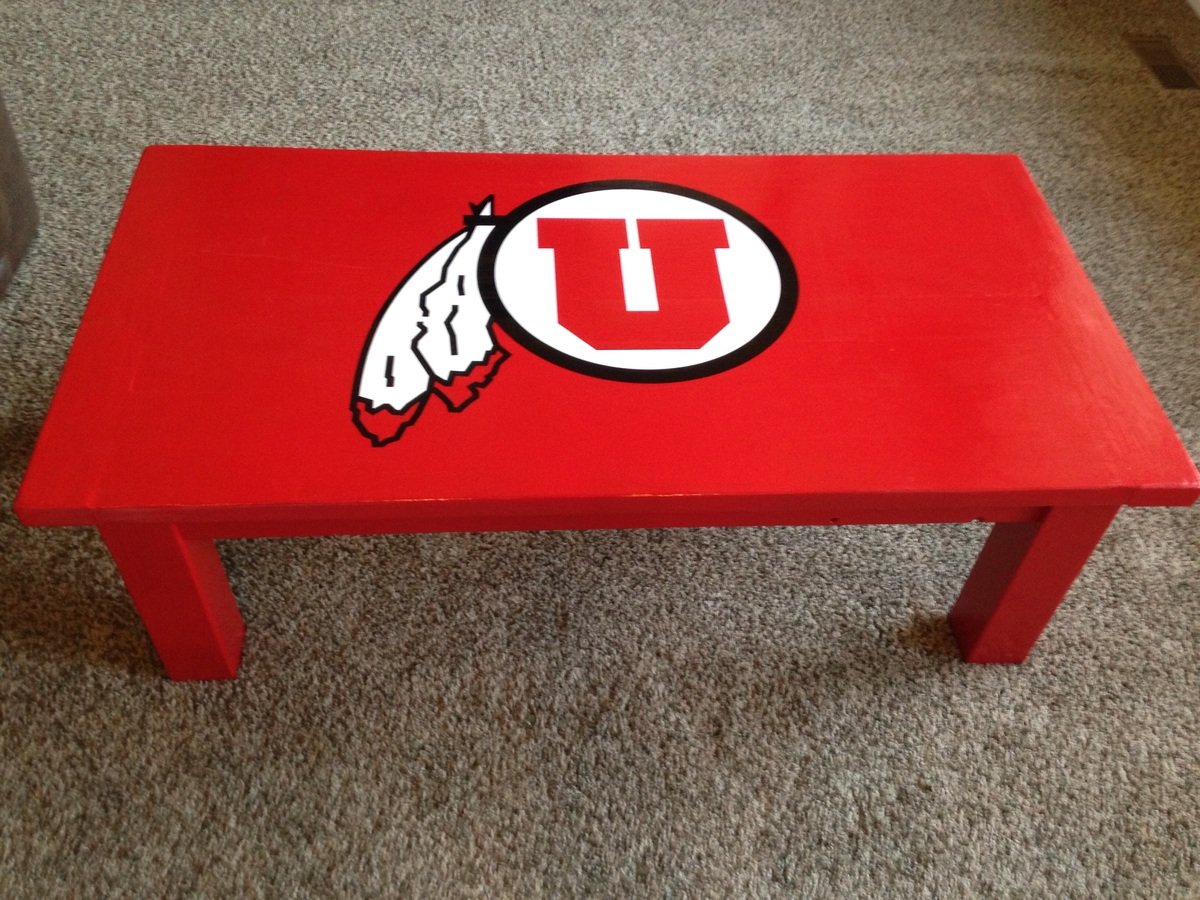
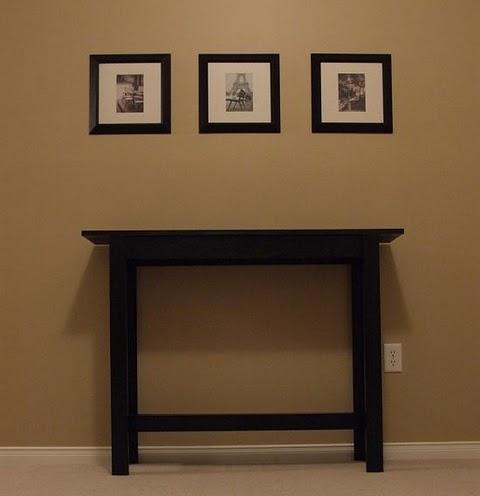
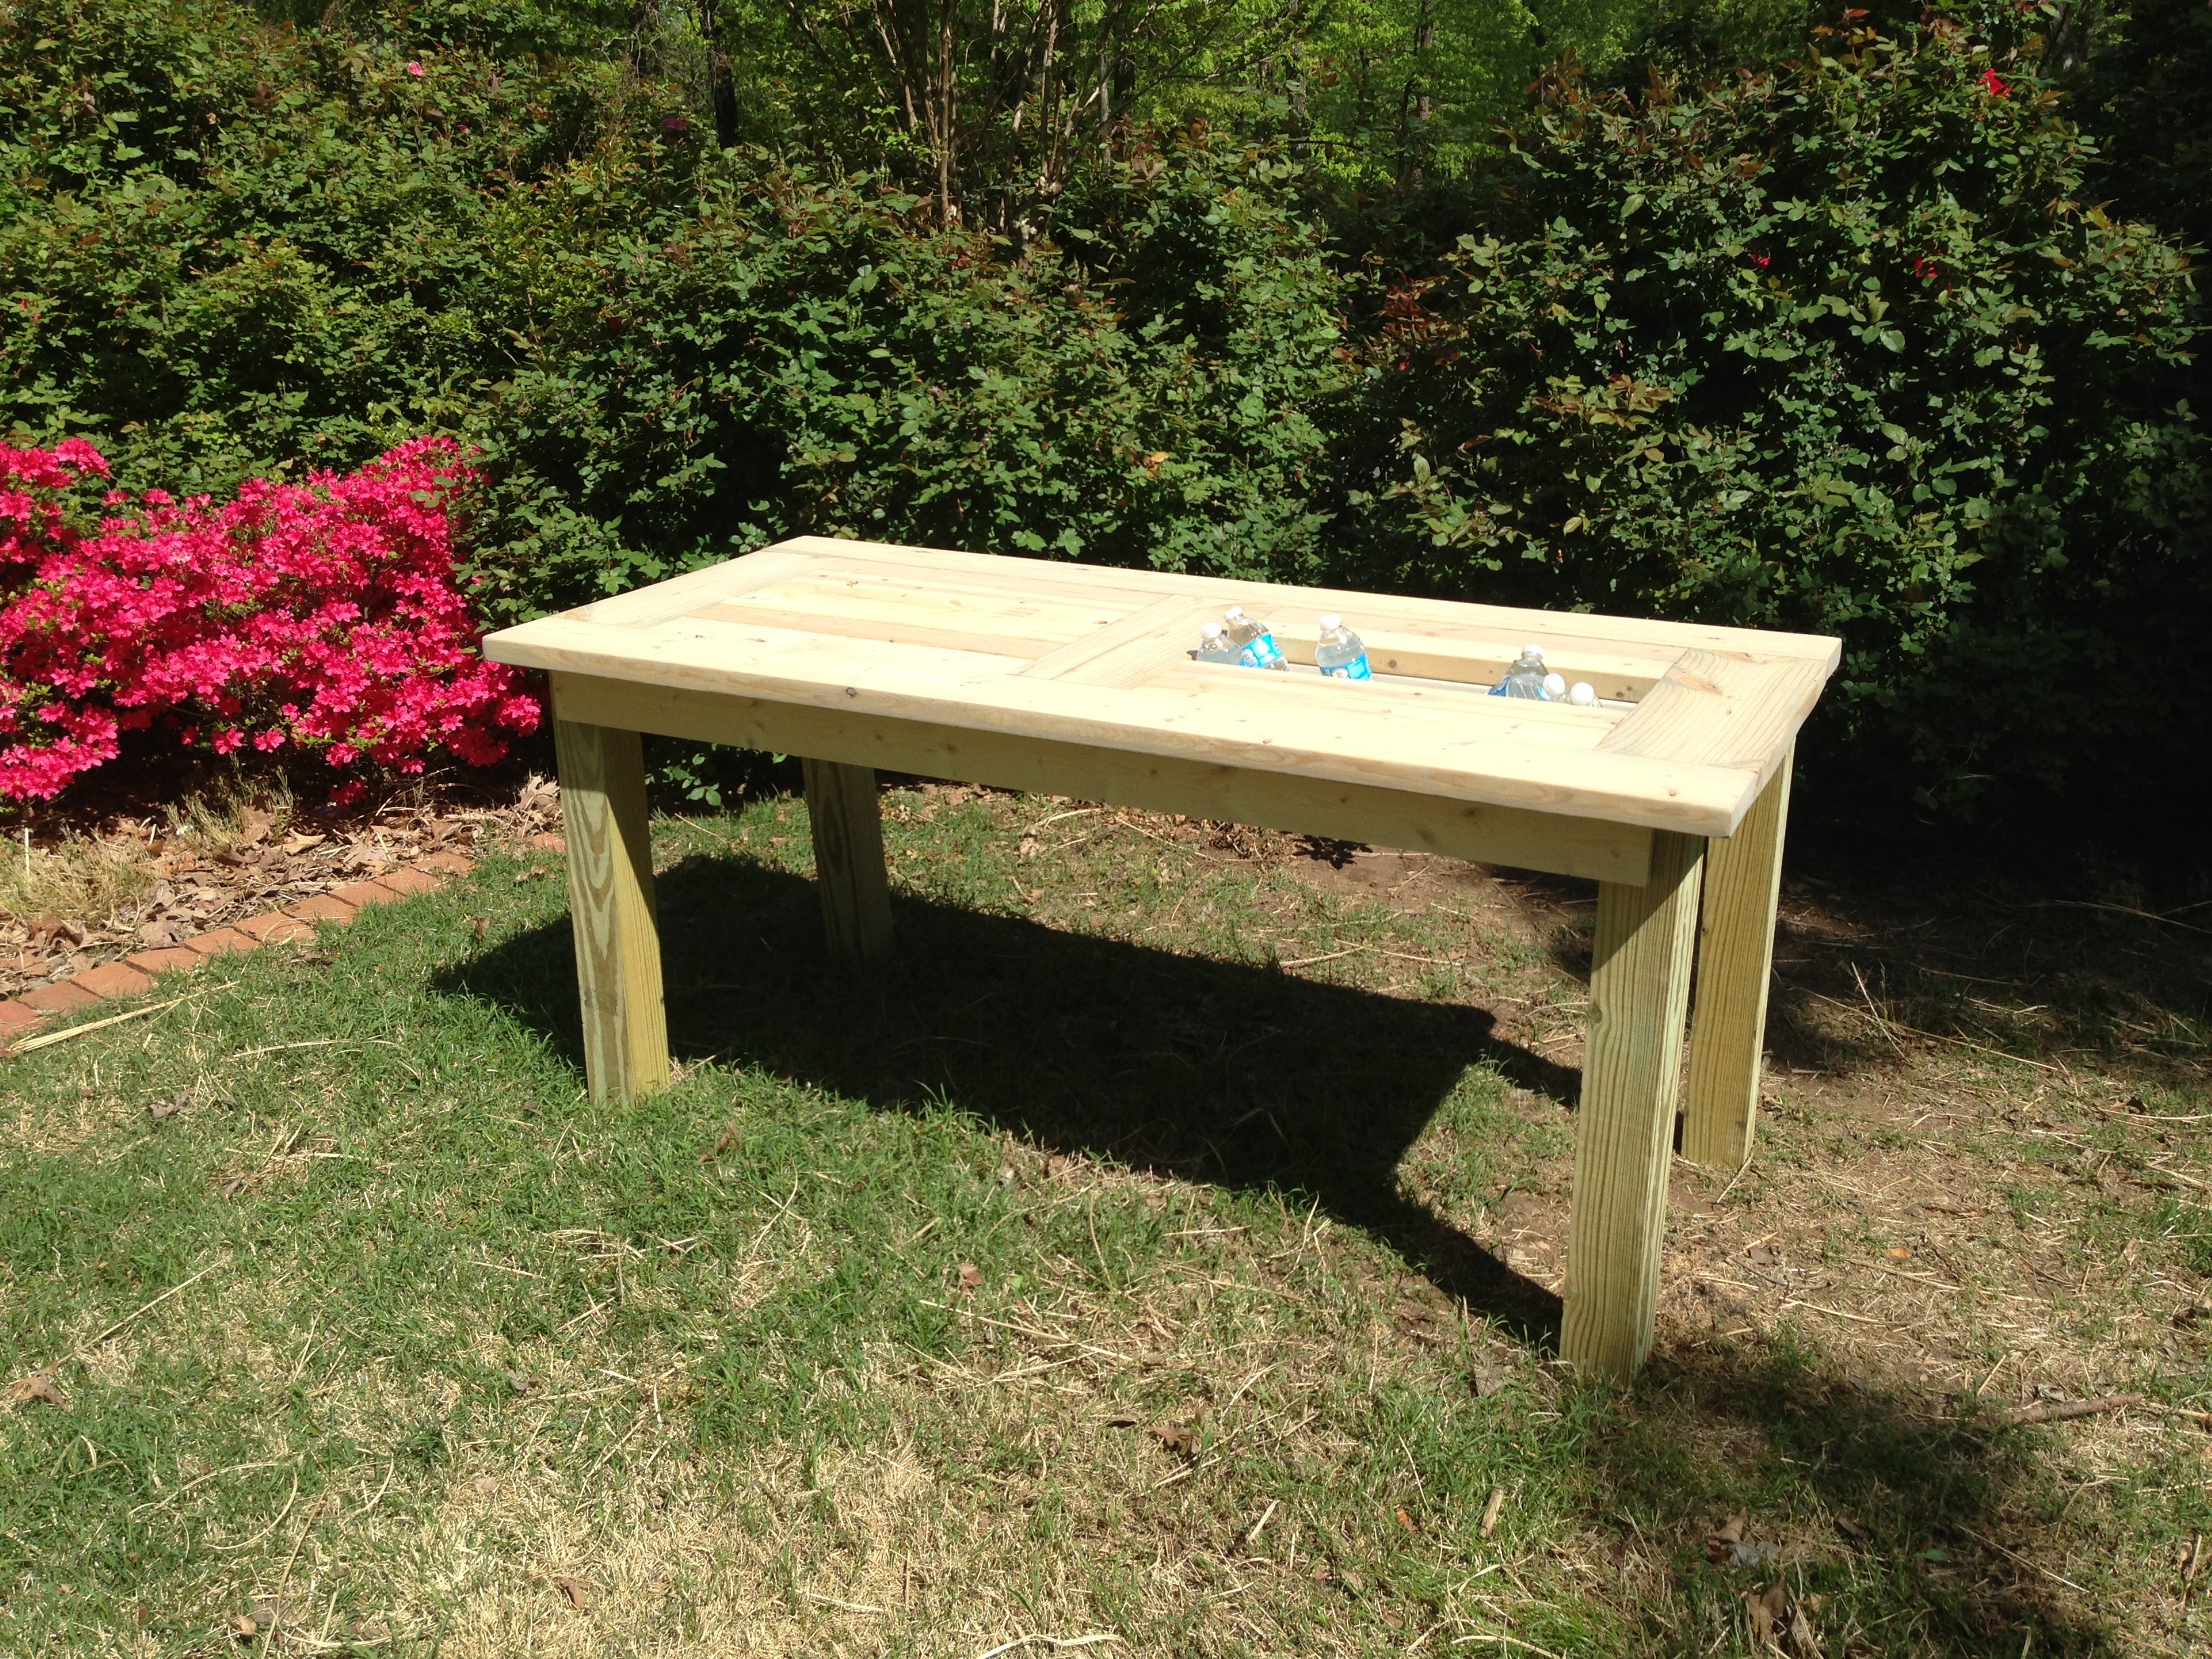
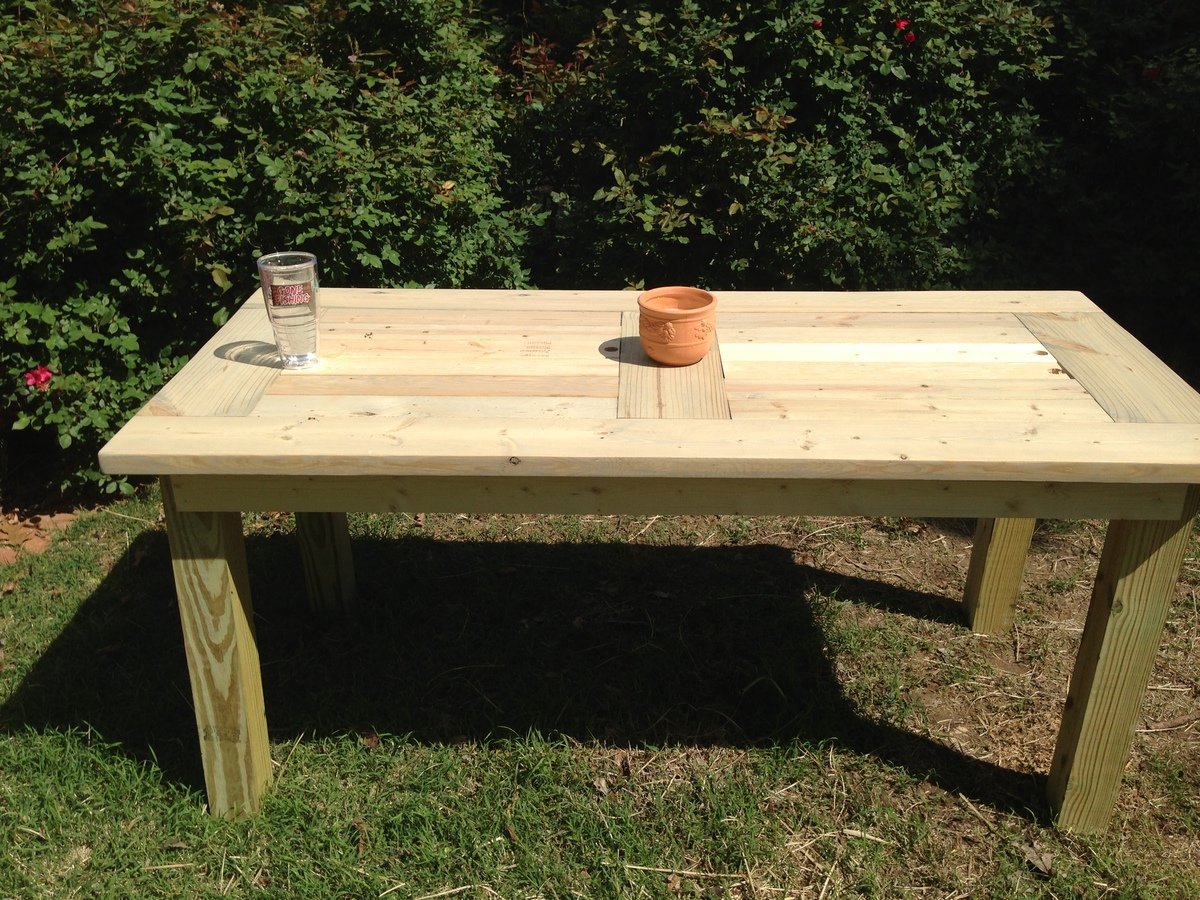
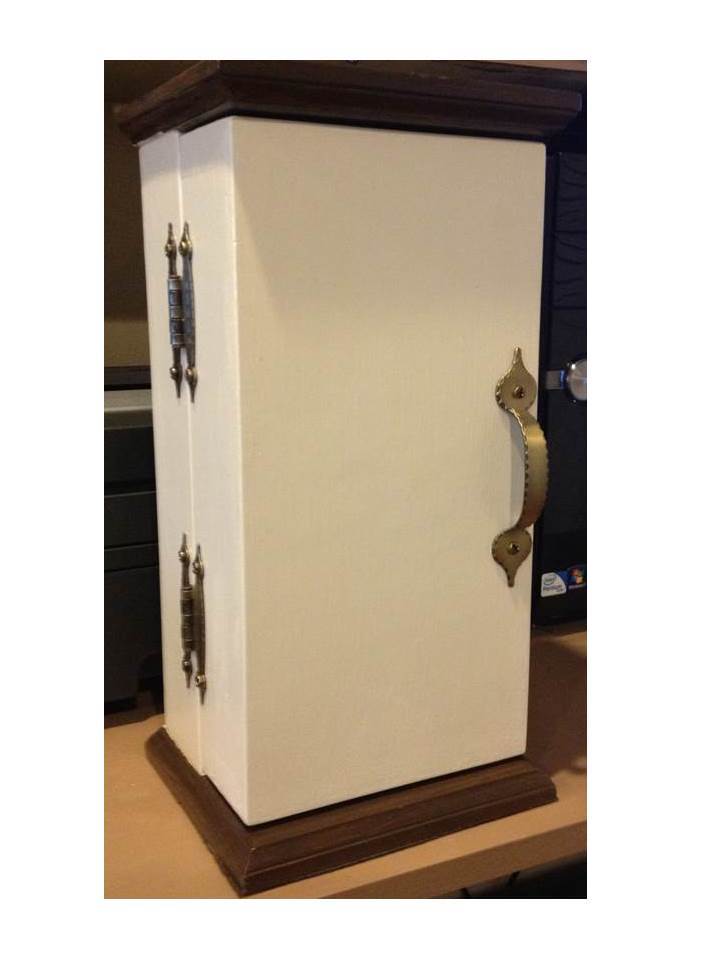
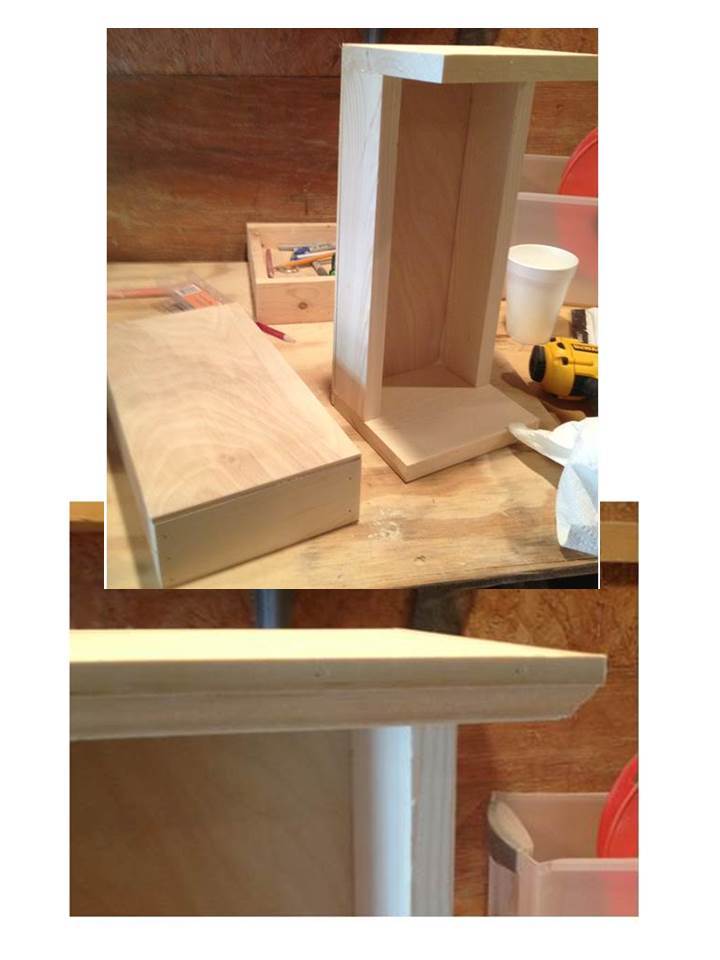
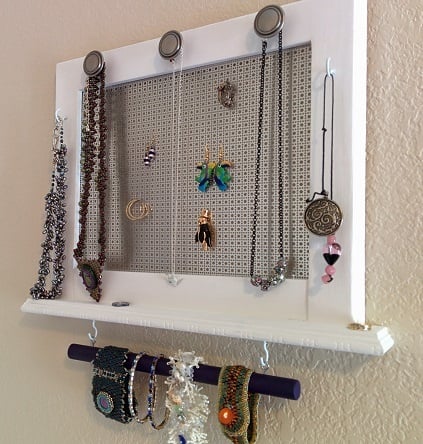
Coffee Table
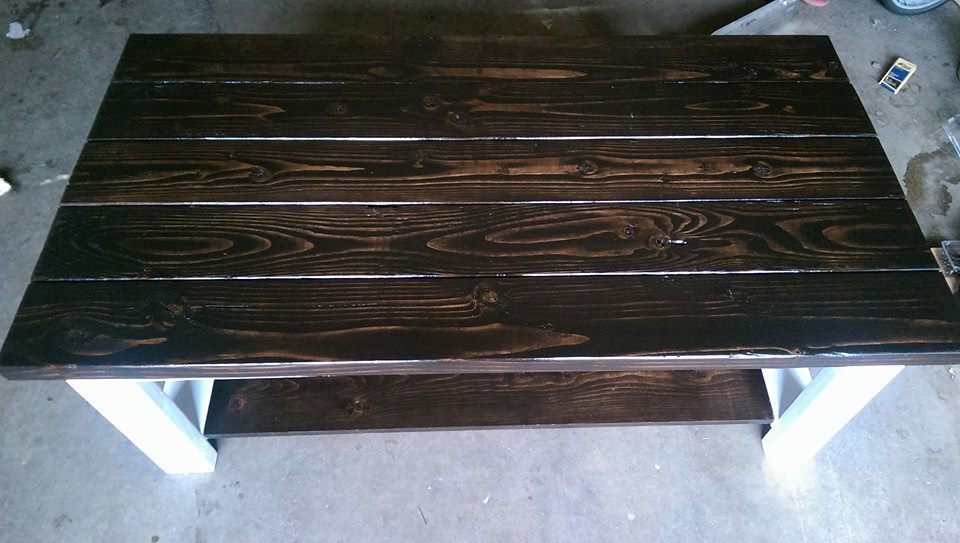
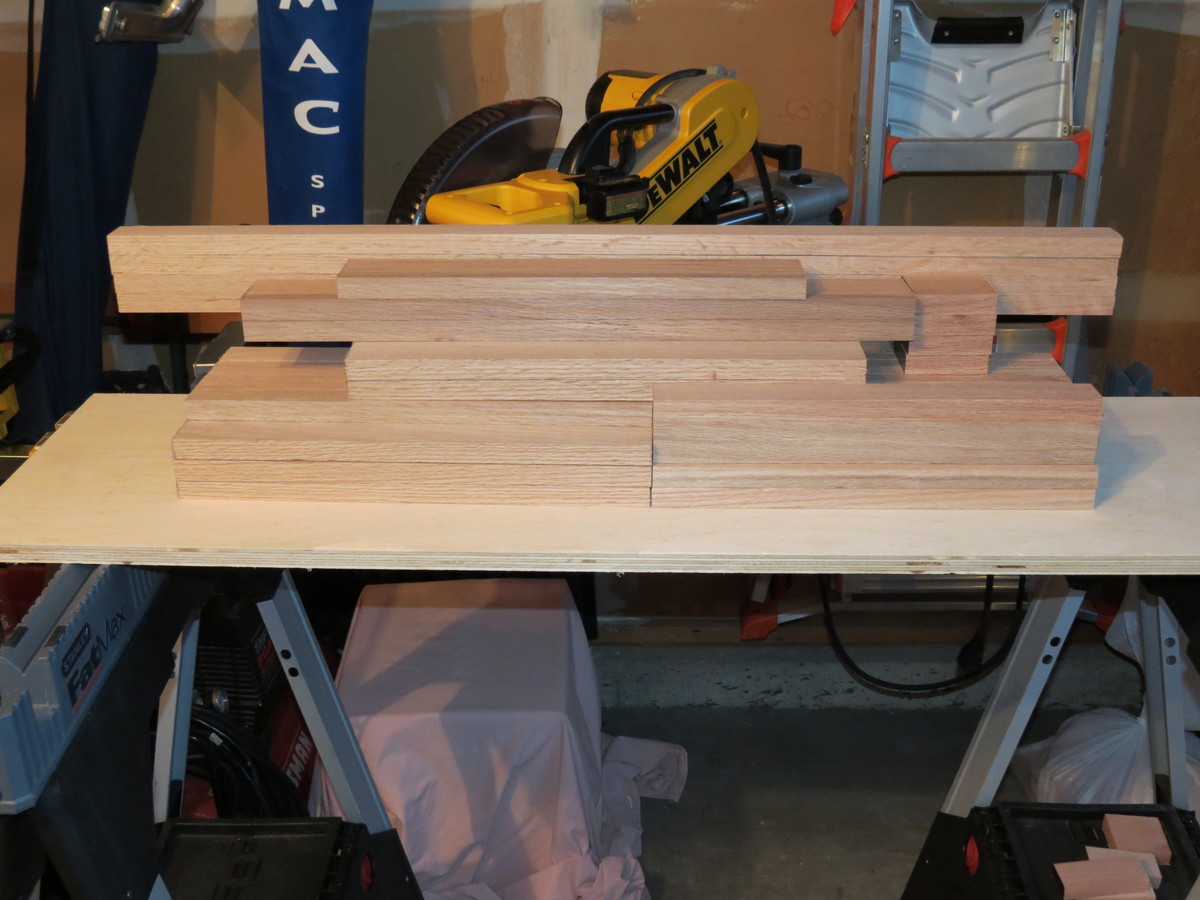
Second coffee table I made following these plans. Took me a while to complete only because I was on 12 hour shifts at work, but I tracked the time it took me to finish it and it was 5 hours.
Built from Plan(s)
Estimated Cost
$65-$75
Estimated Time Investment
Afternoon Project (3-6 Hours)
Finish Used
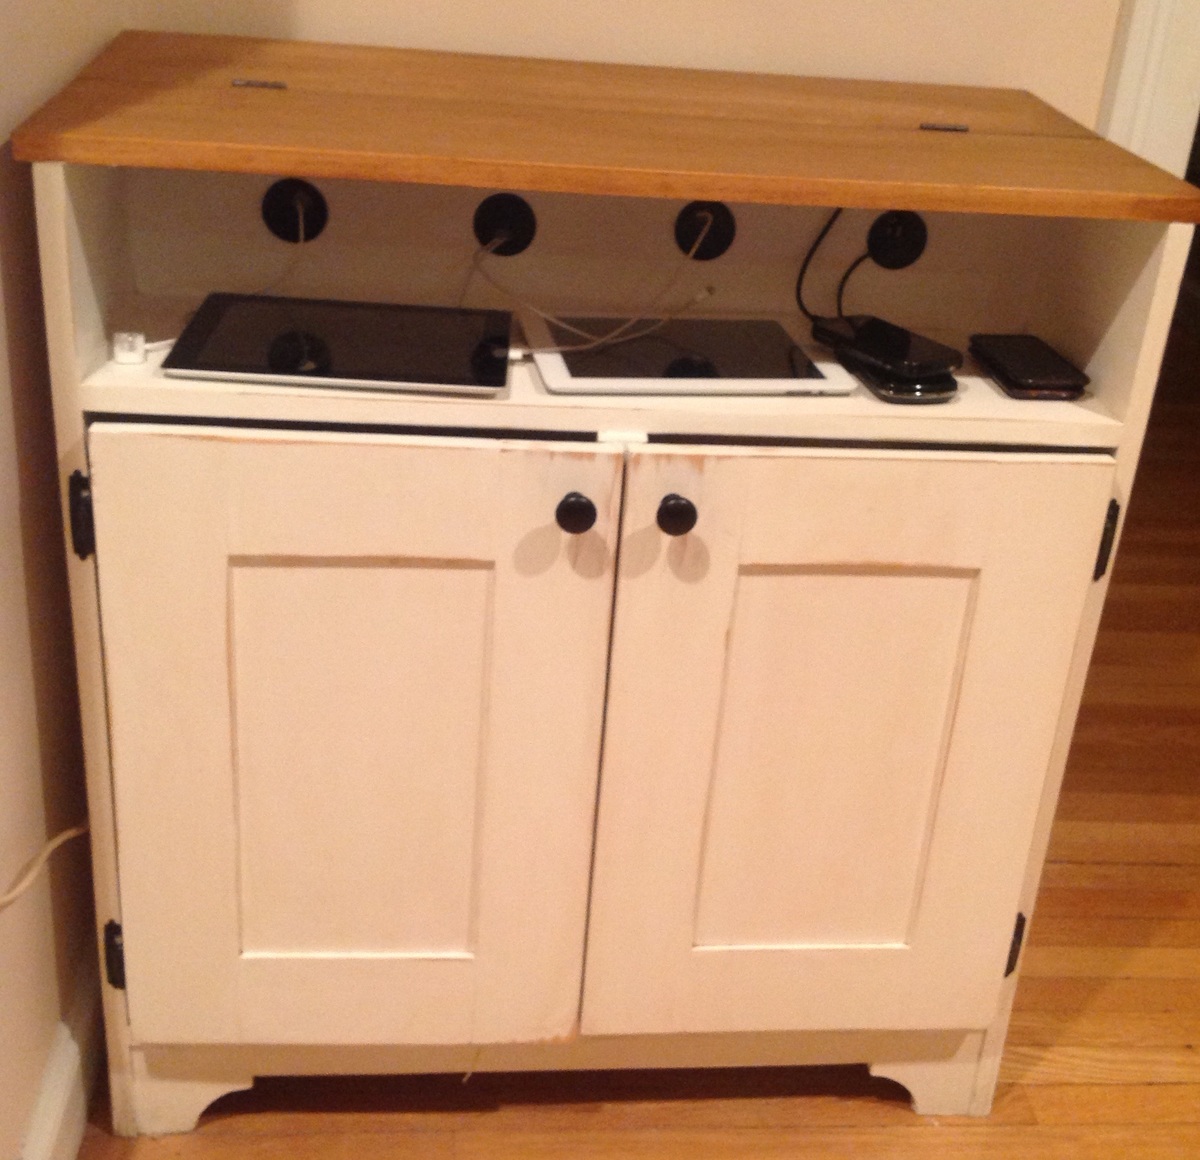
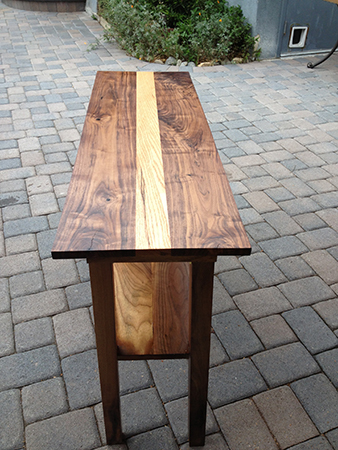
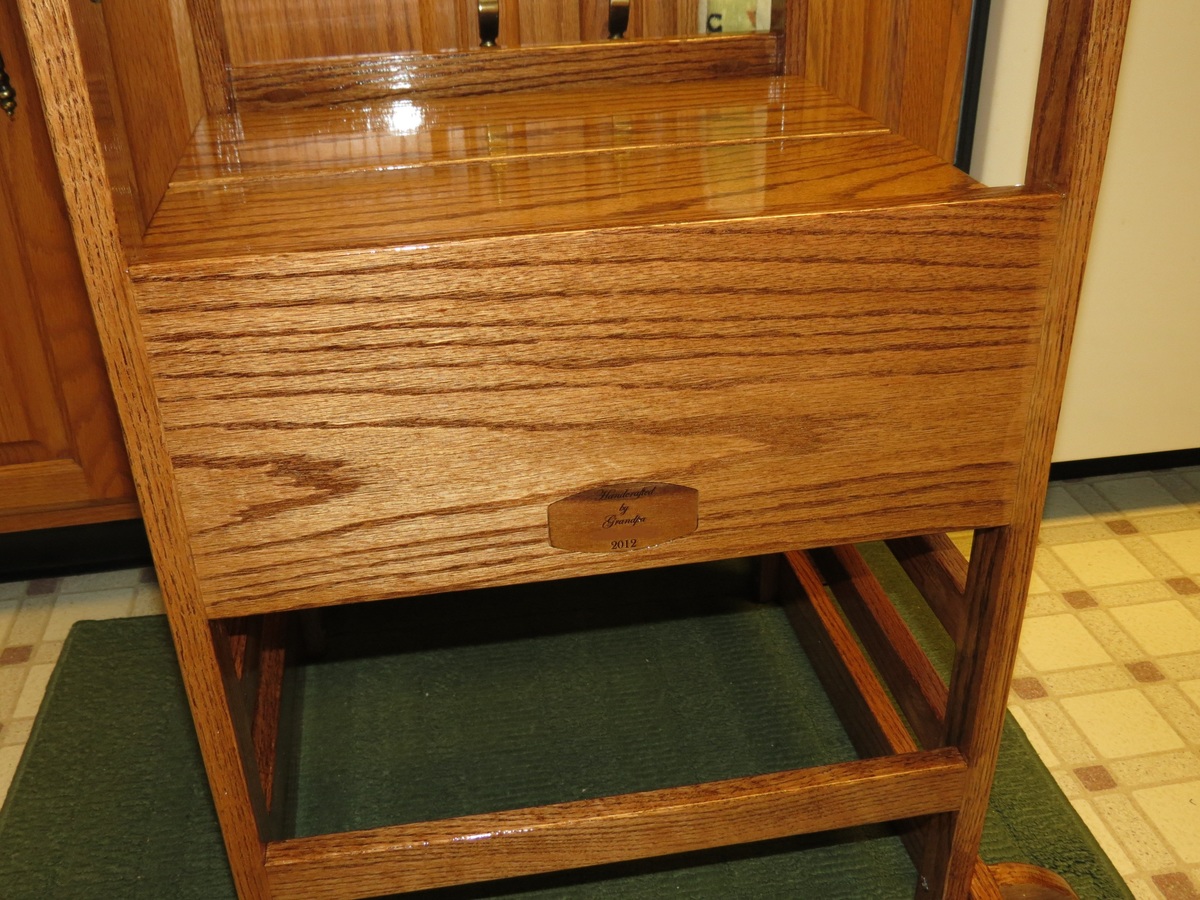
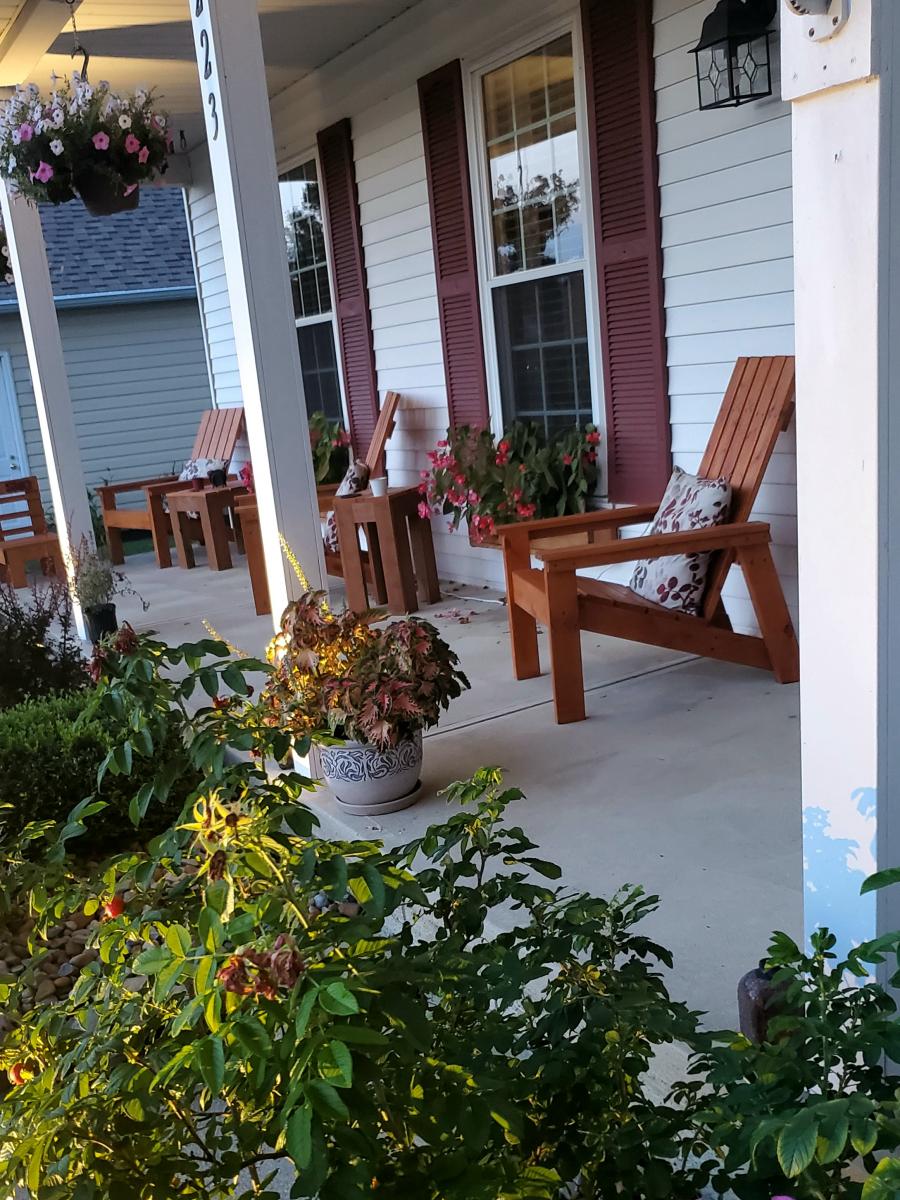
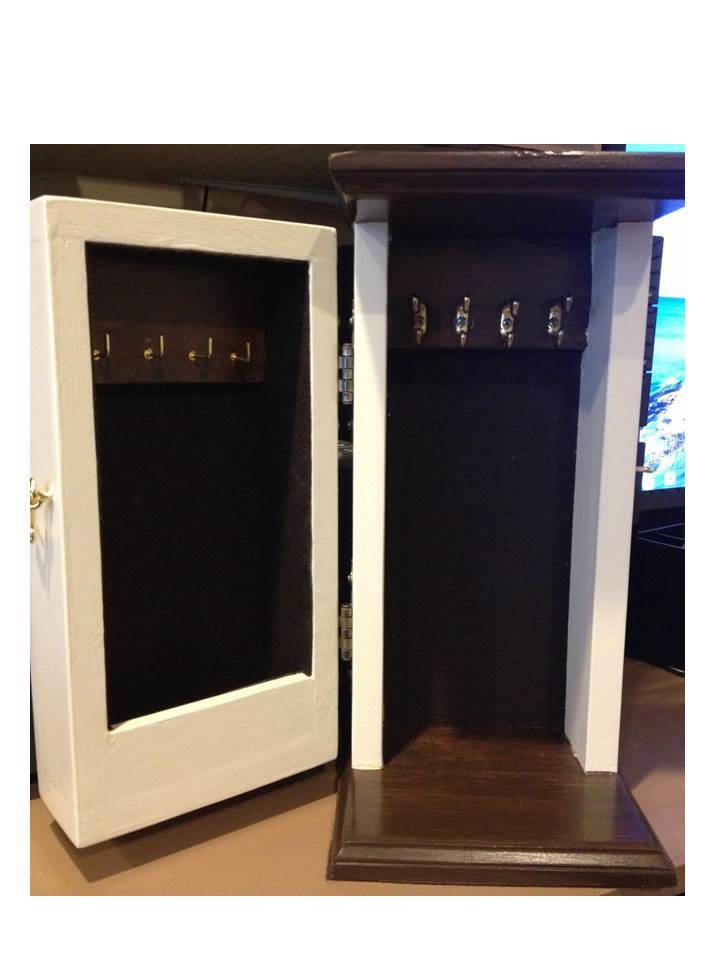
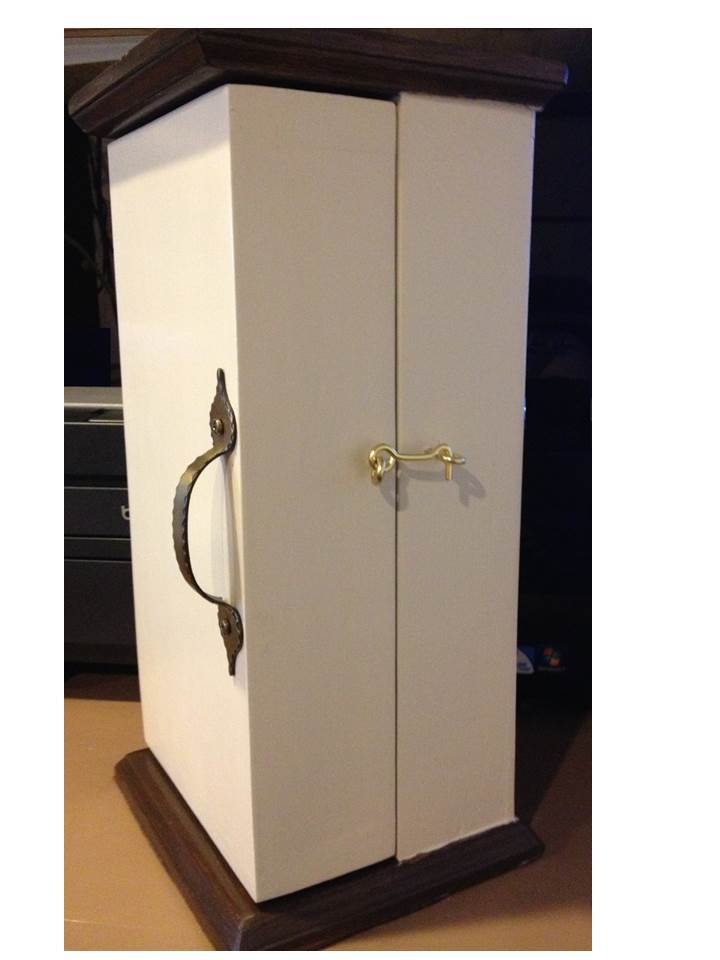
The base is painted with a white semigloss paint and the tabletop and bottom shelf is stained kona with polyurethane. I did multiple coats of each product.
Recommended Skill Level
Beginner


Comments
Ana White
Thu, 03/26/2015 - 14:58
Nice work! This is beautiful
Nice work! This is beautiful!