Community Brag Posts

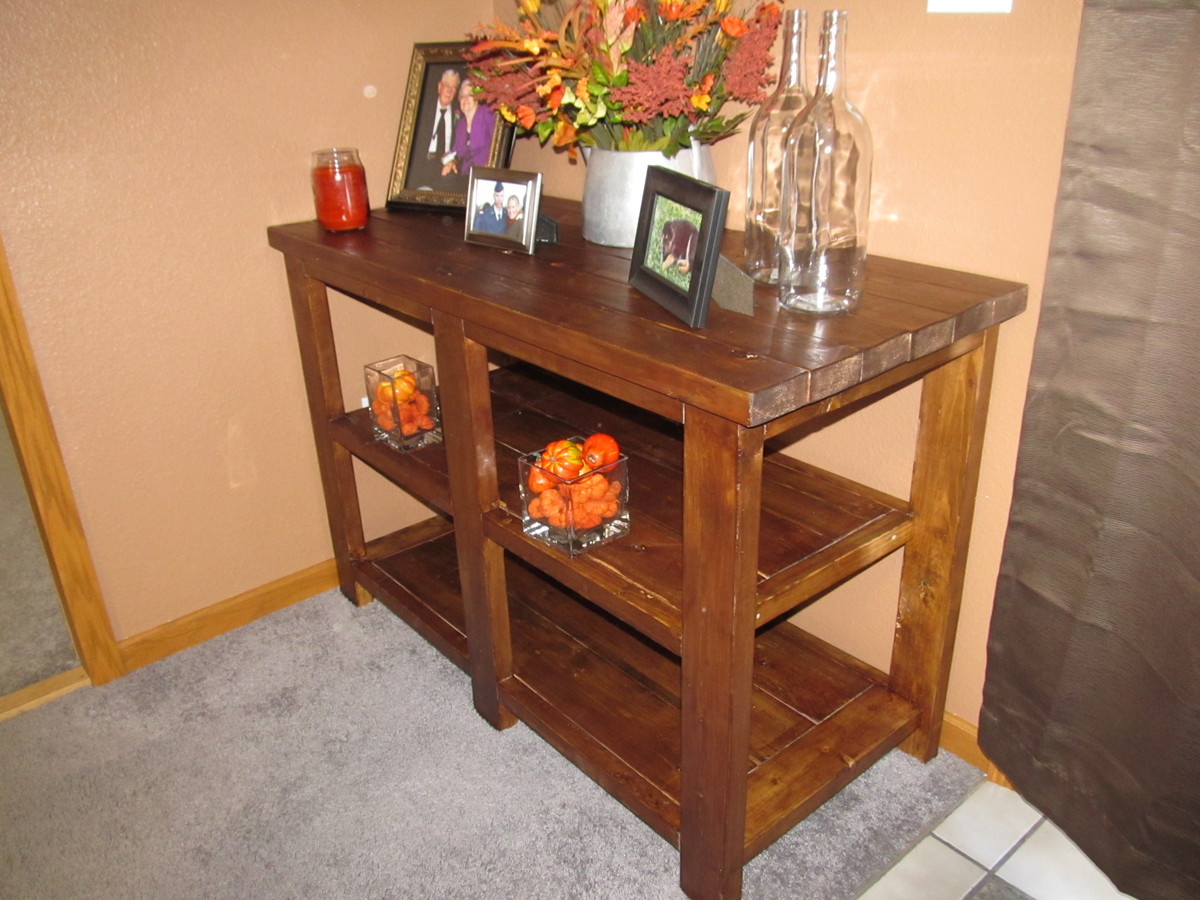
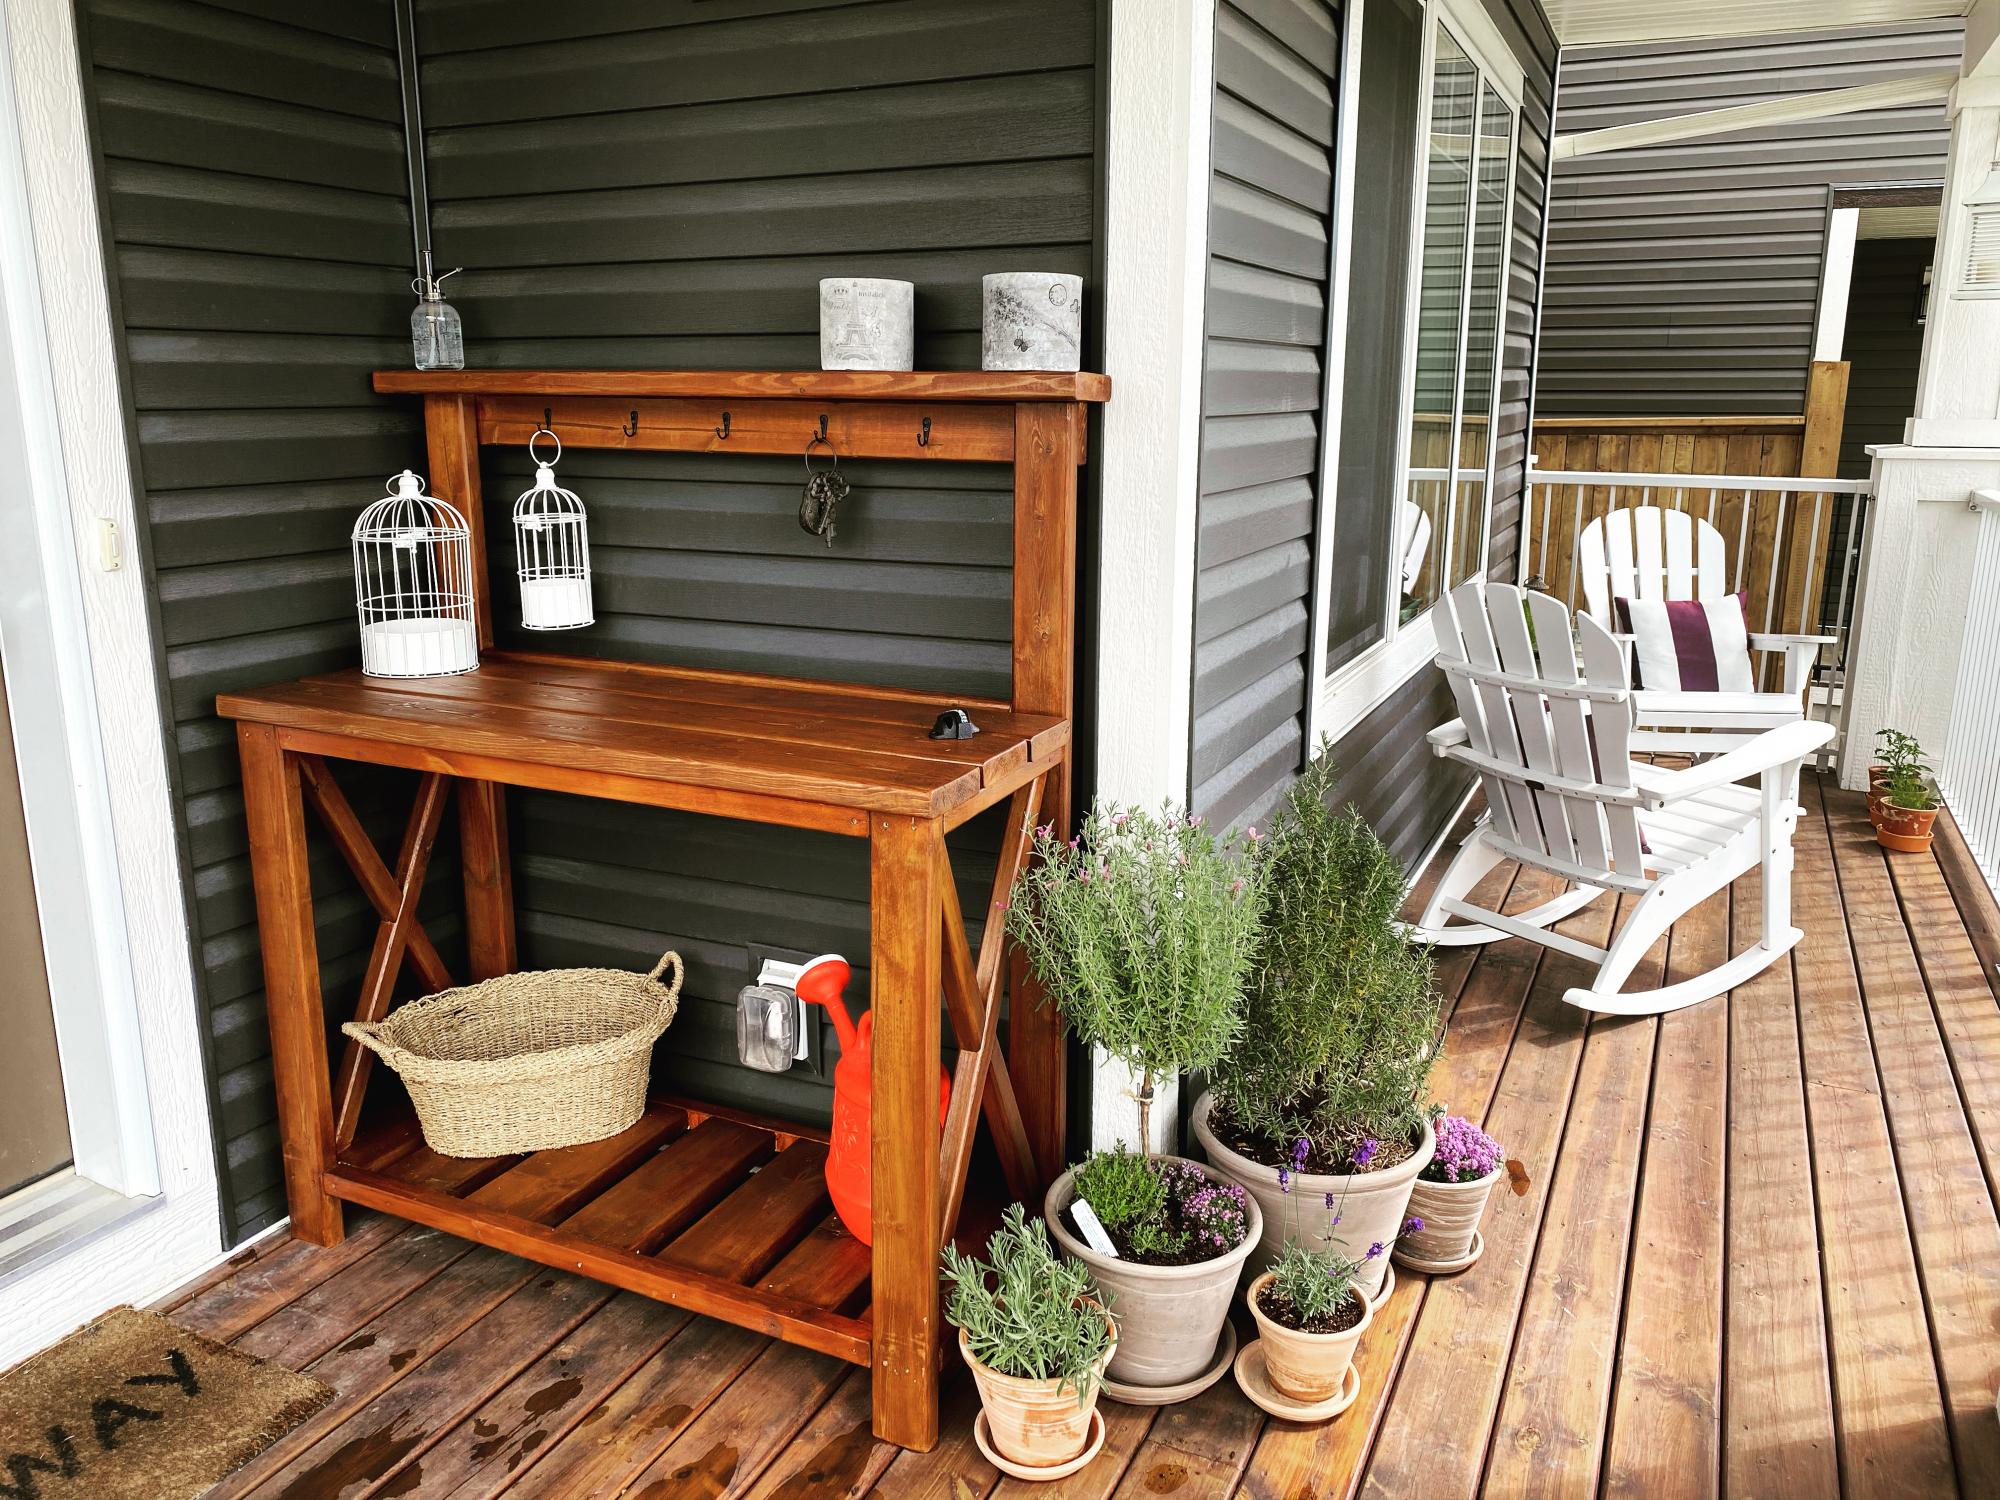
Rustic X Console Table
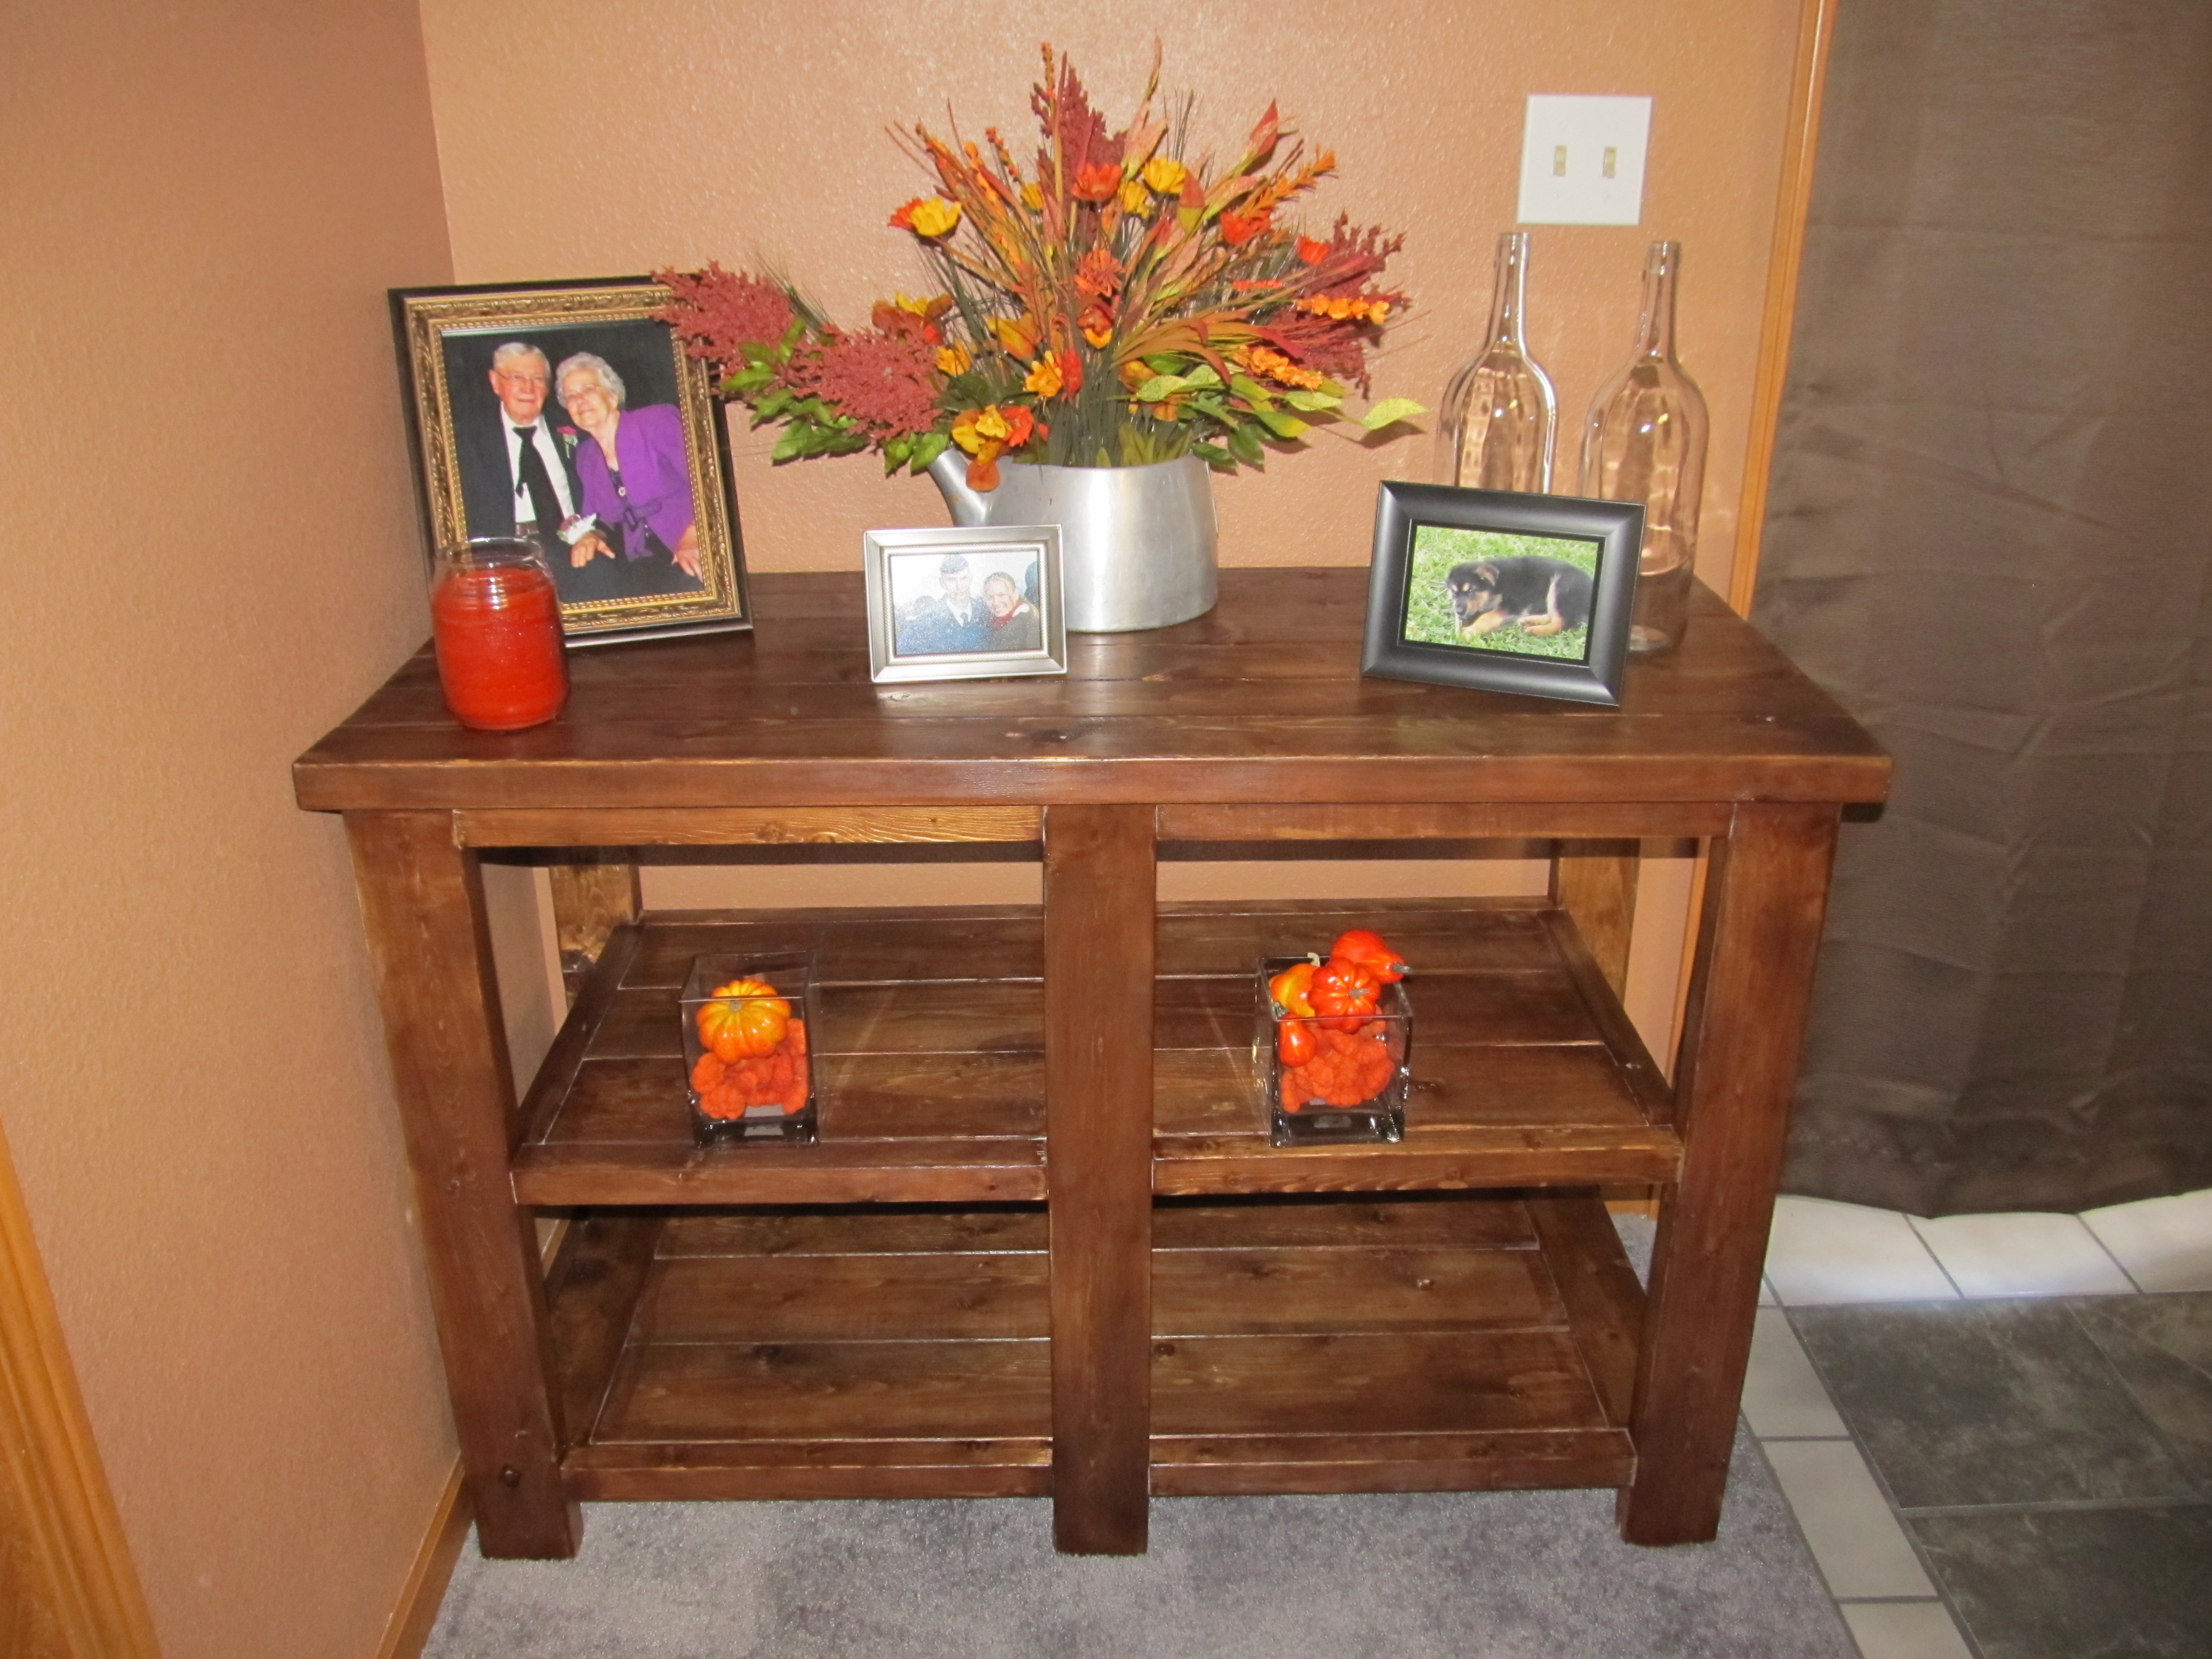
I built it for this specific space,so I ended up shortening the length of it but also made it wider from front to back. The original plans would have run into into the door that's to the right. My old coffee table sat here, so I went off those dimensions.
What I learned:
If you do decide to tweak the plan, be sure to take into consideration that a 2x4 isn't actually 4 inches wide. The same goes for 2x6's (the bottom two shelves are made of 2x6 wood).
Built from Plan(s)
Estimated Cost
$35
Estimated Time Investment
Afternoon Project (3-6 Hours)
Finish Used
I made my own finish. Dissolved a pad of steel wool with vinegar
Recommended Skill Level
Intermediate
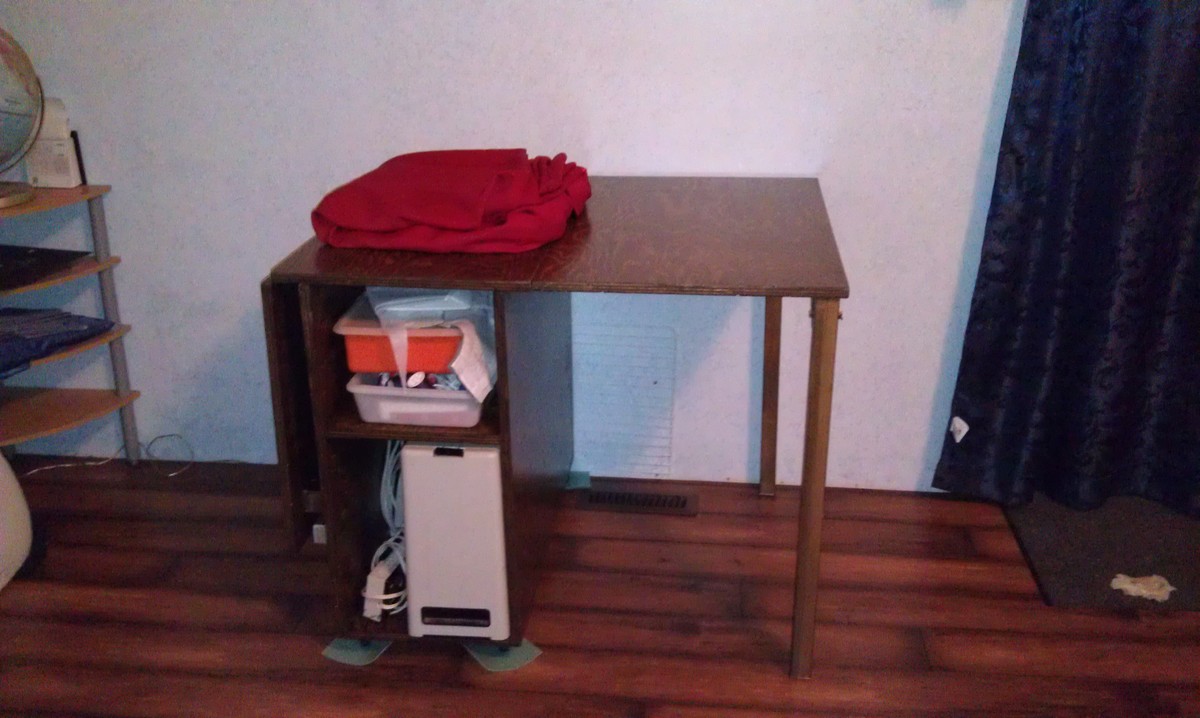
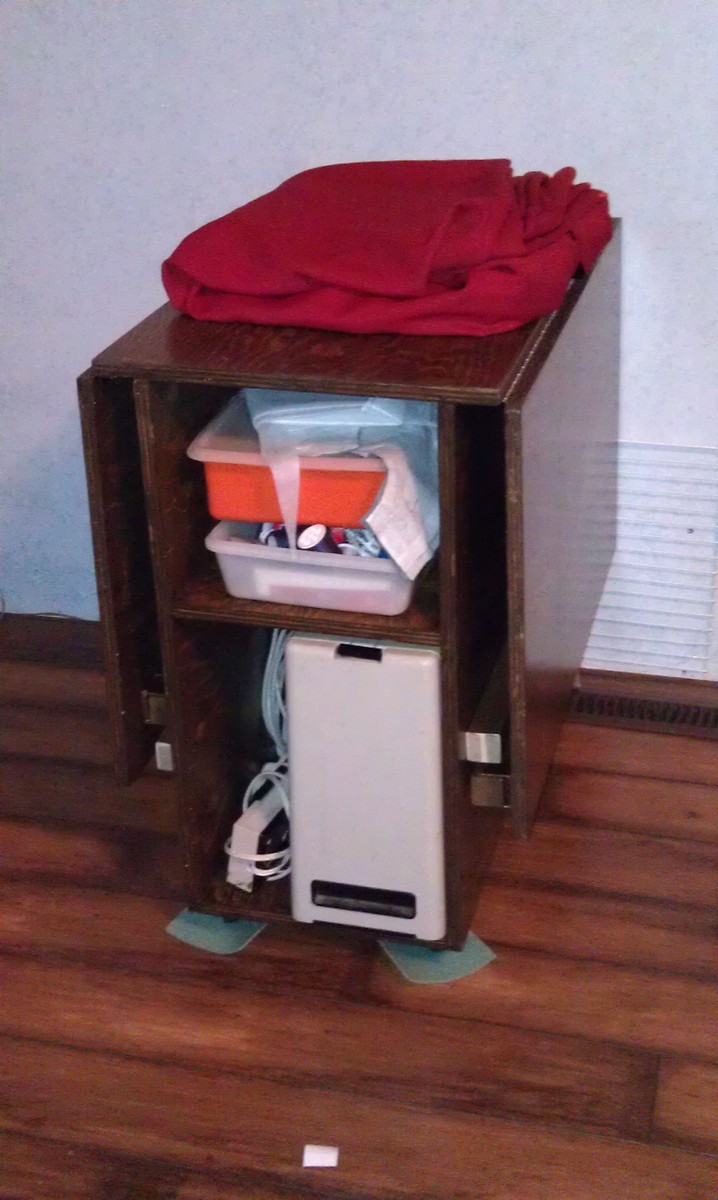
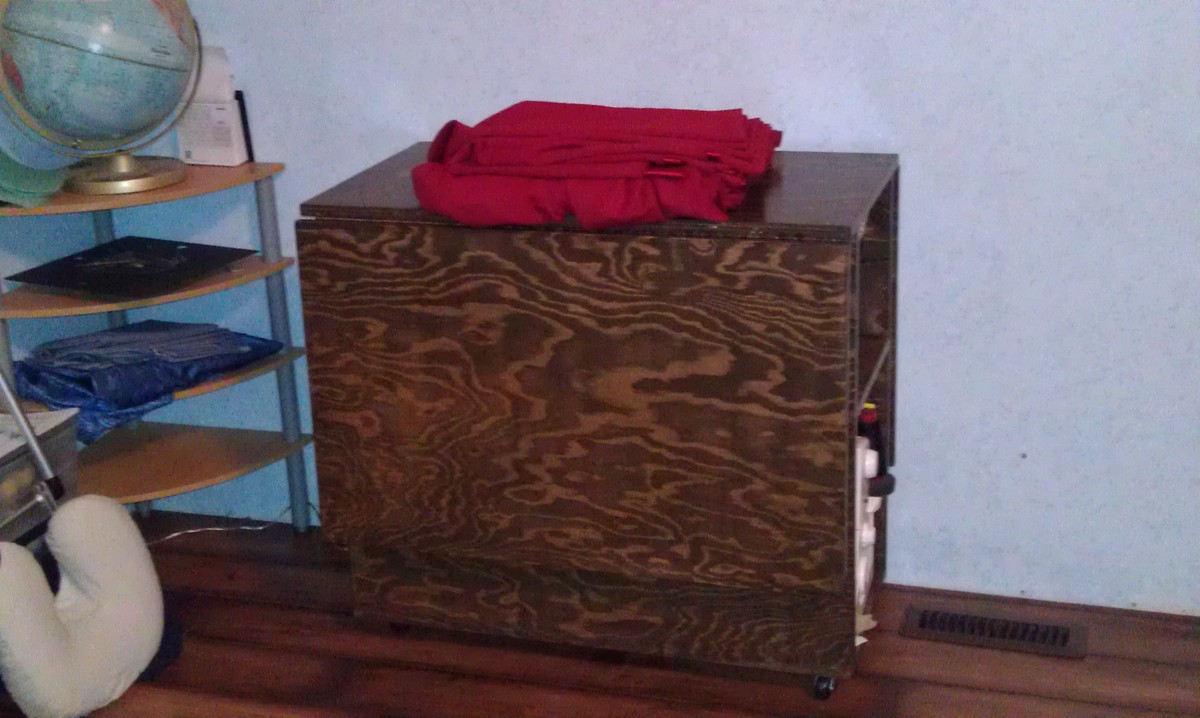
Sewing table for small spaces
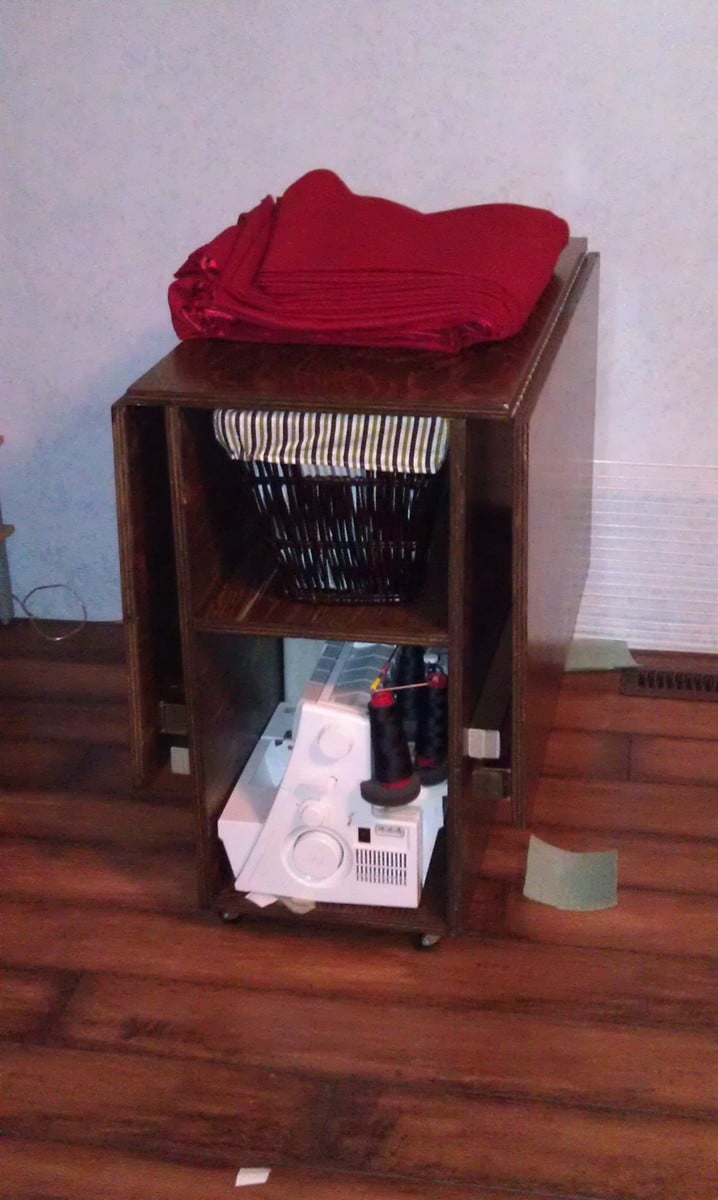
I made this sewing table using Ana Whites Sewing table for small spaces plan. I used 3/4" fir plywood.
I did however make changes to use continuous hinges (aka piano hinges) and upgraded the legs to 2x2's. I used folding leg brackets from Lee Valley Tools found here: http://www.leevalley.com/en/hardware/page.aspx?p=40035&cat=3,41306,41309
It's finished with a dark walnut stain, and three coats of water based varathane. All told this project took about a week. I had the pieces cut for me by the lumberyard, but they still required sanding before assembly. Then assembly took another afternoon. Staining & finishing took the longest, probably 3 days, since I could only work on it in the late afternoon - evening.
Approximate Costs:
$30.00 Hinges, screws, & 2x2's for legs, paint brush
$20.00 Stain & Finish (some savings here as I had some leftover from another project)
$30.00 Folding leg brackets
$50.00 Lumber Costs (this can vary wildly depending on your wood selection)
Built from Plan(s)
Estimated Cost
$130.00 - $160.00
Estimated Time Investment
Week Long Project (20 Hours or More)
Finish Used
2 coats Dark walnut water based stain, and 3 coats water based satin finish varathane
Recommended Skill Level
Beginner
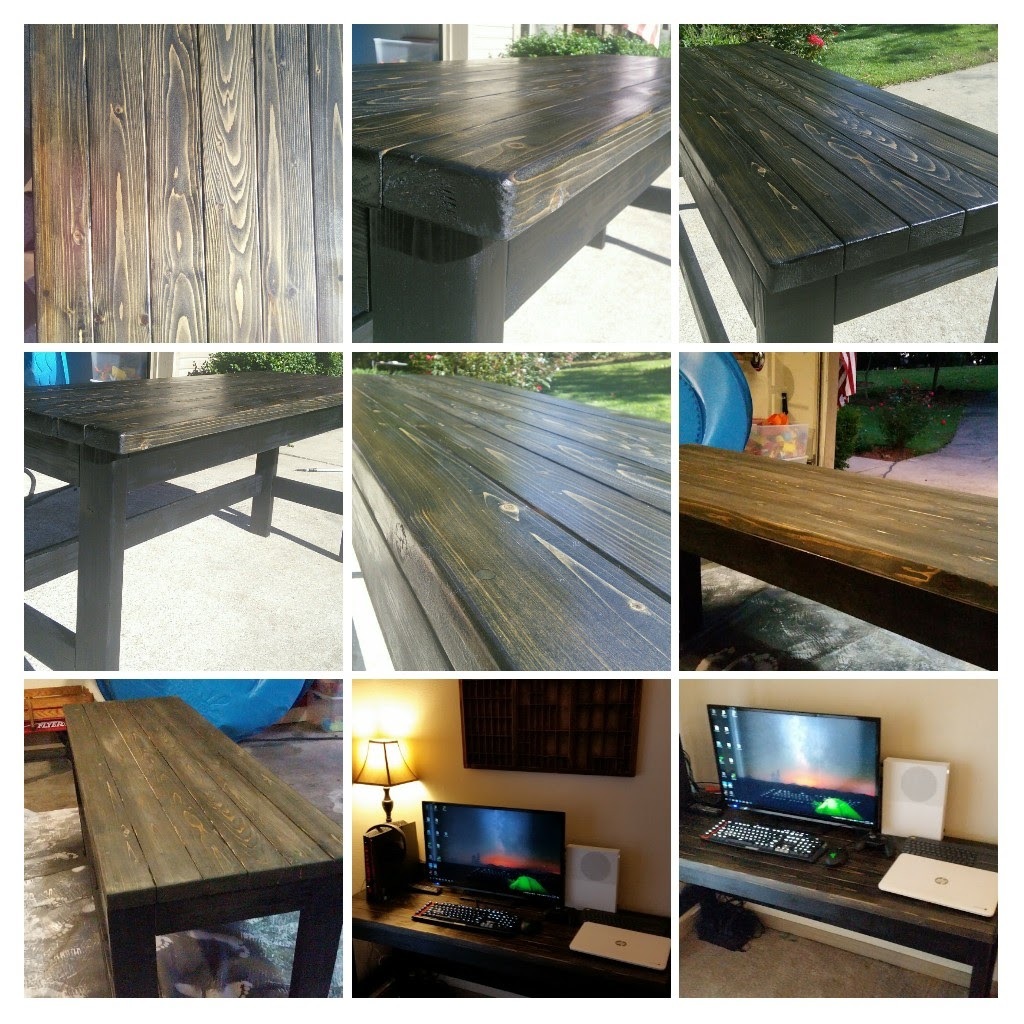
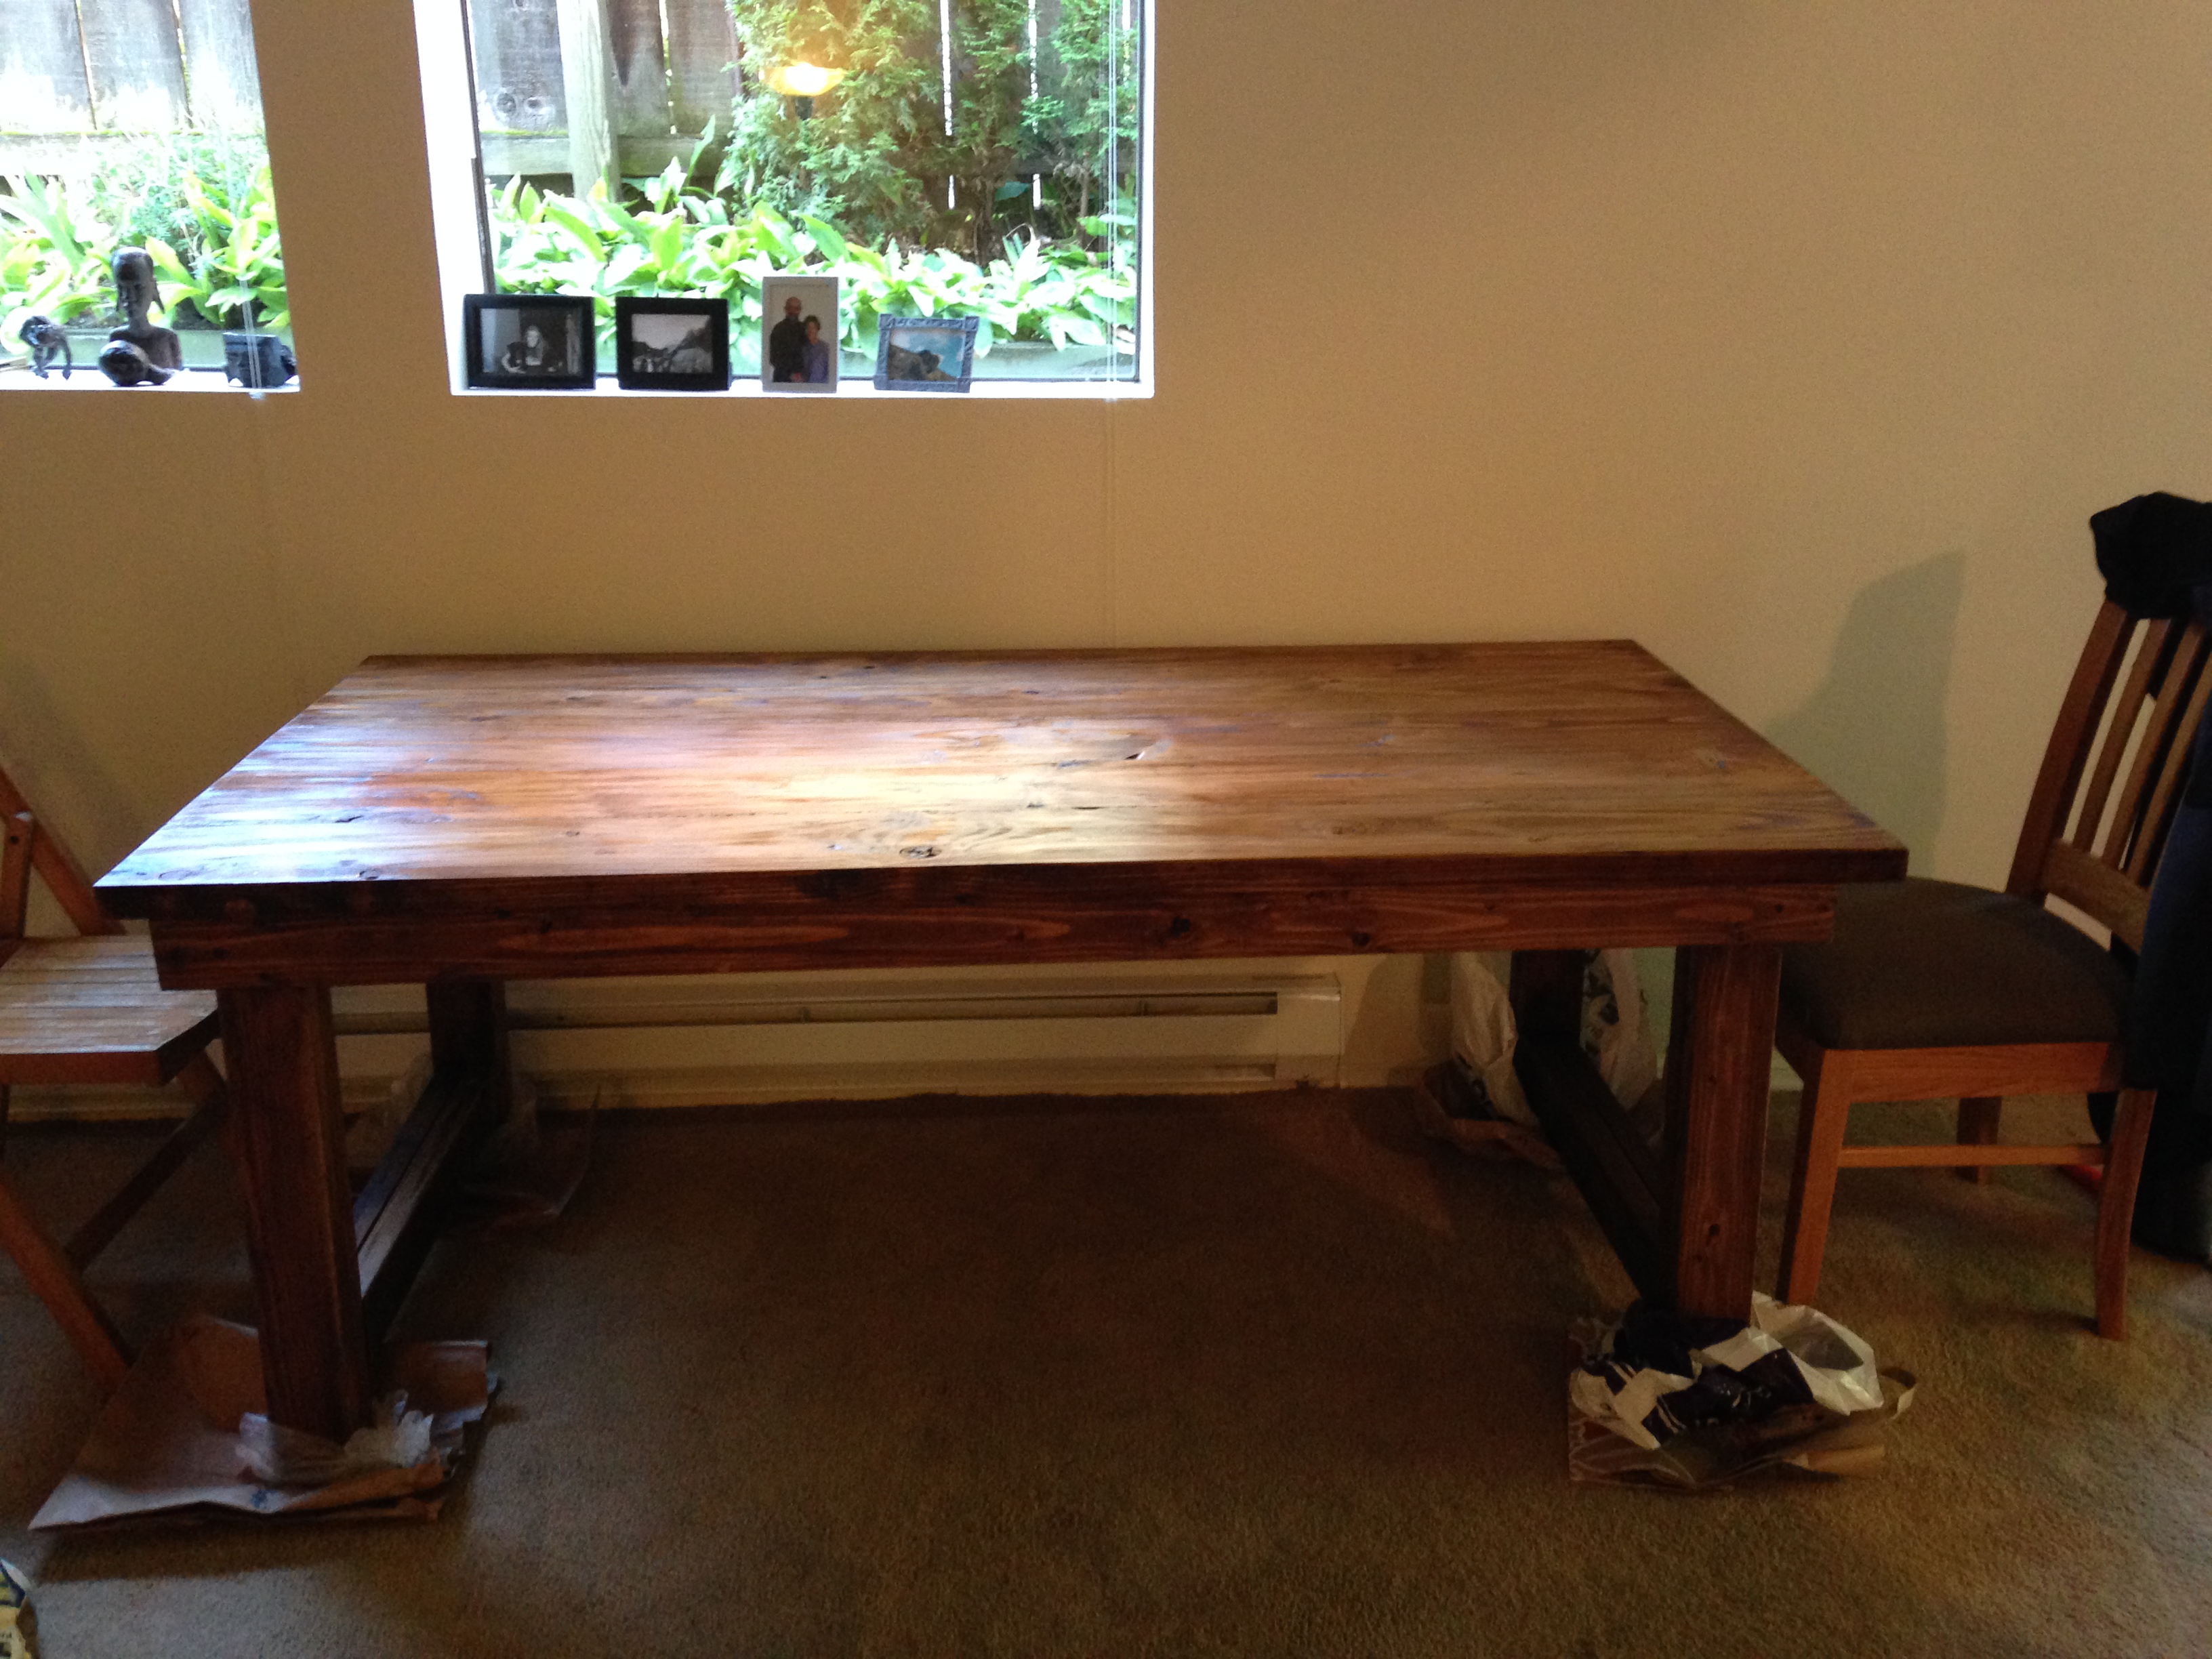
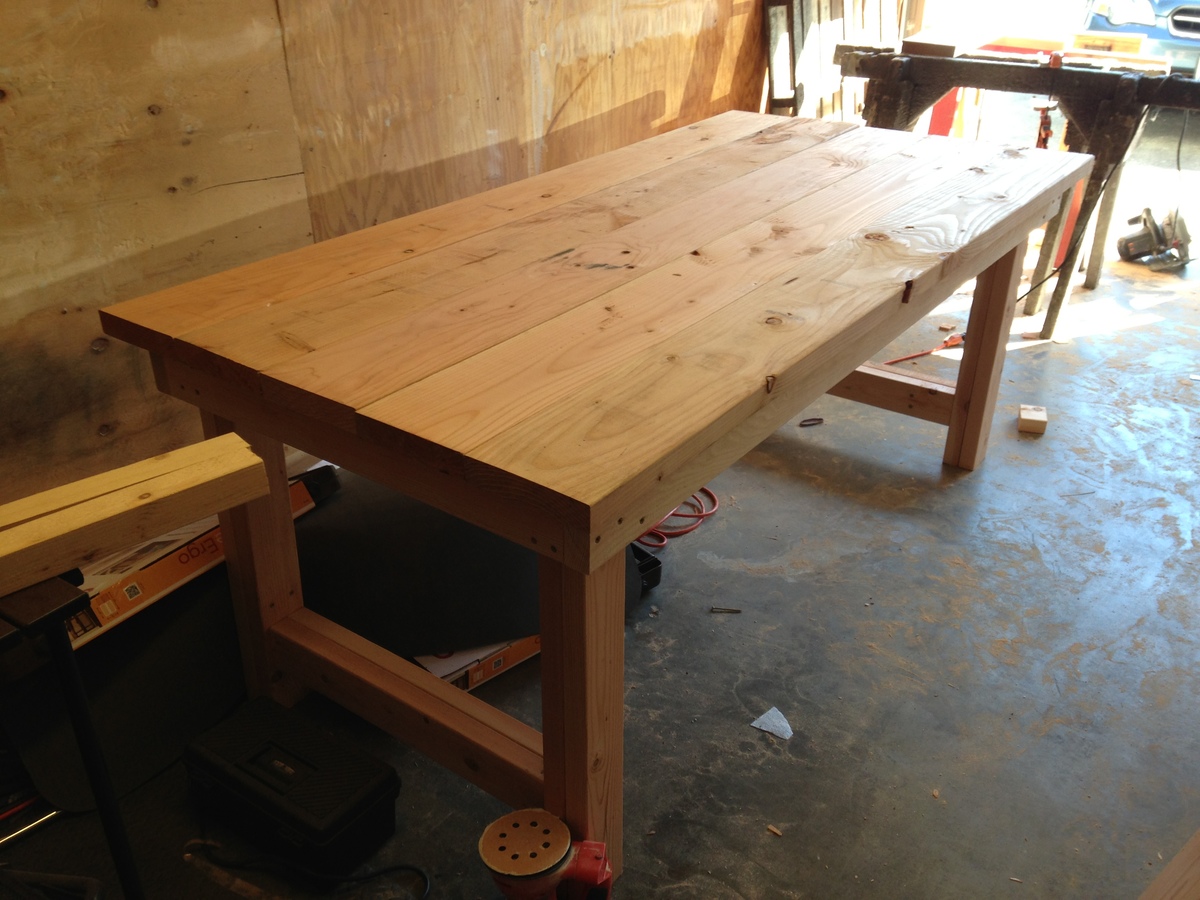
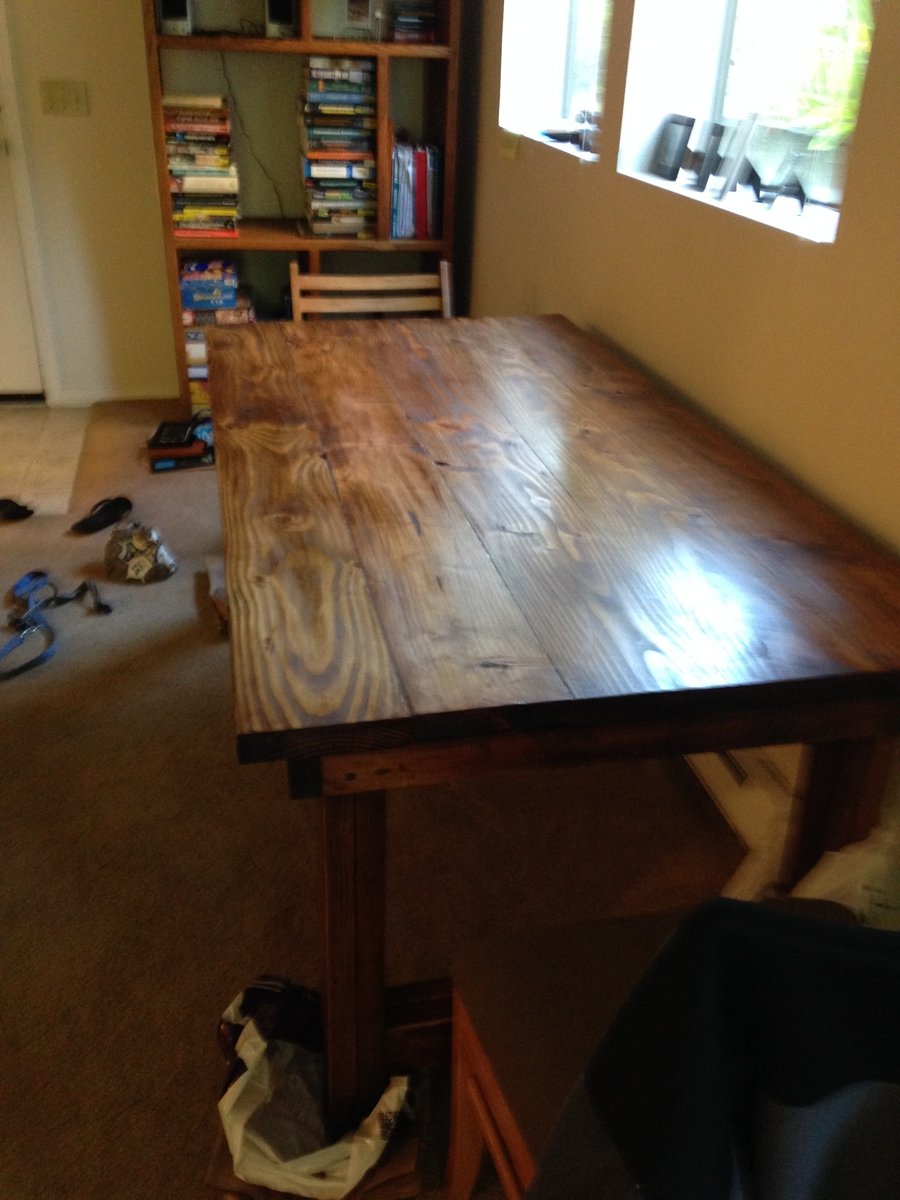
Enjoying my new desk
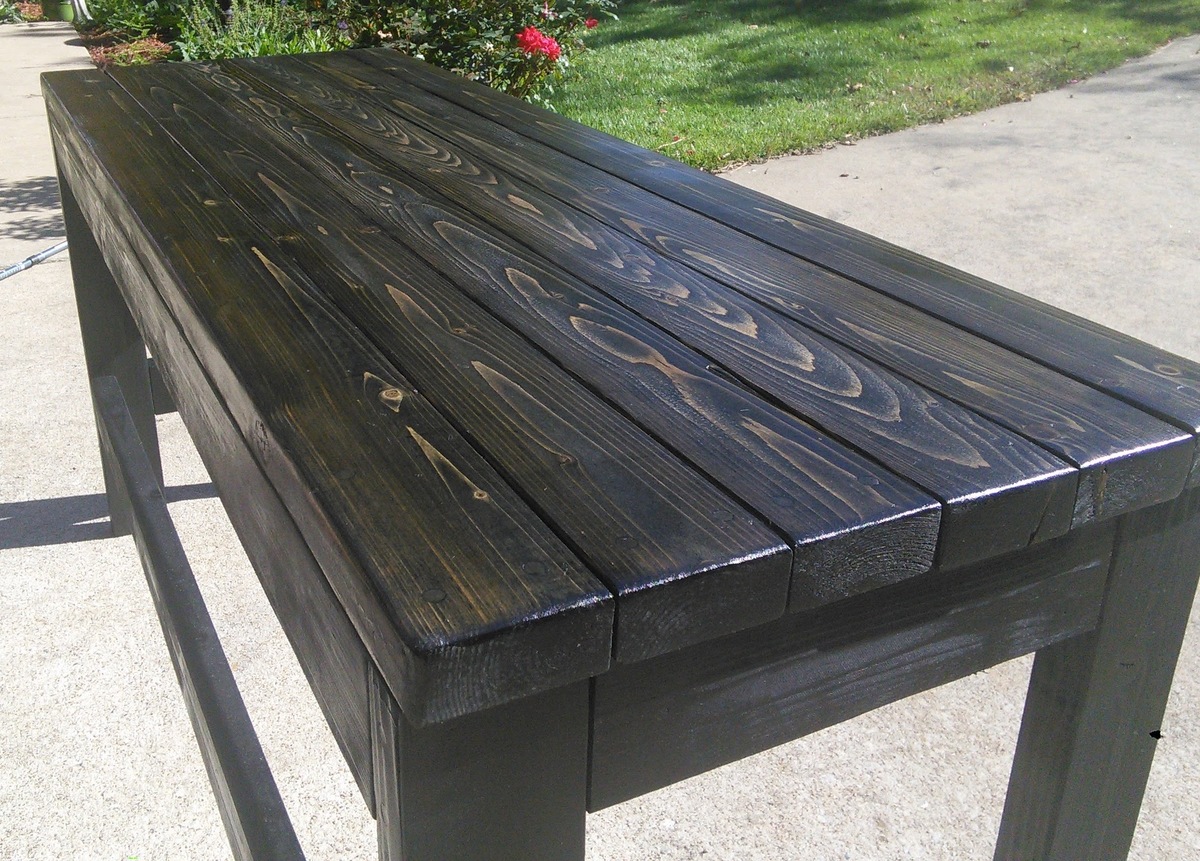
Took 2.5 hrs to cut, fasten and sand, and approximately 24-48 hrs to paint, stain and poly.
This has been a very rewarding project. Now I have people comissioning work!
Thanks for the plans
Built from Plan(s)
Estimated Cost
Wood: Fur 28$
Paint: $15
Stain: $5
Polyeurethane: $5
Screws: $9.50
Paint: $15
Stain: $5
Polyeurethane: $5
Screws: $9.50
Estimated Time Investment
Weekend Project (10-20 Hours)
Finish Used
Paint, and Dark Walnut Stain, polyurethane
Recommended Skill Level
Intermediate
Modern Outdoor Chair from 2x4s and 2x6s
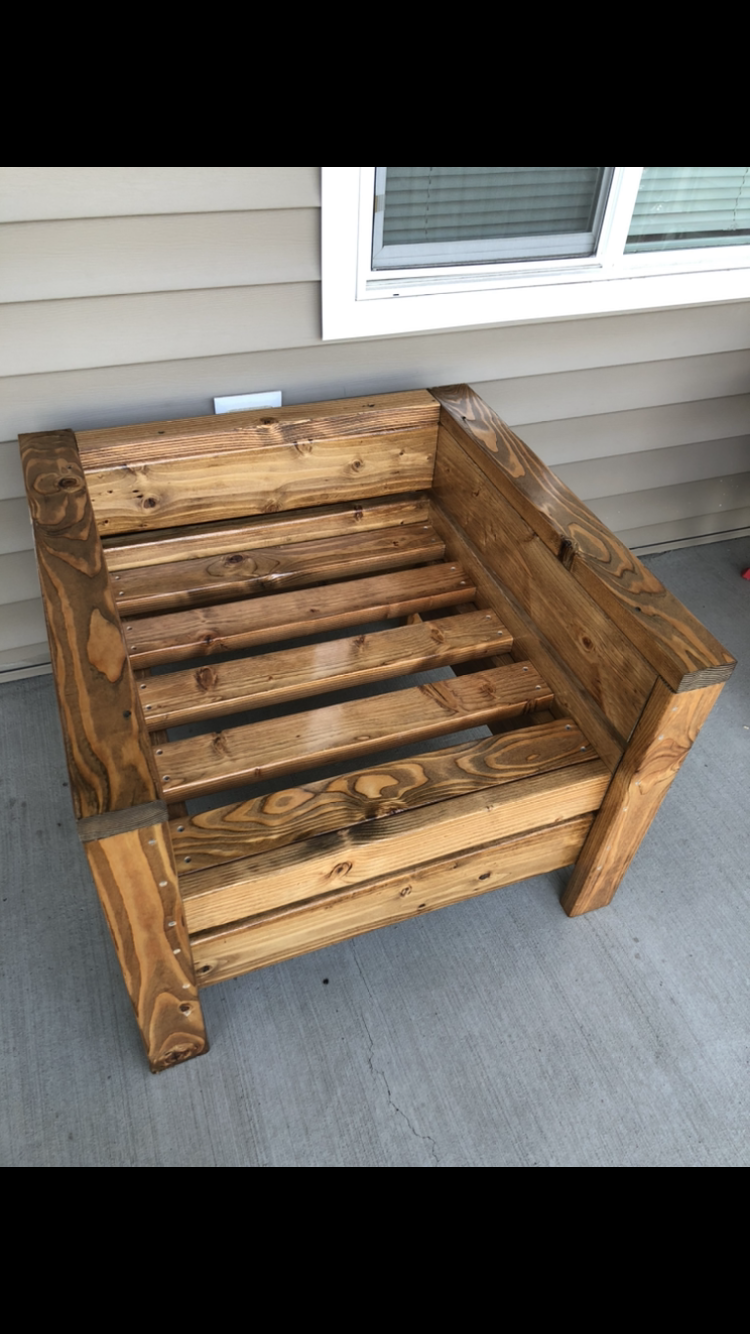
Stained with Minwax Early American, and sealed with Polyurethane. In the process of completing a 2nd to make a set
Built from Plan(s)
Estimated Cost
About $30-40 per chair
Estimated Time Investment
Week Long Project (20 Hours or More)
Finish Used
Minwax Early American stain and sealed with polyurethane.
Applied wood conditioner prior to staining. Let stain sit for about 5 minutes before wiping off excess. Let dry overnight. Applied 2 coats of Minwax oil based satin polyurethane. Let dry overnight between coats.
I didn’t want to be poked in the rear when sitting, so I sanded everything to 120 grit prior to starting. (Reason why it took so long)
Recommended Skill Level
Beginner
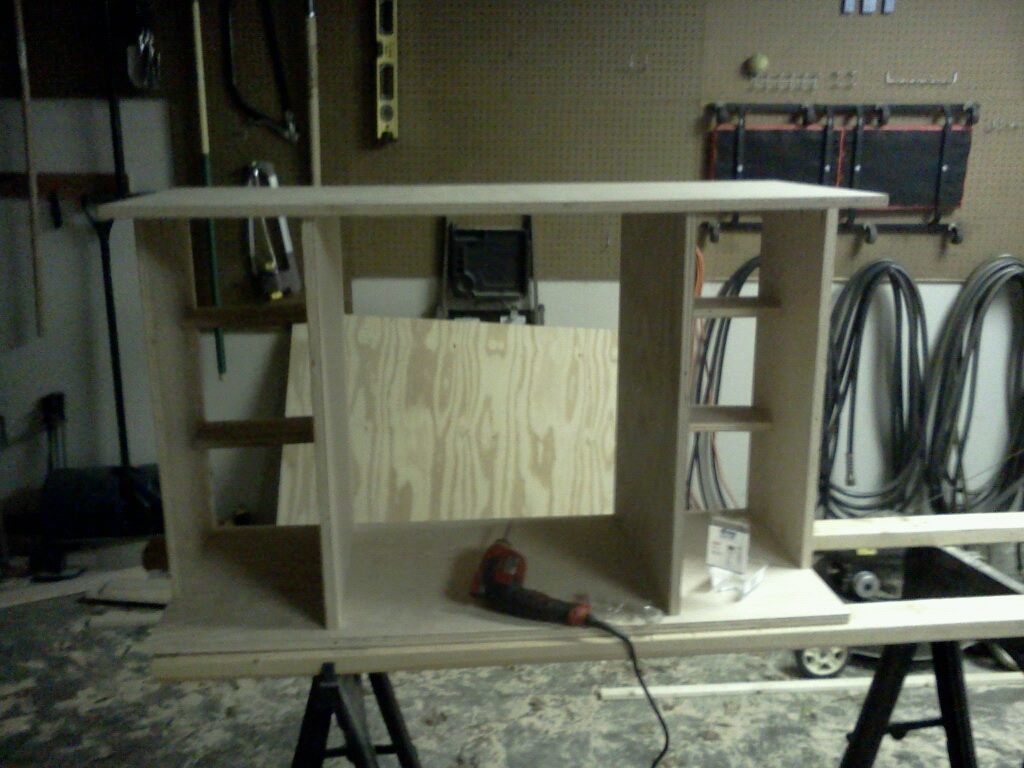
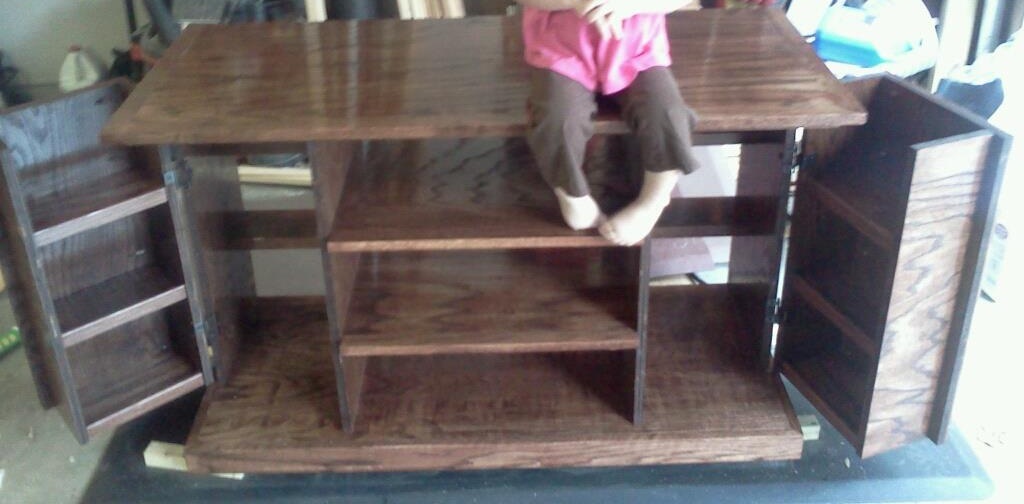
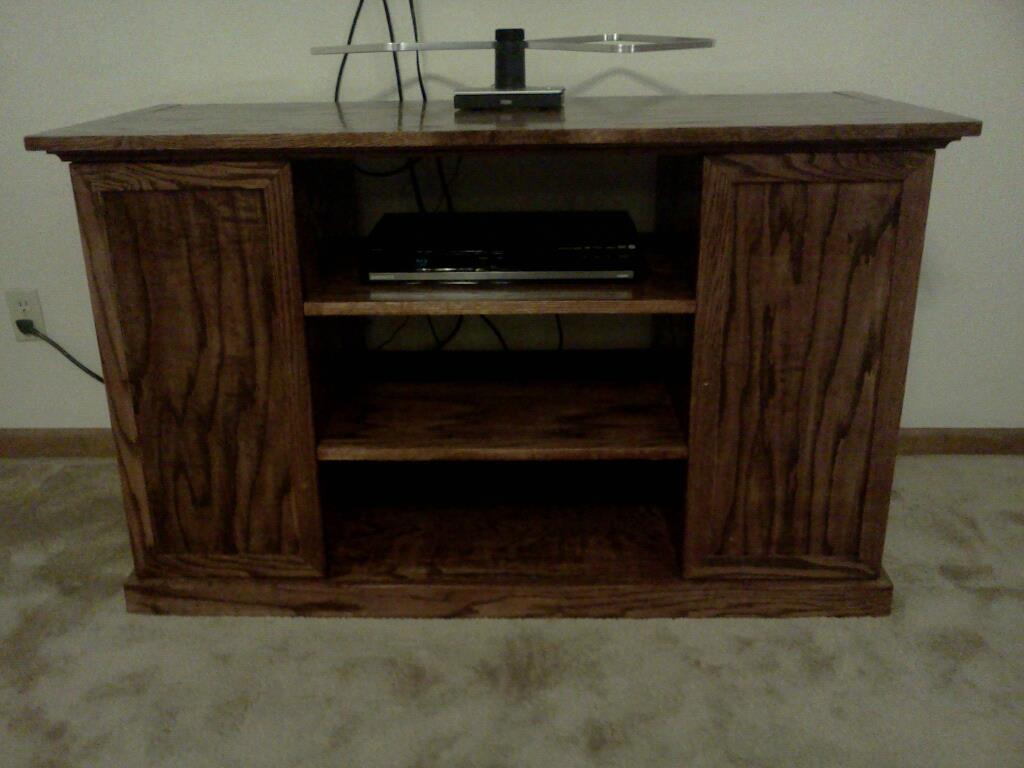
Media Storage Entertainment Center

Entertainment center with Bluray/DVD storage in the doors. Based on the Cynthia media stand by Pottery Barn. I drew it up to my personal preferences using Draftsight (free 2d cad software). Used 3/4" oak for everything except for a few trim boards. It came out great, we are very proud to call it our own.
Estimated Cost
$250
Estimated Time Investment
Weekend Project (10-20 Hours)
Finish Used
Minwax dark mahogany
Minwax clear gloss polyurethane (2 coats)
-assembled
-sanded
-wiped with mineral spirit dipped rag
-stained with a brush
-1st coat of urethane using a foam brush
-light sanding with 220 grit
-wiped with mineral spirit dipped rag
-2nd coat of urethane using a foam brush.
It has an almost mirror finish now.
Recommended Skill Level
Intermediate
Table
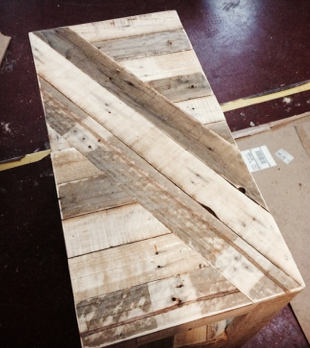
Built a small table for the living room out of a reclaimed pallet.
Estimated Cost
NA
Estimated Time Investment
Afternoon Project (3-6 Hours)
Recommended Skill Level
Starter Project
Comments

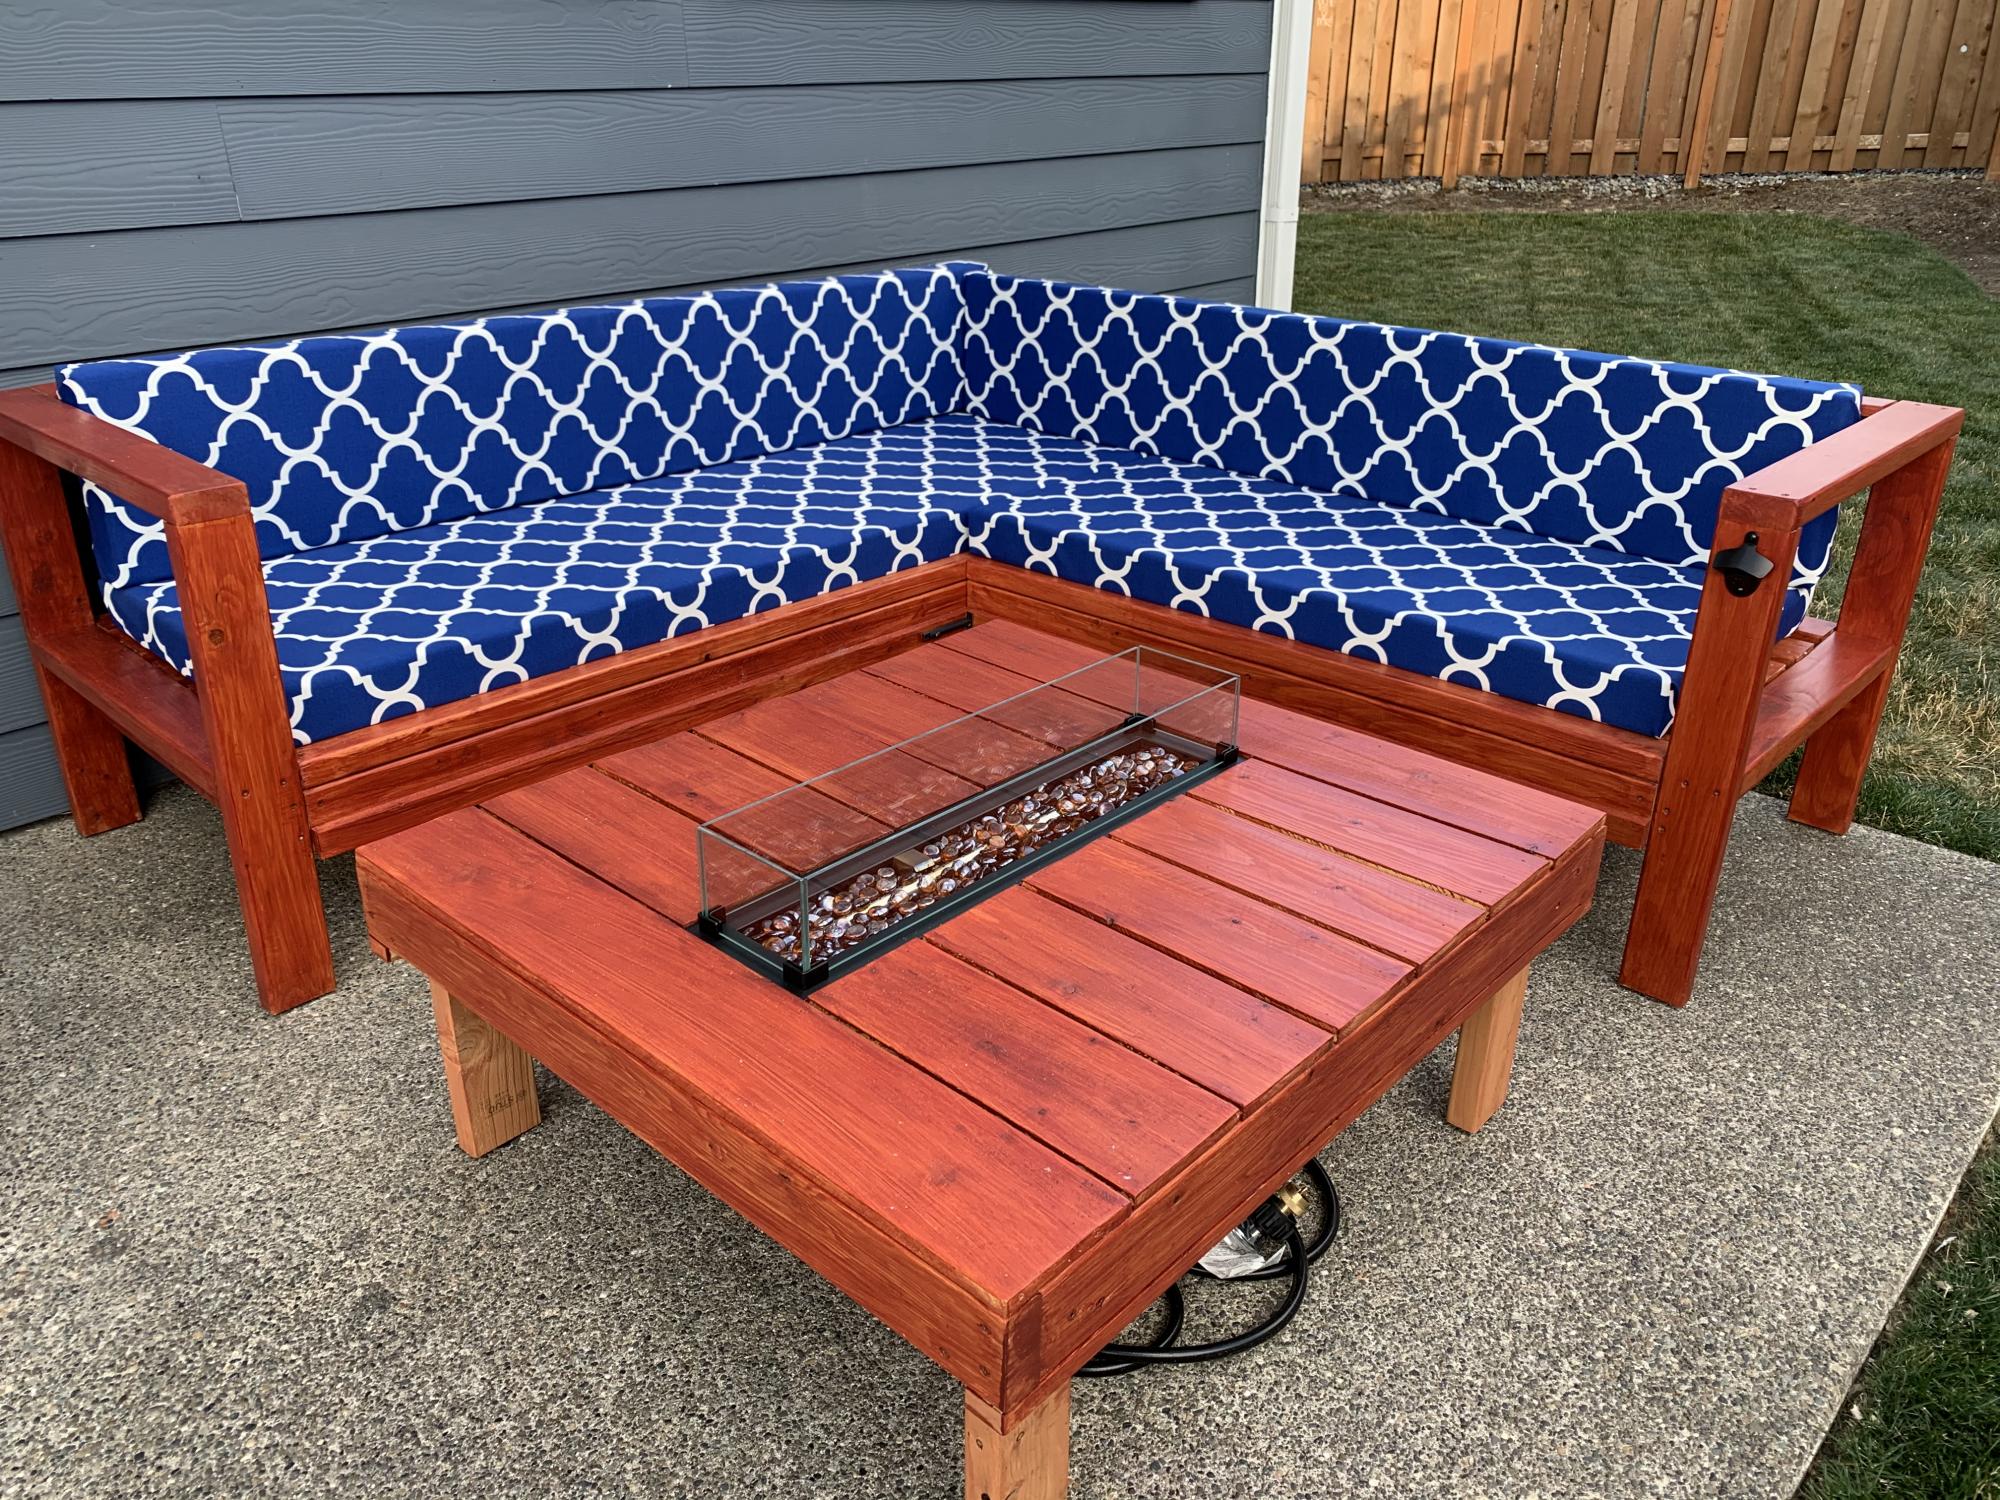
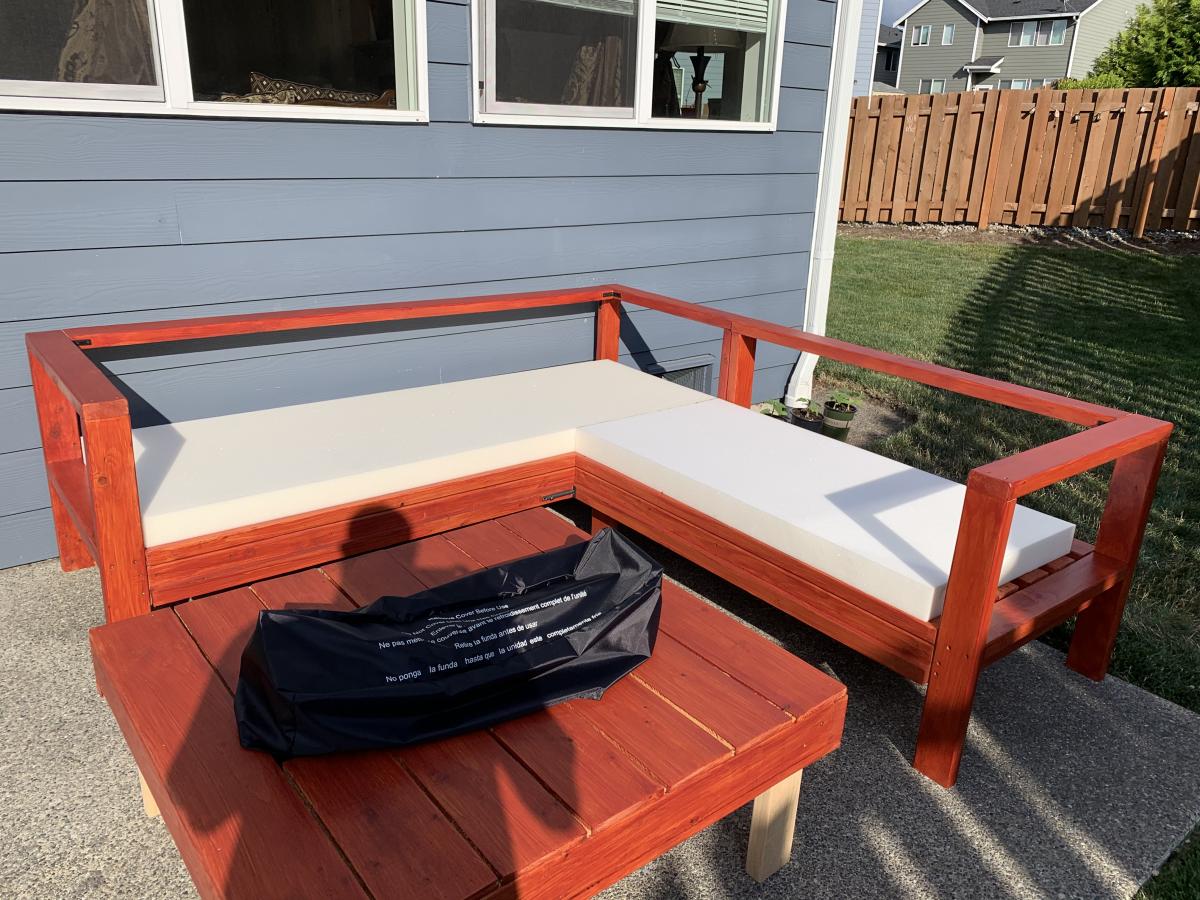
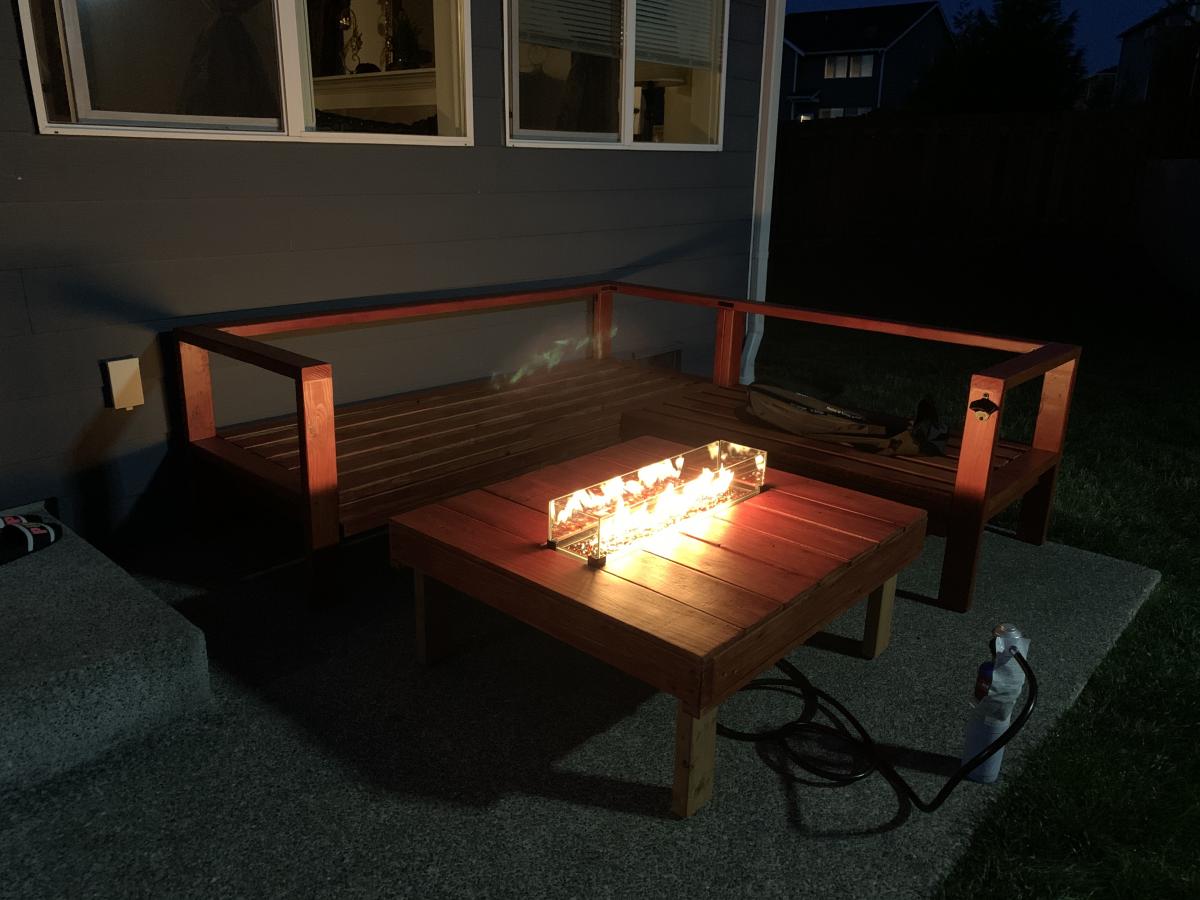
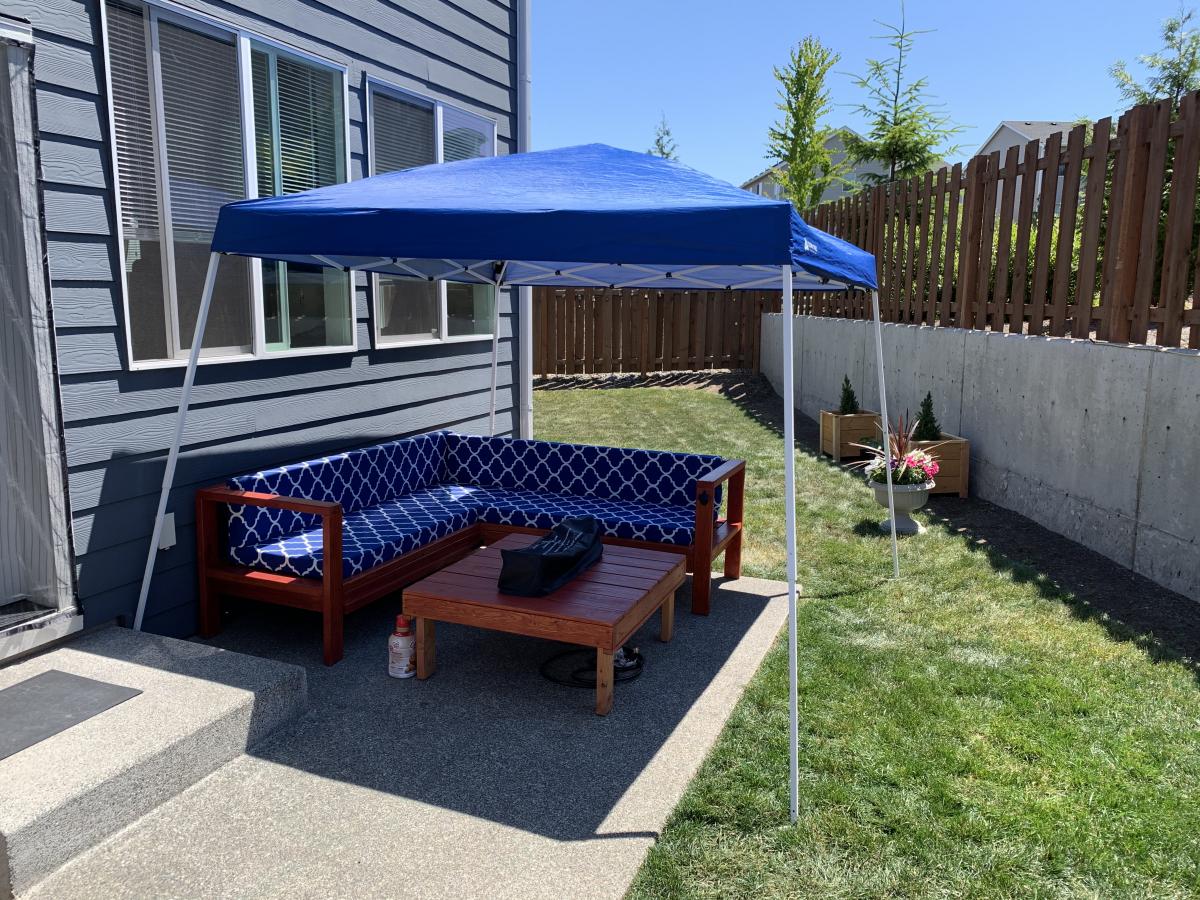
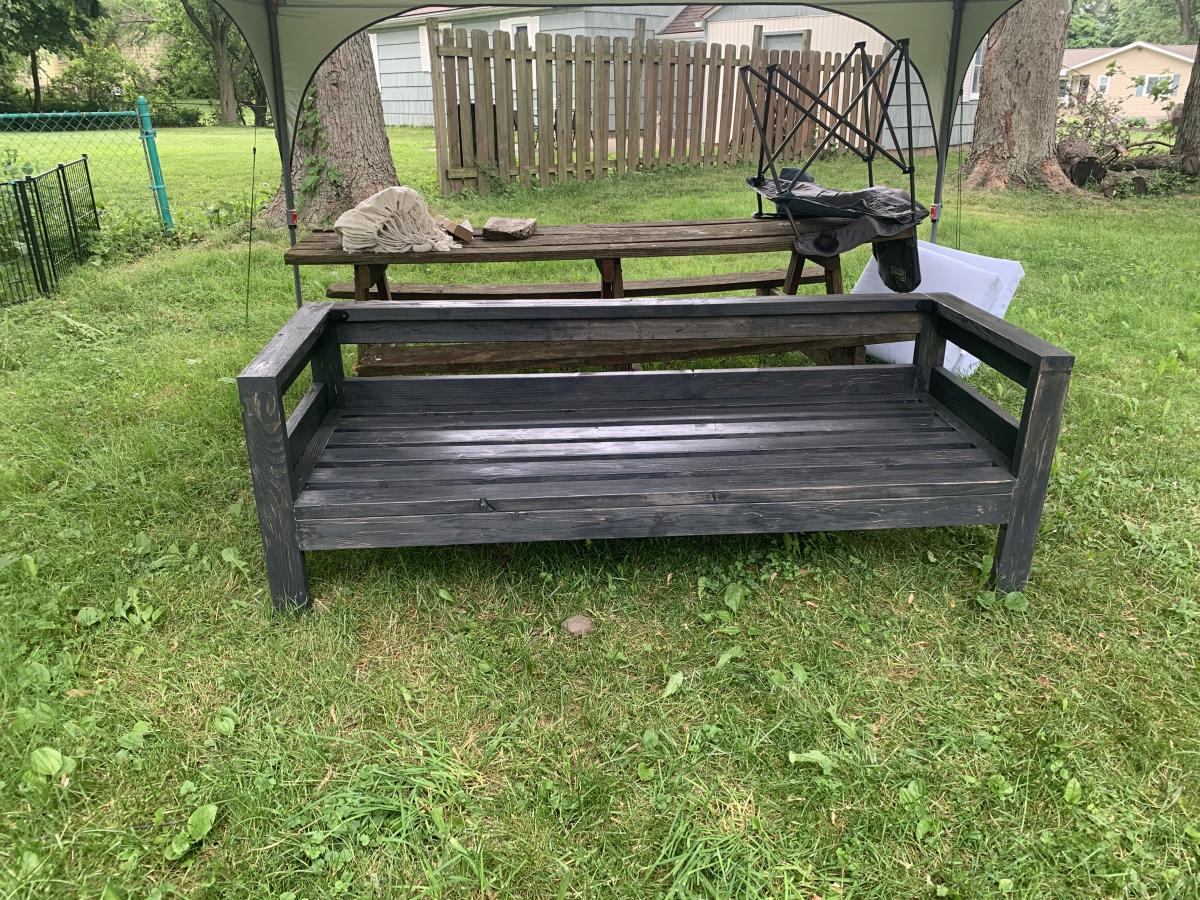
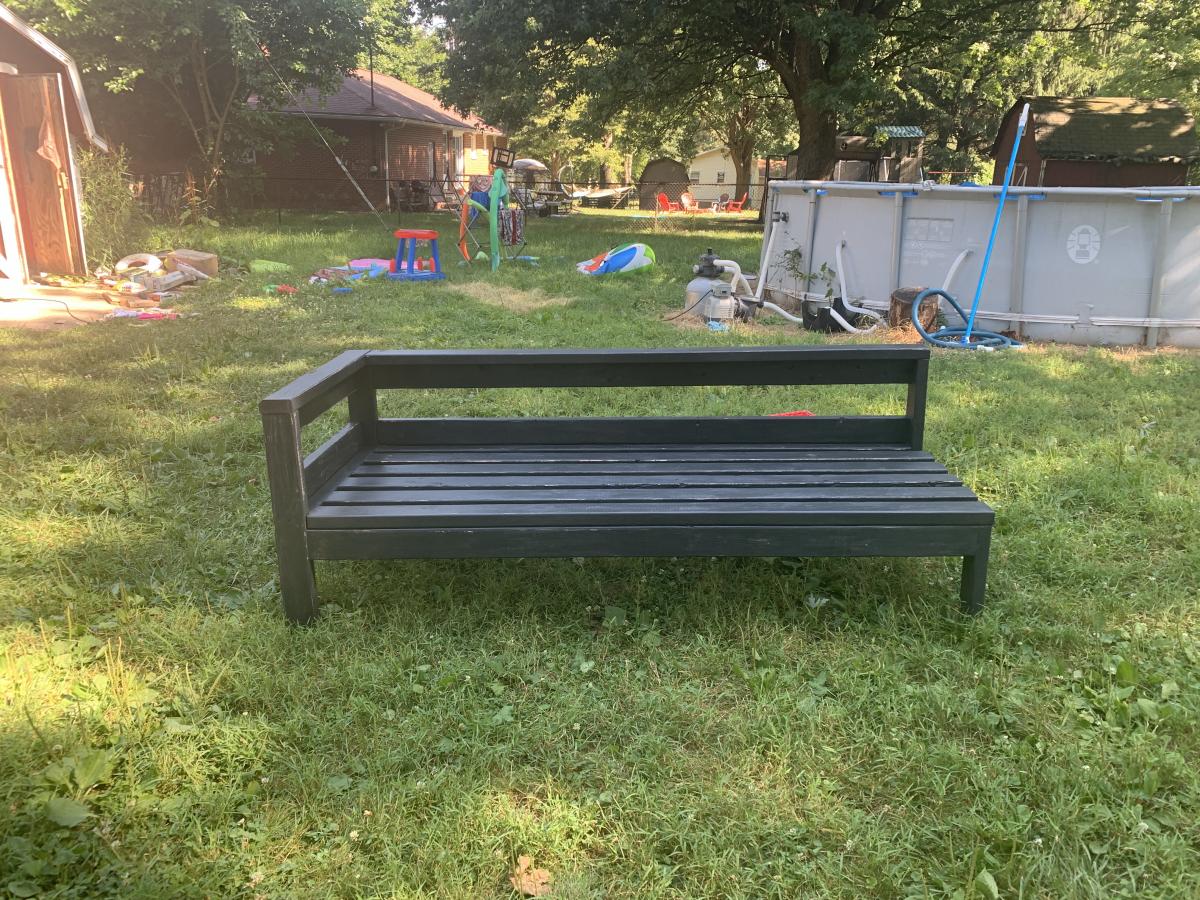
2x4 Outdoor Sofa & Left Facing Sectional Piece
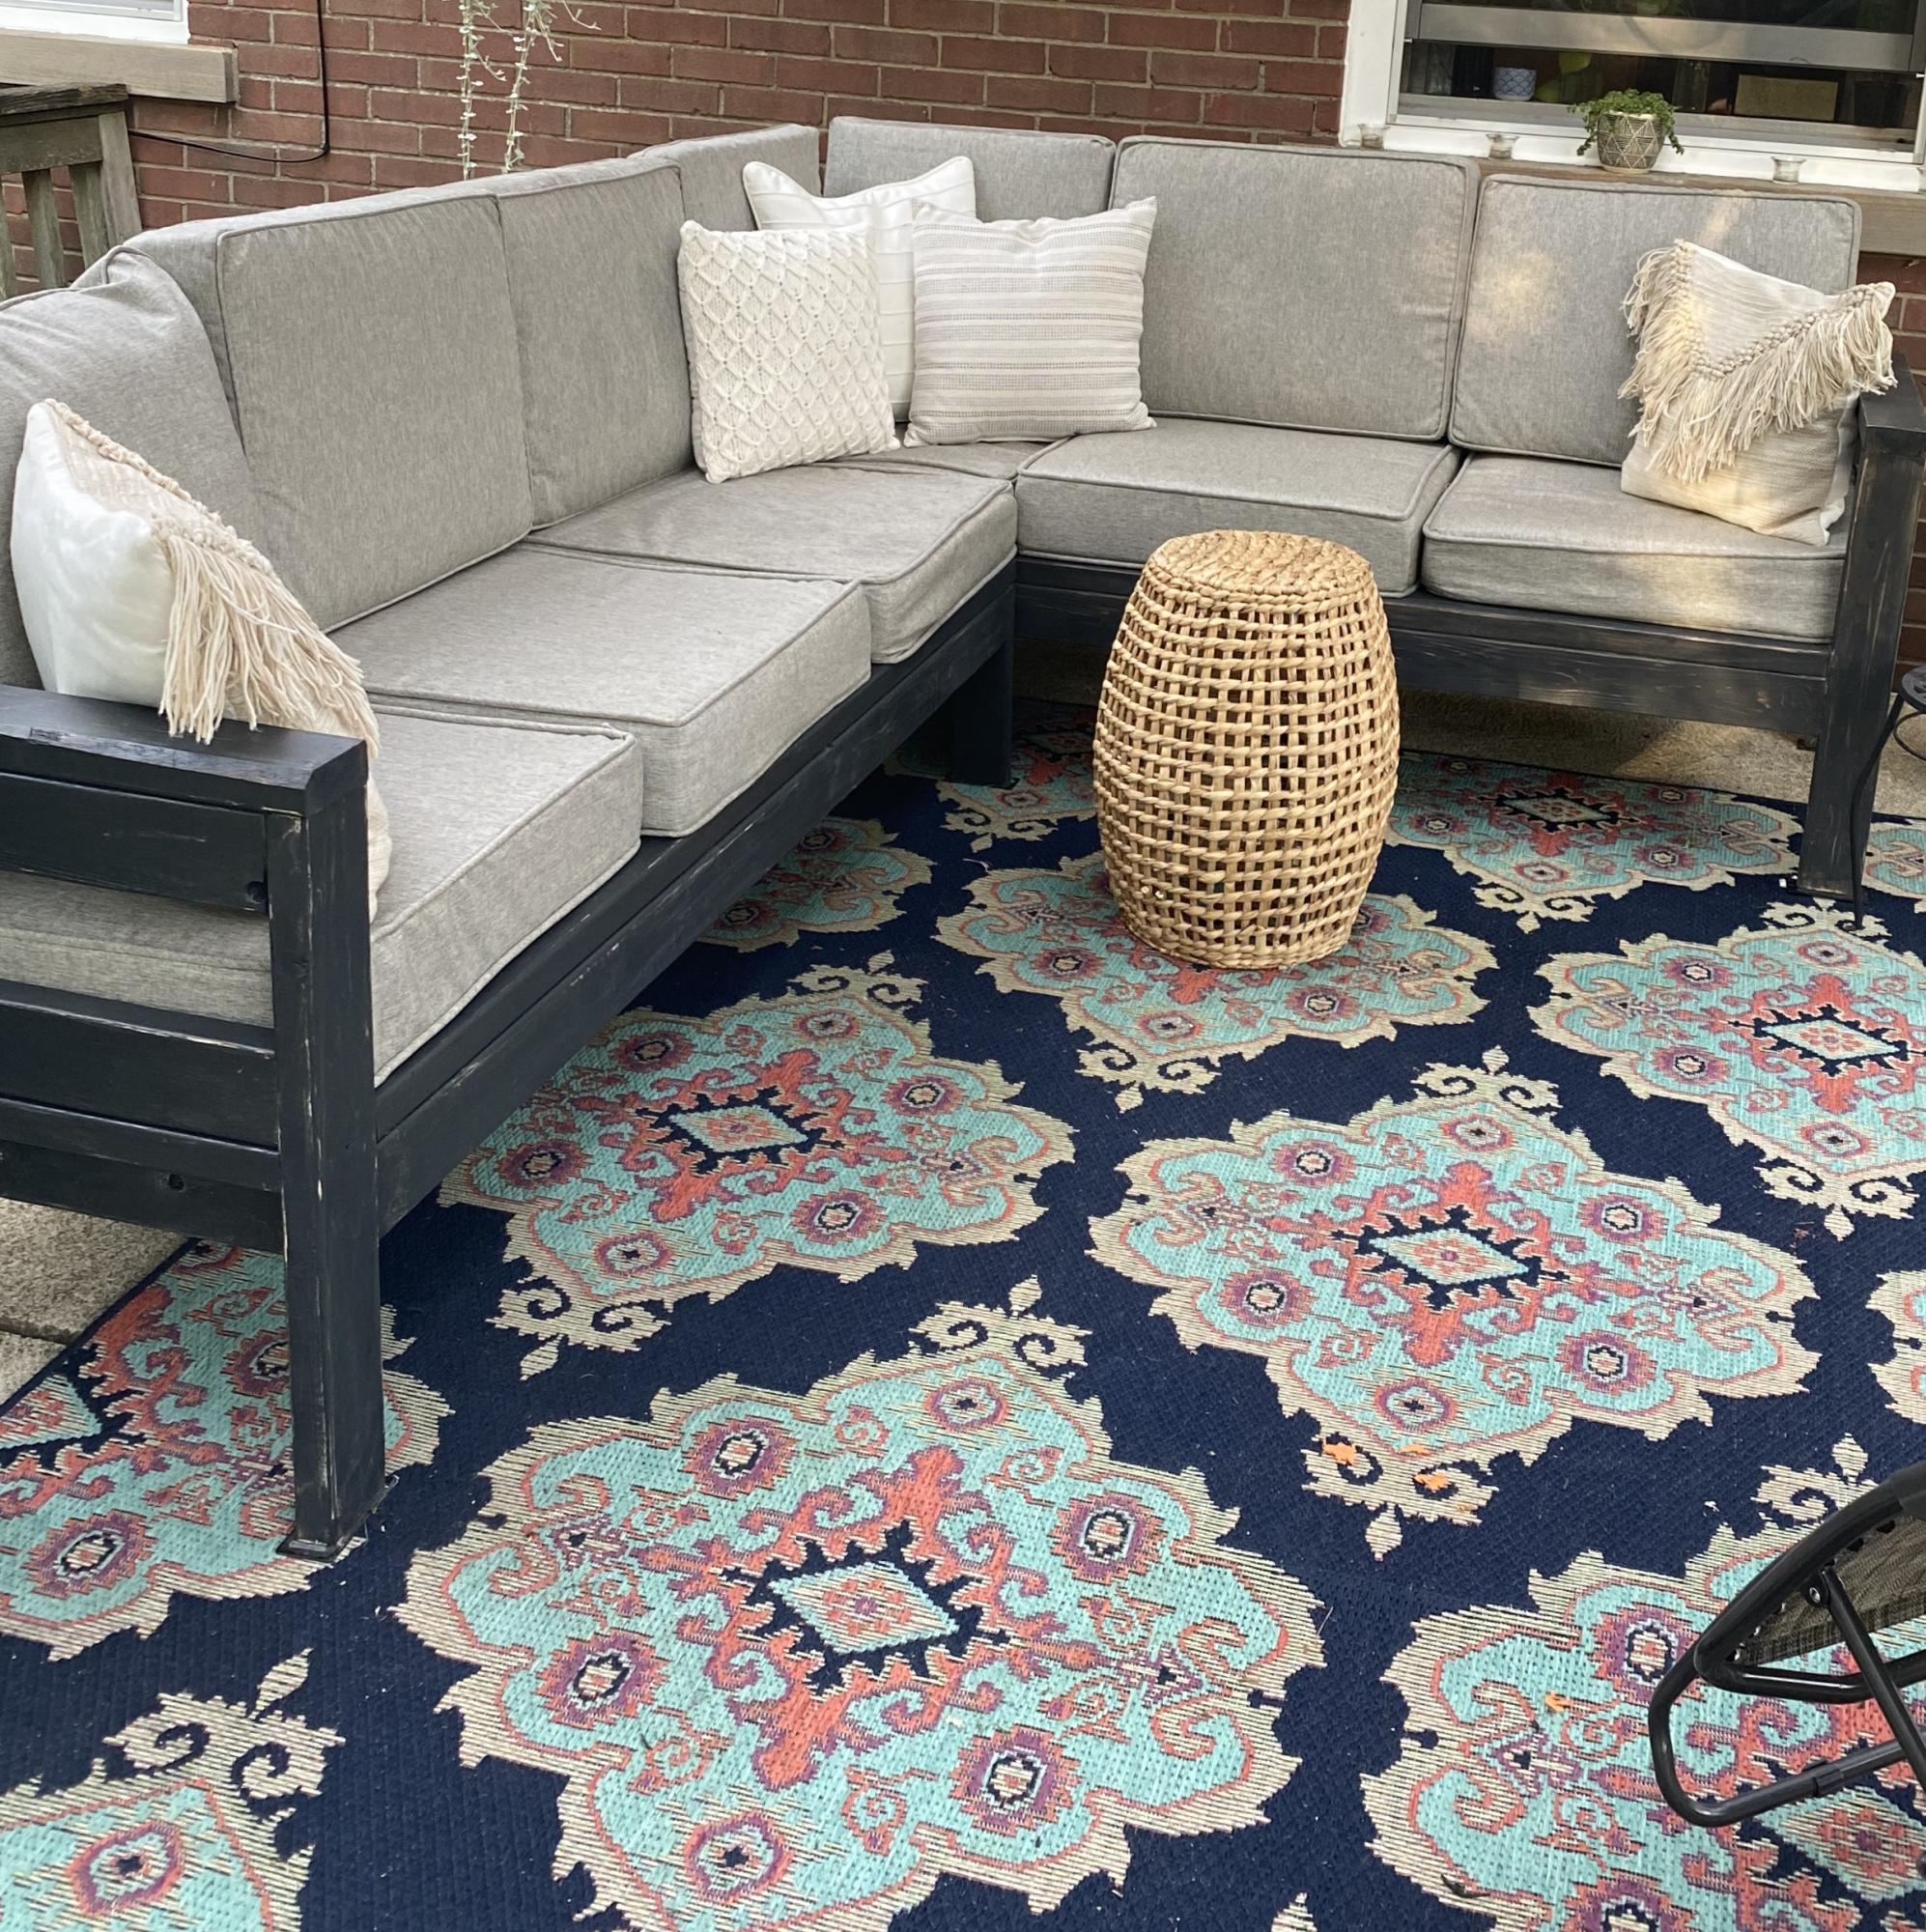
These plans are super easy to follow! It took me about 4-6 hours to assemble the sofa and the same for the one arm sofa. However, filling screw holes, sanding and more sanding and did I mention the sanding...and the staining because we all love to watch paint dry. The weather here in Ohio was very cooperative, there was either a heat advisory or it was raining. Now that I’m looking back on it, hind site and all that I would have taken the time to sand and stain at least some of the pieces prior to assembling it was quite an under taking saving it all for the end.
Built from Plan(s)
Estimated Cost
$120-200
Estimated Time Investment
Week Long Project (20 Hours or More)
Finish Used
Olympic Maximum Semi-Transparent Stain & Sealant in Cinder after the stain dries I gave both pieces a worn and distressed look by sanding lightly. I then topped it off with a spar urethane in clear satin to make sure all the exposed would was cover because I didn’t get treated lumber.
Recommended Skill Level
Beginner
Comments
Fri, 08/14/2020 - 14:17
The cushions are 25 inches…
The cushions are 25 inches long and 24 inches wide! I hope this helps
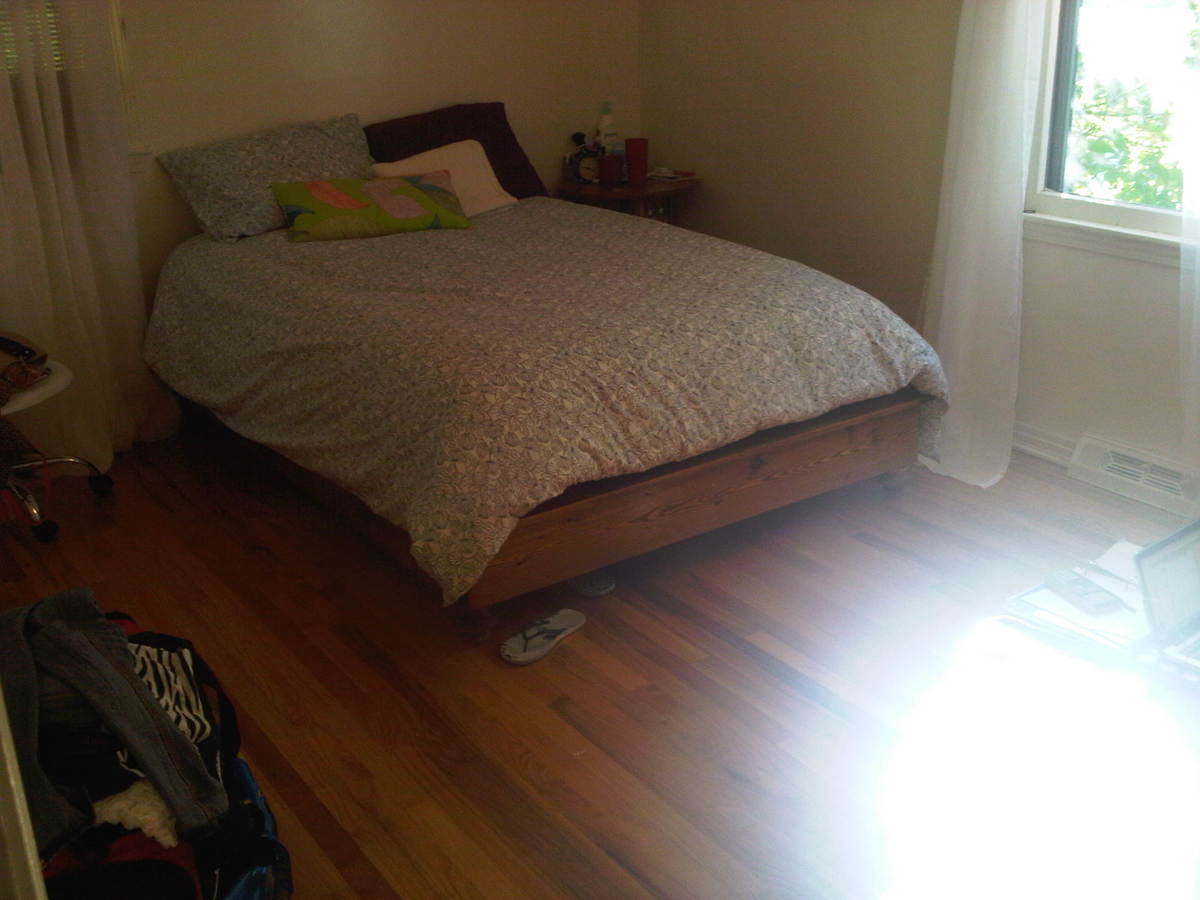
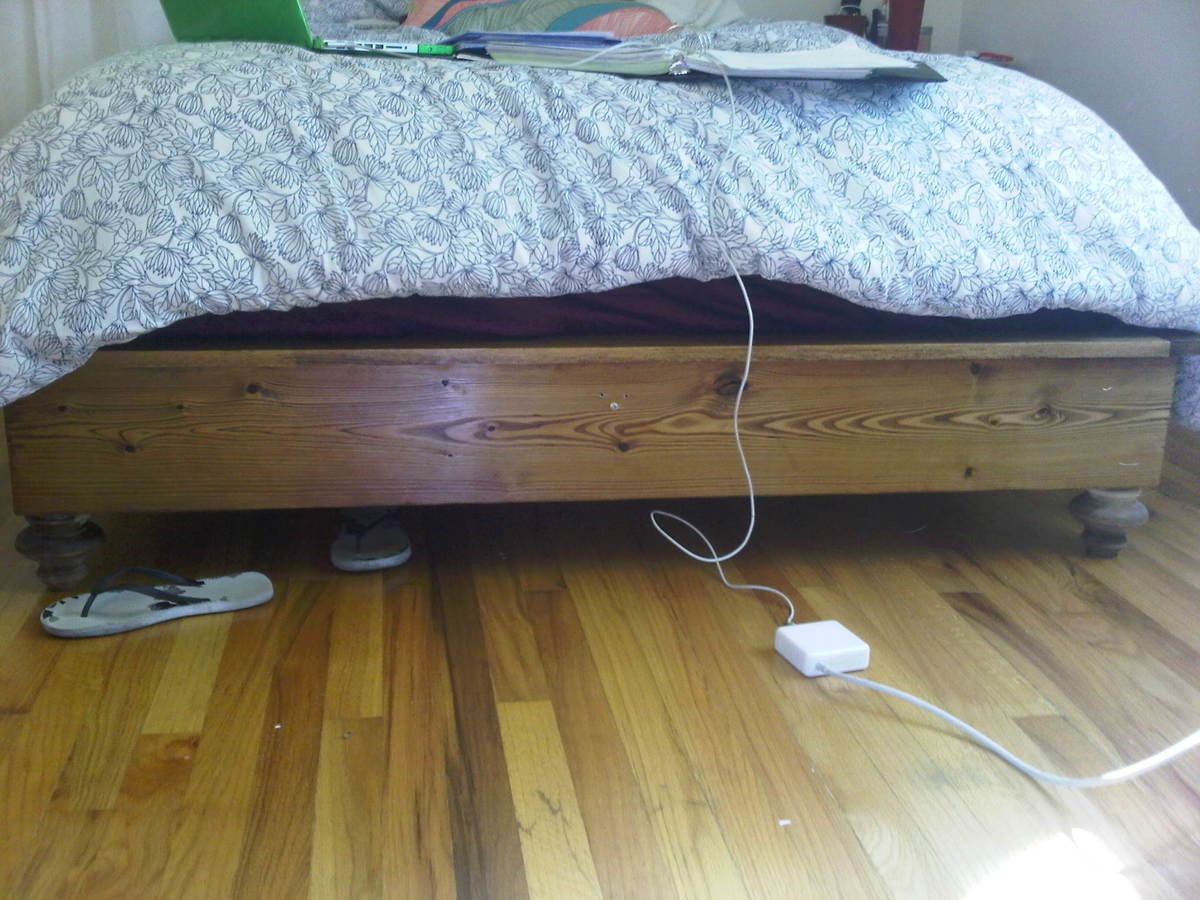
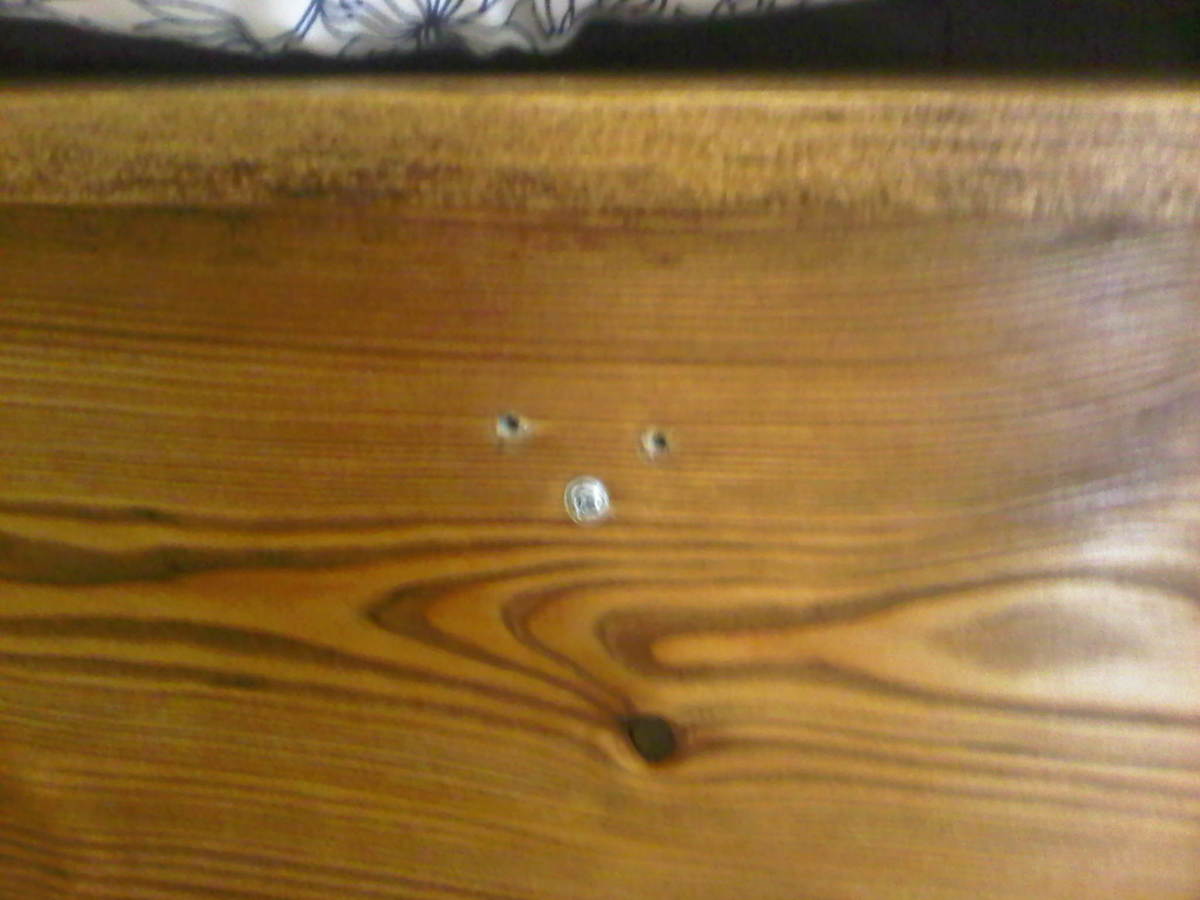
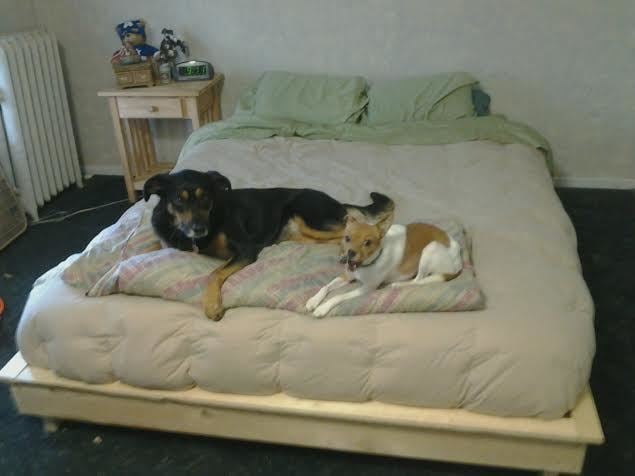
My Hailey/Chestwick Bed Combo?
I'd say all together i spent about 5 days working on this... but i did it all by myself and i'm a newbie! I used studs i found at home depot. My tulip legs were $8 dollars a pop and I bought a drill/kregjig and sanding paper because I've never built anything before. I hand sanded the whole thing!!!! This was my first build... but it did break once: For the center support i used two 2 1/2" screws and screwed it from the outside and the screws just ripped through the wood. but i replaced it.. put in new screws and attached little 1x2 pieces under both ends and i plan to adding 2 legs in the center. You an see in the photos i attached where the old screws were, and how i solved the problem under the bed by adding the like 1x2 pieces. I've had it for 2 weeks completed now.. and although the center support gave out once... it's been good and solid since! I hope this was help to anyone considering making this bed! P.S. just buy a sander... hand sanding is painful and boring!


Built from Plan(s)
Estimated Cost
$86
Estimated Time Investment
Week Long Project (20 Hours or More)
Finish Used
Minwax Dark Walnut Stain
Minwax fast drying polyurethane
Minwax fast drying polyurethane
Recommended Skill Level
Beginner
Amazing Beginner Project!
What a great 'Beginner' project. Little mistakes or imperfections only add to its charm! This was a real confidence booster for me. I am so delighted with the results! I had most of the wood leftover from when our fence was built, so I only needed to pay for the screws, stain and hardware which made the whole project cost less than $50!
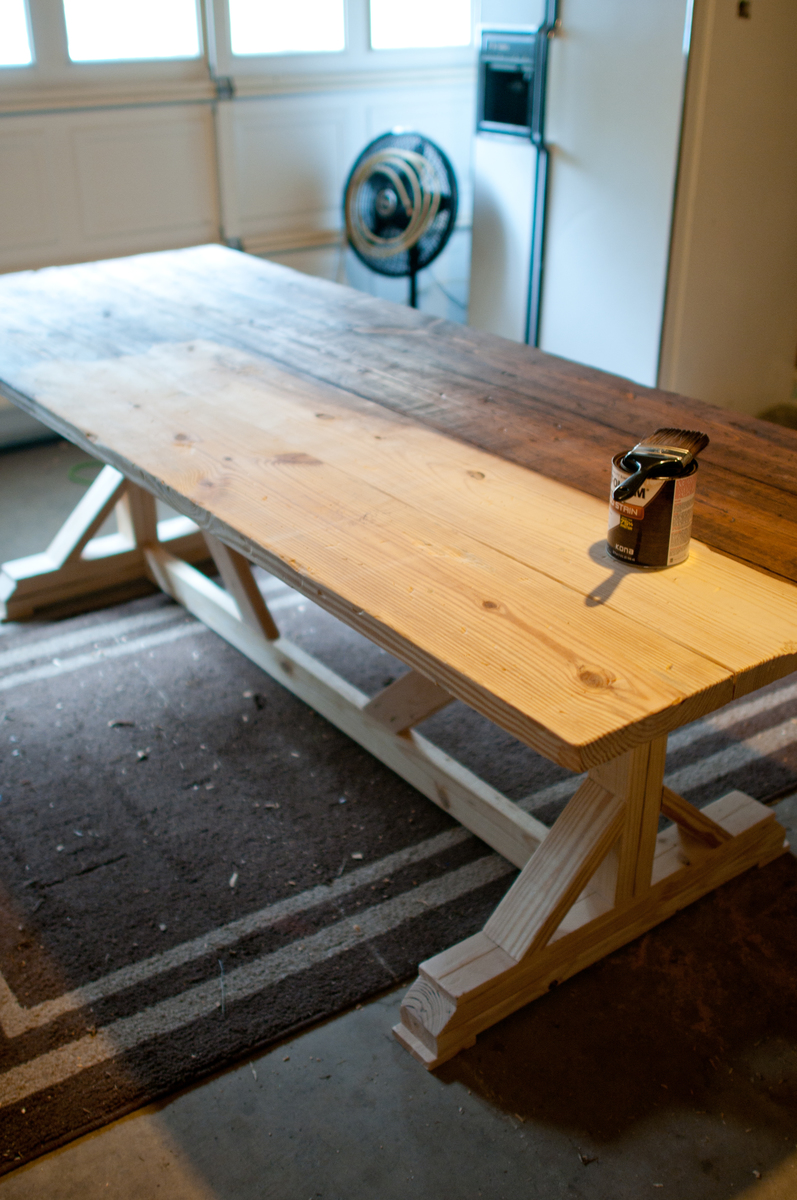
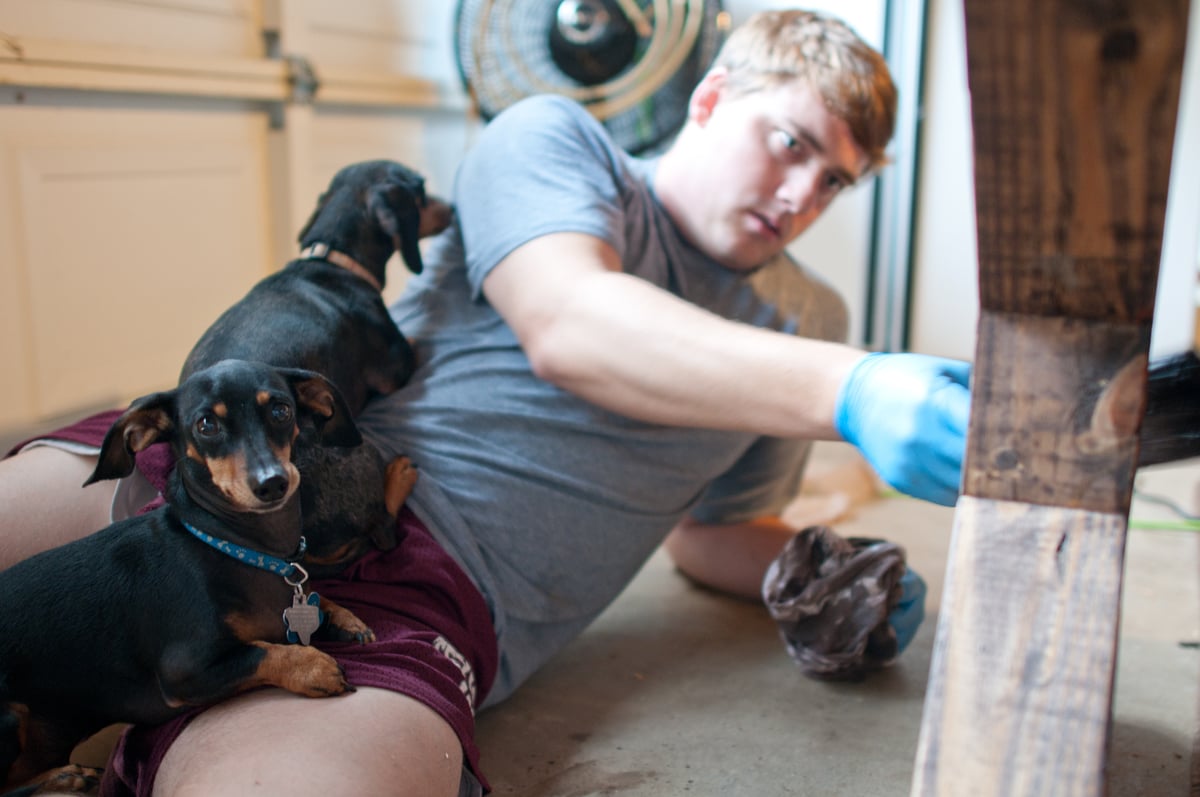
Farmhouse X Table
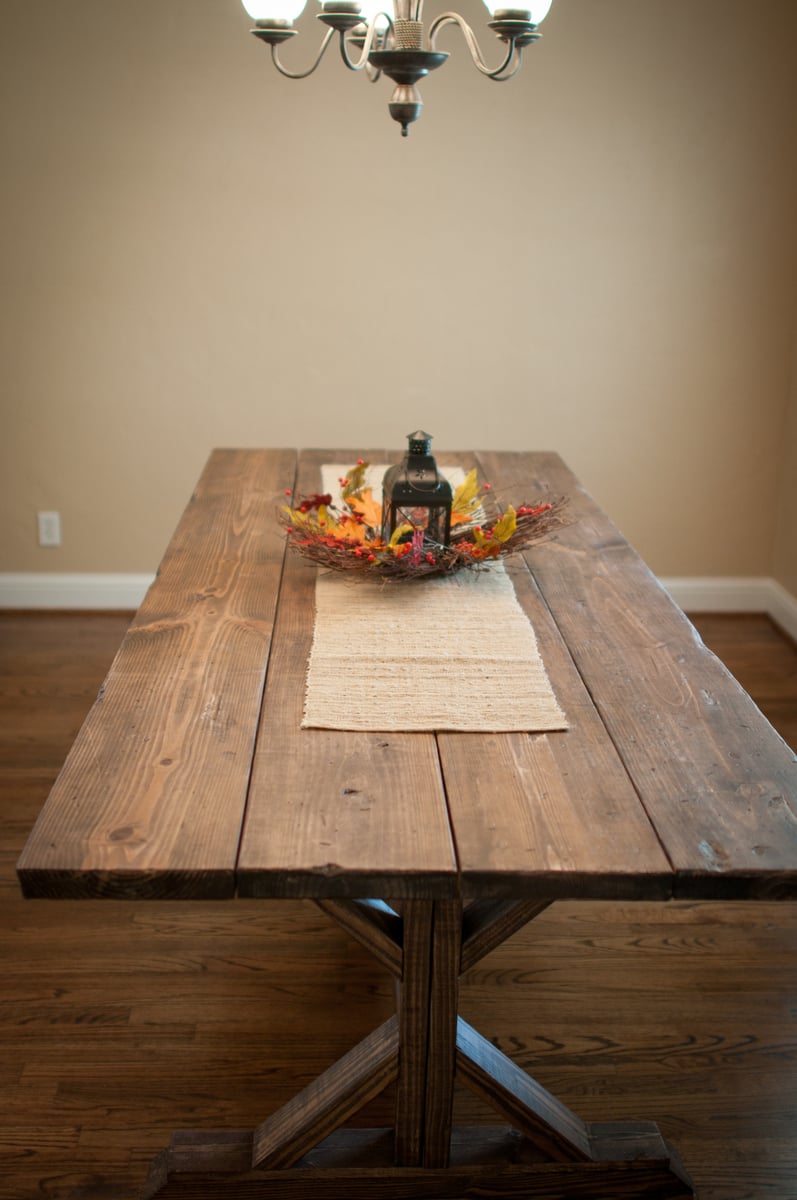
This project was pretty dang easy. My husband and I whipped this out one weekend and were pleasantly surprised with the outcome. It now sits in our dining room and we LOVE it!! We used Rust-o-leum's Kona stain and it could not have been more perfect of a color. We used a brush to apply in sections and wiped it off immediately. Before staining we beat it with chains, hammers, screws, etc. And we also scraped it up and gouged it out with screw drivers, crowbars, and any other items we could find. Be sure and sand it down really well. We finished it off with a matte finish polyurethane. Thanks for the designs! We are on to table number 2 now! Jordi

Built from Plan(s)
Estimated Time Investment
Afternoon Project (3-6 Hours)
Finish Used
Rust-o-leum's Kona; matte finish polyurethane
Recommended Skill Level
Beginner
Comments
First Project!!!
Queen- Hailey Platform Bed
This is my first build. I have always had metal loft beds and it's so nice to have something lower and not so noisy. Had to alter for a Queen- no problem.
My dad helped me out and now I know how to work all the tools pretty well. We used a countersink for all the screws instead of a kreg jig.
All that is left is to stain and I have not decided if I want a headboard yet. Definitely the first of many projects!!!
Built from Plan(s)
Estimated Cost
under $100
Estimated Time Investment
Day Project (6-9 Hours)
Recommended Skill Level
Starter Project
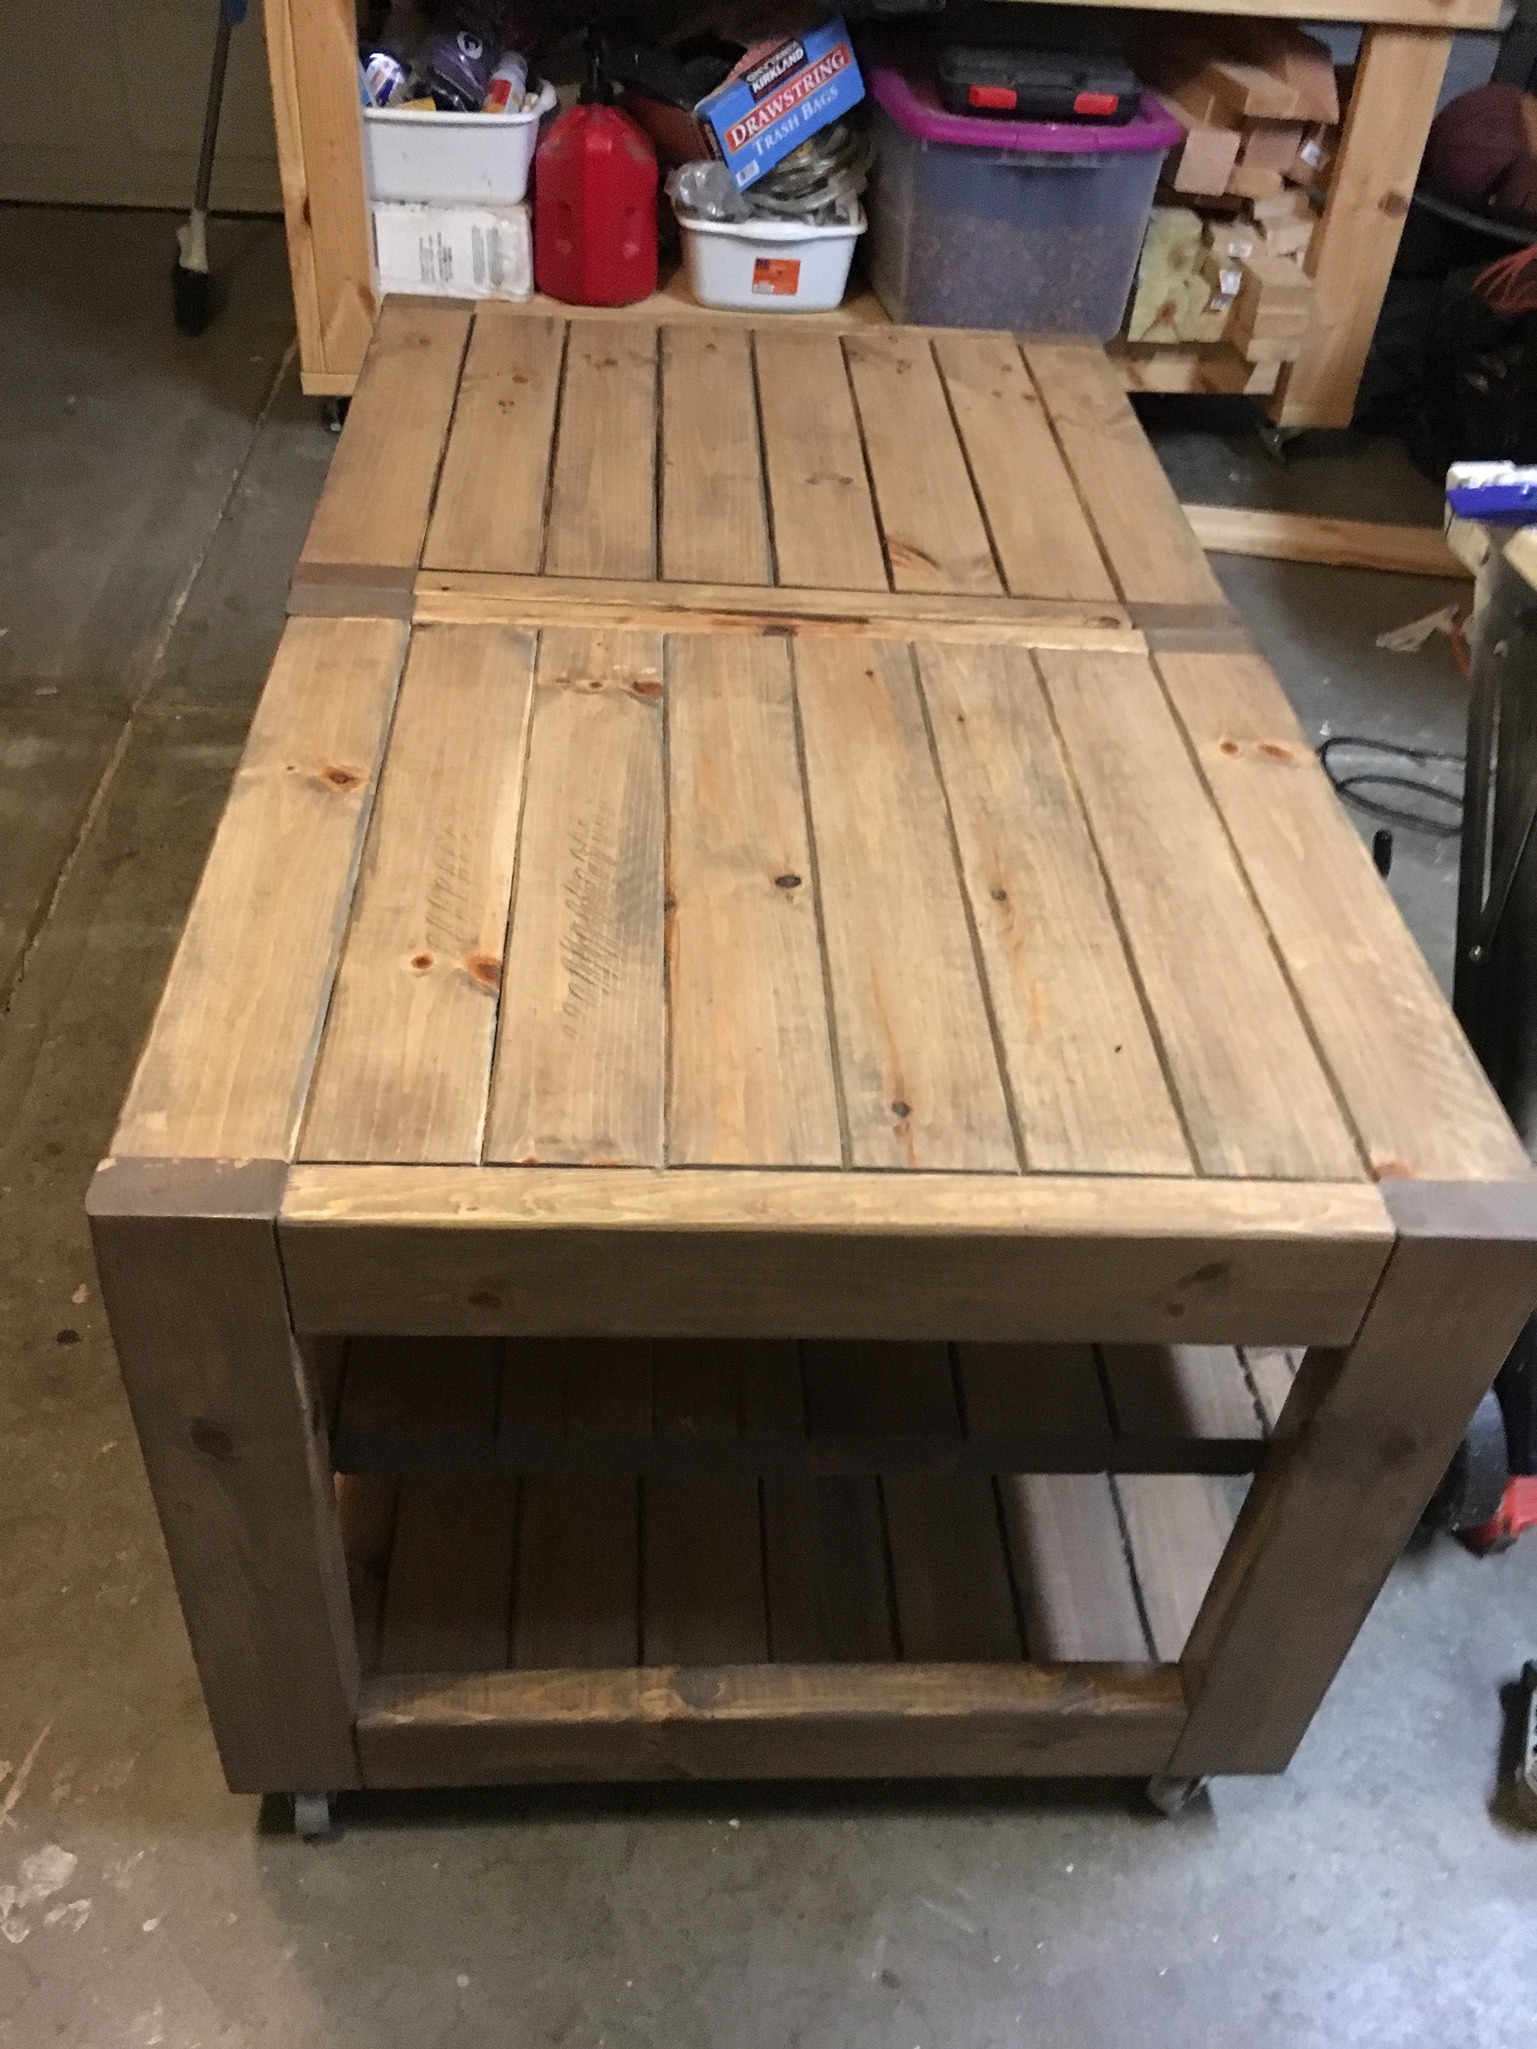
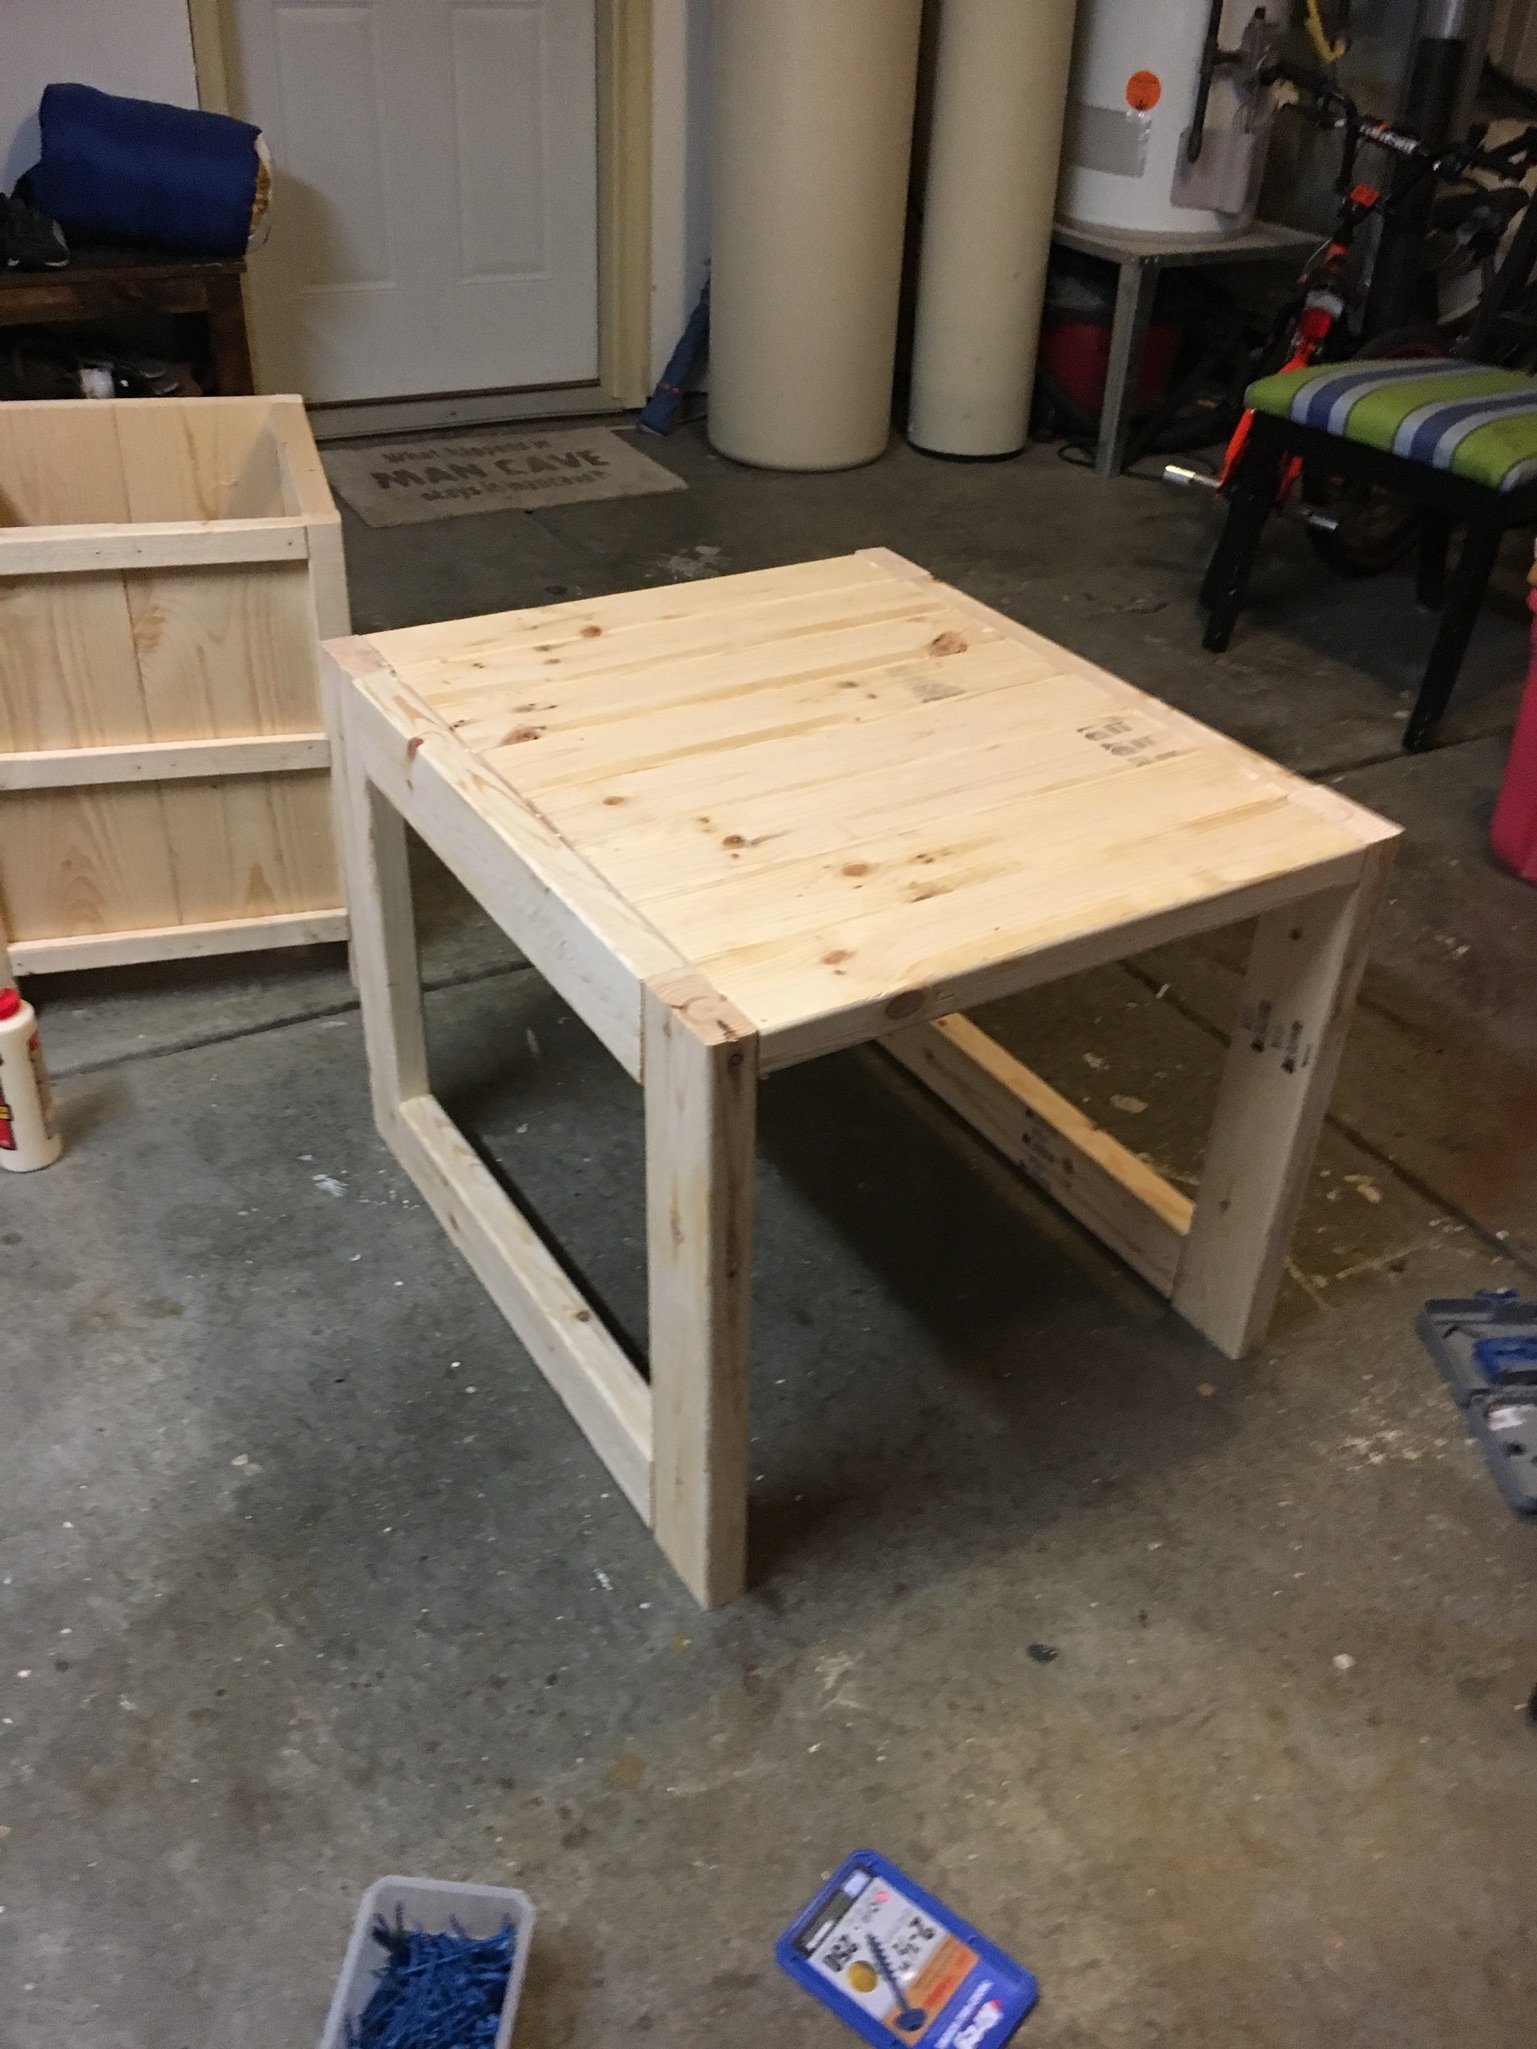
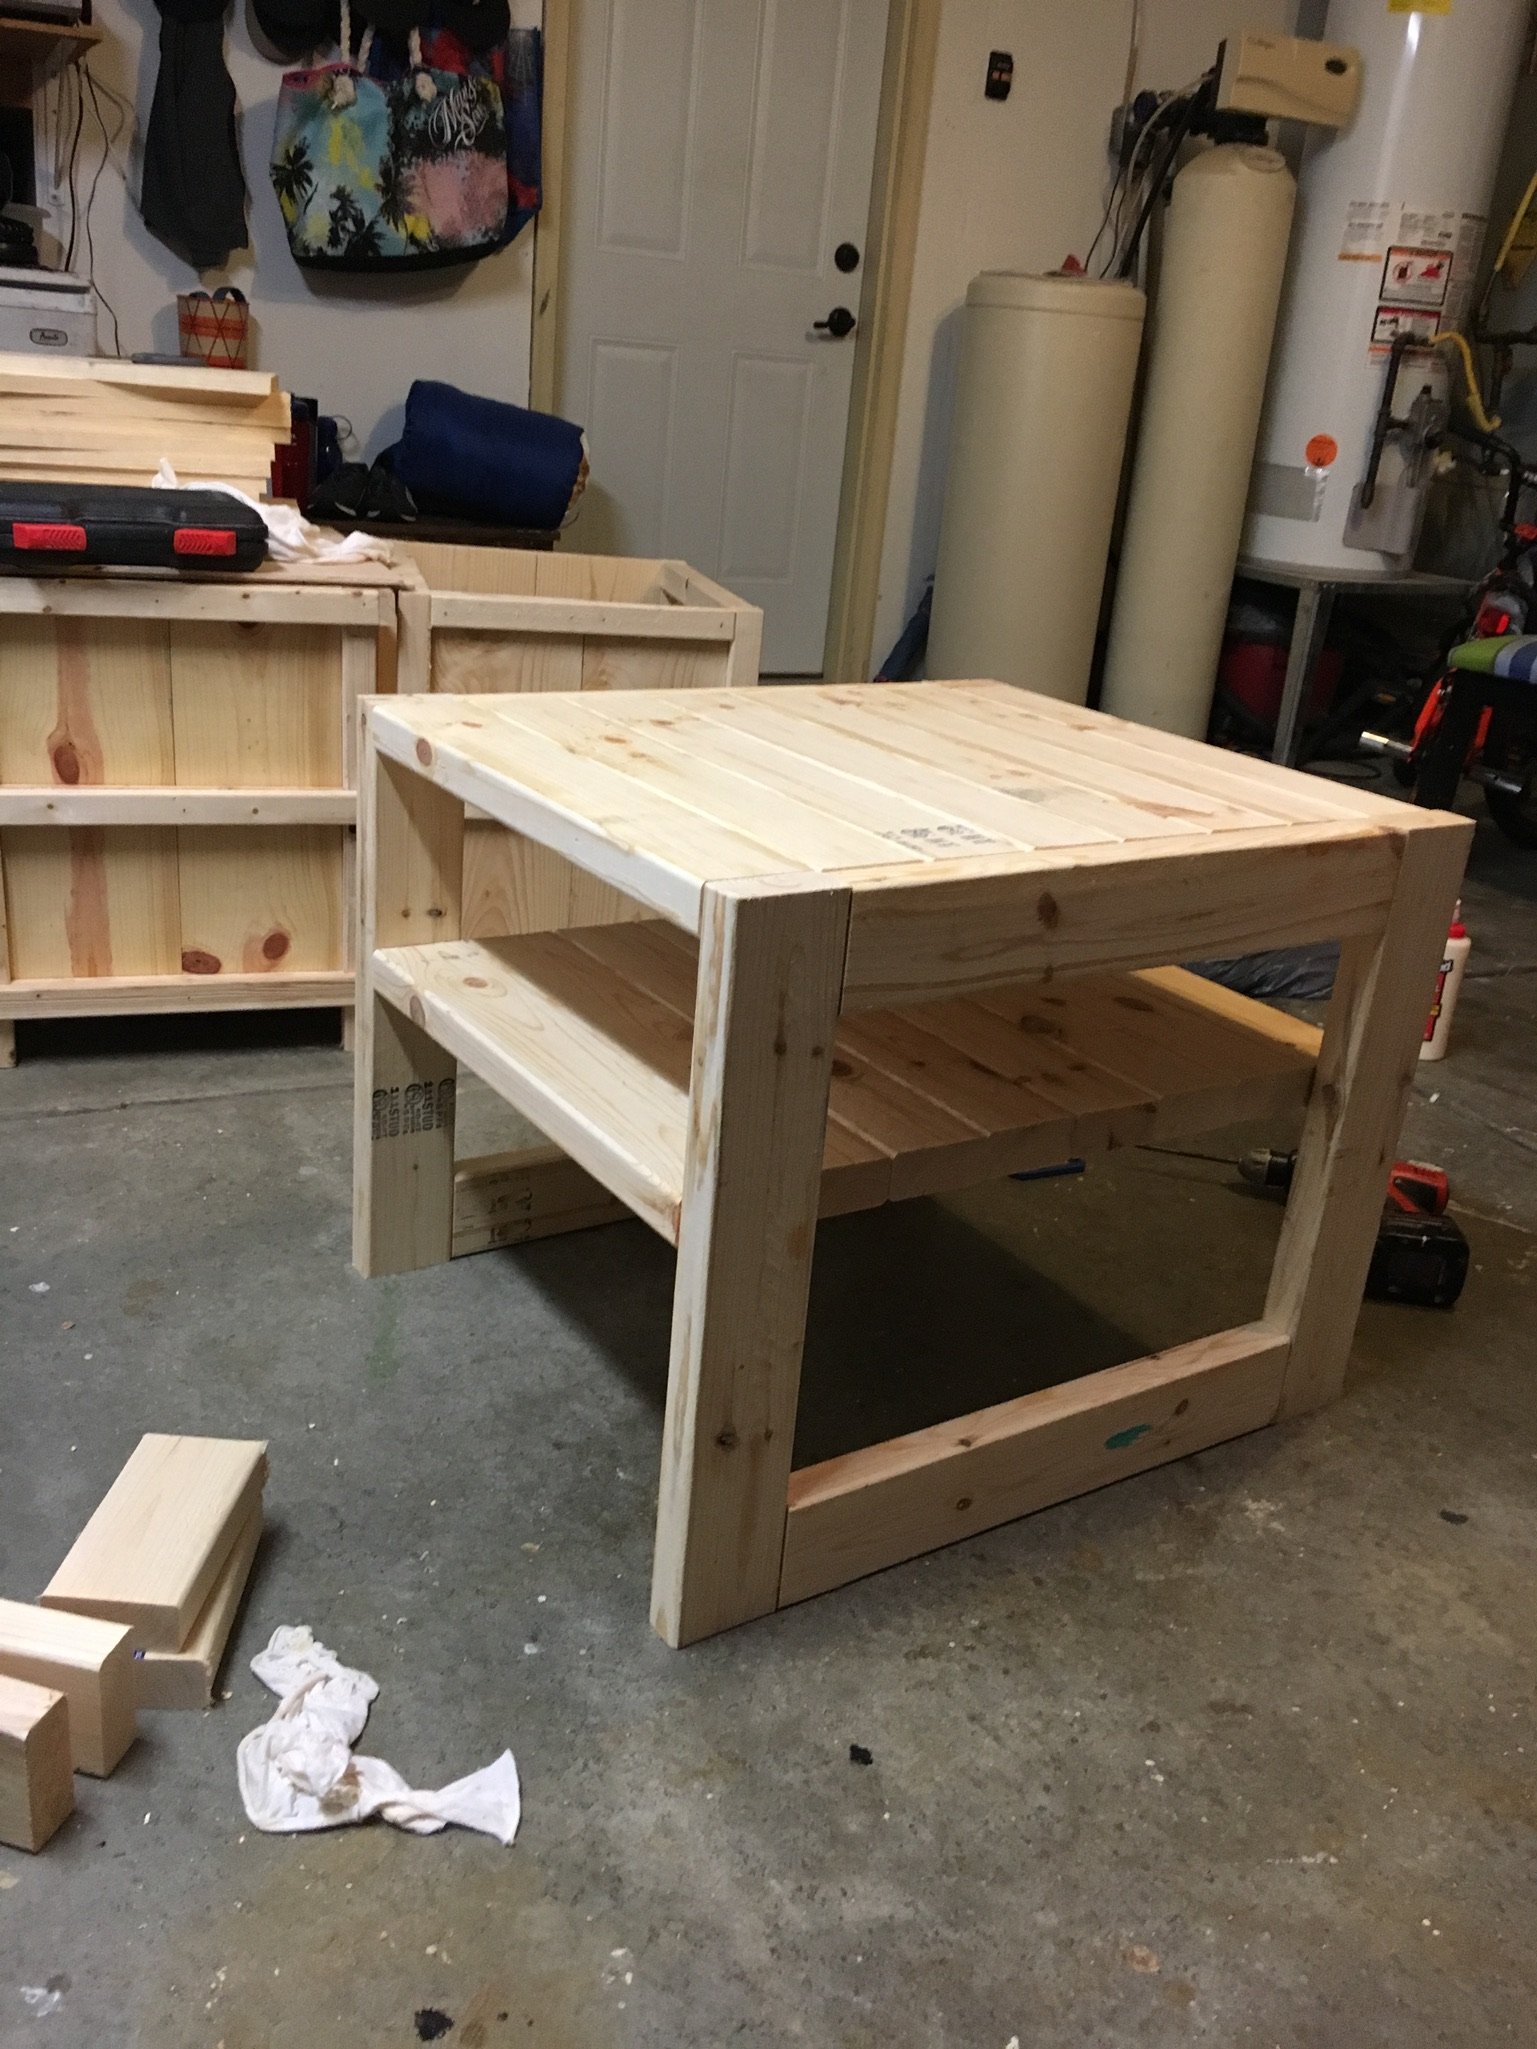
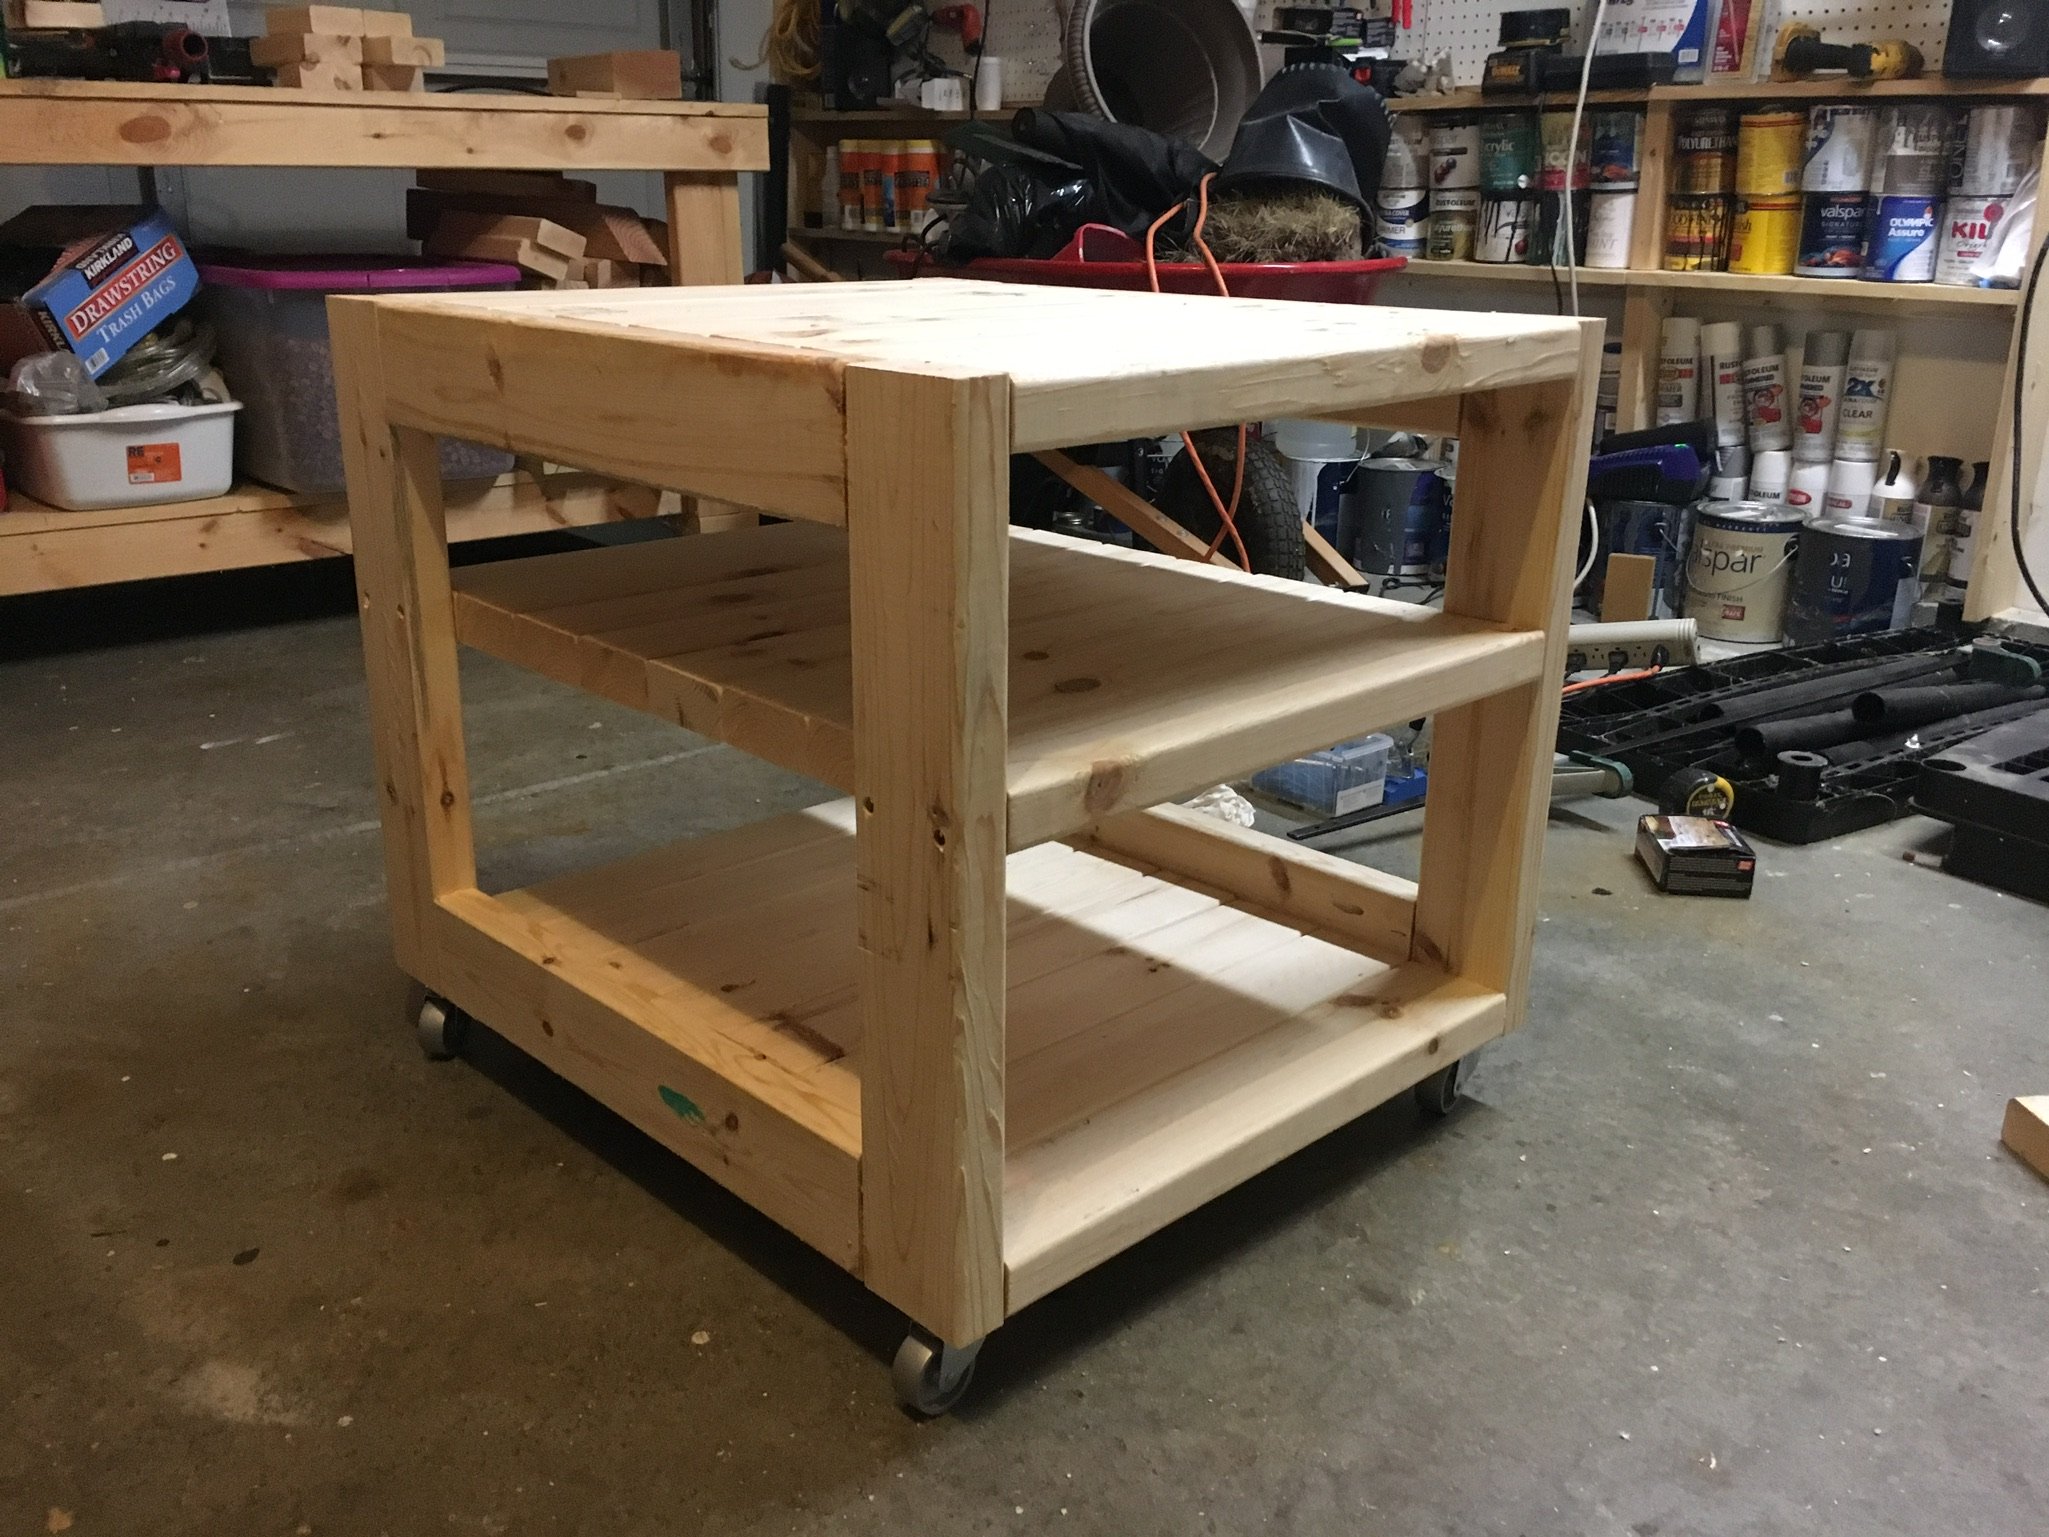
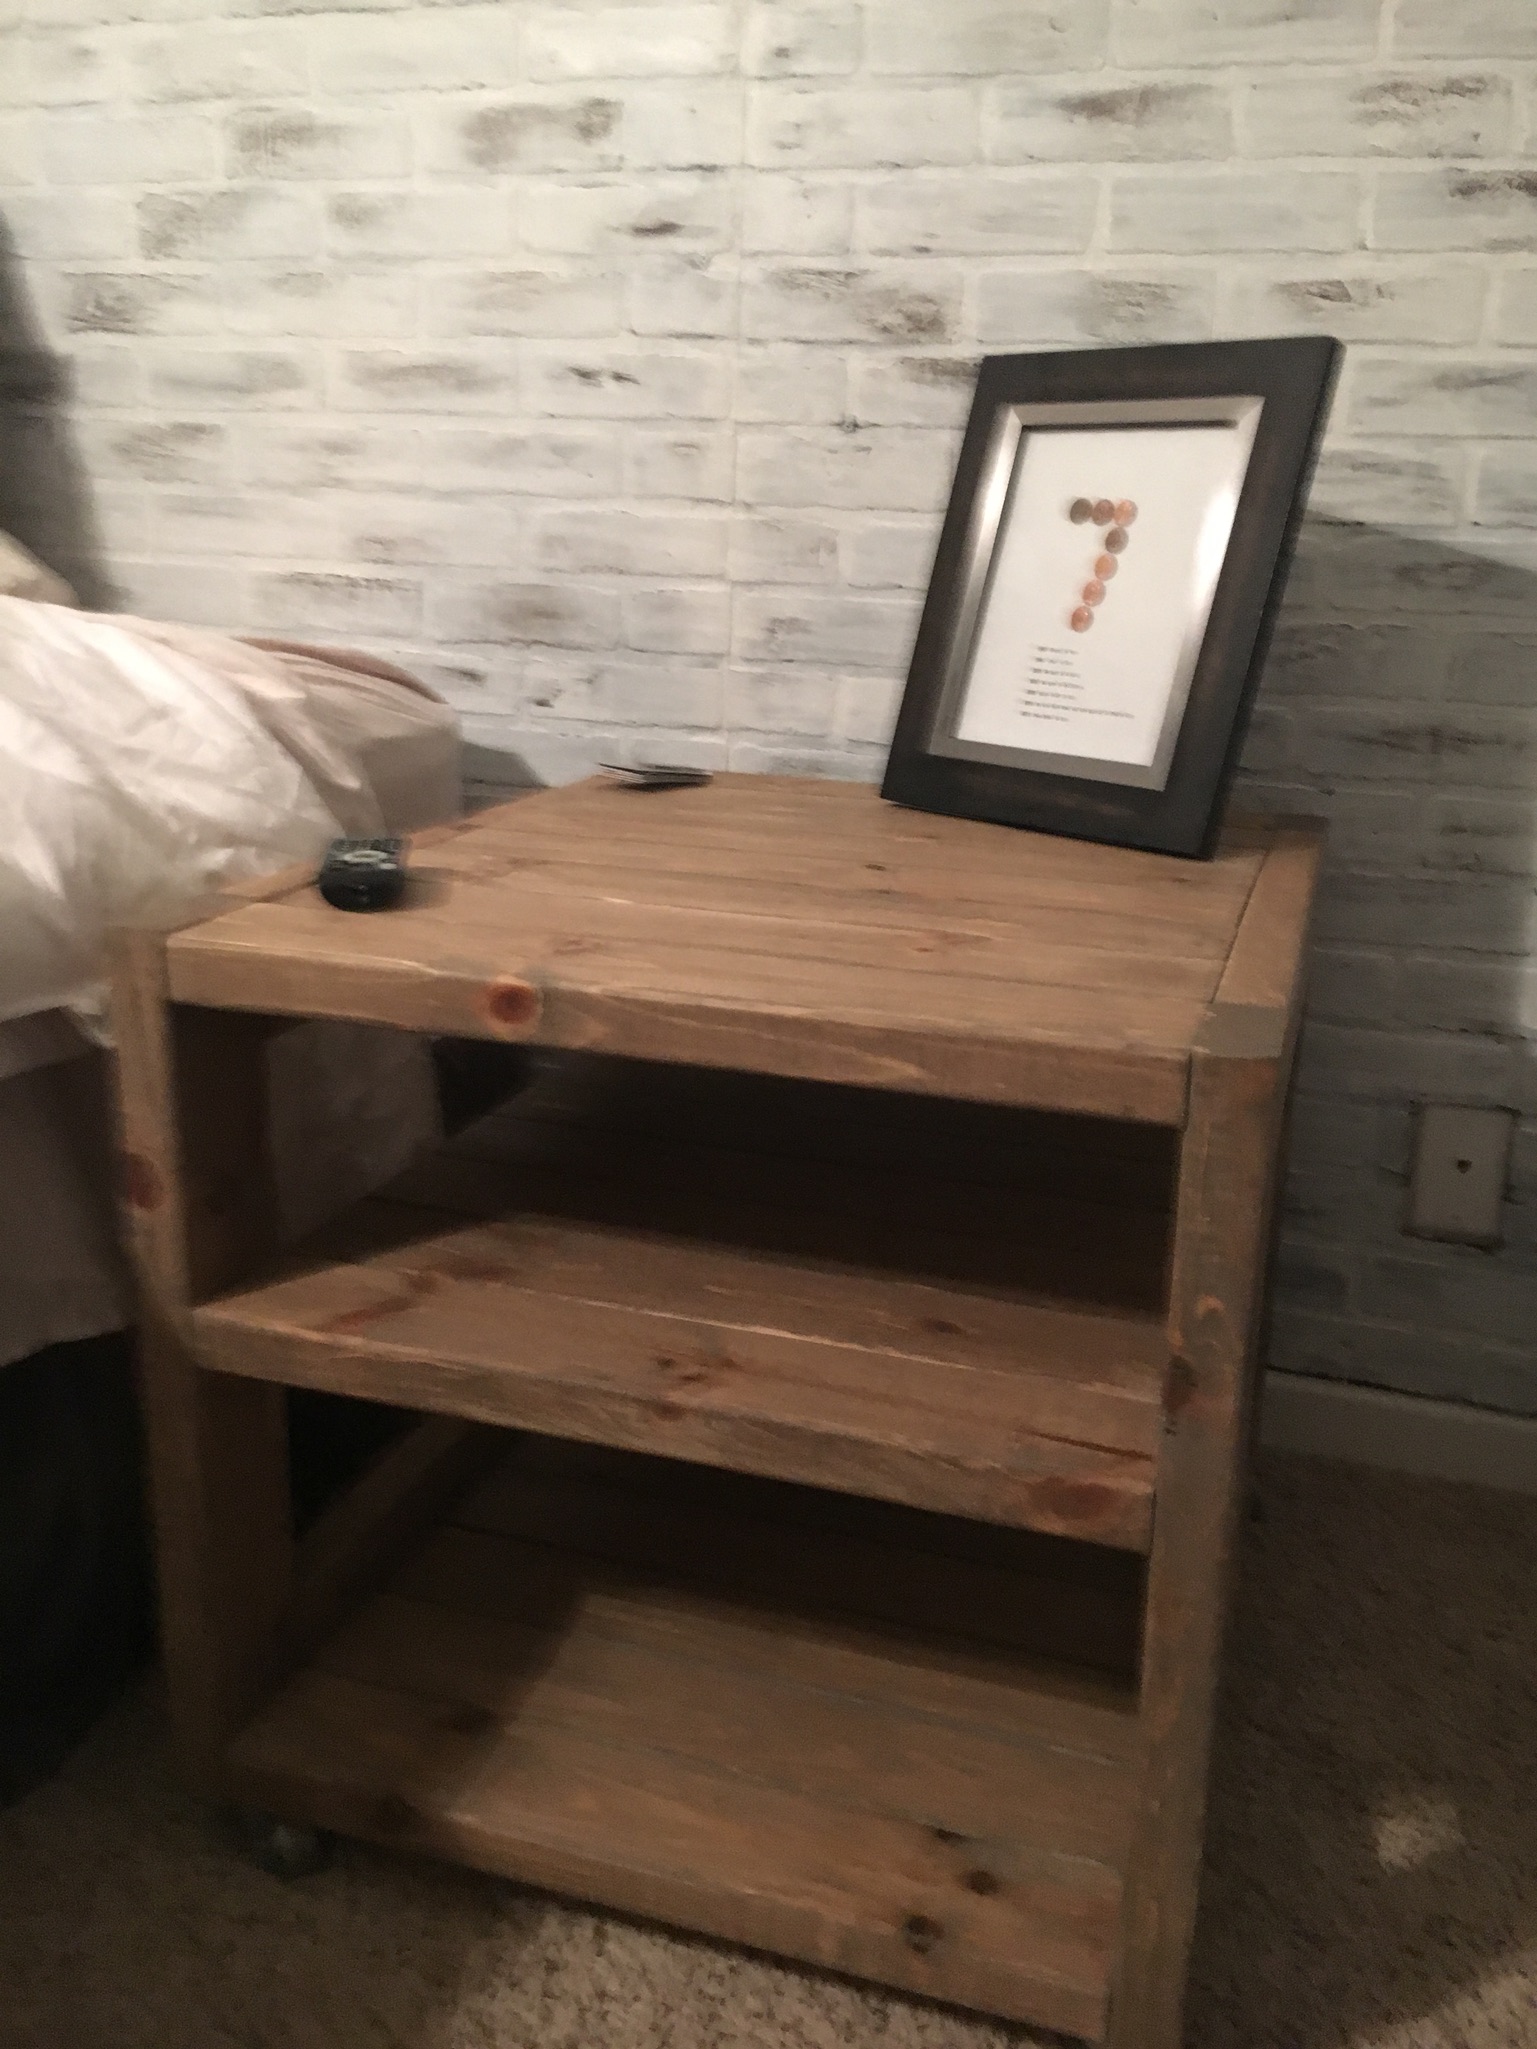
Night Stands
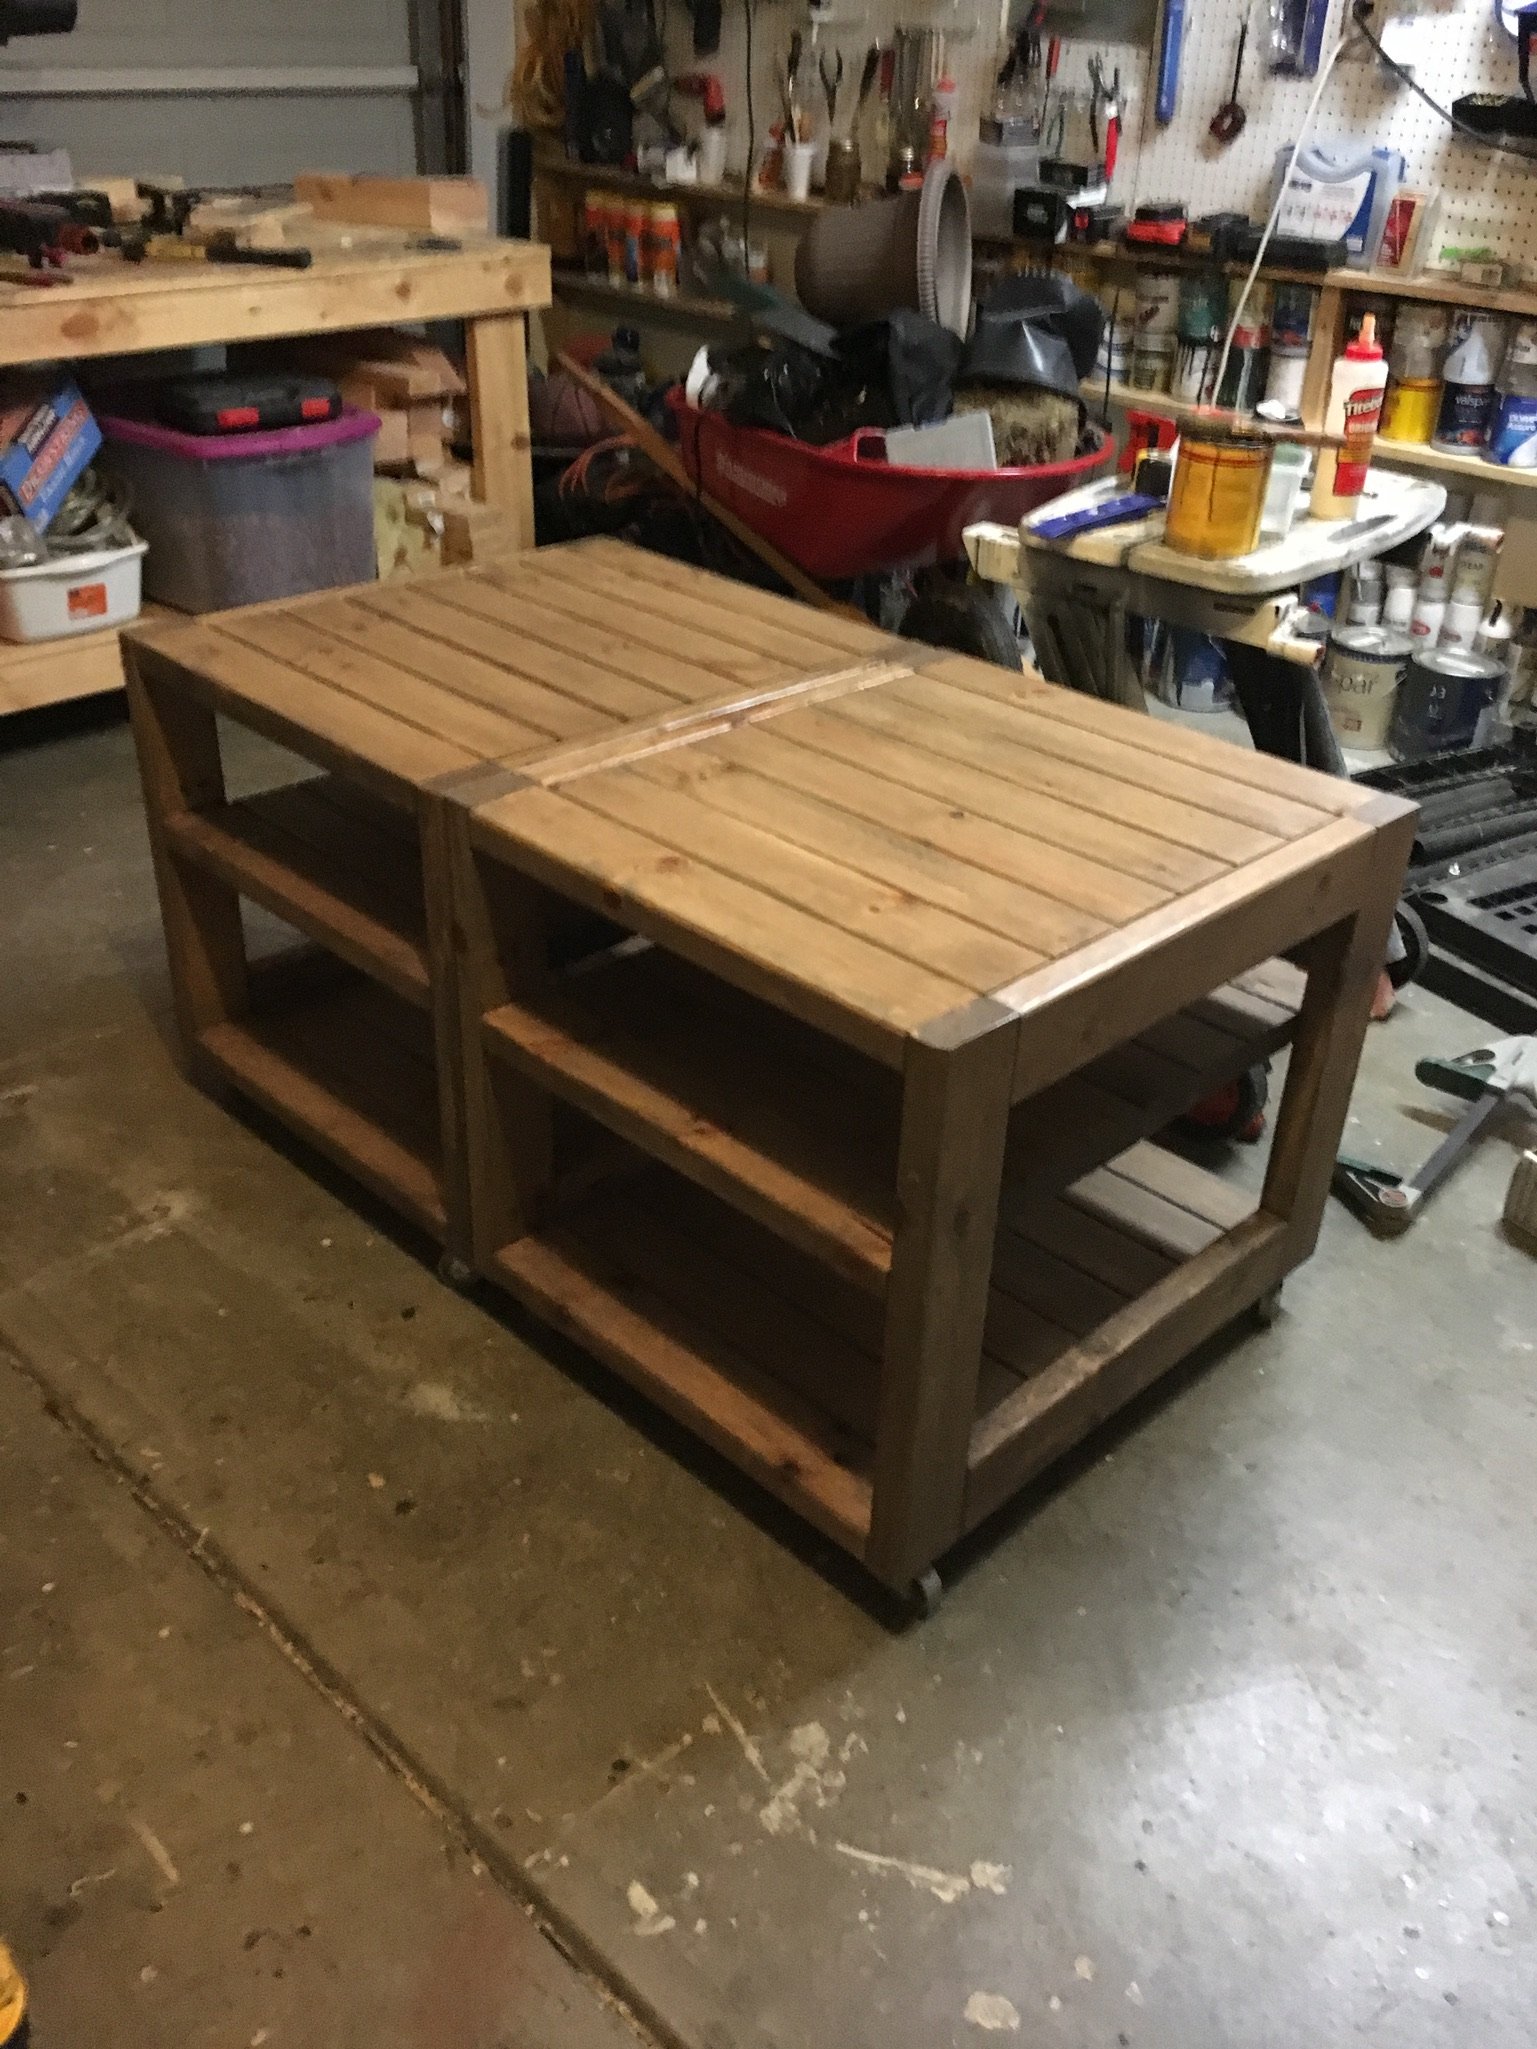
I made this project with all 2X4's and 2.5 in pocket holes. This took 8 2X4's. To add the industrial look, I added some metal casters on the bottom. I haven't finished it 100%, but will add some metal corner brackets on it as well. This project was super easy to make. Took me about 6 hours to cut and build (2 tables). And another 3-4 hours to sand, stain and finish.
Estimated Cost
$55 per table ( because of the cost of wheels, screws, and corner brackets). The wood only cost $20-$25 per table.
Estimated Time Investment
Day Project (6-9 Hours)
Finish Used
1 coat of Minwax Weathered oak. Let that dry. Then 1 light coat of minwax special walnut. After that dried, I used minwax finishing wax instead of Poly. I like the rough/natural look that it gave in the end.
Recommended Skill Level
Beginner
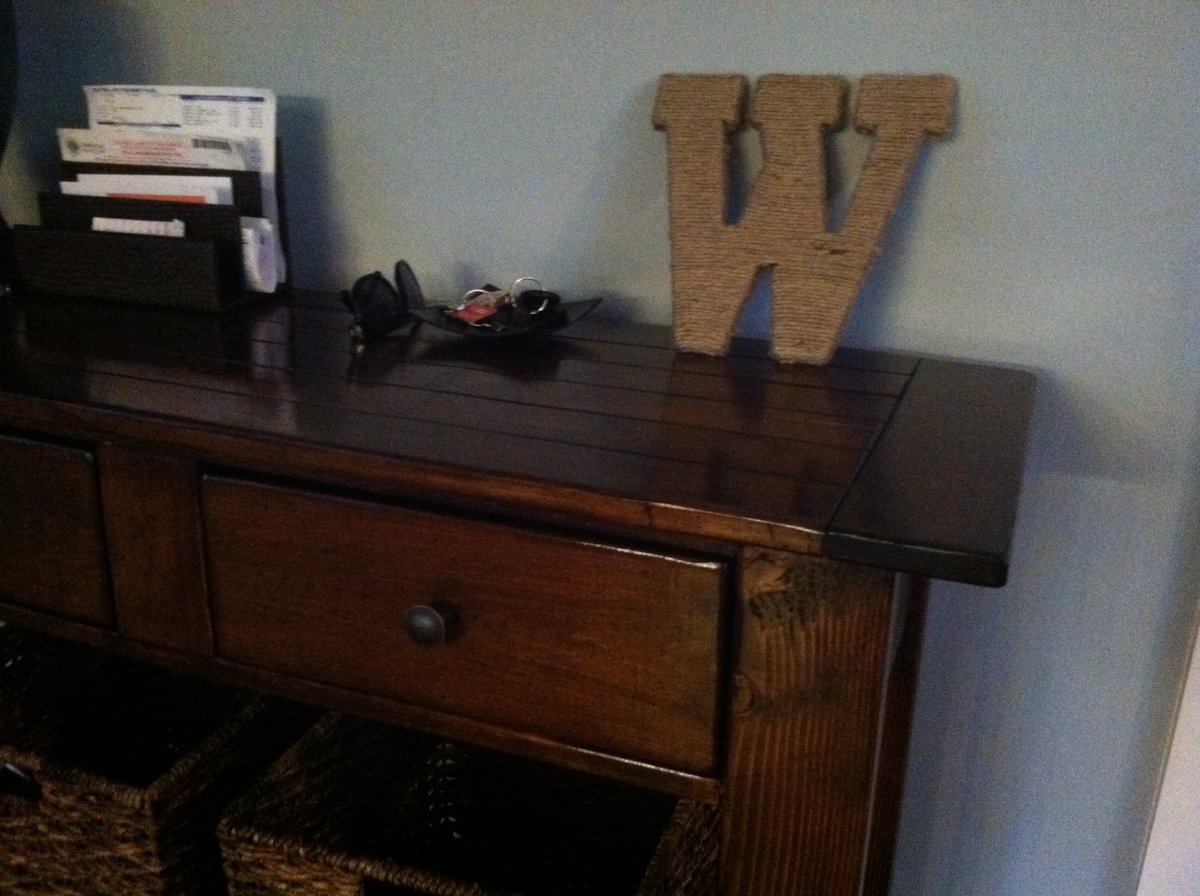
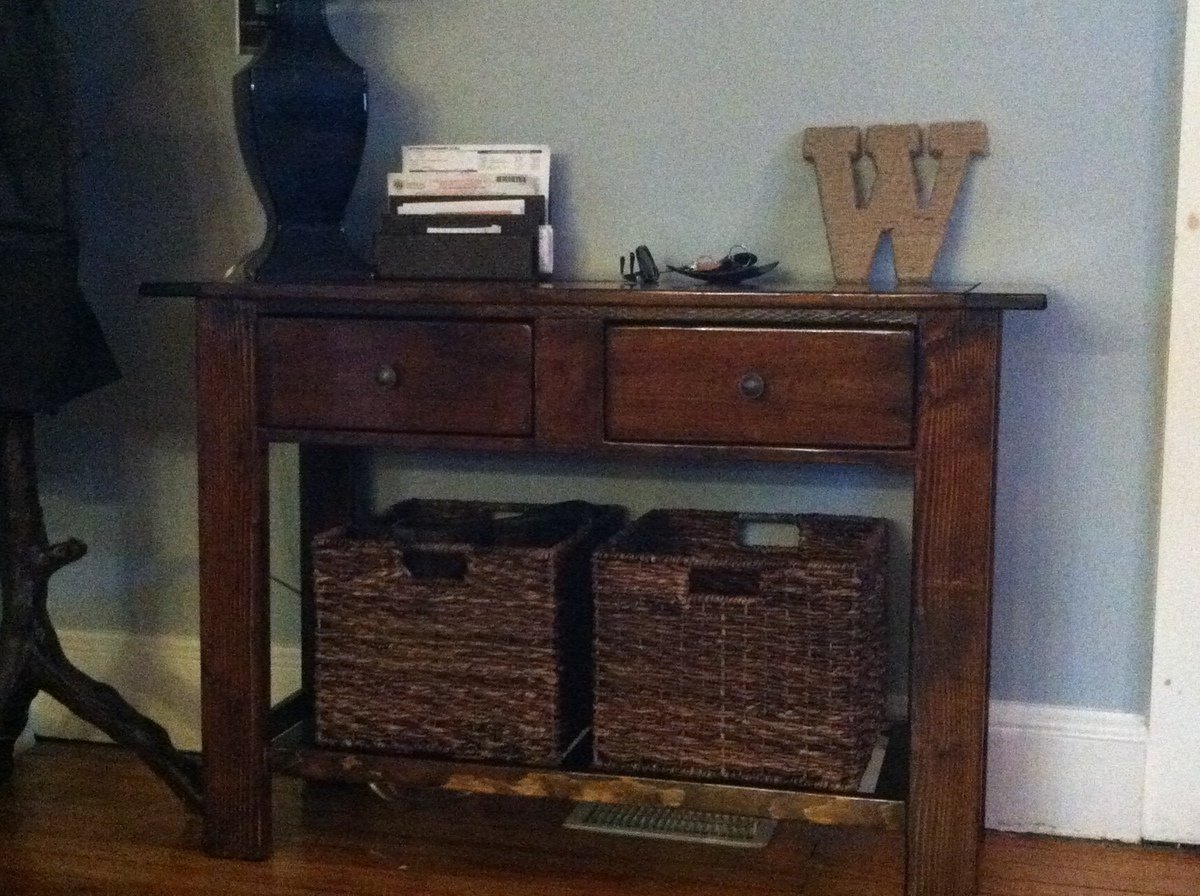
Benchwright/Tryde Console Table
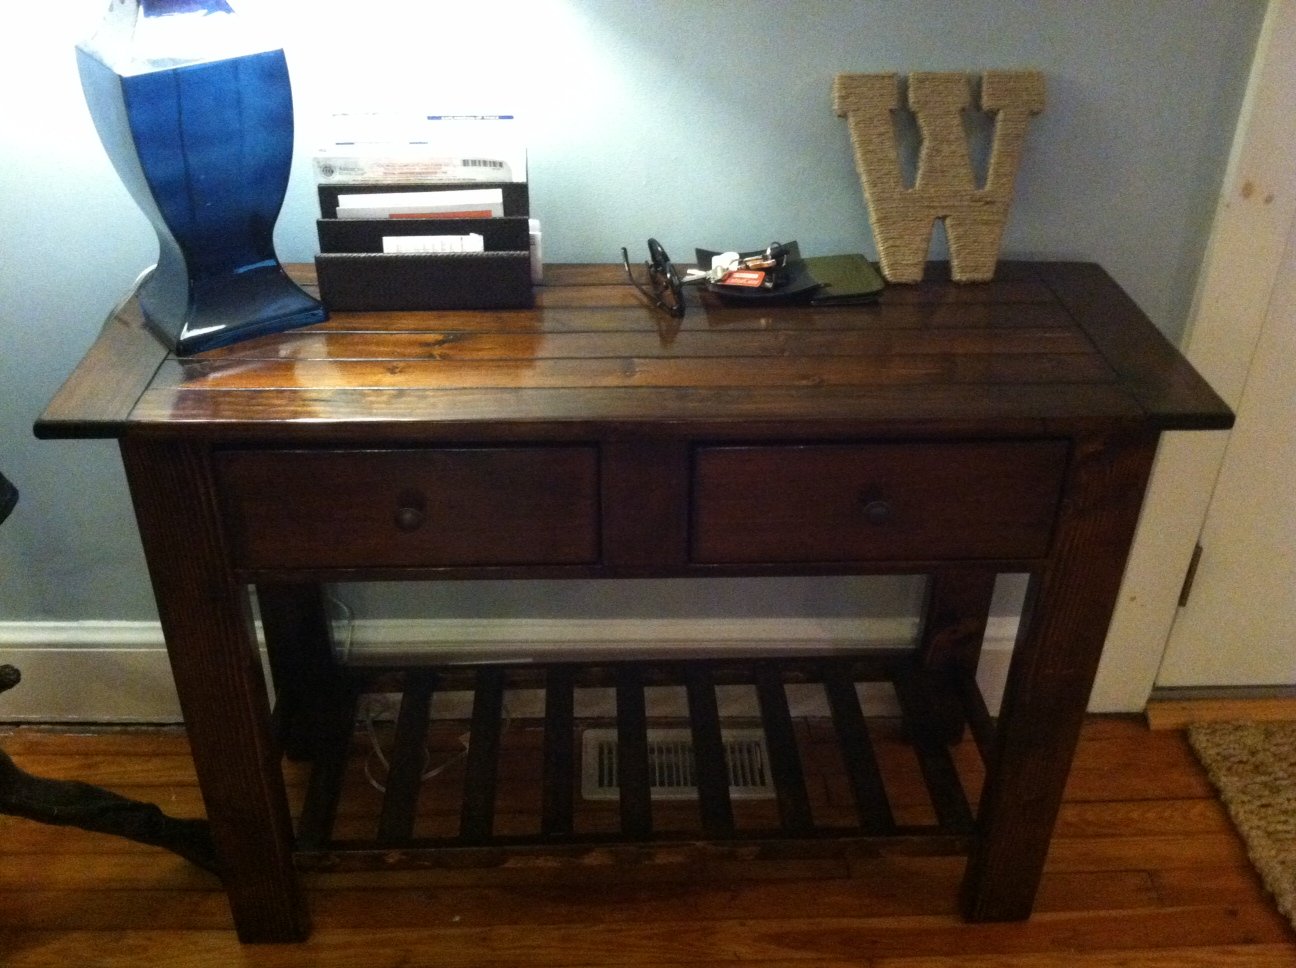
I ended up combining two of the different plans (Benchwright, Tryde) because I wanted something that matched my Hyde Pottery Barn coffee table but that had drawers. My console table only needed to be 44" wide, so I ended up removing the middle 2x4 that was part of the Benchwright plan. I also used 1x2s for the bottom shelf because it was over a vent, and I knew that I was going to be using baskets for storage down there. I also used actual drawer slides because I knew that my console table would be used pretty frequently. The hardest part of the whole table was installing the drawers and making sure they were sliding smoothly and that the front of the drawers were flush with the front of the console table. Favorite part of the entire plan was the planket top...I love how it turned out!

Built from Plan(s)
Estimated Cost
$75
Estimated Time Investment
Week Long Project (20 Hours or More)
Finish Used
Was trying to as closely match the mahogany stain that Pottery Barn uses on their hyde collection. Used two coats of Minwax Walnut stain and then one coat of Behr Mahogany on the console table before finishing up with 3 coats of semi-gloss polyurethane.
Recommended Skill Level
Intermediate
Comments
Thu, 02/23/2017 - 13:16
Beautiful!
This is exactly what I have been looking for! Are the legs made out of 4 x 4's?
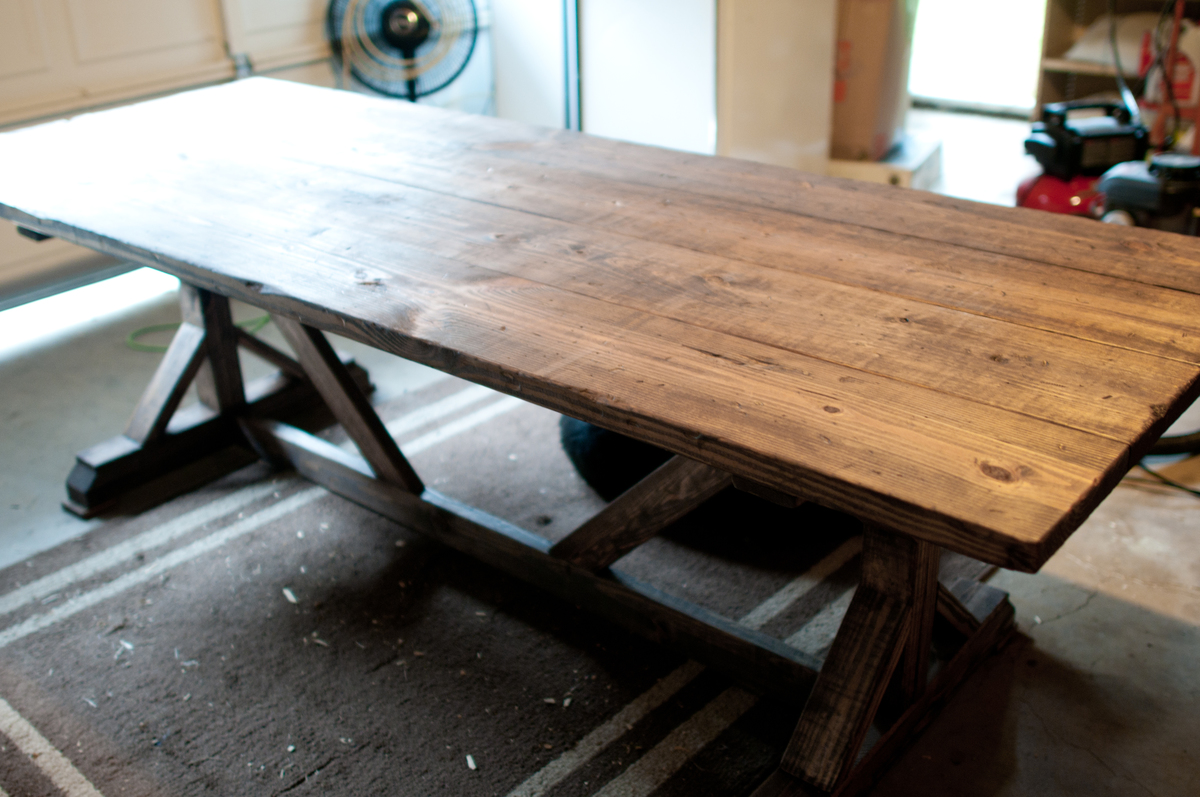
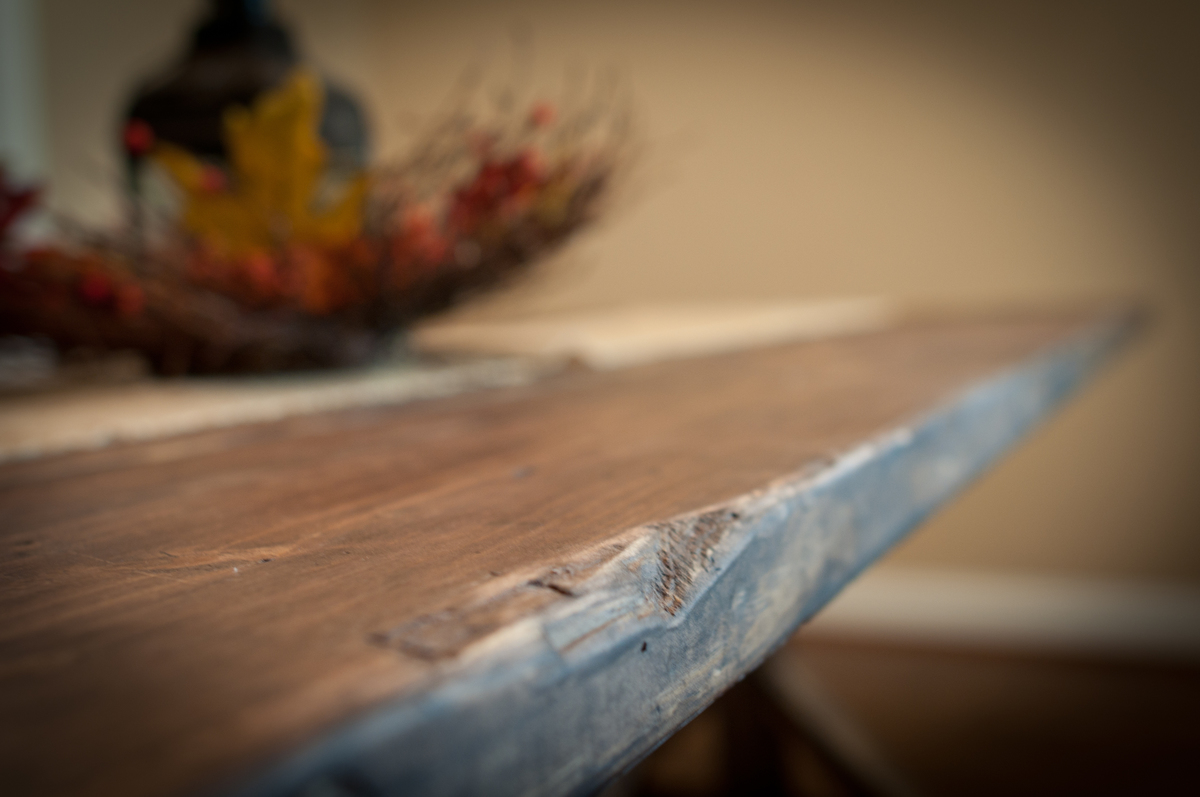
Farmhouse Table
This was my first project and couldn't be more pleased. Took about 20 hrs, and $120 including new materials (brushes, etc.) with borrowed tools. I filled cracks on top of table with wood putty and stained with Mission Oak; looks great, but make sure to dry wood putty with heater or hair dryer to avoid cracks if you go this route. Thanks Ana for the plans!
Estimated Time Investment
Week Long Project (20 Hours or More)
Finish Used
Mission Oak
Recommended Skill Level
Starter Project
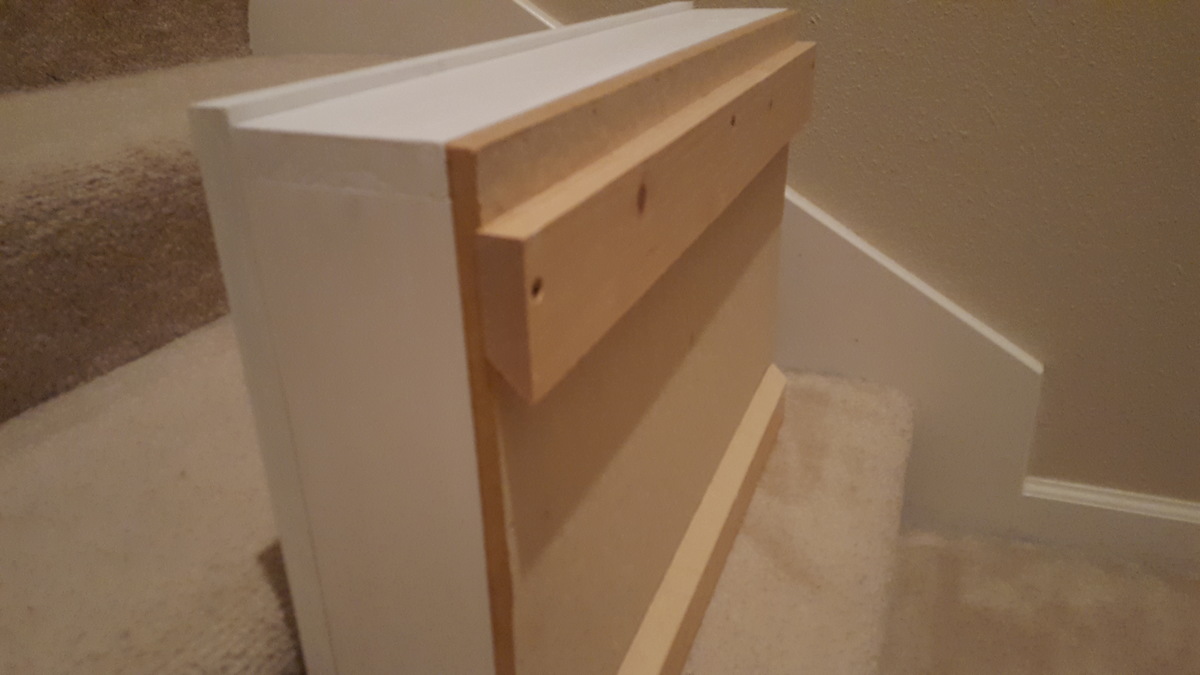
Simply White Homework Desk
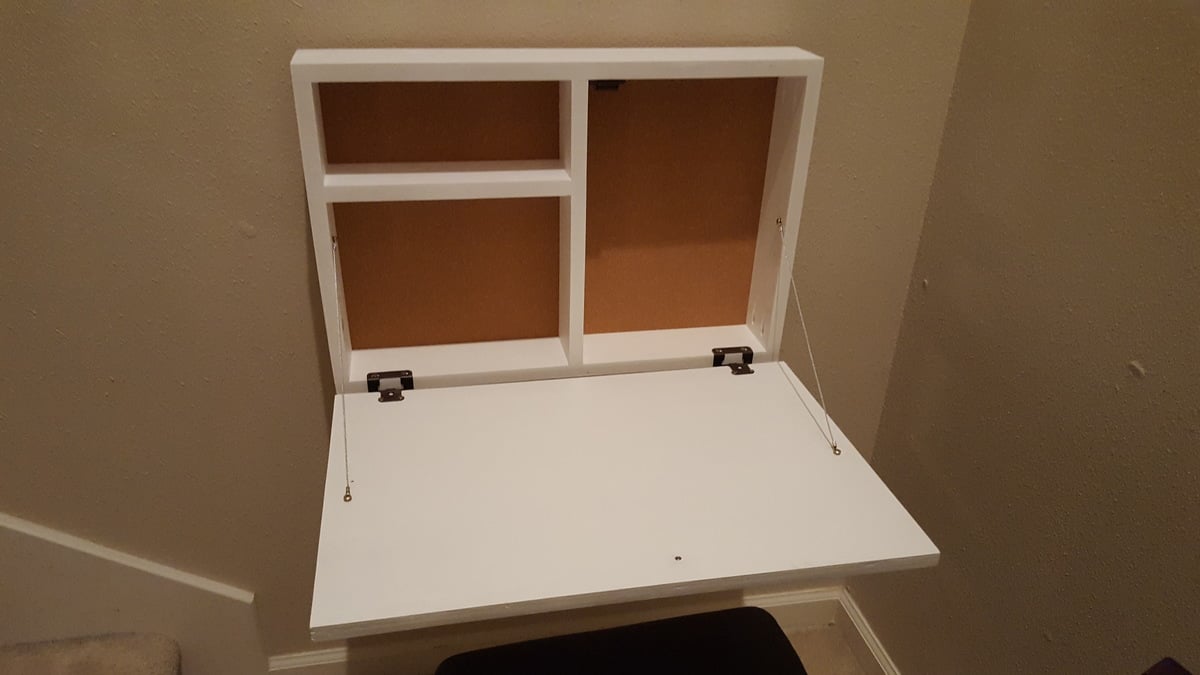
Had to make some modifications since I was using some old hinges. Use some 1/16" cable with an eye fitting on either end. Since my kids have a habbit of leaning, standing, jumping, and hanging on things I attached it to the wall using a french cleat system using a circular saw. Pretty easy to do and extremely stable. Last mod was the corkboard on the back for my wife to post homework and to-do lists.

Estimated Time Investment
Weekend Project (10-20 Hours)
Finish Used
White Paint
Recommended Skill Level
Beginner
DIY Box Planters
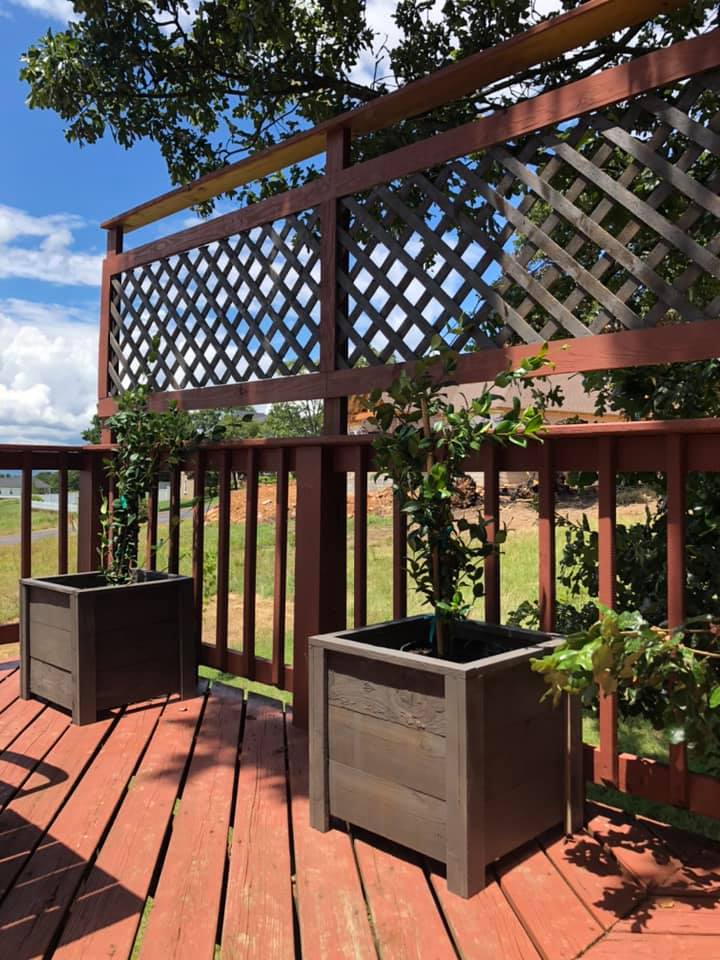
Love how these turned out! Knocked them out pretty quick too. Perfect for my jasmine that I'm training up my lattice.
Built from Plan(s)
Estimated Cost
$20
Estimated Time Investment
An Hour or Two (0-2 Hours)
Finish Used
Krylon Otter Brown Spray paint
Recommended Skill Level
Beginner
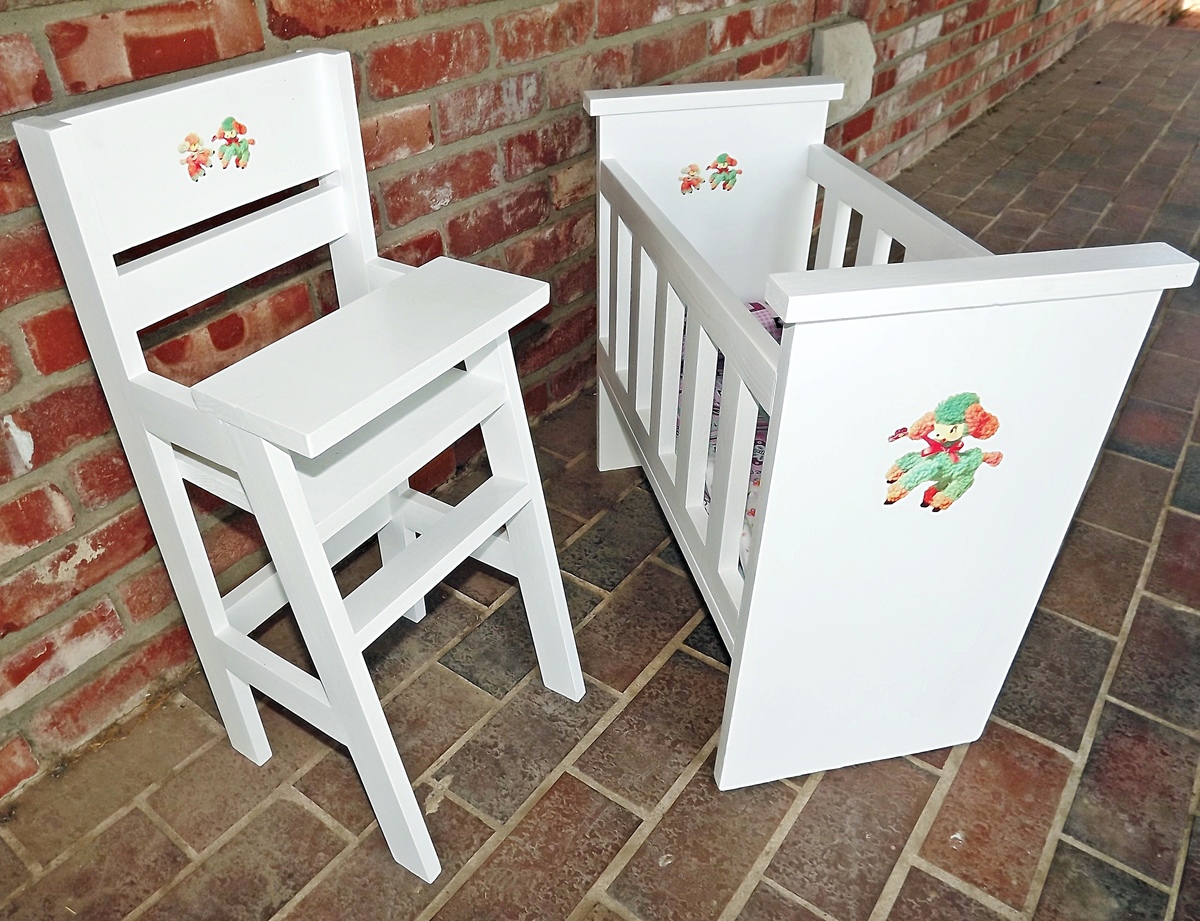
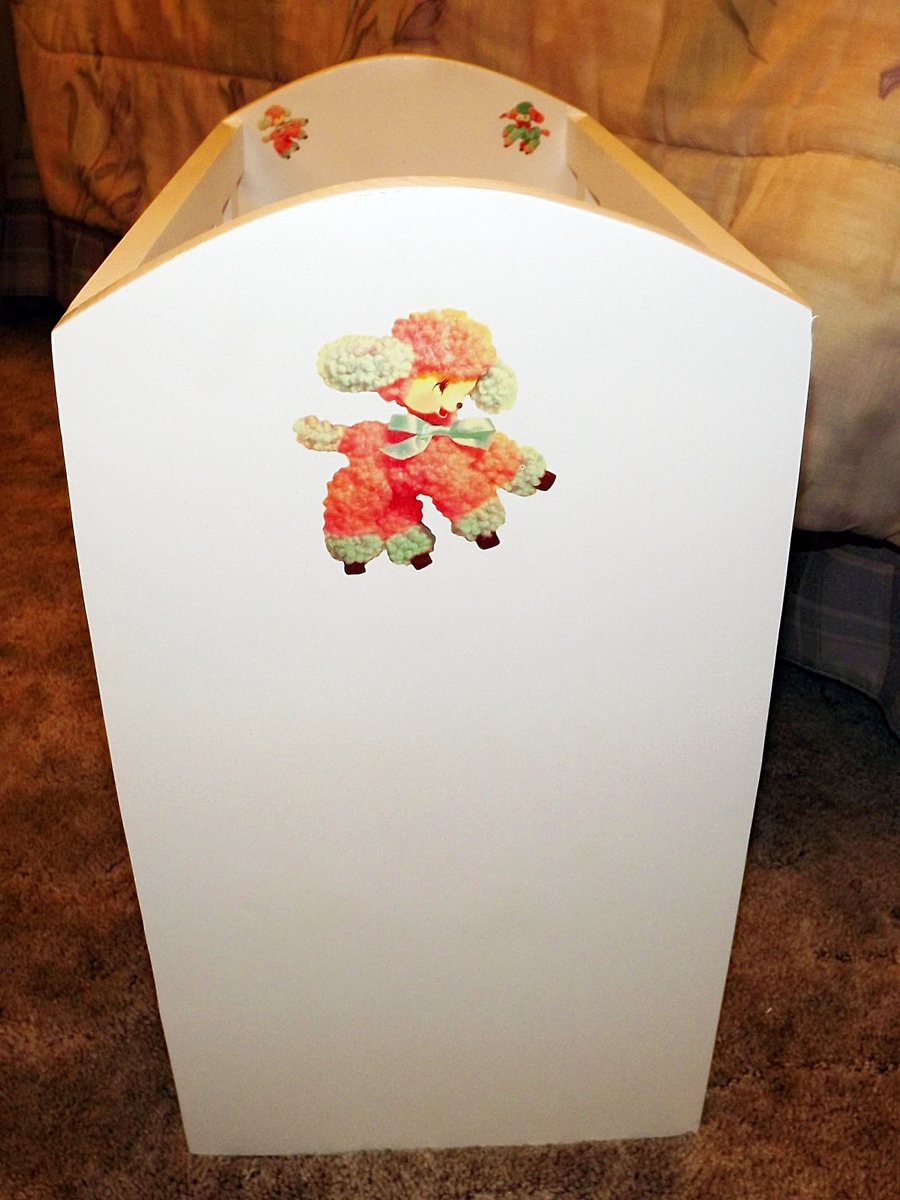
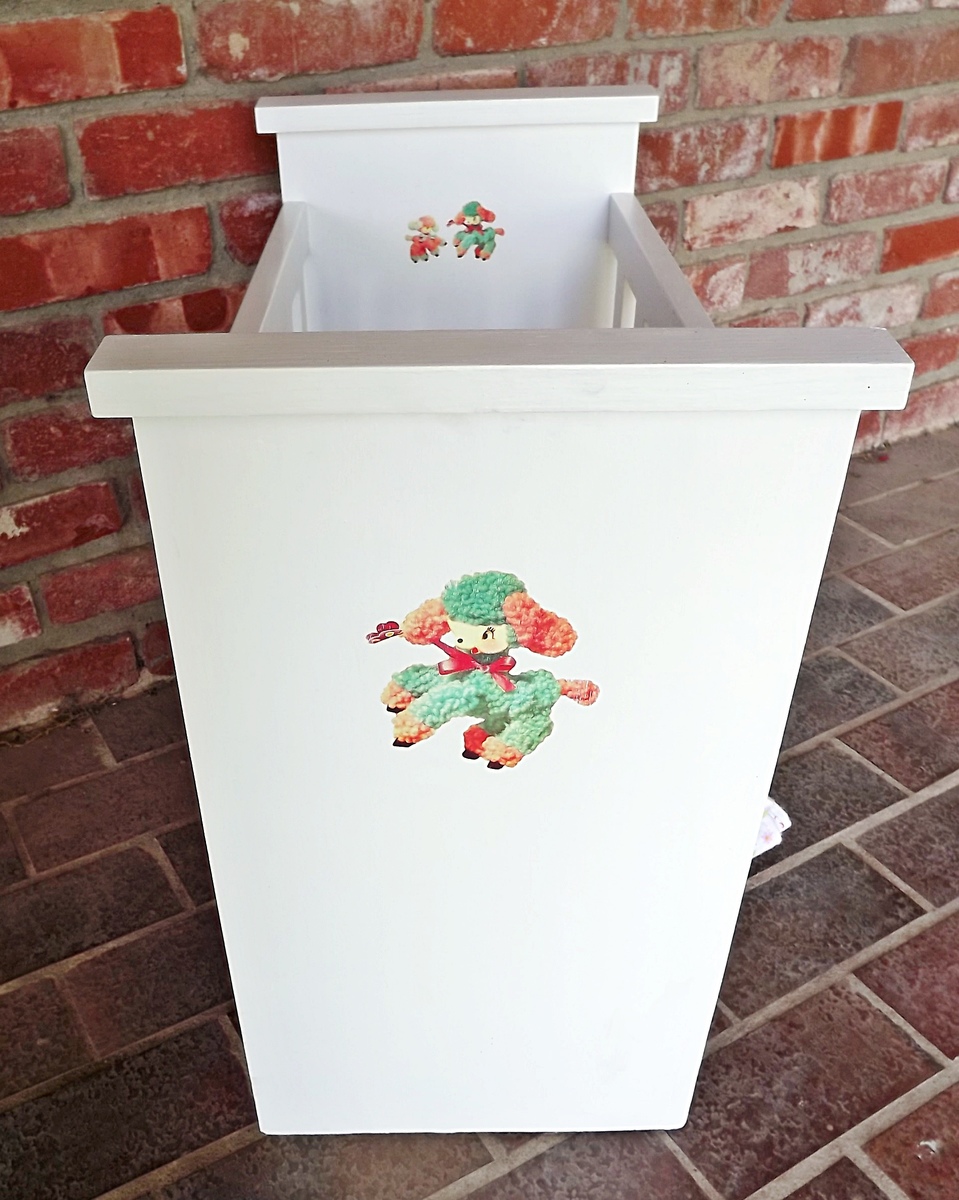
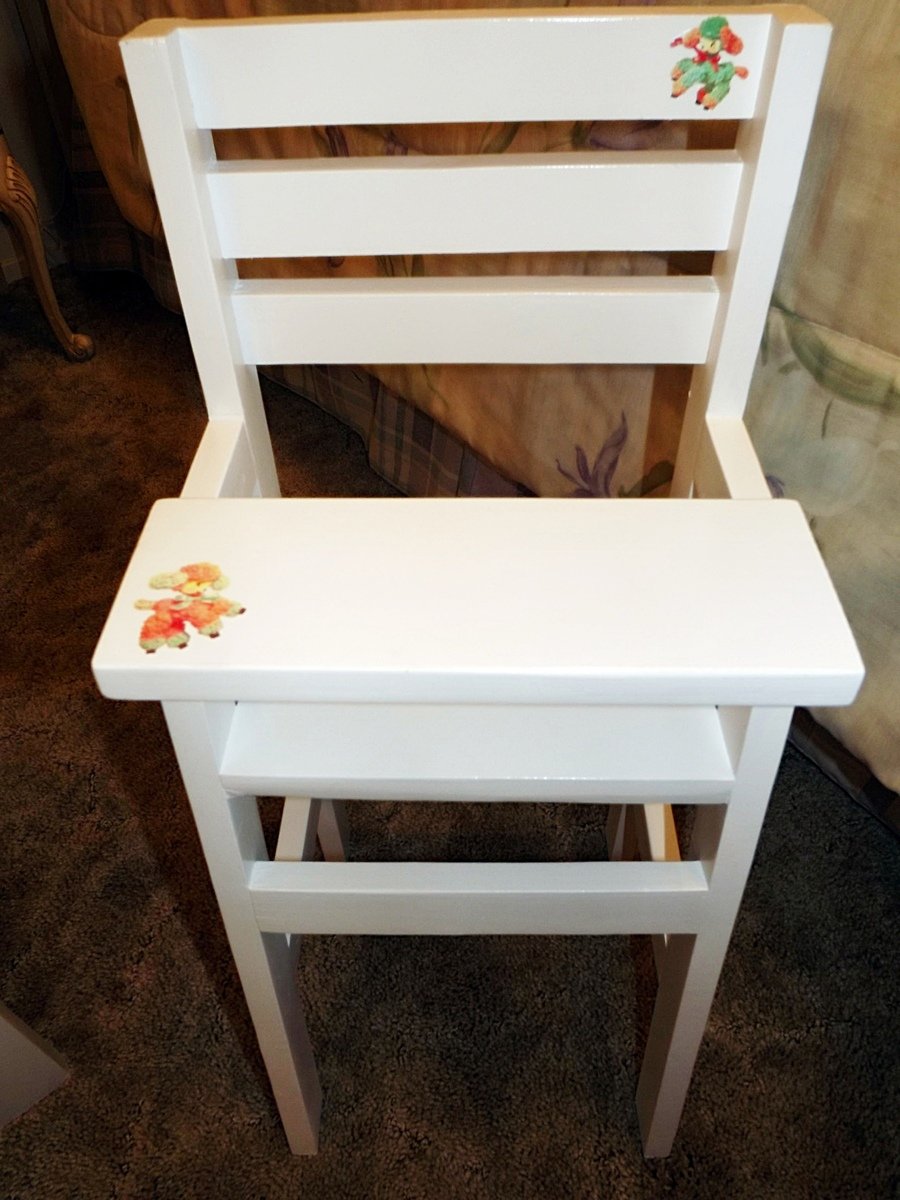
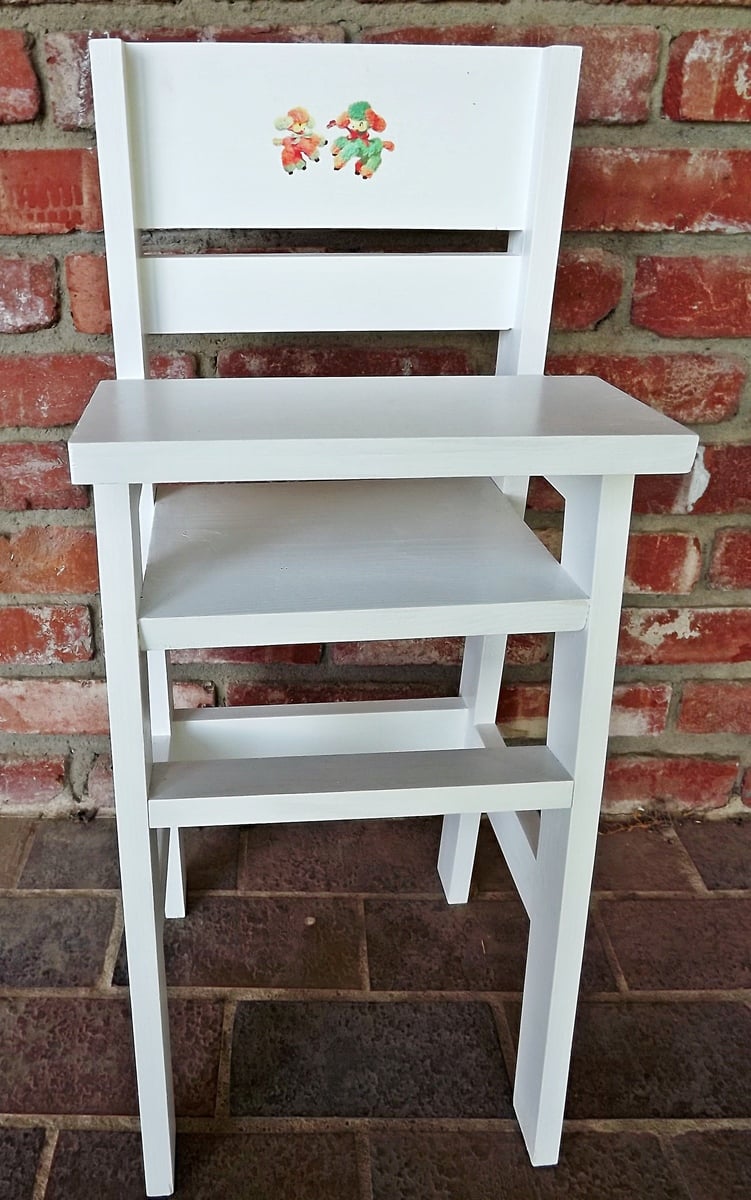
Olivia's Doll Crib and High Chair sets
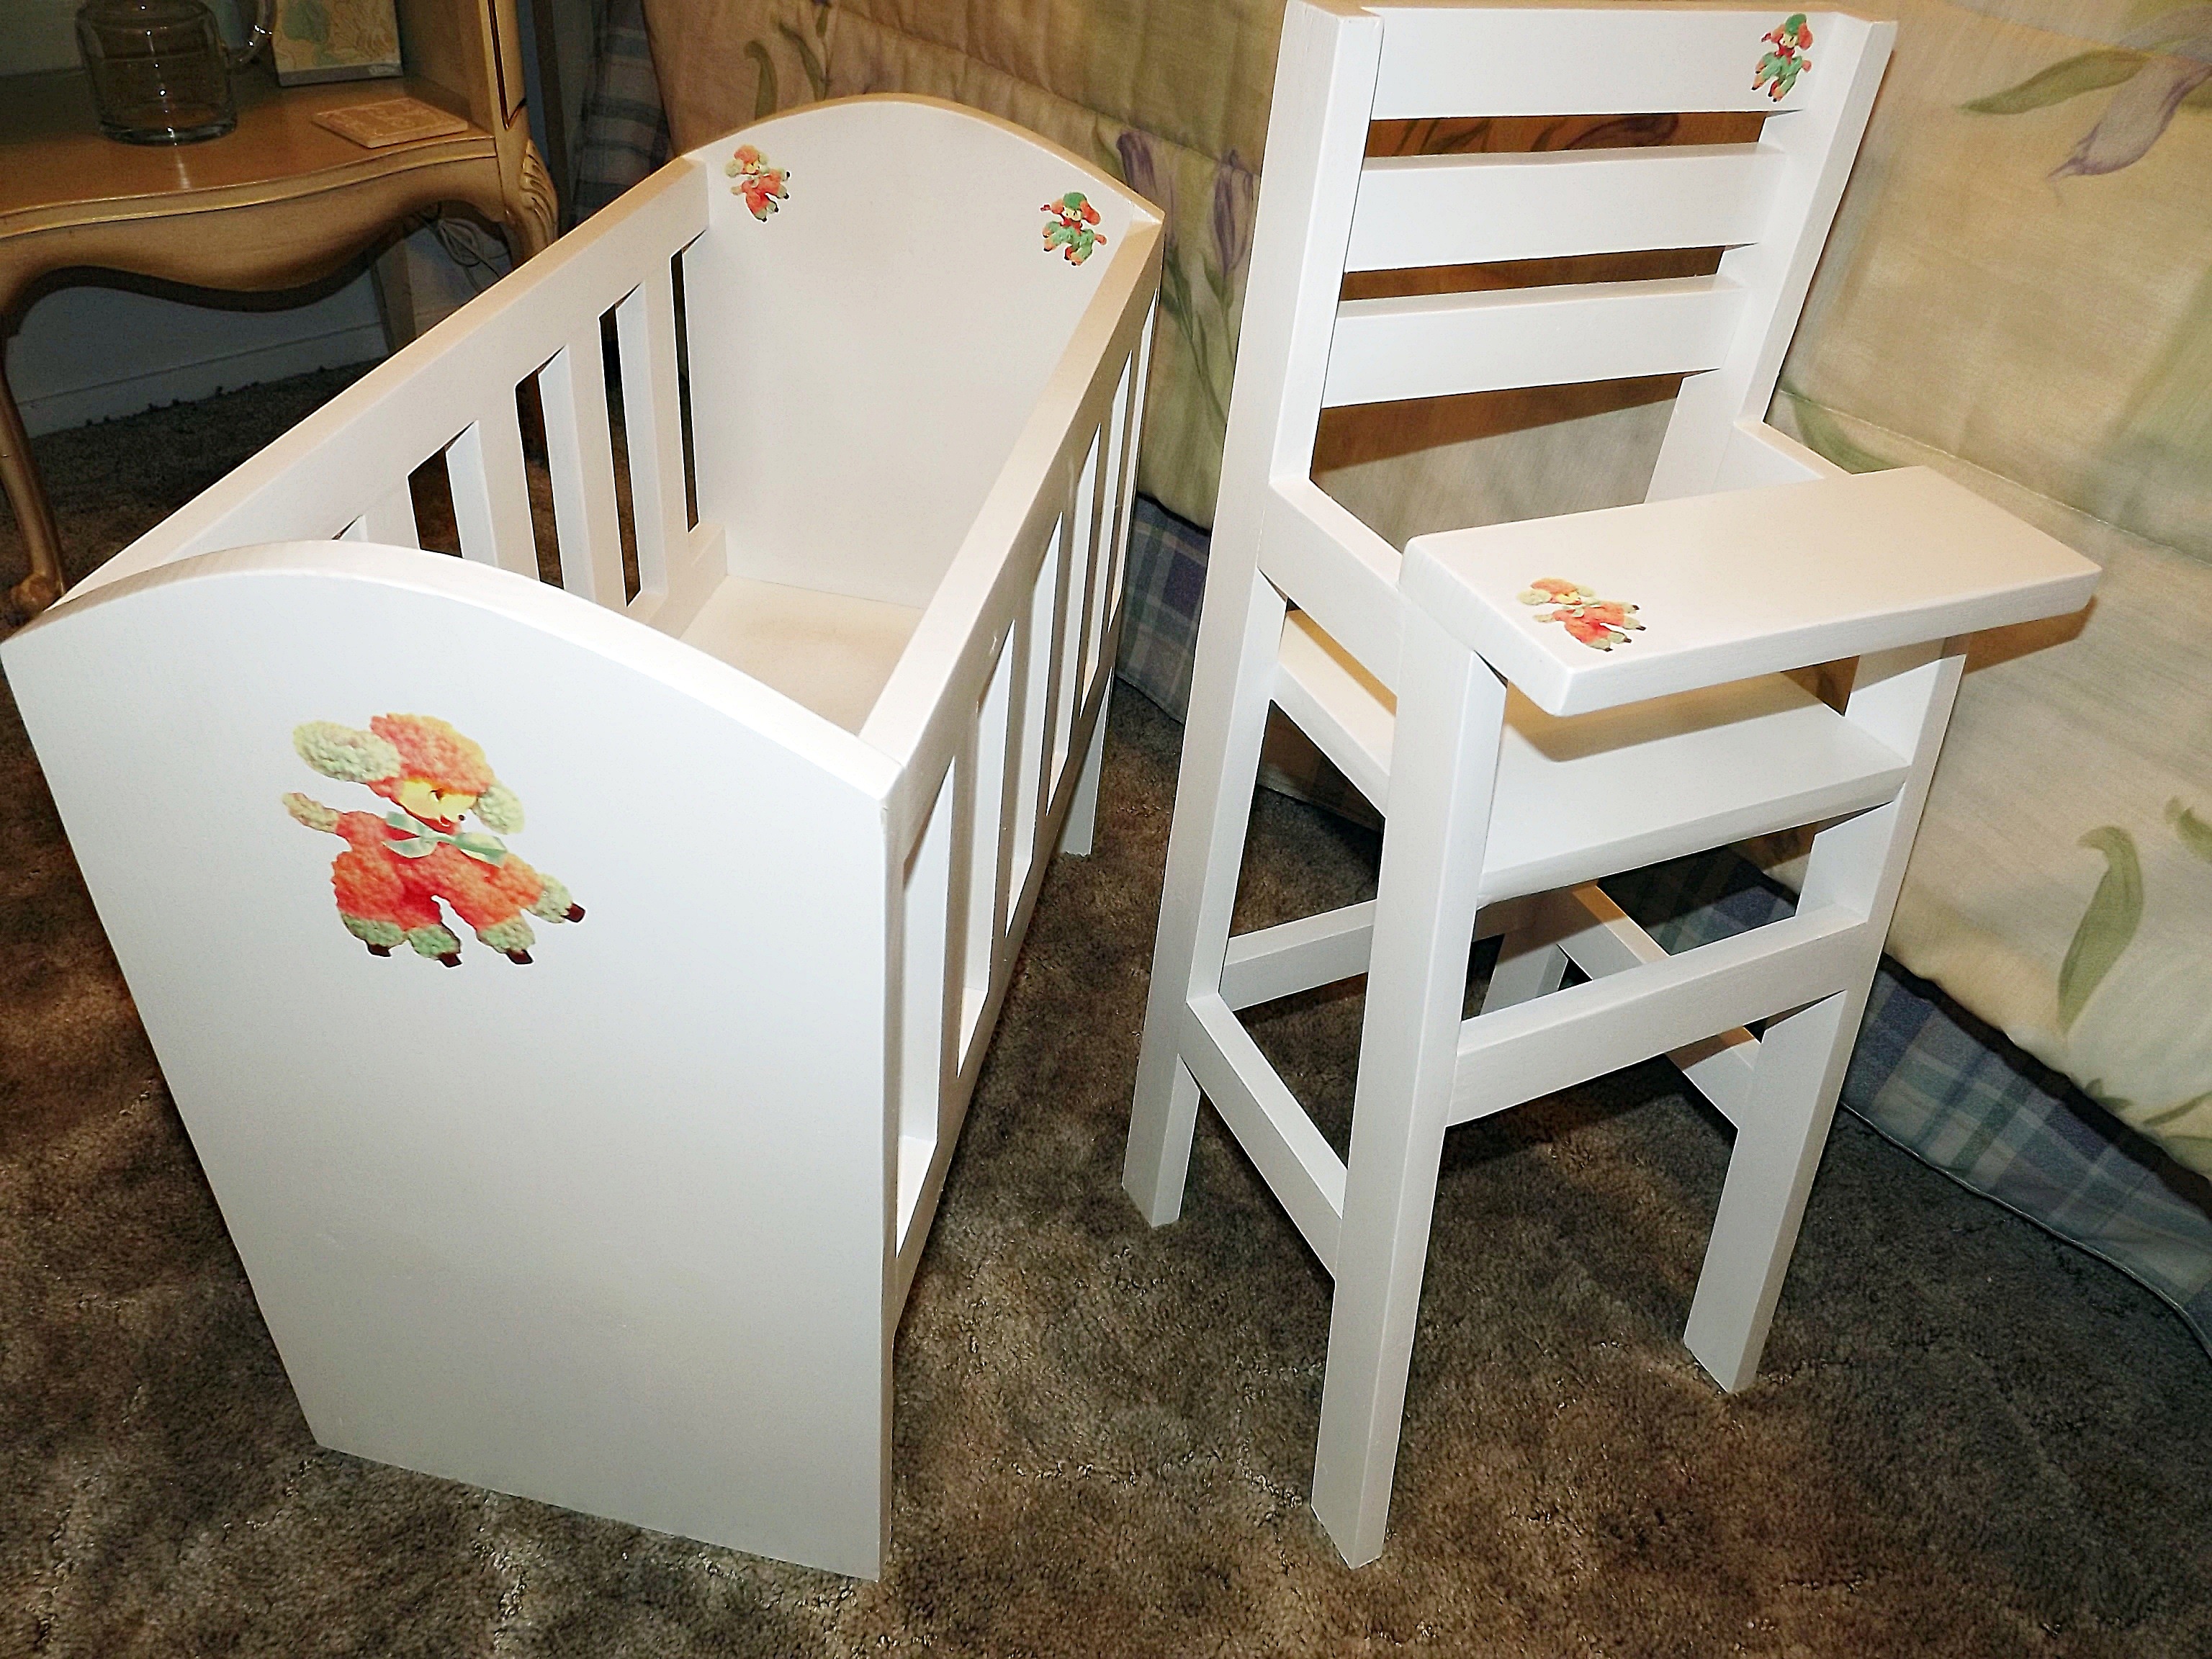
I have three granddaughters and four great-nieces. I was able to find vintage 50's baby doll cribs for the older two, but not for my youngest granddaughter. I was so excited when I found Ana's doll crib, realizing that I could make the beds and high chair sets for all of the girls. I wanted to use water-slip decals to make the beds look vintage like the older g'daughters', and I found this great website: www.decalcottage.com. I wanted each set to be slightly different, so for the first two sets for sisters, I followed Ana's plans exactly for one, and using the idea from another brag post, used just a rectangle for the ends.The high chair backs are also slightly different. I have since made two more sets which I'll post later, but they all have vintage lambs on the beds and high chairs. It has been so much fun!
Built from Plan(s)
Estimated Cost
About $20 per set for the lumber. I already had the paint and pocket hole screws.
Estimated Time Investment
Day Project (6-9 Hours)
Finish Used
I first primed with one coat of Kilz, then used Olympic brand white gloss spray paint and the clear spray finish.
Recommended Skill Level
Beginner
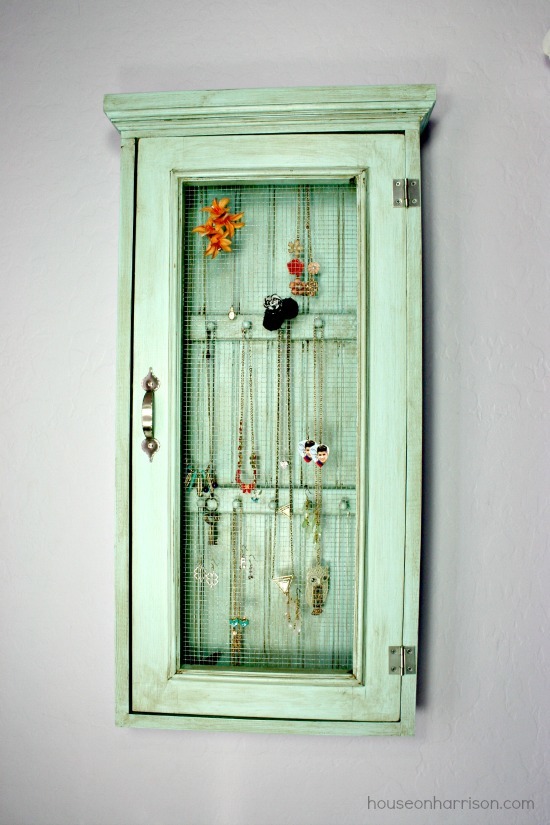
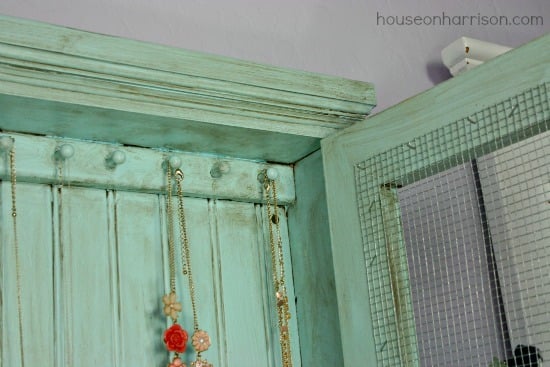
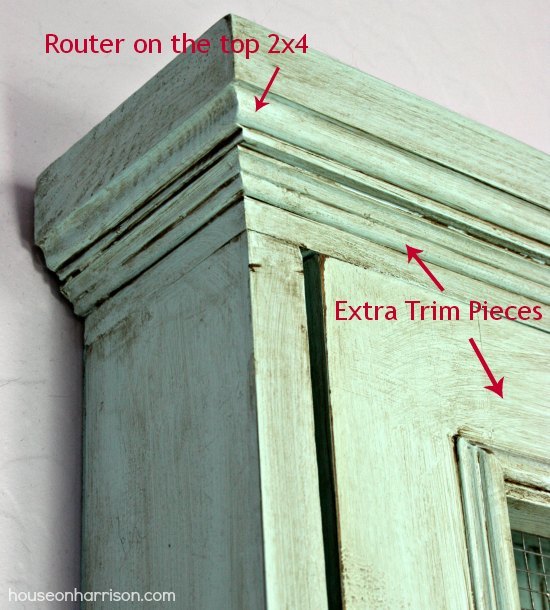
Wall Jewelry Cabinet

I made this awesome jewelry cabinet for my teenage daughter's room. It holds all her jewelry and then some, and it keeps it looking nice and organized. I followed the Wall Jewelry Cabinet plans, and made just a few minor modifications to better suit the style of my daughter's room. Plans were super easy to follow and this only took a few hours to build.
Built from Plan(s)
Estimated Time Investment
Day Project (6-9 Hours)
Finish Used
Behr Refreshing Pool paint with Ralph Lauren Tobacco glaze
Recommended Skill Level
Beginner
Comments

Little Kids Picnic Table
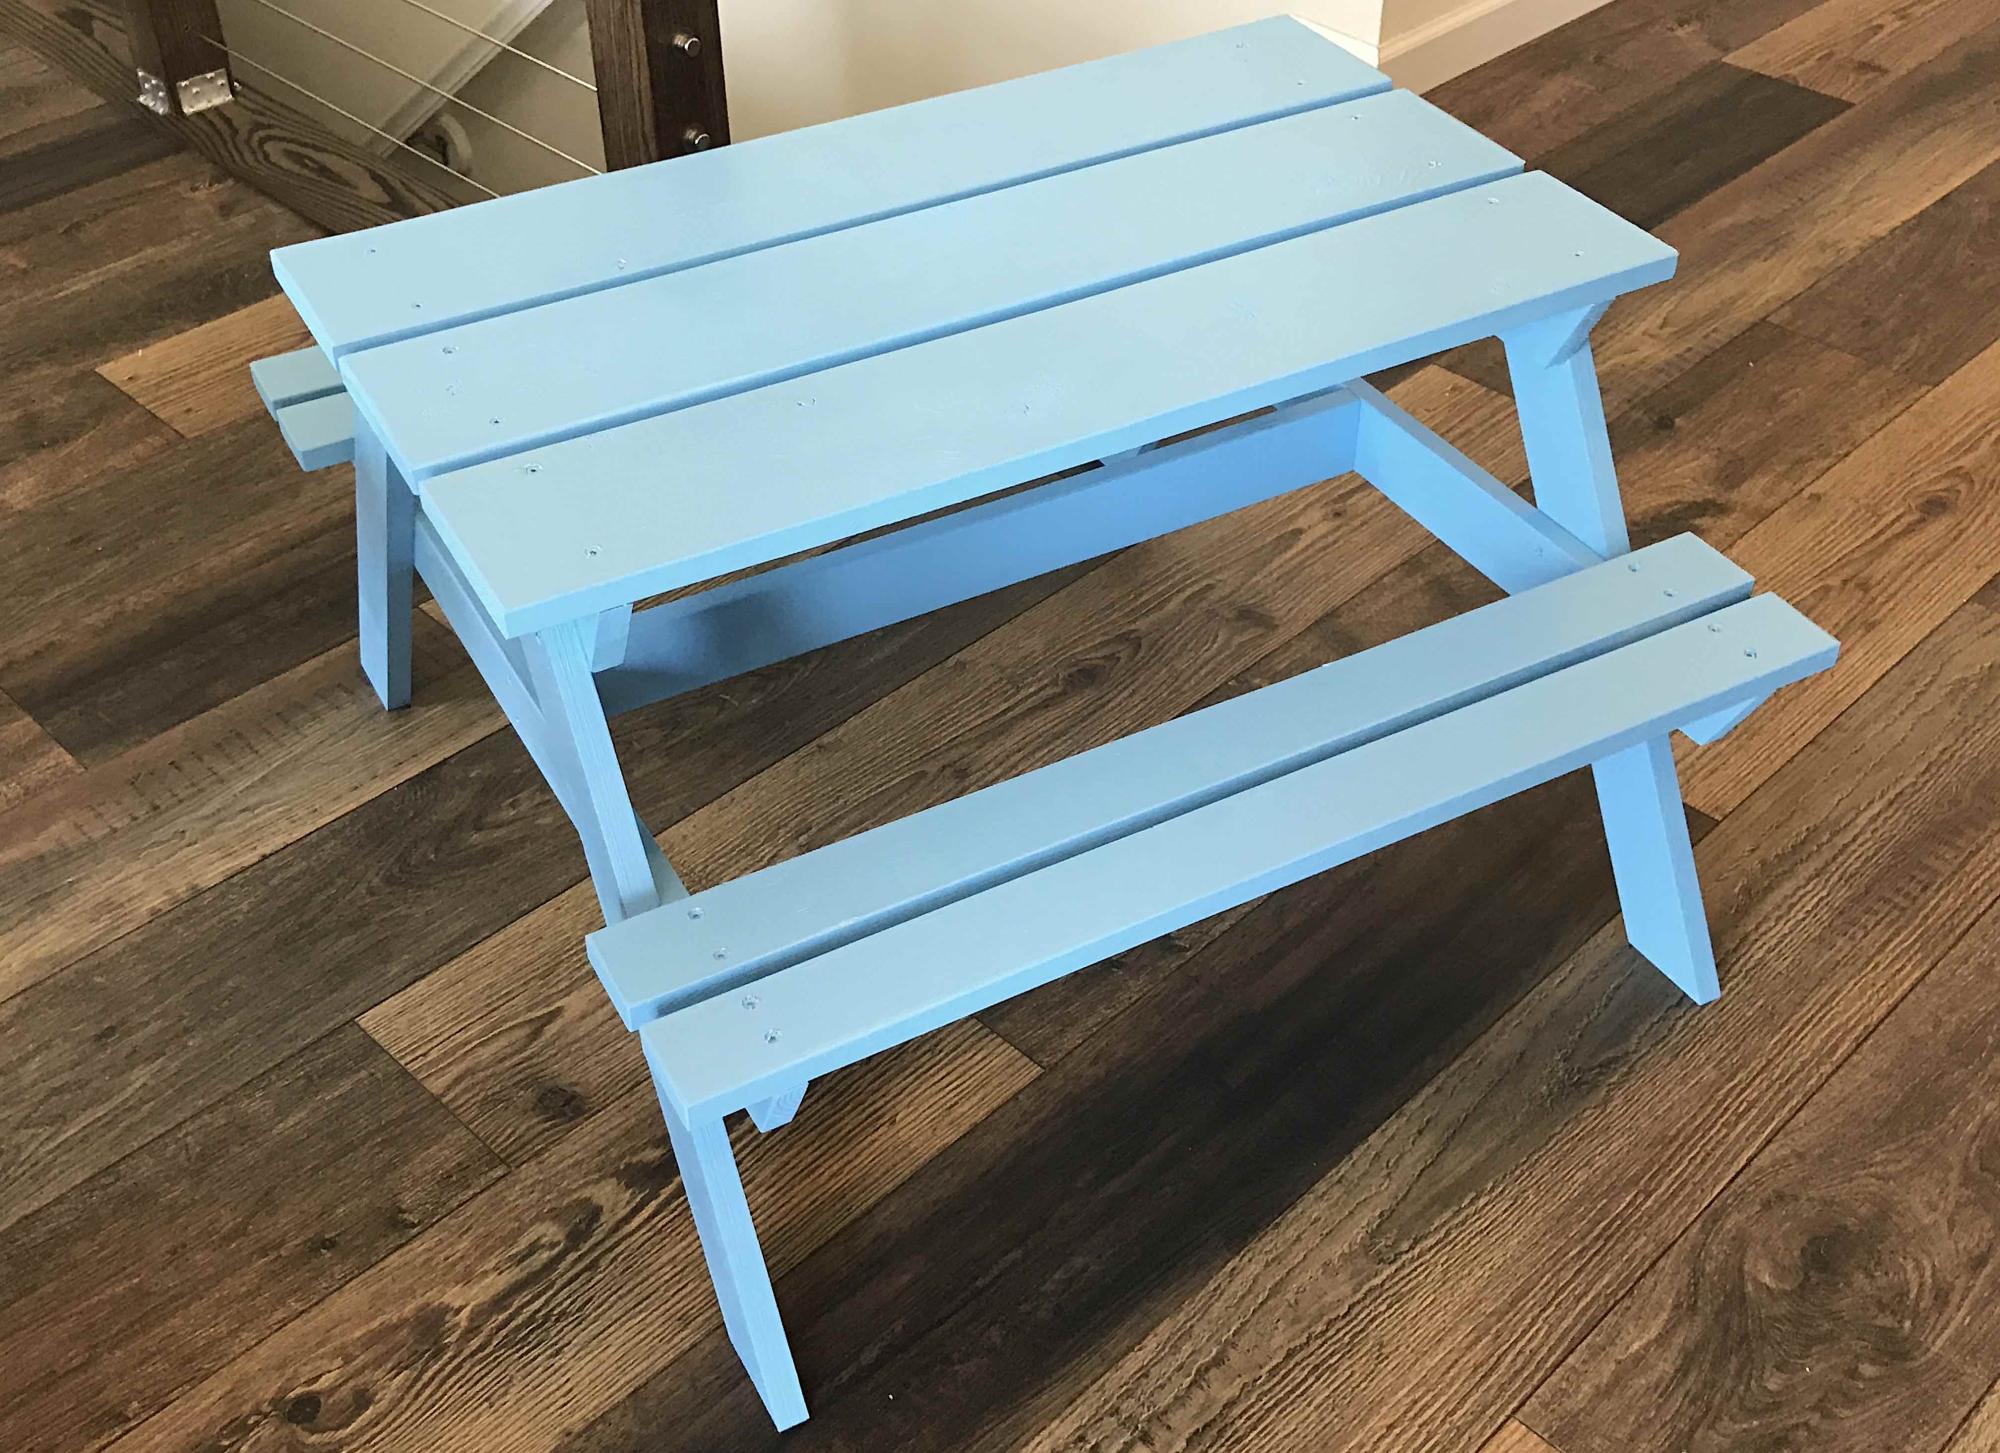
Built this picnic table for our twin foster nephews for their 2nd b-day. It was a hit!
Built from Plan(s)
Estimated Cost
Lumber $15
Paint $20
Paint $20
Estimated Time Investment
Afternoon Project (3-6 Hours)
Finish Used
Exterior Paint
Recommended Skill Level
Beginner